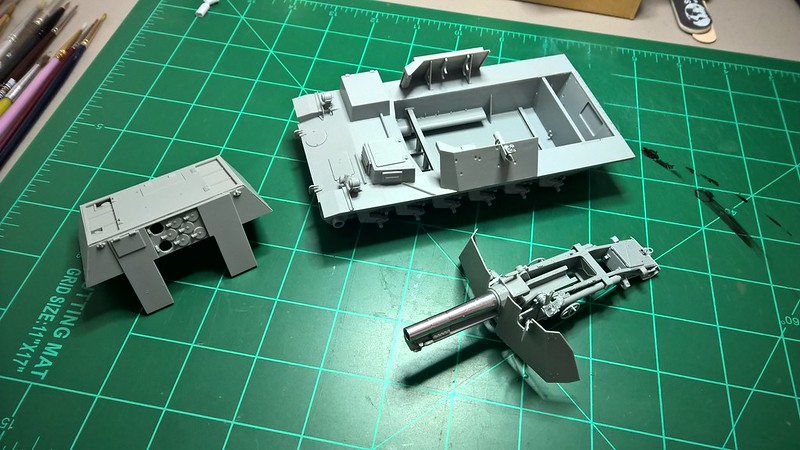
Finally got a bit more done. I’ve got up to painting the fighting compartment. Everything goes togeather very well on this kit so far, just wish the side plates had some better locaters but got them on anyway.
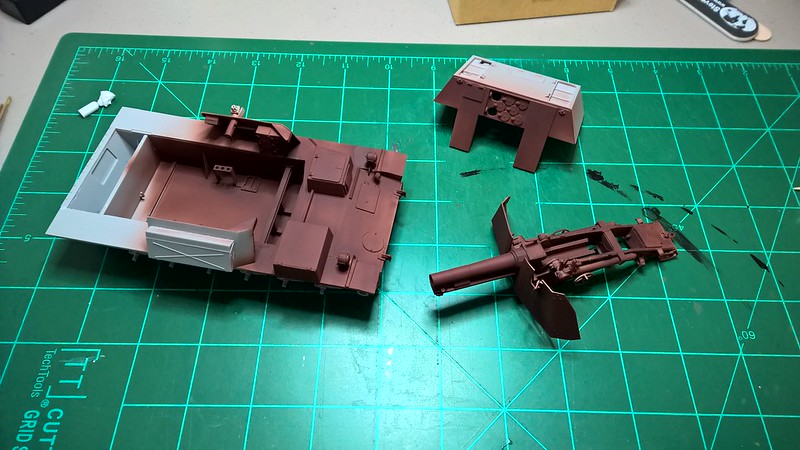
Started by painting Tamiya XF-9 Hull Red like I normaly do. Paint went down nice as always.
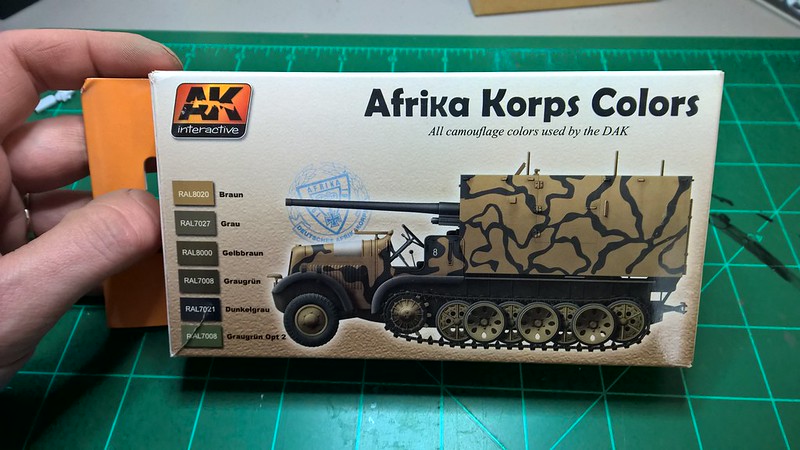
Then I tried something new. I was givin this AK paint set so figured I would give it a try. Now the colors seem to be a great match to the RAL colors but they made me want to throw the airbrush the model and everything else out the window. For the first few minutes they sprayed nice and even then it cloged really hard, so cleaned out the airbrush added some more paint and a bit of iso91%. Big mistake that turned it into a gummy mess so after 15 minutes with some windex I had that mess cleaned out and tried again this time using vallejo thinner. That seemed to help it spray better but the paint was already thin and it says on the box ready to airbrush do not thin. Oh well I’ve learned something so it’s not all bad just that now that I have the fighting compartment and some of the outside painted I’ll have to use it again latter on also plan on using the RAL7008 color from the set too. Thanks for lookin in next time all the pieces should be together.
Cool, great to see you moving forward on this again!
Hmmm, I’ve been using AK paint either straight from the bottle or a few drops of thinner. I just squirt a little in my airbrush colour cup. If adding thinner I just add a few drops (I put mine in a saline bottle I left over from my contact lenses) and mix gently with a toothpick.
Maybe this paint is just old I know it’s at least 5 years since it was given to me. I’ve read good reviews on ak paints before and their other products are really good too.
I have had some Vallejo paint that’s separated and turned kinda hard and chunky. I like the eye-dropper bottles but it’s difficult to stir and mix it inside the bottles.
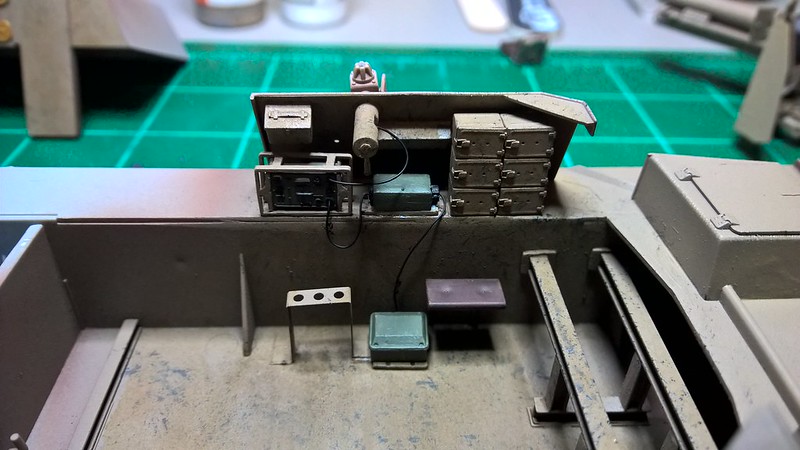
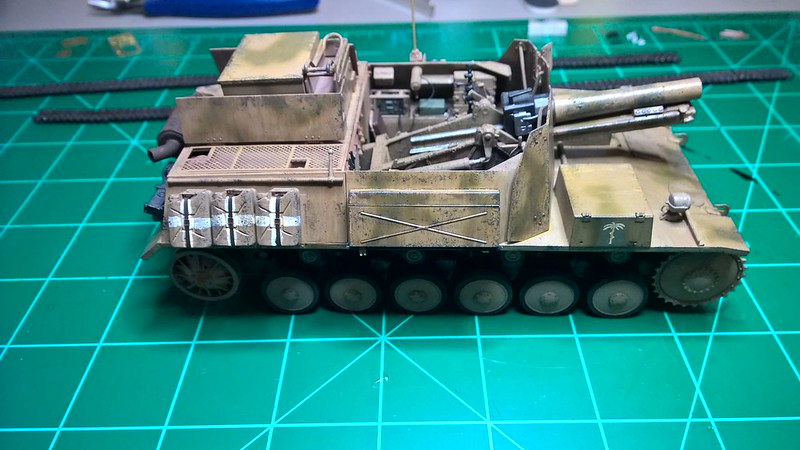
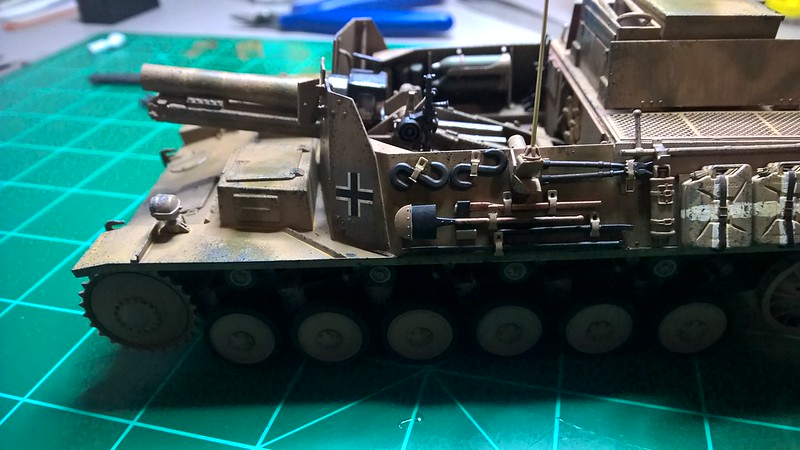
Moving foward more the past week. I had made the rack for the radios then lost them somewhere so instead of making them again I decided to just use the receiver and the kit rack doing that I also decided to move the transformer from behind to between the radio and charge boxes. While I was at it I decided to wire everything up since its all in the open.
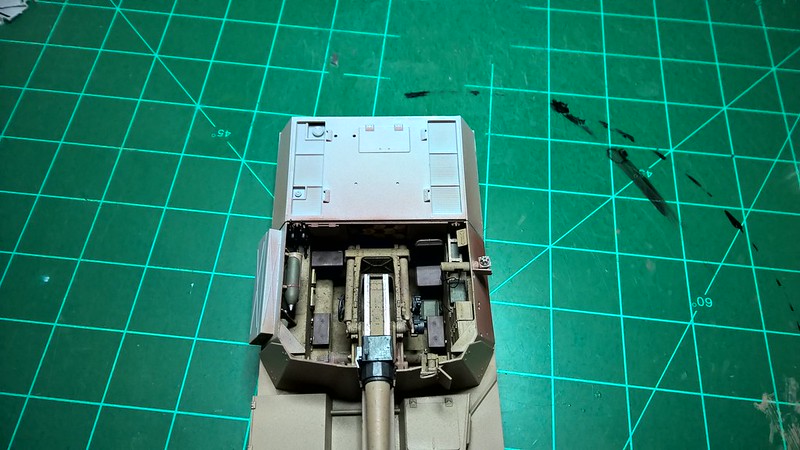
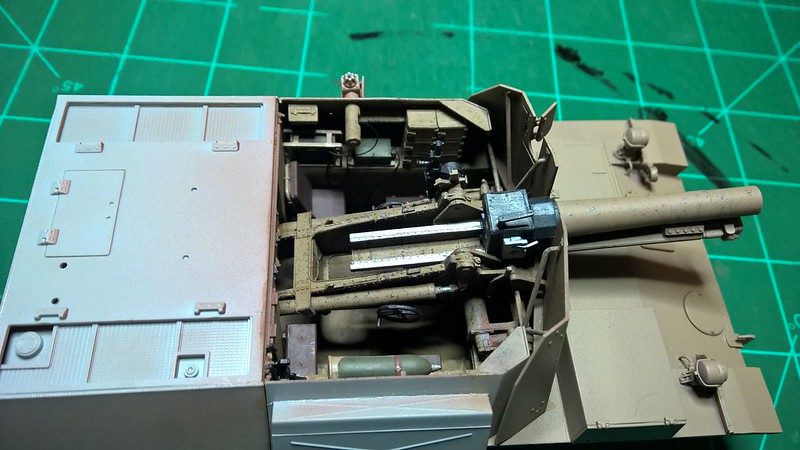
I gave the fighting compartment a good weathering and chipping. Also got the 2 ready rounds painted and put in place along with the MP40s and seats. The jump seat on the rear wall (not the radio op seat) can’t be installed untill after the rear assembly is in place their is no way to clear the gun with it in place and the gun has to be put in before the rear assembly. This seat was a PITA to get in none of my twezers had the right bend to them you would need a pair shaped like a distributor wrench. Finally got the idea to use a piece of blue tac on a toothpick and that worked. Then just as a good idea the radio op seat shouldn’t go in either till after the rear is in place just to make sure it dosn’t go in to far back.
After getting everything shoved into this compartment isn’t much room left for the crew to move around in it’s cramped to say the least. Thanks for taking the time to look in.
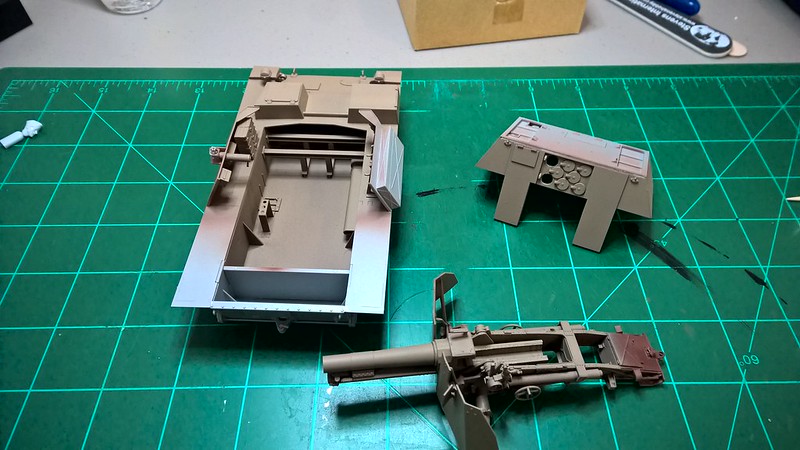
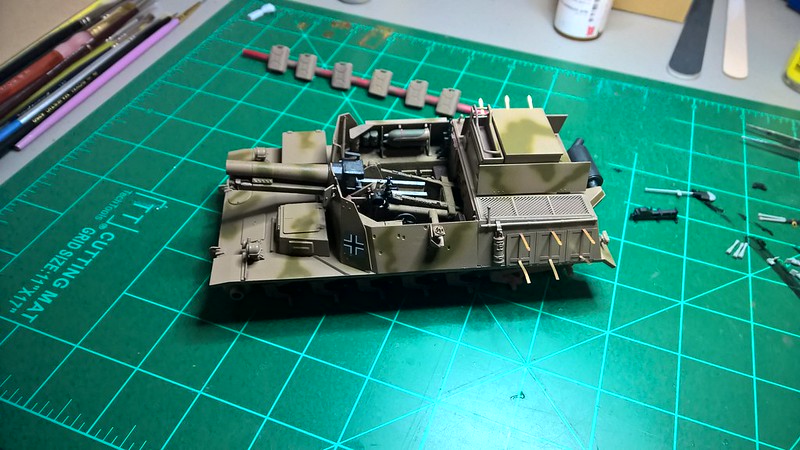
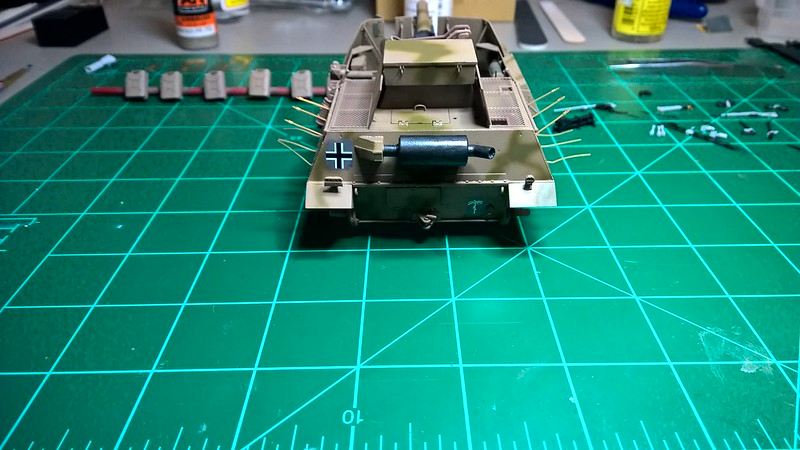
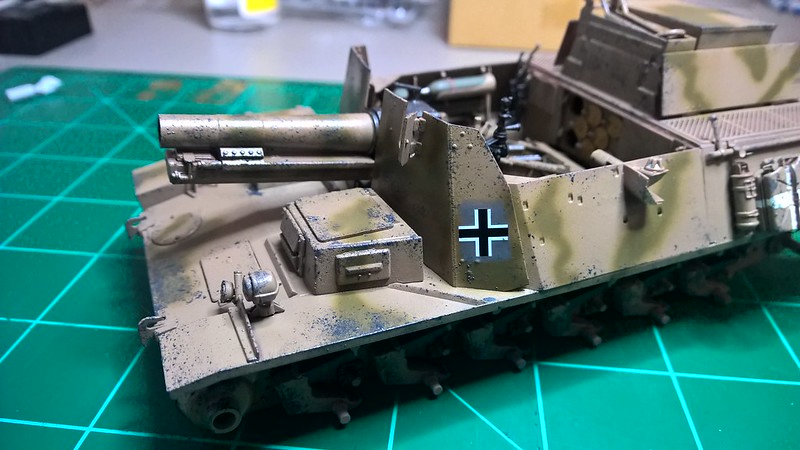
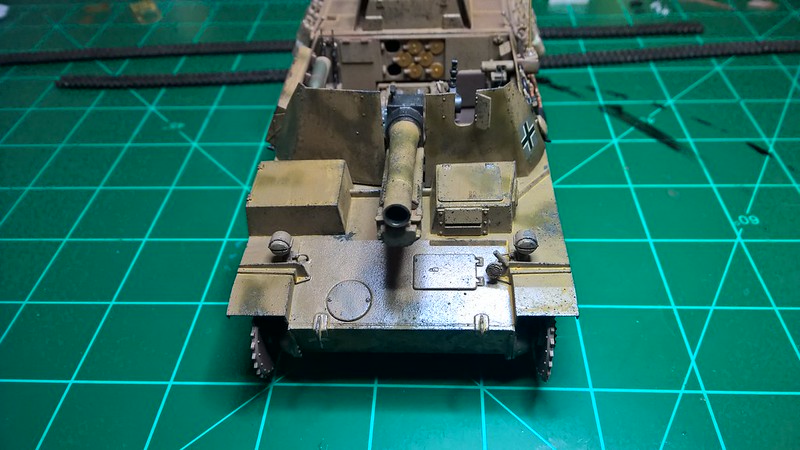
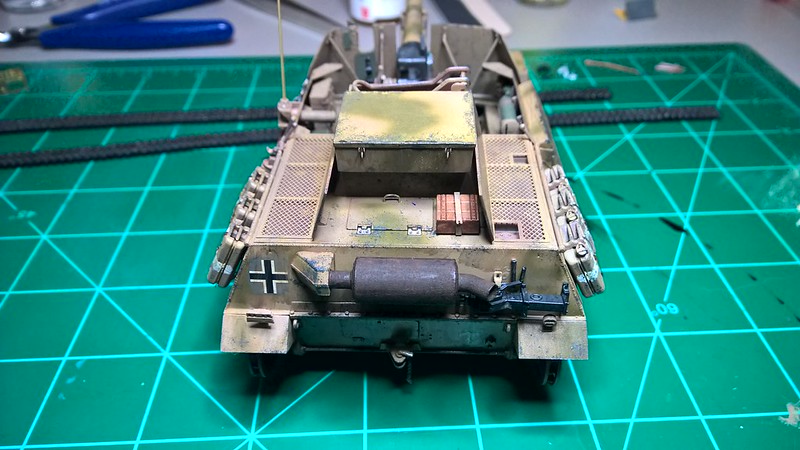
More to show this has been a slow build so far but it’s getting closer. I got the paint put down the RAL 8000 is the AK paint and the RAL 1008 is a mix of Tamiya olive drab and khaki. The muffler was painted MM gun metal then it will be weathered. A coat of Alclad aqua gloss was put down. I didn’t like how the future went down on my last build maybe just because it was old but went a head and picked up the Alclad at the LHS it was easy to use and will end up sticking with it from now on. The markings was then put down they look so odd all bright and clean they will get sealed in tomorrow then weathering can start on the entire SPG. One thing odd the DAK markings are two parts to keep them legal but the two togeather don’t make a entire symbol.
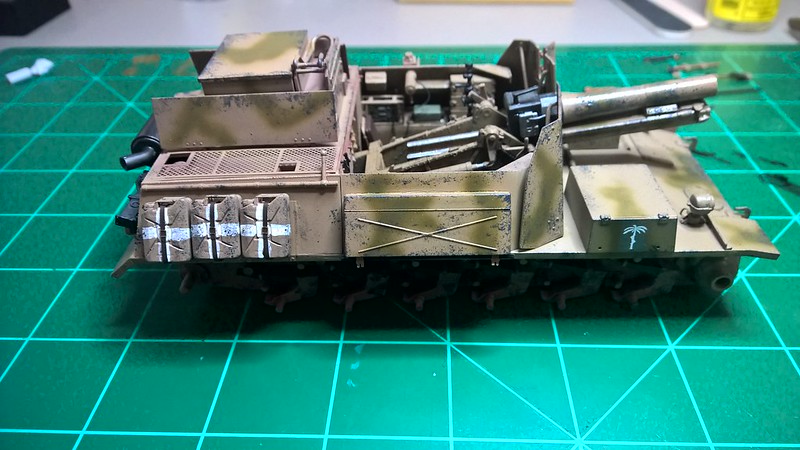
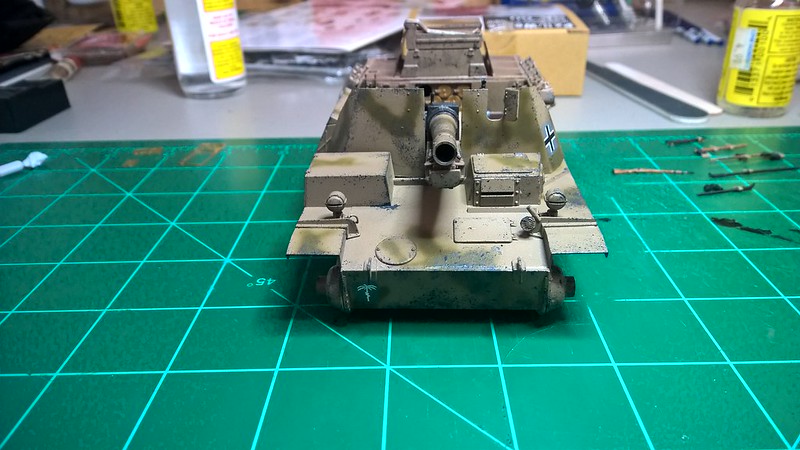
Alright since the last update I got the markings sealed in then went at it with some packing foam and Tamiya XF-63 German Grey for chipping. Went over what I normaly would on the chips but since a lot of photos of DAK armor show heavy wear I wanted more on this.
After that had a chance to dry I used MIG filters ochre and brown. The ochre was used on all the top surfaces and the brown on the sides. Hatches got a mix of the two give some contrast. Then a few hours later I took some Model Master burnt umber and dark tan and created grime and dust streaks using used thinner to pull dots of the paint down the sides of the SPG. Then I used MIG brown wash to hit the bolt heads and sat it over to dry.
Tried another new item Vallejo Environment Weathering Effects Rust texture, and I’m happy with the out come. I also used some MIG rust effects over the dried Vallejo so not to have one solid color.
I have also got the tracks put on today ended up having to add two links to eachside that left me with no extras. I started by painting them nato black then Model Master gun metal. Then a coat of Model Master steel was dry brushed over them followed by MIG rust effects. I’m thinking it was the enamel MIG rust that did it but they started falling apart one side in to six pieces as I tried to get them on. Finally got them all glued back togeather some parts arn’t workable now but I tried to get them on the bottom side. Next armor supject it’s back to metal tracks for me. I’ll try to get some more photos up this weekend. Thanks for taking the time to look in any advise, questions or comments are welcome.
I remember when you started this kit, and then lost the thread, but just went through the thread. Glad to hear your wife is OK (I know that was a while ago, but still, glad she is well).
Very interesting subject for this kit. You did a great job on the fighting compartment, and you are not kidding that the space is cramped. Excellent weathering techniques. Sounds like you have figured out what works for you (or not) for tracks, and that Friuls are worth the added cost.
You are doing a great job on this kit. Thanks for posting the WIP. Very interesting reading.
MCF: Thank you, the tracks are easier than the magic tracks and look better too but will probably not leave my comfort zone of metal tracks again except for the workable tracks that cone with dragon 251 kits. For weathering I always like to throw in something new this time the vallejo rust that I will stick with from now on.
I have issues useing oil washes on plastic tracks. Its seems to soften the plastic and they just fall aprt. Took me 3 or 4 days to get the tracks on myAFV 251 as i had to glue them on in sections and leave to dry.
Bish: Thanks for looking in, glad I’m not the only one who has difficulties with Indy tracks. I thought since these was workable they would stay together better during the weathering stage i guess not, it seems the enamel attacked where the pins was glued in.
Ye, i think thats the issue. I use white spirits for oil washes and have even had axel arms come away and the plstic seems to have gone soft, almost melted. I have not tried the ready made AK enamel washes on tracks but from what your saying, they might well have the same problem.
I have but only Alclad Aqua and only in small areas, but i never had any problem with it on Future. I certainly never thought it would be strong enough to soften platic that much. I am going to try Humbrol thinners for washes as that can be used with oil paints, and hopefully it won’t be so harsh.
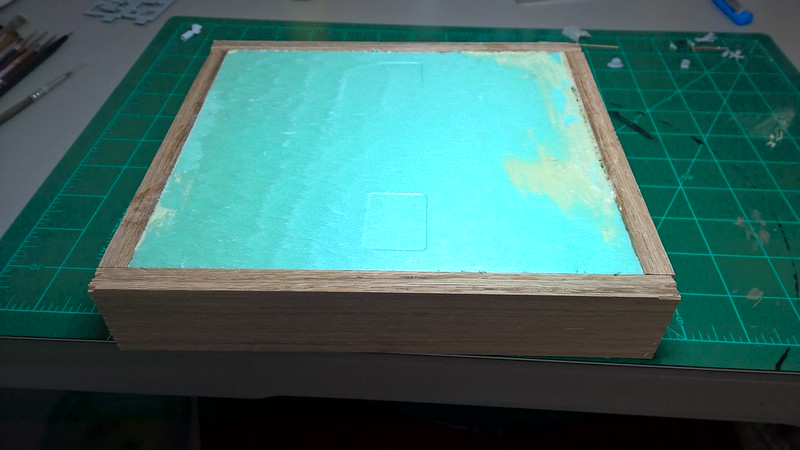
Seems like I’m not getting much bench time anymore plus by next weekend I’ll have to get out and get the lawn cut I’ve put that off as long as the wife will allow. Since last time I’ve started on the base for the SPG, need to go back and clean up the edges some where the glue expanded from the corners onto the wood.
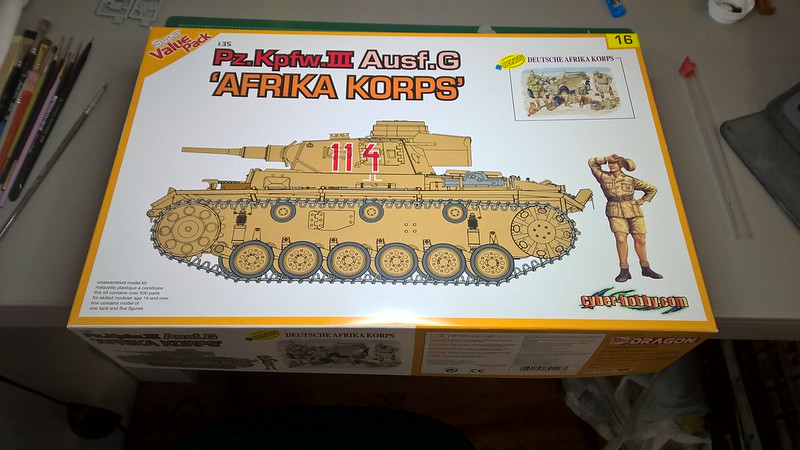
Also started on the figures, they came out of a cyber hobby boxing of a Panzer III. Tons of flash and very soft on detail but it’s been a very long time since I painted a figure anyway so this will be skill workout if anything.
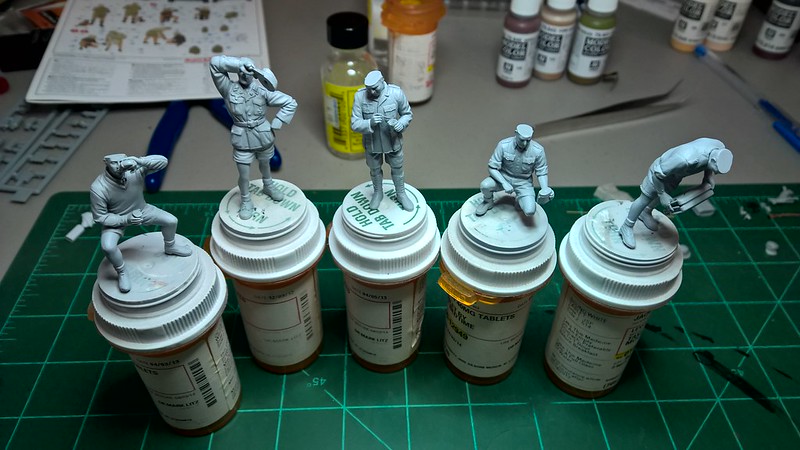
Got them stuck onto RX bottles that my Mother-in-Law saves for me the best part about doing it this way is you have something to hold onto while painting plus a dust cover. After a primer coat of Tamiya fine grey in a spraycan I noticed some places that needed more work so over the next few days I’ll work on that then start the painting process.
Nice work on the figures. You’ve got the right idea there, they’re much easier to work with if you have a base so you don’t have to keep handling the figure itself. I’ve put my fingers into way too much wet paint for that!
Thanks guys. Before I was told about the RX bottles i would just stick a wire in their foot then bend it like a ring on my finger, but then what do you do when your done painting and it’s still wet? This way works alot better.