Looking good bill.
Nice build, watching your WIP.
Thanks Bish!
Panther G glad to have you along as well! [B]
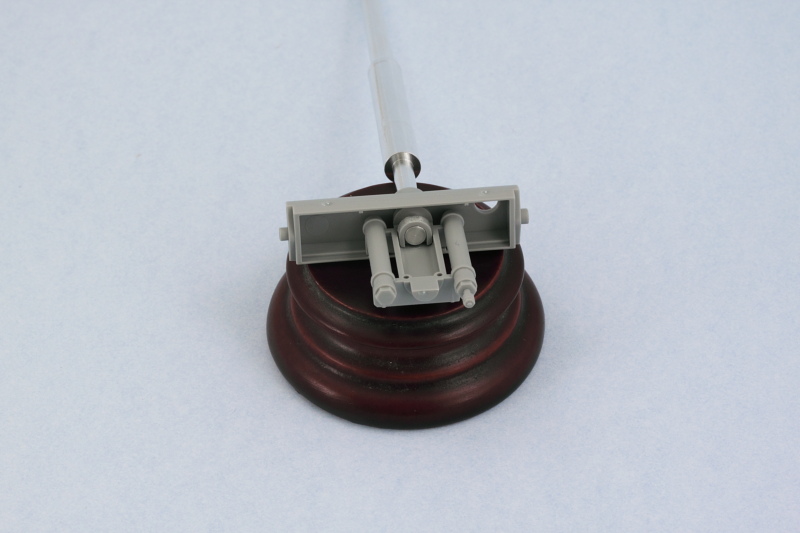
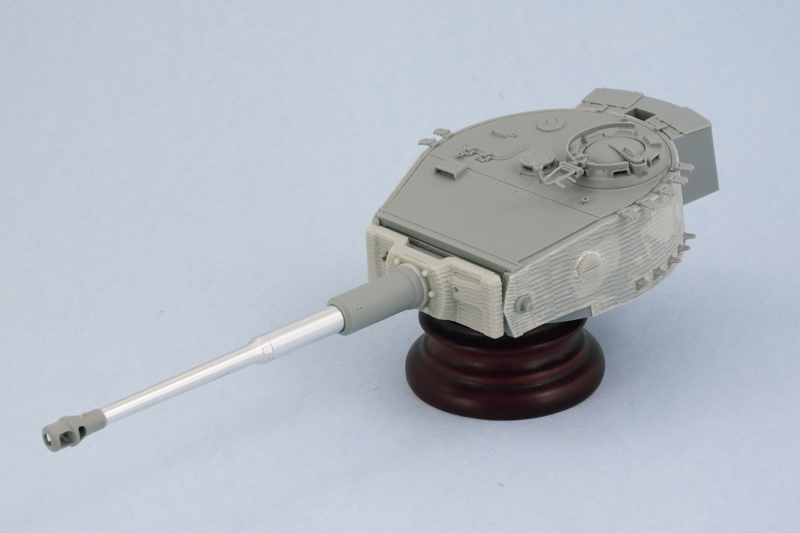
Work moved on to the turret in the latest round with efforts focused on Steps 13 and 14 to build up the main gun and mantlet. The kit includes a metal spring to allow for ‘recoil’ but it’s not essential and I left it out deliberately. I opted for the kit-included turned aluminum barrel. The small locking piece that secures the base of the barrel into the breech and recoil housing, part A9, is shown in the instructions installing upside down. The ‘open’ end installs down and not up, otherwise you can’t get the recoil housing halves together.
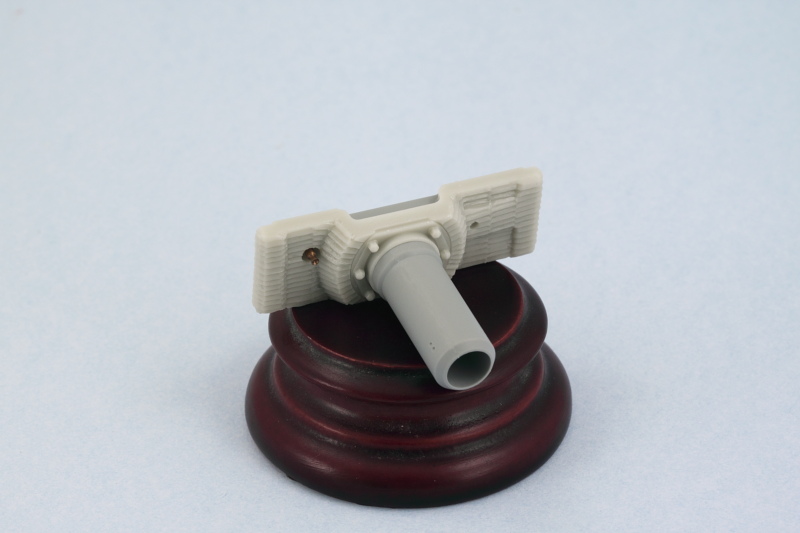
The Atak set includes two different resin replacement mantlets that have the zim pattern, The ‘monocular’ sight version was introduced in April '44 so I went with that one. I replaced the kit coaxial MG34 barrel with a turned brass item from JB Models. I used a small amount of ApoxieSculpt putty to provide something for the brass barrel to hold onto and also blank off the open port since the JB barrel’s base diameter was smaller than that of the kit part.
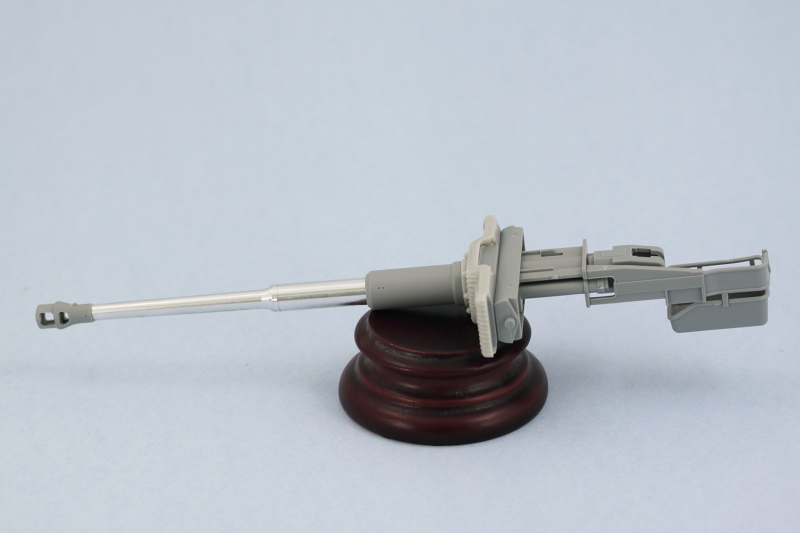
The rest of the gun was assembled per the instructions. The kit provides a choice of muzzle brakes but has the part numbers backward on the instruction diagrams. Parts A11-A17-A18 construct the larger type brake used before April '44 while parts E7-E10-E11 construct the smaller type seen after that date. I used the smaller type to match with the mantlet type selected previously. The brake has a ‘D’ shaped opening that has to be opened up to a full round opening to mate up with the aluminum barrel, so that was carefully drilled out with a small drill pit and pin vise.
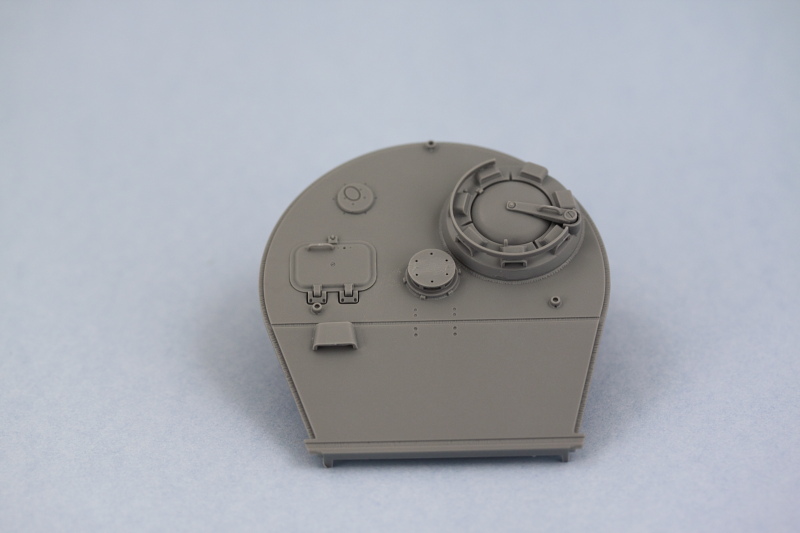
Step 15 adds interior details that I skipped since I’m not showing any of the turret hatches open. Step 16 addresses the turret roof, I chose the roof style used after June '44 and added the hatches and other details. The clear periscopes were left out for now since they can be installed into their spots from the turret underside later after painting.
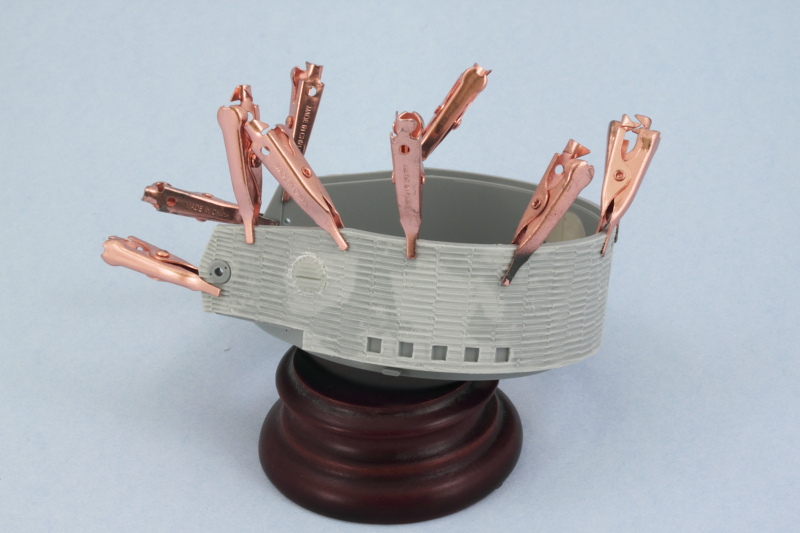
Step 17 assembles the turret but before I could do that, I needed to add the zim. The Atak set includes the choice of small or large ridge patterns panels and I opted for the larger patterns often seen on Tiger turrets vs. the smaller pattern used on the hull. Panels were added using a combination of CA gel and liquid glue since the curves of the turret put a little more stress on the panels in terms of the surfaces they needed to conform to. Strategic use of some smooth-jaw clips helped get everything to stay put until the glue set. The Atak set provides a replacement resin escape hatch as well as zimmed parts for the view ports on the turret sides. The view port parts aren’t the same size as what is molded on the turret, so the turret ports were carefully sanded down until the resin parts sat flush with the zim panel. Then just a little bit of white putty to join everything up to round it out.
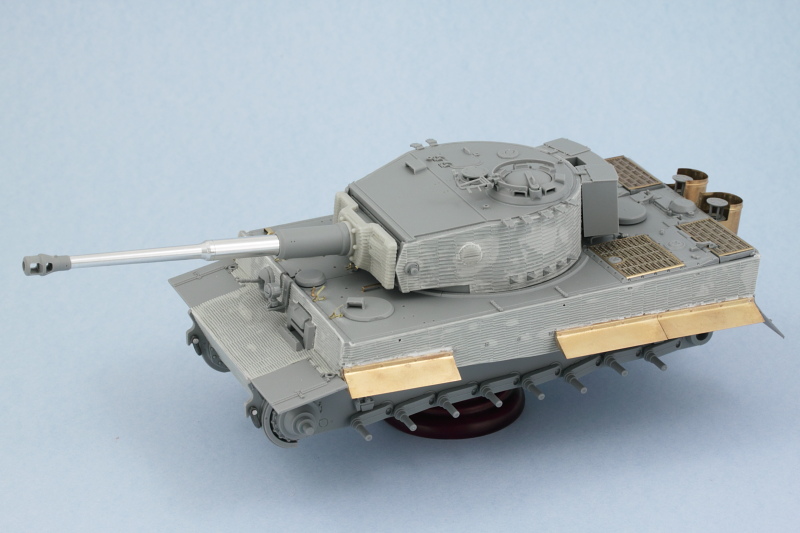
Turret roof was then installed in place and the rest of the details added in the form of the spare track holders, the rear turret bin, and the MG AA mount.
Test fit with the hull showed that I needed to adjust the placement of the shovel clamp installed earlier to allow it to clear the bottom of the mantlet. Otherwise everything else played nice.
Next up will be starting the paint work.
Looking impressive Bill.
Sweeeeet!!! The Dragon kit and Atak zim is going together very nicely! But what are those “white” spots on the zim? Different glue?
Nice clean construction Bill[Y]
I’m ready for some color.
Tony lee
Eric thanks as always!
Ernest the Atak sheets vary slightly in thickness/translucence, so the ‘white spots’ you’re seeing (if I understand correctly) are areas where the sheet is a little thicker and adheres slightly differently to the underlying surface as a result. Some of what you are seeing is the result of different glues as well but mostly it’s the thickness difference.
Tony me too! [;)]
I guess I always thought the white spots were a result of no glue in that spot. I learn something every day.
As always Bill things are looking stellar. [Y]
I am truly amazed… After coming back to the game after 30 some years, it’s an absolute joy to see things like this… Craftsmanship on a level I can only dream of. And a wealth of information in how to build (and patience) in this thread. And as an amateur historian I am very happy with the precision to historical correct details. Lars
Tigerman It’s one factor or the other, sometimes both! [;)]
IB thanks for the comments [B]
Lars the hobby has changed a lot in the past decade, no question about it. Welcome back to the hobby and thanks very much for the kind words. Always glad to hear a build of mine provides helpful info to anyone else looking to build the same kit.
WOW!!! This is one great build and an absolute “clinic” for modelers. I am proud to be following this. Damn, it’s good to be back and see this. Thanks for this!!!
Hey, very nice, its the kind of pictures used to make on “how to…” book or magazine.
My pleasure Scott! [;)]
Garzon, I always try to provide as much info as possible in the build logs, glad you find it helpful! [B]
Hi Bill,
Super blog as always [:D[
Your comment about having to cut the side zim panels to allow for the mudguards to sit correctly made me think…(don’t laugh [:P])
Got the same ATAC set and I was simply going to cut it off under the mounting brackets. I was not sure if they would have ever applied zim under the side skirts…but they sure did.
The brackets where high enough to allow for a good connection even with the coat applied.
If I am not mistaking the skirts are bent in an U shape at the top allowing for some flex when the bolt goes through into the threaded bracket hole. Need to check tiger1.info.
Very good fix - the cut is not visible at the missing skirt.
Very nice progress - thank You for sharing!
Very Best Regards
Johan
No worries Johan, I went through the same thought process myself and considered the same solution! But, as you discovered, the zim goes all the way down the hull. On the real vehicle the mount points were raised out from the hull enough to allow the fender panels to sit properly once attached but Dragon designed theirs to sit flush to the hull, so that’s why the surgery and putty work was necessary for them to sit correctly.
Thanks Bill!
And I was wrong - no U bend but still some flex…
tiger1.info/…/Side-skirts.html
Very Best Regards
Johan
Bill, is there room for one more passenger on this bus?
Looking very good, and great tips along the way. One question about the second use of glue on the zim sections, do you have a special tip on the liquid glue bottle, or some other dedicated tool to apply it?
regards,
Jack
Of course Jack! Glad to have you along for the ride. As for your question on the liquid glue, I typically will use the bottle’s built-in brush to let the glue flow via capillary action under the panel. For smaller pieces, I use a smaller ordinary paint brush to do the same trick. HTH! [B]