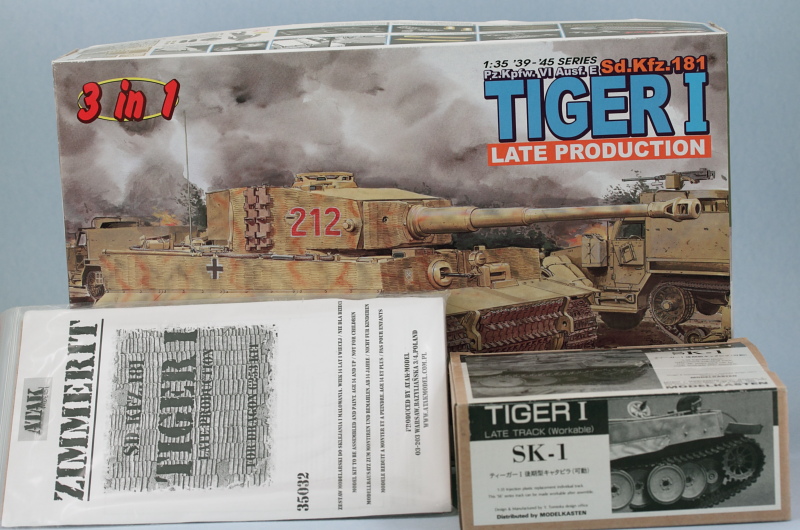
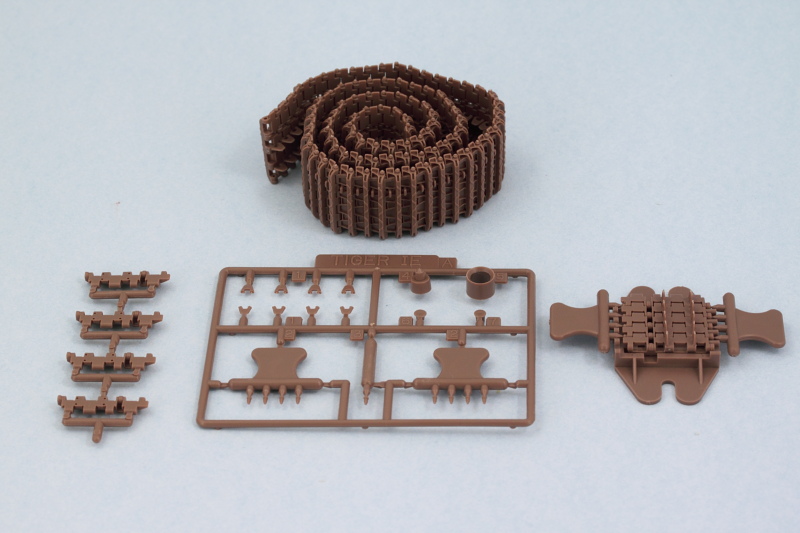
After spending the last month working on a floaty-thingy project as a change of pace, it’s time to return to the world of armor building. The selected victim is Dragon’s 1/35 kit #6253 Tiger I Late Production 3-in-1 with the assorted goodies seen below.
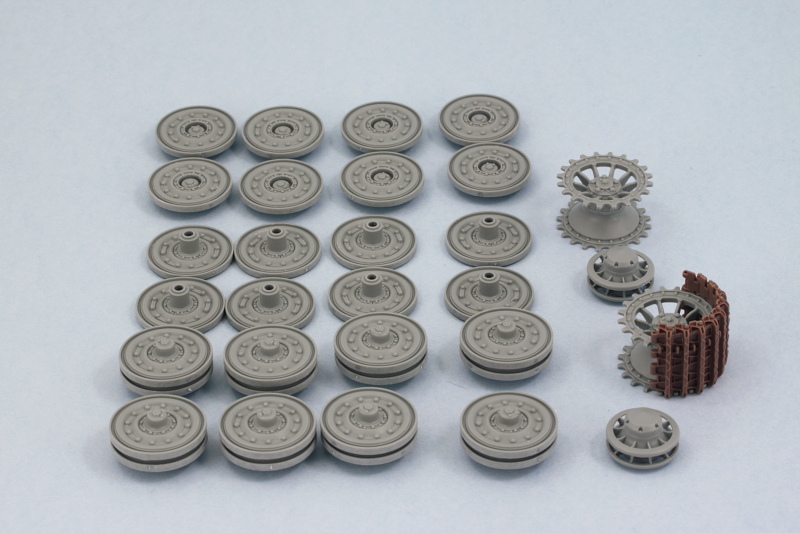
Off and rolling with the usual bane of German tank models, the road wheels! Following the instructions in Steps 1 and 3, the road wheels, sprockets, and idlers were assembled. I opted for the G5 style of wheel appropriate to a standard Late Tiger I as well as the small idler wheels consisting of parts B2-B3 as those are the correct type vs. the larger idler wheel option of G8-G7. I also assembled a short run of 10 of the MK workable links to ensure the sprockets would fit and were spaced properly as well as to test the fit of the paired road wheels.
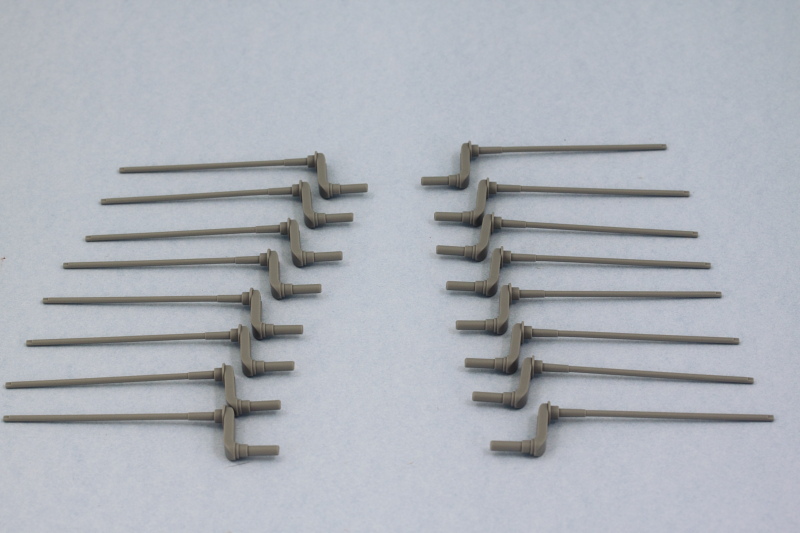
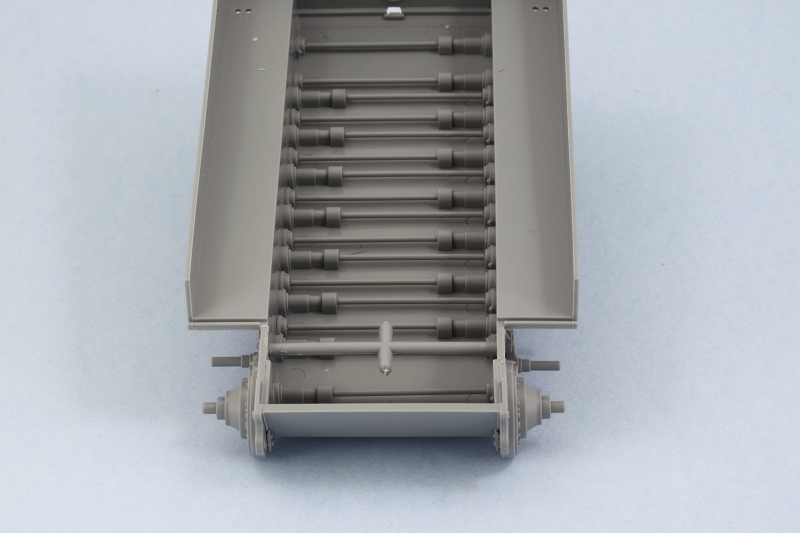
Step 2 involves the installation of the workable torsion bar suspension, so the first order of business was removing the 16 bars from the sprue and cleaning up their three attachment points.
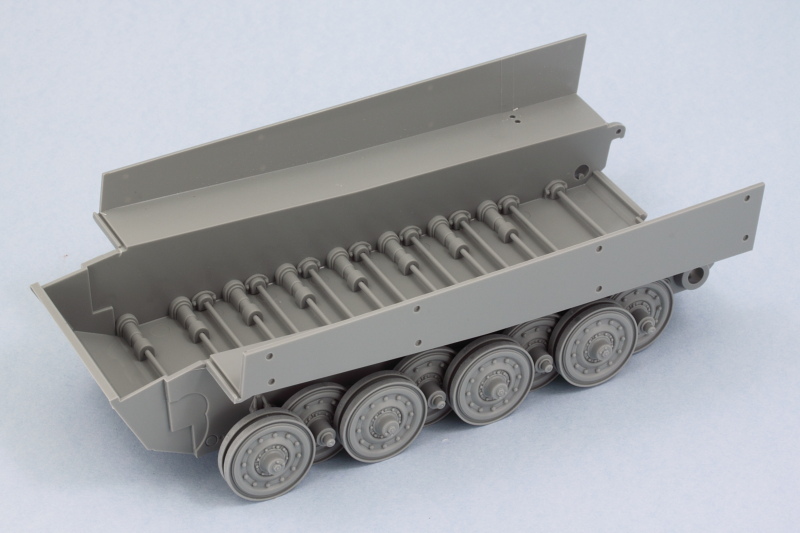
The bars were installed with glue used only on the square ends of the bars to allow them to remain workable. The road wheels were used to ensure the bars and suspension arms sat at the right height with no floaters and the glue allowed to set up.
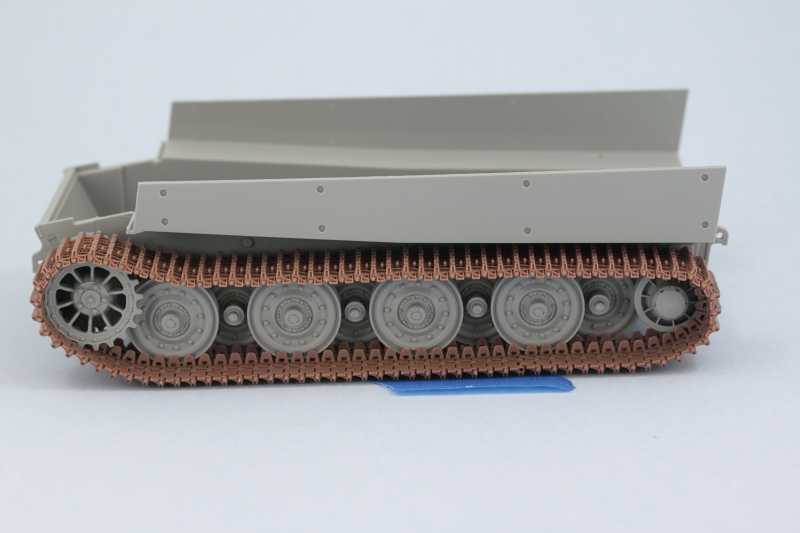
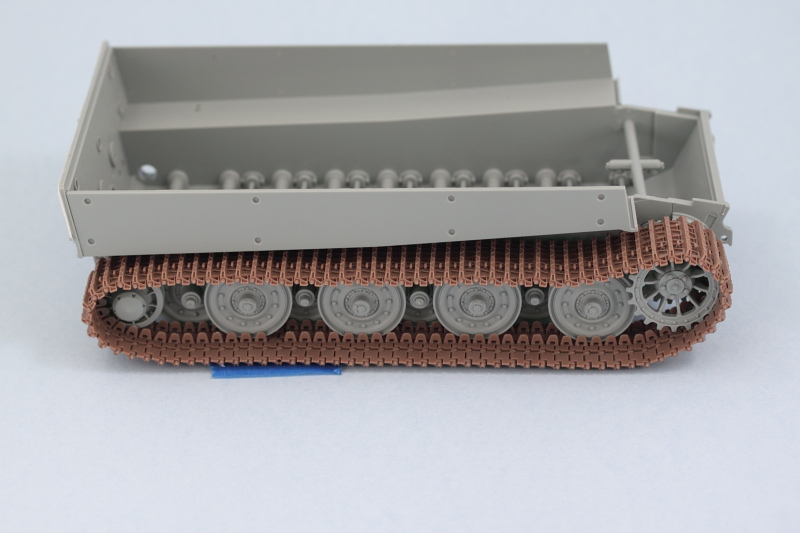
Sunday’s are the perfect days for working on tracks as I’ve found that football games make for great background noise and help break up the tedium of track assembly. Today had some good games on and I had the house to myself, so I started in on the MK workables. The set provides a jig for assembling 5 links at a time and the guide horns are separate. Both the MK instructions and the Dragon instructions call for 95 links for the full track run, but that works with the larger idler…the smaller idler doesn’t need as many. I initially assembled 90 links and then a test fit revealed that another 3 were needed for 93 total on the left side. The right side may need one more due to the offset of the torsion bar system but I won’t be sure until I build that track run next.
Test fit of the first track run with the movable idler and the sprocket held in place with blue tack showed everything playing nice so far.
Next will be finishing up the 2nd track and beginning work on the rest of the lower hull.
Bill, I’ve built this kit a bit ago and I found really good fits all the way around, I can’t wait to see more progress and see how you finish it. Love a Tiger build…
Jibber I’ve also built it’s brother, #6252, so I’m looking forward to it. Glad to hear it doesn’t have any major issues!
Anthony pull up a chair and hope it helps your build! [Y]
Jester MKs are my go-to option for workable tracks and this one’s been fairly straightforward in the assembly. The multi-pin handle and jig arrangement certainly helps in the speed department! [;)]
Ahhhh the good old Tiger. I think the reason so many are built by modelers is because…THEY ARE AWESOME! [:D] I have to say modern armor, like the Abrams, Merkava, etc., have these elegant utilitarian lines that make them look rather aggressive in a beautiful way. But for sheer “I am here to kick arse and chew bubble gum…and I am all out of bubble gum” attitude the Tiger has the lines and the reputation, to back up it’s own version of beauty. [H]
As usual, can’t wait to watch the show progress. [Y]
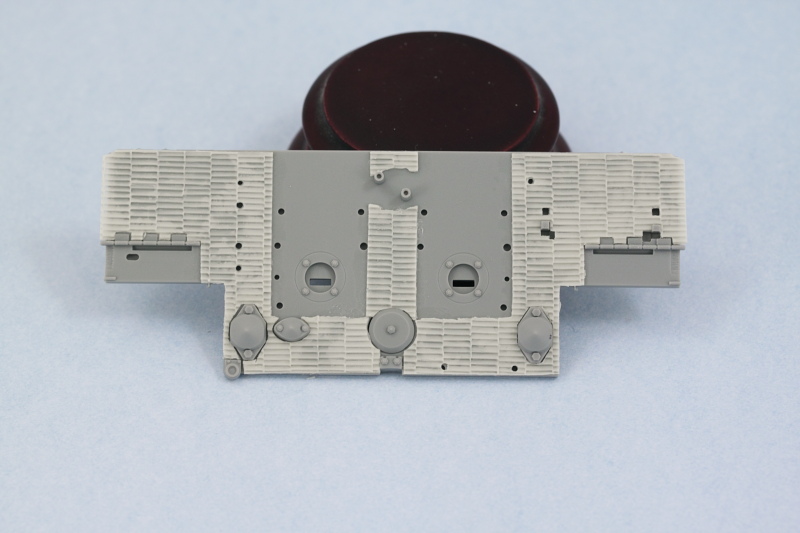
Another weekend means another update! Work continued on the Tiger with attention given to the rear hull plate. The kit part received the corresponding Atak zim panels using a combination of Gator Grip glue to position them and then running liquid glue under the panels to tack down the edges and ensure the panels bonded to the part underneath.
Dragon deliberately molded the hull with a slight warp in the hull tub as a design intended to allow for a snug fit with the plates. The rear plate is big enough and strong enough to force the hull sides into the proper alignment using just regular glue. Once the plate was in place the lower-most zim panel was added around the base of the tow hitch to round things out.
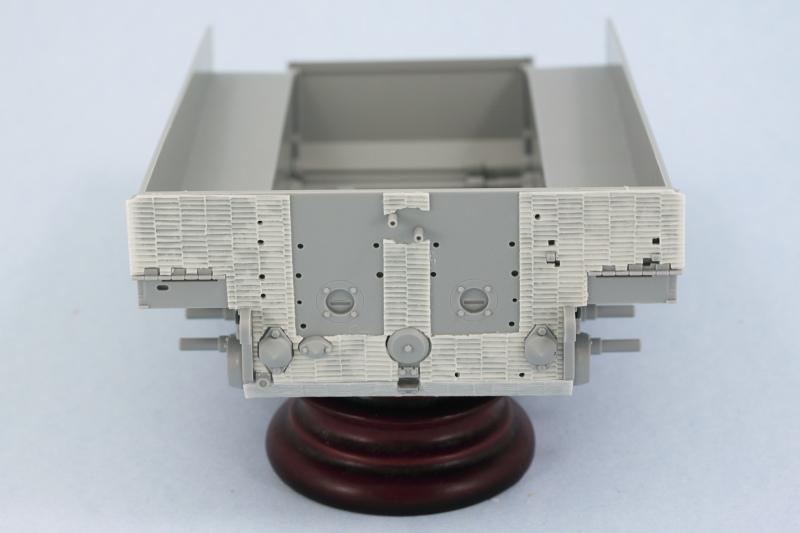
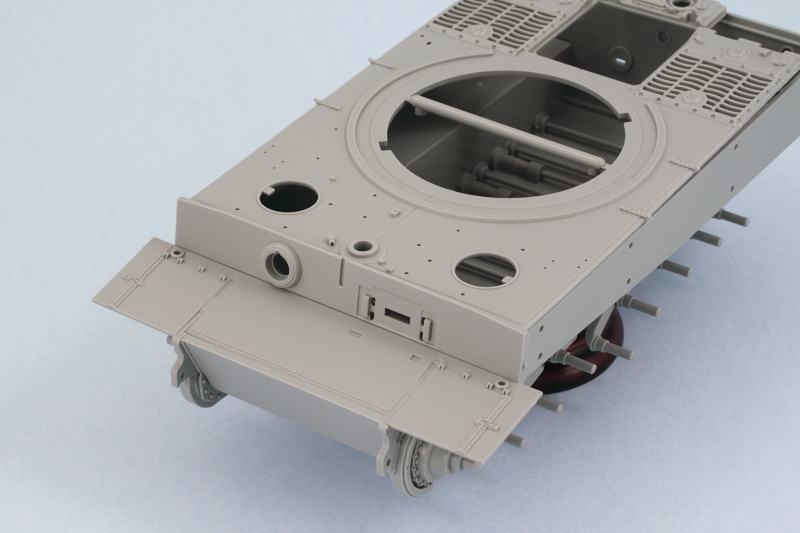
The front of the hull however needs a little help to overcome the warp, so a piece of sprue was cut down to the necessary size and glued in place to brace the hull and help it hold its shape better.
I dry-fitted the glacis plate along with the hull roof and the front plate of the fighting compartment. This not only ensured that the bracing length of sprue was providing the right level of correction, it also ensured that the brace held its position correctly while the glue set.
Then I sat down to deal with the remaining 2nd track. 2 football games and 93 links later, the second one was completed.
Next up will be more work on the hull side panels and other similar details.
That’s right Eric, the bow/warp on the hull is an intentional design element in the Dragon kits. It’s supposed to make the fit tighter for the modular hull plates that build up on the ‘frame’ of the tub and it fulfills that purpose very nicely. The tension on the front plates though is pretty strong, I was able to actually get everything to attach and align correctly without the sprue brace but it created so much stress that parts would pop off with the slightest shift, so I added the brace to make life a little bit easier when it comes time to permanently attach them.
IB48 thanks very much for the high praise and glad to hear the builds are helpful, glad to have you along! [B]
Modeler#1 I’m a big fan of the Atak resin zim sets, definitely worth the extra money for builds that require the zim IMHO. [Y]