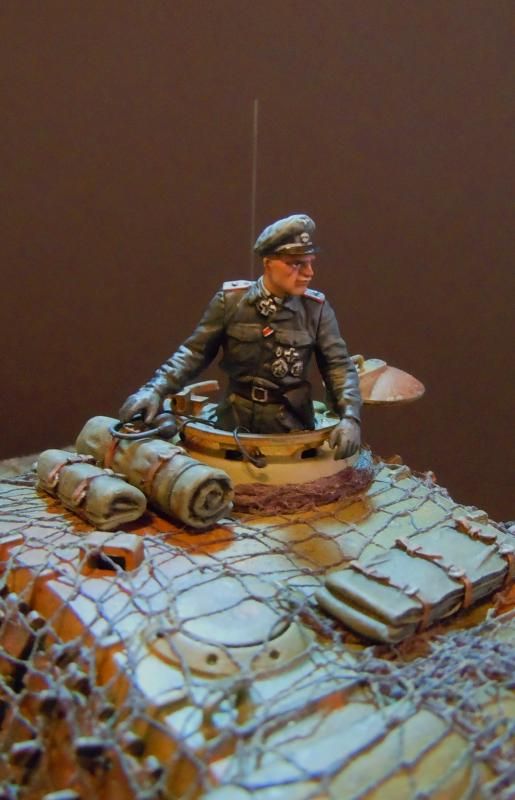
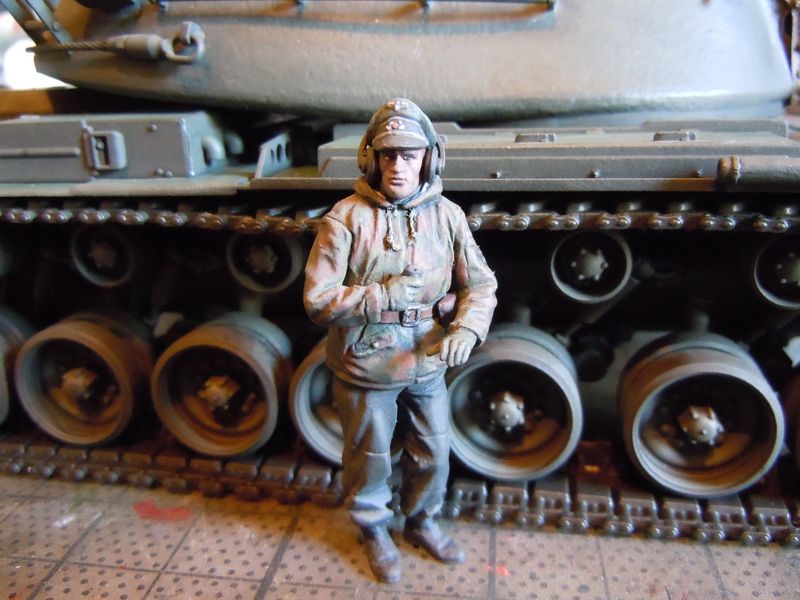
As some of you know I’ve been working on the old Tamiya 1/35 M-48A3 kit. Yes its a bit dated and there are lots of things wrong with it in comparisson to what is currently available on the market, but the figures are still worth keeping.
With some work they can still be quite good looking and I’ll show you a few tricks to bring them up to todays standards.
I will begin by stating that I’m a big fan of the newer resin figures. They require a lot less work and paint up beautifully with little effort. But I’ve come to love plastic figures over the years, and especially recently with such lovely figures being produced by MiniArt. If you have not worked with those figures then you should give them a try.
Now let me show you what you can still do with those older figures that don’t measure up to modern expectations.
…
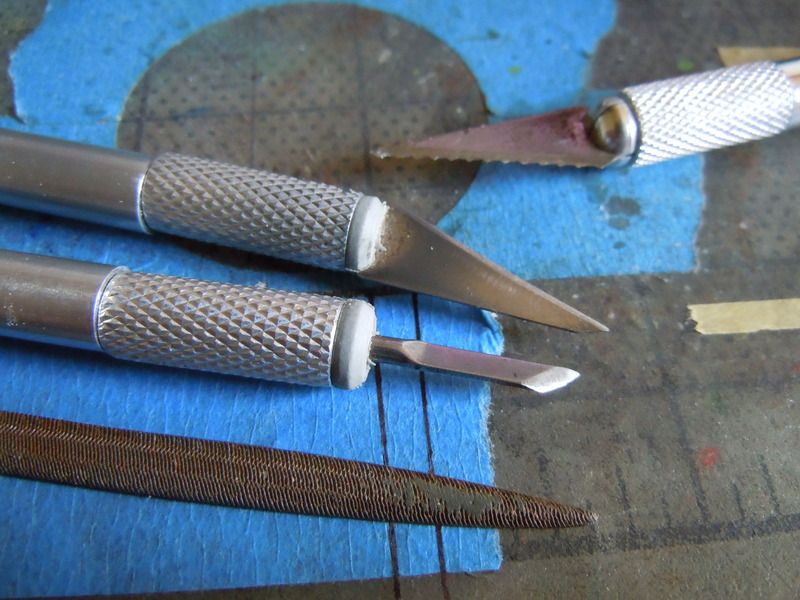
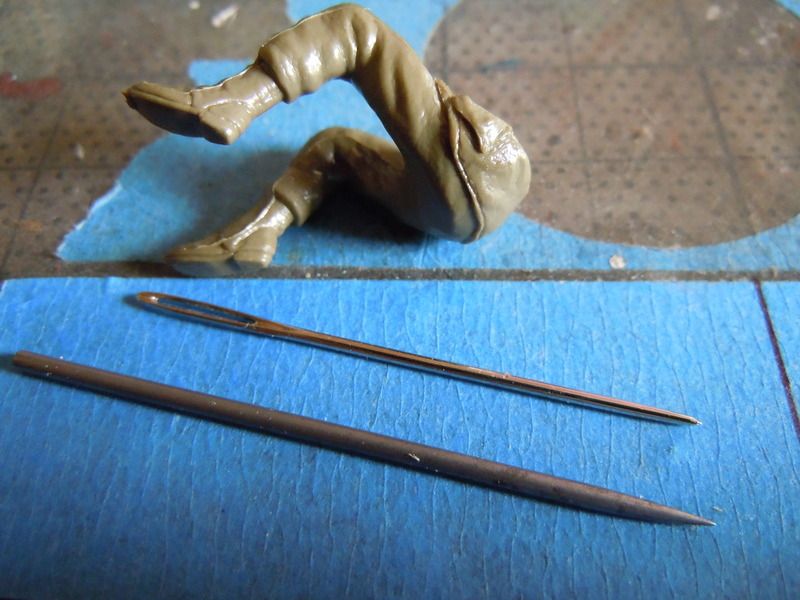
The tools you’ll need are nothing out of the ordinary. Aside from the homemade scribing tool/saw I made from an old No. 11 Exacto blade you won’t need anything fancy.
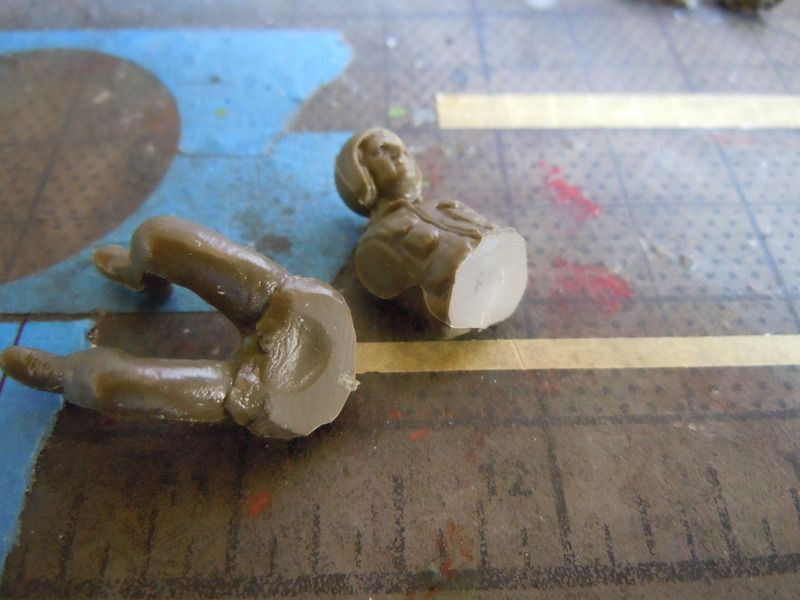
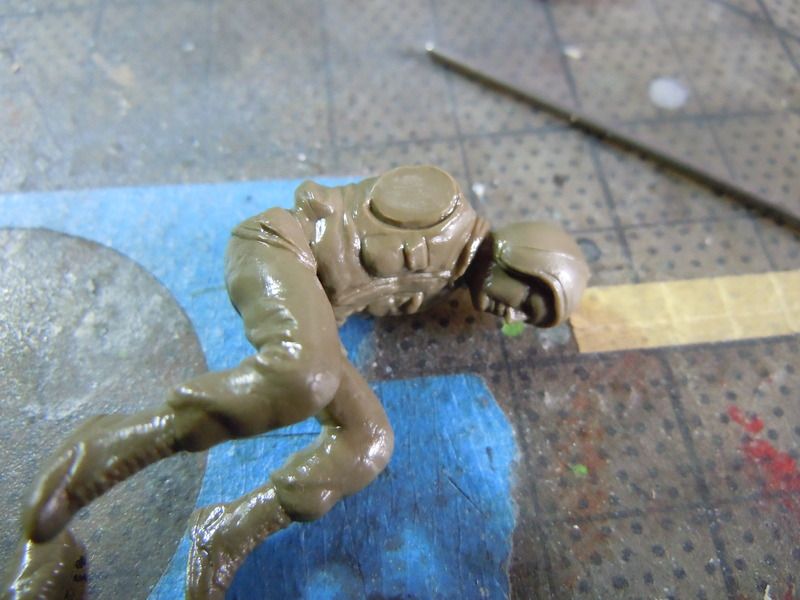
I started by filing the two halves of the figures body level so they will fit together without any serious gaps.
Using my scribing saw I went around the edges of the pocket flaps to give them some better difinition.
With the 45 degree blade I score over the old shirt seam and then using a sewing needle I rescribe the line.
I use Testors liquid cement to smooth out the lines. If you 've scribed them too deep simply re-apply more liquid cement later and the edges will smooth out more.
This deepens the seam lines and gives them enough depth for a wash later to bring out these details.
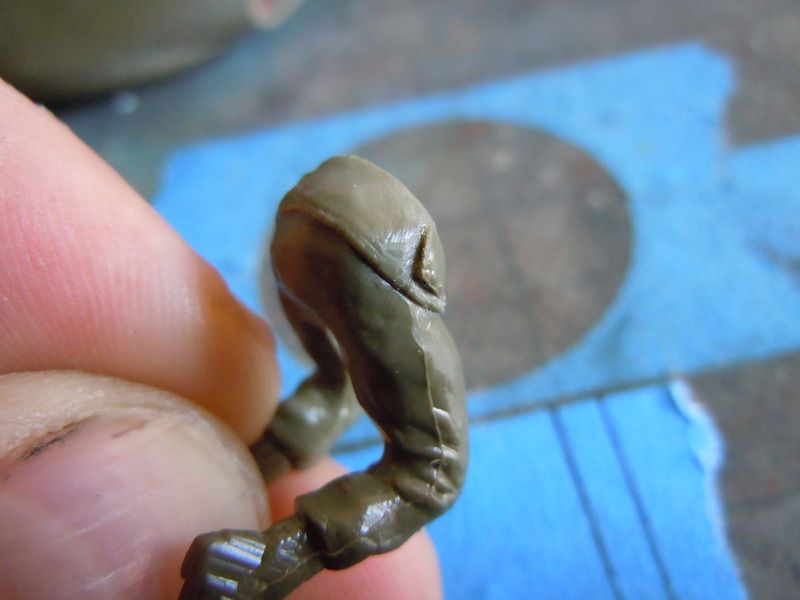
Using the 45 degree blade again I carve out the sleeves and give definition to the vest he’s wearing. Without this step he looks like he’s wearing a big sloppy shirt.
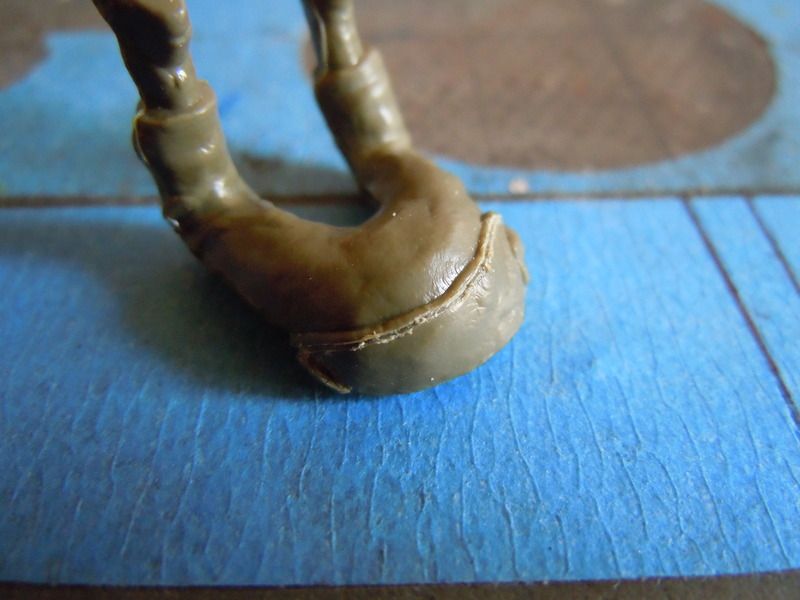
Now most of you are aware of using the side of you knife blade to scrape seams. I like to carve out the wrinkles. This gives more definition to the sleeves and pants and generally looks much better then a flattened seam.
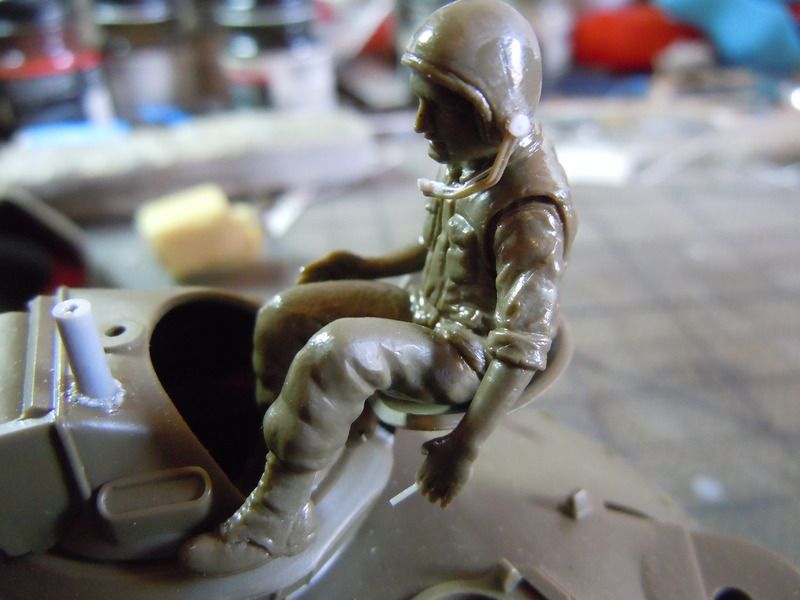
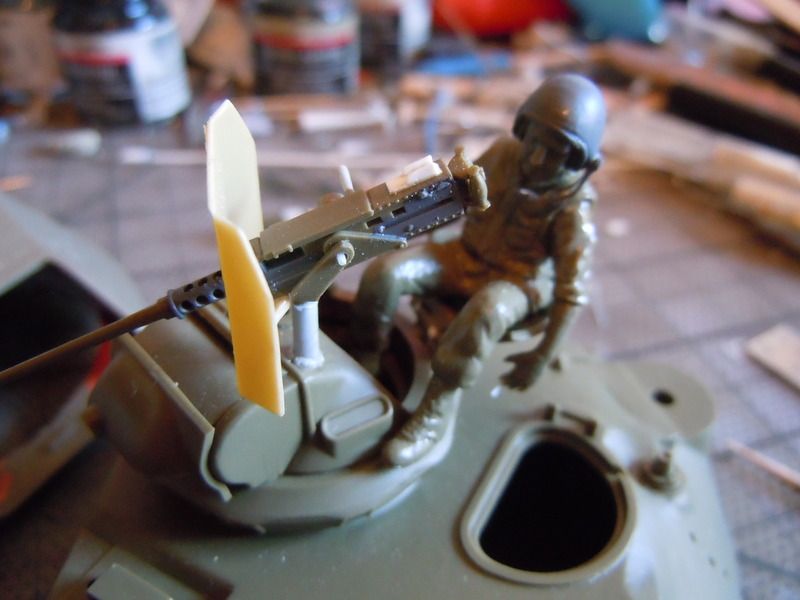
Once you get the basic figure assembled you should spend some time thinking about the odd poses that some of these guys appear to have. Such as this figure. After all of that work he sat on the cupola hatch looking a bit odd. His left arm hanging down and his right just hovering beside his leg. He also seemed to naturally lean to his left.
His right hand could be frozen in action so I left it alone. His left seemed quite natural once I added a cigarette to it and his lean seemed far more appropriate once he was looking around the repositioned MG.
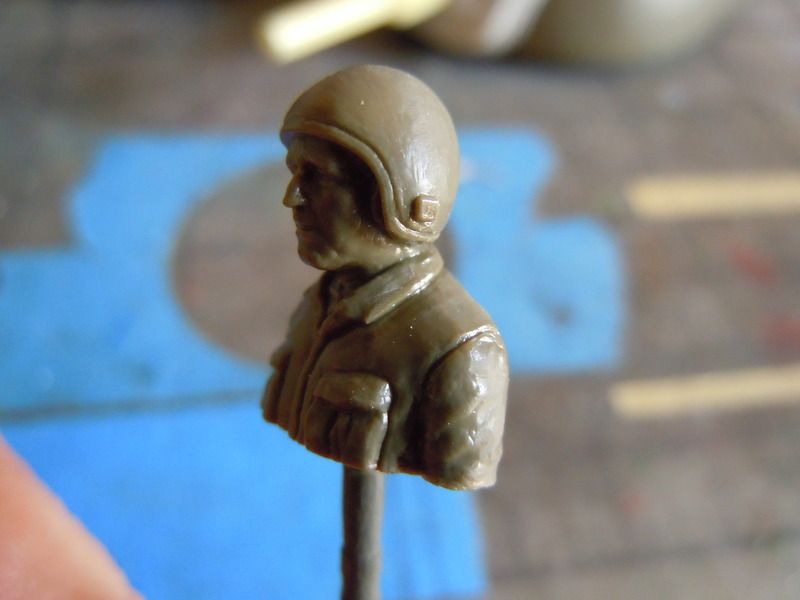
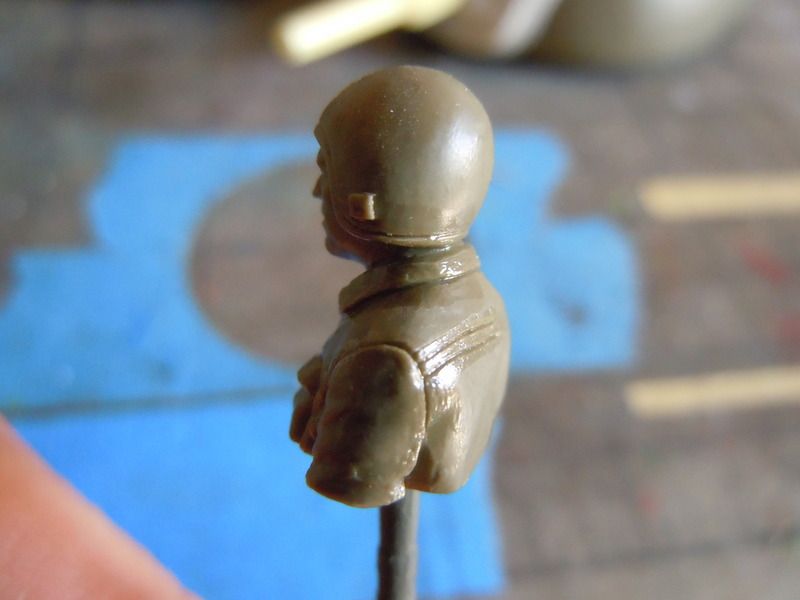
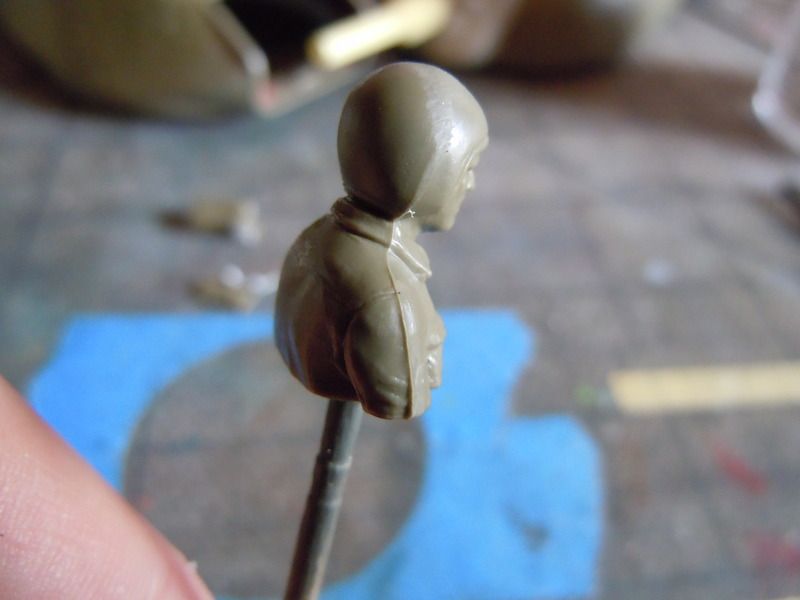
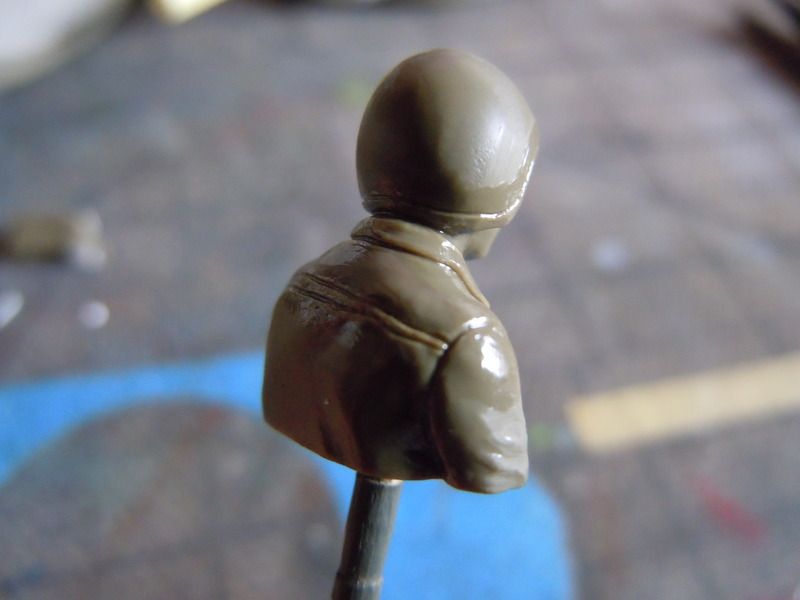
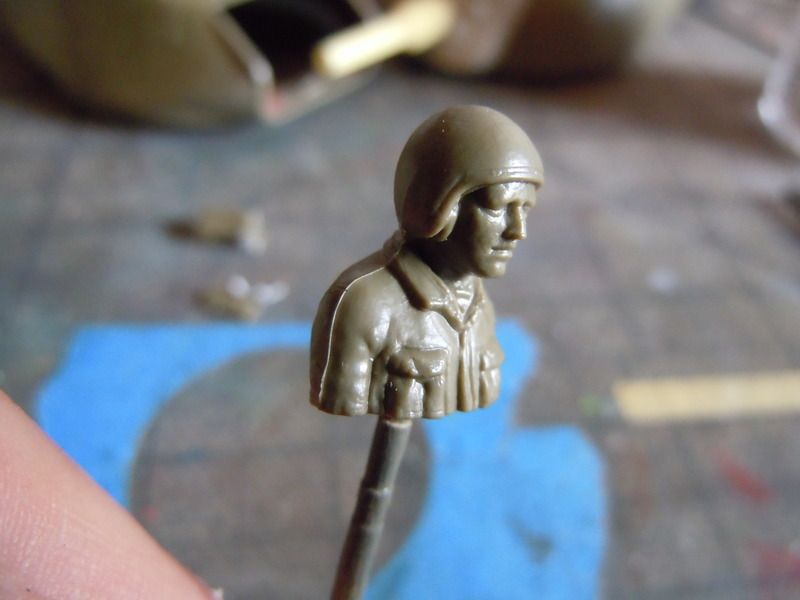
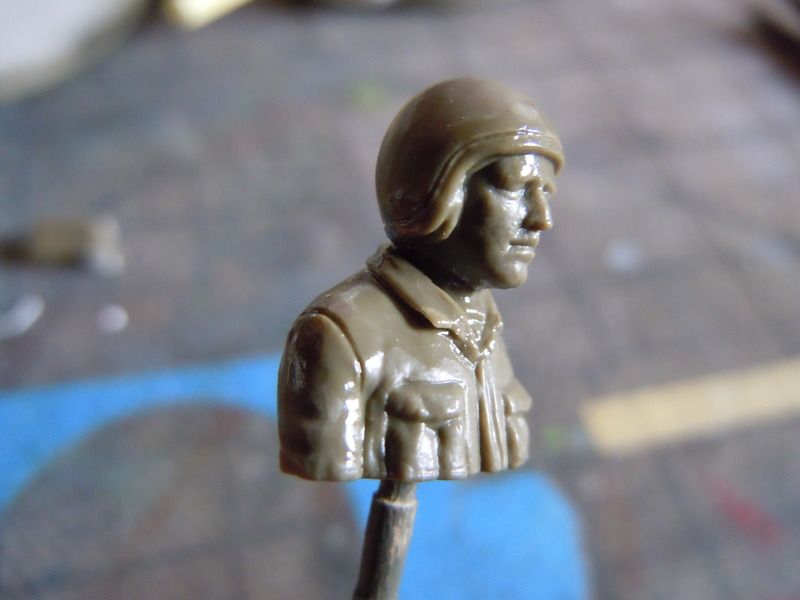
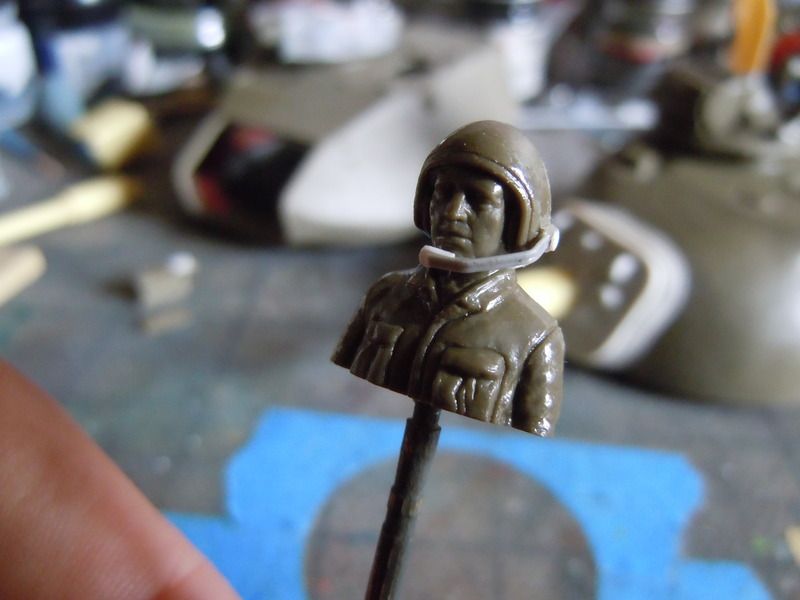
Then I moved on to the driver figure, which is just a bust meant to sit in the driver’s hatch.
I started by rescibing in the details and separating his shirt collar from this shirt with the scribing saw.
and moved on to his left side.
Once I added a mic he seemed ready.
…
Hopefully this will help some of you guys with your figures. You don’t always need to buy the best resin figures to get the results you want. Sometimes you just need to give them old plastic ones some attention and my hope is that you guys will pick up some of these tricks and give it a go.
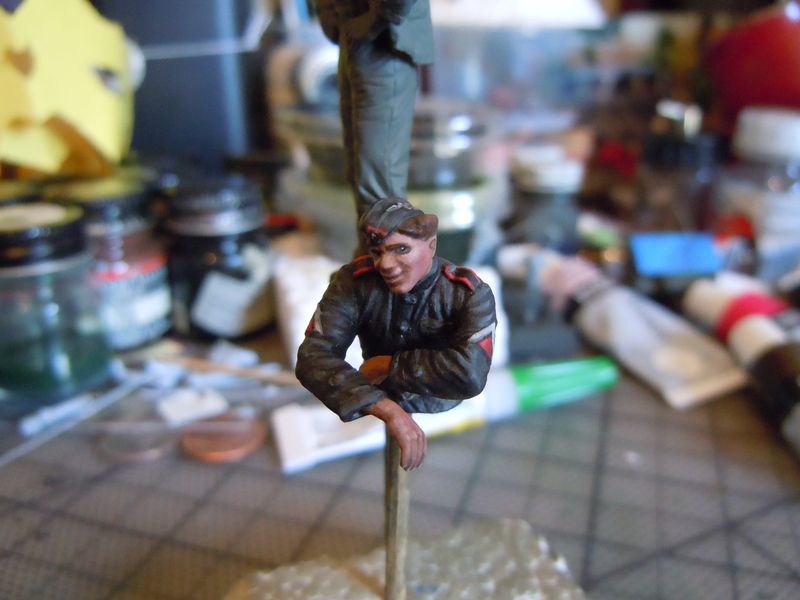
Now I just need to paint these figures up and see how they turn out. The added work should really bring them to life.
Thanks for reading this and if you have anything to point out that I missed or need to better clarify go ahead and drop in a comment. I’m no expert, but I do know a few things lol.
Comments and critiques are appreciated. I do like to know when I’ve got something wrong and if there is something I should add here (besides painted and finished figures) let me know, PLEASE.
