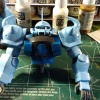
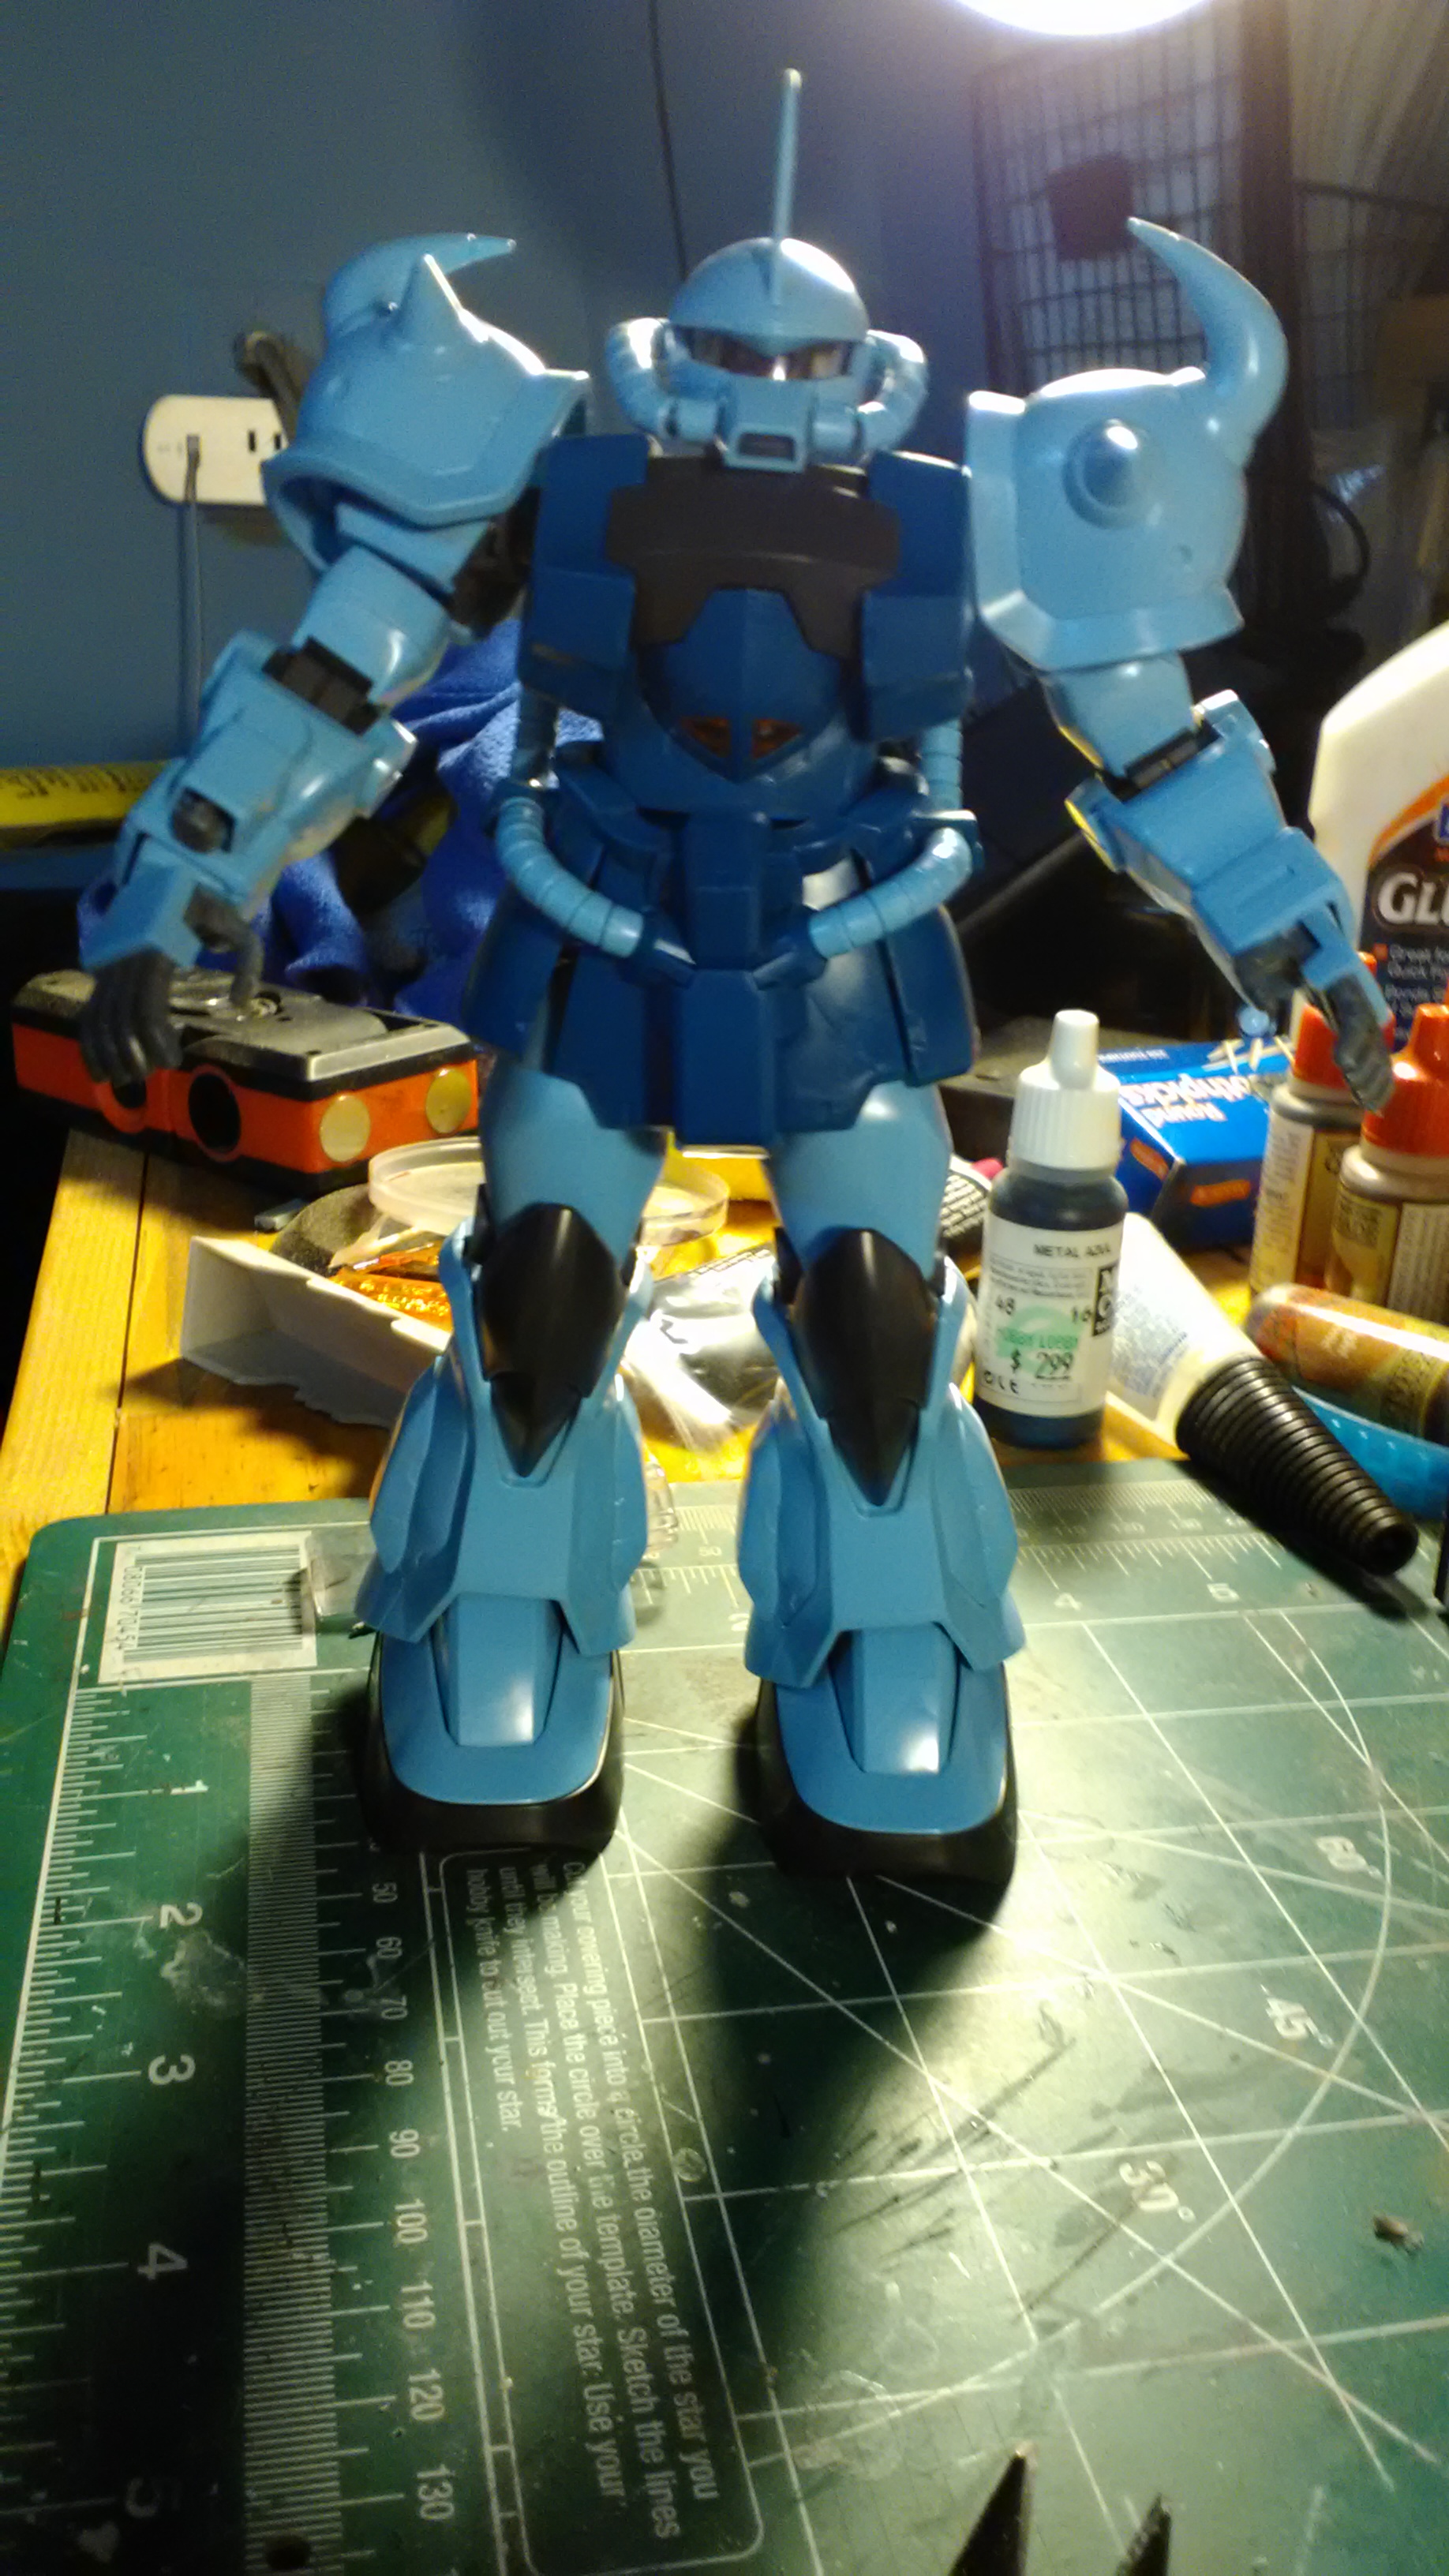
So I have the head and chest done, I went ahead and attached the arms so I would keep from knocking them around. I apologize for the small images, I keep forgetting to use the full size option. I am using a new hosting site called imgbox so I am still getting used to it. You can click on the image to see the full size, just be warned this site has adds that apparently think I am looking for Asian women in my area. Really making me think about trying to find a different hosting site.
Liking everyone’s work so far, we may have these done within that one month deadline. My kit is going together very well, I will have a few seem lines to fill and sand, but; I am still planning on starting to paint this weekend.
That is the exact style I’ve been trying to figure out for a while now. I haven’t quite figure it out but I will sooner or later!! Not on this build though, I don’t think it would suit the Woundwart. I’m not sure what weathering would suit it…
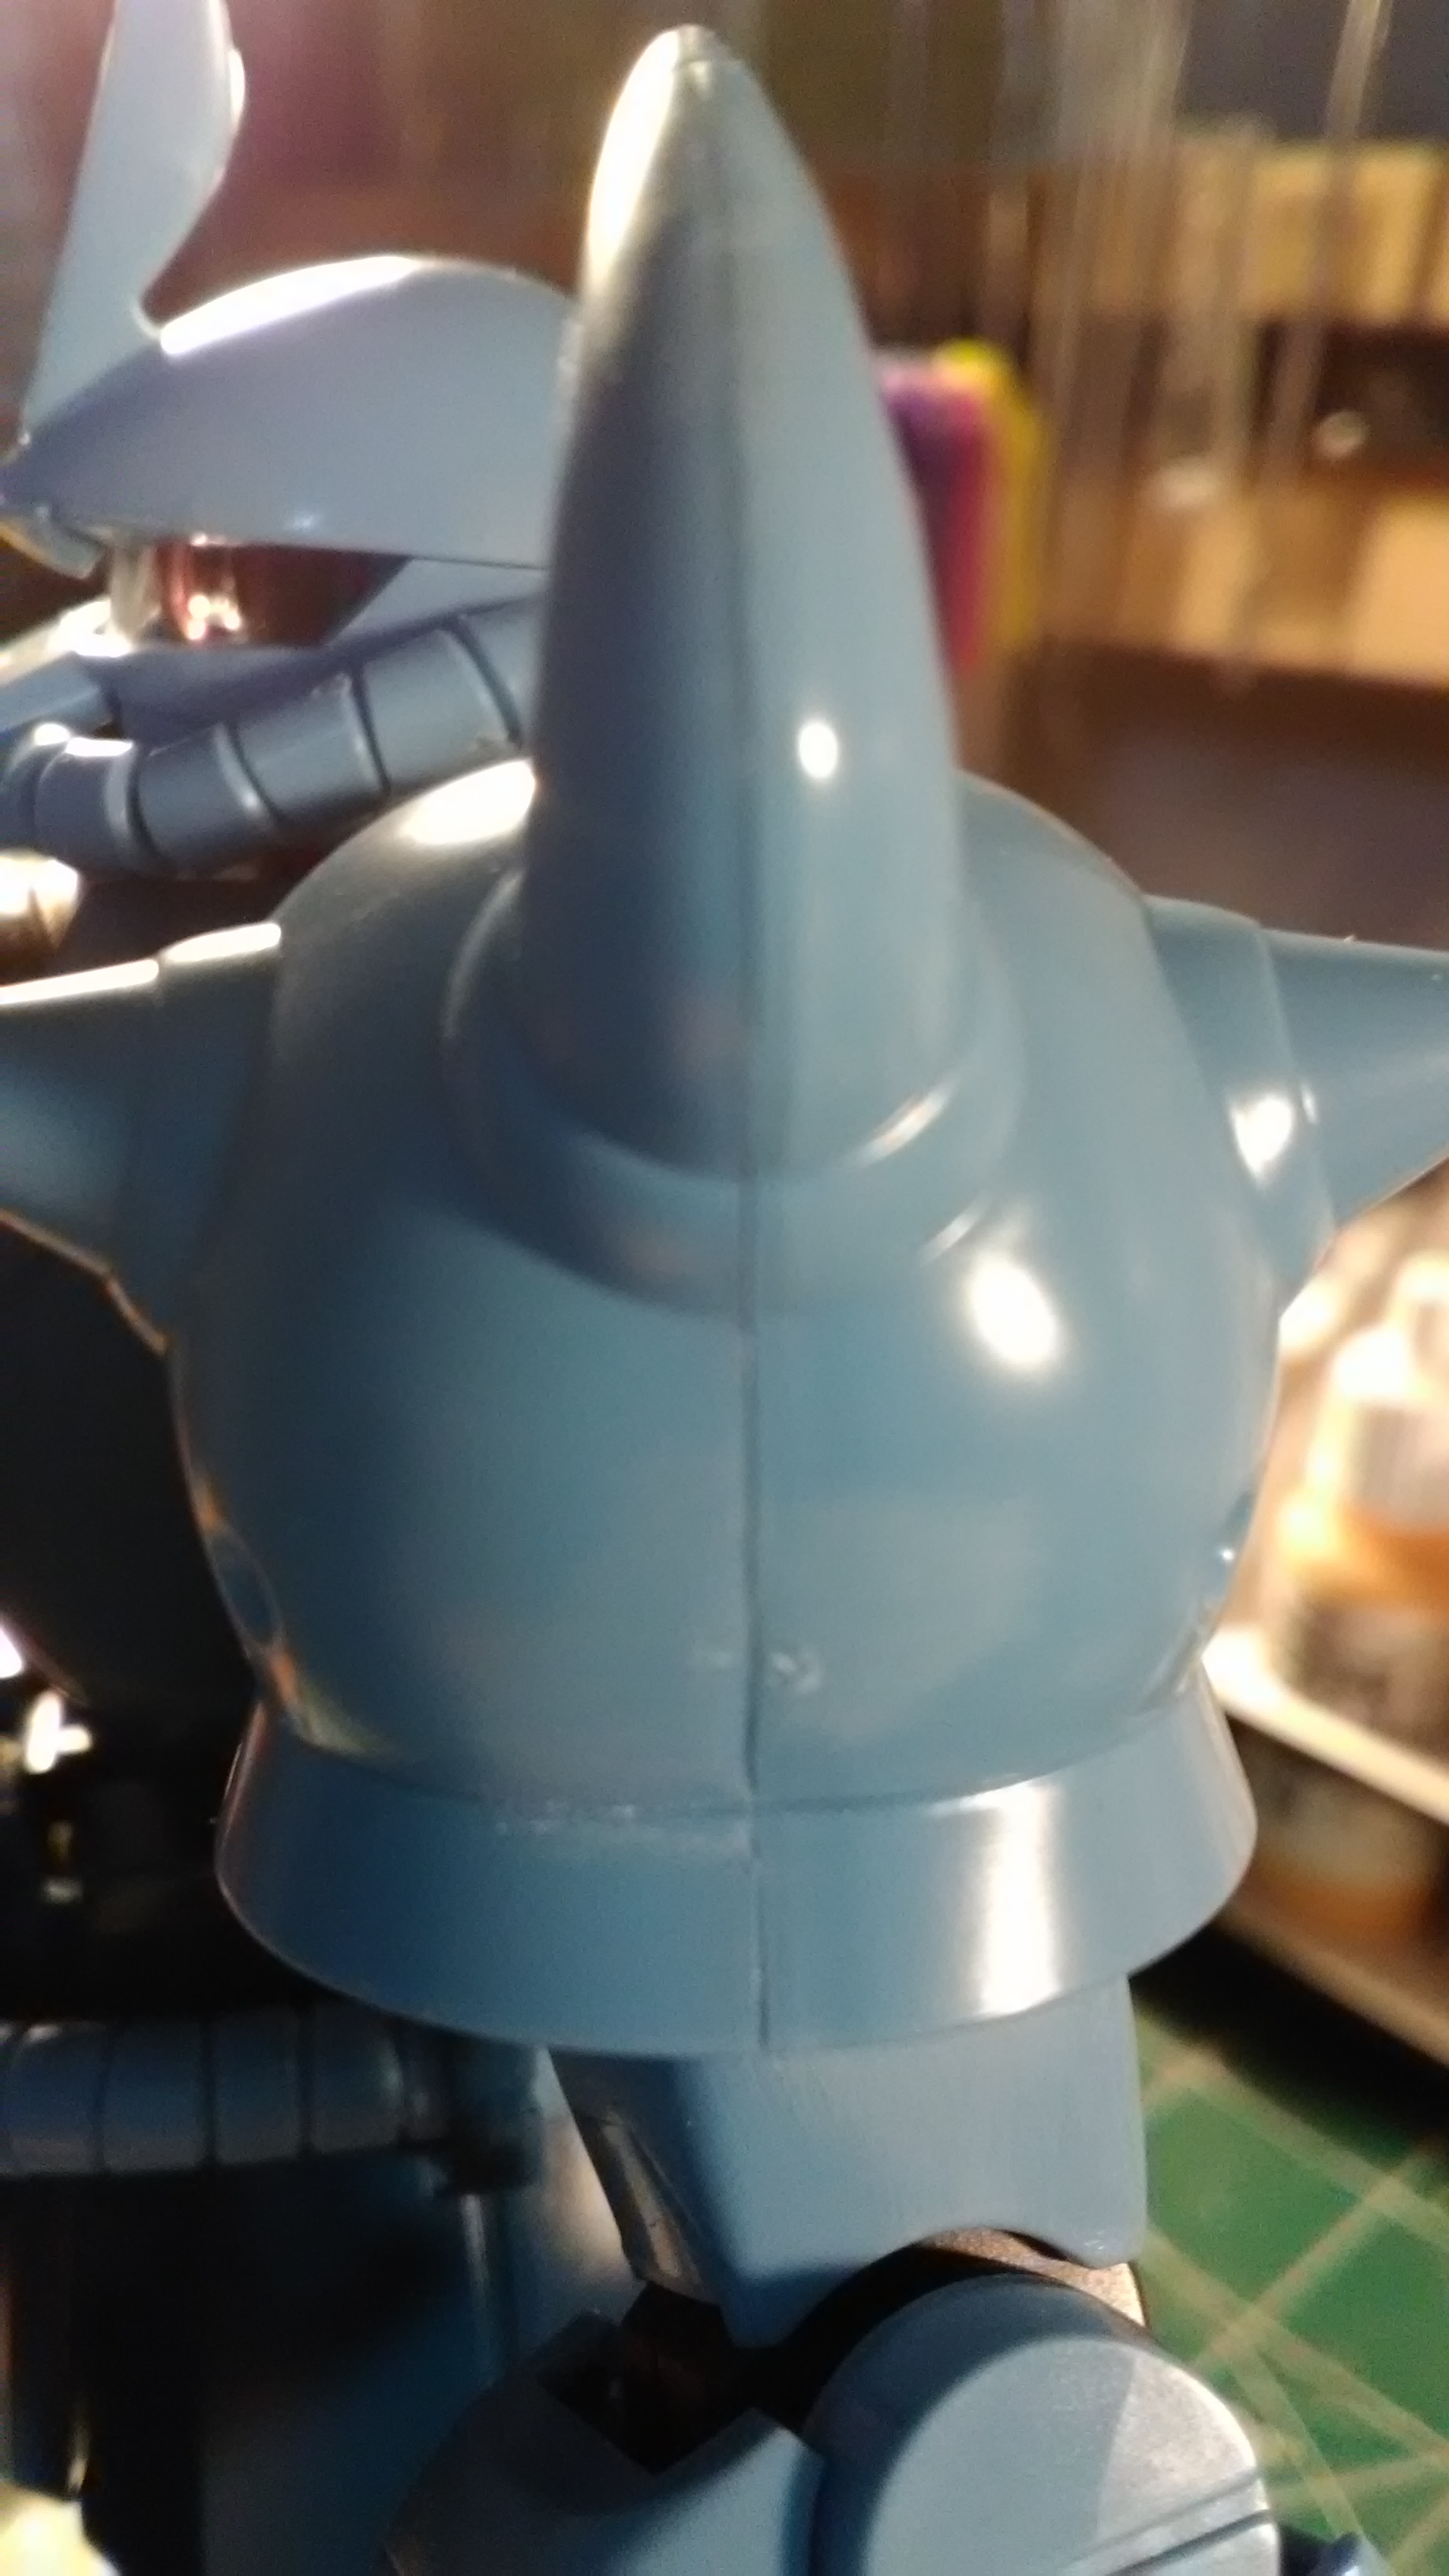
Bad language, the mono eyes looking nice. If there’s not a plastic cover for the eye, or a third party option you have then maybe try a badger ghost tint (Games workshop do similar things) over the lens would give it a good look? It’s become my go to Gem colouring and it makes eye lenses pop.
Nuc, you’re making me wonder how many of us are going to post only arm and torso pictures… I’m not sure on the Gouf but a lot of MG panel connections are where they are on the design too, if you get short on time some of them can be left and panel lined like the kit indents. Looking forward to seeing how you weather it, desert wearing is really cool. Be careful with the pre-weathering solutions though. I had a sand one I tried on a HGUC and it became brittle and fell apart because it reacted with plastic.
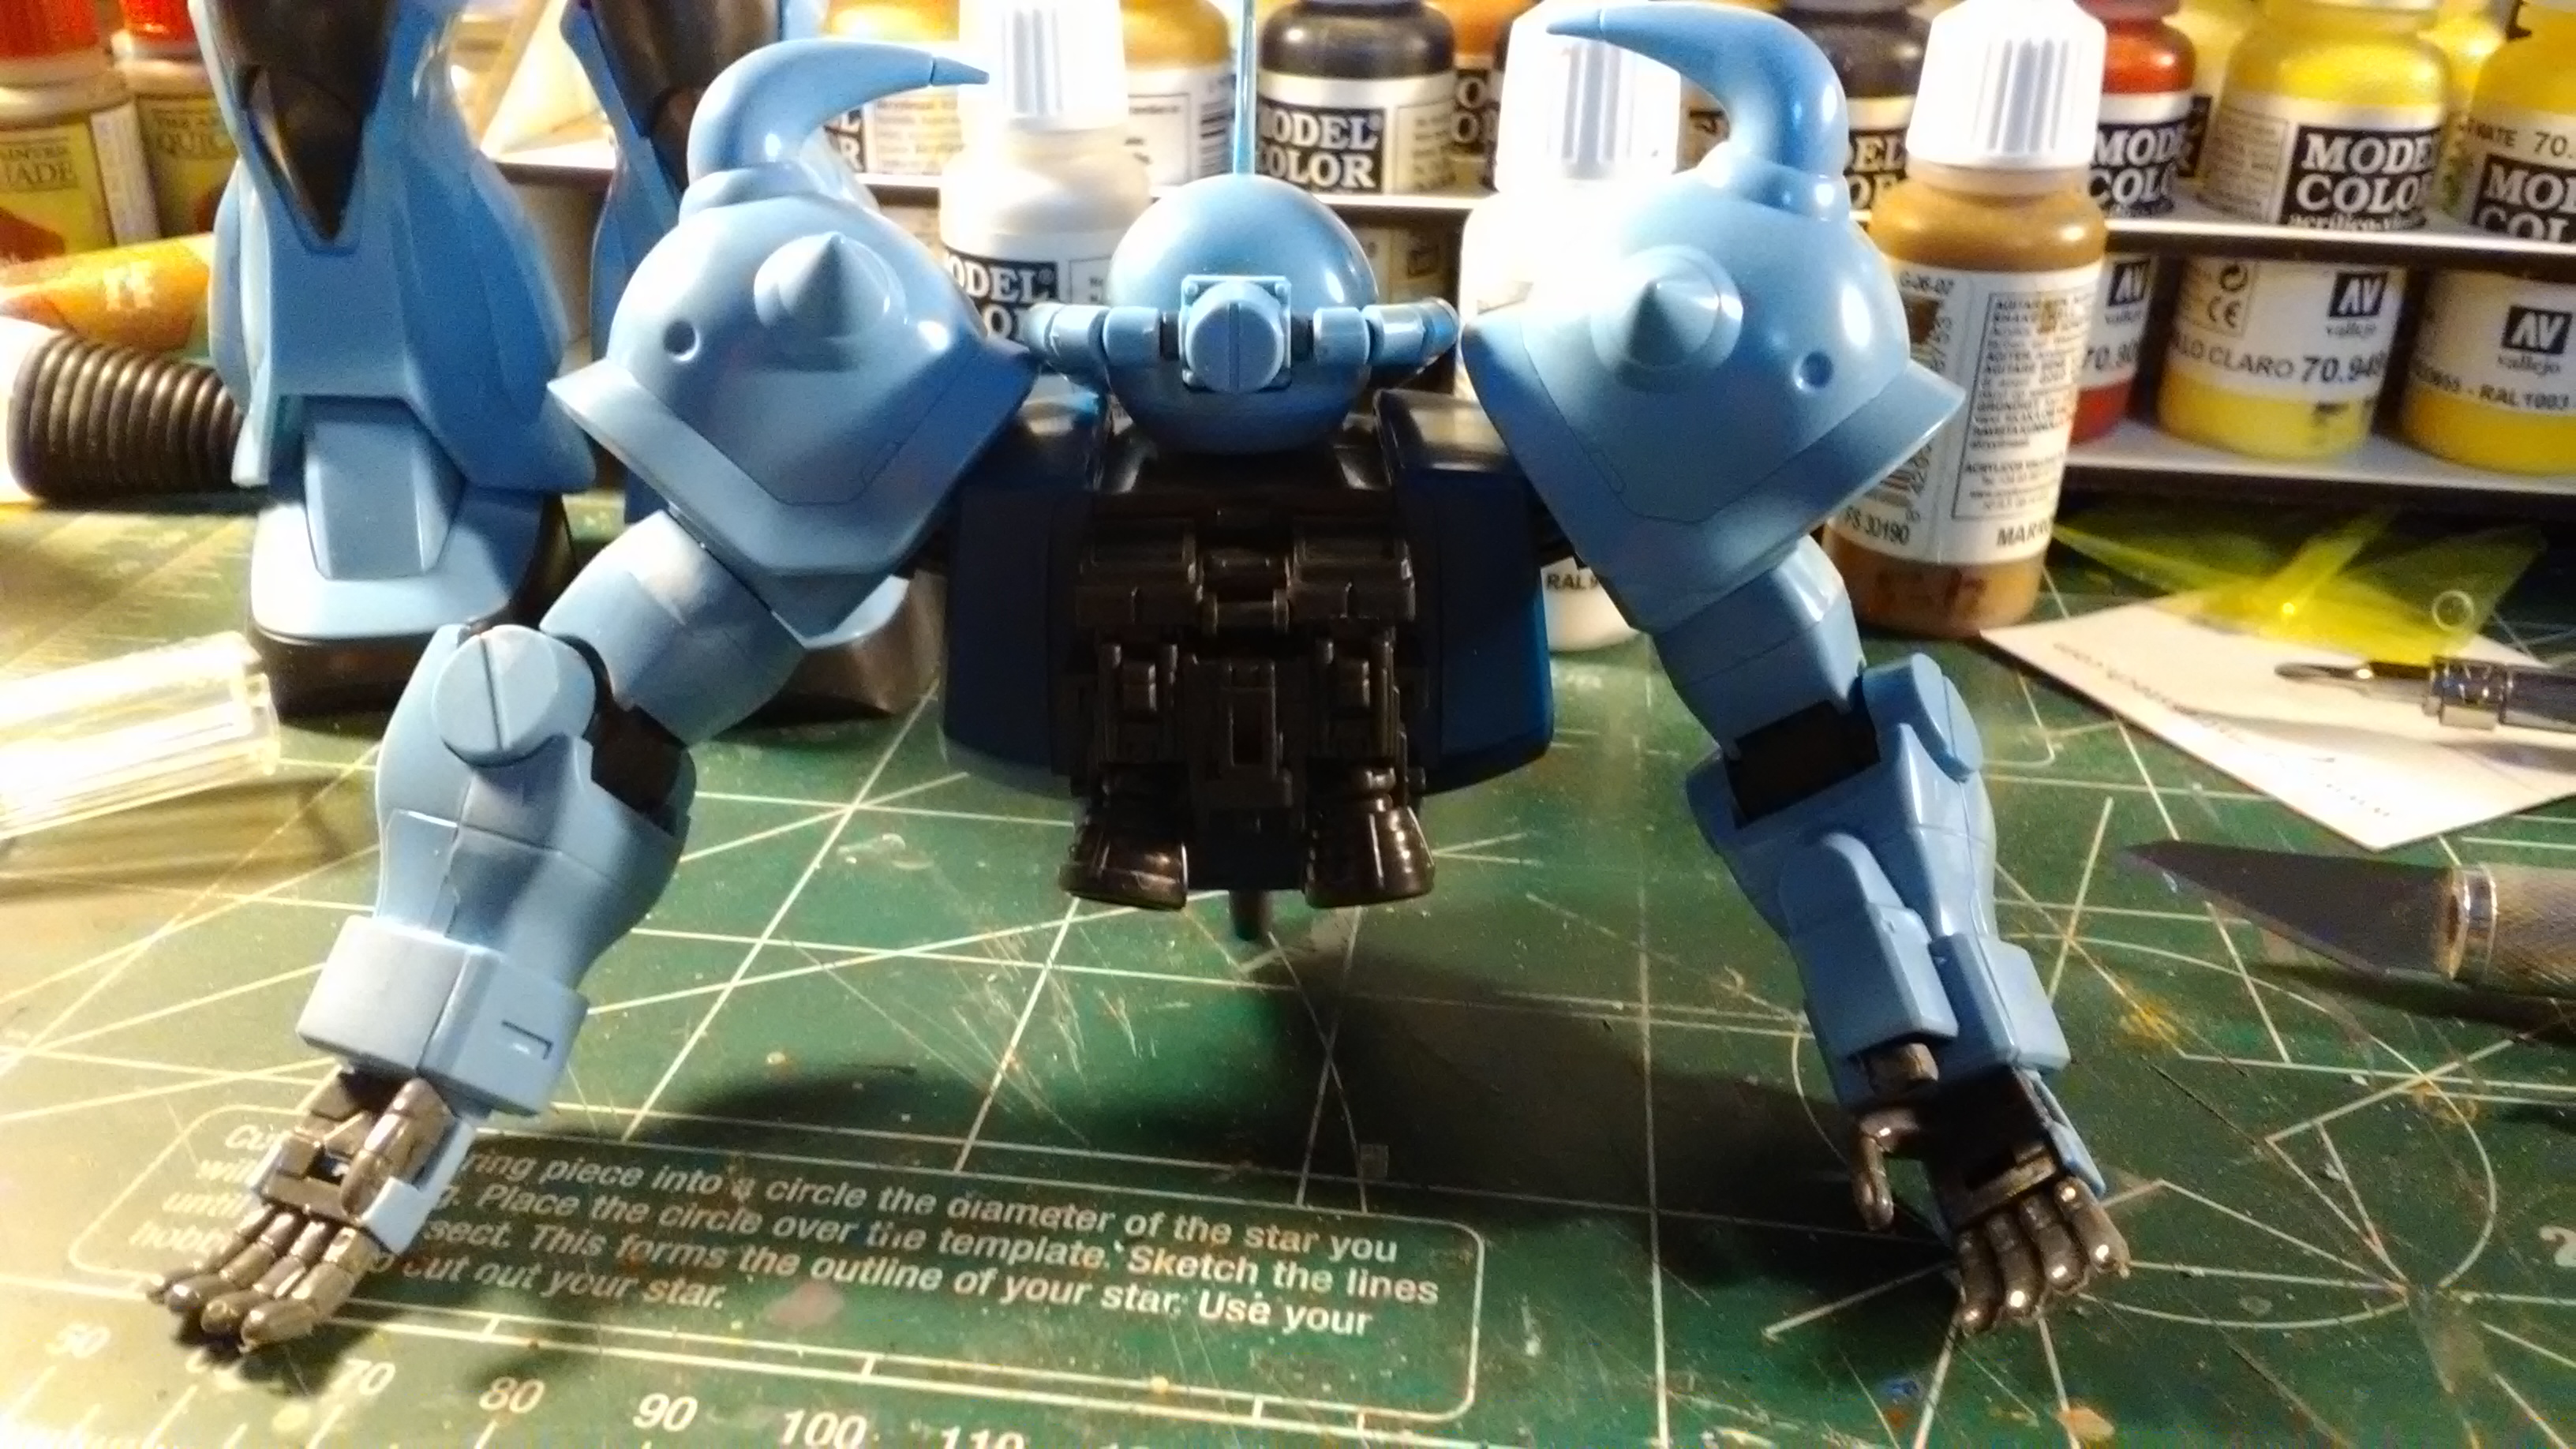
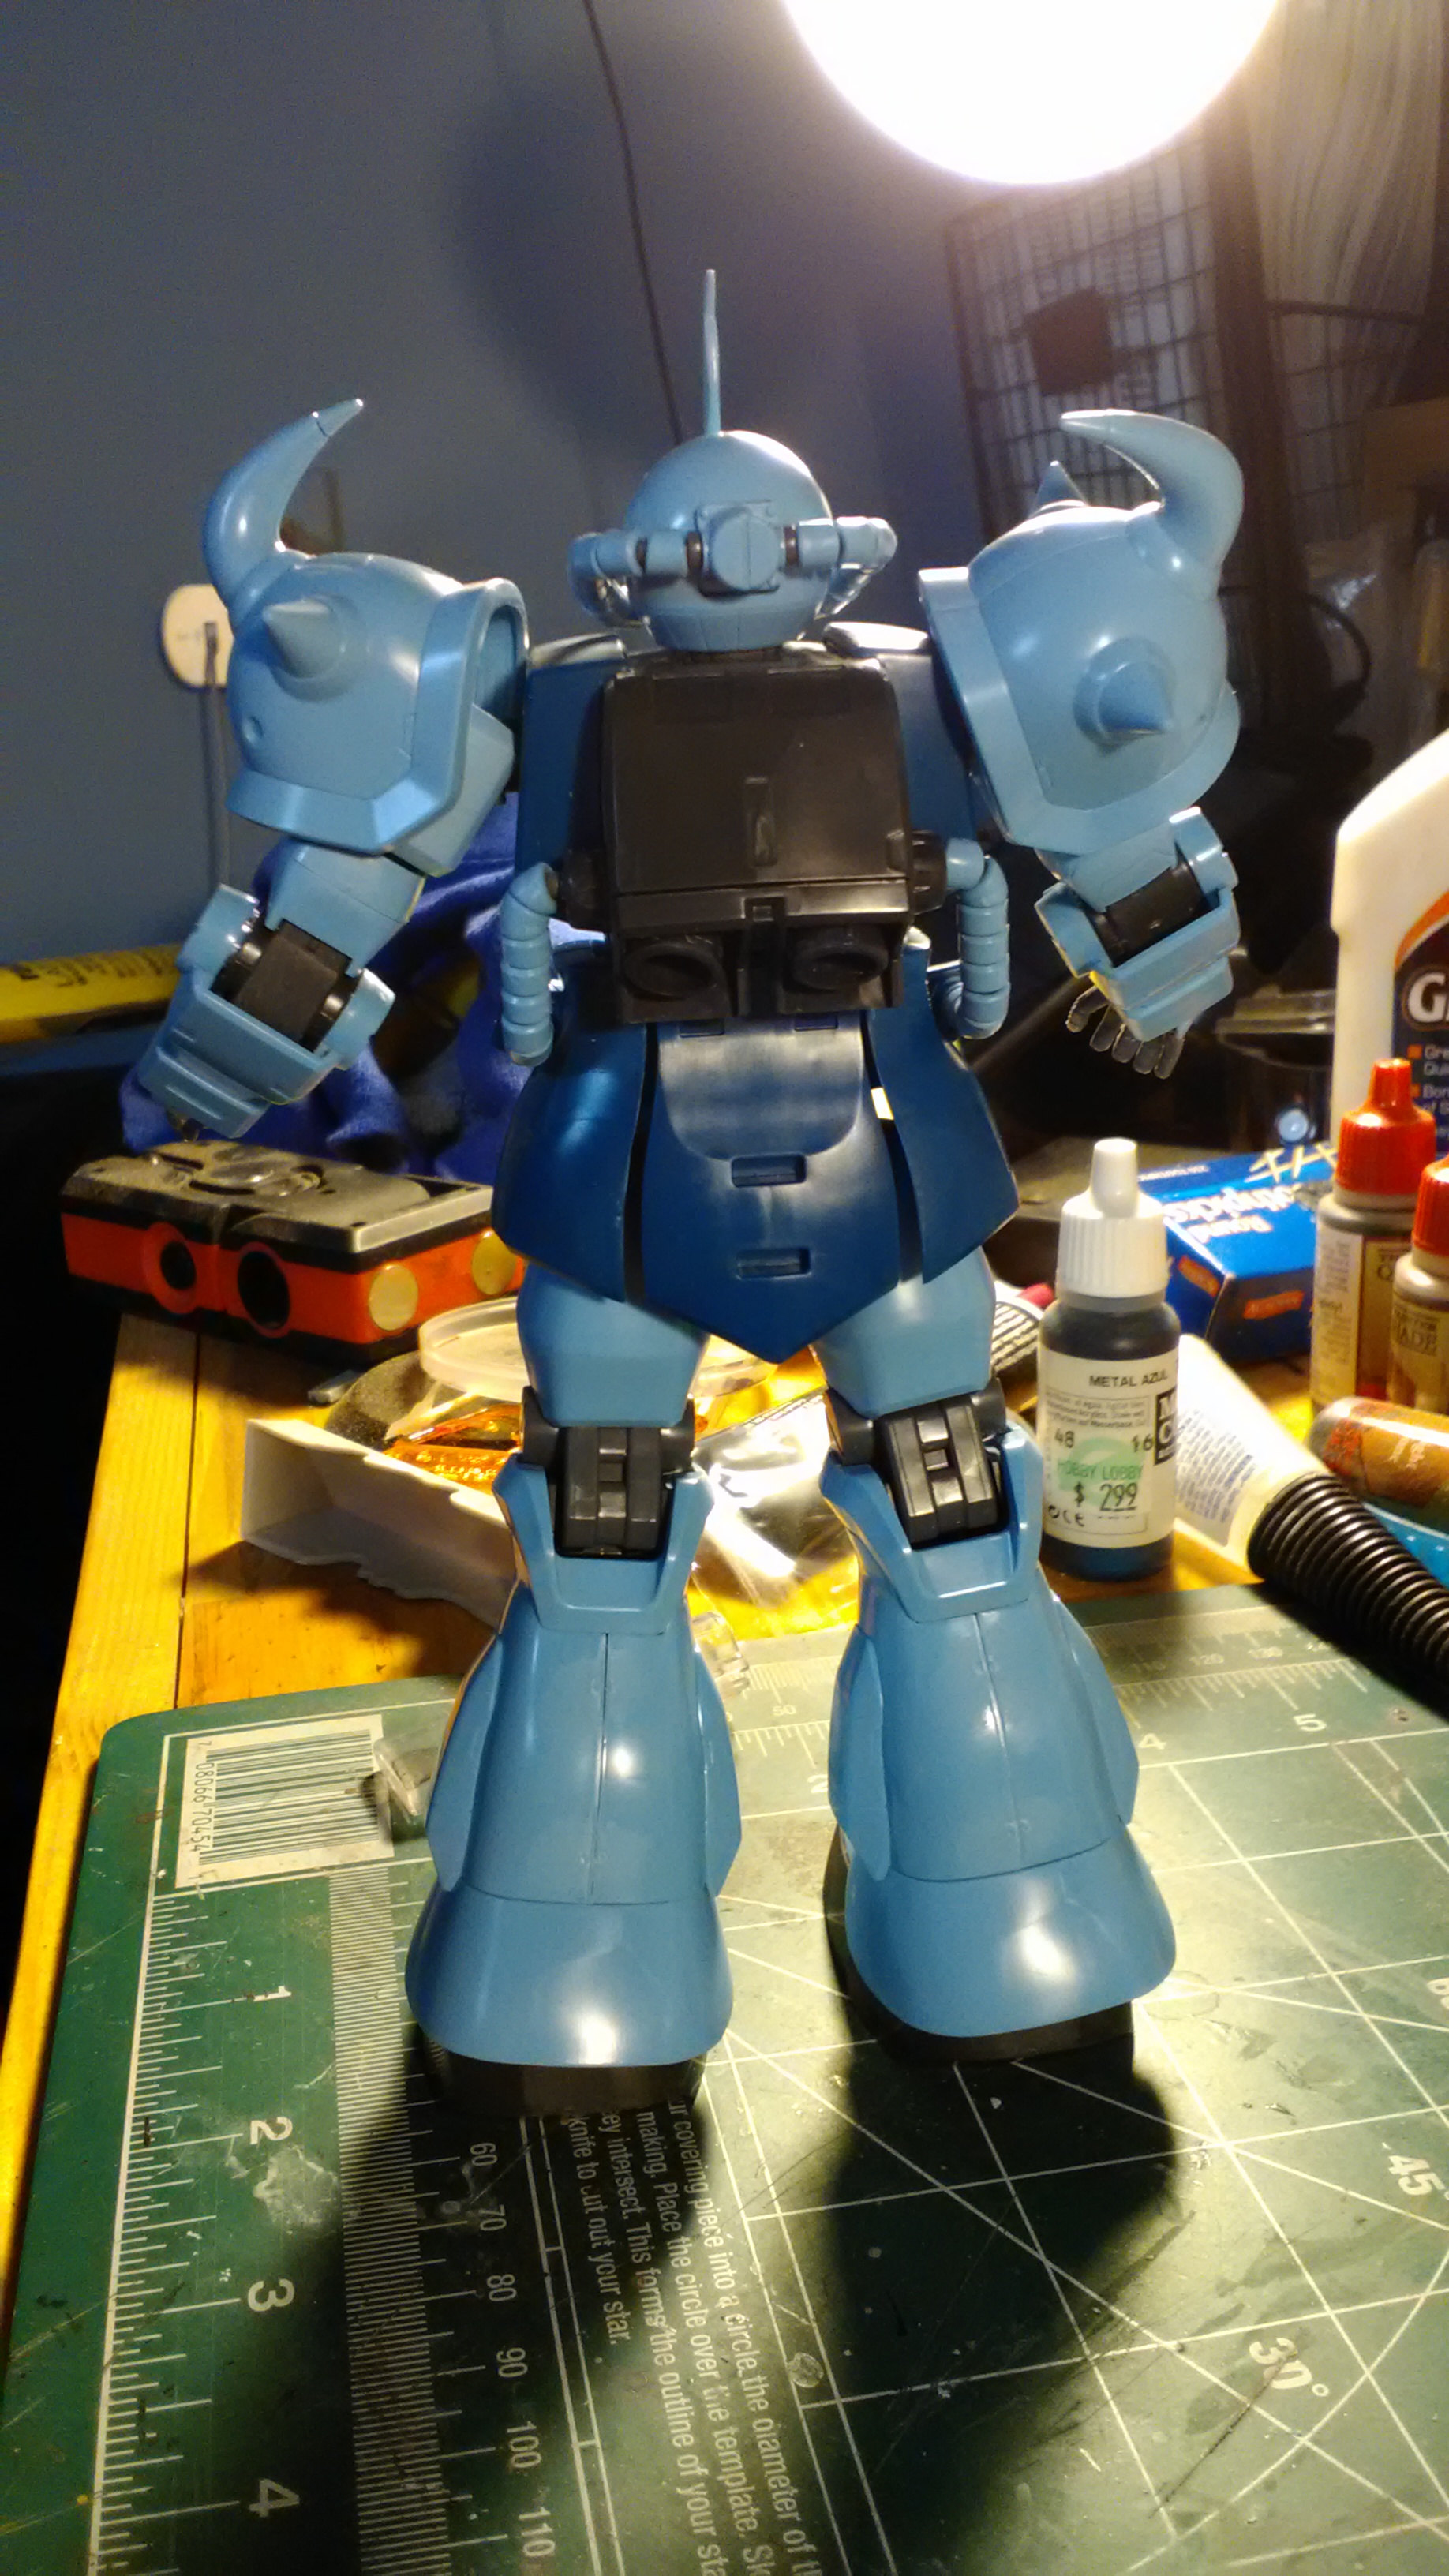
Real G, much is the case with the Gouf and panel lines, except for the shoulders. Those come split in half with the split going up the horns. I am surprised Bandai went that route instead of making the horns a seperate solid piece.
This one was going to be a quick and easy build, I thought. That changed with the lightly printed instructions and by vision. Thank goodness for my Father’s magnifying glass.
The parts were a little more complicated than I thought they would be and my sight didn’t help.
There was a lot of putty used here, but this kit was from the early 80s when the Macross show was on Japanese T.V.
Most of the main parts are together and partly painted. When it’s done it will be painted as a 100 ton assault class Battletech machine. I haven’t decided on who it maght be assigned to or thepaint job but I still have a bit of time.
Always that on bandai kits. You can buy some nice third party ones I’ve not got around to using yet (in the stash)
Tonight my build went full China. Not slightly China, full China. There’s a part in the thigh which goes round the truster using 3 pegs to fit in, the pegs are blocked by 2 cross bars with peg looking injection molds coming out. This wouldn’t be a problem if the piece in the instructions told you to cut them off or even showed you the piece from that side but it doesn’t. Took the gamble and cut them off, it fits okayish… The parts straight but the purple connecting part is shaped slightly differently so it all fits, but it fits poorly and needs gluing. There is literally no other way to connect it I can see so there we go… It’s just a bit of glue and putty work but frustrating building.
I think I will end up going with the magazine classic Titans colours because colour seperation and masking will be a nightmare on this. I don’t know how you weather navy and black yet, but I can figure it out. I’ve had some eye troubles the last few days which slowed the build down, had to sit out a couple of building days. Over the weekend I should get the (very phallic…) hips and butt skirt done, and the rest of the legs. The weapons are the most complex part of the whole build and might be a full build session all on it’s own.
I’m enjoying seeing the other kits being built. Really glad I suggested this and seeing some kits I never would have expected. If all goes well I hope we can make this a bianual event or something.
ikar01, if you can find it Scifi scale did a magazine called Mecha meka robot. There’s a very similar kit done for a diorama. If you can find a copy you may get some inspiration. I can try and get a picture of the finished diorama if you can’t find it.
That’s a rare beast! I have only seen the kit on the shelves once, and I got it for my birthday! It was $15 at the Hobby Company in the Pearl Ridge Shopping Center back in the mid 1980s. It builds into a very good looking model. Here’s mine, albeit in a group shot:
I looked around FleaBay and the current prices are in the $250-$300 range. Gyah.
A$king price. The Arii kit is 1/160 scale, bigger than the 1/200 Imai version. It is the Imai version that gets repopped from time to time. I have never seen the Arii kit reissued.
Try stretching some sprue from the kit and glue it into the seams. Do this before heading to bed, then they will be ready to trim and sand the following day. Sprue lays down neater than putty, and is the same color and hardness of the rest of the kit. I now use this technique first when filling seams. Putty can shrink and flake, and CA glue can become super hard and not take to rescribing as well. Give it a try, you might like it.
And don’t forget to come up with cool poses!
Okay, that one was not too cool, but you get the idea.
When I was stationed at Kadena in Okinawa (not to be confused with whereever it was they used in the original Katate Kid 2) back then Each payday I would stock up on Yen at the base bank and take my kid to a couple toy stores near the closest Marine base ind gran what kits I was interested in. I had most all the Macross kits but somehow never got around to the Monster. This particular kit I found at a Modelpalooza some years ago, sitting in the bottom corner of a vendor’s stock. I was looking it over a bit and asked him how much he wanted, mentioning it had no instructions. I picked it up for $5.00. In my haste to get back to where I belonged I hadn’t noticed it did have the instructions buried under the loose parts. That was the only one I had seen since I got back to the states.
Heating up the plastic or using cement to secure it will make it softer than the surrounding plastic won’t it? I don’t think there is a way to keep the plastic hardness and making it attach to something. Super glue would have it’s own hardness differences.
Nope, stretched sprue is the closest thing you will get to matching the hardness of the kit plastic. Heating will not affect the strength, since styrene is a thermoplastic - once it cools off, it’s business as usual. I slather on the Tamiya Extra Thin till the sprue is practically melted with no adverse effects. Just keep it neat and don’t mop it all over the surrounding area. I have heated sprue, flattened it, cooled it off to preserve the flatness, then carefully reheated to stretch flat bands for shims and really bad sunken areas. But Bandai kits never need that kind of fixing!
Ikar01, that was a very lucky find!
I worked on the Seapig a bit before bed. I’m sanding the mold lines of the polycap joints, and amazingly they are disappearing. I’ll post pics of the little piggy on his feet tomorrow.