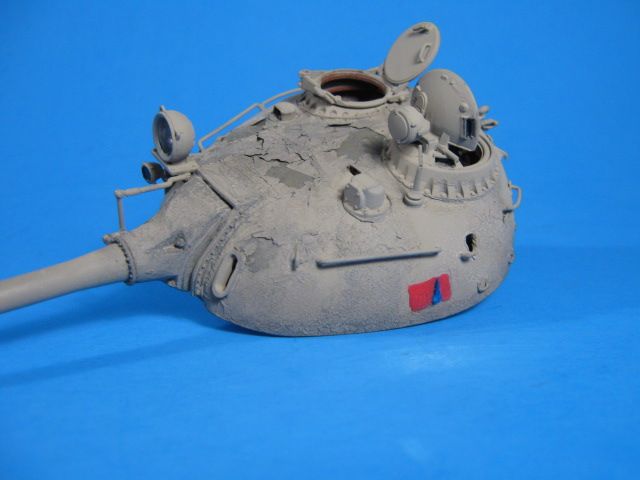
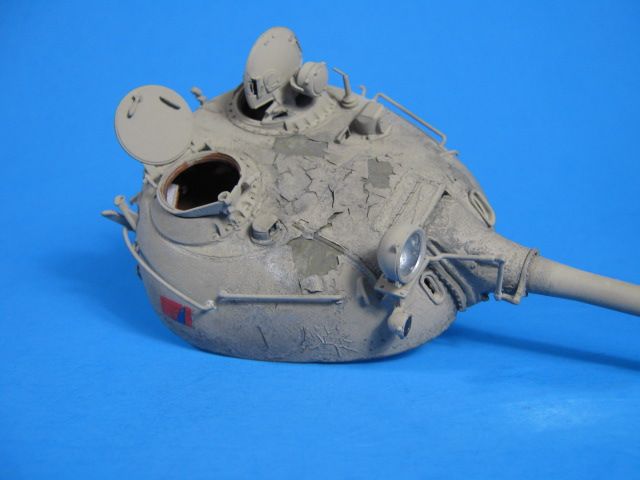
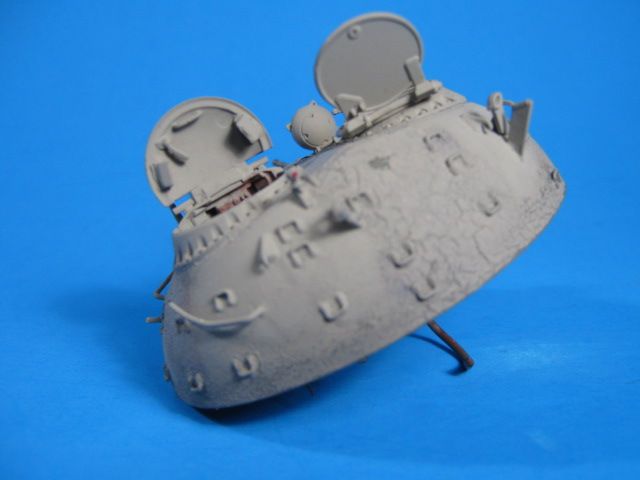
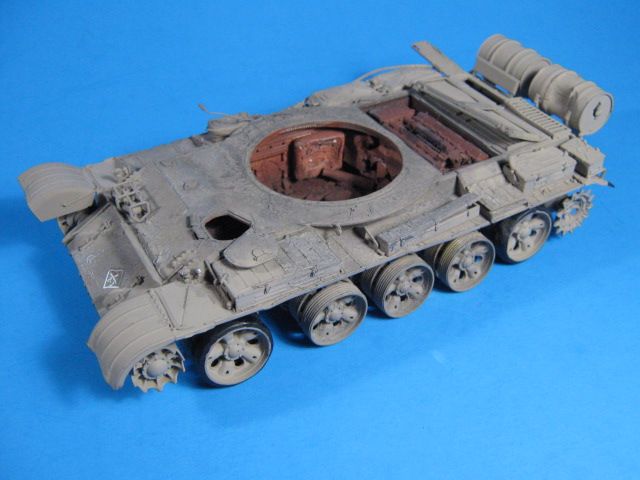
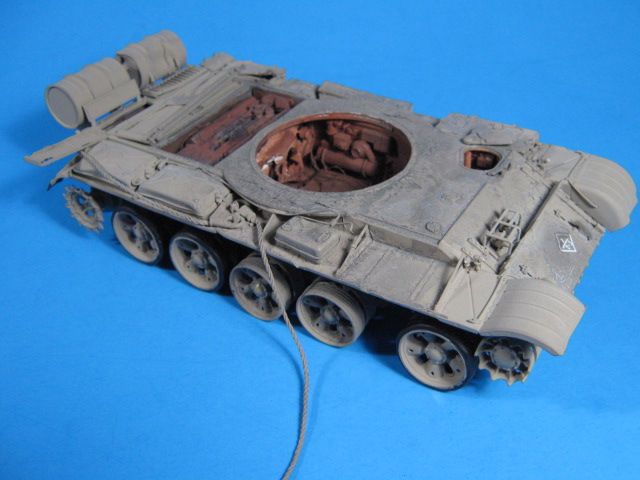
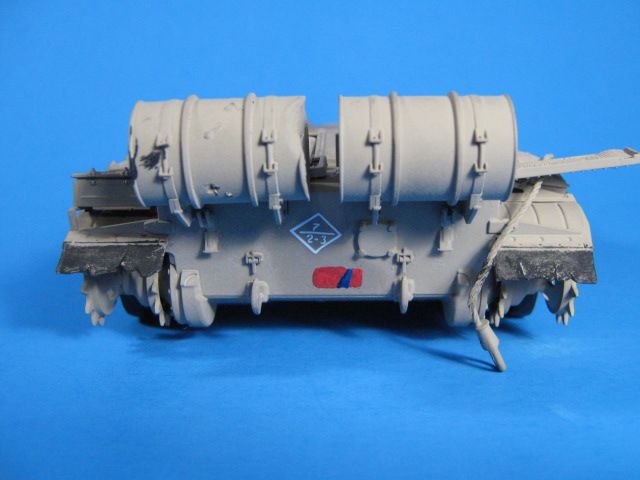
Thanks Gamera. I did get the base coat of paint and decals on it this weekend. I hope to get more done soon, but Hockey keeps getting in the way. Go Bolts!
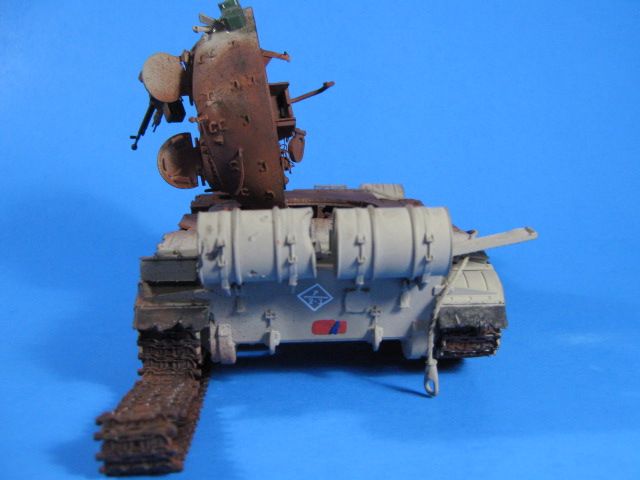
Not a lot of progress on it right now. I have painted the base sandy color on it and added markings. I have decided that since this year is the 30th anniversary of Operation Desert Storm, this will be an Iraqi T55 in from Sadam Hussain’s Republican Guard and have marked it accordingly. The Republican Guard red/blue “flag” has been painted on the turret sides and the hull rear. There is also a generic unit numbers on the front and rear of the hull. These may not be totally accurate, but it doesn’t represent any particular tank, so it is a representation of what they had.
I have also started distressing the paint by applying some of my nasty, dirty lacquer thinner brush cleaner over it. This blisters and peels the paint, just as fire will do. Once the rest of the rusty/burned weathering is applied, it should look pretty close to reality.
Here it is so far.
I am pretty much at a standstill though. I decided I didn’t want to mess with cutting off and cleaning up the MiniArt indi-link tracks on this one. So I am waiting to get a set of Tamiya vinyl tracks for it.
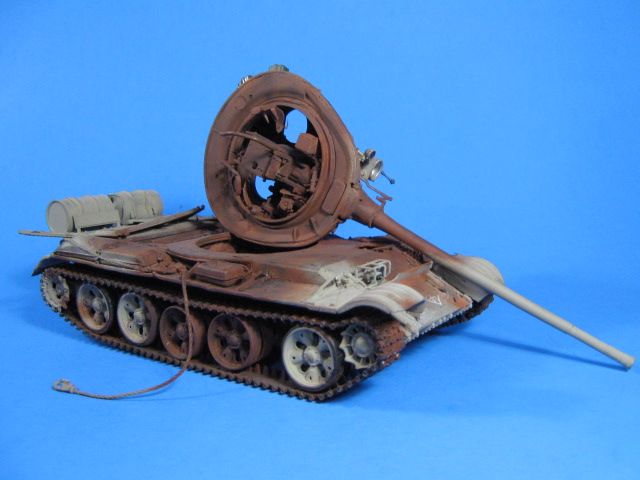
I have been trying to decide how to display it though. I have seen the below pic and thought it may be interesting like it.

Another option is to have it either flat on it’s top like a turtle, or upside down like an overturned turtle. I think either of these ways hides a lot of the details.
What do you guys think? Thoughts? Opinions?
I thought that the first photo you posted, with the ammo explosion blowing the turret off; was a great one. Above is good too.
Bill
Hmm, a delicate question. Normally, I’d vote for putting which ever turret side you, personally, are least happy with “down.” But, in this case, it might be like asking you to pick a favorite child.
So, for 2¢, show the turret on its side off to the side of the hull. Perhaps with the gun tube over an edge. So, similar to the above image, but with the turret pivoted, say, 30 degrees around th etip of the muzzle. This would present both inside and outside of the turet and a full view into the detailed hull.
This is coming along very nicely. I like the tow cables blown astrewned. As for your turret placement, I have to side with CapMan and say put it on its side. If you REALLY want to show off all of that great work, then at least from whatever side you look at it you will see all the work that went into creating this work.
Thanks for the input guys. I really like the one below and think I will go with it. It will show all the added details I put in it well. I’ll keep you posted.

Hello!
Of course that photo also shows results of catastrophic ammo explosion… Looks like a logical way to display both the interior and extrior of the turret. Plus nobody can tell you it’s impossible! I’d say go!
The whole project looks very interesting. One doubt that I have is if that ammo explosion wouldn’t completely obliterate the interior, maybe with an exception of the motor block… In any case it’s terrible to even think what happened to the crew…
Good luck with your build and have a nice day
Paweł
Instant death might not be the worst way to go.
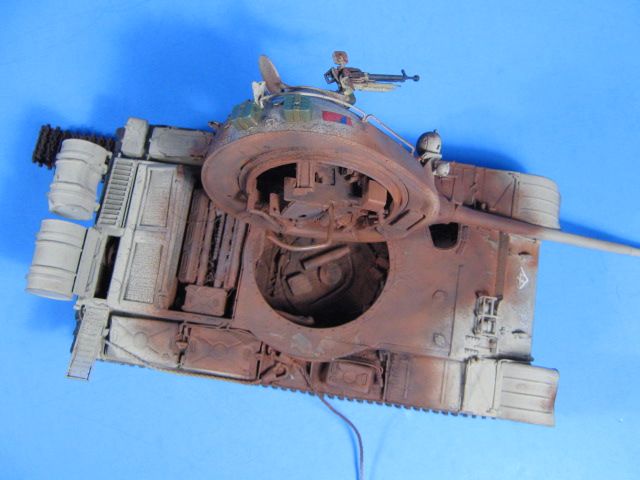
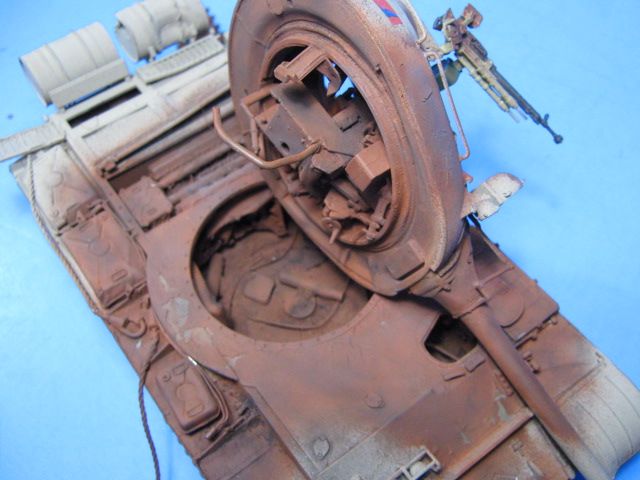
From what I have seen on actual tanks that this has happened to in Iraq, the metal items on the interior are still present, just charred and distorted. Most of the explosive blast force goes out through the hatches, engine deck, and up when the turret separates. This is how I have attempted to model it. I am happy with the results.
Looks great to me. I love the cocked on the side turret. It really gets the idea of the turret blown off without going into a large diorama with the turret lying off the side of the tank.
Outstanding work.
Thanks Gamera and GreySnake.
So after a respite, the build continues. I was waiting for rubber band tracks because I didn’t want to deal with the Mini-Art indi-links I had. I got the rubber band tracks and decided they weren’t what I wanted. I looked and found an awesome set of Takom T55 tracks that are ind-links, but each link is separate and there are no sprue attachment points. They are all ready to go, just glue them together.
Here are the Takom tracks.

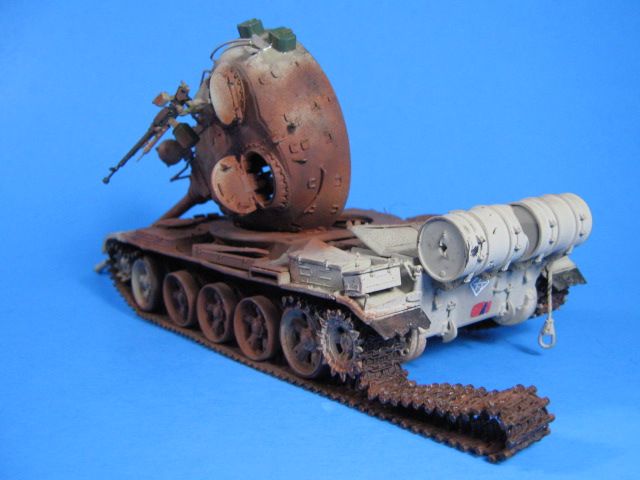
So I added them to the hull after assembling and painting them black as a base coat. I decided to do the left side run as a thrown track trailing off behind it.
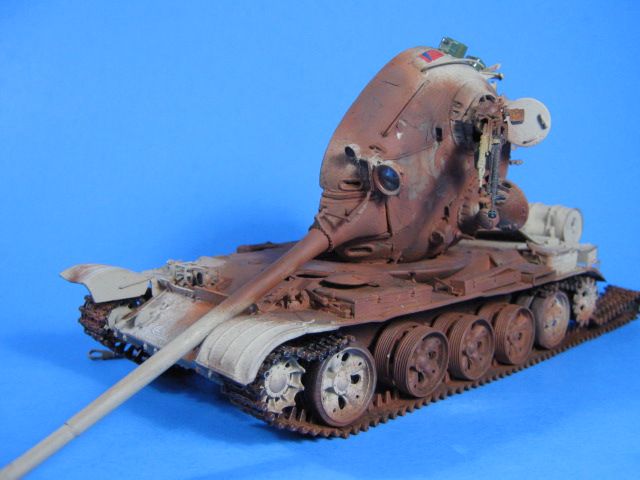
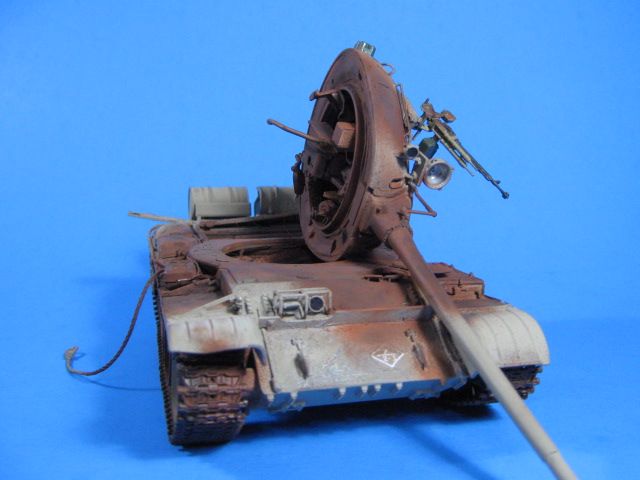
Here it is, all burned up. I started by painting the burned area a dark rust color. Next I applied different chalk pastel in a few rusty colors, some black for soot, and some dark grey for variation. I did this liberally with lots of pastels to replicate flaked, burned, rusty metal. I think it is pretty successful.
[img]https://hosting.photobucket.com/images/v231/HeavyArty/IMG_1754.JPG[img]
I am thinking about putting it on a base with a couple Soldiers taking a picture in front of it, maybe with a M2A2 Bradley. We shall see.
Hello Gino!
Lookin’ good!
As for the people lookin’ around… I understand the curiosity, then again there might be some very nasty stuff in the air around such a tank, esecially if it was hit with a depleted uranium round… Just a thought having not much to do with modelling it, of course.
Thanks for sharing and have a nice day
Paweł
Looking good. Great project.
Excellent work Gino. Your pastel work really pulled off that rusted burnt out look; also the Takom individual tracks was a good idea as they really come through on the broken track side, and your detailed work on the inside of the turret shines through by putting it on its side.
Thanks all. I am very satisfied with how it turned out. I’ll keep you posted on what I decide to do for a base.
She looks spectacular!!! I hate to see issues crop up like the tracks but the thrown track is worth it. [ht]
I like the soldiers taking photos. Although I’d be tempted to go with a dog peeing on her to add insult to injury…
