Awesome work so far Gino. Your use of pastels and wires really give this burnt out T-55 that realistic look.
Thanks gents. I like how the rusting and damage are coming along so far. More to come soon…hopefully.
Nice! Very nice! Where are you going to put the penetration?
Thanks Stik. I’m thinking about melting a hole in the side of the turret from a SABOT round. It may help explain why the turret came off as well.
yea me too
Looks super cool.
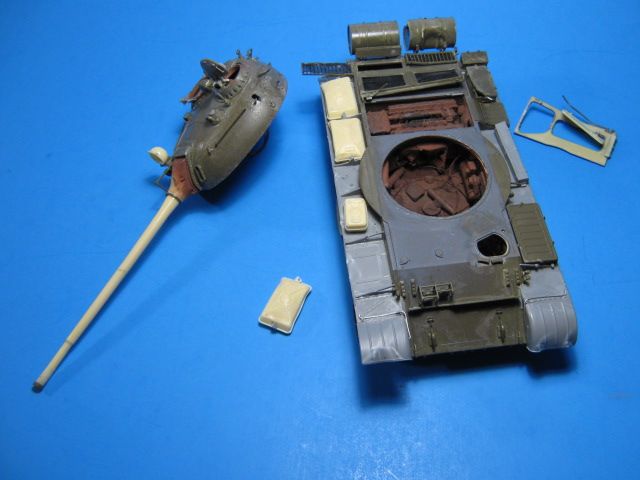
Construction on the hull is basically complete. I was going for the look that the rear deck has been blown off in the explosion that also separated the turret.
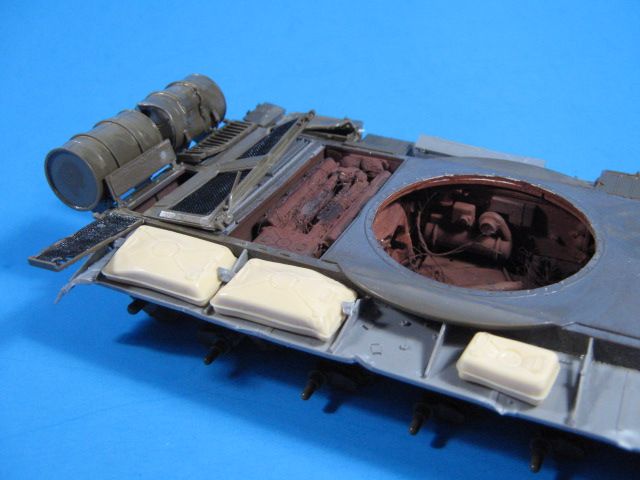
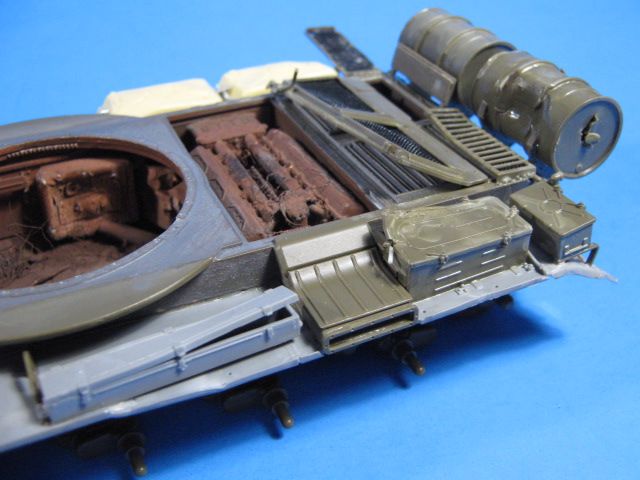
I added some damage to the front as well.

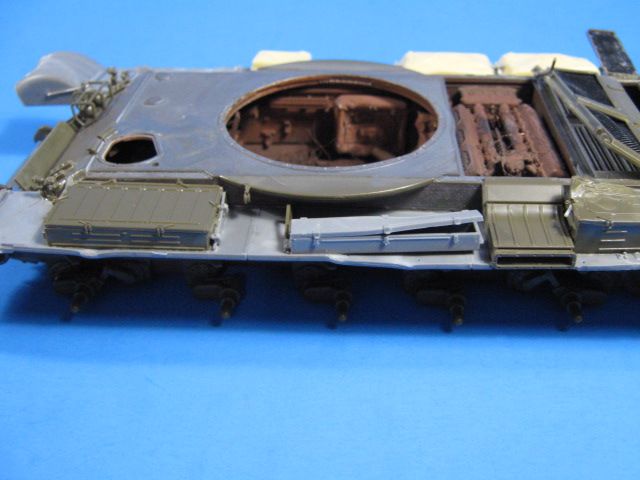
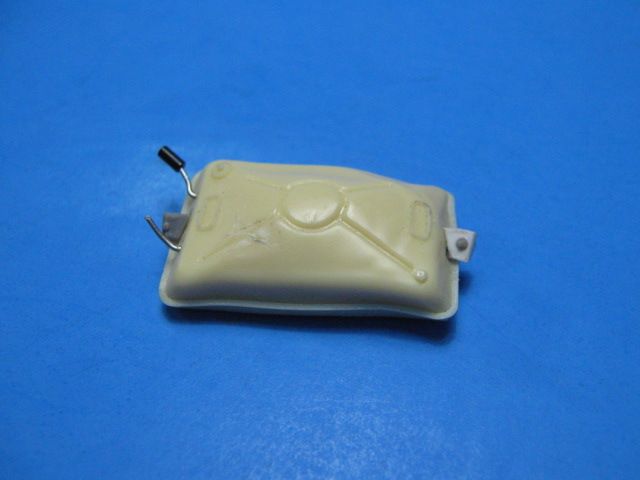
This is how I see it sitting with some debris around it; the separated engine deck and a dislodged fuel tank.
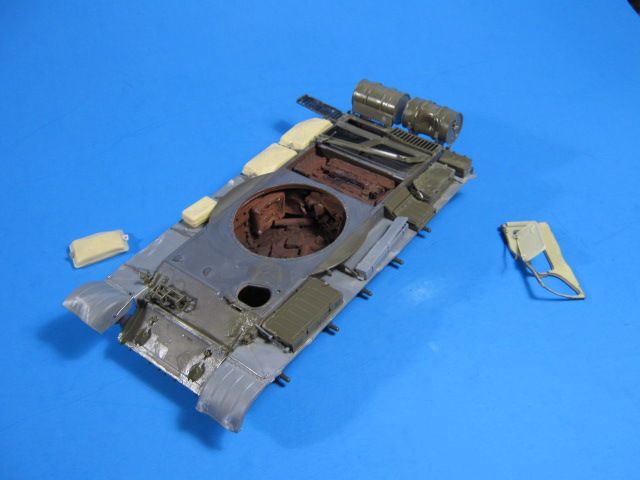
I just need to add the fuel lines and wheels and the hull will be done. Then onto the turret exterior.
The amount of detail you put in the interior is spectacular! Can’t wait to see more!
The attention to detail in the interior along with the painting and weathering is amazing.
Glad I woke up in time to see this epic production. Now cought up and ready for your next post---------is it ready yet?----------ow 'bout now?
Never mind I’ll go in the corner and be good-ish[:D]
Thanks guys. Unfortunately no further work on it this weekend. I hope to get more done this week.
I thankfully have never seen any wrecked tanks but I’ve seen enough abandoned cars and farm equipment that what you’ve done looks friggin’ perfect to me.
I have completed construction.
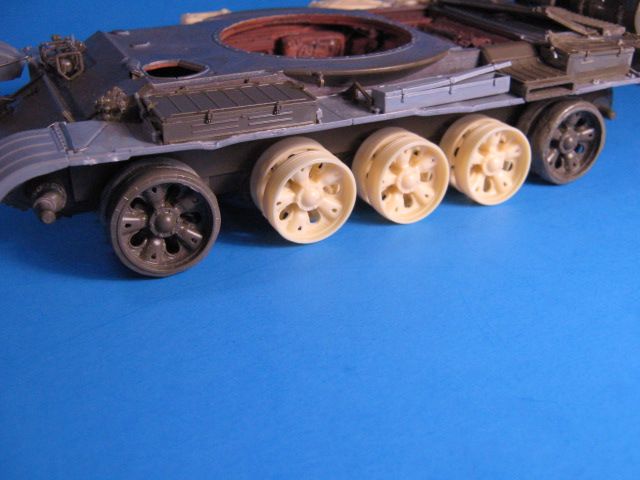
I added 5 of the burned out wheels from the Mig set; two on one side, three on the other. They look really nice and have all the rubber burned off to the metal wheel. I also roughed up the kit road wheels to show heavy wear on them by running them around my hobby belt sander, then sanding them smoother by hand.
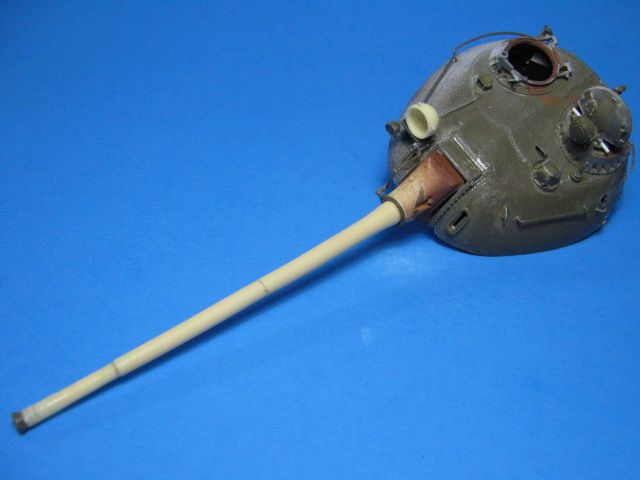
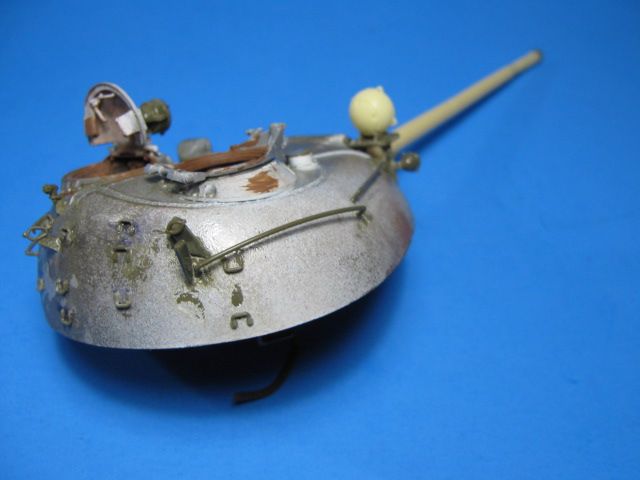
I completed the turret by adding all the exterior fittings. I haven’t decided how it will lay and whether I will add the 12.7mm MG. We will see which way looks best.
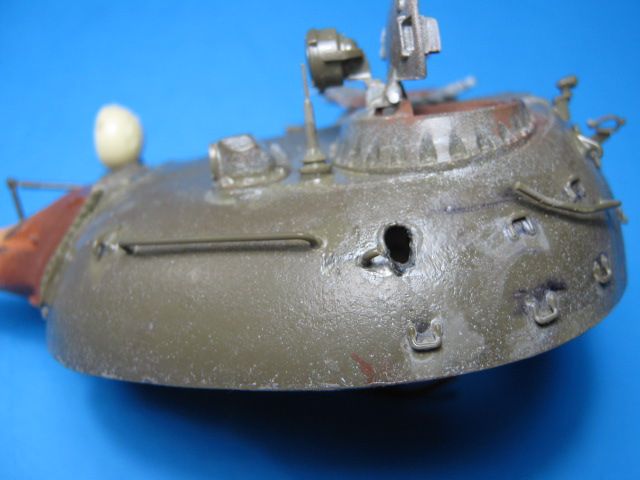
I also melted a hole in the side of the turret to represent a Sabot round drilling/melting its way through the armor.
This is how the overall tank will generally look.
Next up is paint and to apply the burned/charred effects.
This will be a stunner once completed. Great Job depicting battle and fire damage.
Thanks plasticjunkie. I hope to get some paint on it soon.
The damage looks outstanding! im looking forward to seeing how you make the exterior look all burned up.
Ay! Youse broke my Bang-Bang! Looking good!
Thanks guys. I should have another update by this coming weekend.
A small update this morning.
I added the fuel lines down the right side of the hull. I made the forward ones pulled up and strewn due to the dislodged fuel tank. I also added the tow cables.
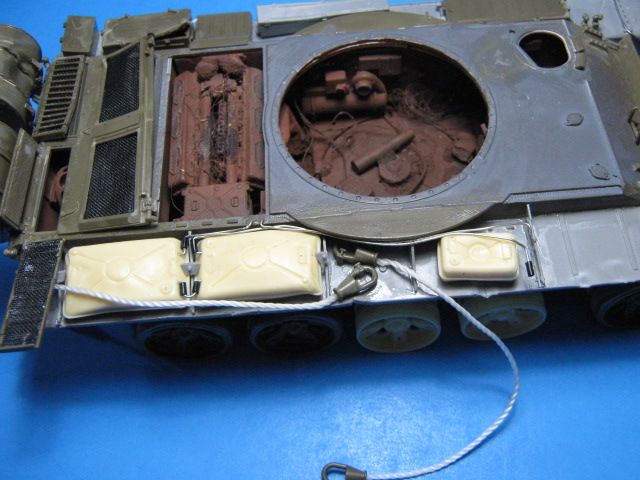
I also made the other end on the tank.
Its off to the paint booth today. I should have painted pics soon.
She’s coming along great!!!
I keep thinking the crew had - as the Chieftain puts it ‘a significant emotional event…’