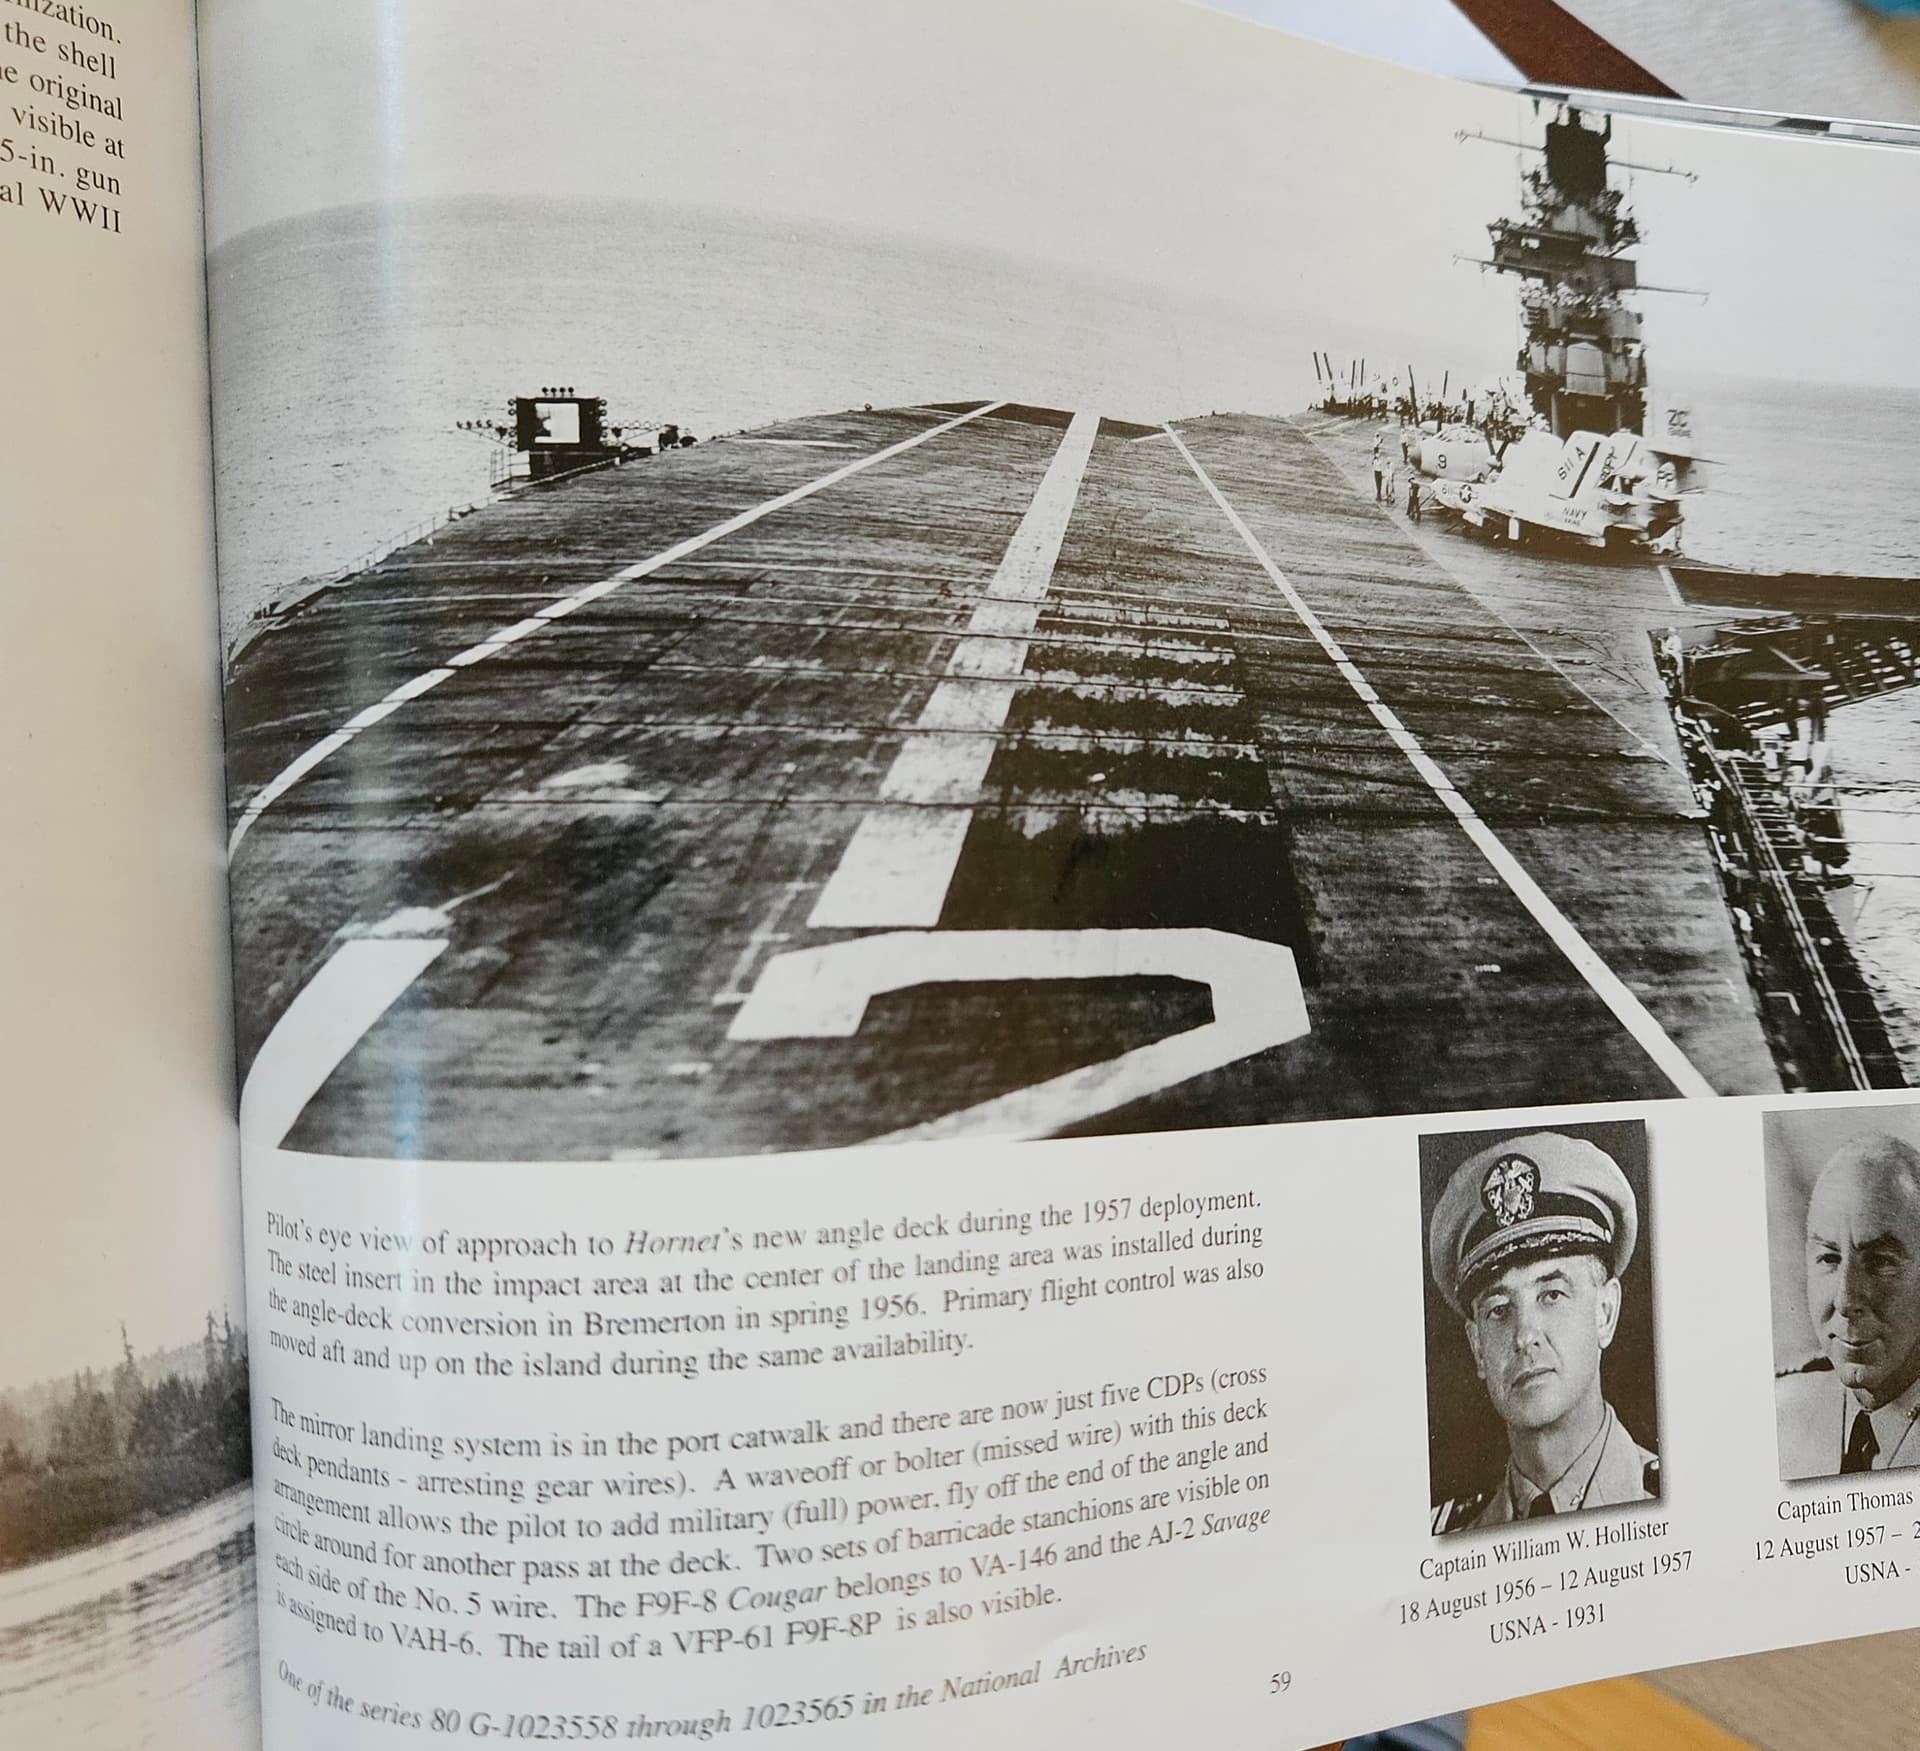
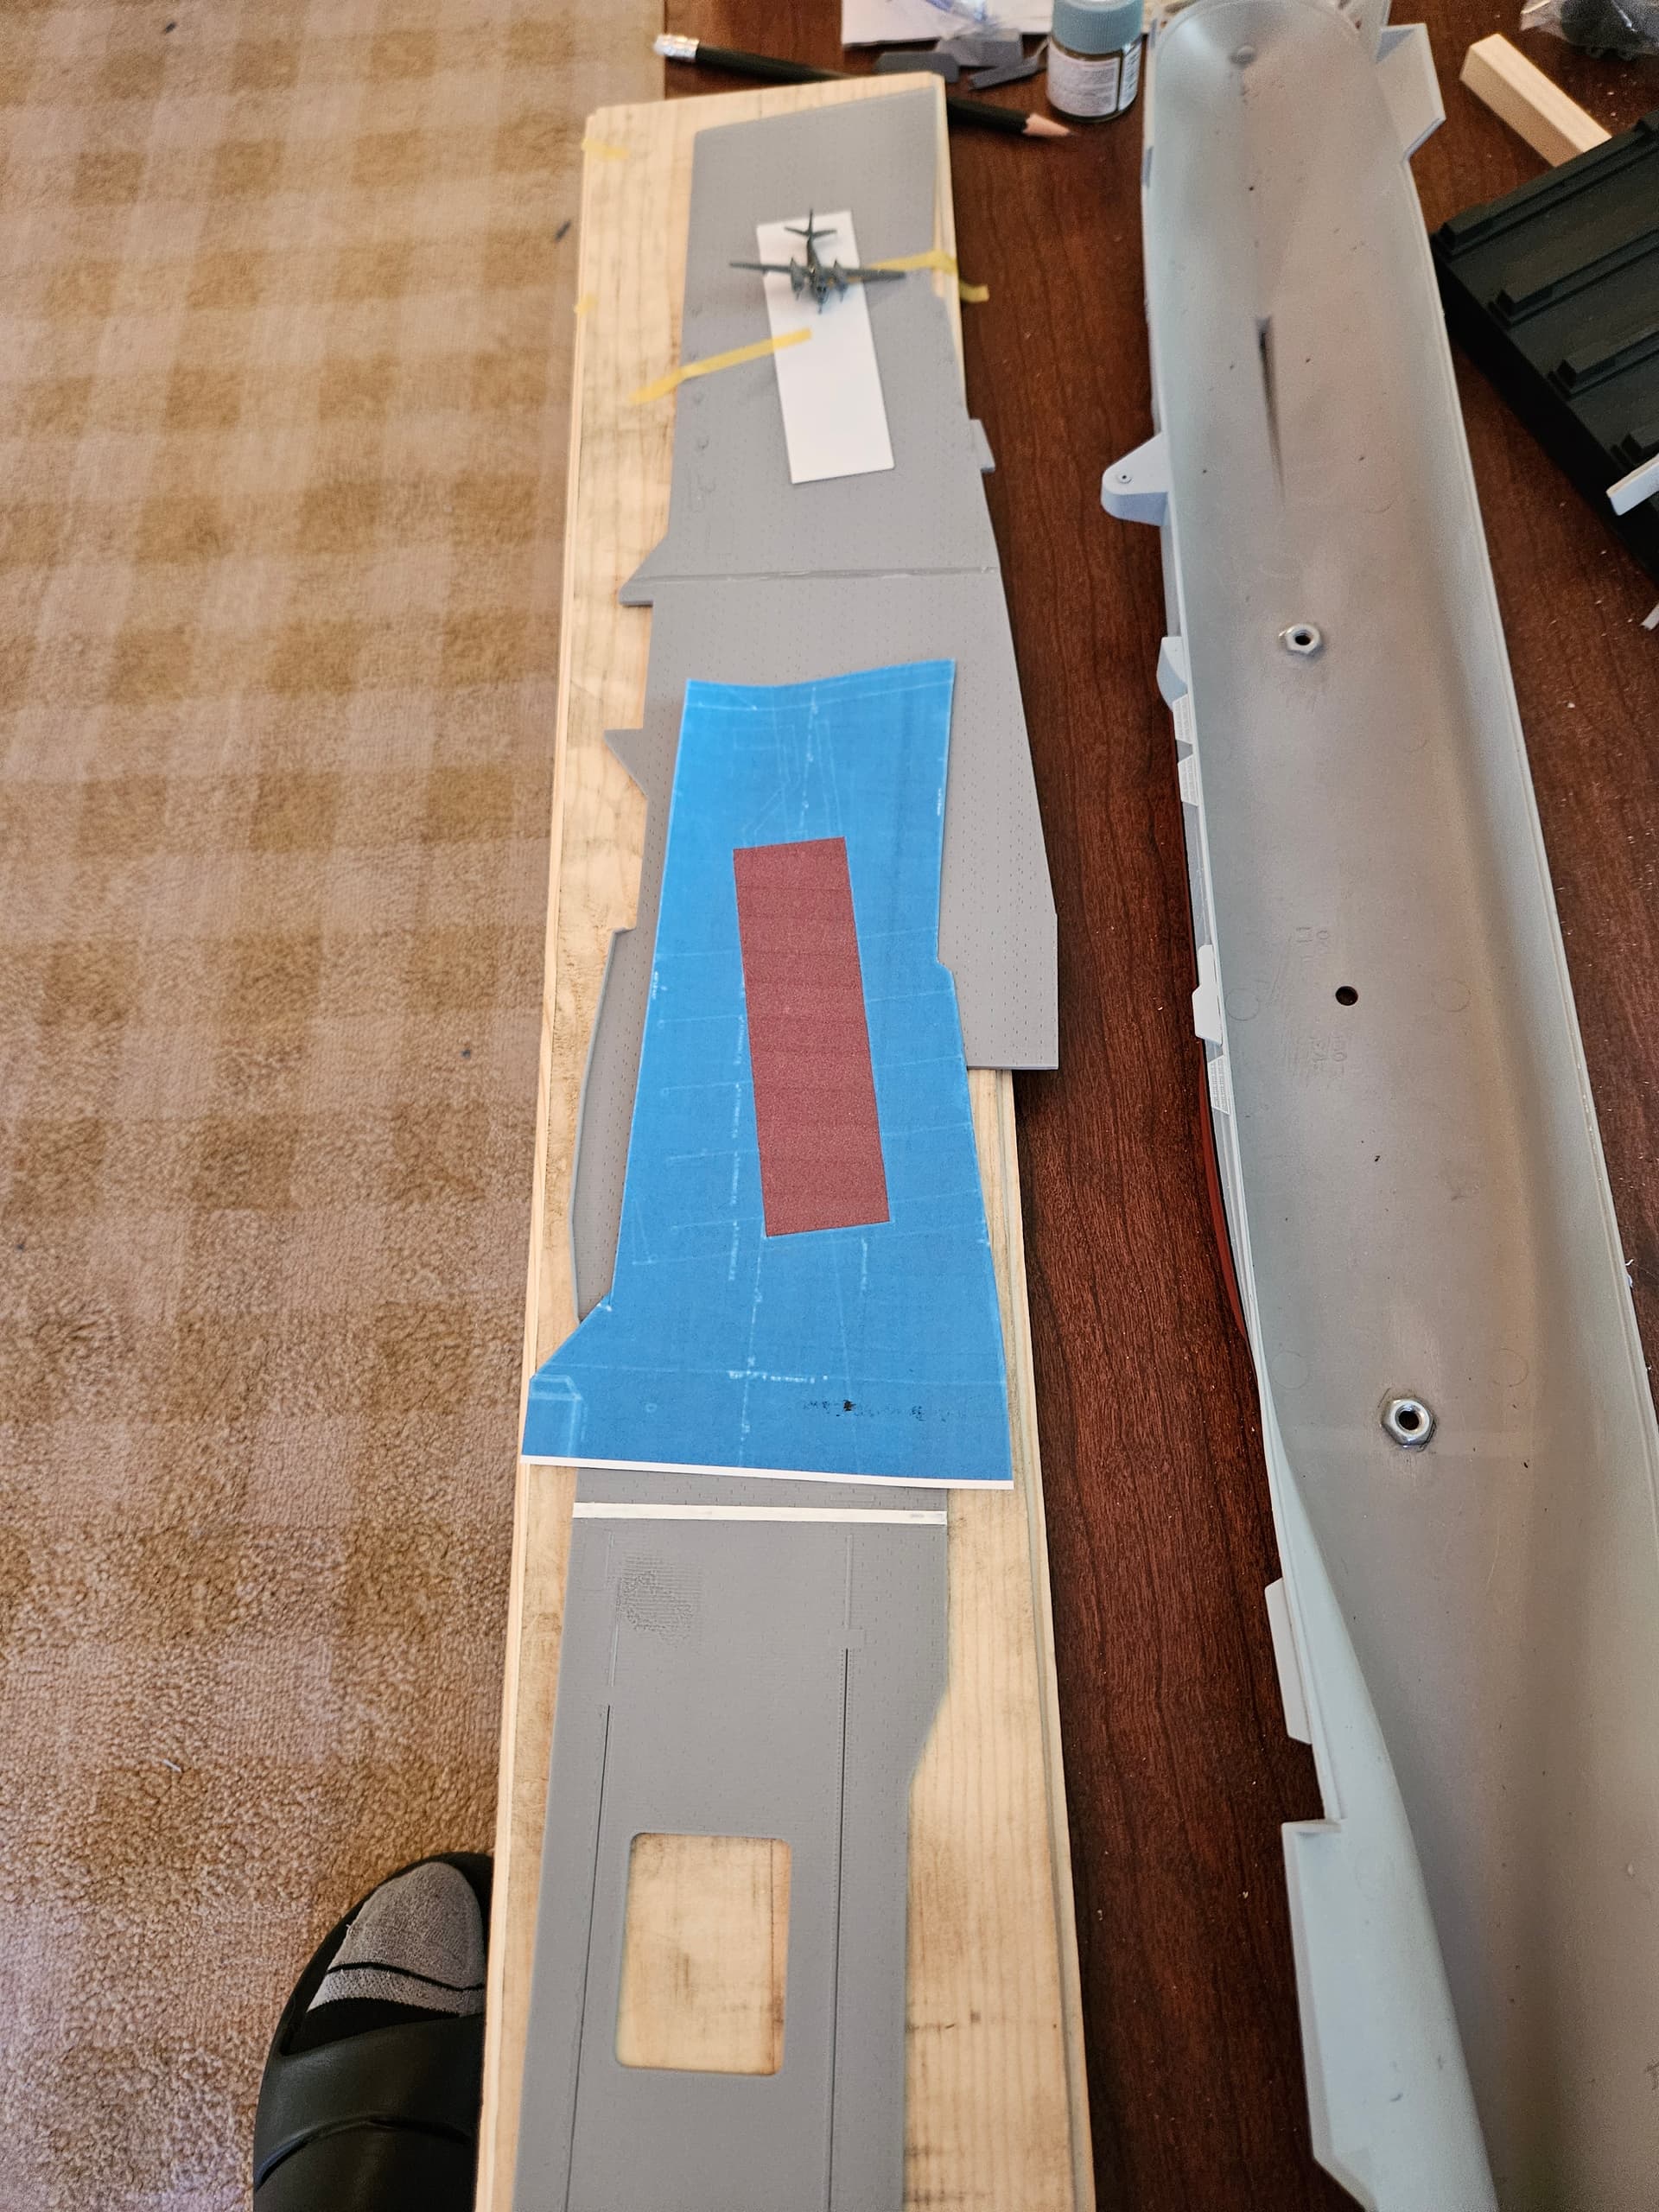
Another lesson learned today, and fortunately before I started painting the flight deck. It turned out that in the SCB-125 refit, a steel plate was installed in the impact area around the arresting cables, presumably to better handle the larger aircraft and higher speeds you would see on the angled deck. Although I had primed the flight deck, mercifully, I did not paint it. I turned to my sheet styrene supplies and found some .13mm paper thin styrene. I was able to scale the sheet from my blueprints and cut it to size. I will now attach with CA after I remove some of the primer from the mating surface. Very happy I found this before painting, since it will be very noticeable!
3 Likes
the reason for the steel plate was that the flight deck was still made from wood not steel.
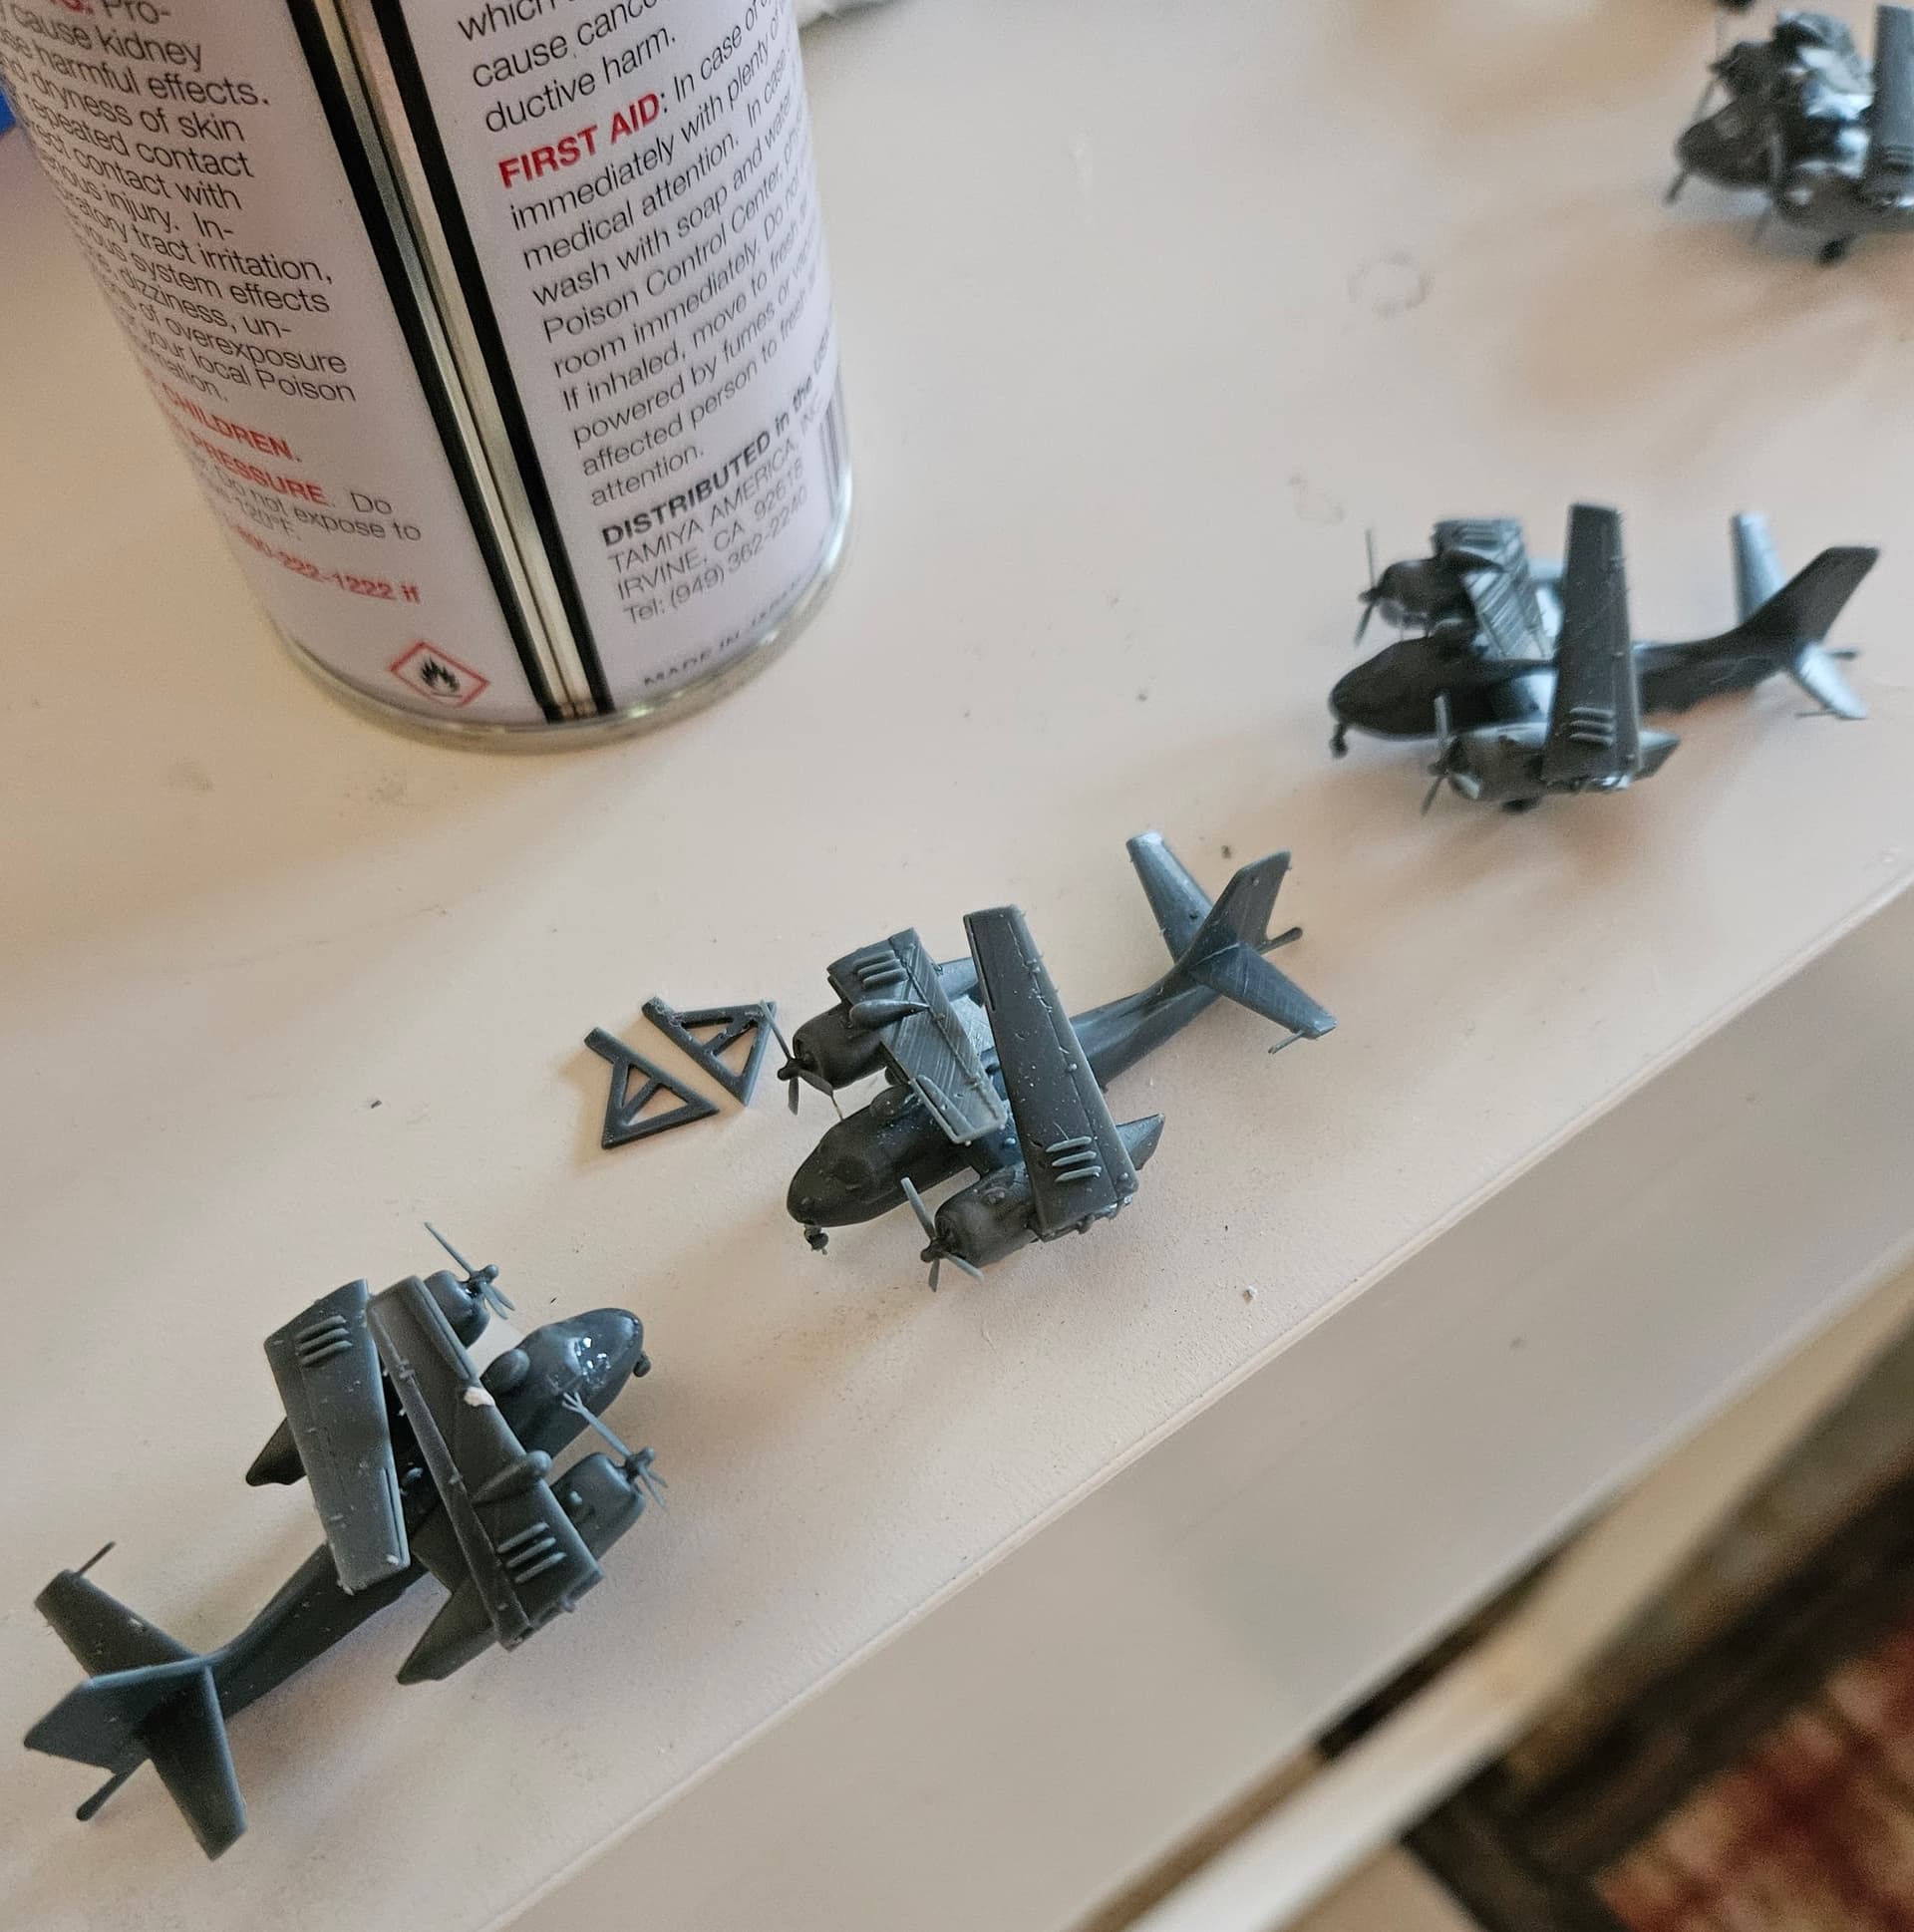
So I’m starting to think about the hangar and how I will array the planes/crew in there. I had purchased some S2Fs from L’Arsenal with folded wings. The detail is amazing, but these had two issues: the print supports are very tricky to get out and some are molded into the S2F itself, and the wings are the rounded wings of the later S2Fs, which were not the ones on Hornet at this time. Though I can sand down the wingtips, the supports are a real hassle, so I went searching and found STL files for a nicely detailed S2F online. The only issue here is that the wings were not folded and the MAD boom and tailhook are extended. Since I have the STL files, though, I was able to modify the wings and get them folded. The designer also included a searchlight on the port wing, which is incorrect, so I removed that. But now, I can print as many as I need and fill the hangar deck and flight deck.
2 Likes
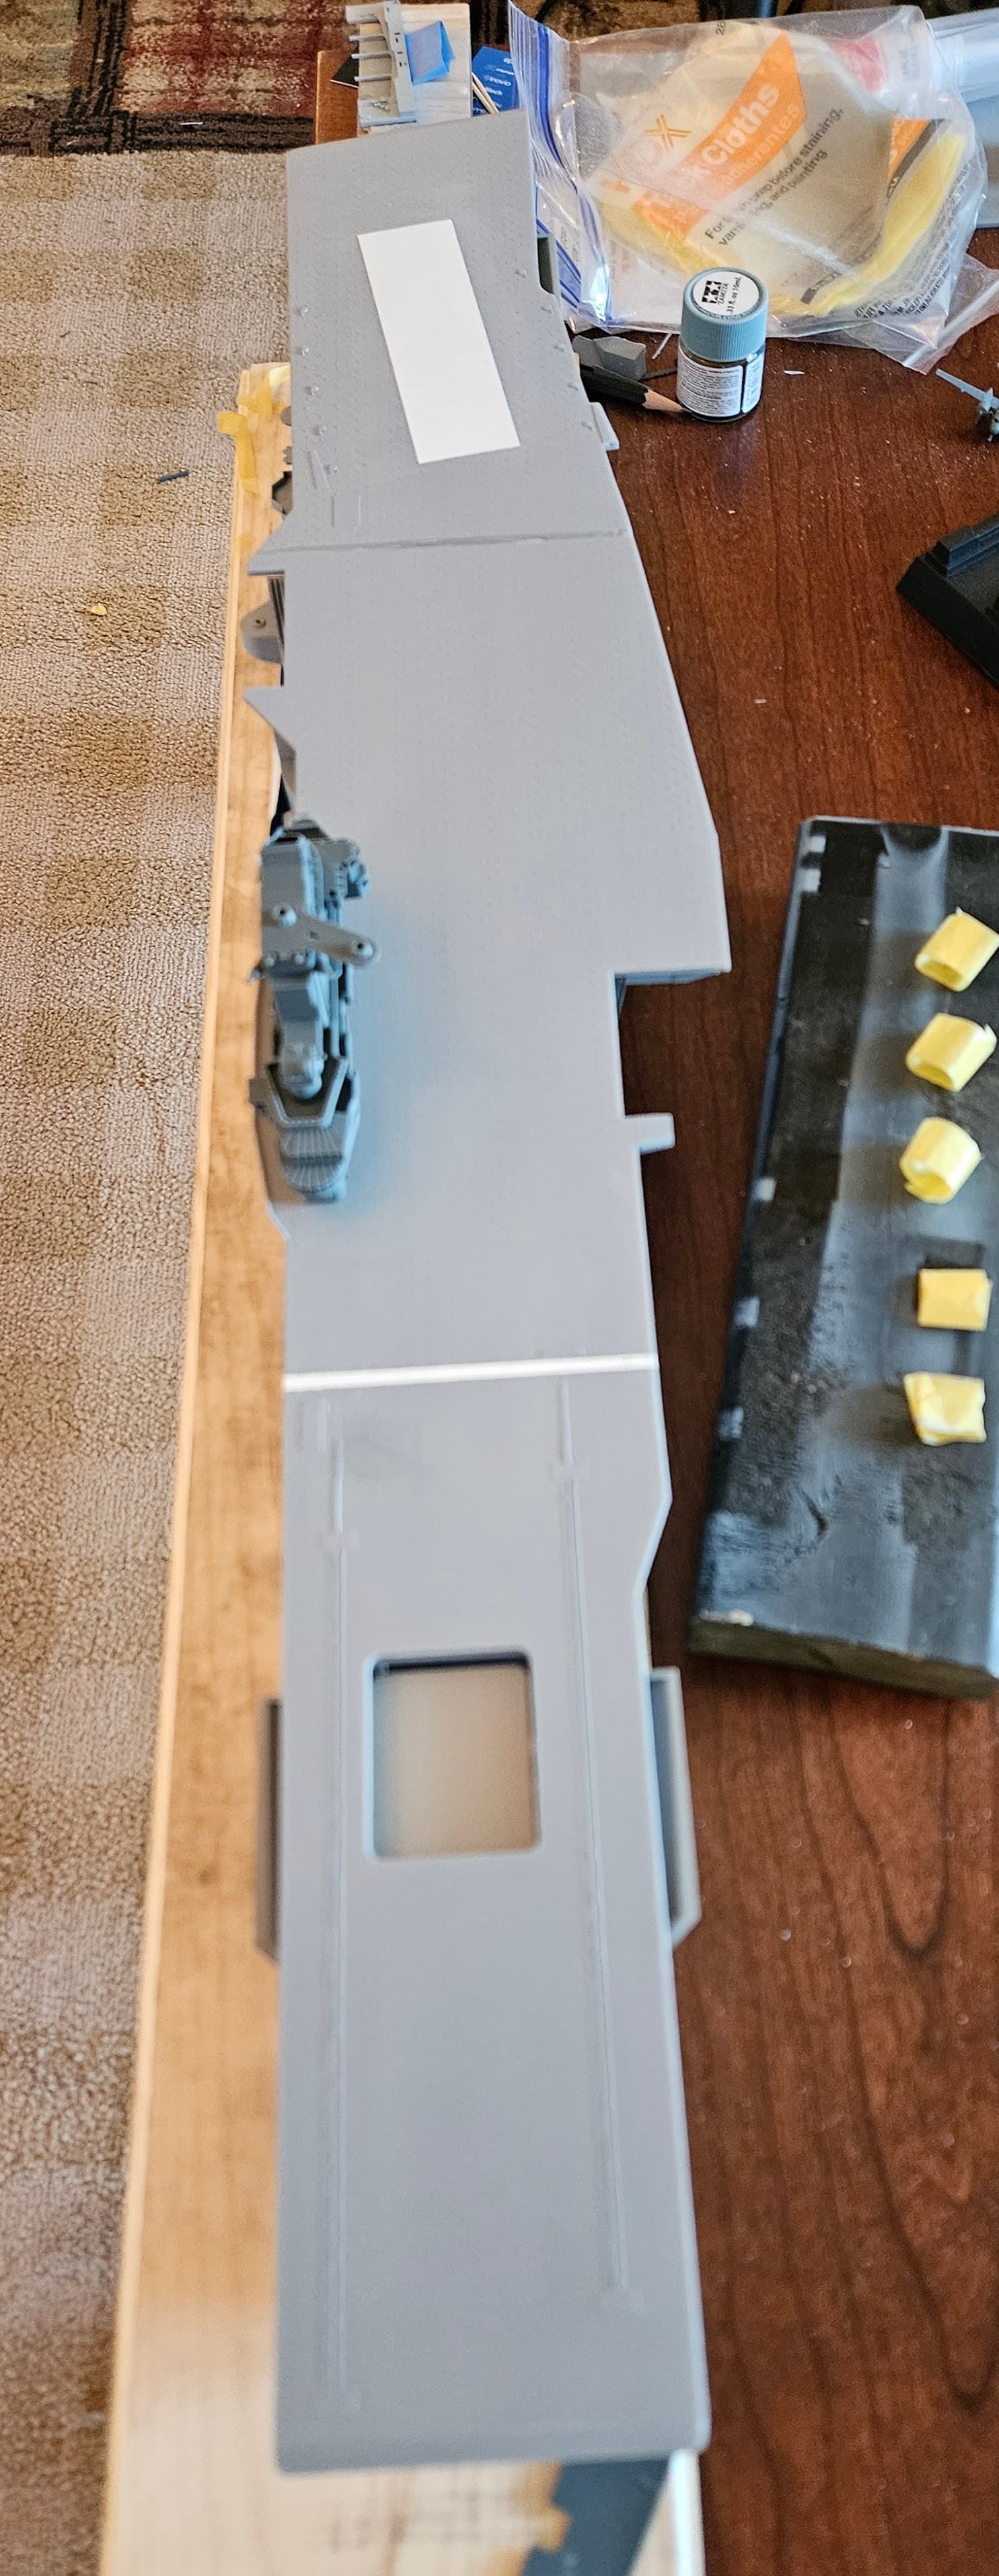
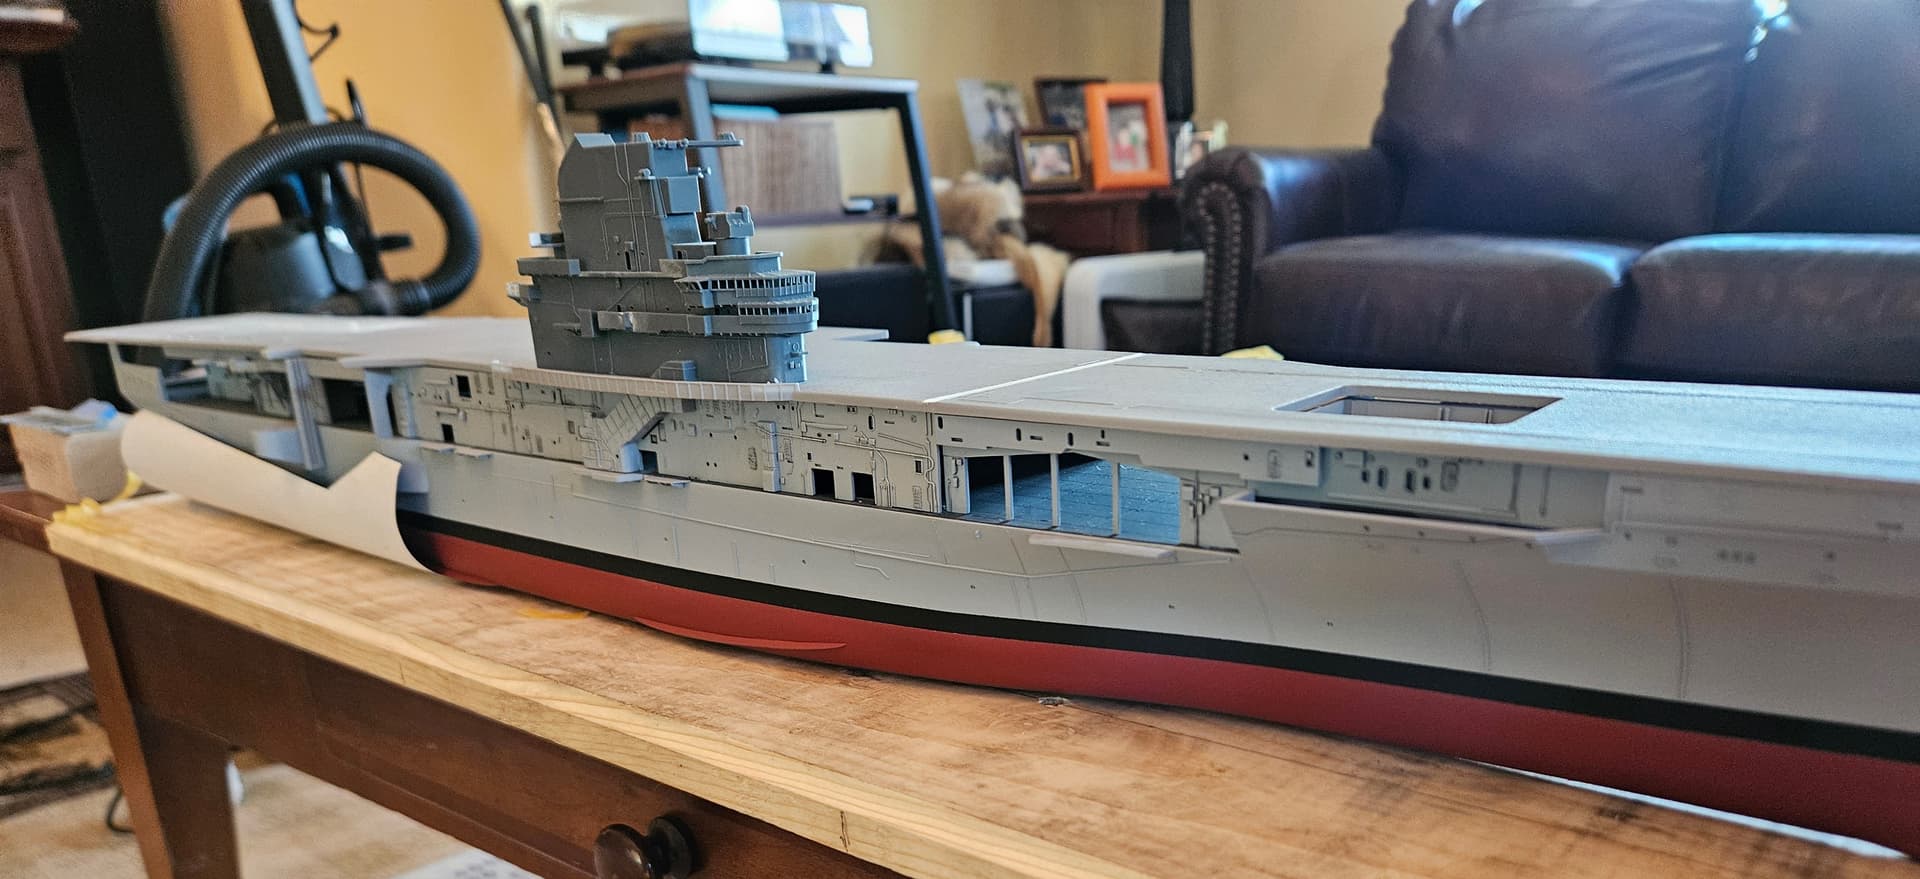
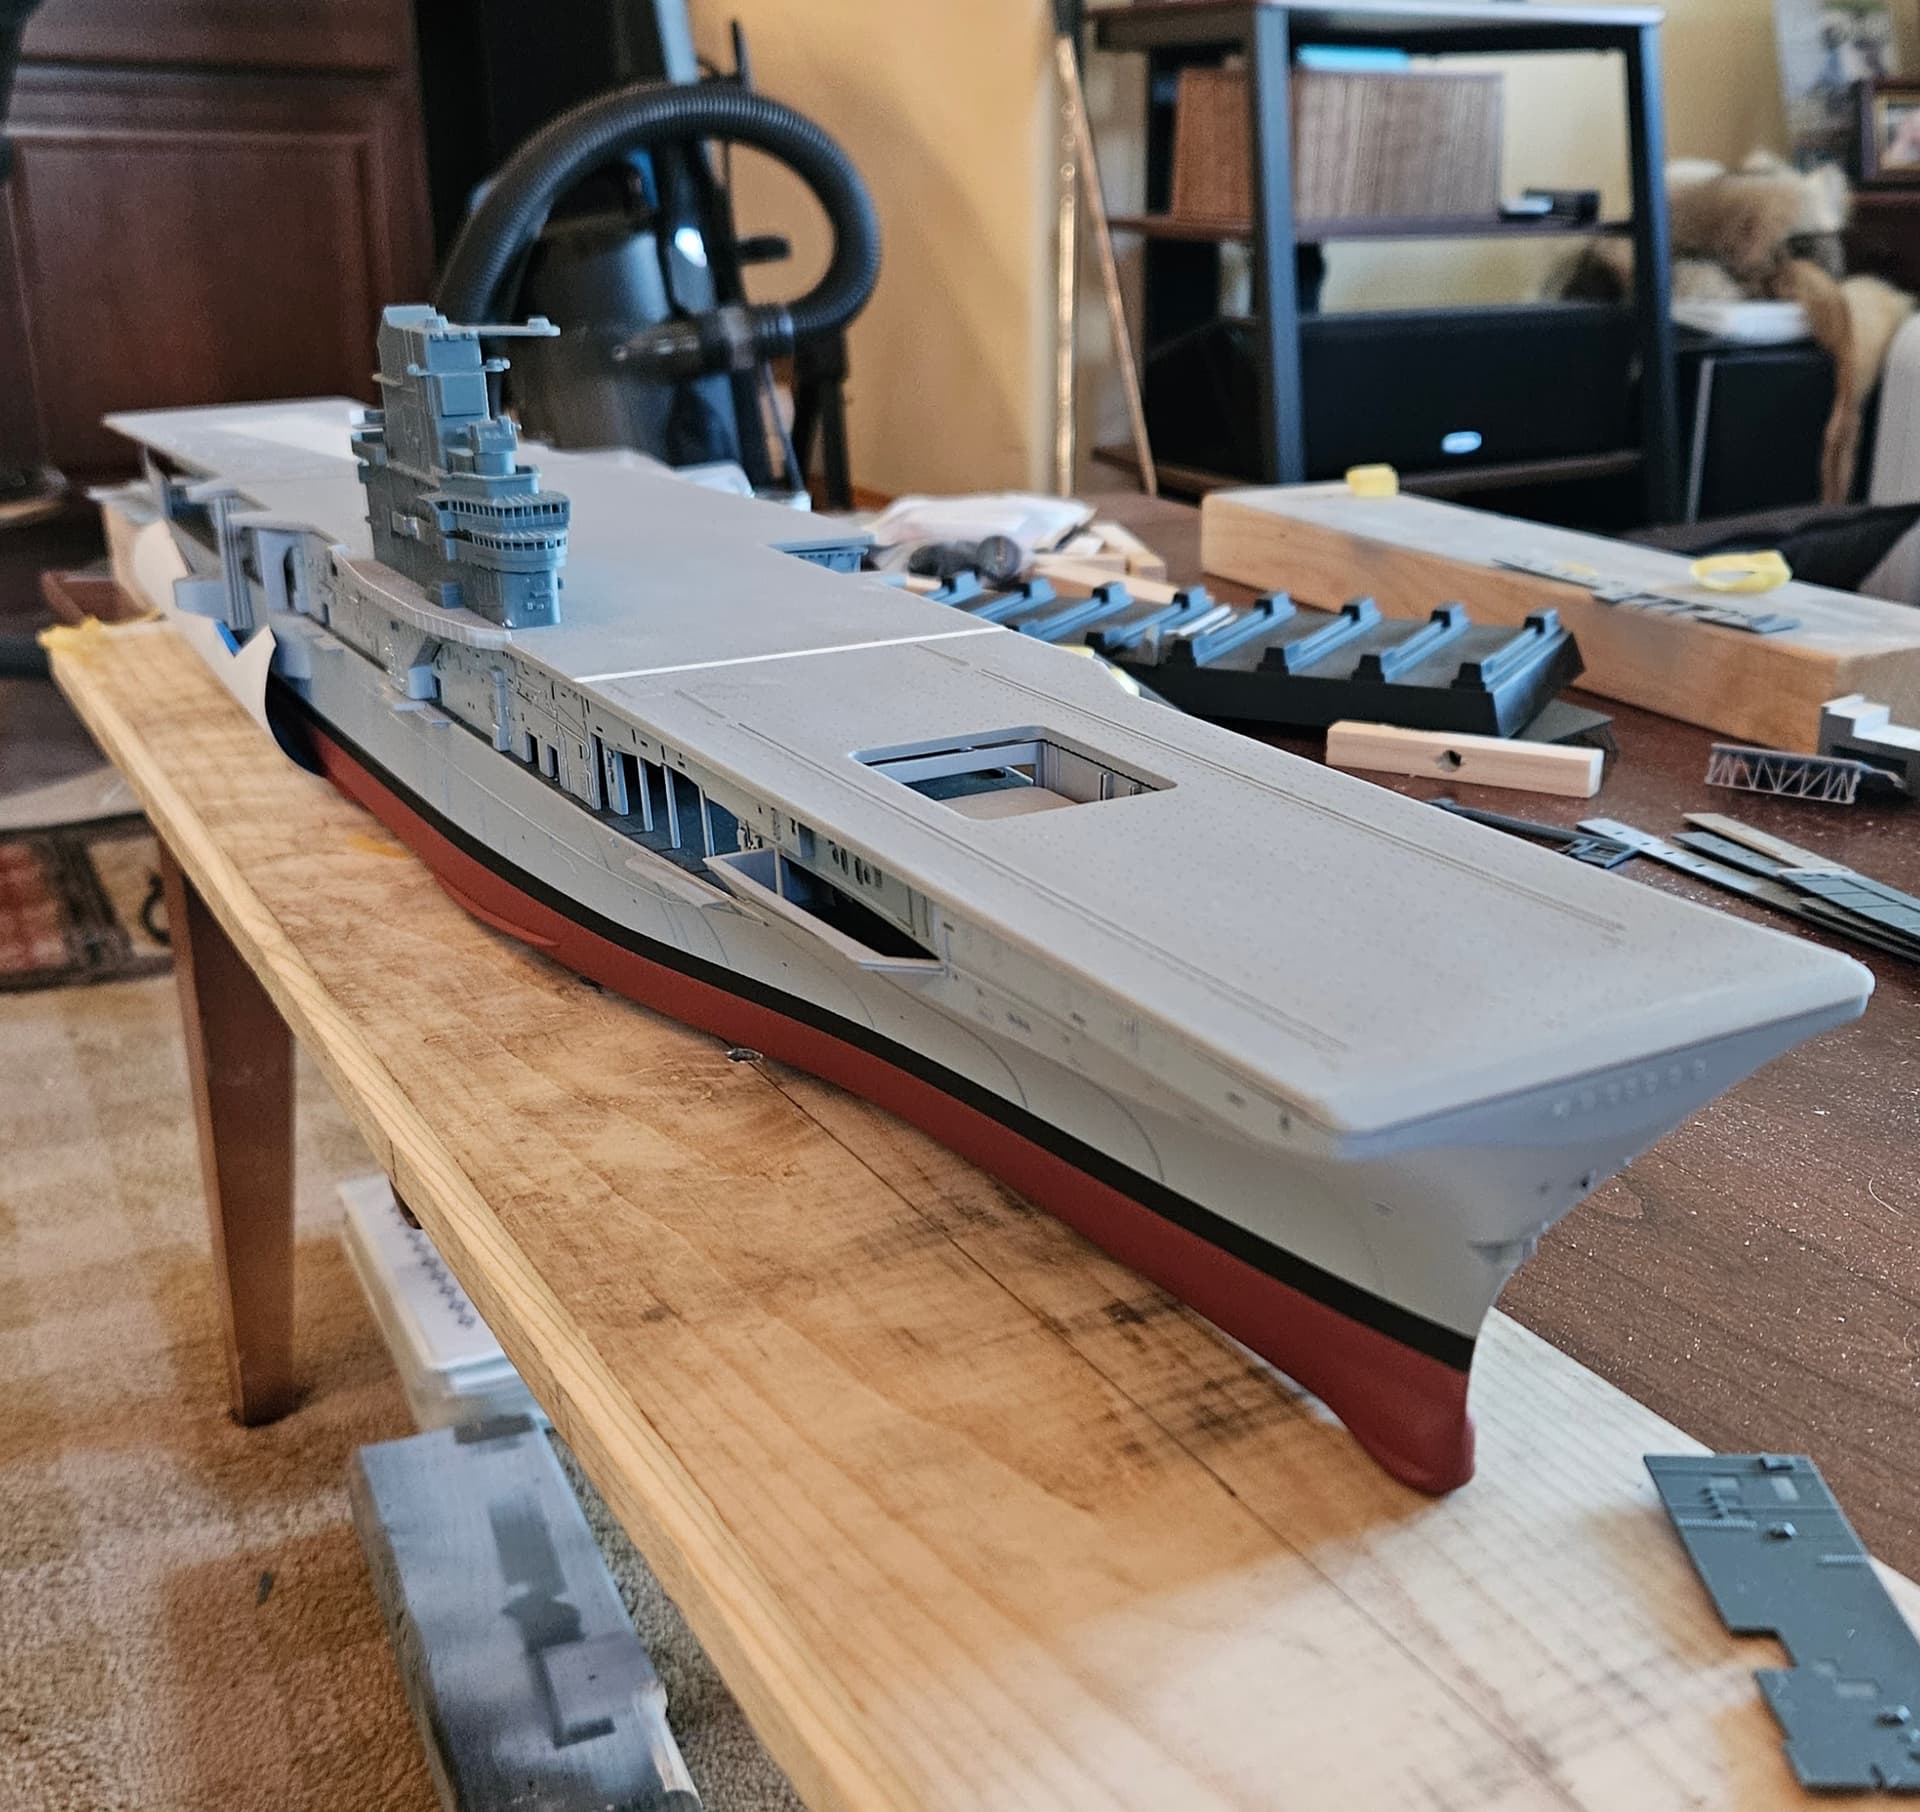
I did another round of dry fitting today, and I glued the impact area down on the flight deck. In retrospect, I’m really glad I opted to not have the printer print arresting cables on this version of the flight deck–they did on the original, so that would have been a much messier addition. In the end, I have some .1 mm wire that I will use for the arresting cables and other rigging when I get to that point.
4 Likes
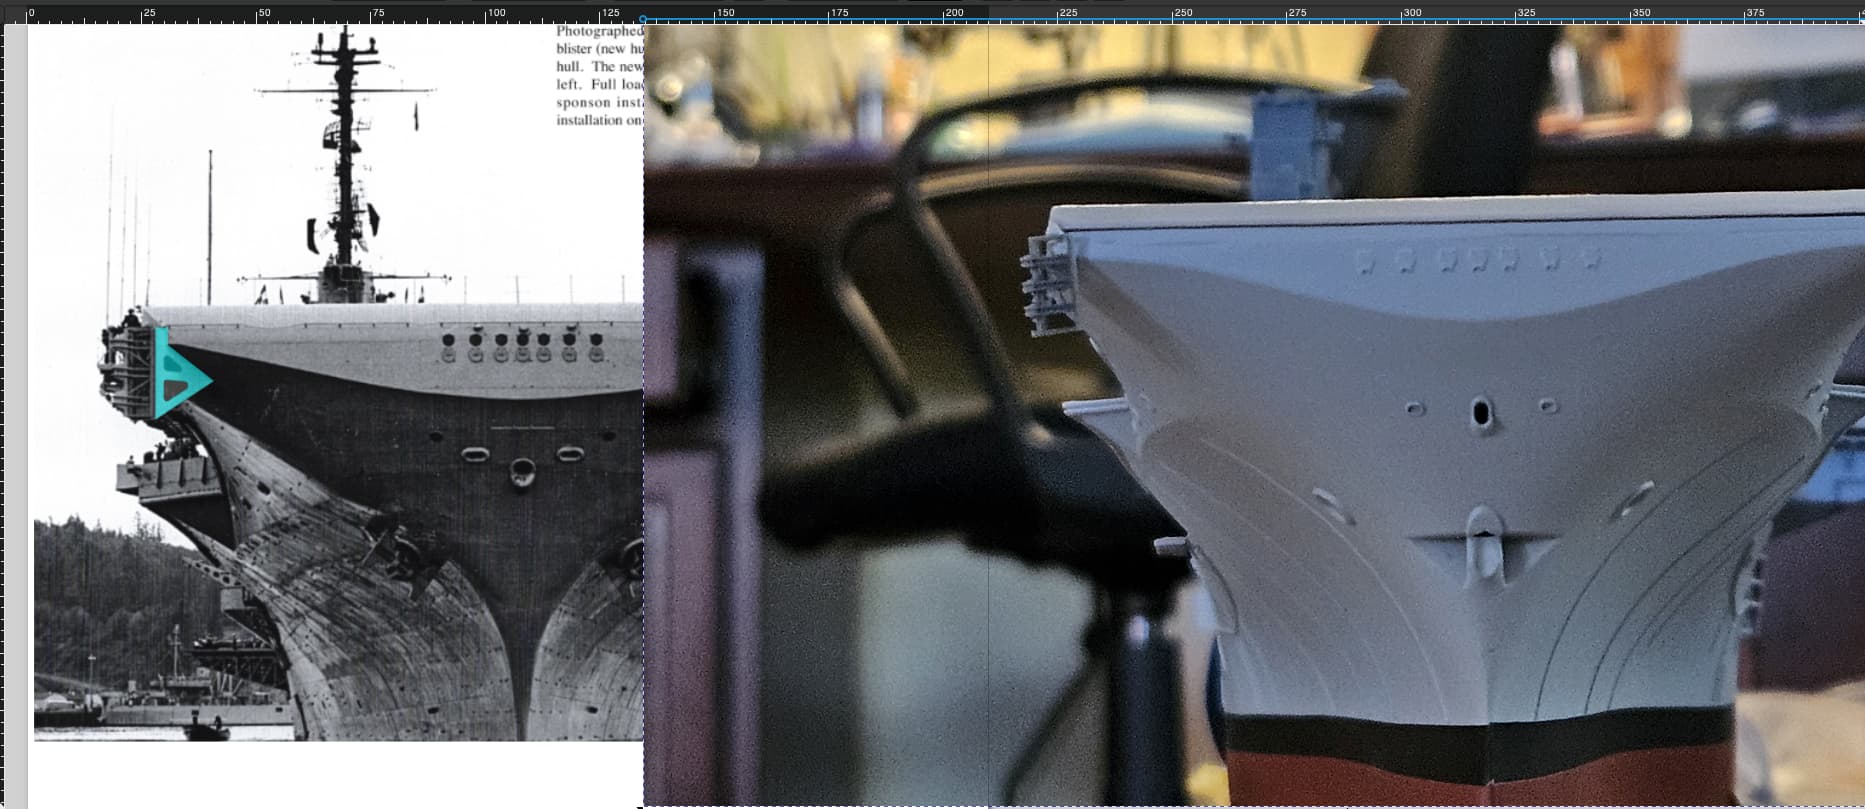
Another surprise discovery today…when I was fitting the URR-13 phasor antennae, I took a photo at the same rough angle as a reference photo I had to assess size. What I discovered was that the Intrepid had a centerline anchor, and Hornet did not! I’m disappointed that I did not catch this prior to painting the top coat on, but nothing to be done about that now. I will fill the recesses with styrene, sand, shape and putty over the hole, while hopefully minimizing the impact on the surrounding areas. 
1 Like
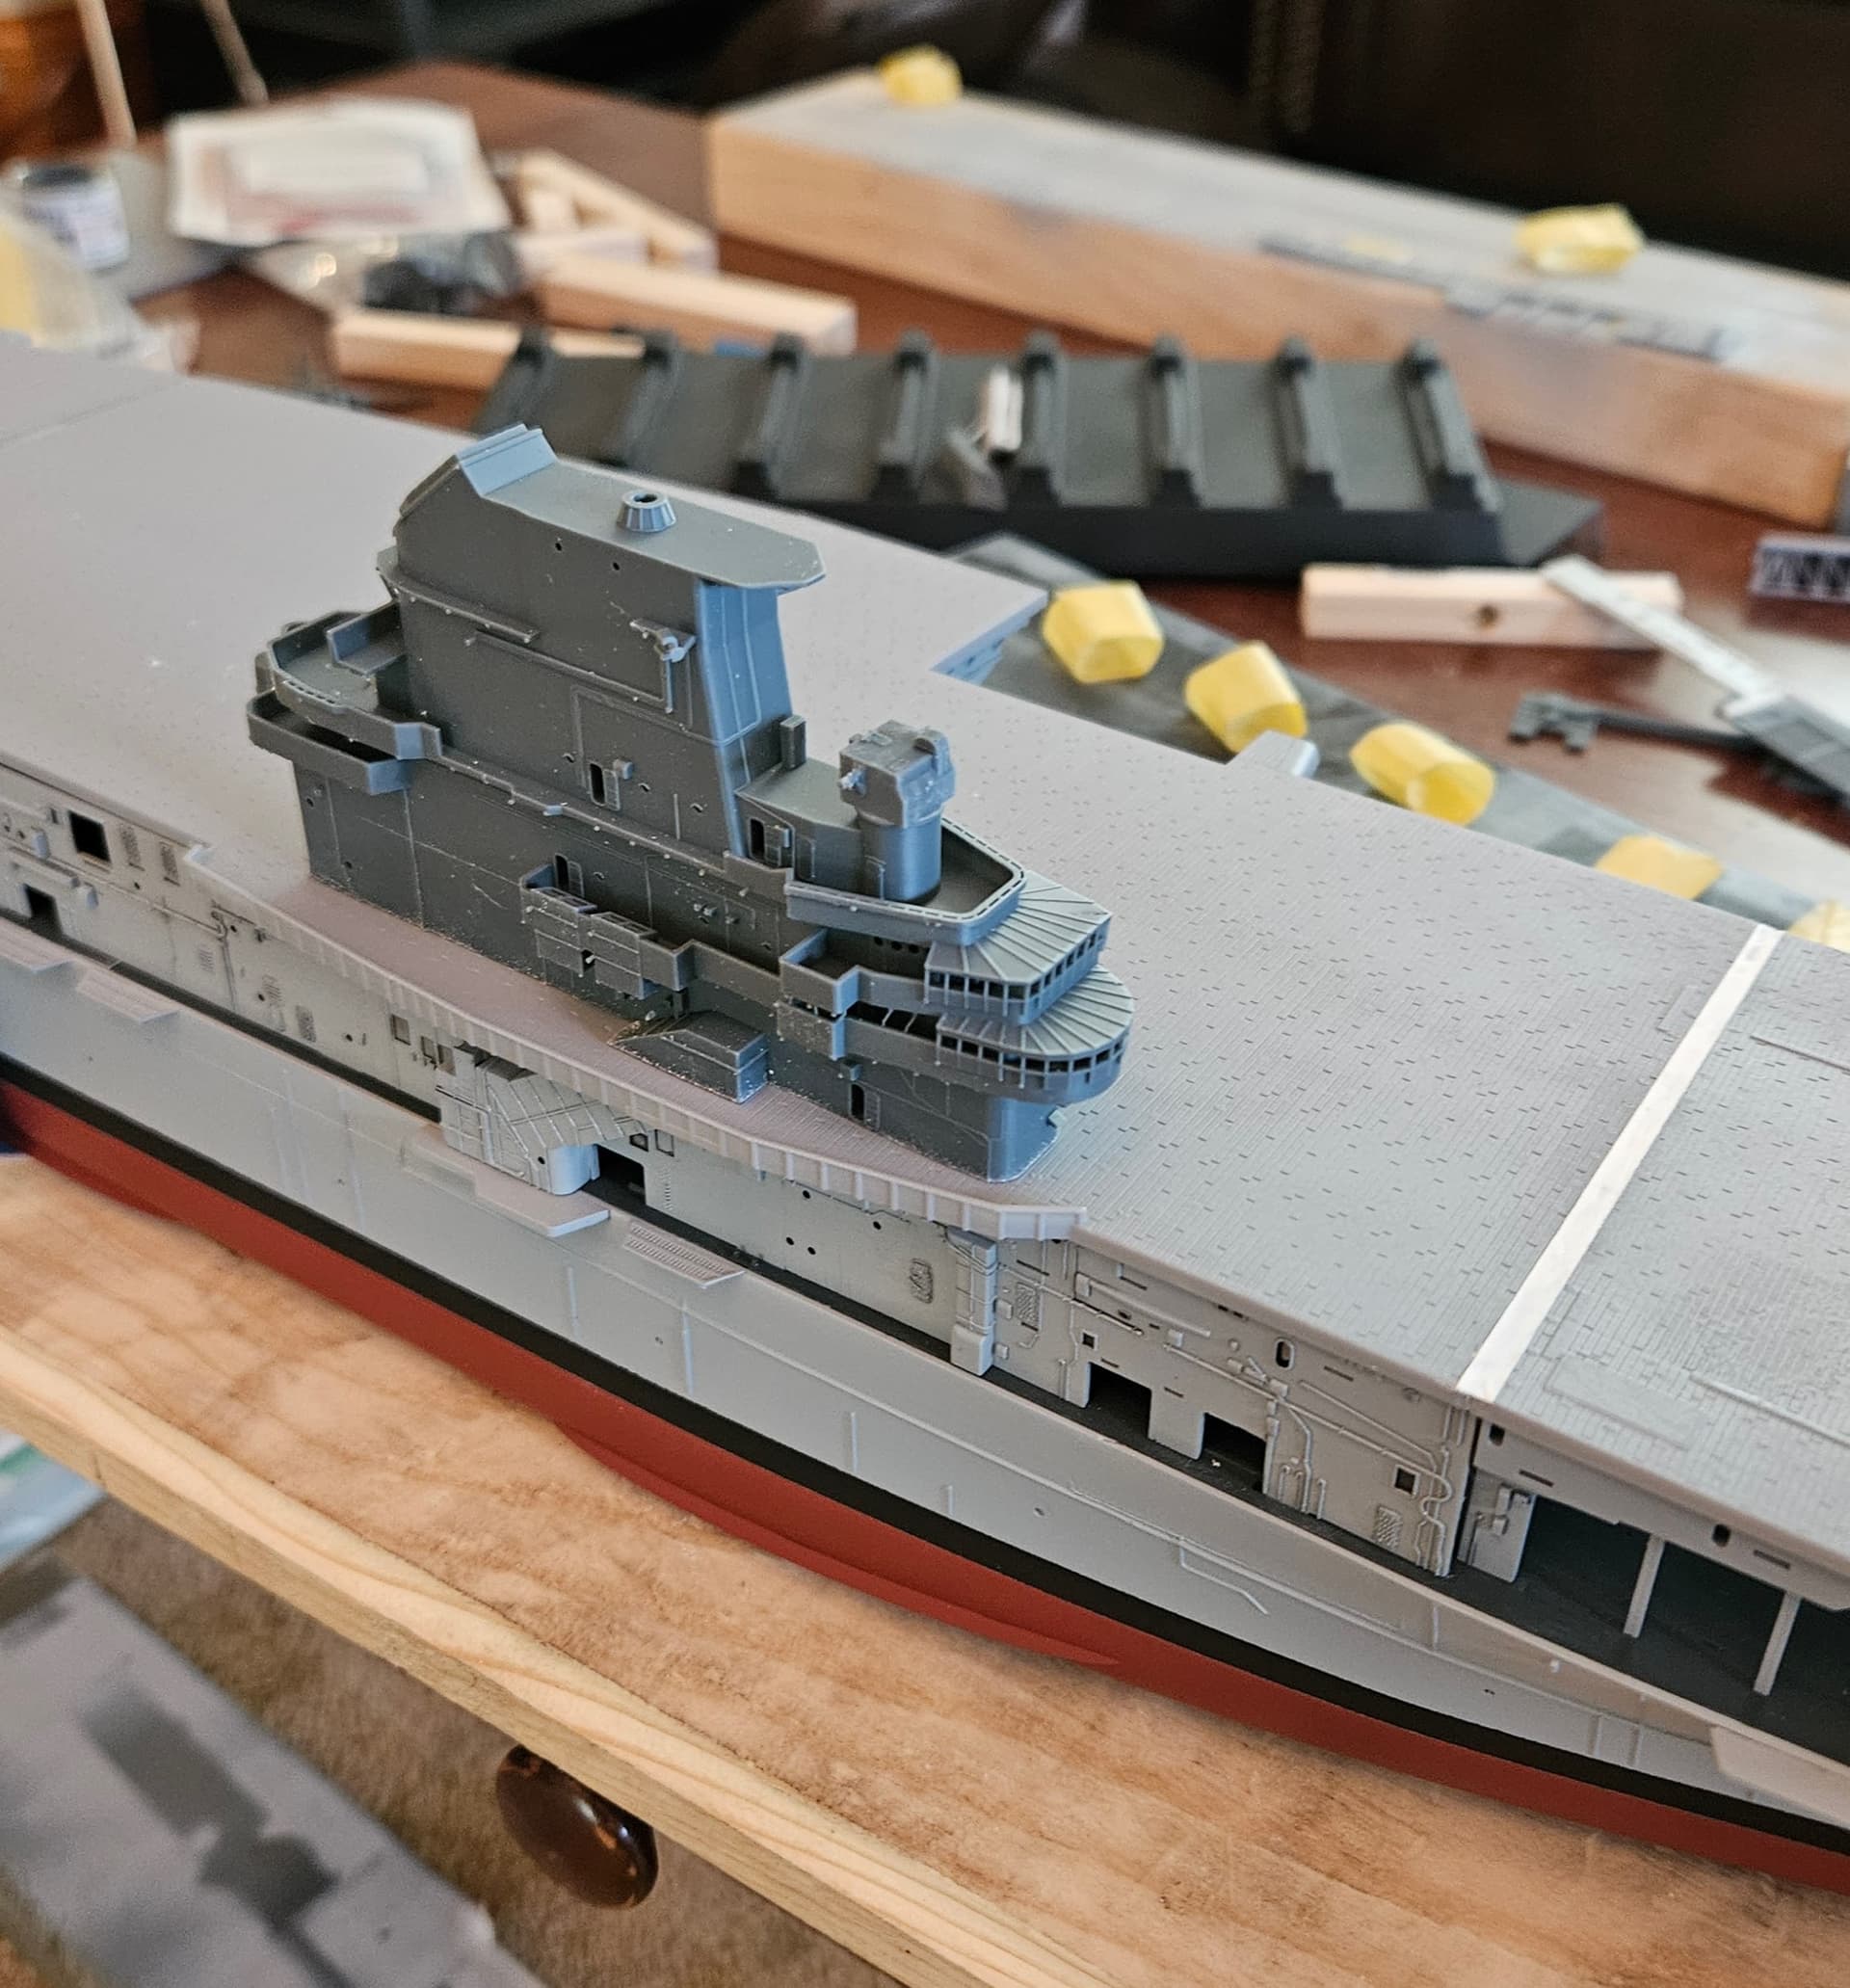
The Yorktown island from Model Monkey arrived today. I spent some time carefully removing all the supports, and my initial examination leads me to conclude that this was the right decision to replace the Hornet island. I still need to clean up the island, but the changes I need to make to it are relatively minor: add the SPS-8 platform on the starboard side, remove the extension on the top where the SPS-8 used to be (centerline), add four box-like structures on the port side and then run some cabling/piping in various places. I will likely get to that after I fix the bow, per my previous post.
1 Like
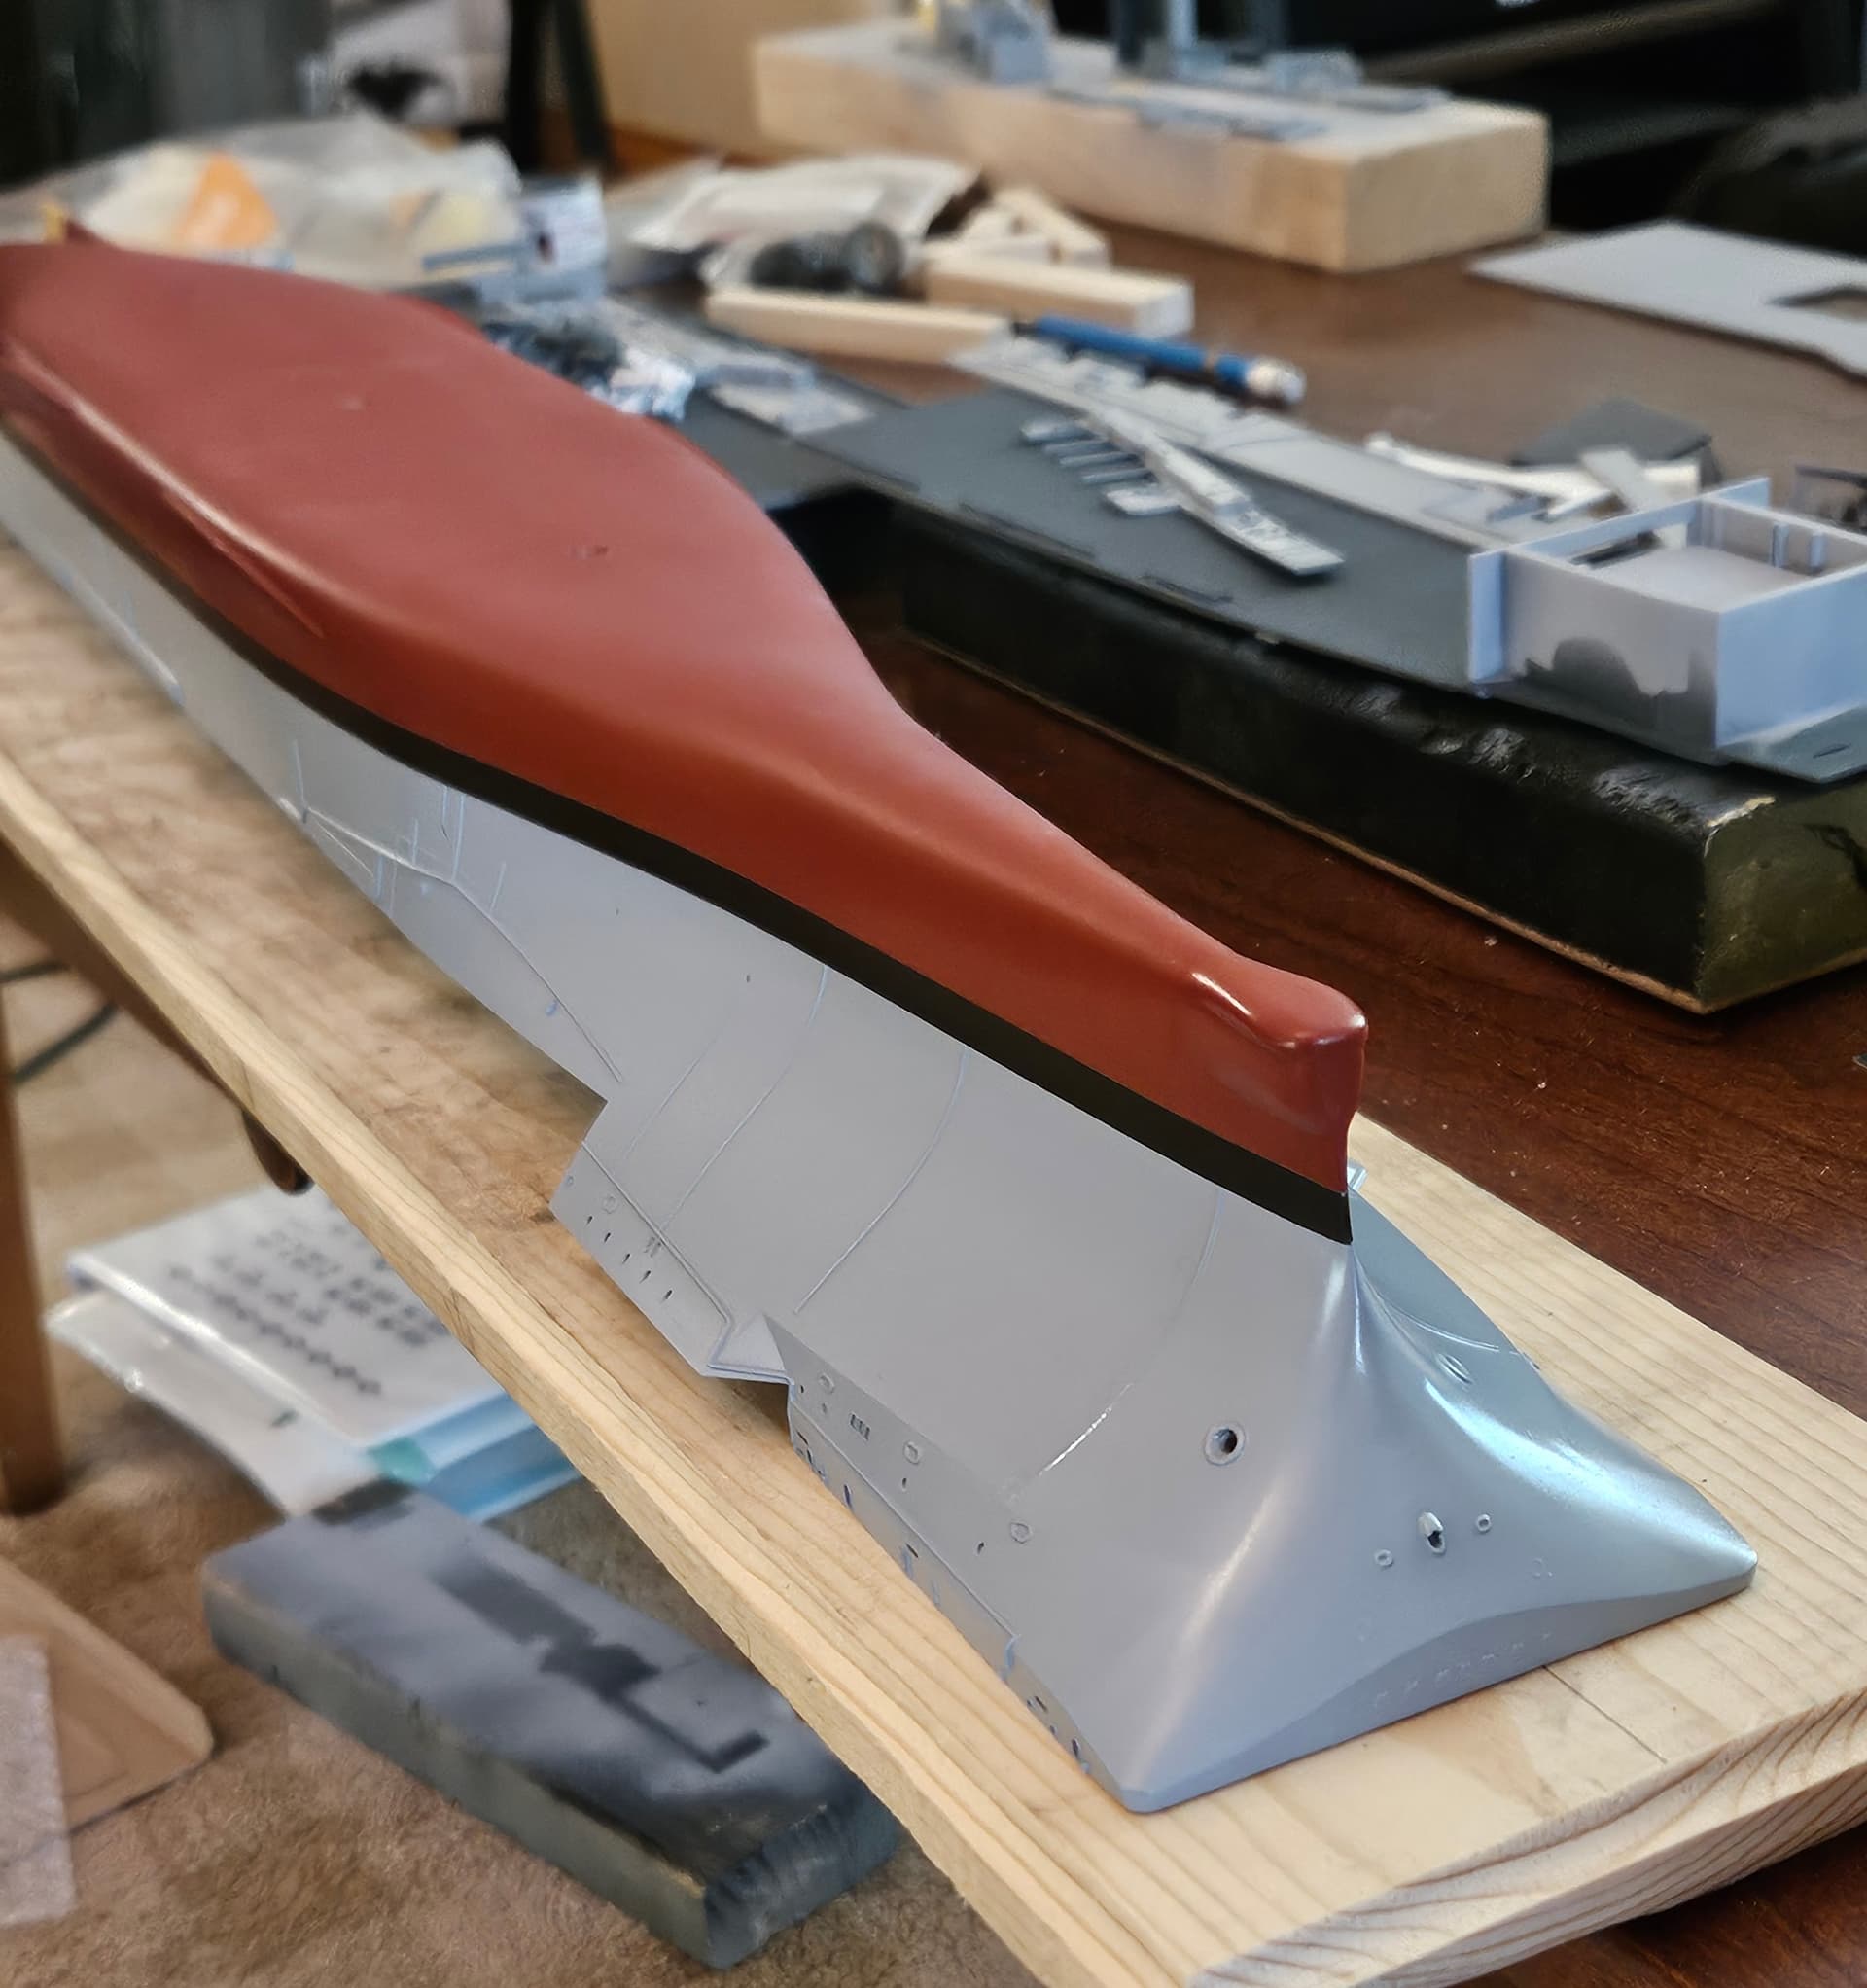
I started on fixing the bow to account for the lack of a centerline anchor on Hornet. Today I removed the hawsepipe and filled the hole with piece of styrene rod and sprue goo. It turned out good so far. I found a few holes and will fill and sand those tomorrow. I will also fill the anchor fluke recesses. Given the size of the recesses, I think Milliput will be my best option there. I’m hoping I can shape and smooth it well enough to minimize sanding and damaging more of the finish at the bow. I also took the opportunity to fix some seams where my resin spacer piece joined the bow.
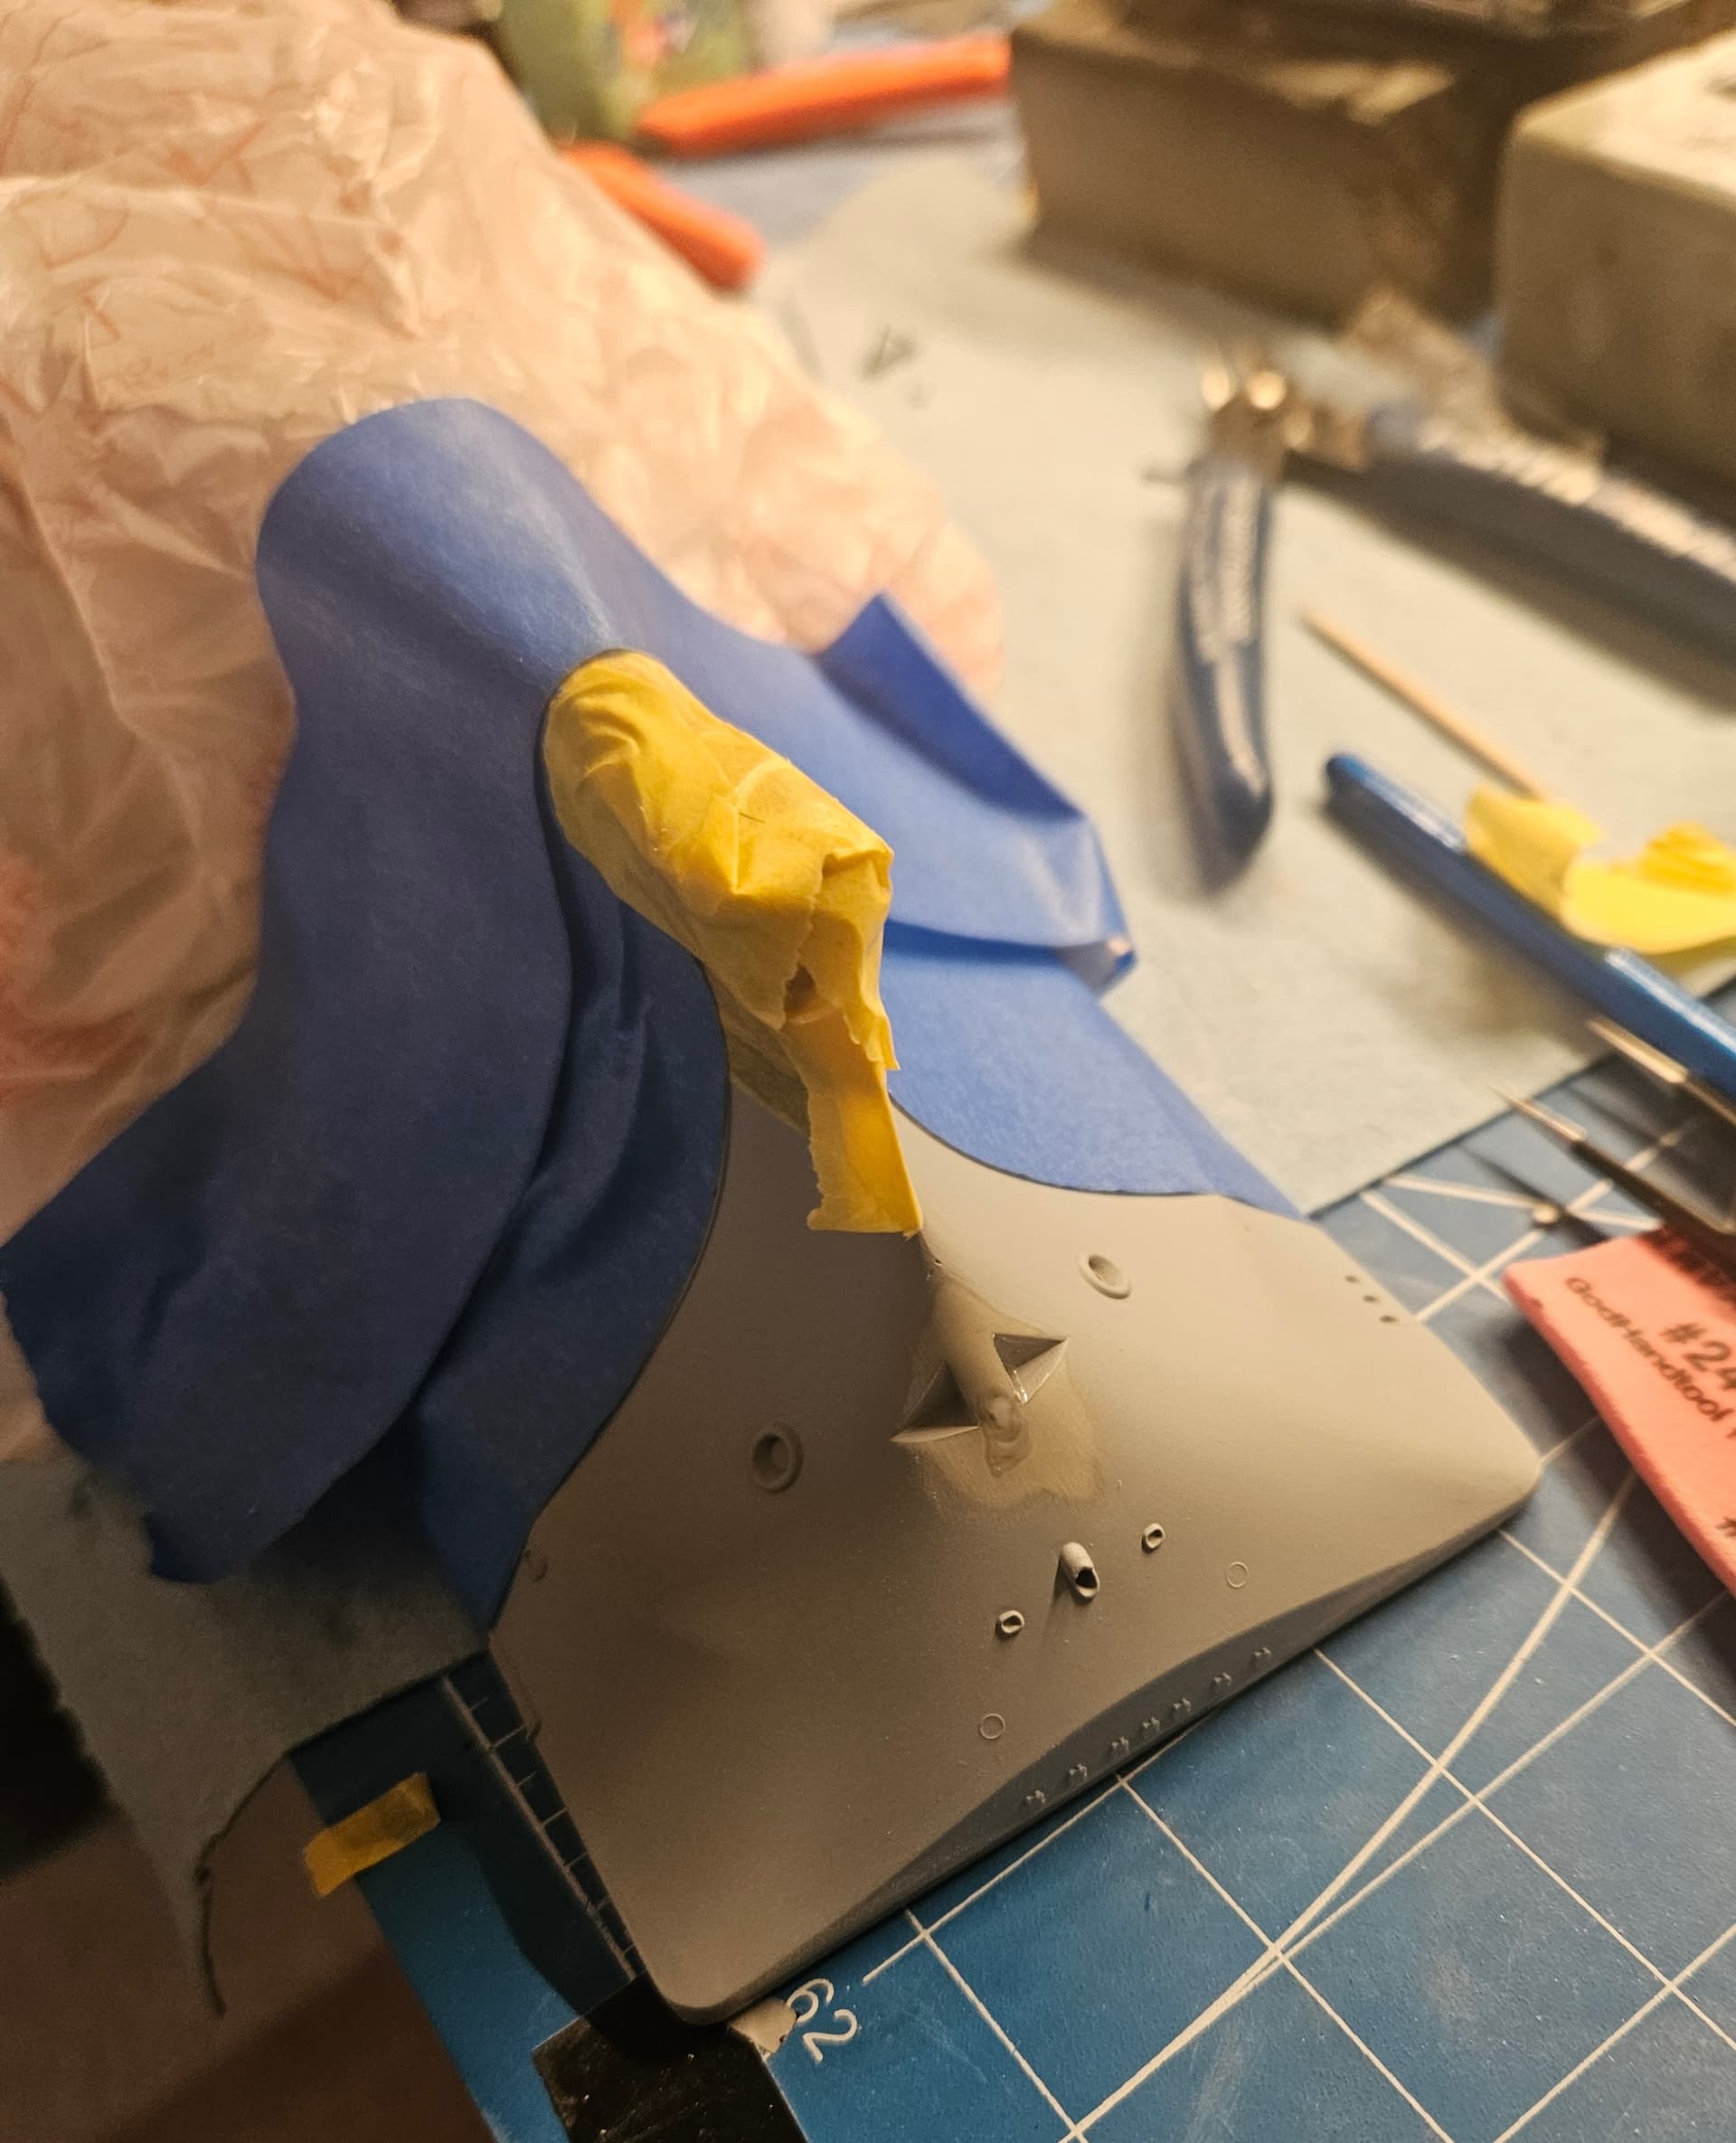
1 Like
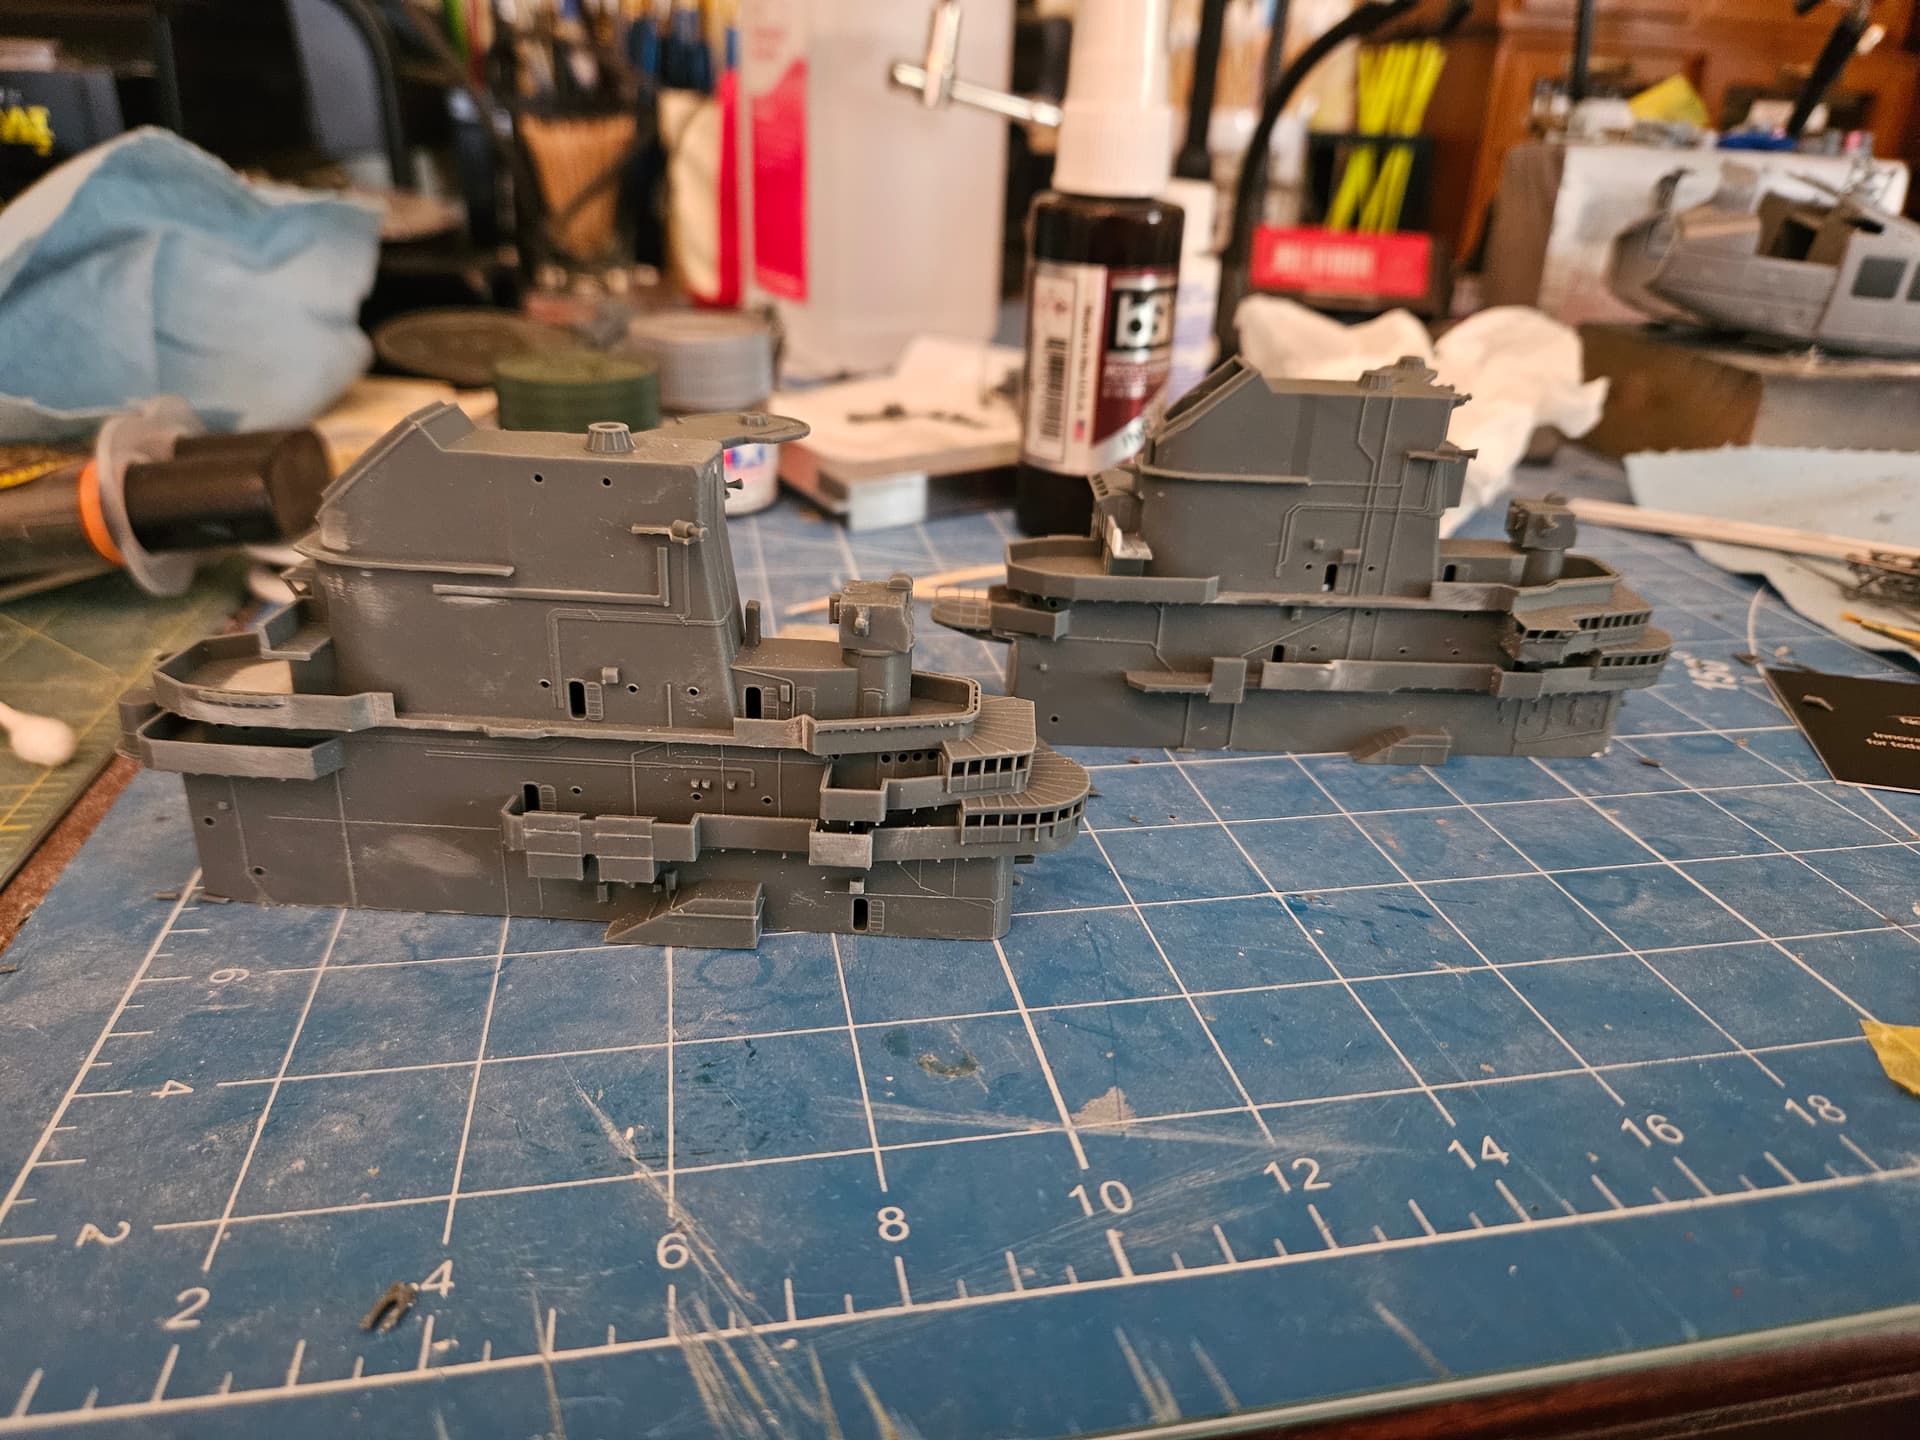
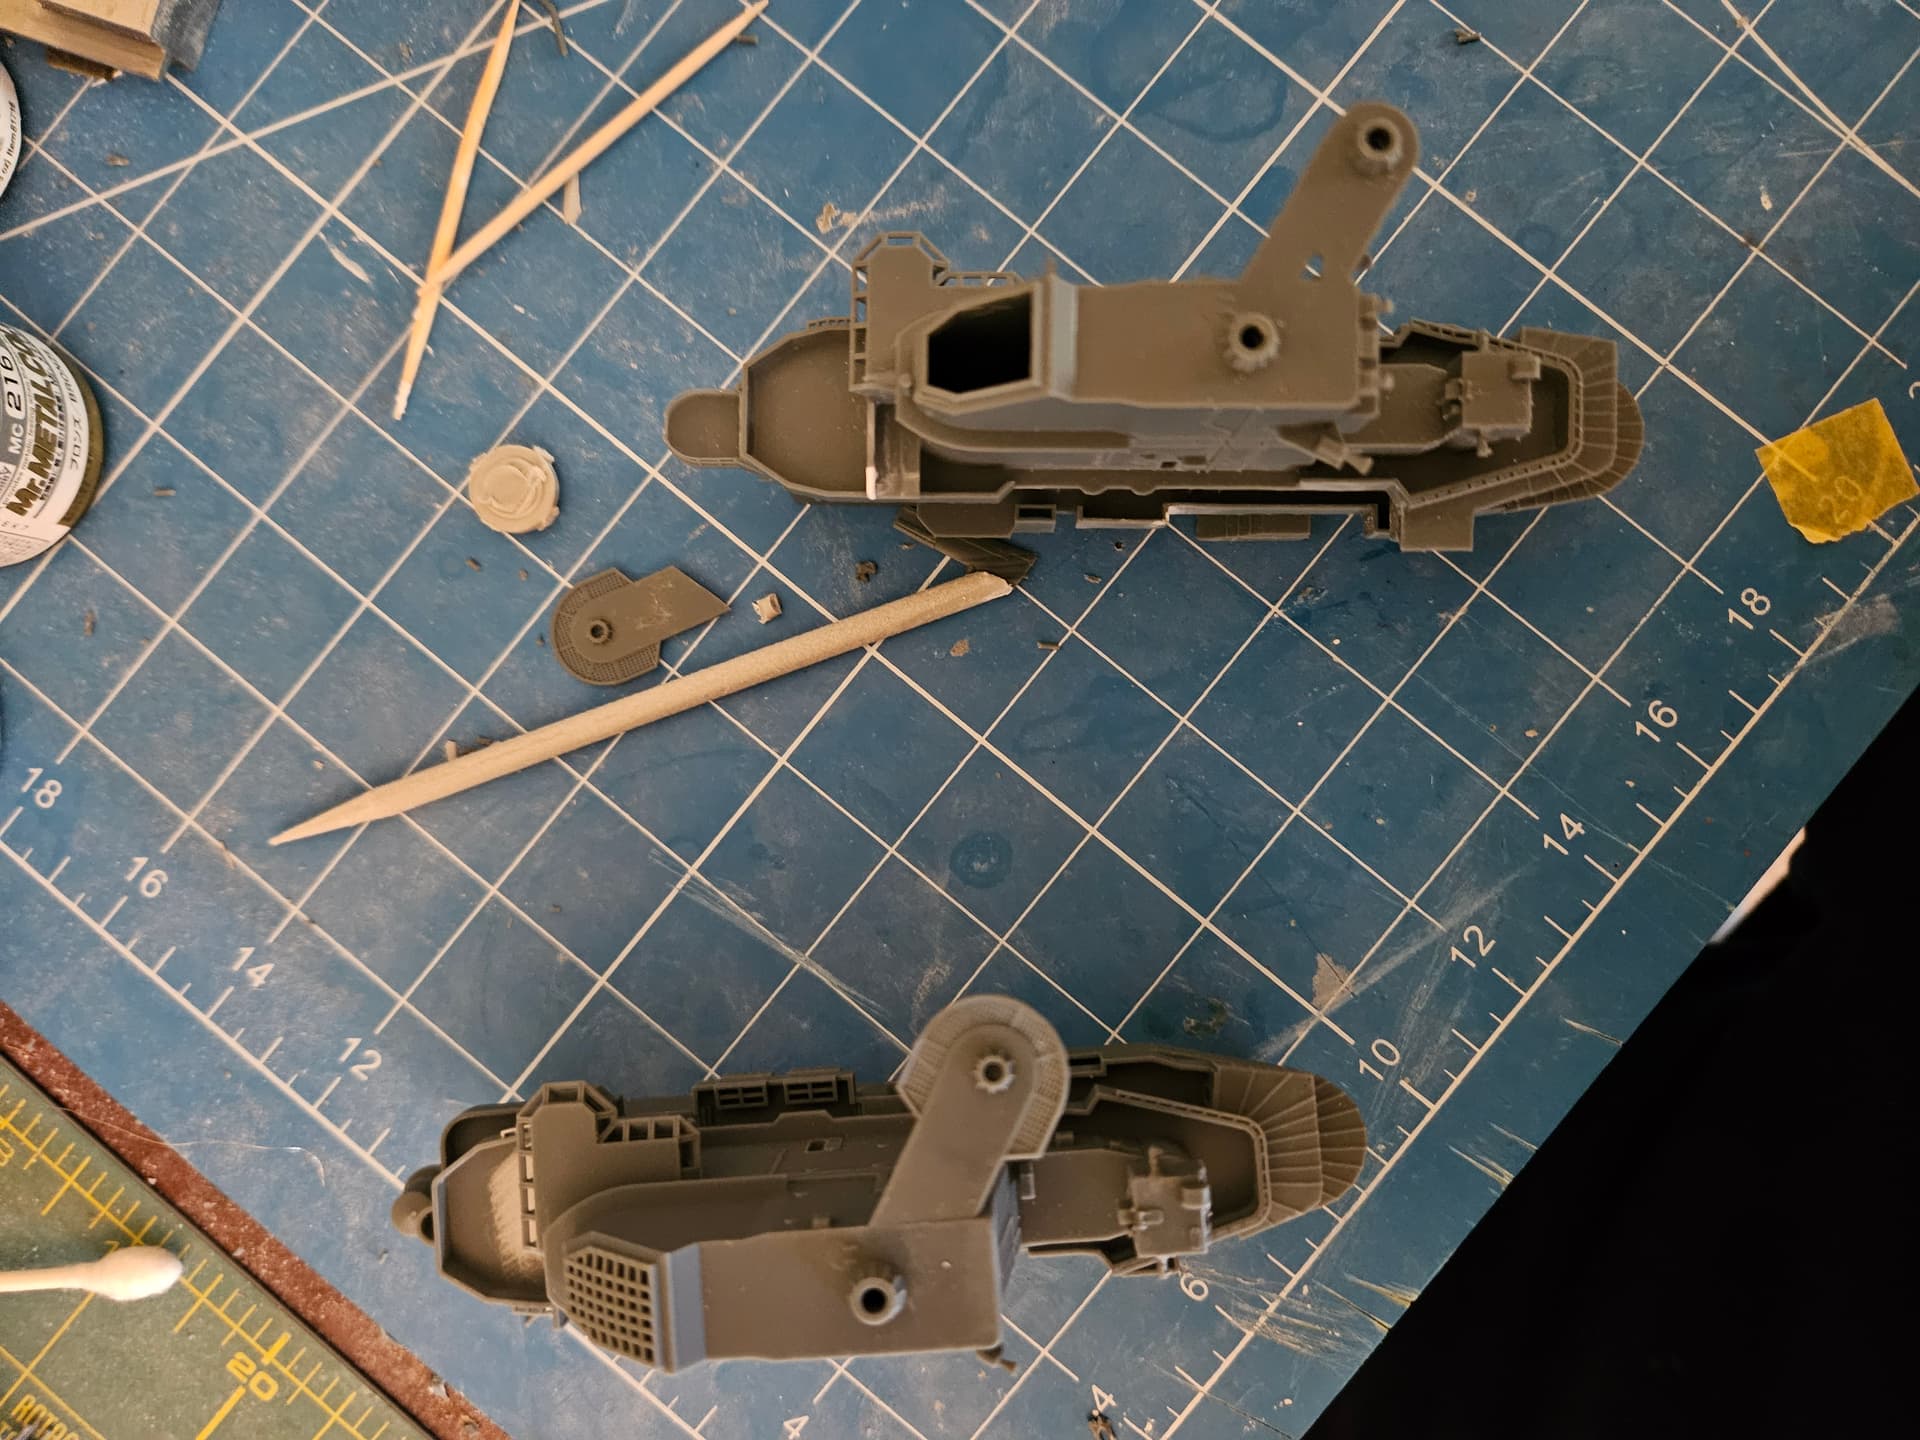
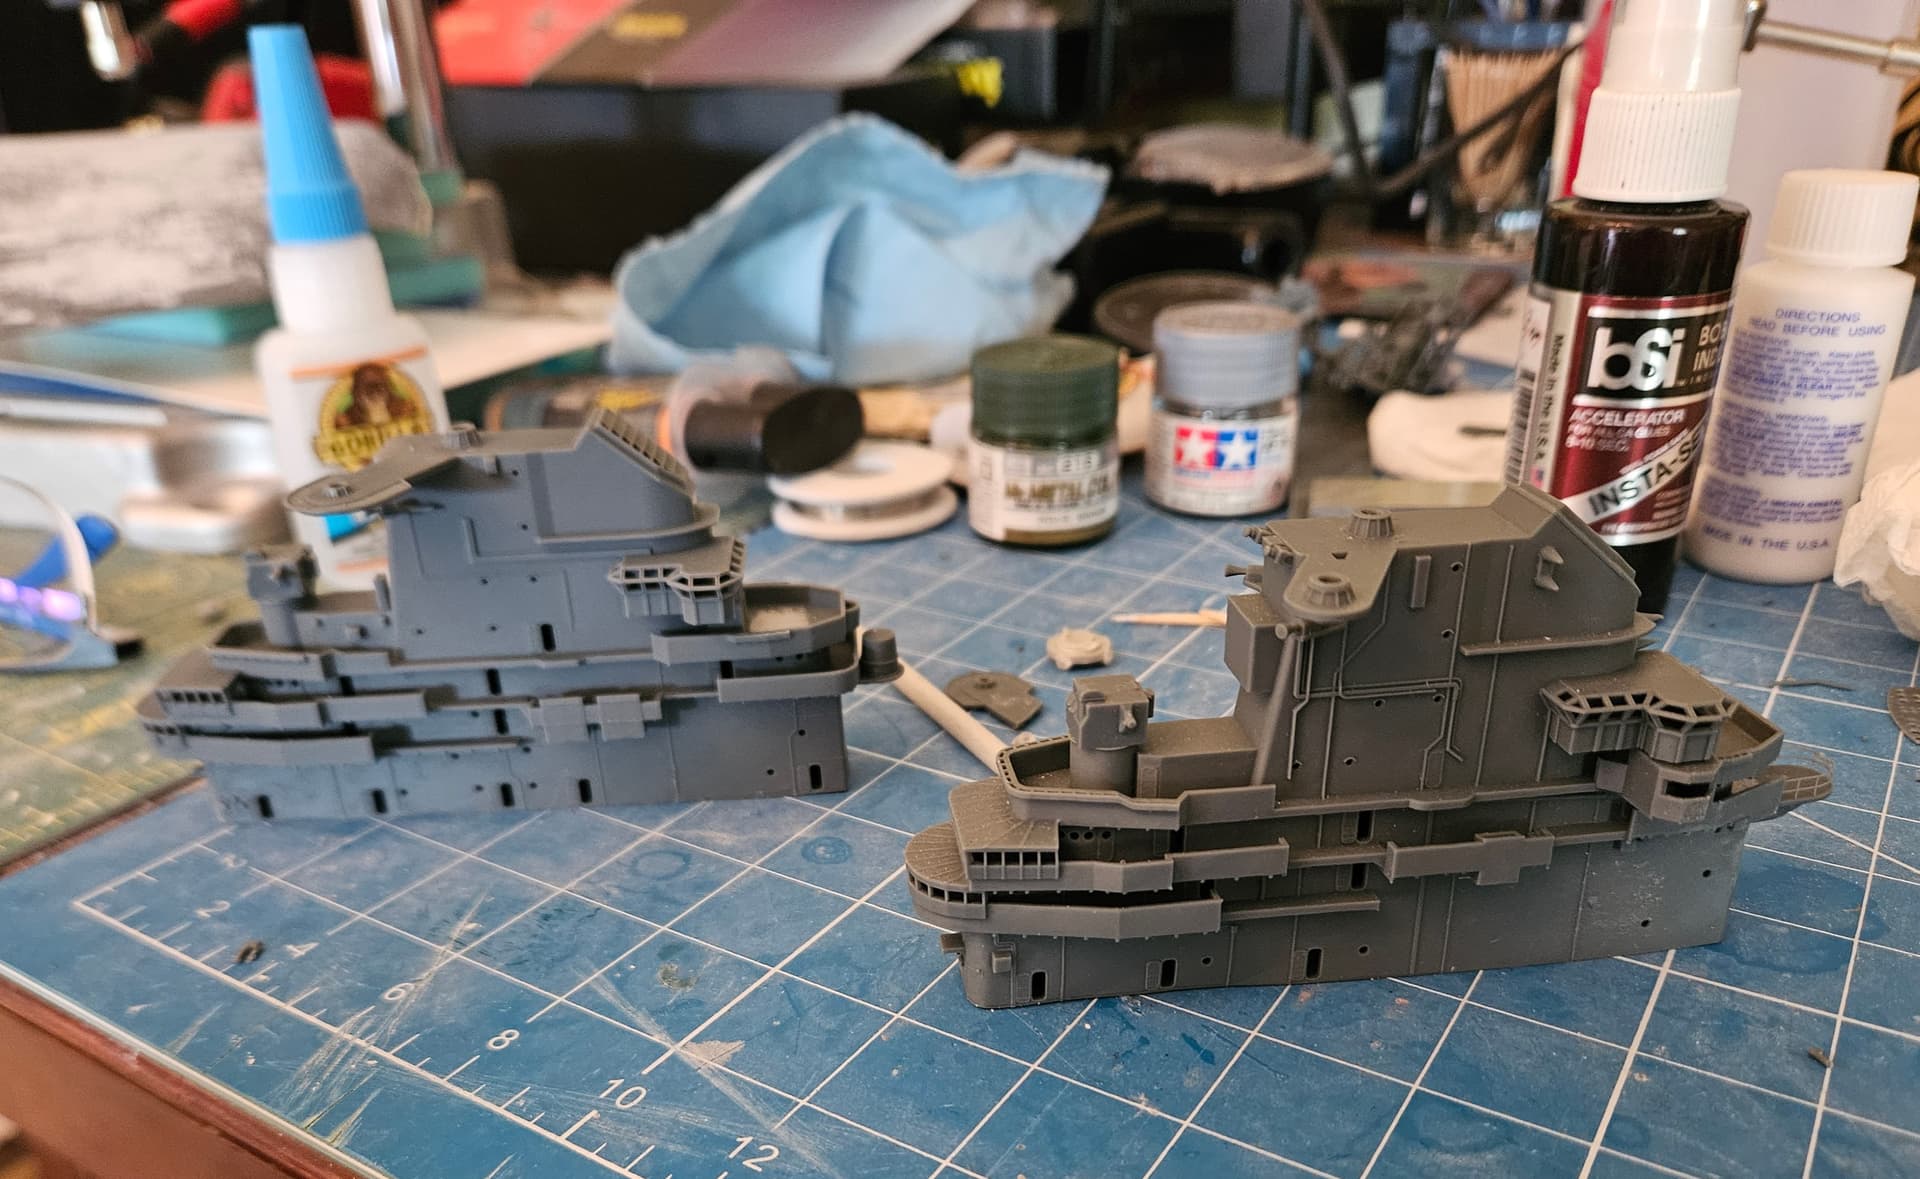
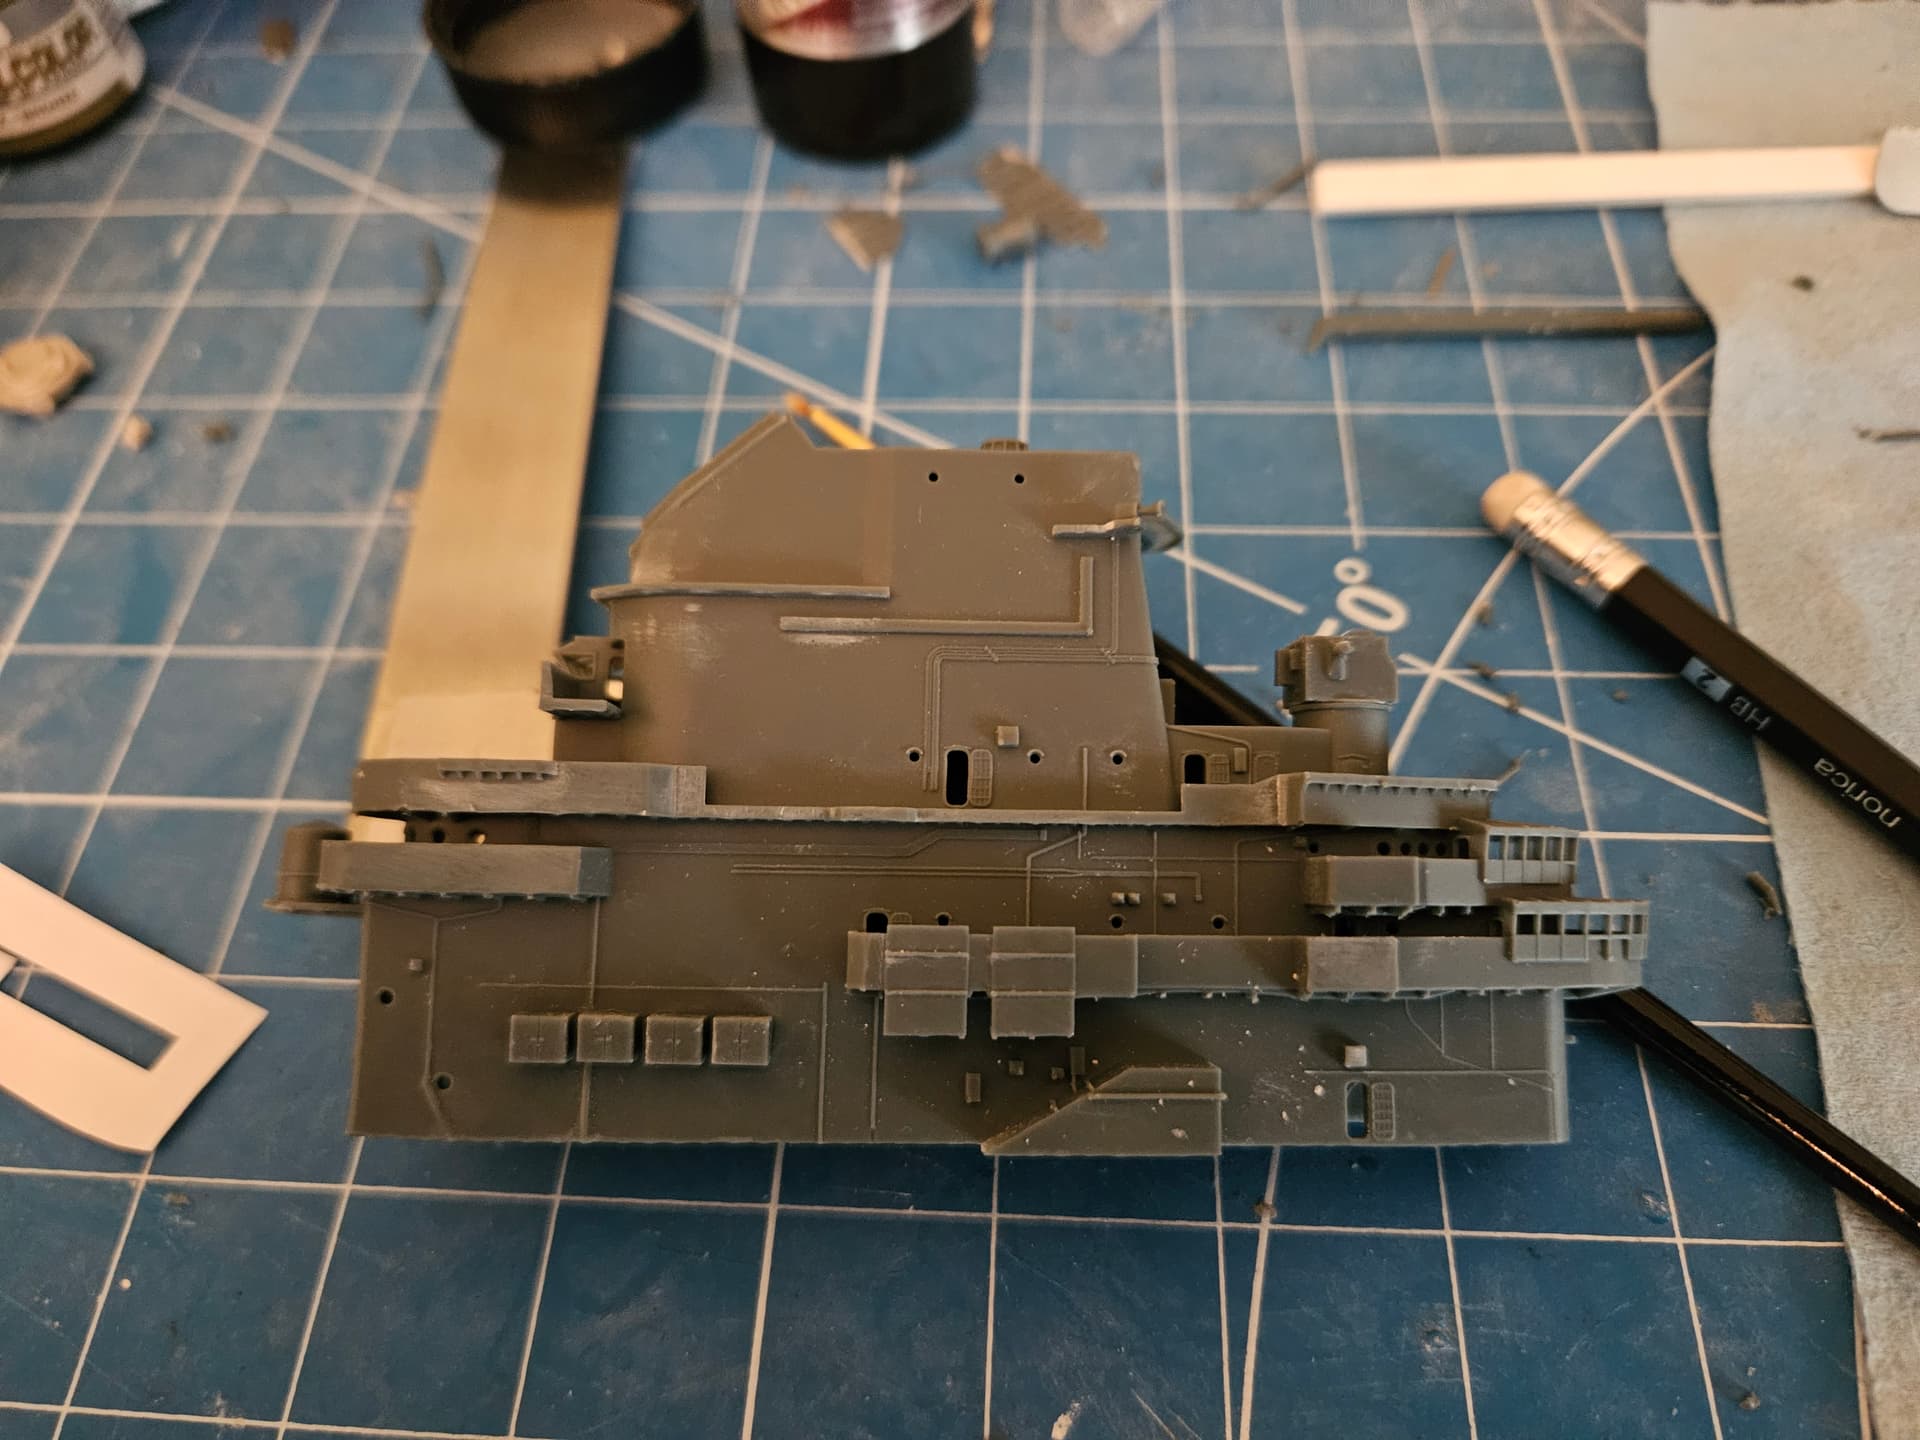
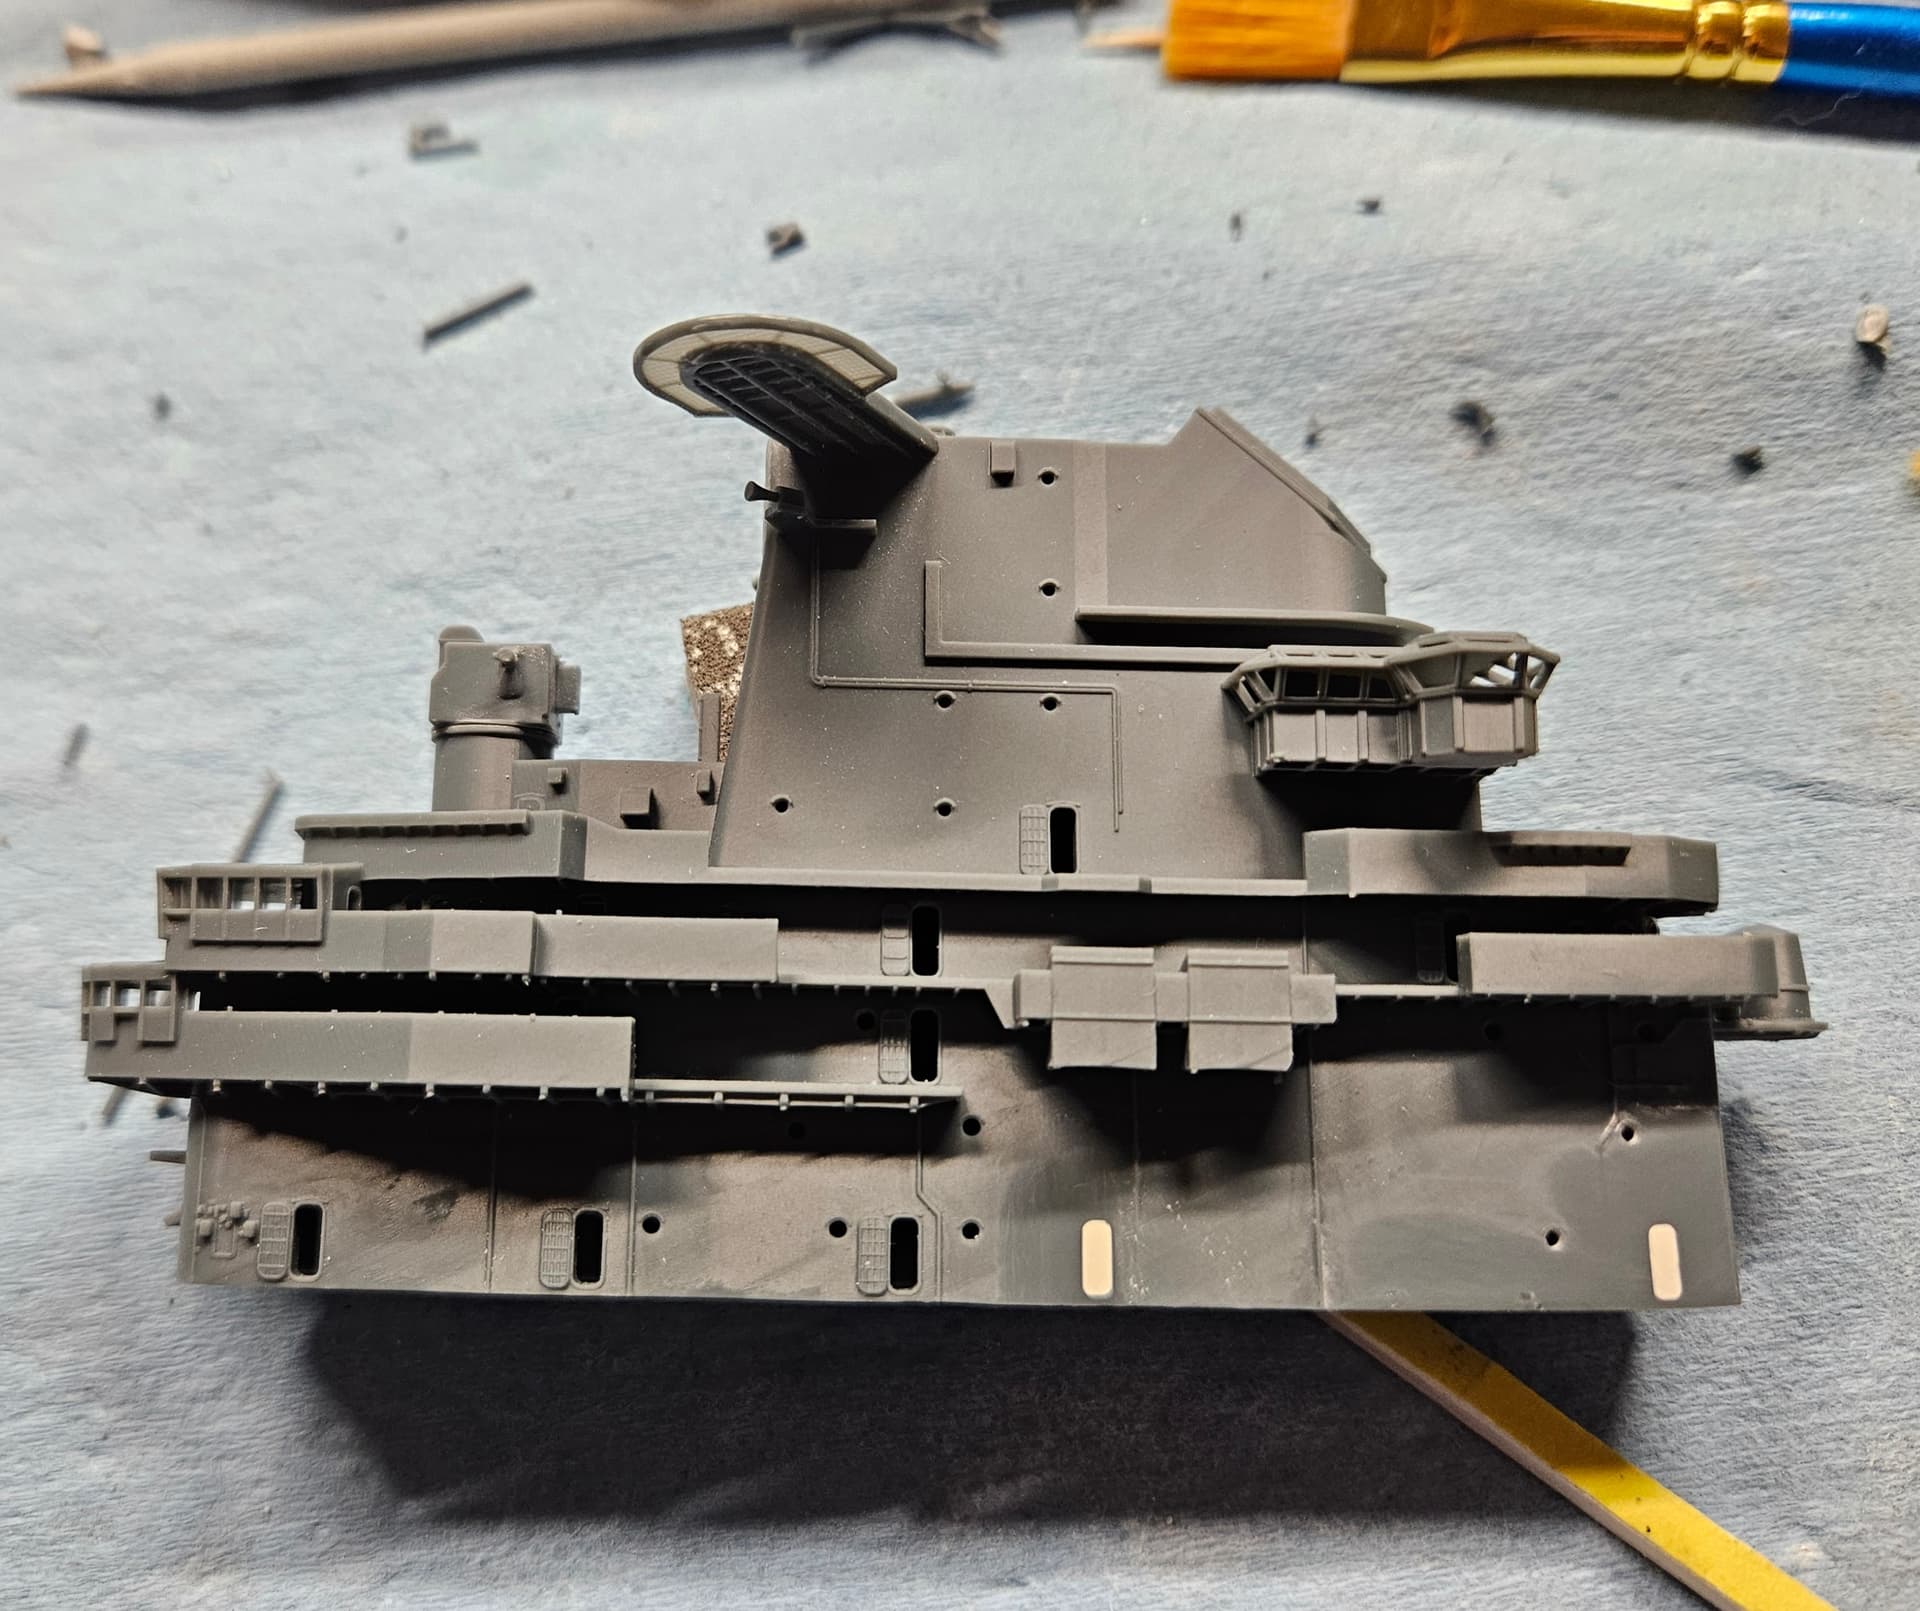
I worked on the new Model Monkey Yorktown island today. I trimmed off the SPS-8 mounting platform on the top centerline and added the one I 3D printed on the top port side of the island. The Yorktown island is to the left in the photos. I added the safety netting to my print to avoid delicate fiddly PE work. The Hornet island from 1969 is alongside for comparison. No big box on the front of the island–correct for 1959 Hornet–and also note that the starboard bridge is much more enclosed on 1969 Hornet than it was in 1959, with the Yorktown again being correct. Added bonus is that the Yorktown island has the grating over the stack exhaust. Flag bags are correct on Yorktown for 1959 Hornet as well, and I only have to add some wiring and piping, along with 4 storage lockers on the starboard side, and I should have a very accurate representation of the 1959 Hornet’s island.
1 Like
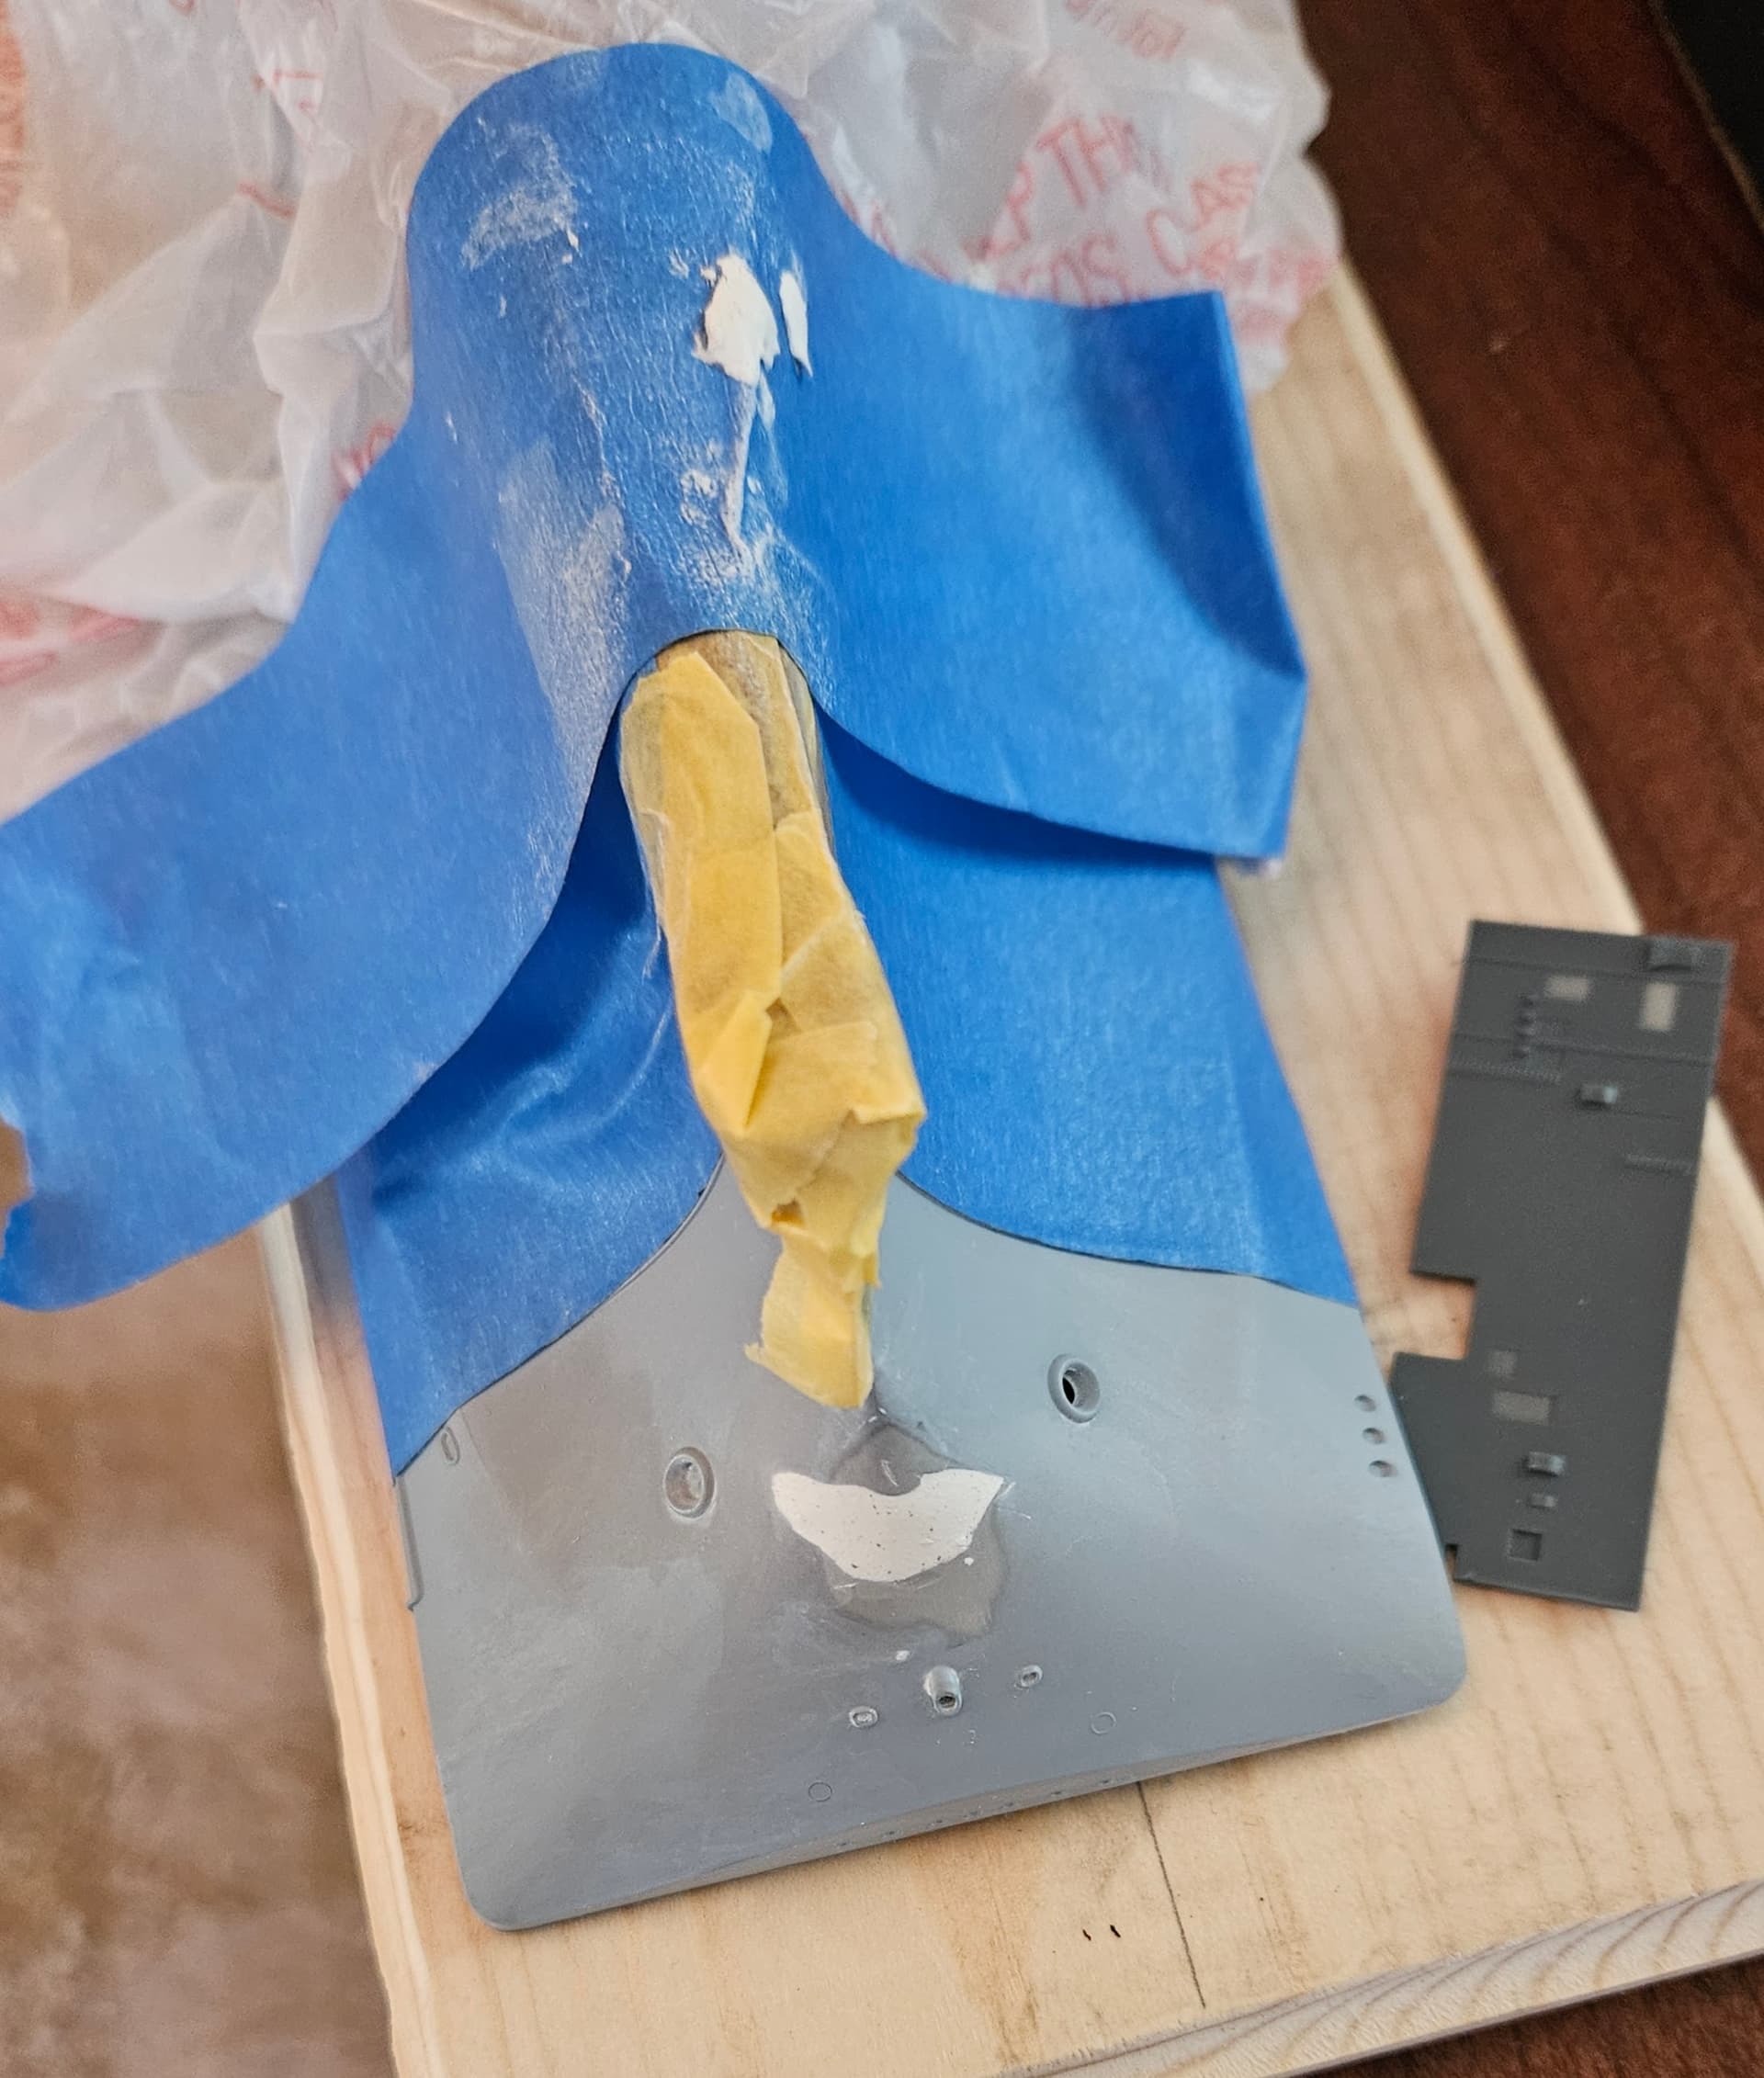
Milliput is in place on the fluke recesses and is being left to cure overnight before I start sanding/shaping tomorrow.
1 Like
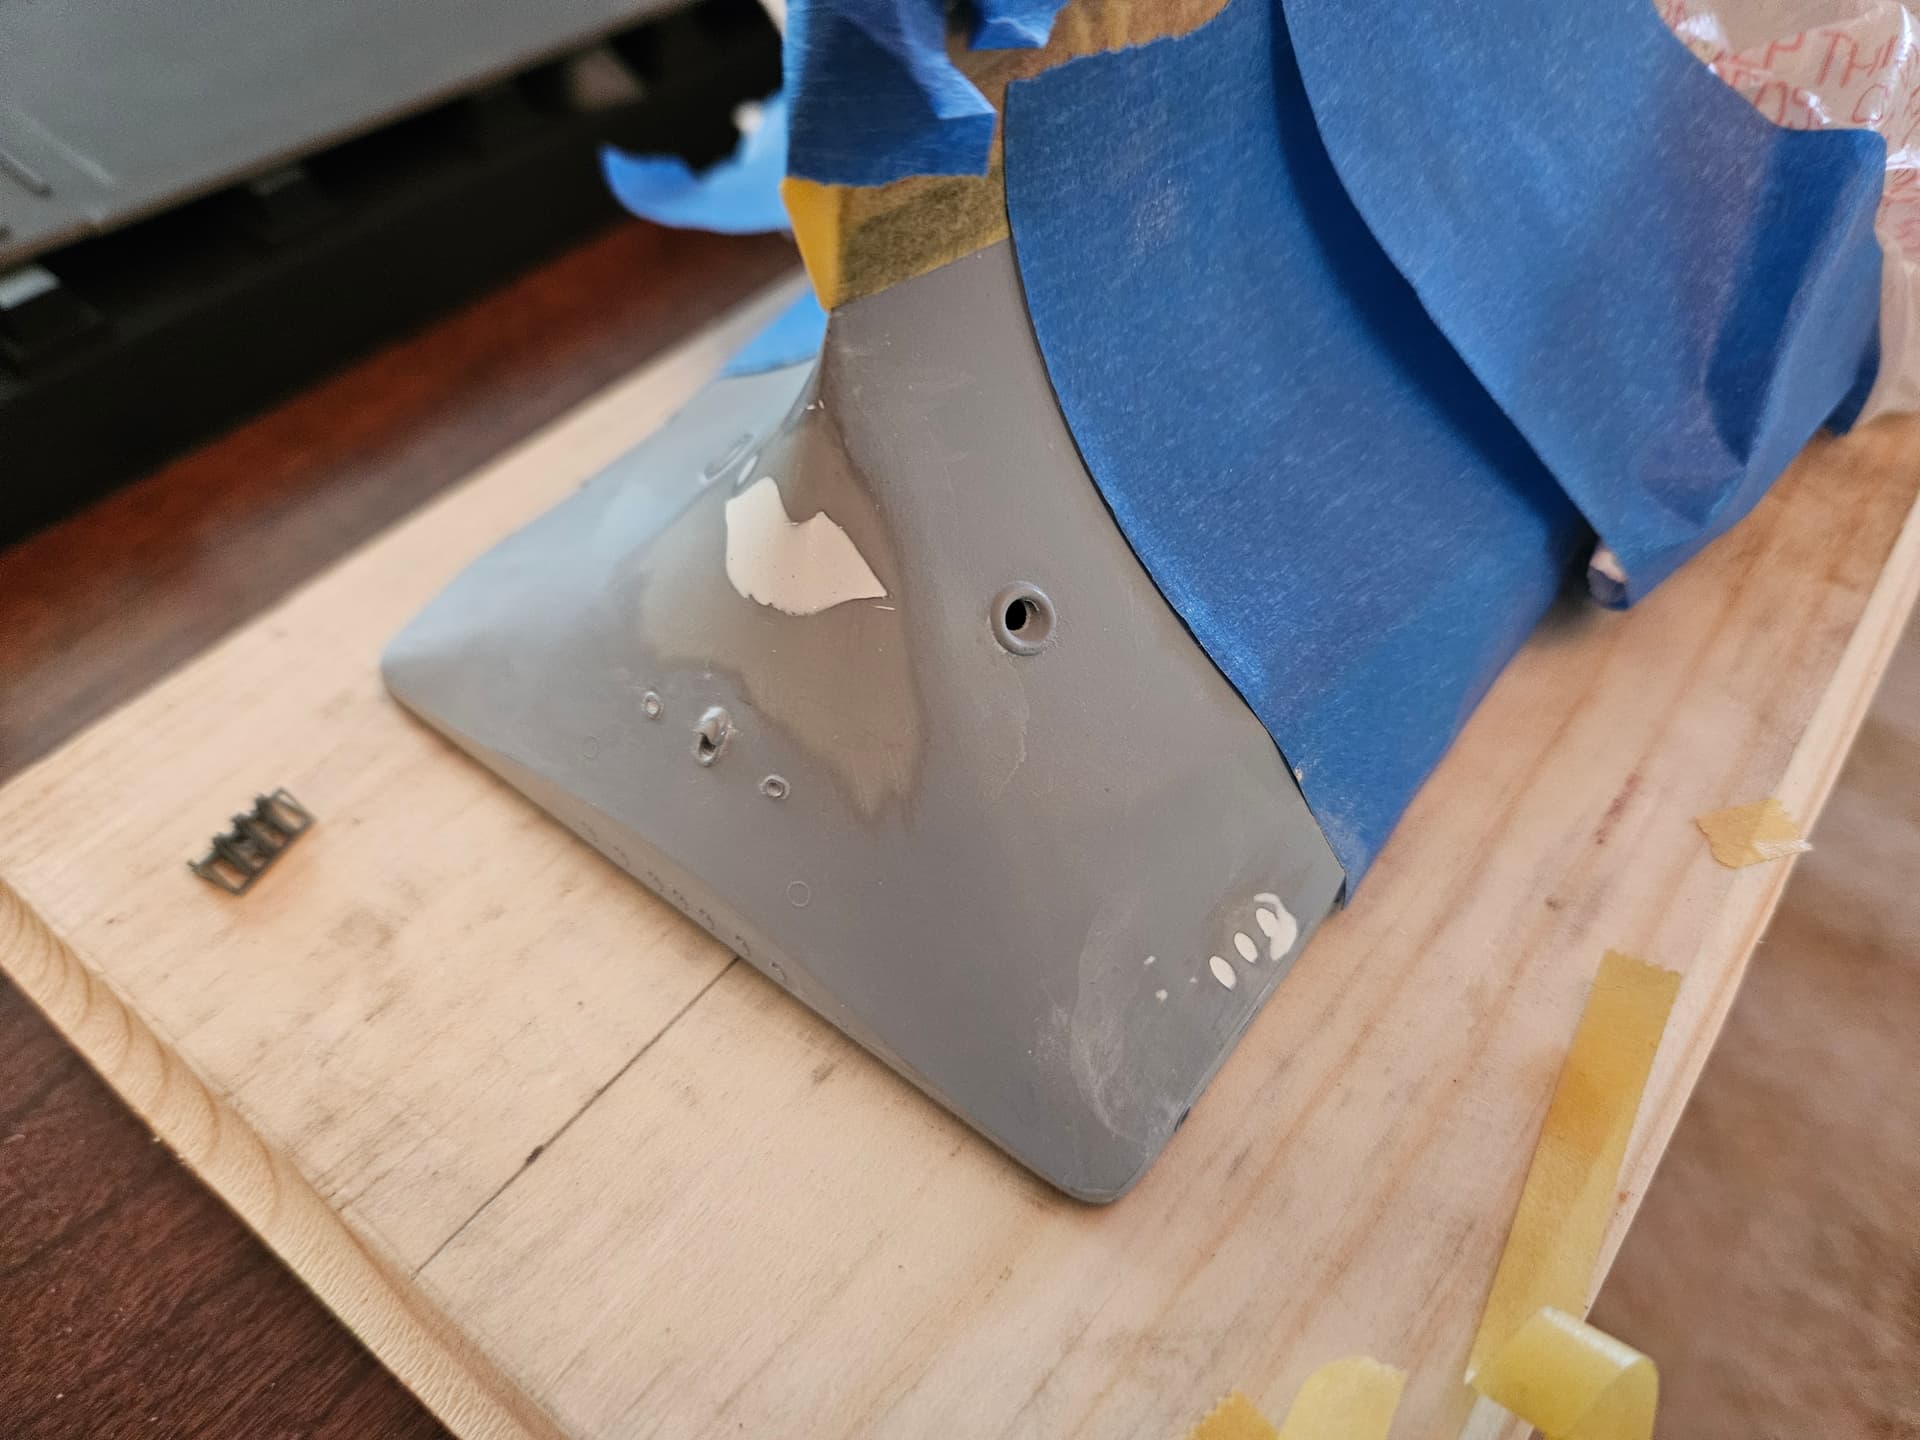
The Milliput really did well in these gaps. I wet-sanded today and everything looks very smooth and conforming to the hull shape. The true test will be tomorrow, when I prime, but there were 3 holes in the upper starboard port of the hull that do not appear on the Hornet, so I took some of the Milliput I had left over from the freezer (you can store it for days that way) and filled those holes today. I also installed the four life jacket storage lockers on the starboard side of the island.
1 Like
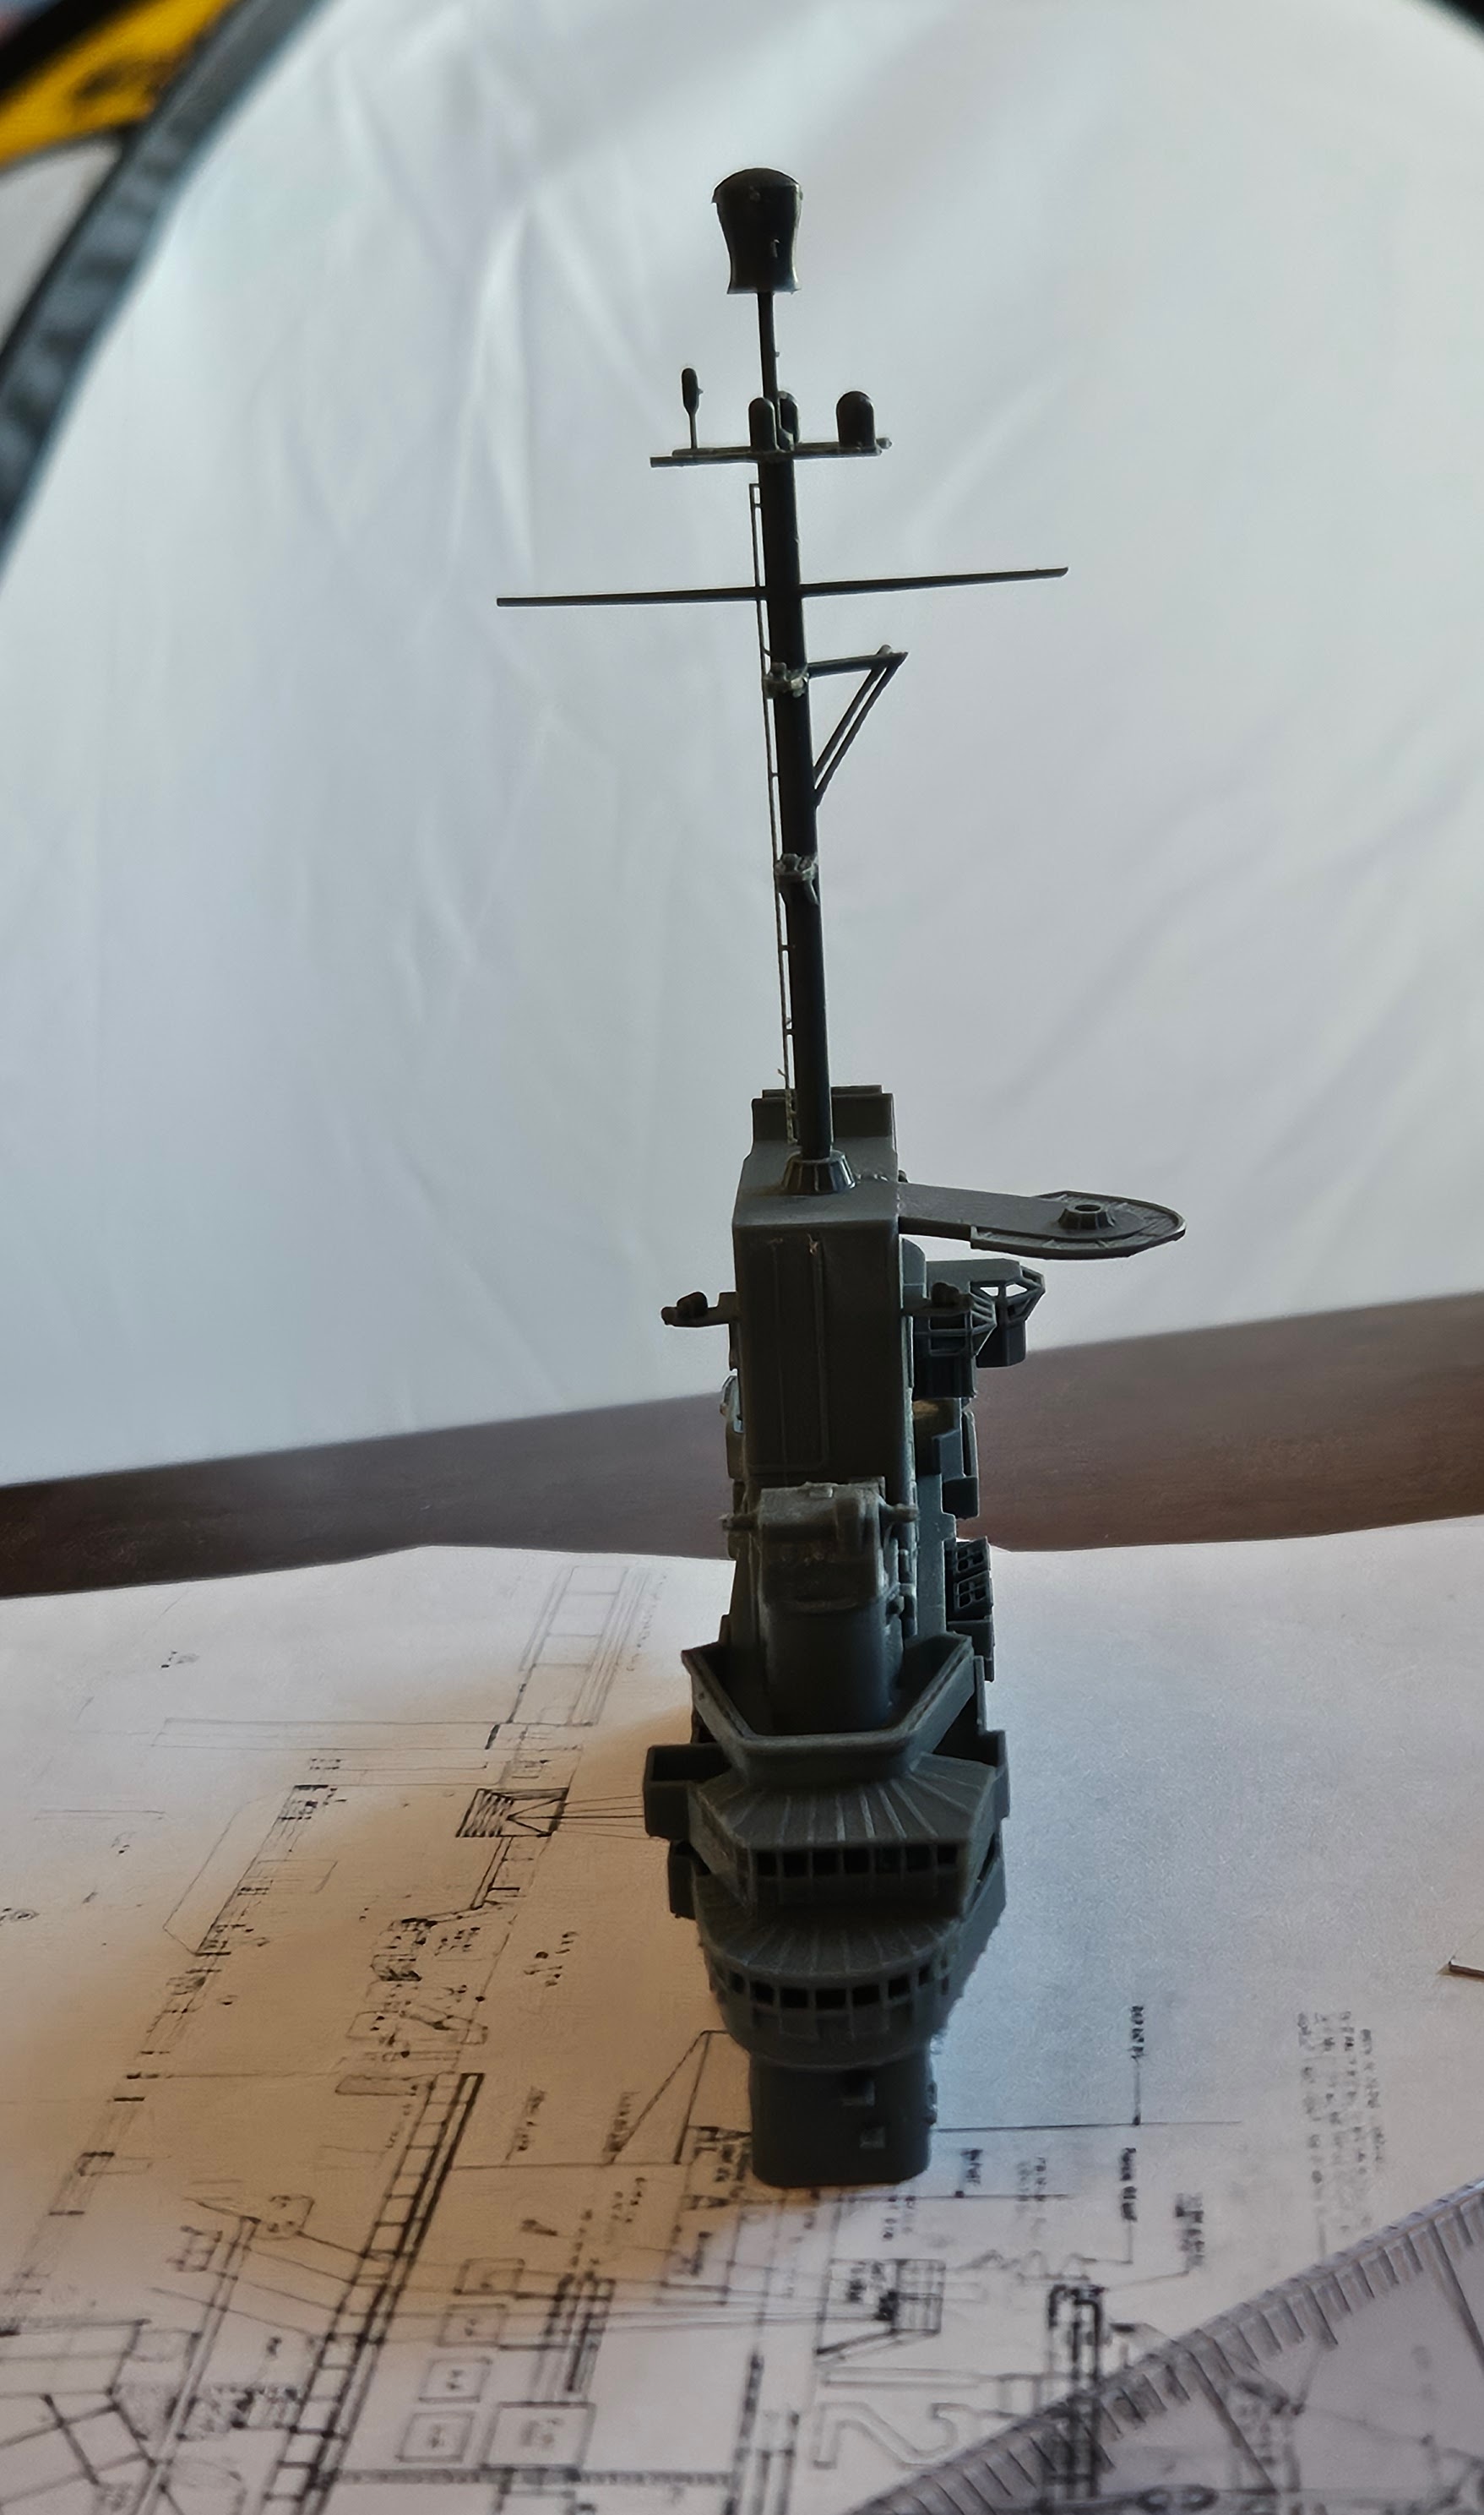
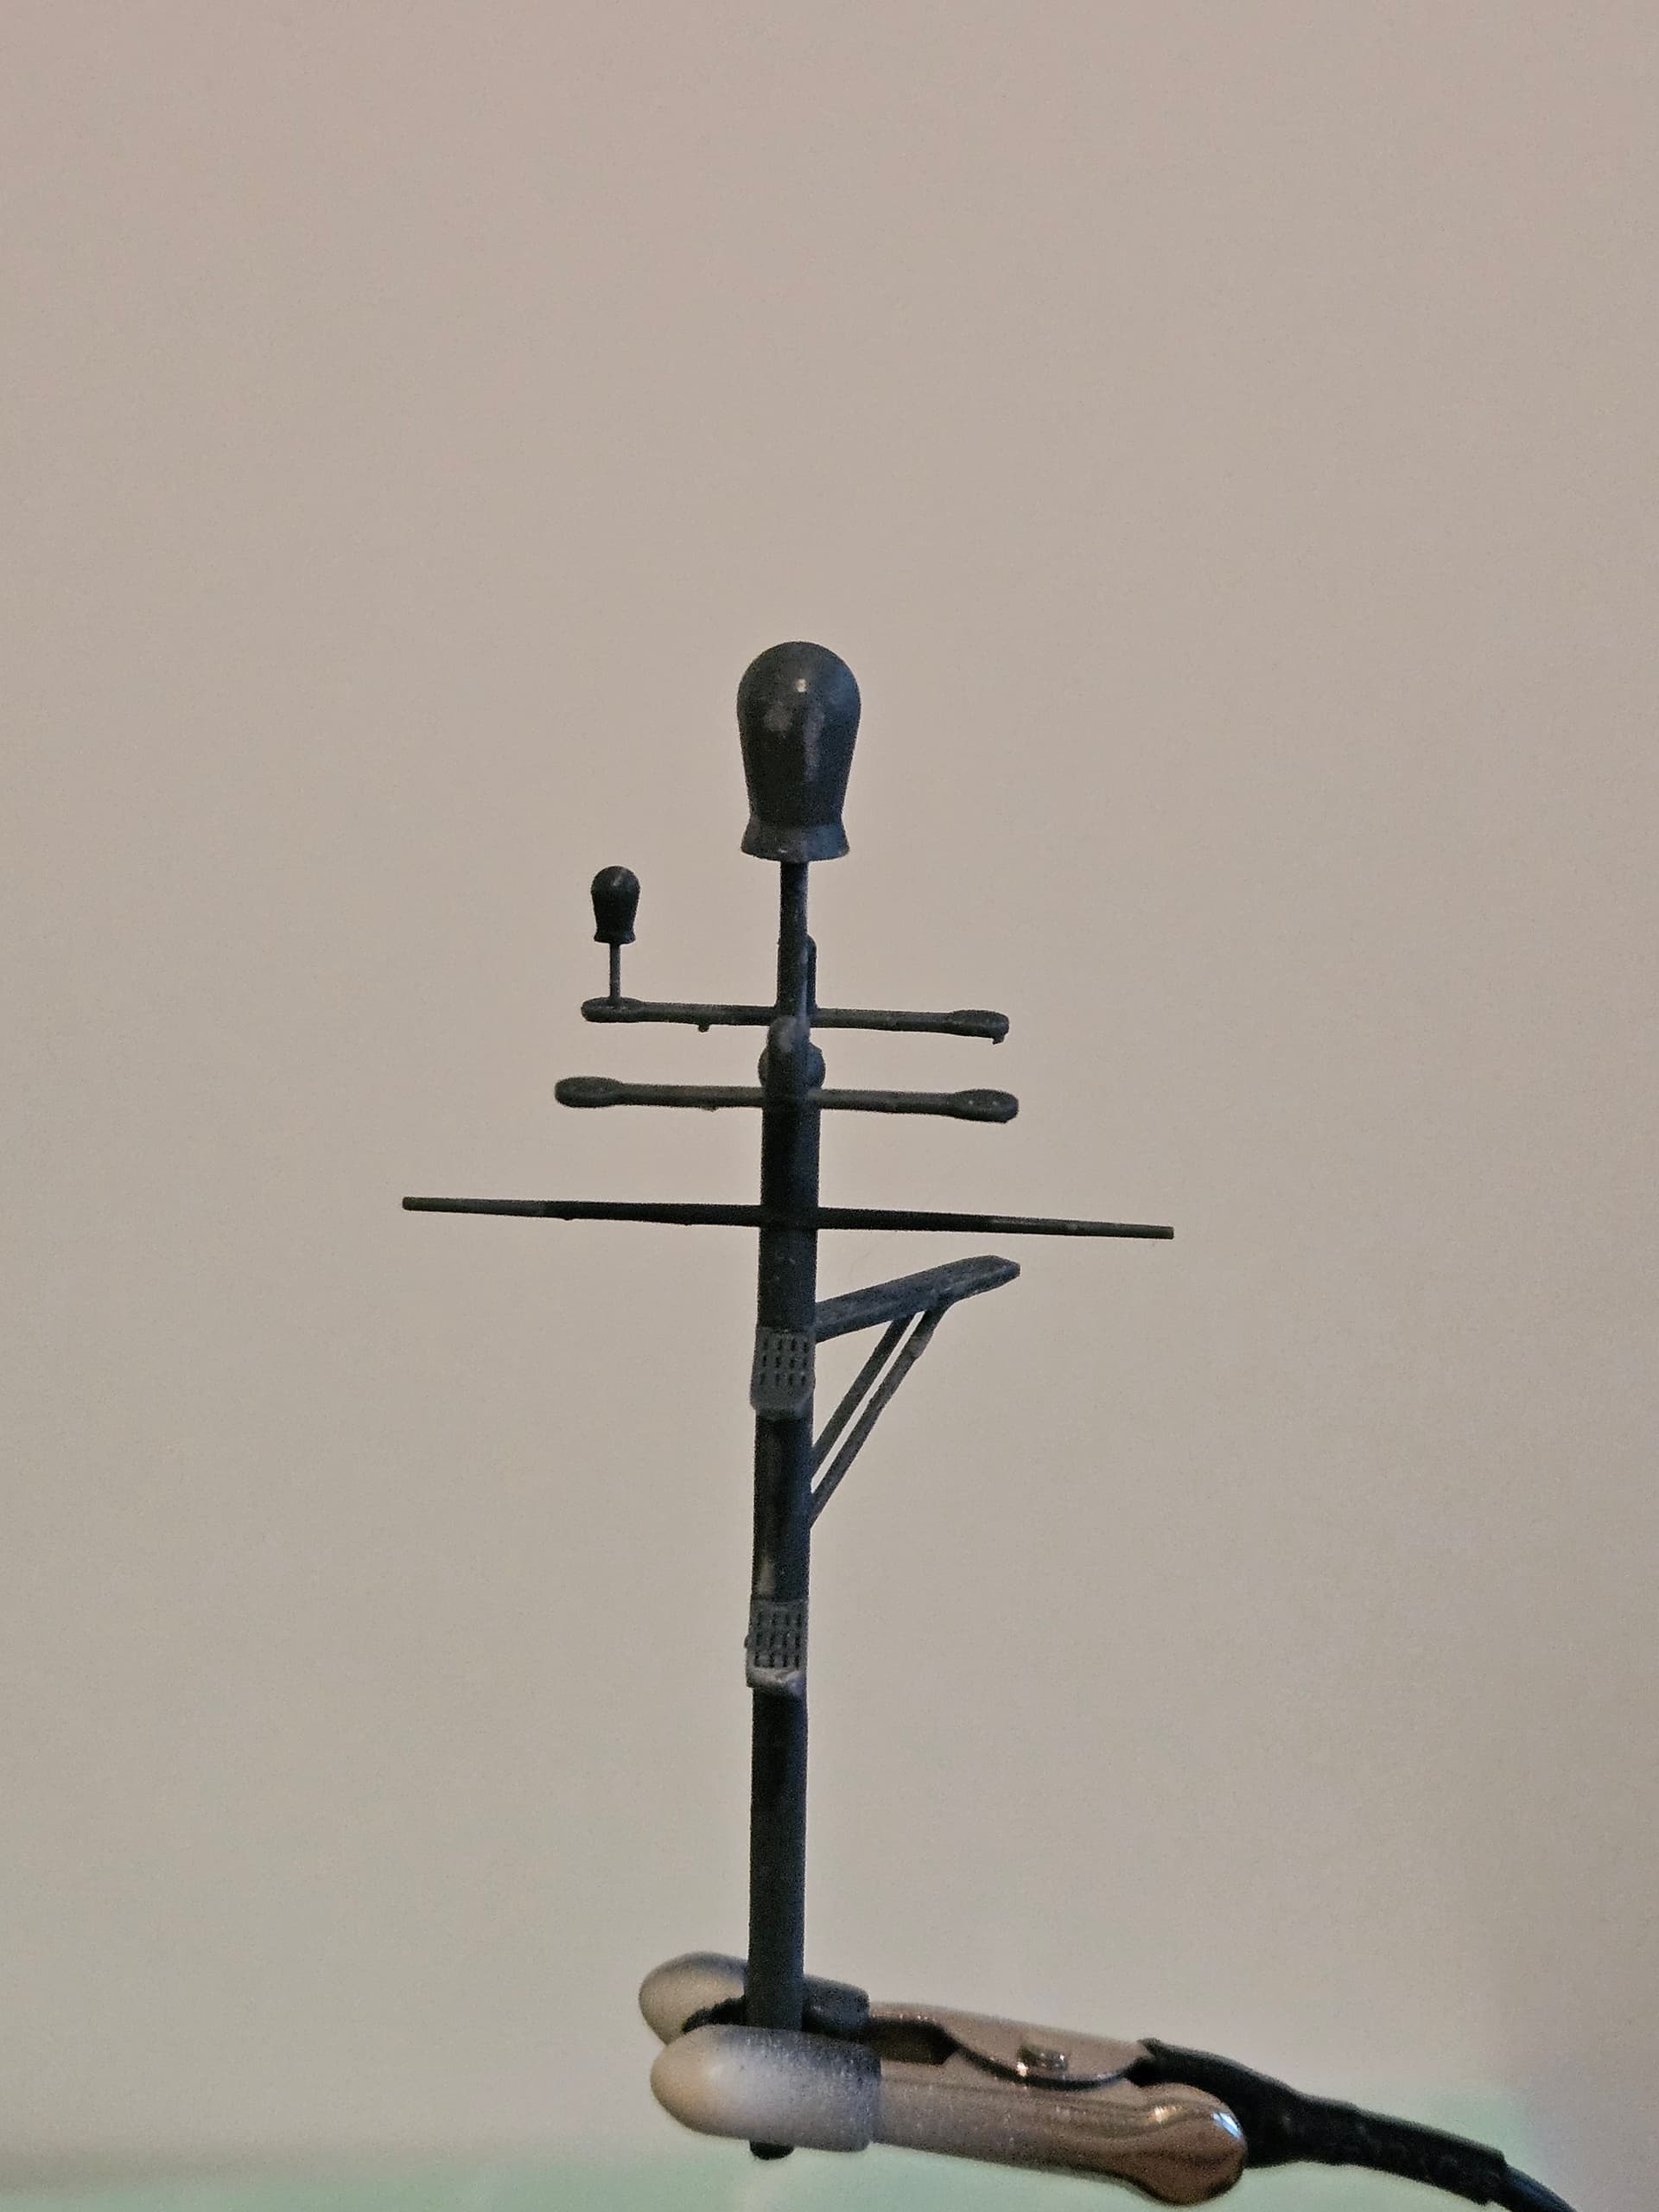
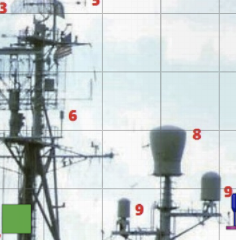
One other thing that was bothering me was the shape of the URN-3 Tacan antenna on the top of the mast. It’s a very distinguishing feature of the ship, so I think it’s important that it looks correct. I did the first version of the mast about a year ago, when Blender and 3D printing were brand new to me. Now that I have a year of experience under my belt, it was much easier to achieve the correct shape. I also imported a photo of the antenna into Blender and used it as a guide to get the shape correct. I also improved the fit of the mast assembly overall to the island, and here it is on the new island. Compare to the version I did a year ago and to the actual URN-3–big difference:
1 Like
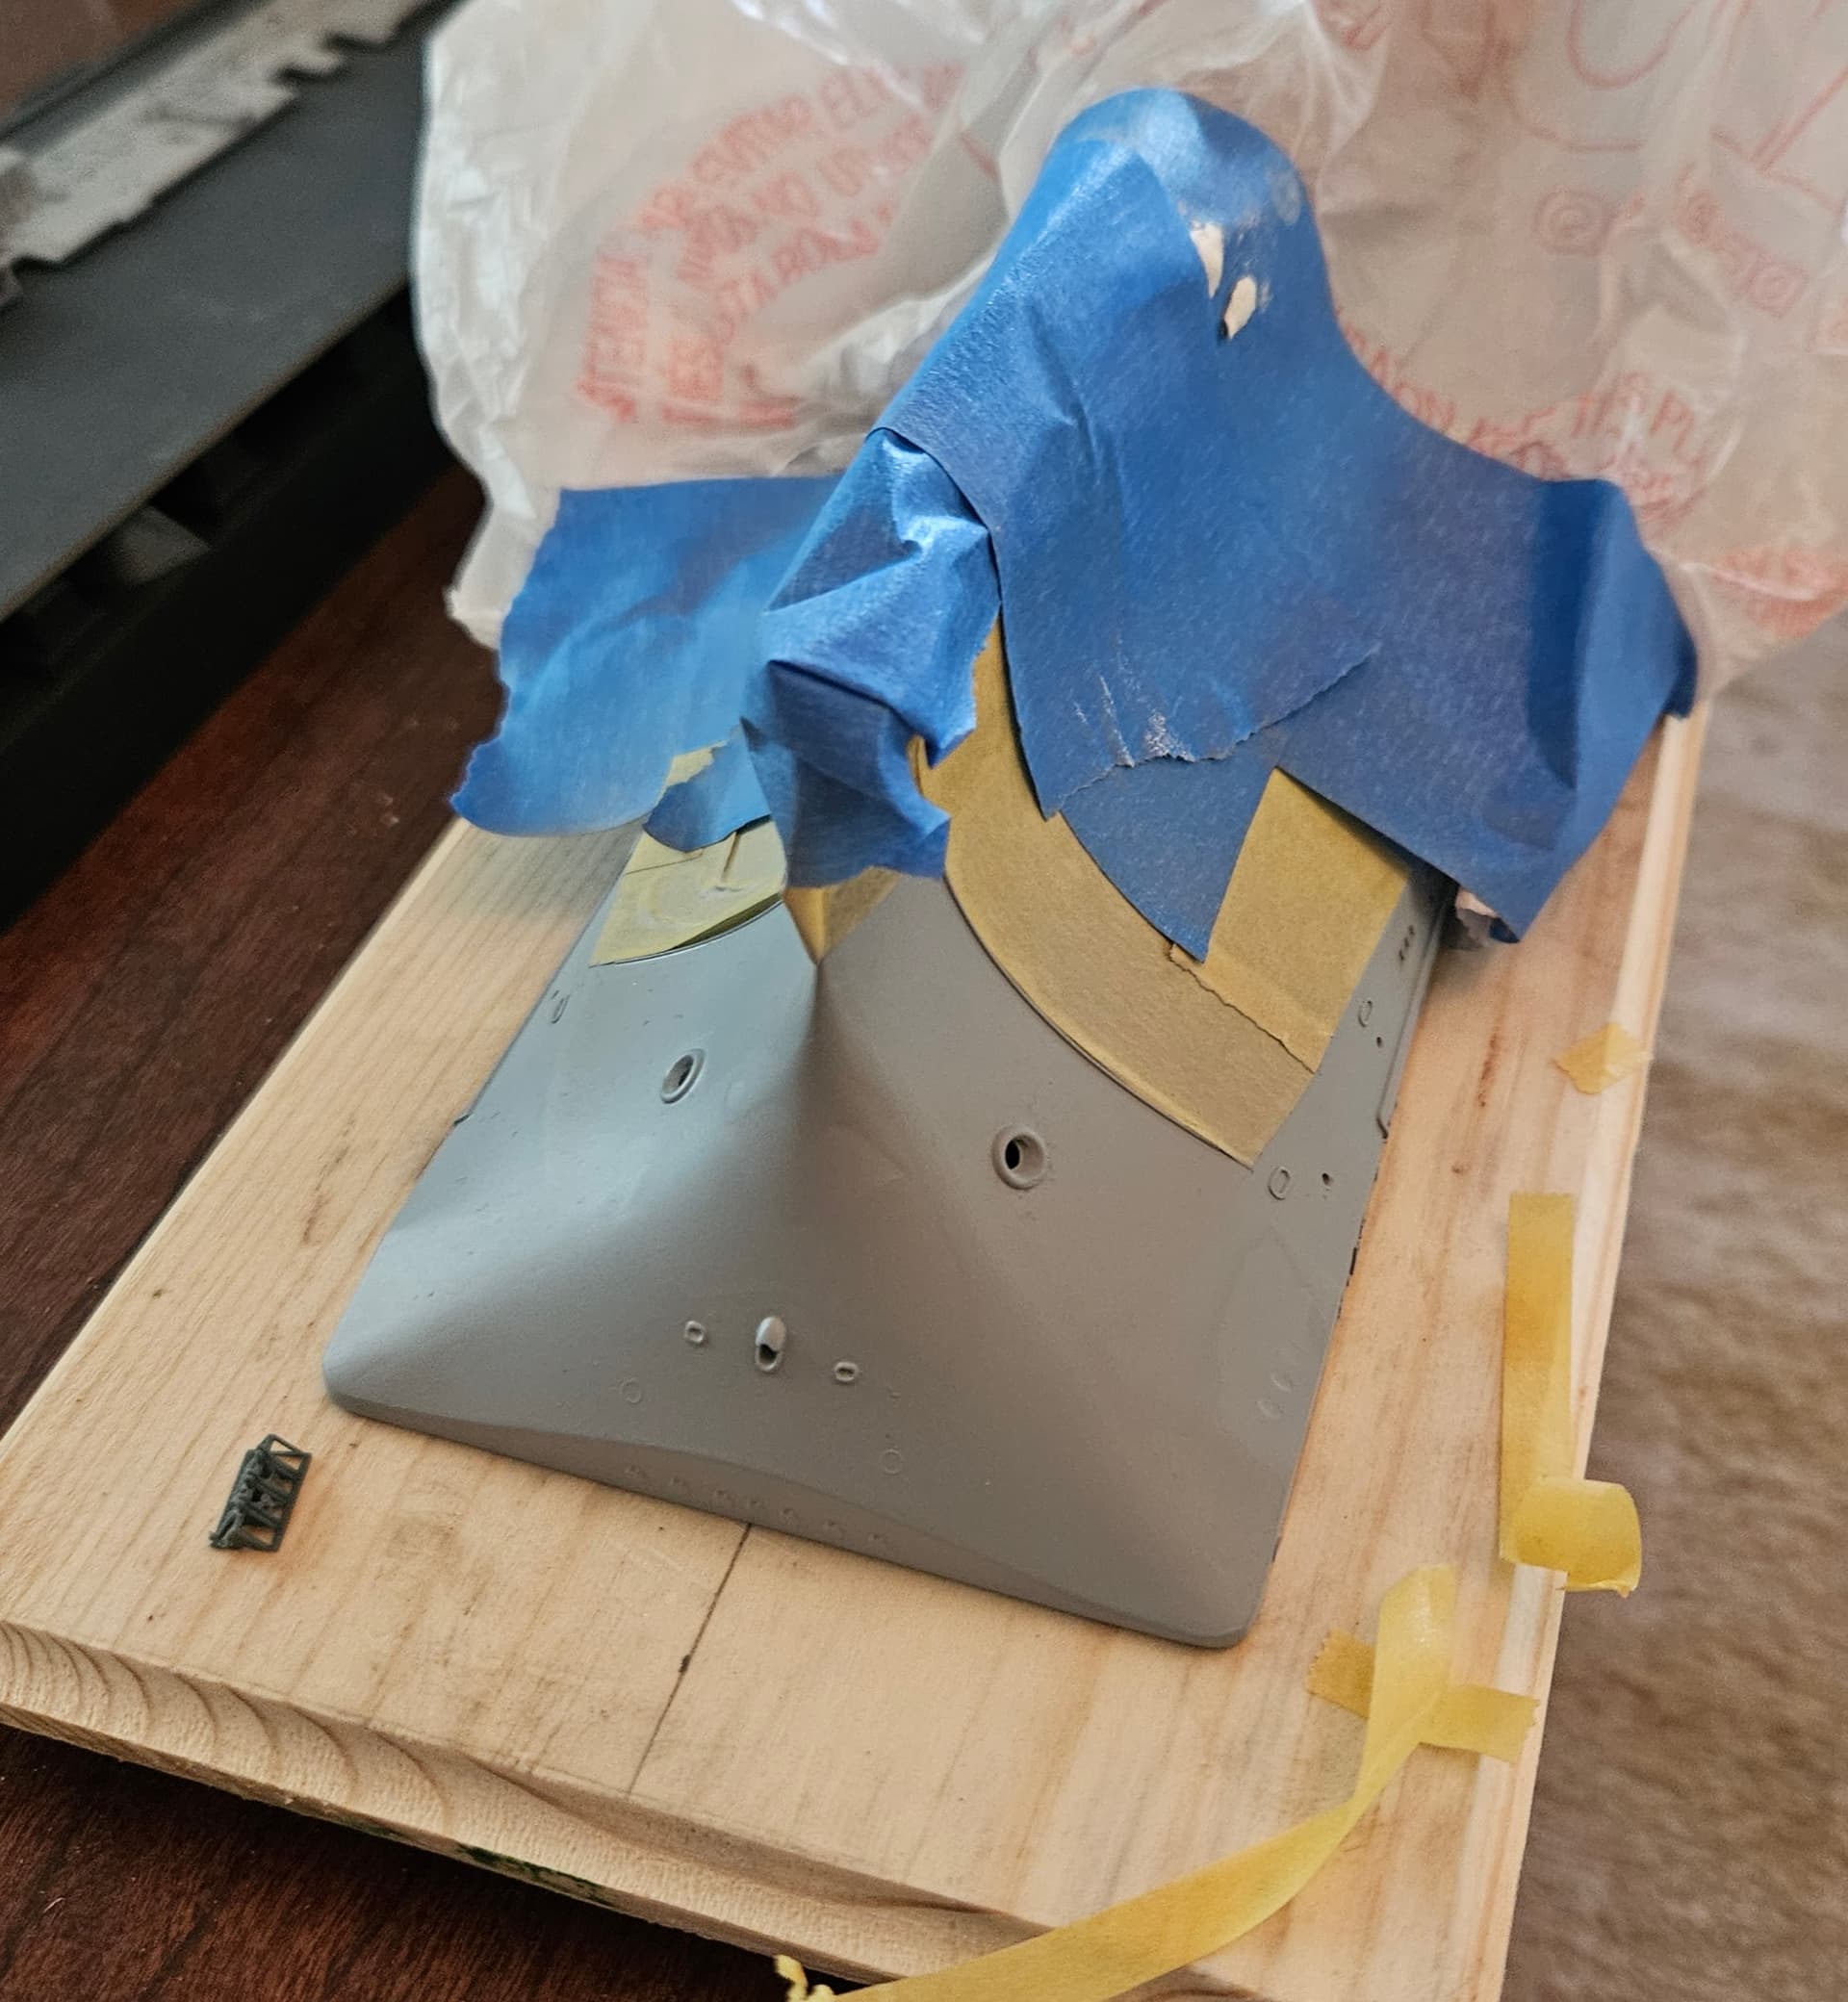
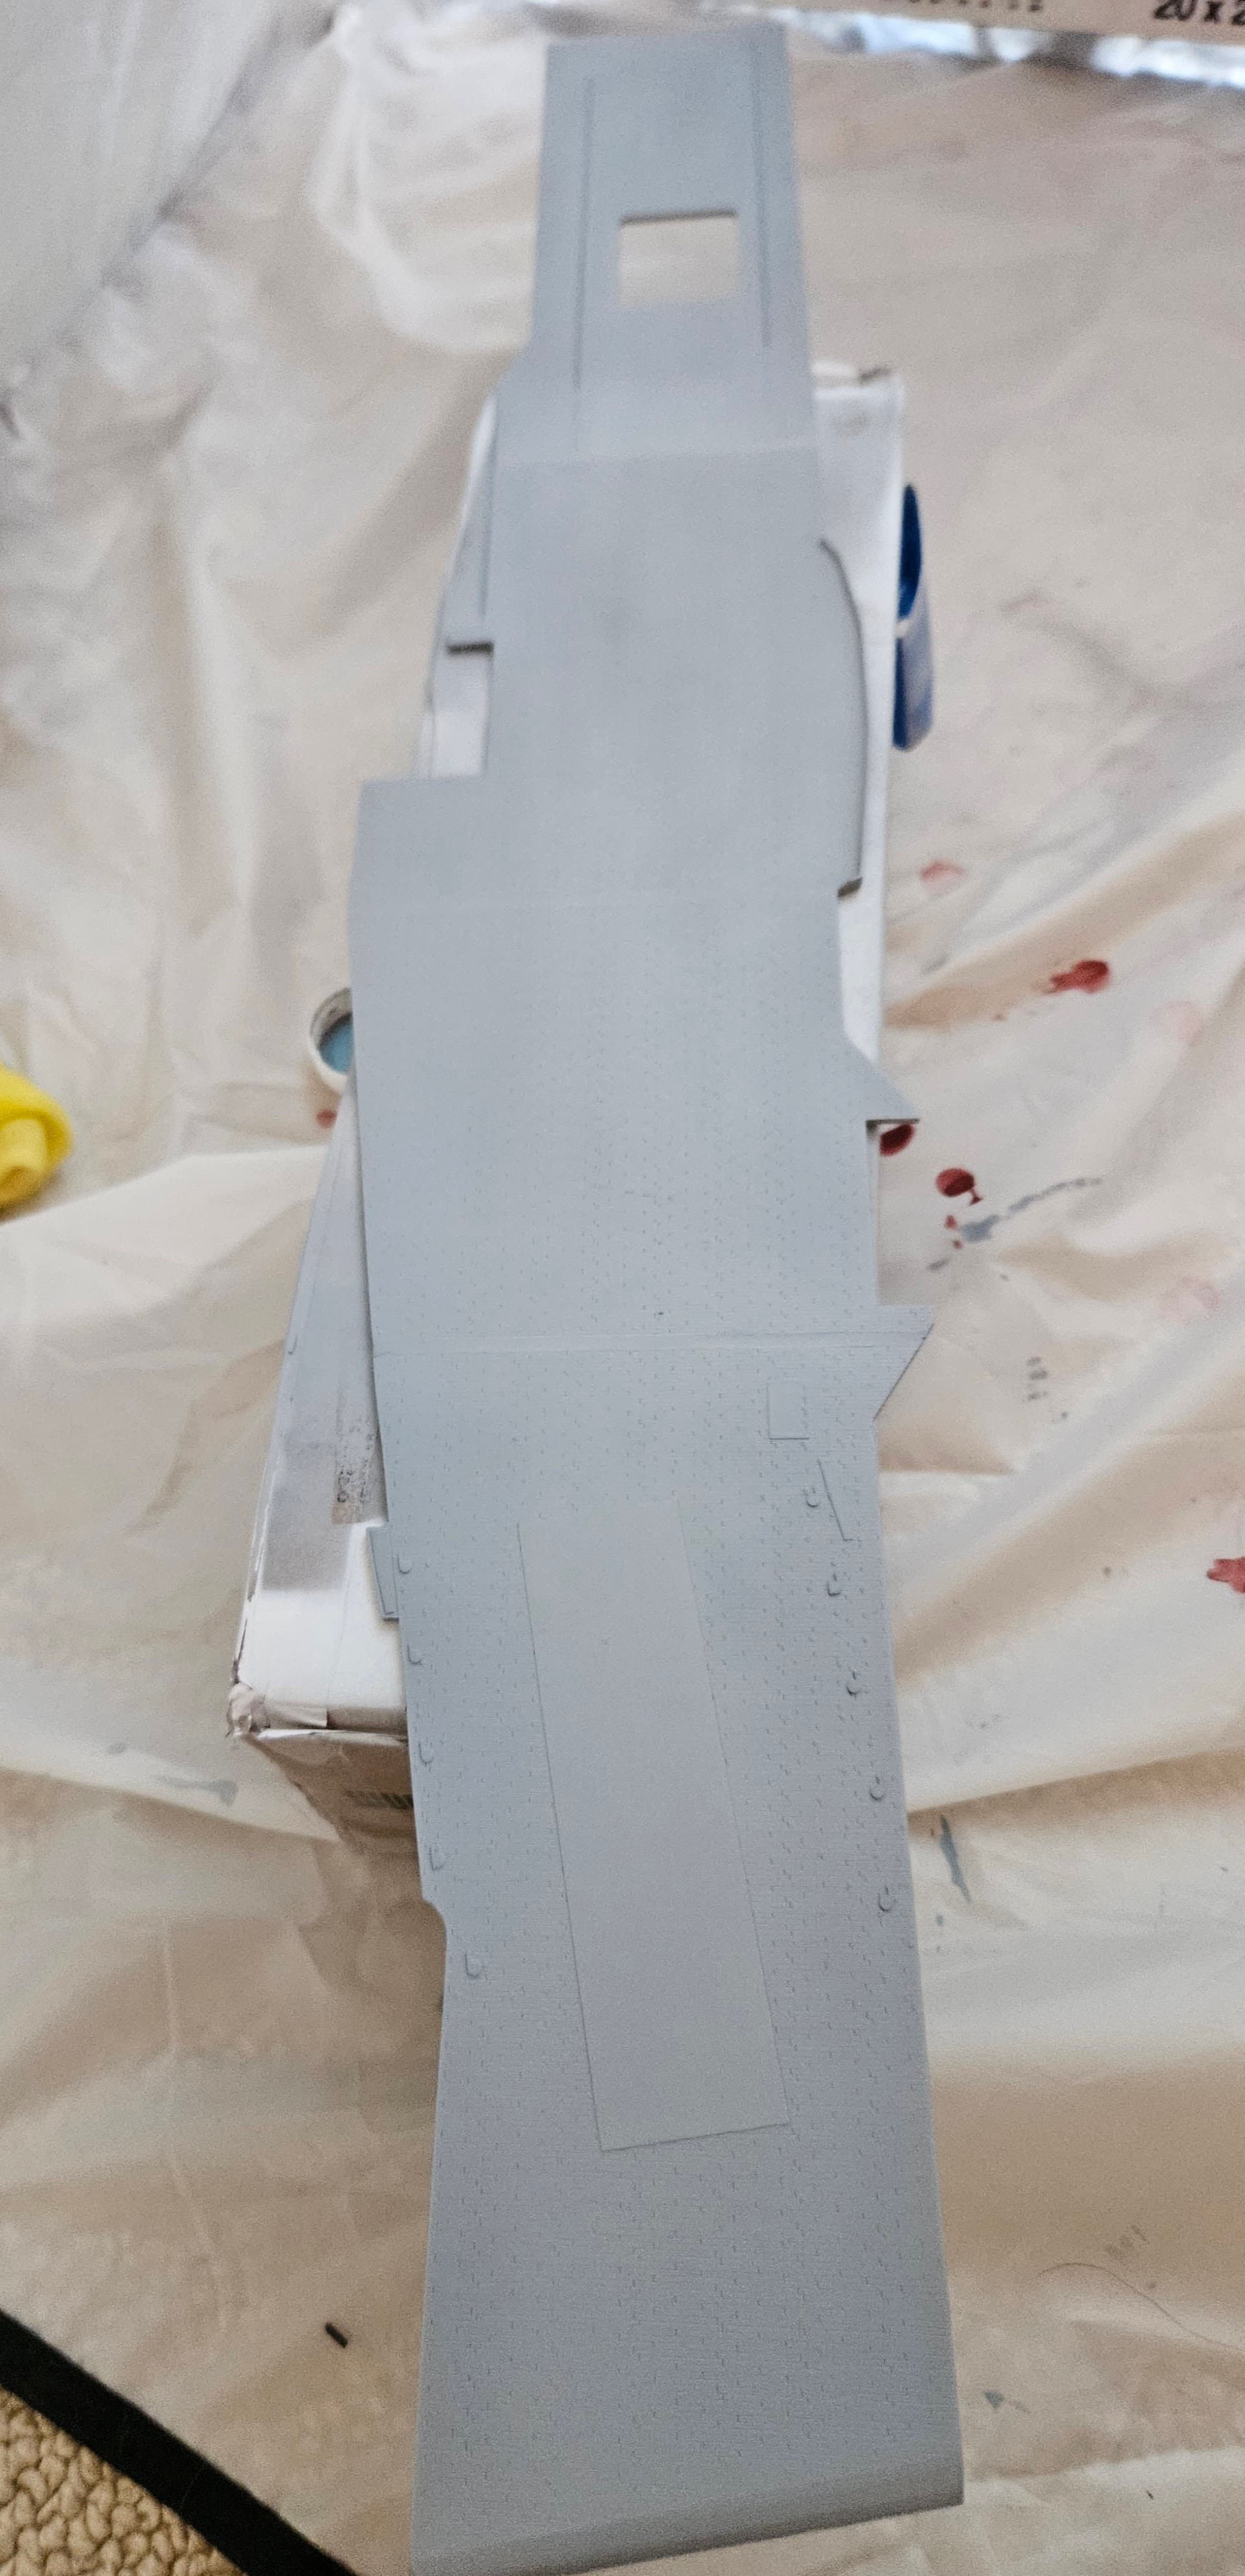
I put a coat of primer on to see how good the Milliput filled the surfaces. Pretty good for a first pass, but there’s a slight indentation still (on the right side in this picture) that needs to be filled. I’ll wait a day to let the primer dry and tackle it tomorrow. Meanwhile, I have the flight deck primed, including the steel impact area I added ex post facto. So far, so good there.
1 Like
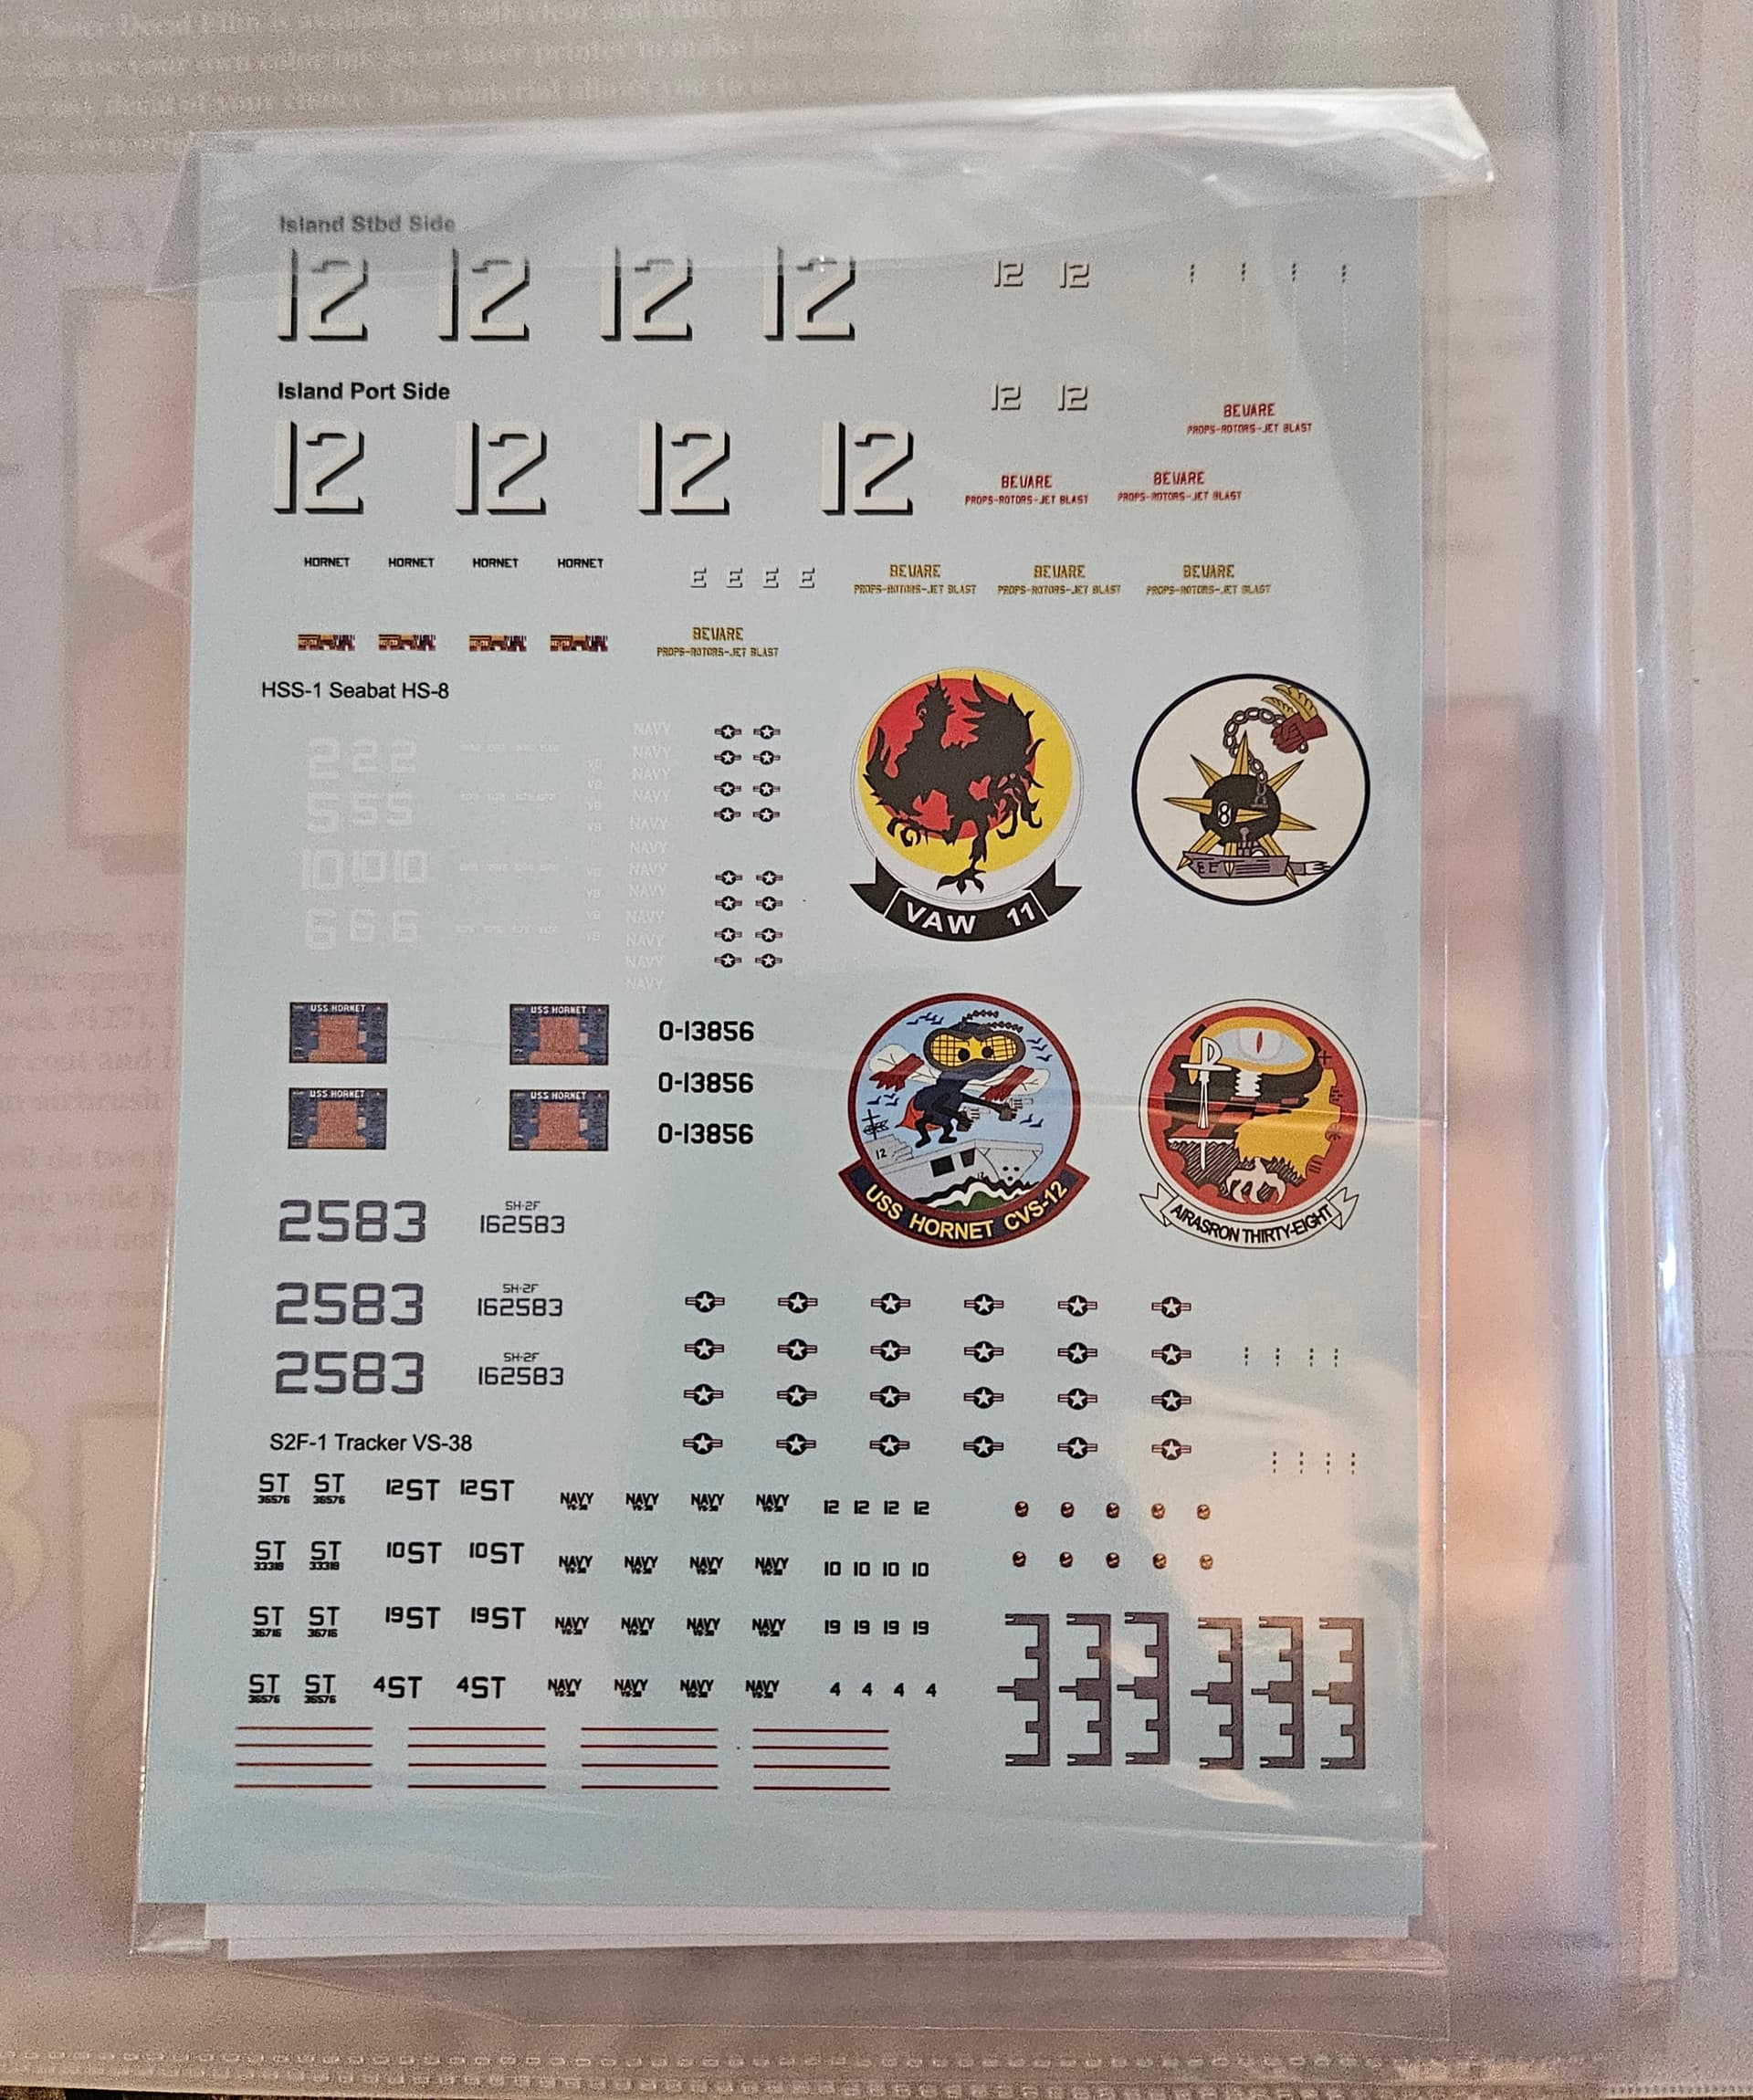
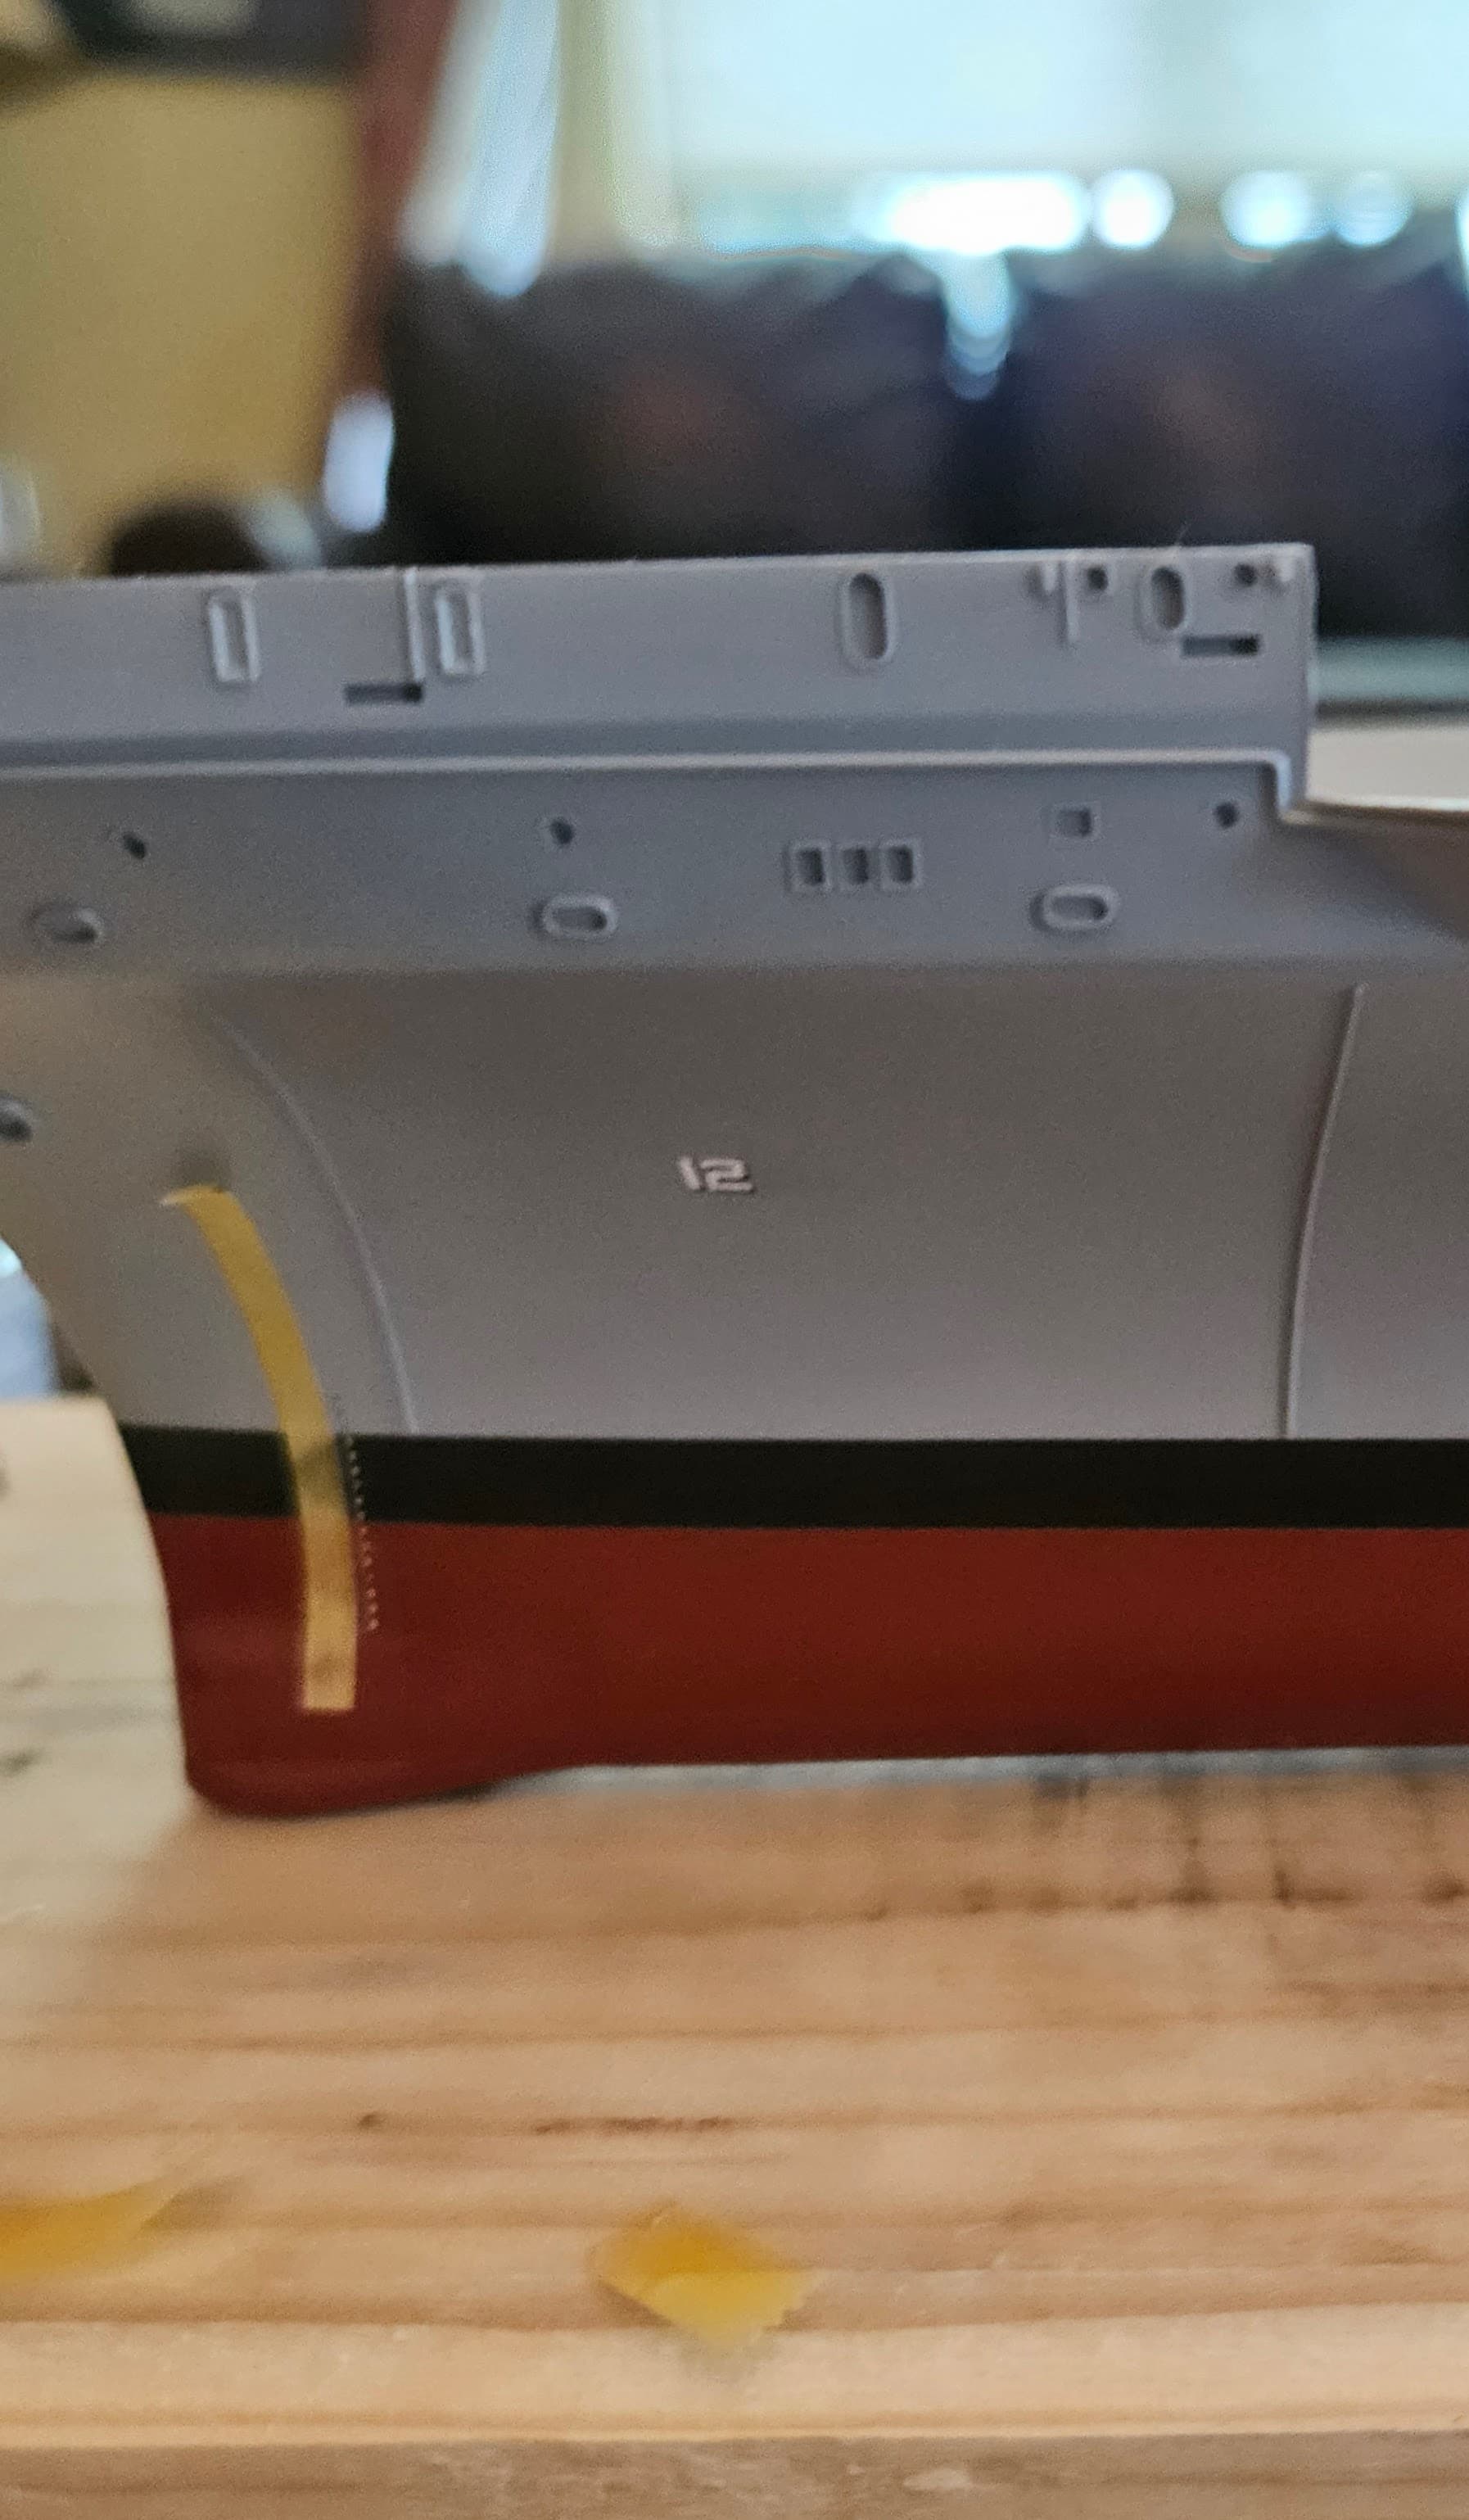
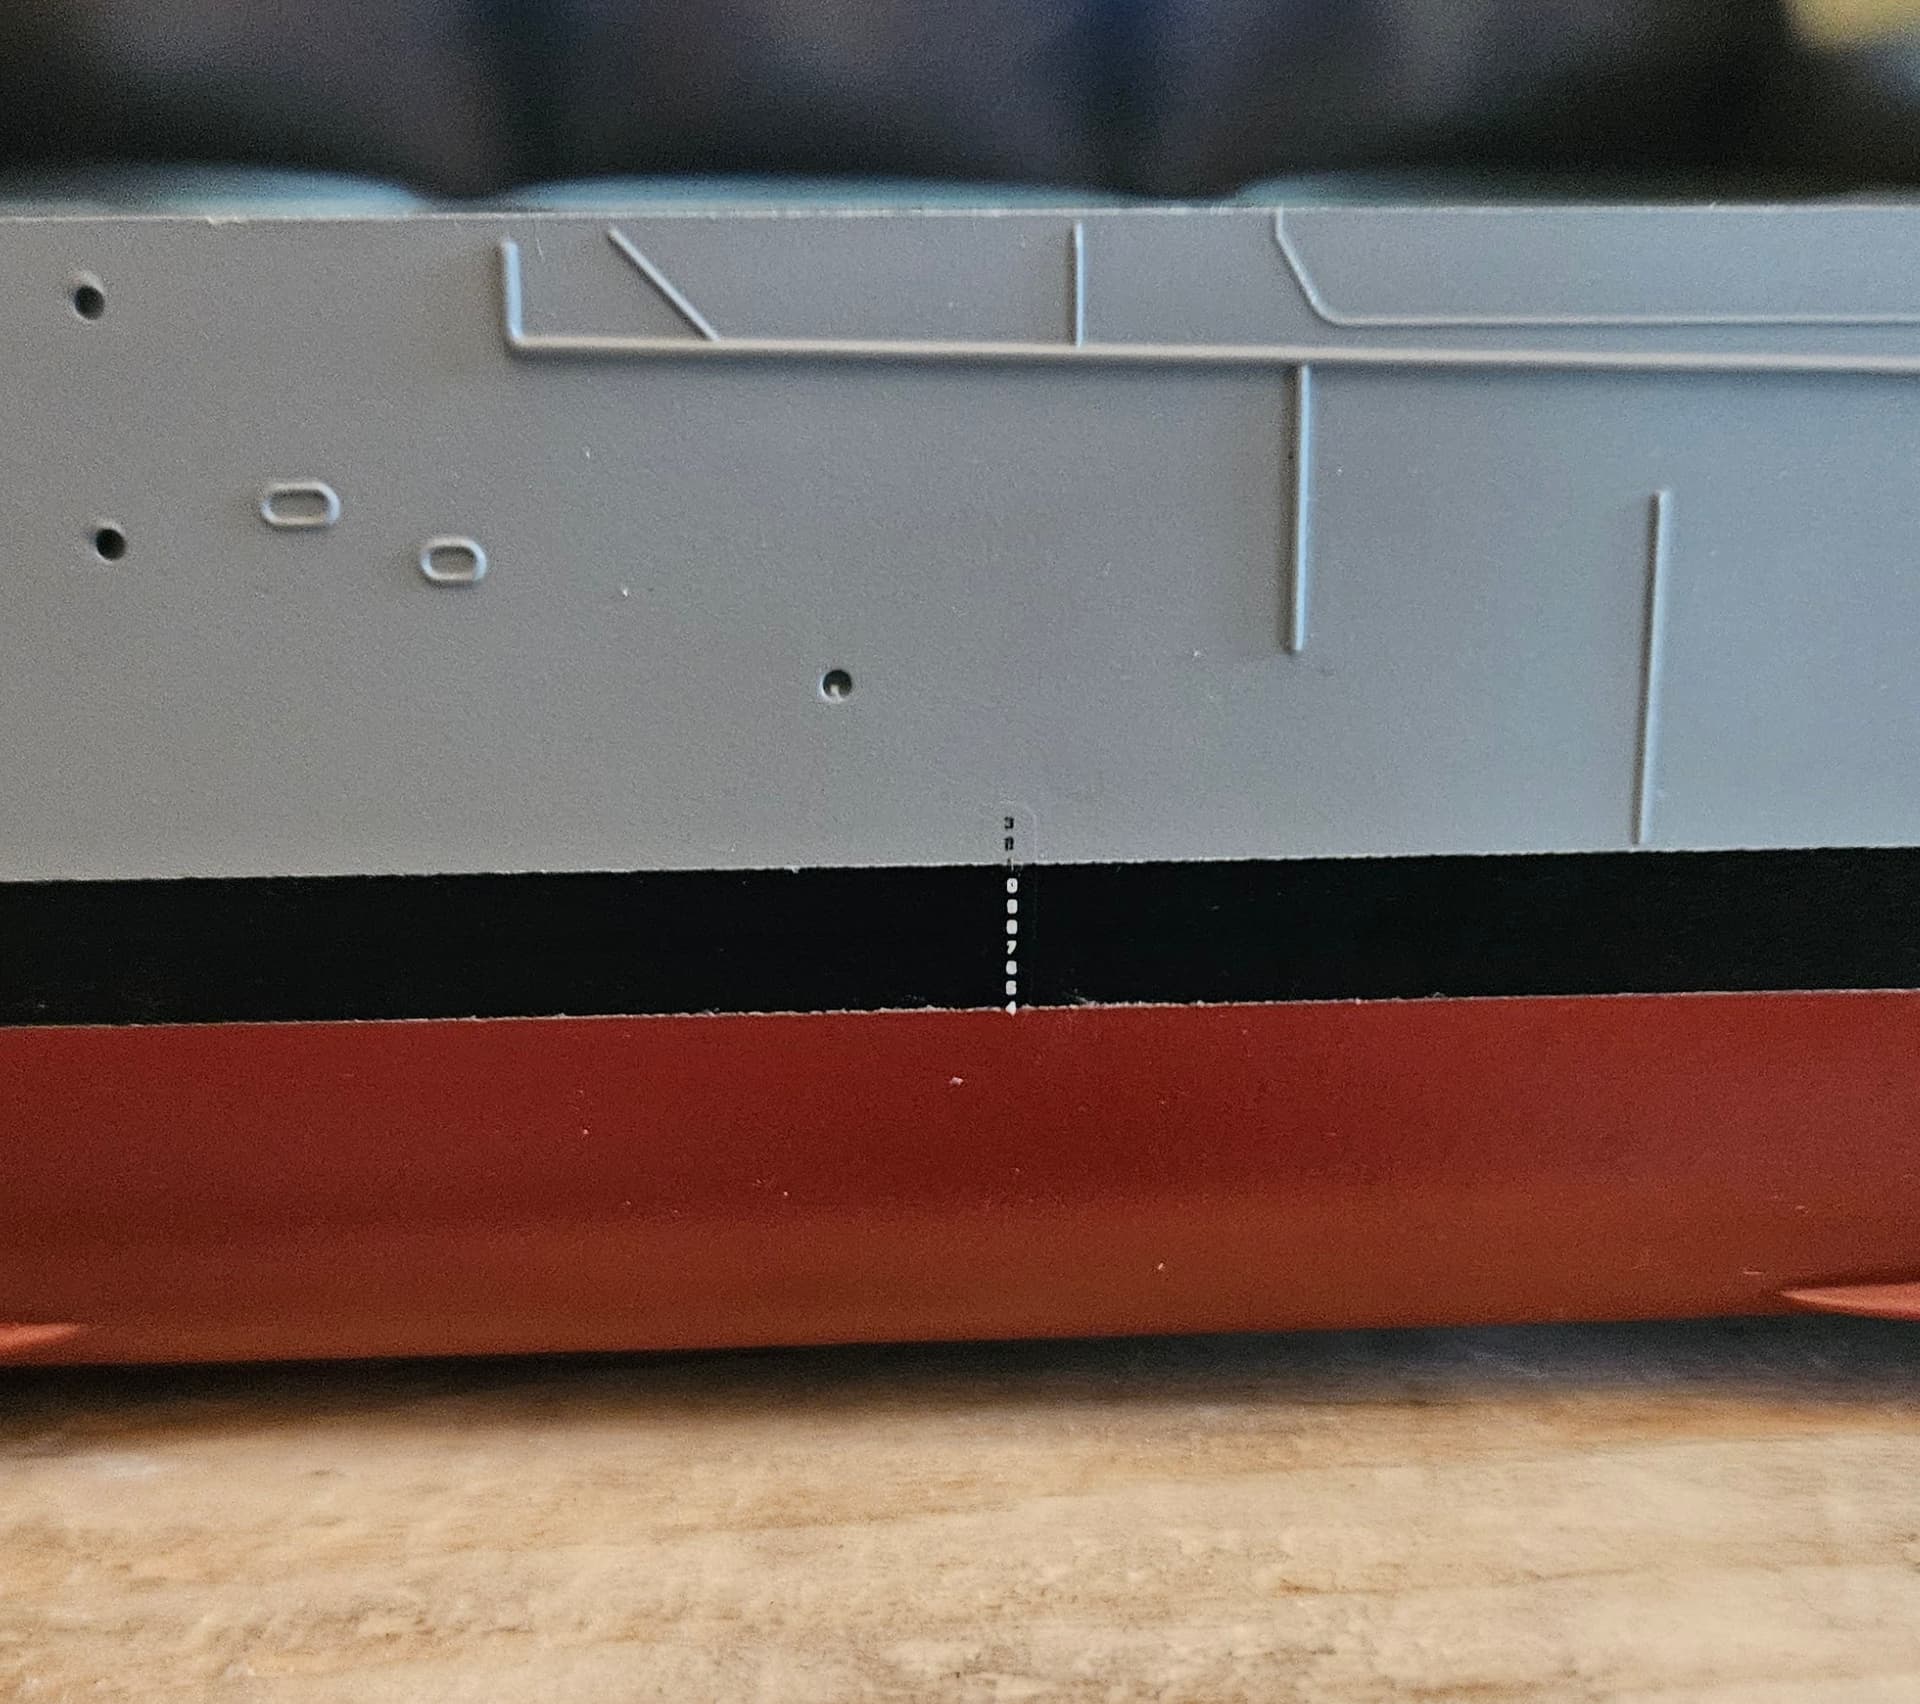
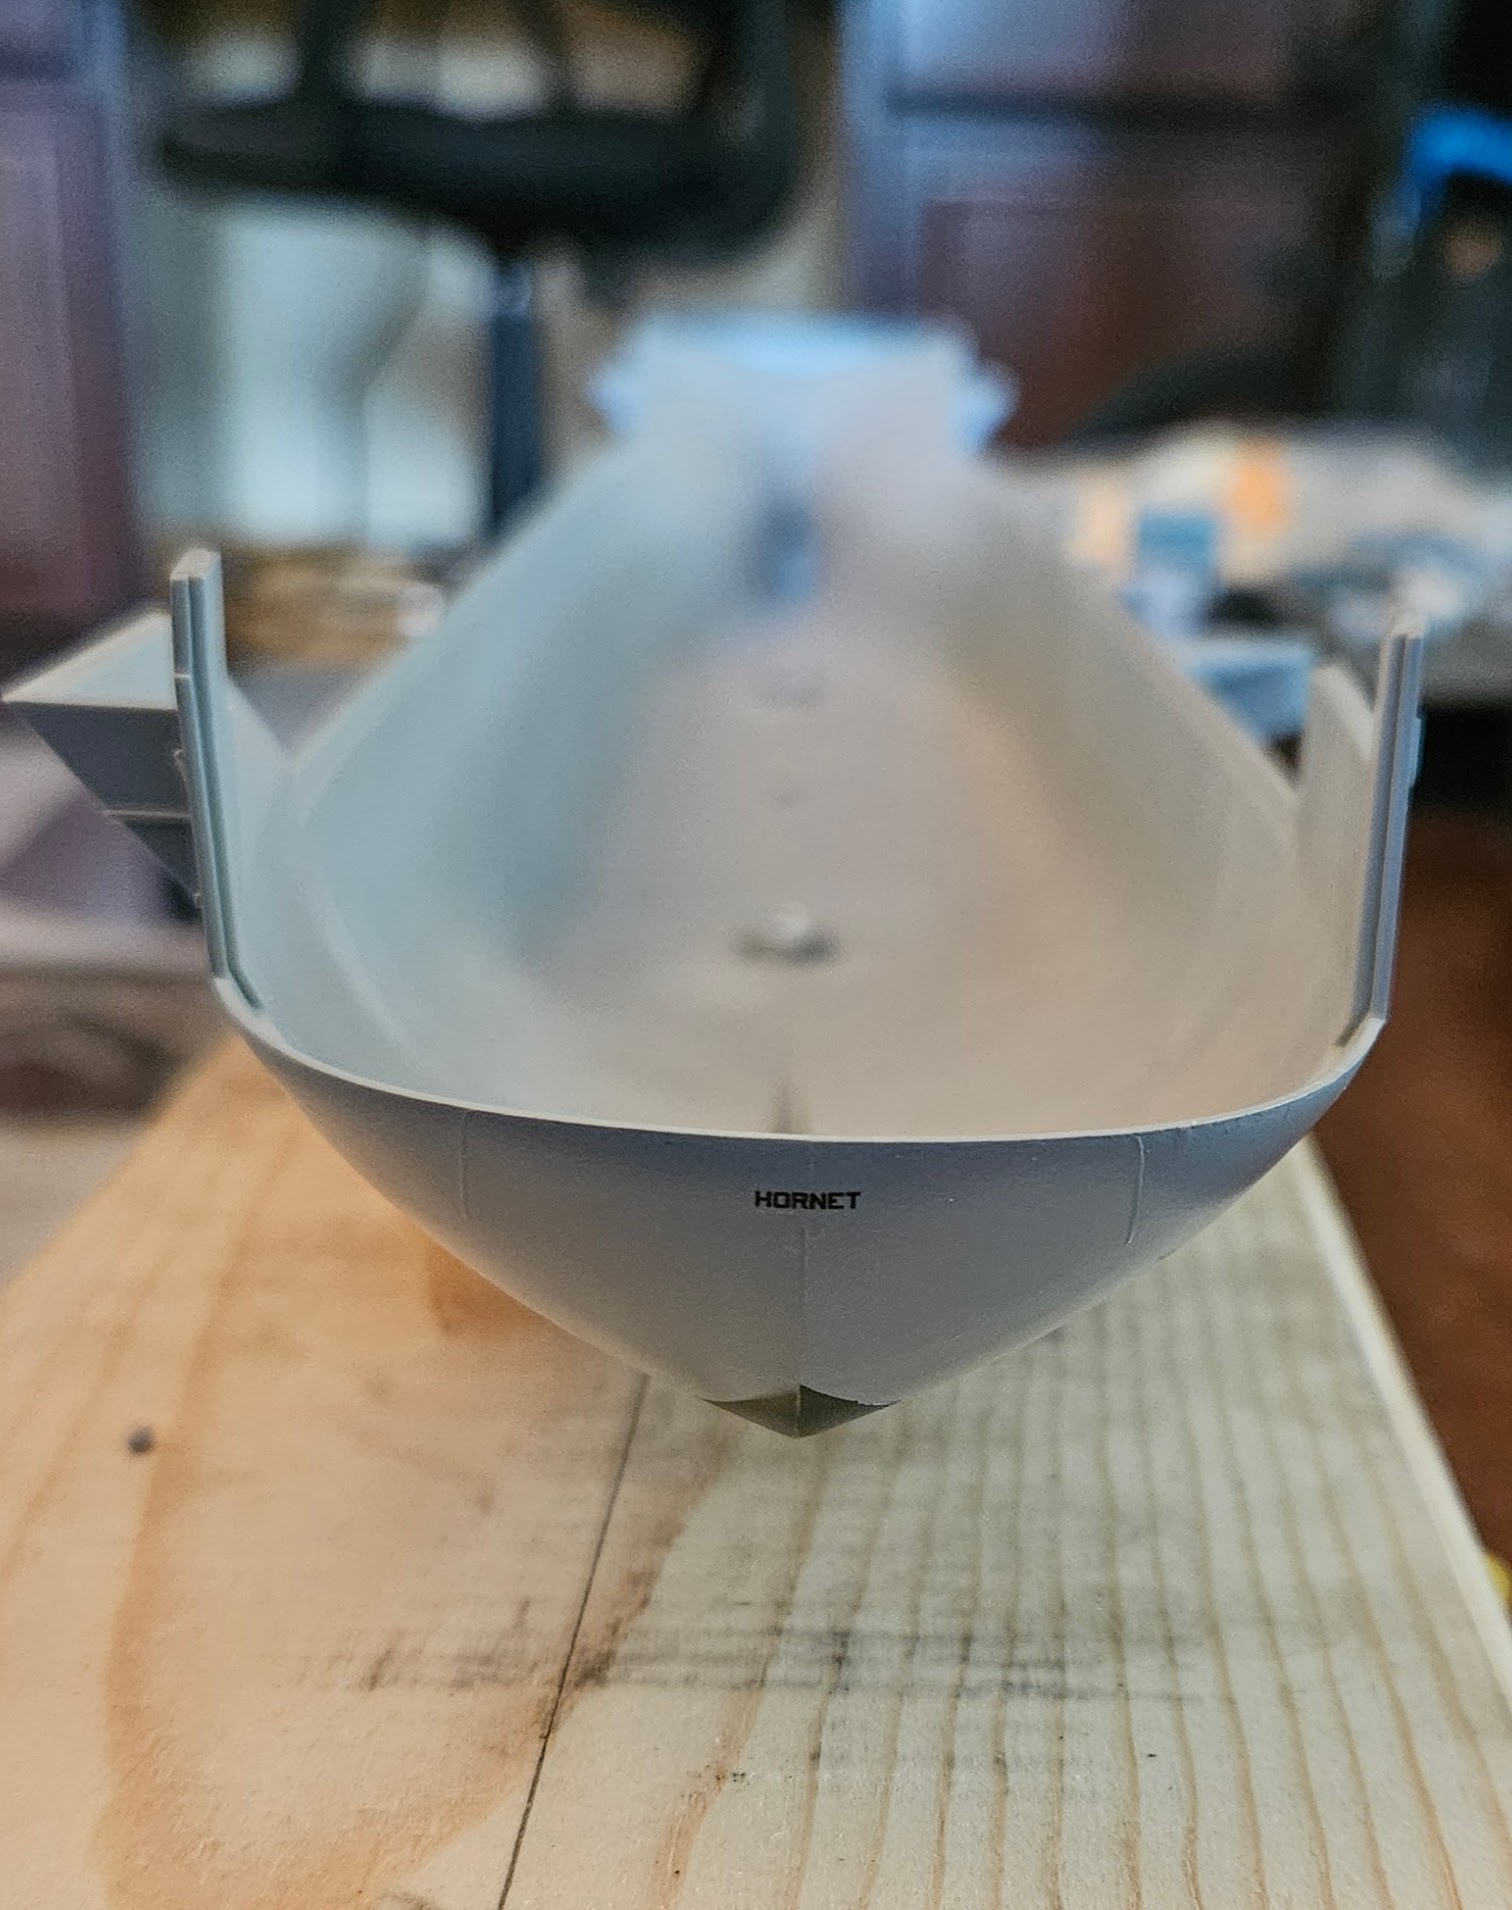
My custom decals showed up today from Fusion Scale Graphics. I did all the design work in Inkscape for these decals. There are a couple on here for some other projects as well. Once the hull filling is done and the paint is back on, I’ll apply the draft marks, the very small hull numbers just aft of the anchor hawsepipes and the HORNET name on the stern. I am happy with the print quality and the turnaround time from Fusion; I have not applied any of their decals yet, but am looking forward to seeing how they work.
1 Like
The port side of the Yorktown island has two WT doors on the after half of the flight deck level that are not present on the Hornet. The Model Monkey island has all these doors open, so I put a small piece of styrene behind each door for backing, then filled with some leftover Milliput from the bow anchor fluke job. I really like how well the Milliput fills and how it sands flush.
1 Like
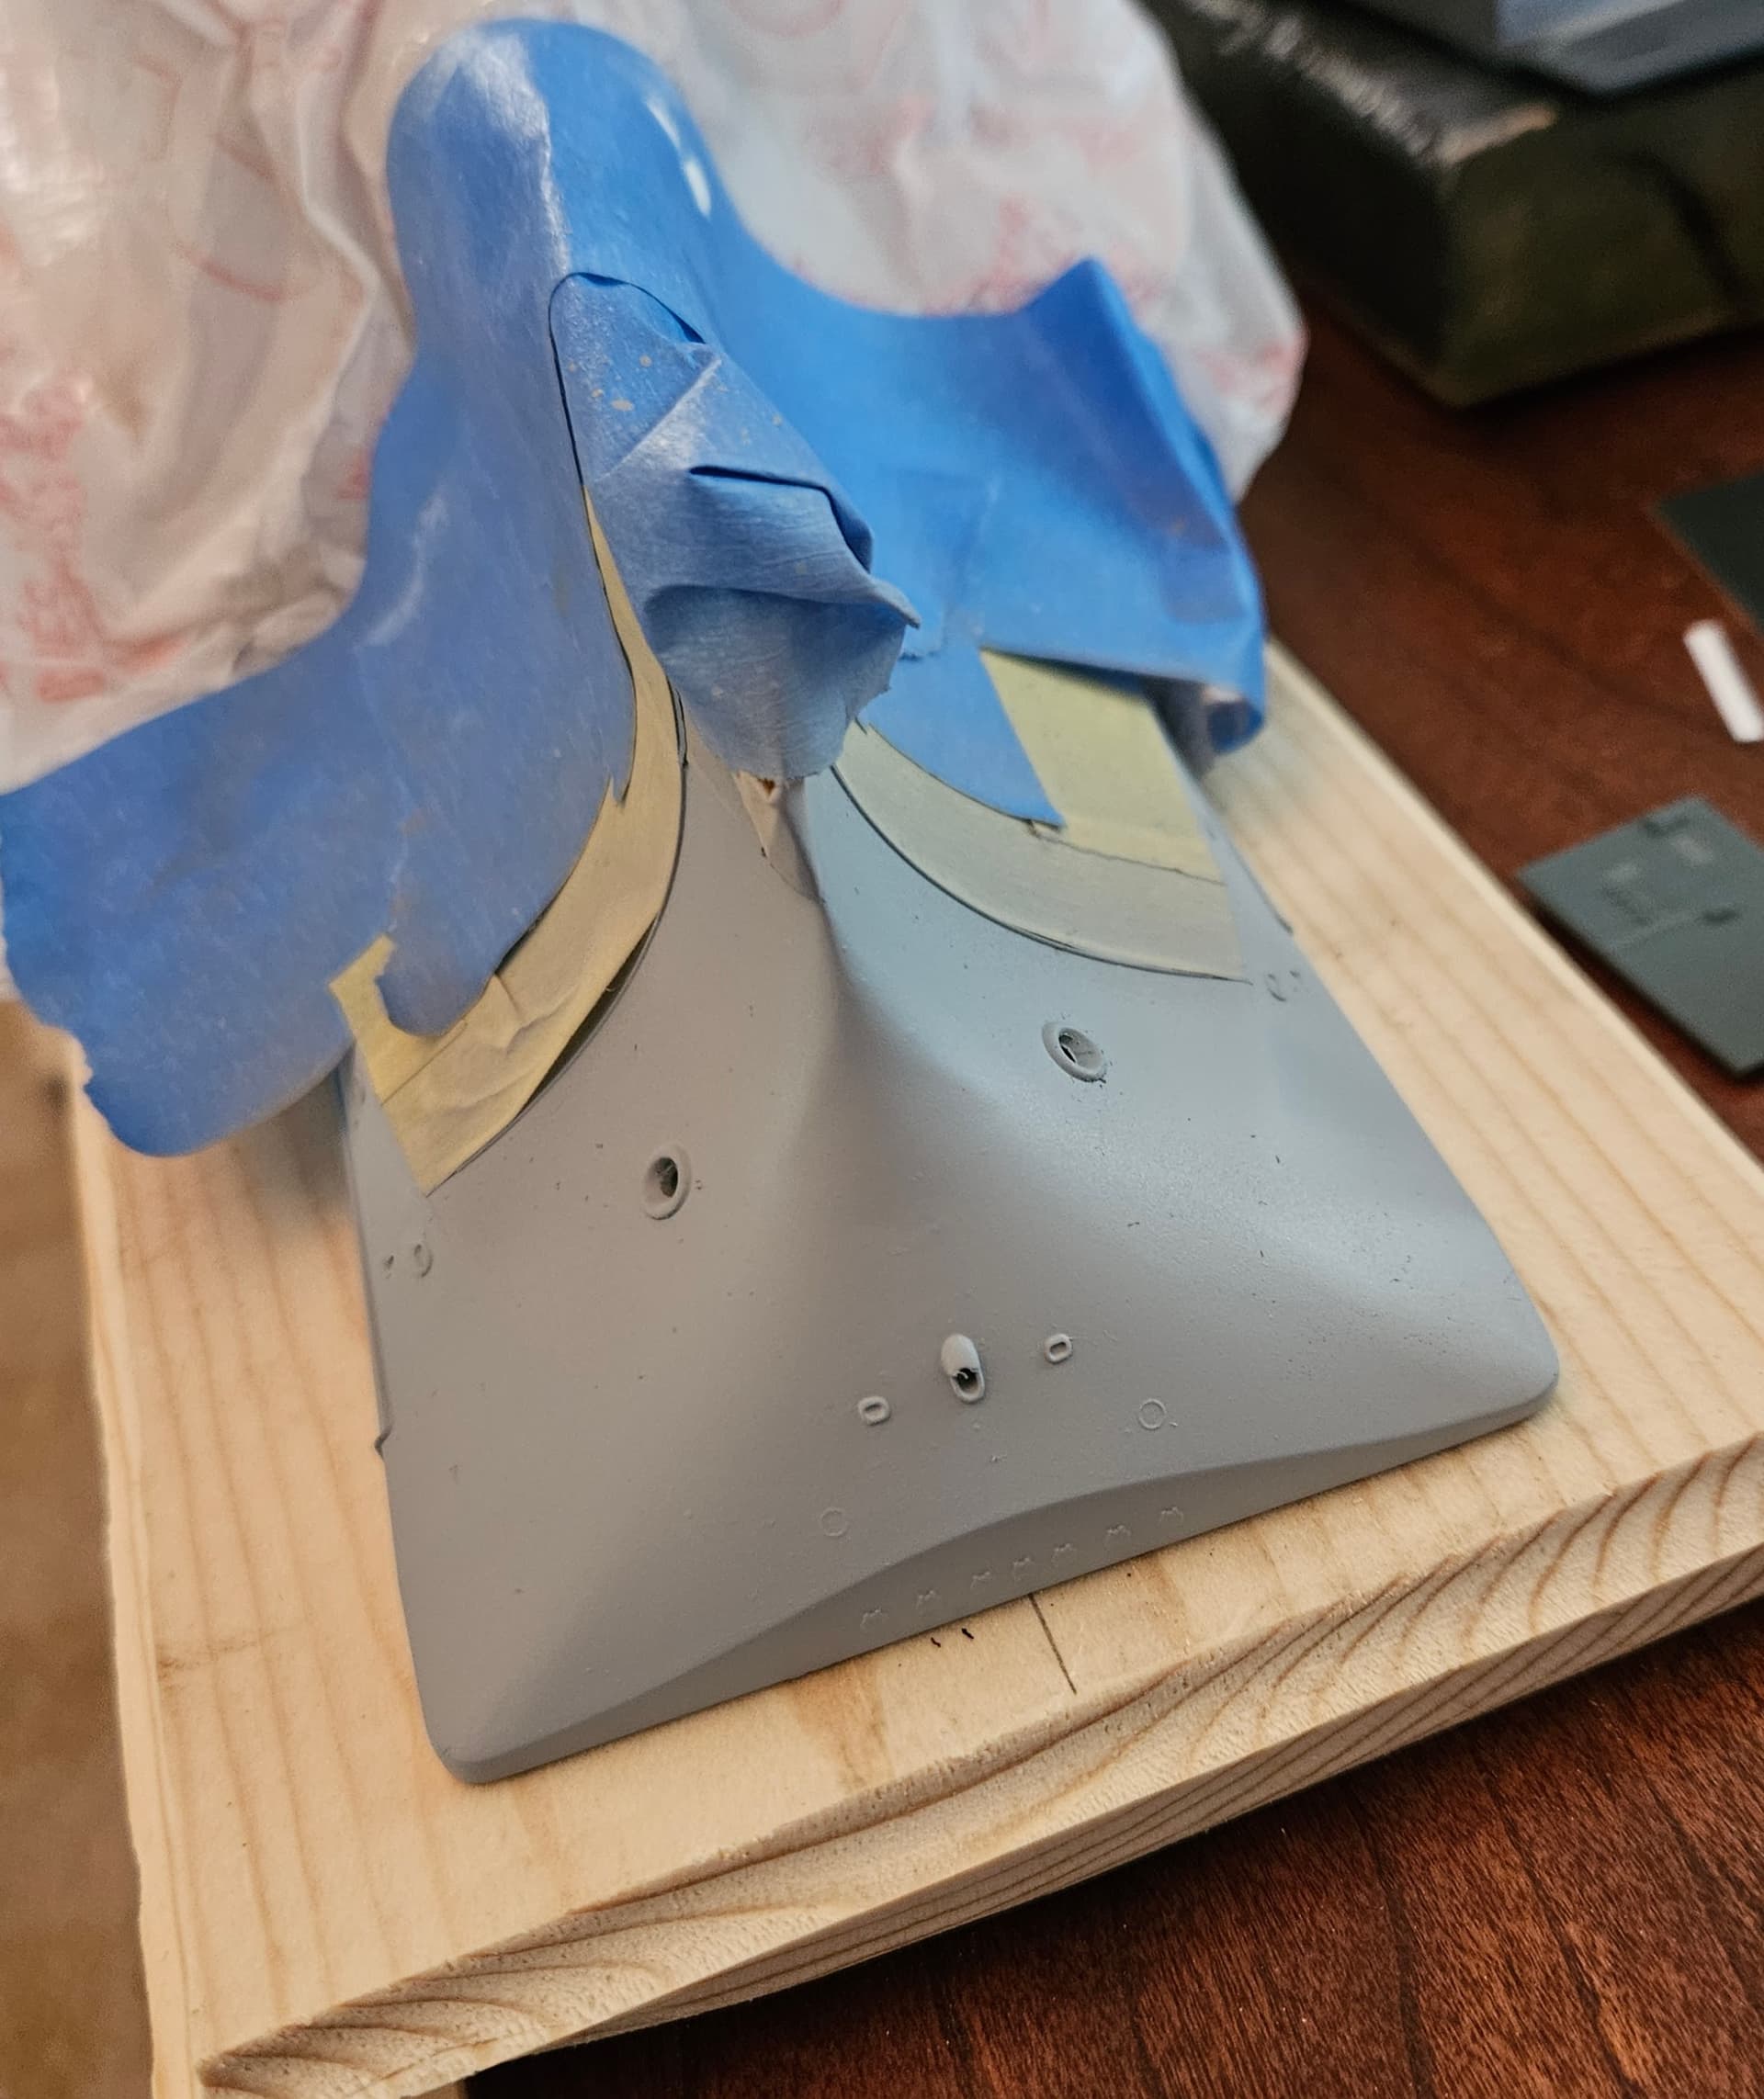
Speaking of Milliput, I re-primed the bow after touching up some low spots on the anchor fluke recess patches with Mr. Surfacer 500. I’m happy with this and should be ready for paint tomorrow!
1 Like
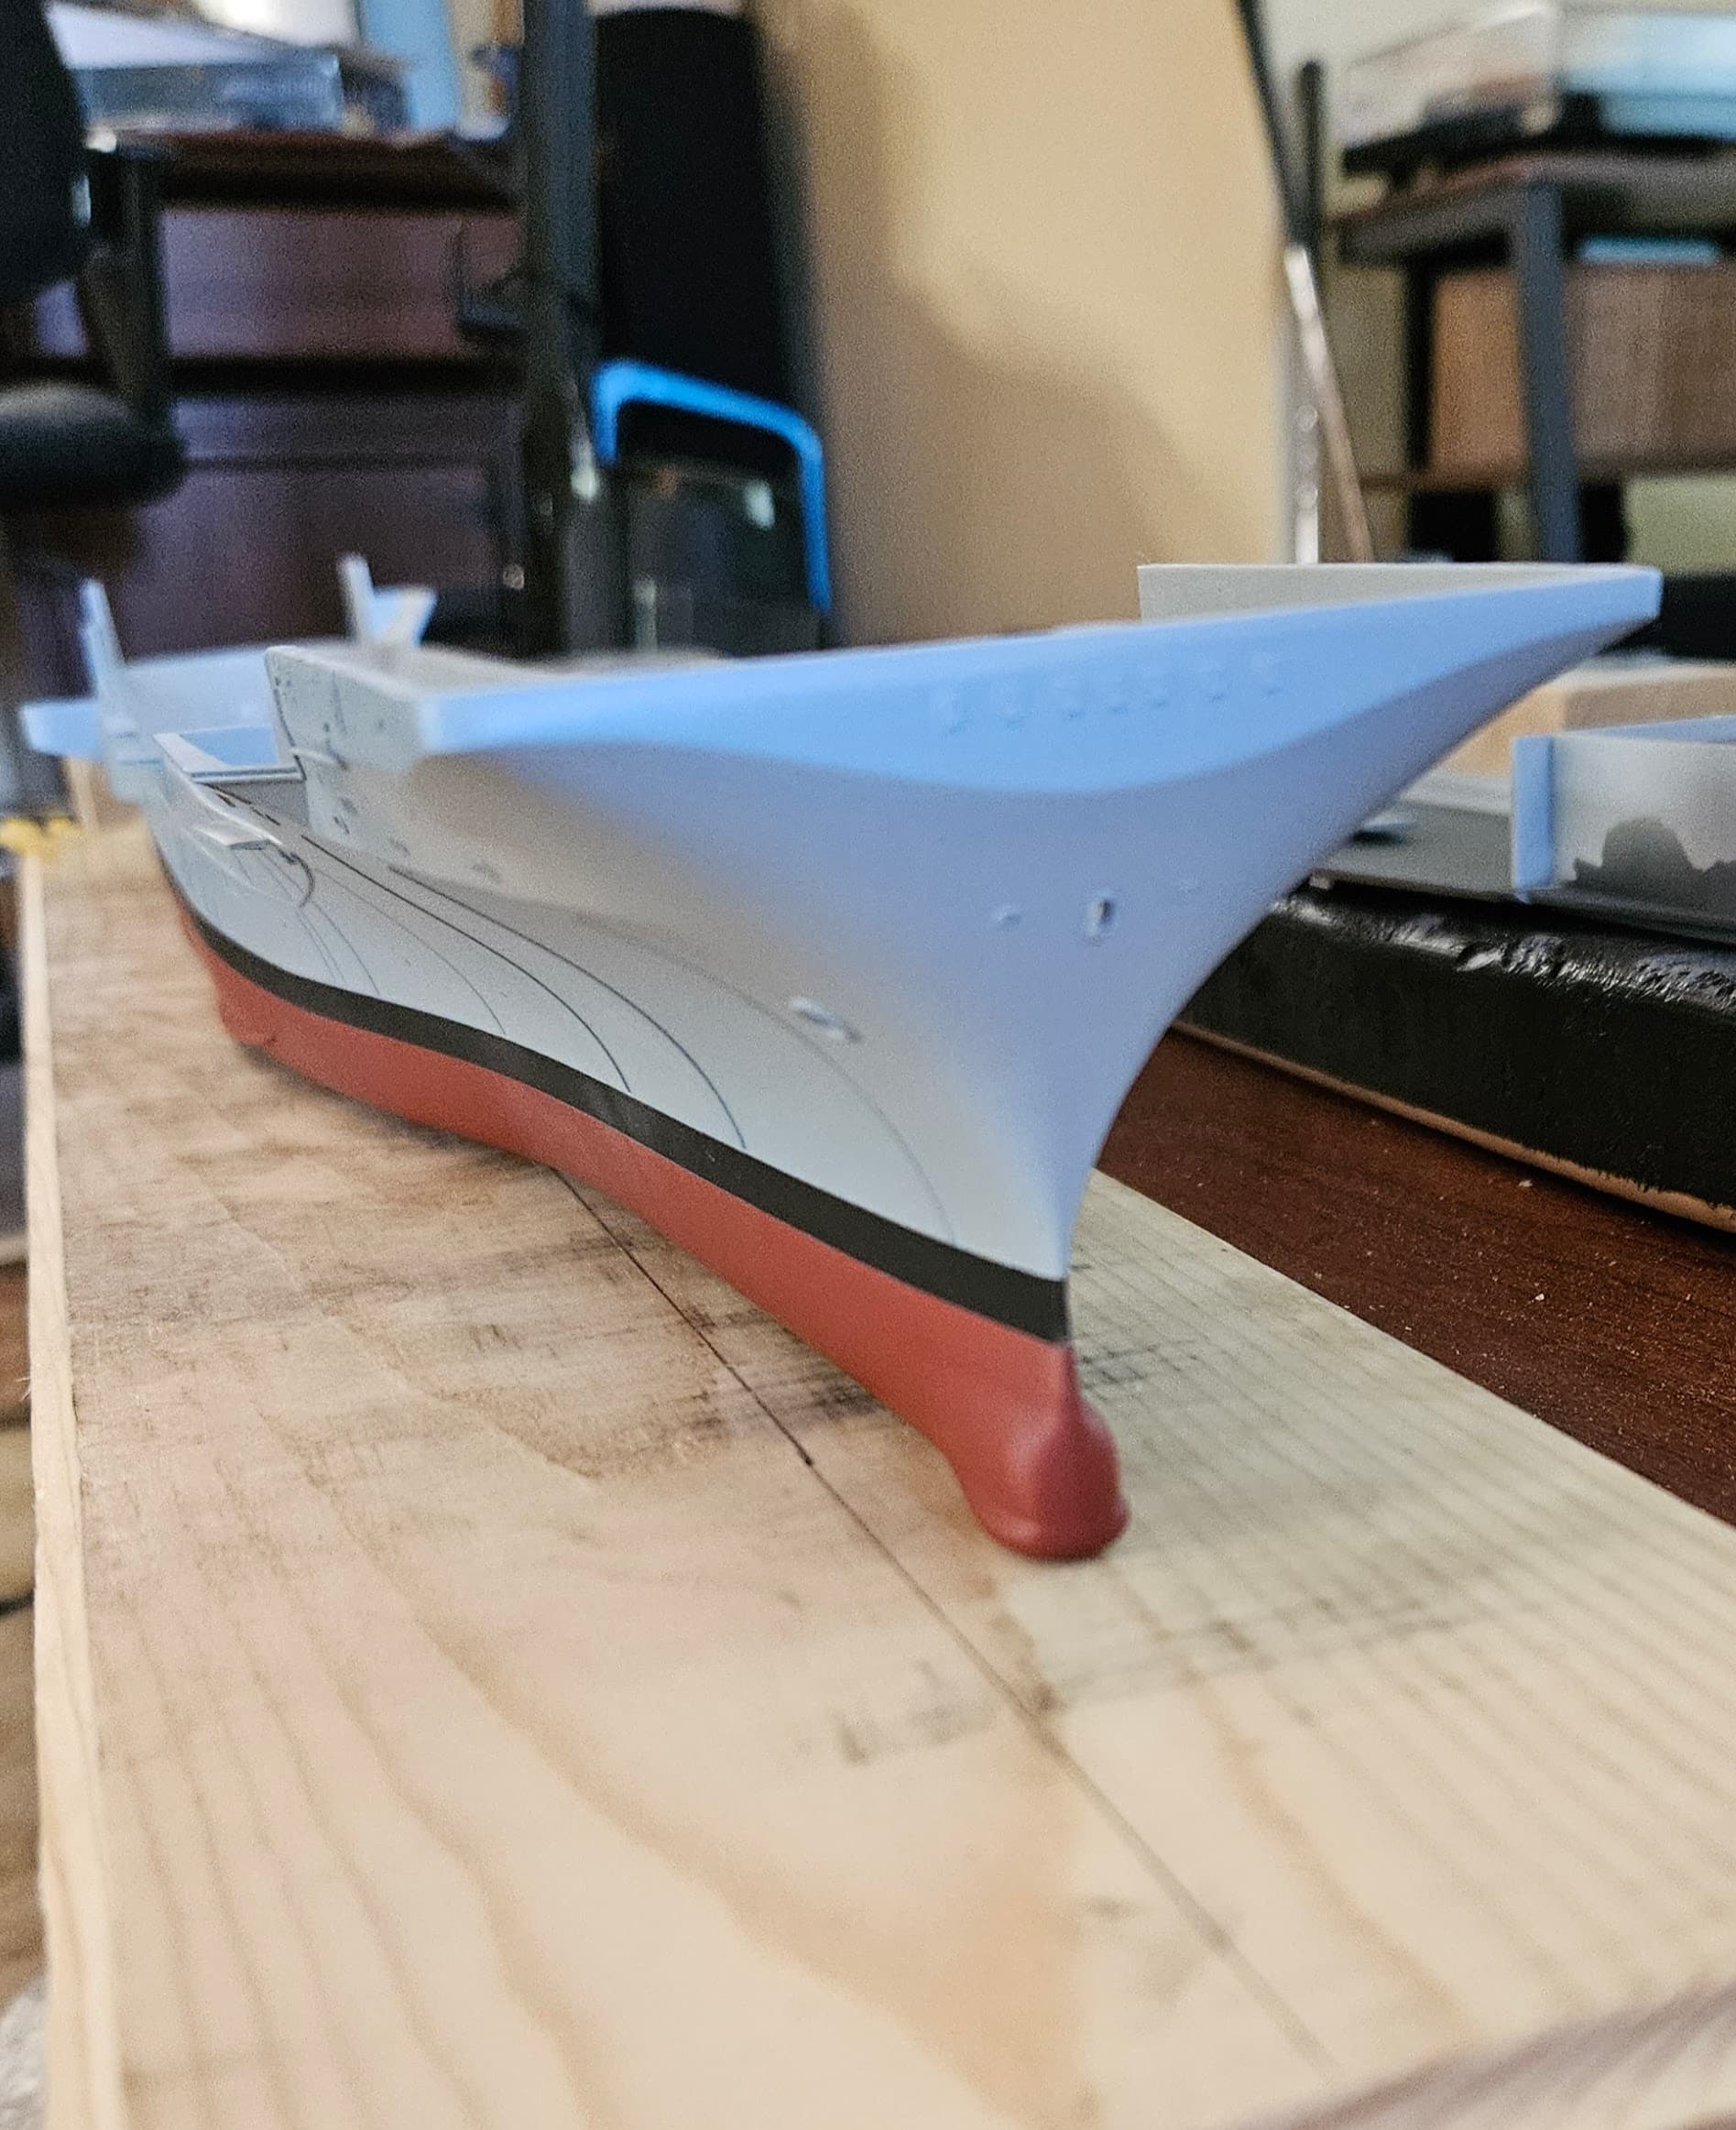
Future applied to hull and shafts and props painted with Alclad gloss black in preparation for bronze and brass/gold topcoats tomorrow.
1 Like
I’ve got about 1/4 of a bottle of Future left… 
I panic bought Future about 20 years ago and have 2.5 bottles of it still around. I think there were some substitutes that were performing comparably in a recent discussion I think I saw on these Forums.
I put some decals on today…forward and midships draft markings, port hull number and the HORNET on the stern. I’m happy with the Fusion Scale decal quality. These are tiny and fortunately I made spares of everything, as I had to replace the bow draft marks once. After I get the remaining decals on, I’ll seal with another coat of Future to protect the decals while I apply the washes.
1 Like