I am building this reboxed Italeri Stuka for the Battle of Britain group build and thought I’d share the progress here.
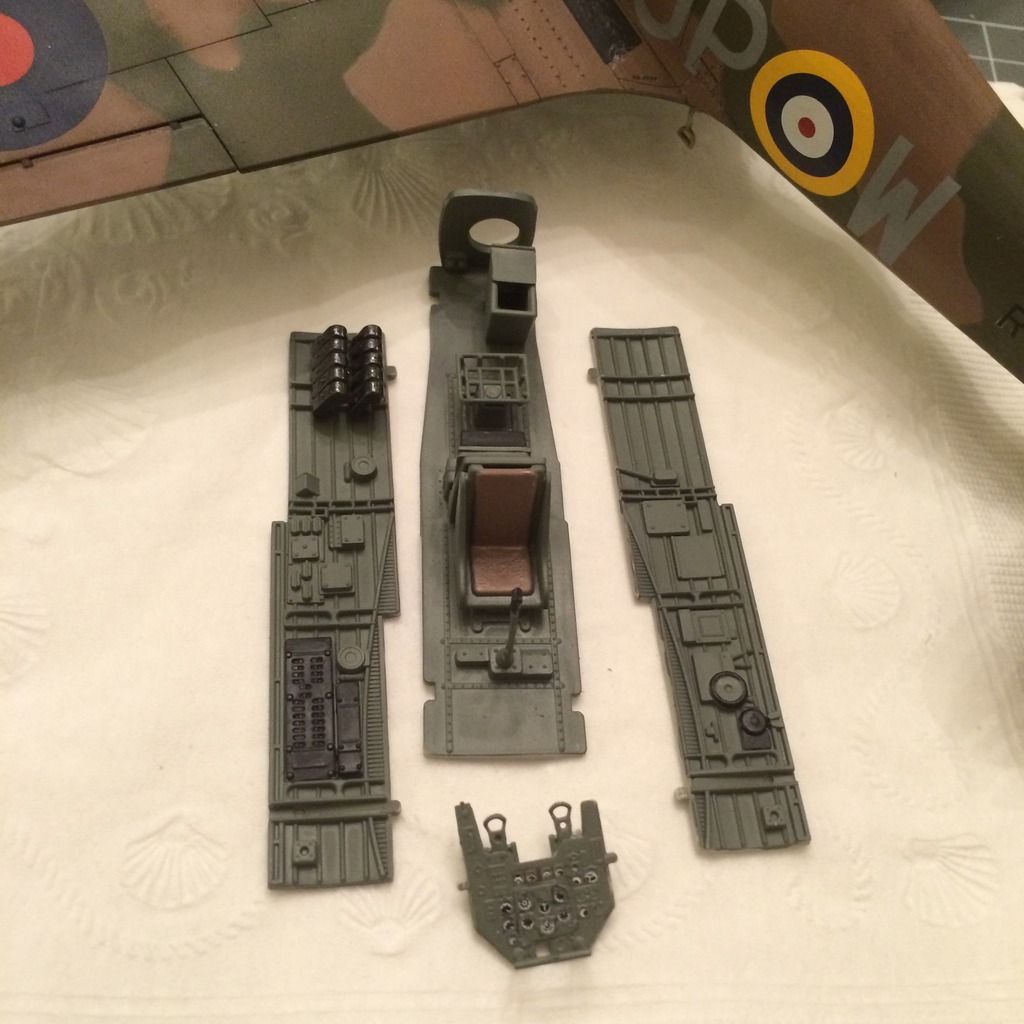
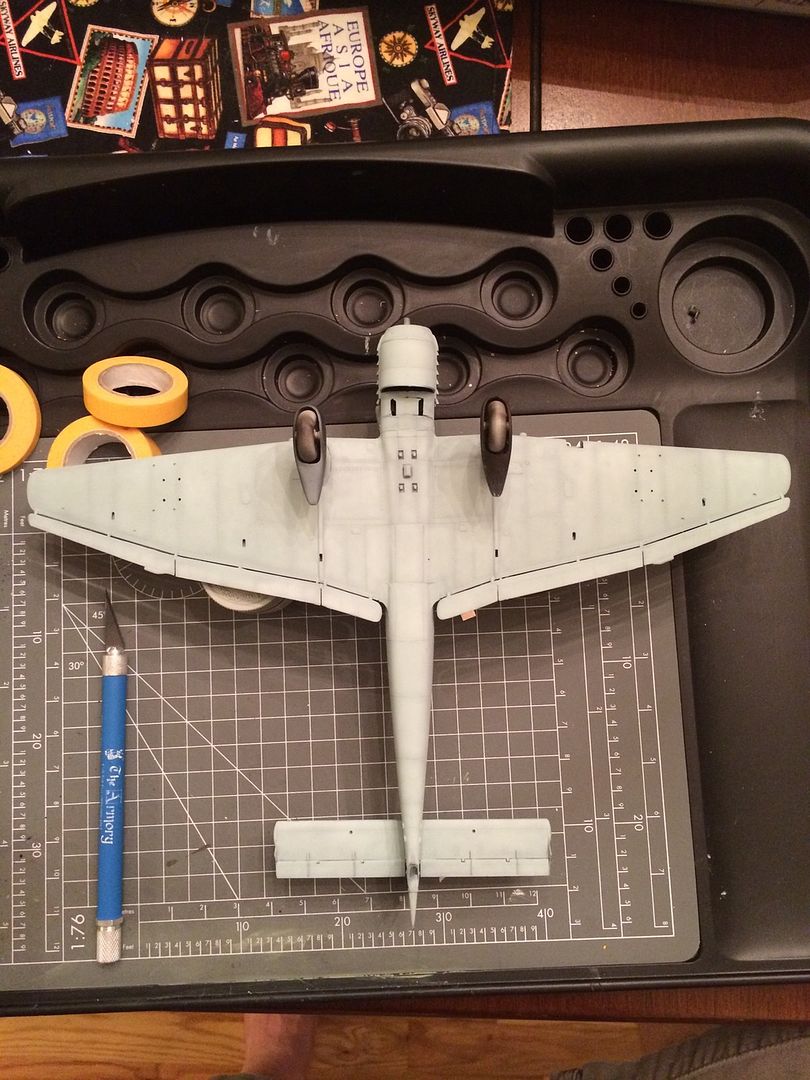
I originally started this before I had a decent airbrush and knew not to thin with water. So step one was sanding the old underside paint, and repainting the cockpit components. Fortunately I hadn’d done any assembly aside from bomb racks (which I cut off) and the instrument cluster.
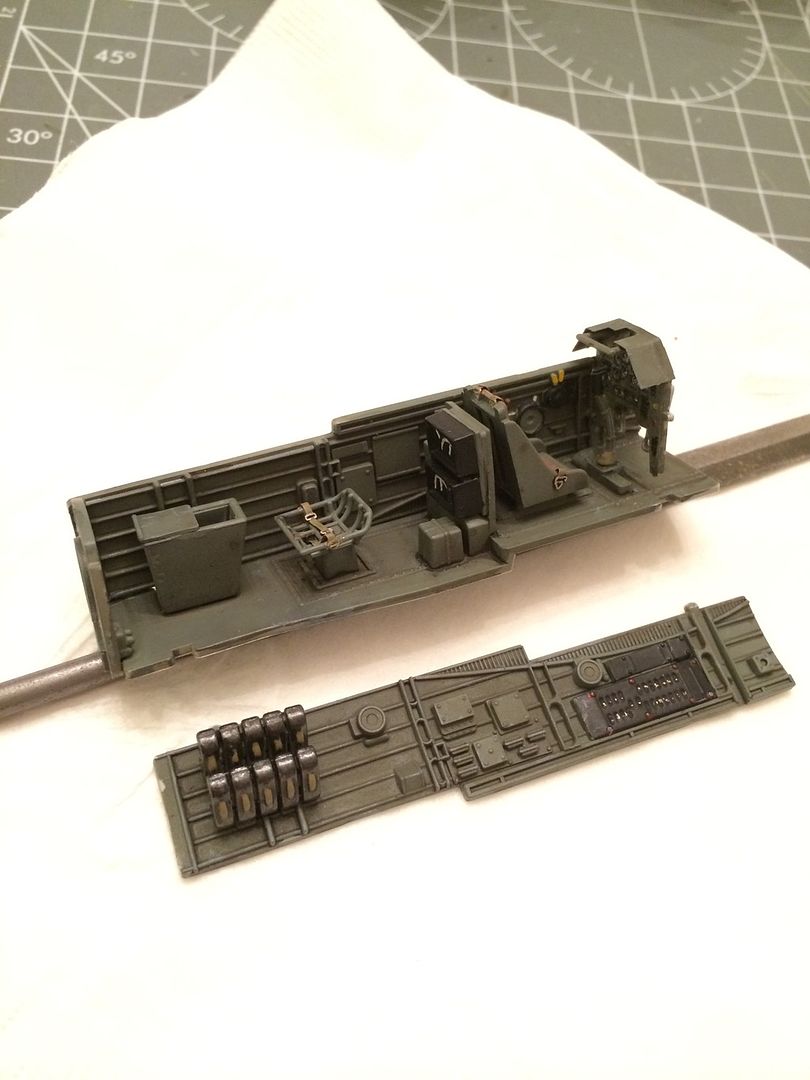
I went with light-ish weathering on the cockpit and limited it to Flory dark dirt washes and dry brushing with Tamiya neutral gray.
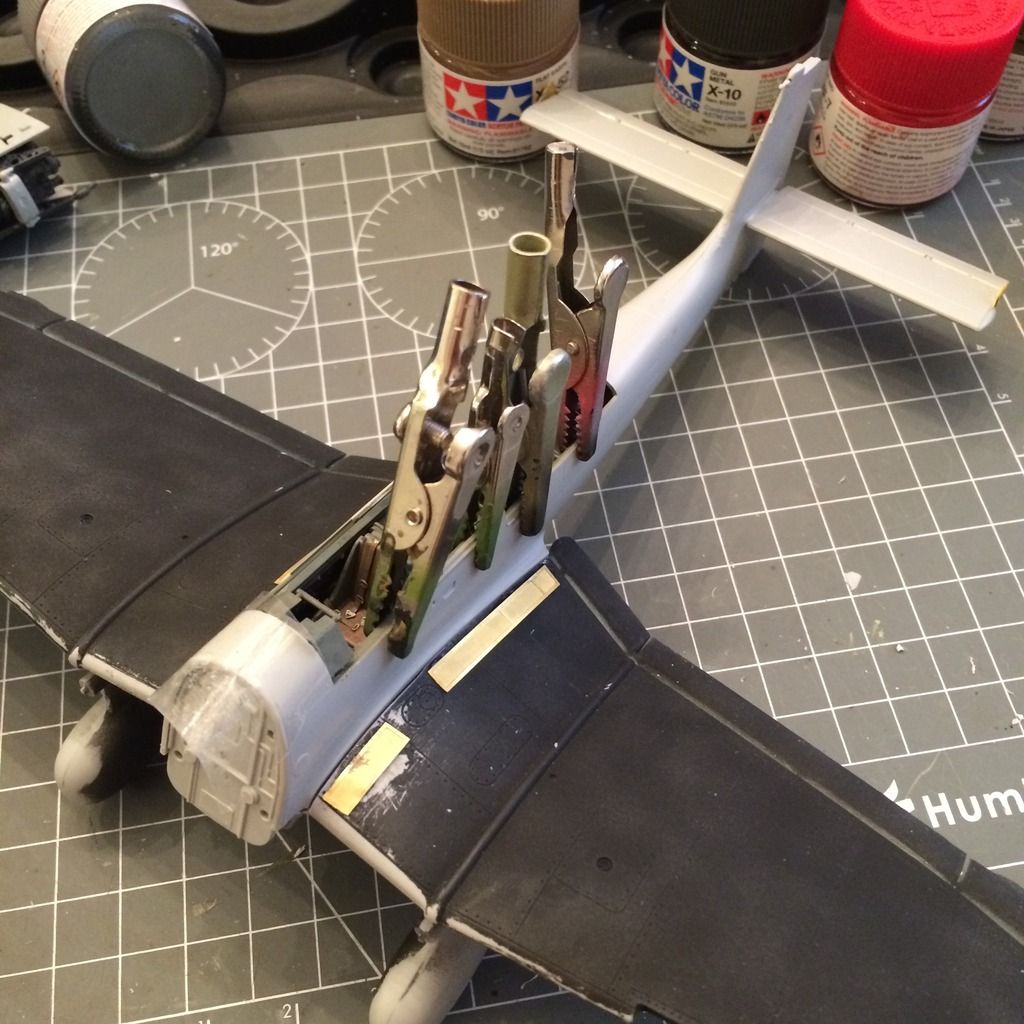
There are a few fit issues on this kit, and I don’t care for the way the shield over the instrument panel doesn’t fit flush to the base of the windscreen, but I think I can live with it. I had to clamp the sides pretty heavily to ensure no gap showed between cockpit wall and fuselage, too.
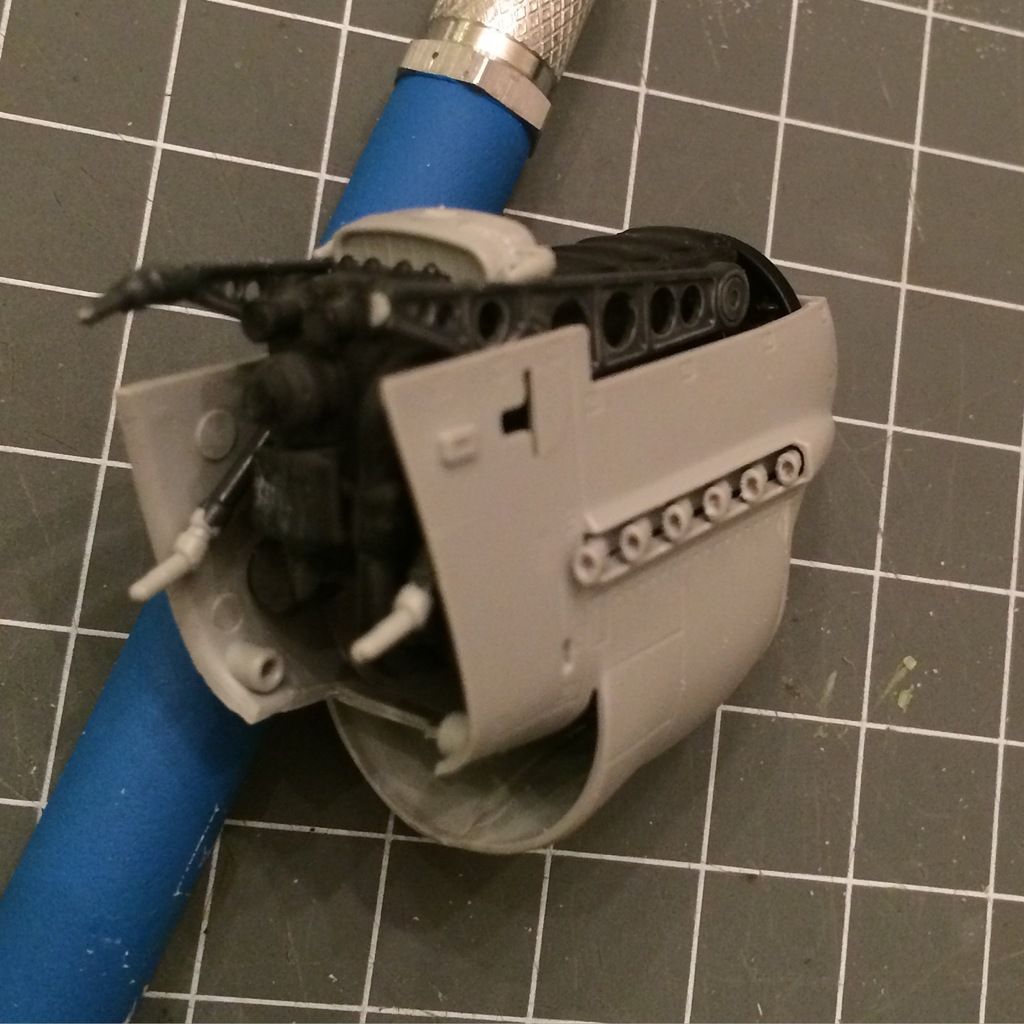
While the engine is cool, and pretty decently detailed, the cowling fit is kind of terrible, and I decided to glue it all closed instead of allowing it to be removable as I’d initially planned. The gaps just looked too hideous when it was on. I drilled out the exhaust once I got it together before mounting it to the rest of the airframe.
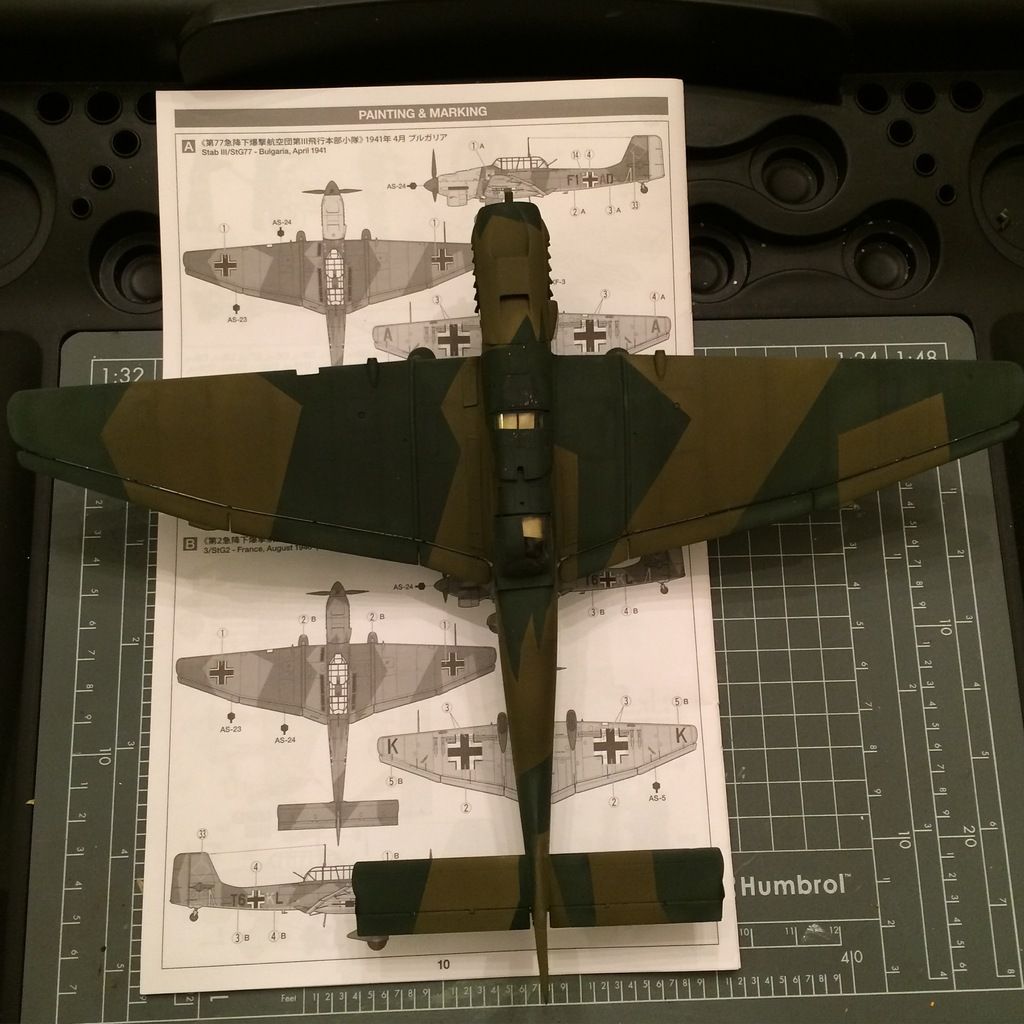
I’m actually farther along at this point (I have half the splinter camo done), but the pics are on my phone, which is dead. So you’ll get them tomorrow. This one will be in the RLM 65/70/71 scheme.
Anyone have any tips on painting and weathering the bombs?
I always look forward to you WIP. There’s so much to learn from you and many other forum members. Without saying, such a challengeing kit yet, your skill to turn a kit into a work of art is breath taking.
Looking really good. Looking forward to seeing this in paint. I have this one in my stash, glad to hear about the cowl fit. I’ll watch for that when I jump on mine.
Thanks, Bish! I didn’t realize they painted the bombs those colors. I would have (wrongly) assumed a dark gray.
I got some time with it tonight, and I got the RLM 71 down. I don’t know if the colors look right. I always pictured the Stukas having a richer green color to them… Maybe a filter coat is in order once the decals are on. I don’t know.
Anyway, here it is as it sits:
I used the Tamiya color guidelines for all colors. The 71 looks right on my 109, and it’s the same mixture, so maybe I just have an incorrect picture in my head. I don’t know.
BD, the bombs were painted depending on whether they were primarily internal or external loads. The larger bombs, 500KG and up, were mainly external so were blue to blend into the undersides. The 50kg bombs were usually carried internally on larger aircraft, He 111, Ju 88etc, so there was less need for camouflage. Of course, this didn’t work on the Ju 87, but they didn’t paint the bombs for specific aircraft. I get most of the info from this site.
Those greens look fine to me BD. If you check the finished builds from the Stuka GB, there are a few in that scheme and i think your colours match up well.
Bish - thanks for the link. I checked out the pictures, and I did a bit of research on the colors and found that there seems to have been a range even within the RLM specs, so I am going to keep it as it is.
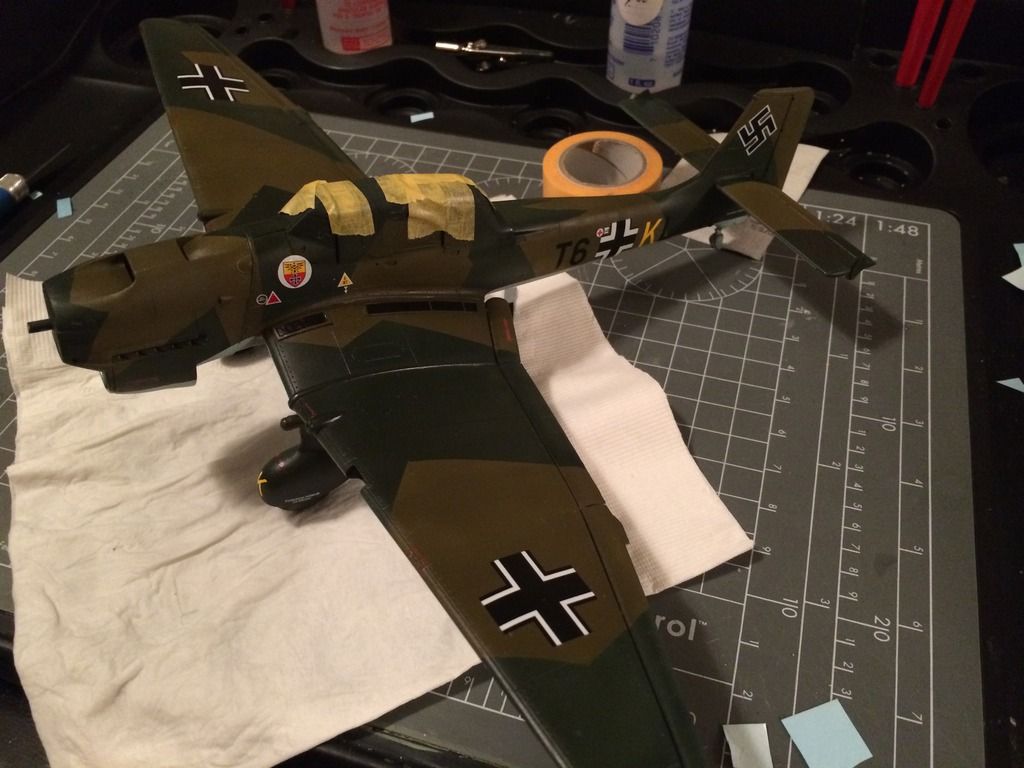
So I got the decals on tonight, then I finished up with adding all the stencils except the ones on the aerial, since I haven’t installed that yet.
It looks like it’s nearing completion, but I have some work to do on the ordnance now, and there are still actually quite a few pieces to add to the plane.
I don’t think there is any colour range, especially from this period, when you can say this colour should look like this or that. I use the same paint brand every time and don’t have to mix my own, but I still get variations. Nice choice for markings, don’t often see that insignia.
Excellent job so far Brandon. I can’t wait to put this kit in my line up. You’re showing here that one shouldn’t be too disappointed with it either. =] Very nice interior also.
Great looking Stuka! Those RLM colors are a pain to get “correct” shades, then when you compare Model Masters to Tamiya, to Gunze Sangyo (sp), Humbrol and Model Air…their shades of the RLM colors are completely different from each other, too. I’ve always mixed my own shades since I decided not to drive myself insane fretting over “correct” colors and if I think it looks good, I’m happy. And as you have stated, when you come across the RLM Color Shades, each one has different variations spread across the years they were manufactured. Filters and weathering are always a good method to tone, highlight and/or lowlight the finish.