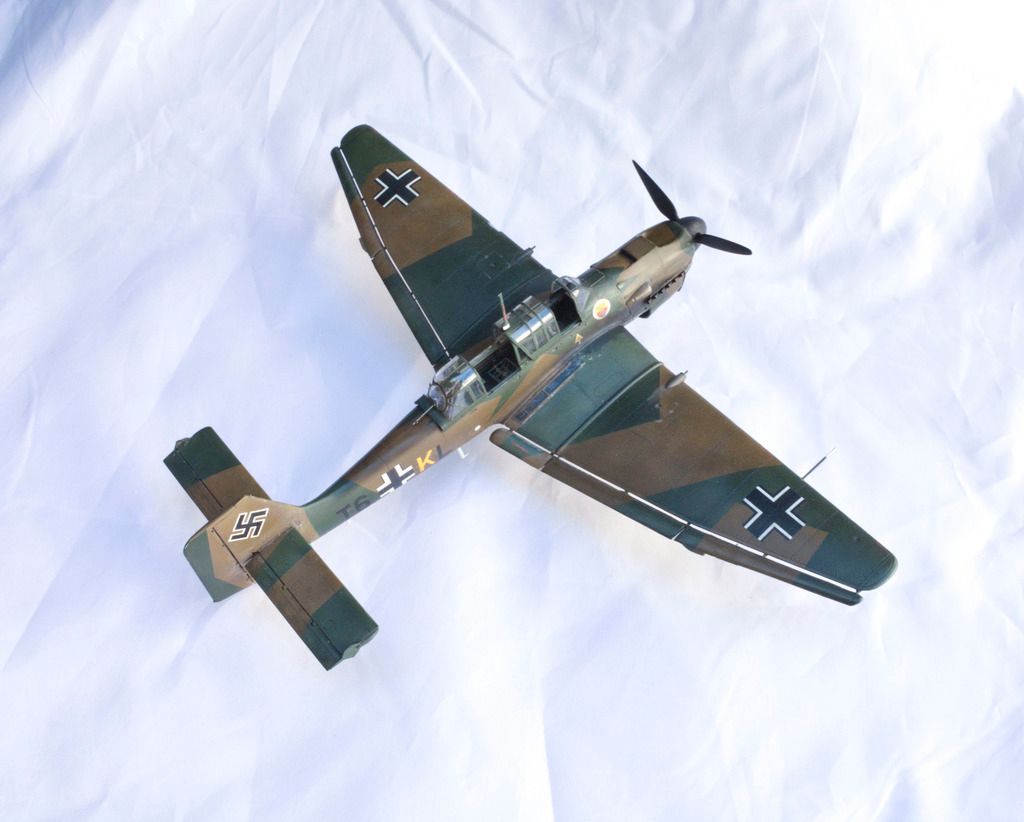
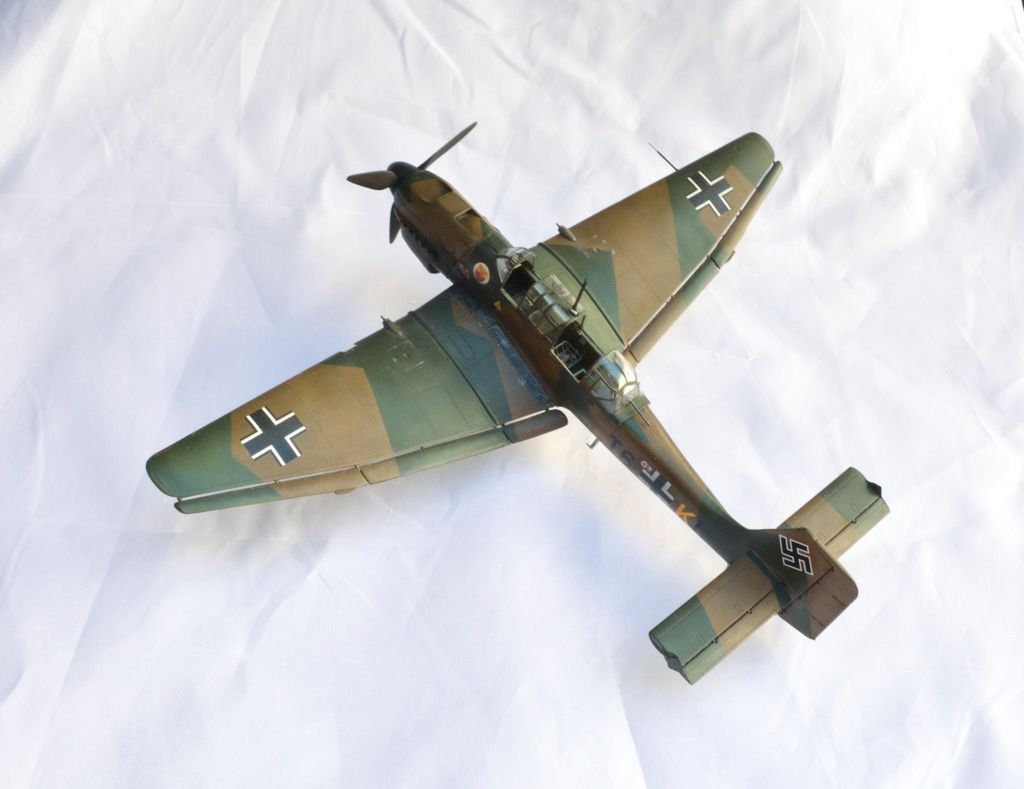
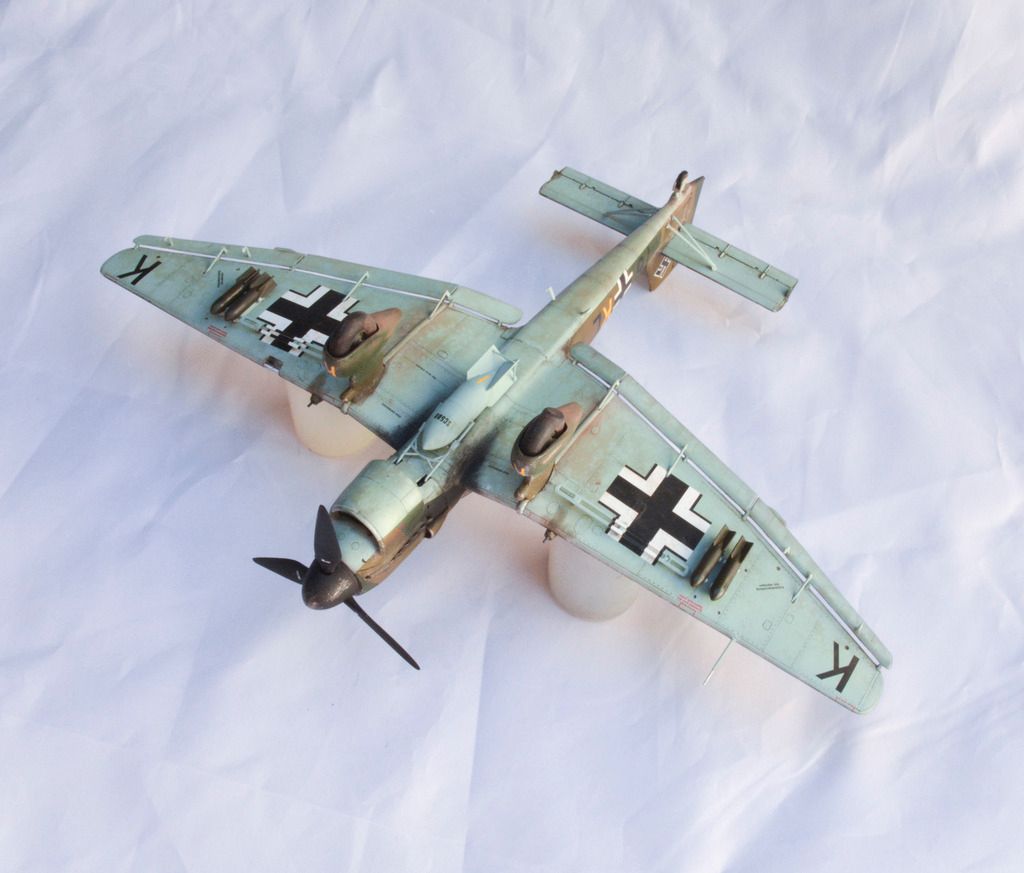
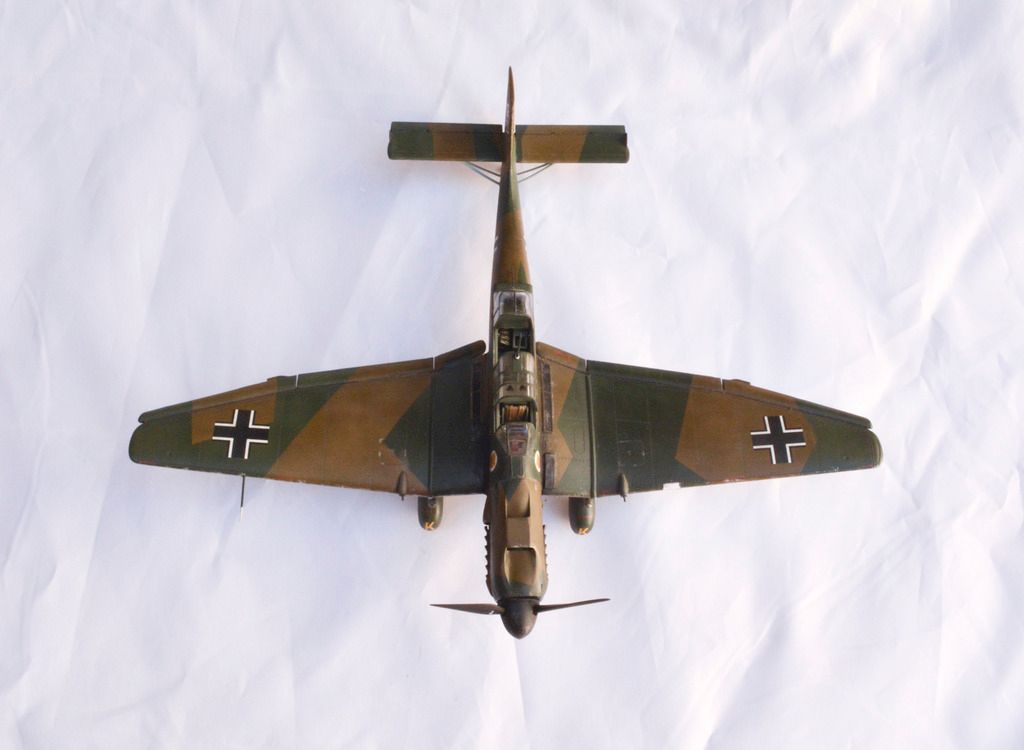
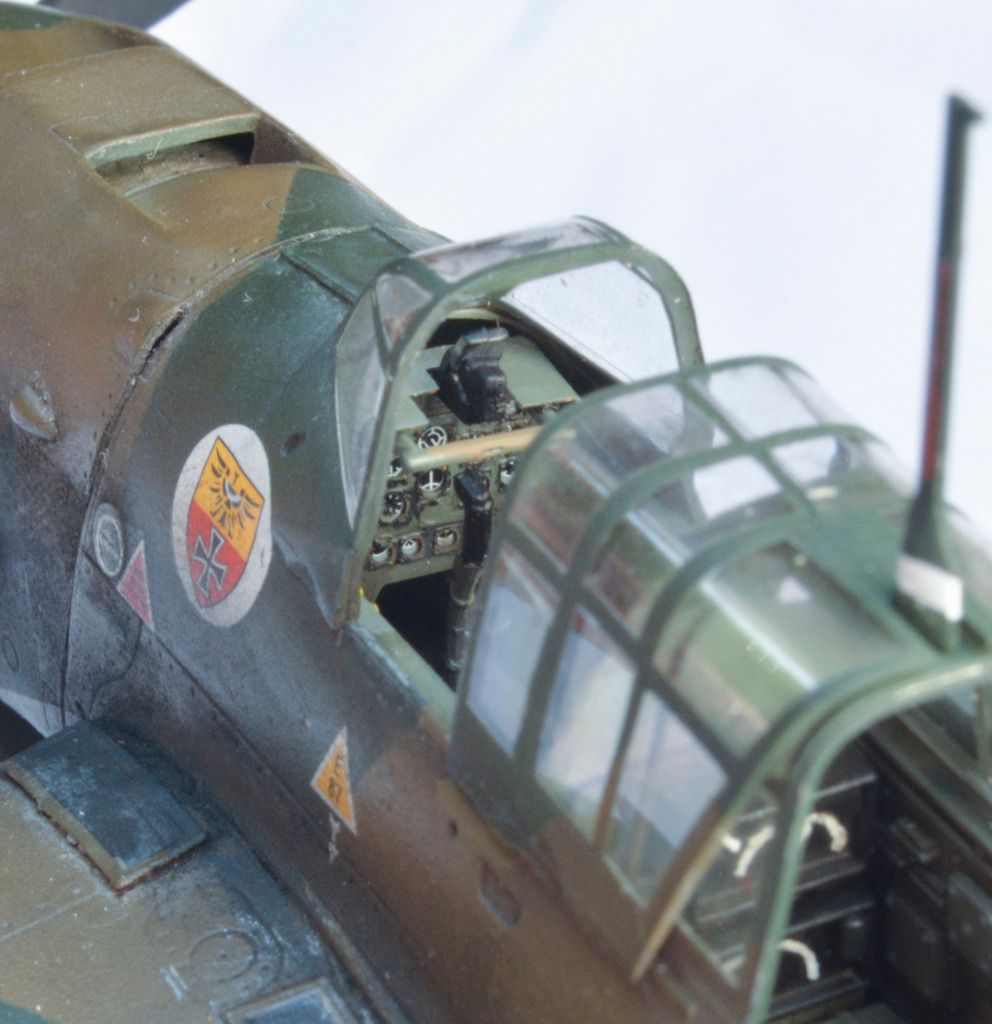
Complete! 1/48 Tamiya Ju-87 B-2 Stuka

Looking good indeed!

Dumb question, are you saying this is a Tamiya kit but is really the Italeri kit re-boxed? I recently built the Italeri B2 and this sure looks familiar. If answer is yes, why would Tamiya be re-boxing a current Italeri kit?

I really like your idea of clamping the cockpit tub sides to the fuselage sides. I have gaps, never thought about that.

Finally, sure like the topside paint colors. Specifically, the visual contrast between the two RLM colors. I used Vallejo Model Air and the colors blend so much they need to be under some light just to show the two colors.

Greg, Tamiya re-box quite a few Italeri kits. This was just a random selection, but if you look at the last two kits, one is Italeri the other a Tamiya re box, both on sale at the same time.

https://www.hannants.co.uk/search/index.php?adv=1&product_category_id=&product_division_id=&manufacturer_id=&product_type_id=all_aircraft_kits&code=&scale_id=956&keyword_search=F-14&setPerPage=100&sort=0&search_direction=0&restore_search=&save_search_active=yes&save_search_name=&save_search=

And you can that Tamiya clearly mark it as a Italeri kit, but that the Tamiya costs a little more.

That looks fine to me Brandon. I have trouble mixing Tamiya paints for RLM colors too. I switched to Gunze Aqueous for these as they look better to my eye. I look forward to the finish.

Thanks, everyone! I appreciate the discussion on RLM colors even though I’m sure many of you have had it a hundred times [:D]. And thanks for all the kind words. This has been a fun build so far, so I’m glad you’re all enjoying it.

I got some time with it this weekend and put down the last gloss coat, then a panel line wash.
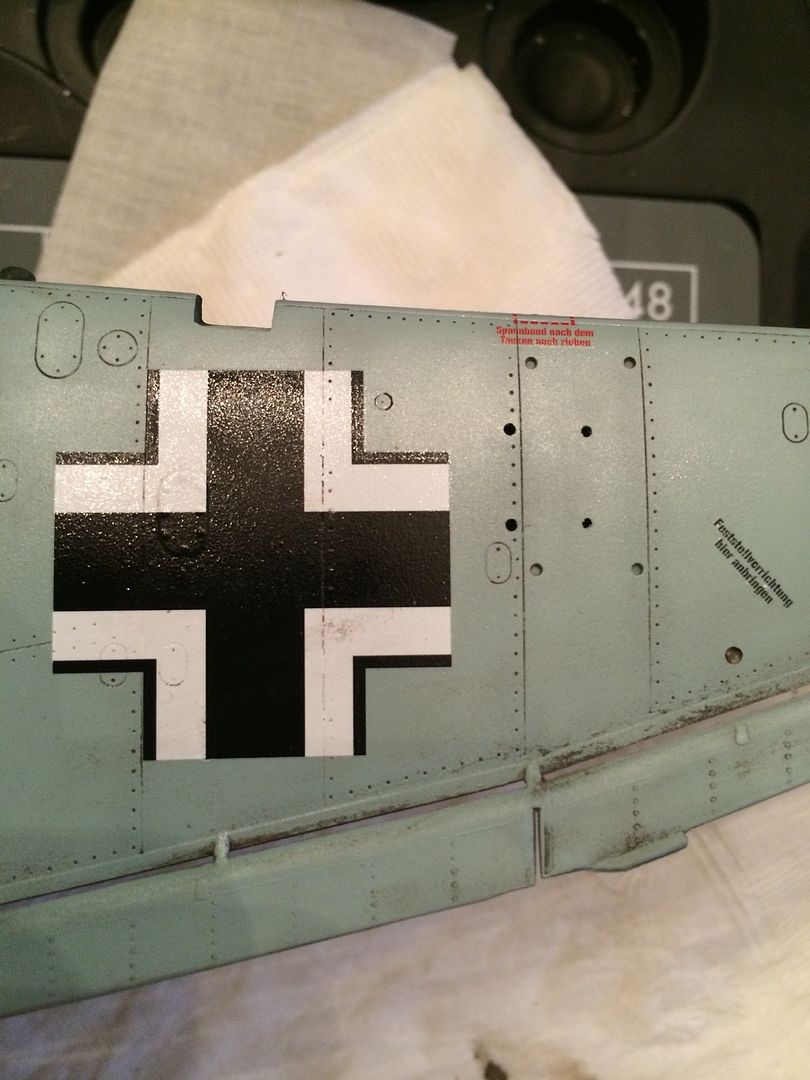
I wanted to dirty this one up a bit because I feel like most of my builds have been pretty clean, and I liked the dirt on my Hurricane, so why not try something new? I decided to do salt weathering. I practiced on the underside, using a mixture of water and dish soap brushed onto the plane to hold the salt in place (the dish soap is just to break the surface tension of the water and keep it from beading up on the gloss coat.

Then I dumped salt all over it. I didn’t have cheap sea salt, so I ended up using some of the fancier stuff [whstl].
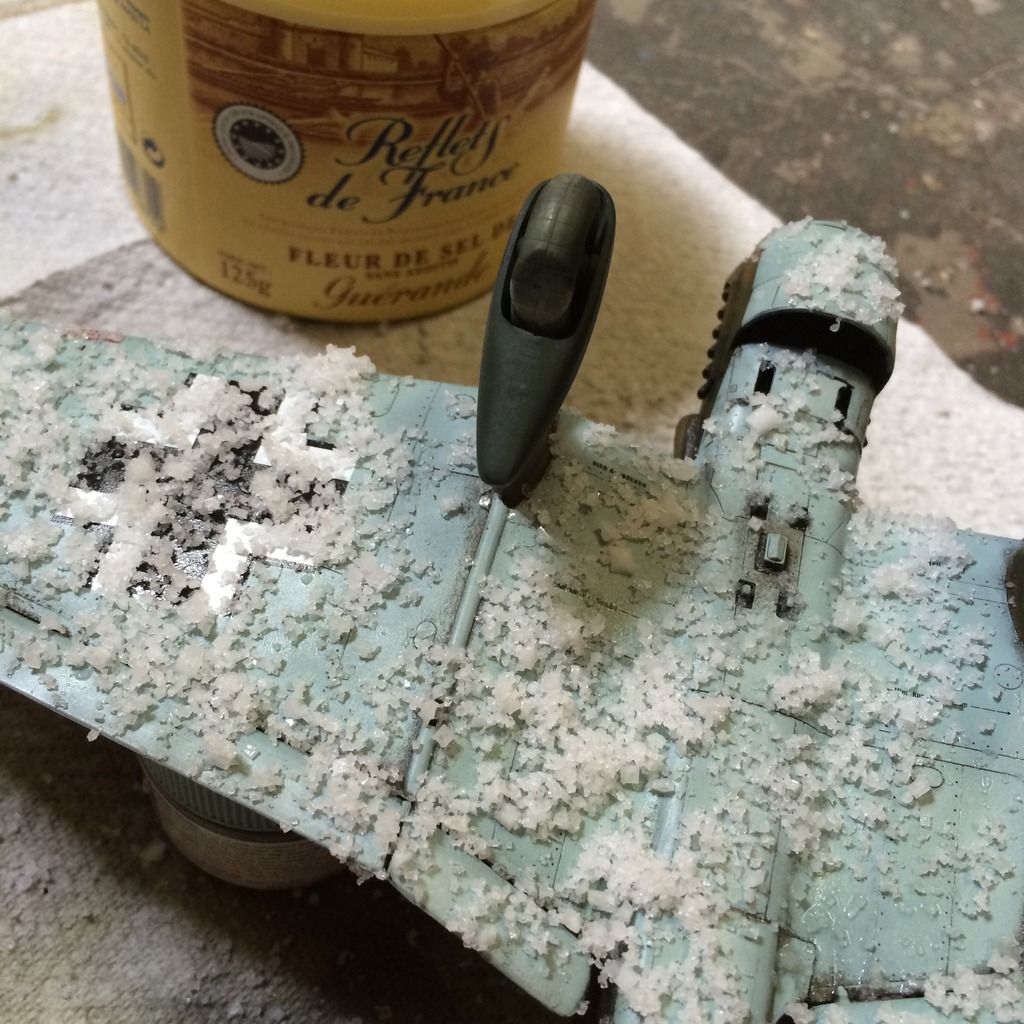
I let it dry (mostly) before laying down a highly thinned coat of Tamiya smoke, which was probably too thin, as it seems to have had very little effect, if any. I then hinned some flat earth and shot it over the salt. Once that had dried, I blew off the salt with the airbrush (no paint) and then, for the parts that were stuck on, I wiped in the direction of airflow with a paper towel.

Here is the result:
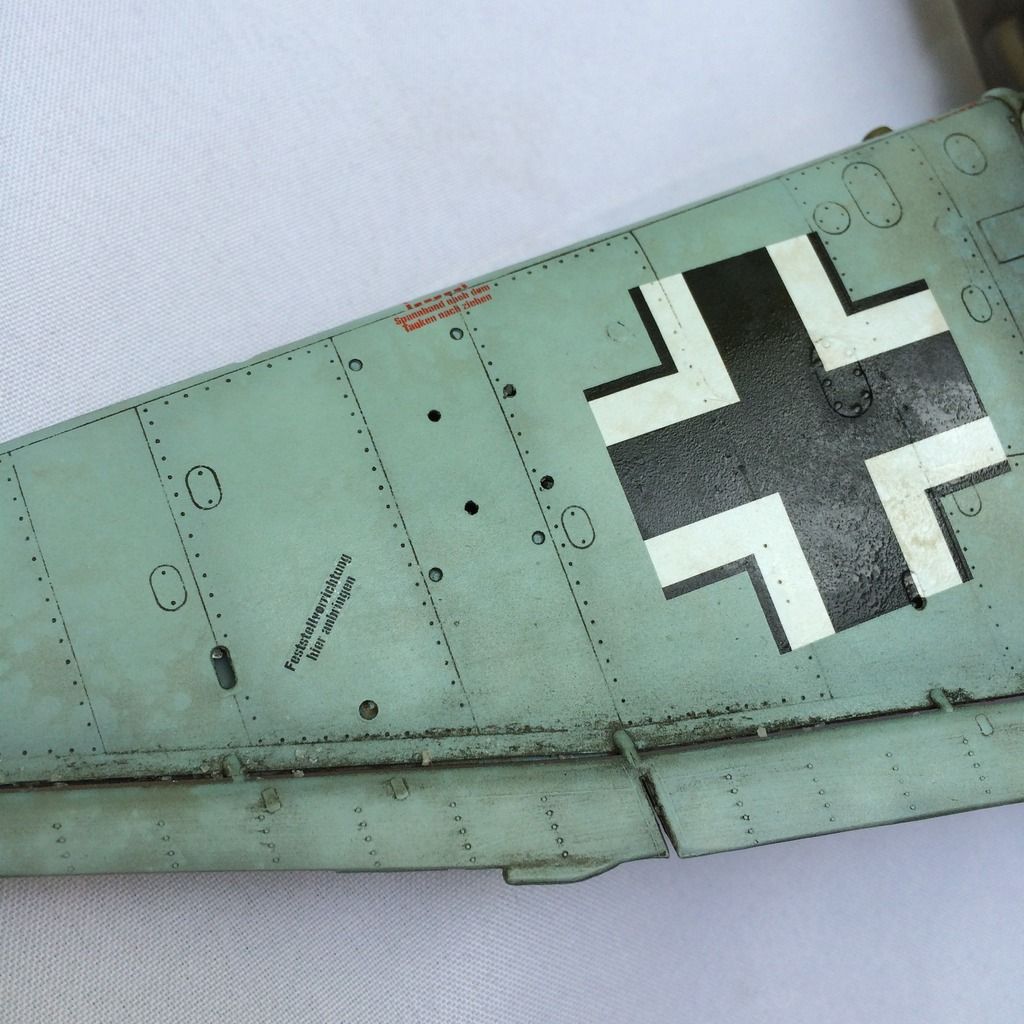
I decided that while I went a little heavy in a few places, I really liked the random weathering and dirtiness, especially for a dive bomber working at low altitudes and flying through a bunch of debris, smoke and dust from planes in front of it.

Up top, I didn’t like how stark the contrast was in the splinter camo, and how bright white the sweet Cartograf decals were, so I sprayed a REALLY thin mist coat of RLM 02 over the whole topside. Then I revisited the salt technique and used the black green color, hoping it would further tone down the contrast between the two as well as darken bits of the darker patches now that they’d been somewhat lightened with RLM 02. I thought the look was too subtle, so I salted it again and then hit it with a thinned coat of NATO black, sinc eit has a greenish tint to it.

Here is the result (kind of hard to see in the lighting, and it’s a lot more cleaned up around crew walkway and wing root now):
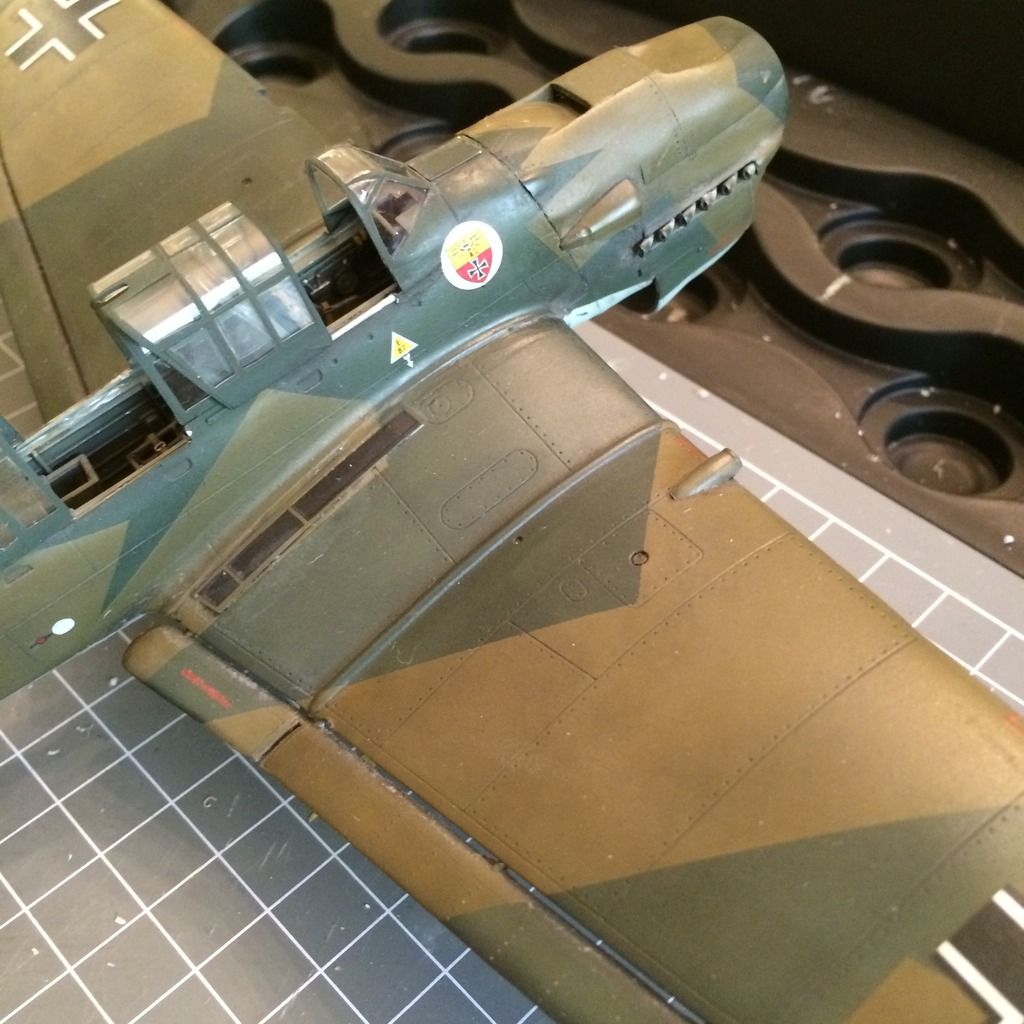
Once that was all done, I wiped the plane with a damp paper towel to remove salt residue and clear coated it with Tamiya flat clear. I missed a few spots with the salt, but I used a Q-tip with Tamiya acrylic thinner to remove the staining (it didn’t eat through the Alclad lacquer gloss coat into the colors below, so all is well).

I’ve now added a bunch of the little bits like dive flaps (which I’m glad I cut off and left till the end), control surface linkage, counterweights and those sorts of things.

I also used a short-bristled brush to smash some silver on the leading edge of the wings and the nose cone to simulate paint shipping there.

Now all that’s left is some exhaust streaking, chipping around the wing root and final touch up around the canopy. Oh, and the ordnance.

-BD-

Not seen that method of weathering before, I rather like the end result.

That weathering techniqe looks fantastic, I may have to steal it in the future.

Real nice Stuka Brandon. That salt weathering can be tricky, but you pulled it off like a pro. Nice and sutble weathering. [Y]

Brandon, I’ve been curious about the salt method for a while now, thank you very much for the step by step explanation and pics. I think your results are great!

Everything is really coming together now.

Bish, thanks for the feedback on Tamiya reboxed. I see that it truly IS very clearly marked on thier boxes!

No worries Greg. I never really understand why they do this. I am sure its a good deal for Itaeri because they must get paid by Tamiya and then Tamiya sell the same kits for more, so its a no brainer which kit you will buy if you have a choice. Tamiya also sell some of their armour kits with ICM figures.

The Stuka is done! This kit fought me in a few places, and I didn’t do myself any favors by breaking the tail wheel housing off and losing it forever. Fortunately I still had the wheel, and the housing is probably the easiest thing to scratchbuild, so I was able to fix it.

Anyway, here she is: a veteran Stuka of 3/StG2, based in France in August, 1940. A few things I would have liked to have done better, but she looks the part of a mean old bird.

All comments and critiques welcome, as always :slight_smile:

Also, there isn’t any white under the canopy. I think that’s a weird lighting or photo editing quirk. It’s black pastel chalk for exhaust streaks. I think I brought the highlights up too much. oops.

-BD-

hey I can hear it screaming in a dive great work

That looks good to be BD. Nice finish on this, thanks for sharing.

There aint a dang thing wrong with that! Sharp bird you’ve got there Brankon! I like the salt weathering technique as well.[Y]

Your Stuka turned out great, I love the way you salt weathered the plane great job.

Toshi

Great job on that Stuka BD. The weathering looks just right.

I also got that website thanks to Bish and it’s a great help with the bomb colors. You should also try the salt method over aluminum for some real good chipping effects, specially on Japanese aircraft.

Whew ! what a fine looking Stuka ! A pleasure to view.

Thanks for all the tips in your WIP too.

I am betting the reason Tamyia re-boxes Italieri kits is for sale in Japan proper. There are import tariffs that could make the Italieri kits unsellable in Japan because of the price. If Tamyia imports them and sells them as Tamyia, the taxes are less. Italieri gets the increased sales, Tamyia gets increased sales and doesn’t have to do the work to make a kit of that subject. What is a little confusing to me is why they would end up in the U.S. competing with each other.

John

Magnificent Stuka Brandon. You really have done a fantastic job on all phases of construction, painting, detailing and weathering. Have to admit that I have not seen the salt method used in that fashion before. It certainly yielded some nice results. Thank You for taking the time and effort to share your skills and efforts with us. Now, pull out another kit and do it again. Please.

Excellent work my friend. Super finish. Im lovin’ it !!!

BK

John, thanks for the explanation, i had guessed it might be somthing to do with the japanese market. But like you i find it strange that in the UK both are on sale next to each otehr, with the tamiya being slightly more expensive.