Thanks Doog, It’s all good. And just for the record … I always disregard all comments at will.[;)]
rb
Thanks Doog, It’s all good. And just for the record … I always disregard all comments at will.[;)]
rb
Hey RB
I think your dio WIP is superb and I think the story-line is apparent. The more you complete, the clearer it becomes.
As far as small unit tactics go - lets put it this way: to the infantry man, any cover is better than no cover. If his choice is to hide behind or near a tank that MAY get hit and MAY injure or kill him, versus standing in the open where he WILL get killed by machine gun fire, well, you tell me what you think the guy is going to do.
I think your composition and your story are right on. Please keep posting your progress!!
Thanks bbrowniii, hopefully I’ll get some time to work on it some more this weekend… I’ll post more then.
rb
Your trench came out great.
Thanks jetmodeler, it’s truly been a labor of love.
I’ve been in that trench before…
Lookin’ good.
G
Ditto, sweet!
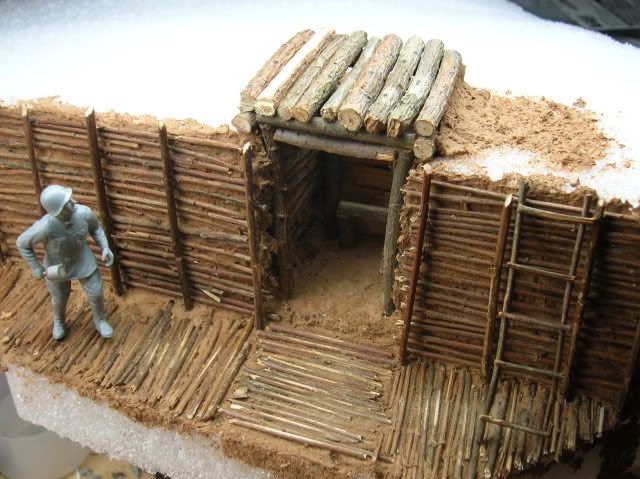
I didn’t care for the way that “Fire Step” log looked so after researching a few more photos, it was removed and a handmade ladder added - I think it “Fits” better:
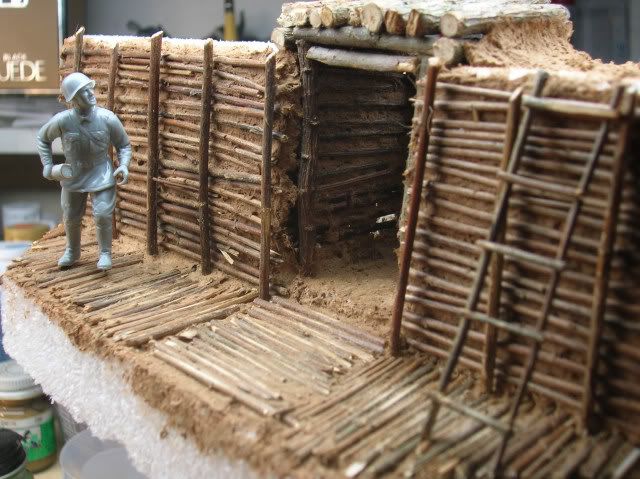
As you can see, the log roof is completed - eventually it will be covered with a scale canvas, then dirt and sod, leaving only the log ends on the front side visible:
razorboy
That ladder does look better.
Thanks, I thought so. I will be adding some bindings to the rungs before it’s finished.
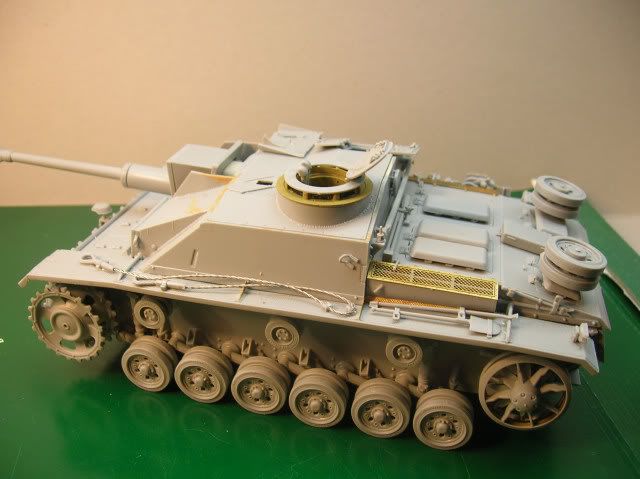
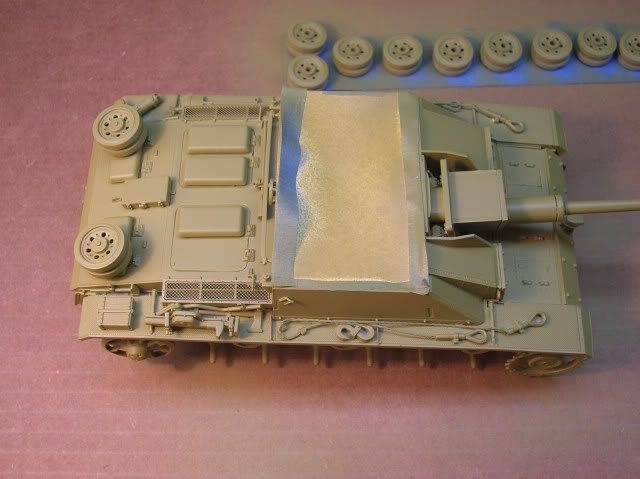
I finished the Stug construction today(except the tracks) and now she’s ready for some paint - dunkelgreb oversprayed lightly with rotes braun:
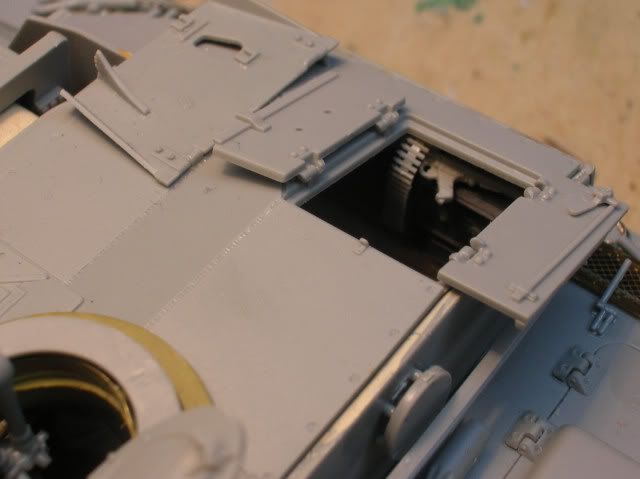
I also added the loaders MG 42 with ammo belt stowed and visible:
rb
Can’t wait to see it painted & finished.
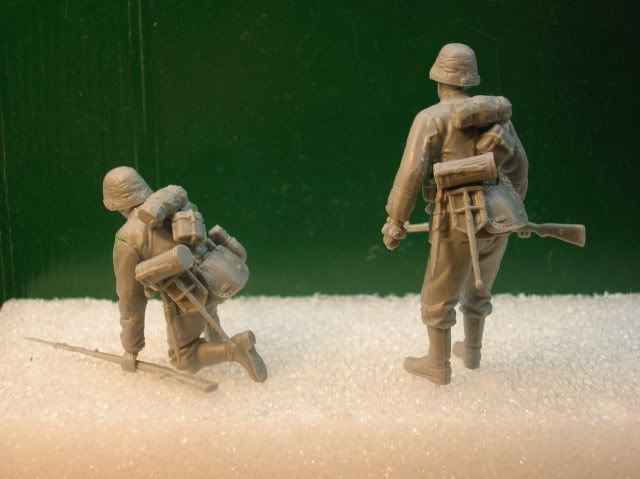
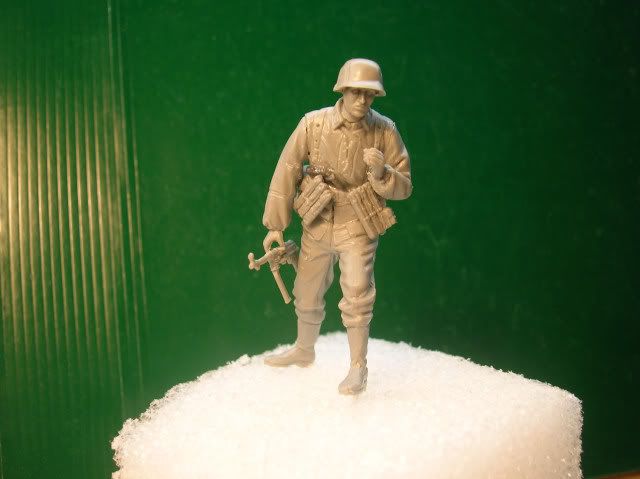
I got two of the grenadiers “Kitted-Out” with all of their gear today. There is still a bit of filling and seam removal to be done on these fellas and the others but it is fast approaching paint time. The standing figure will be MG 42 ammo carrier #2 and the kneeling figure in this set of pics is flammenwerfer guy’s assistant and I thought that title justified a fixed bayonette.
I will do this for all of the infantry figures prior to painting then paint all of them assembly line style, doing all of the smocks and helmet covers at the same time. This will insure greater continuity in colour and pattern as I usually mix my own paint.
rb
I realized today that “Flammenwerfer’s Guy’s” assistant had not only a bayonette fixed on his KaR 98k but one also “Fixed” in his bayonette scabbard.
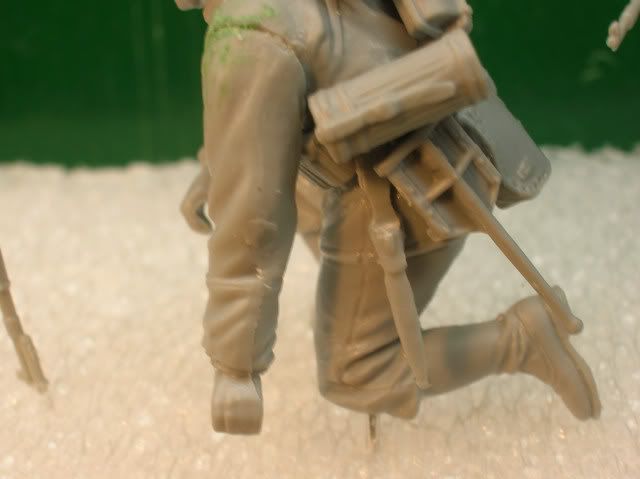
I have since altered his scabbard to appear “Bayonetteless”…
Sorry!
rb
Looking very cool…watch those tiny seams on the figs—especially around the wrist/hands…[Y][Y]
Noted. Those little buggers do show up nicely in a closeup - don’t they! [:D]
I really hate it when those are there. Then you don’t really see them until all the paint is on and finished. That really makes me mad.[bnghead]
Comming right along Dave…looking GREAT…Are you comming to Richmond this year for the ODO?
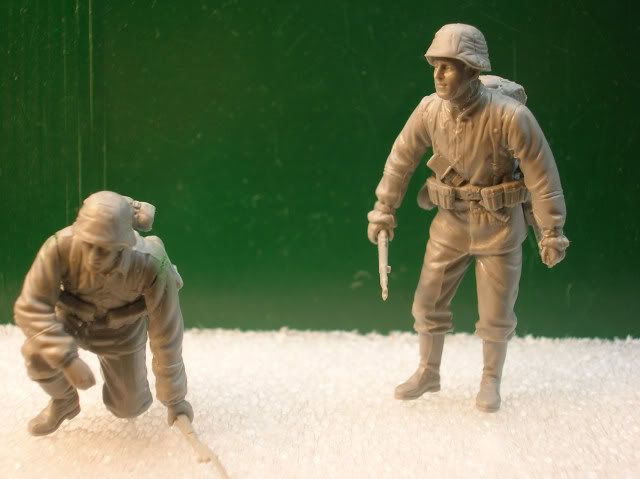
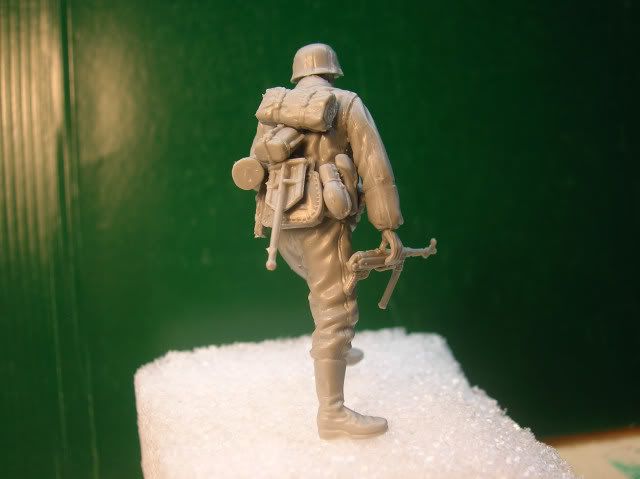
I worked on the “Squad Leader” last night and got all of his equipment attached (except for his binoculars and MP40) and today will give him the once-over for any needed filling and additional seam removal. I will work on the “Grip” appearance of his hands prior to permanently affixing the binoculars and MP40. The kit shows him with a stick grenade in his belt and I have forgone that and substituted a signal (flare) gun instead.
I am almost ready to shoot some paint on the Stug. -
but at this point I am undecided as to wether I will use a canvas cover on the gun mantlet or not. If I do, it needs to be done prior to spraying. I’ll decided on that sometime today.
*** As far as the ODO goes Stern0, I am definately gonna make it this year!
razorboy
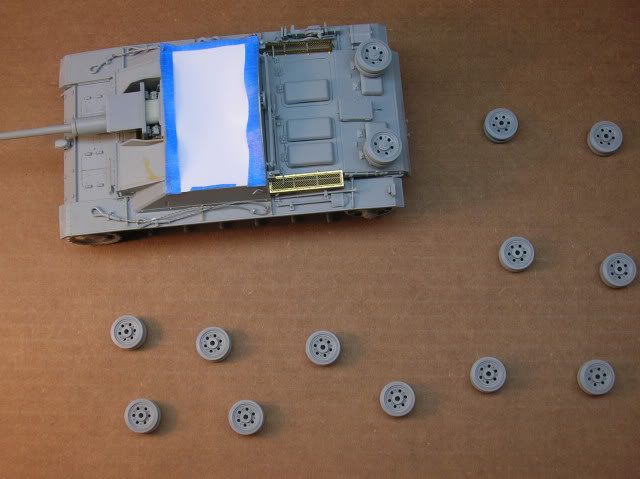
I got the base coat down on the Stug and inside of the road wheels last night.
Some touch up here and there on the hull and rear, paint the other side of the wheels, paint the fighting compartment roof section, then shoot some camo…
rb