I’ve applied my camo pattern to the Stug. and have the ladeschutz about 75% finished:
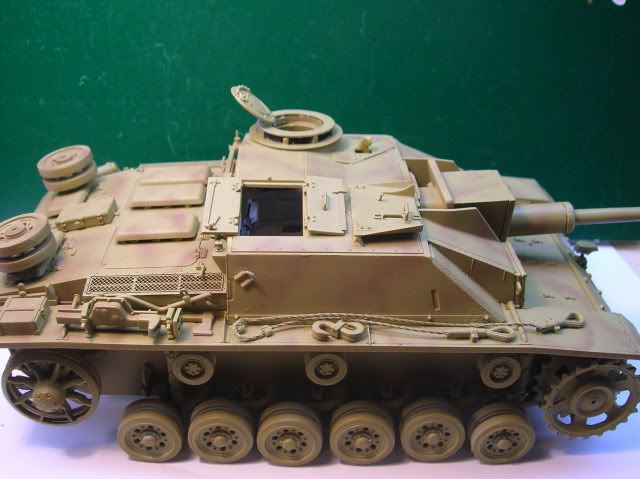
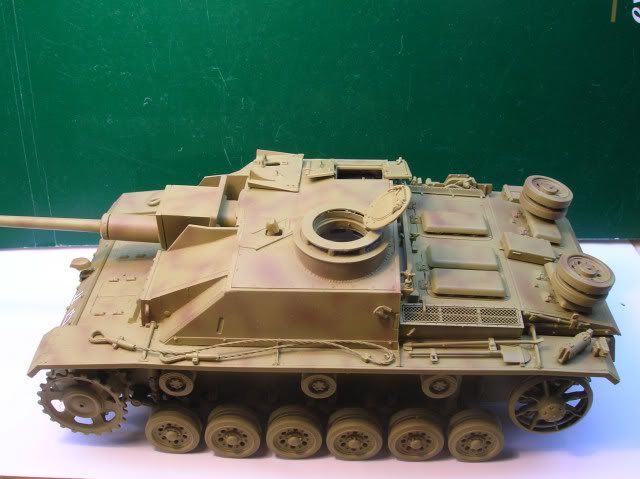
rb
I’ve applied my camo pattern to the Stug. and have the ladeschutz about 75% finished:
rb
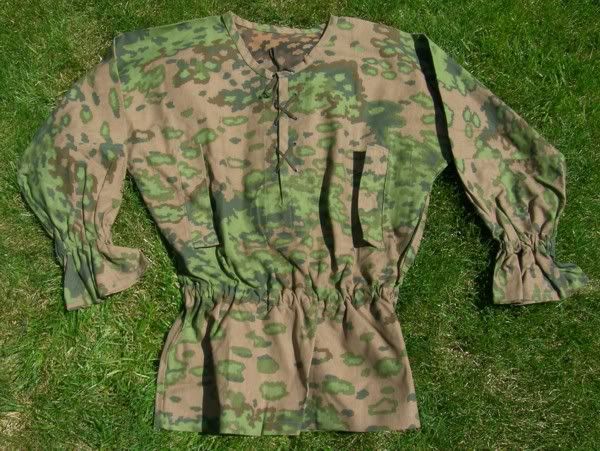
what color did you use for the loaders unifroms? I seem to never get the right color, I built the LAH commanders and the base color given was a field green?
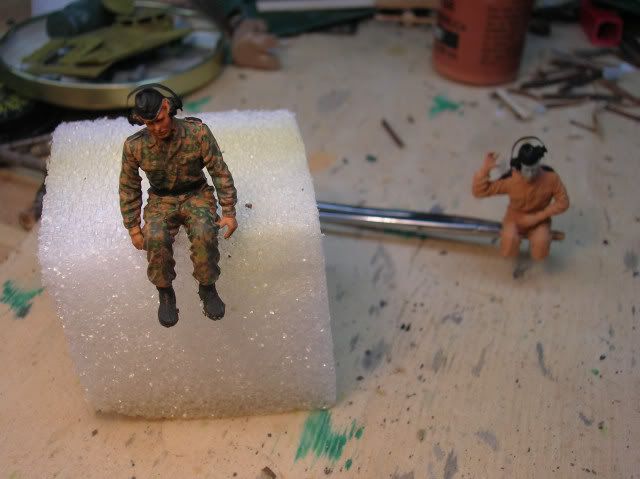
Tankluver, It’s what I can only describe as a pinkish-tan but the lighting in this particular picture doesn’t do it much justice.
rb
Nice job on the tank and the figure.
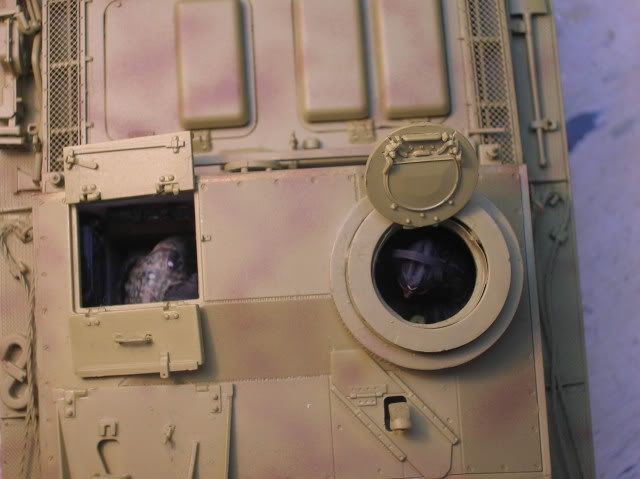
Just for poots and giggles last night I put the ladeschutz in his position inside of the StuG… I took a couple of close-ups with the old Nikkon and man … I gotta start using a magnifier or something. I missed the piping on the epauelettes and and some of the camo pattern looks really rough up close. I guess my prescription requirements have finally outrun my current lenses! 
Well anyway, I guess better the eyes than some of the other mechanics of nature so here is a ‘not so close’ shot until I can get him properly attended to:
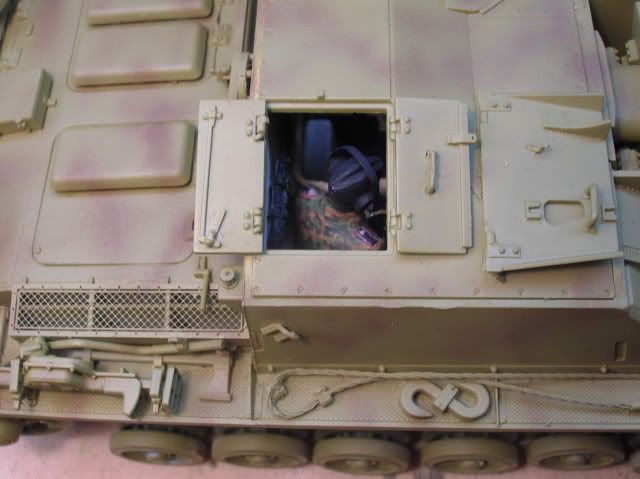
… oh and he still needs shading and blending on his face and fliegermutz as well.
rb
I finished the StuG. crew today - the headphone wires are made from copper wire.
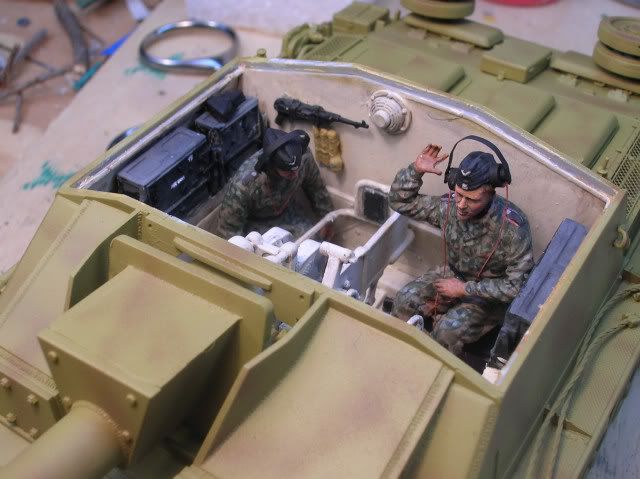
rb
The crew looks great in place RB - Top-Notch job there-quite animated…darn good–any chance that lid will stay removable for viwing on the final piece? The ‘camo’ pattern is really “subtle”. I’d think you’d want to better define it at this stage–what’s the plan–if you don’t mind me asking?
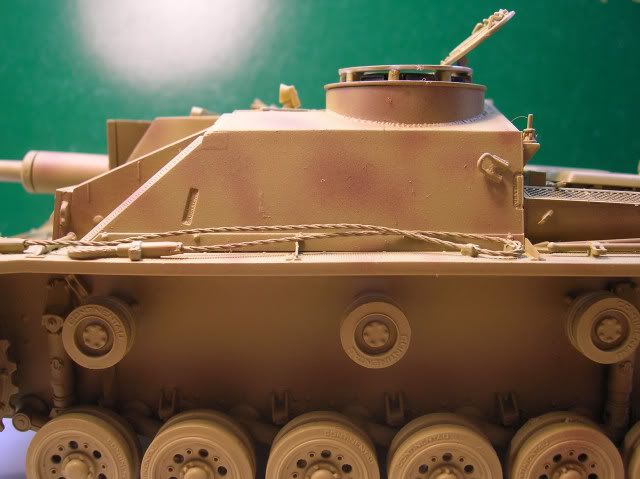
Thanks Indy, I hadn’t planned to initially but now I think that I will leave the roof removable. As far as the camo goes, I was simulating the extremely light pattern of red brown seen on most of the Das Reich StuGs. during this time period, it will either become more or less visible upon final weathering but right now I’m not sure which.
Thanks,
rb
The crew looks great.
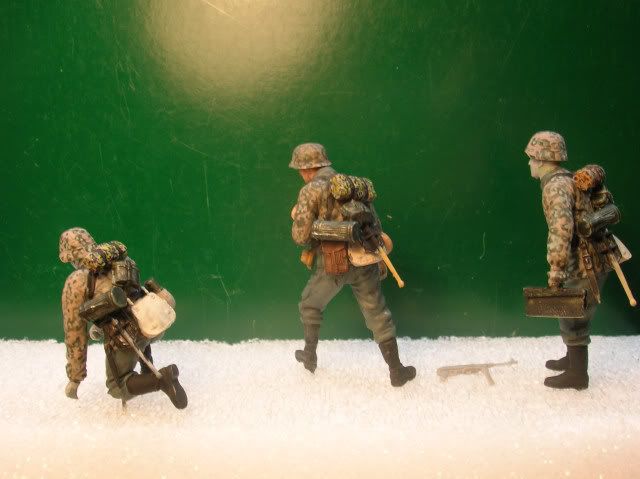
Started the painting on some of the Infantry figures today. Squad Leader’s camo is done but that’s about all, he still needs lots of work before he’s ready.

As you can see, the others are in various stages of “Paint”. Back to work tomorrow so I’m not sure when there will be enough future progress for a new update, certainly by this coming weekend.
Thanks for following,
razorboy
Nice job on the camo.[t$t]
Incredible paint work as usual dave…keep it comming![Y]
Did a lot of figure painting today and although there is still a lot left to do on these fellows (as well as the others), I think this warrants a post:
More to come - thanks for following this build.
rb
~If you ask me RB, the update warrants more than just the 1 picture—those guys look awsome—I’d like to see more. I guess we will have to wait

[dto:] I want to see more! Camo looked AWESOME! Thanks for sharing…
Looking great RB, your painting on those tank figs are excellent, always hard to get those
German camos just right. Looks like your using the ol Dragon PE headphones?, you
can kinda see how hard those are to bend, i hate them and don’t use them anymore.
The wire to them looks really good, i quit using copper wire as well, and now use fishing lure.
Keep up the nice progress mate!
Thanks Indy, deafpanzer and Lt.,
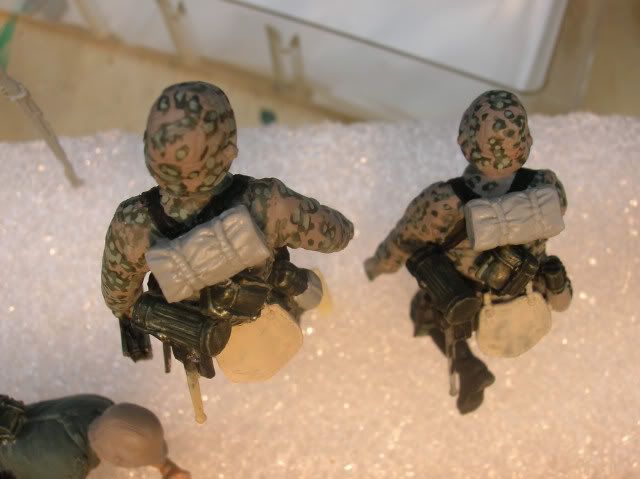
I have decided to standardize the zeltbahns and have removed the smaller version originally seen on MG42 ammo guys 1 and 2. The smaller zeltbahn rolls just didn’t look acceptable to me.
rb
Beautiful work RB, keep it coming!
G
Oh man, you are very good at painting camo. No question about it. I may be WRONG… only thing doesn’t look right to me is that the placement of your zeltbahns. I believe the zeltbahns is normally packed closer to the bottom because of its weight and the meal bin or other lighter items are at the top. I looked at German uniforms reference books and I don’t see any of pictures showing zeltbahns being that far top. Just a thought…
I will scan and post my reference pic for zehltbahn placement asap. I have seen them attached from higher to lower and this where these landed.
rb