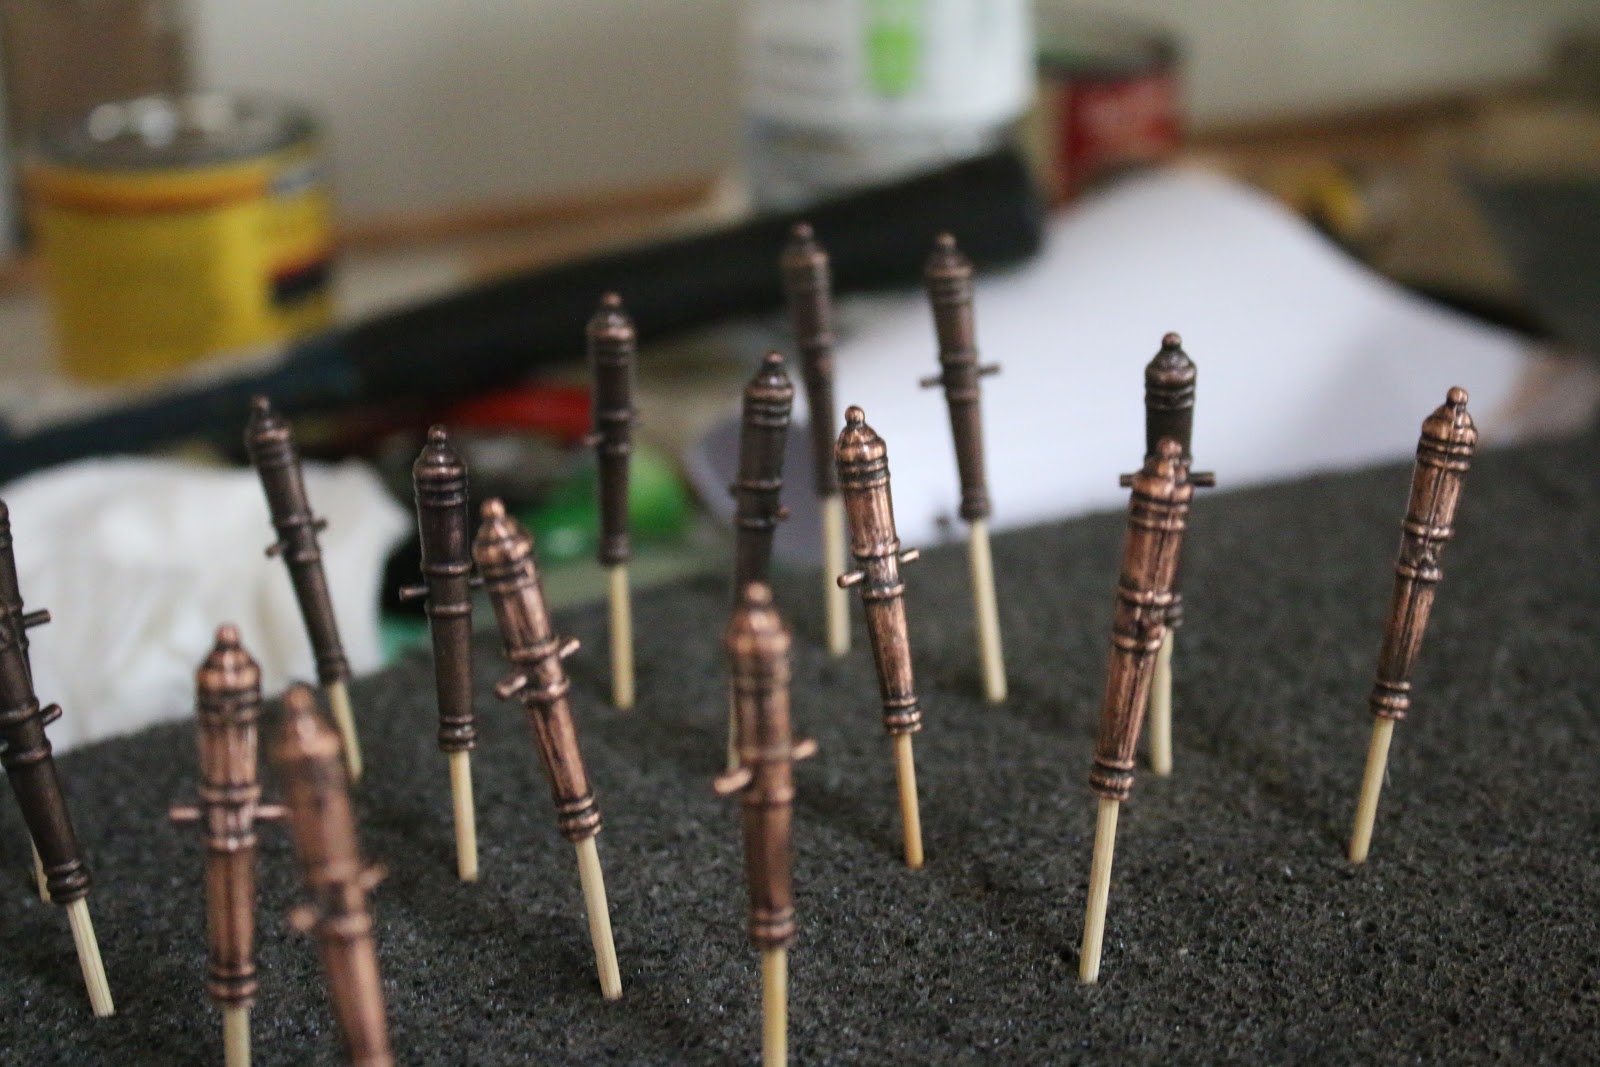
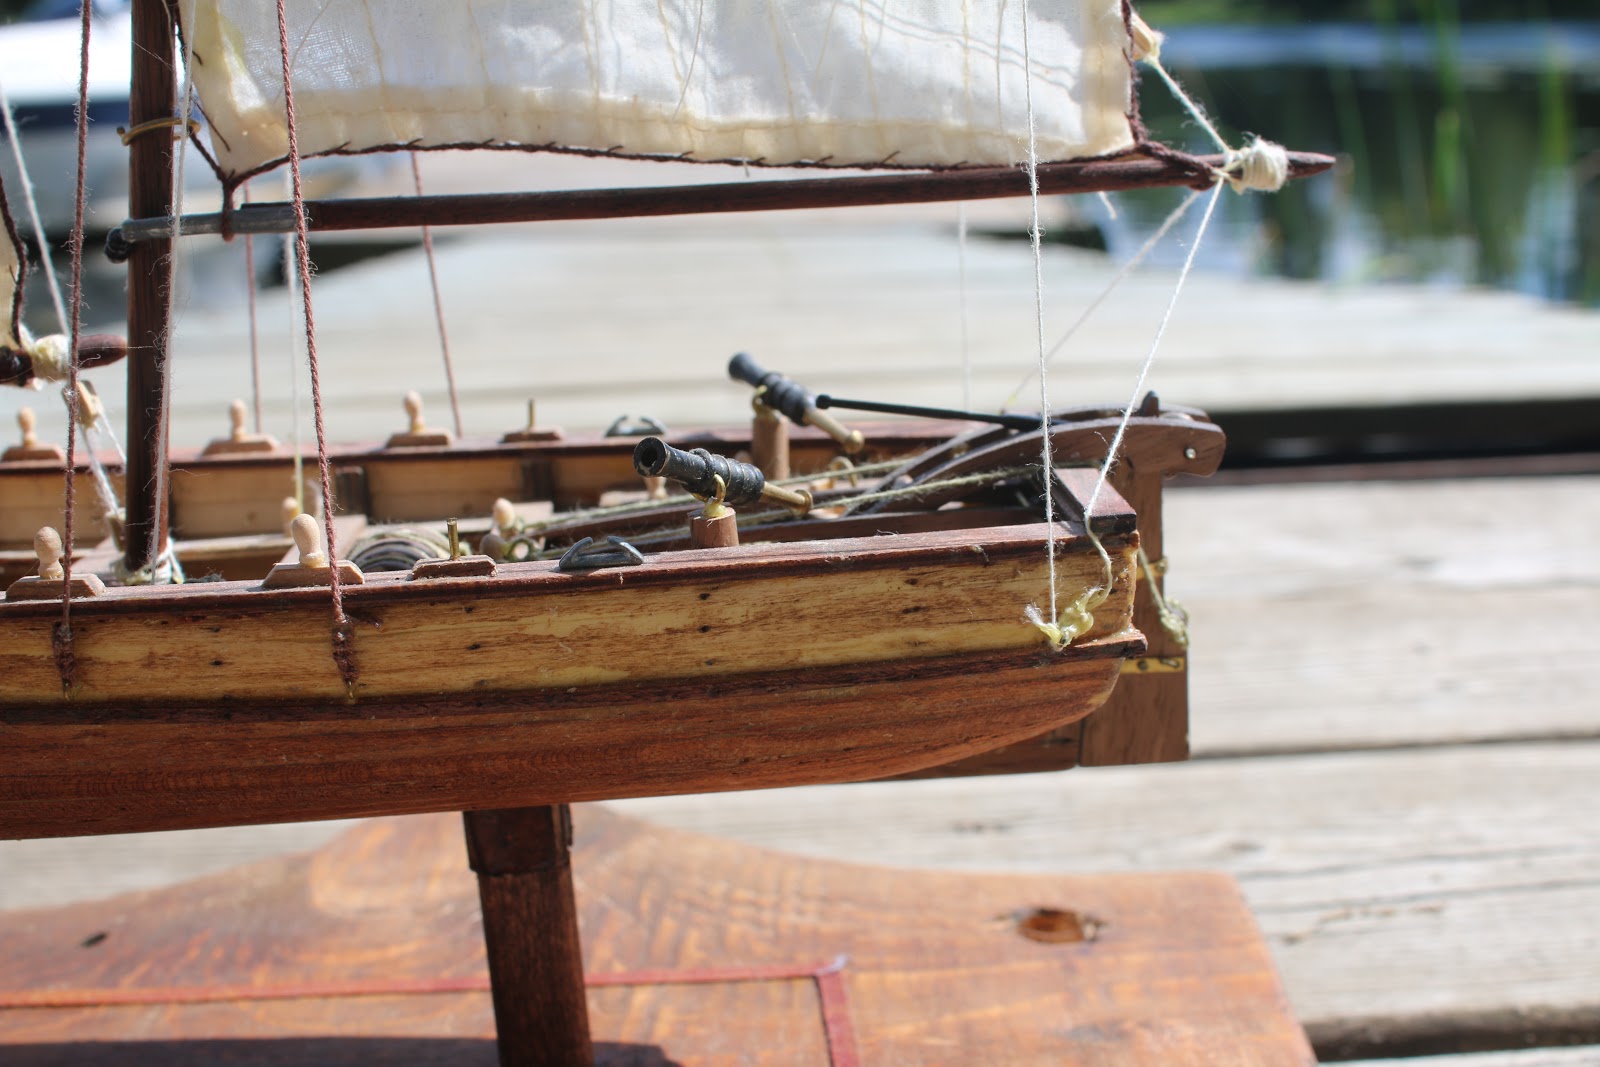
So the attempted blackening of the cannons did not work but lots of progress was made on the ship since the last post.
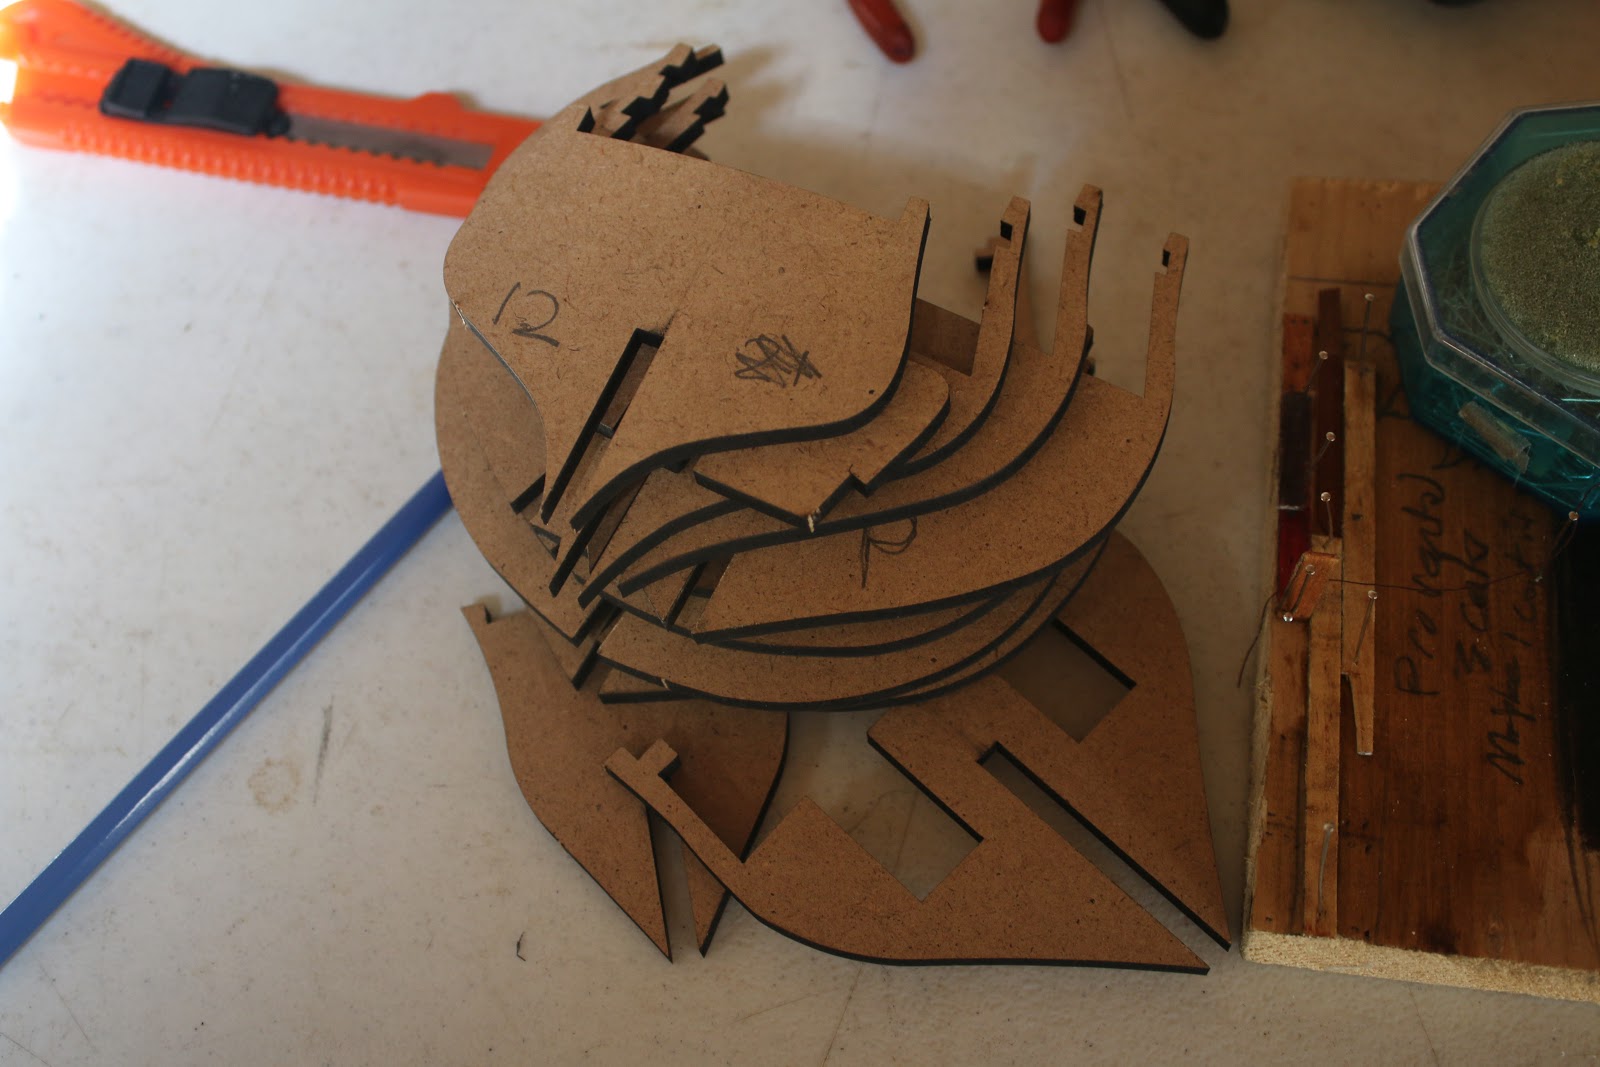
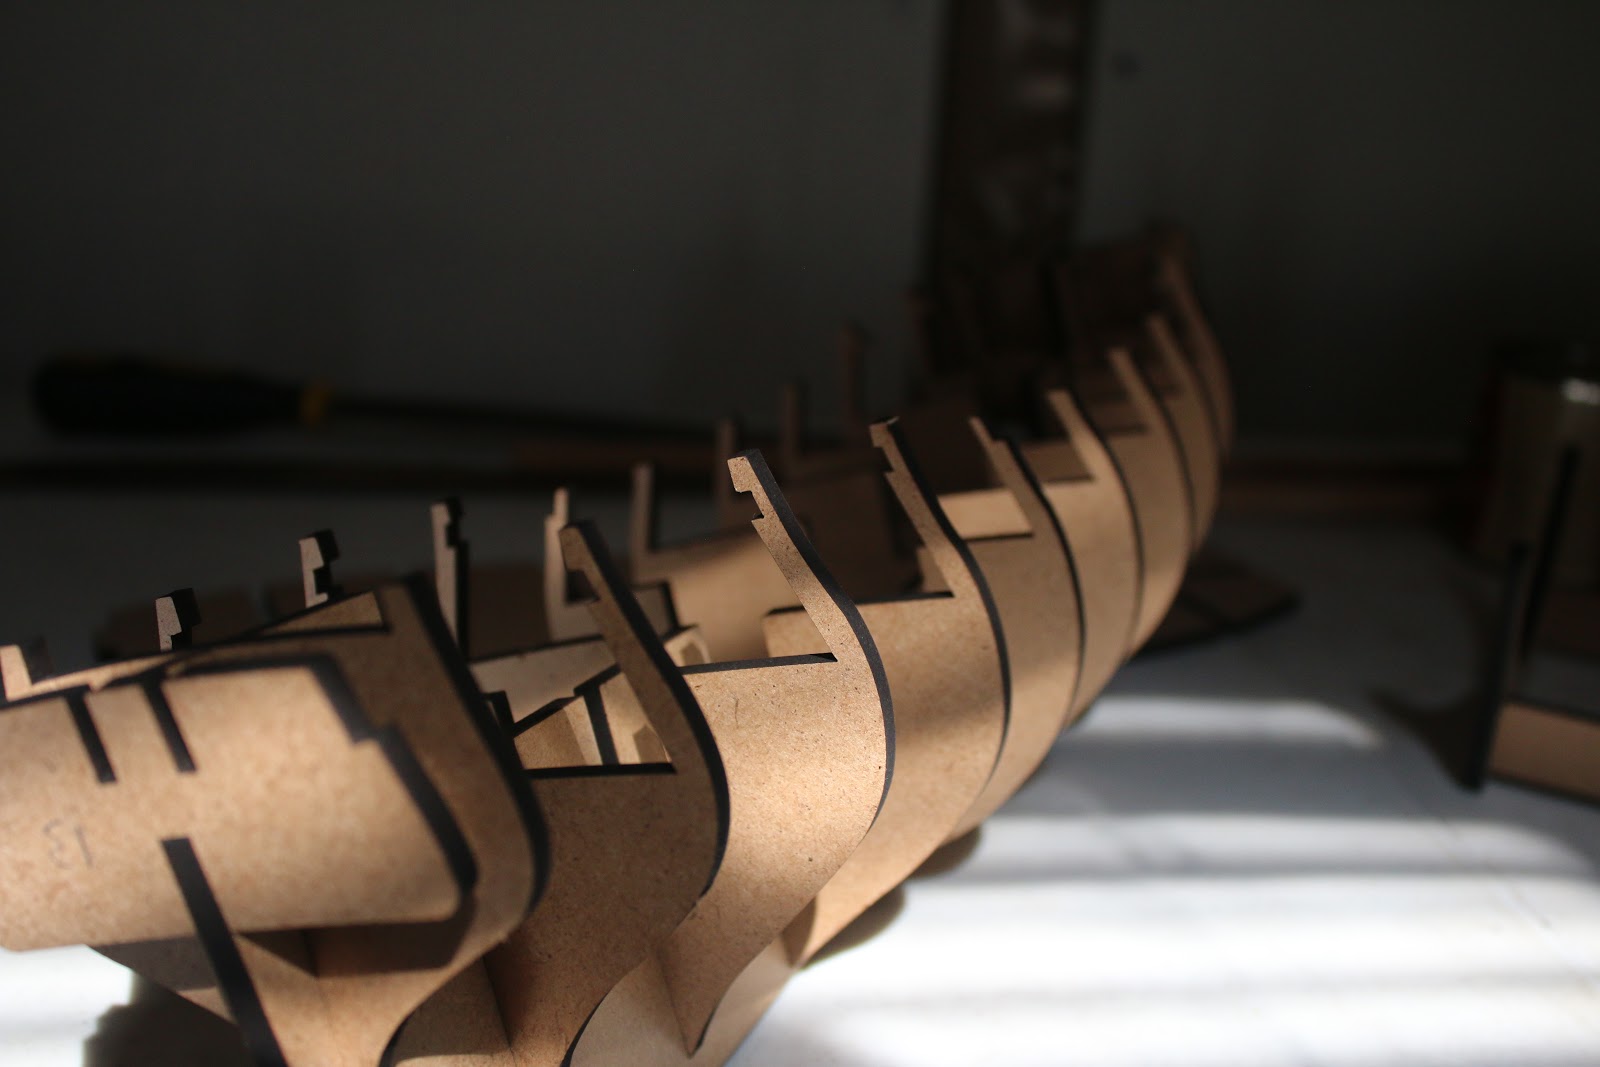
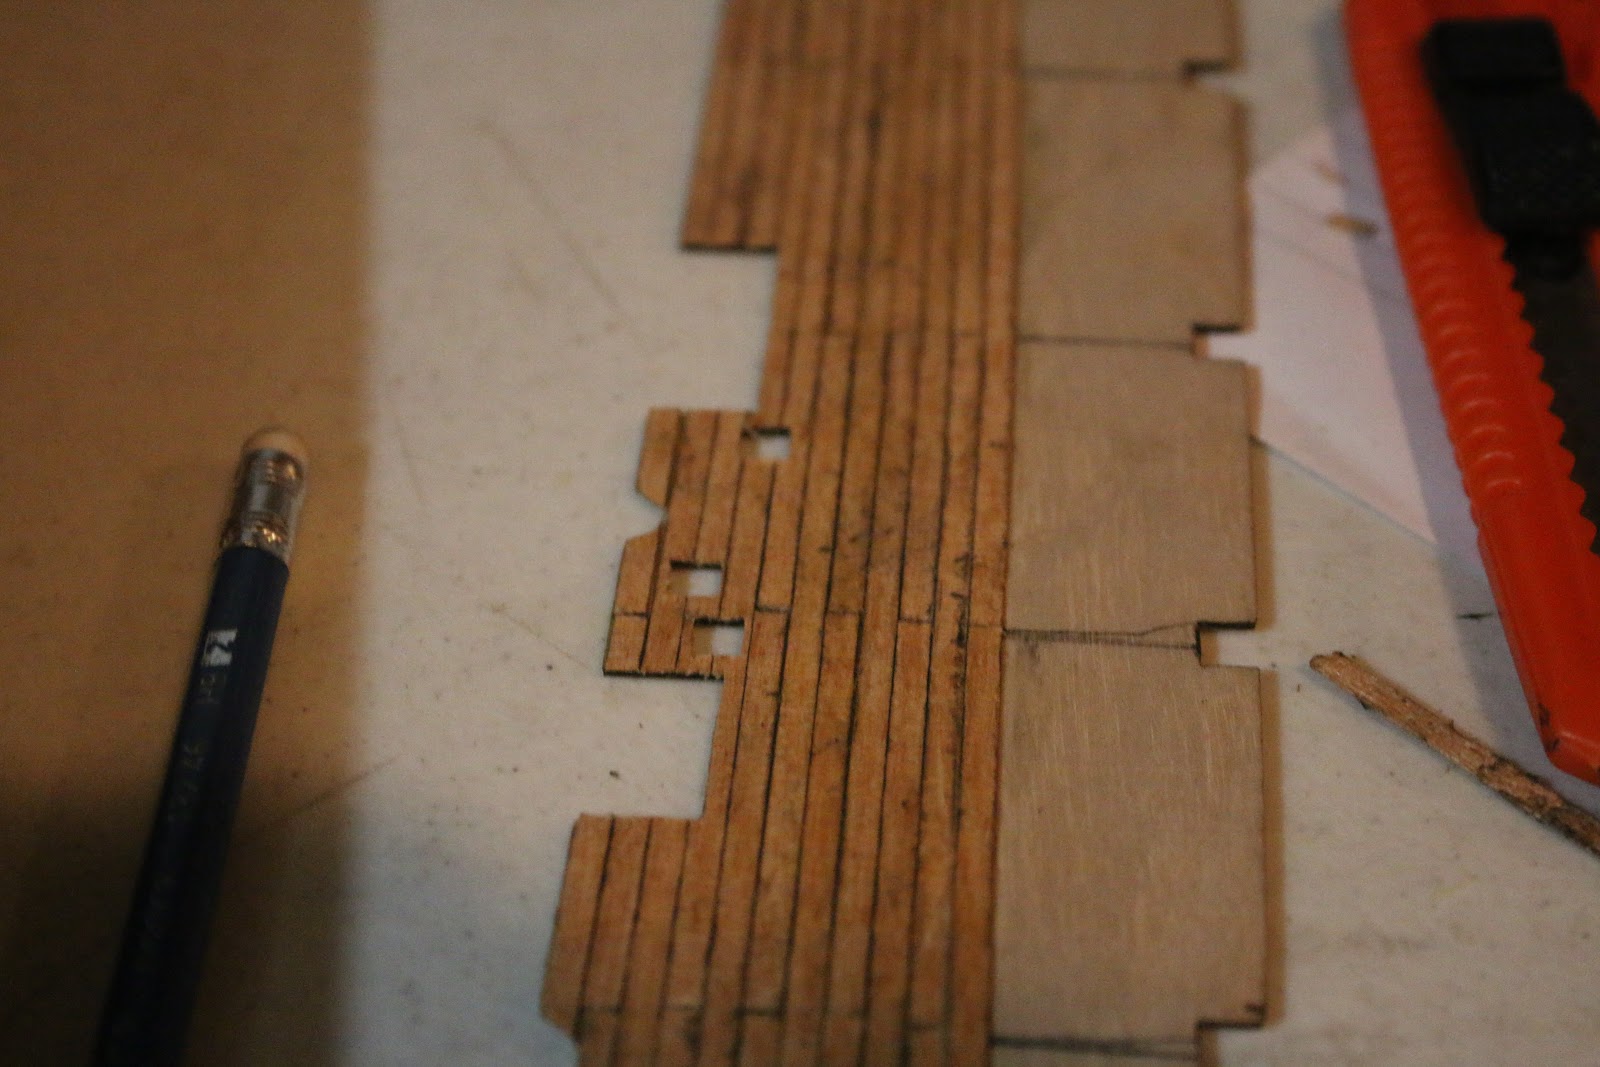
So as always I will start from where we left off and go forward from there. After my attempt to blacken the cannons I went ahead and removed the bulkhead framing in the middle of the gun deck. 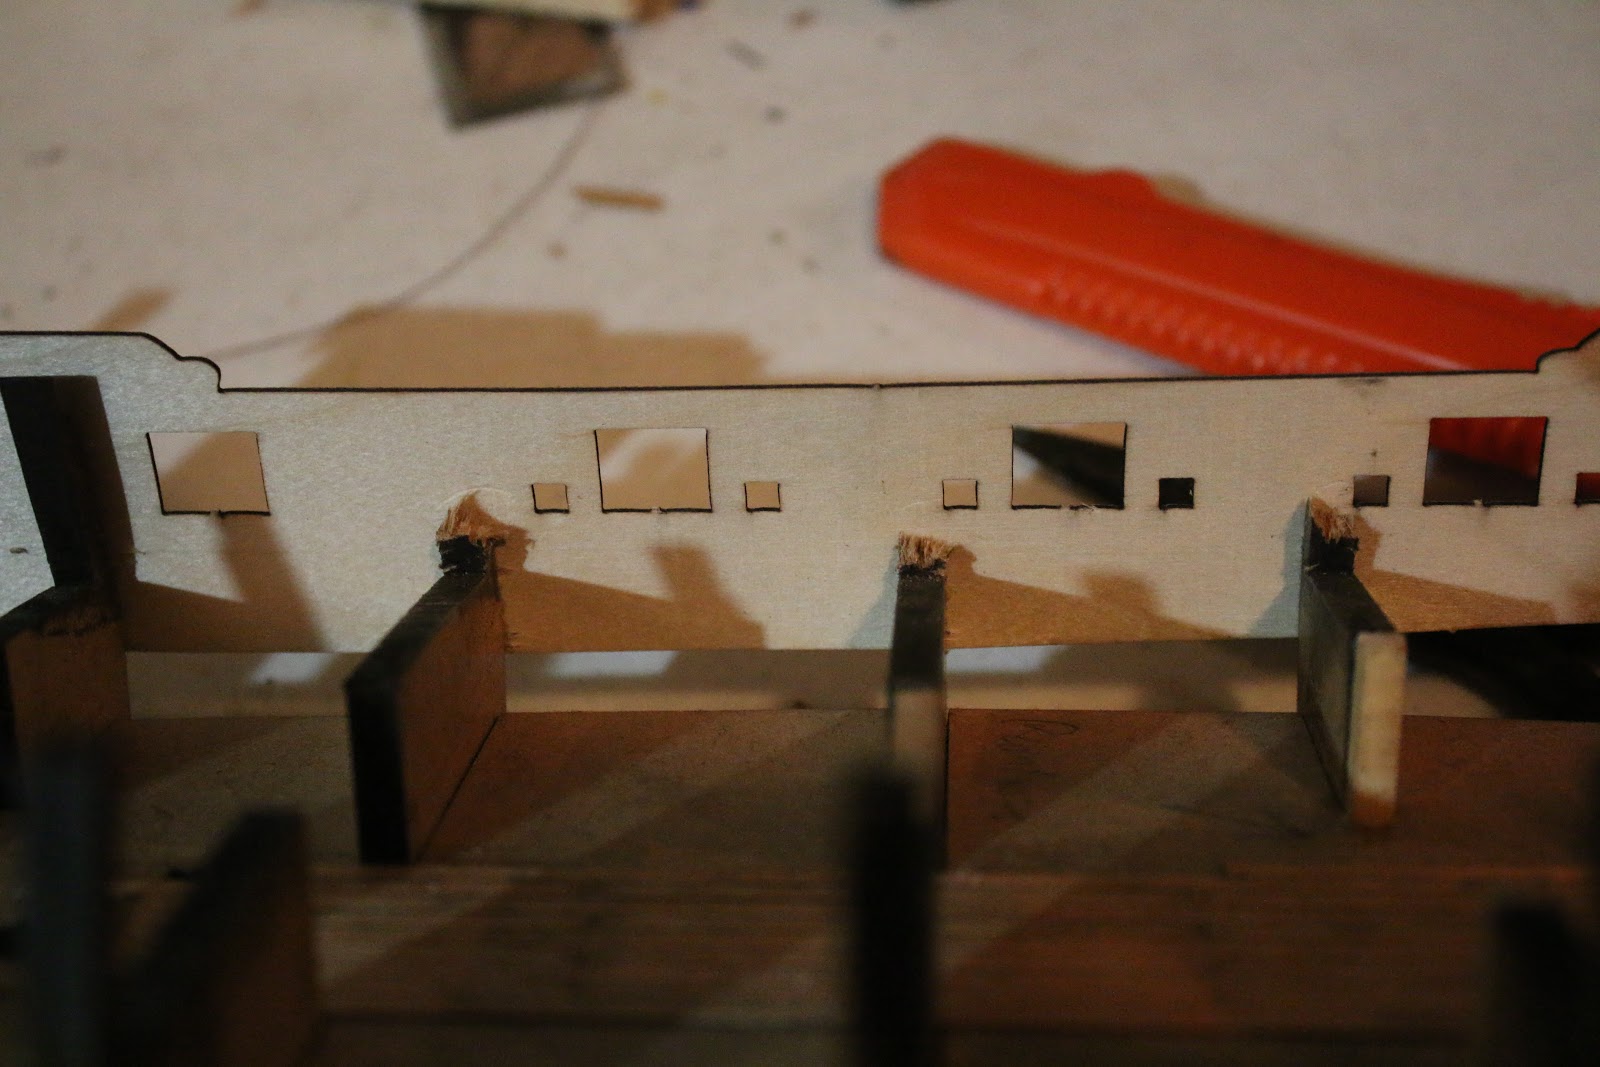
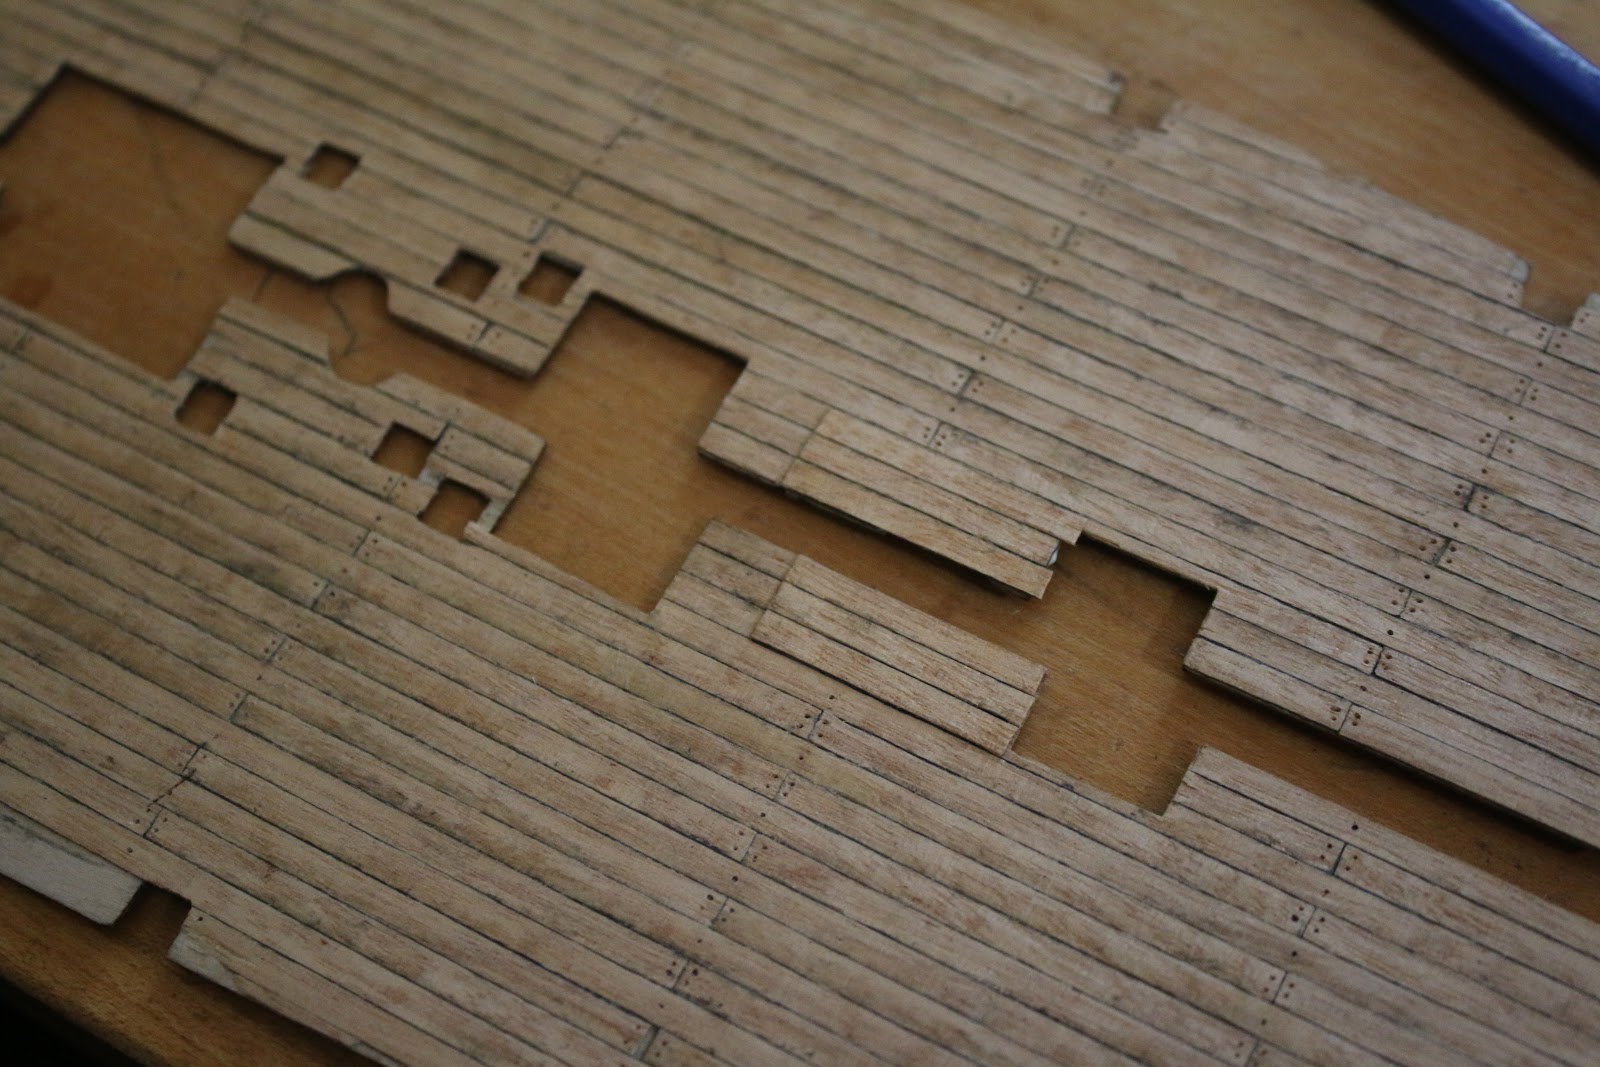
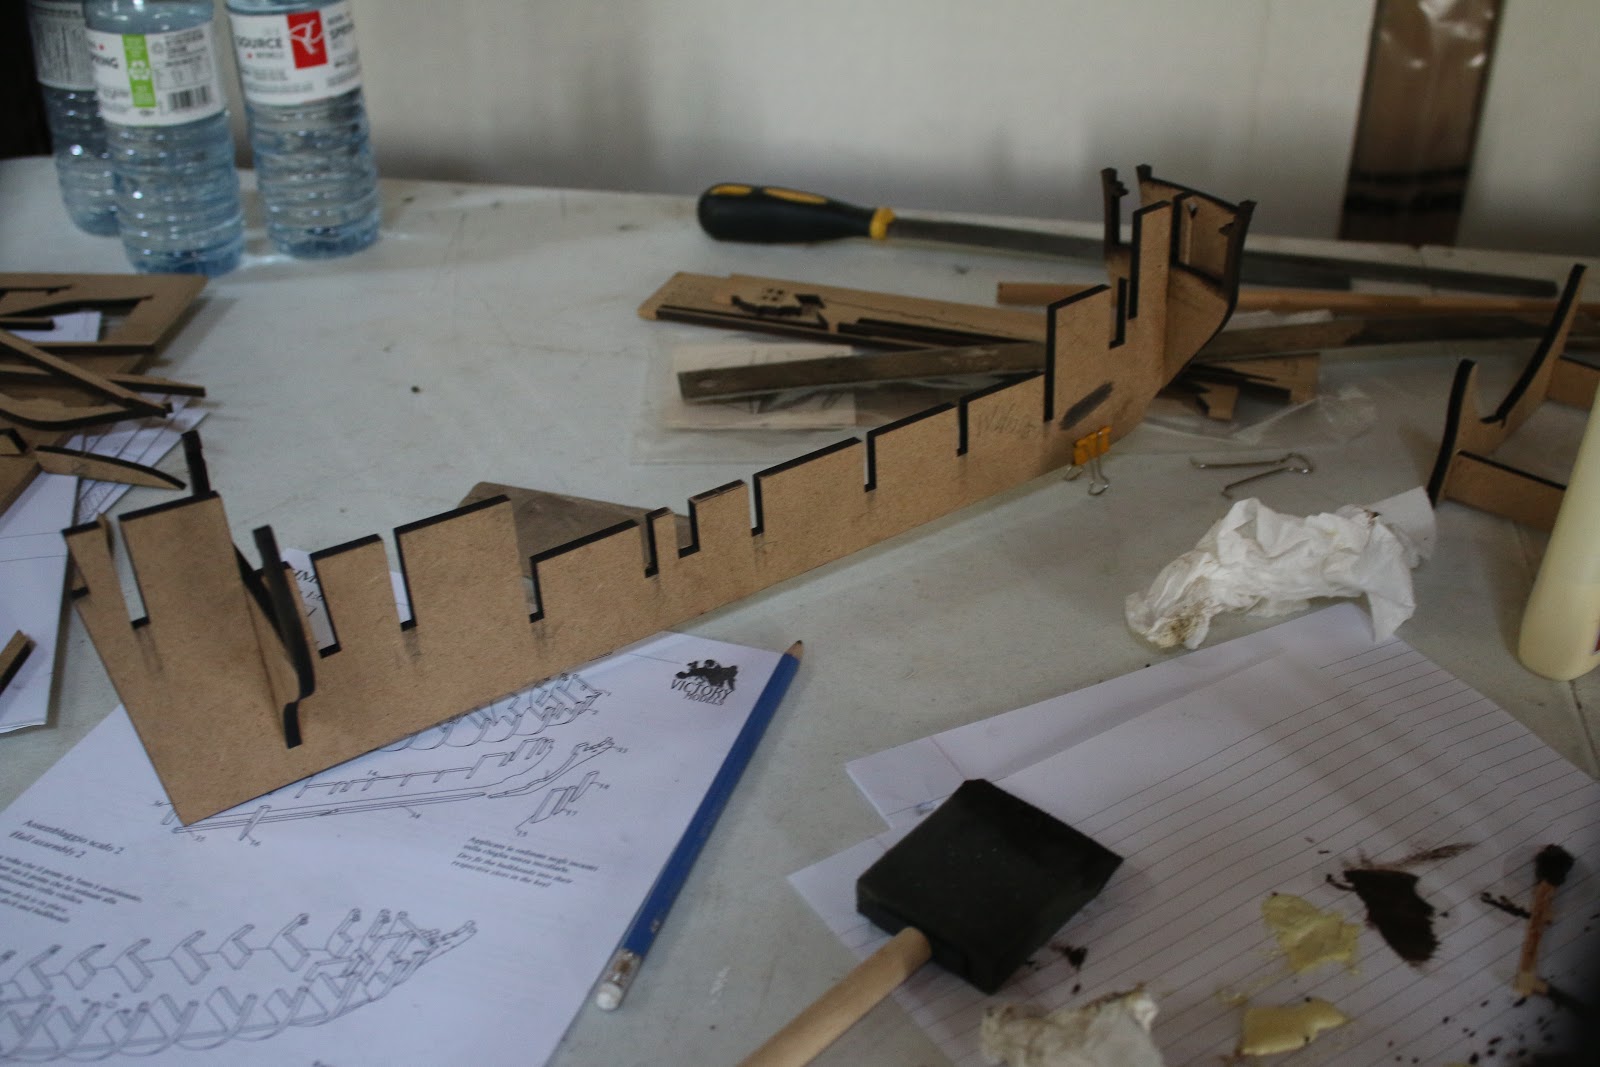
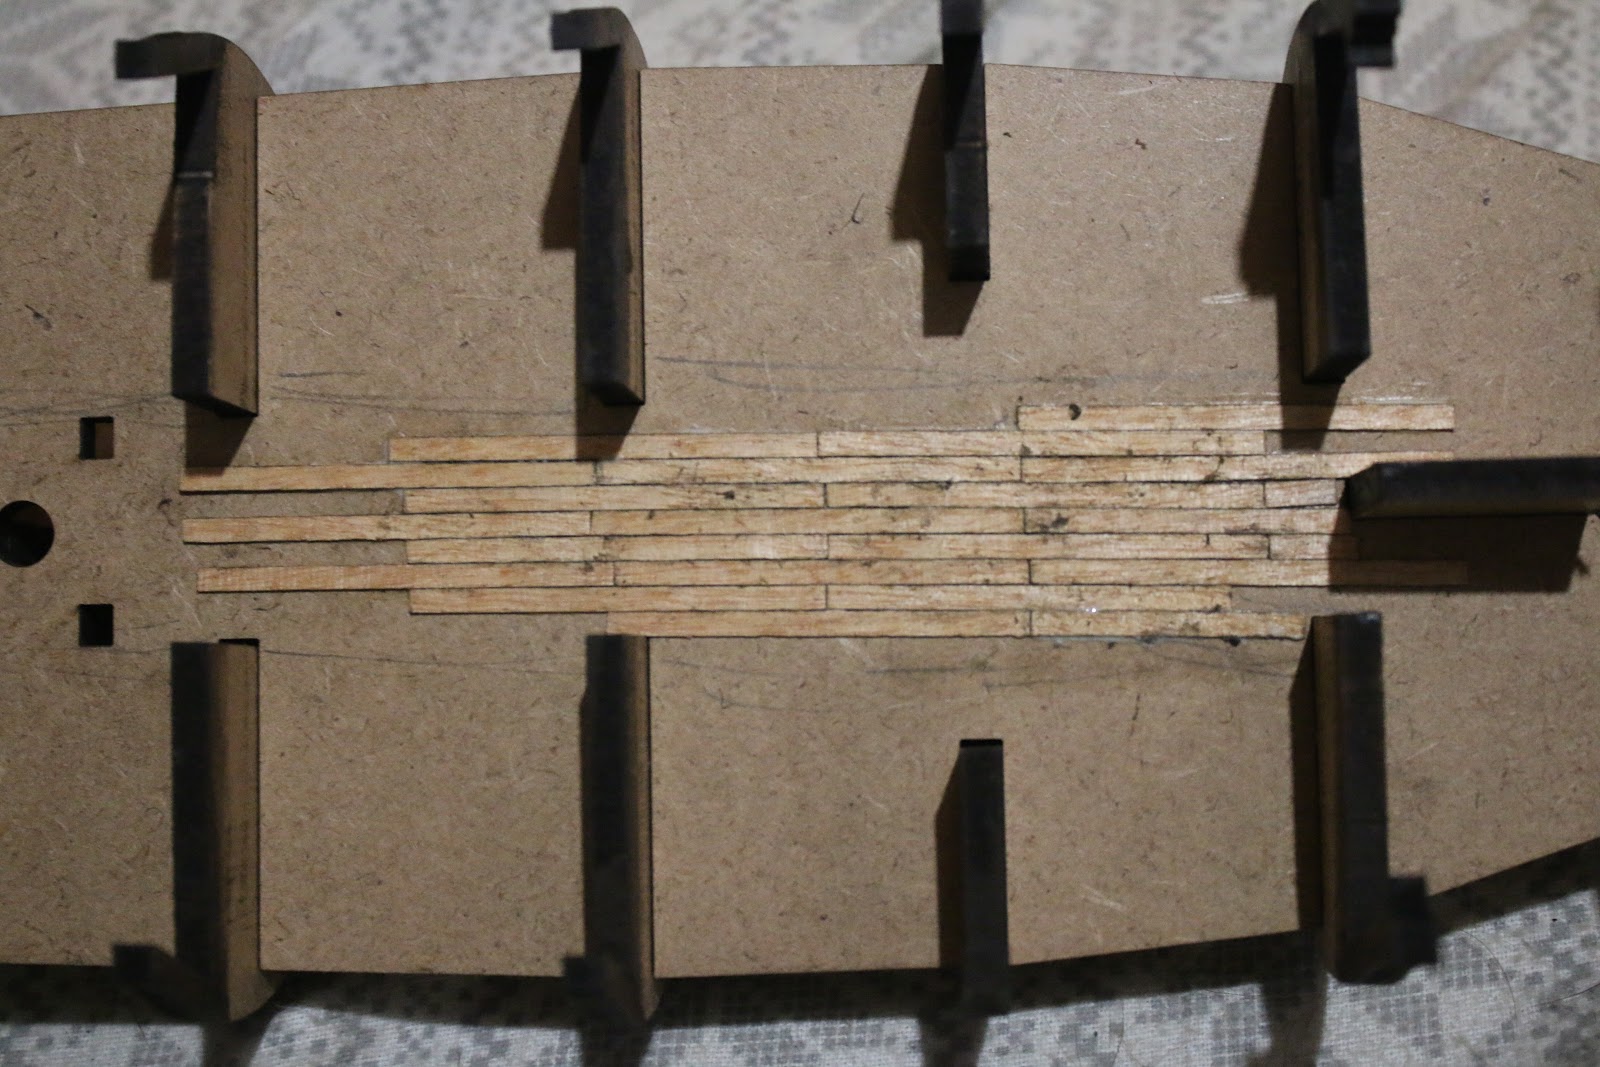
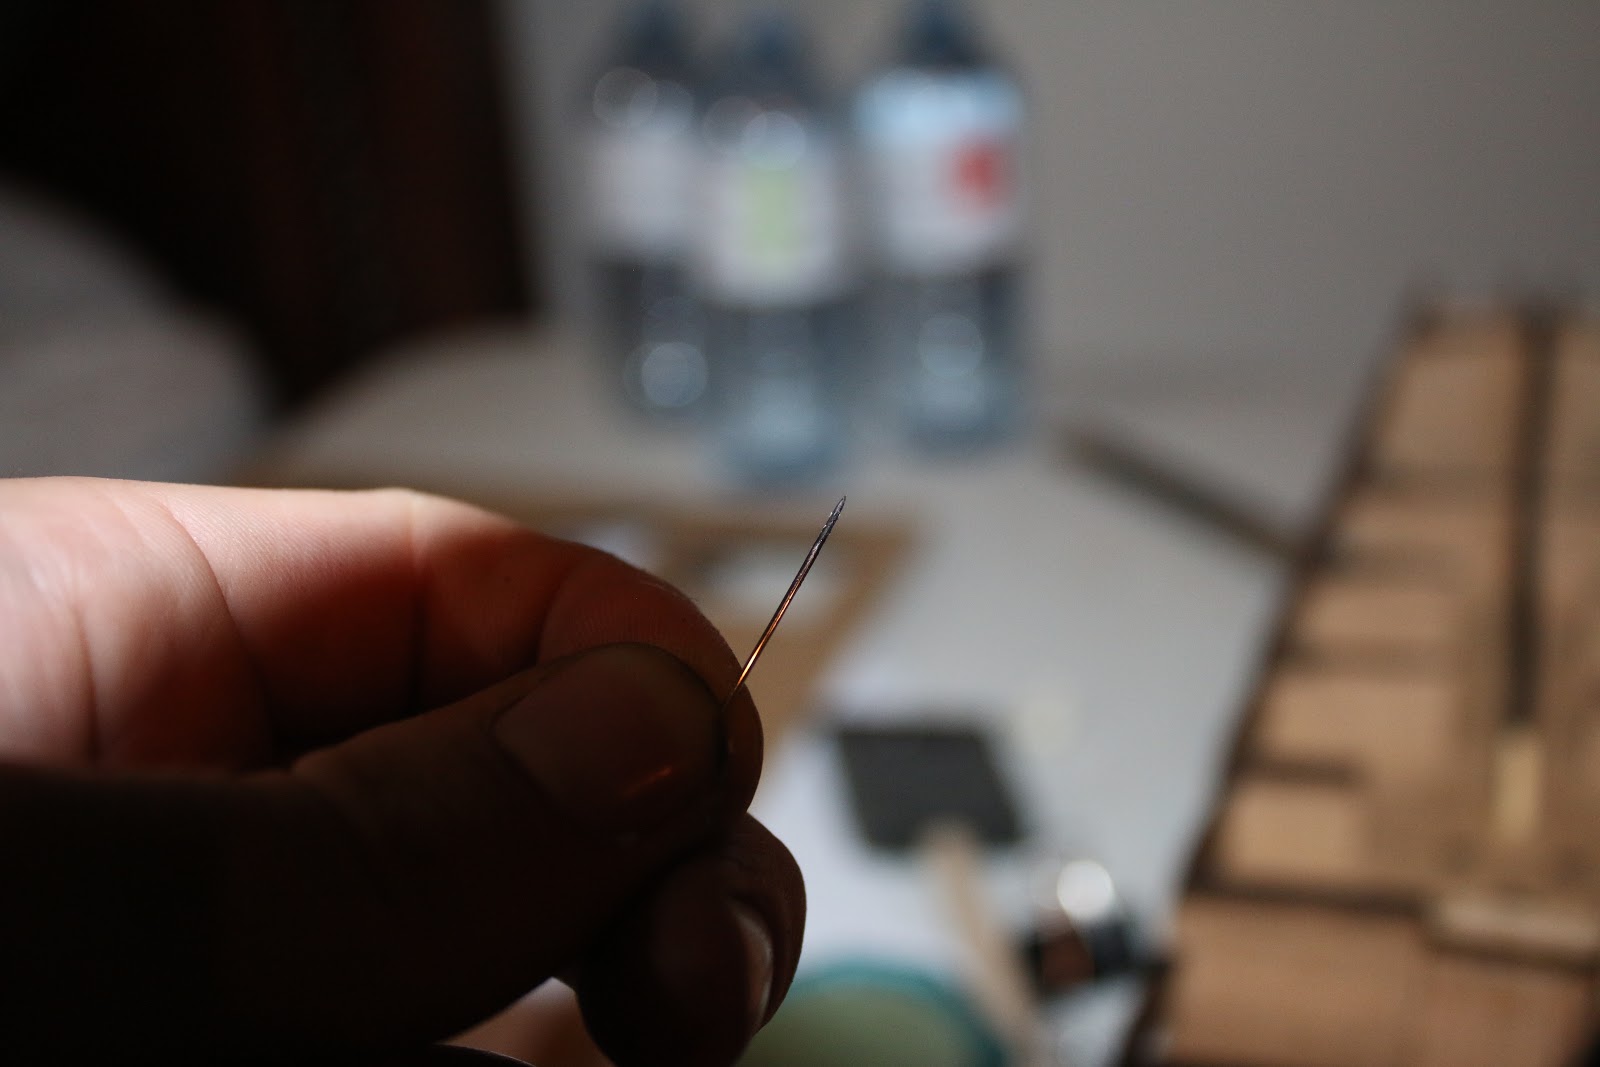
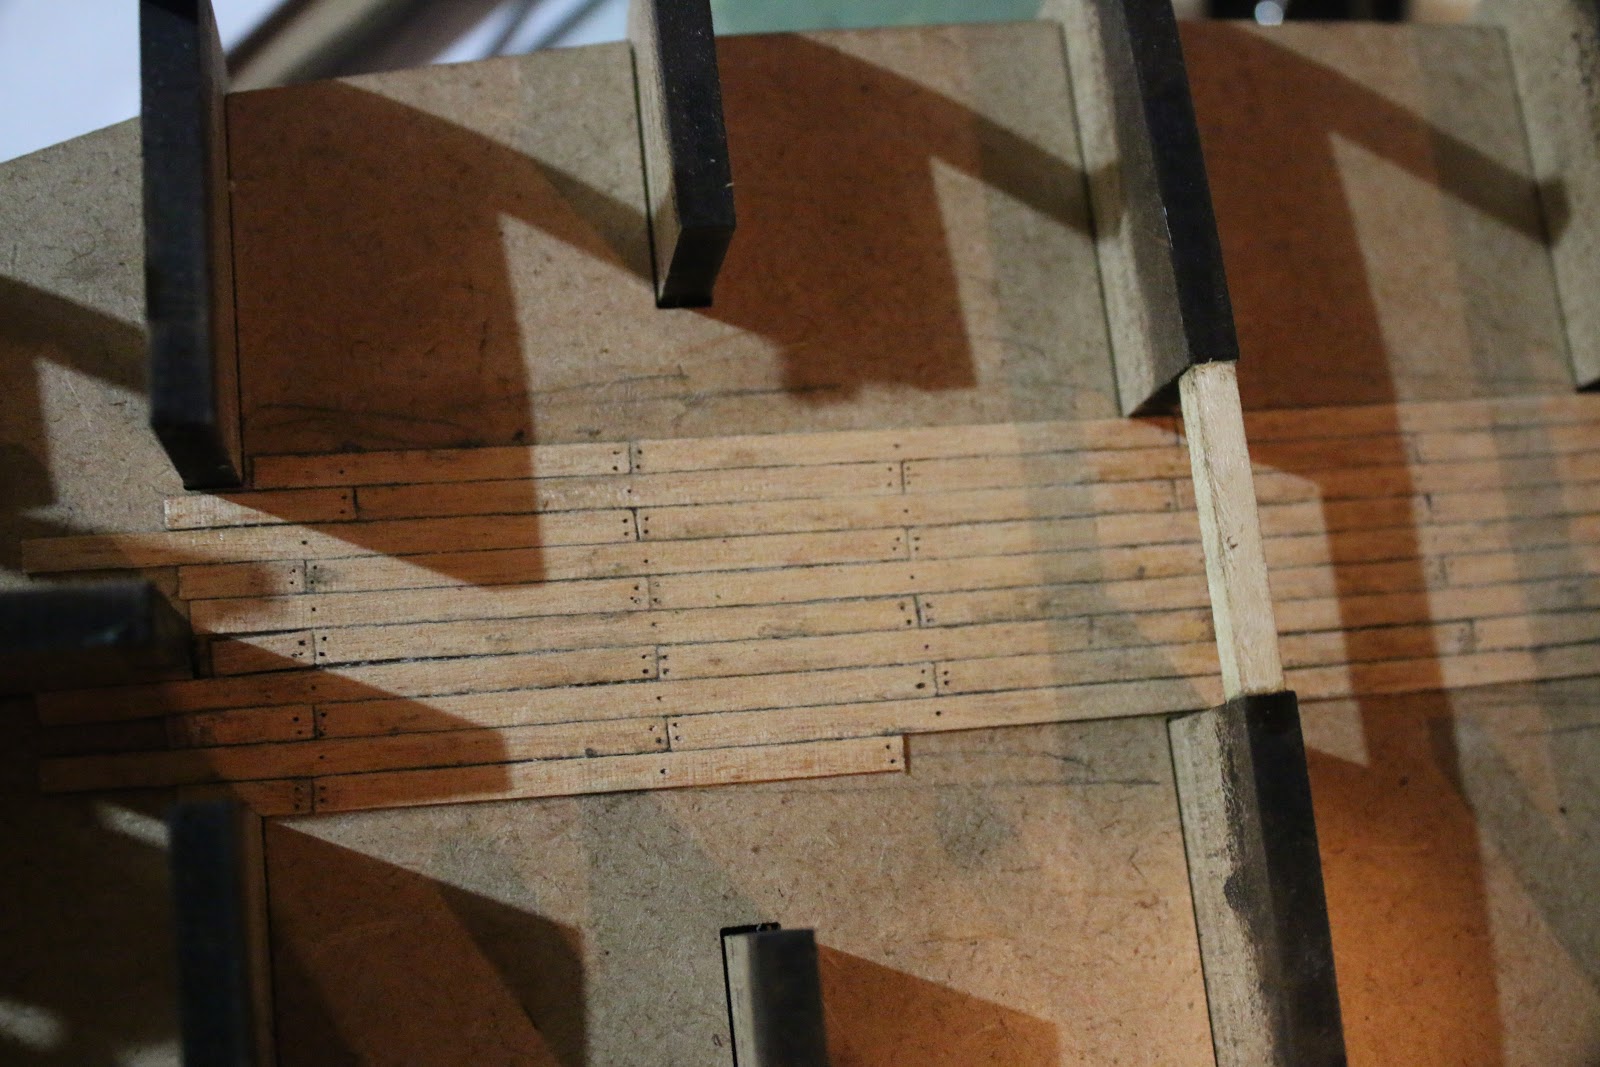
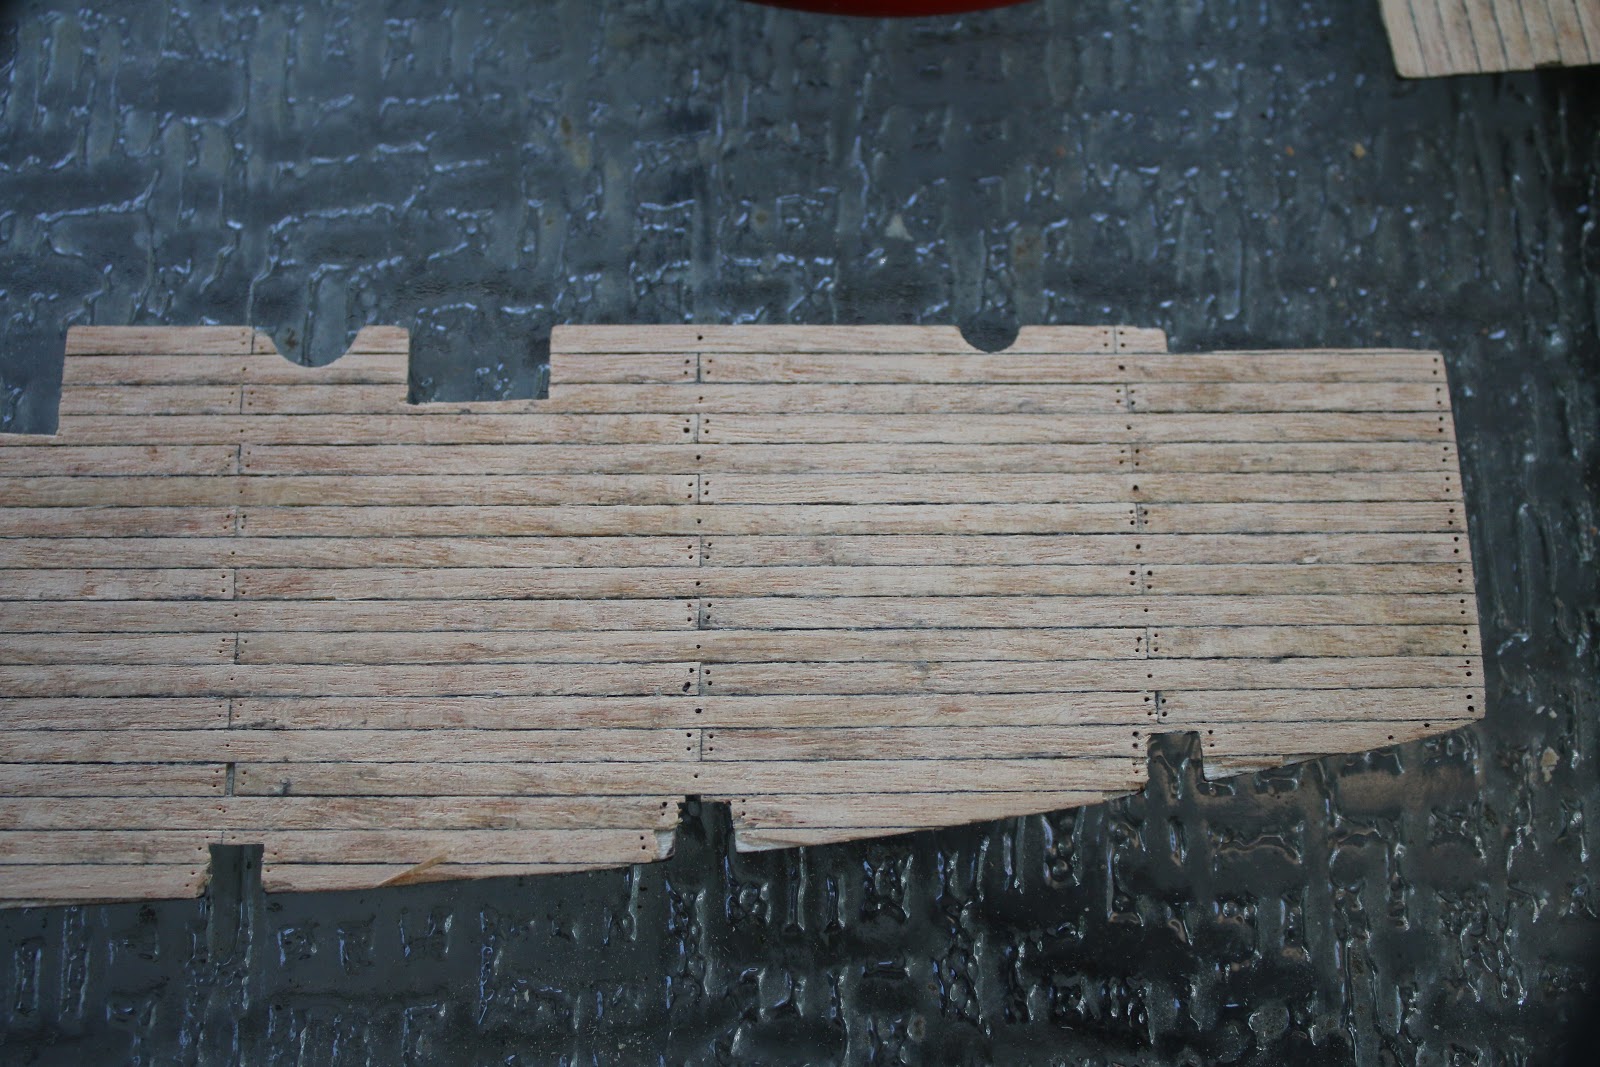
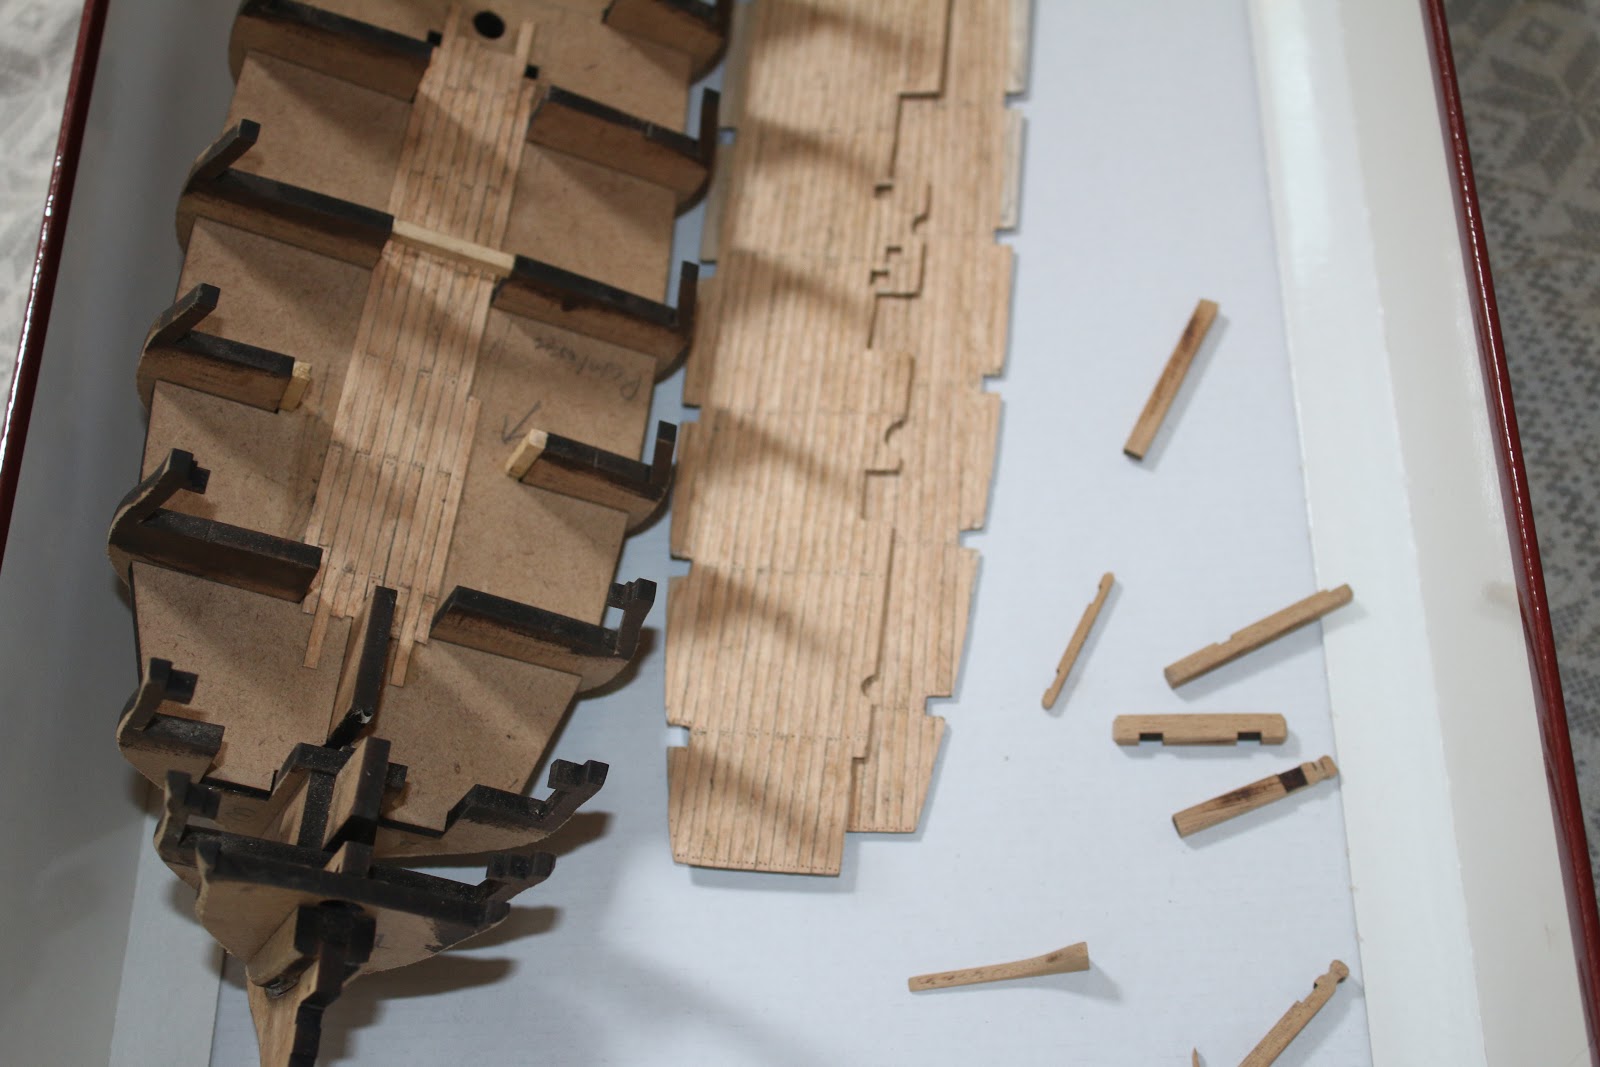
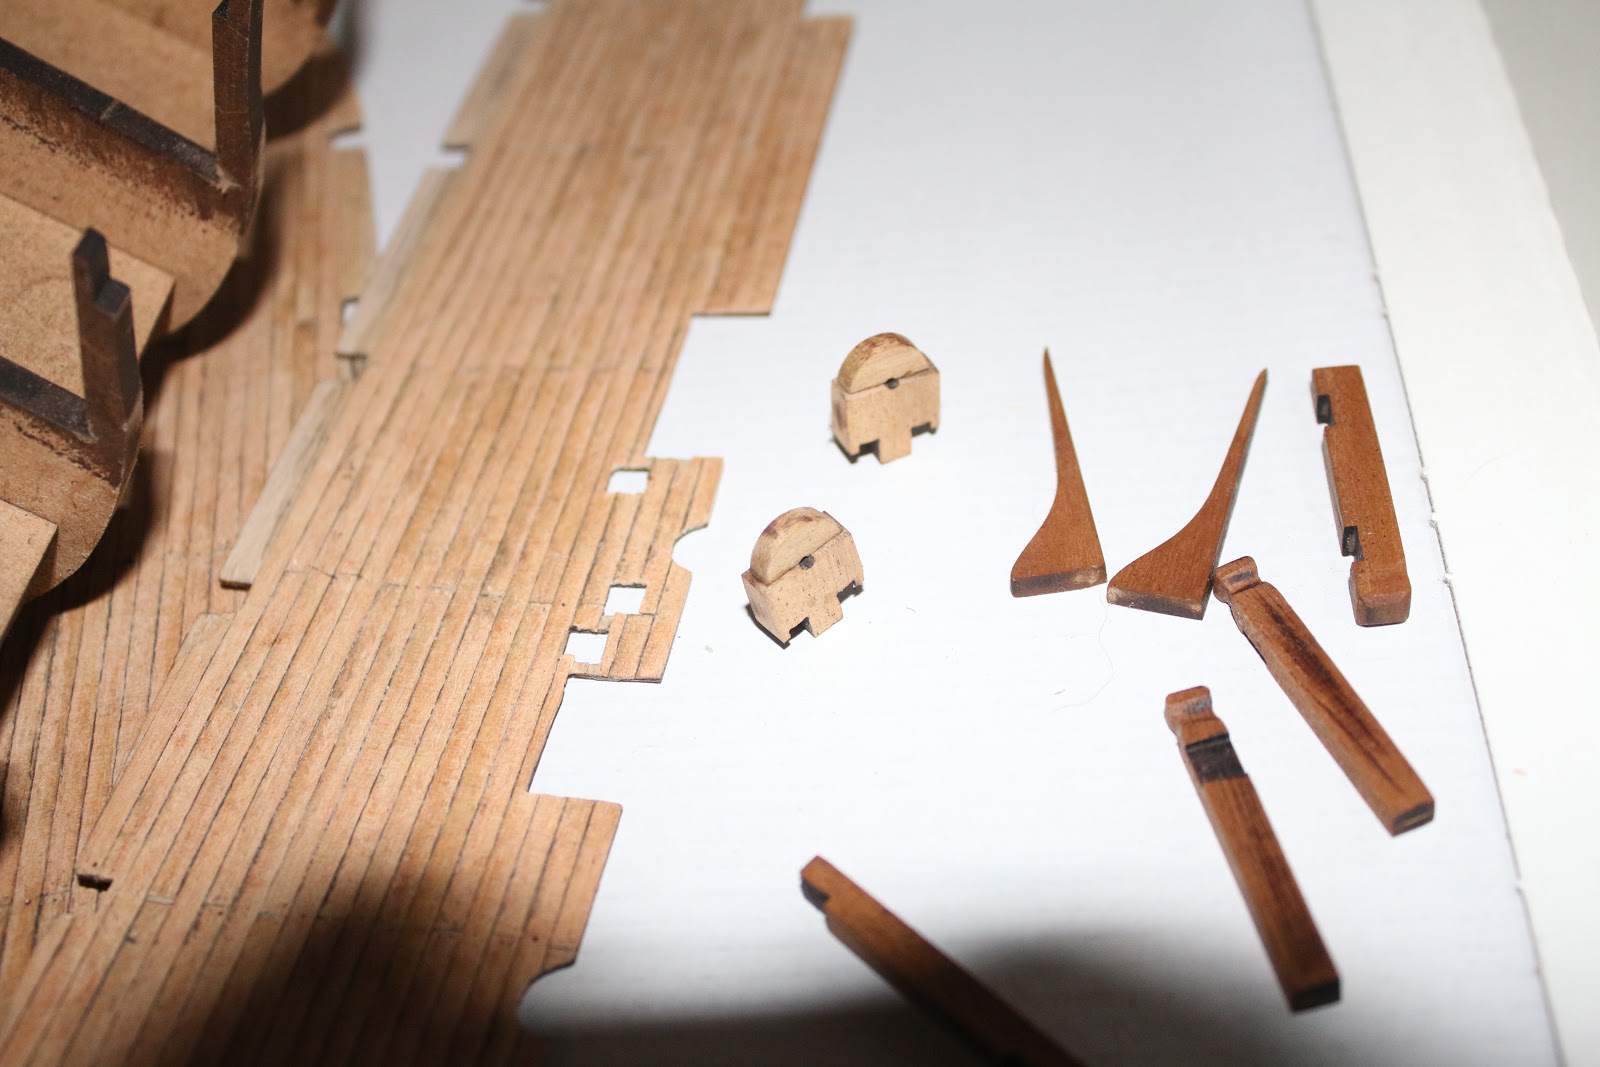
Then after cutting I went ahead and sanded the frames flush with the deck supports. I found it pretty challenging to sand these down due to them being in such a small place but I found just simple sandpaper folded in a square worked best. After that was done I went ahead and finished planking the gun decks and while the planks dried I decided to try my hand at filling the nail holes in the bits with metal wire.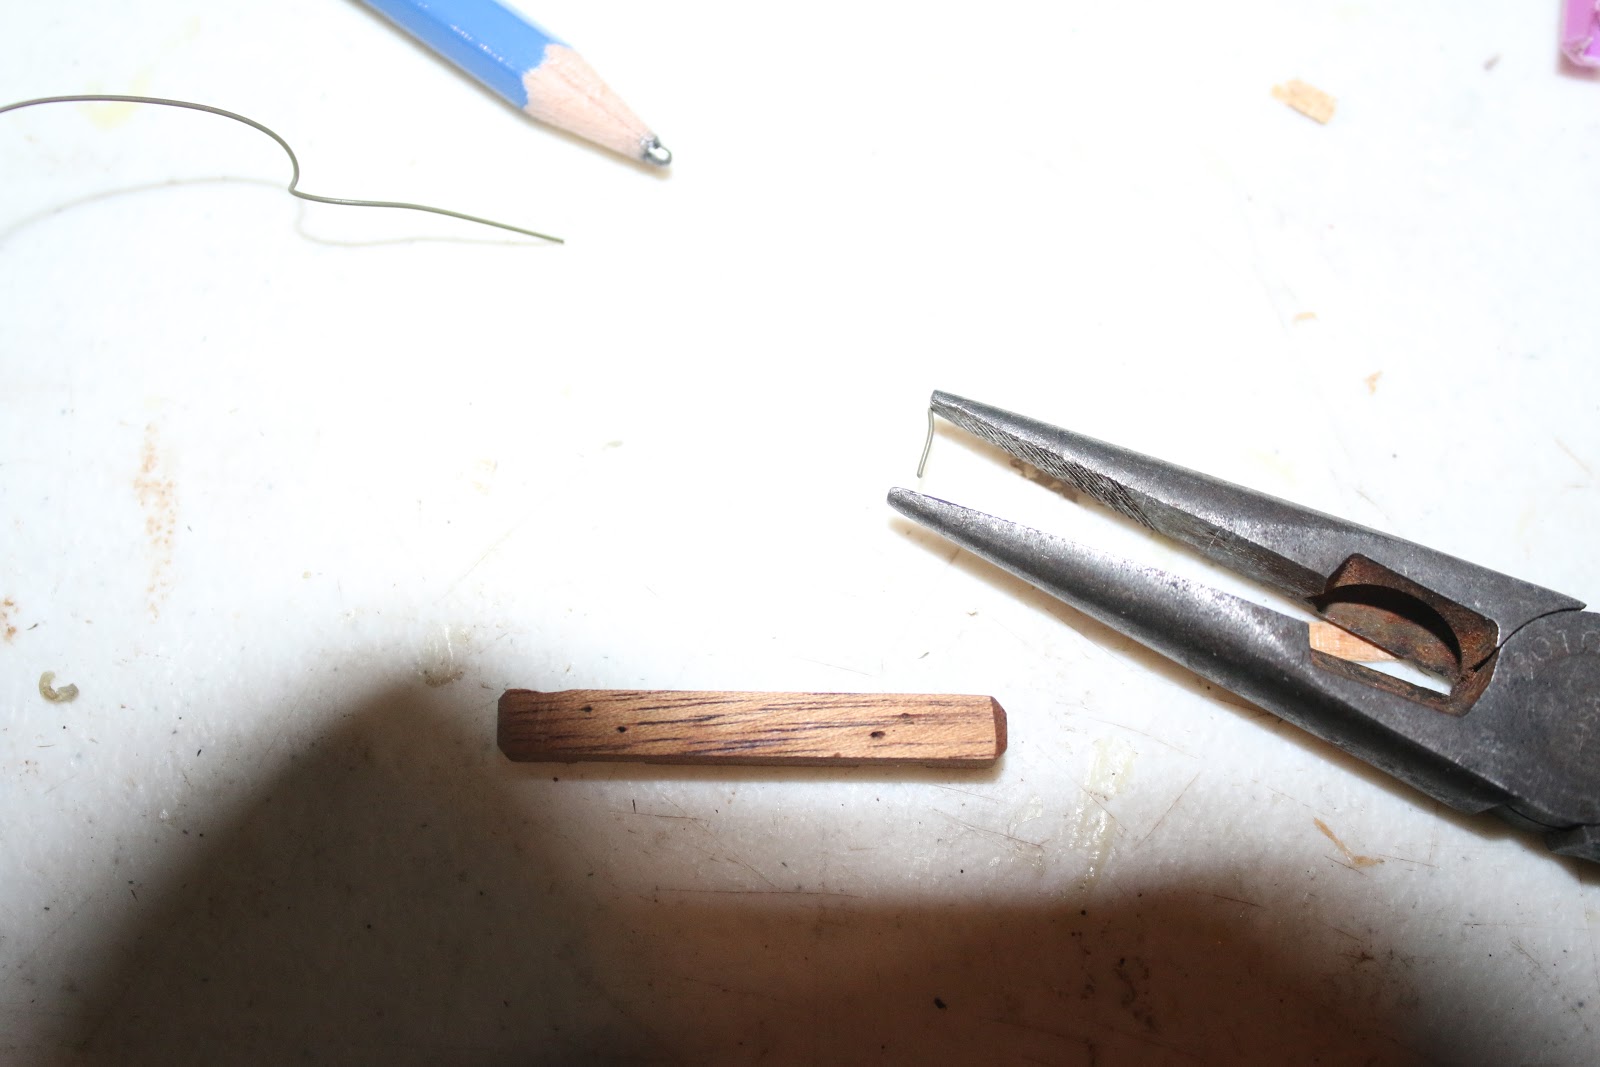

I personally think this turned out pretty good and went ahead and did the other bits as well.
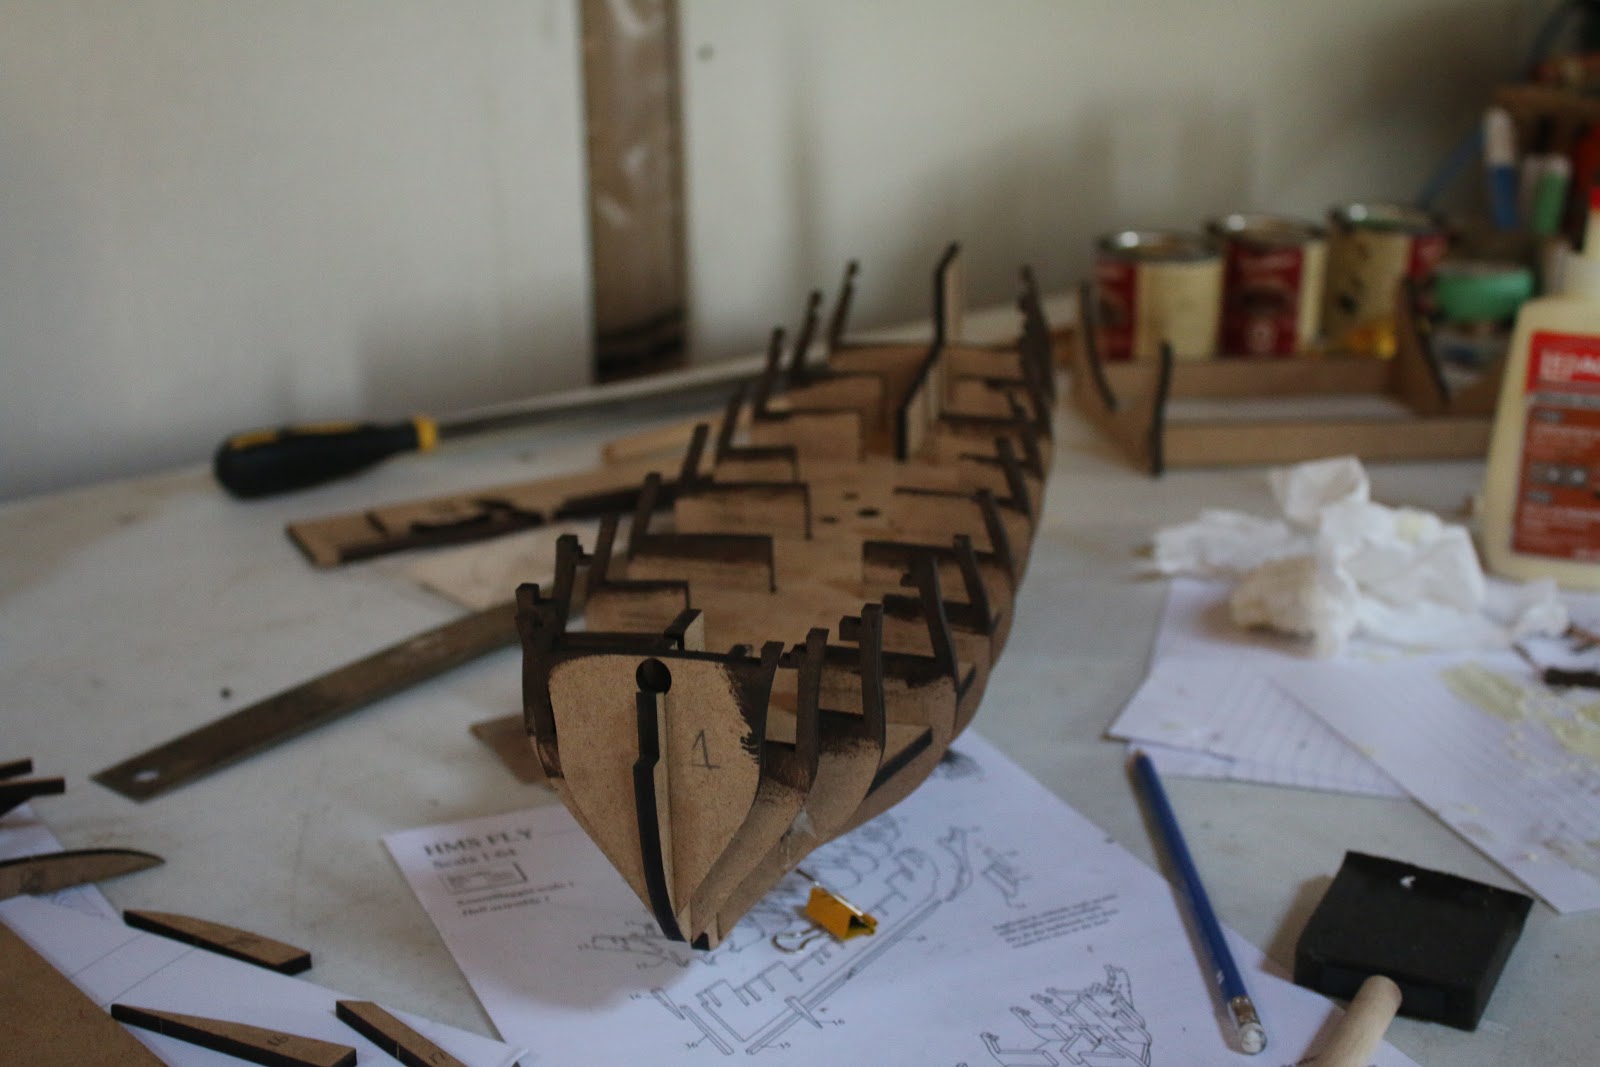
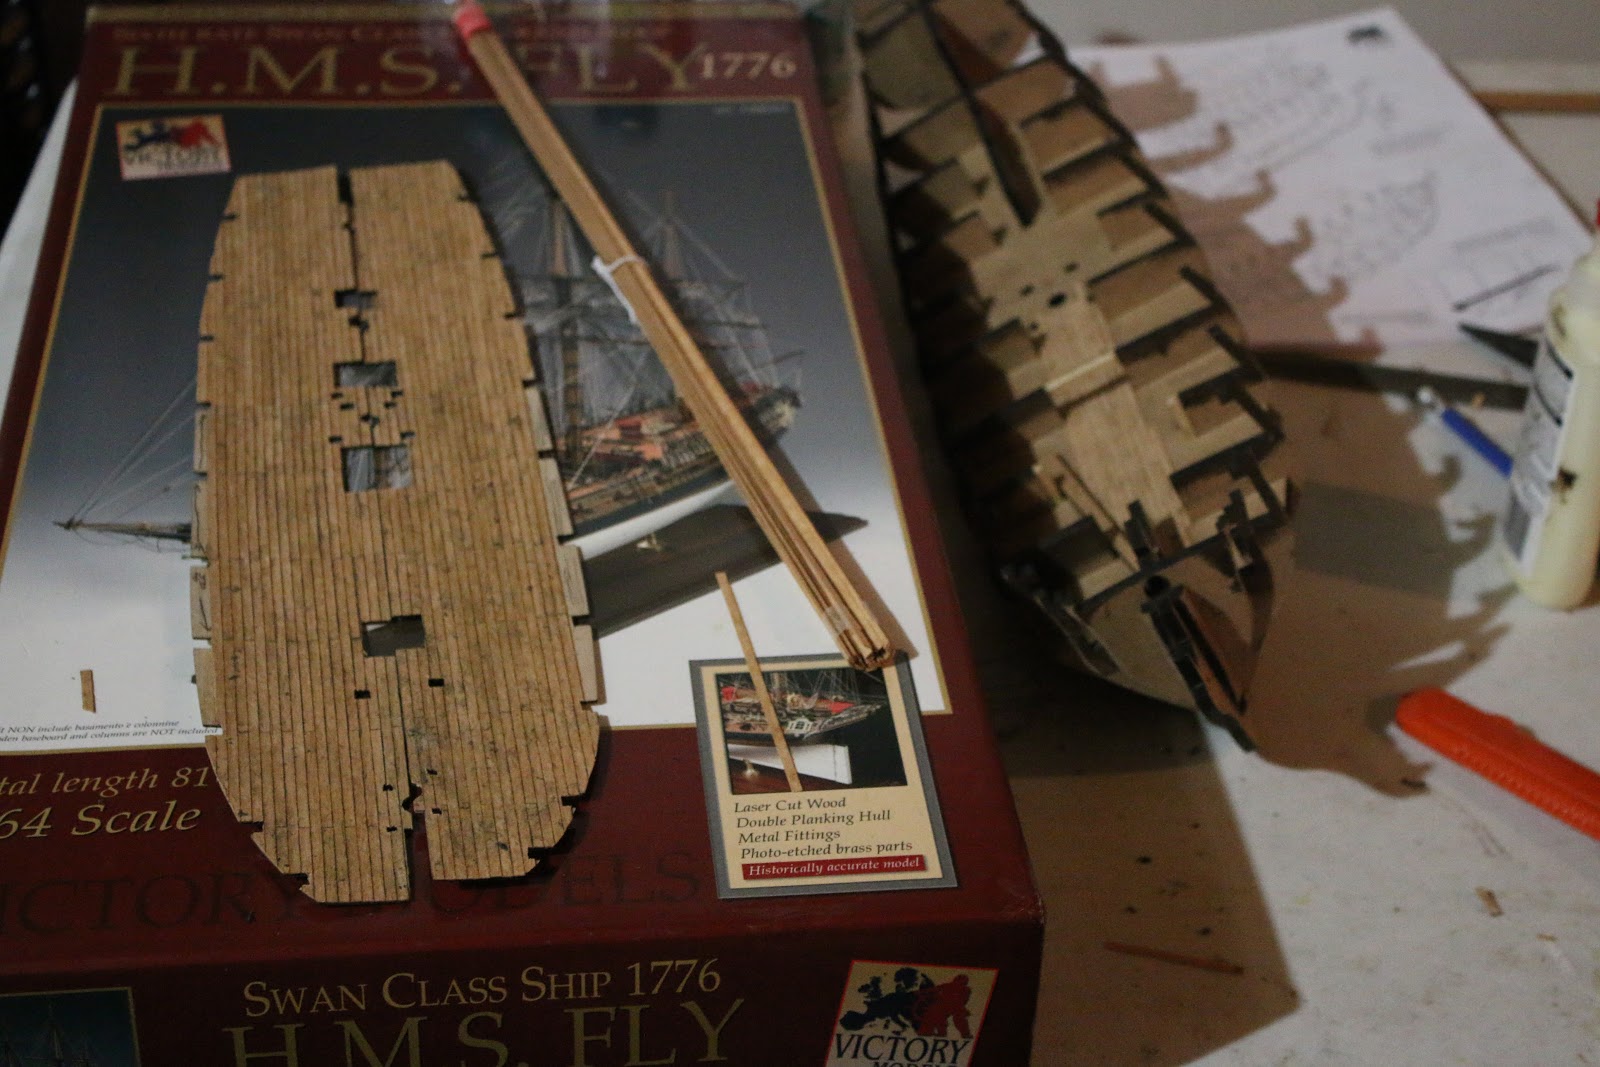
By the time I had finished this, the gun deck planks had dried and I proceeded to trim them.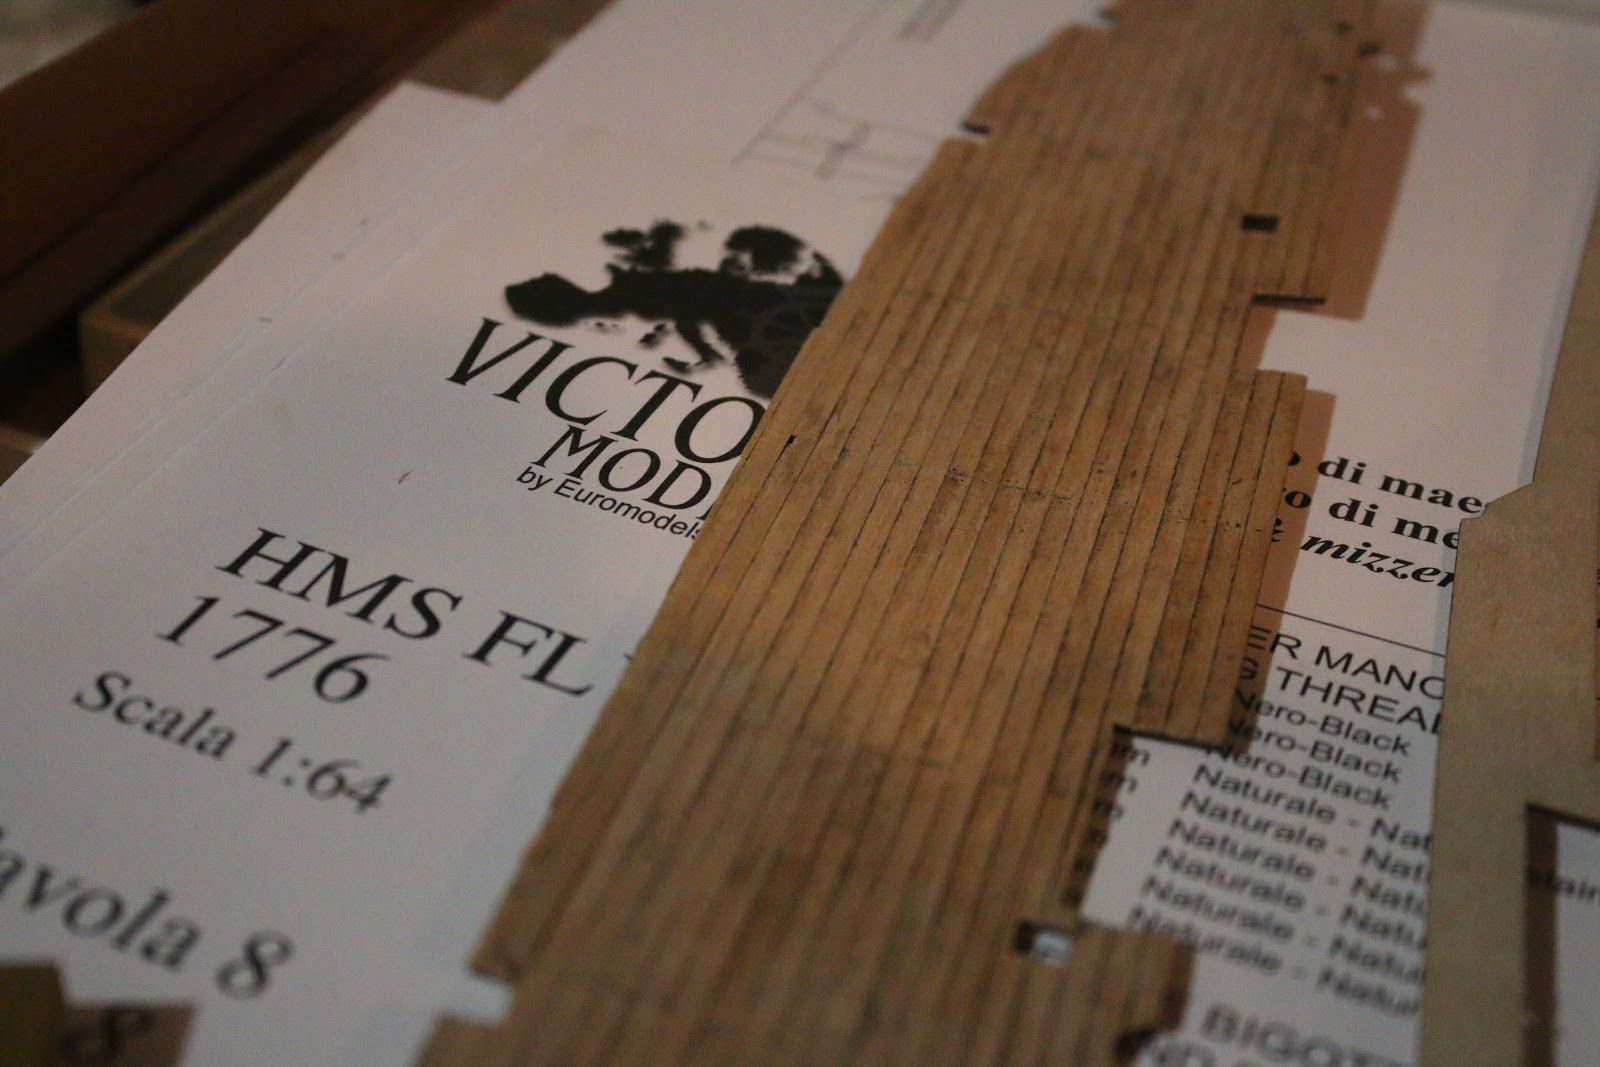

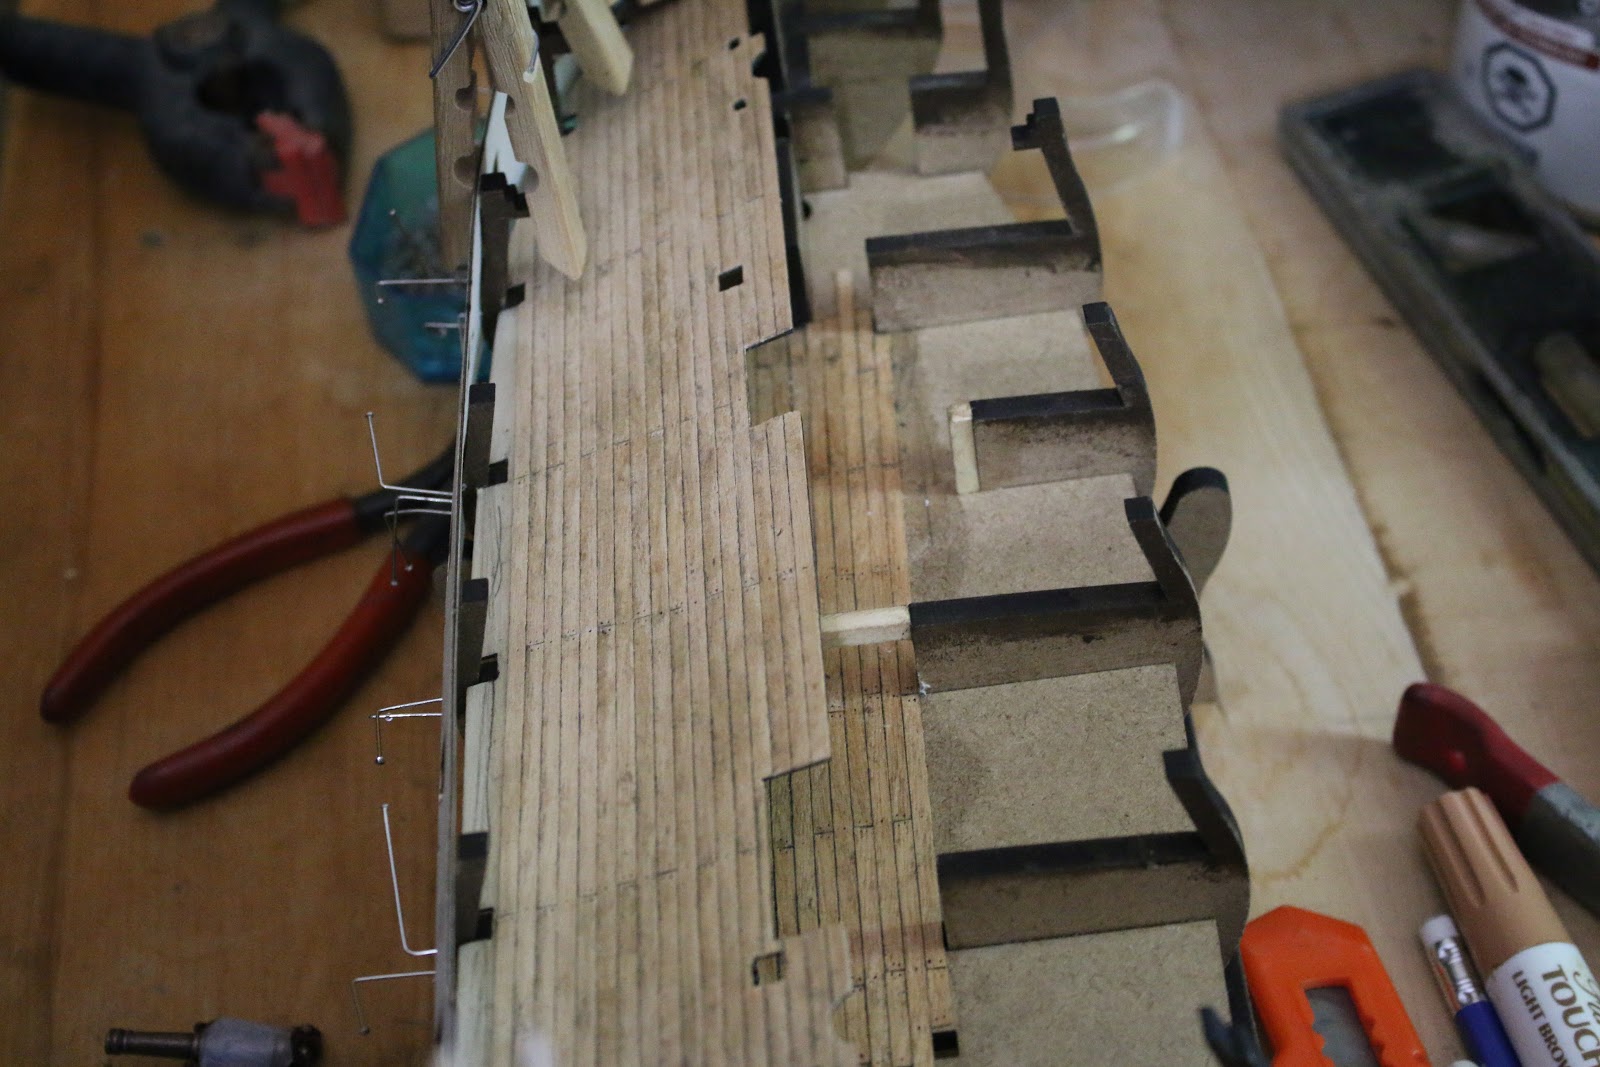
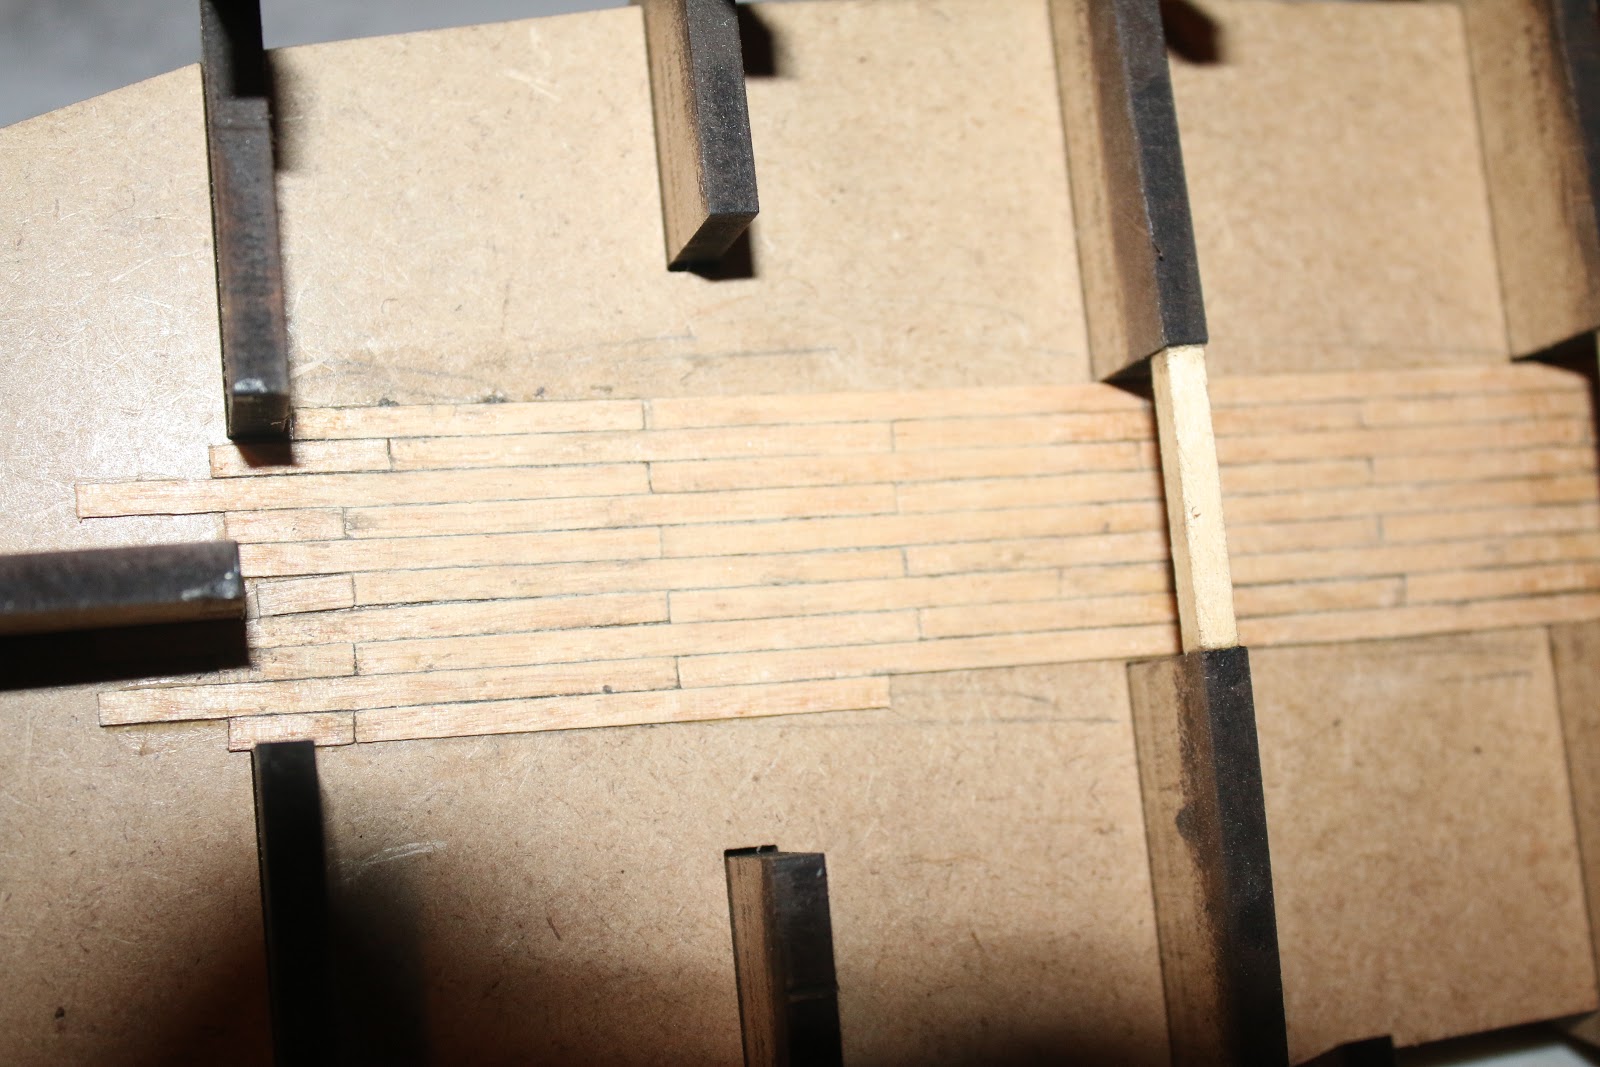
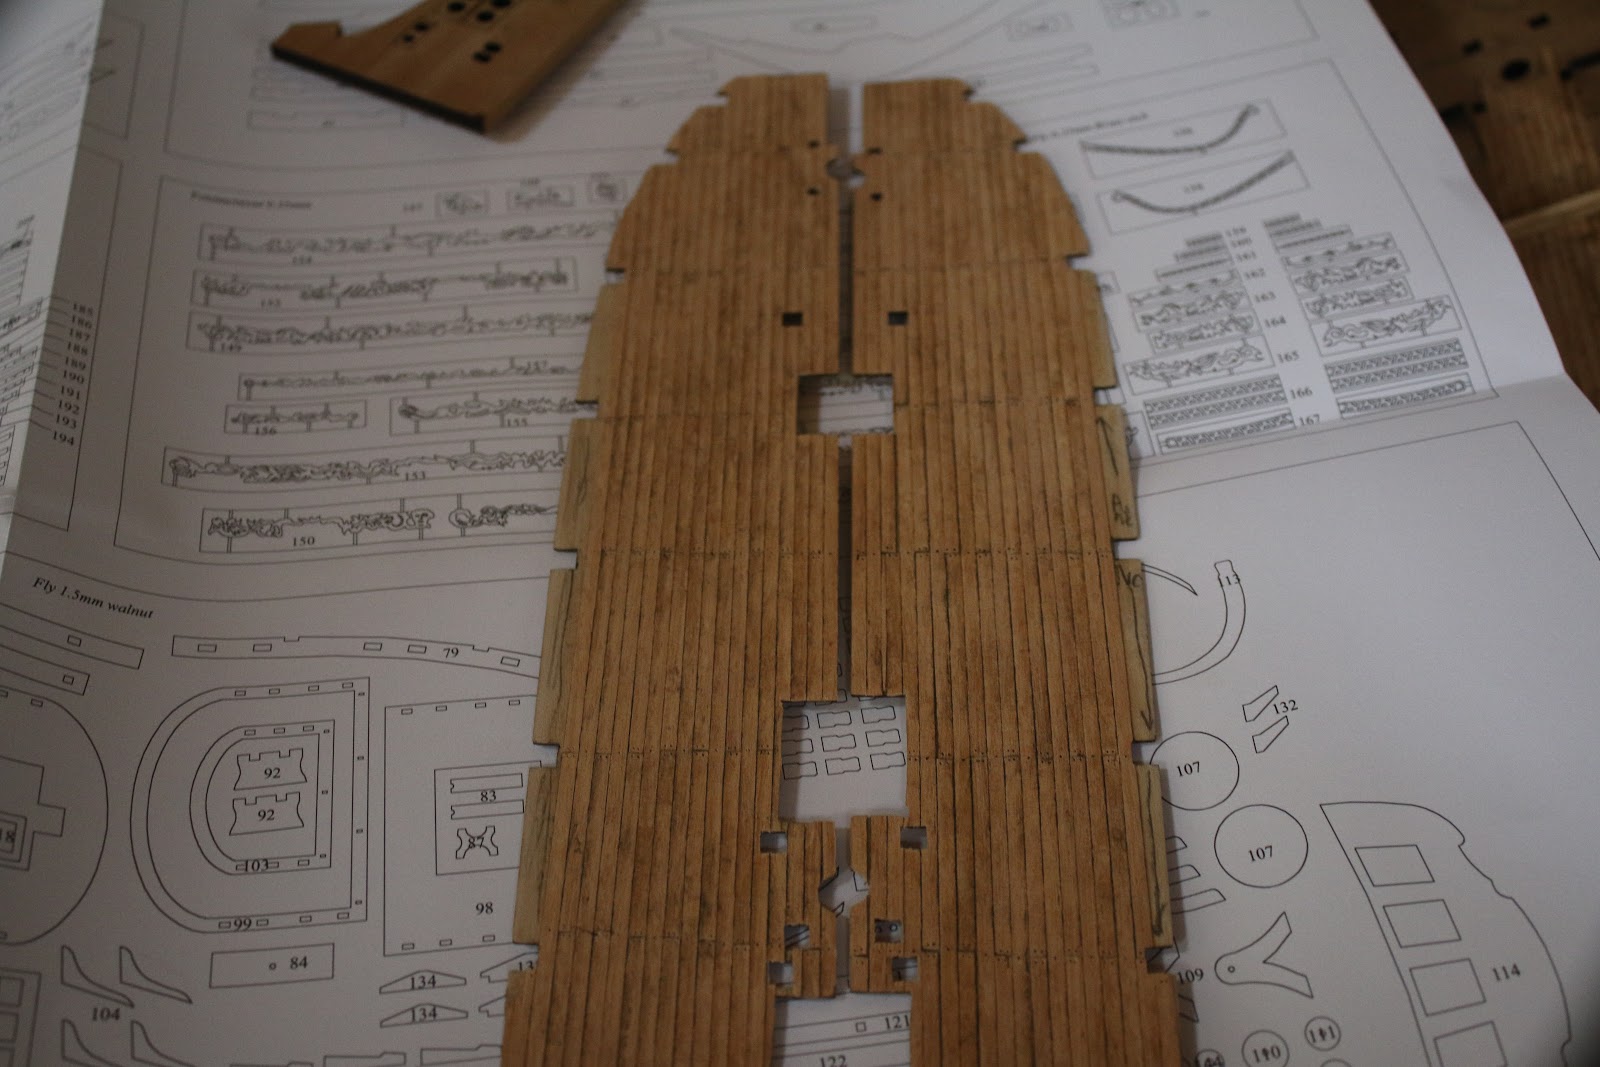
As can be seen above I also dry fitted the deck to check its fitt with the new planks.
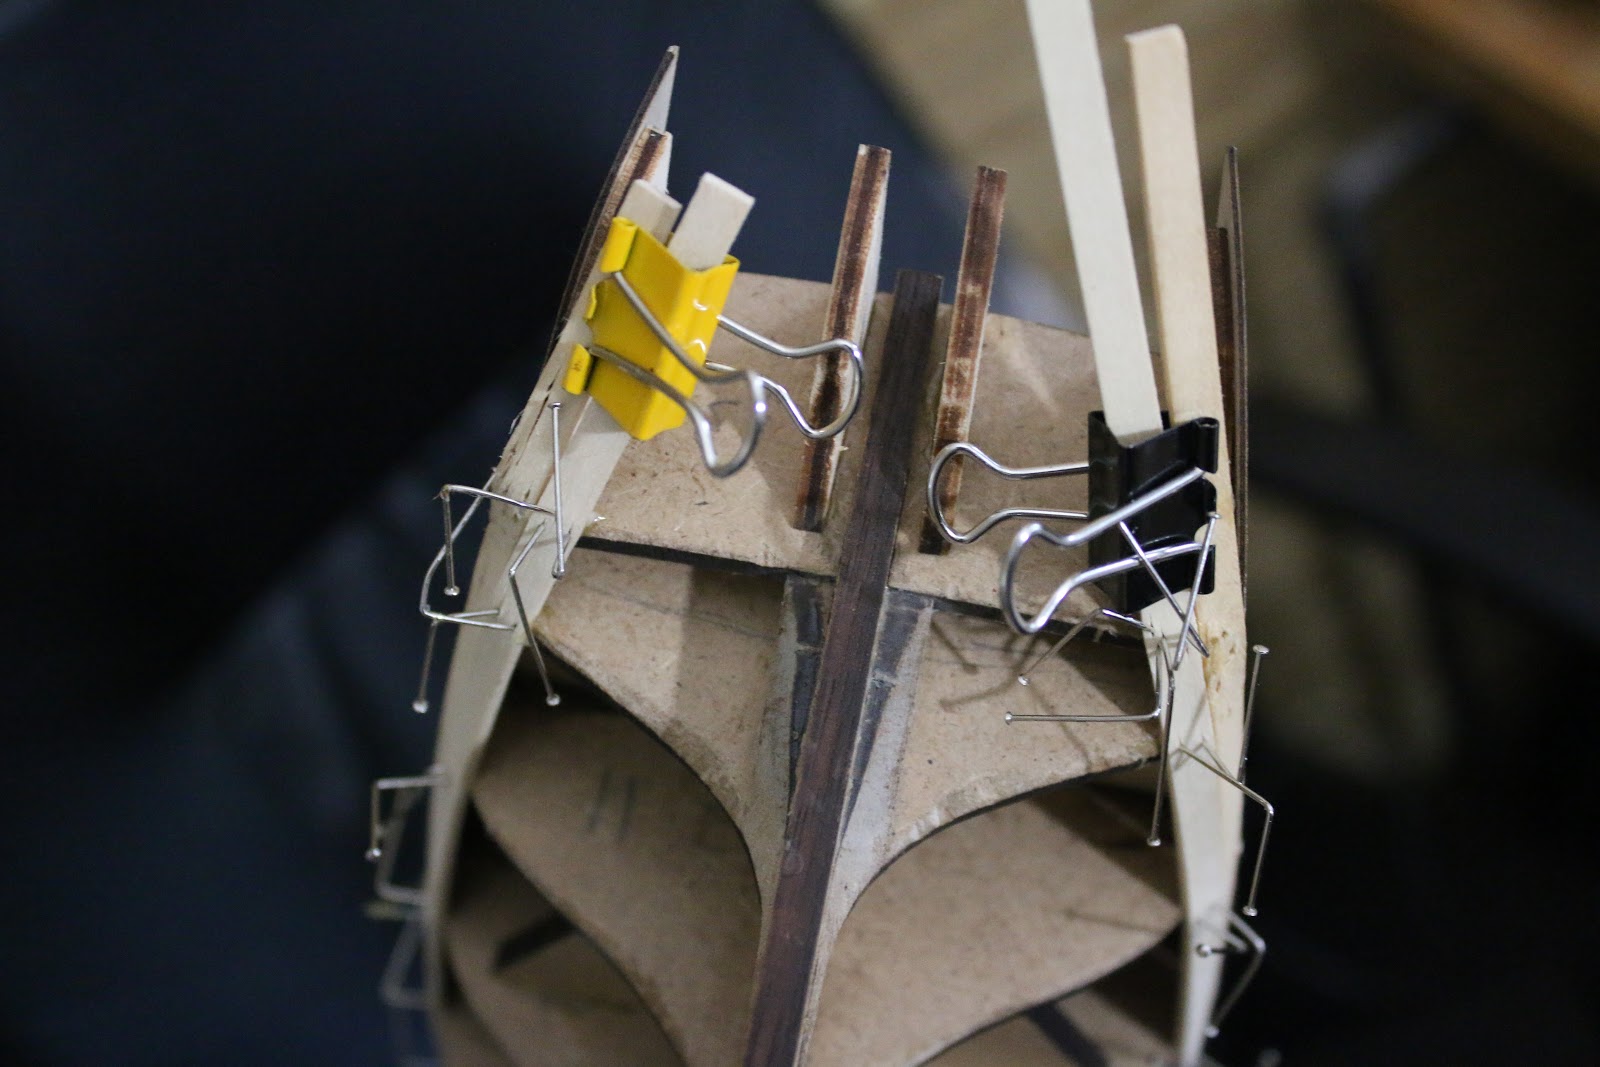
I then proceeded to finish the other side as well the following day and sanded both sides in preparation for stain. 
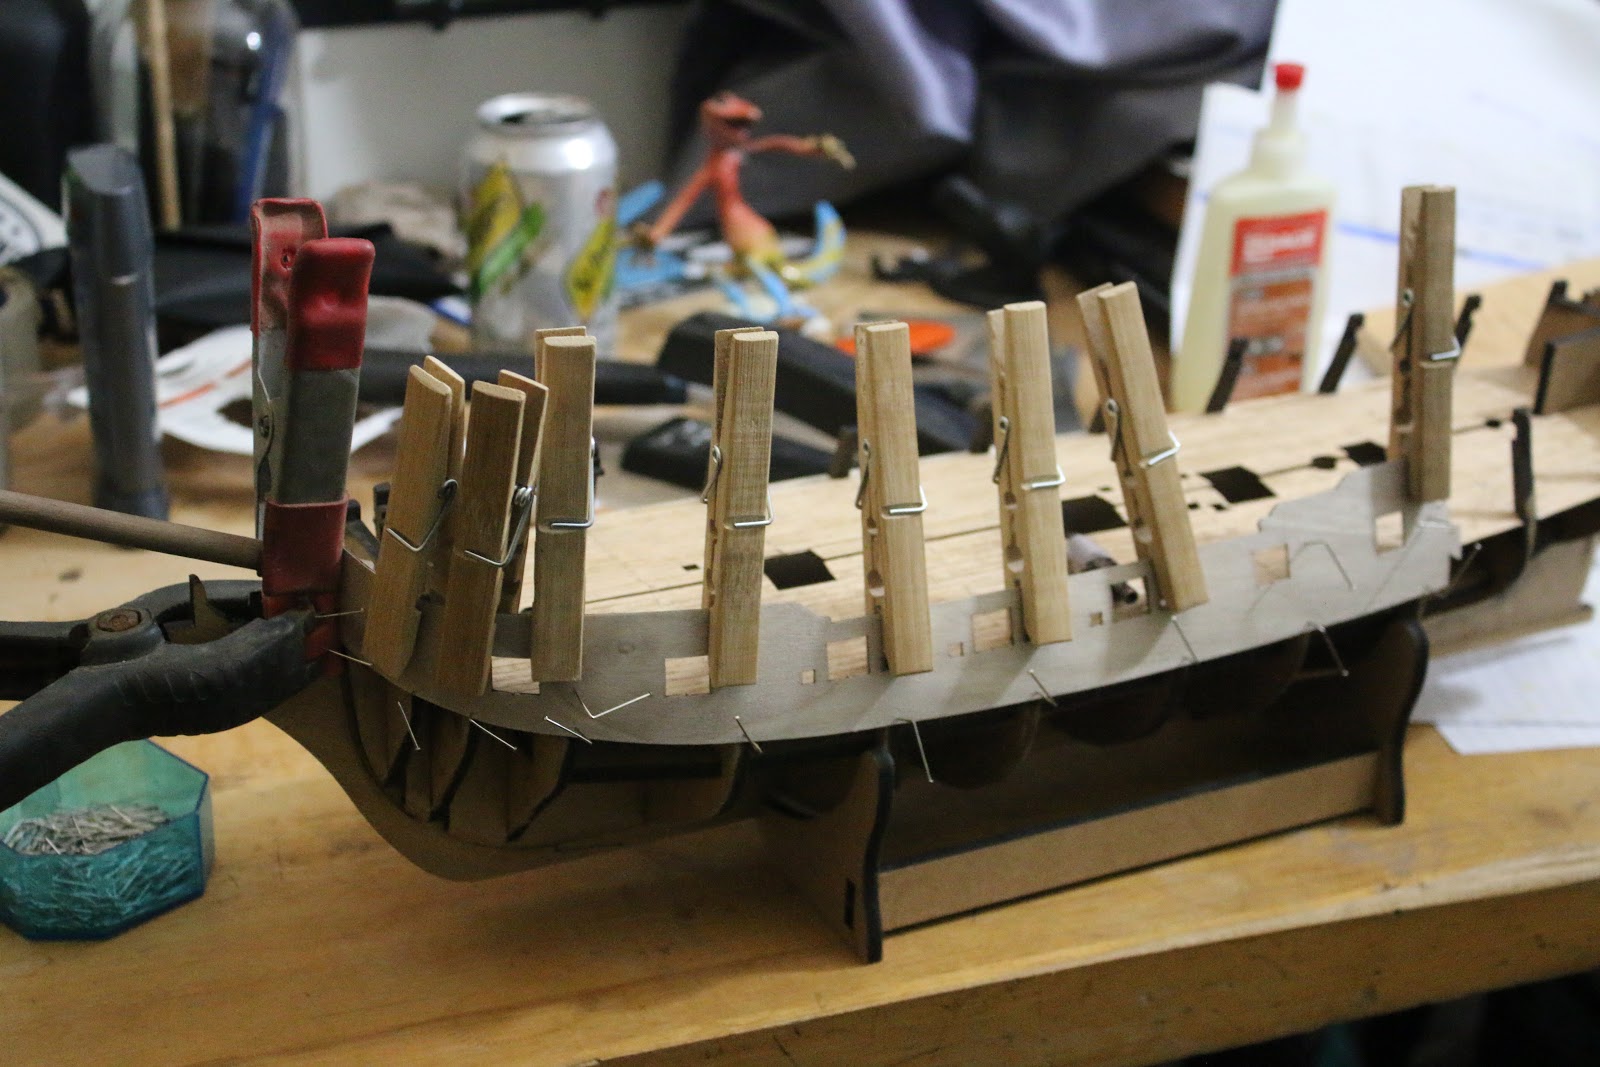
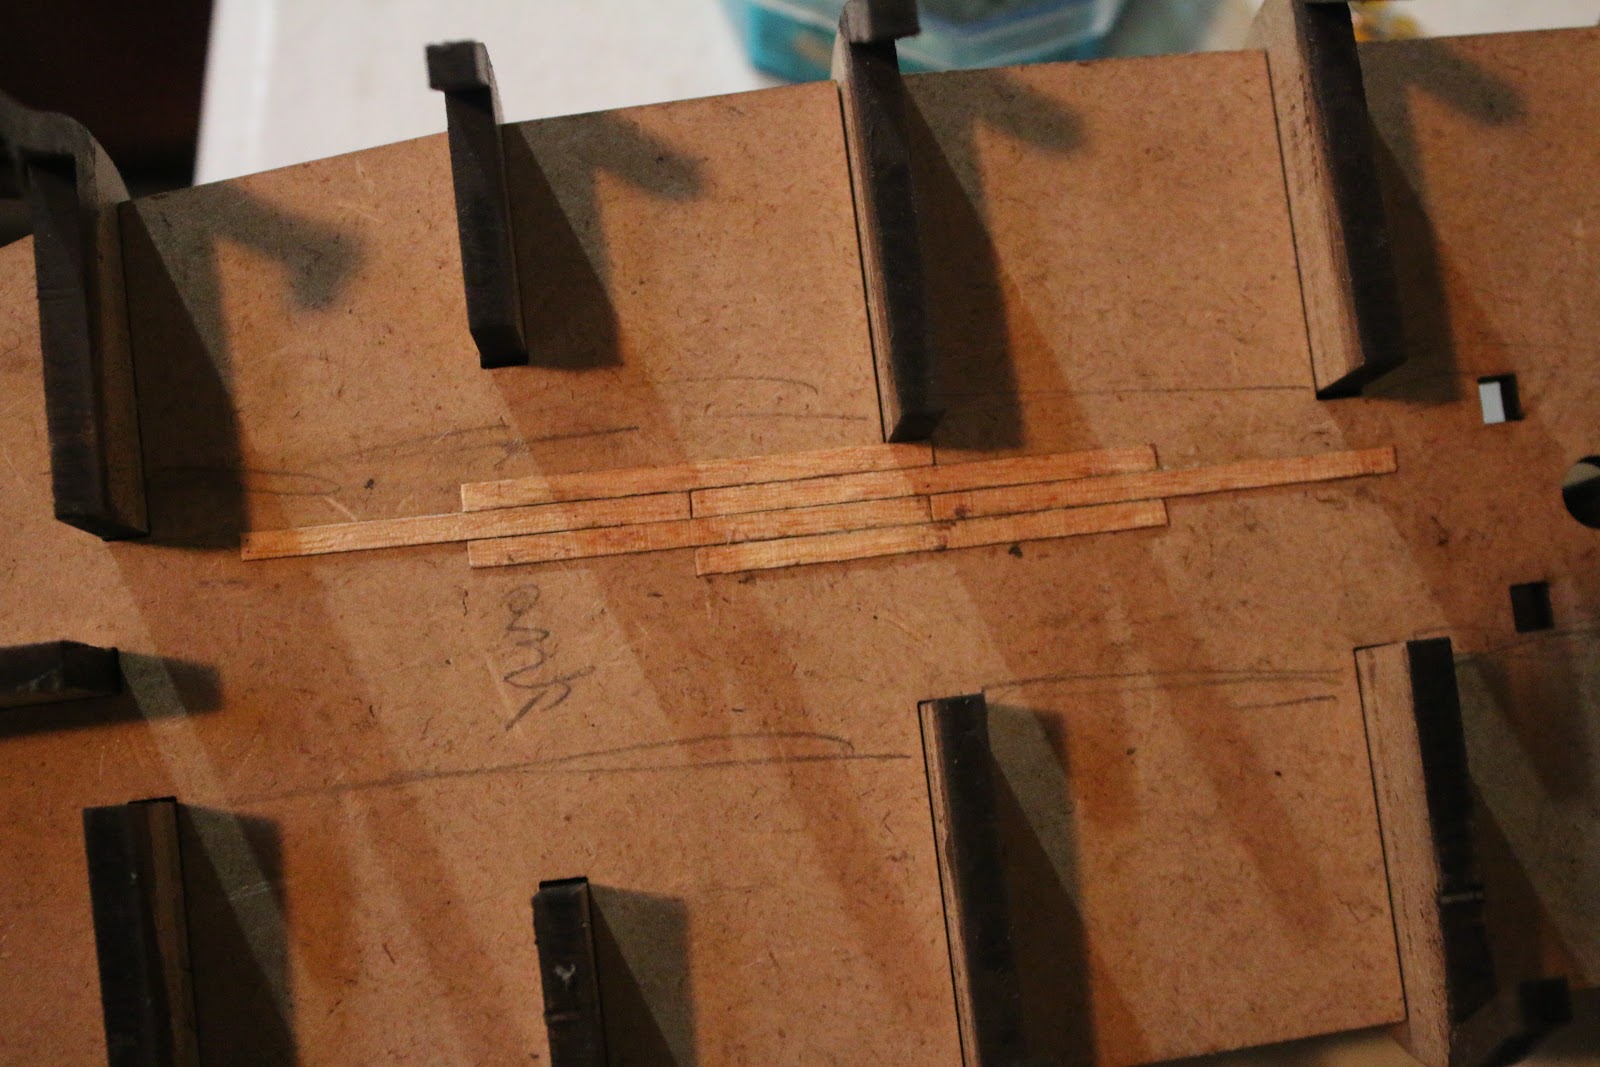
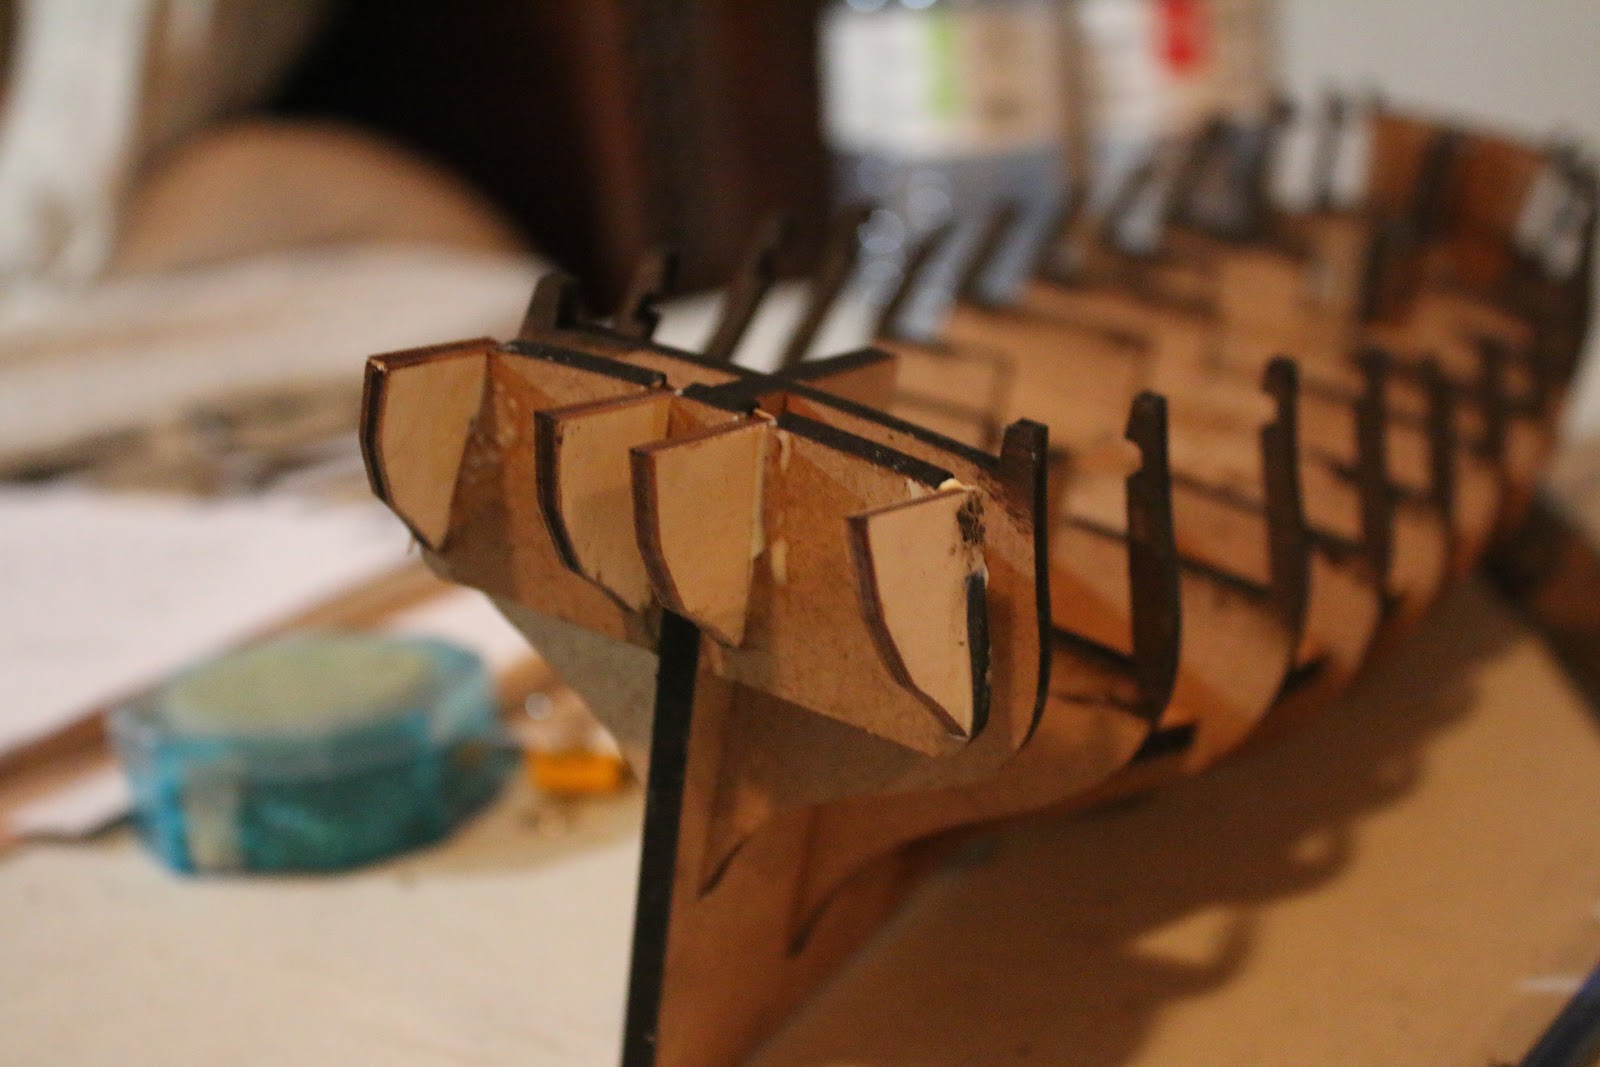
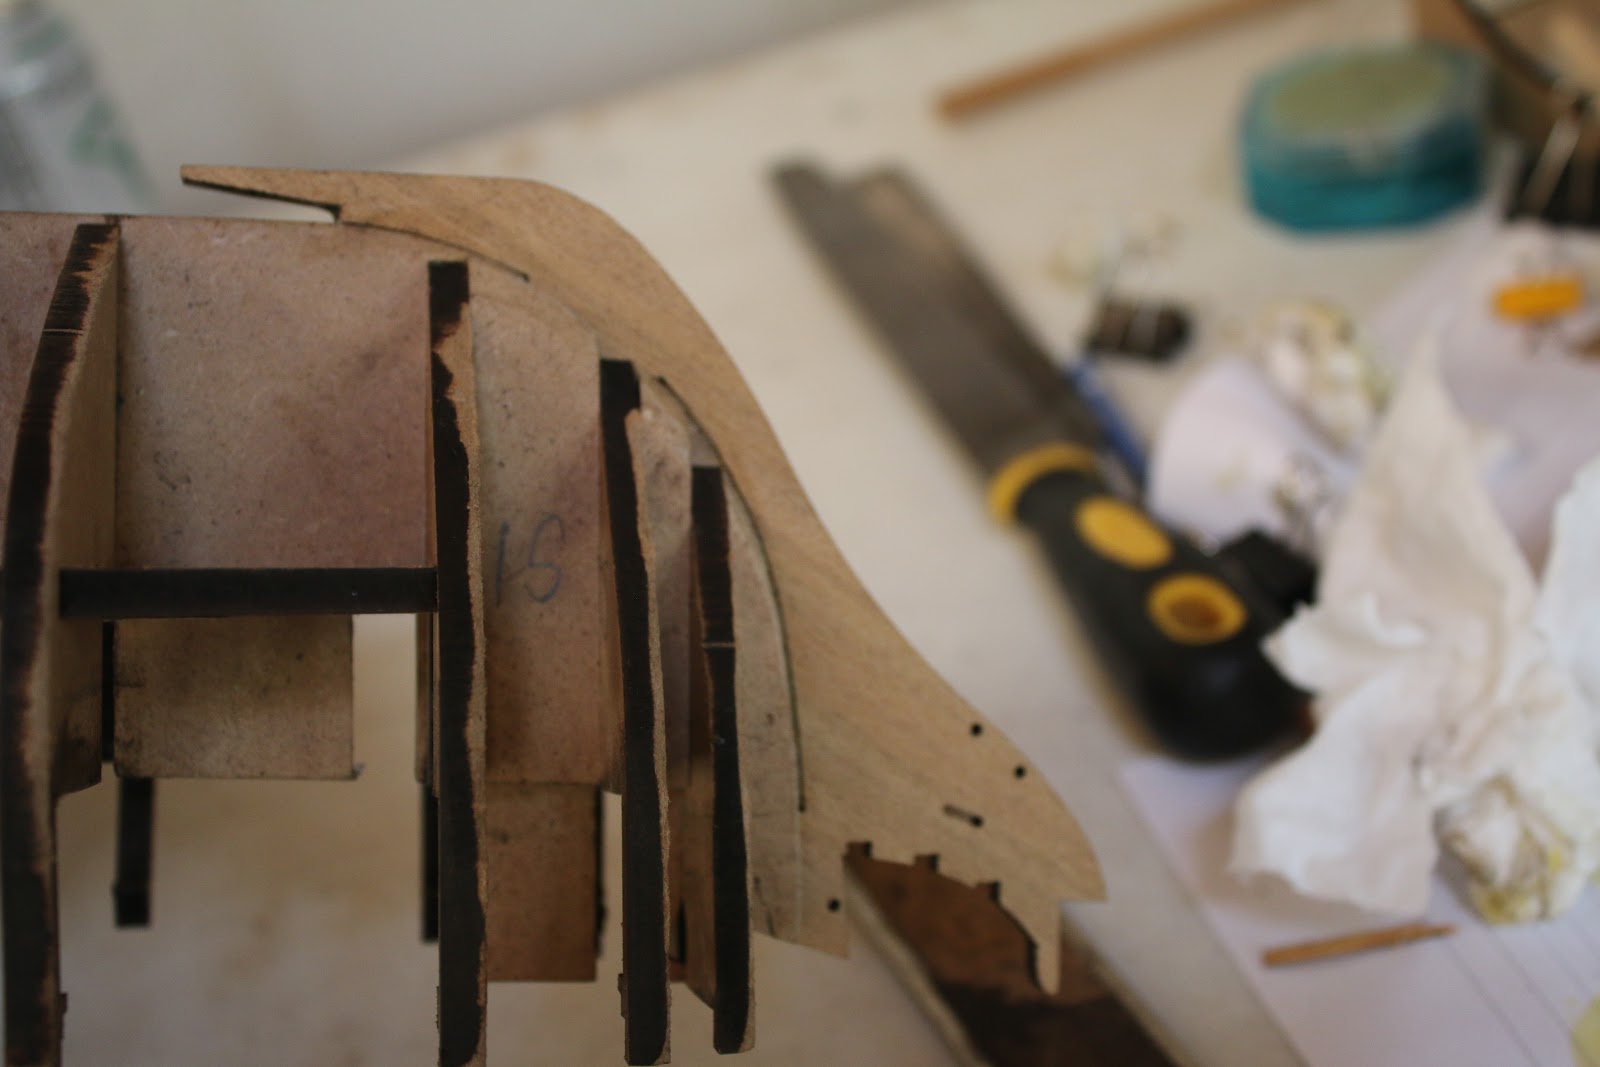
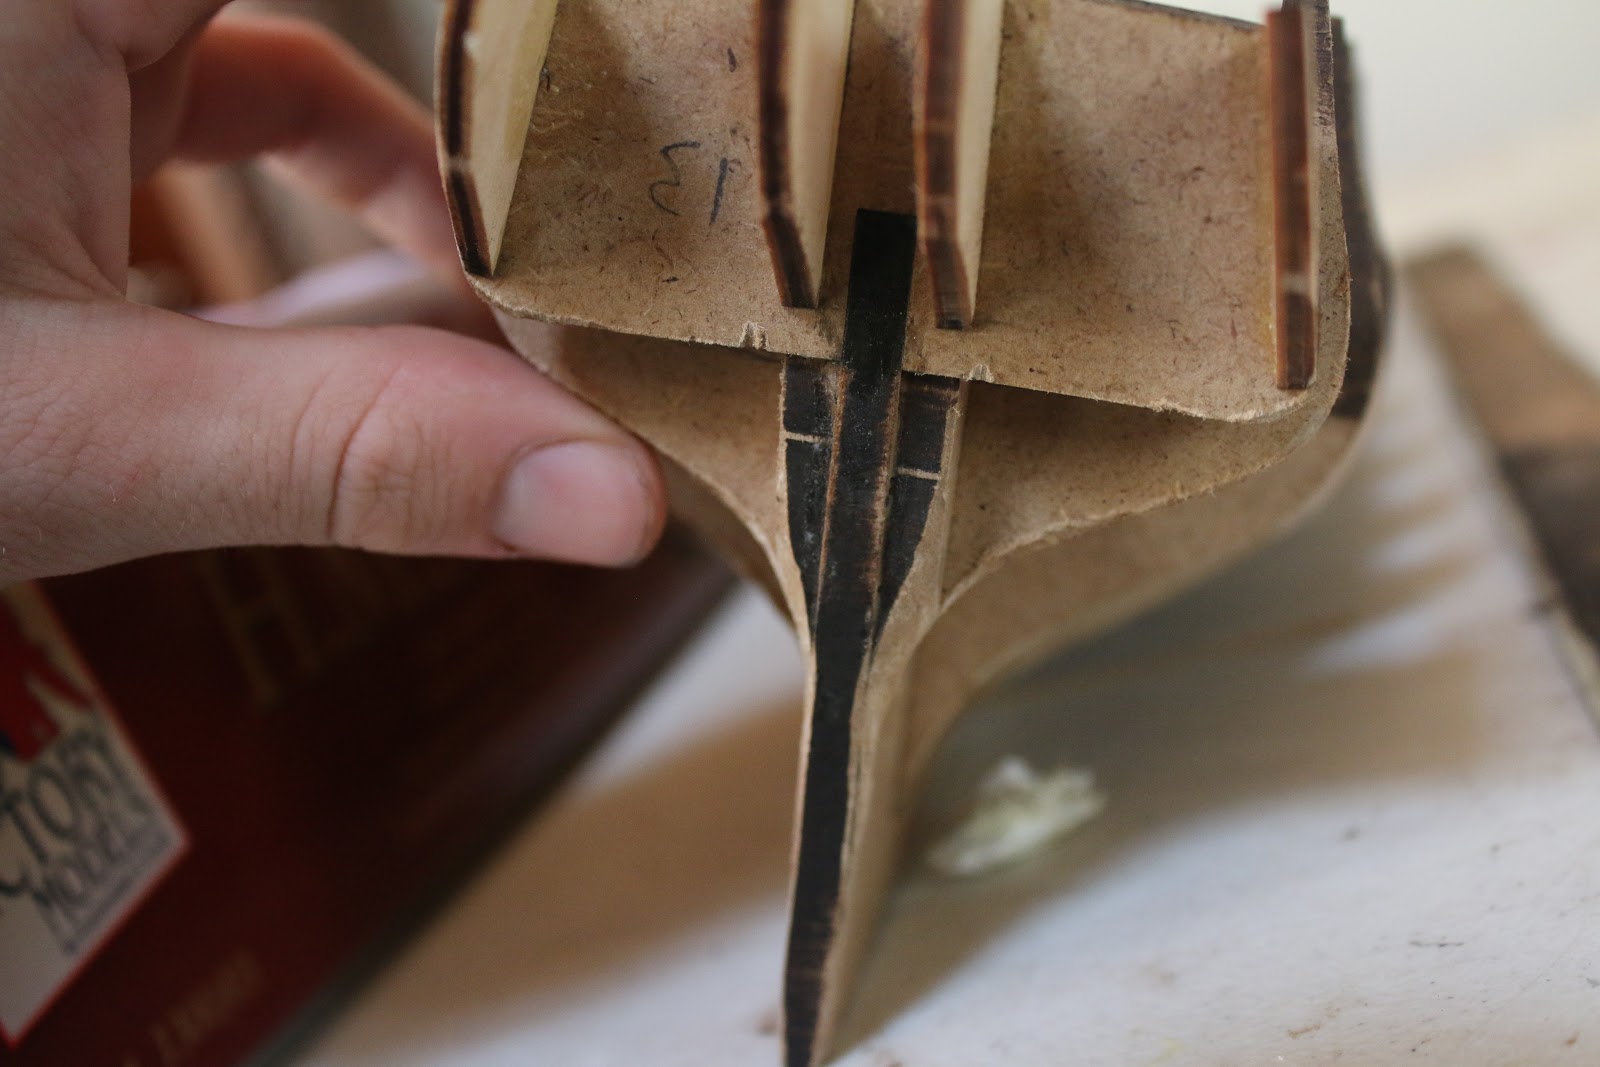
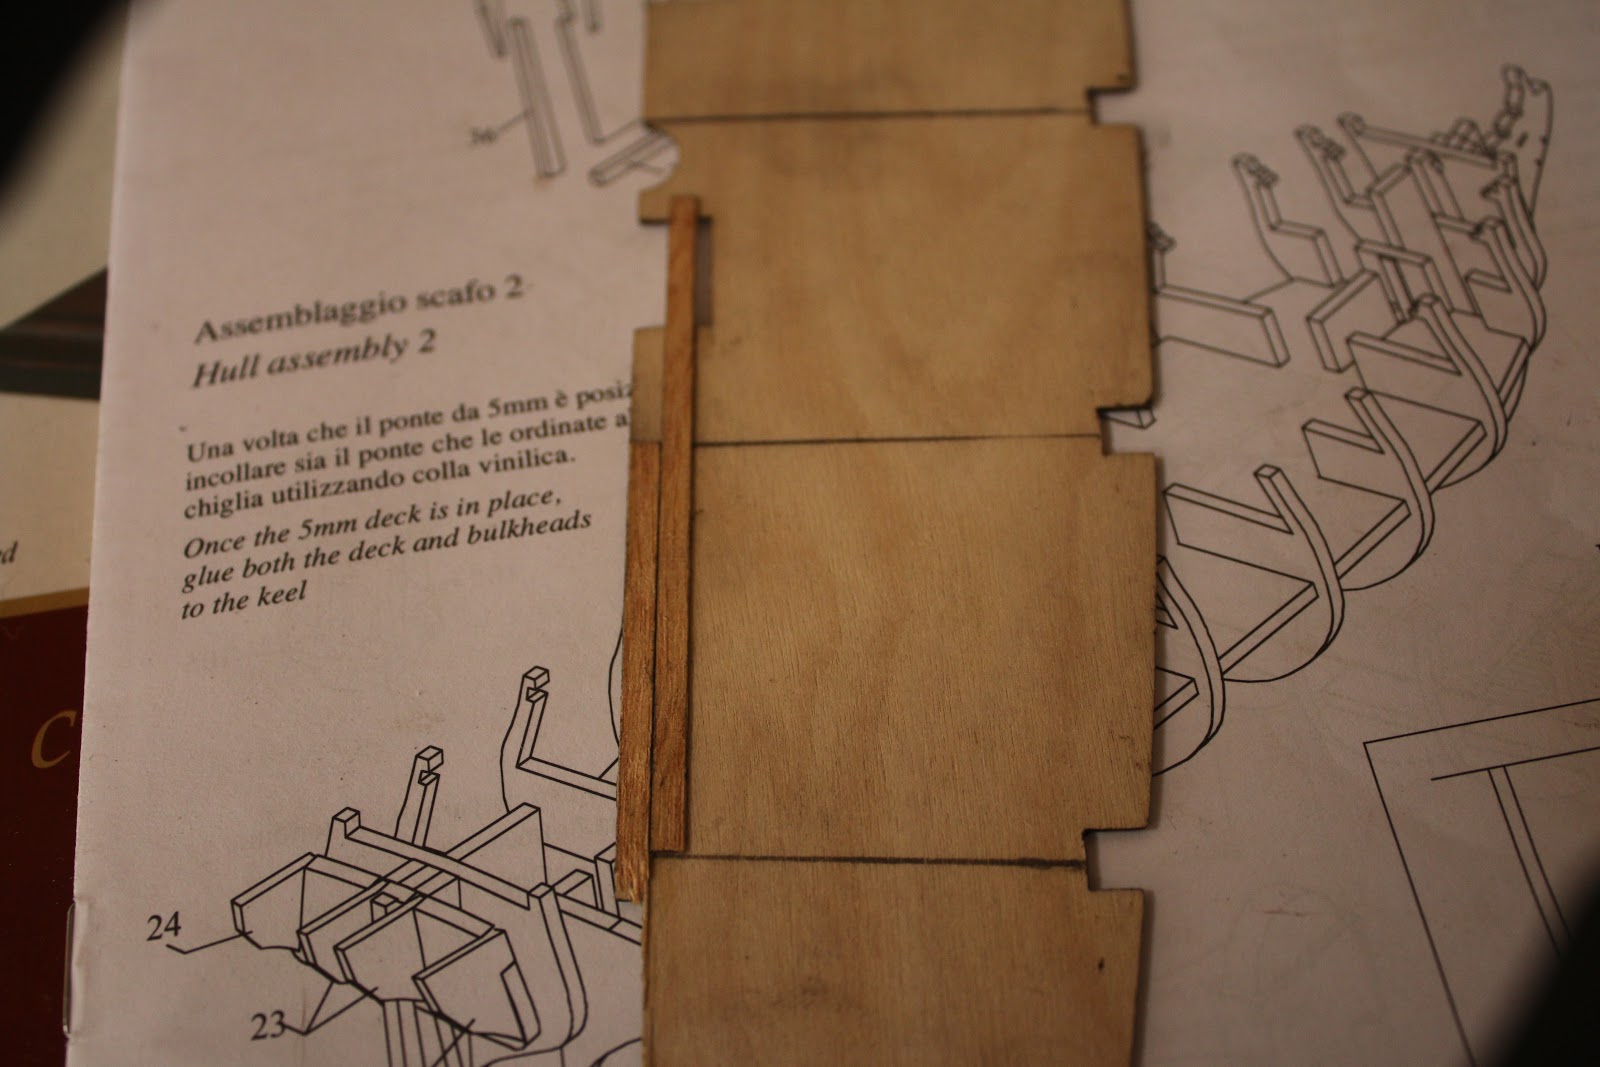
I also glued in some pieces of wood behind the puzzle joints on the ship. This should help with the connection between the pieces and prevent one from exiting the joint.
Then after this was done I went ahead and finally stained the gun deck. 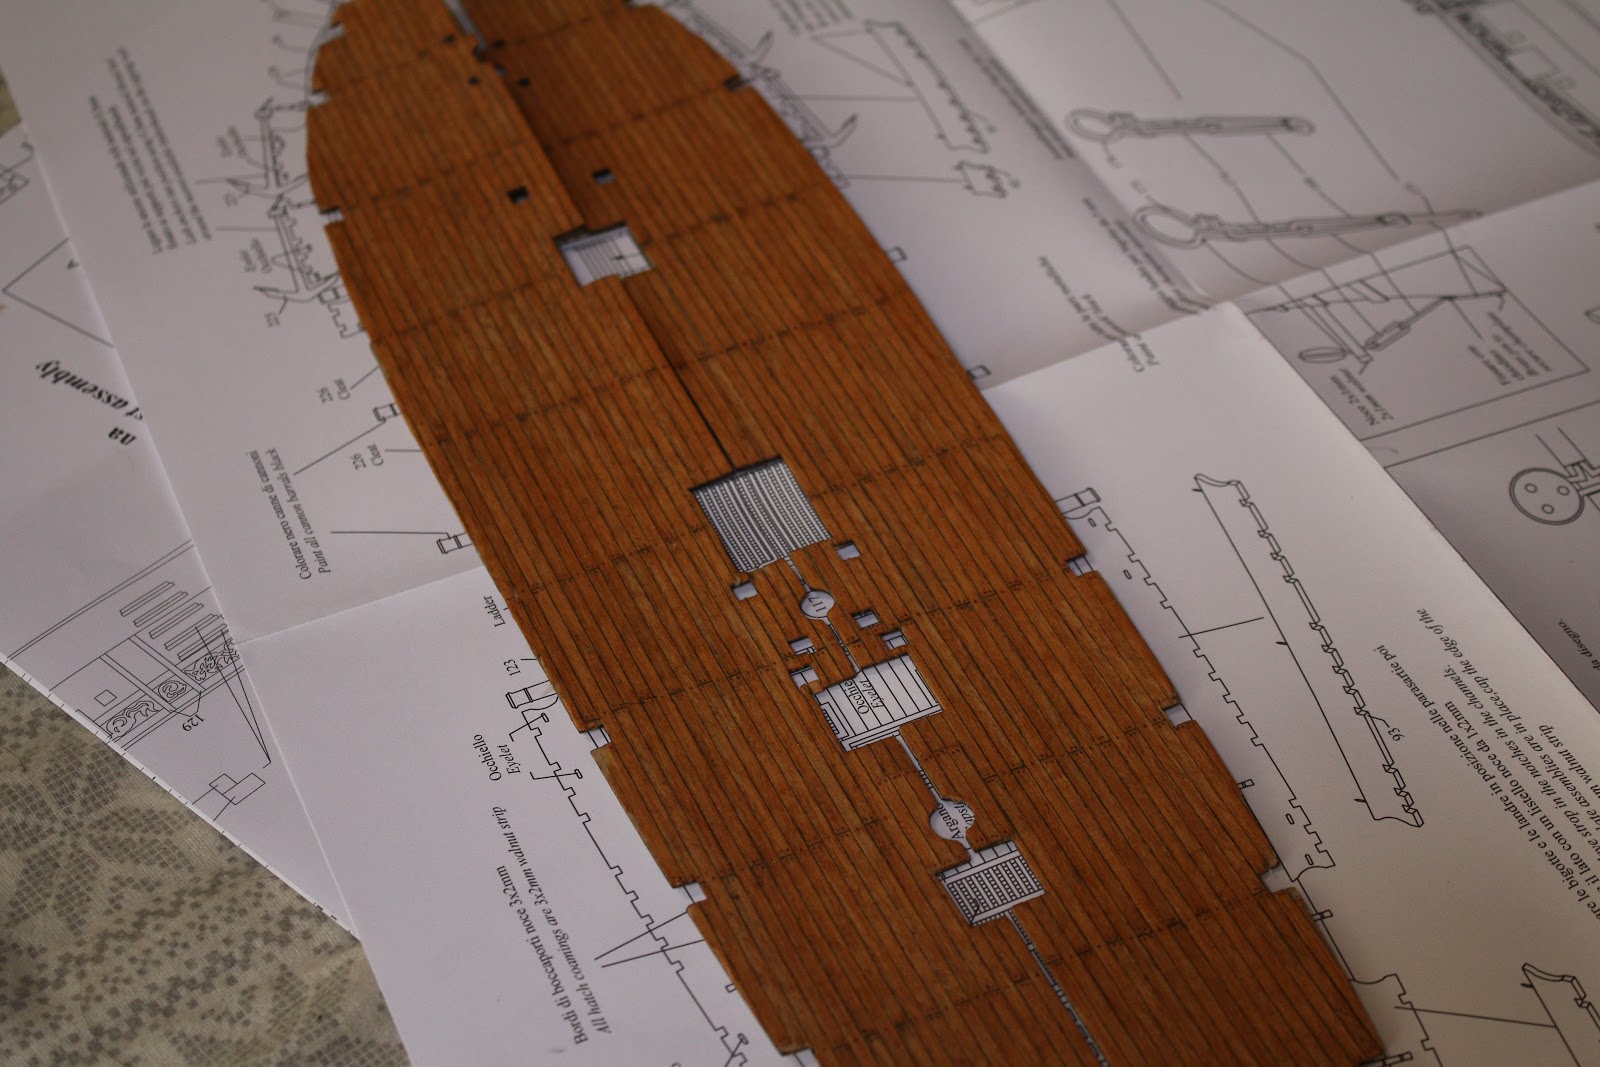
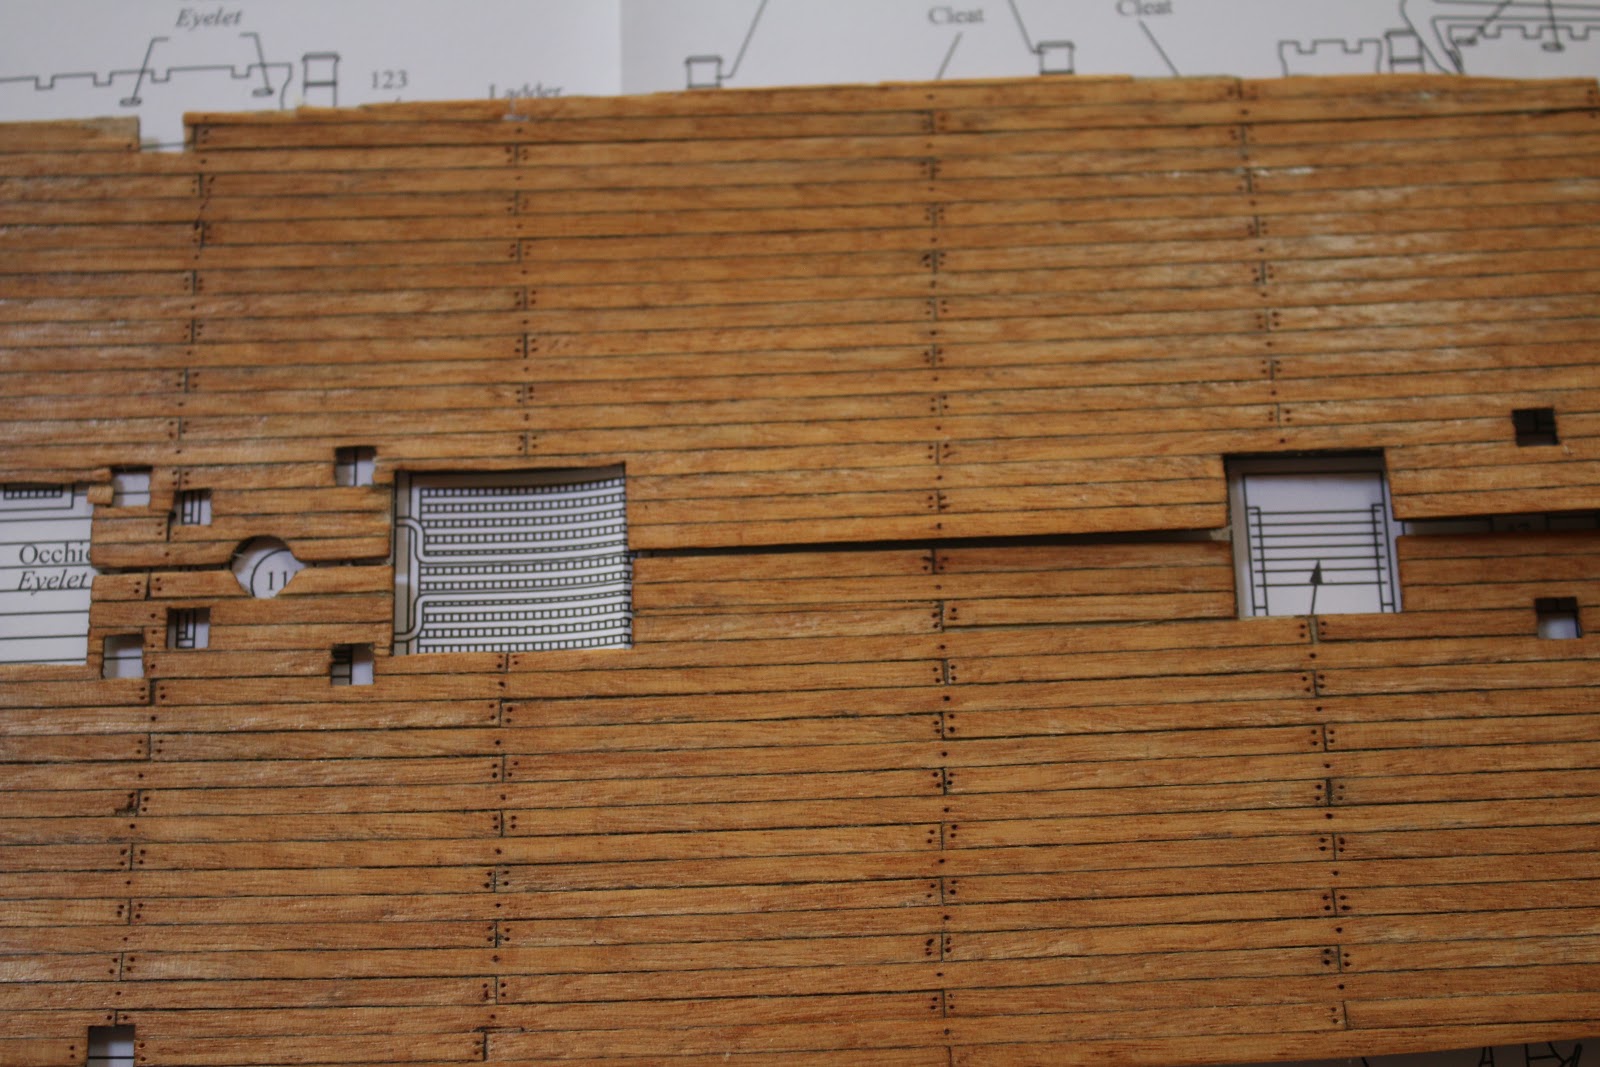
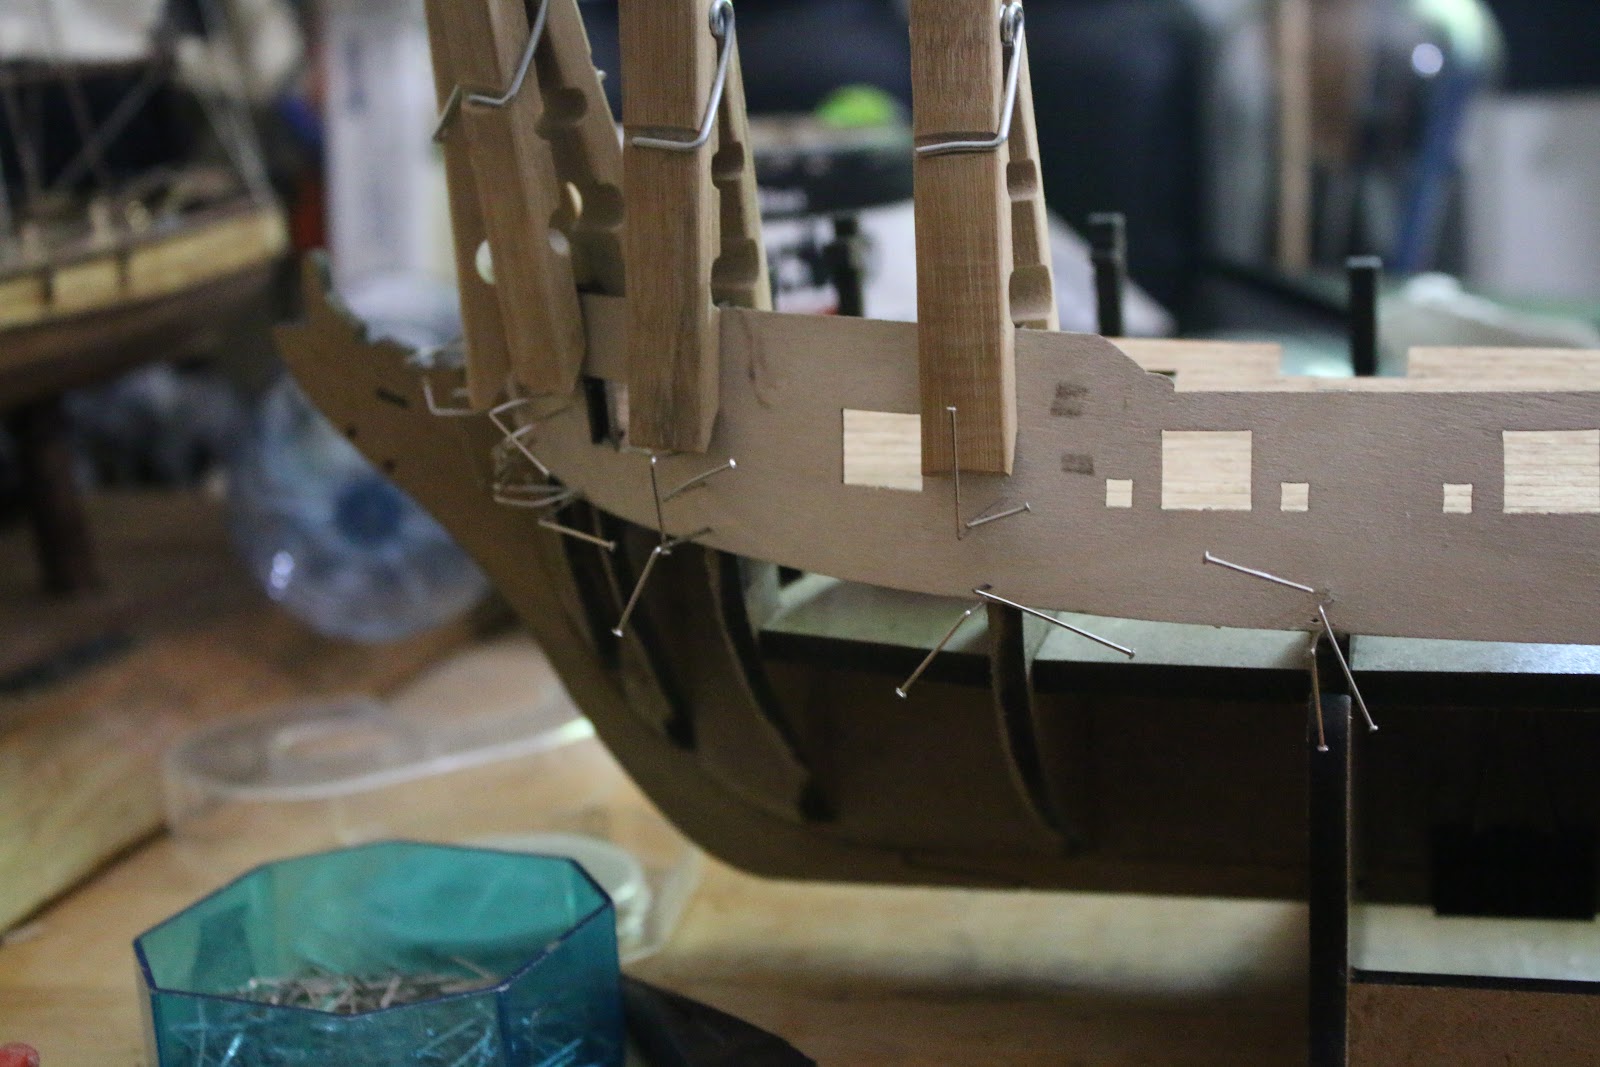
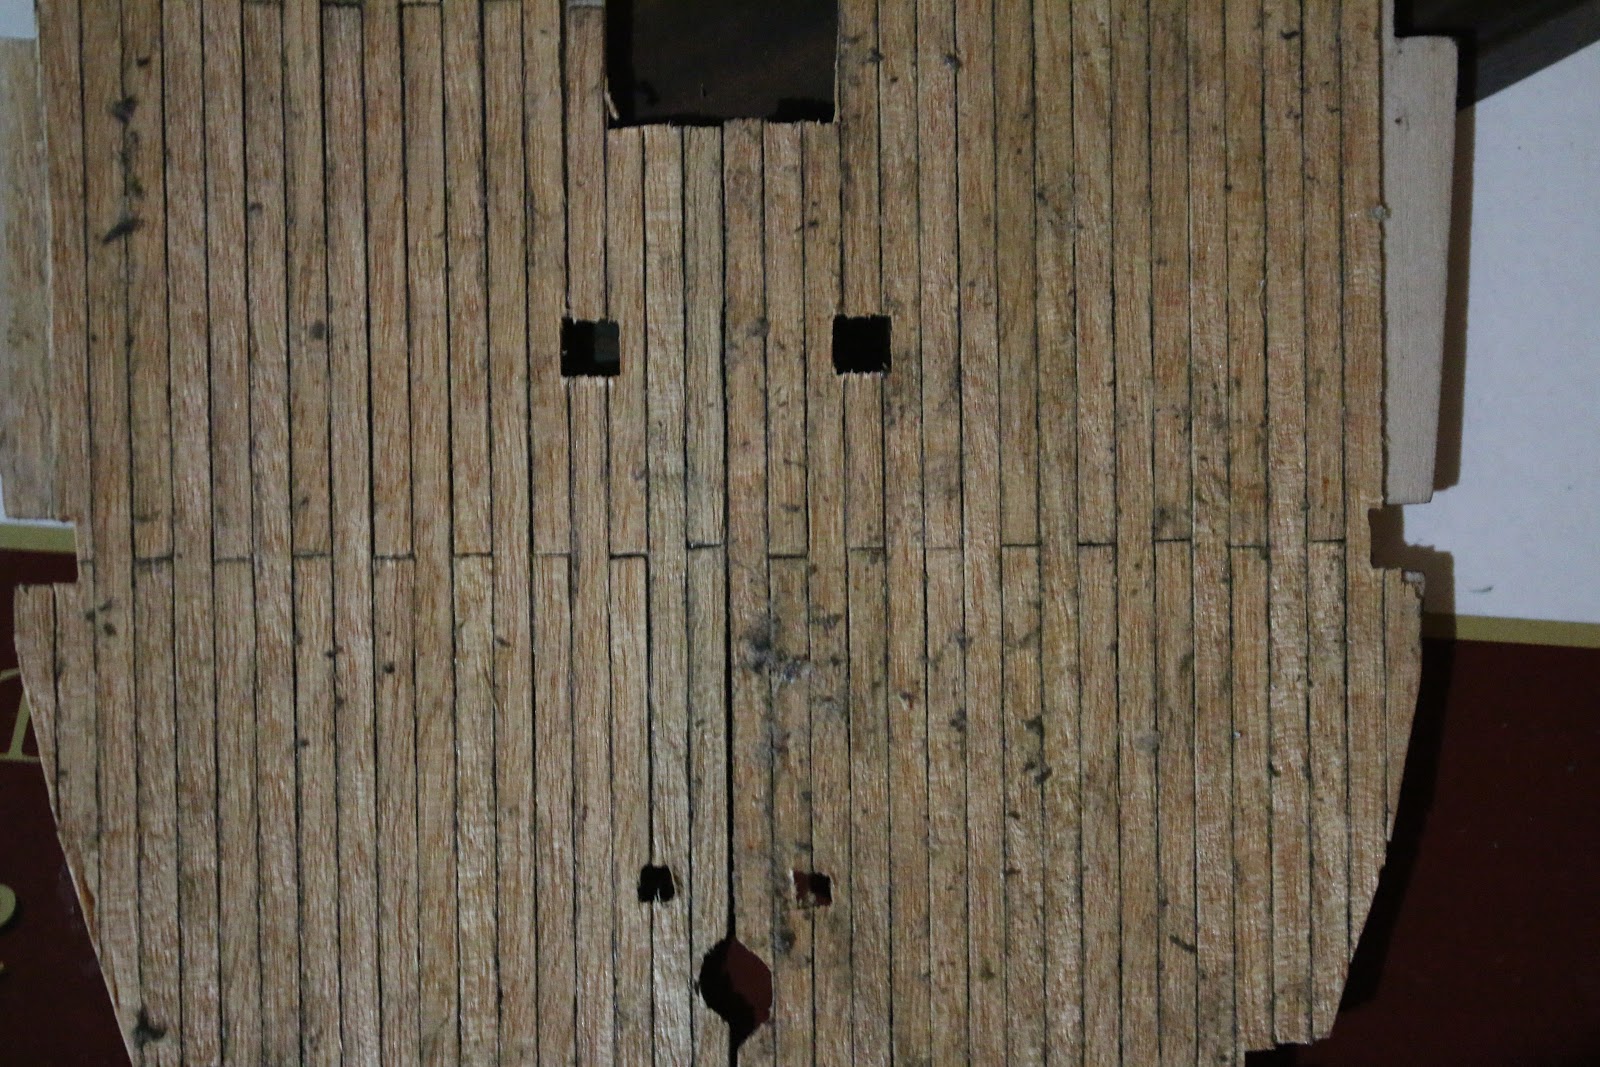
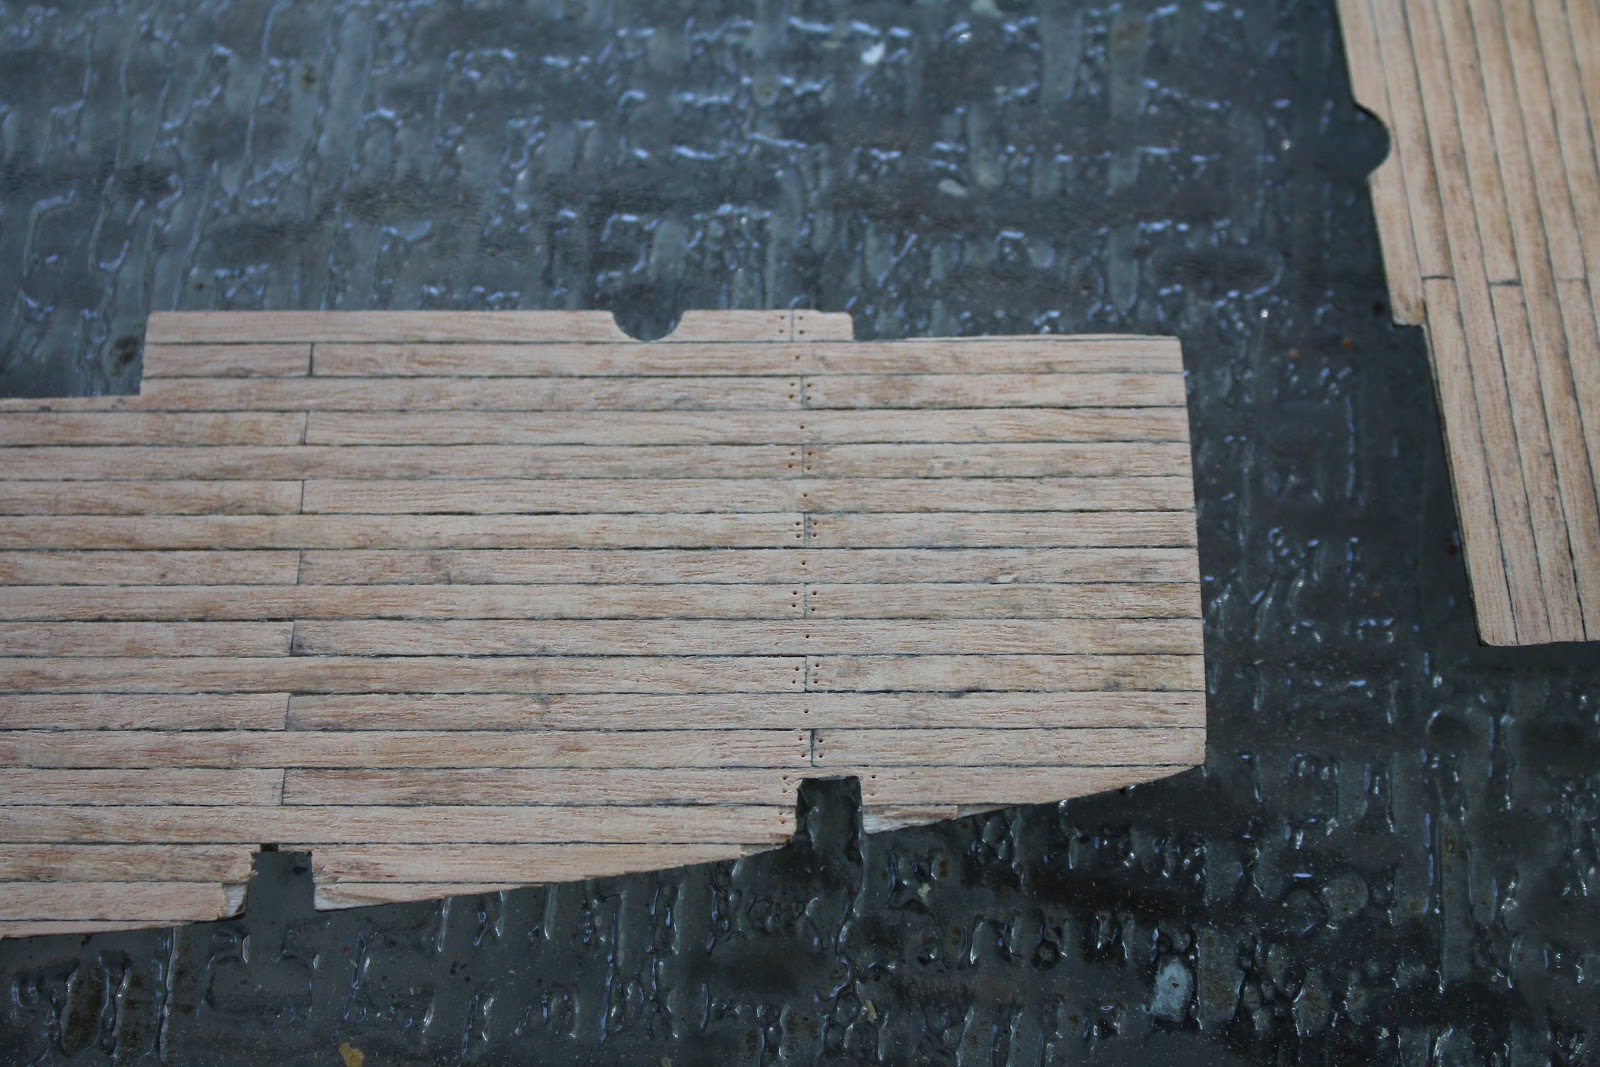
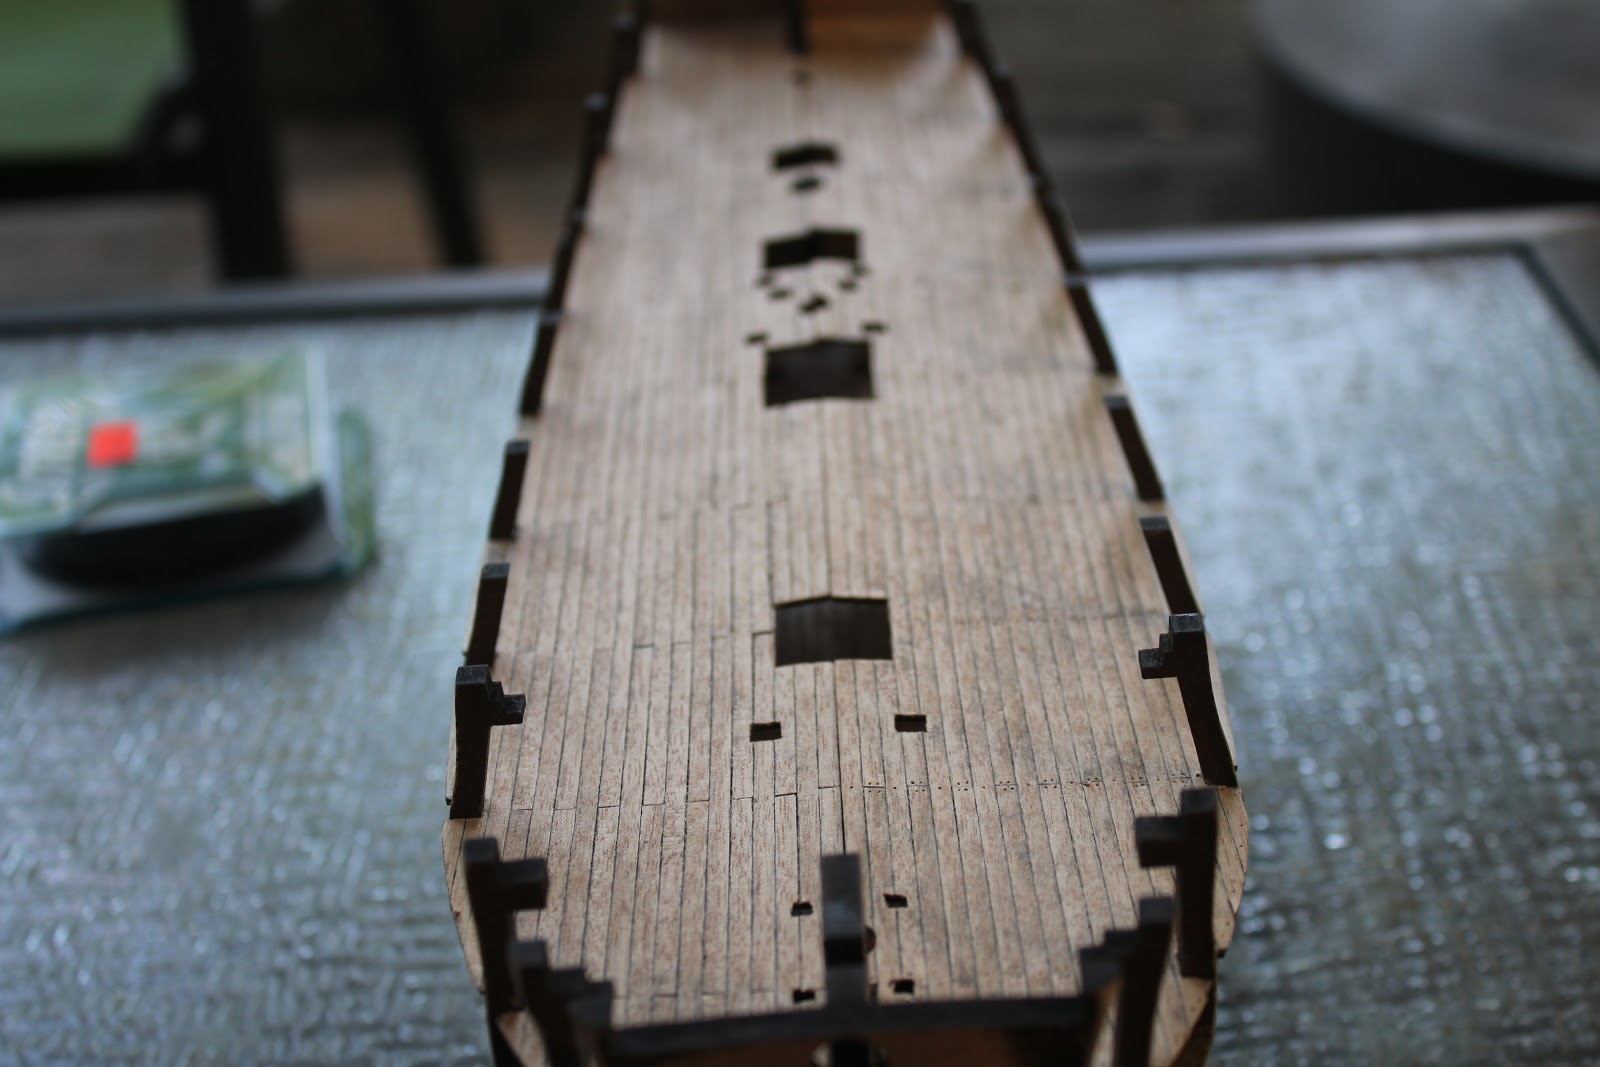
I am very satisfied with how the nail holes Ii added were highlighted by the stain and the colour of the deck turned out great. After this was done the deck was laid to dry and the next day I went ahead and installed the last of the structural gunport pannels to the hull.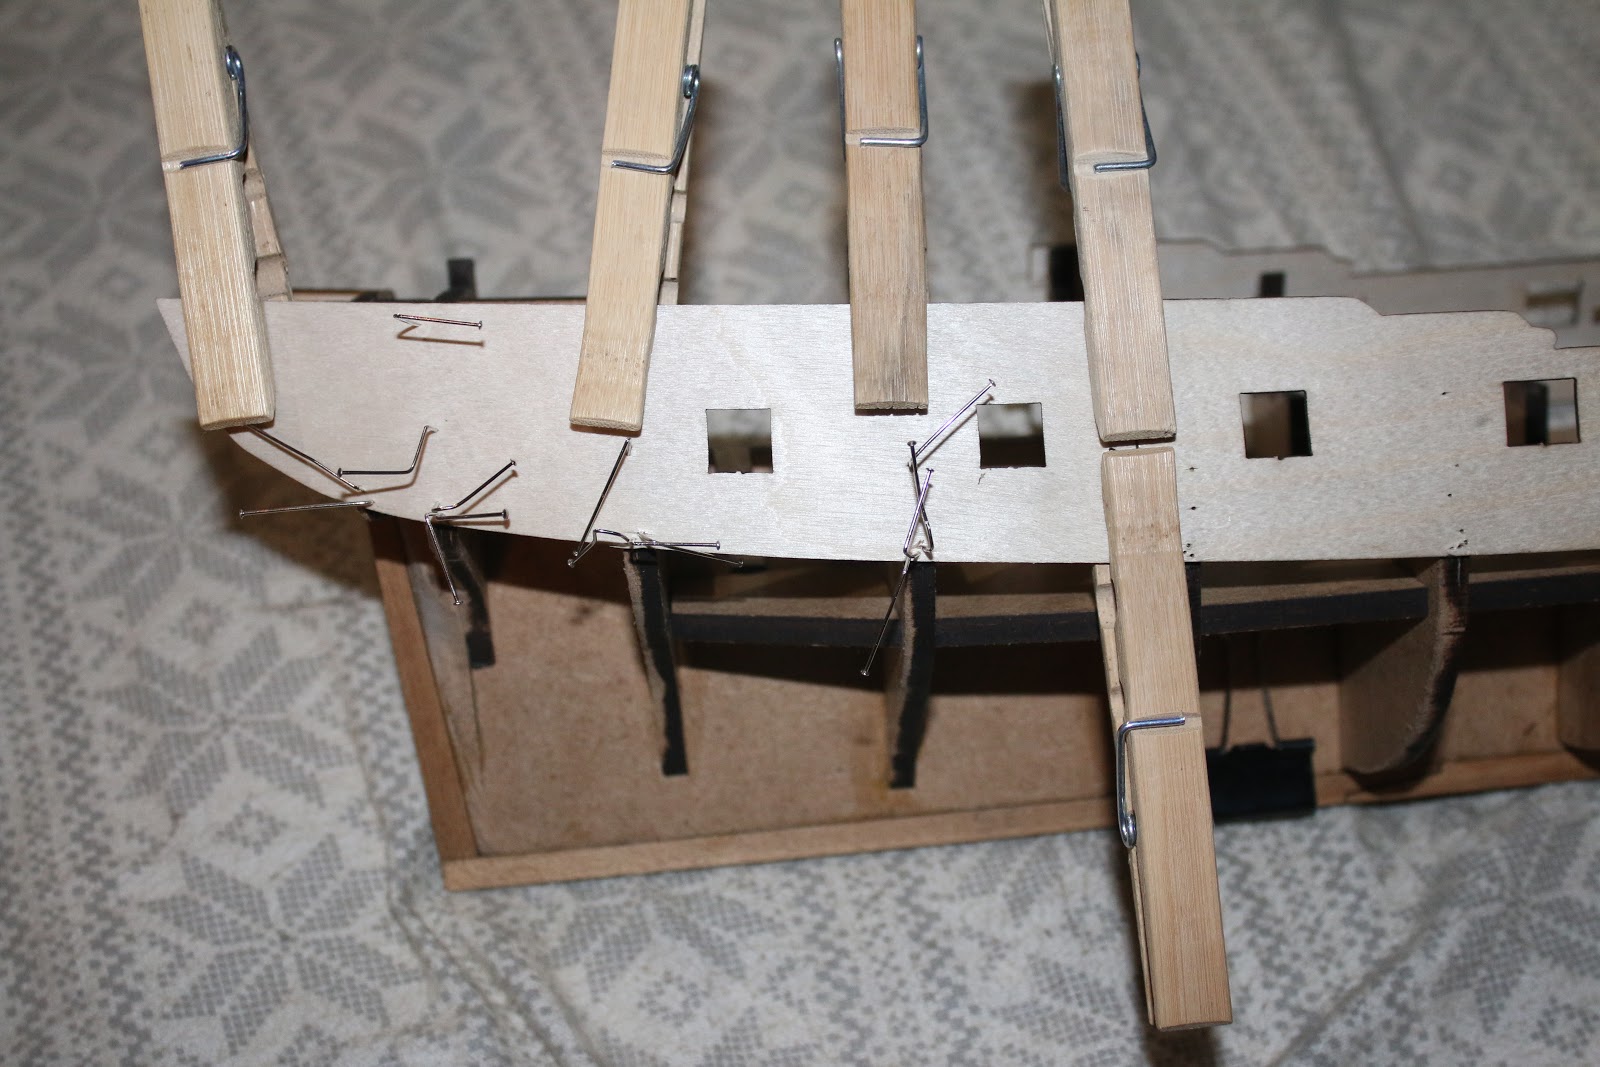

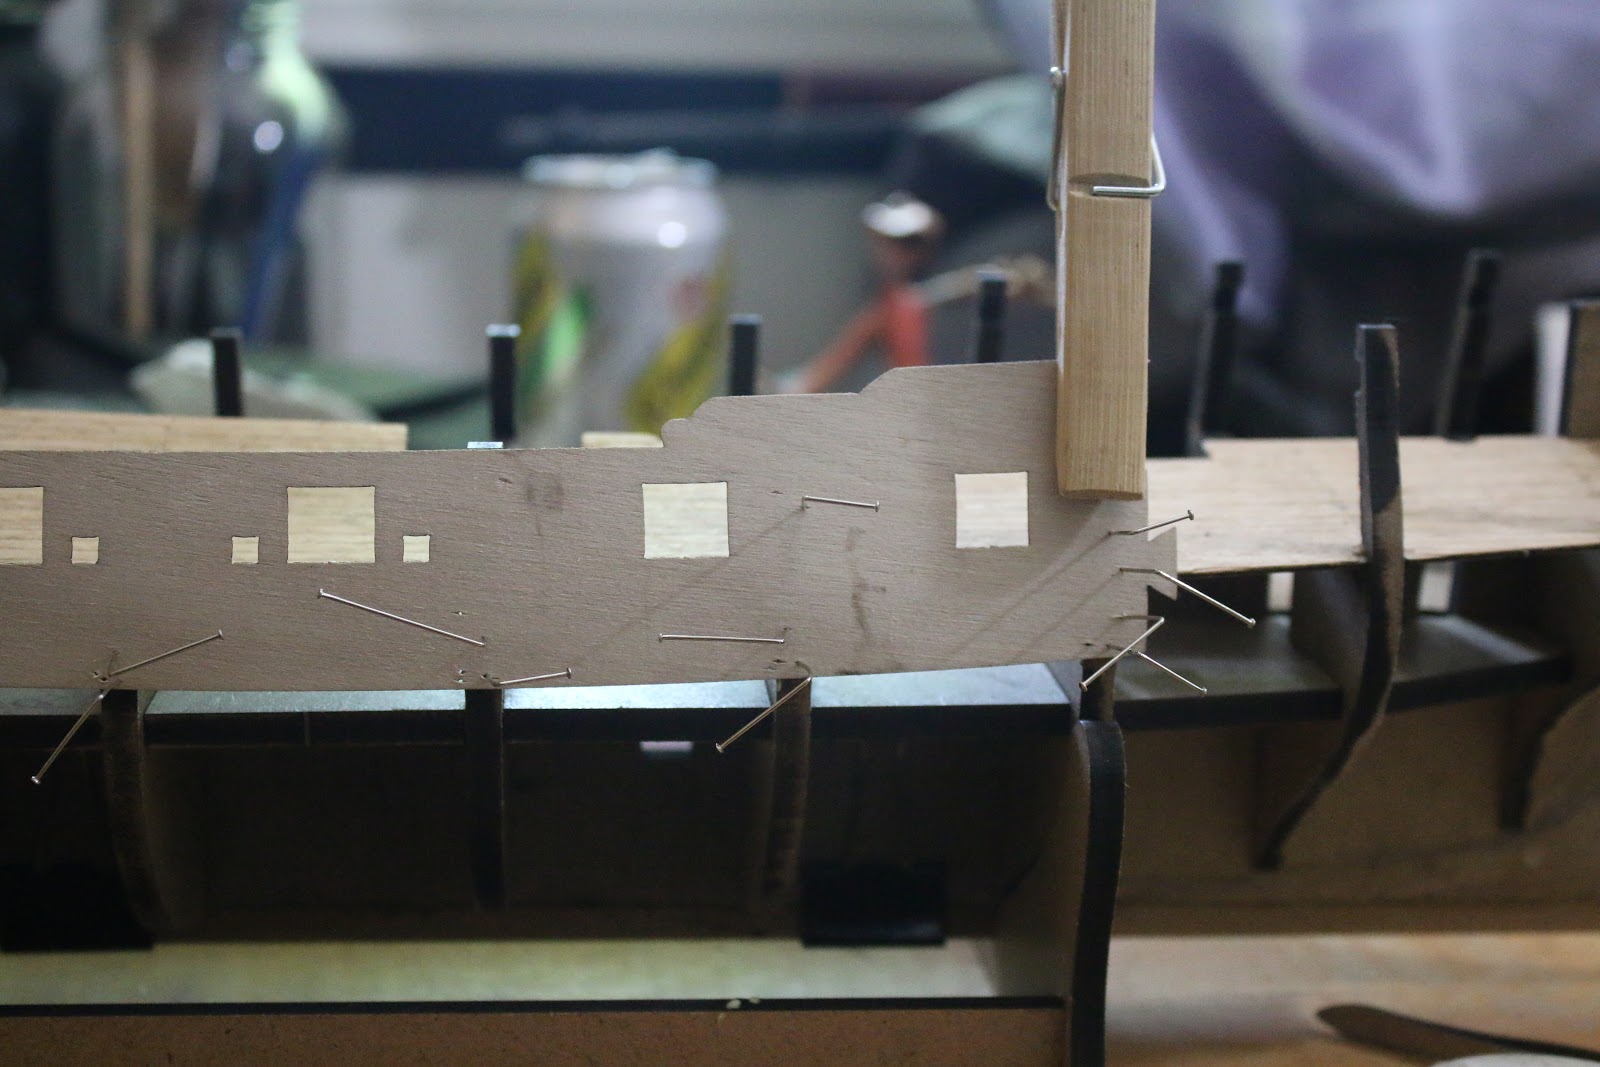
I also added tabs to the underside of the deck to strengthen it and add support. Later they caused me some issues while installing the deck but they did greatly strengthen the deck as well.
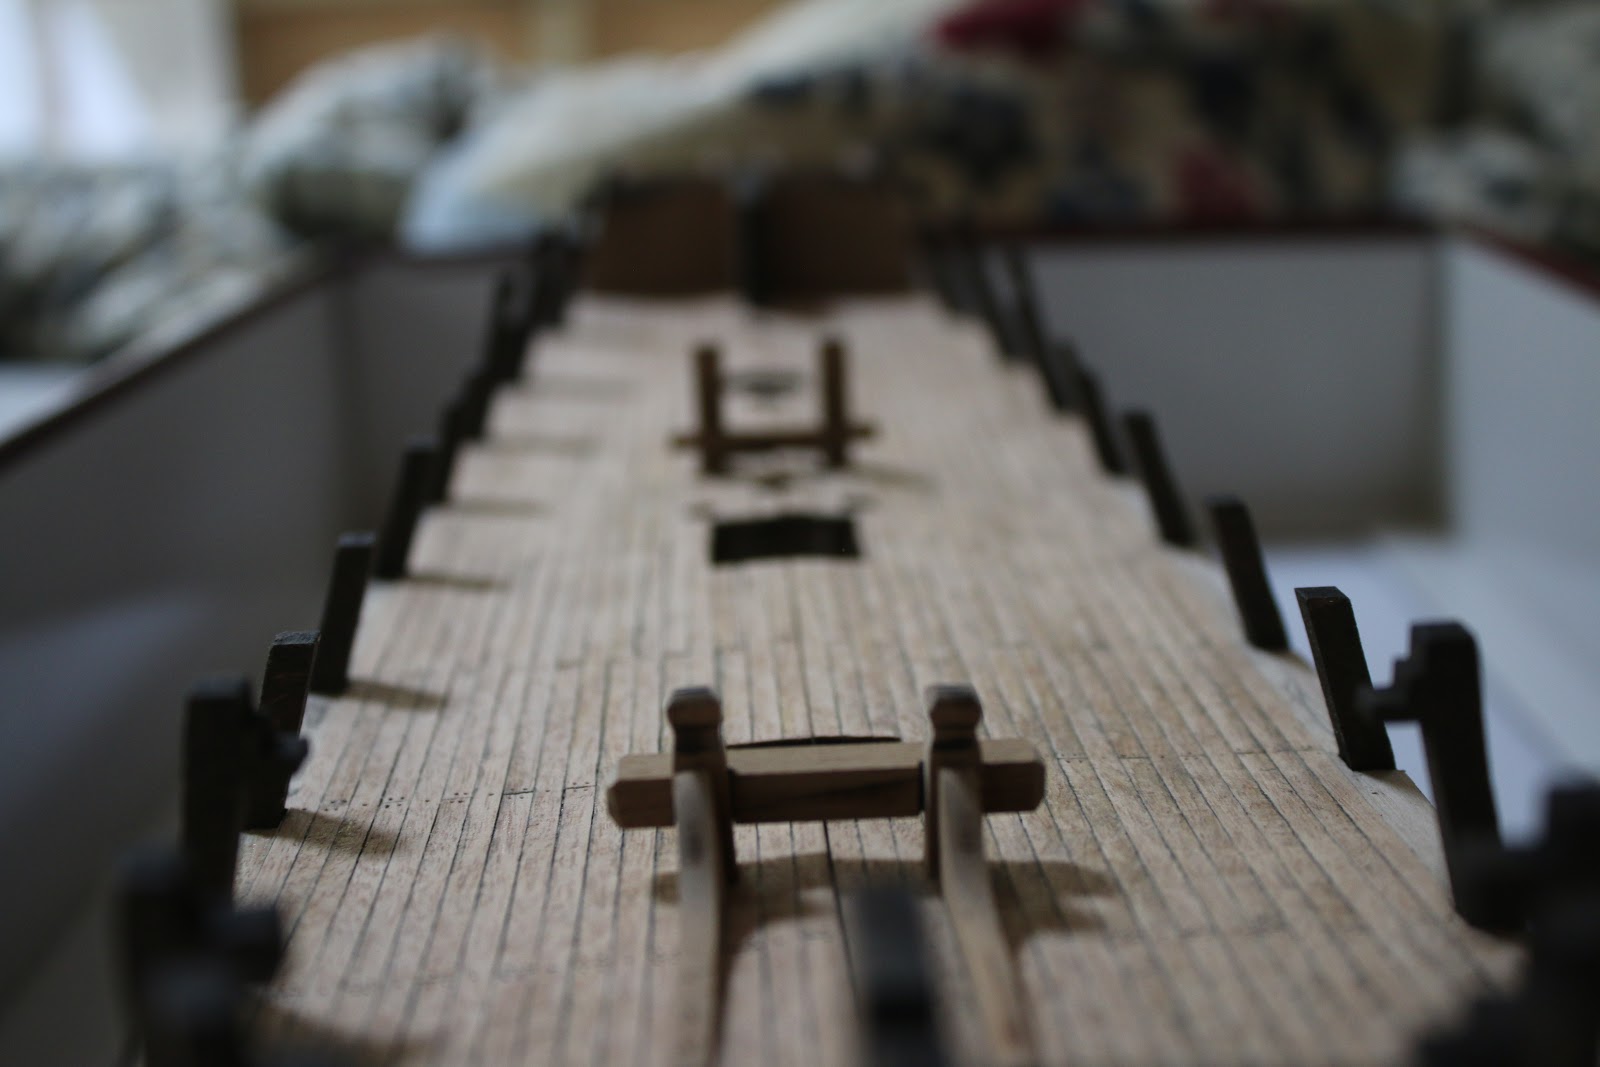
The following day I finally installed the gun deck.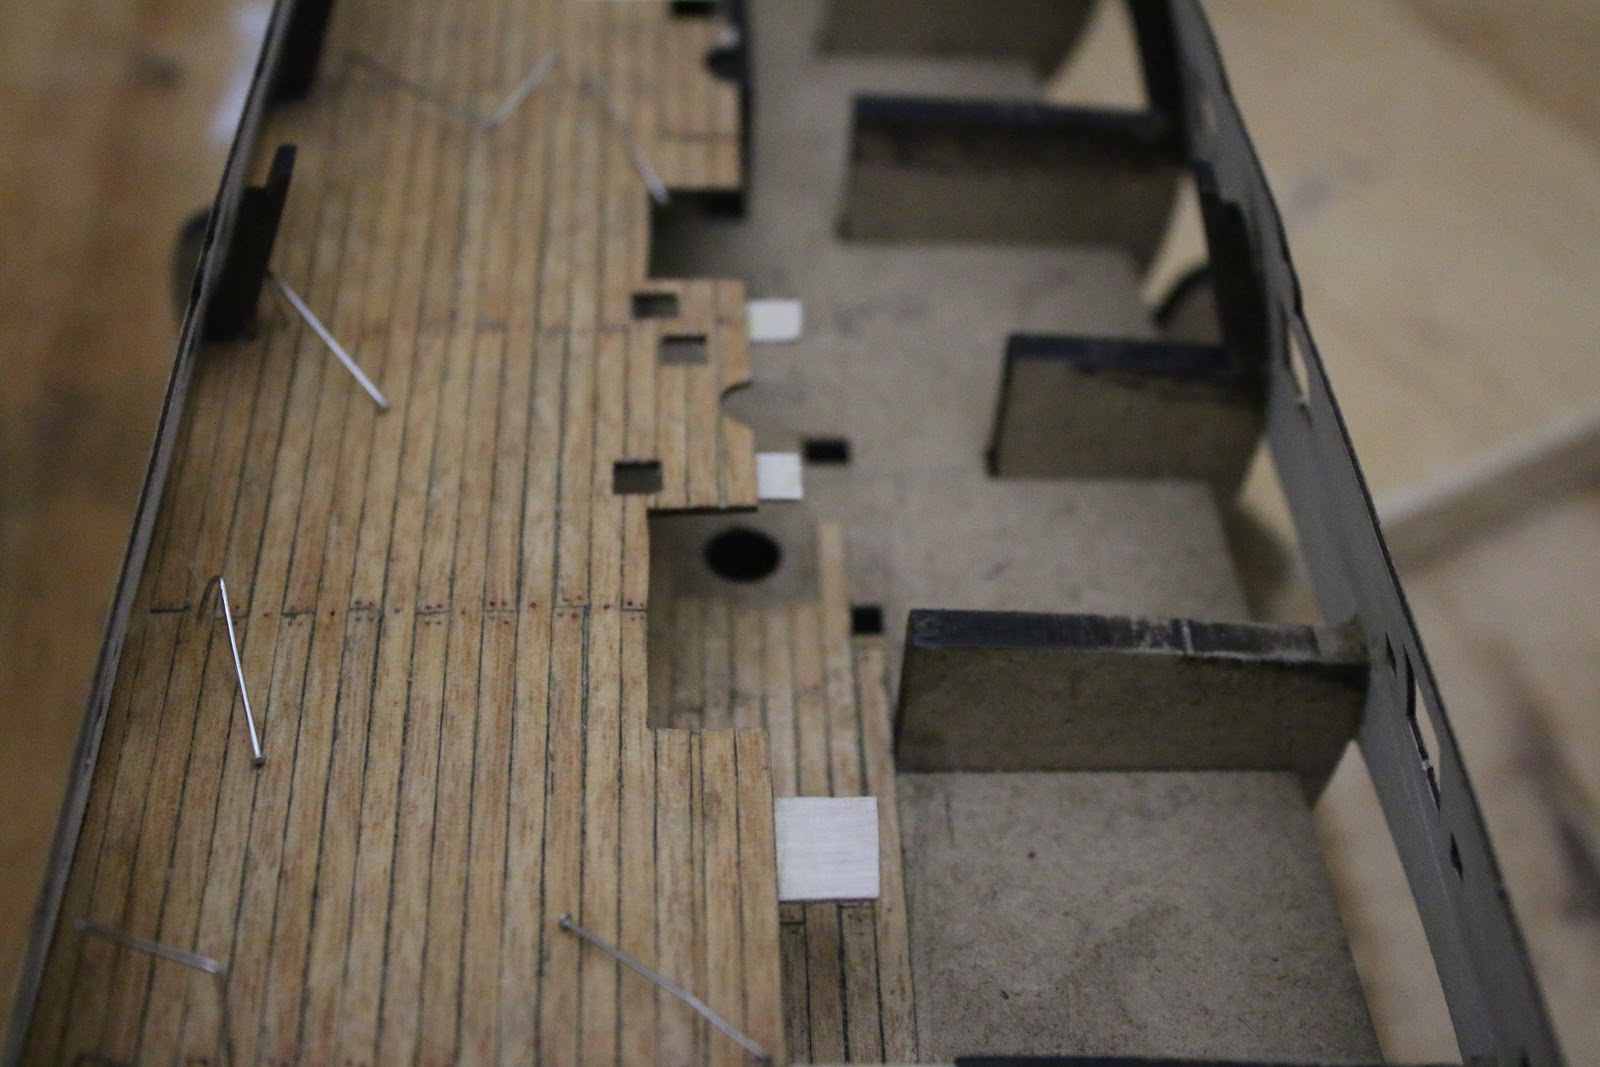

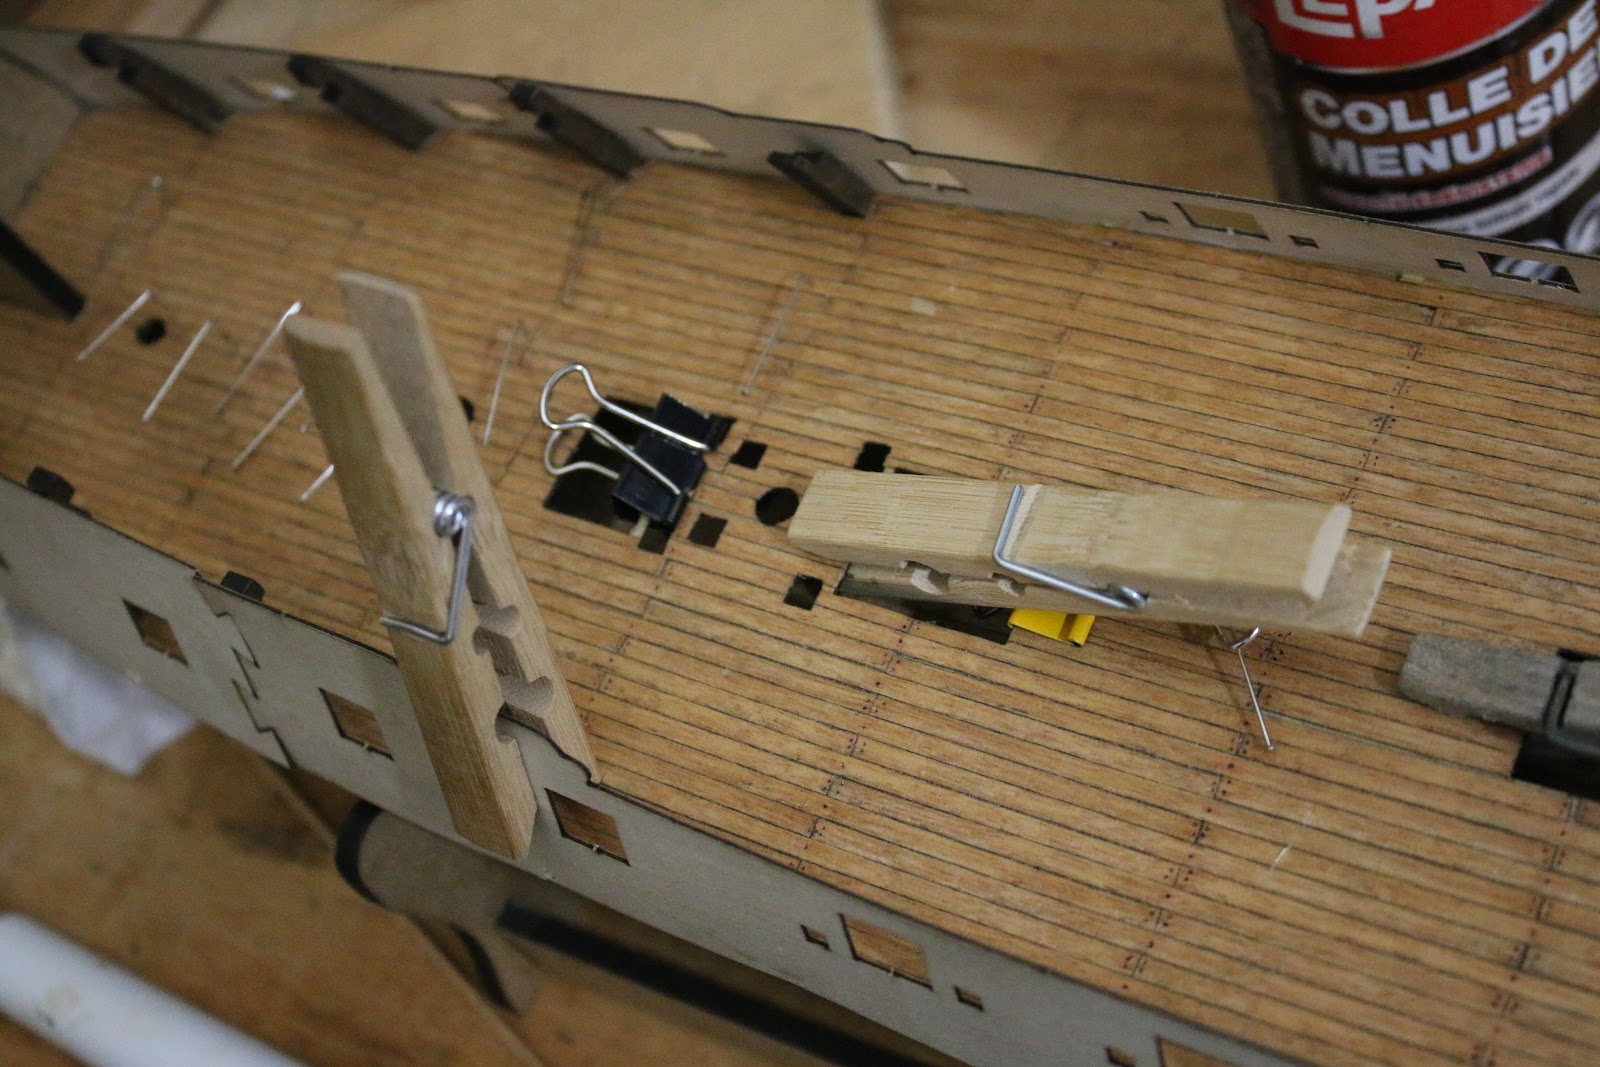
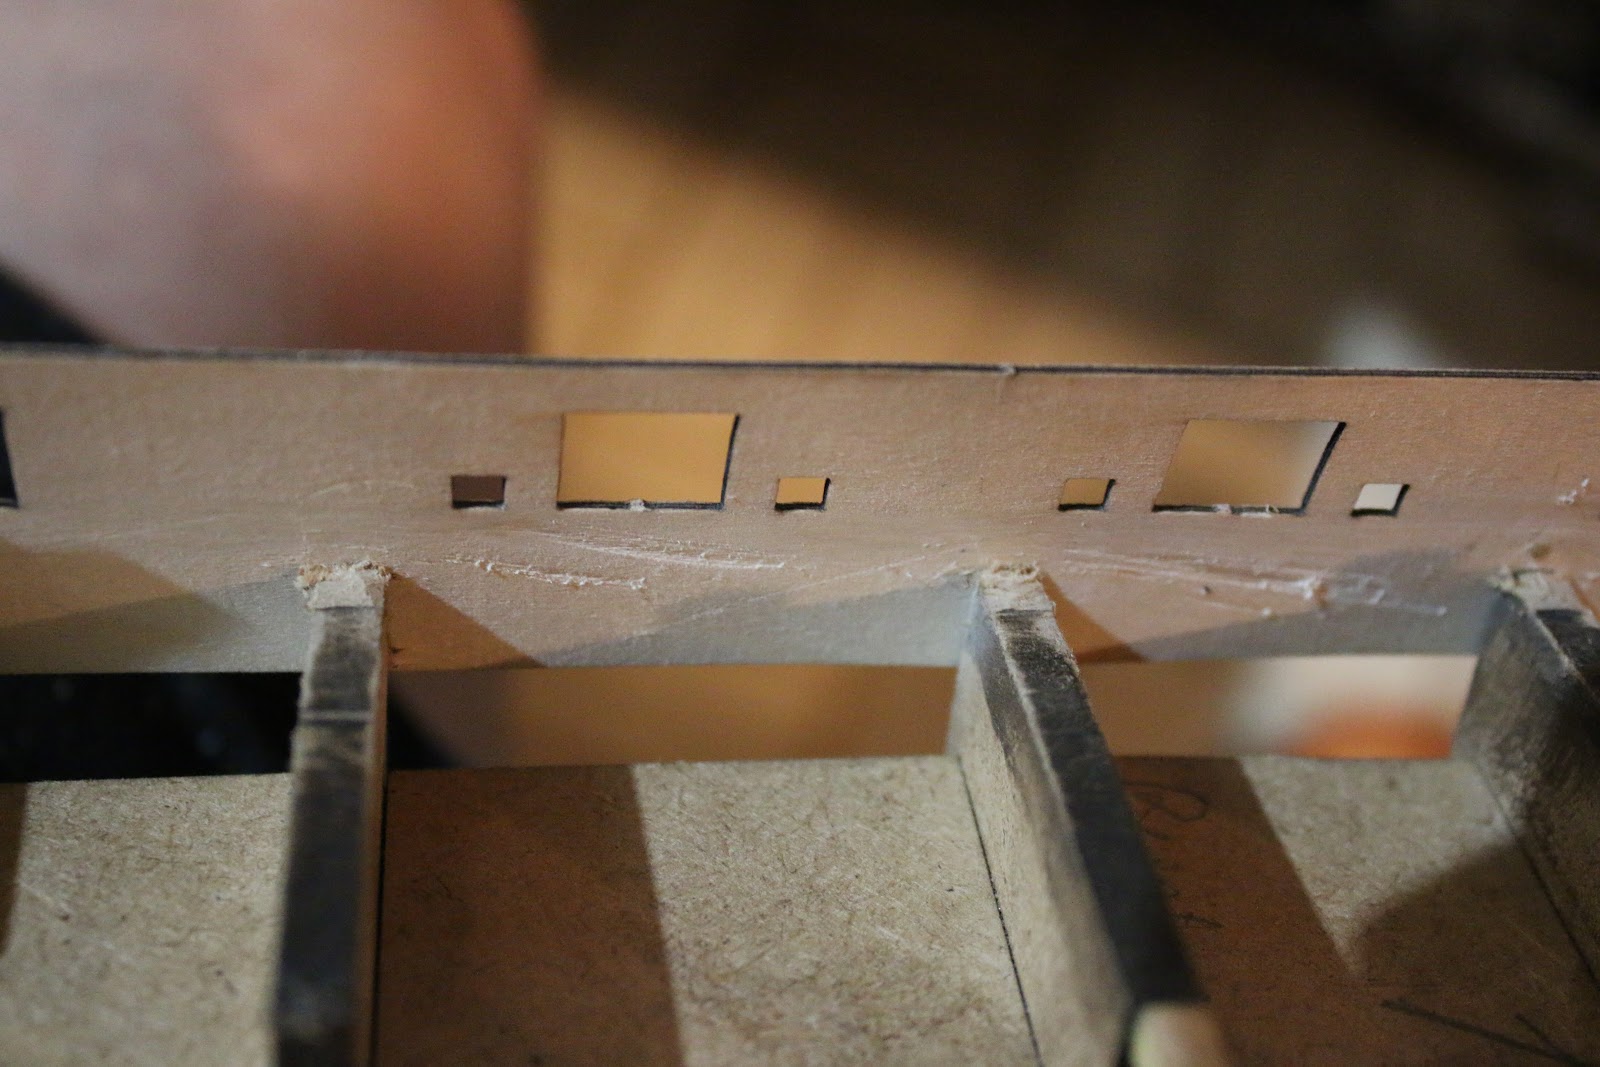
I did my best to keep the pins in the nail holes and because I placed the holes where the frames are I was, for the most part, able to do this, with the exception of some places in the deck.
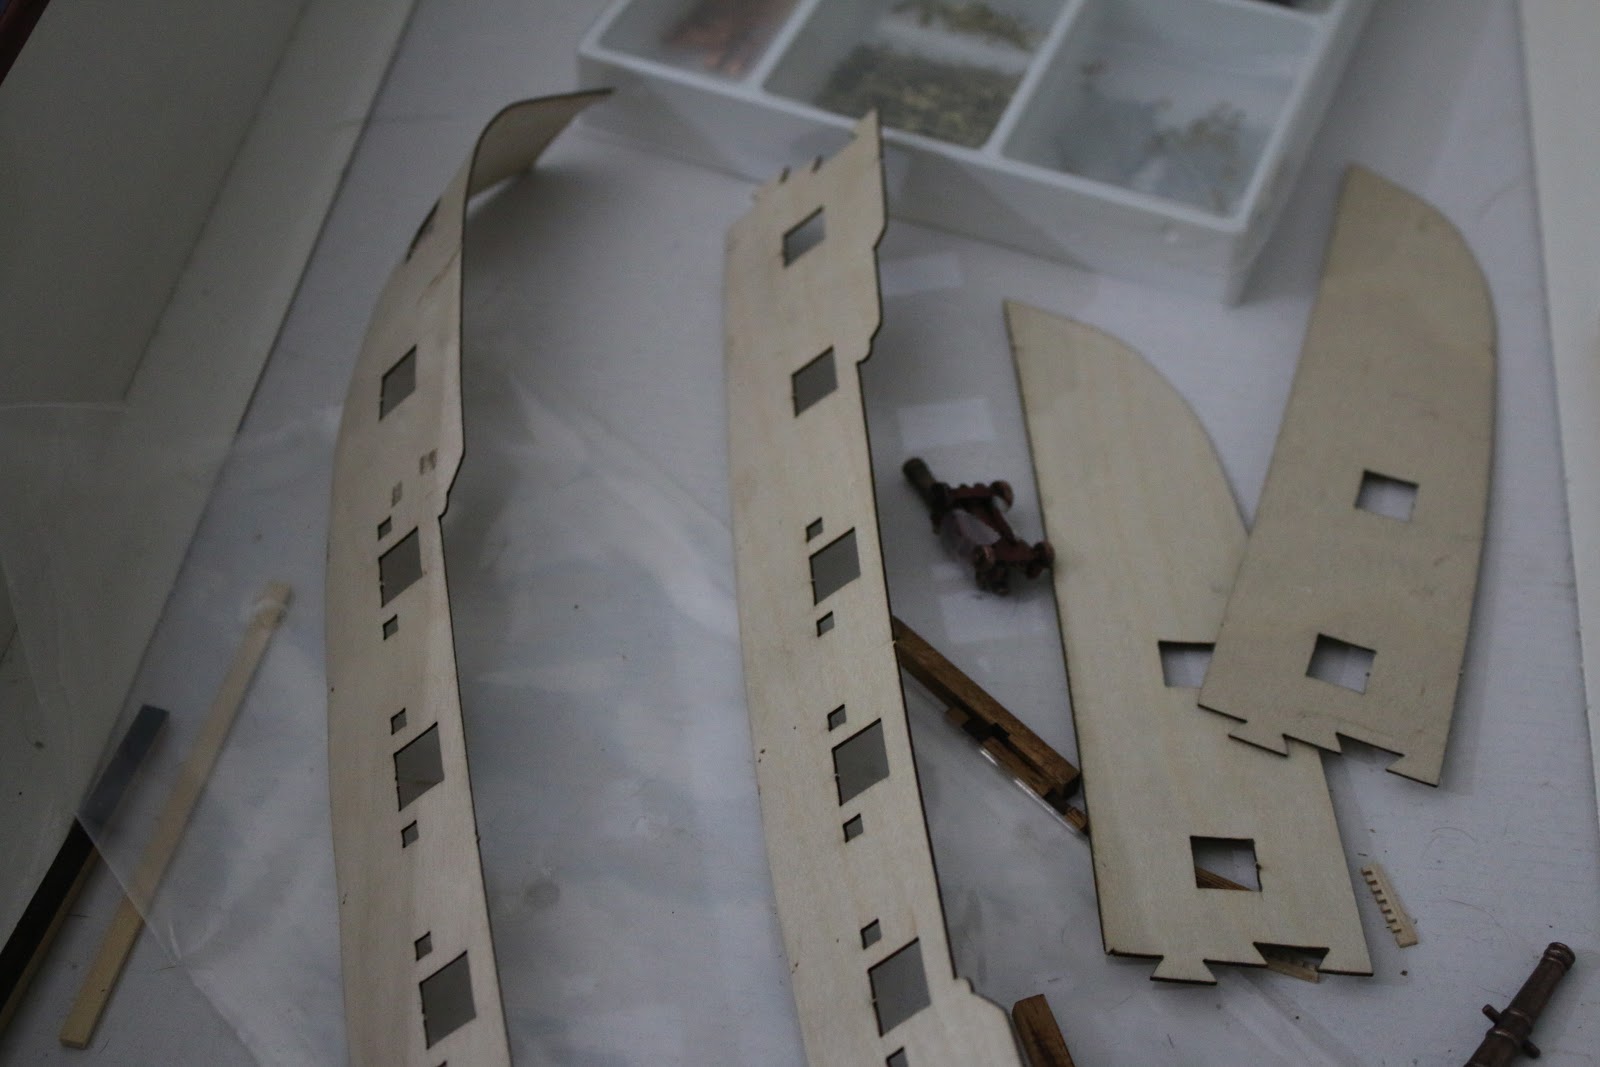
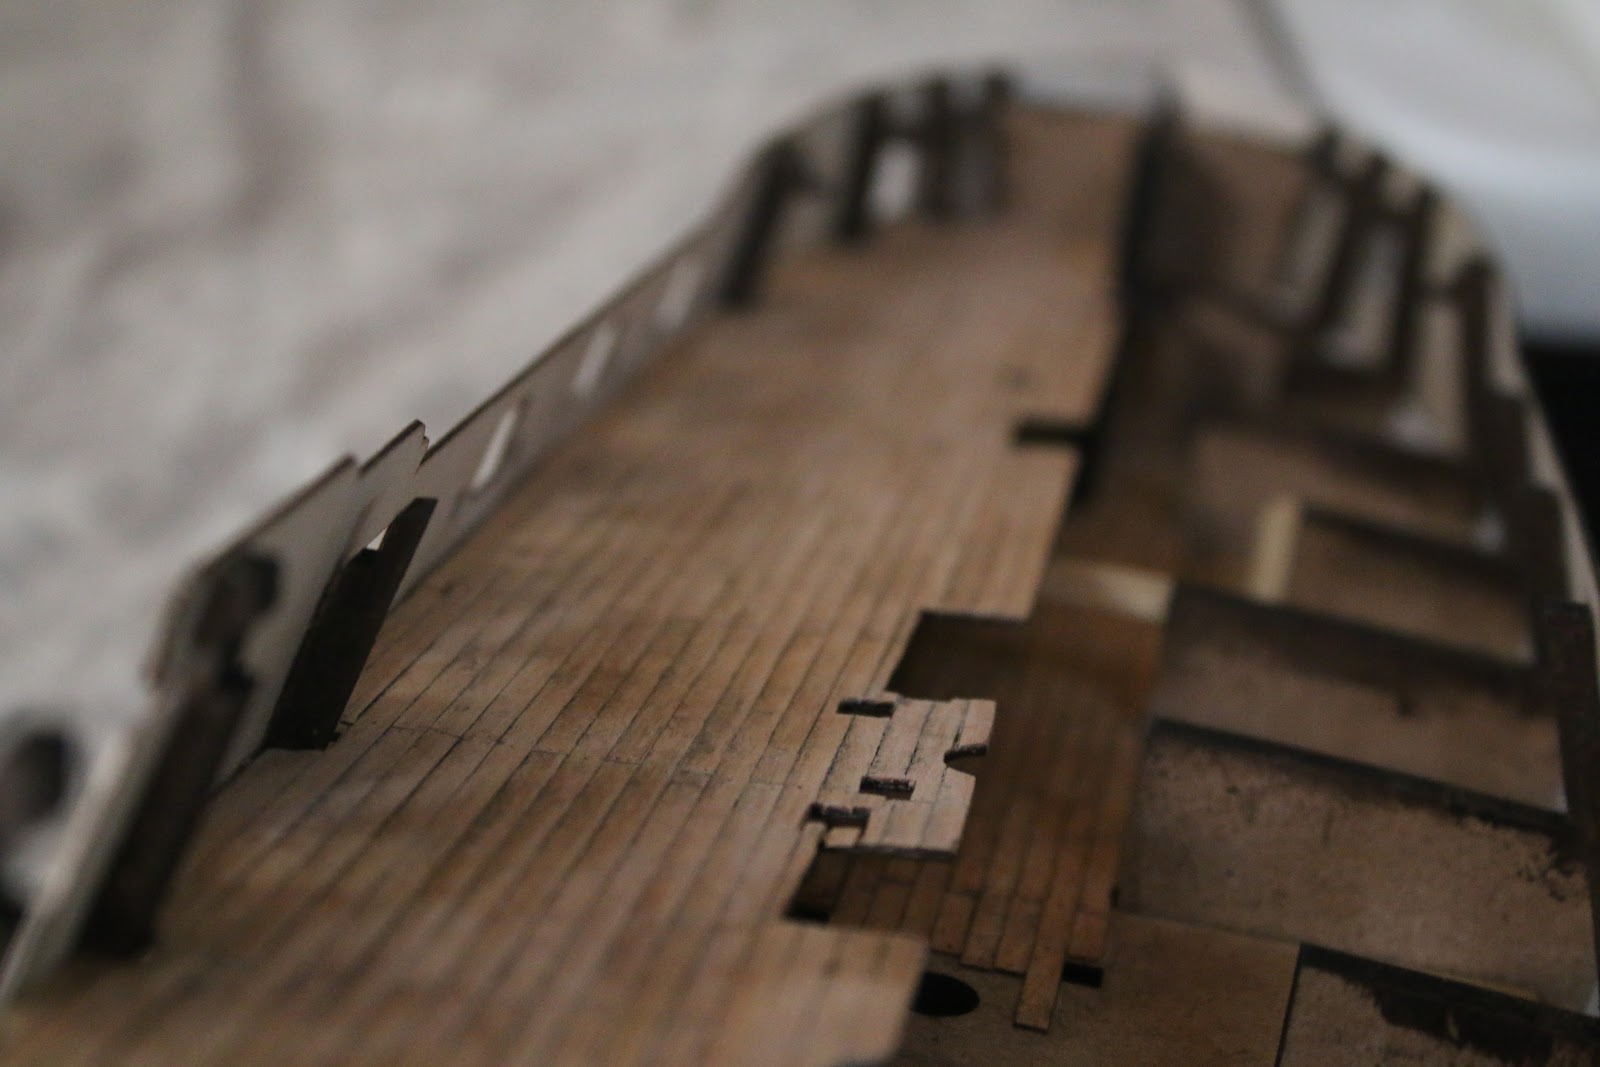
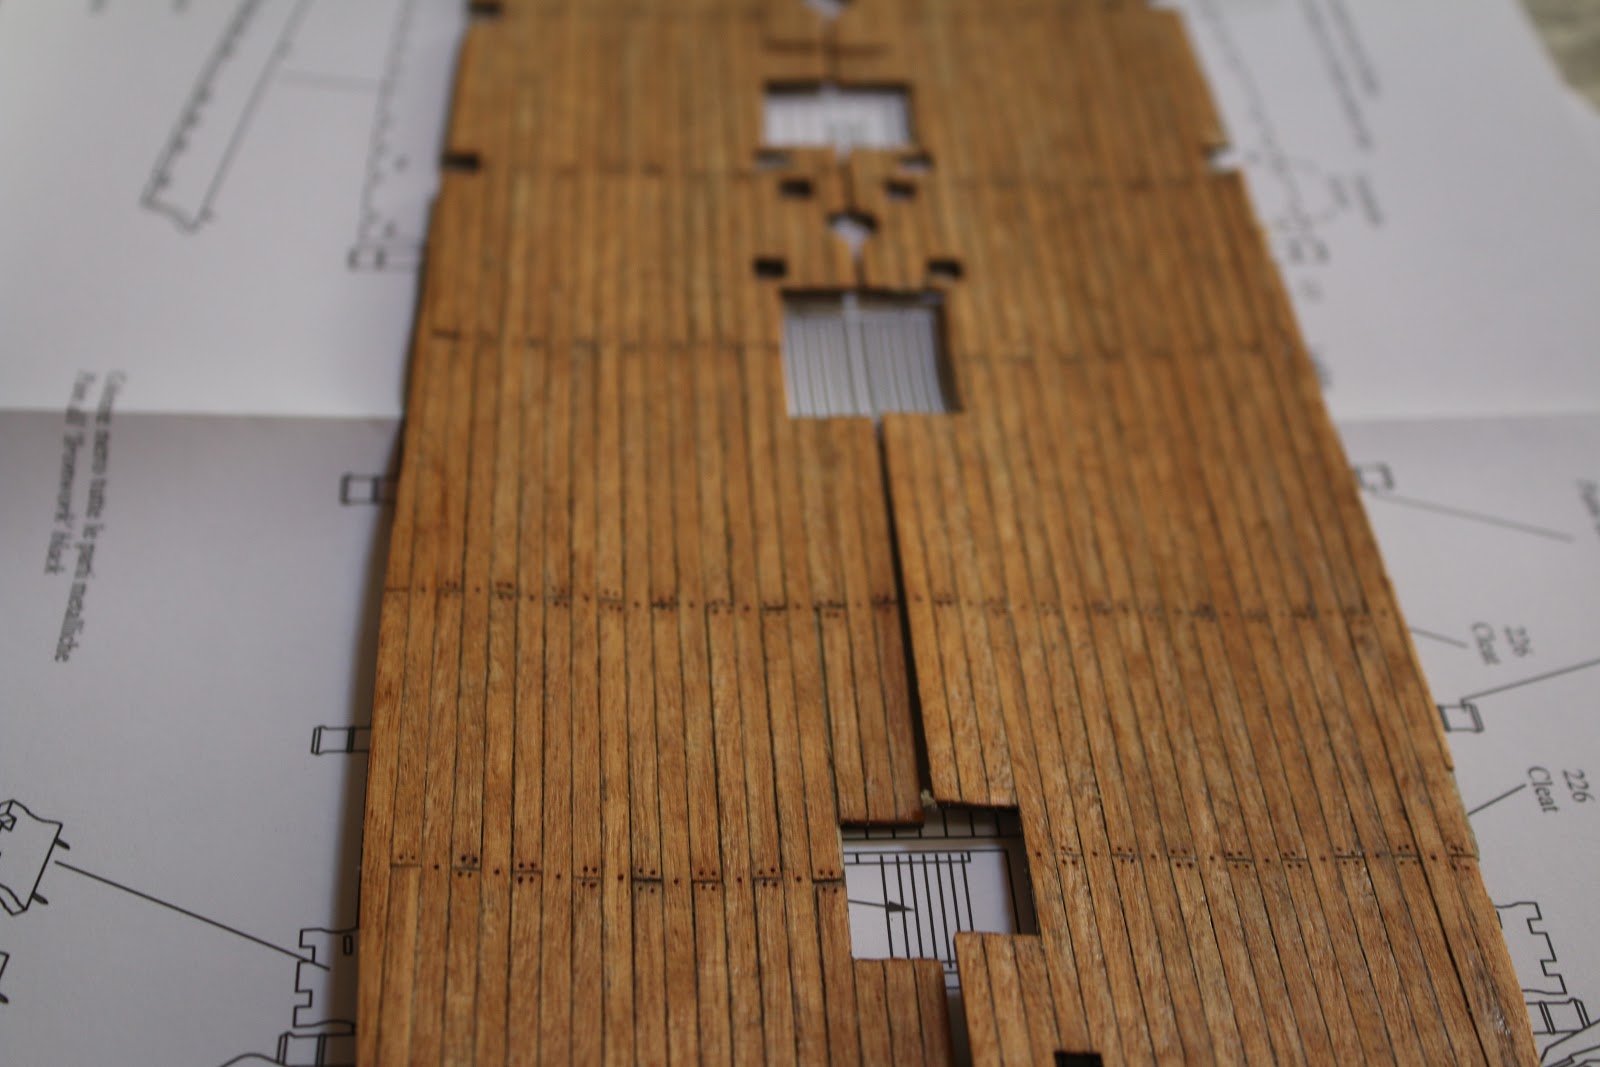
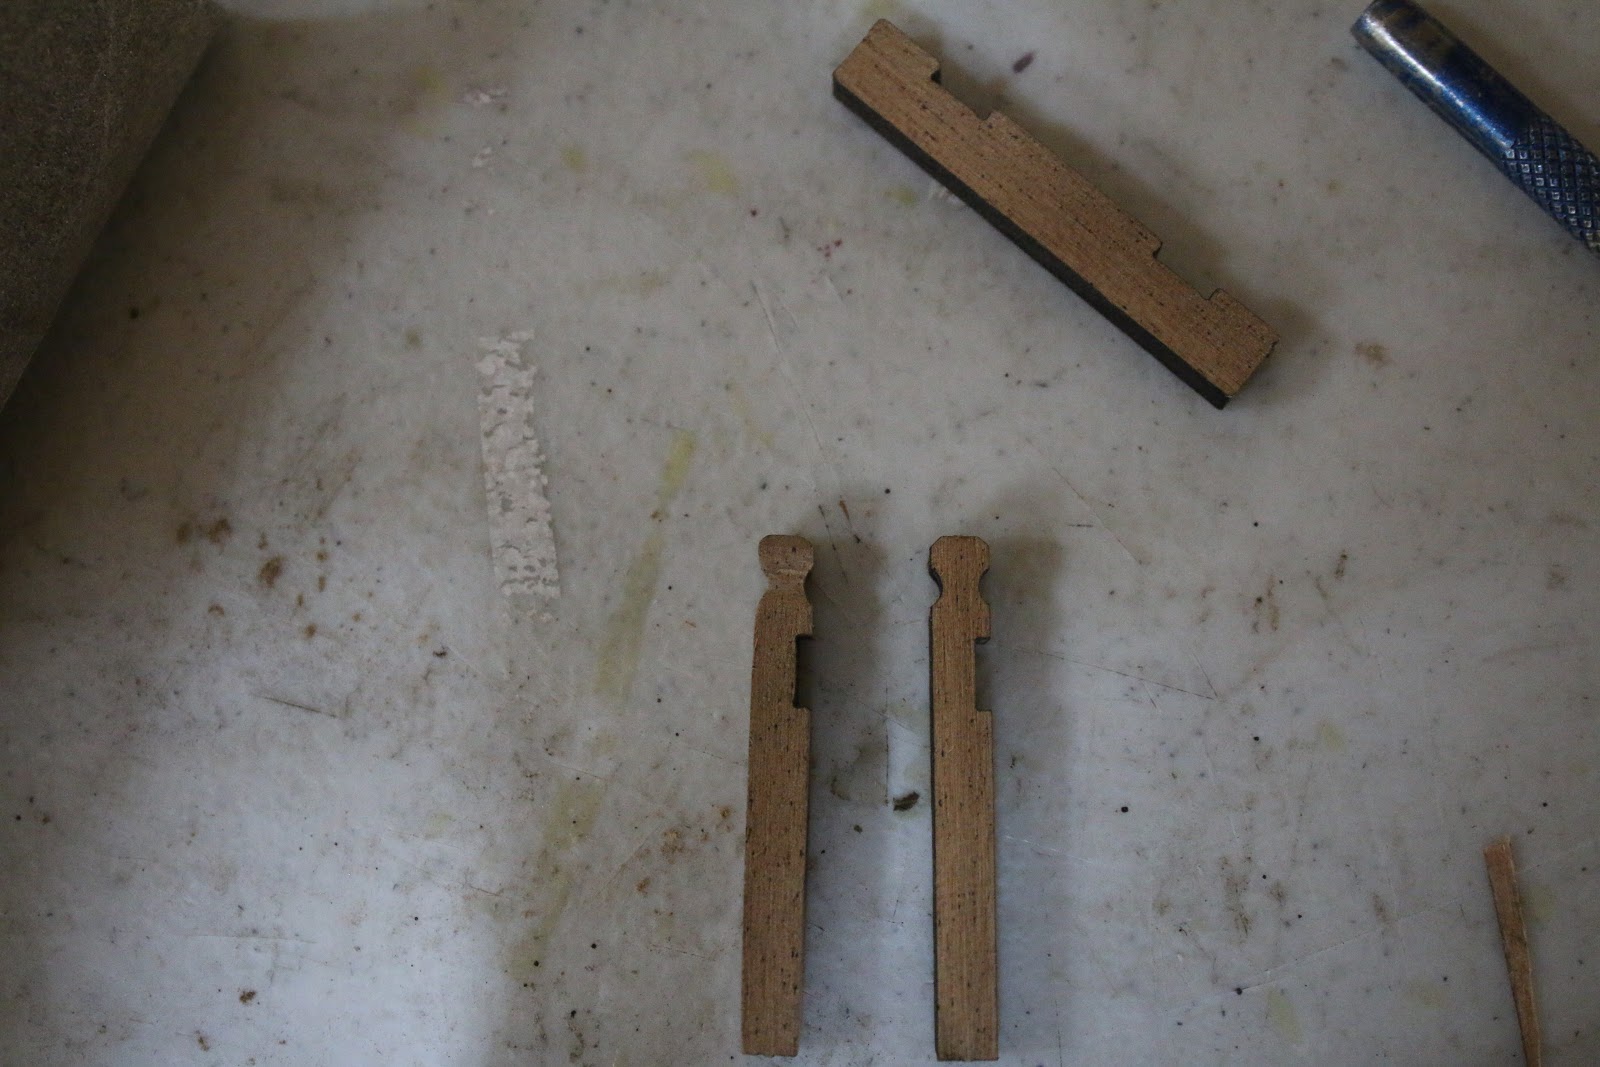
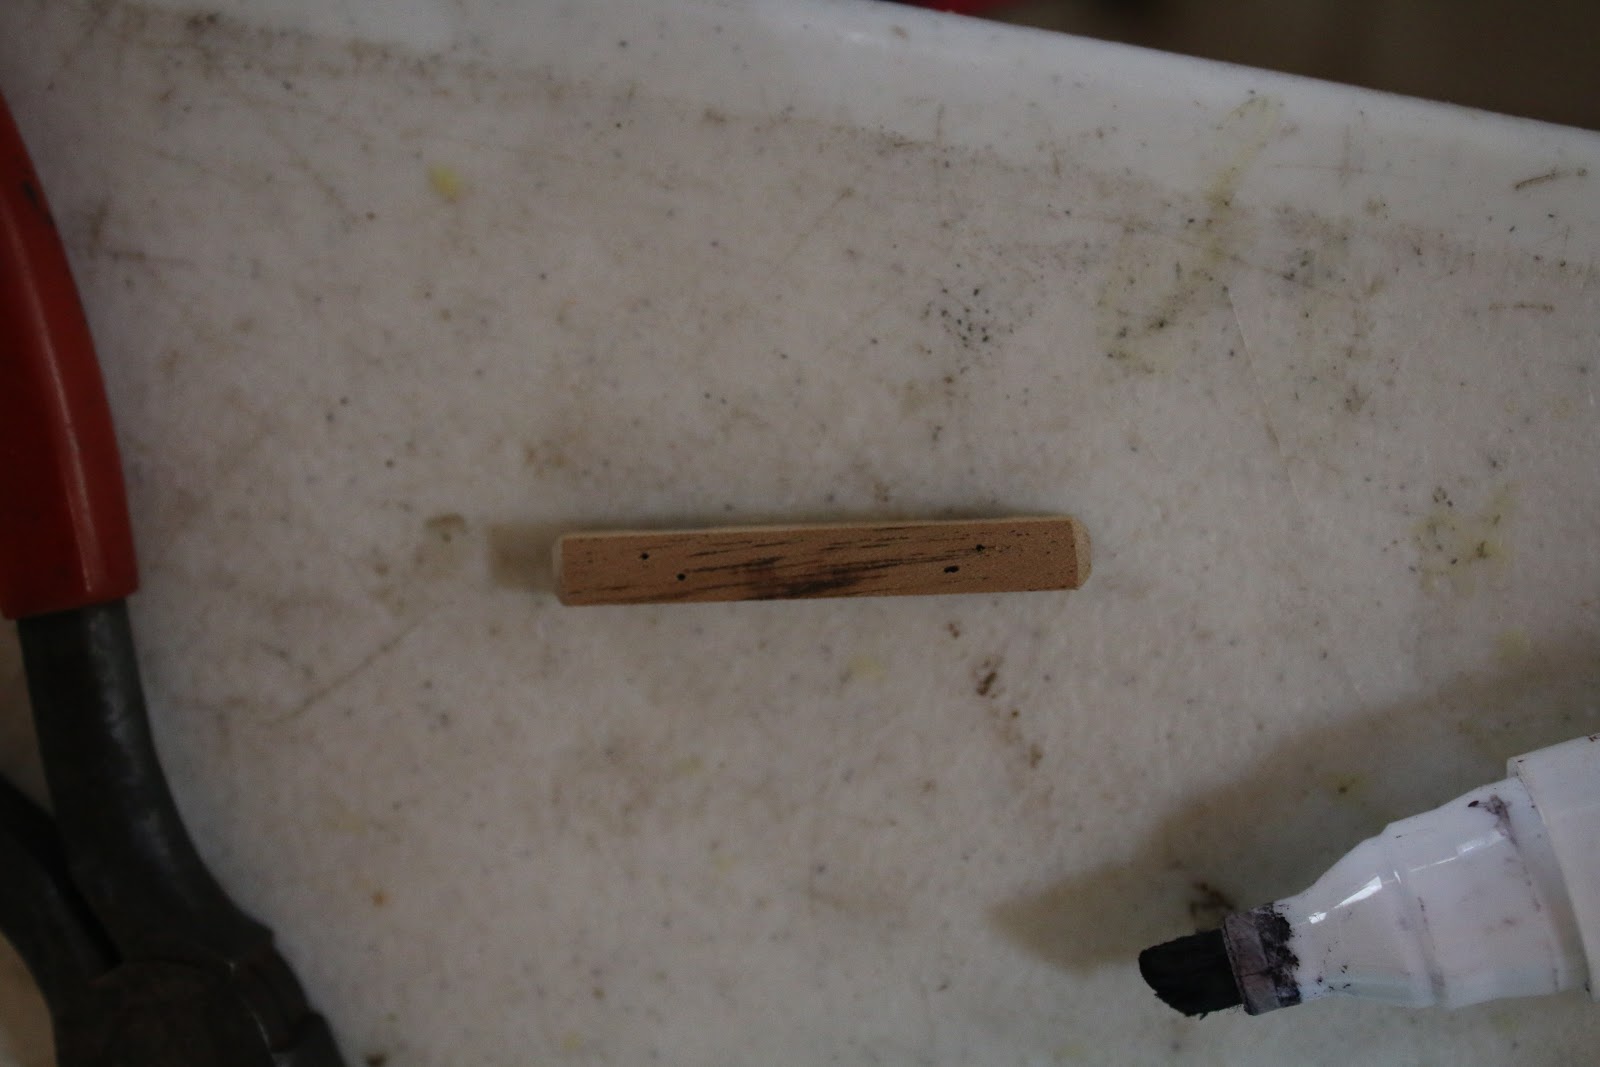
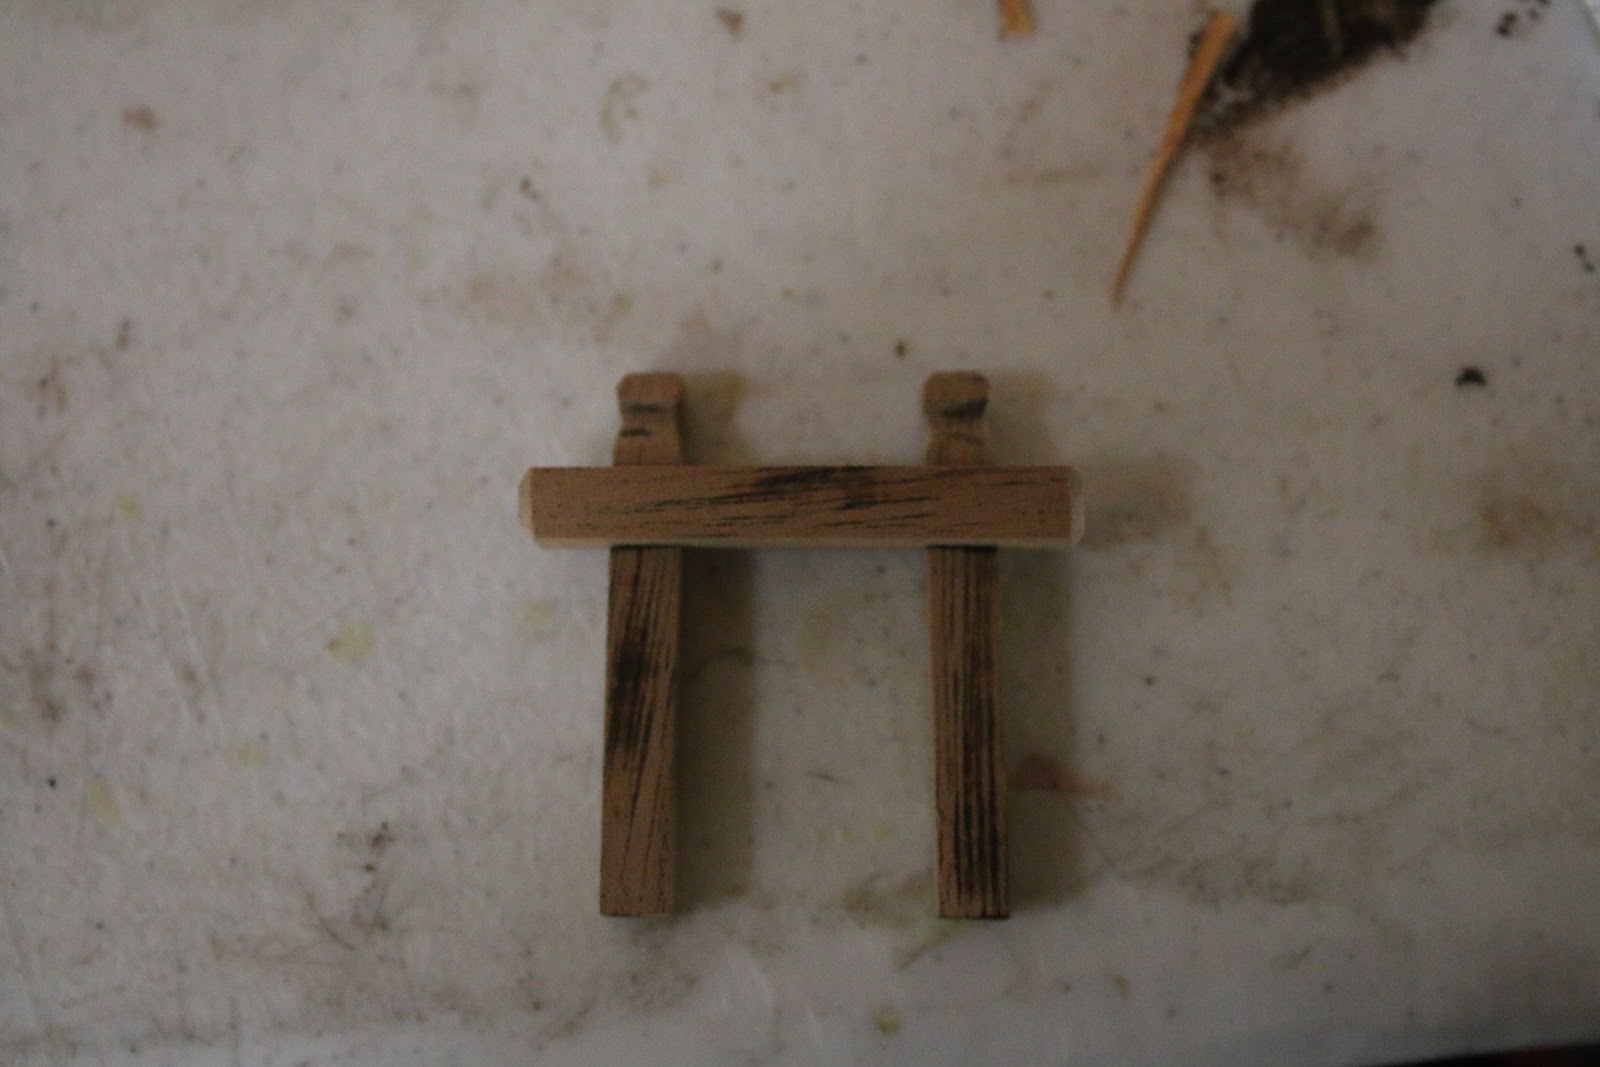
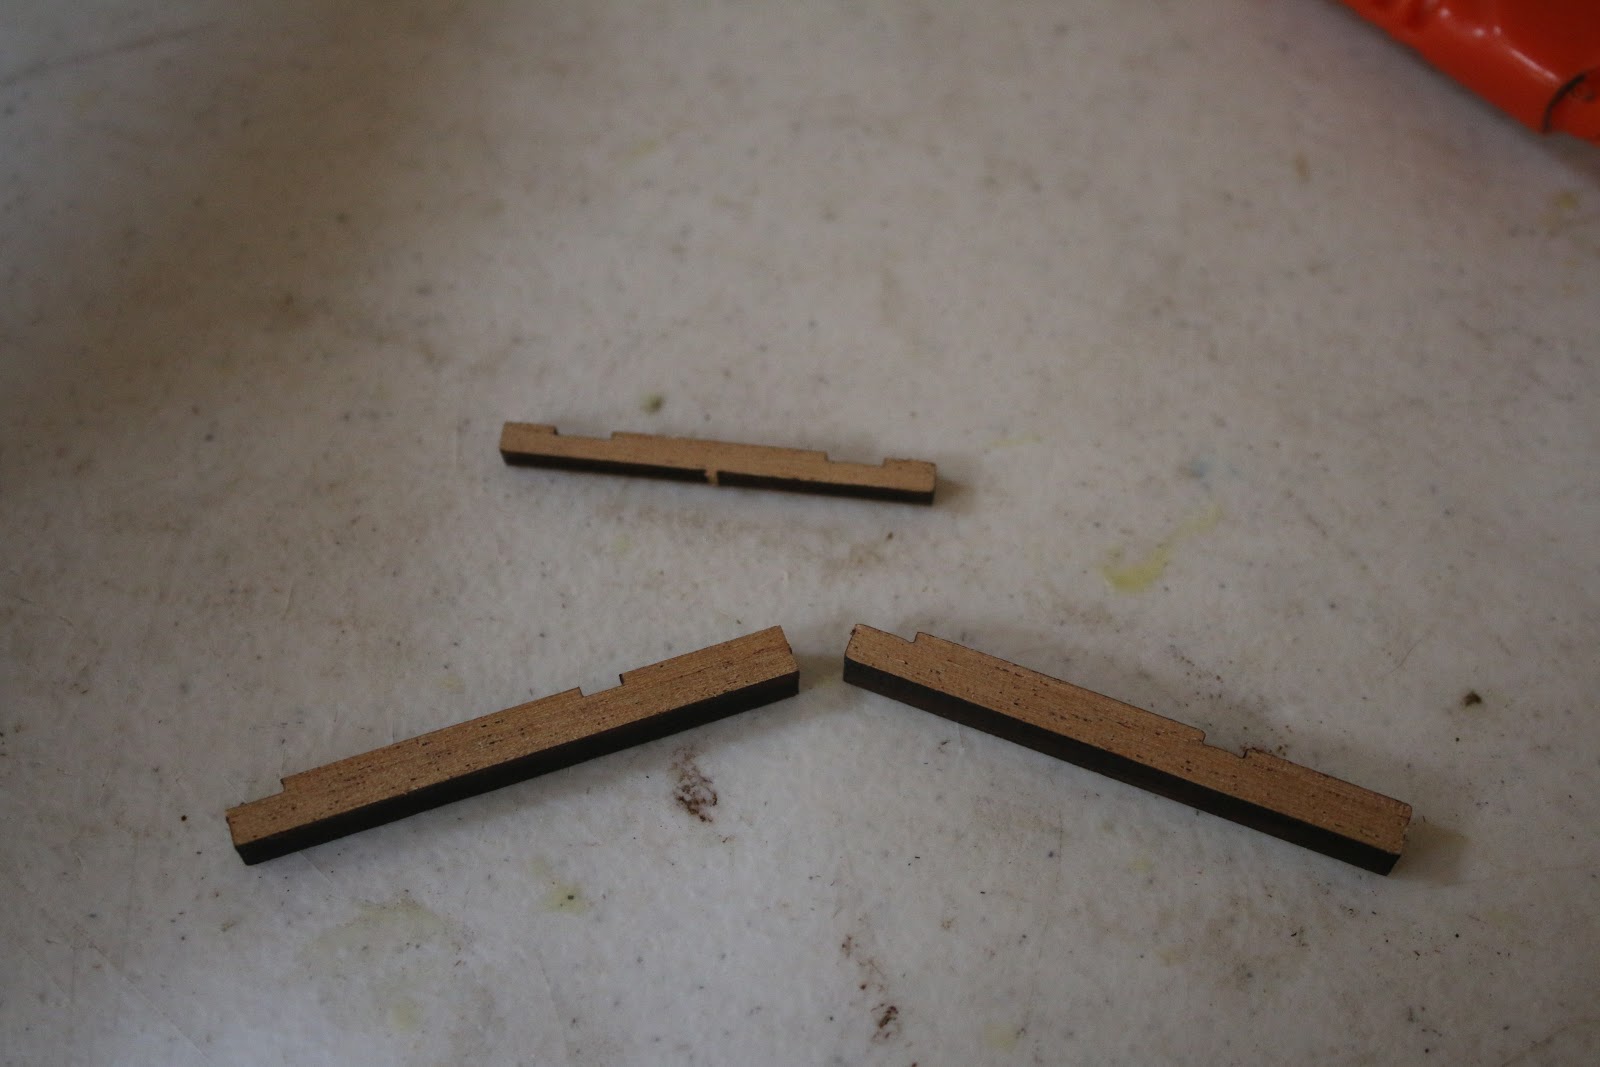
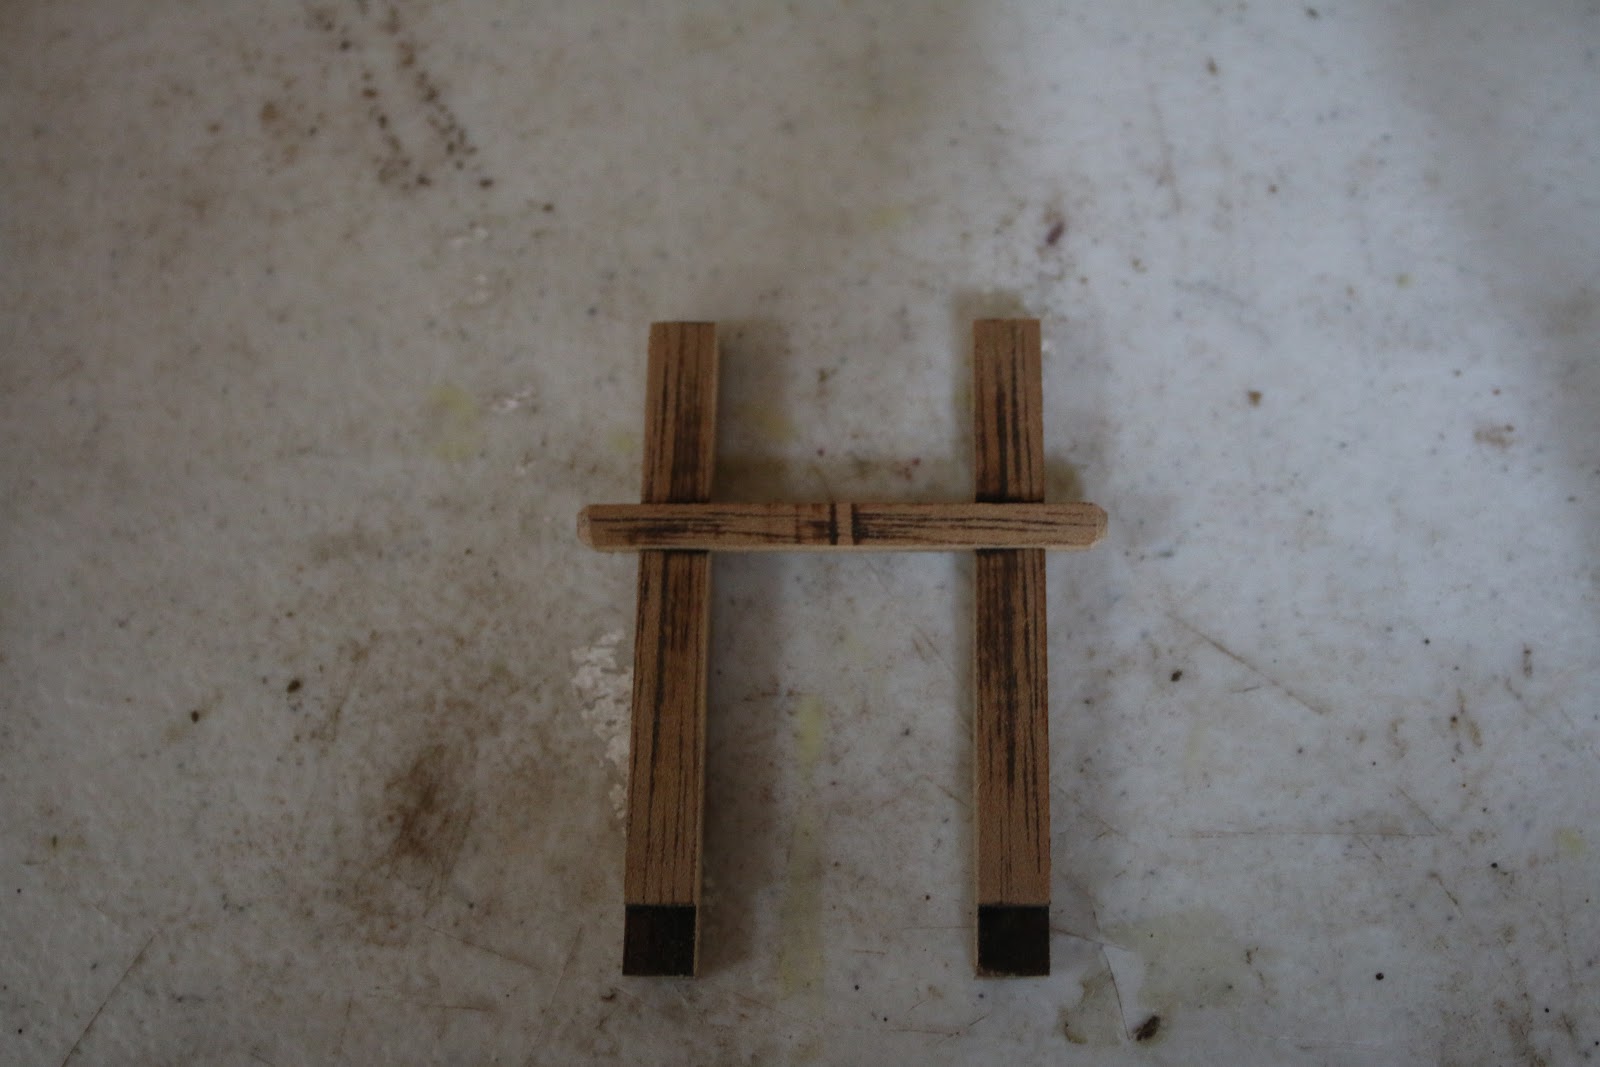
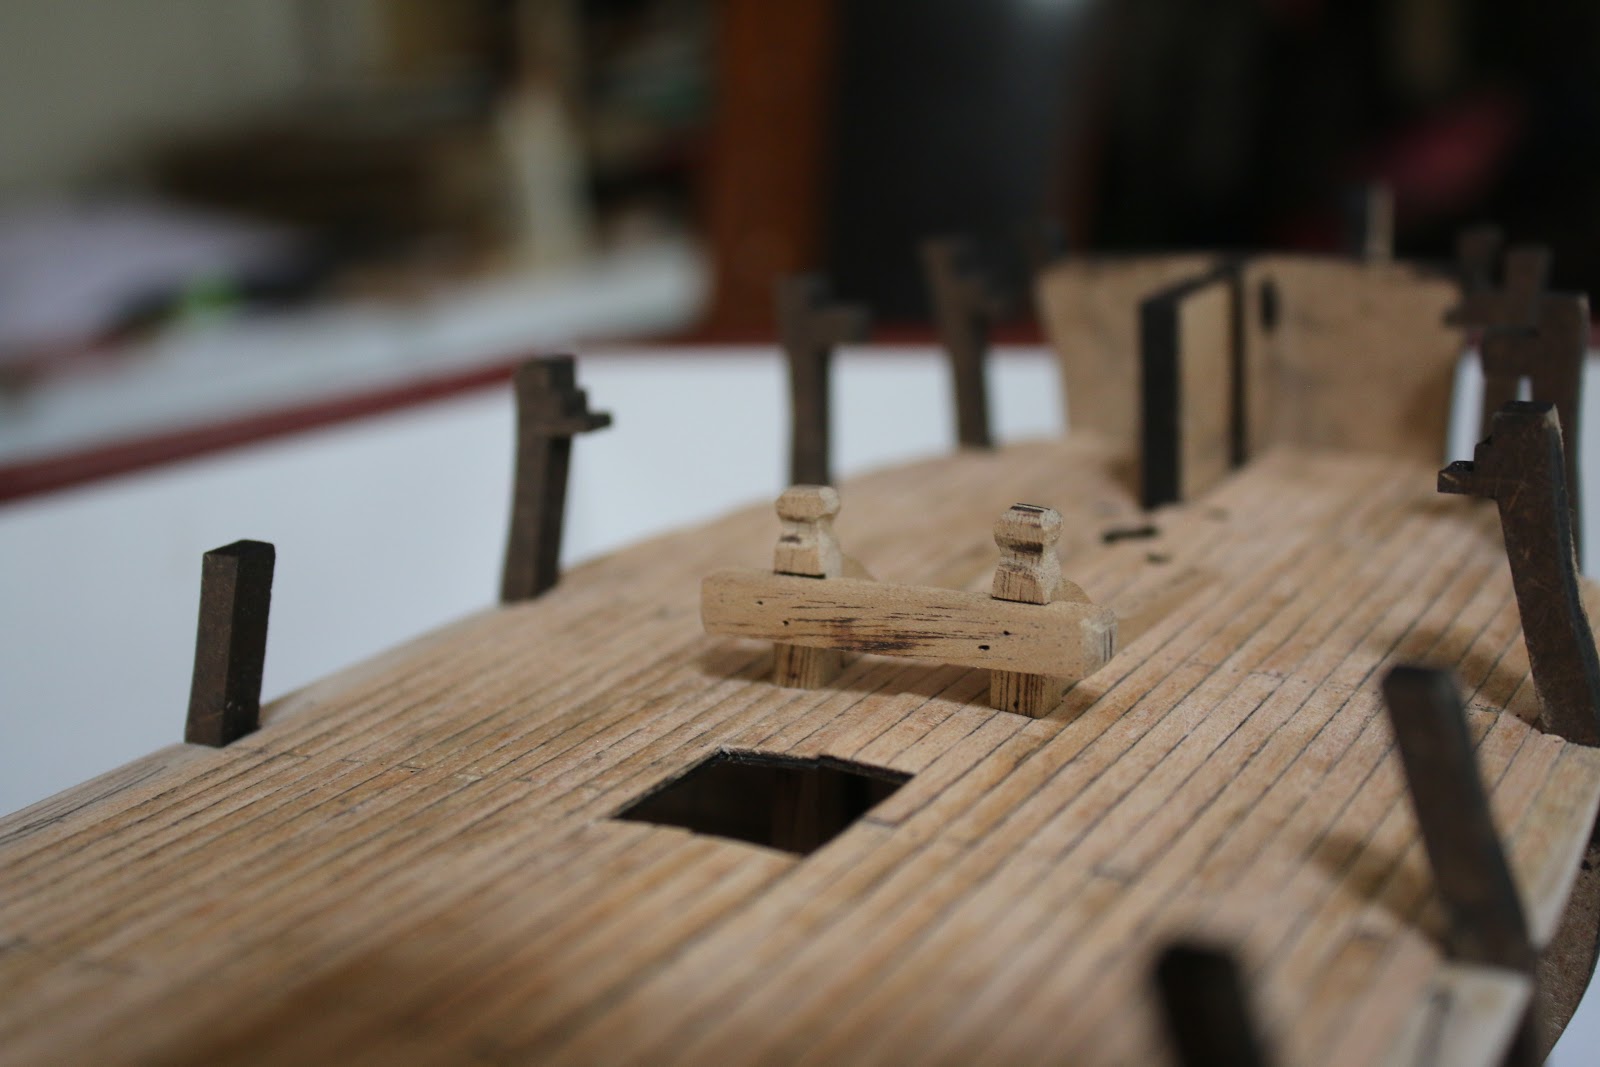
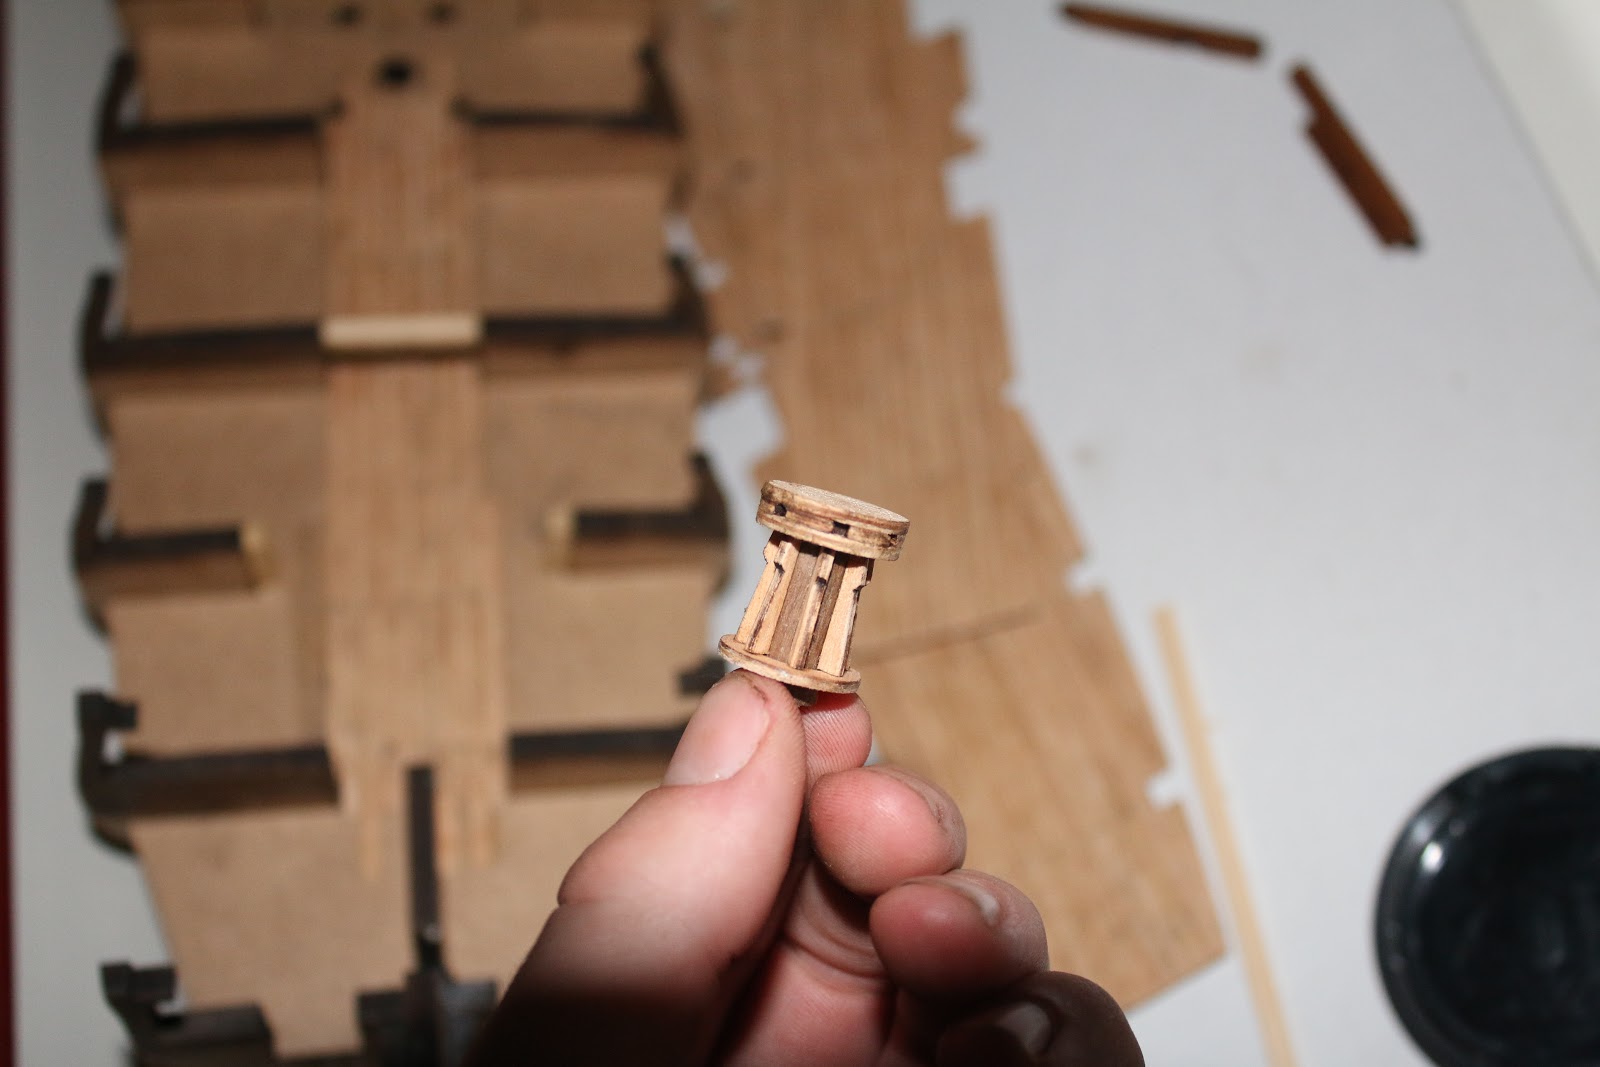
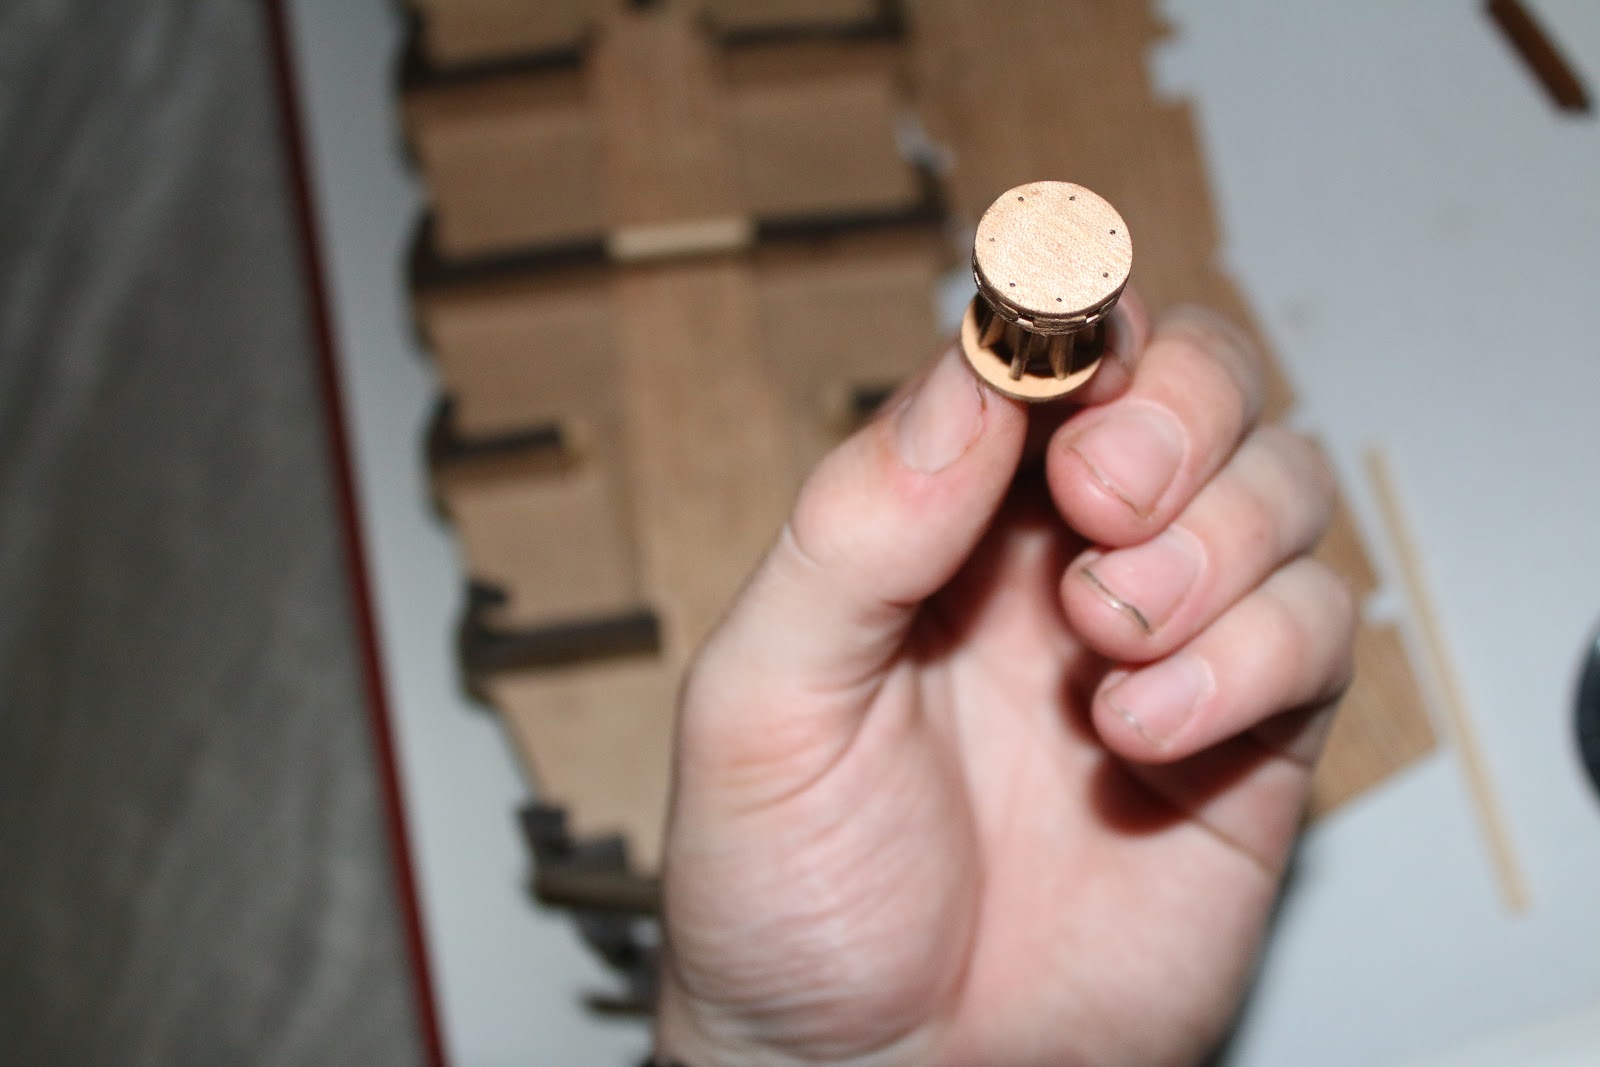
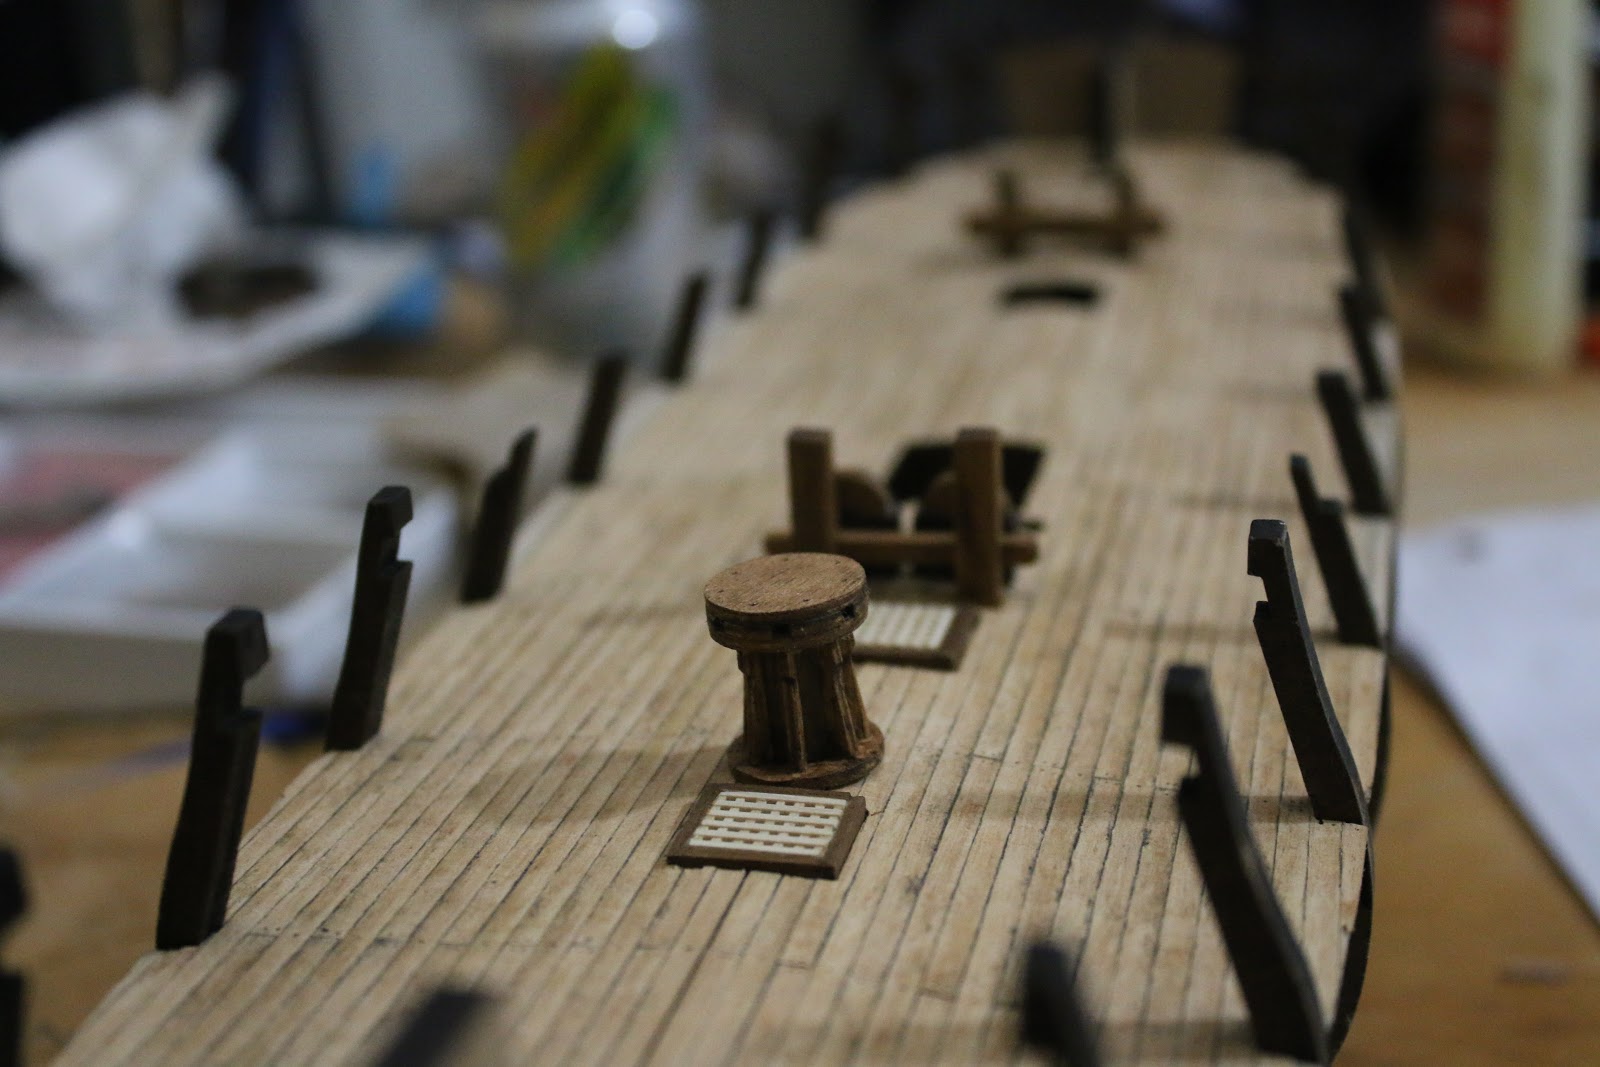
The next day I installed the front hatch and built the ladder for it. I found the kit ladders parts to be very easy to work with and this made the process ten times easier.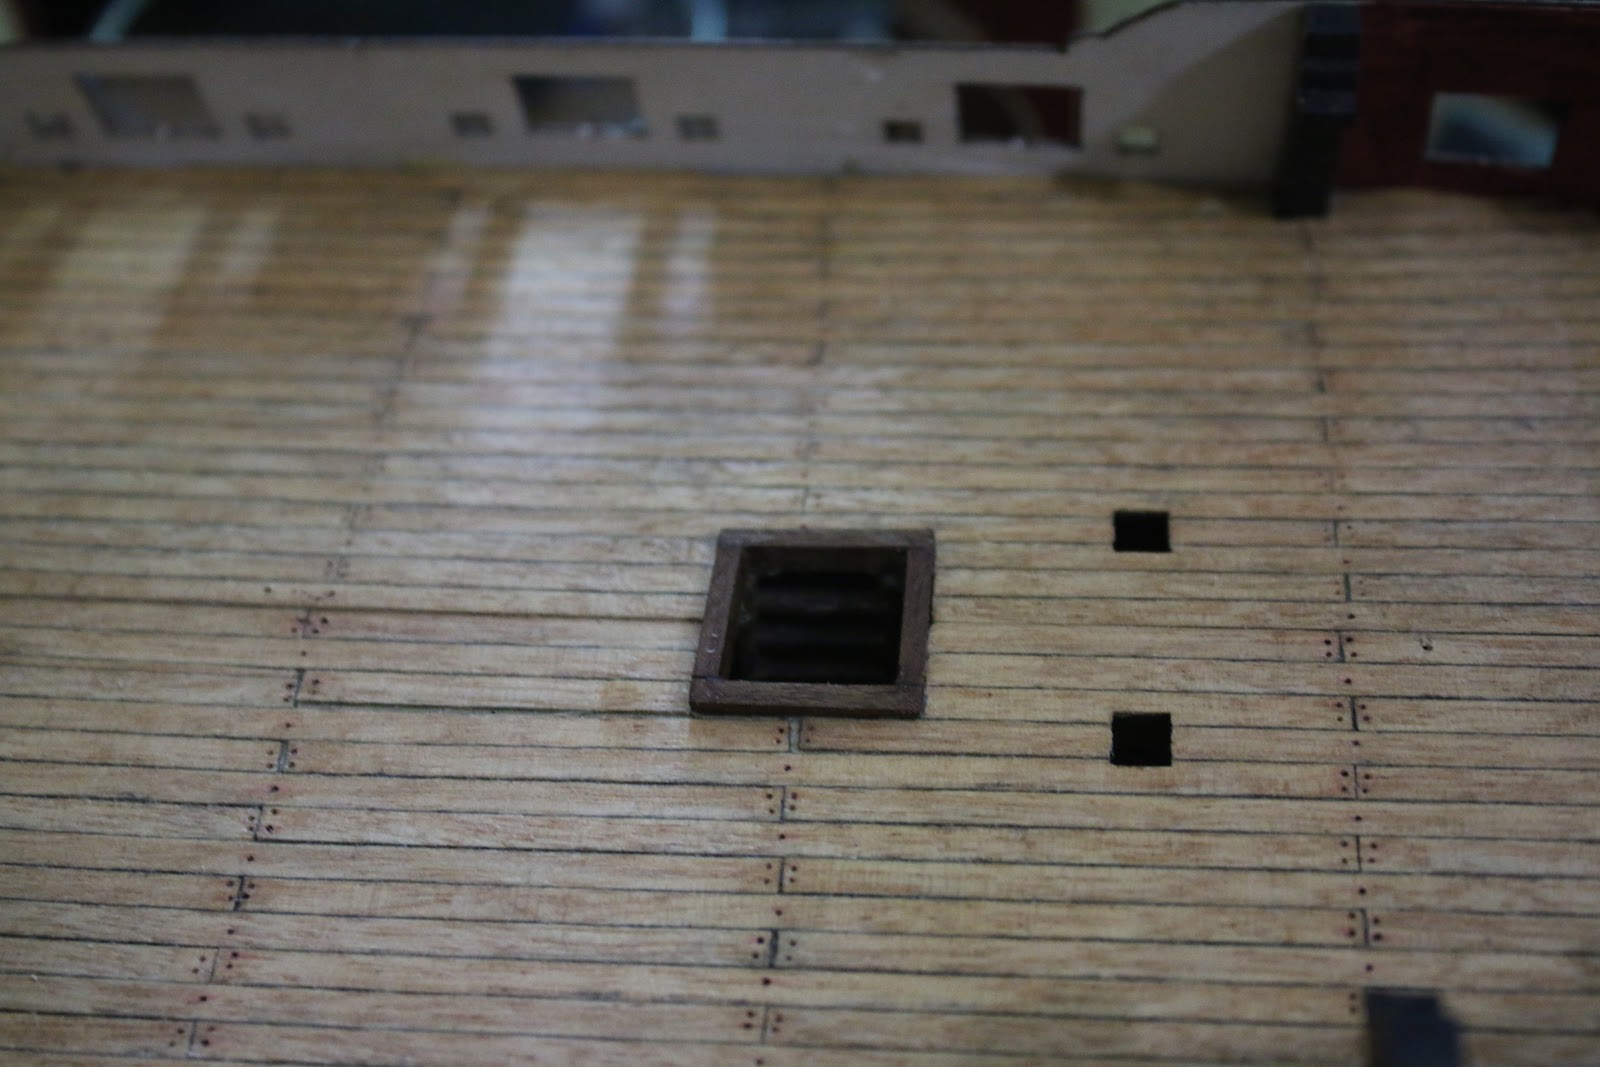
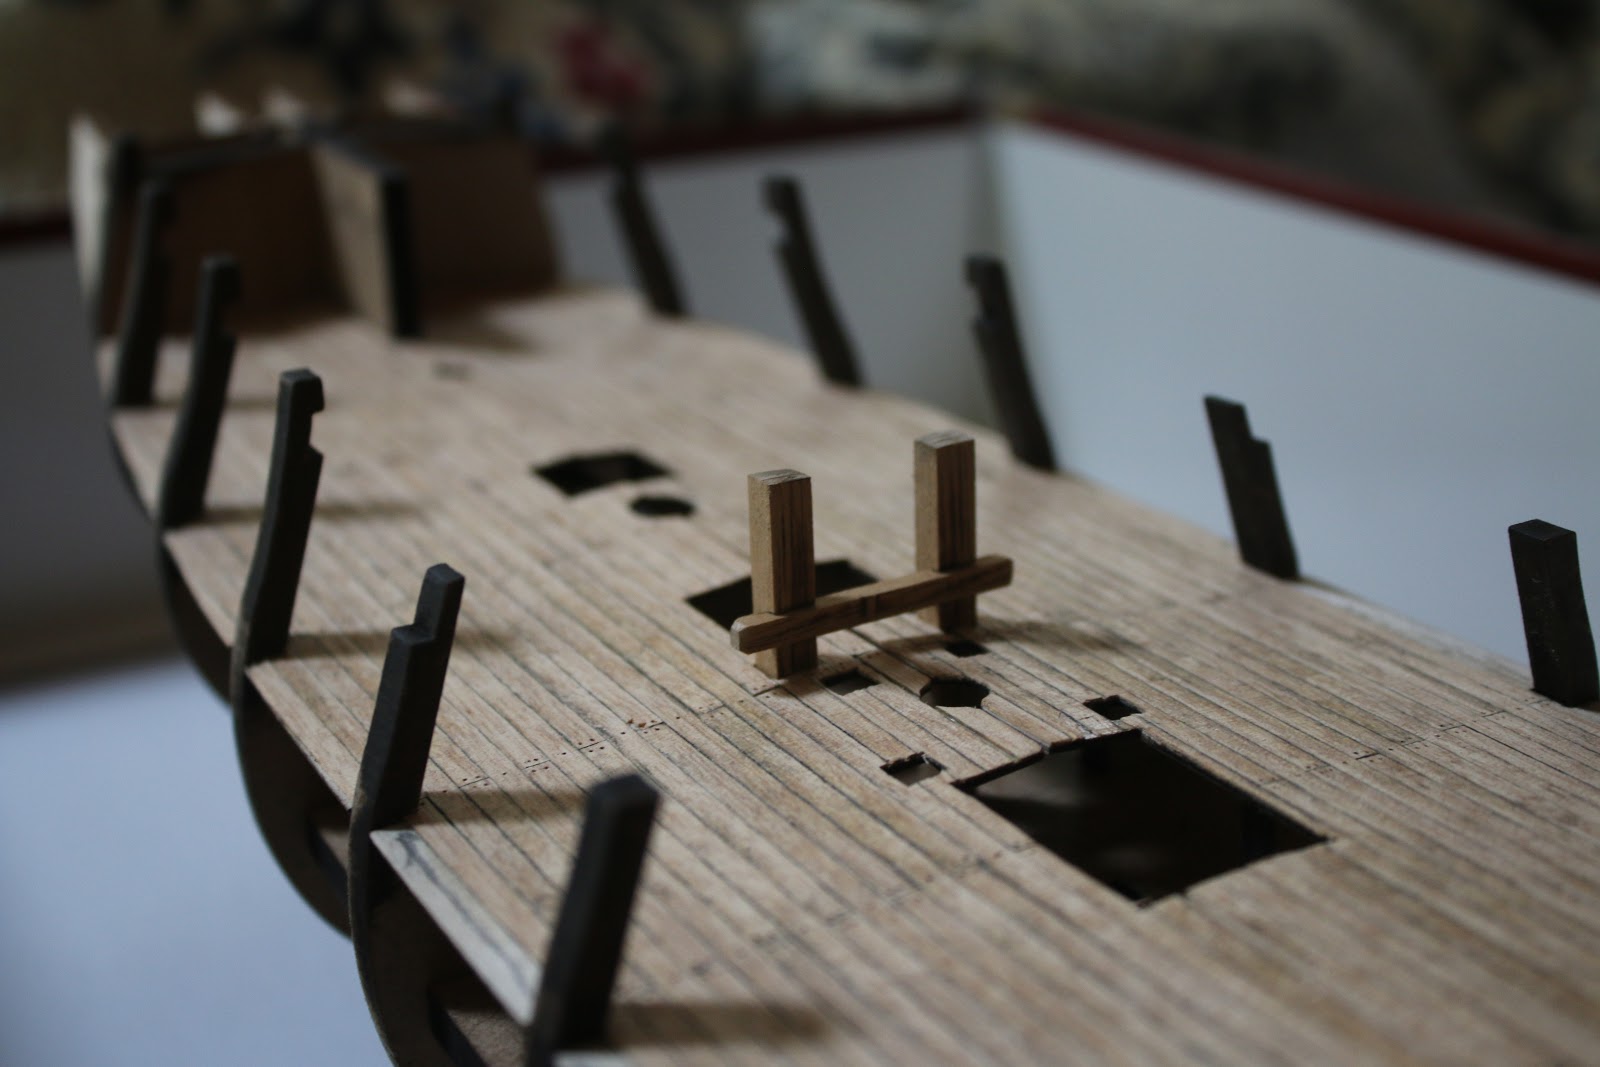
I also installed the rest of the gun deck hatches aswell.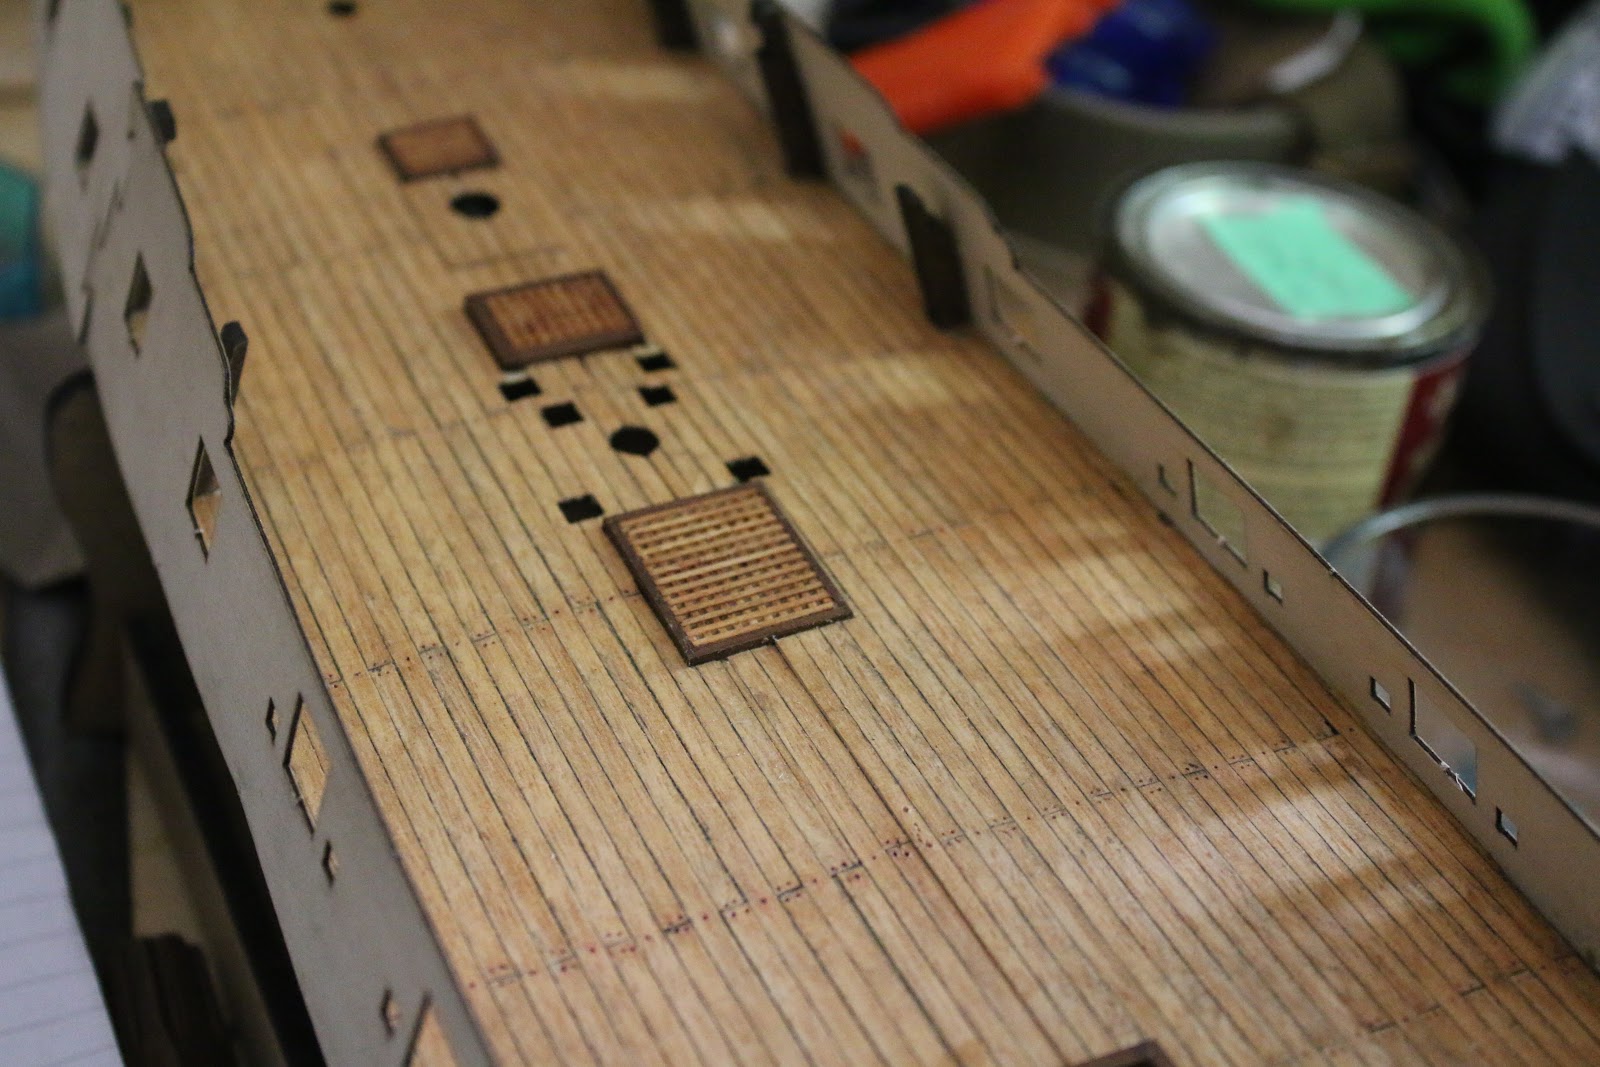
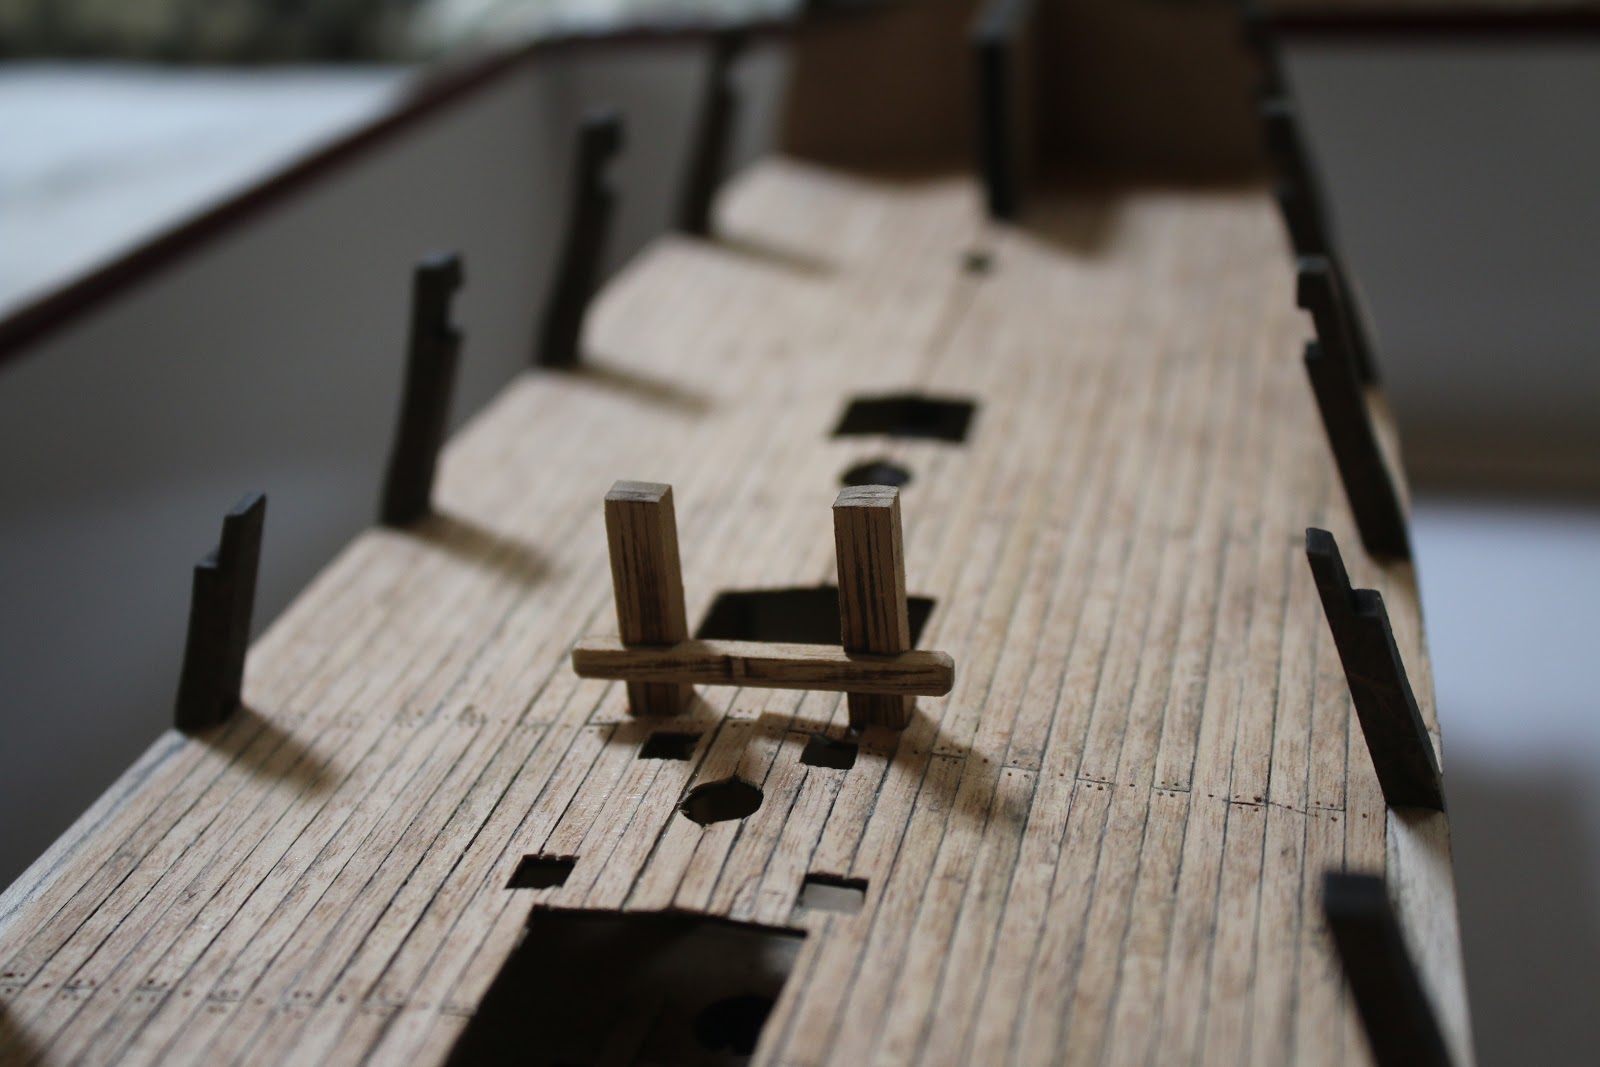
As can be seen from above I decided to stain the hatch gratings to match the deck I personally think this looks much better than the other option of unstained hatches. I also chose to install them now because once the hull is planked if a hatch were to fall through I wouldn’t be able to recover it. It can also be noticed one of the areas where my deck support idea gave me some issues in the center of the gun deck. This will be fixed by sanding the area and restaining the center plank.
After this, I finally started the process of planking the hull. Initially, I was going to use the finish walnut planking for the first planking in order to use the lighter wood for the second planking in order to get a lighter finish.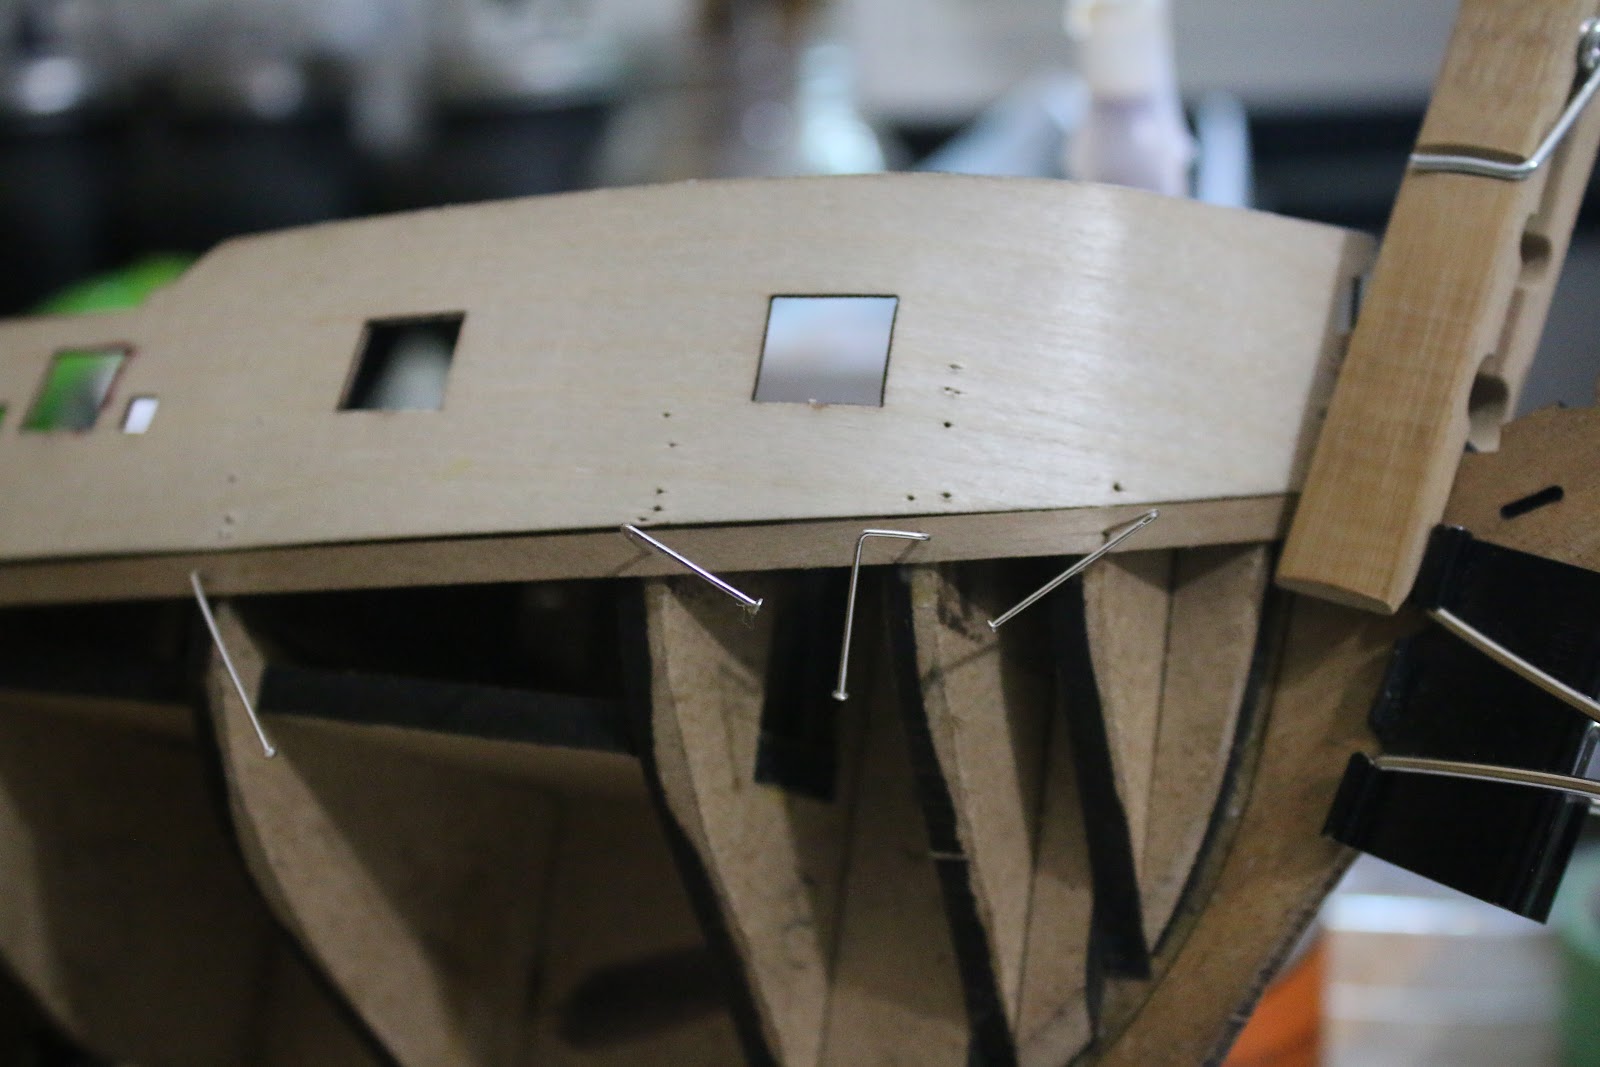
I later discovered the thickness difference between the planks and restarted replacing the walnut plank with the actual first planking. 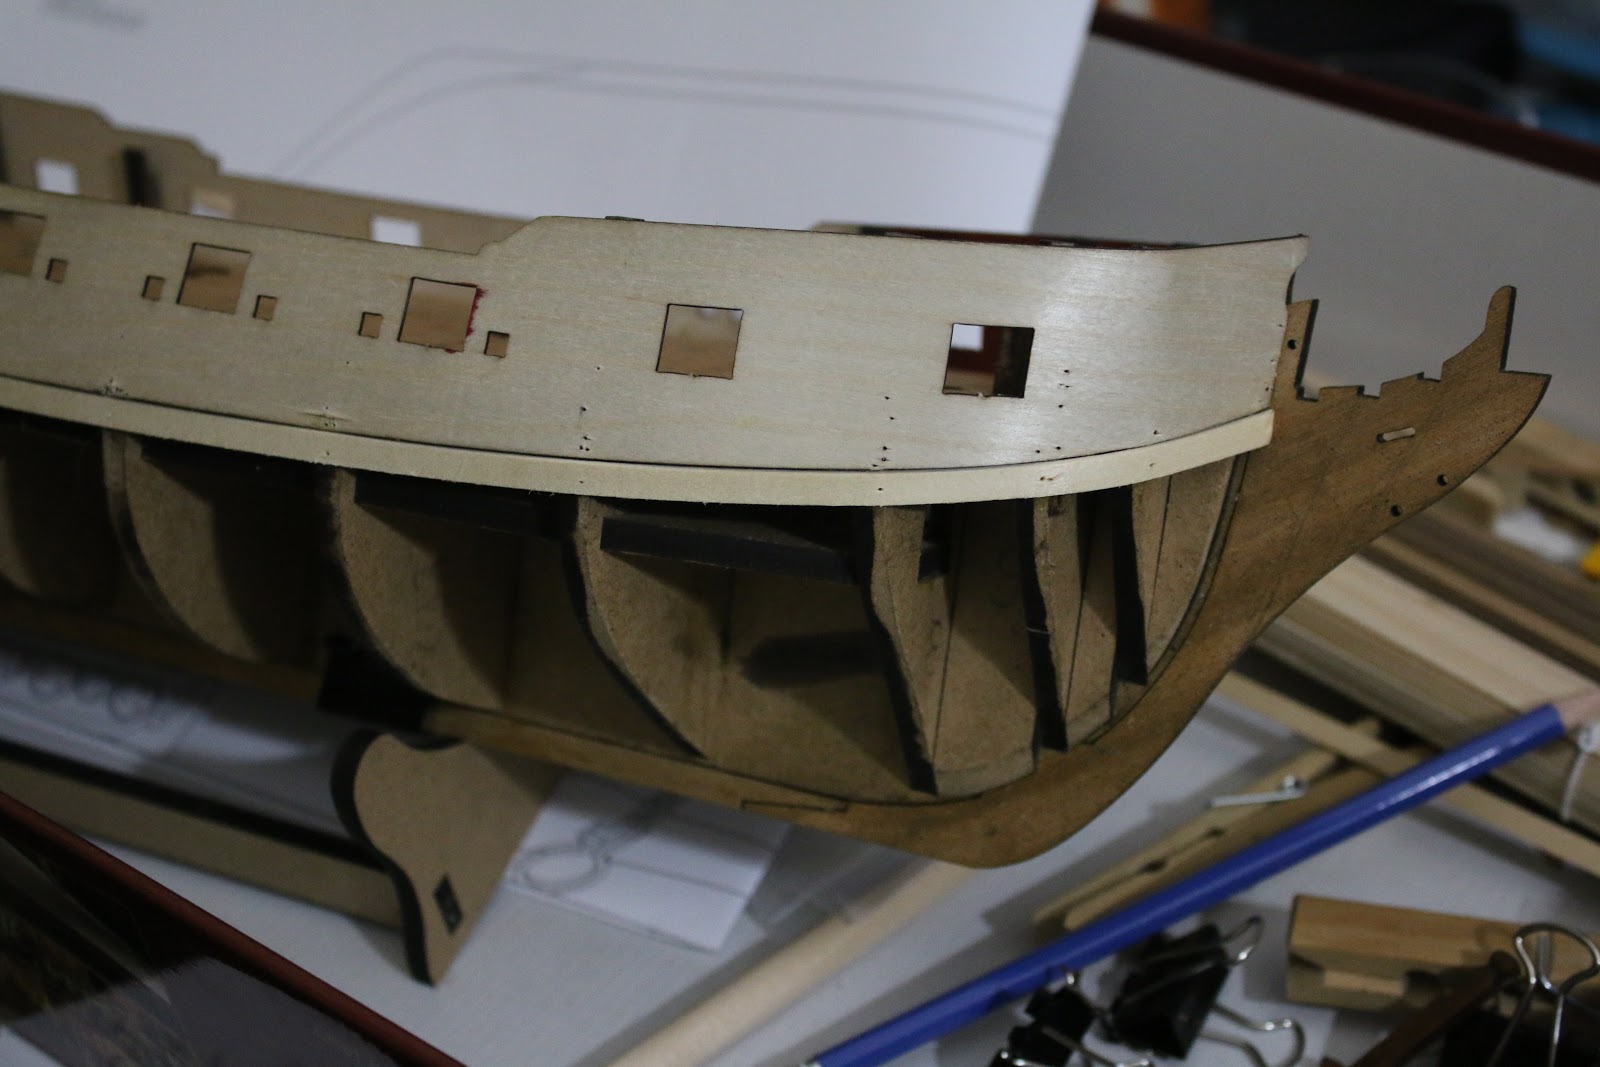

I also just like my last model I am soaking the ends of the planks to allow them to bend without snapping to the curves I need them to bend to. I glue them in and bend them as I do after they dry the plank is attached and warped to the correct shape. Today I continued planking finishing the other side and adding the second line of planks. 
The next step is to finish the planking then sand it smooth and fill any holes or dips with wood filler in preparation for the second finish planking.
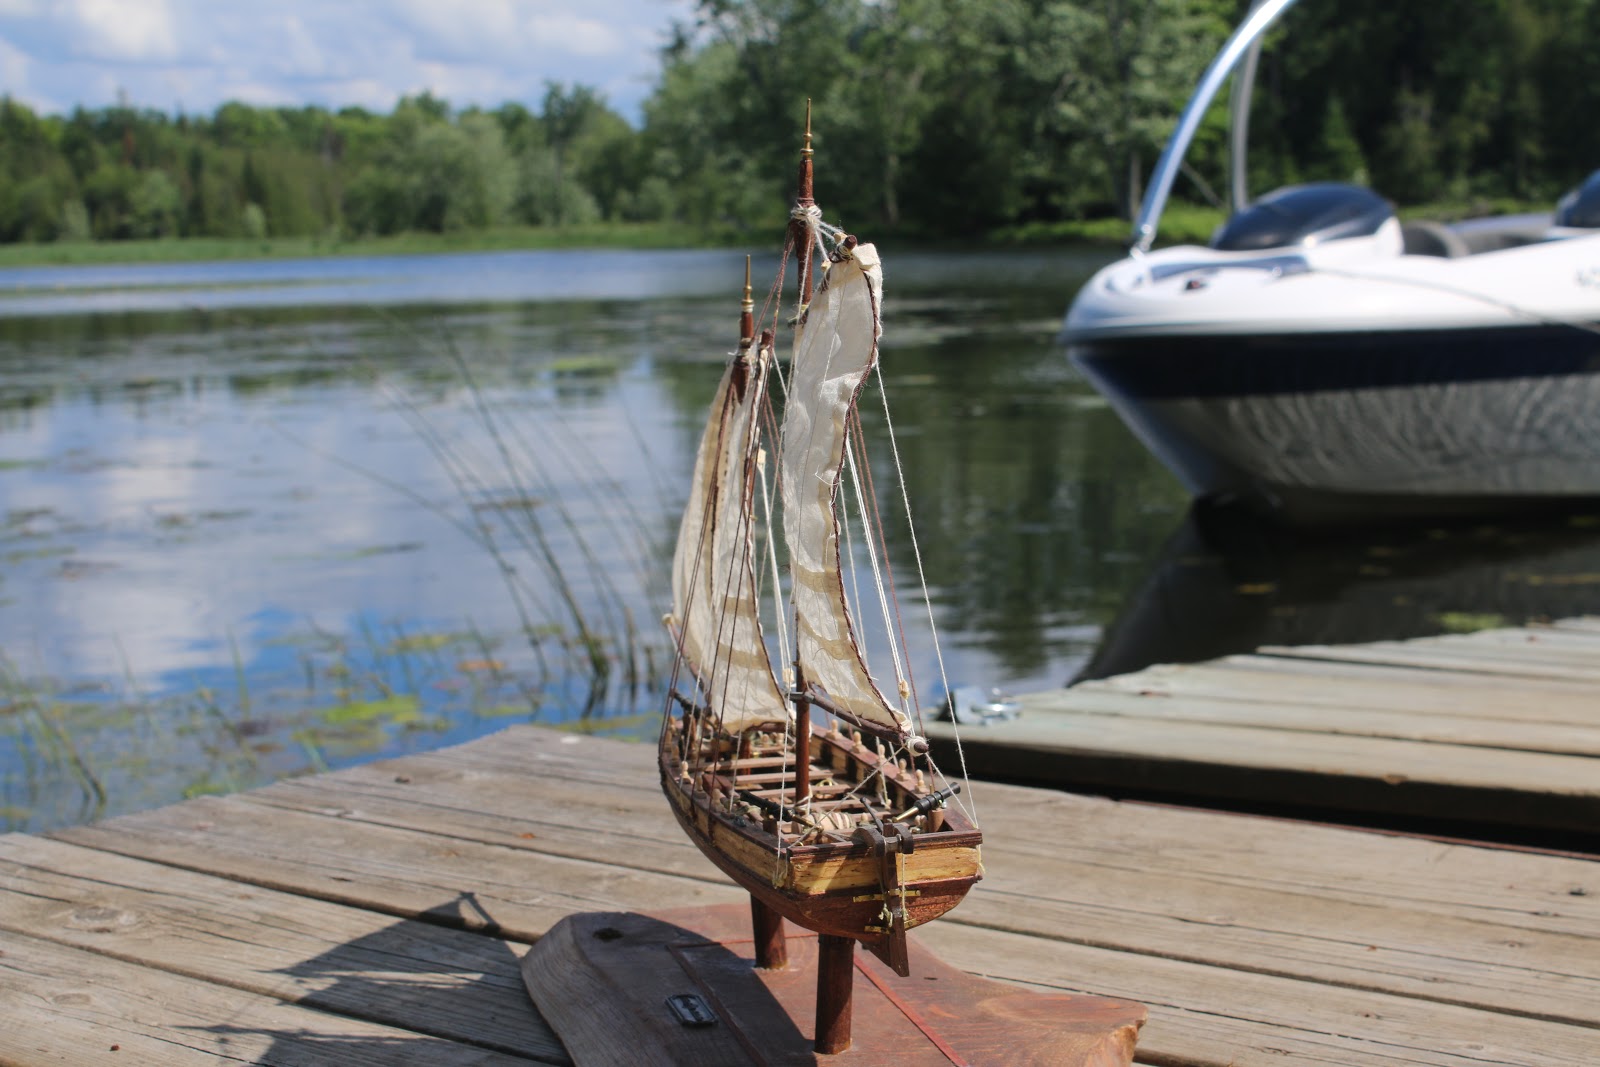
-Jamie


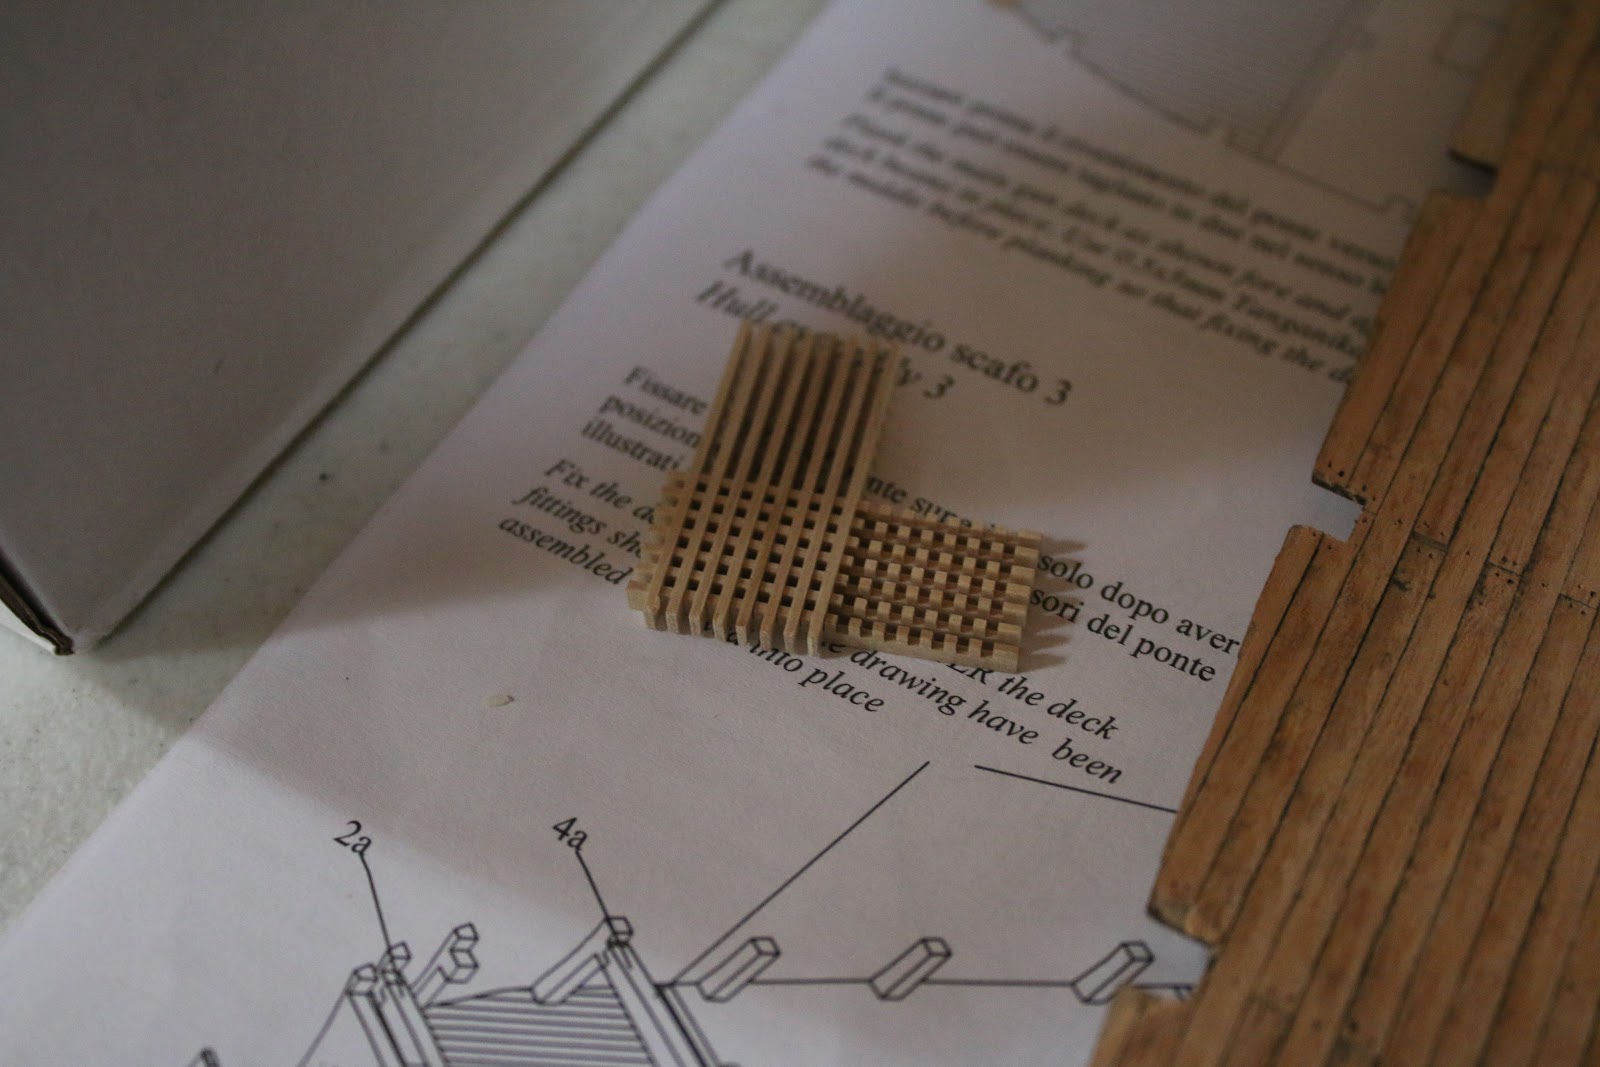


 I also attempted to pre-make the open hatch but upon sanding, it fell apart