Thank you so much Steve, as always I appreciate the support!
Thank you Jim!
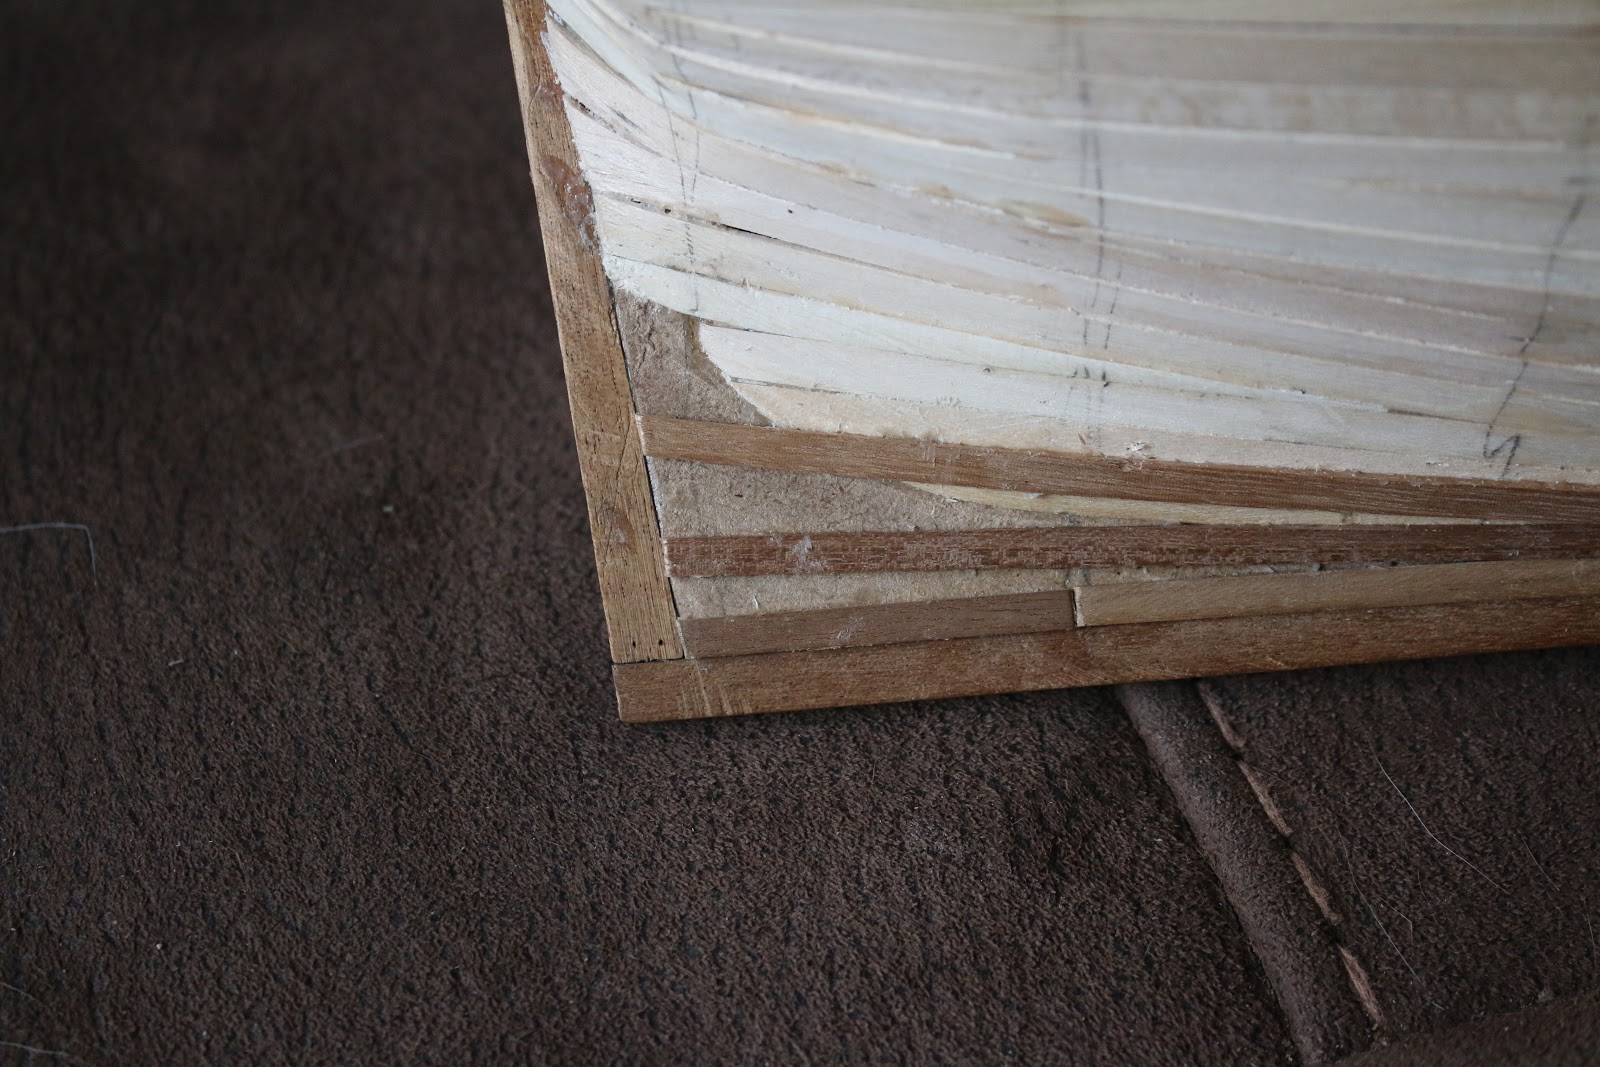
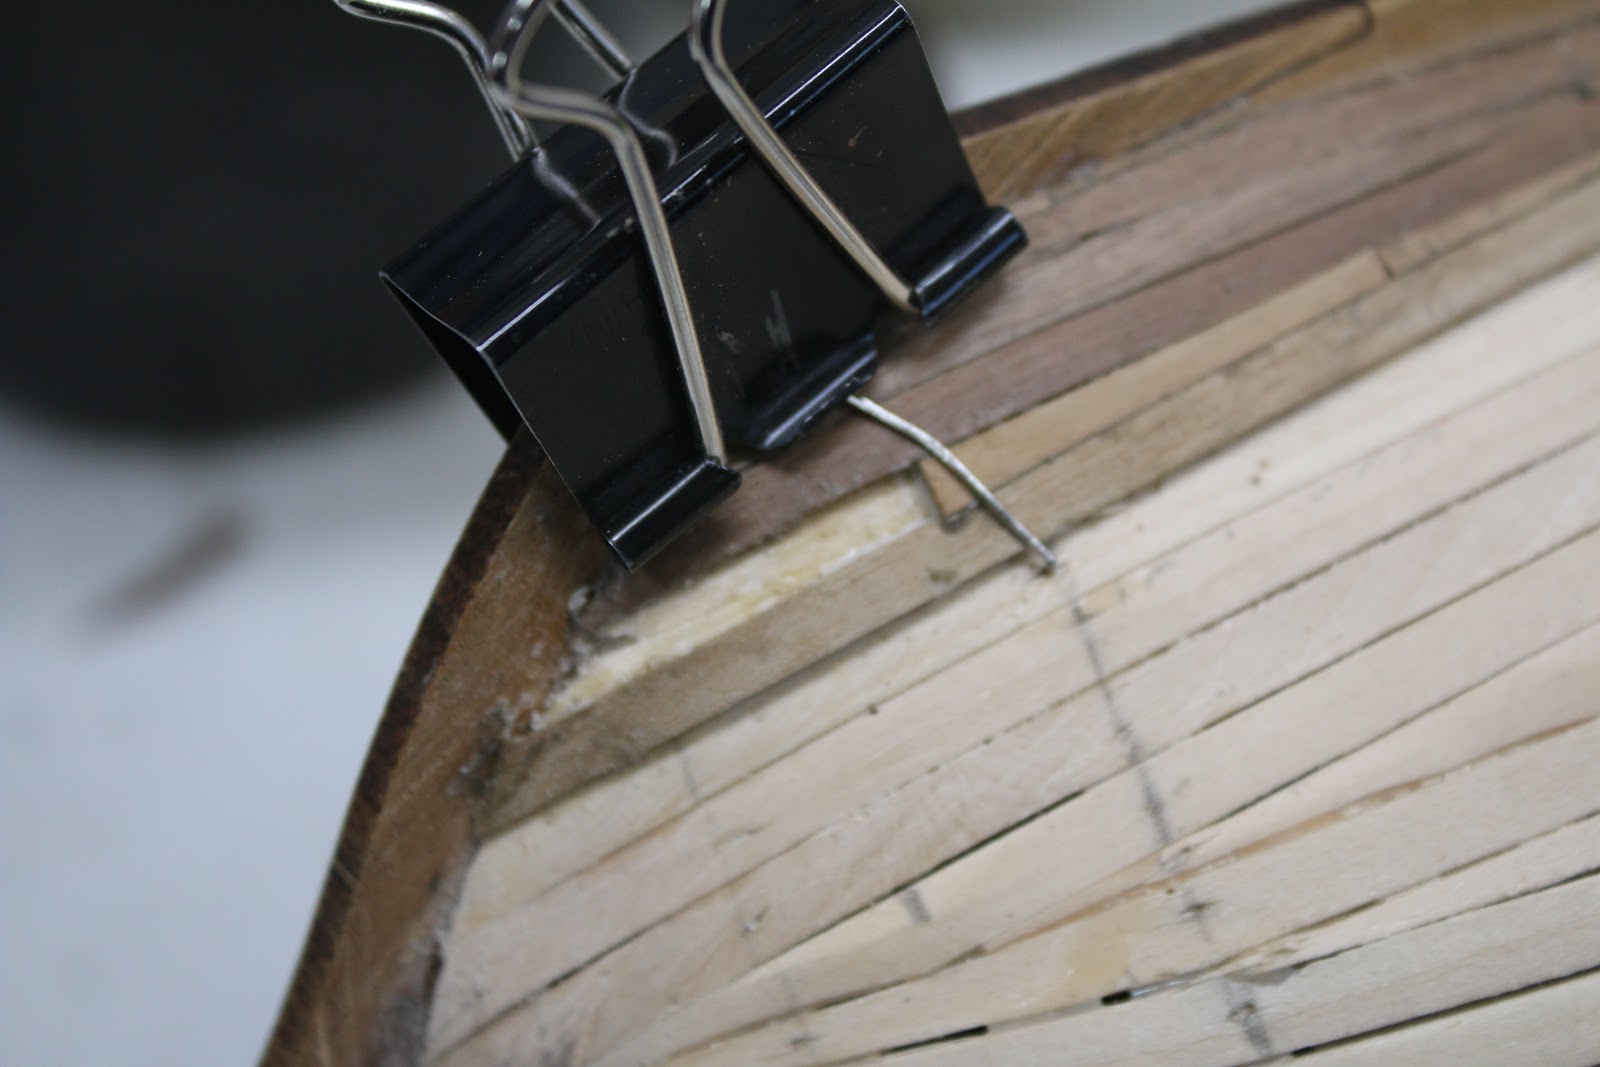
So it has been some time since my last post. This being that the speed and progression of planking is like watching grass grow. Anyhow when I last posted I was just reaching the gunports and was waiting for the new cannons and their carriages to arrive, so I’ll start from there. While waiting for the new guns to arrive in late January, I finally cracked and decided the swell on my deck was bothering me. So about an hour of careful sanding later this is what I ended up with.

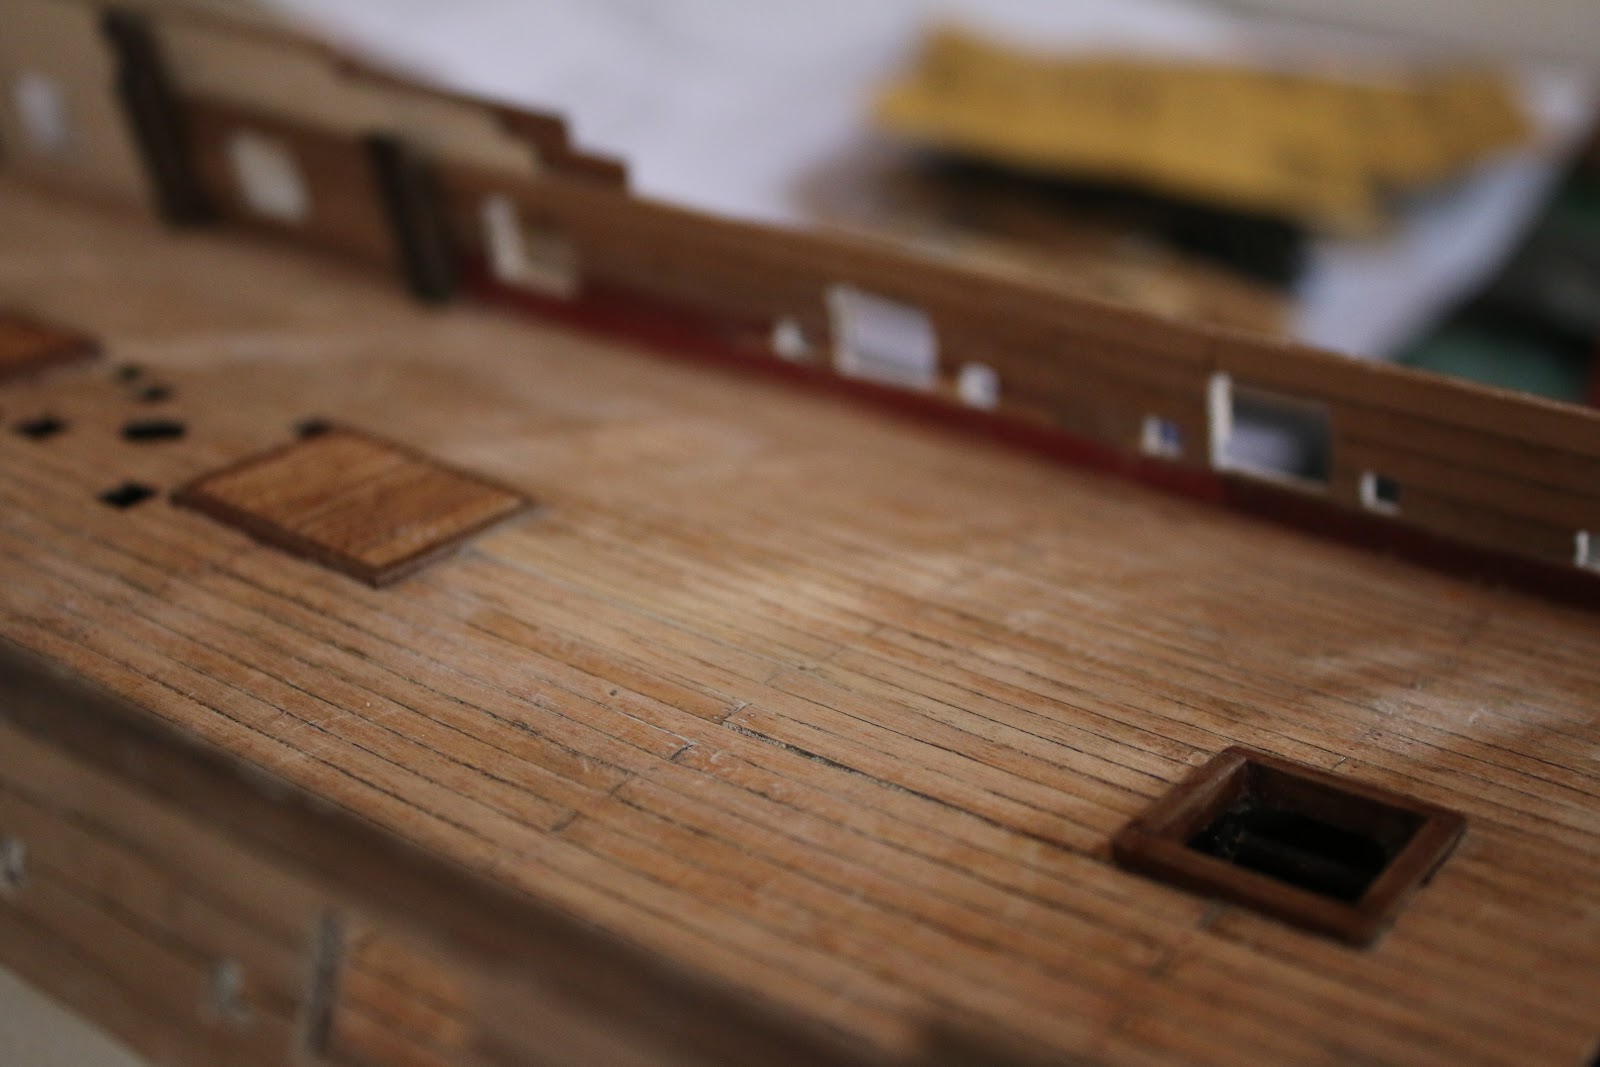
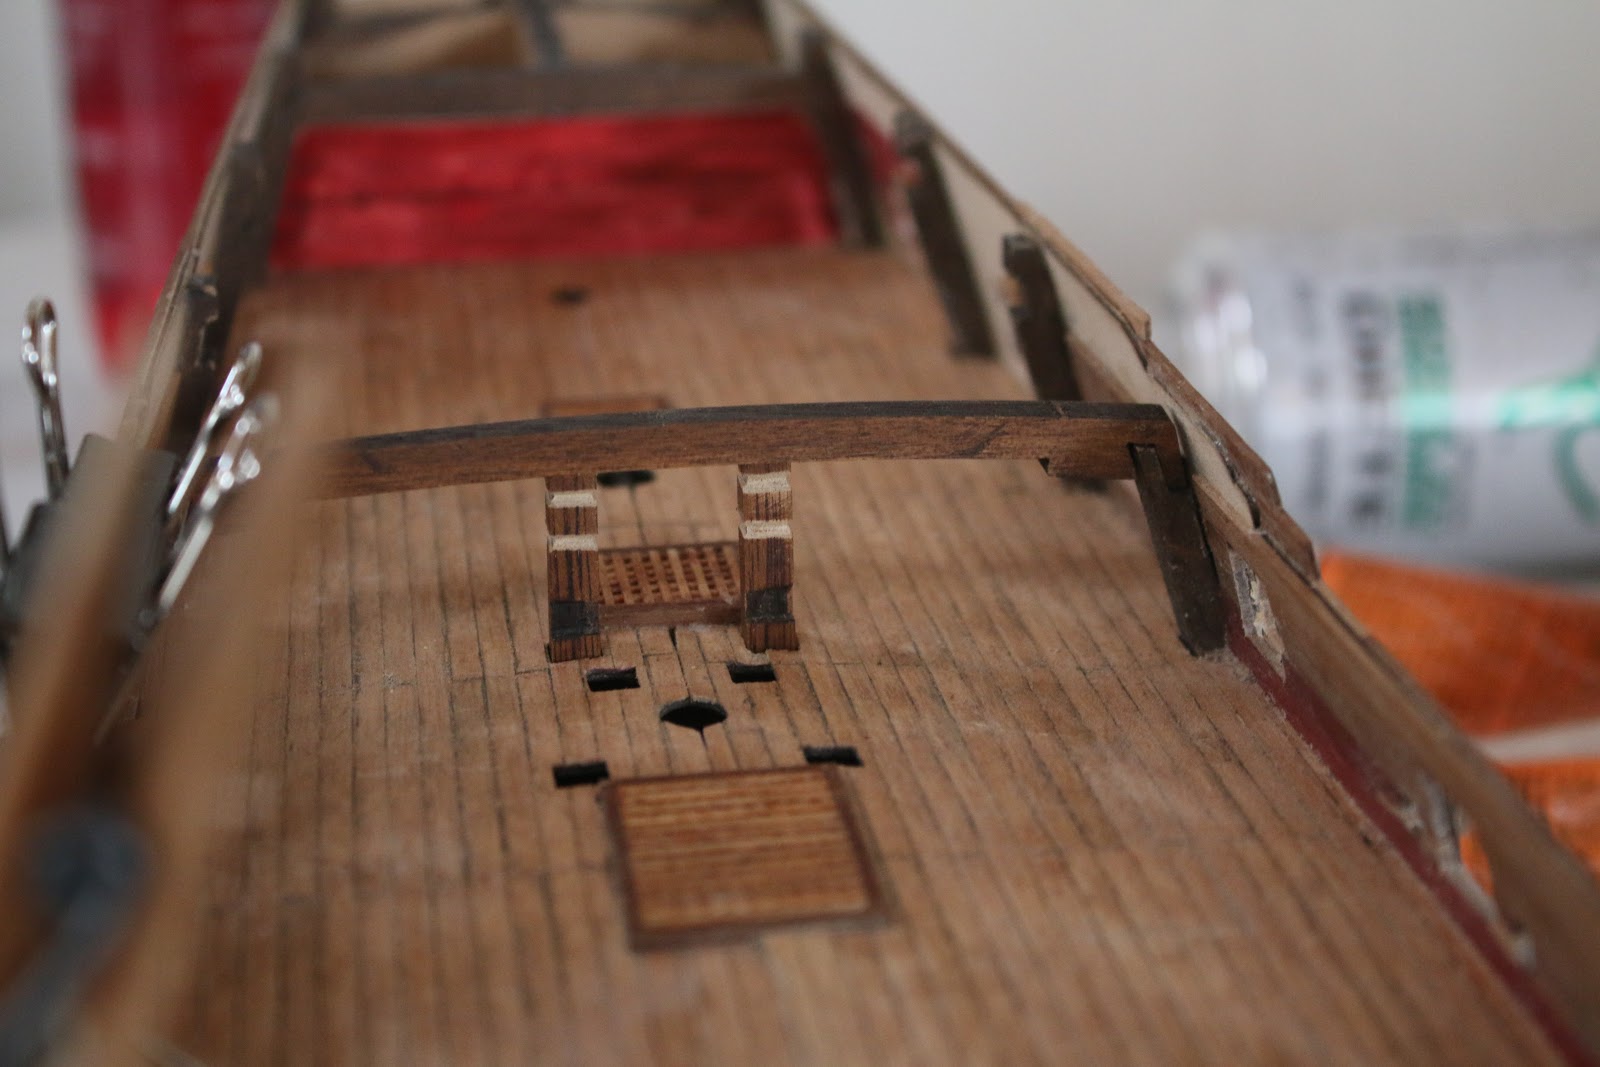
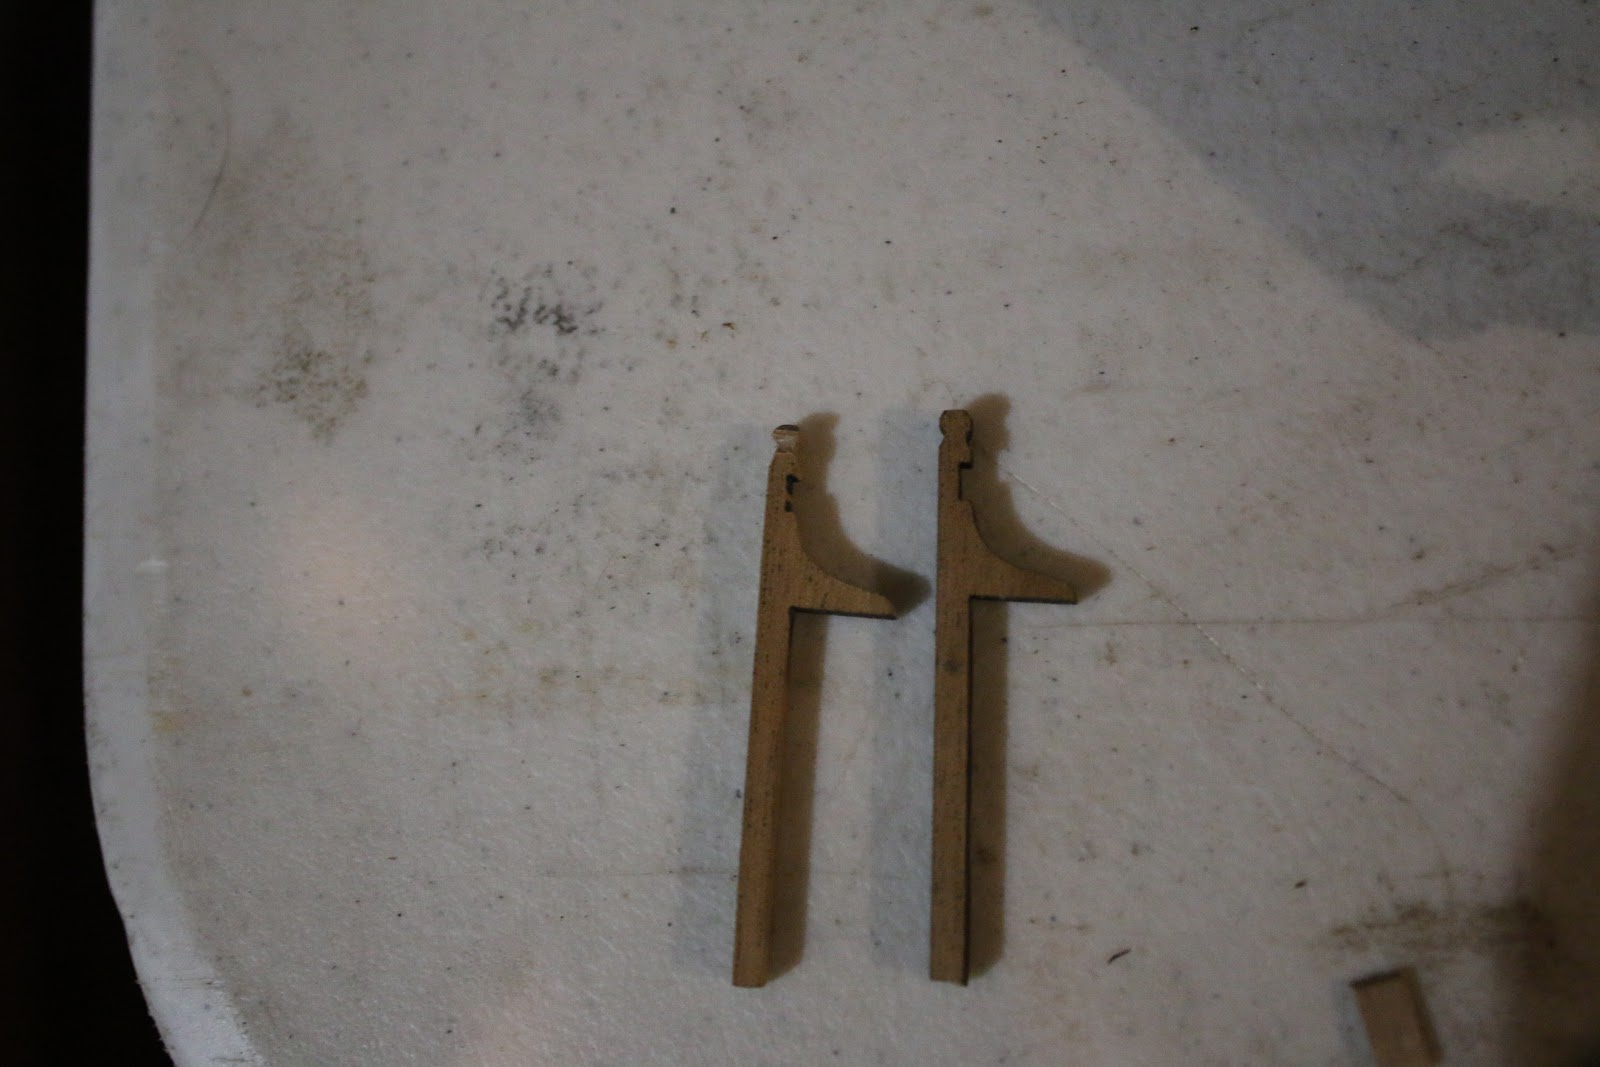
The deck was finally flattened out as much as I could get it without sanding past the planking and I’m so glad I did it. After fixing that I got a surge of confidence and decided to put it to use addressing the gallows. The kit provided gallows is not only too large but also inaccurate for a swan sloop.
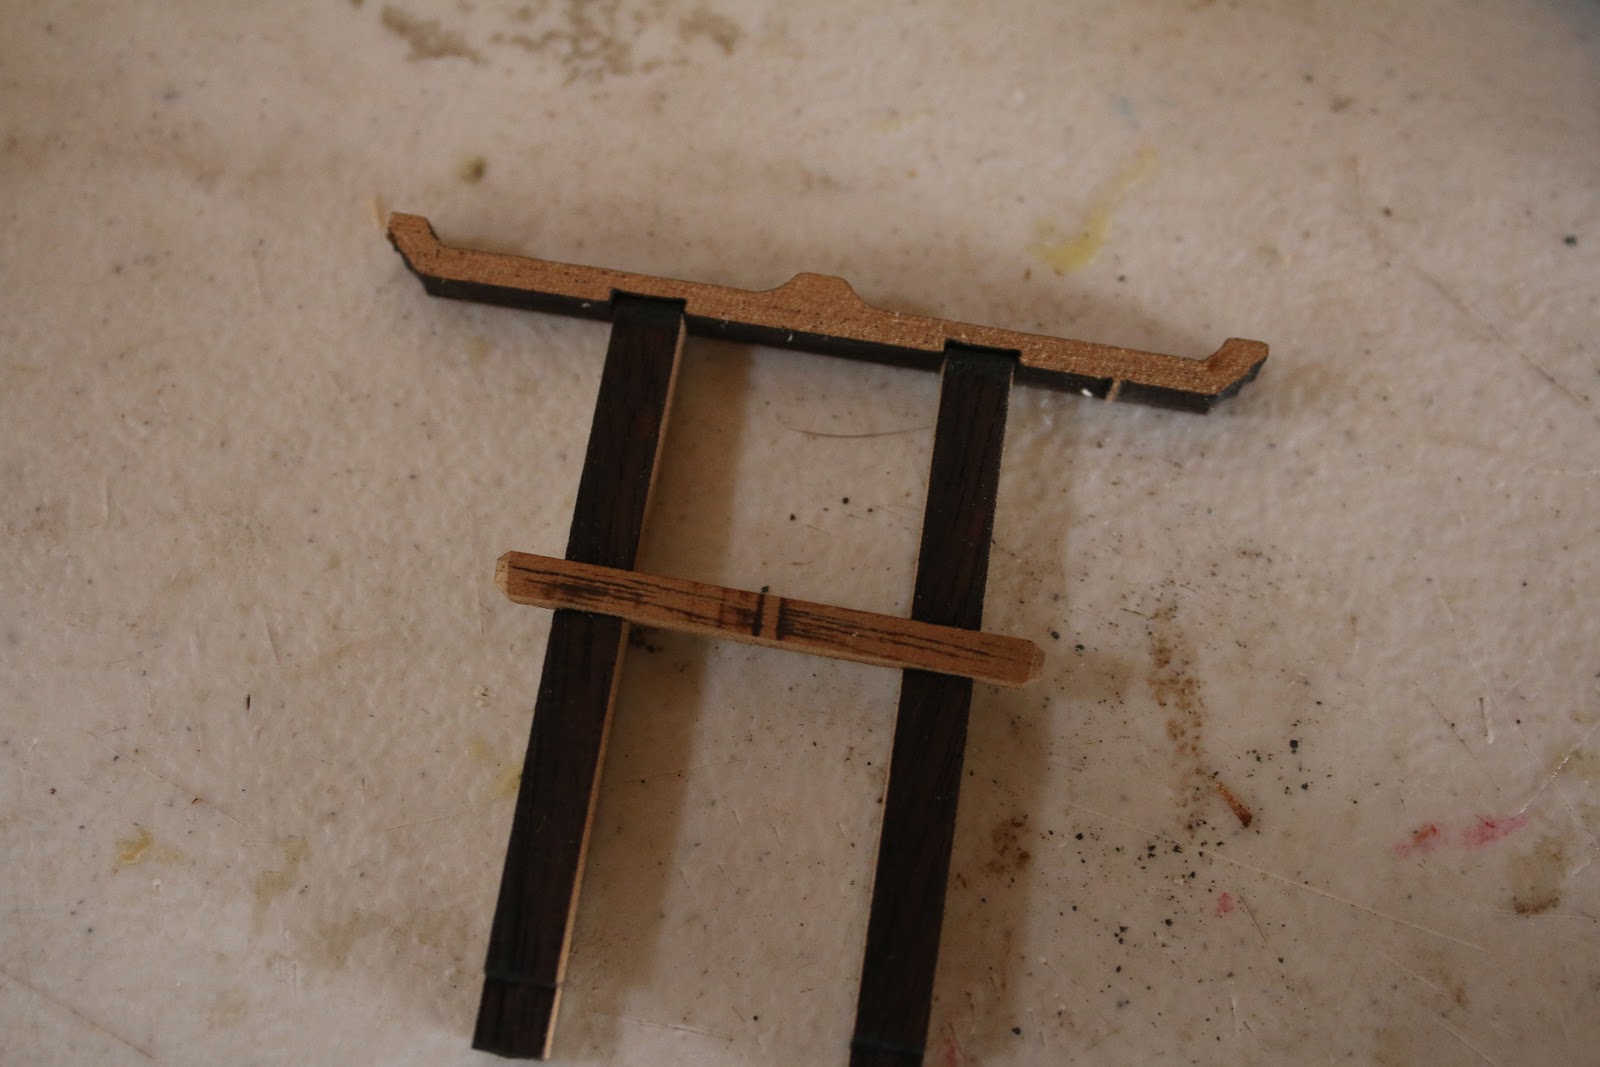
As seen here in this painting of a model of the Kingfisher by John Marshall the cross of the gallows is a completely different shape as the kit provided one.

Also in my hours of reading build logs I’ve seen other builders replicate this by scratch building the gallows.

(HMS Pegasus by Blue Ensign)
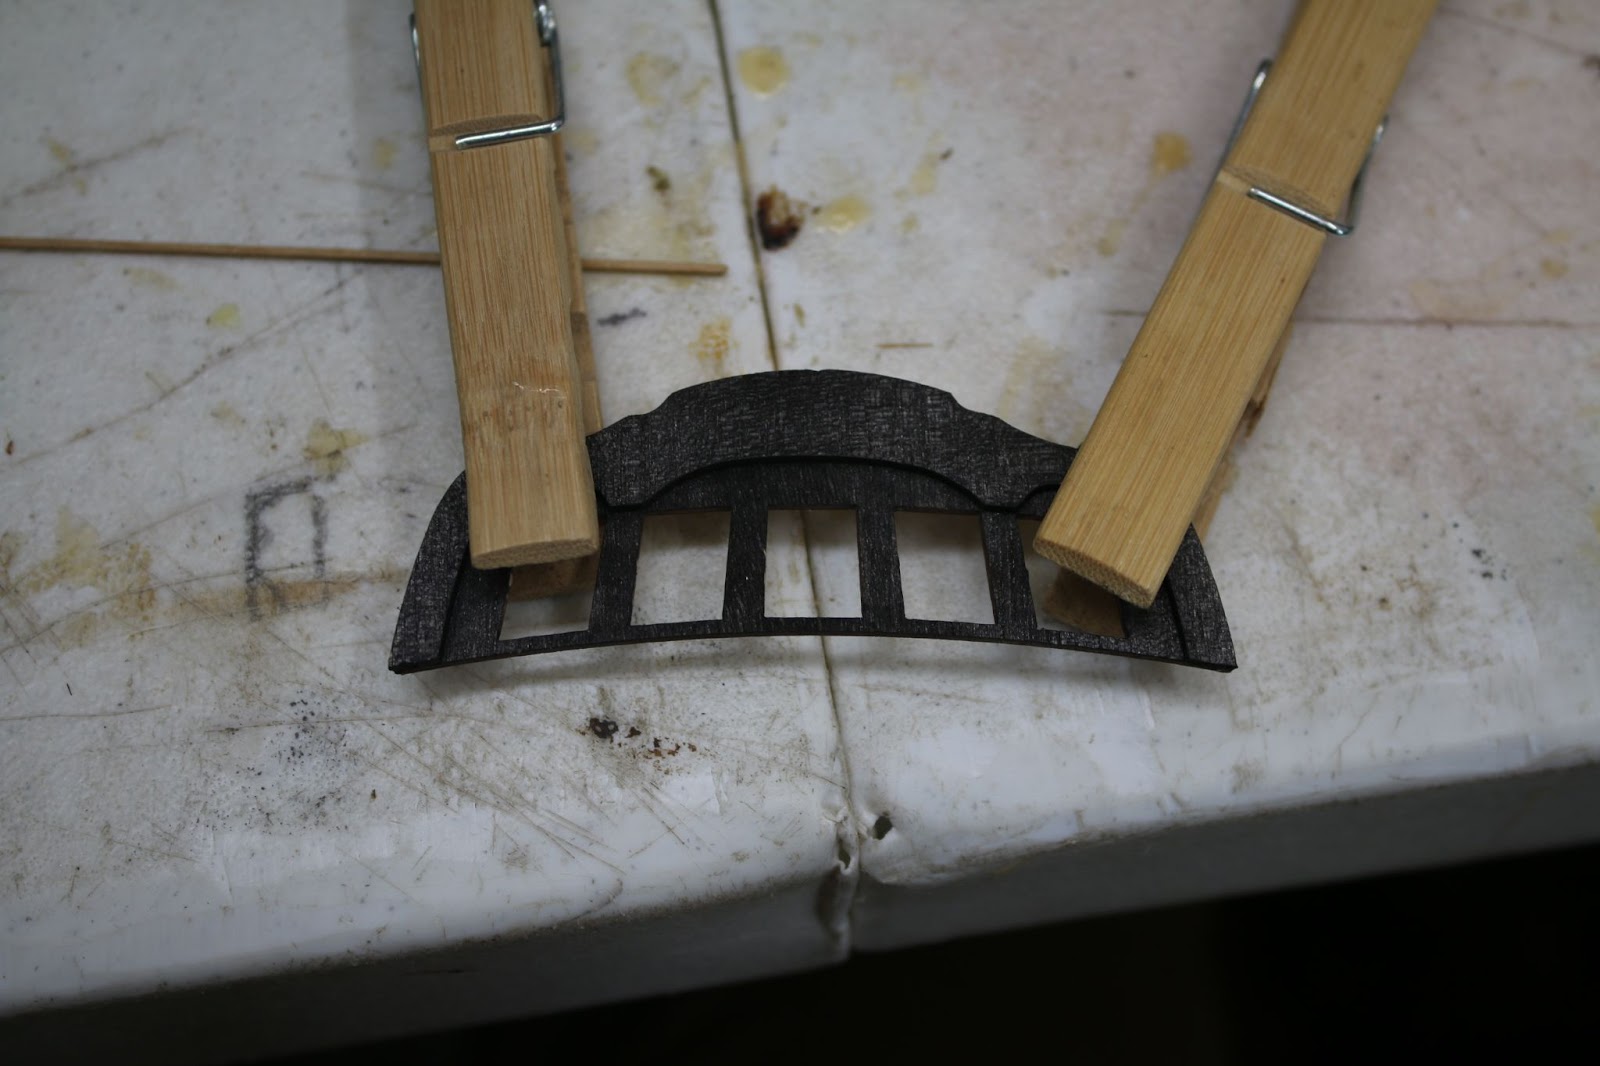
With all this, I decided the kit provided gallows needed to go and started scratch building.

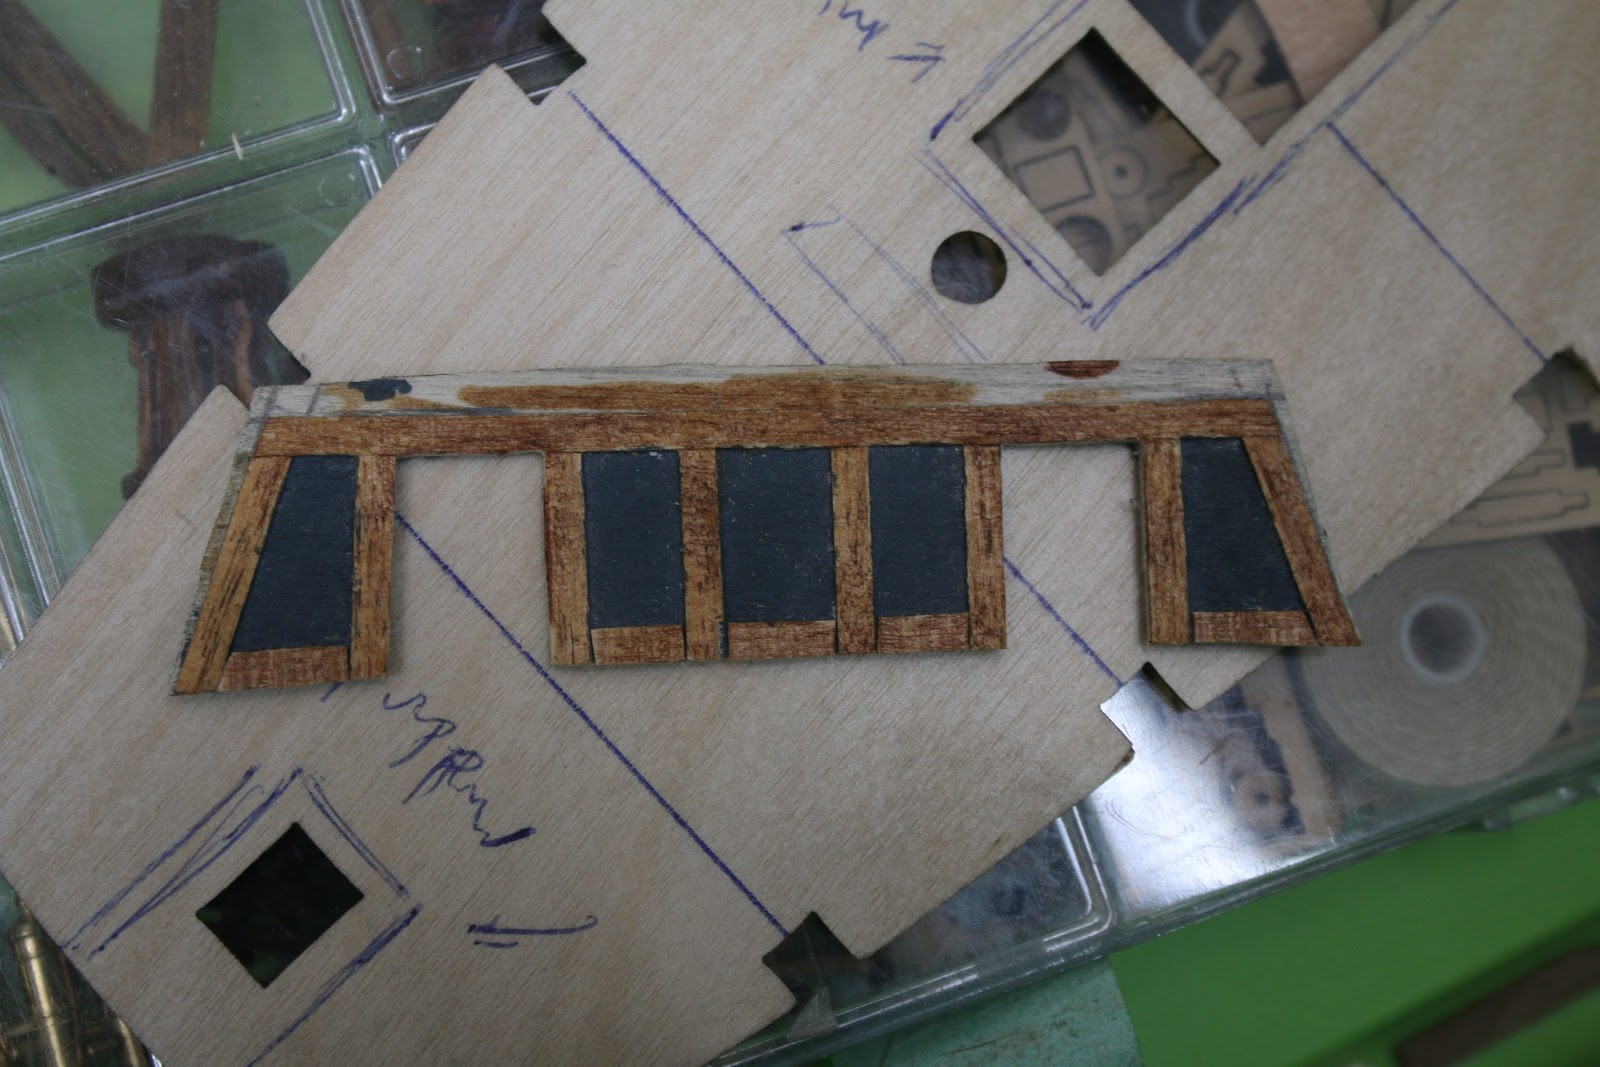
So the first order of business was cutting a new crossbeam. So I went straight to the laser cut parts sheets and found a section between parts that was even and curved just right. It was not long before I discovered that the upwards beams were too long and the gallows too tall so I gritted my teeth in fear and chopped a chunk off of the beams.

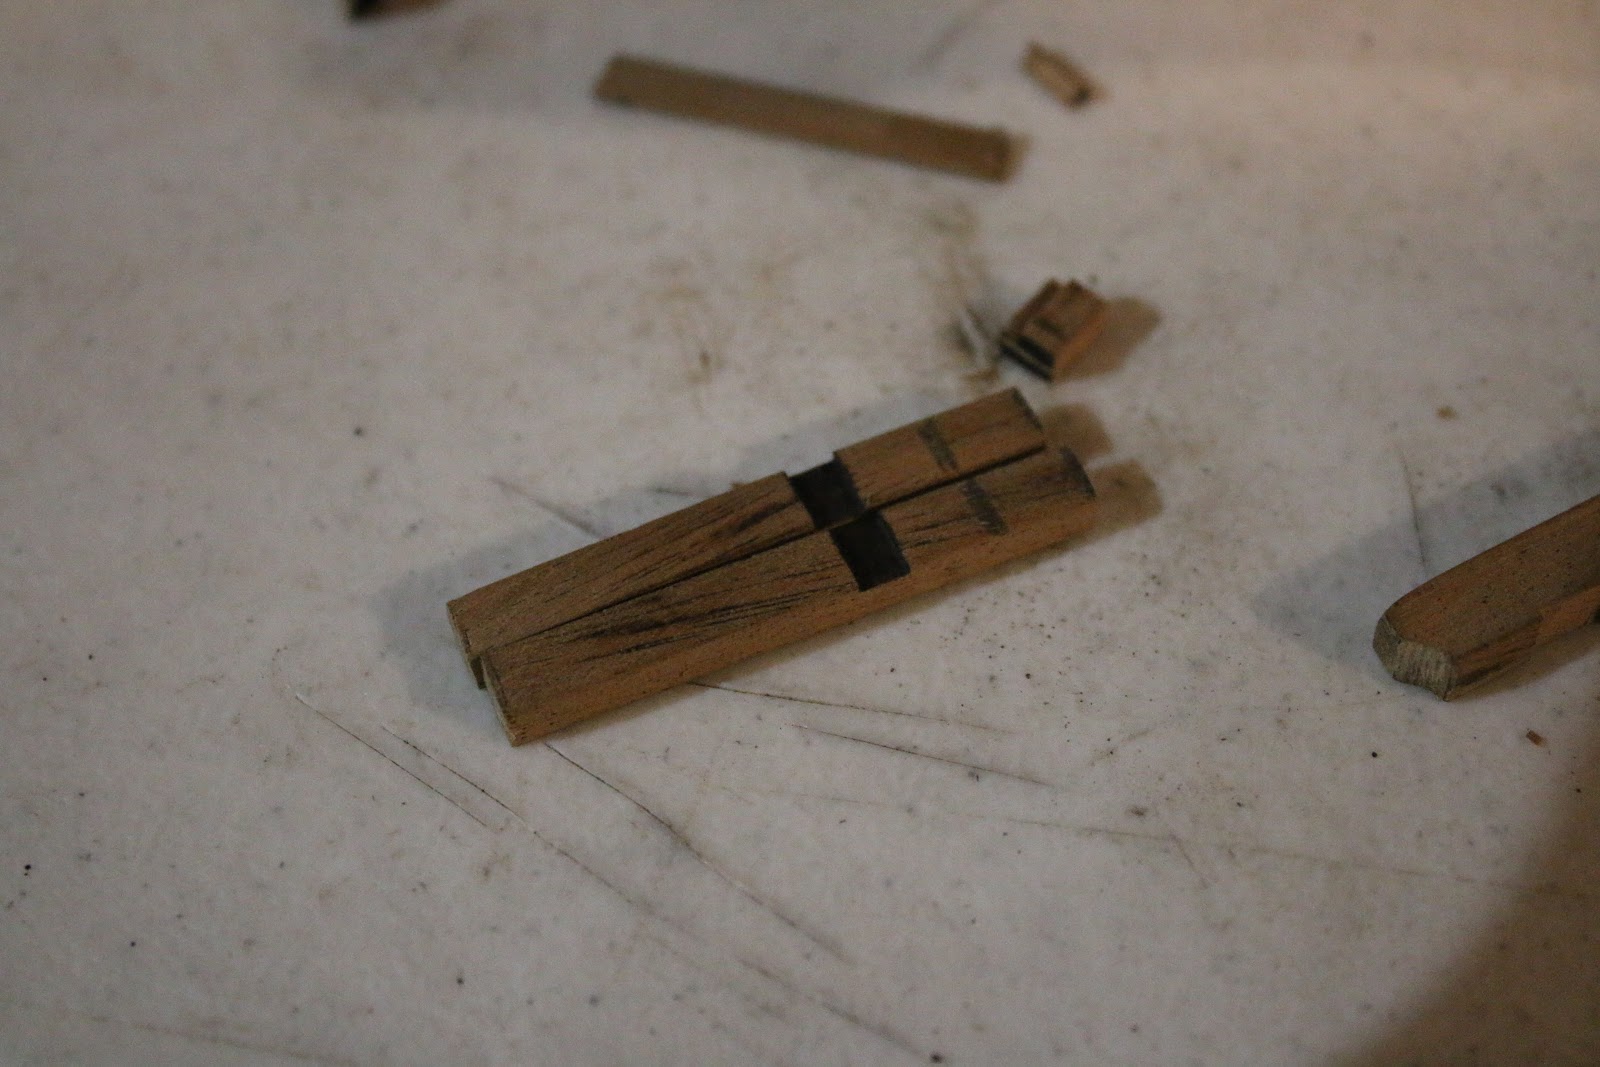
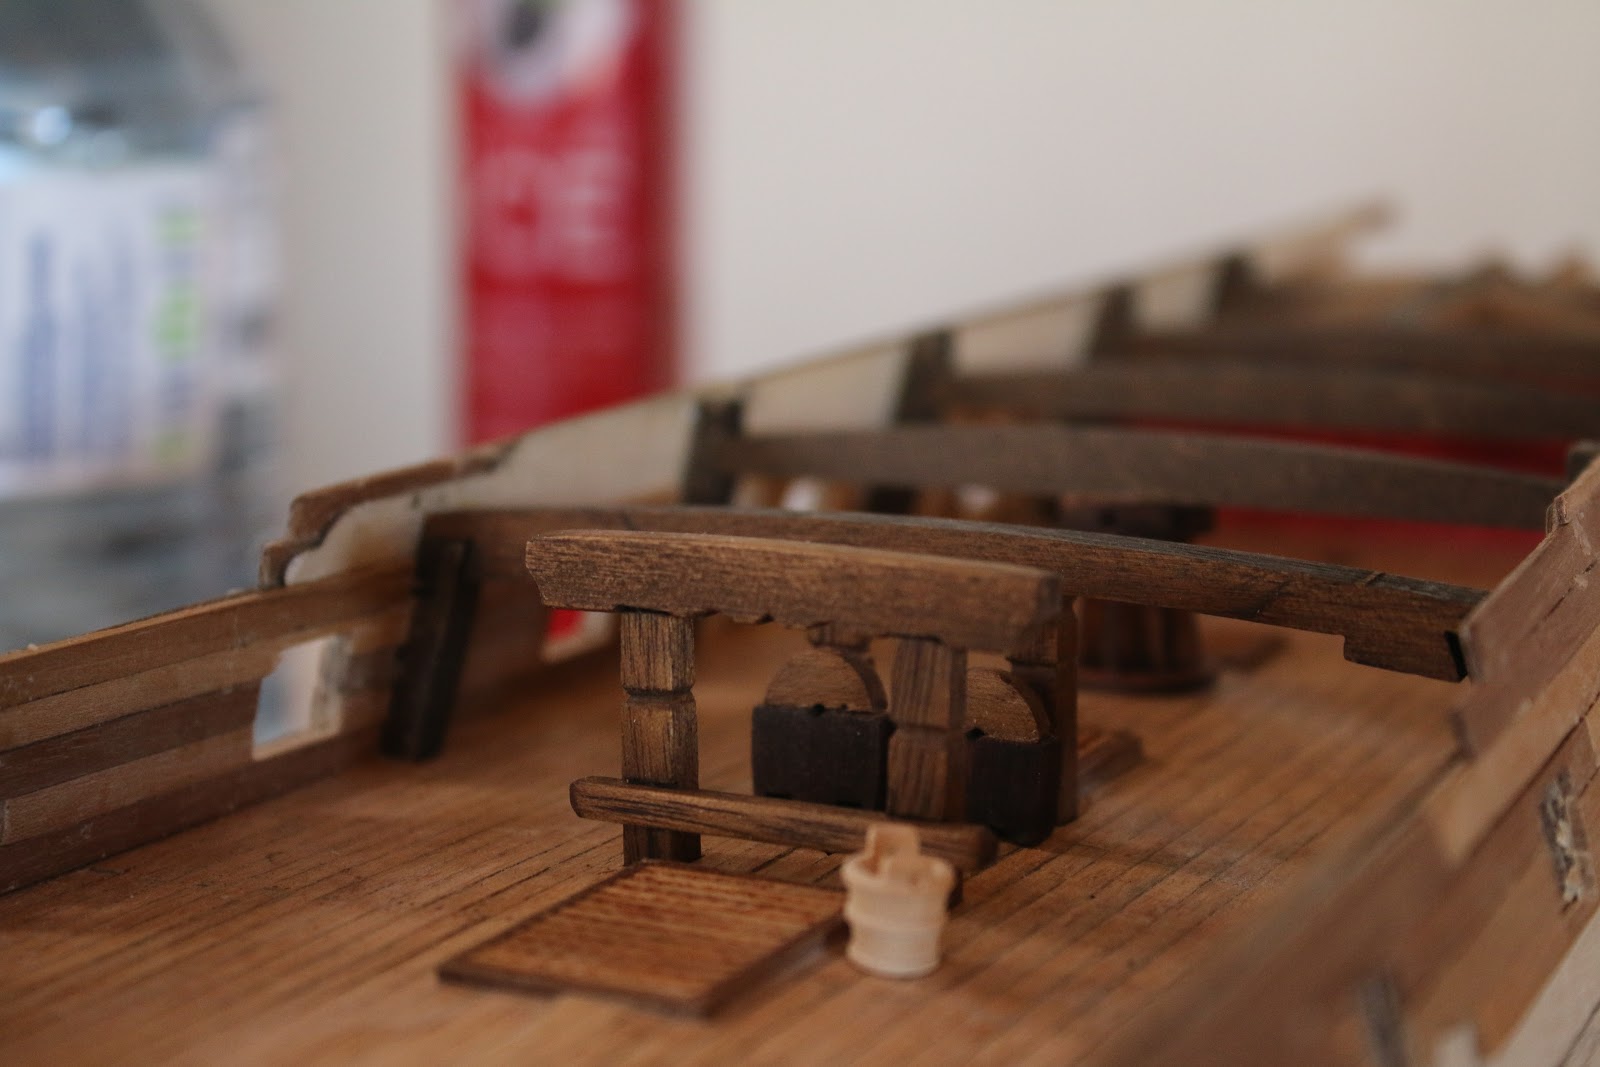
I then finished making the new crossbeam as well as decorated the vertical beams a little and came up with this.
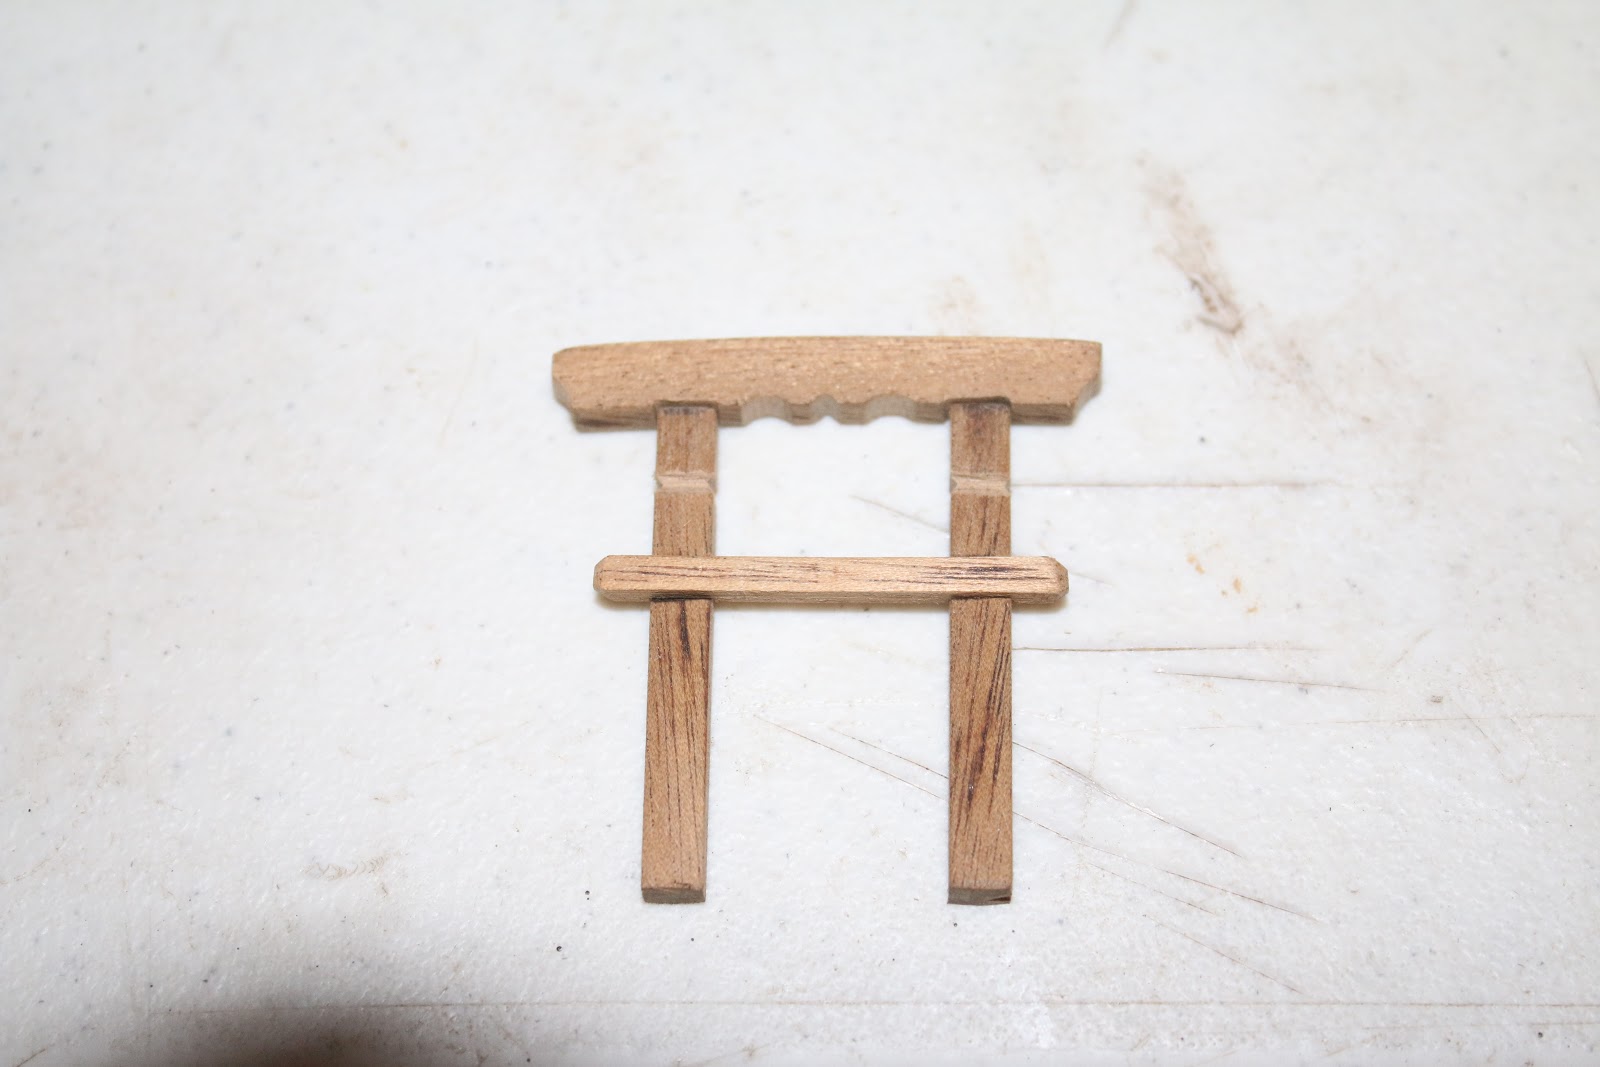
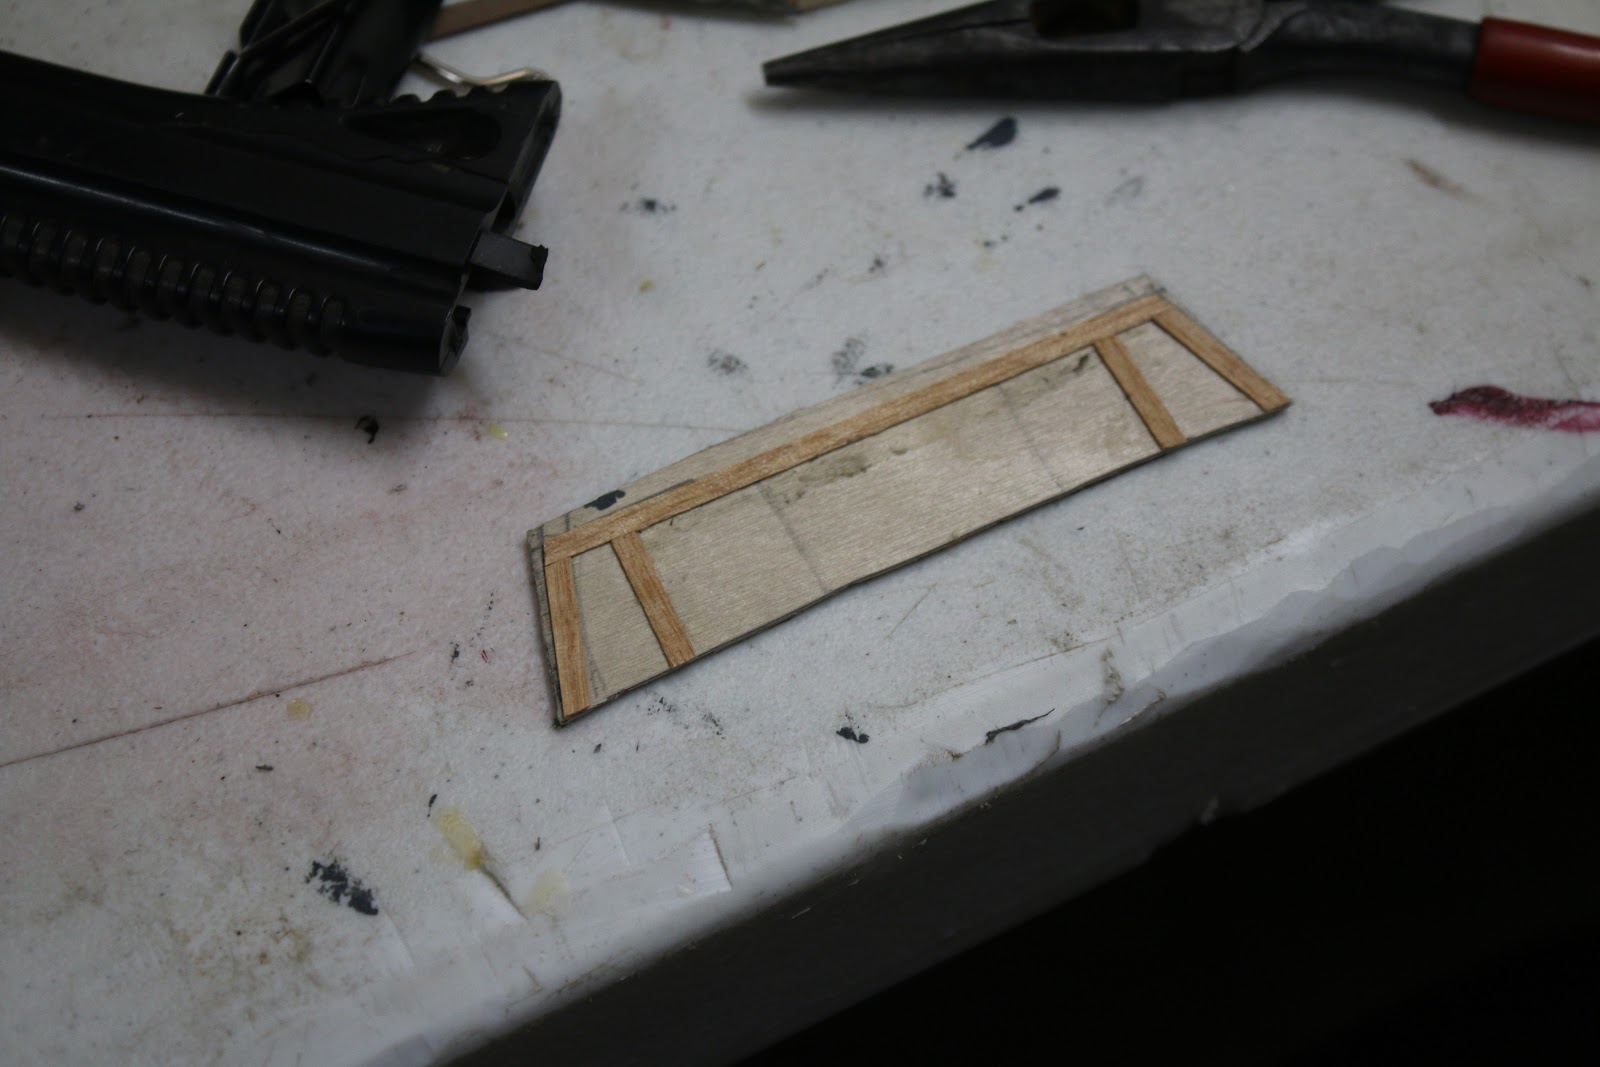
Being very pleased with the turnout I decided the bitts needed a bit of dressing up as well. So I grabbed a pencil and my file and went at it.

Following this, I went ahead and stained the parts And I also dry fitted them.

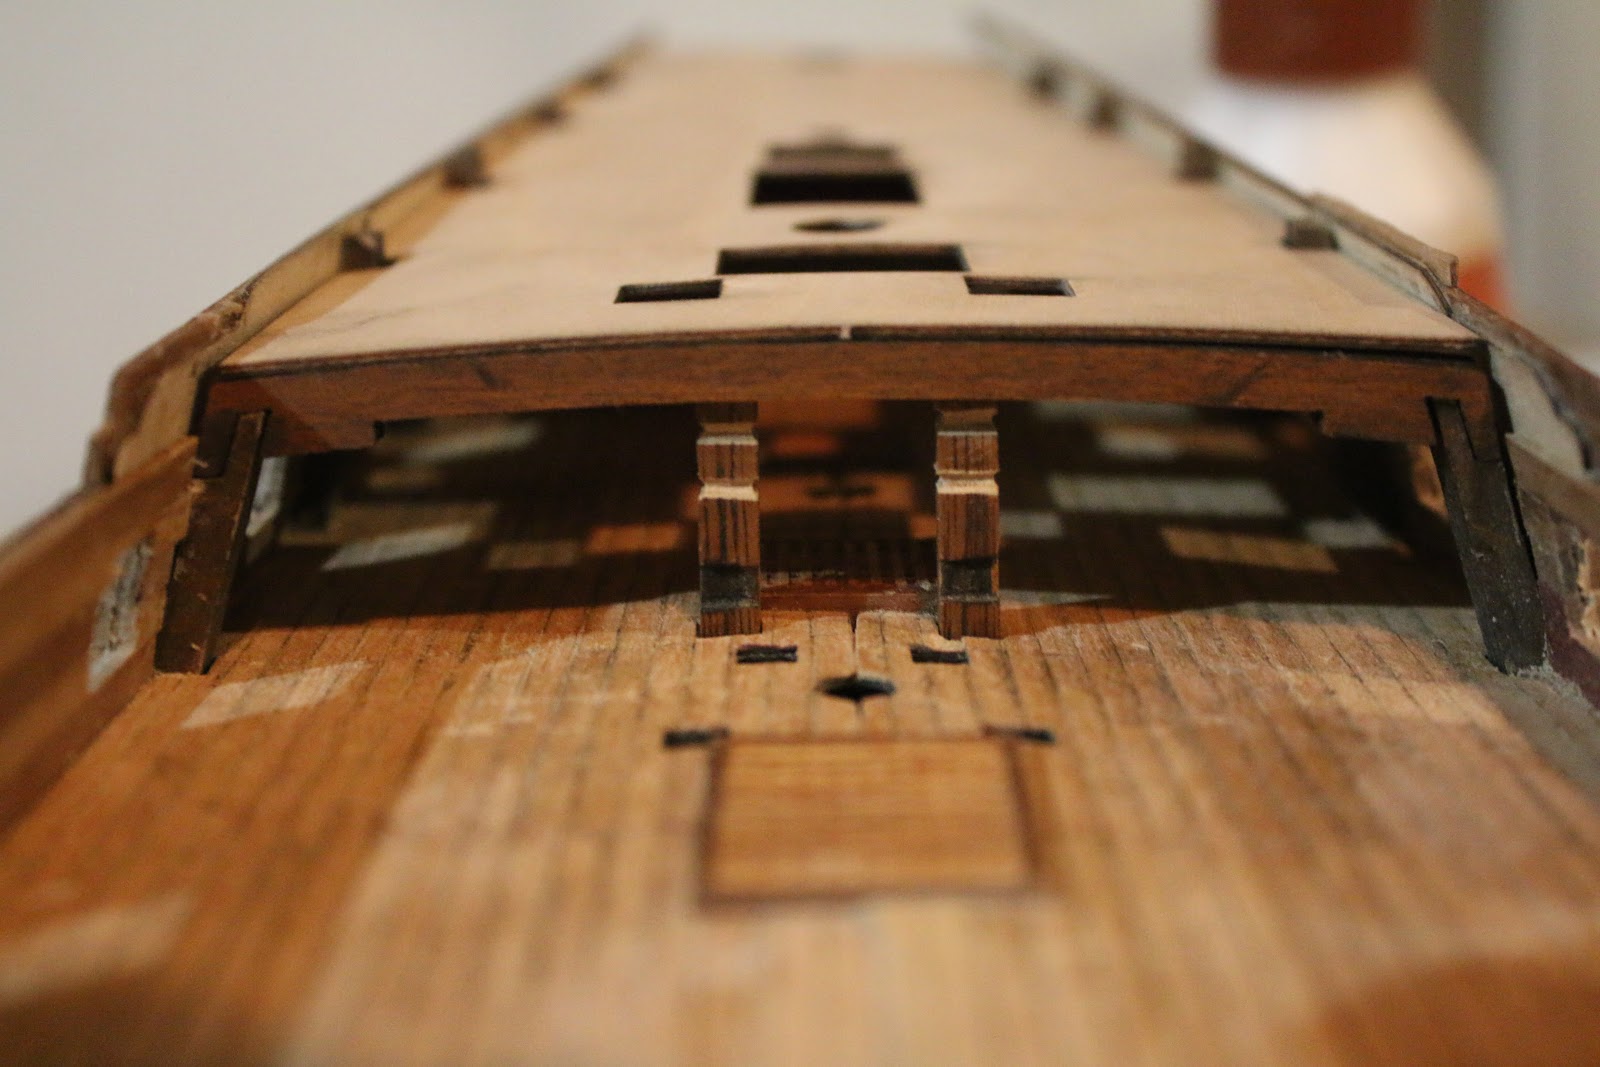
With that, I also started work on the foredeck bitts.

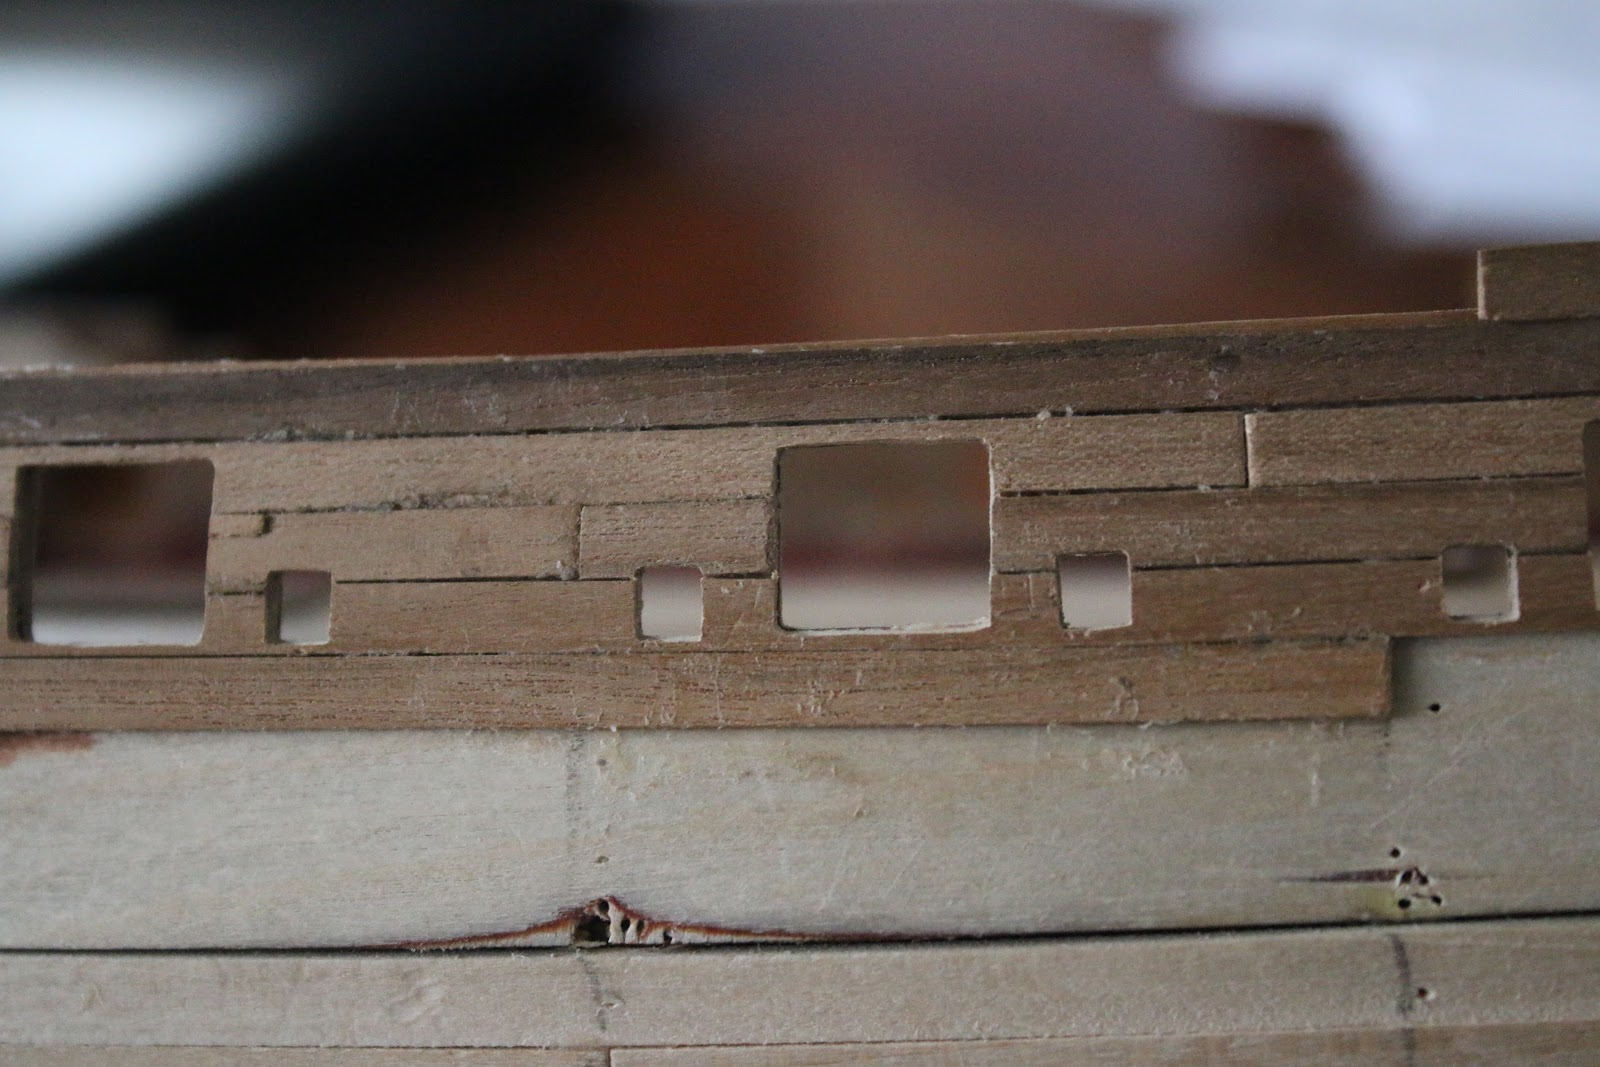
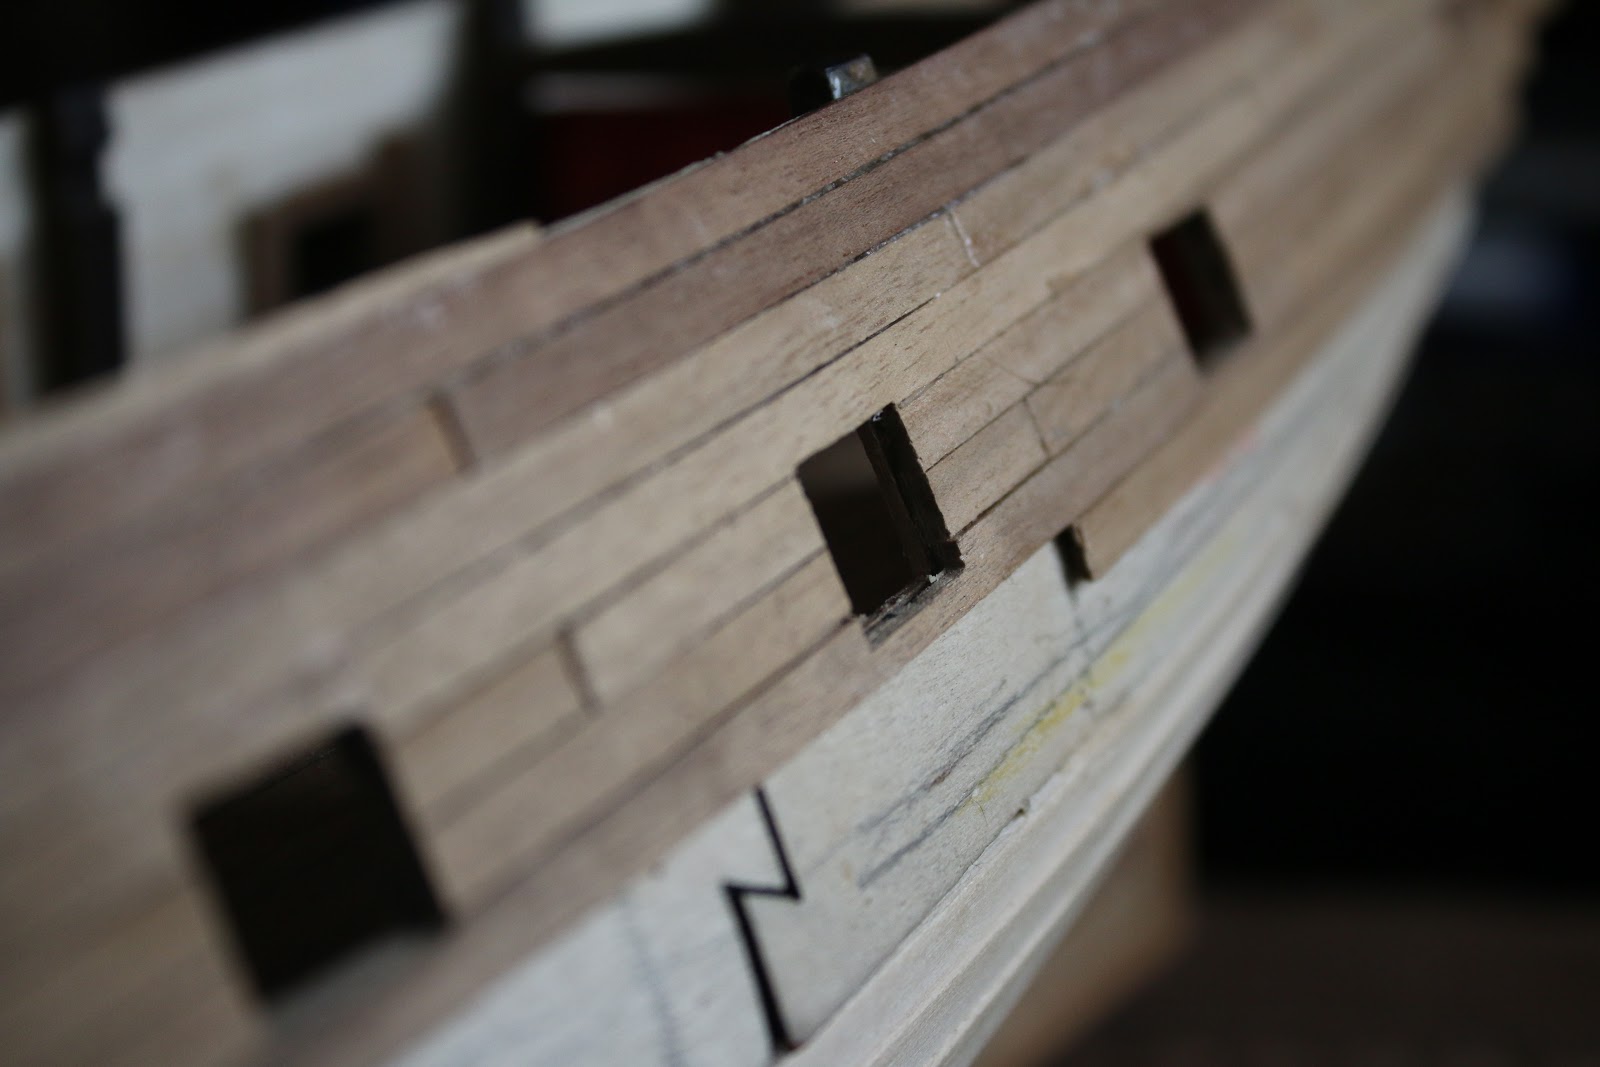
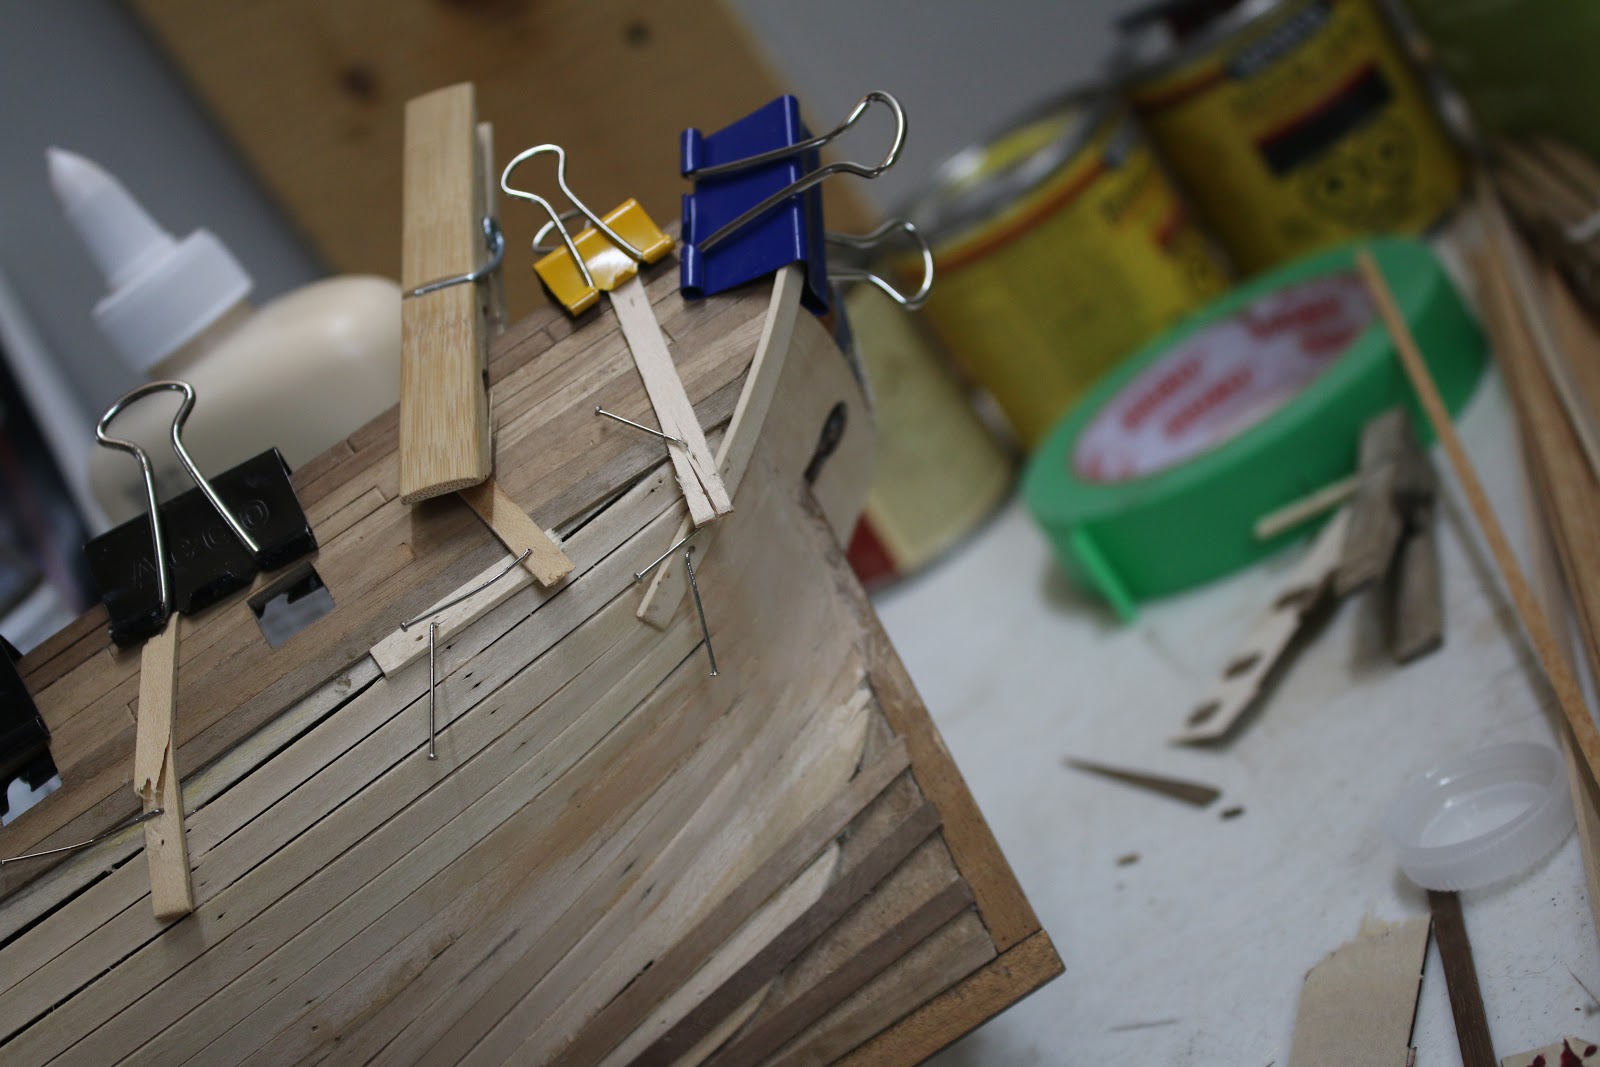
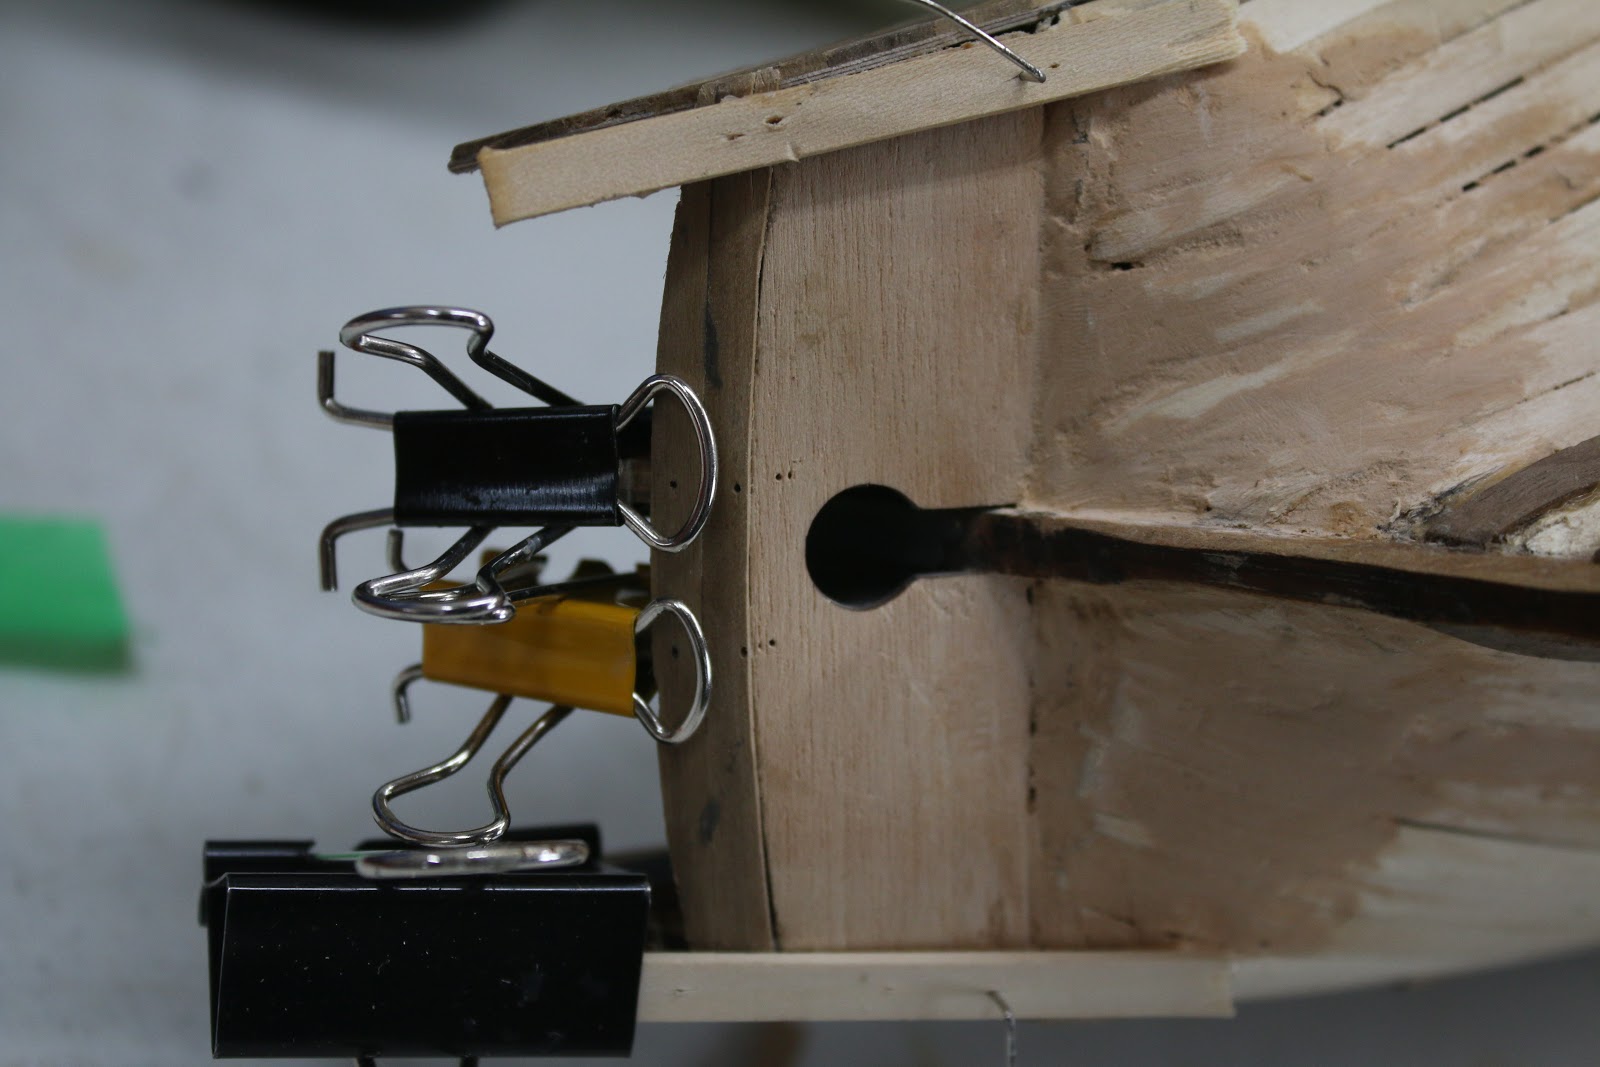
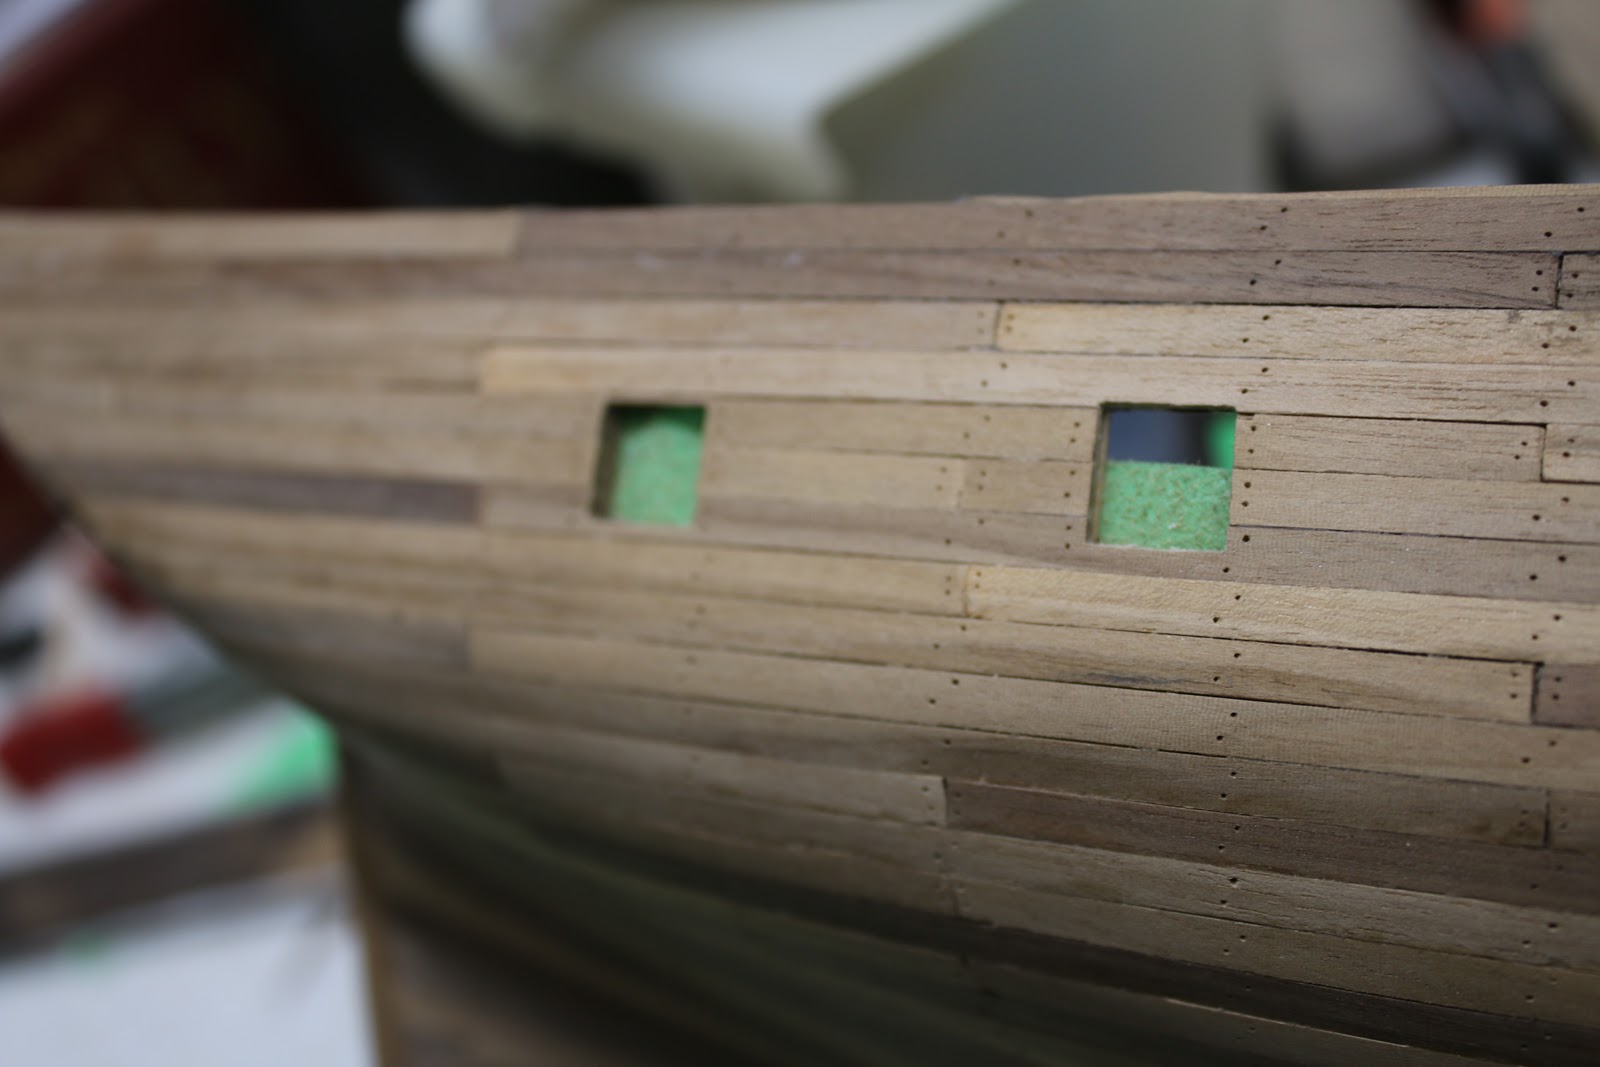
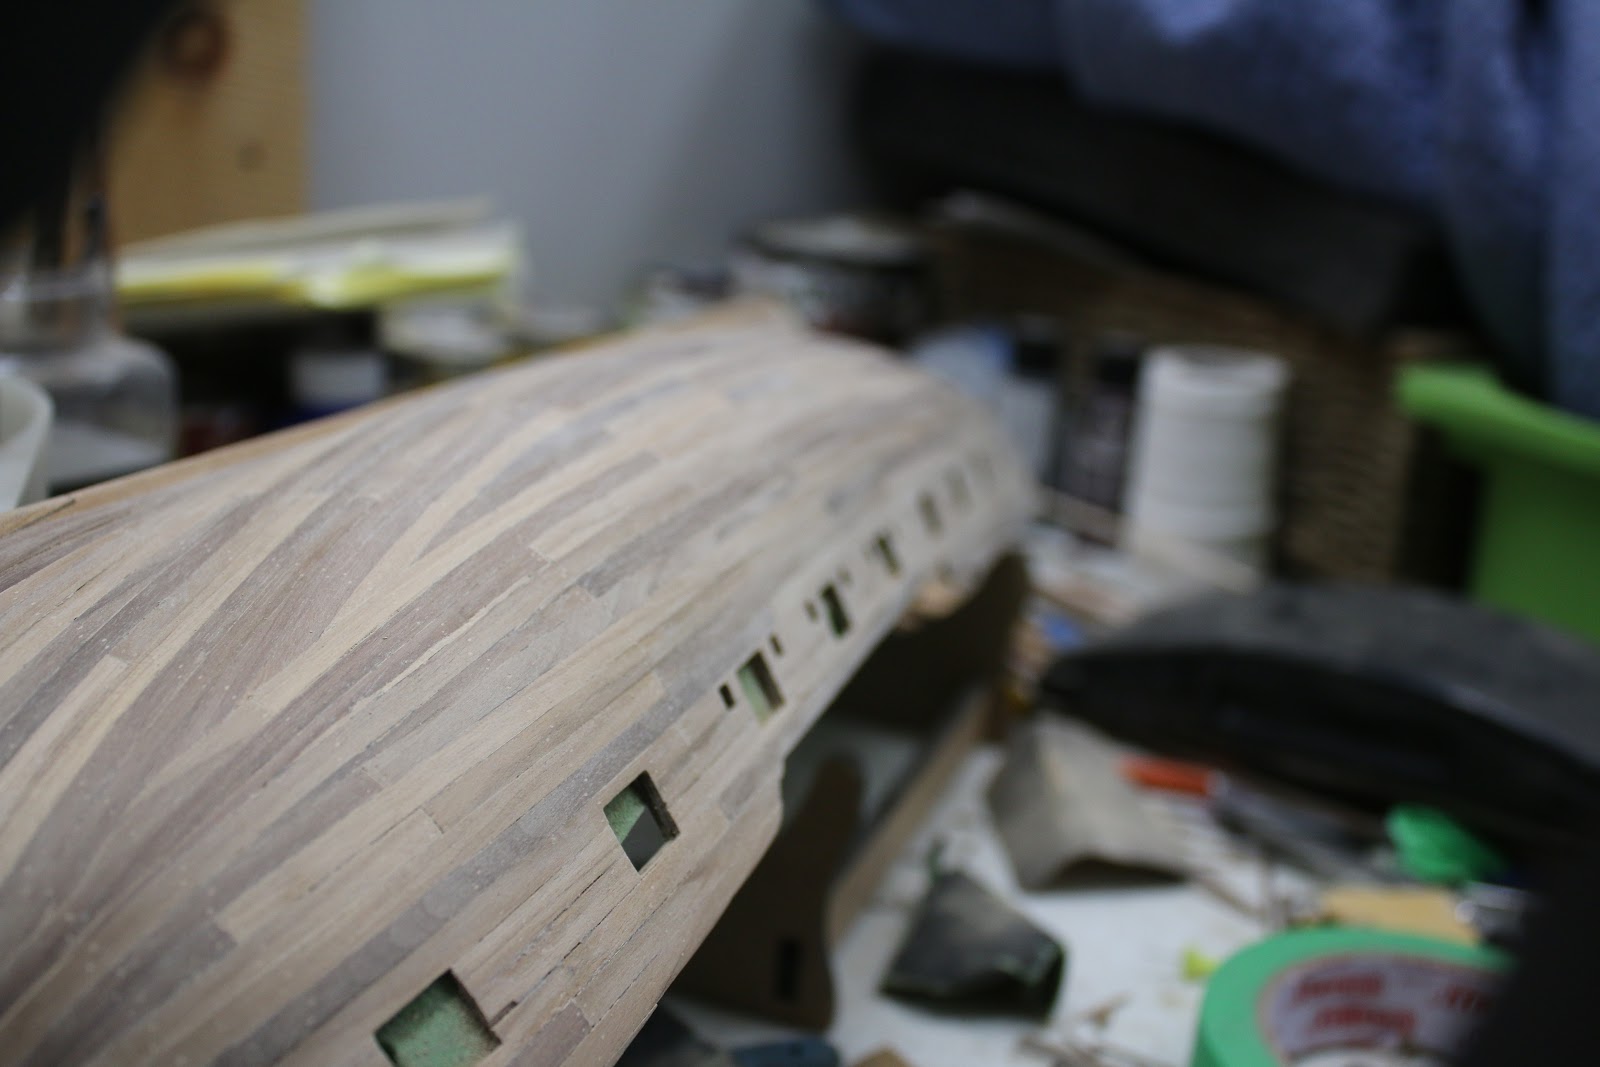
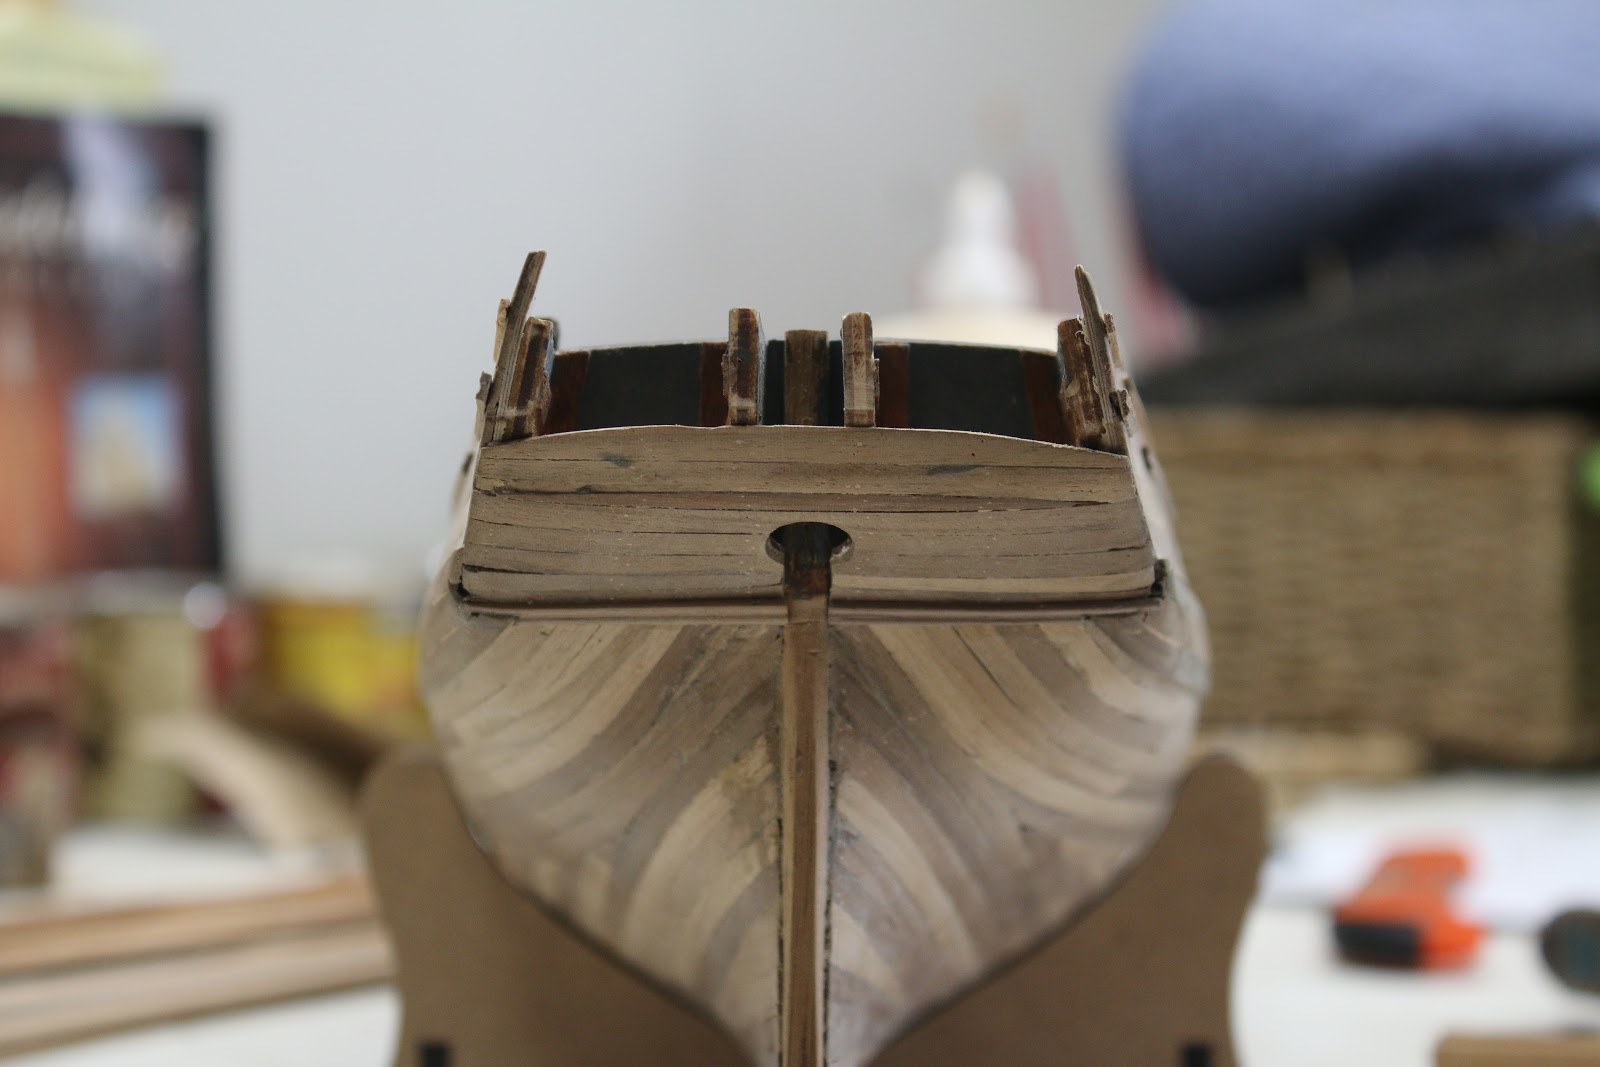
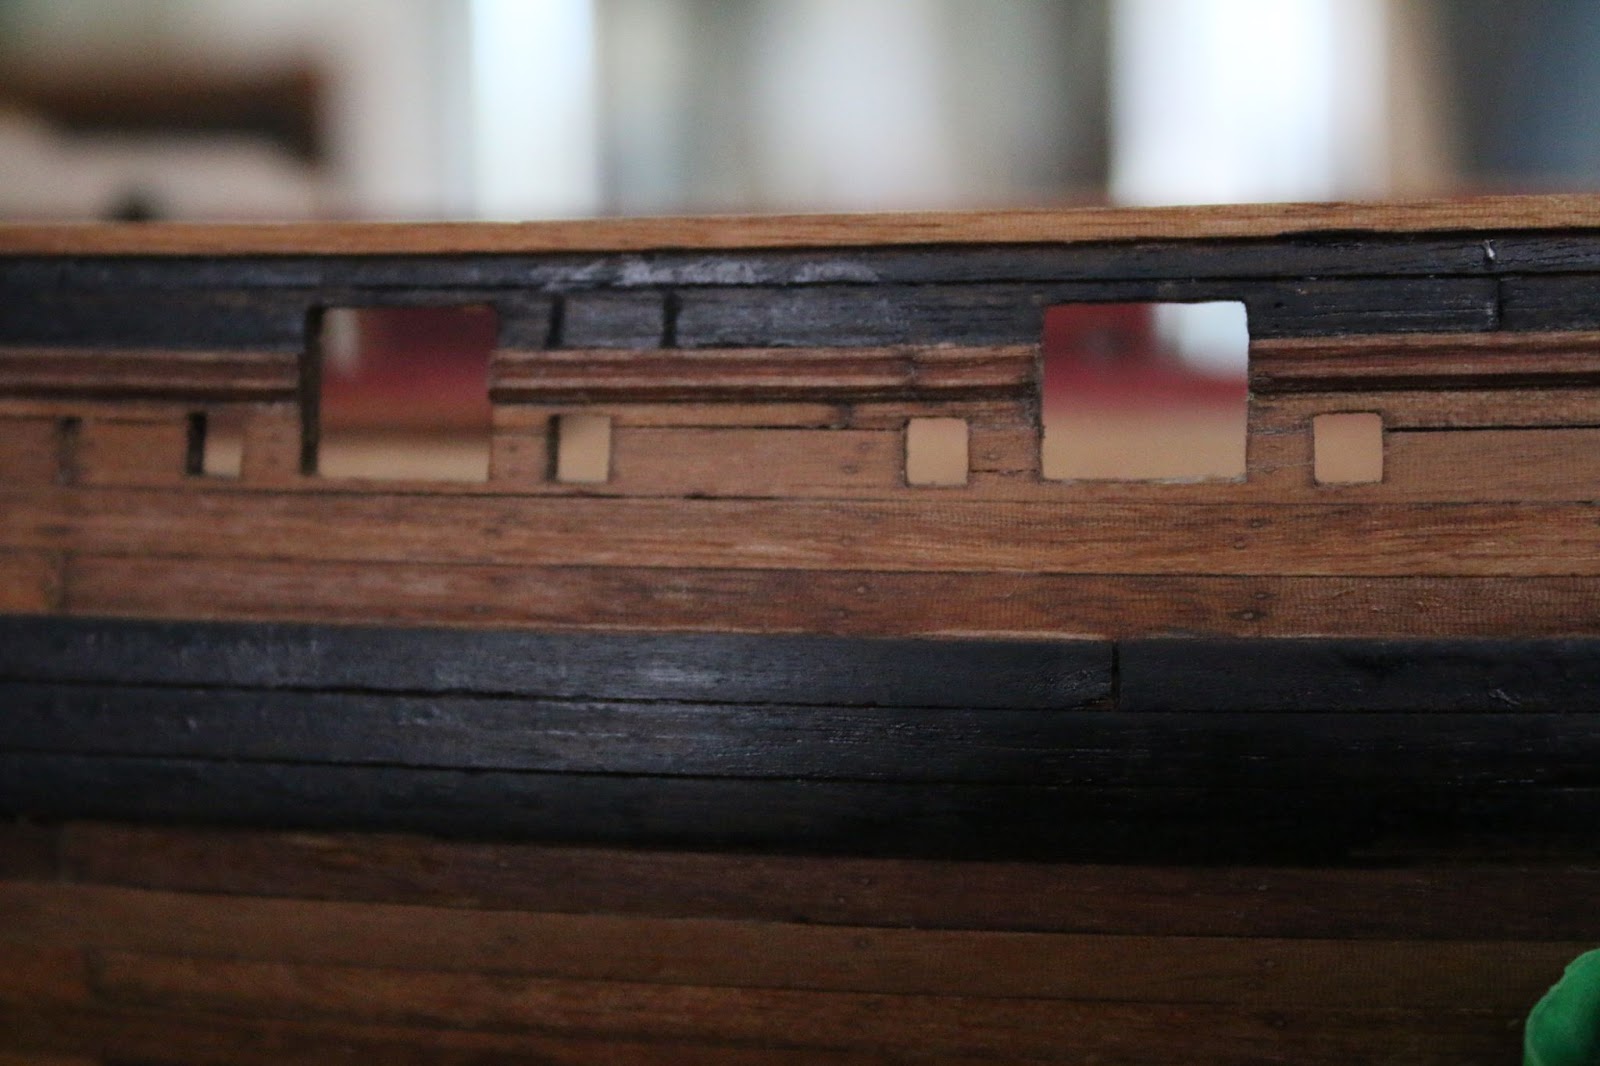
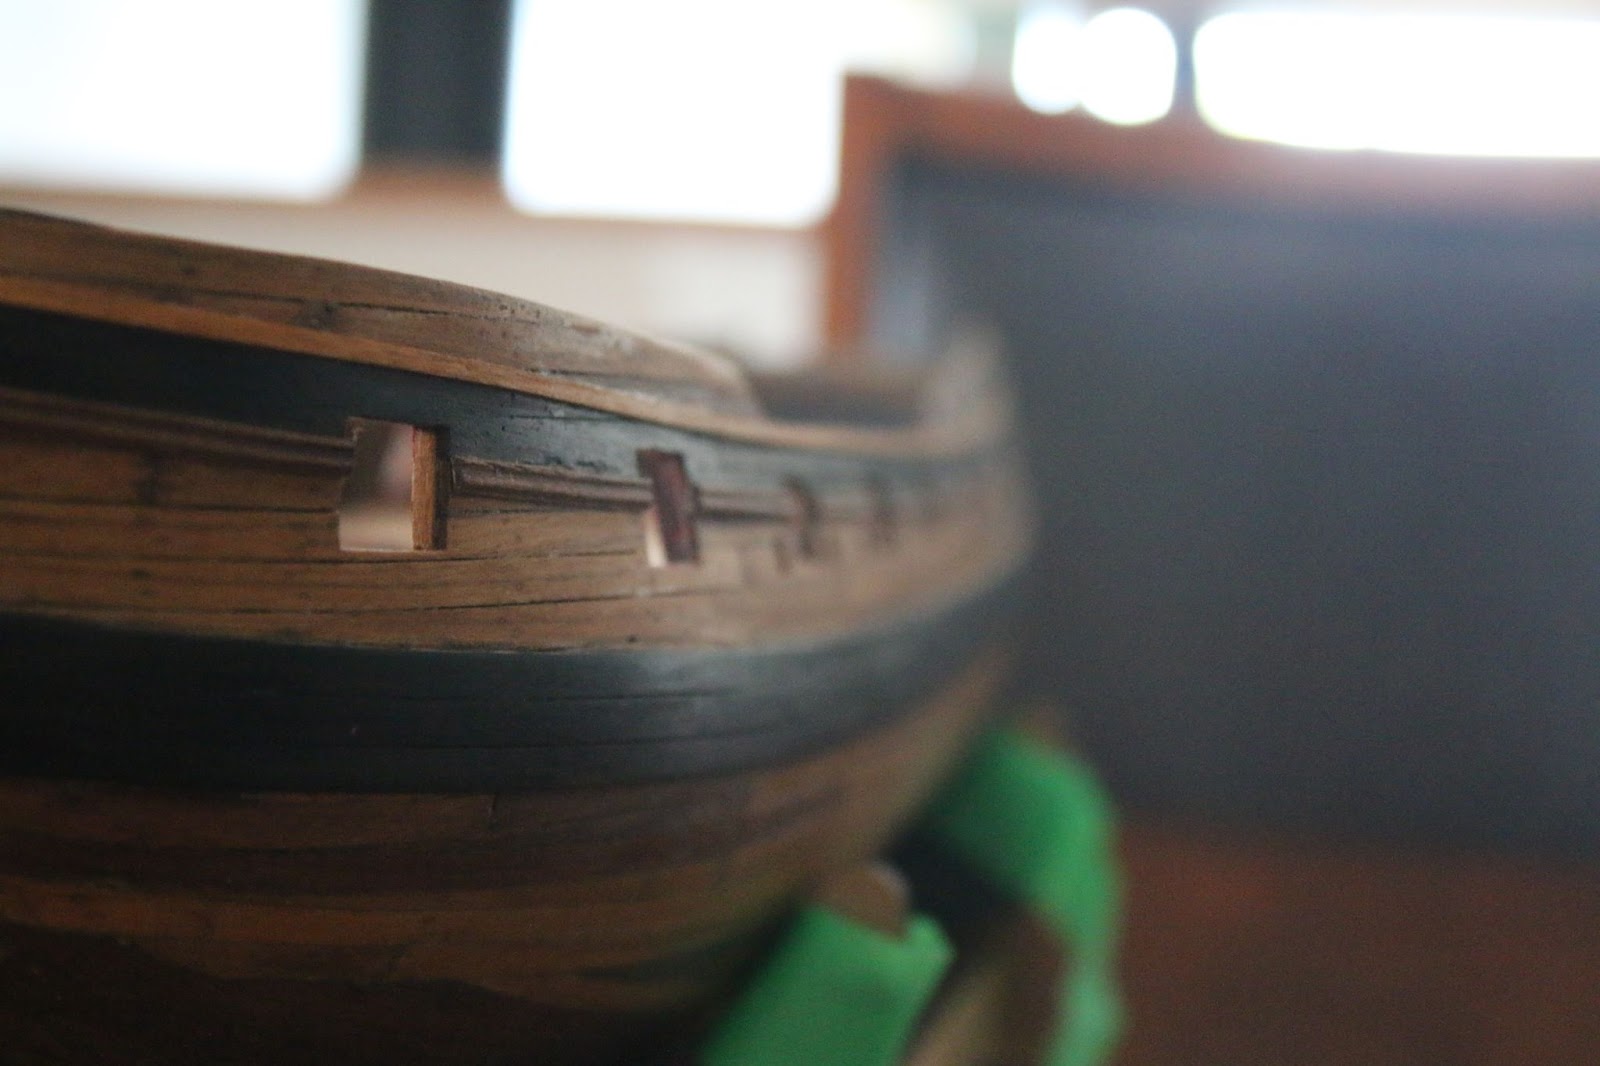
I also started framing the back most gunports on the inside to recreate the width of the hull without where there isn’t interior planking.
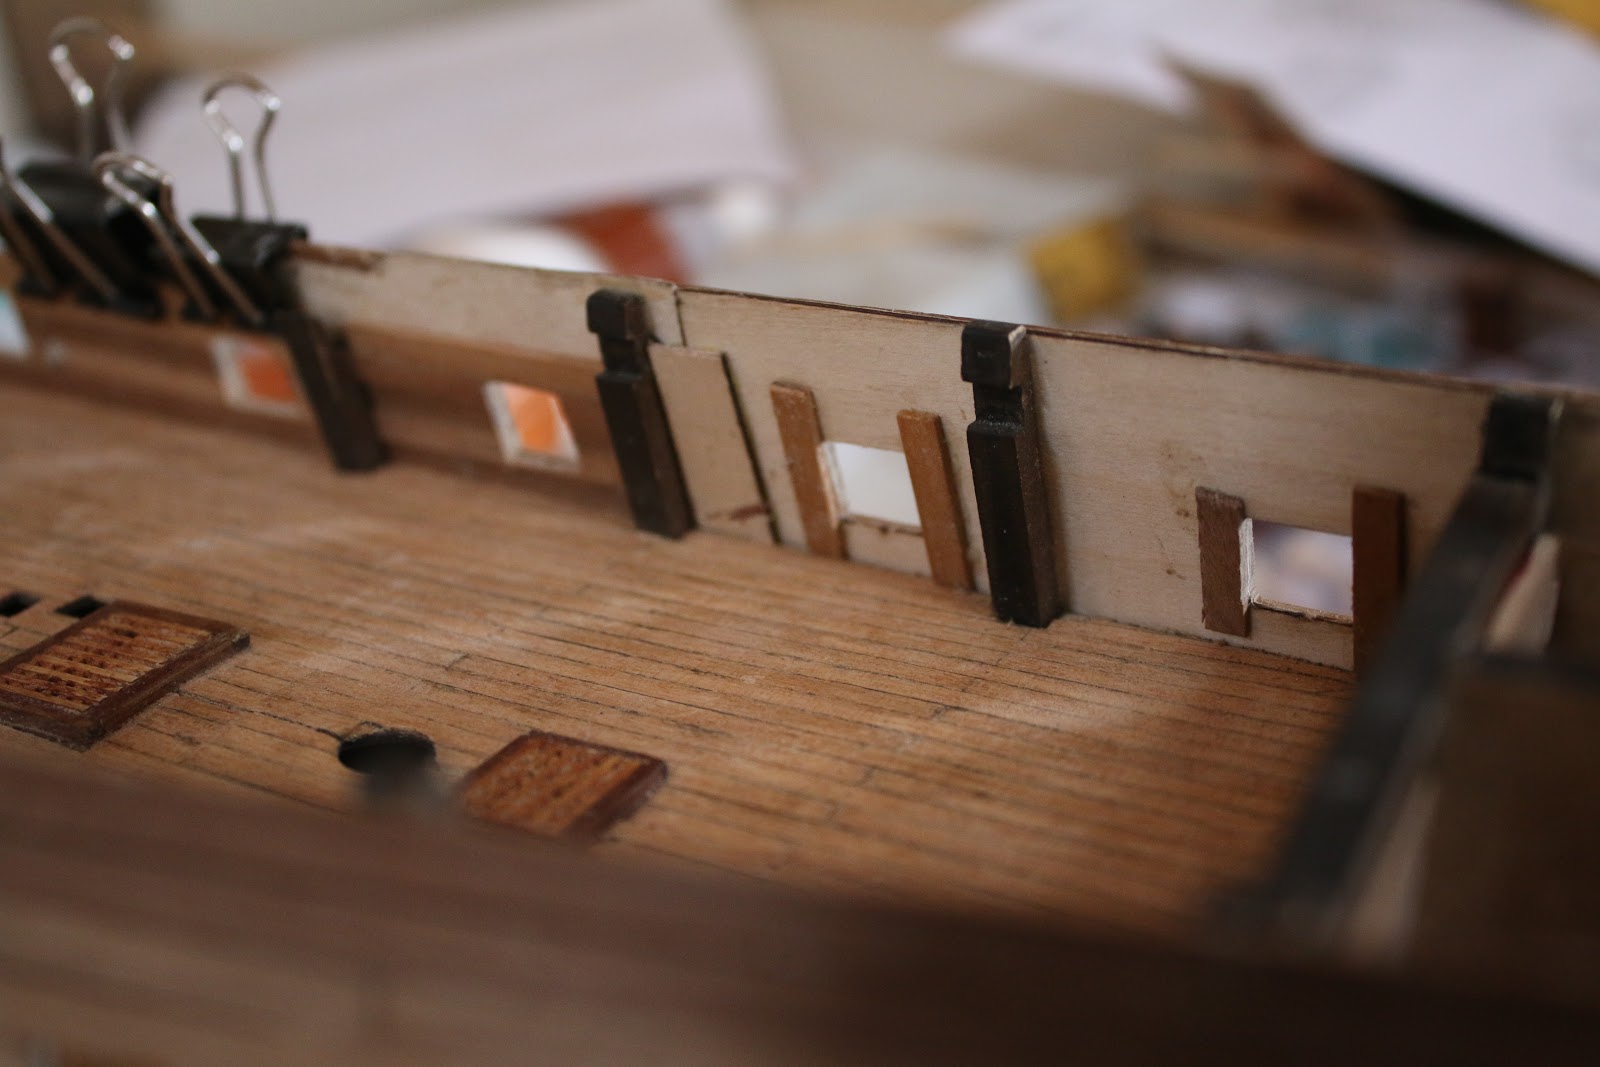
As well as adding some decor inside the what will be barely visible captain’s cabin.
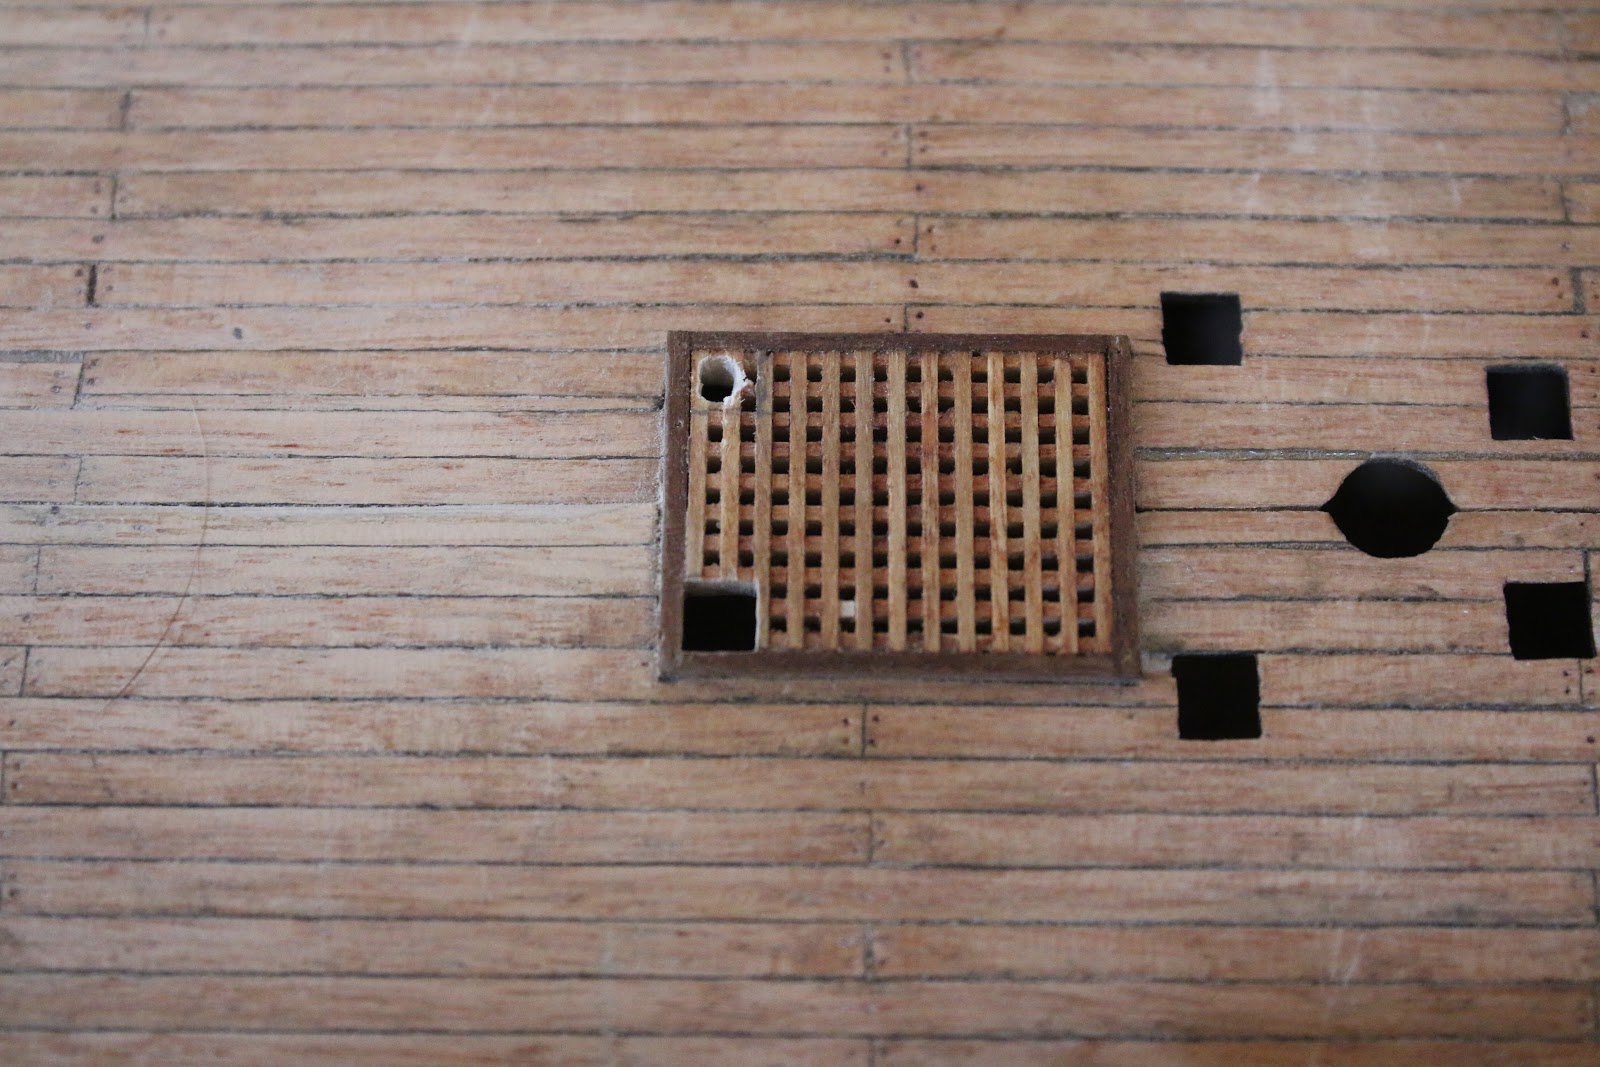
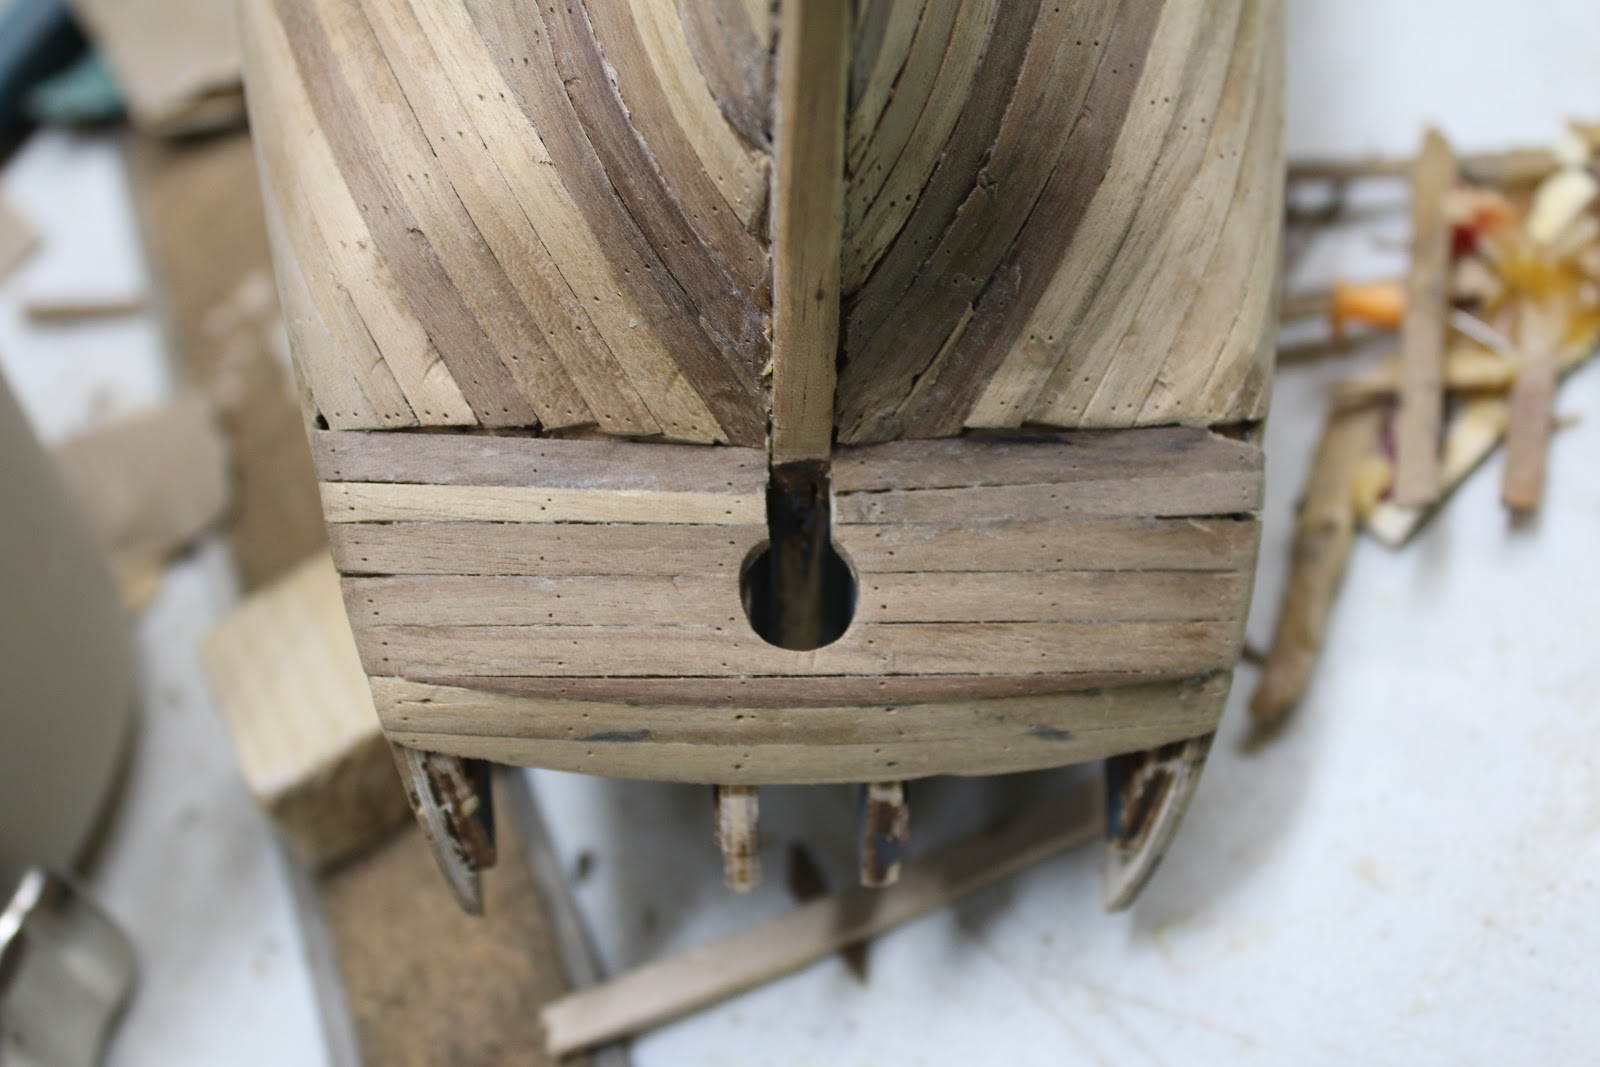
After that, I realized that I had missed a step and forgotten to cut holes in my main hatch for the anchor rope to run into. So with some muttering, I went ahead and fixed this mistake.
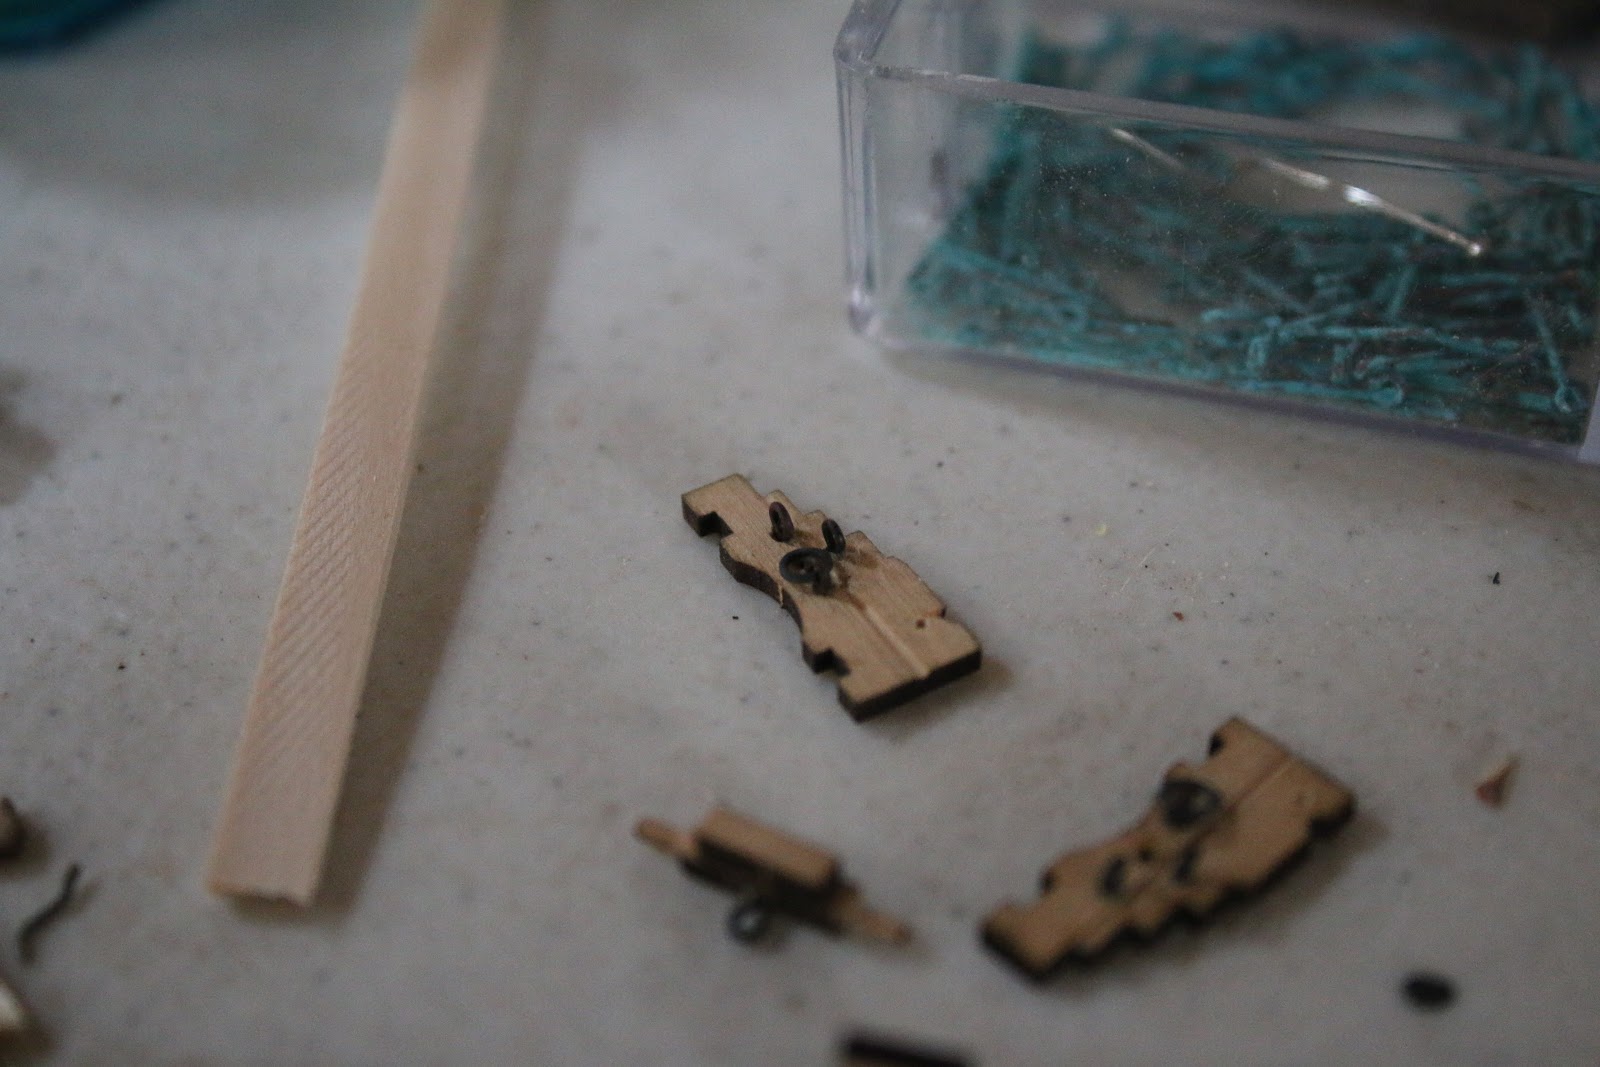
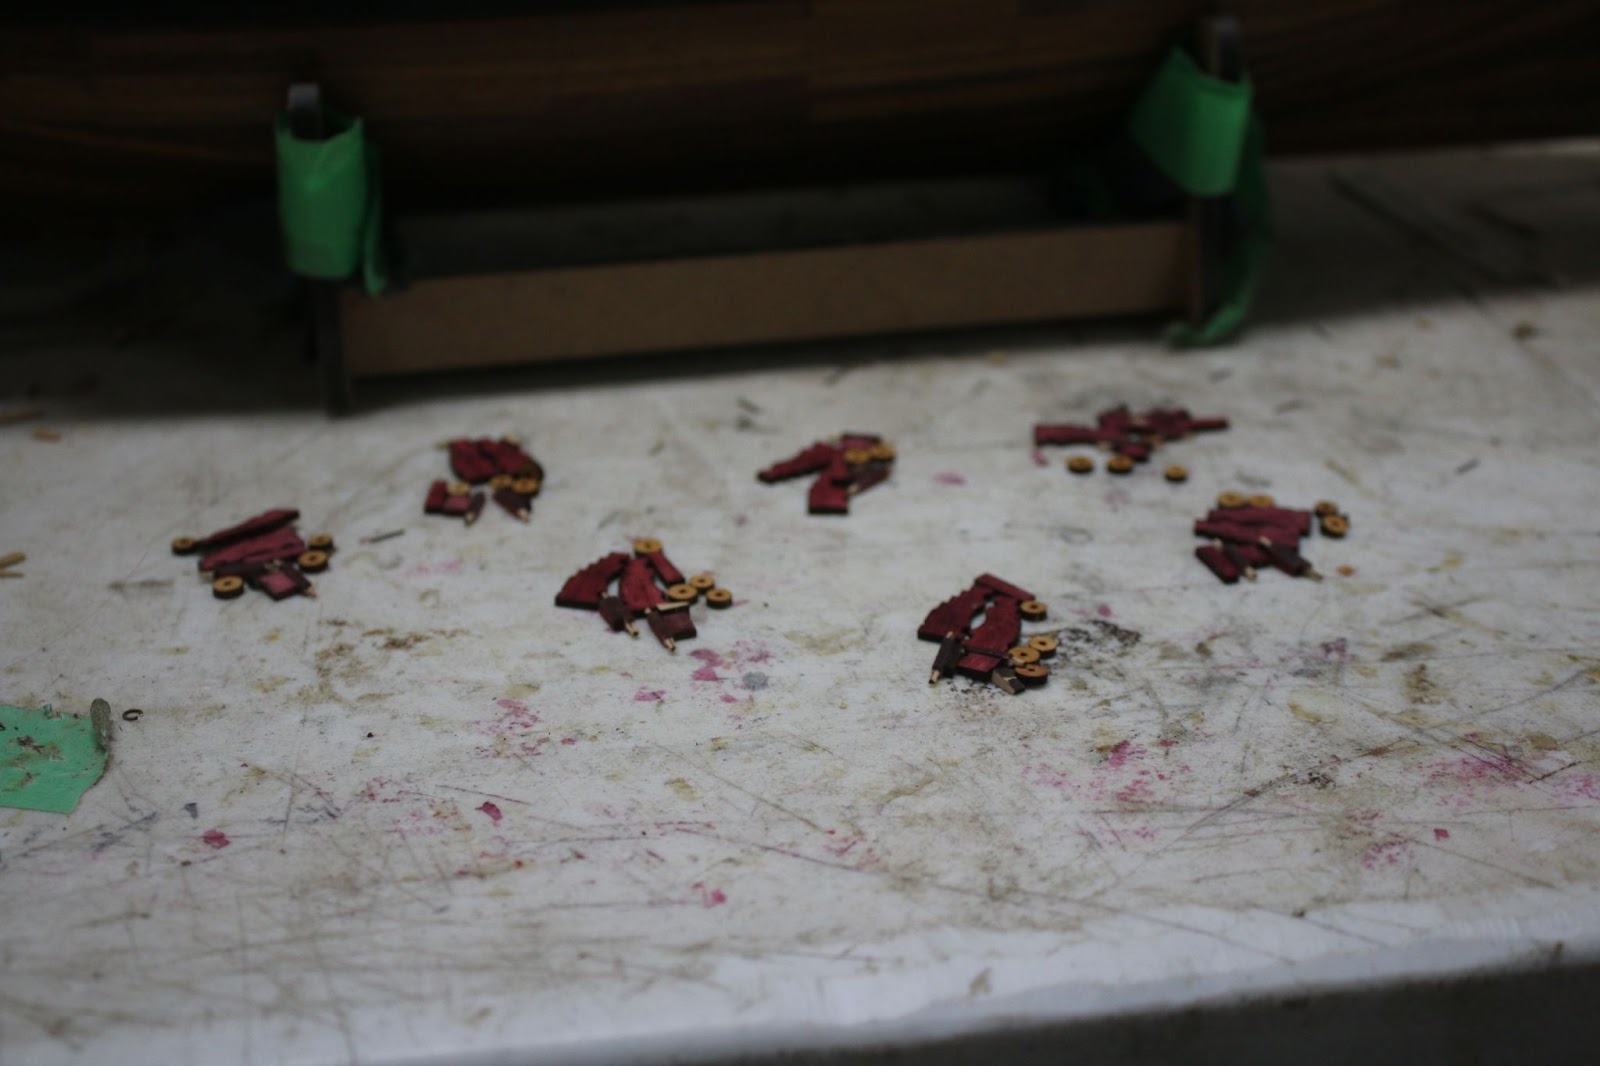
After some much needed time away from home. The guns and their carriages finally came in. though I had to convince the post office to give me the cannons due to a mistake in the address but simply pulling up the email confirmation showed it did indeed belong to me.
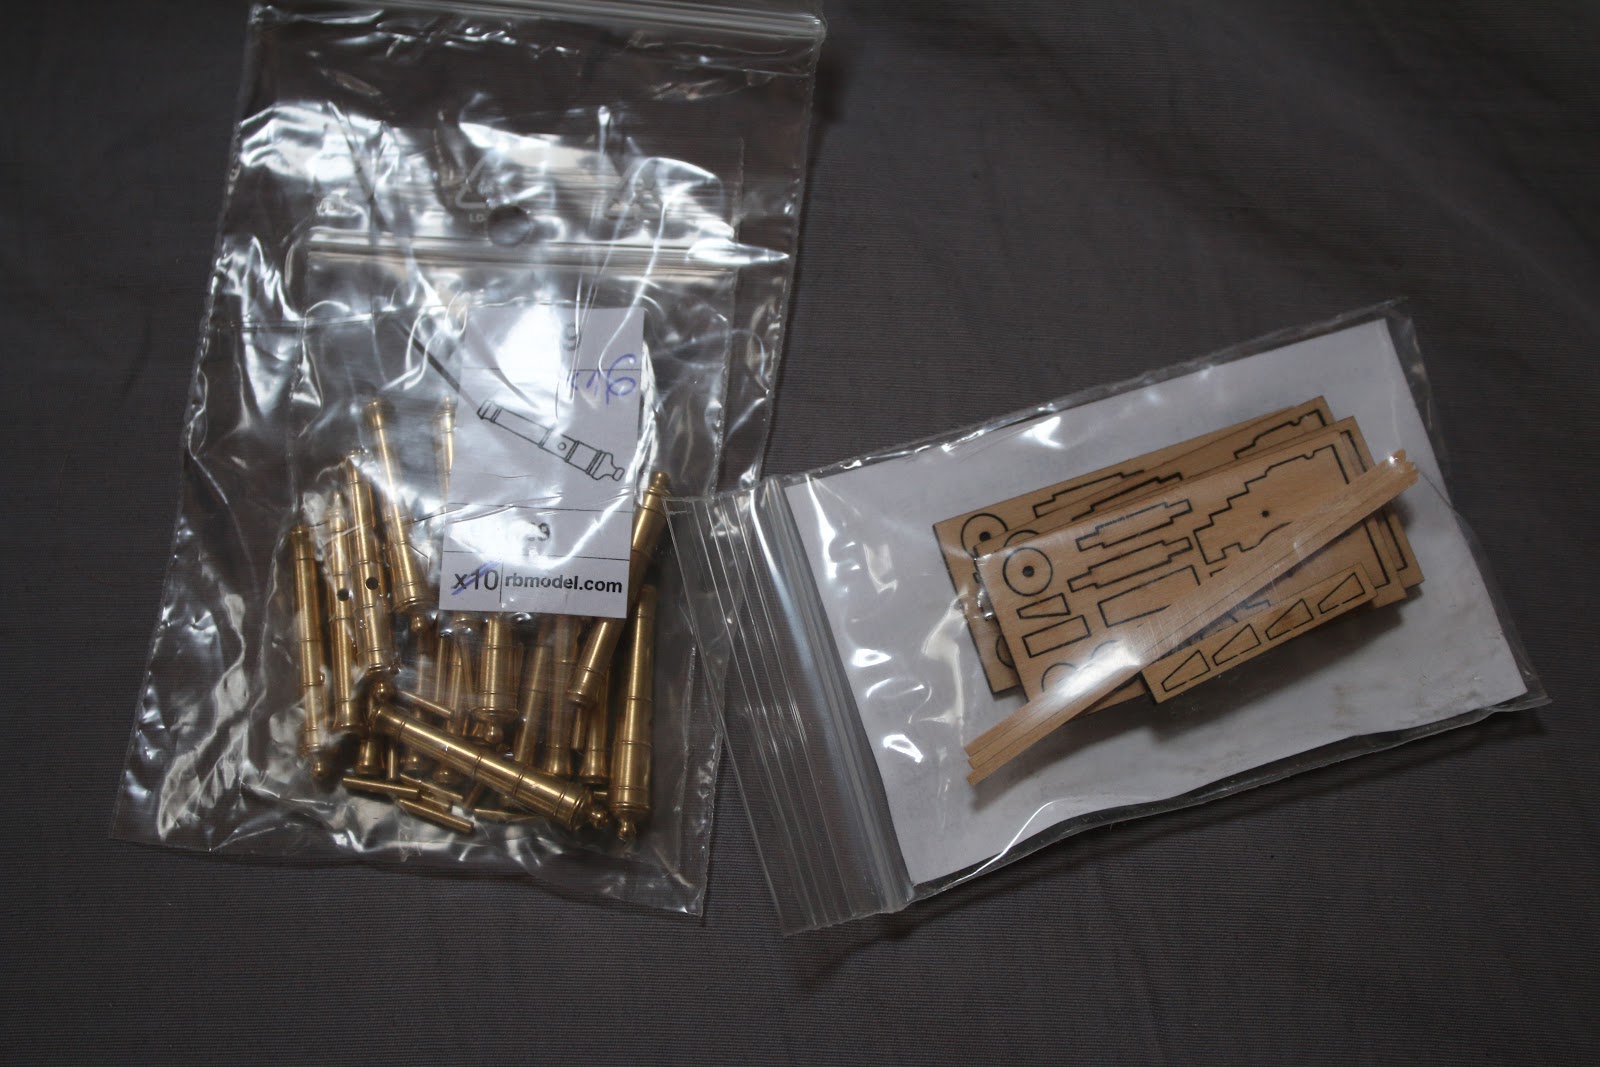
And with that, I went ahead and attempted to build a carriage. And not surcome to the mind-numbing challenge this is.
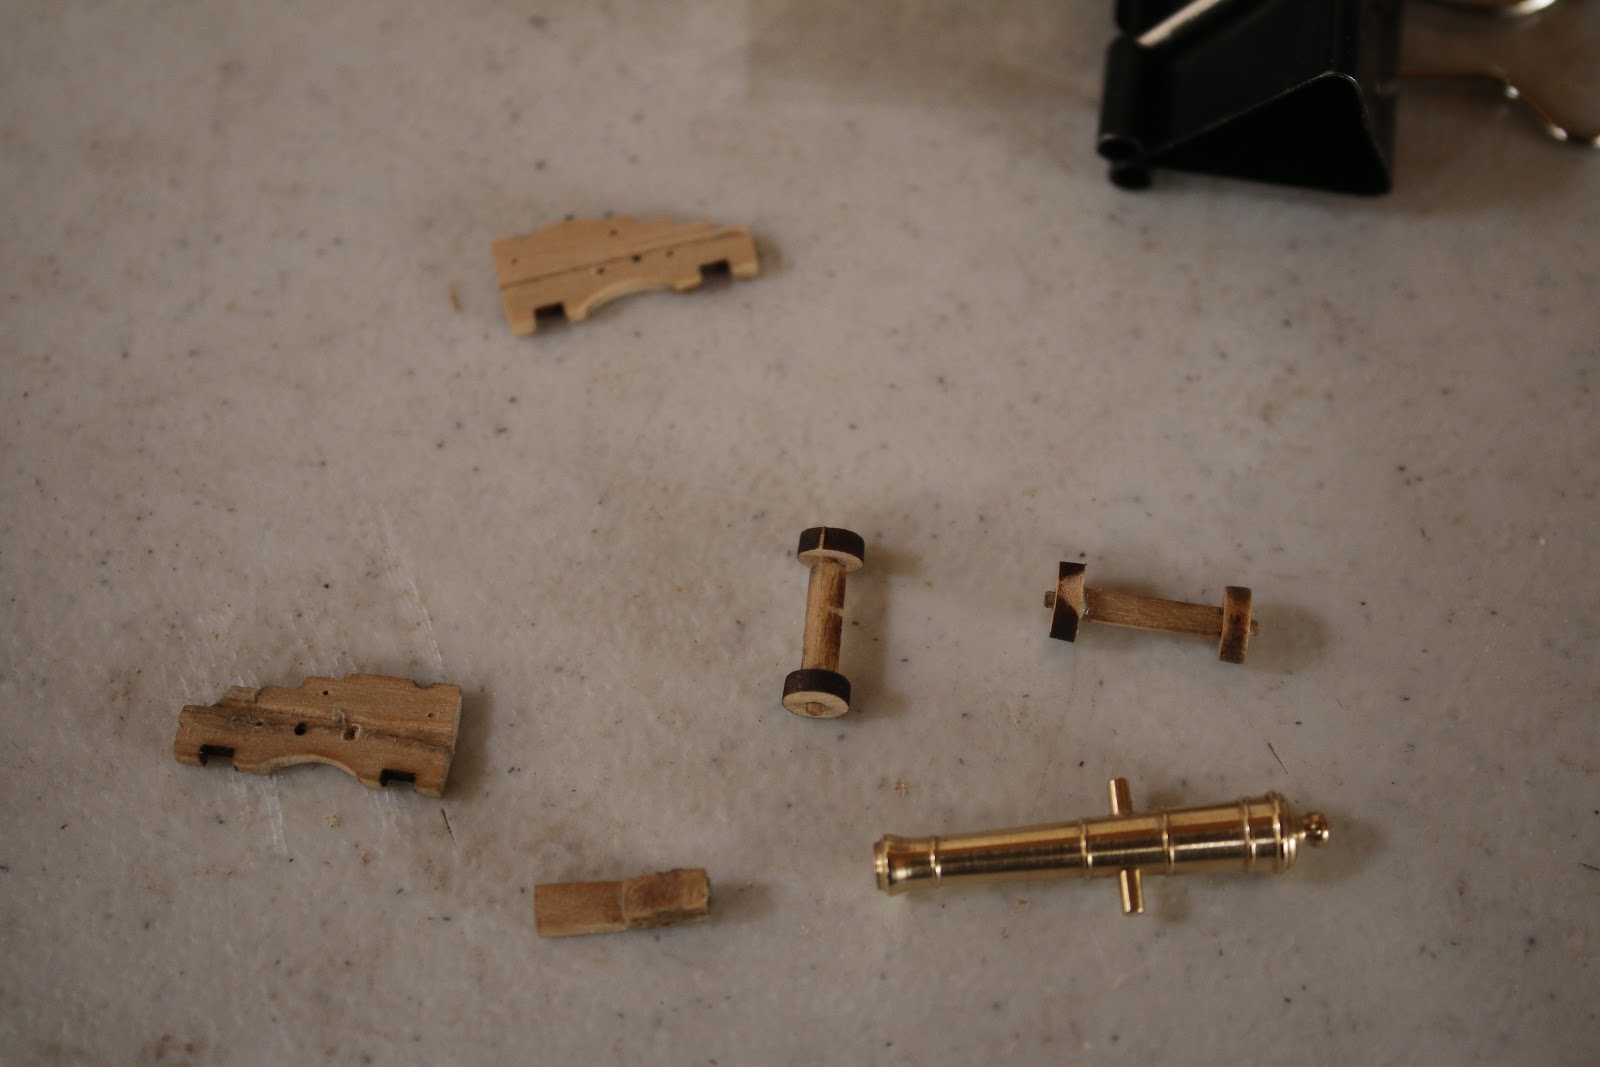
Alas, I did succeed.

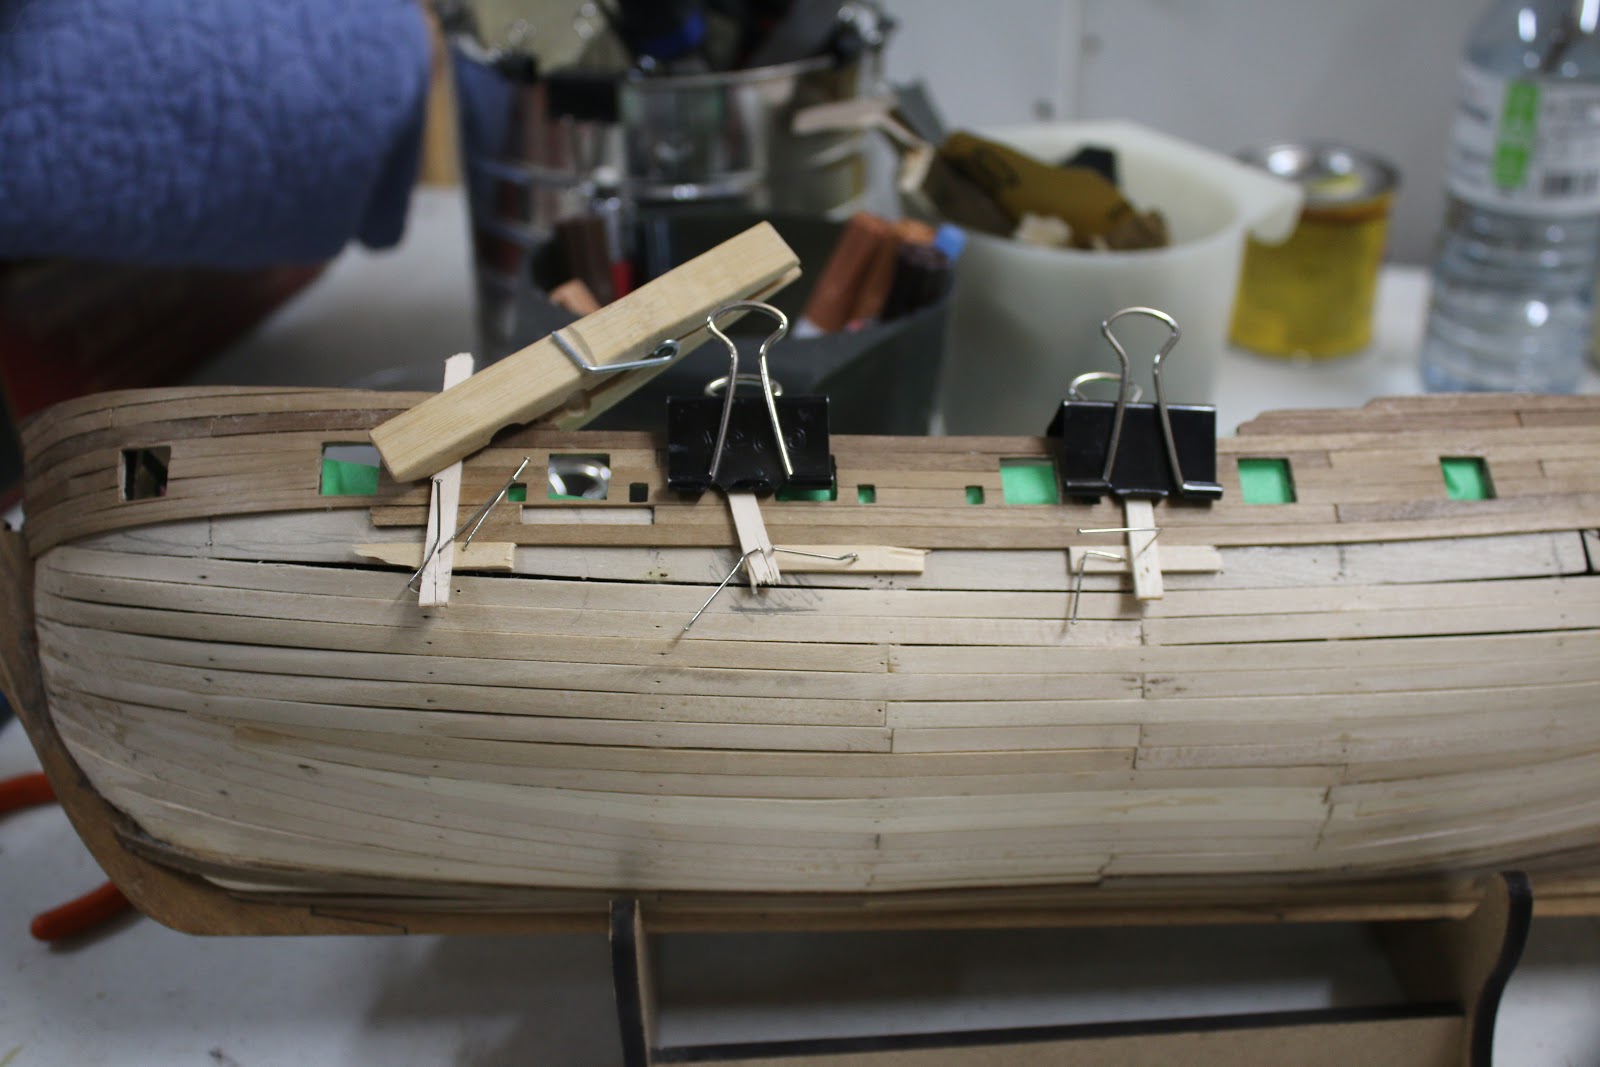
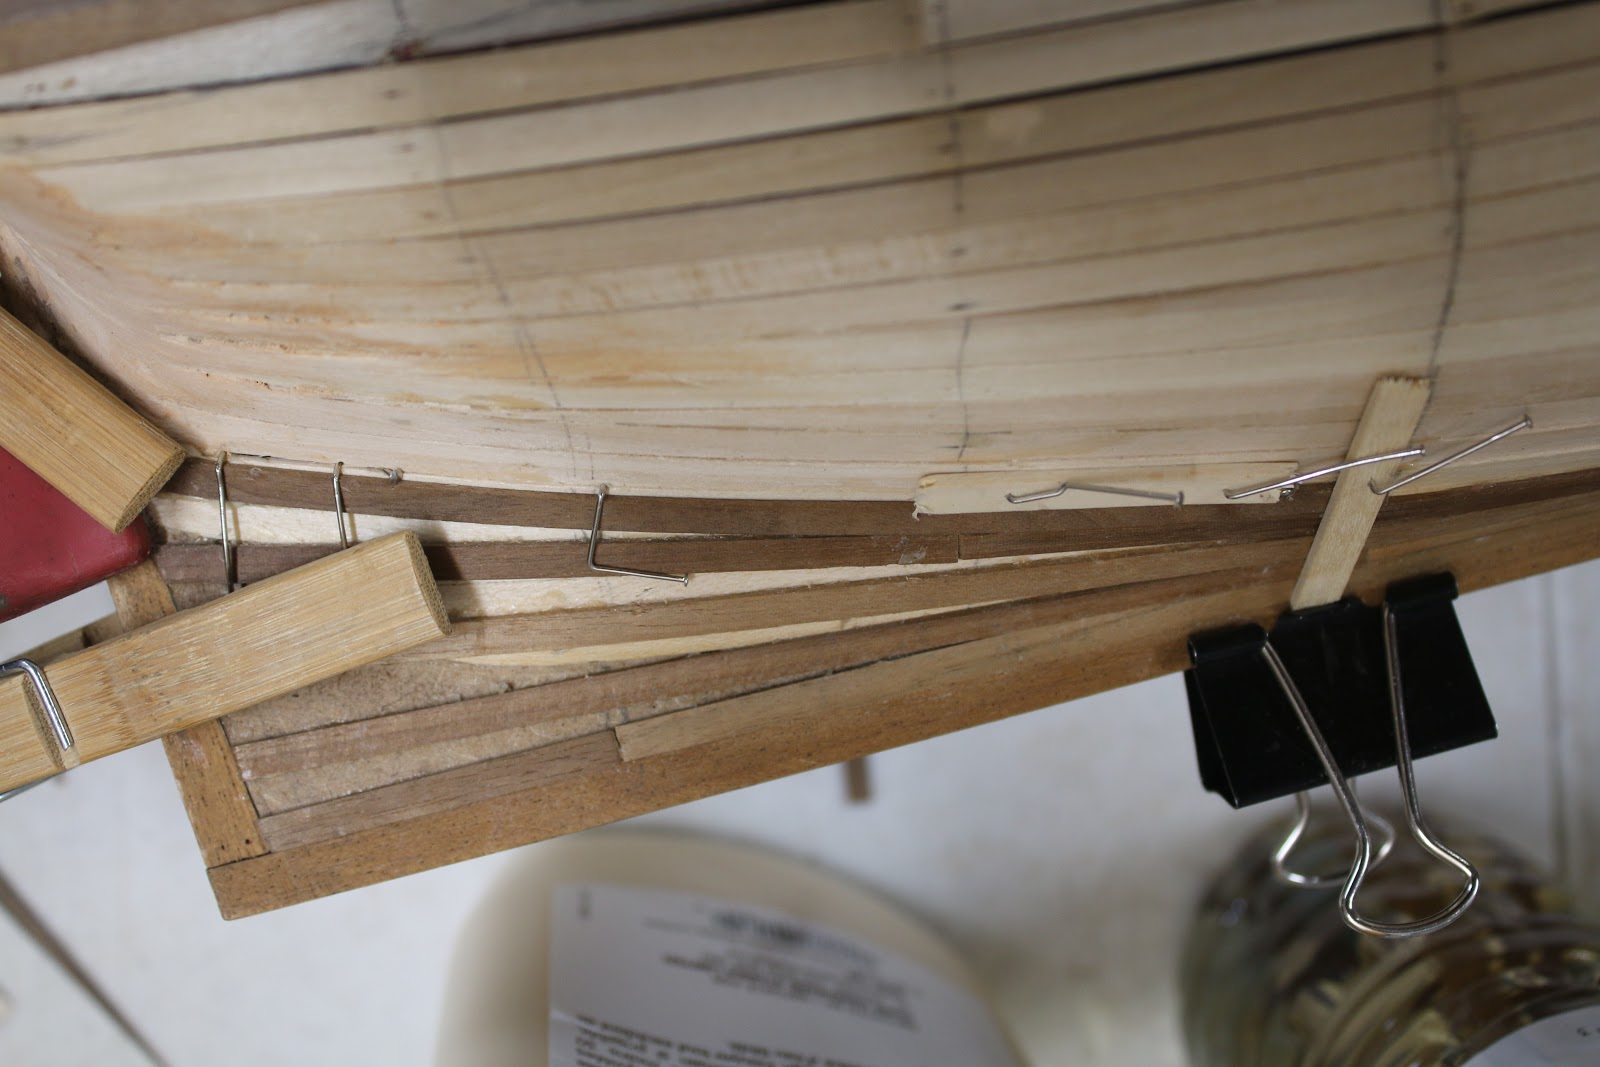
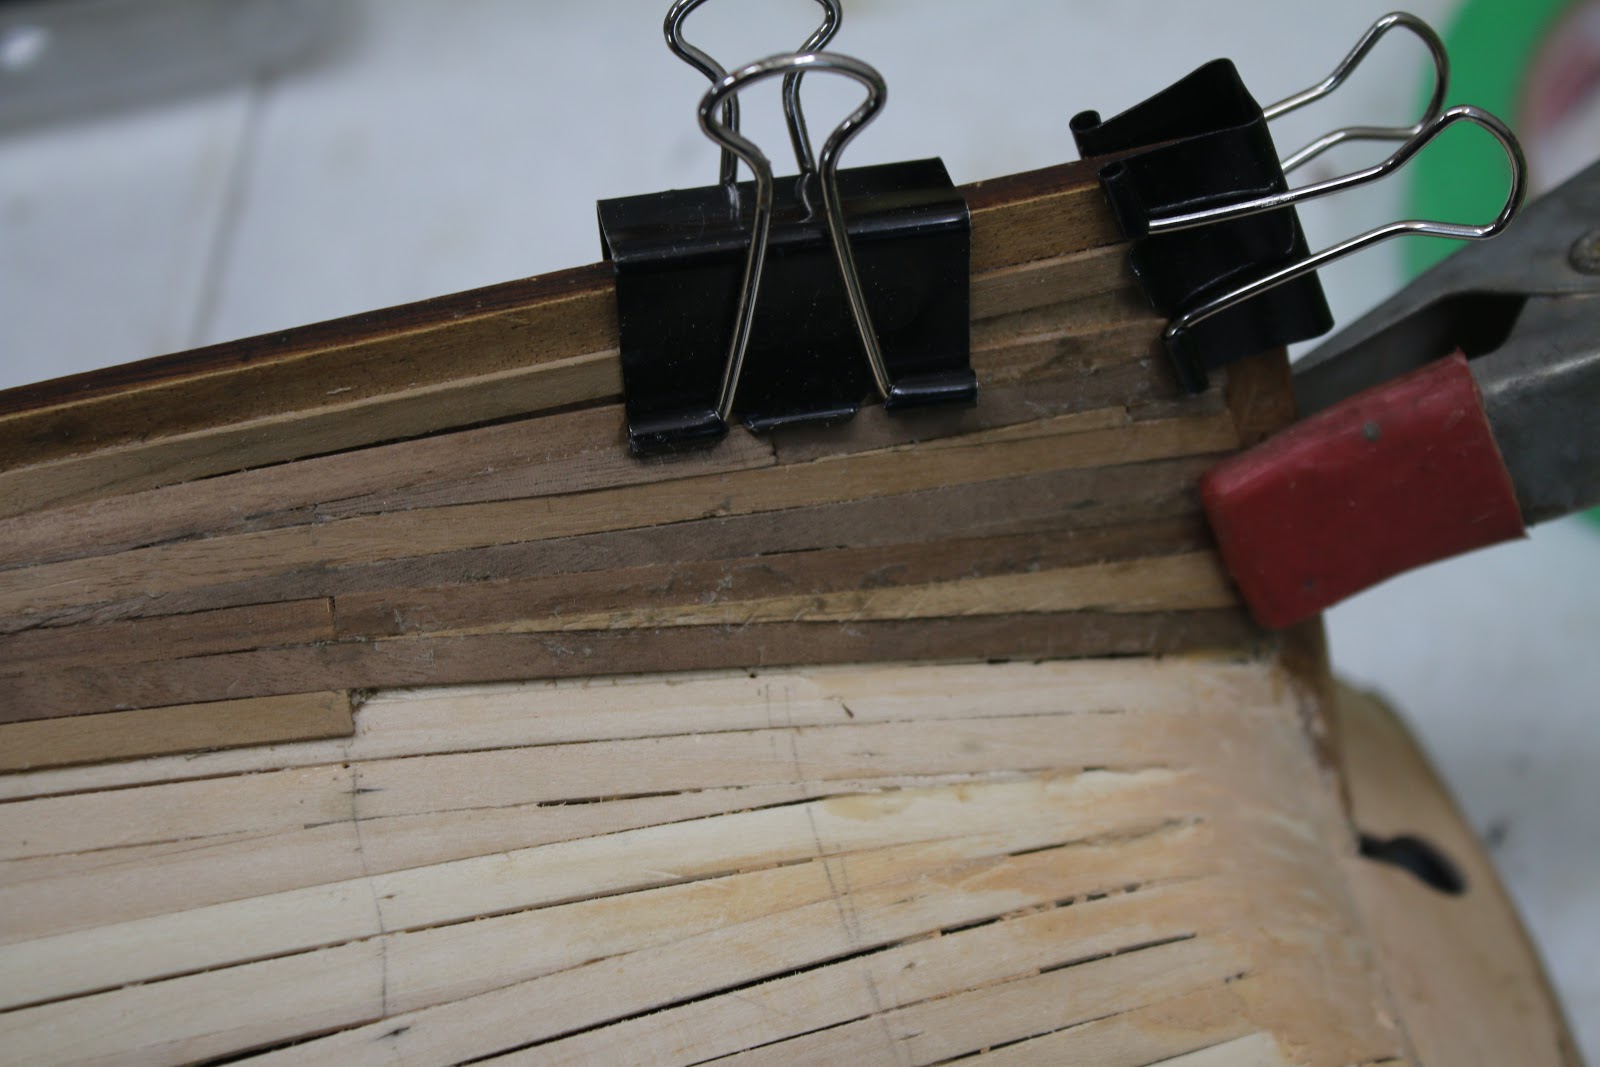
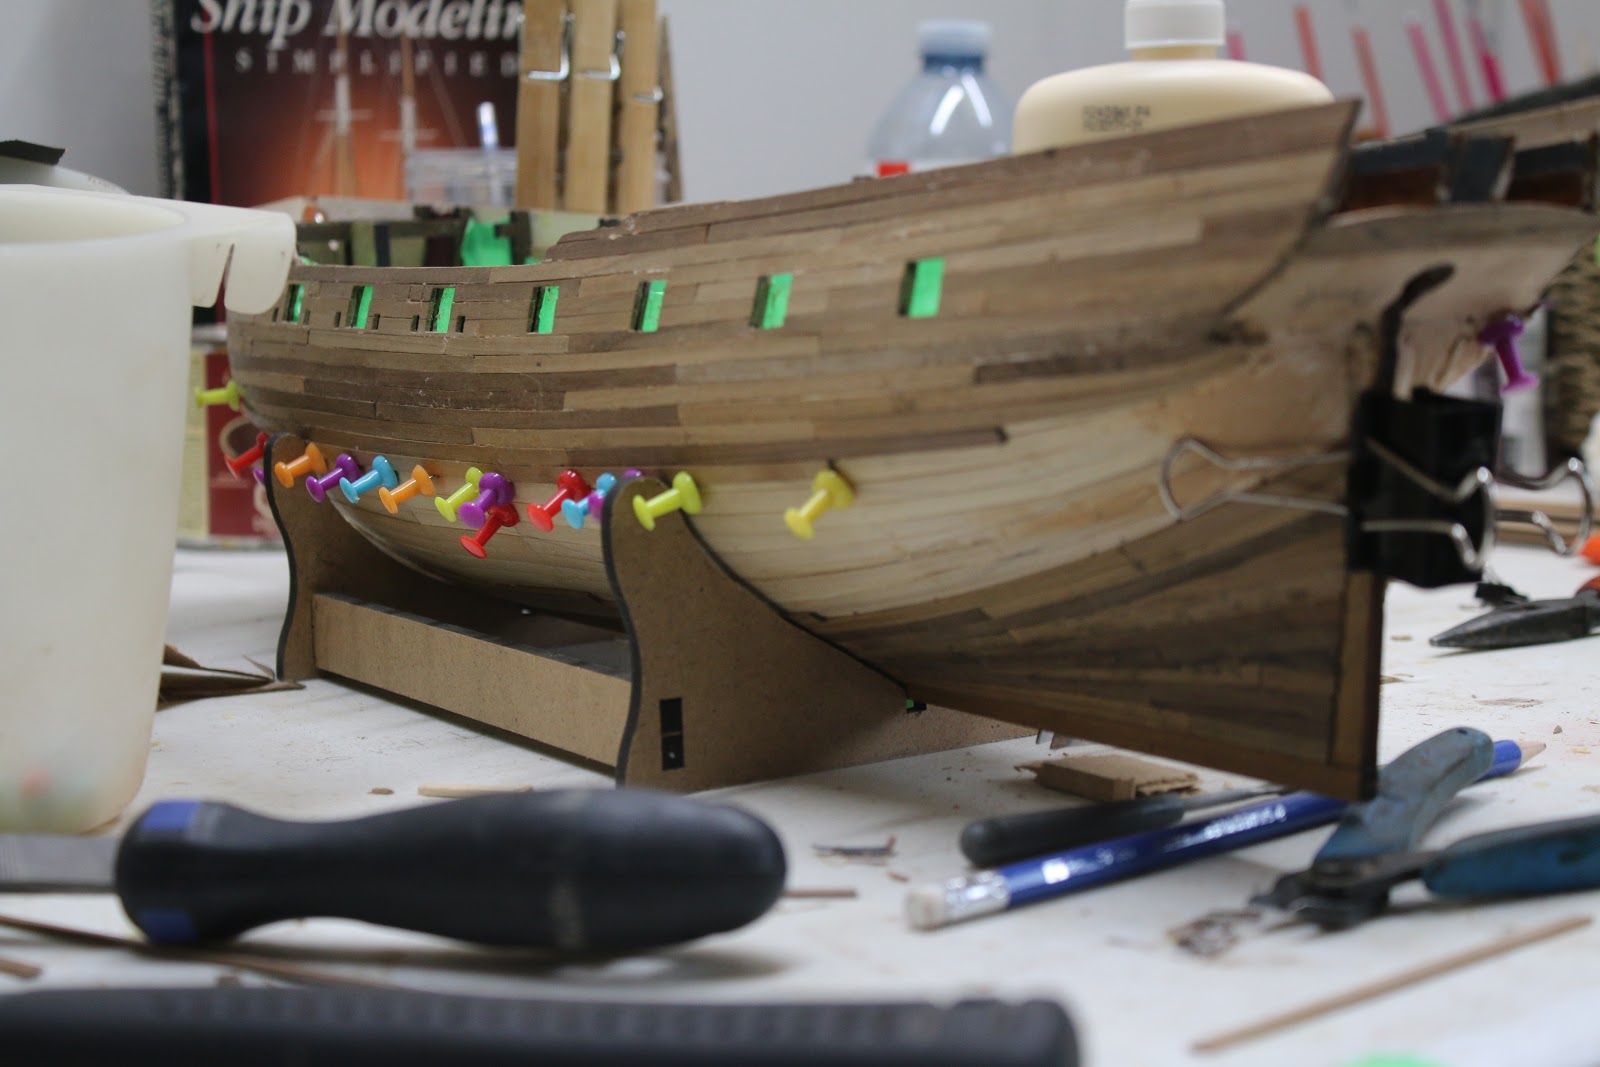
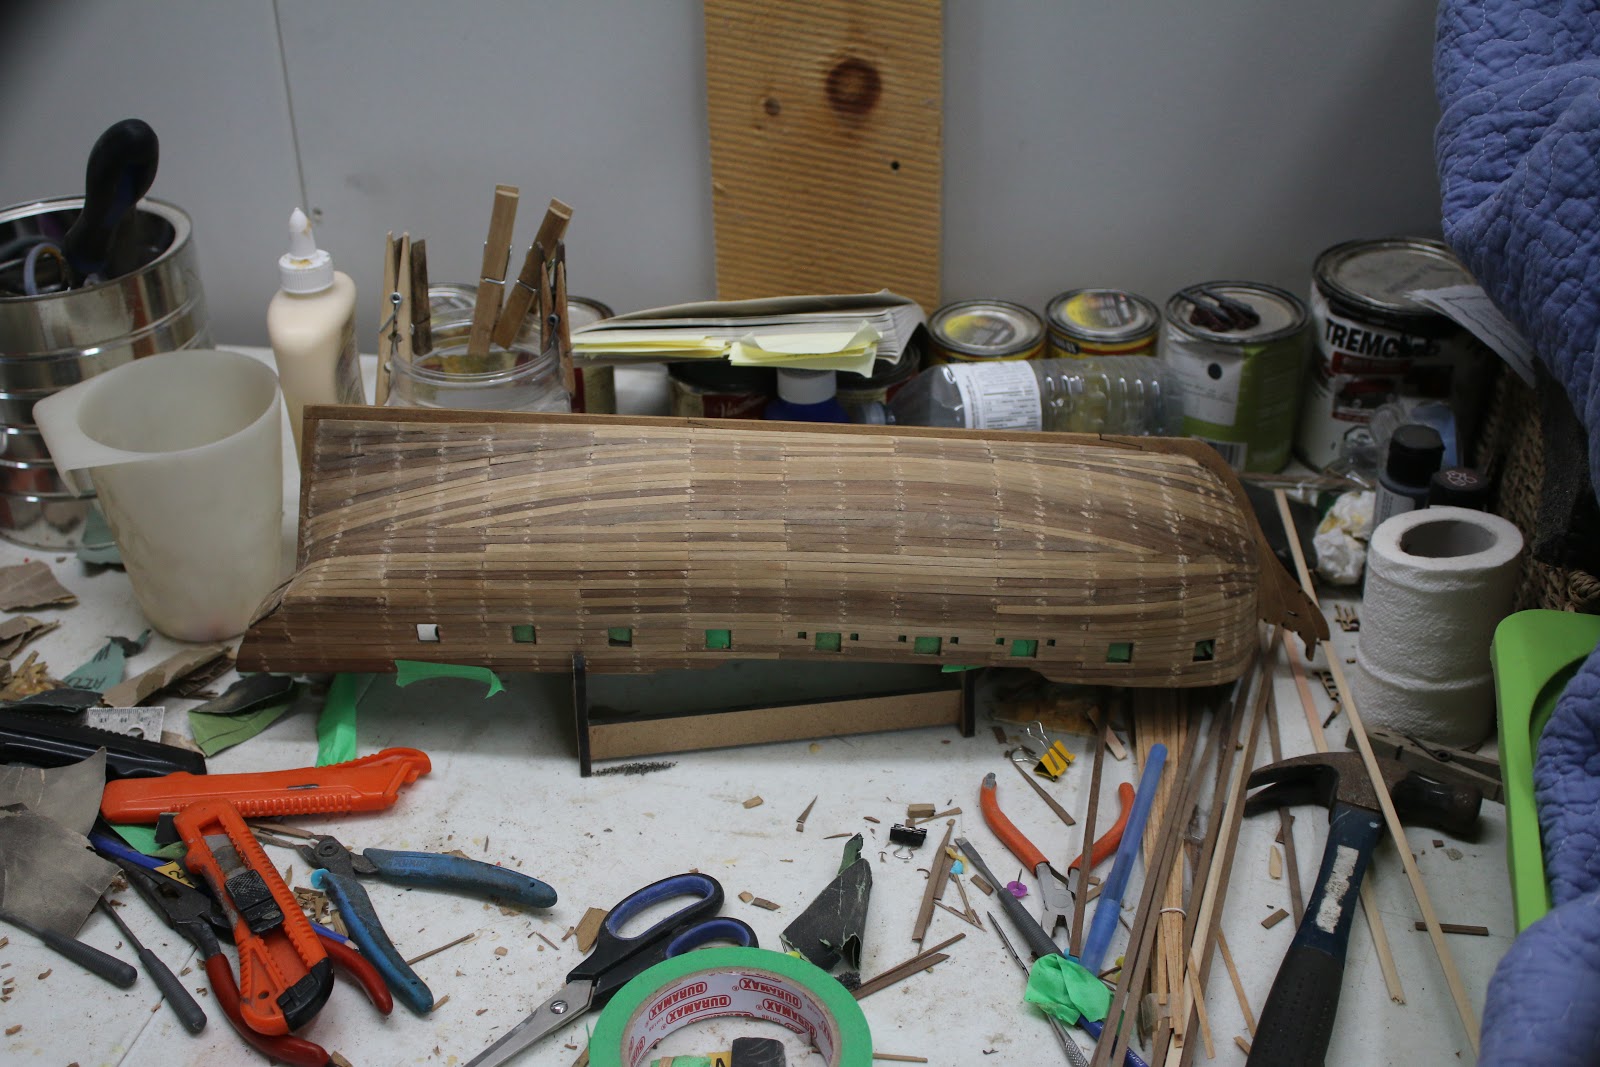
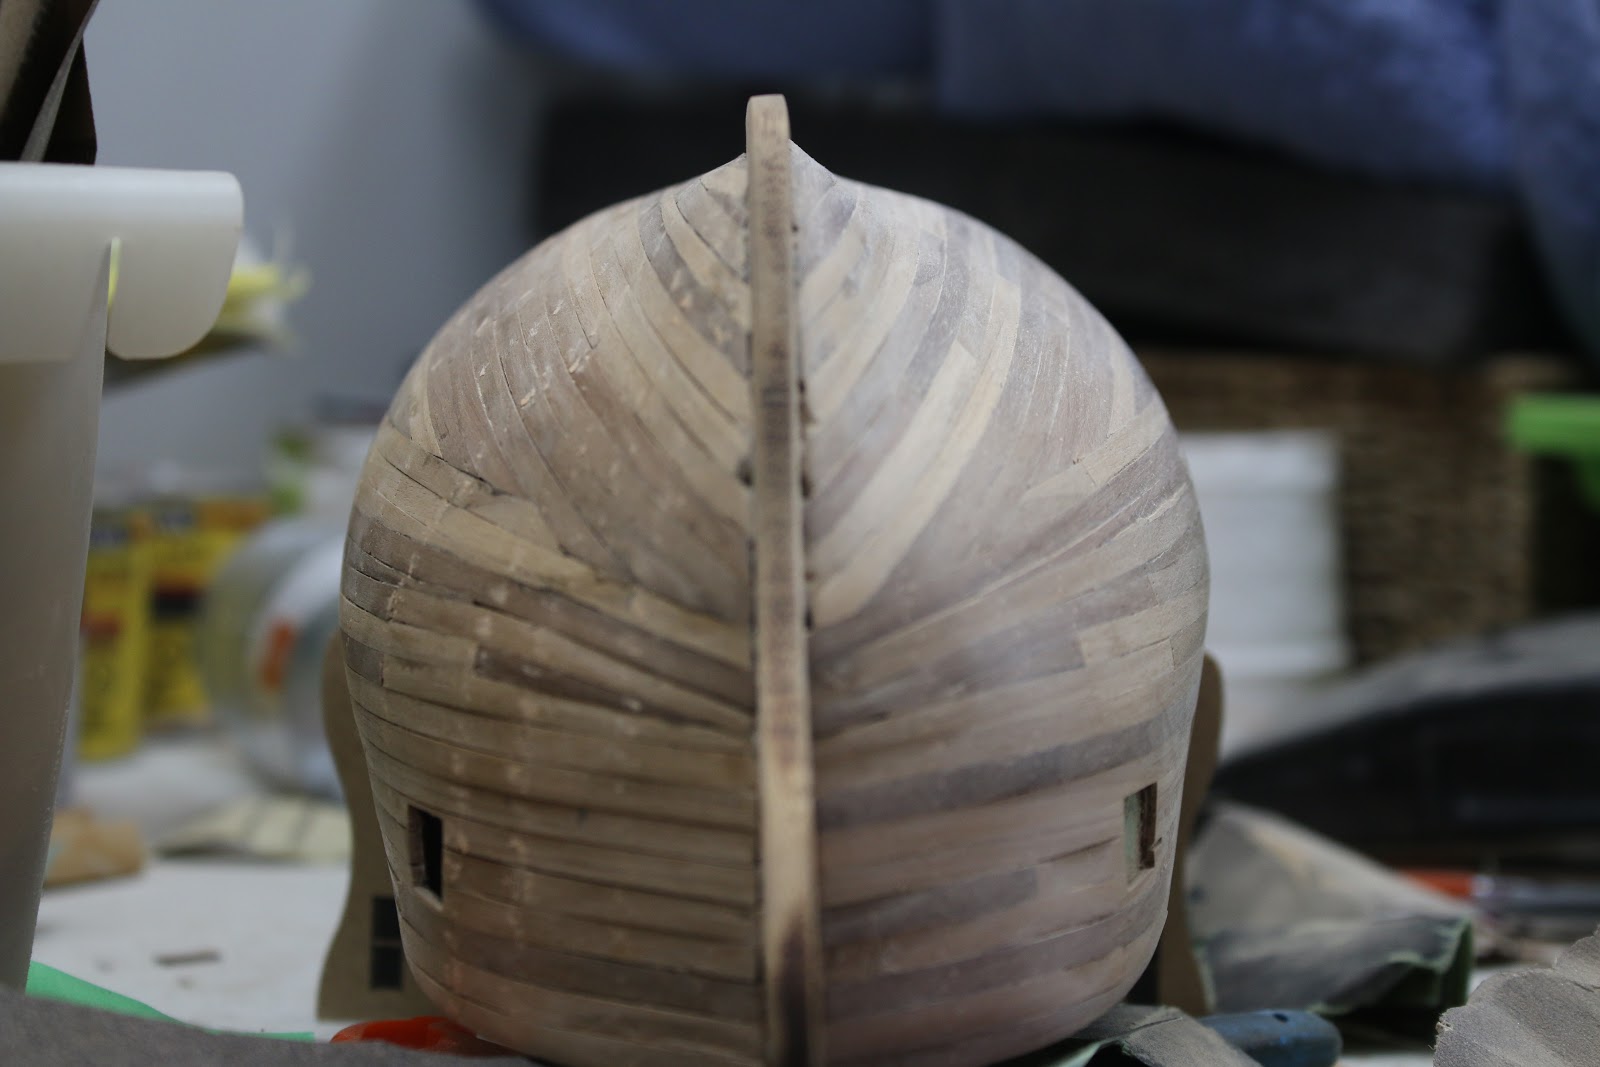
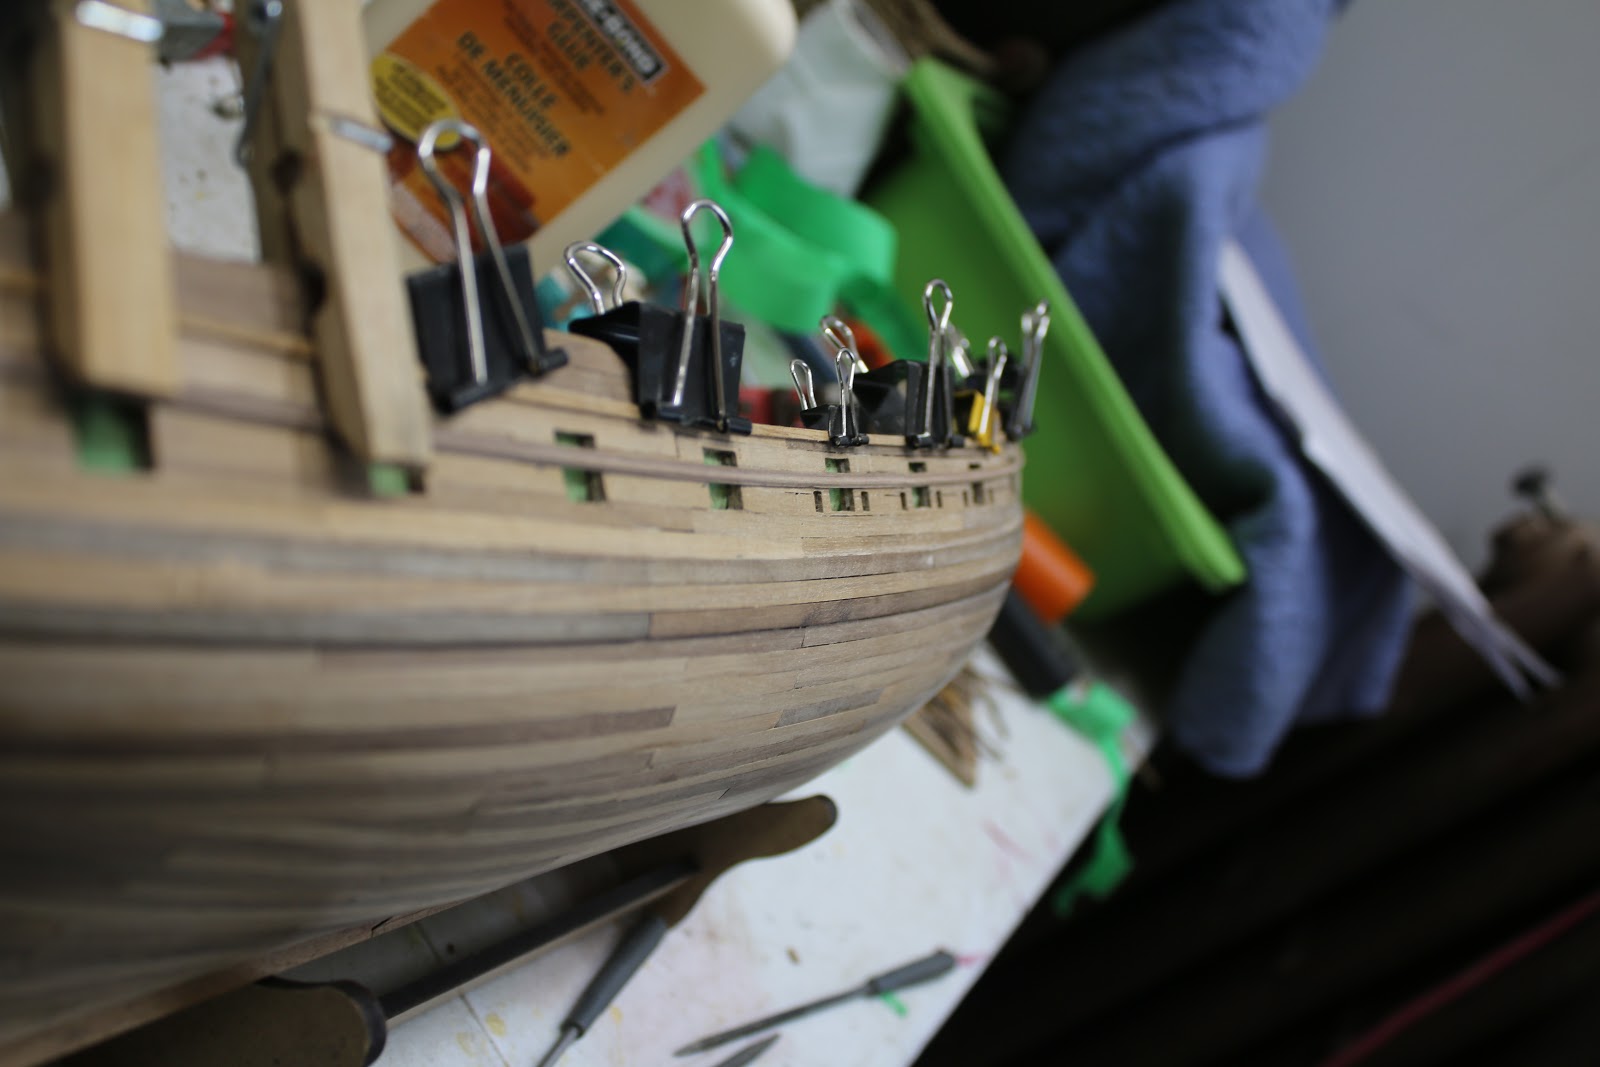
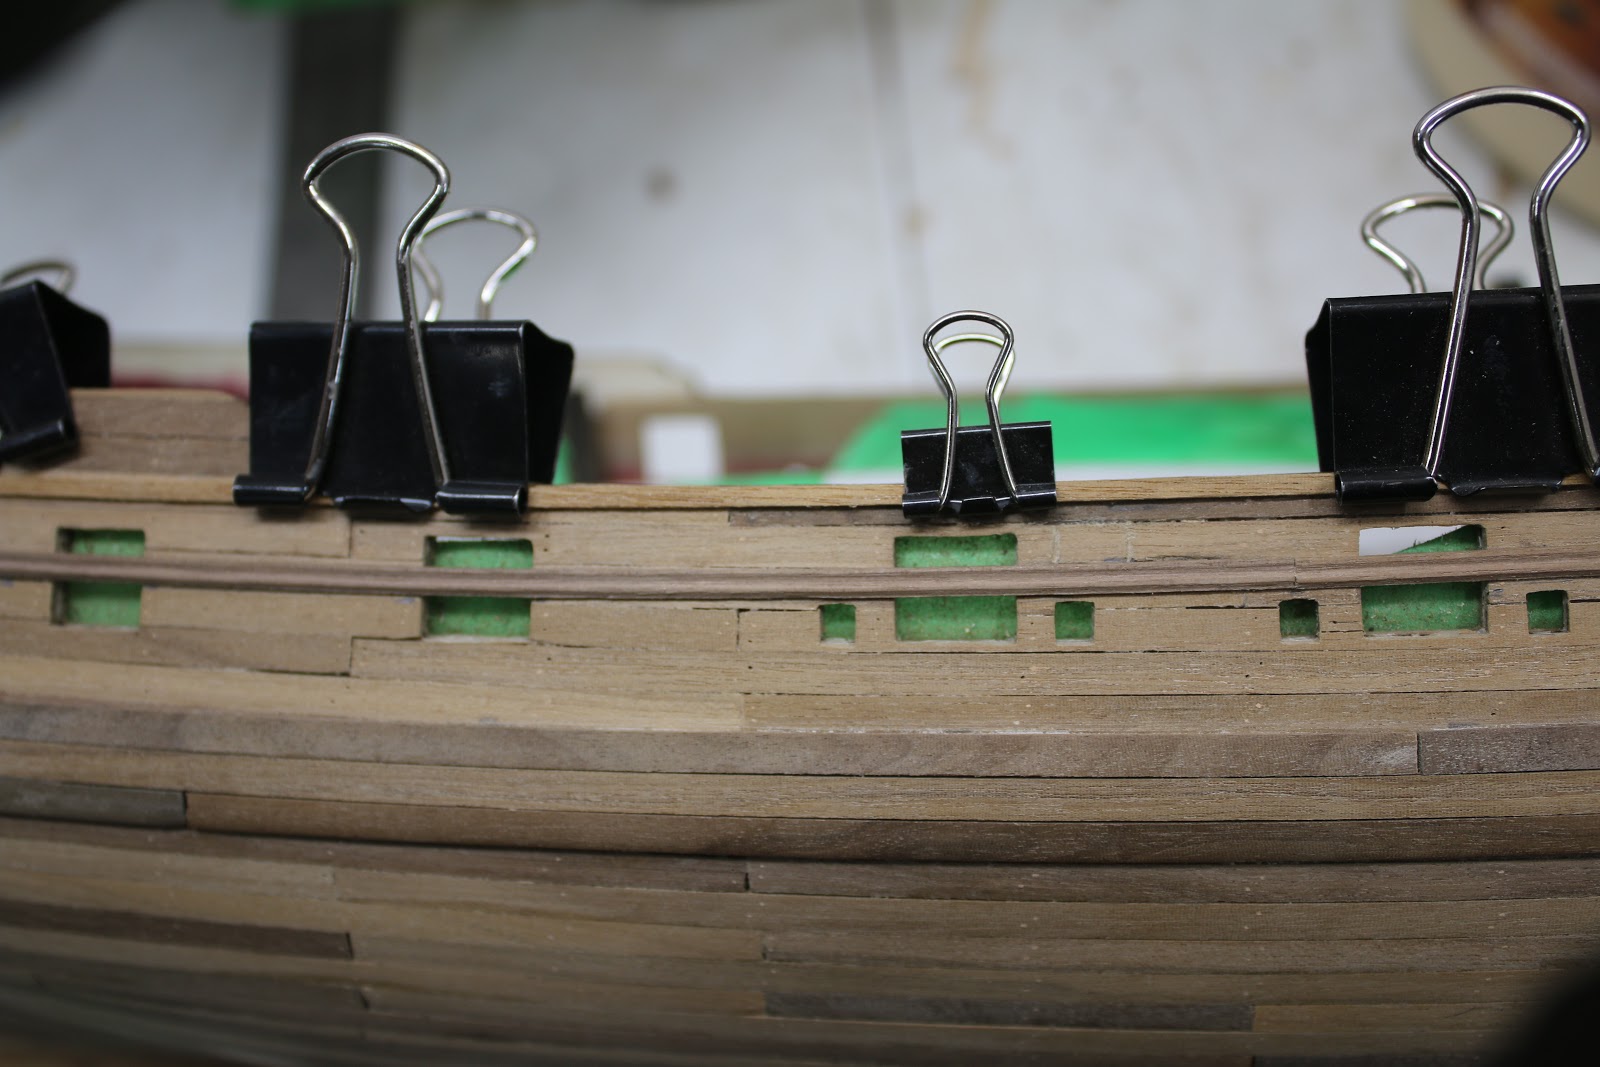
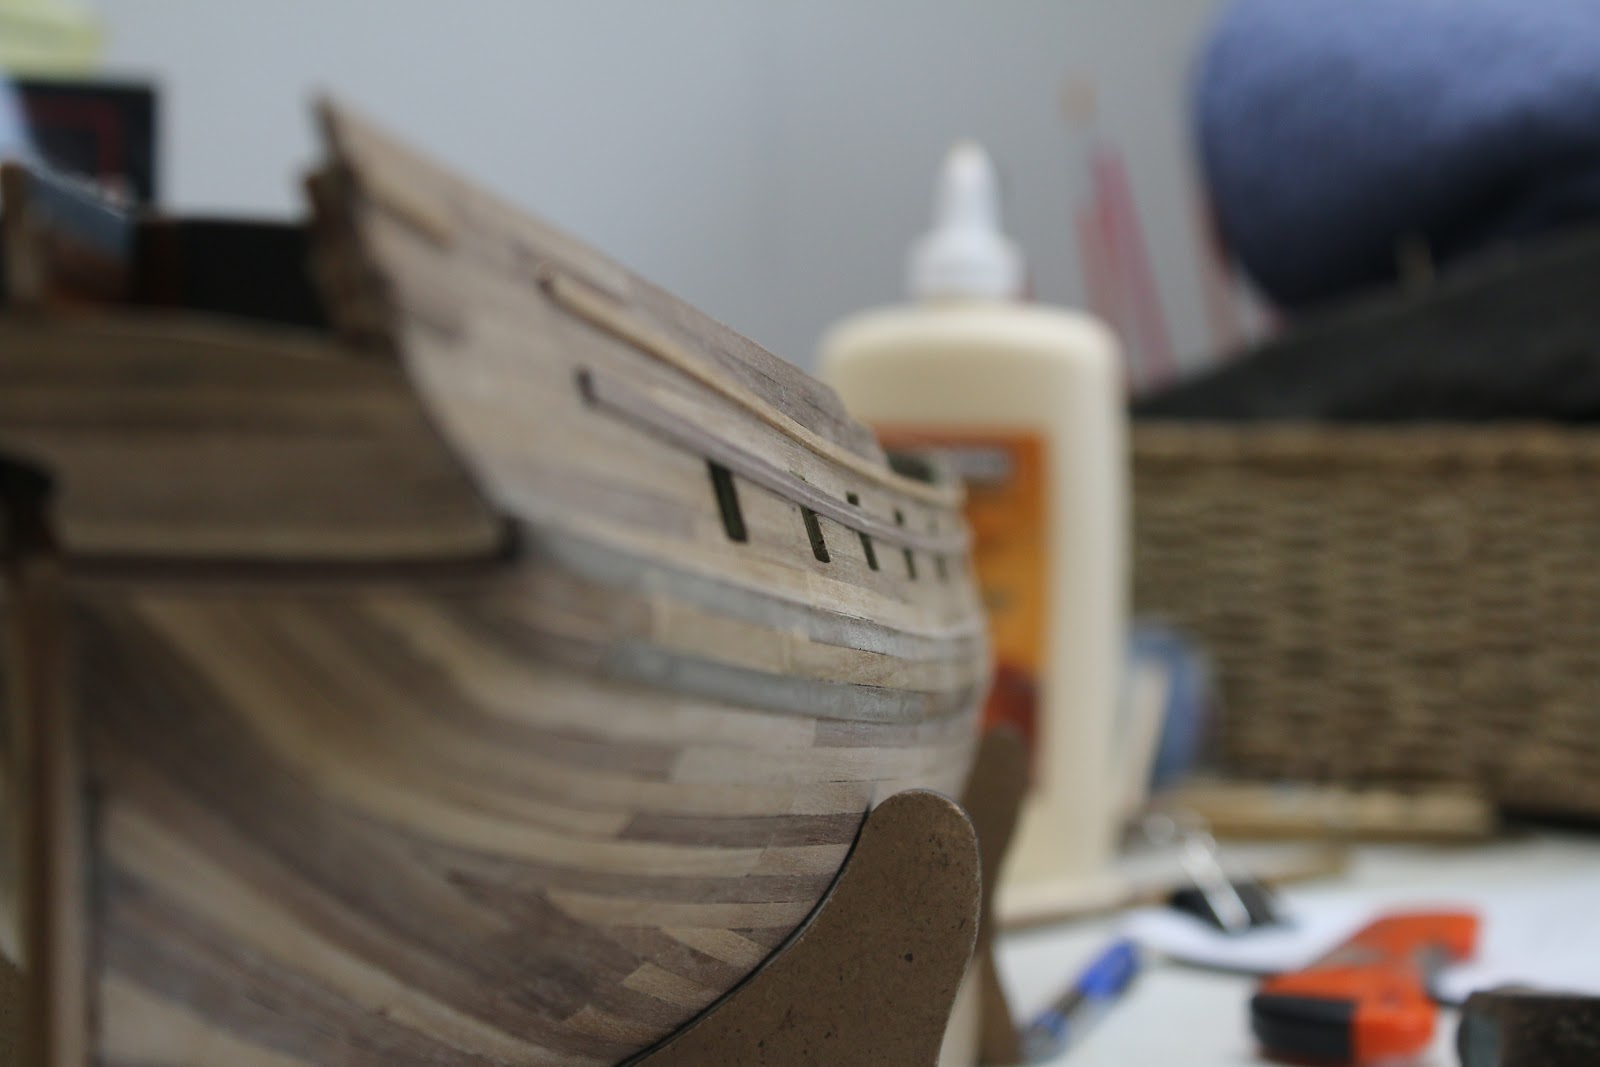
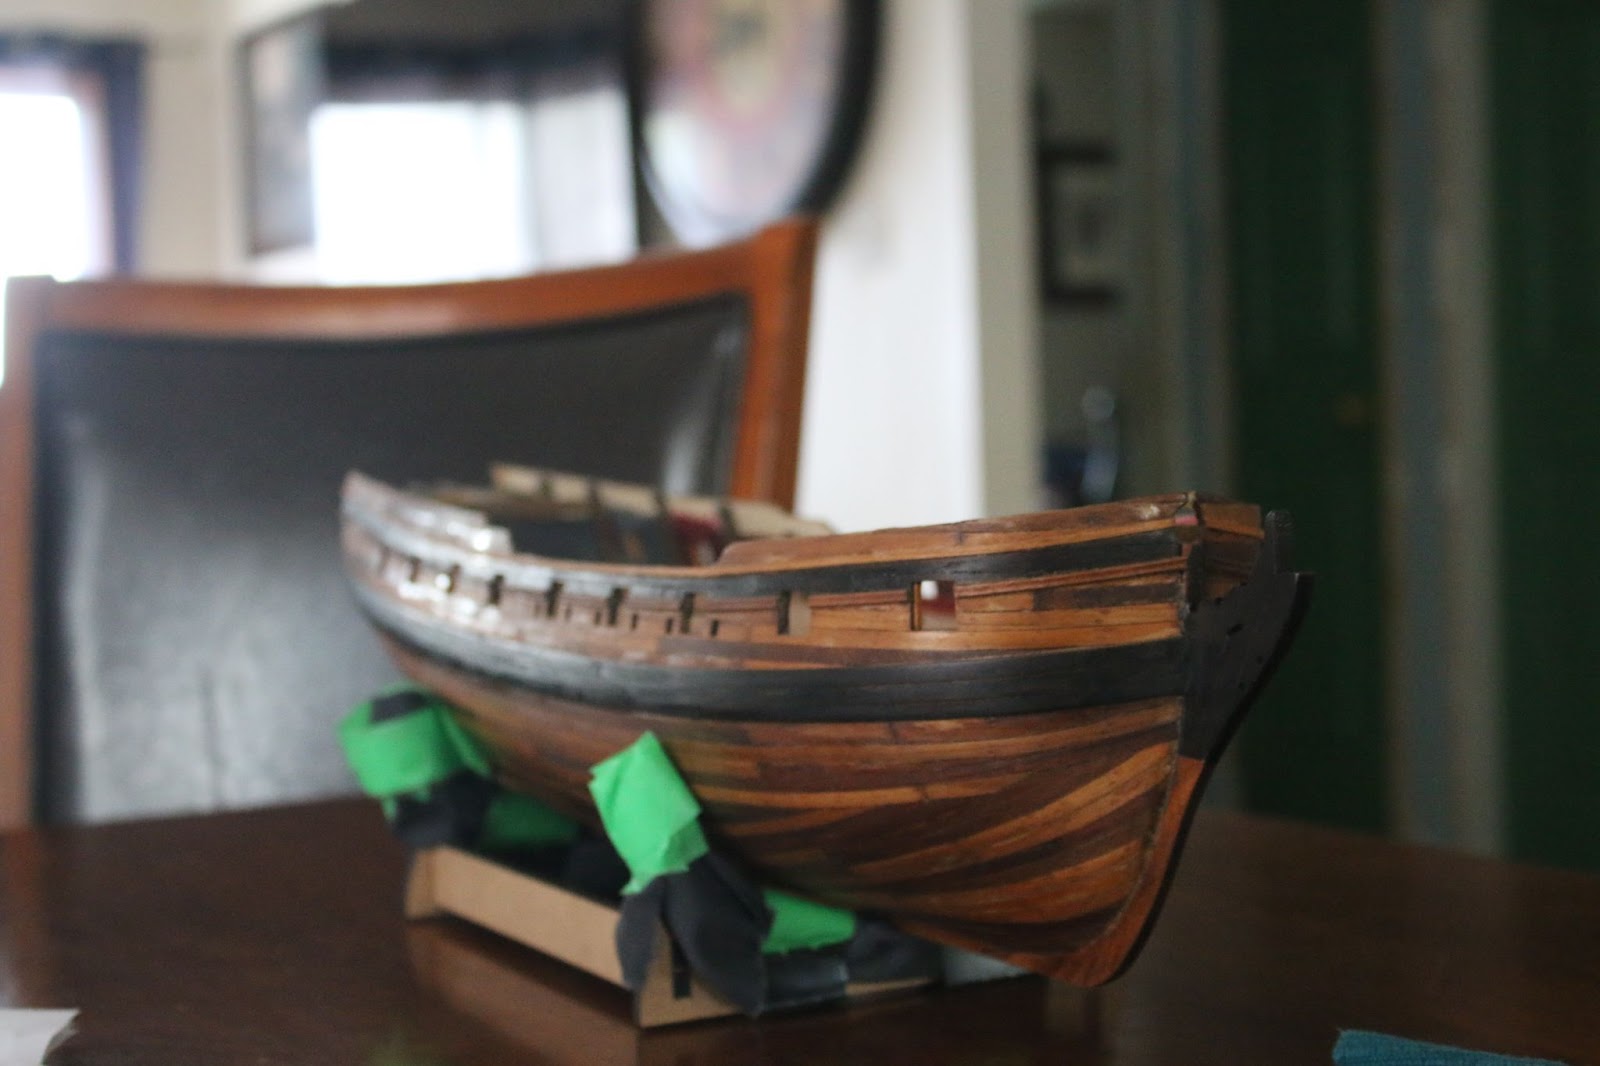
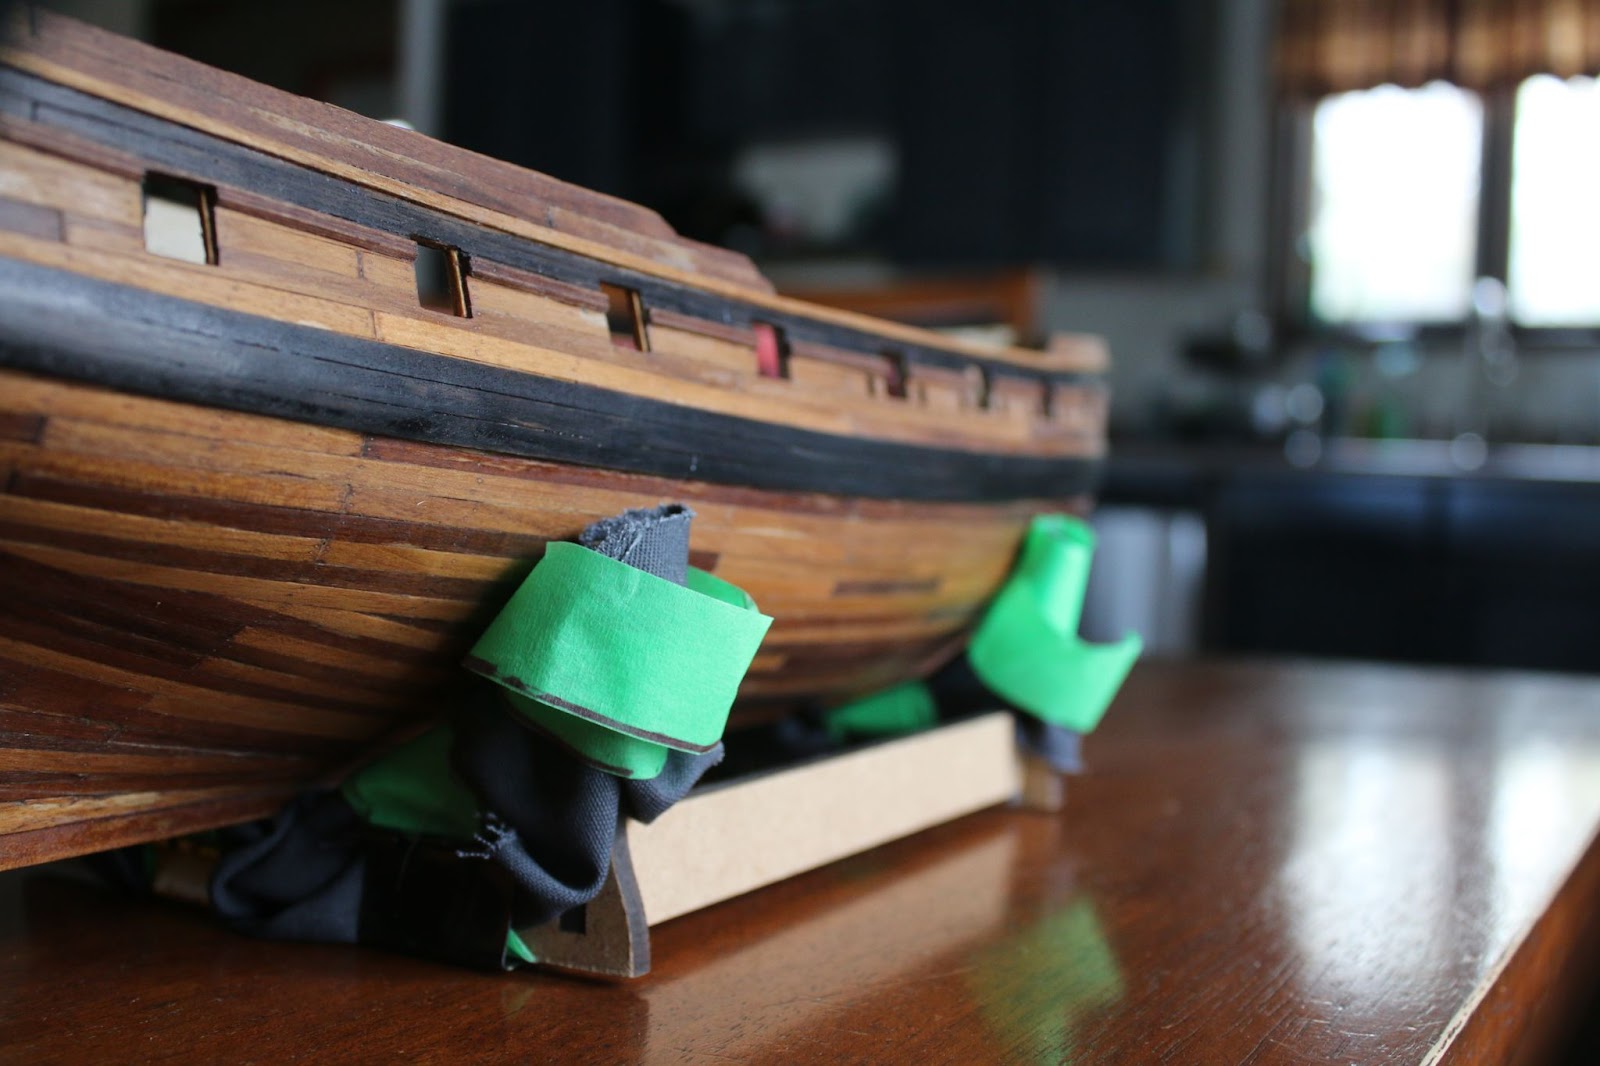
As I’m sure many of you know the Novel virus Covid 19 has reached a pandemic state at this time and due to the rising number of cases in Canada and me being a student I was and still am at home due to classes shutting down. So with nothing else to do, I decided to make a push on with the second planking. Which I’ll admit I had been avoiding. So I started planking away and here’s where I left off have been slowly working towards passing the gunports so I can fix and refinish the gun deck.


I also started to work bottom up on the planking. Using the method my grandfather who got me into building ships taught me.
And in the coming days, I worked my way up the hull following the natural curvature.


And a little more planking as well was placed in a wedge plank.


So one of the things that’s been bothering me for some time is my lack of knowledge when it comes to blackening my eye bolts and as you can see my last attempt did not turn out.
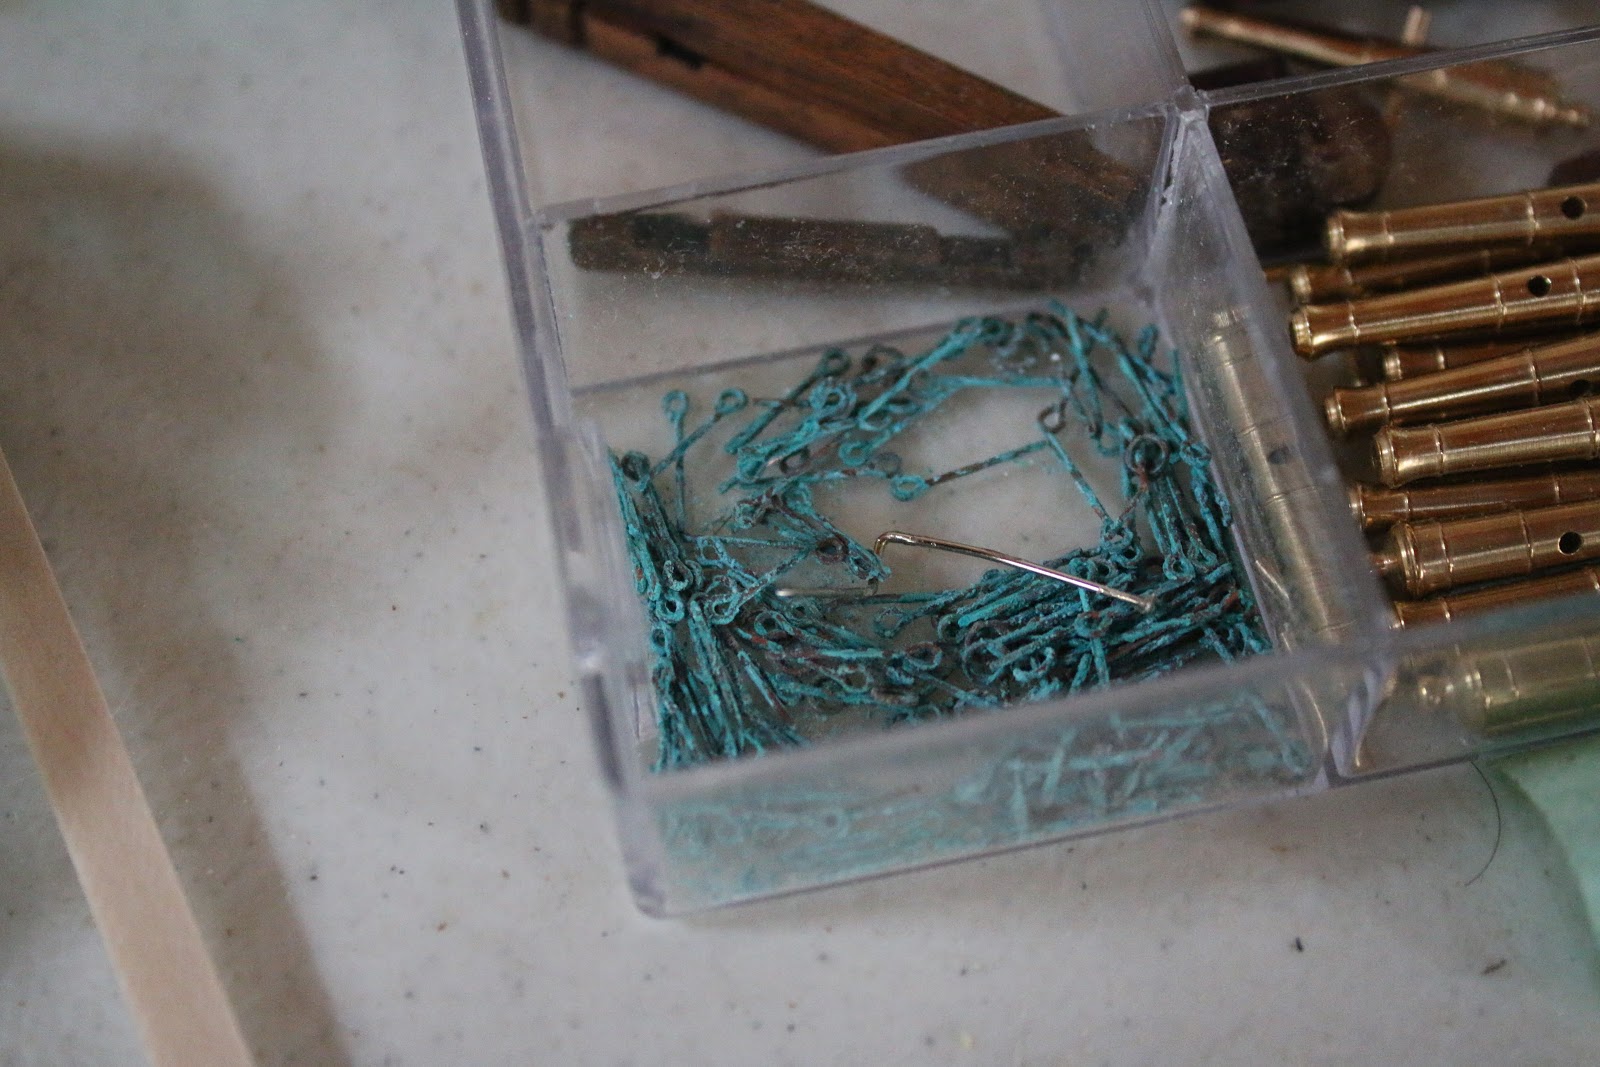
but I did have a breakthrough and discovered setting them on fire both cleans and blackens them and after seeing it in steel pins.
and with that, I’m now a pyro head.</
This has been a lot of good bonfire side reading. looking forward to more.
Thank you TheMongoose!
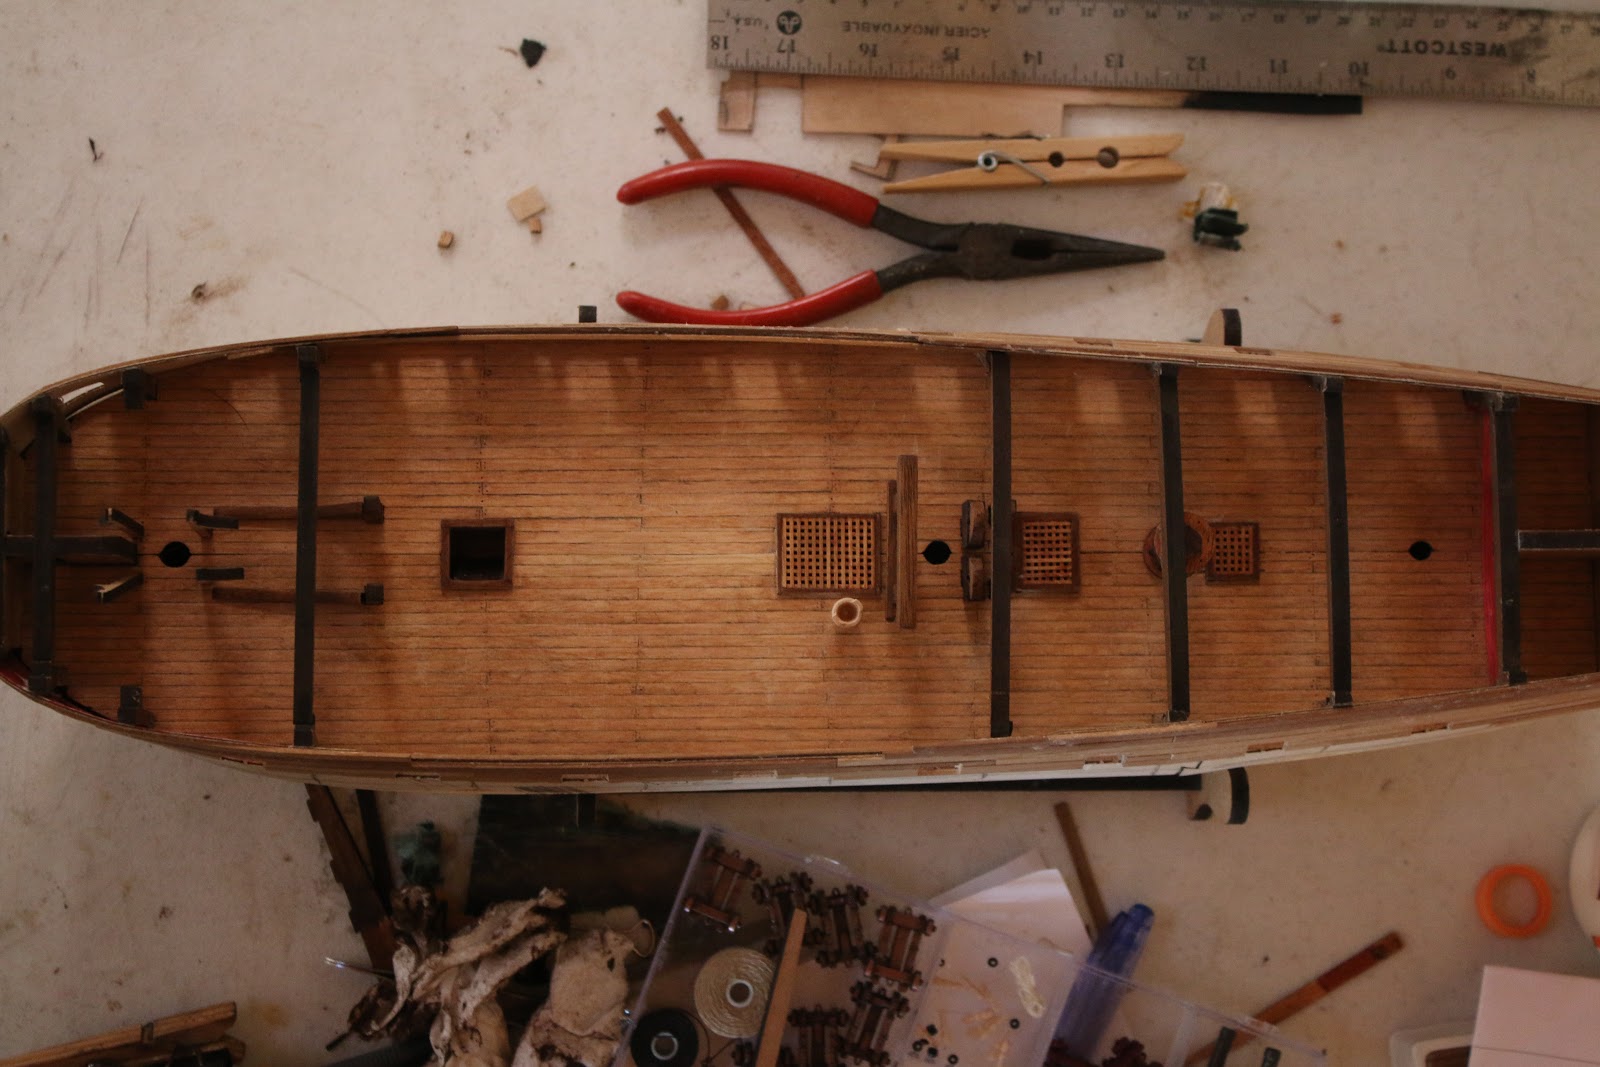
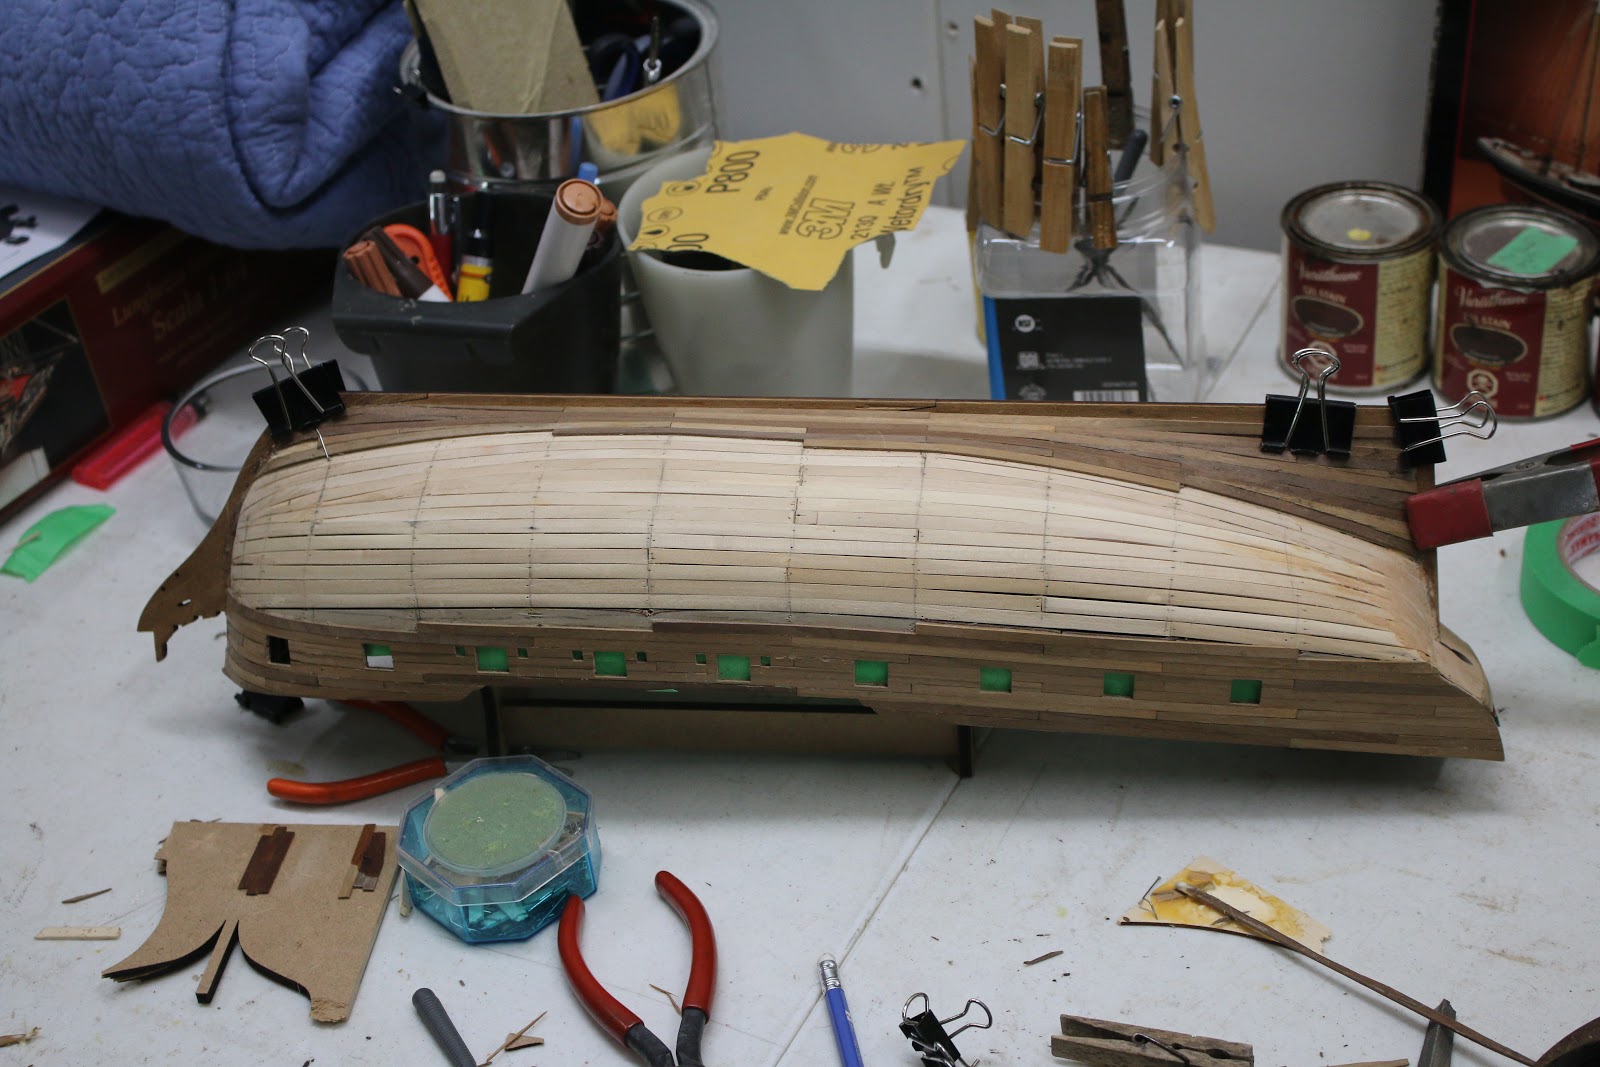
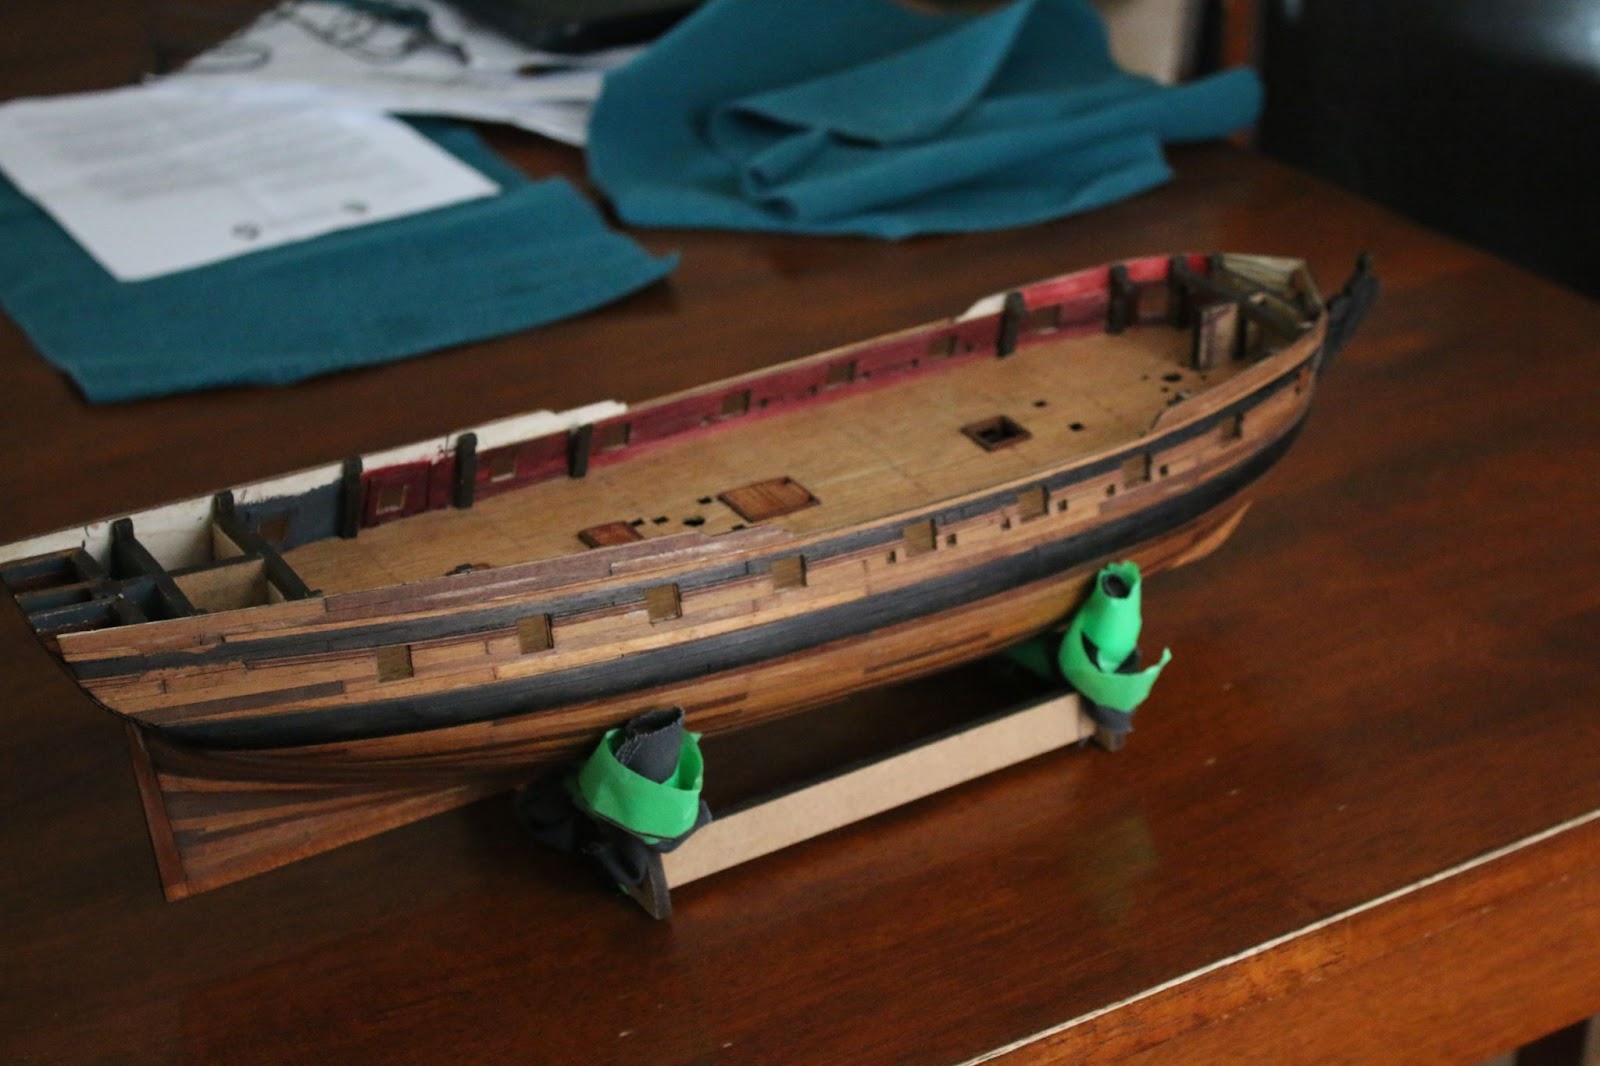
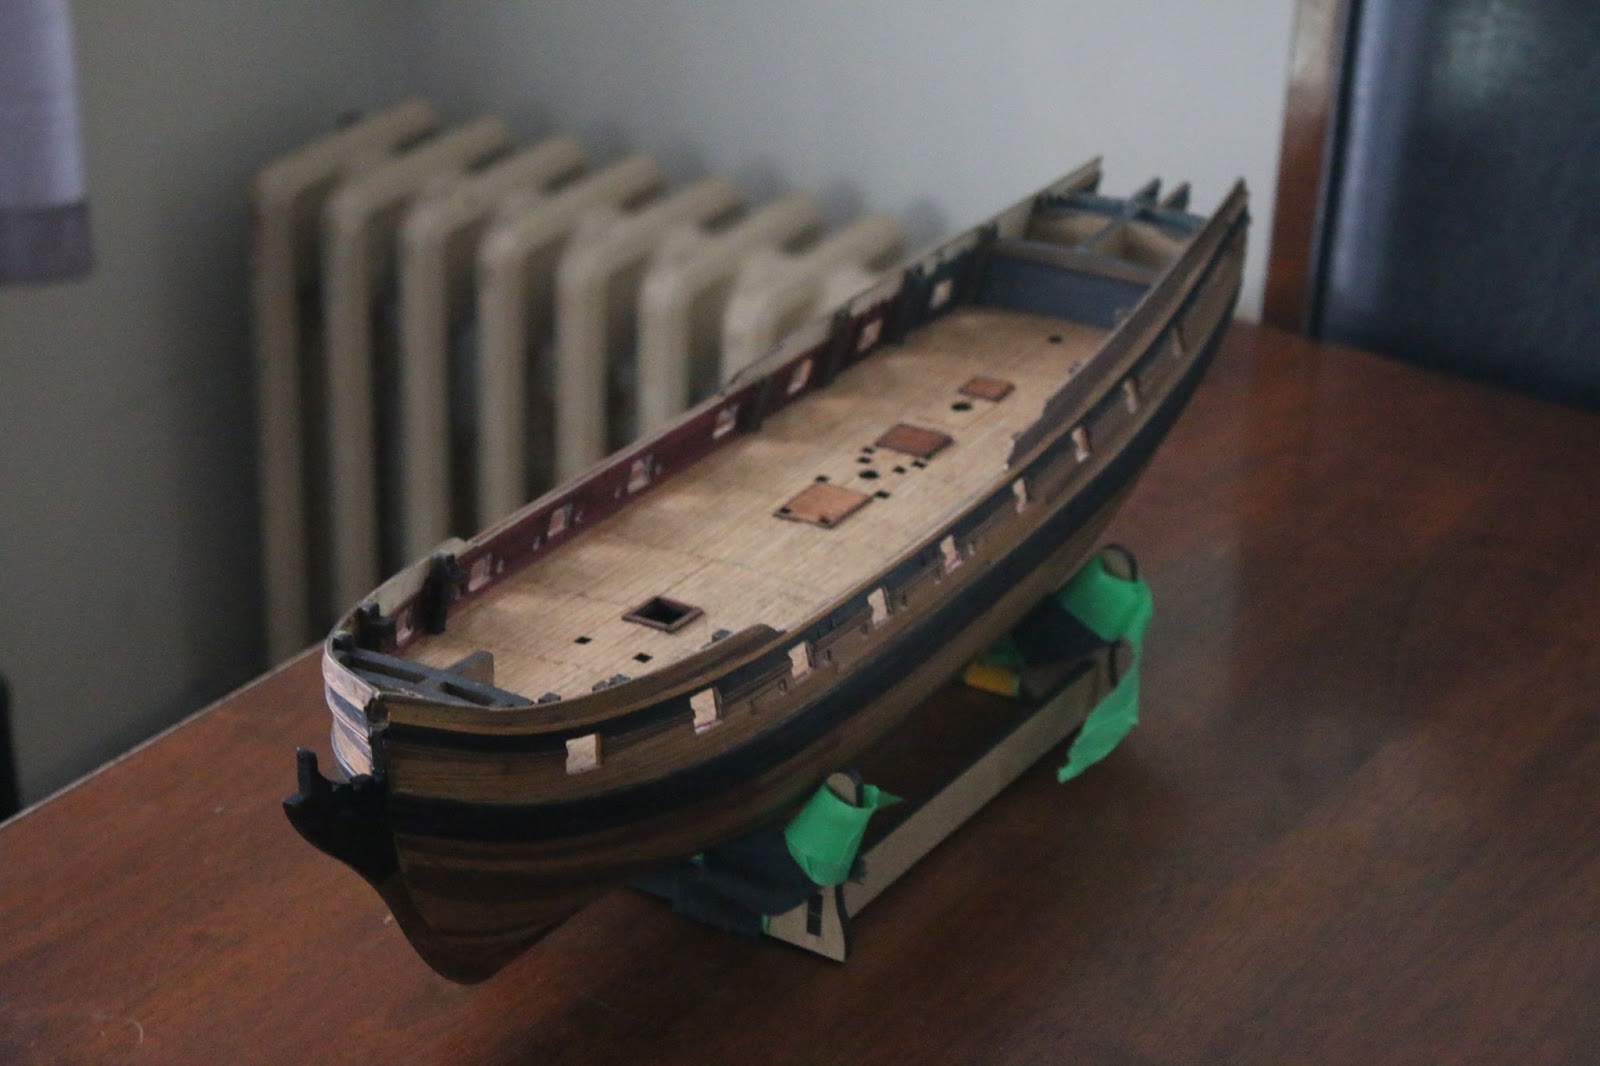
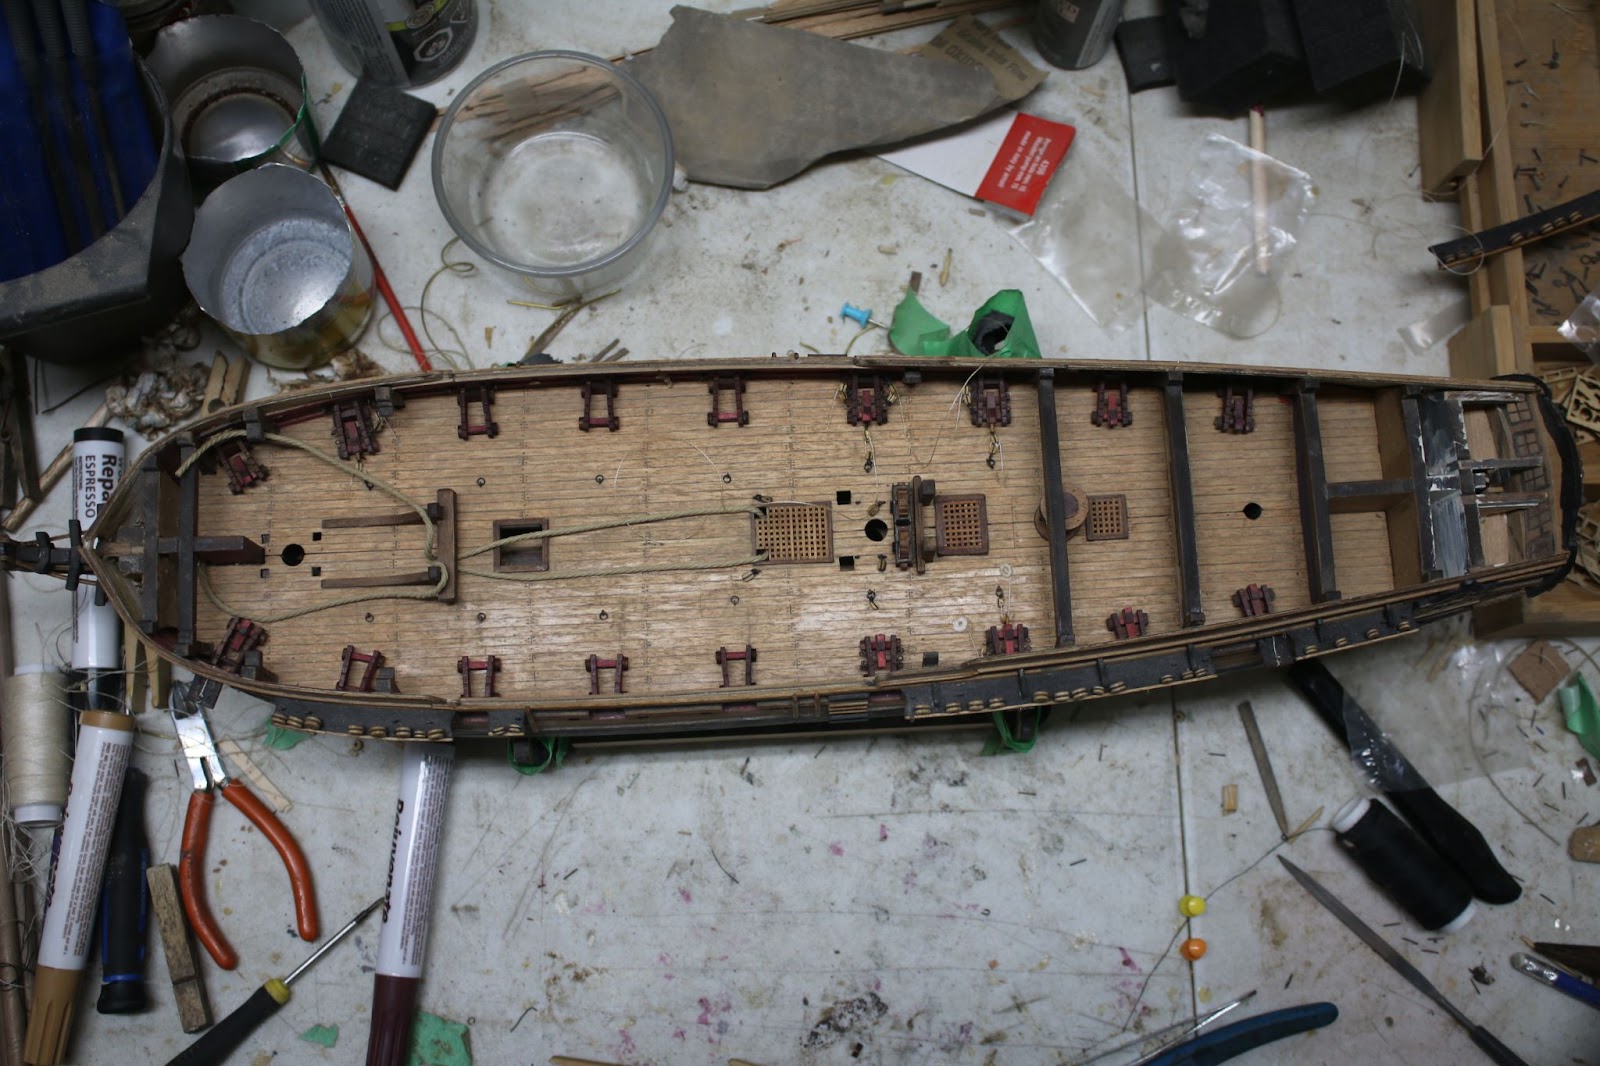
So in my last post, I finally refinished the gun deck and I couldn’t be happier with its turnout. The next day, after my last post, the stain had dried and it was time to remove the tape.

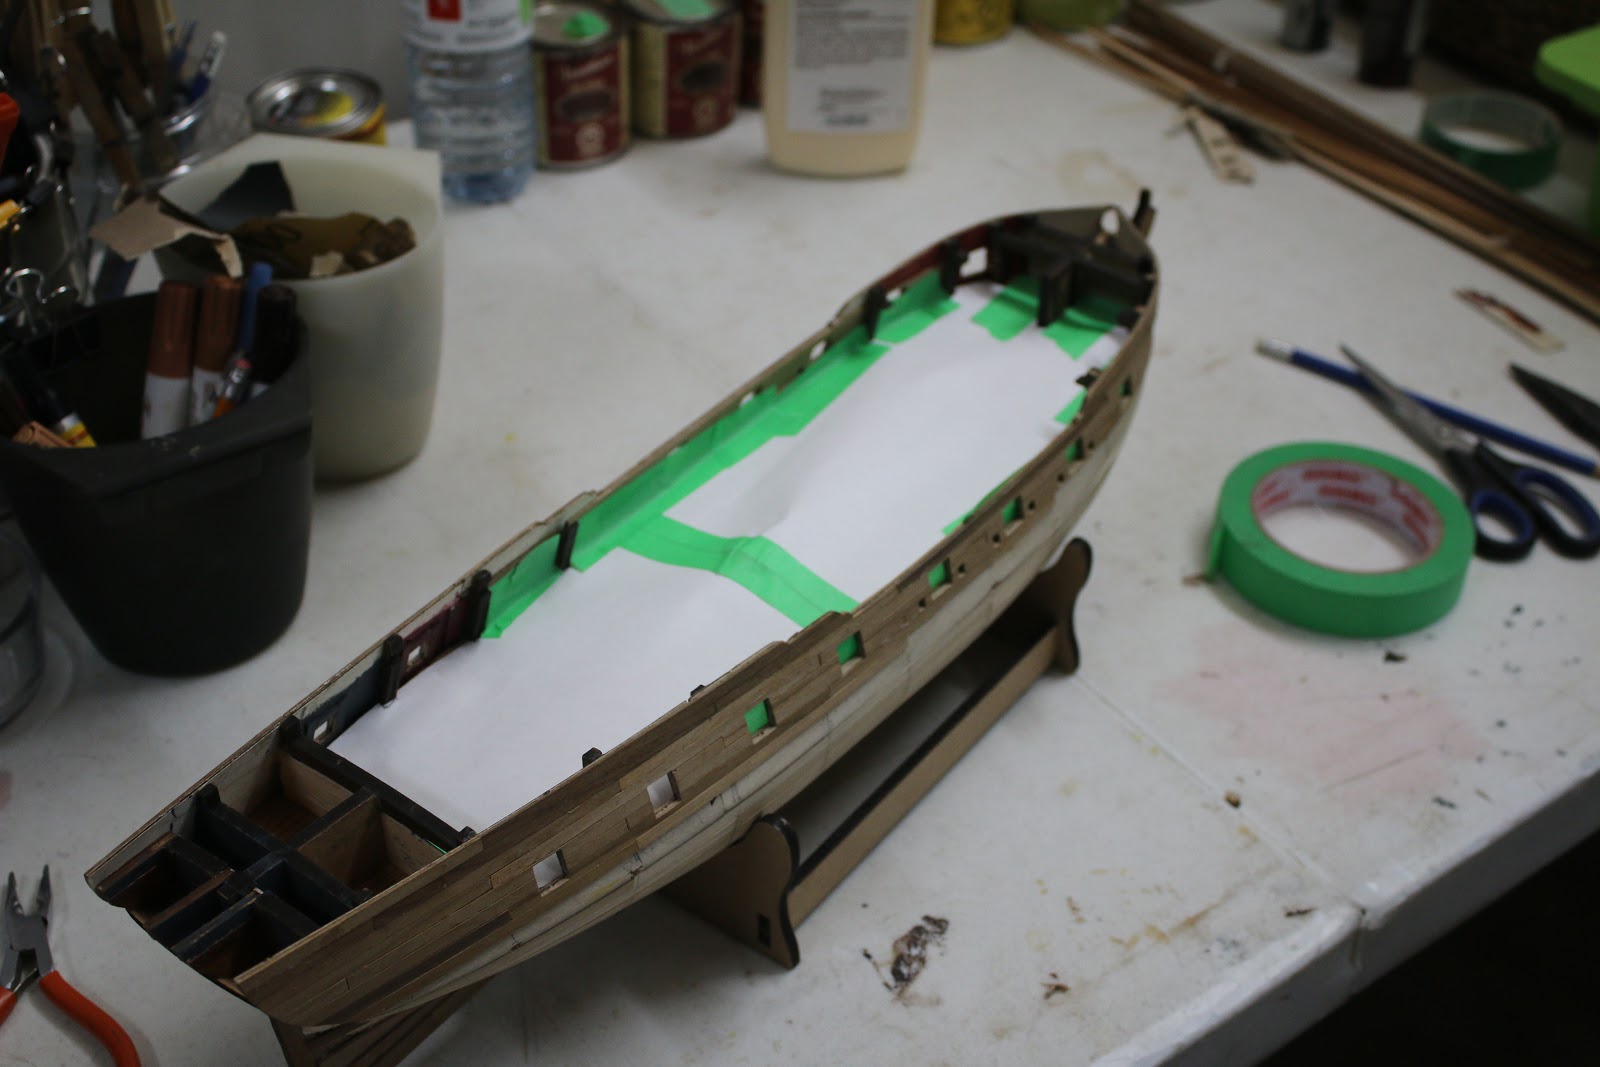
The first order of business after removing the tape is to cover the deck back up with paper cutouts to keep dust off it while I continue with planking.

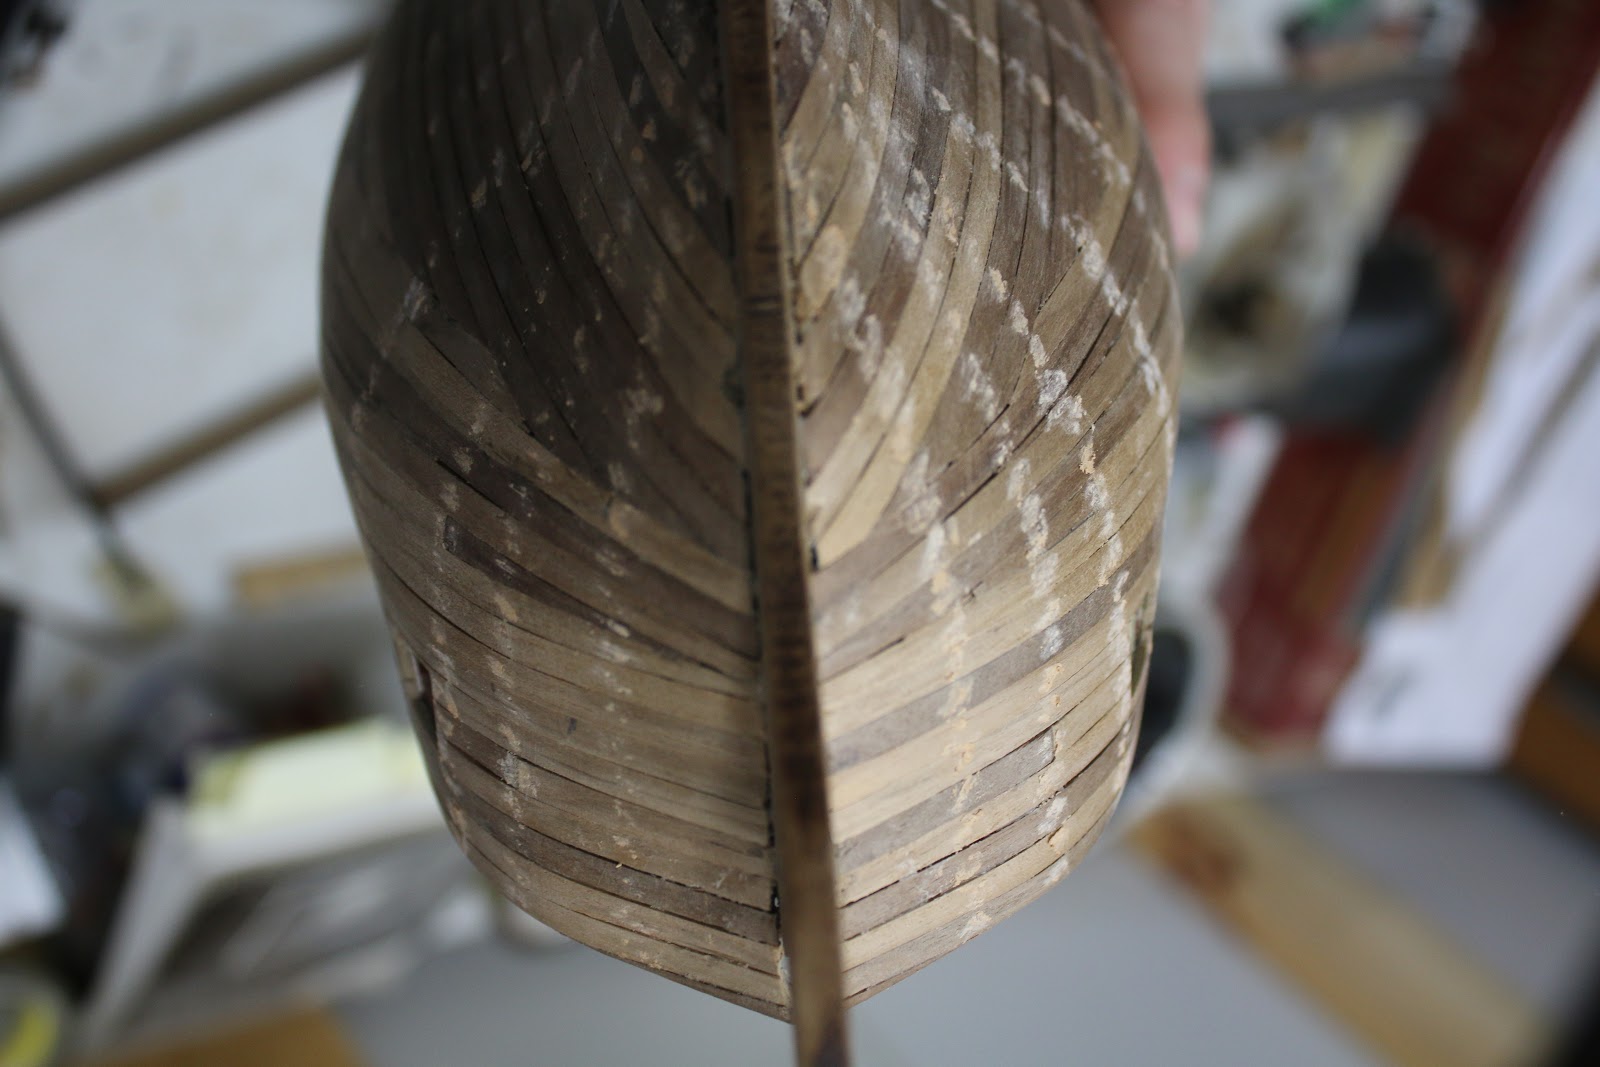
I then proceeded with planking the hull.
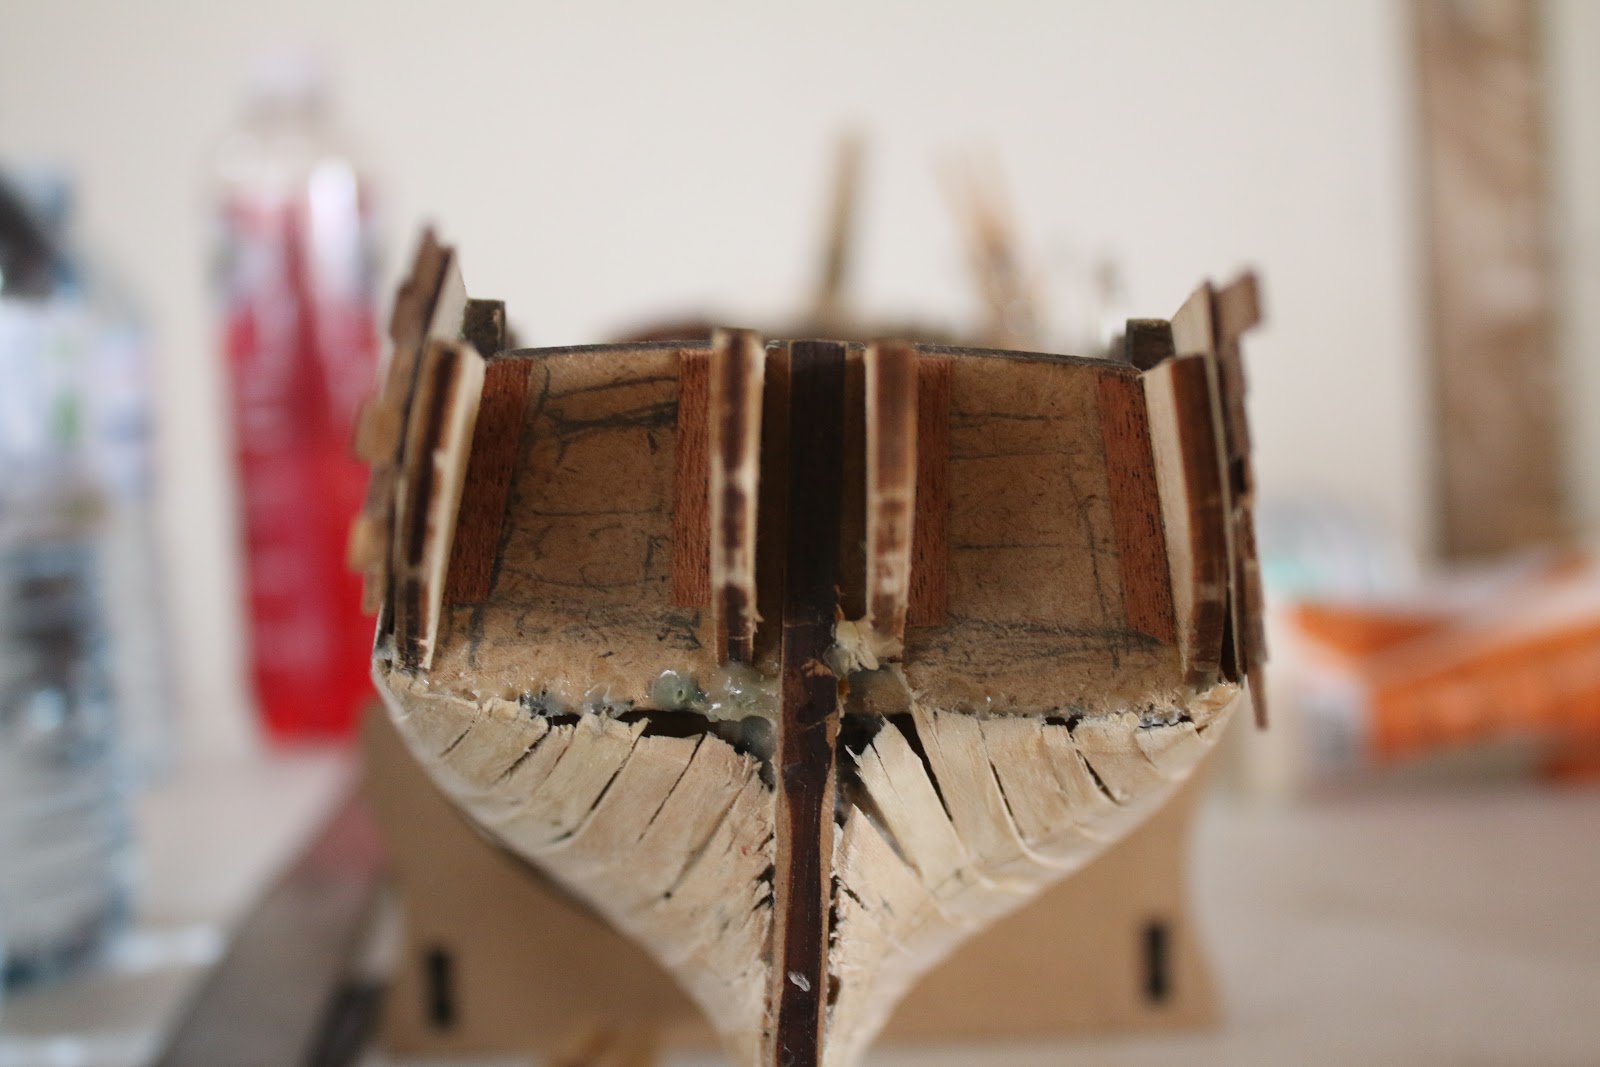
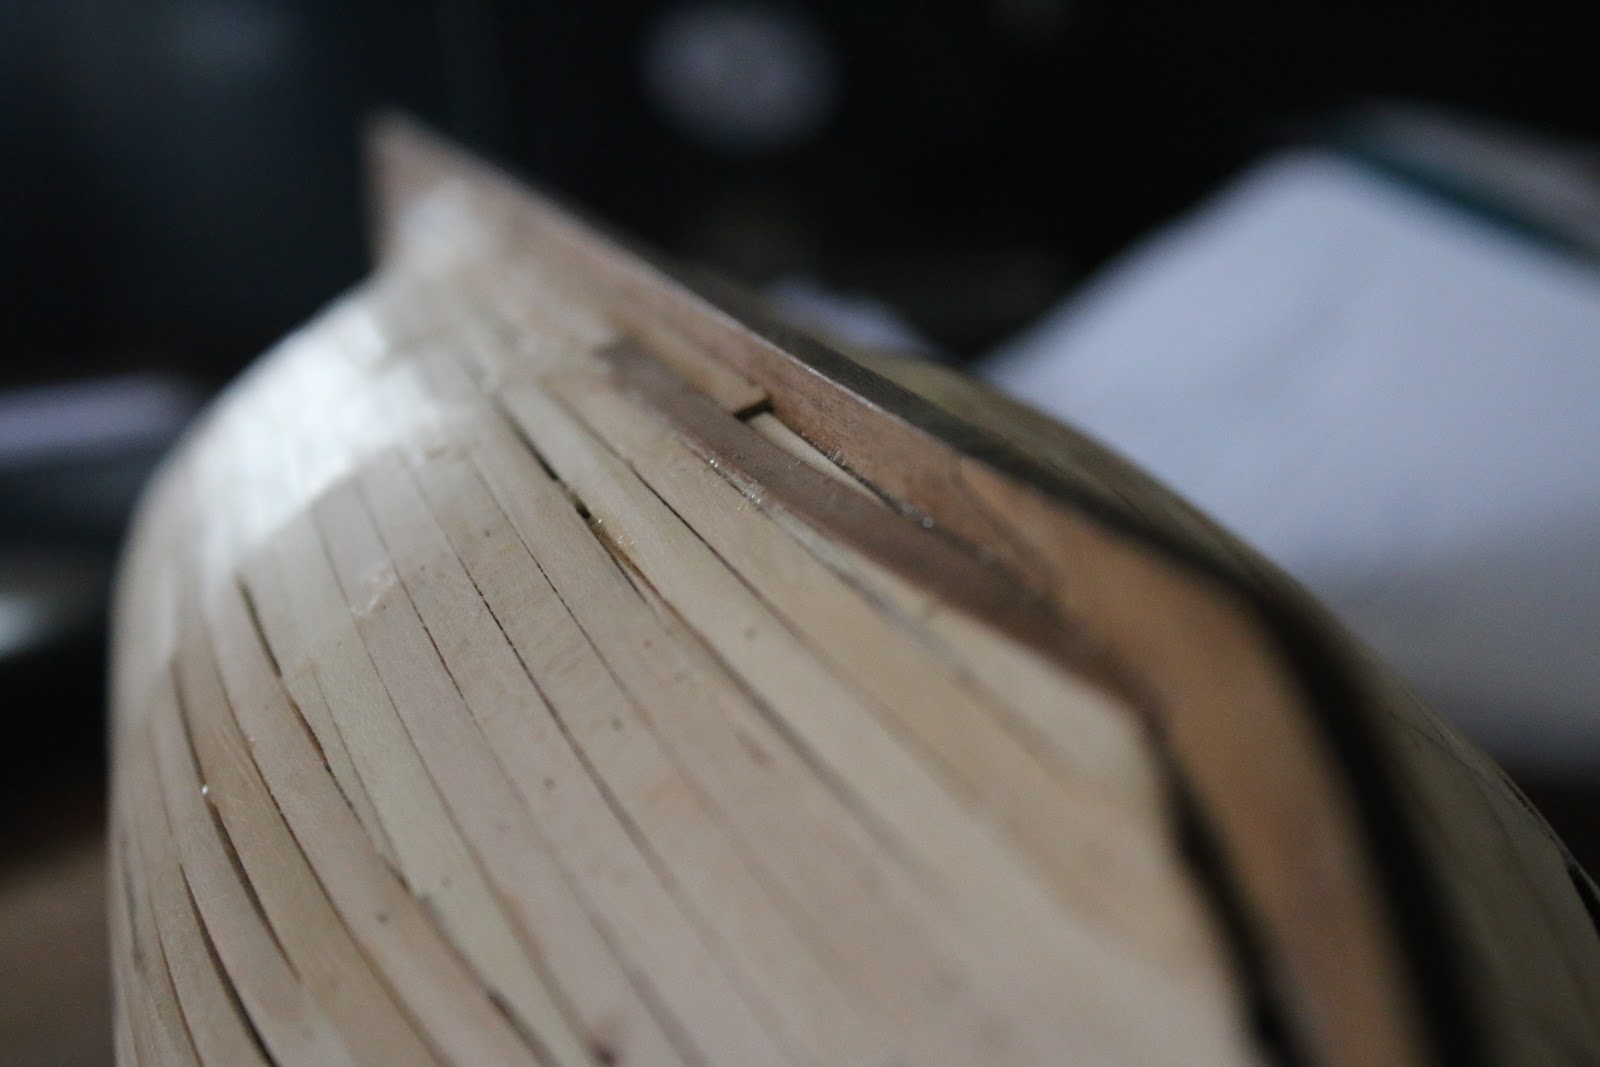
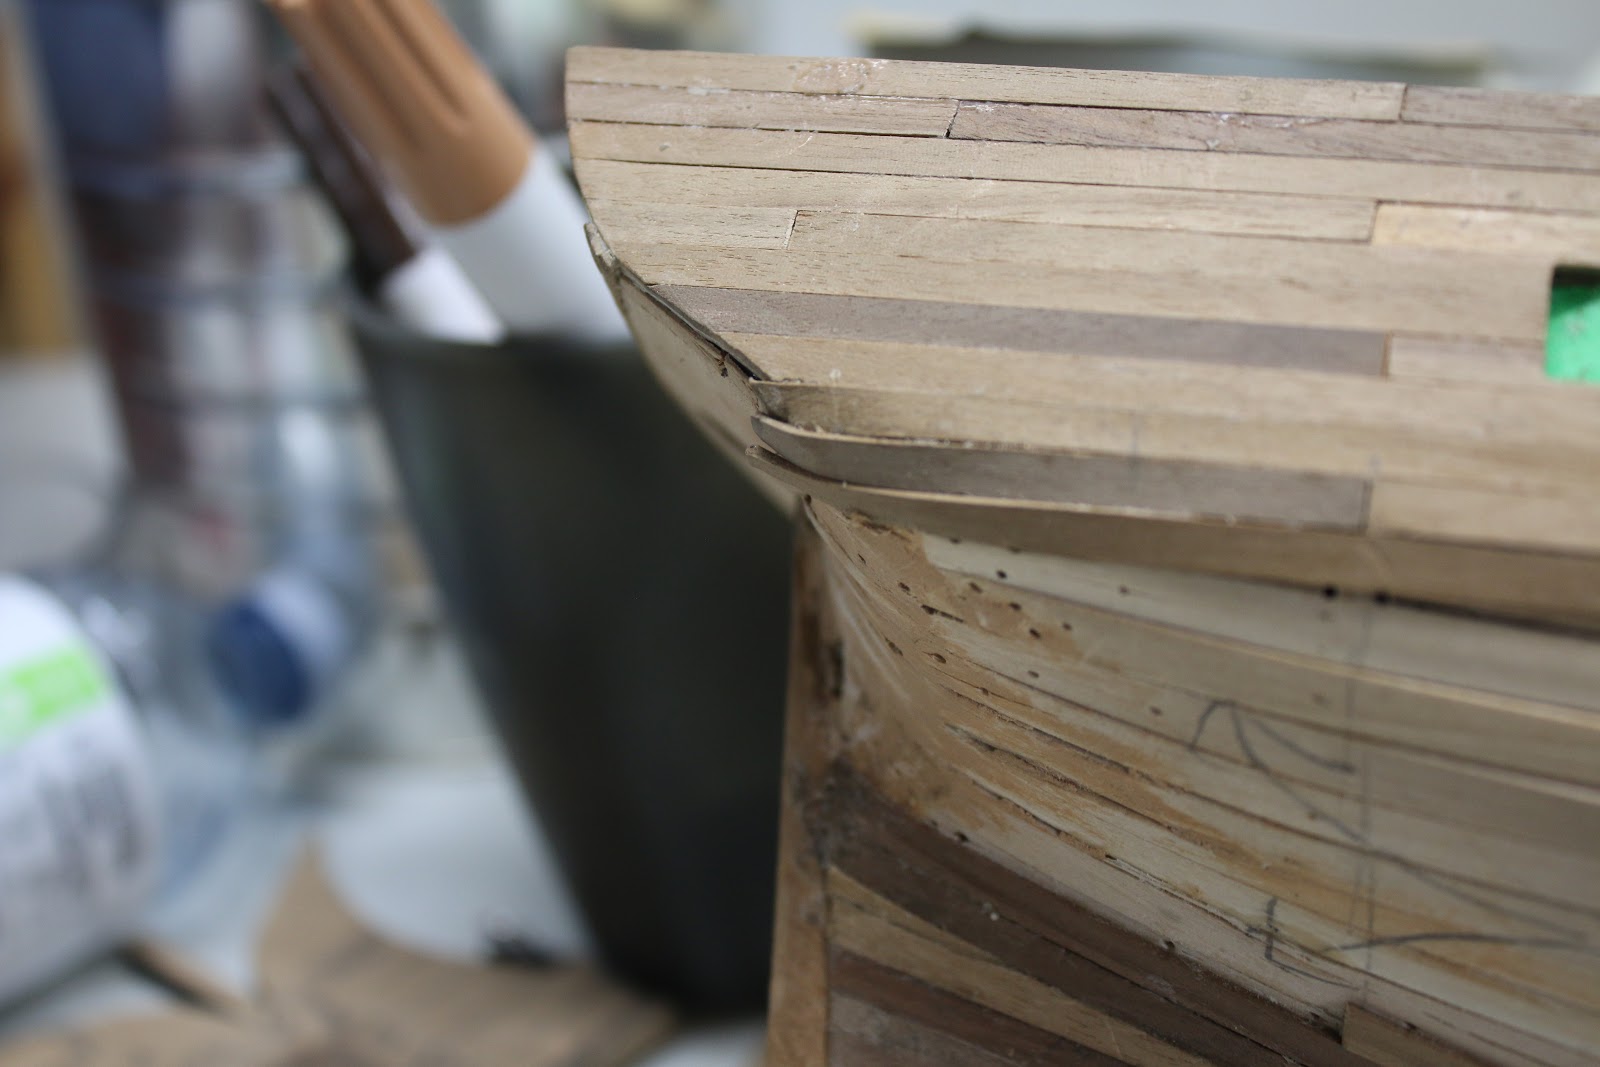
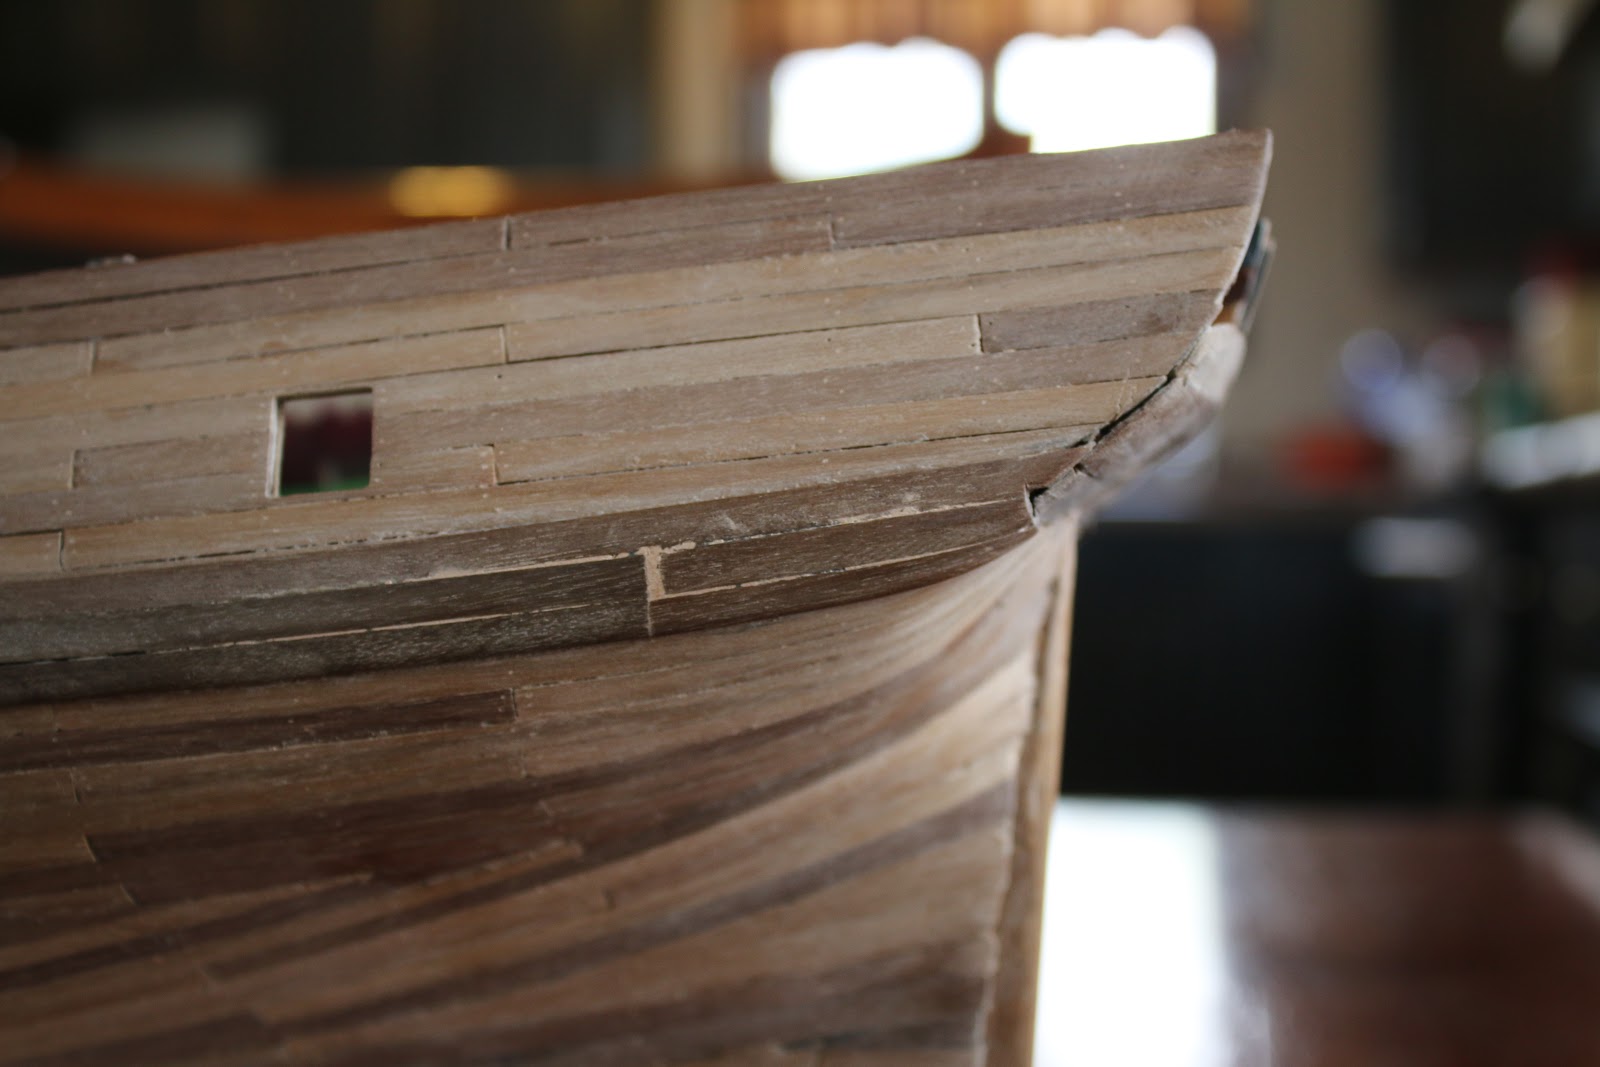
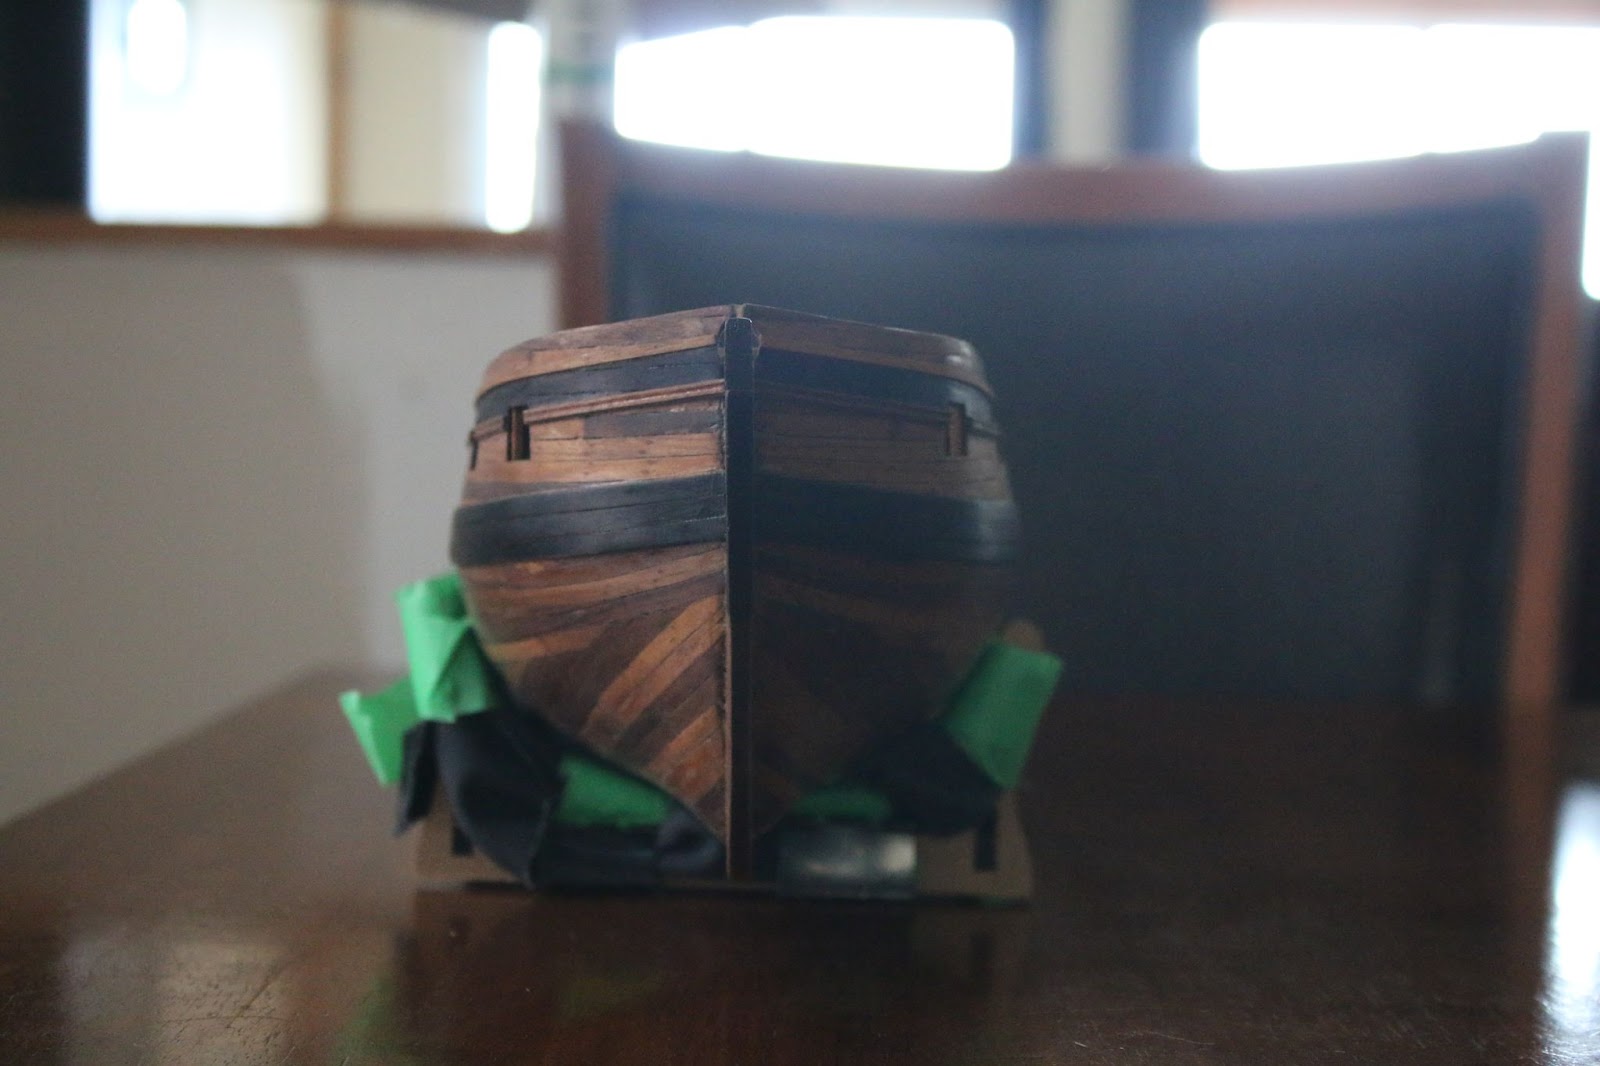
After laying those planks and looking over the model I finally built up the guts to address the biggest issue in the first planking. The stern. Realizing that the stern shape is out of shape and won’t work with the second planking, I did the risky job of carving the planks down to the right shape with an Exacto knife. It was a success but created some cavities so to finalize it and improve its strength I covered it with wood filler.
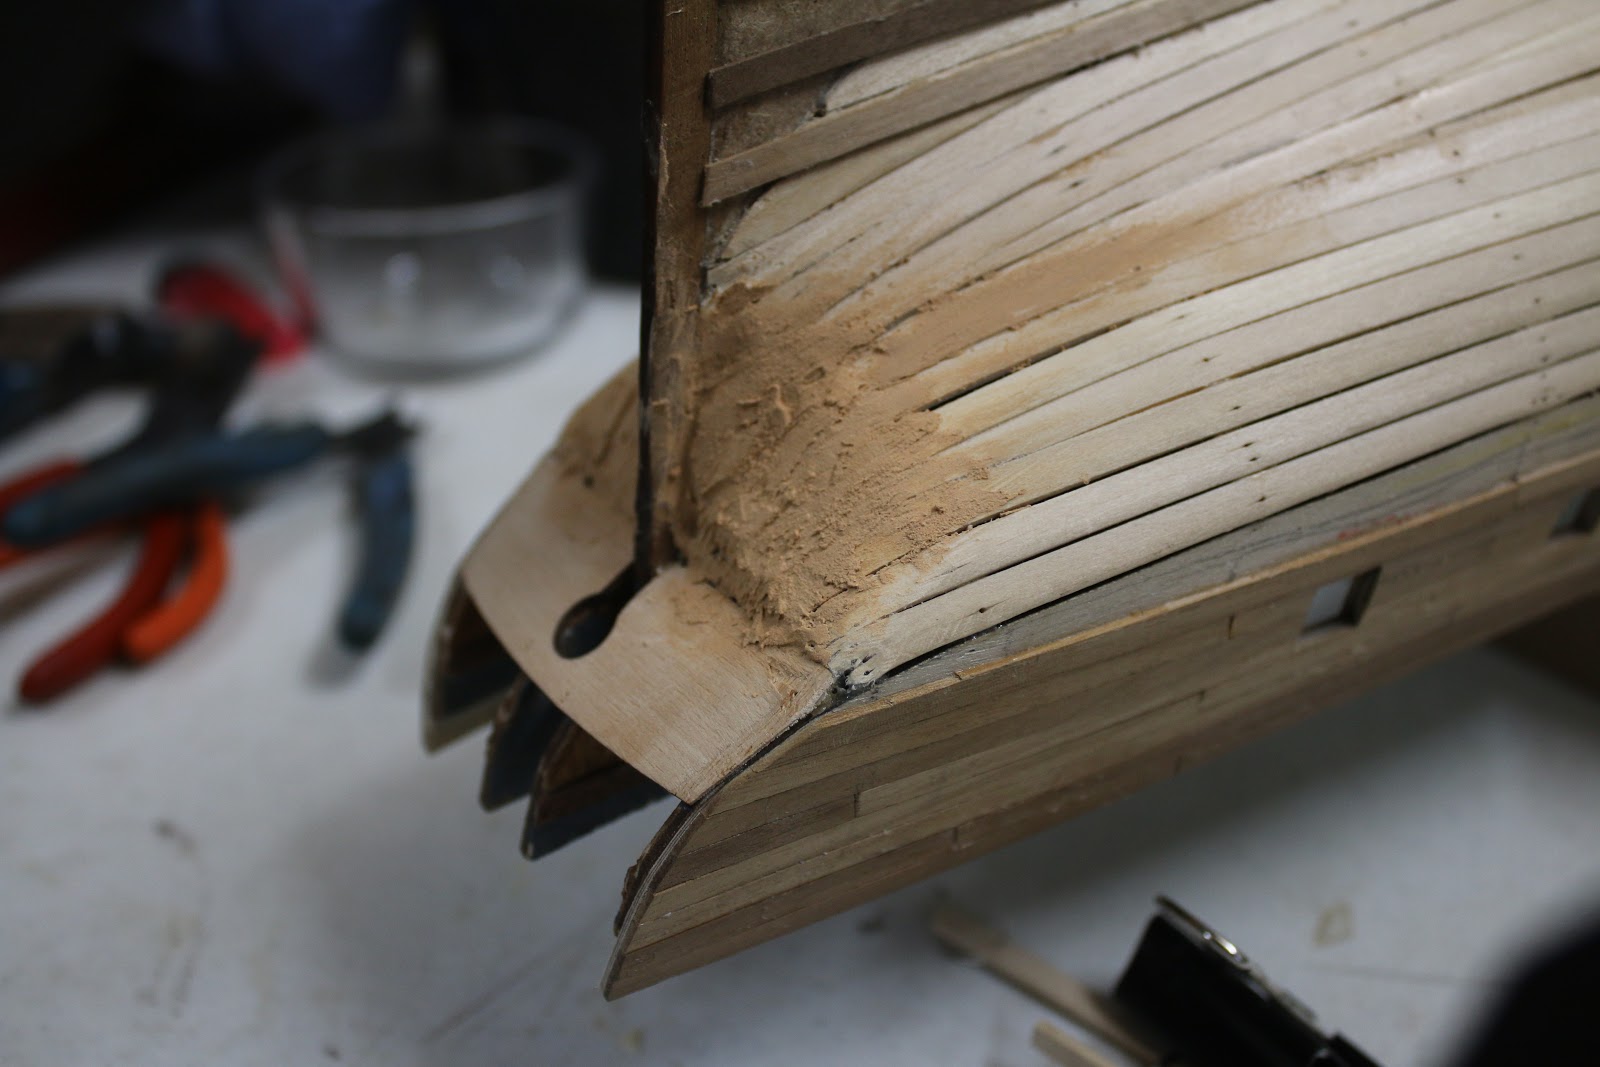
I also filled the bow a bit. With those issues addressed I continued planking.
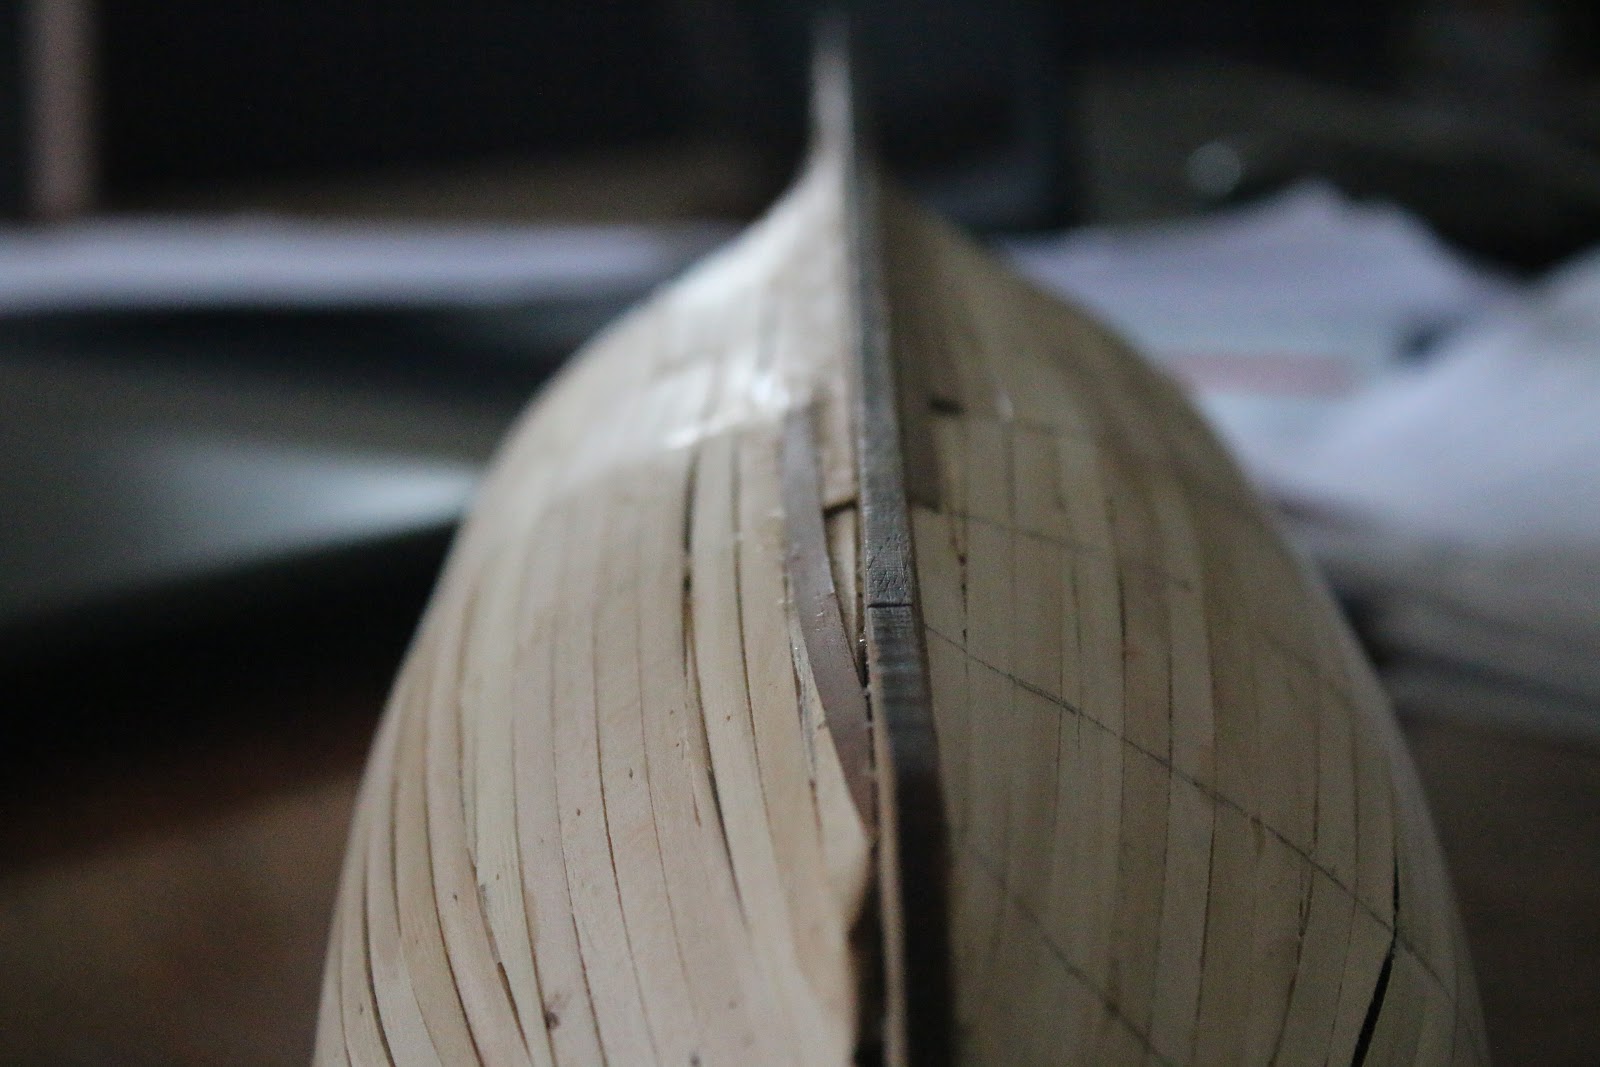
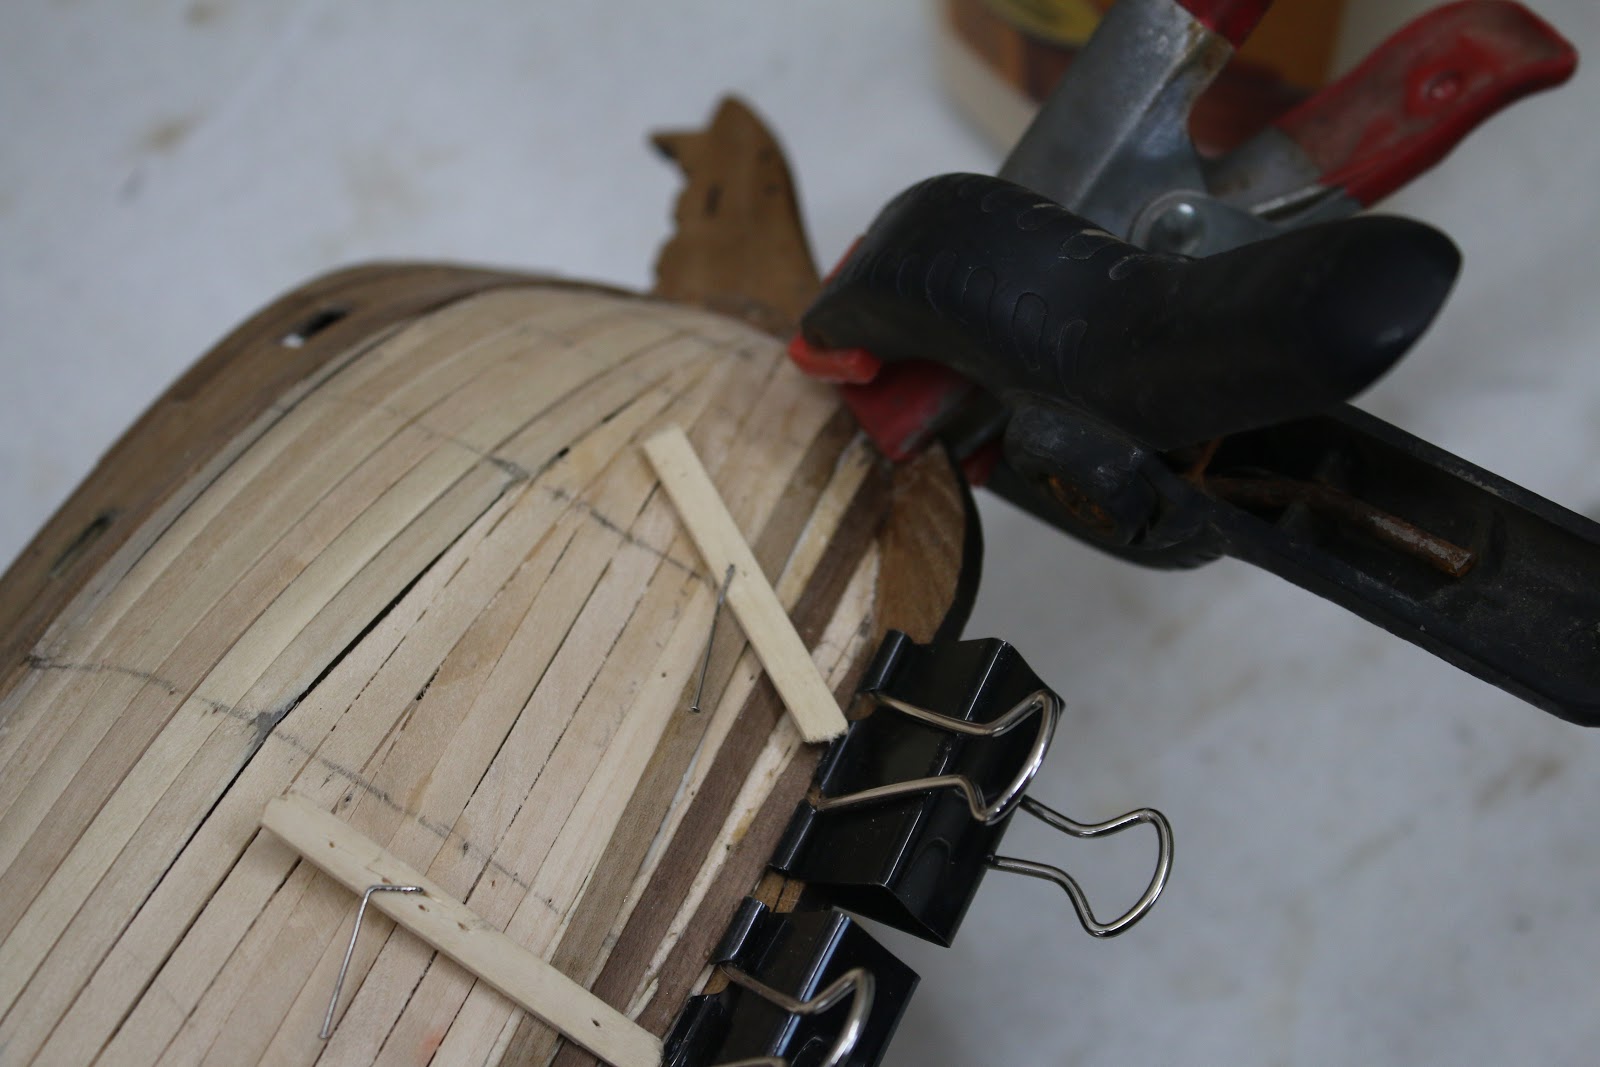
At this point, I had reached the point at the stern where I needed to make some sharper curves. To do this I soaked the planks for a while to make them less brittle.

I then installed the planking above the transom.

while this was drying I decided that I was not happy with the interior wall I had made earlier. So I went ahead and redid the work.
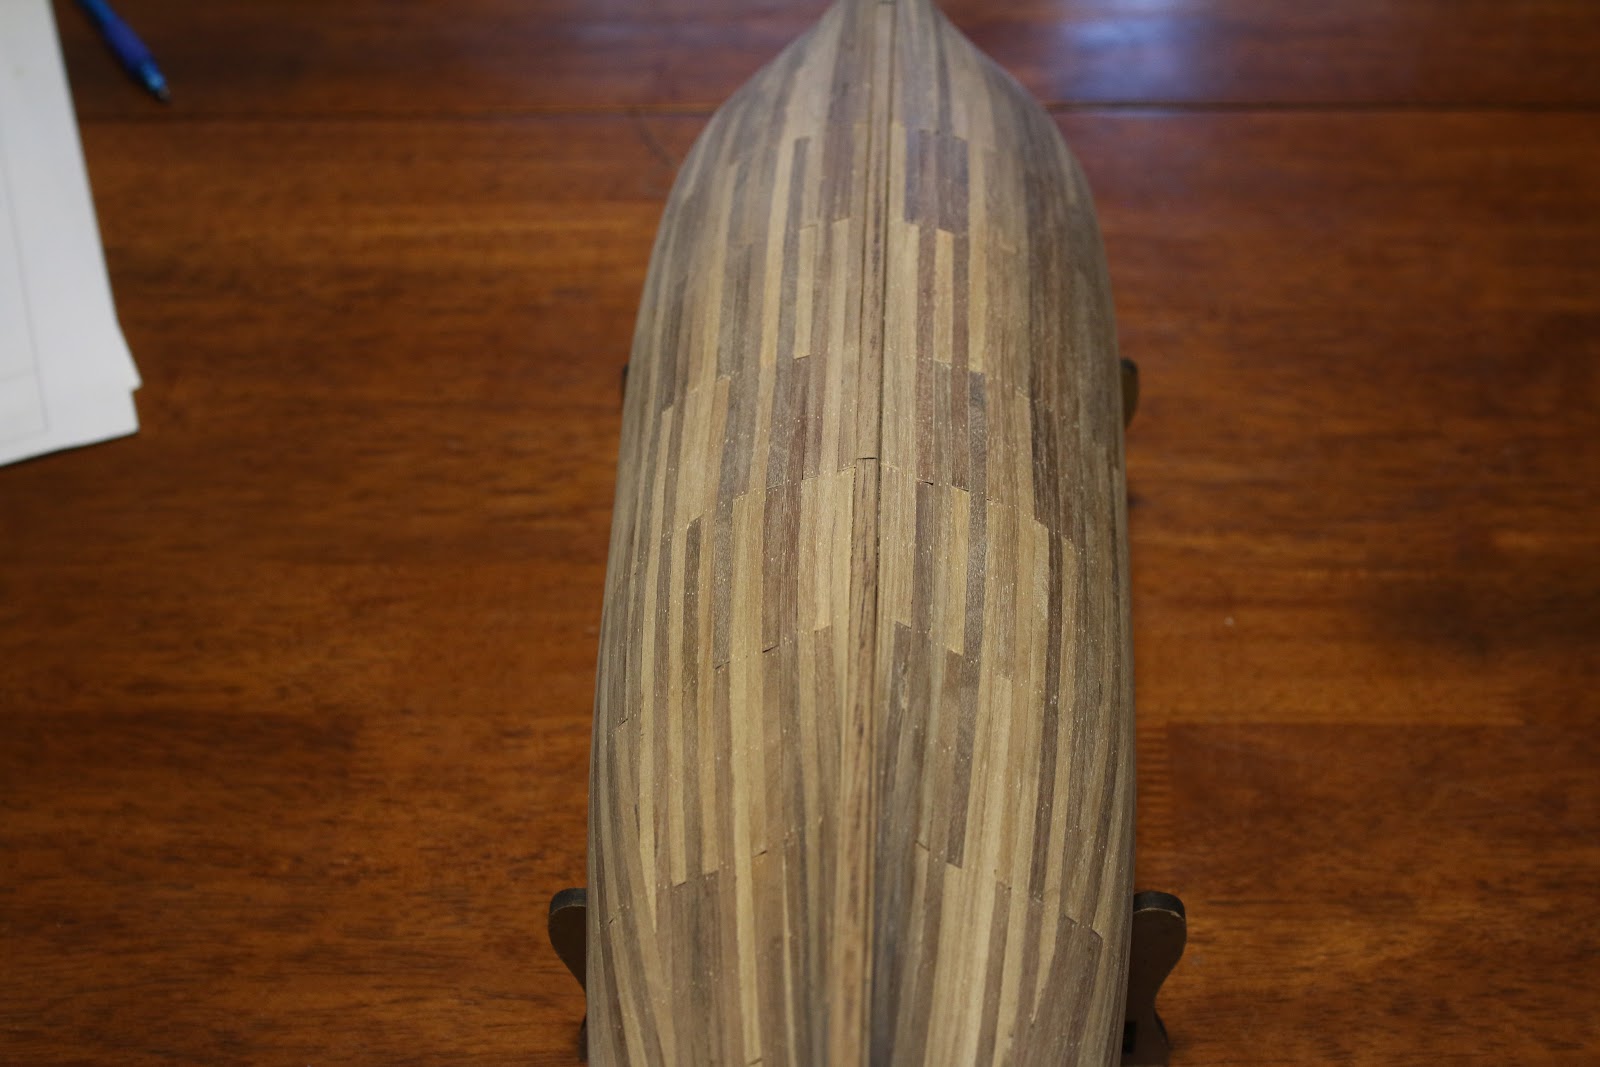
And more planking over the next few days.


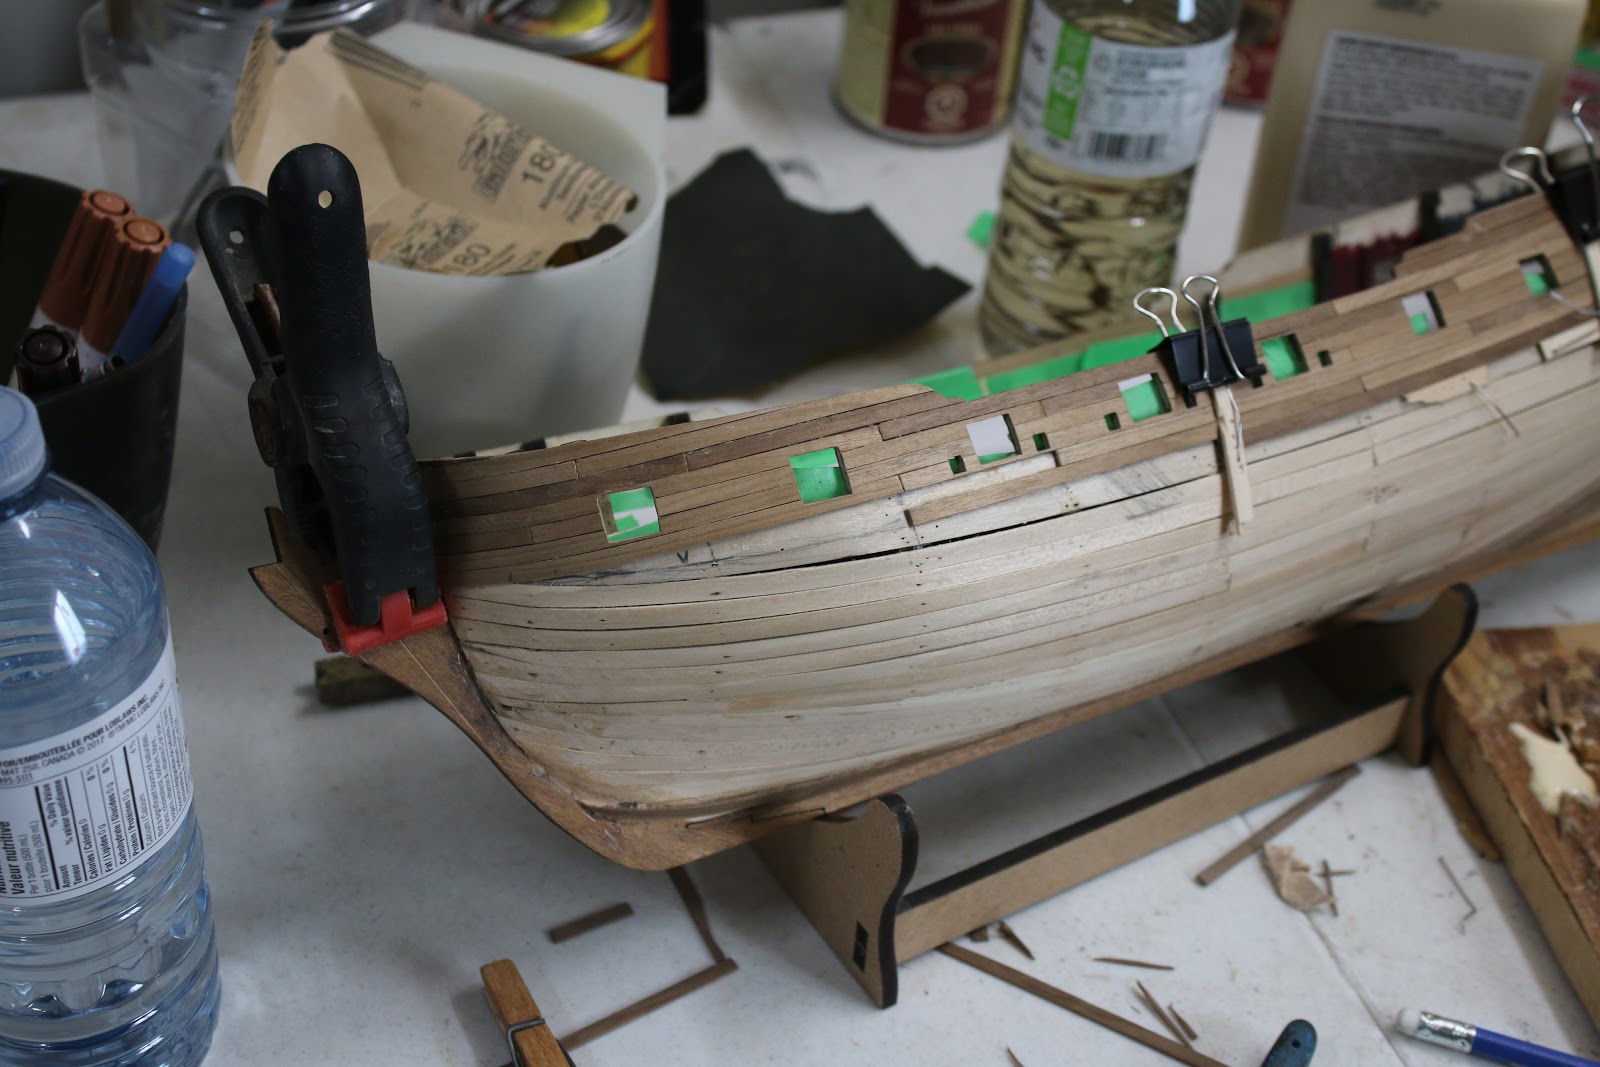
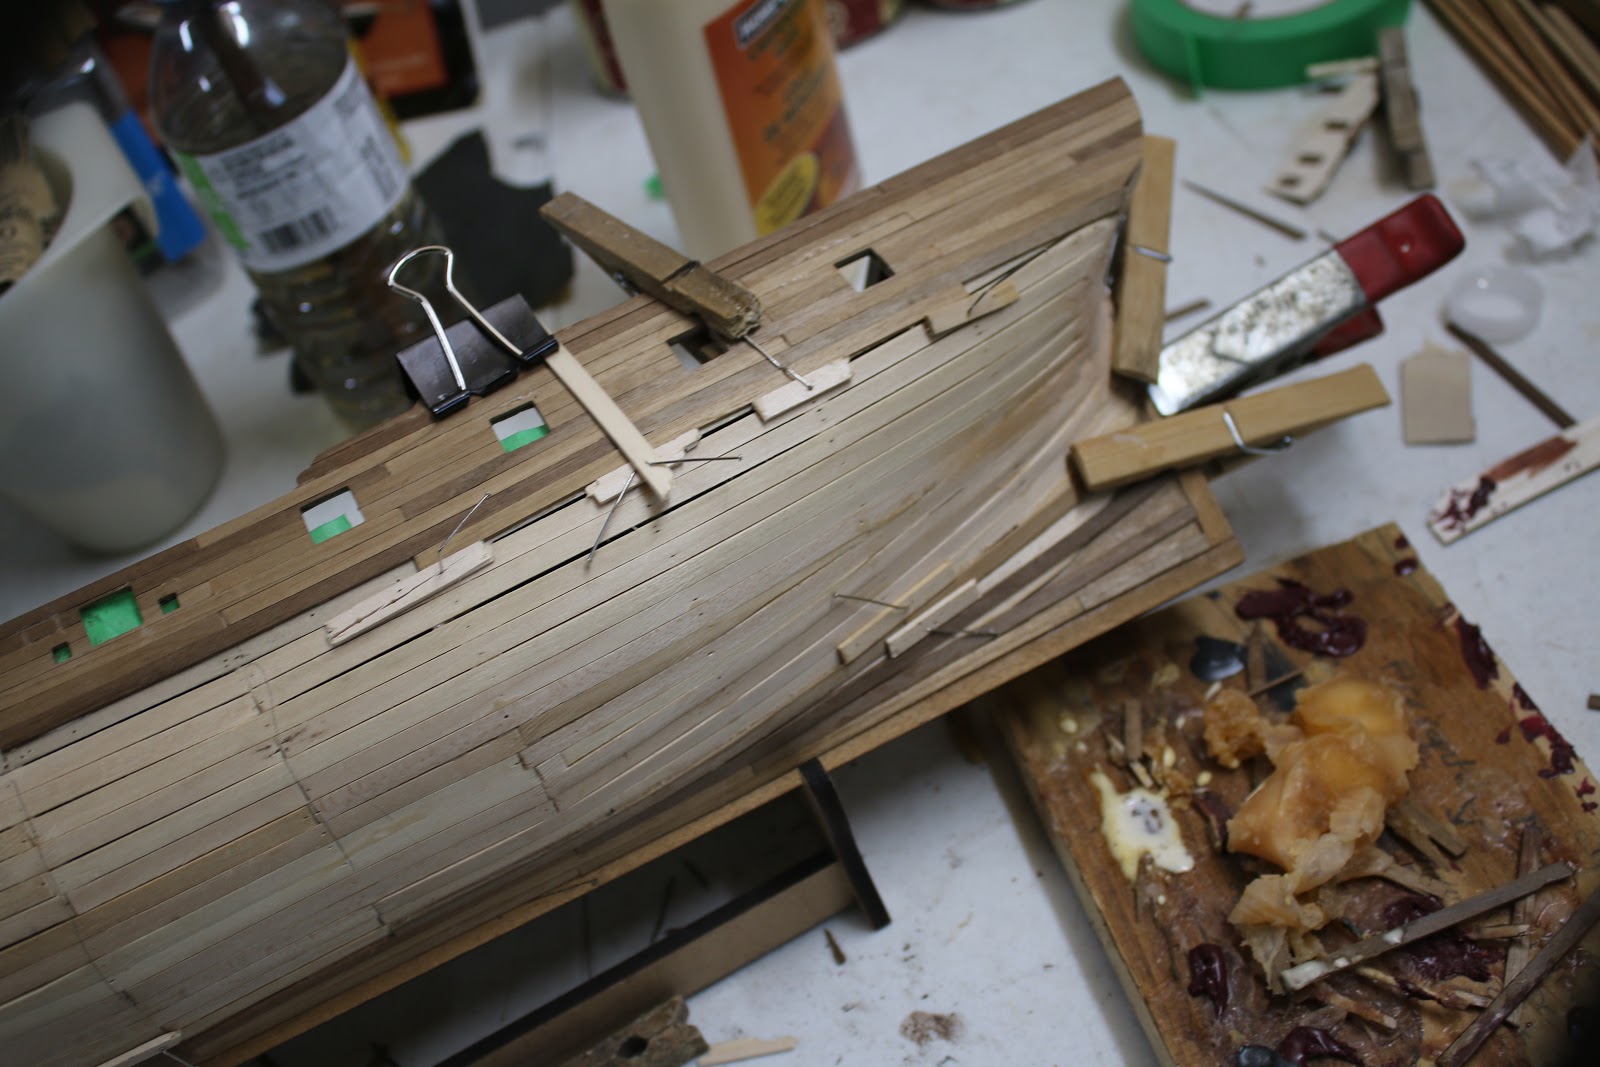
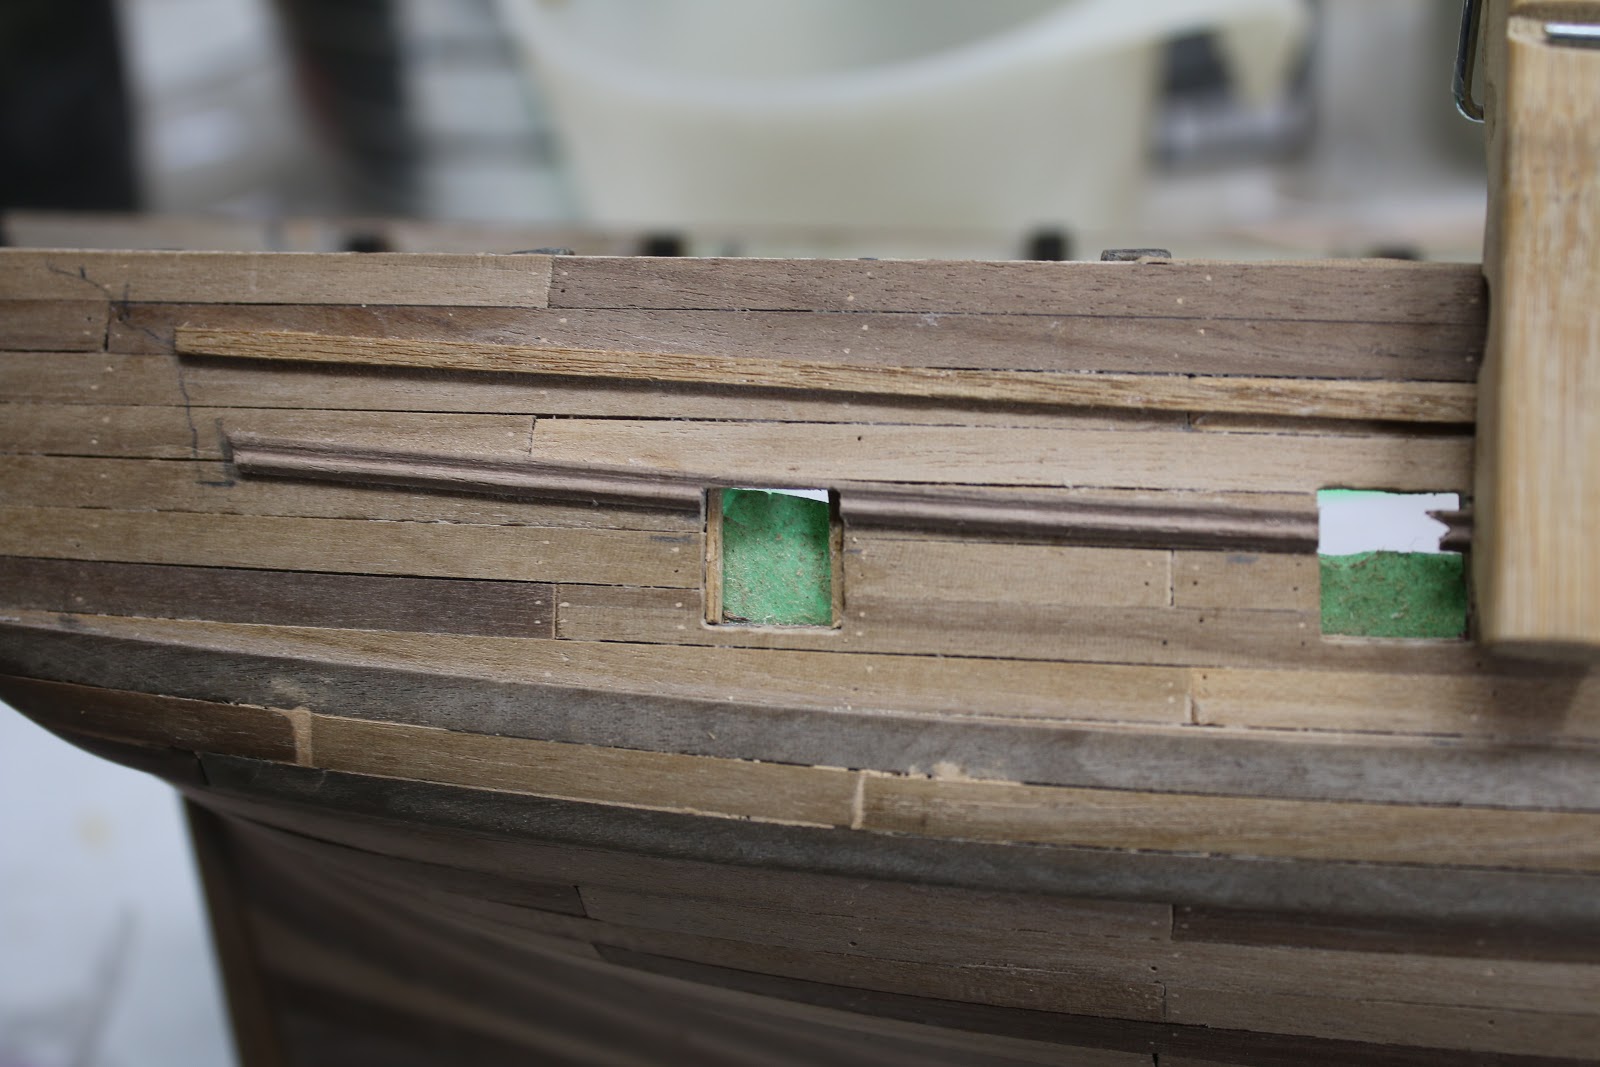
At this point, I decided that it was time to install my stealers and fill the gaps in the planks before proceeding with the planking.
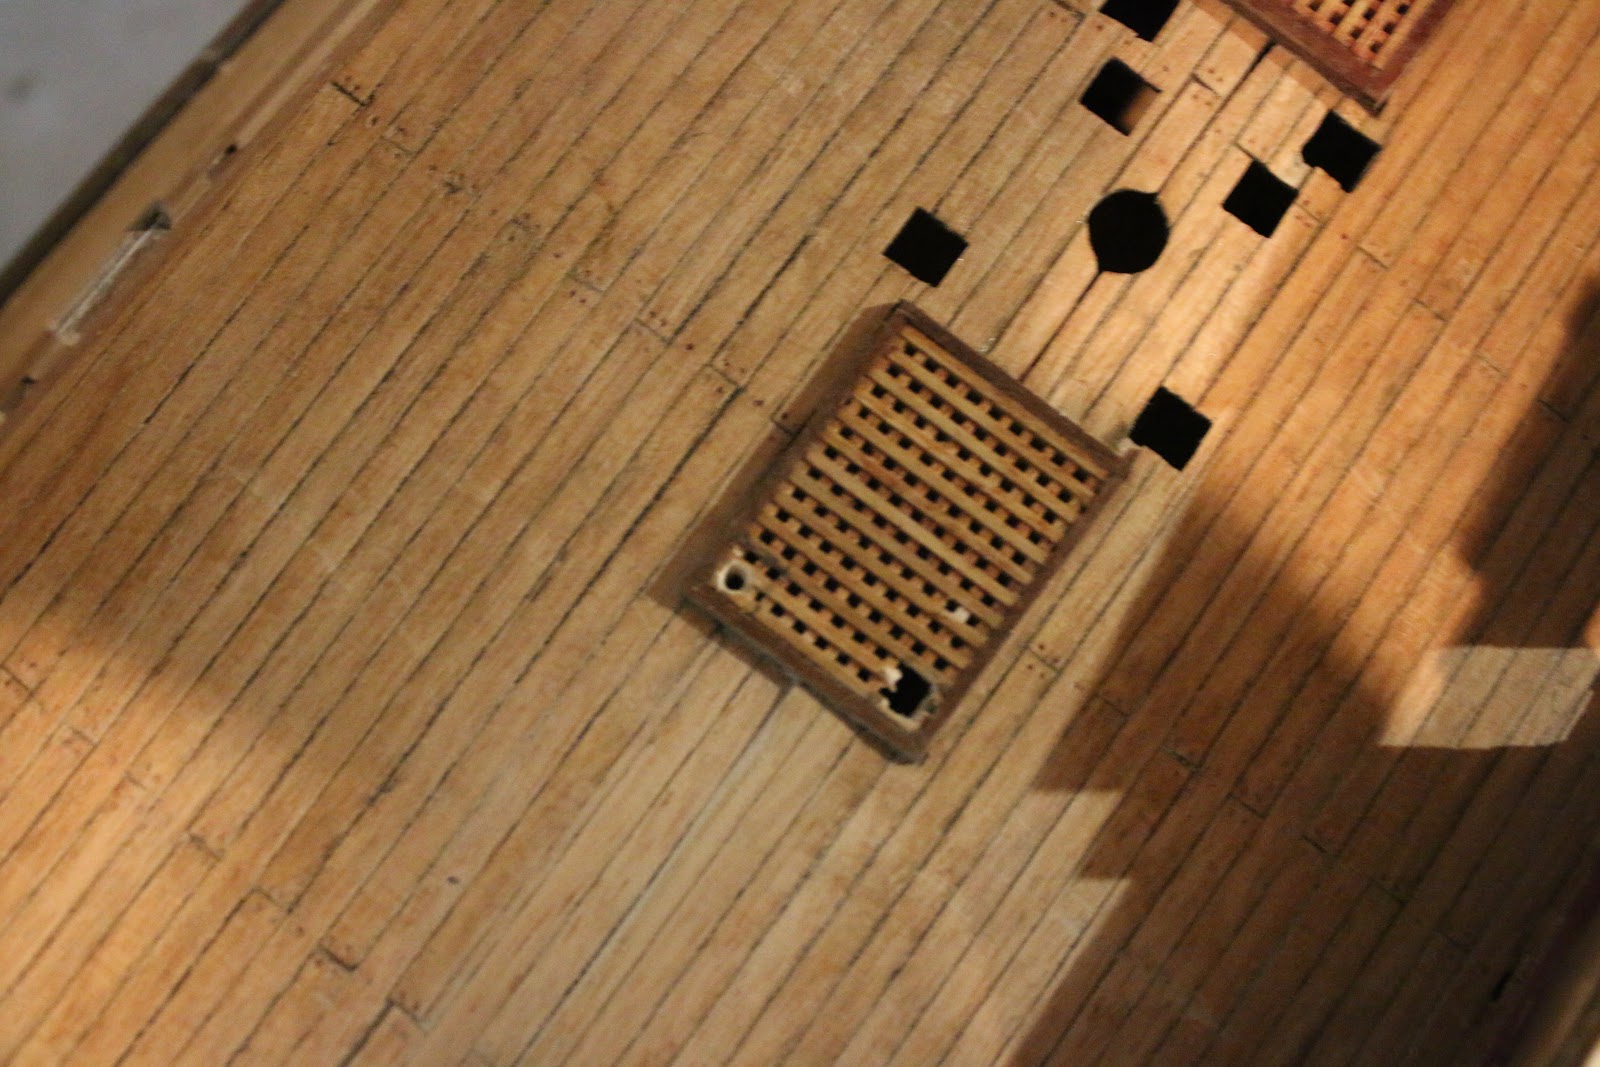
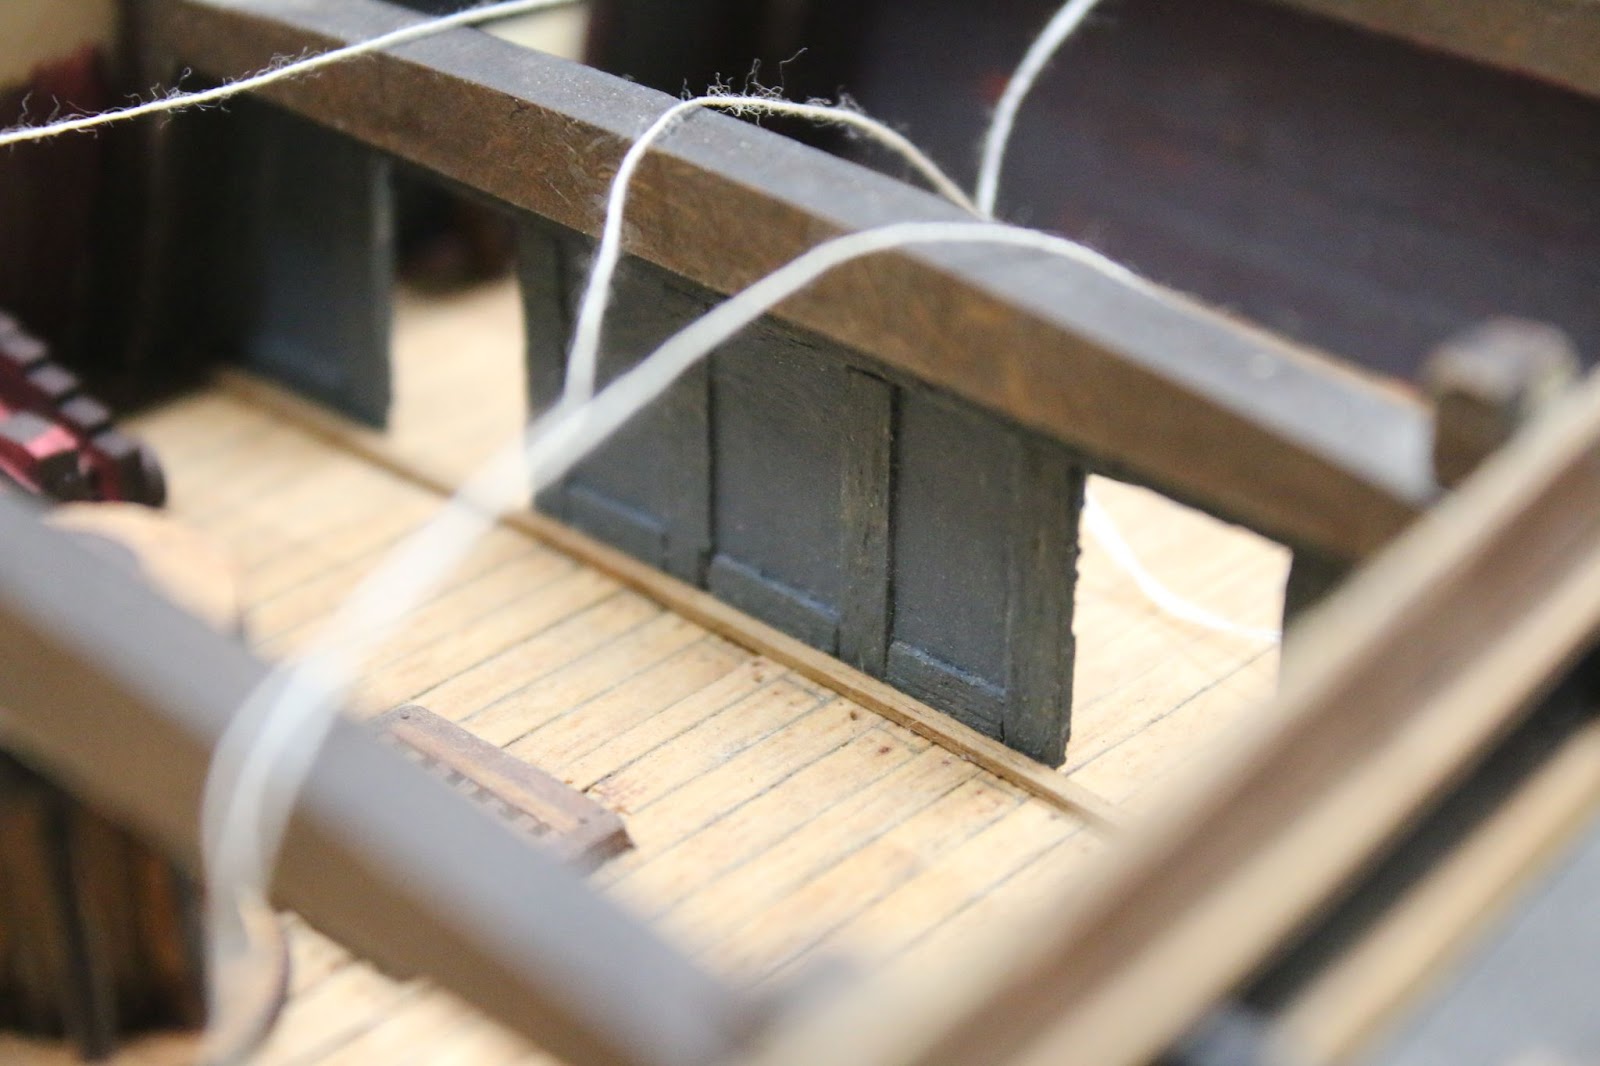
I also framed under the open hatch in the upper deck.

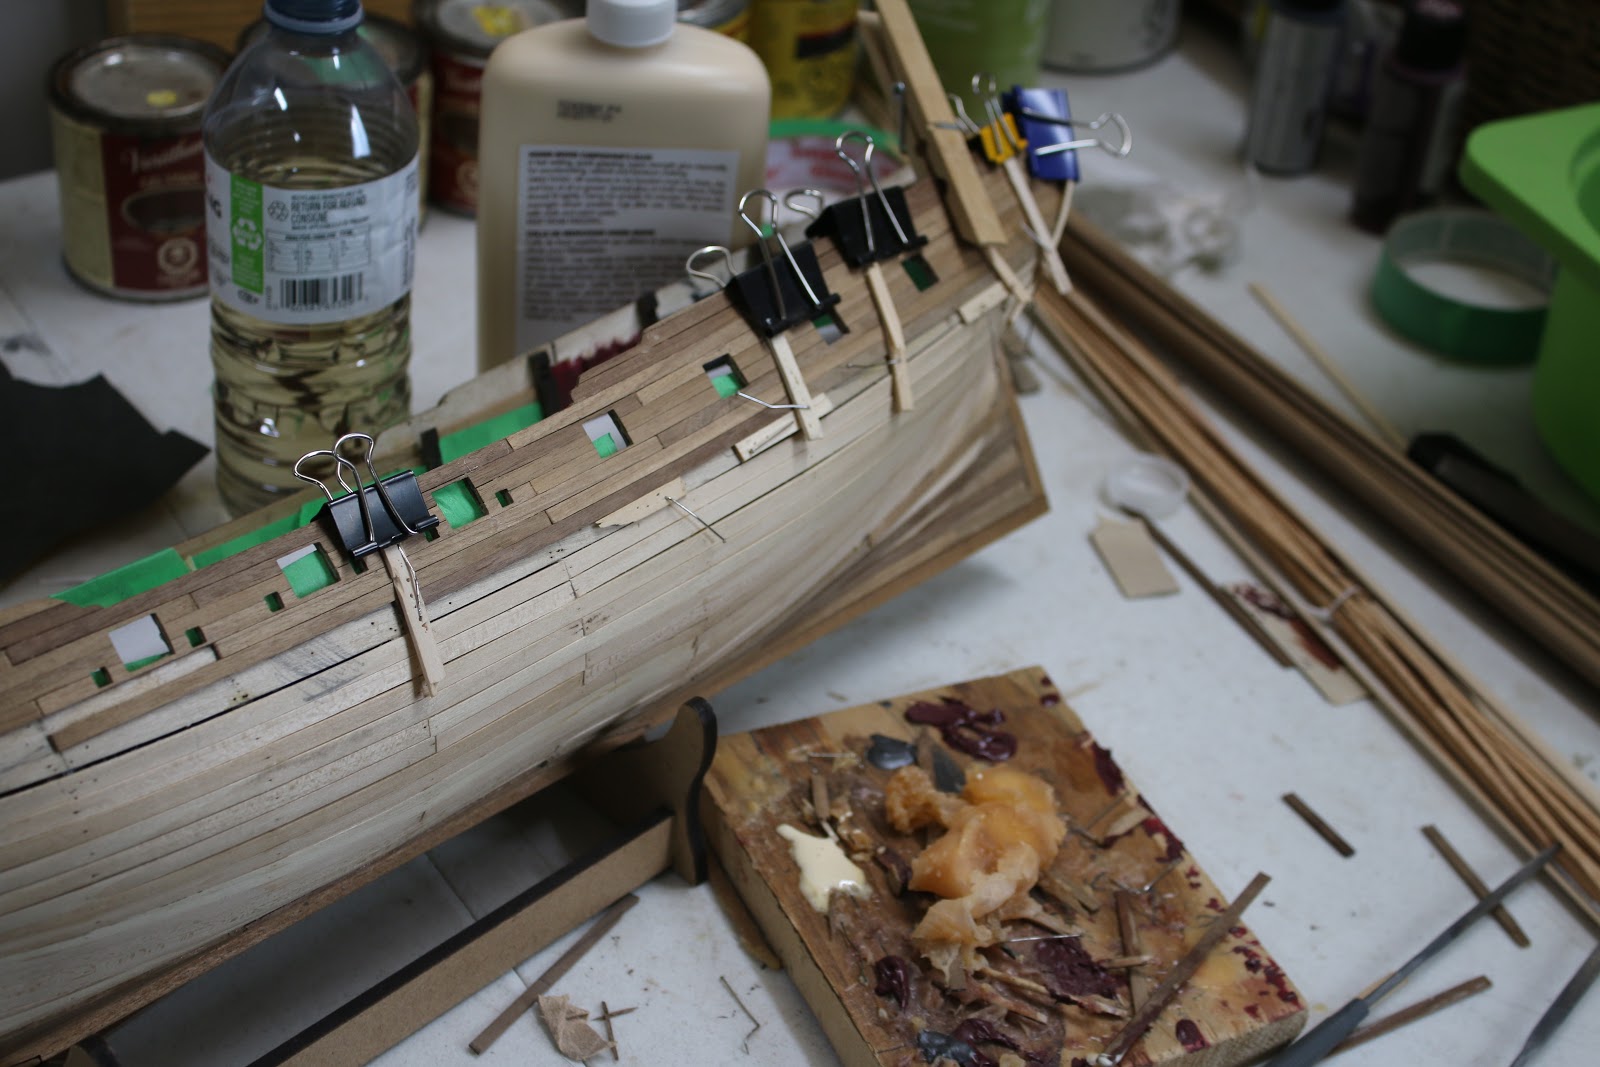
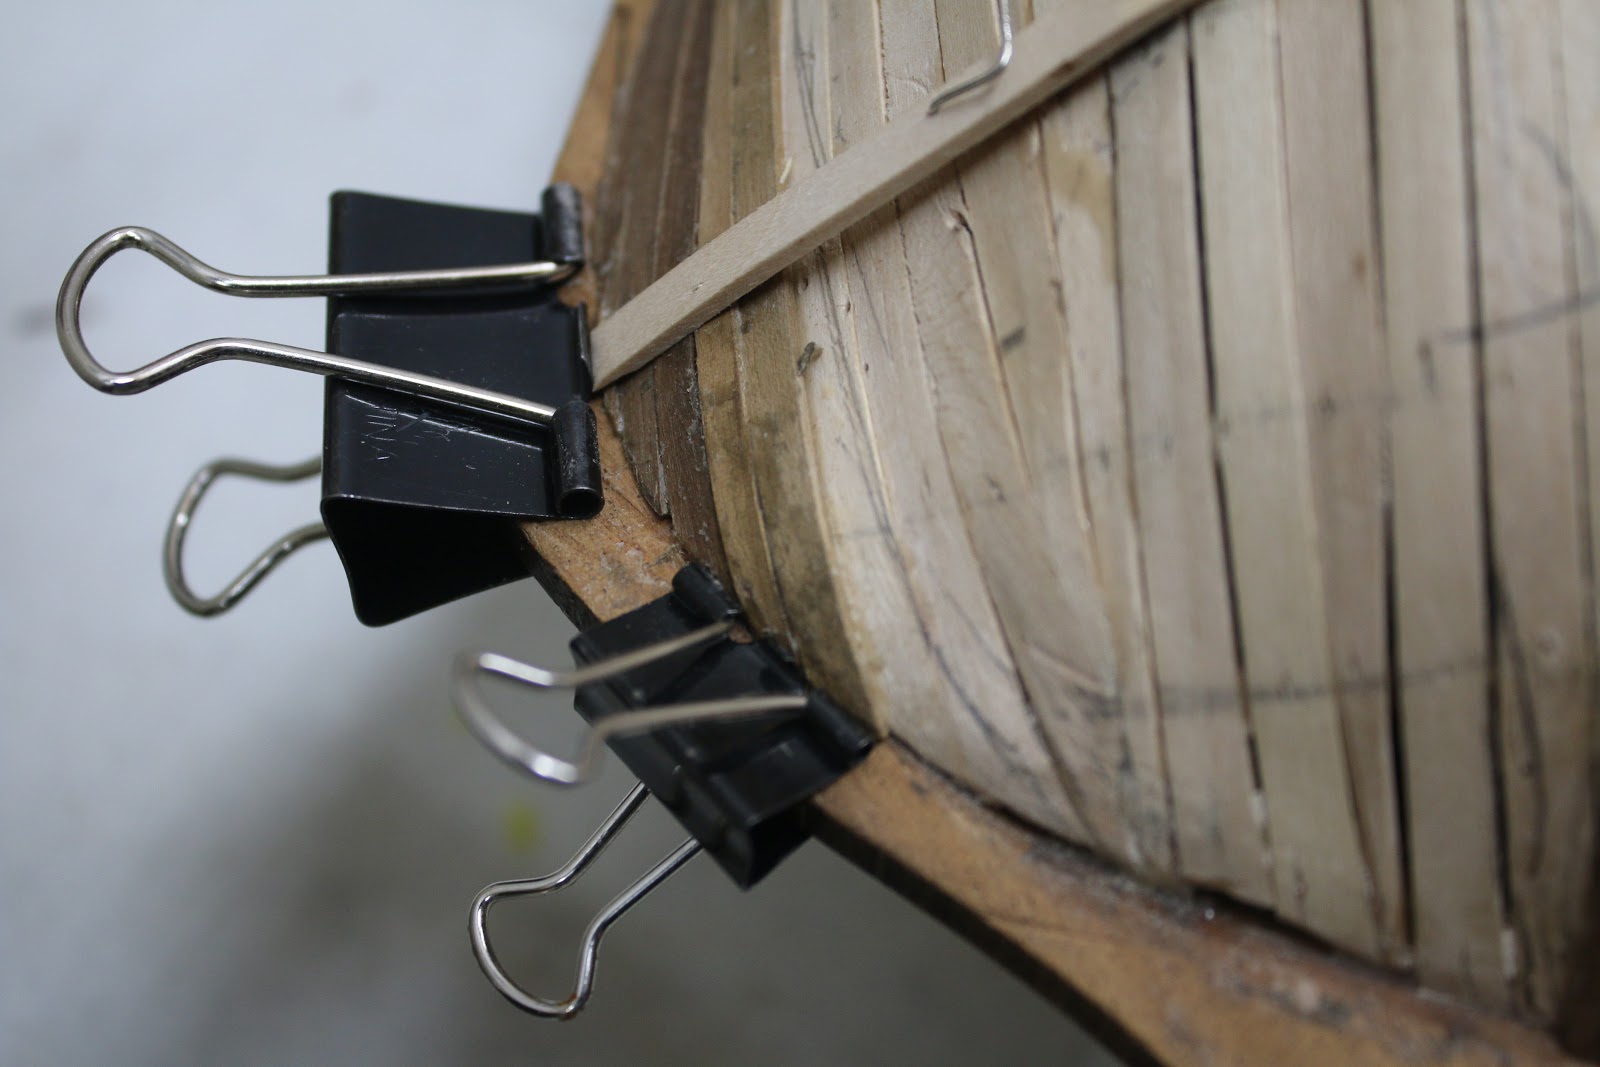
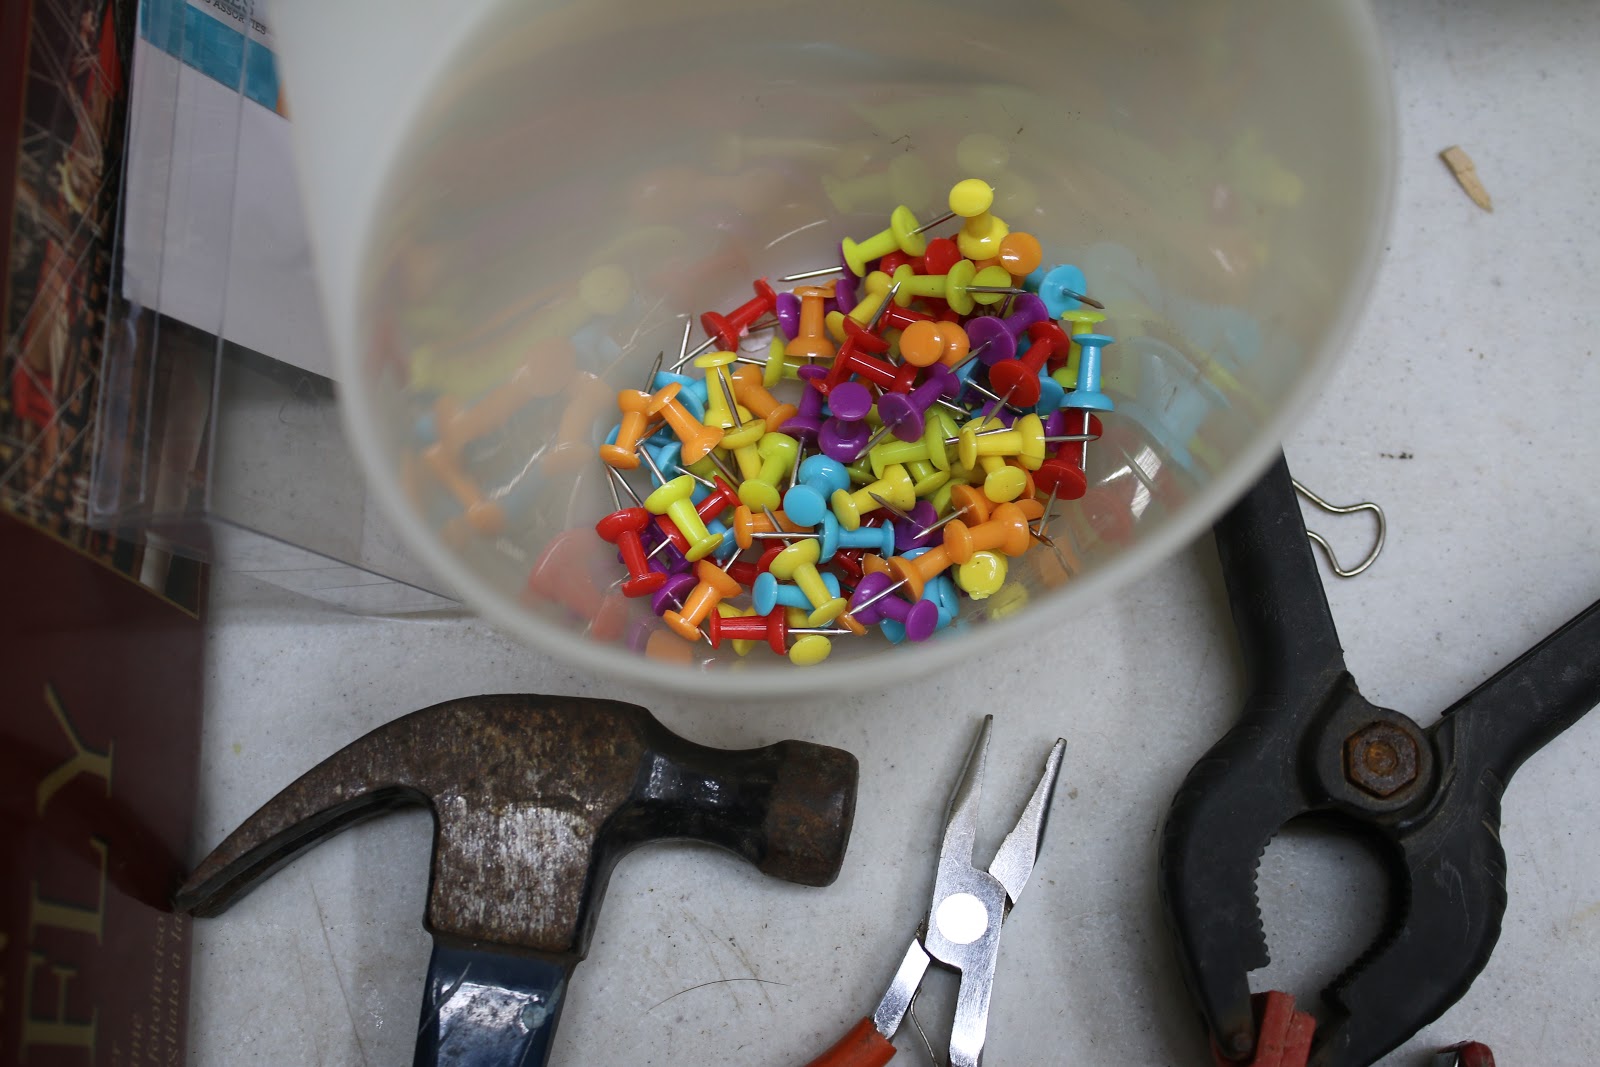
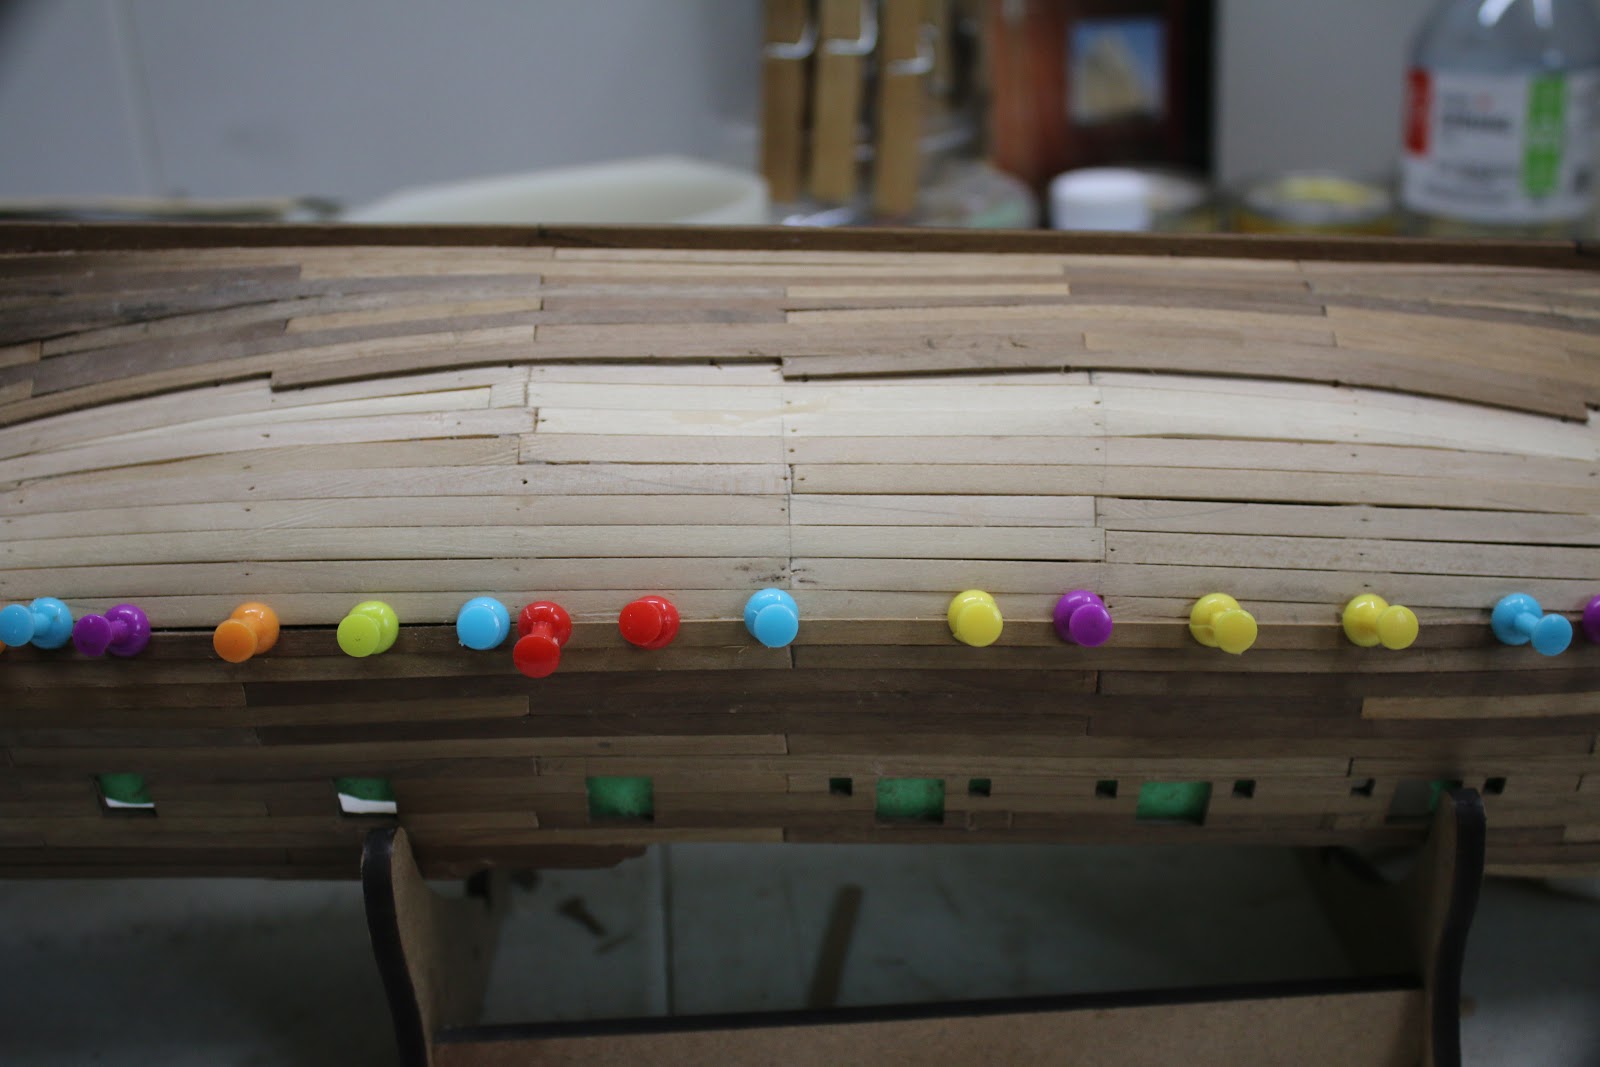
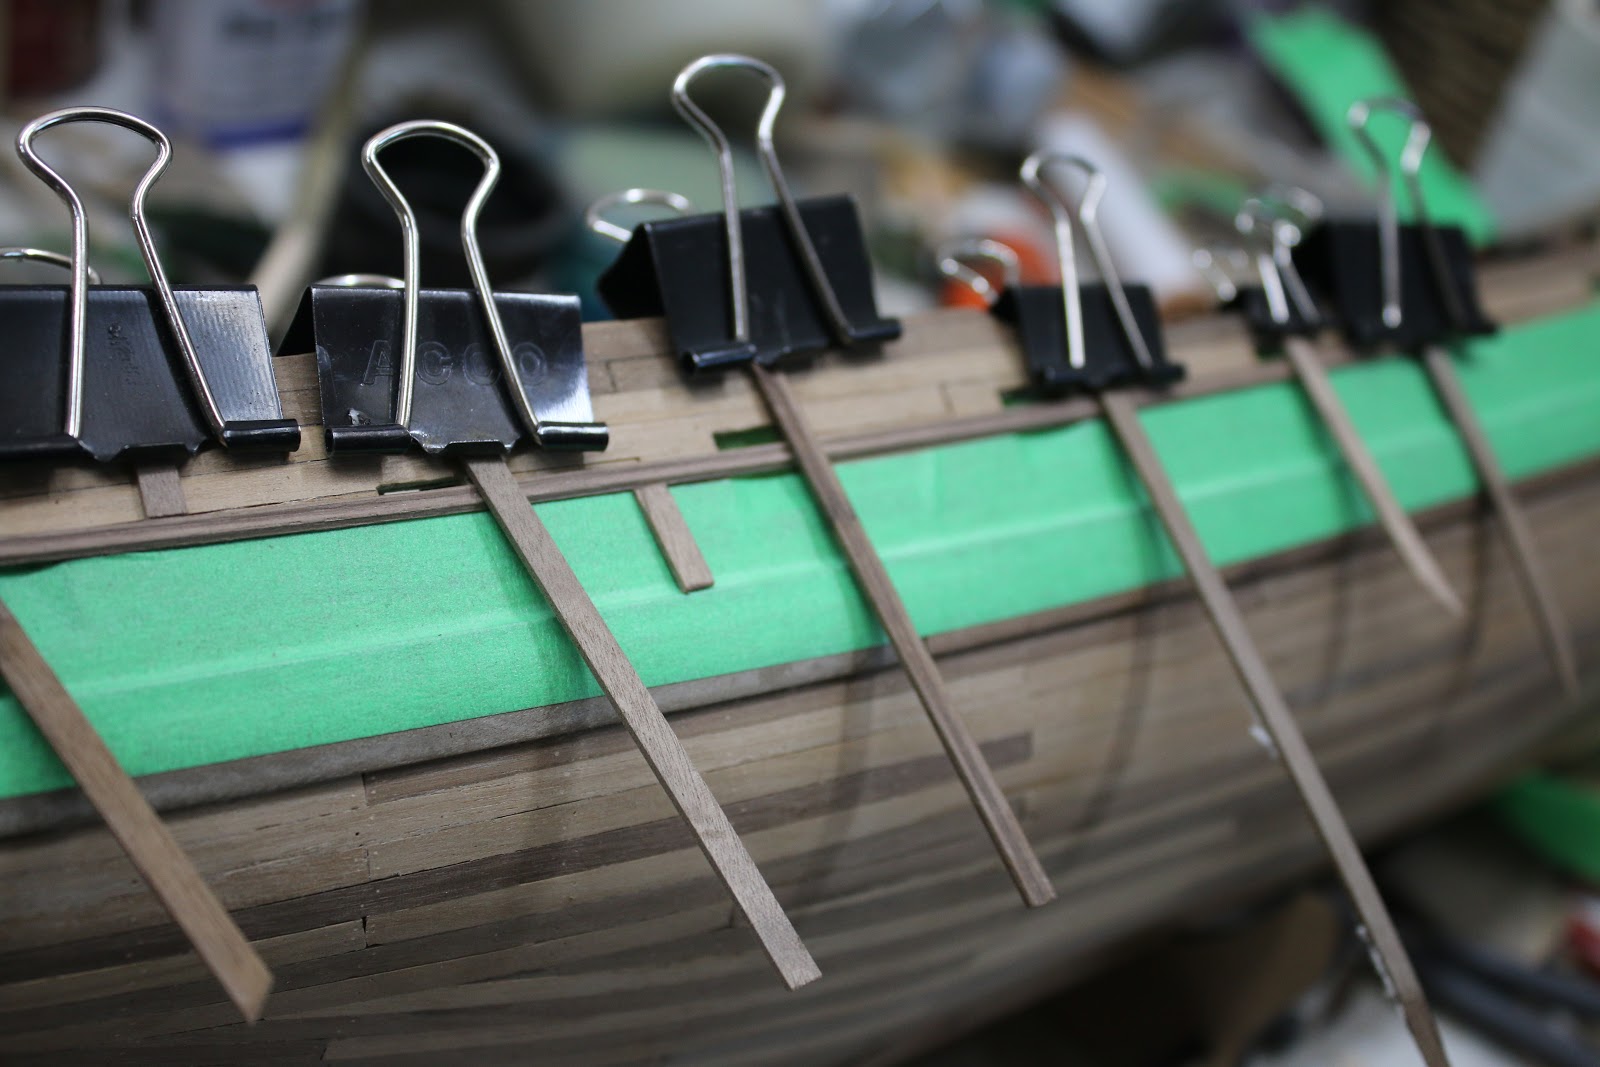
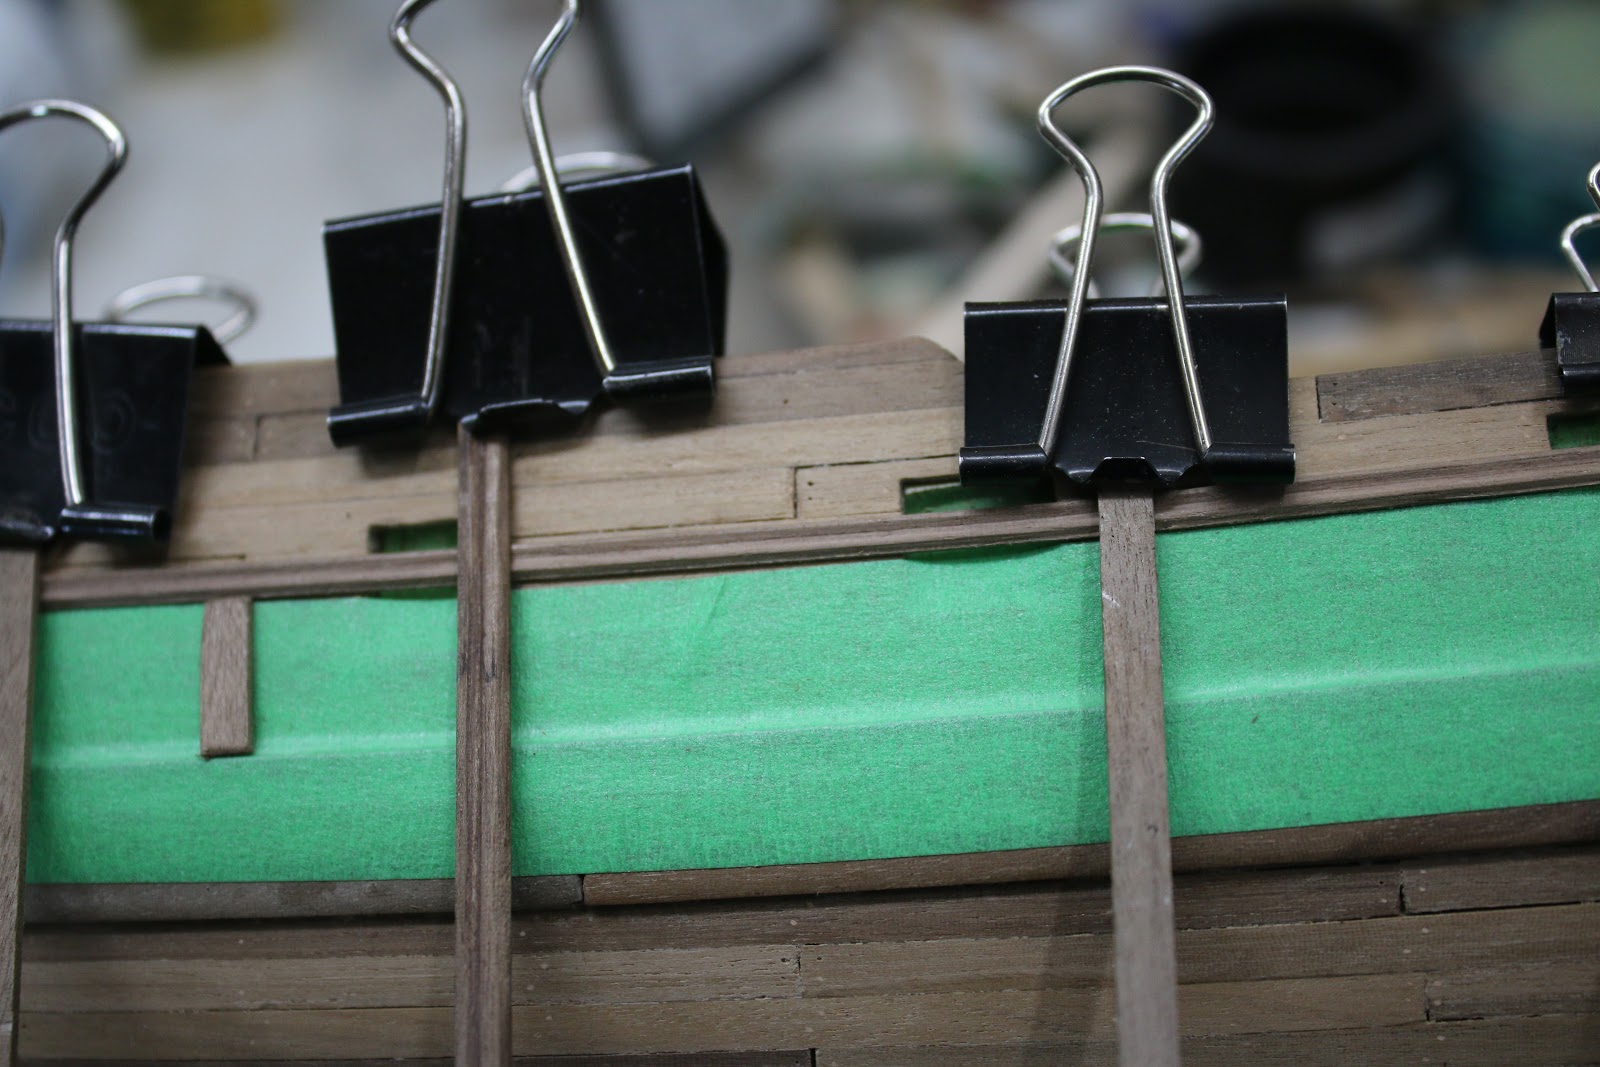
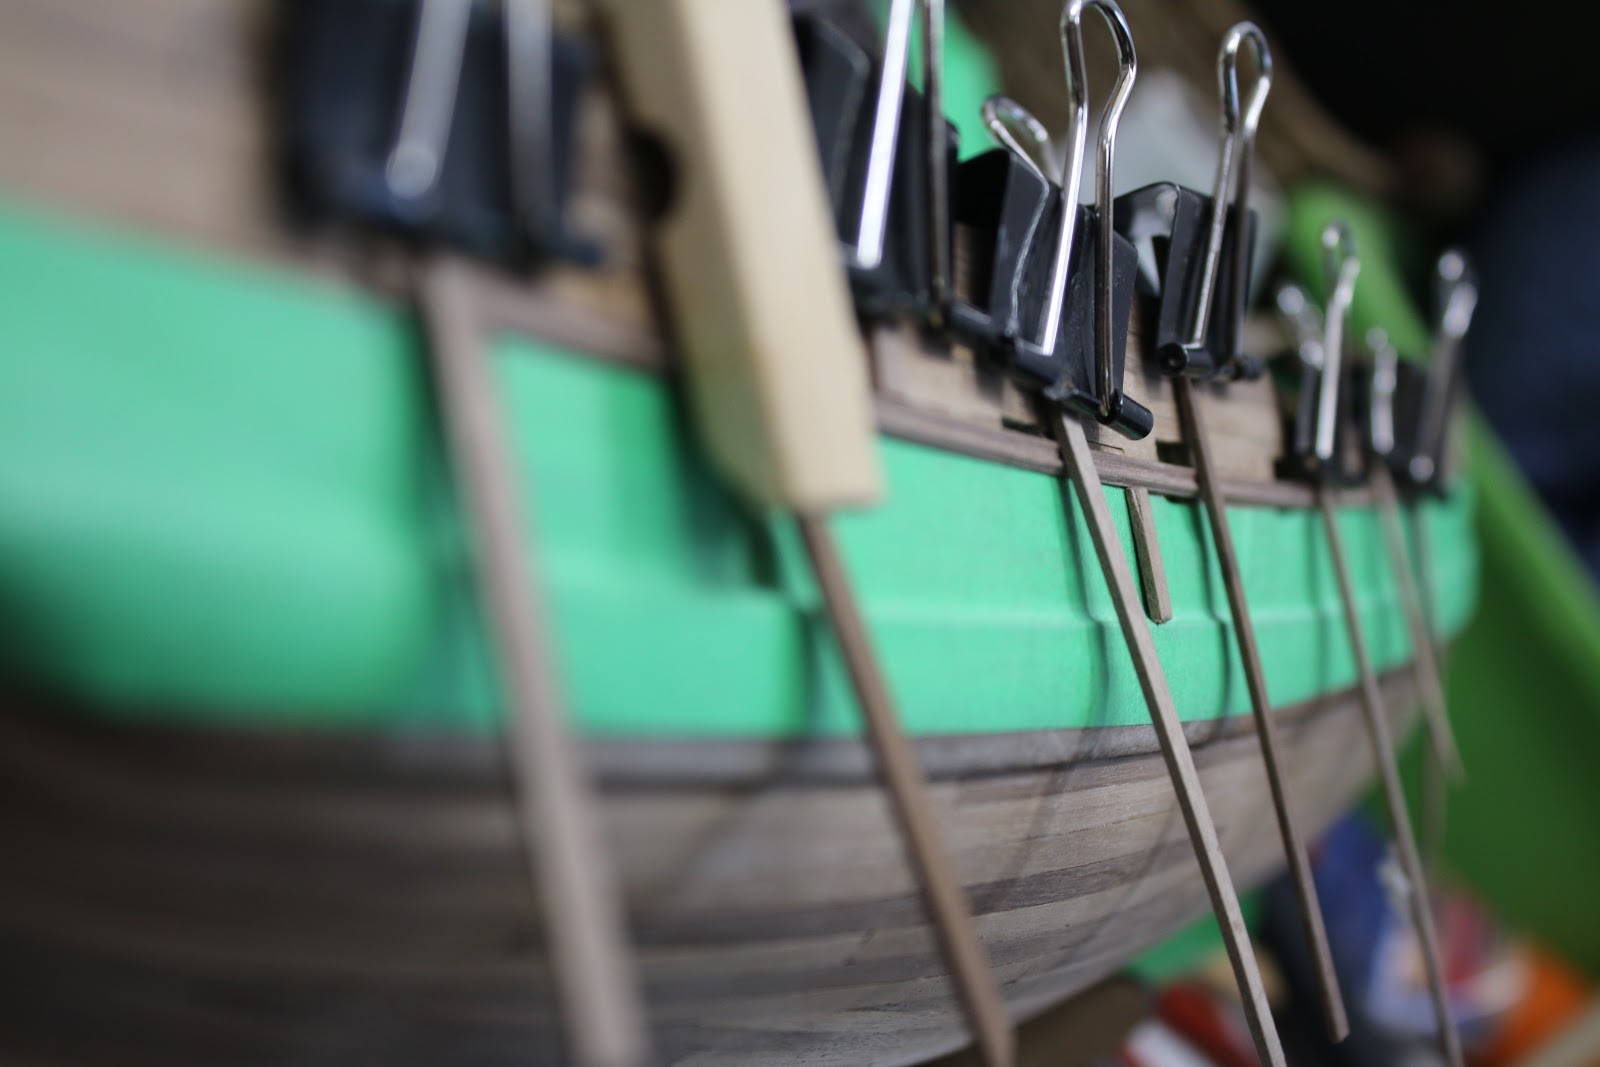
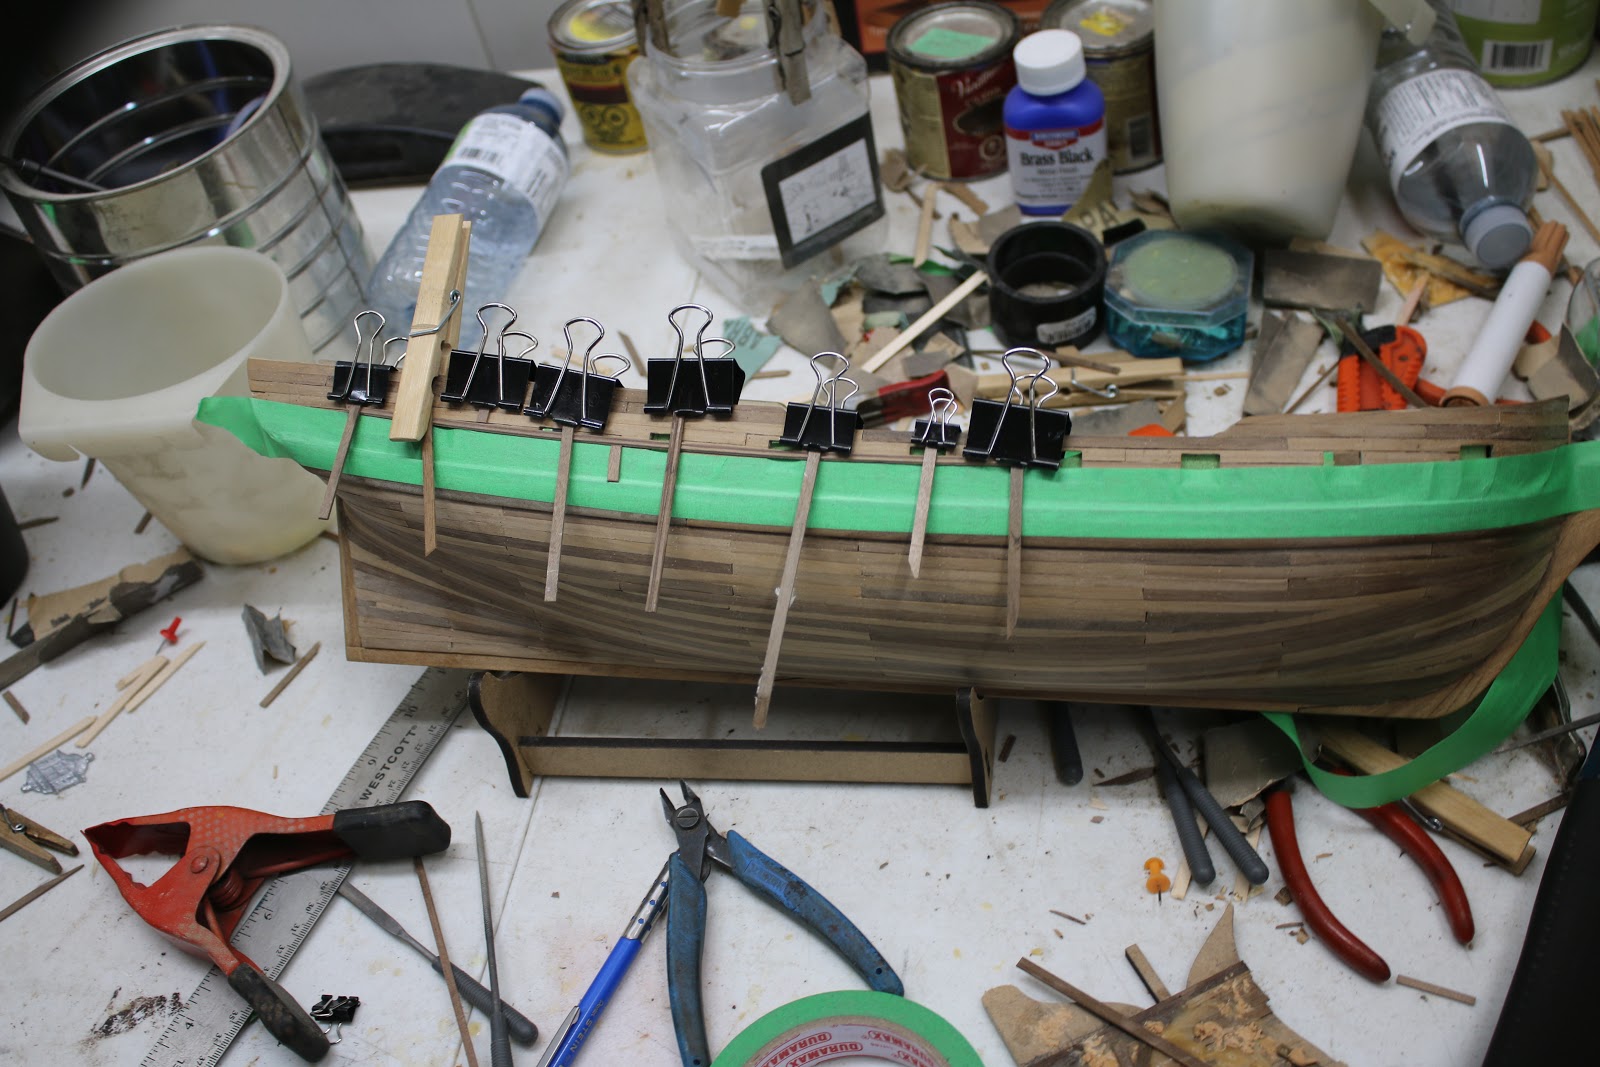
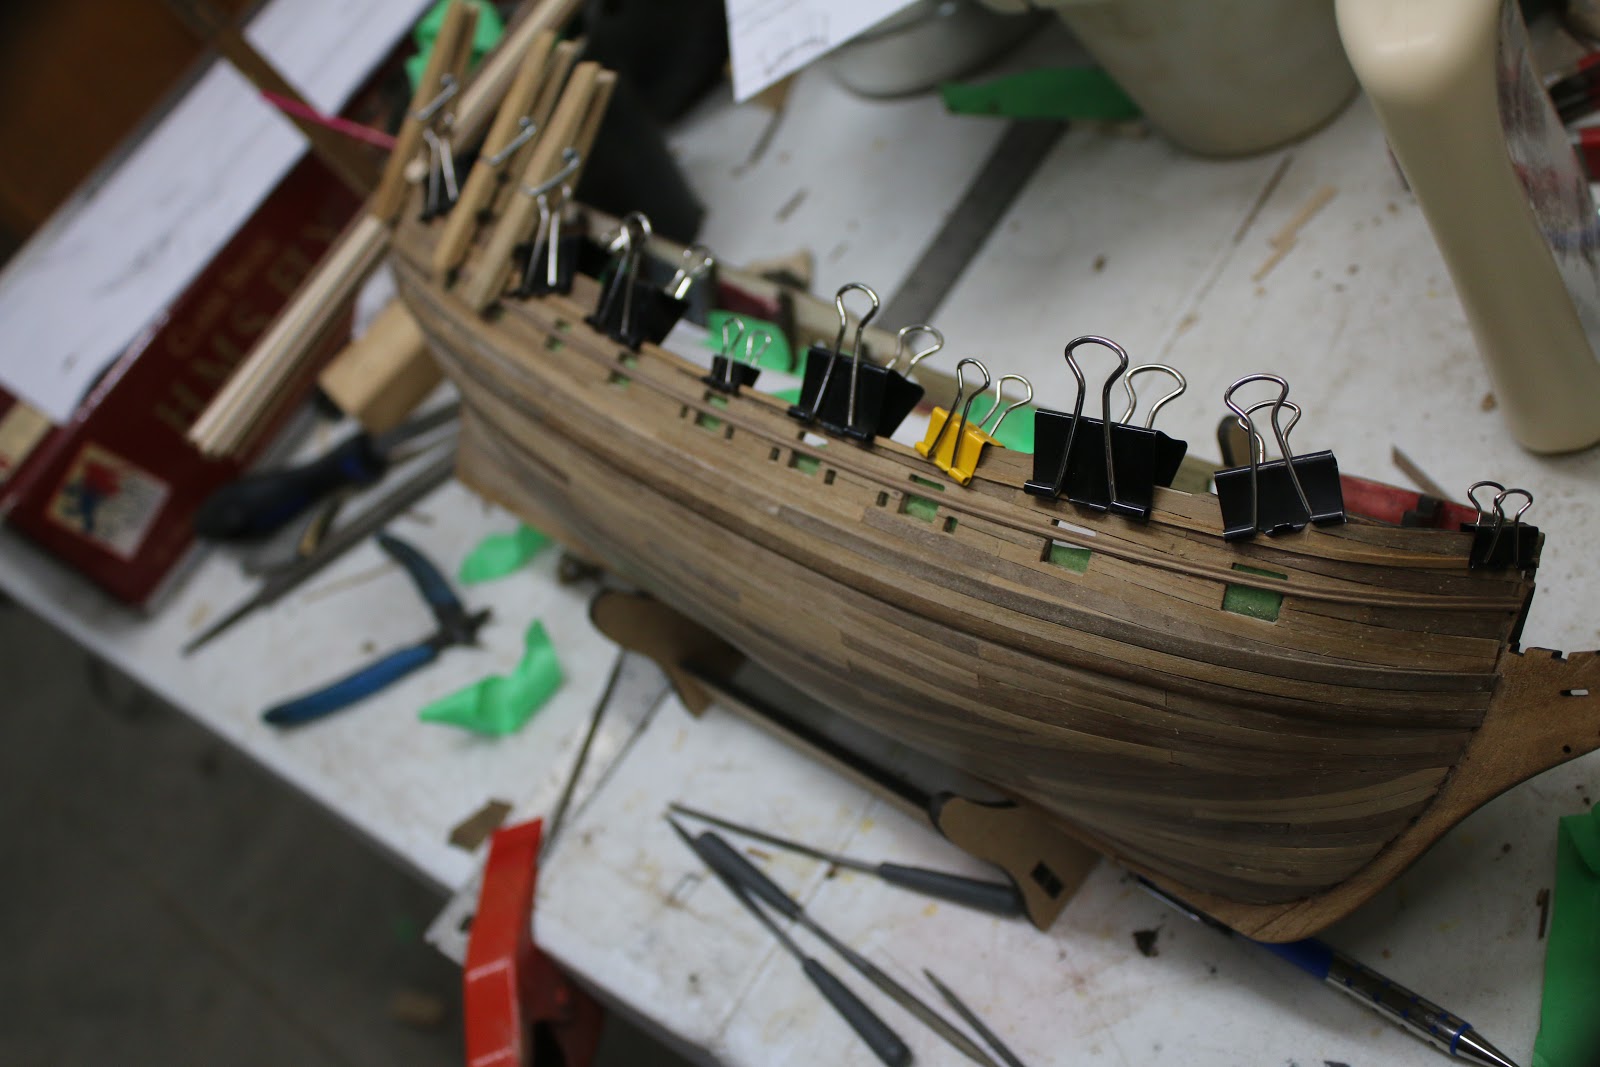
At this point, life got a lot easier. I managed to get my hands on some thumbtacks which proved to be a lot better than sewing pins for holding planks.


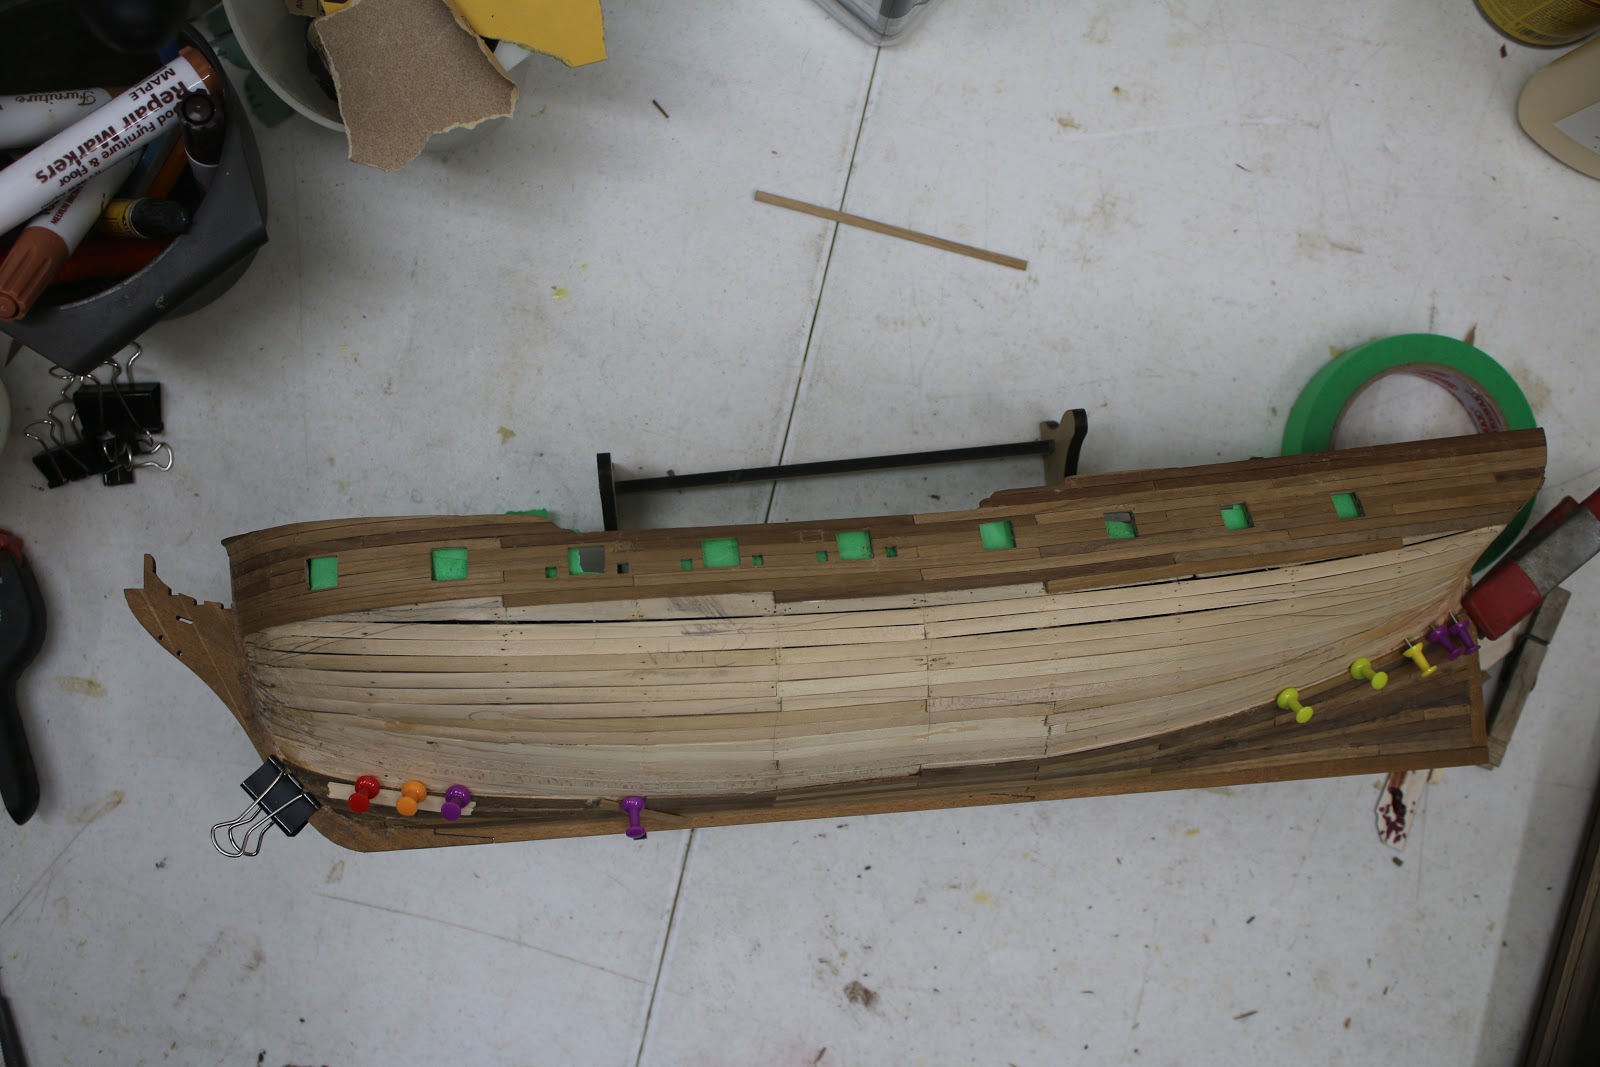
Without these, I don’t think I would have managed to continue the planking.


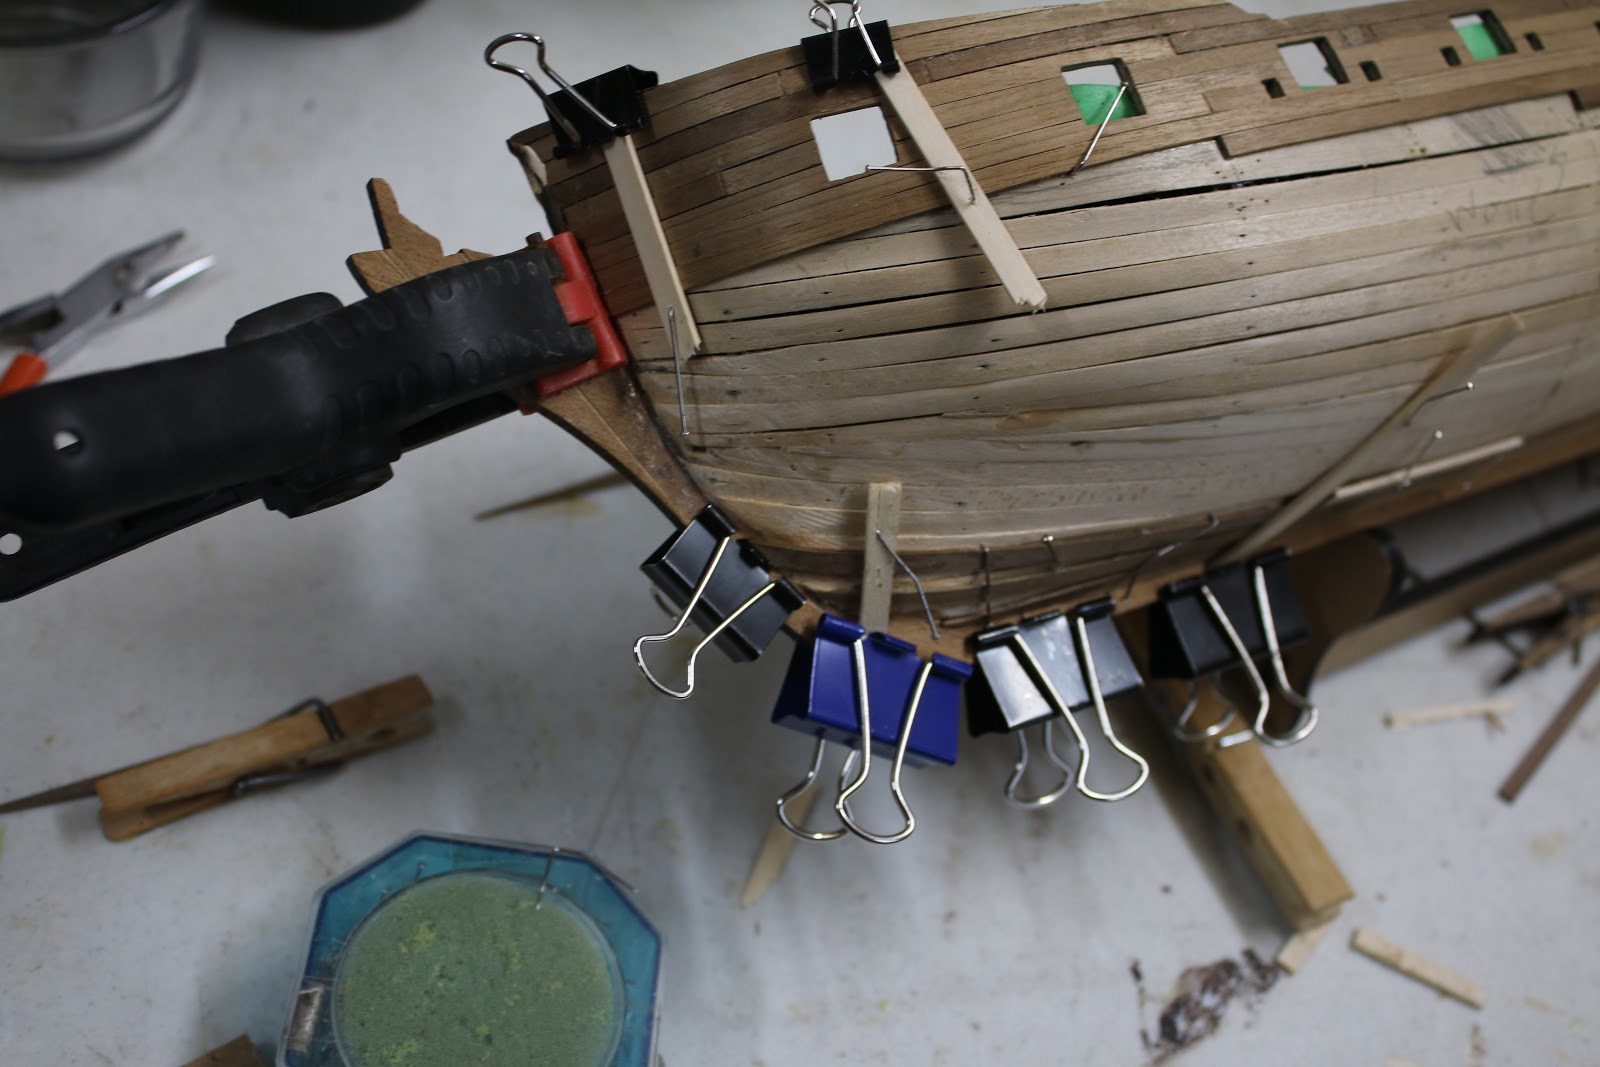
I also checked the stern gallery base for fit.

And then continued with the planking.
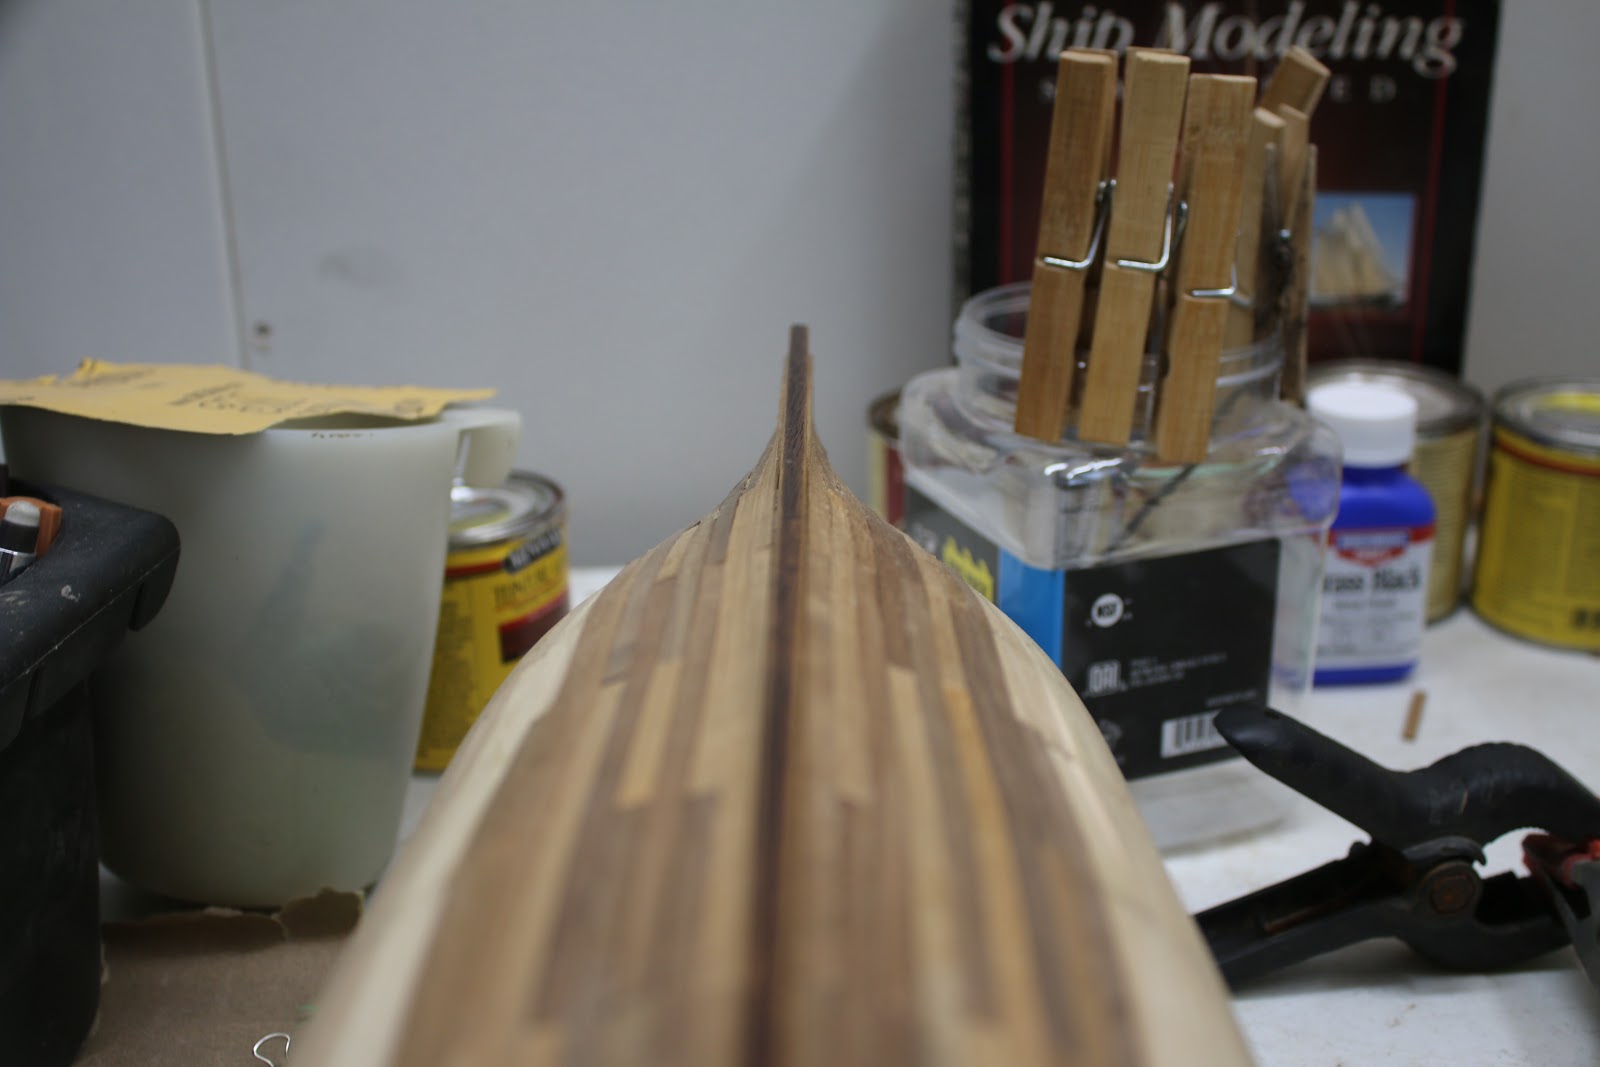
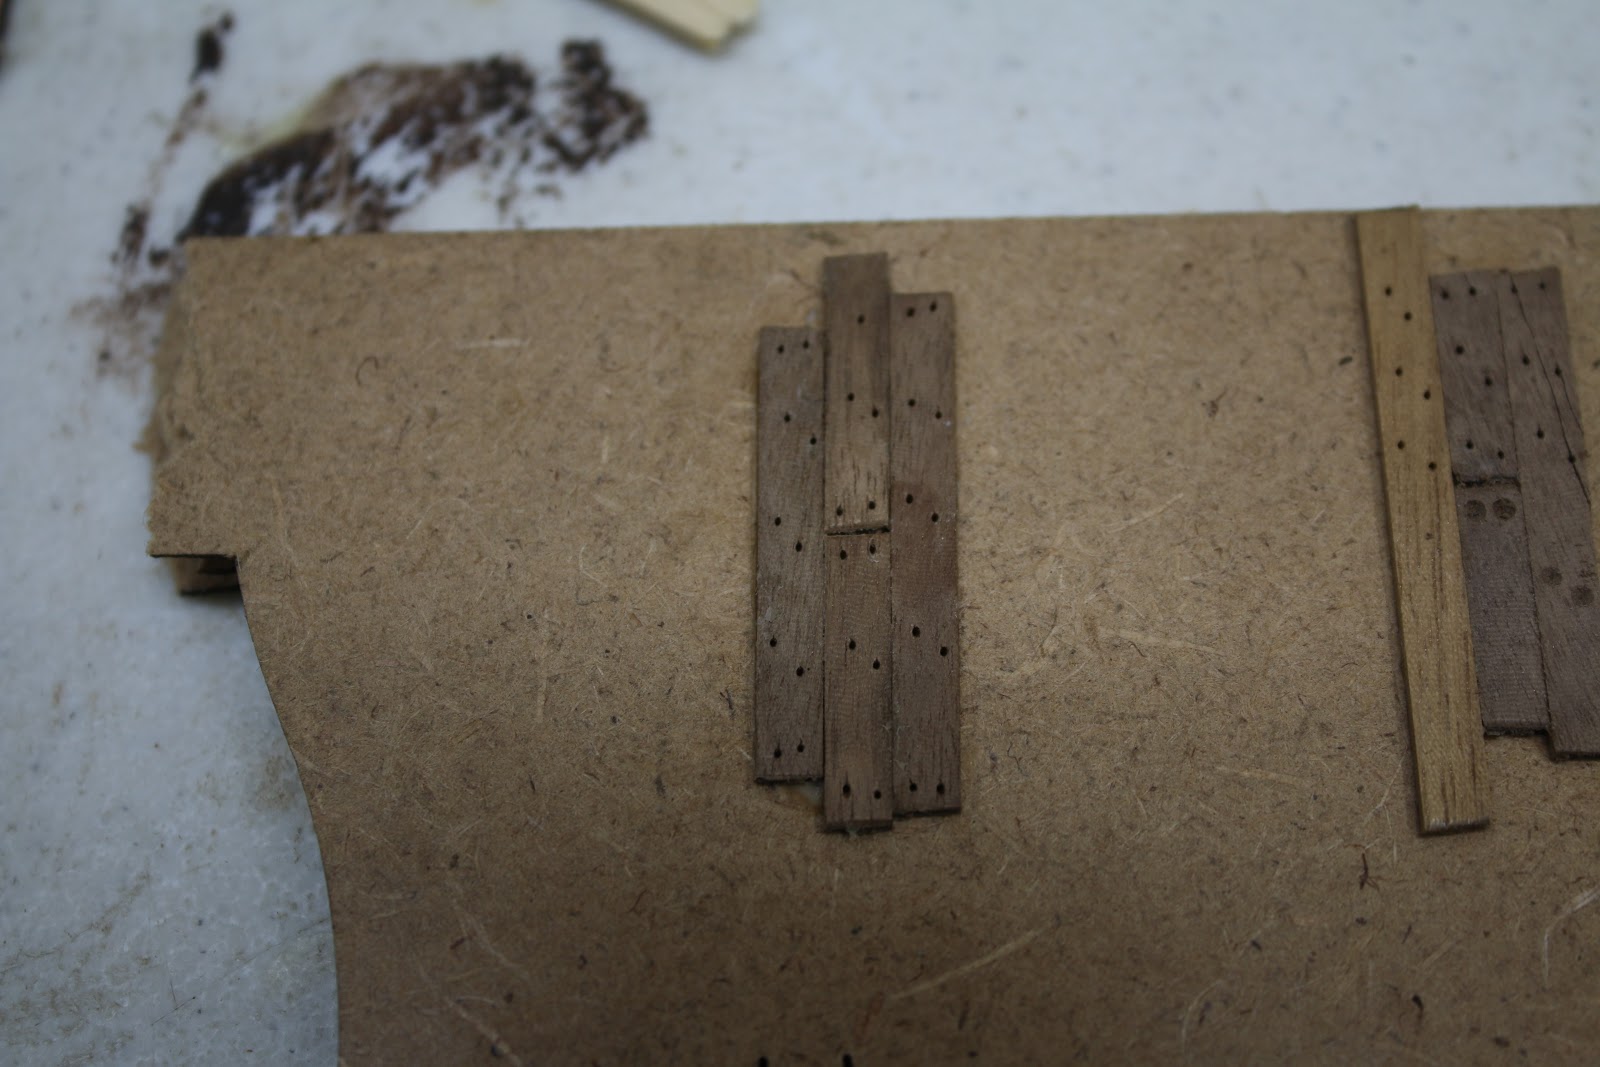
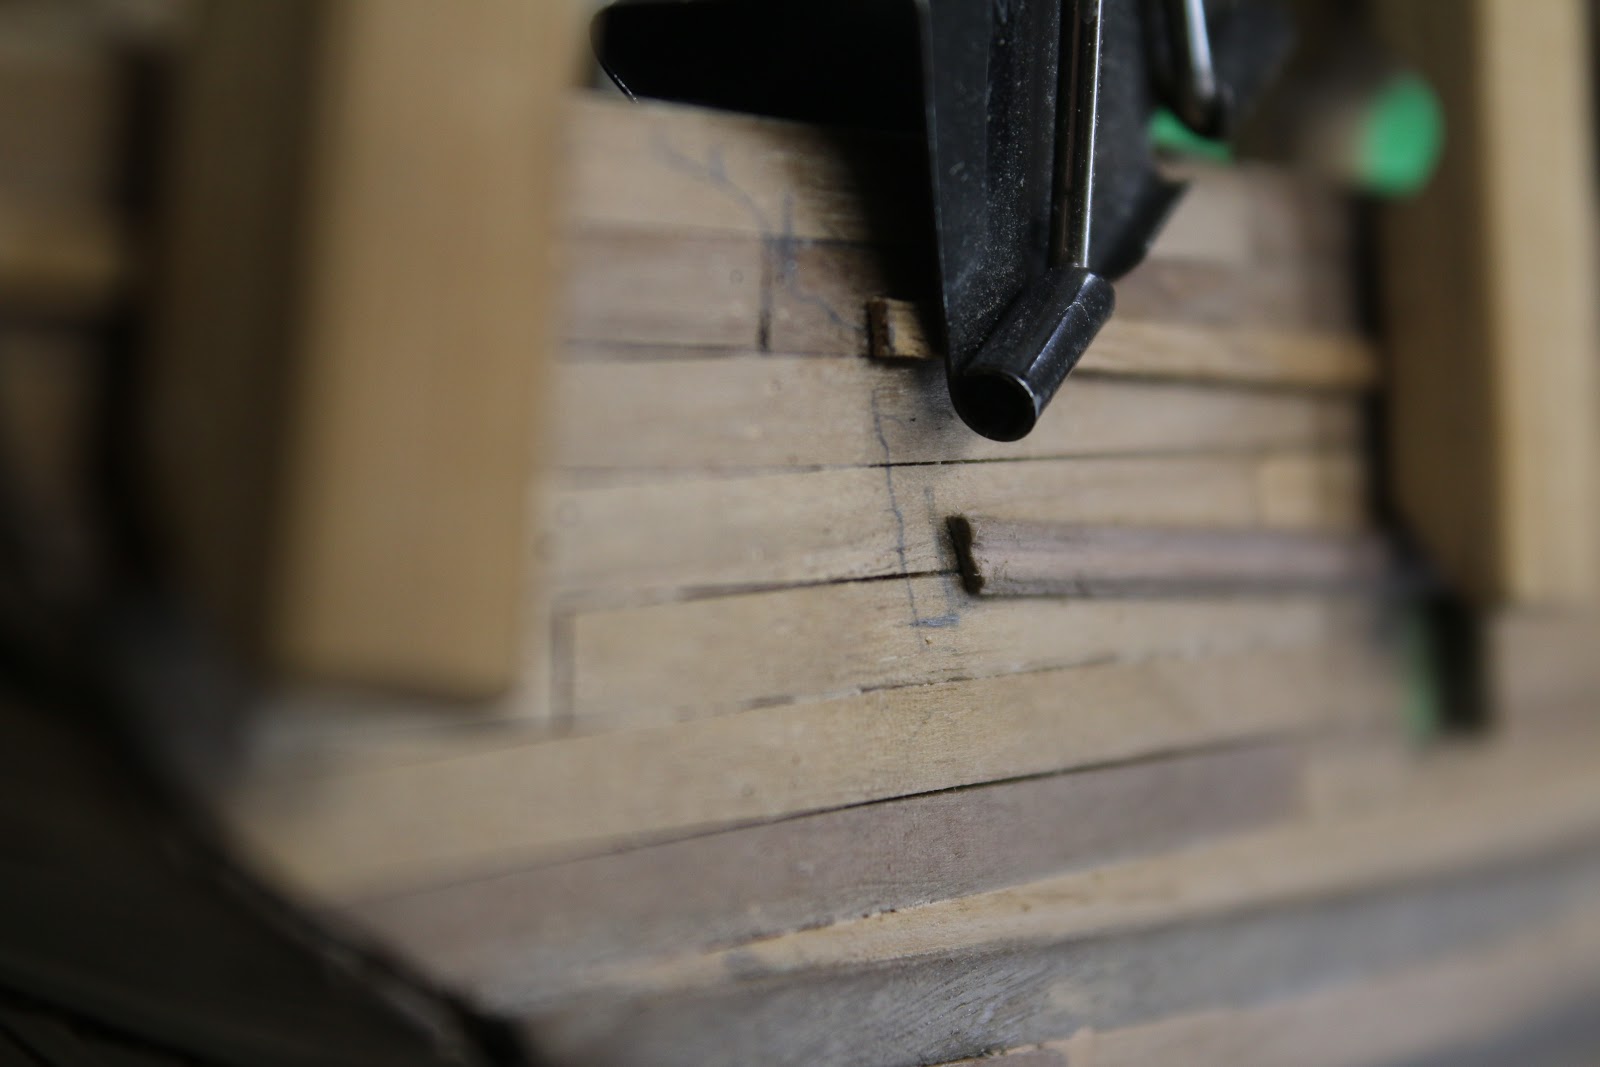
So one of the things I had to decide was whether or not to put treenails in the hull. So I mocked up a few test planks and tried it out.

Hi Jamie!
I do like your little sloop! Now ,I will be watching and urging you onward!
Jamie: Make a guide for the pin.
Tip; Take a shapes template and drill a hole big enough for your pin along the unused edge. Then do one at the other end and fil in along the way spaced well. Then you will have A guide anytime you need it
thank you for the tip tanker builder!
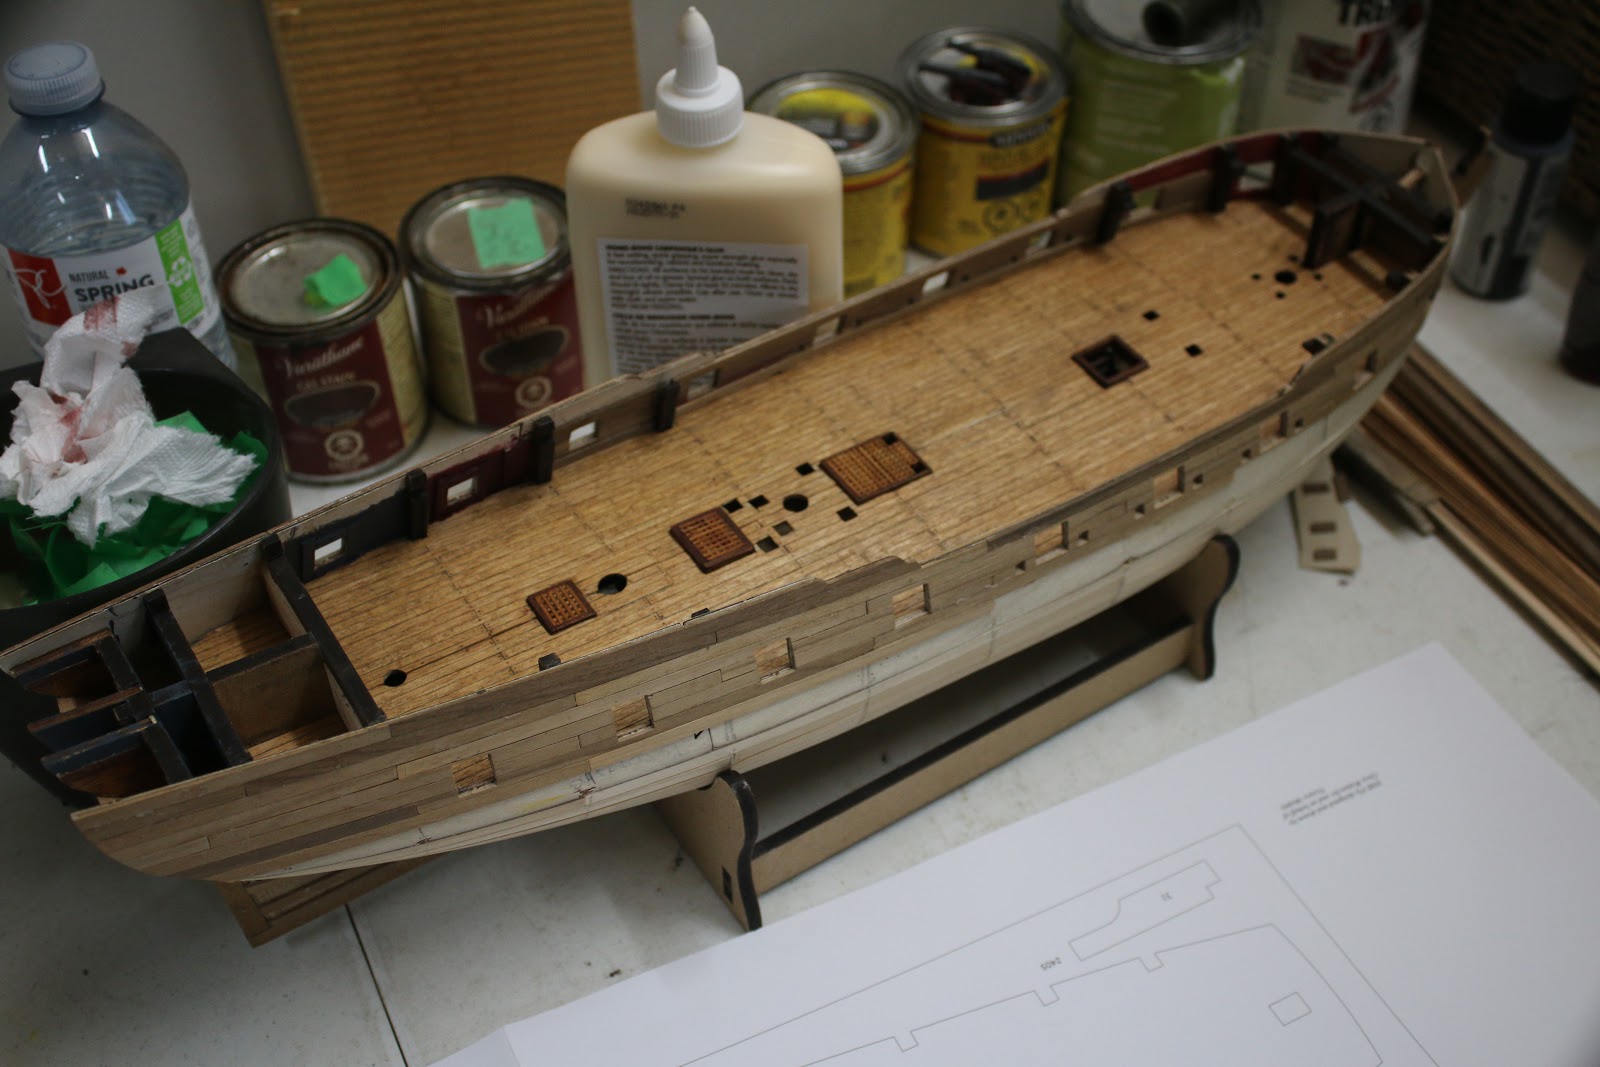
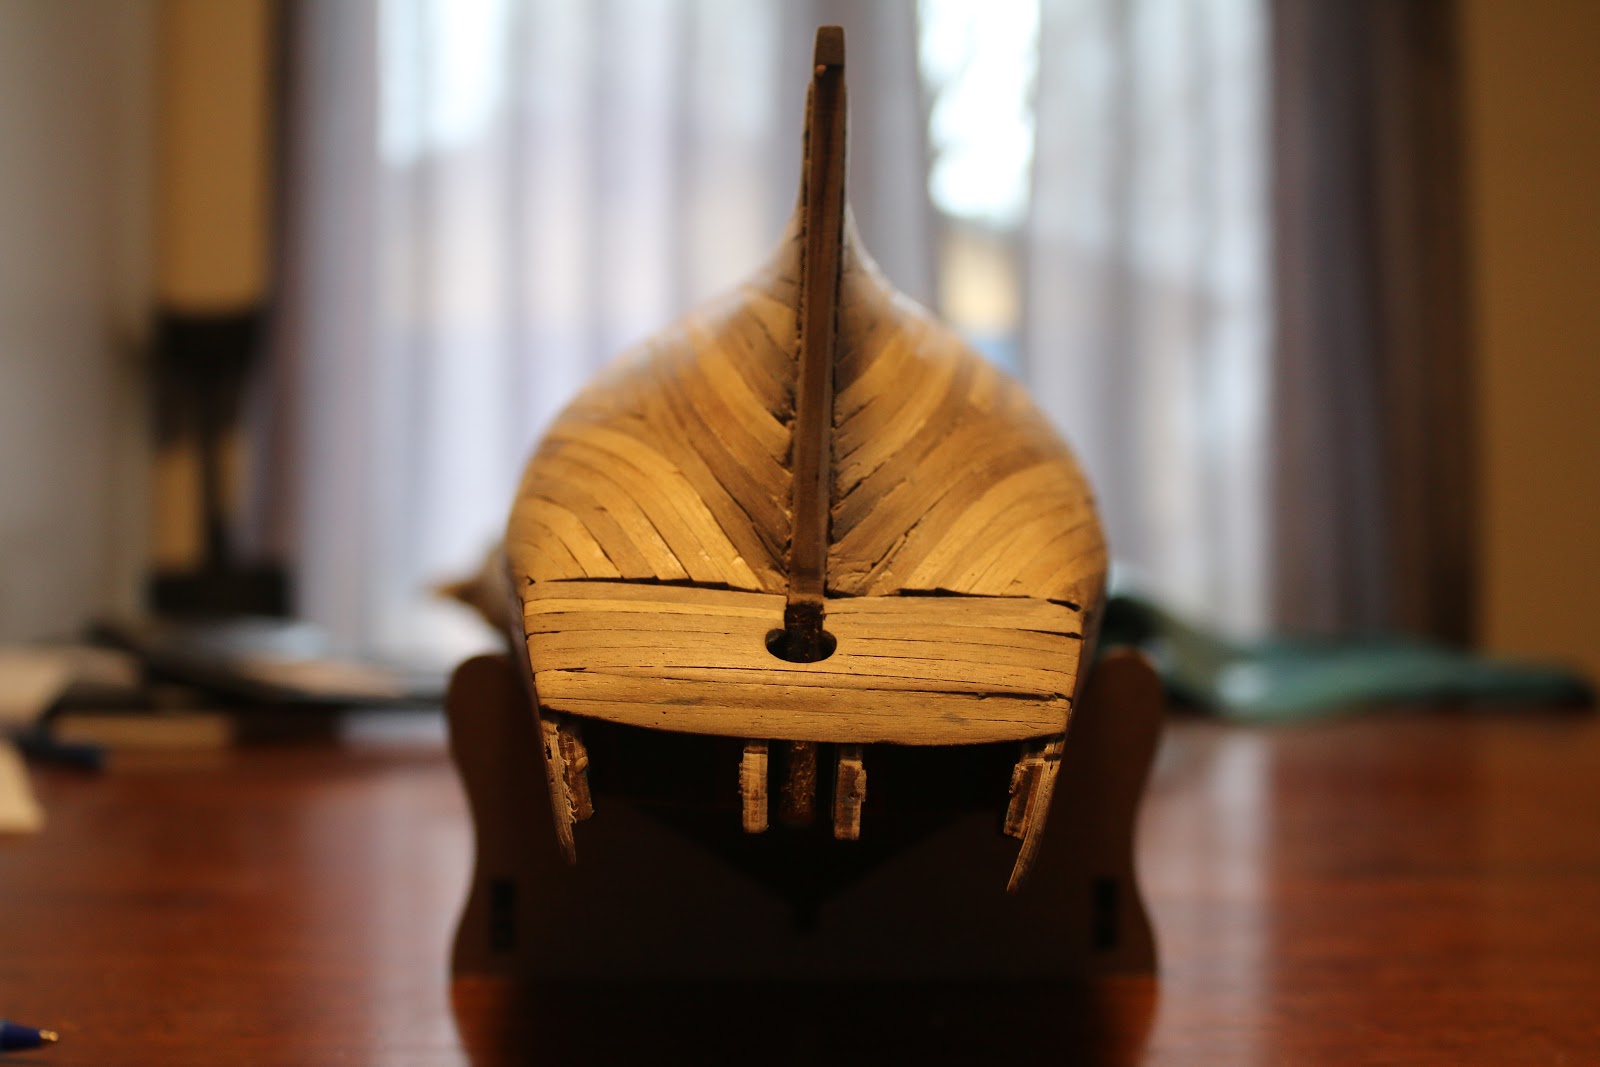
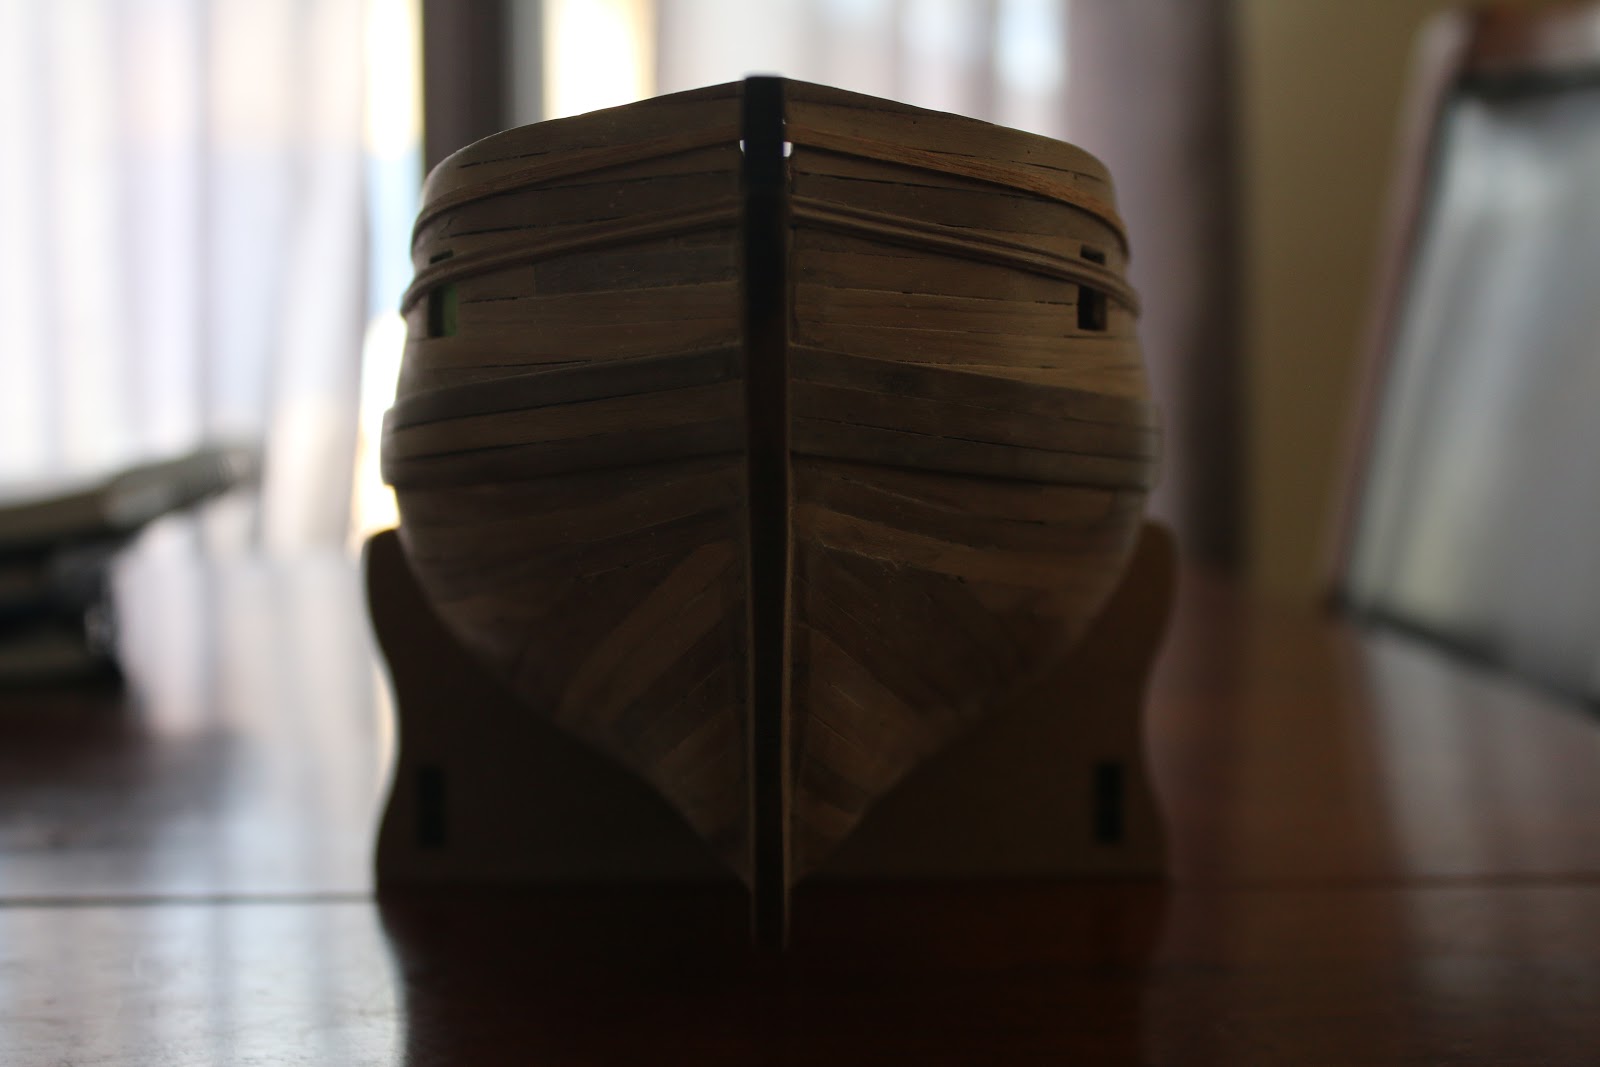
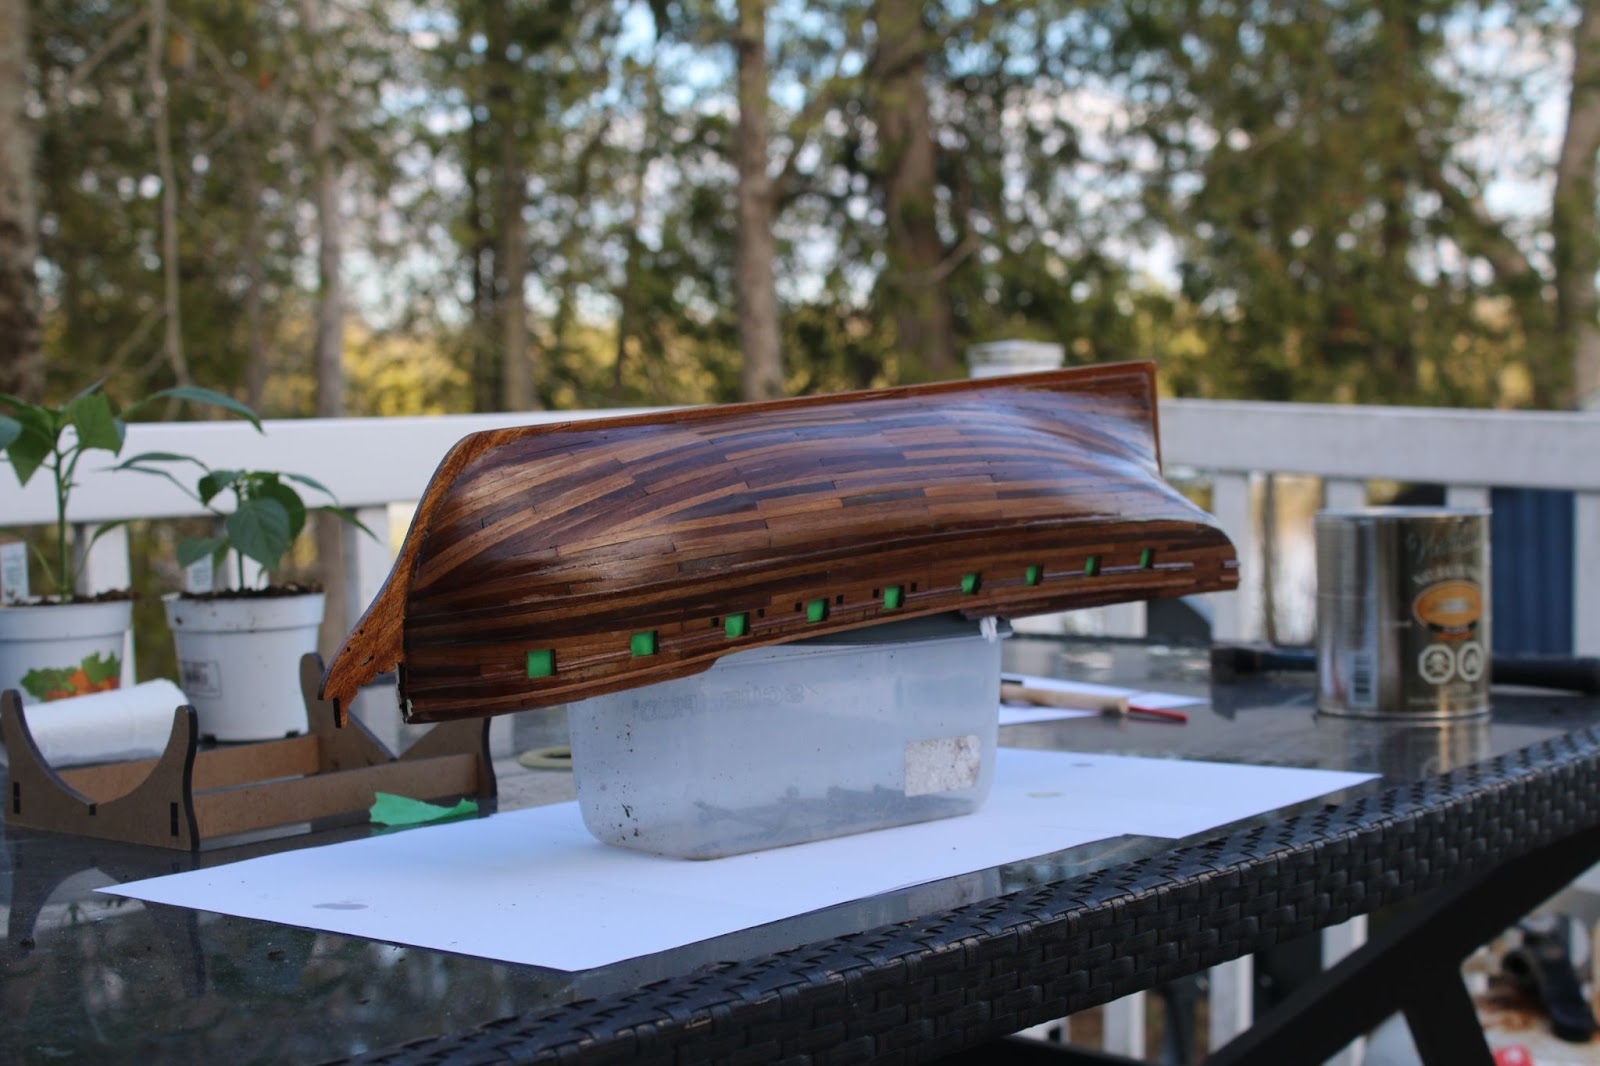
It has been quite a long time and I give my sincere apologies for that. Life got in the way as the pandemic went on but work on the Fly continued, I just forgot to write and post. Yet here I am, back from the dark days of the pandemic with a new post for you all. So after finishing planking in the last post. Which I was very excited about, I then proceeded to treenails. The method I chose was to poke holes and fill them with filler which after staining gives the impressions of treenails.
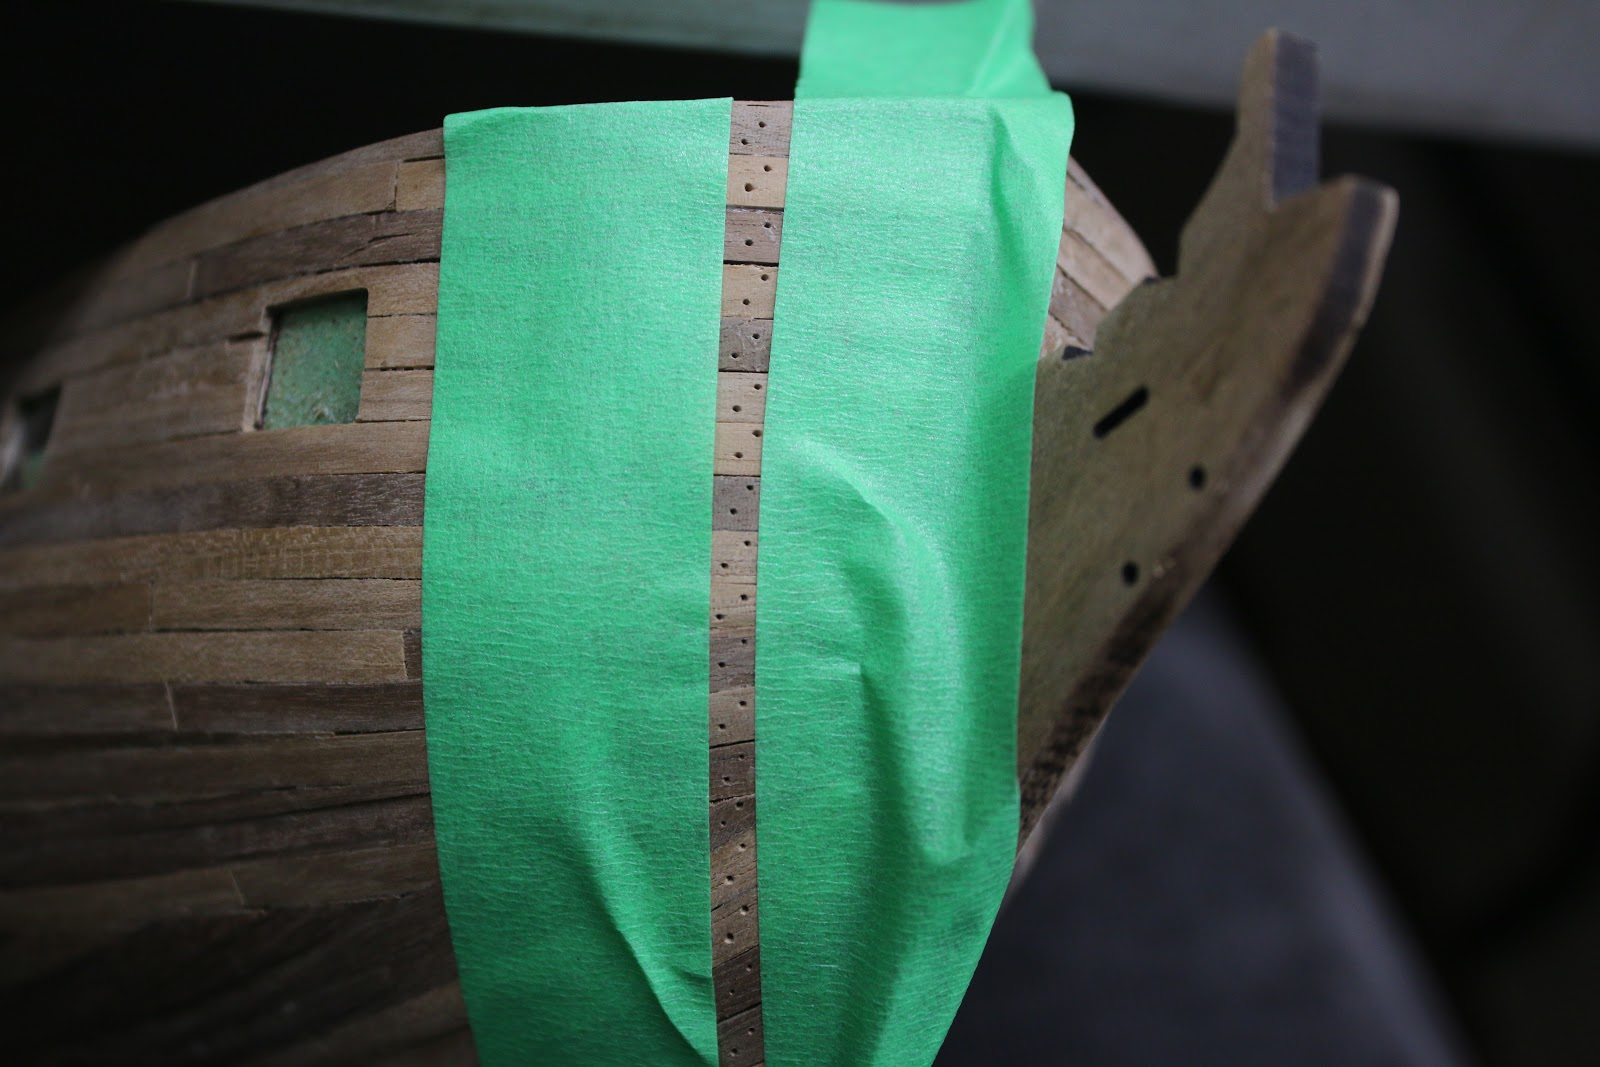

I then filled the holes which took about 2 weeks


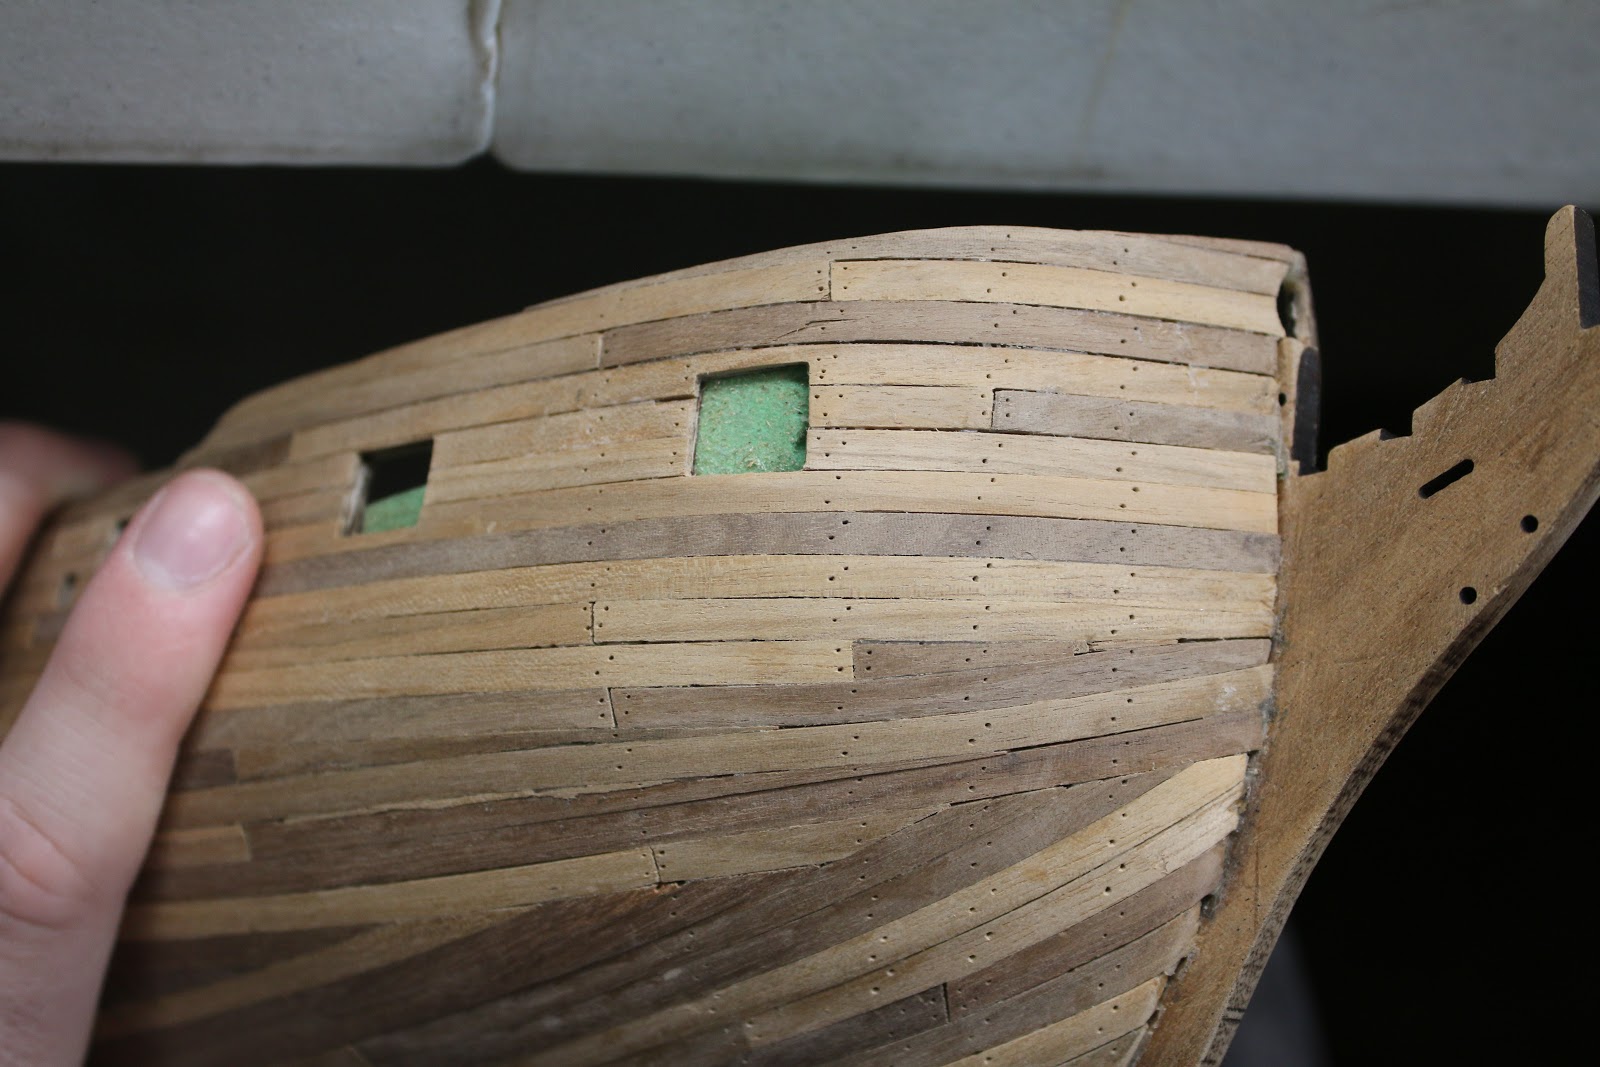
After that, the next step was to sand the hull again and reveal the treenails and as a side effect, I also got a bit of an improved shape in the hull.


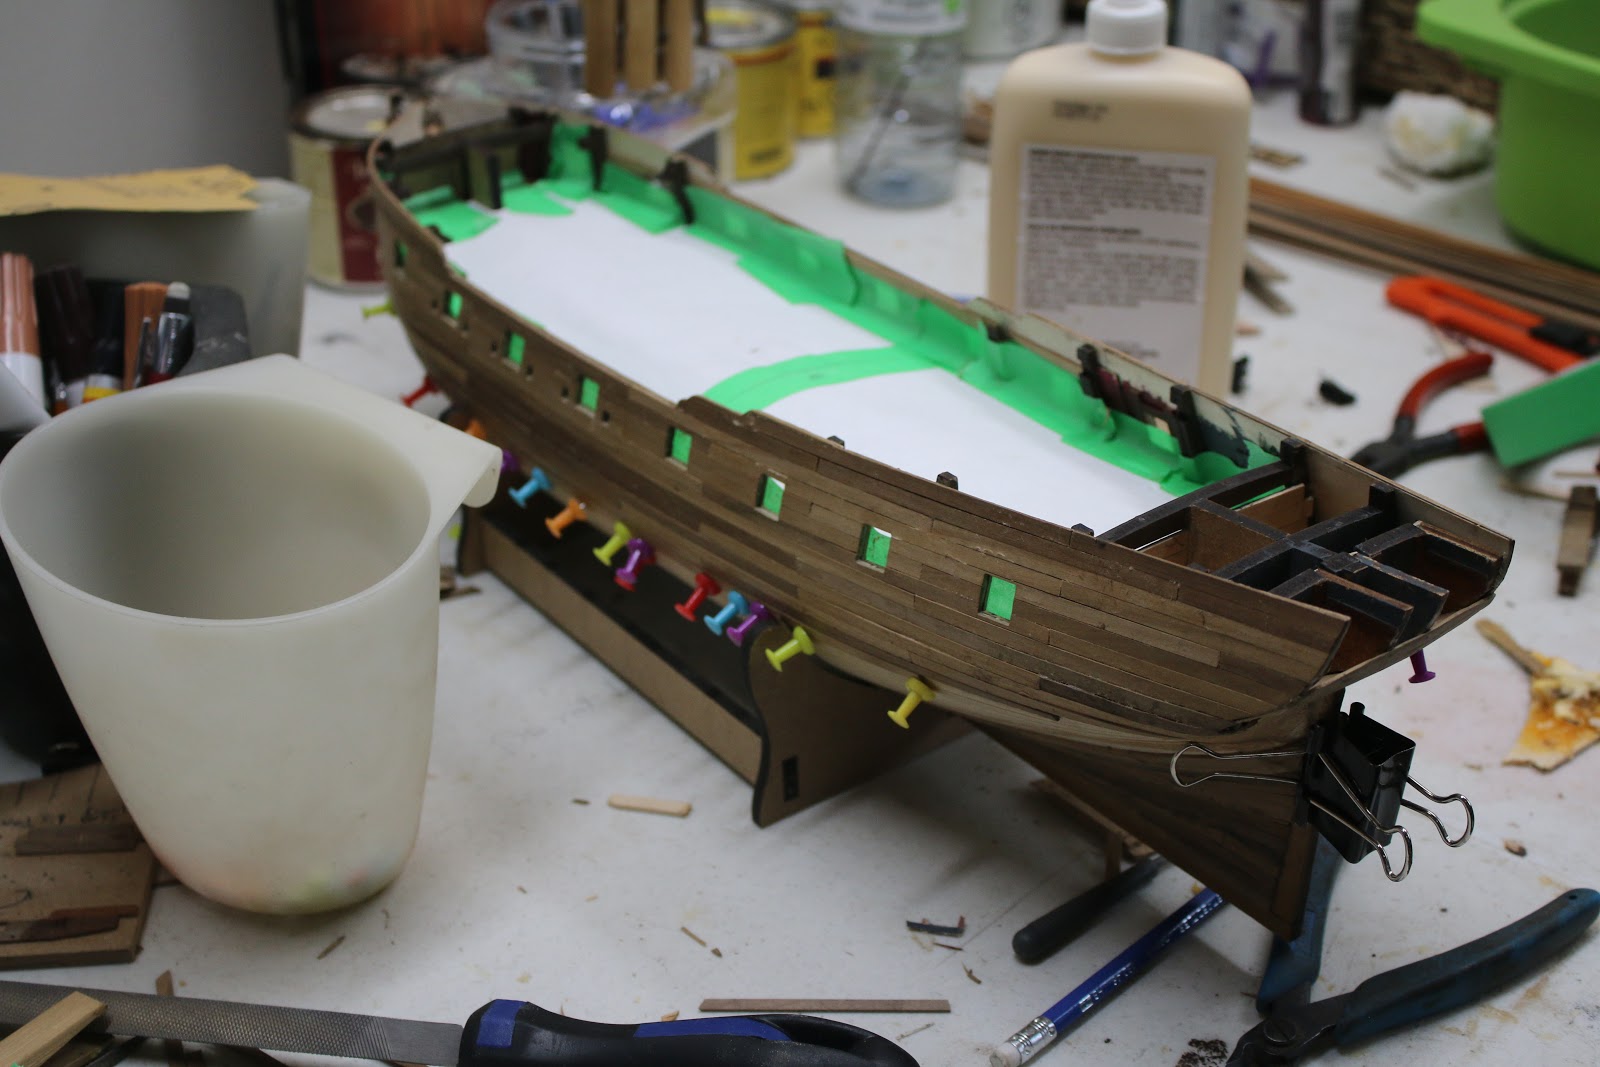
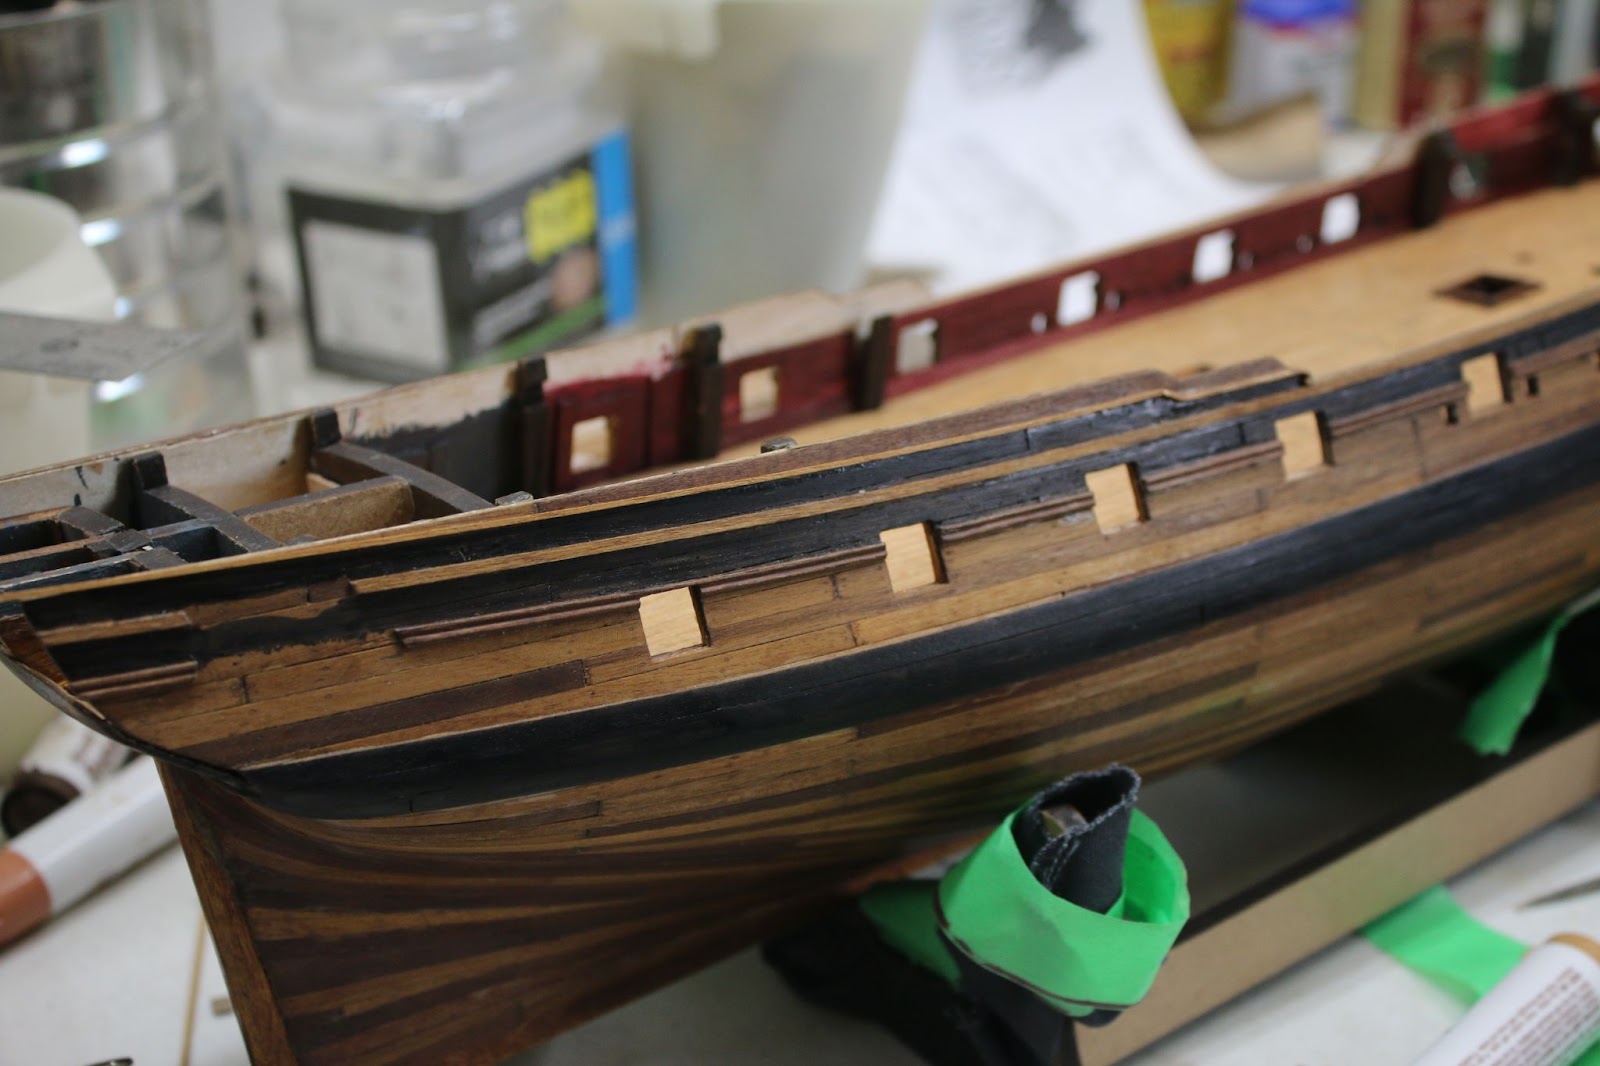
After that was done I began the process of installing the wales. The first step for me was to measure out the distance between the bottoms of the gunports and the wales on the plans, I then transferred that to the hull and marked it out. I then layed tape along the upper edge of the top strake to create a profile line that the top strake will follow.
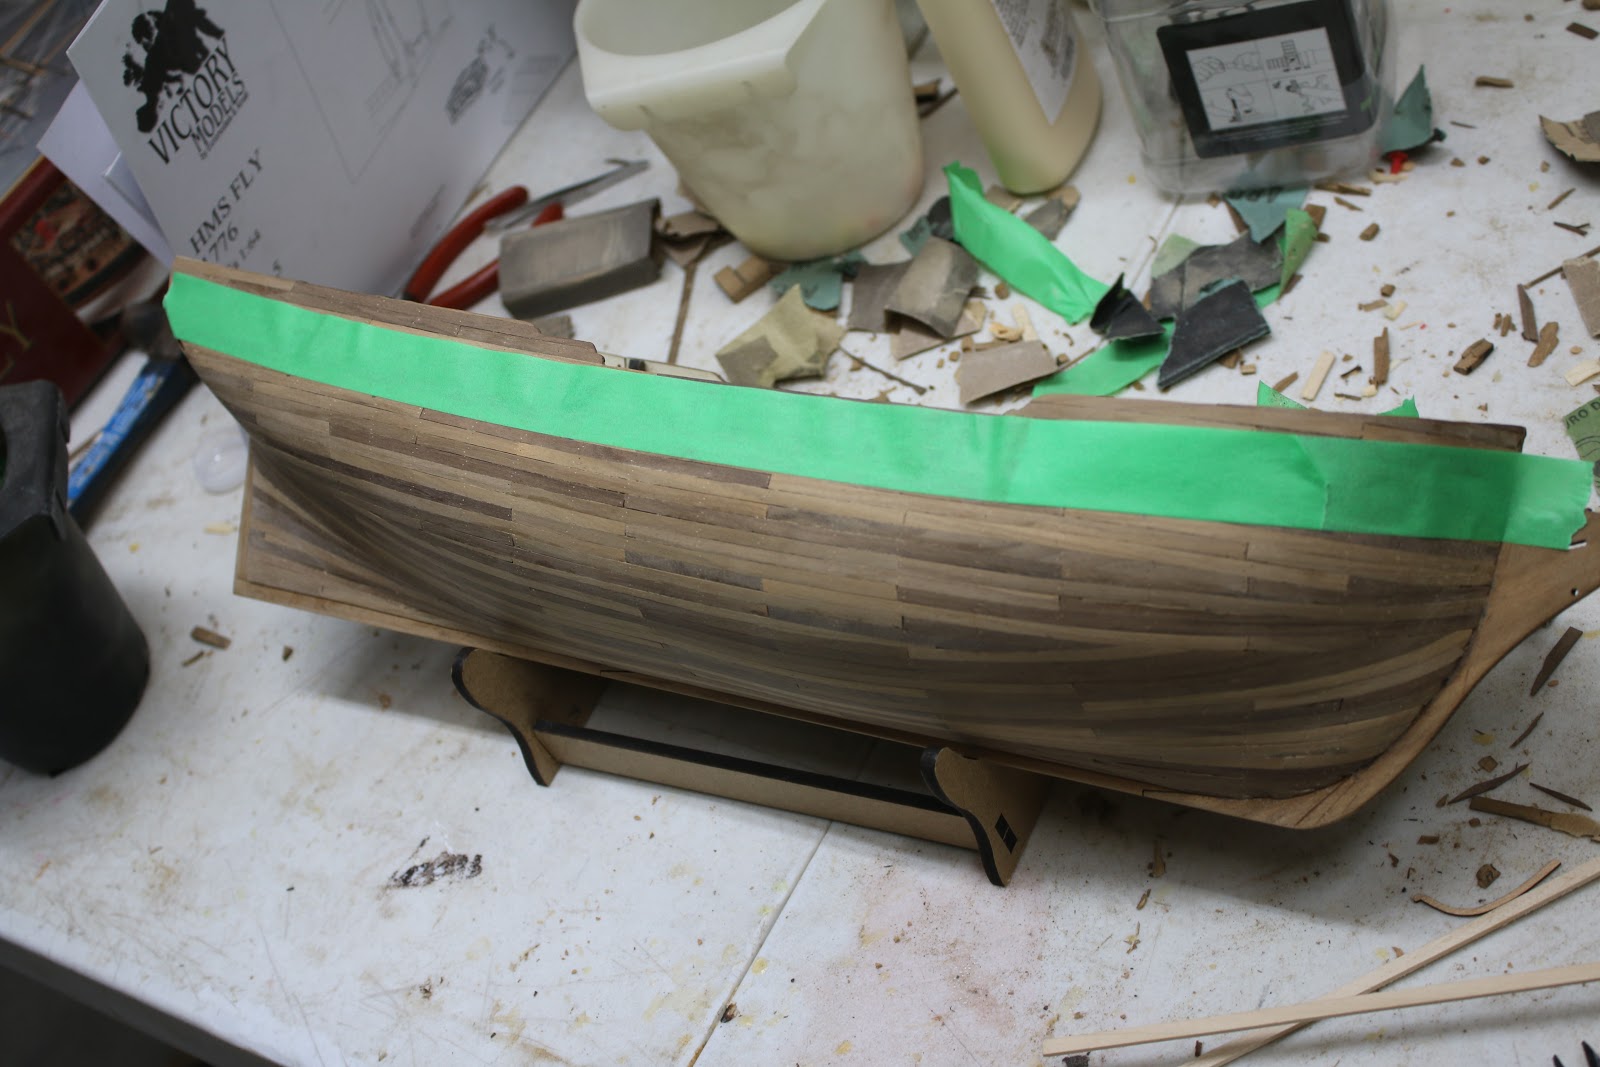
I then went ahead and installed the first half of the top strake.


I then installed the back halve.
I then repeated this on both sides and installed the two strakes below the top strake. The hardest part of this was ensuring both sides were identical because if they weren’t it would affect the entire look of the ship in a negative way.


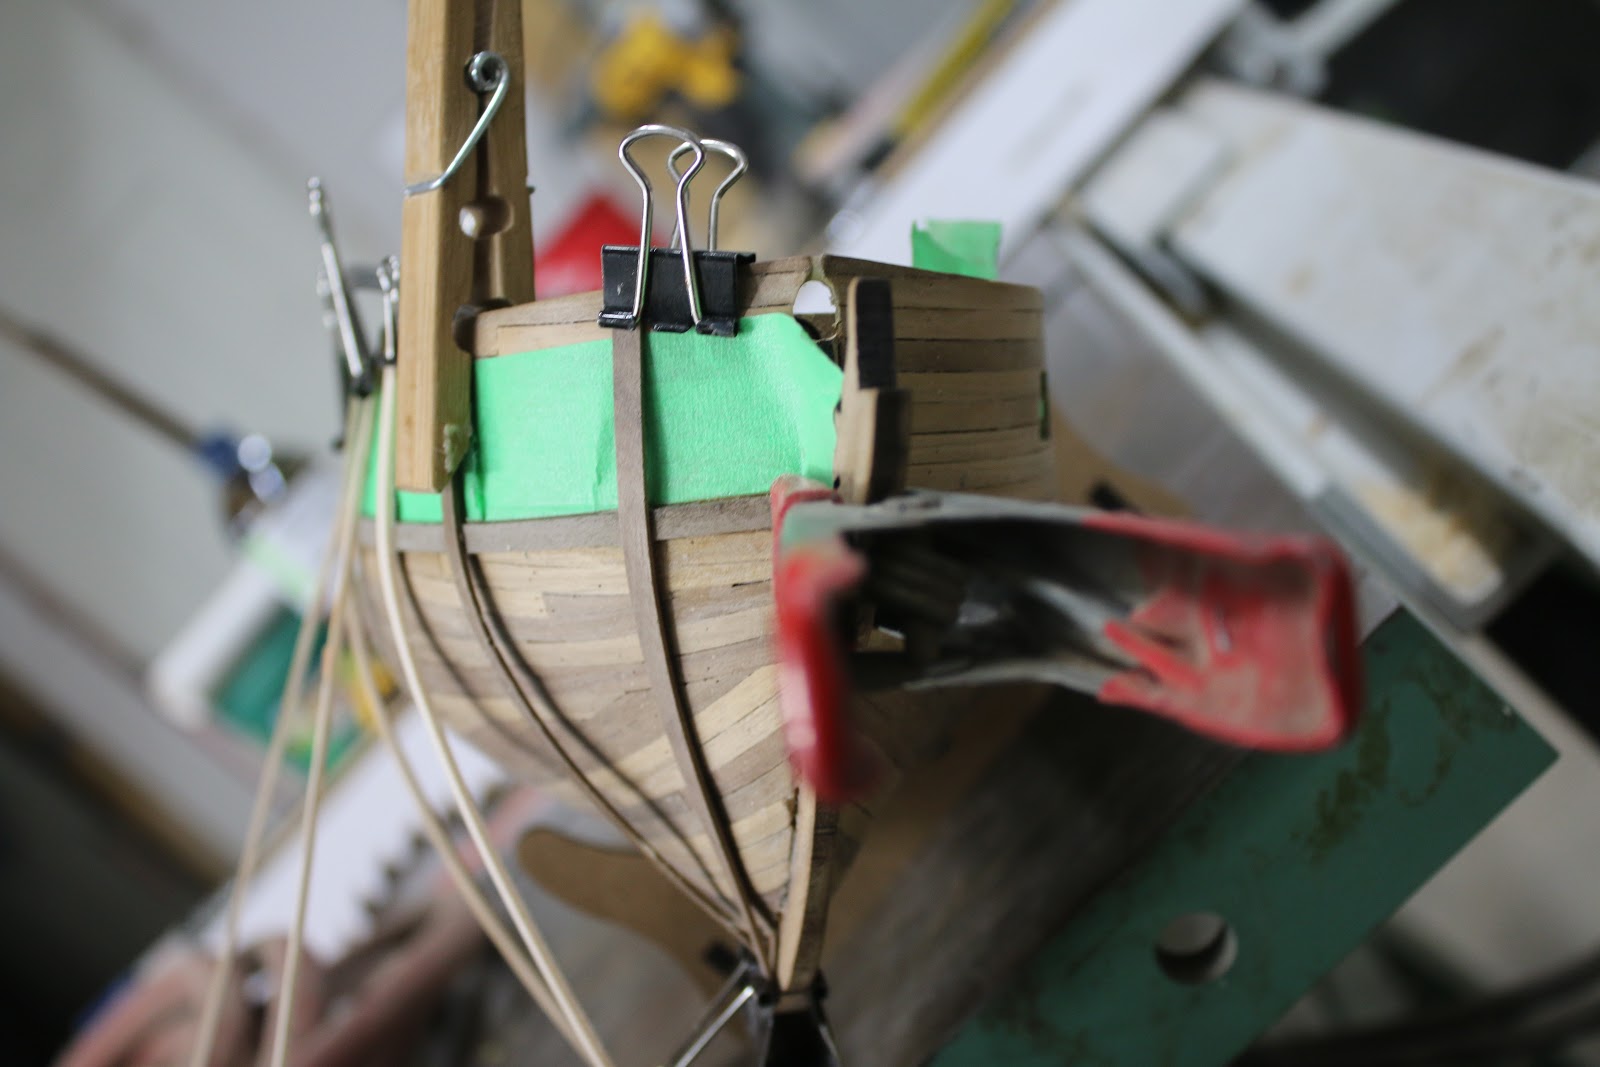
The second hardest part of the wales was the dramatic upwards curve of the bottom two strakes at the stern. It took some trial and error but I eventually ended up soaking the planks and using pins to hold then in. the area the pin was used is then filled with wood filler.

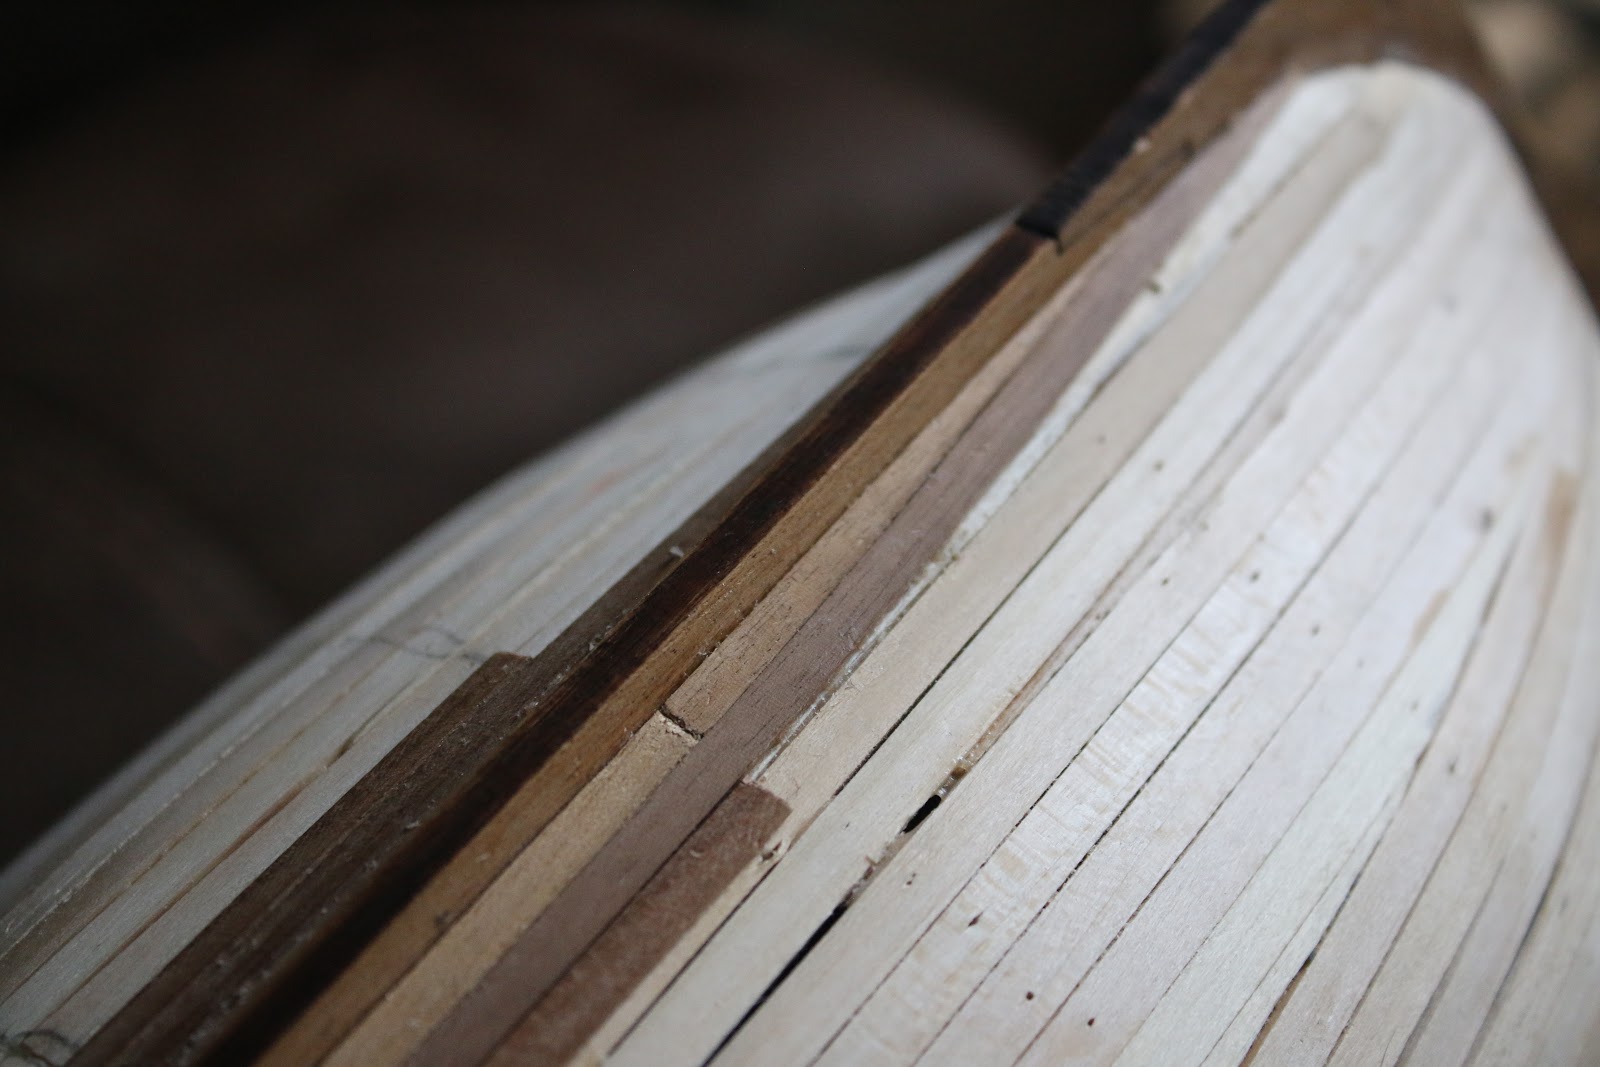
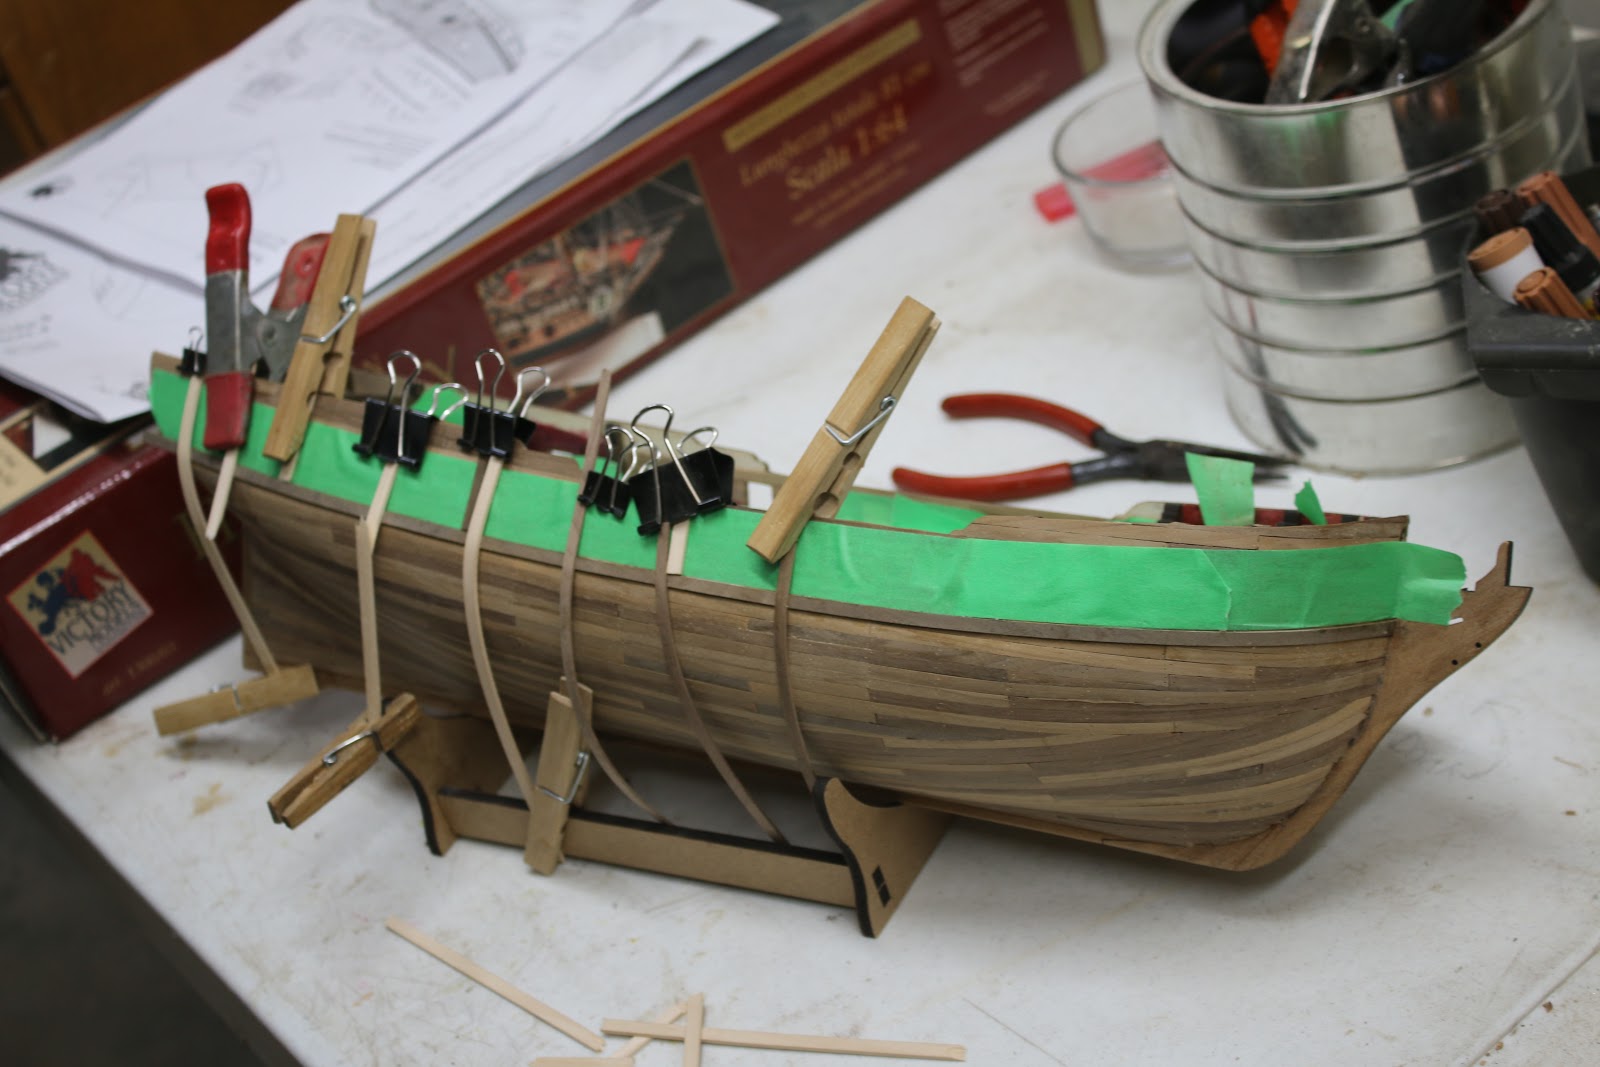
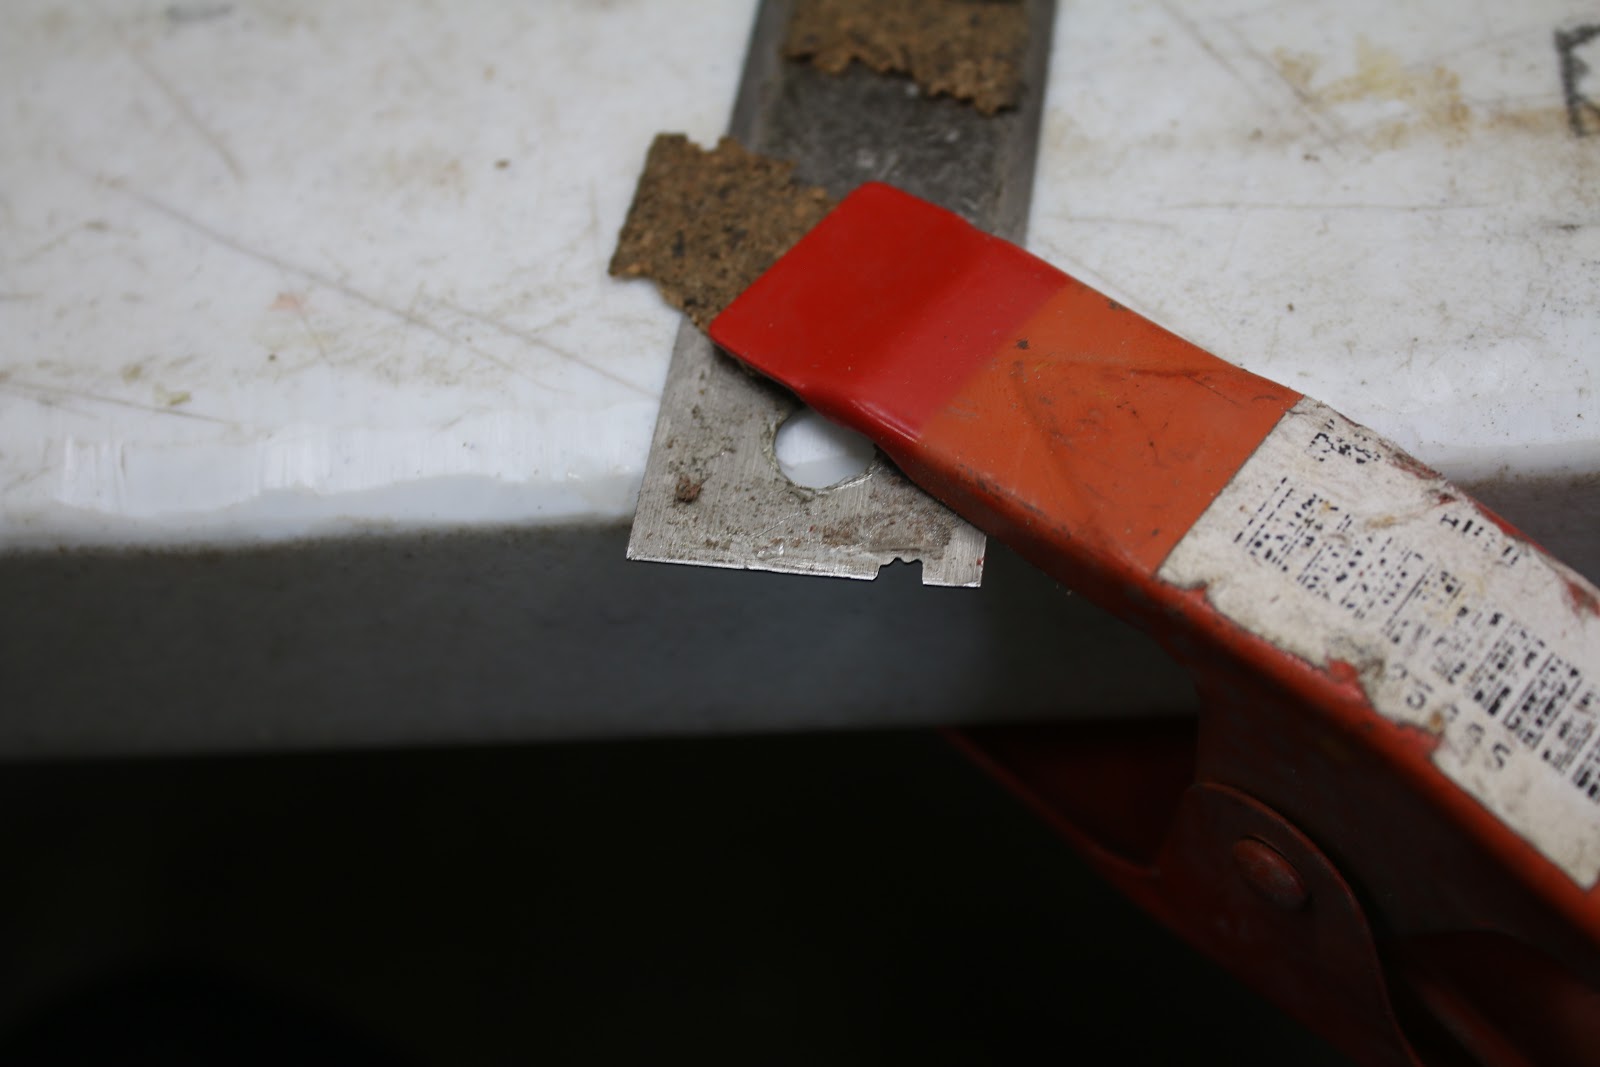
Once the wales were installed I decided to get started on the various trim pieces on the hull. Now I’ll admit the way I did this part is odd and it might have been a better idea to add it after finishing but I was worried about it not going on right so I did it before finishing. I knew immediately that I wanted to have at least the bottom piece a moulding so I went ahead and made a profile scraper with an old ruler and some files.
I then proceeded to scrape the profile of the mouldings into the boards and clamp them to the hull which was considerably easier than the wales. It wasn’t until later that I realized I had used the wrong boards for the bottom trim but I really liked how they turned out and how they looked on the boat that I decided to not rip them off the hull.
Notice how I used a board to get an even distance between the trim and the wale down the hull. That also ensured that the trim follows the curve of the wales. After the first side was done I then moved to the other side and repeated the work. After its completion, I went ahead and installed the upper rail.

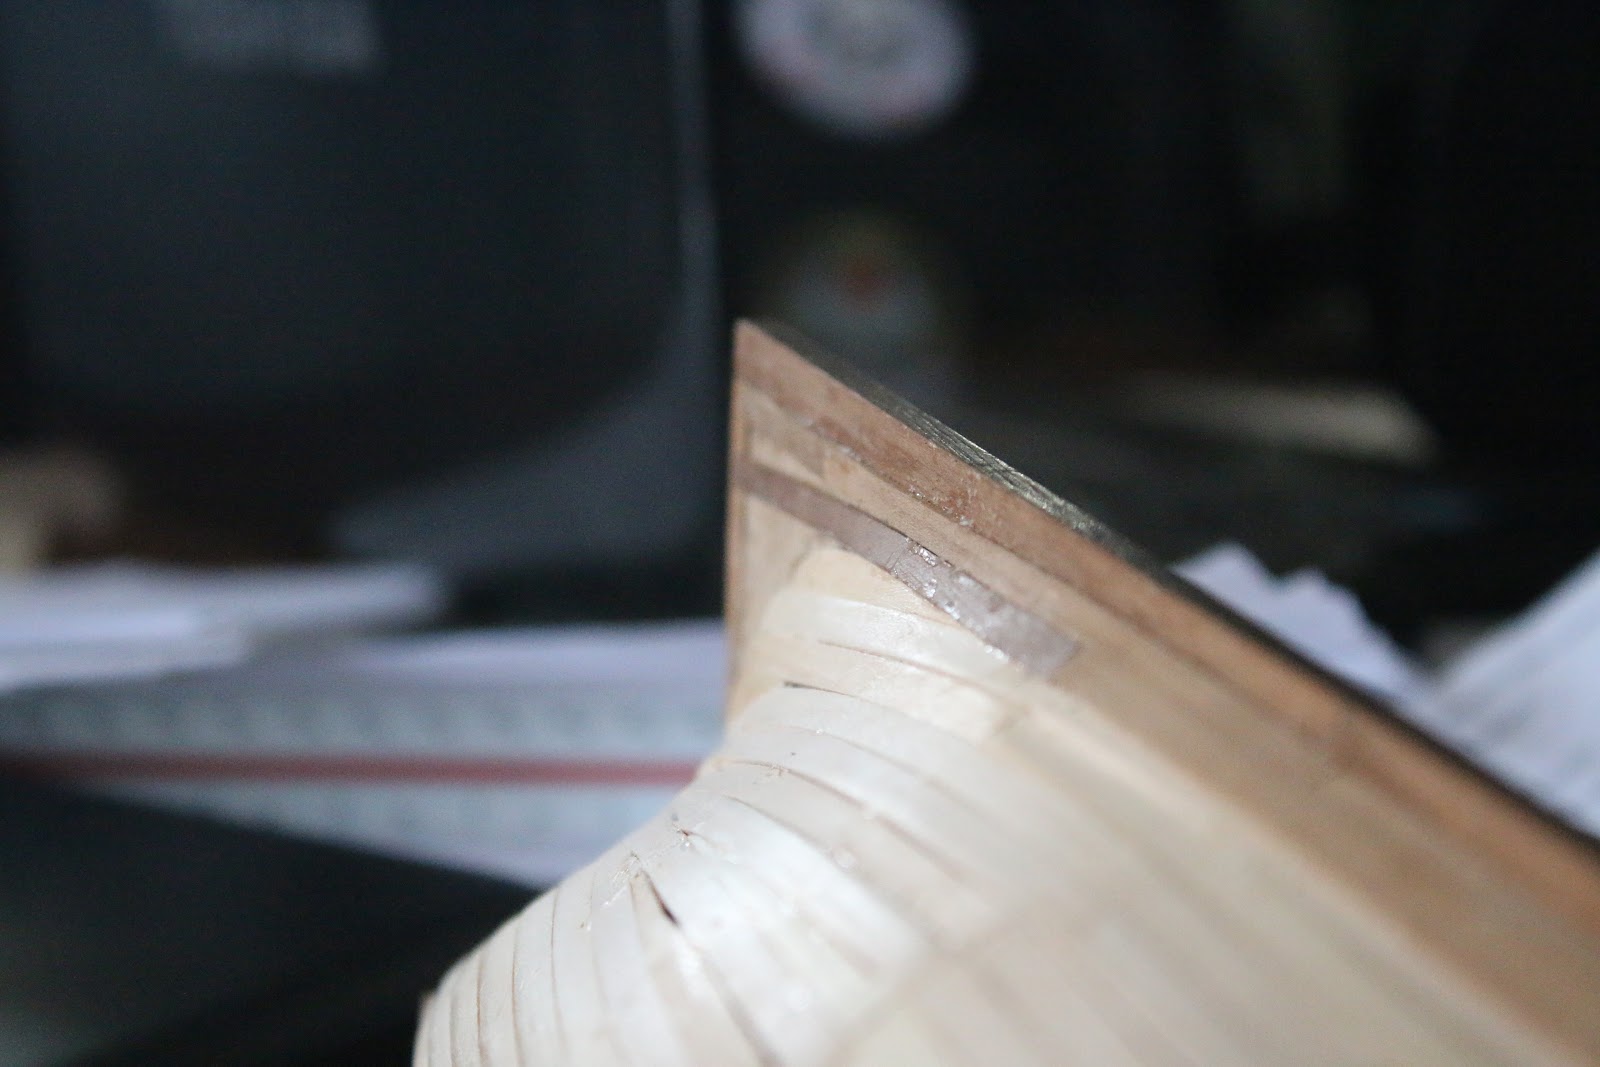
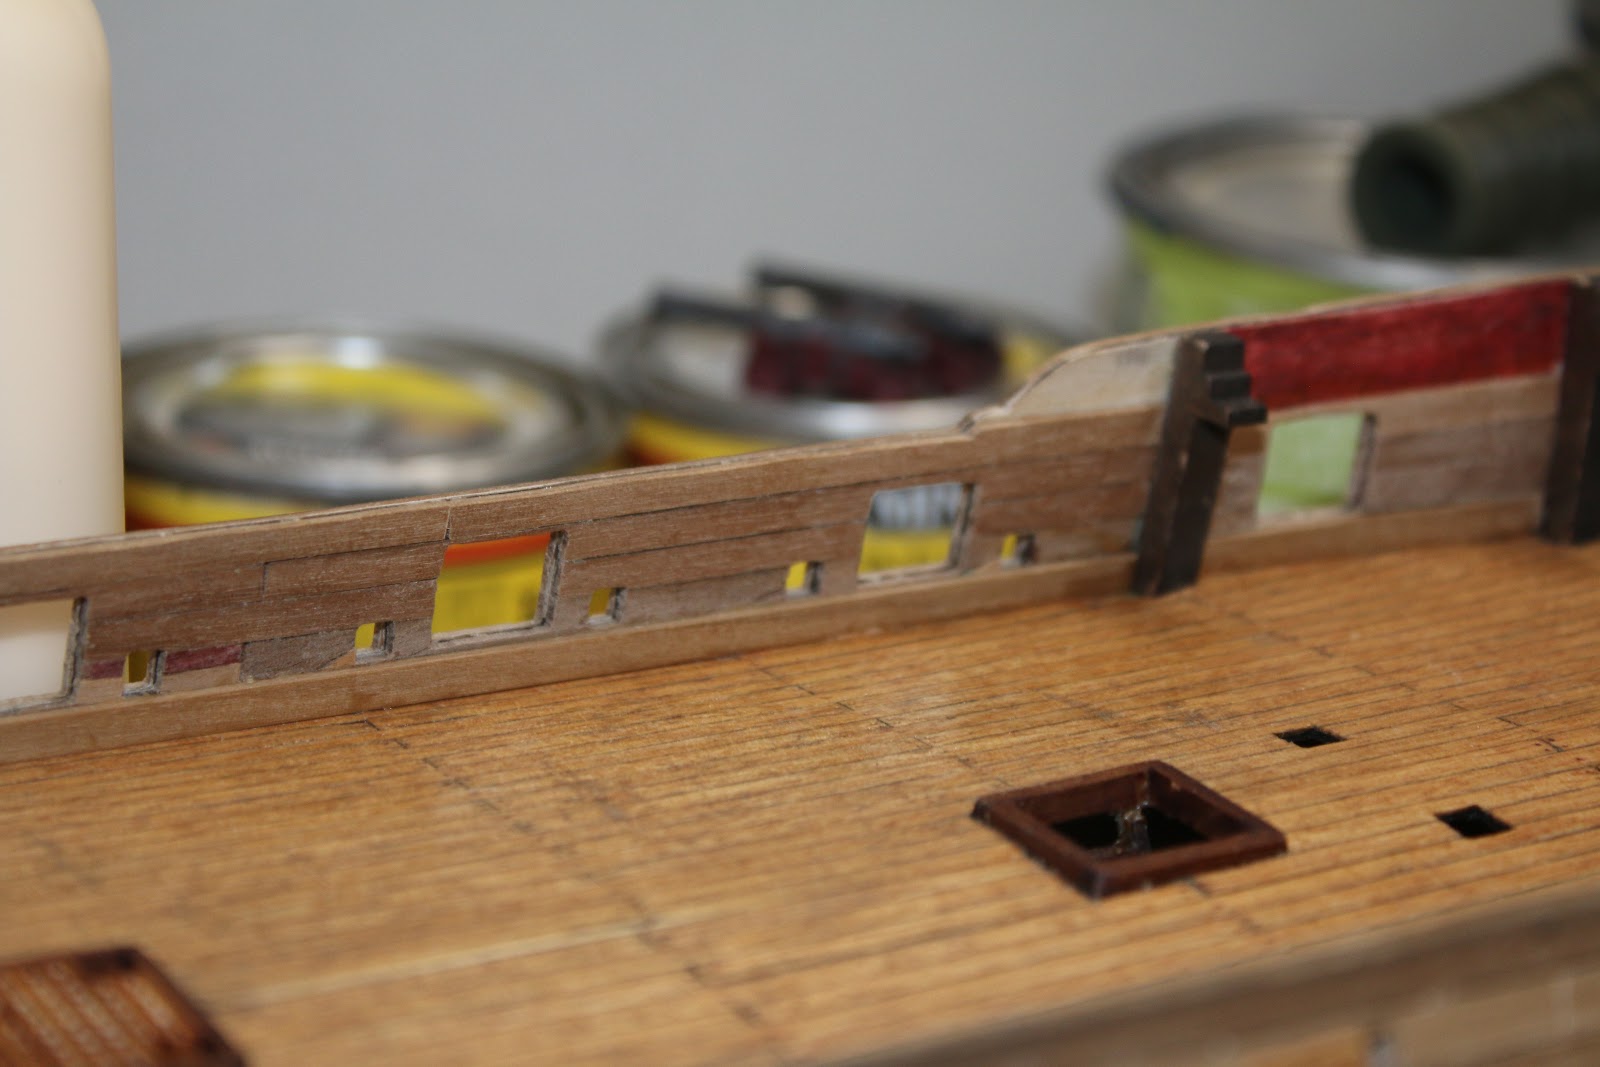
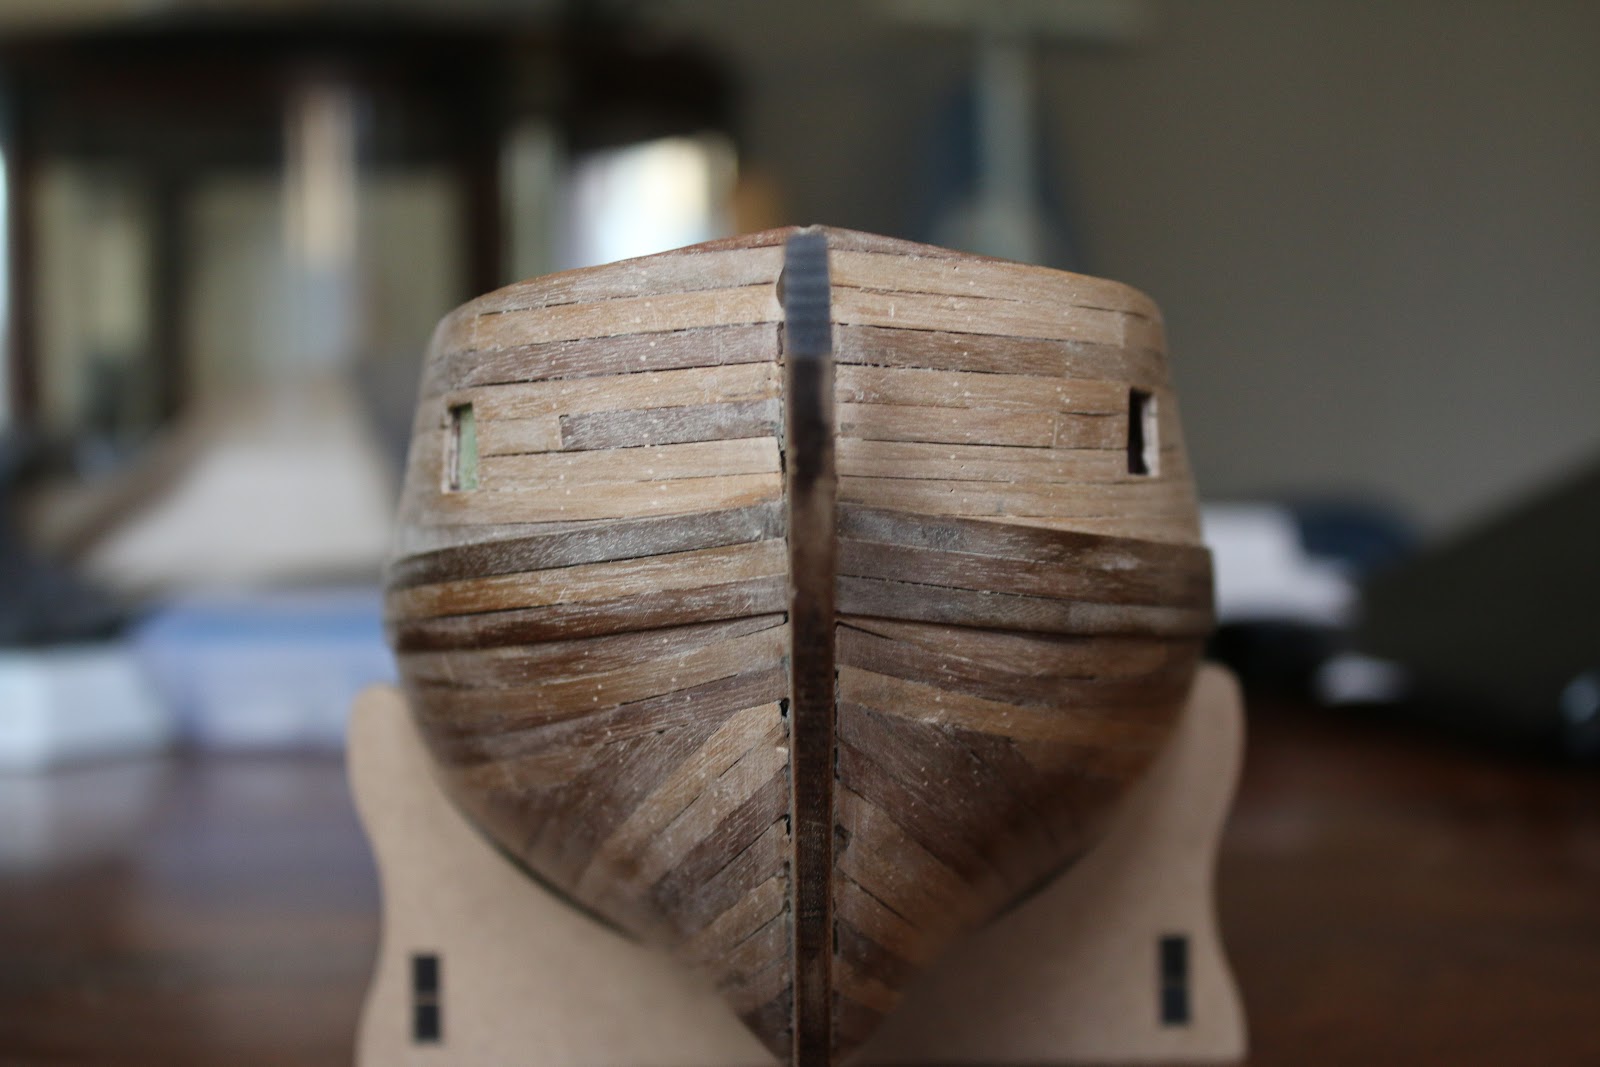
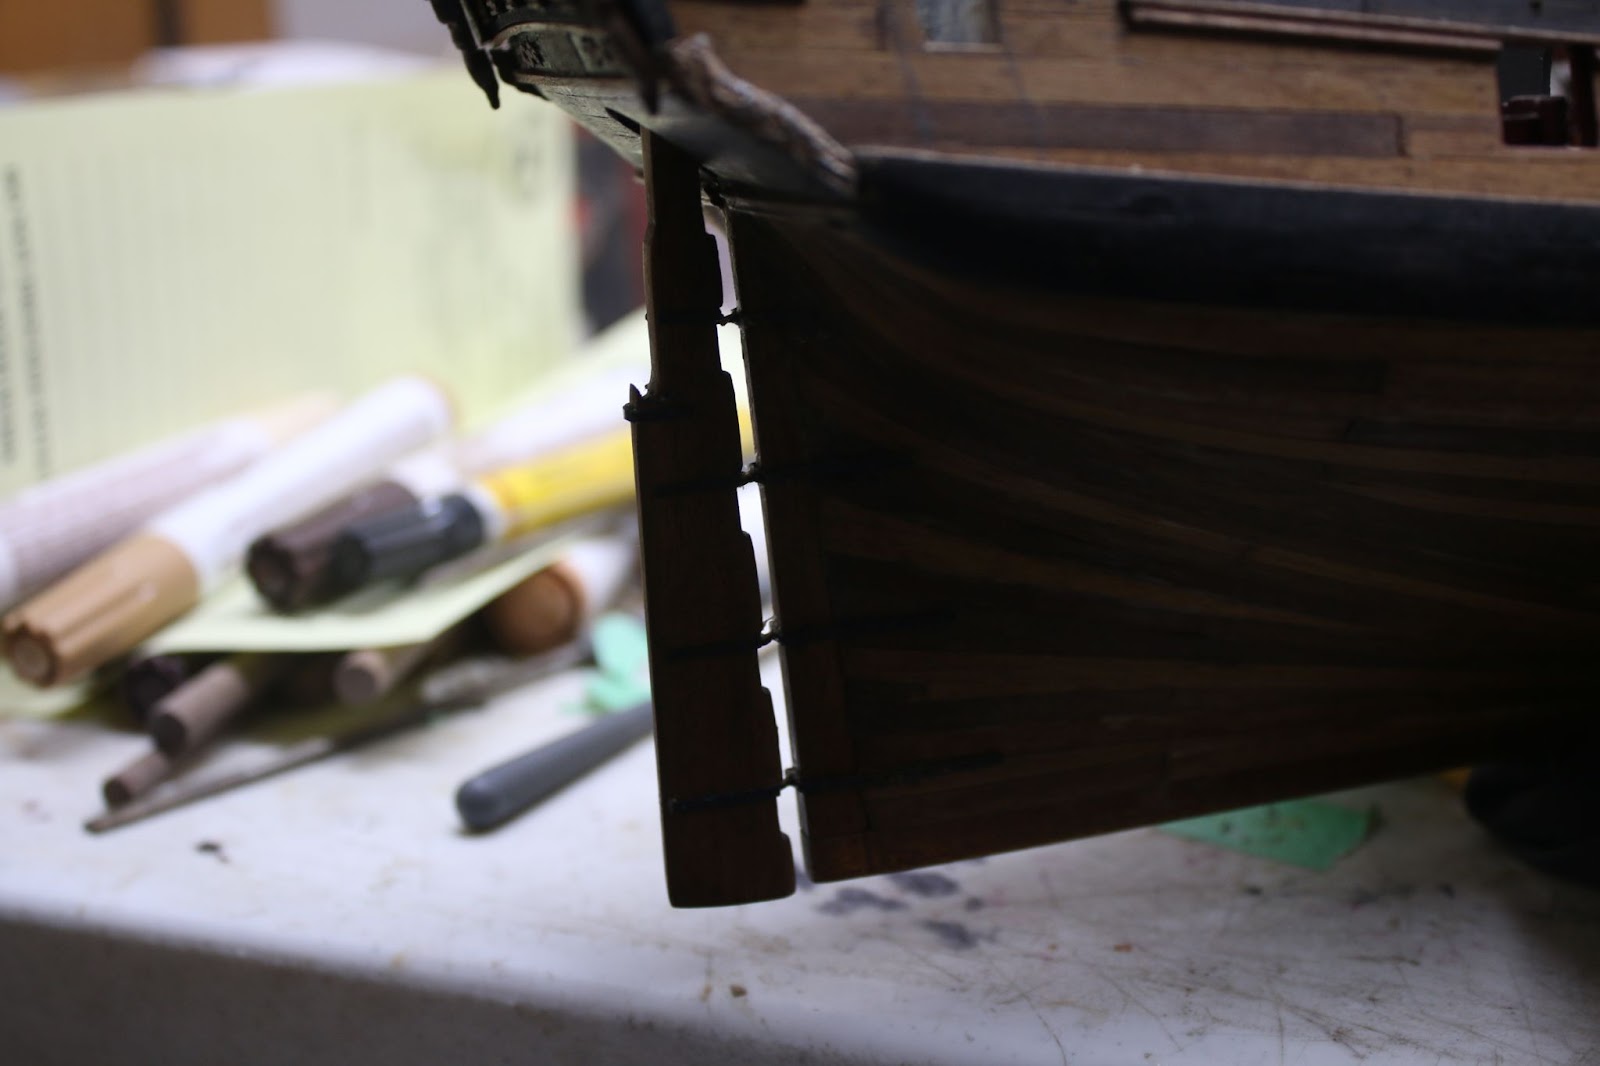
After installing those mouldings I moved my attention to the stern. Specifically the joint between the stern planking and the transom. Seeing different methods of covering the joint I decided to use a moulding, which I would say turned out well.
After the joint was covered I cut the mouldings where they covered the gun ports and filed them flush with the gunport sides.

Hello Jamie!
Thanks a lot for sharing all those WIP pictures. The hull looks really nice and it will make for a great display. One thing that bothers me a little is the way you taper the planks on your model. Sadly it can’t be corrected any more, but for the sake of your and other modellers’ future projects - I read that the plank on a real ship wasn’t allowed to get less wide than half of it’s original width (then it would make a weak point on the hull and it would be difficult to fasten it to the frames). When the plank tended to get less wide (narrower - can you say that in English?), the adjacent plank would be notched to “accomodate” the narrow plank.
Some pictures from the web to better explain what I mean:

And another one from the incredible mr. Mondfeld:

Thanks again for sharing and good luck with your modelling projects, have a nice day!
Paweł
Hi Pawel,
Thank you for reading about my project. As far as the plank tapering you mentioned, I too have read about it but unfortunately it was after completing the hull. If I had known about it before I wouldve absolutely done it in that fashion. Once again thanks for reading and I hope to have you on board for the remainder of this build.
-jamie
So it has been quite some time since my last post, for that, I apologize. I am a student and the year has been quite busy, but I have done work on the FLY. Hence the new post. So where we left off I had just stained the hull after completing planking.
After this I let the stain dry before going ahead with staining the wales and spaces between the decorative trim. I also stained the interior planking.


After this, it was time to install the upper trim pieces and so I went ahead and installed them.

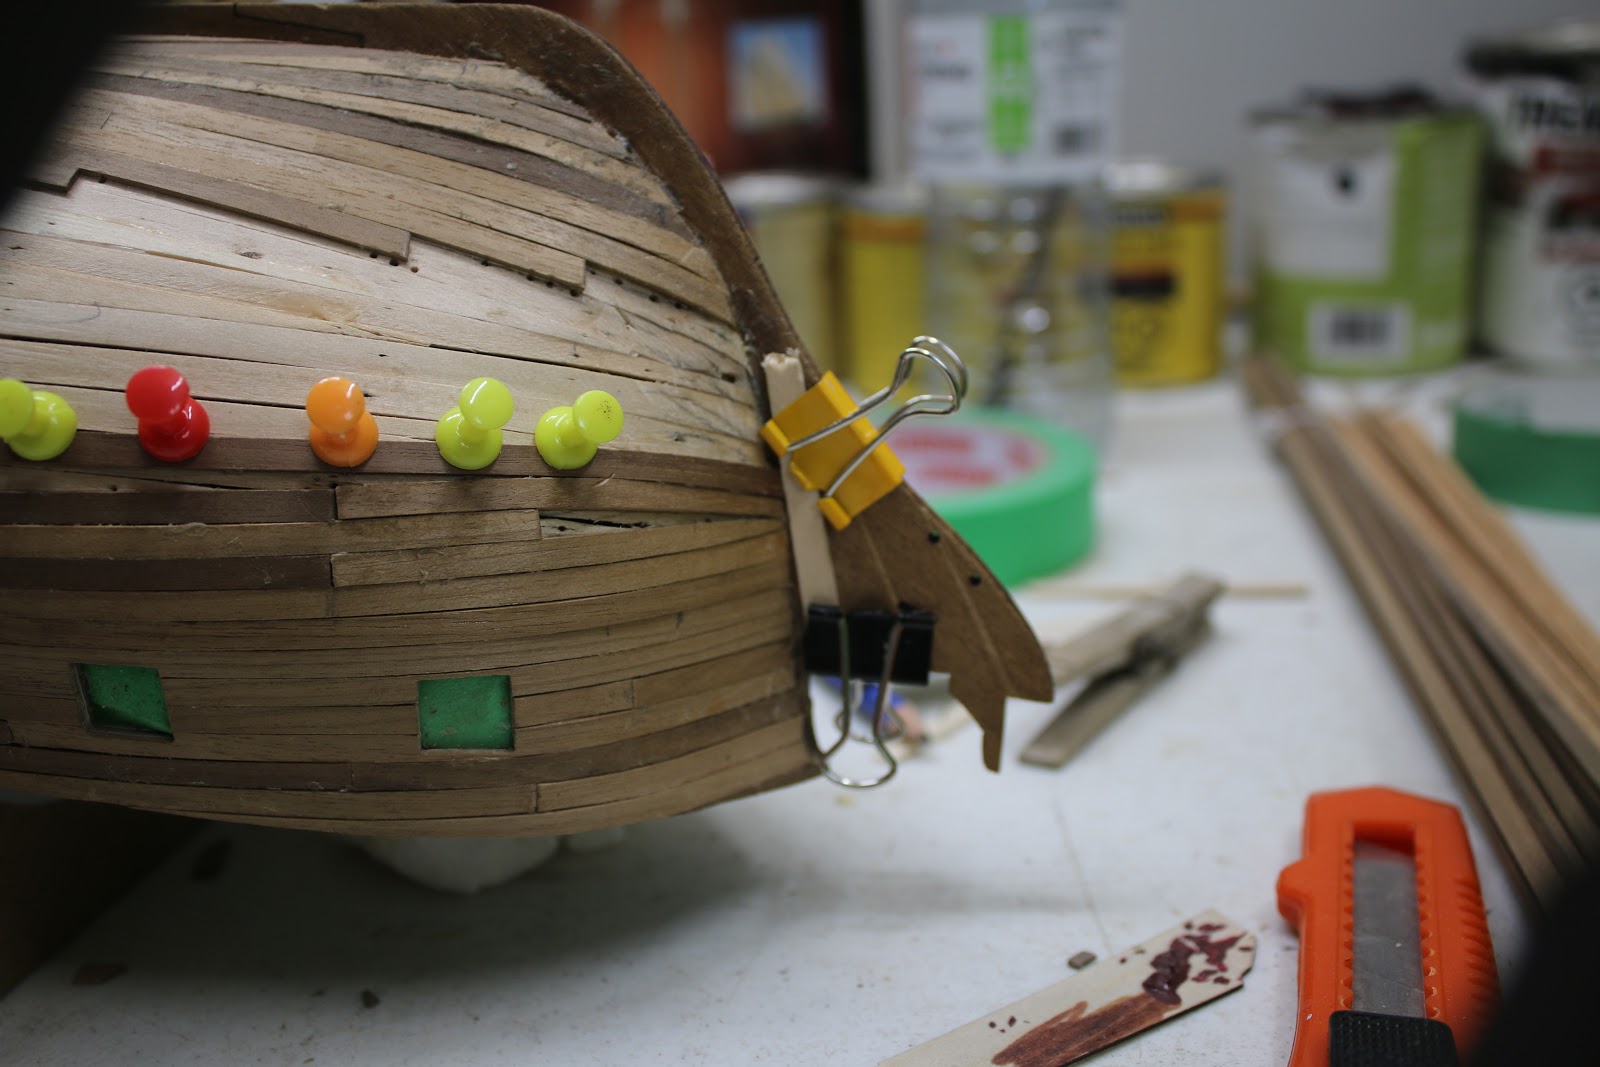
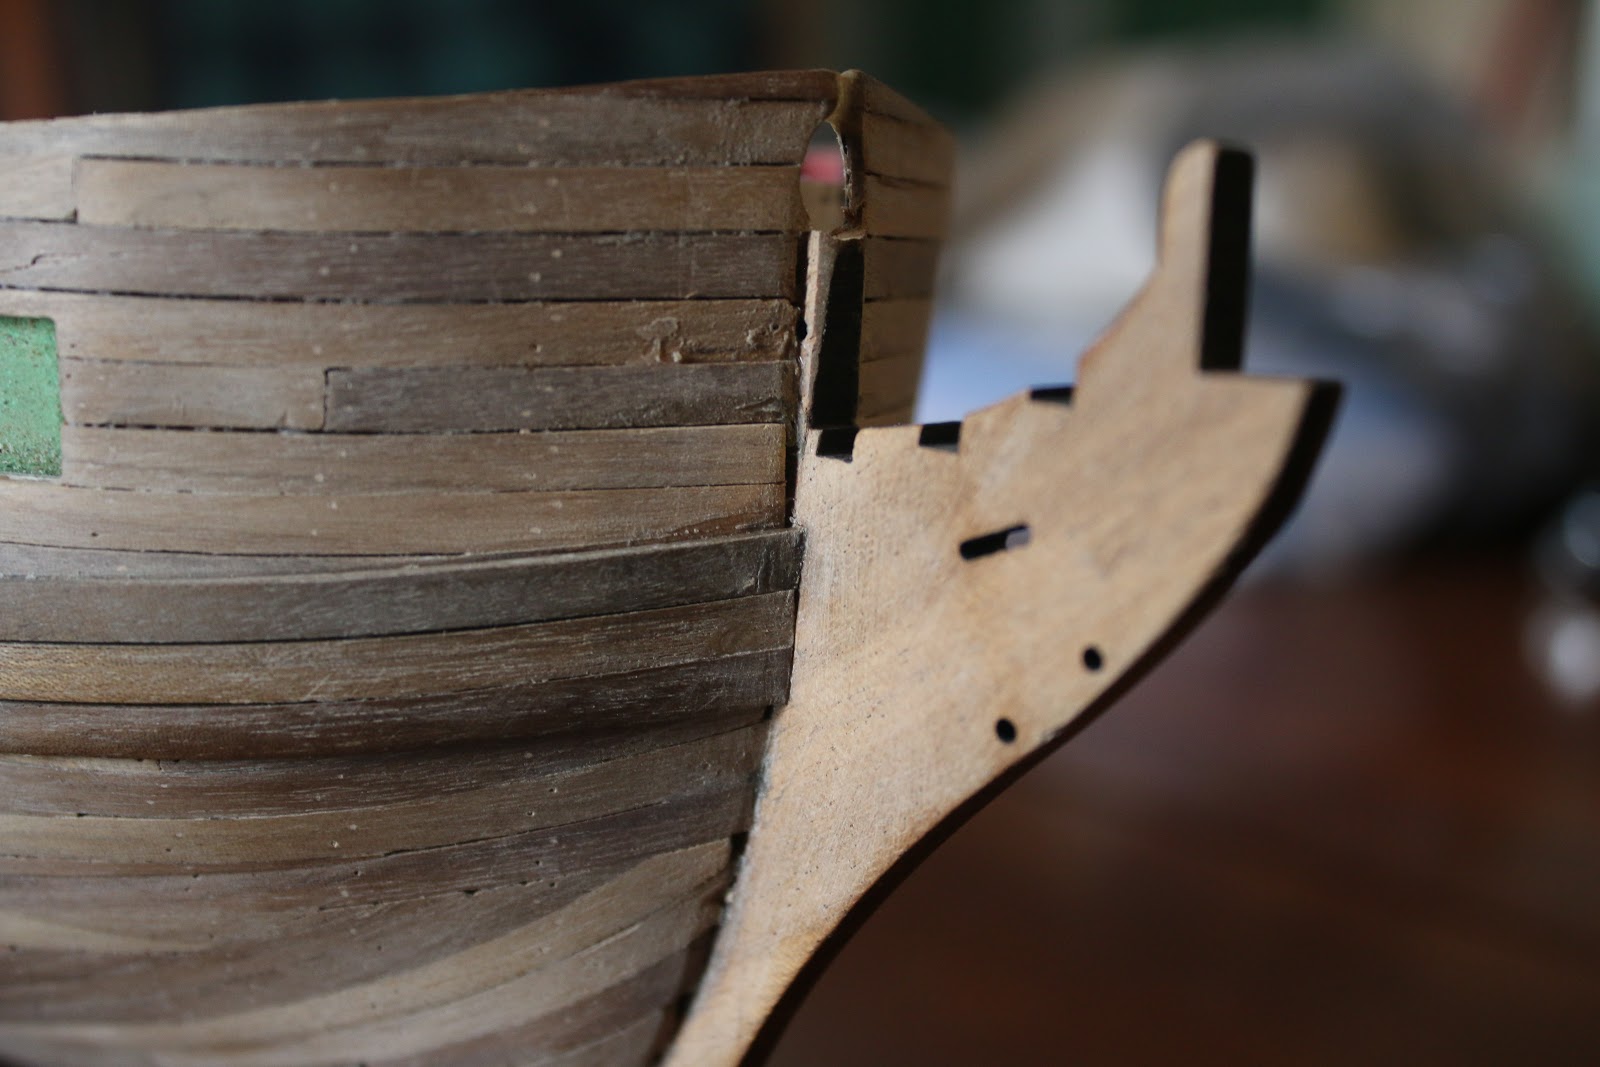
I also got to work installing the framing for the ship’s beak.

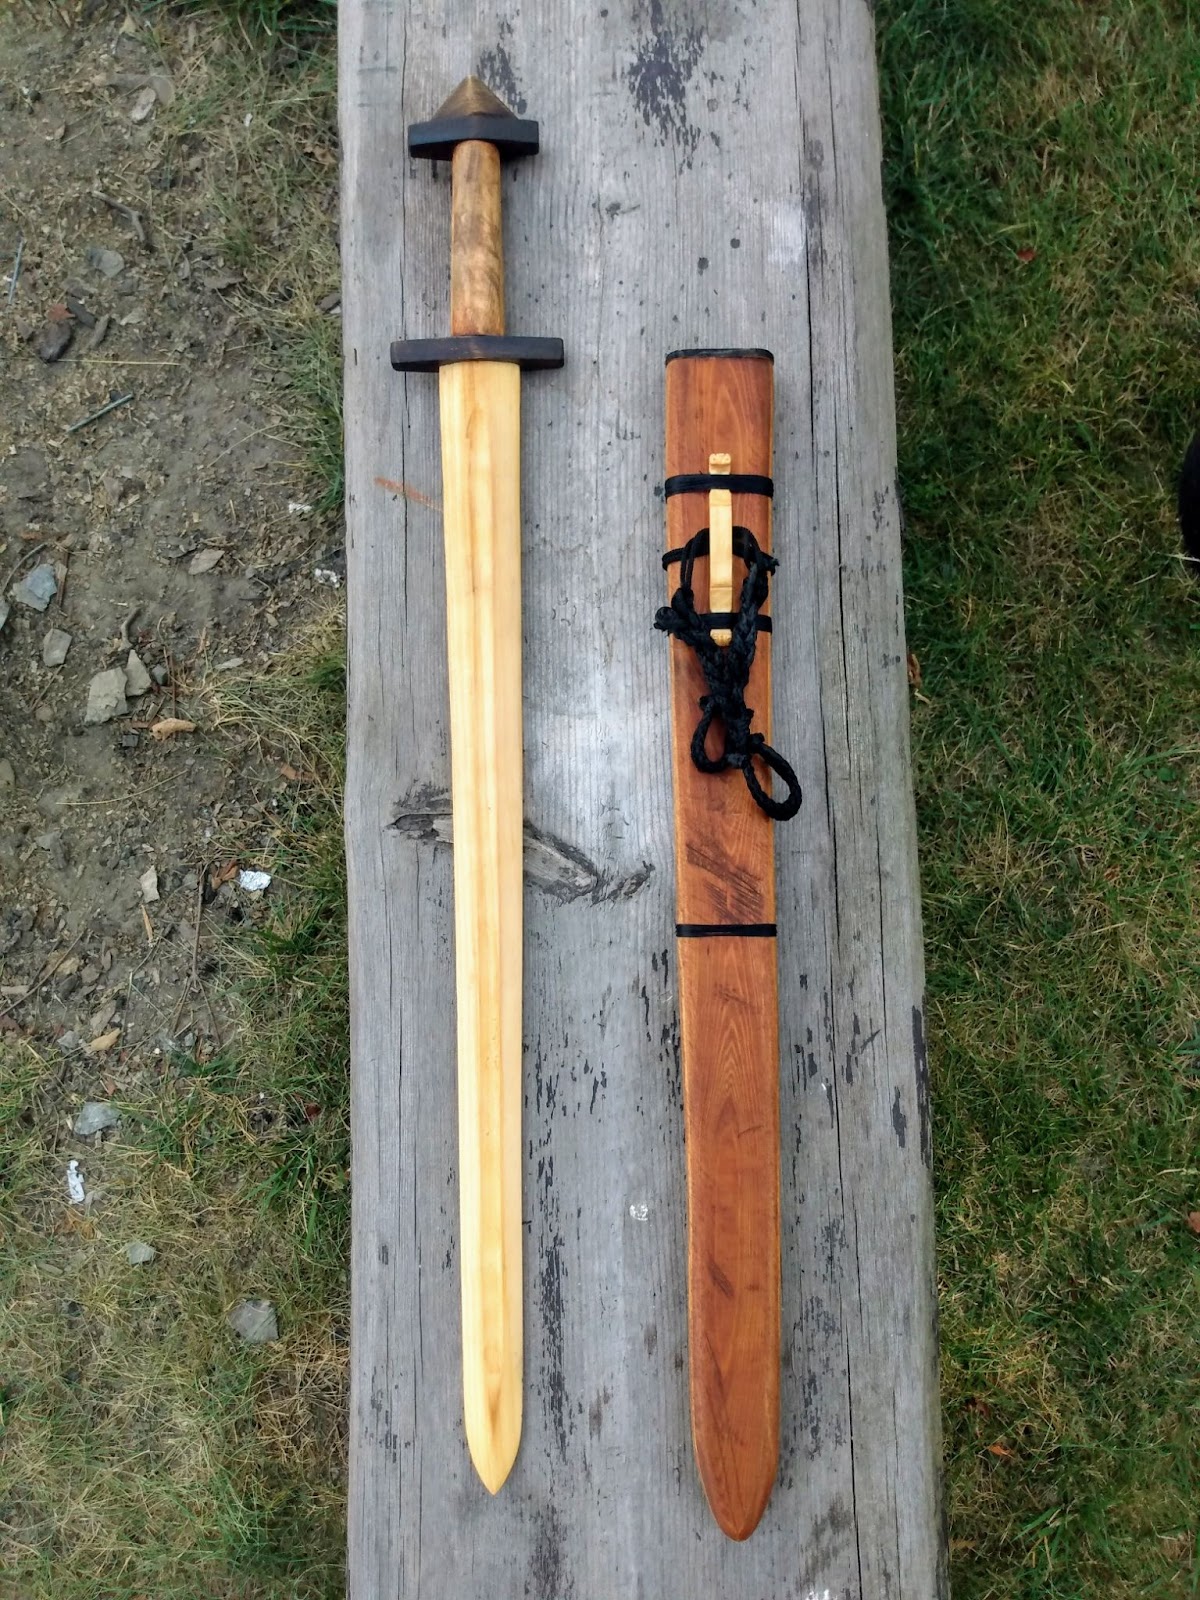
It was around this time that my camera’s sd card had been corrupted and as a result of this I had lost all of the progress pictures I had taken up until then so I must ask to be excused for the jump in progress between the photos. At this time of the project, I decided to take a break and attempt some larger-scale woodworking. So in a week’s time, I make a wooden sword from some old flooring planks.

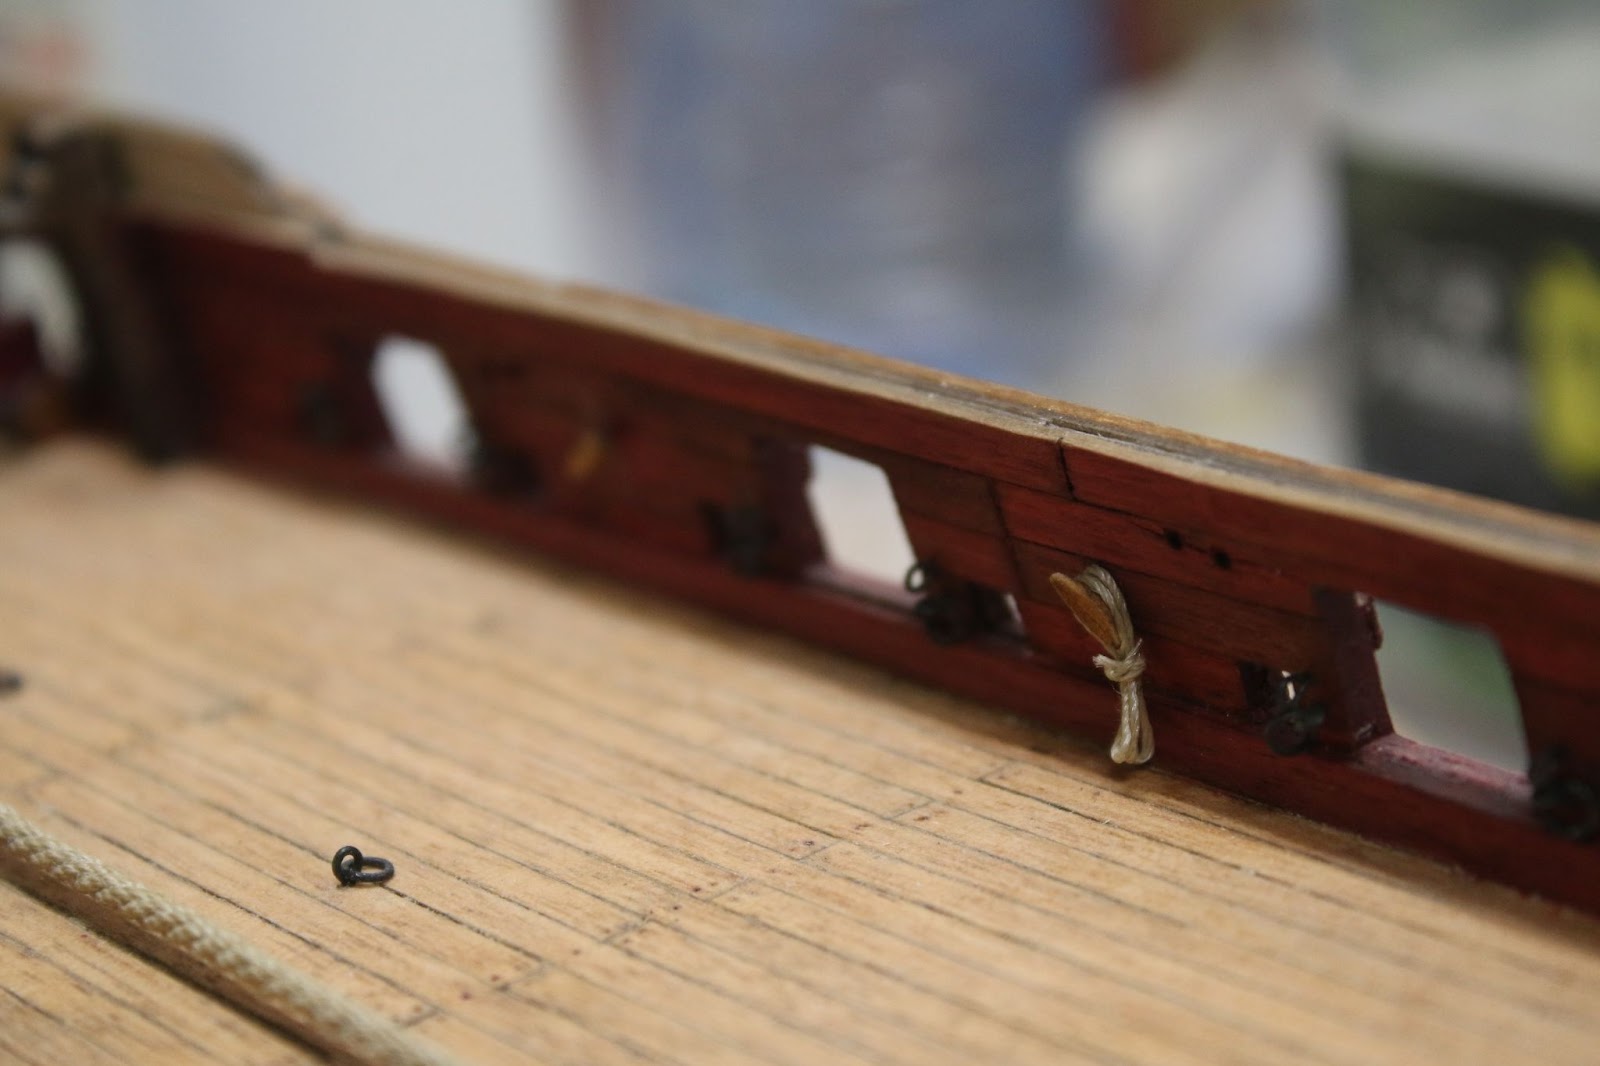
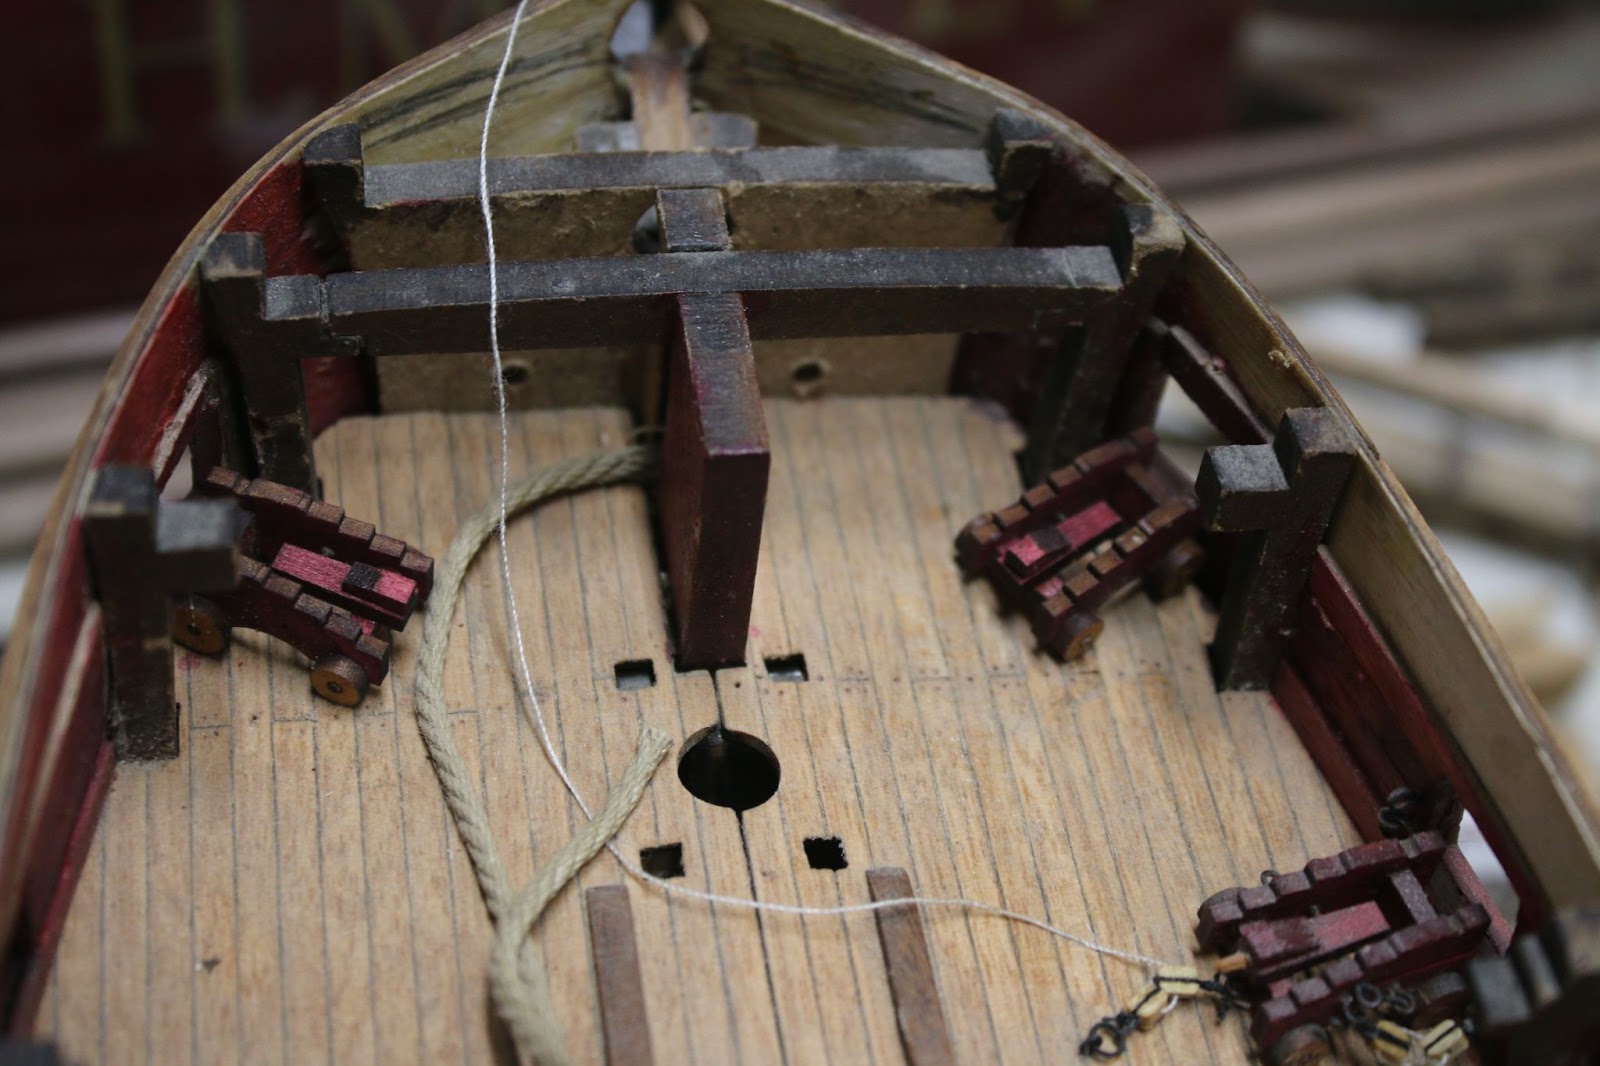
After that, I had to decide what to tackle first. Interior details or hull details. I decided that I should install some interior parts and some hull parts according to how hard they would be to install with other parts they would be in the future. So I went ahead and installed the interior eye bolts for the guns.
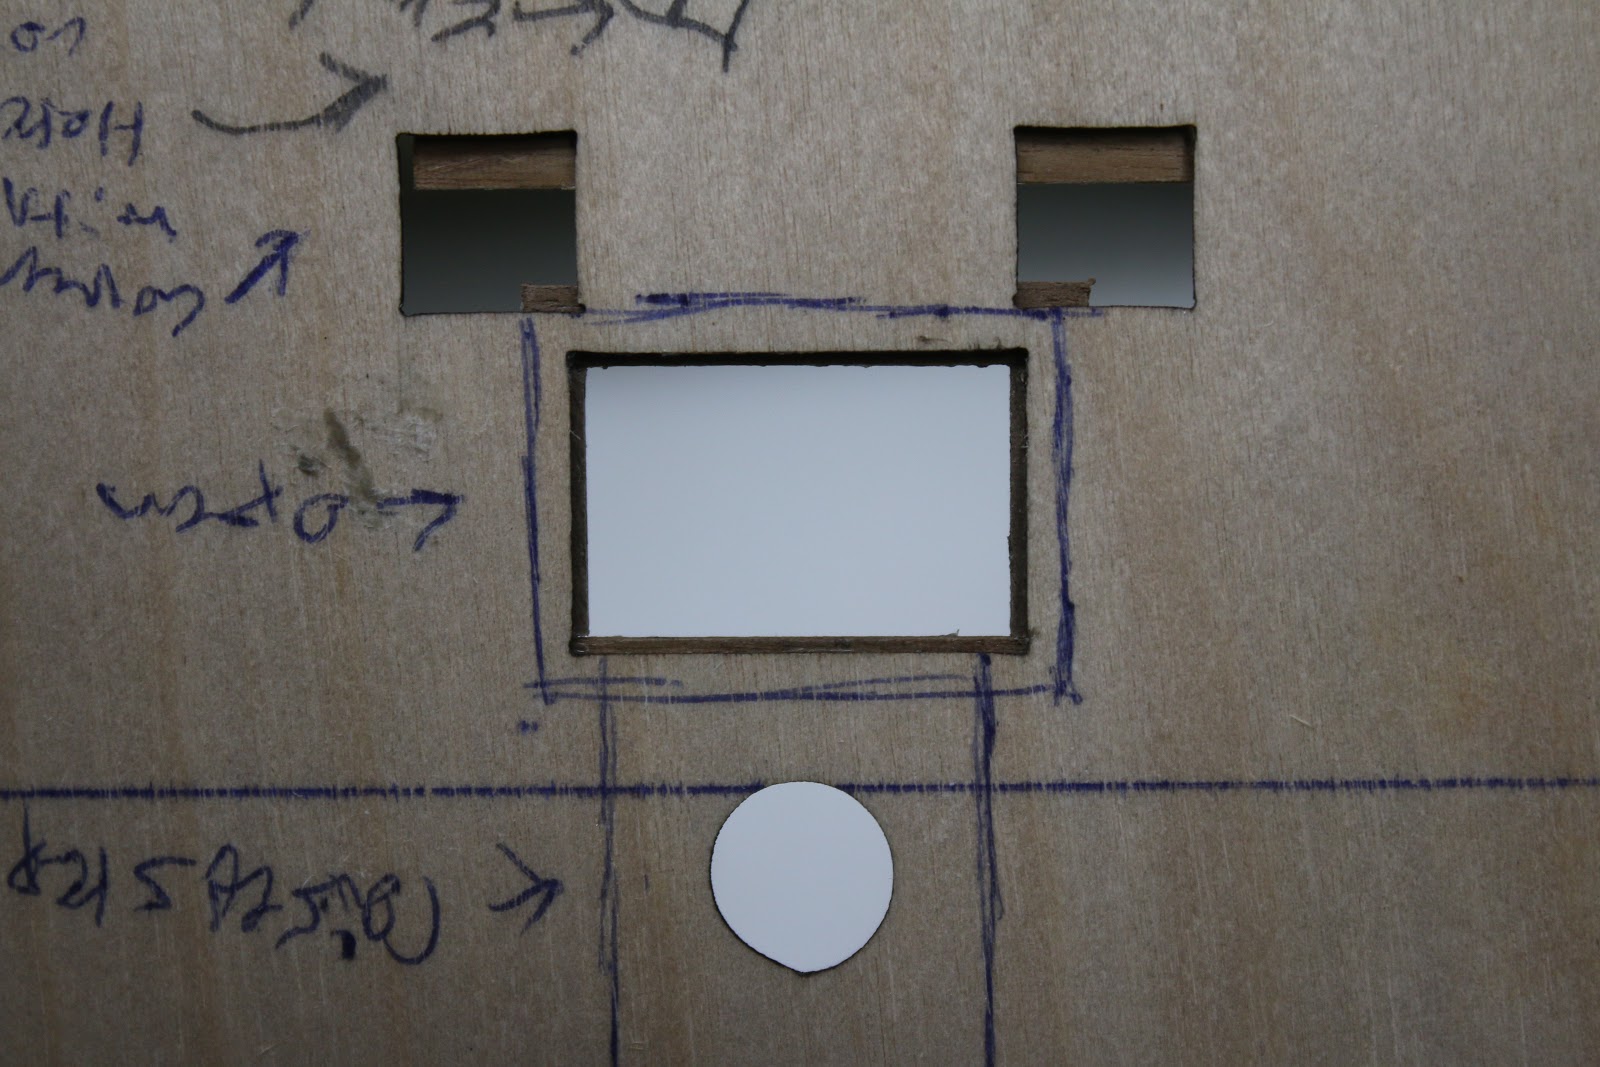
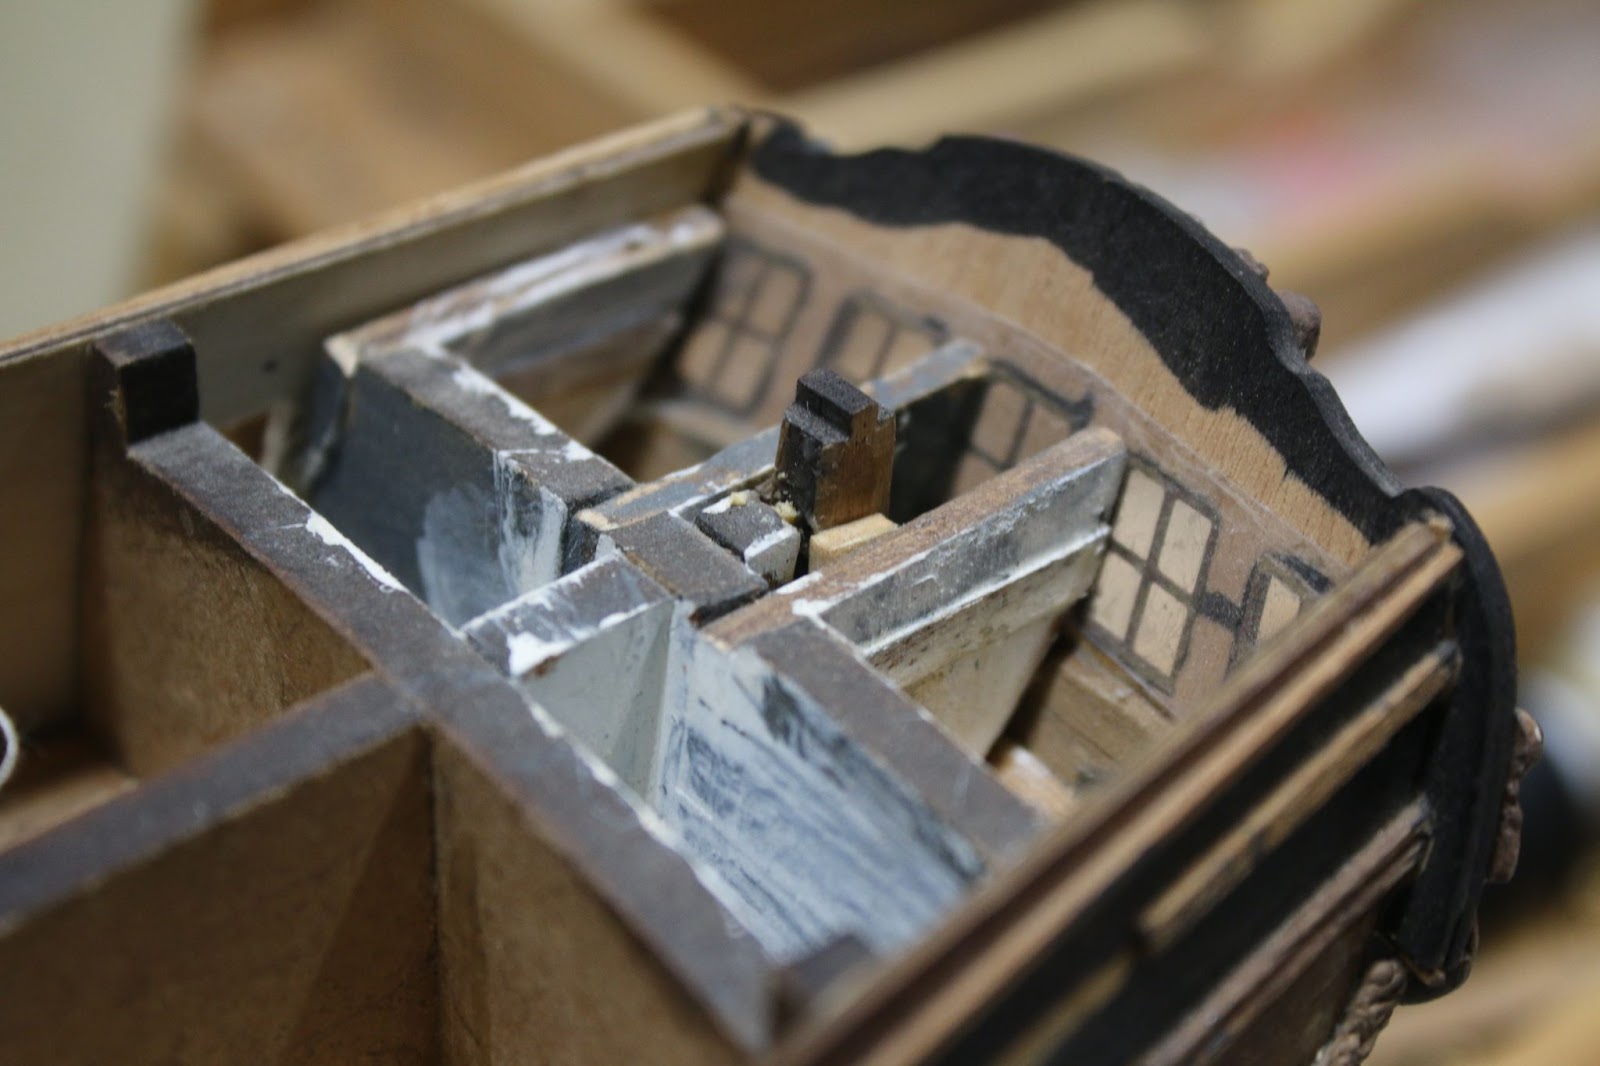
I also did various other tasks such as drill the holes the plans called for in the hull and paint the interior of the captains’ cabin white in order to reflect light.


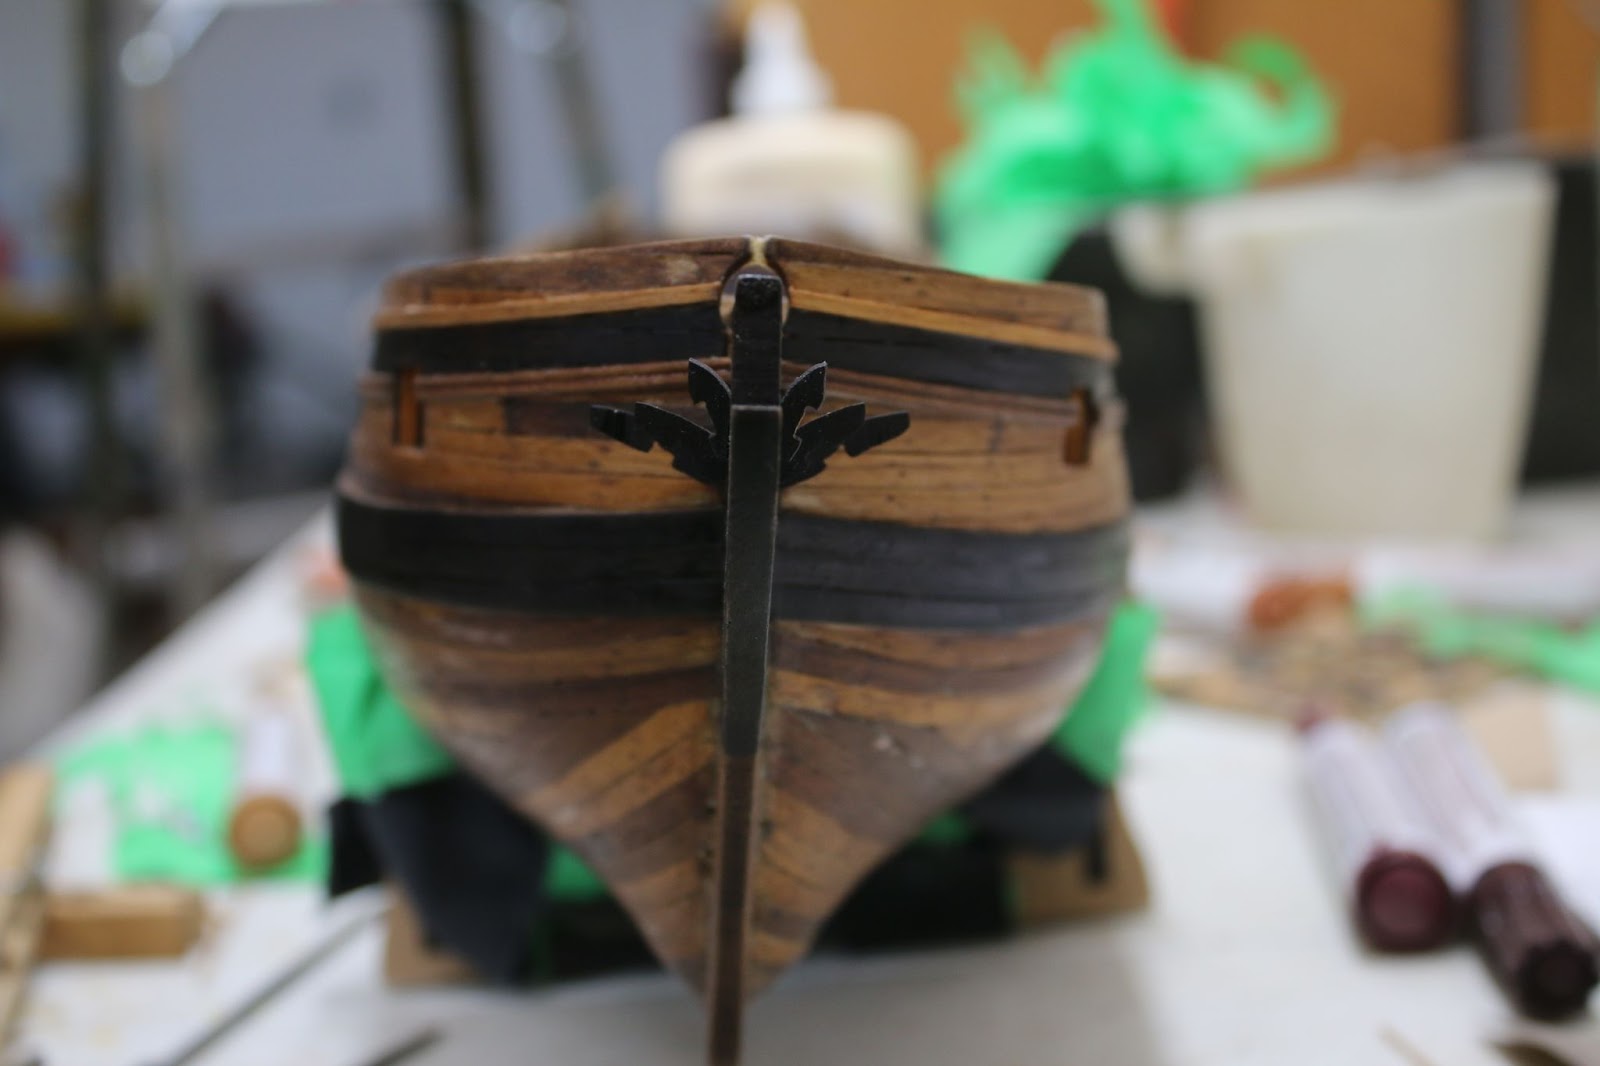
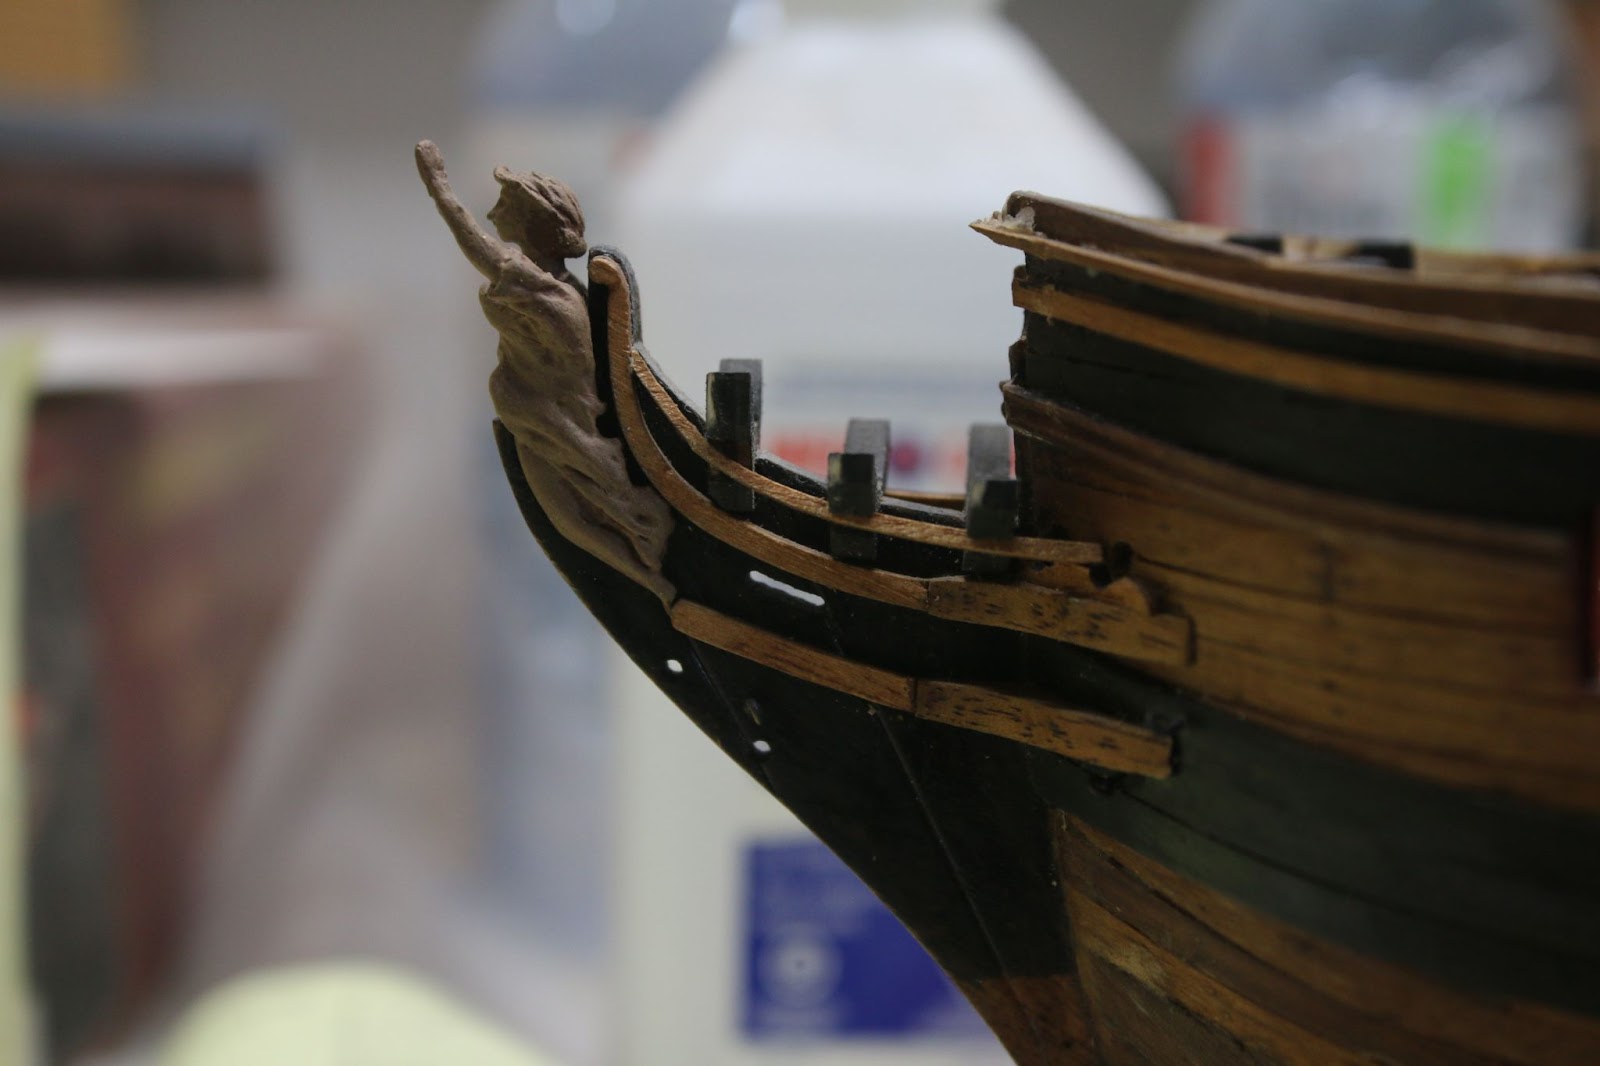
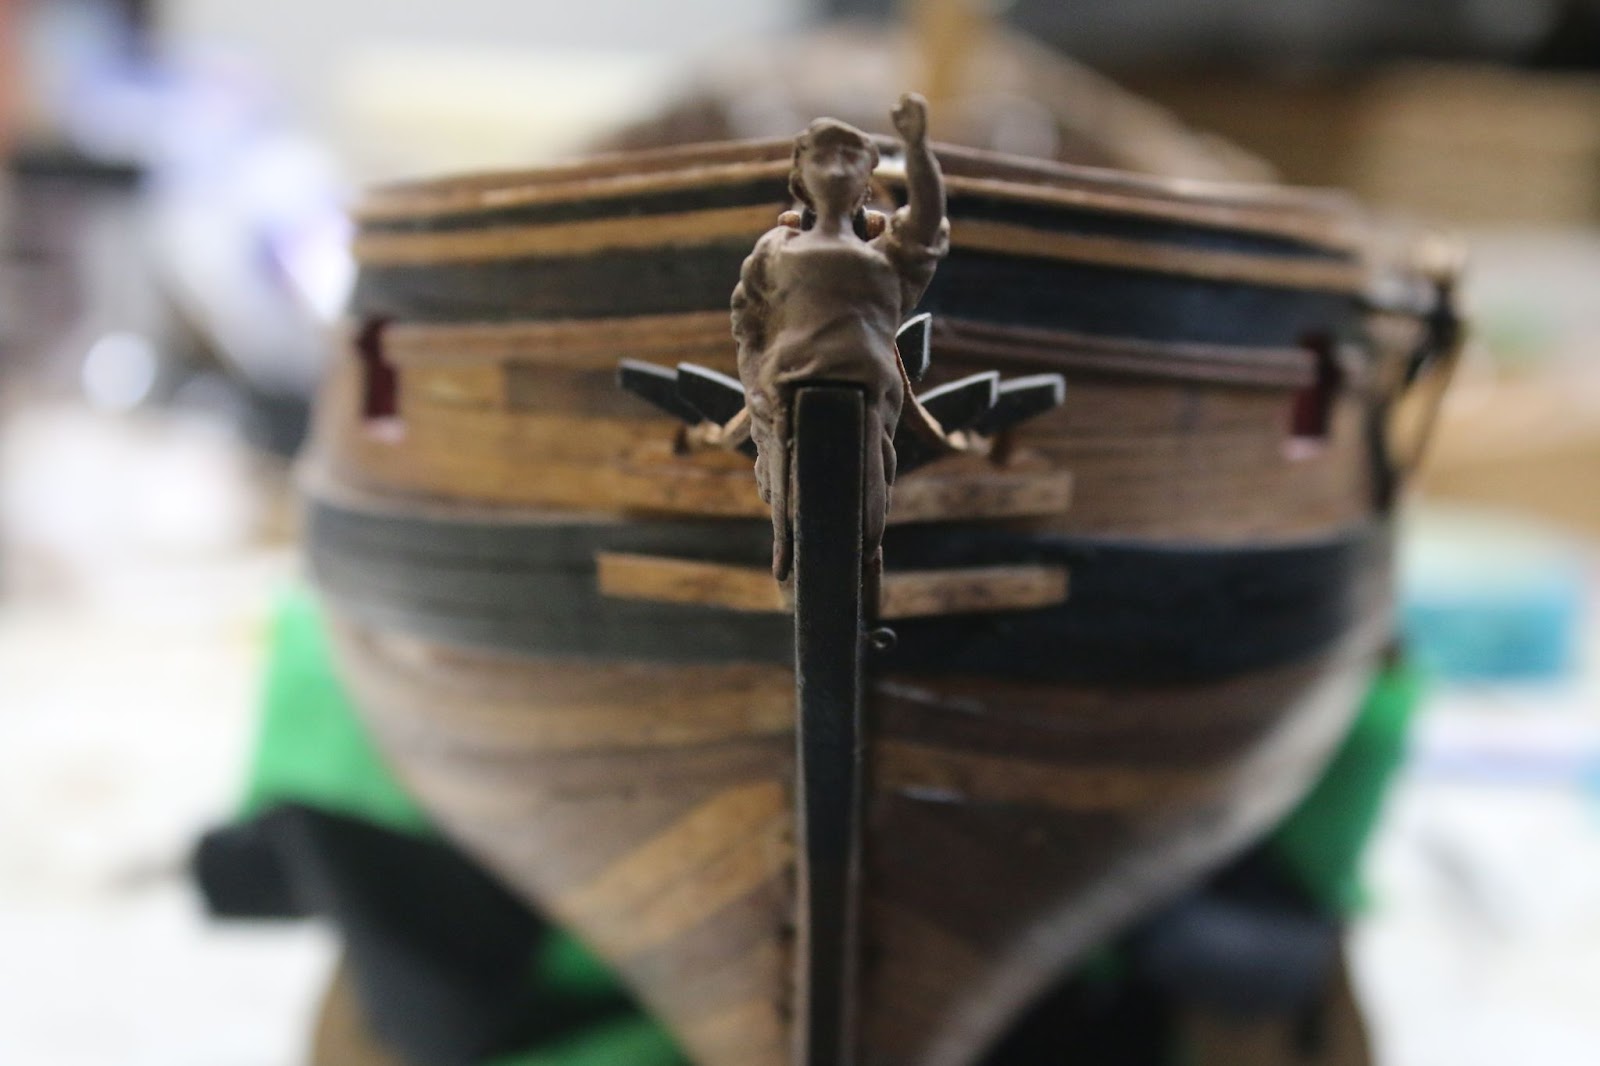
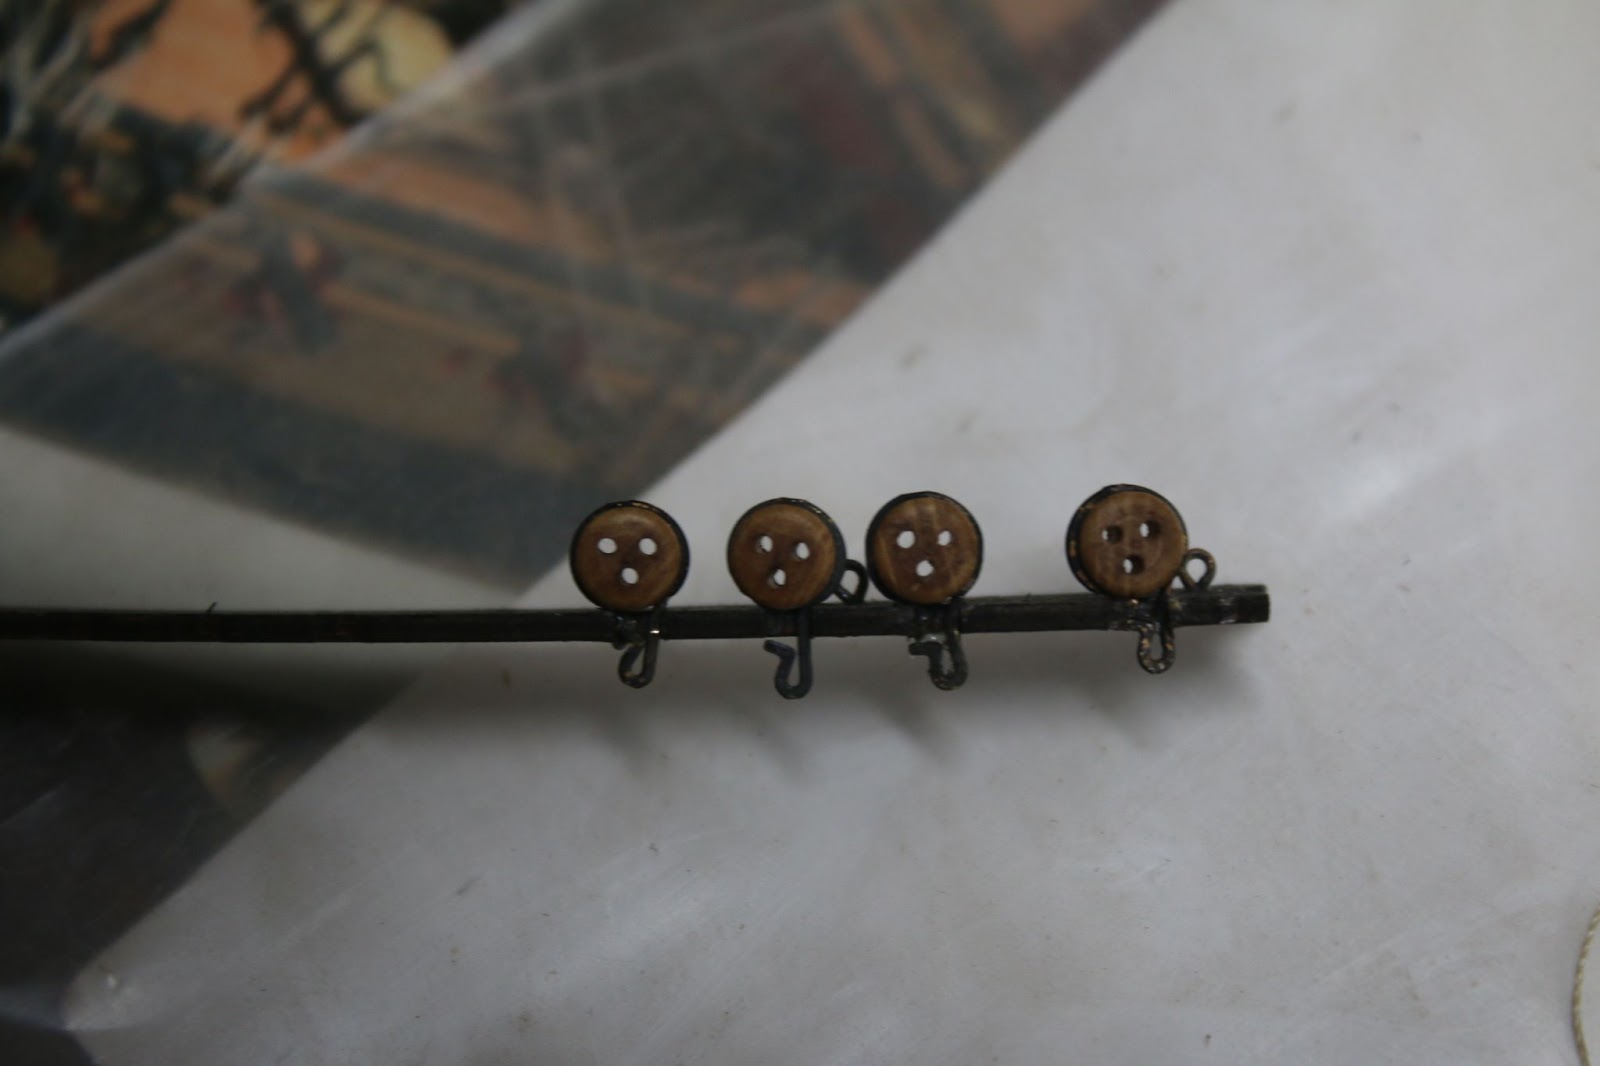
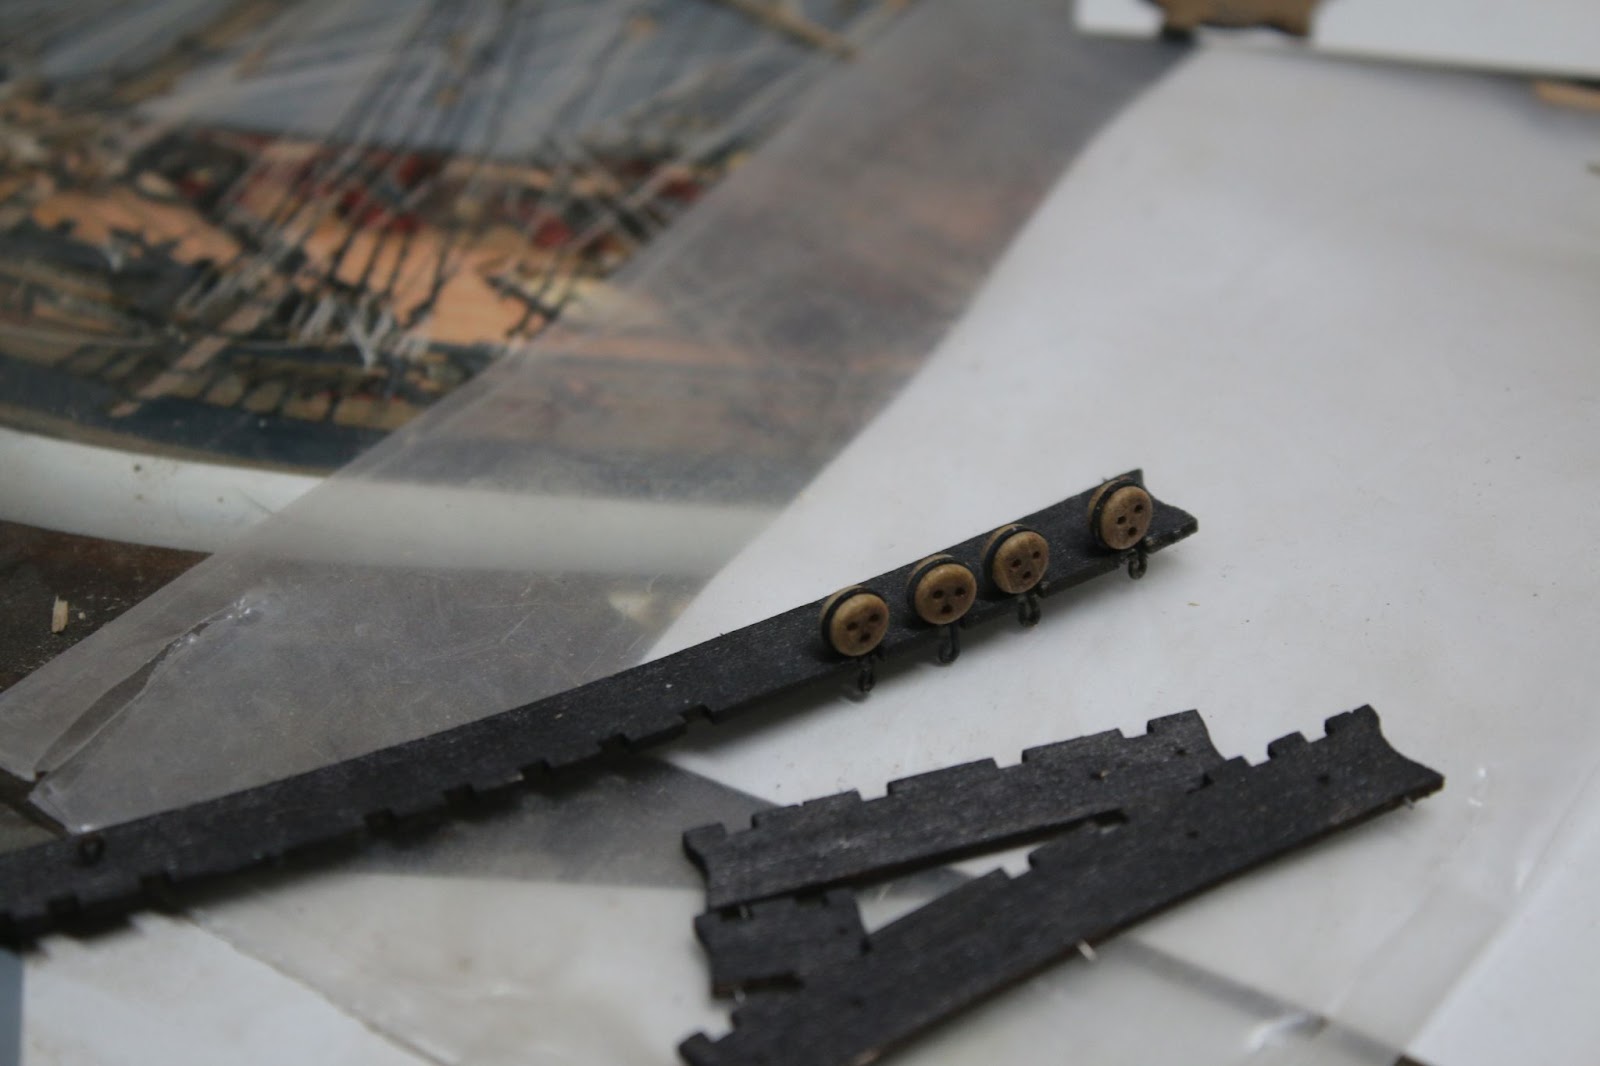
I also installed the stern decorations and the deadeyes and channels on one side of the ship.
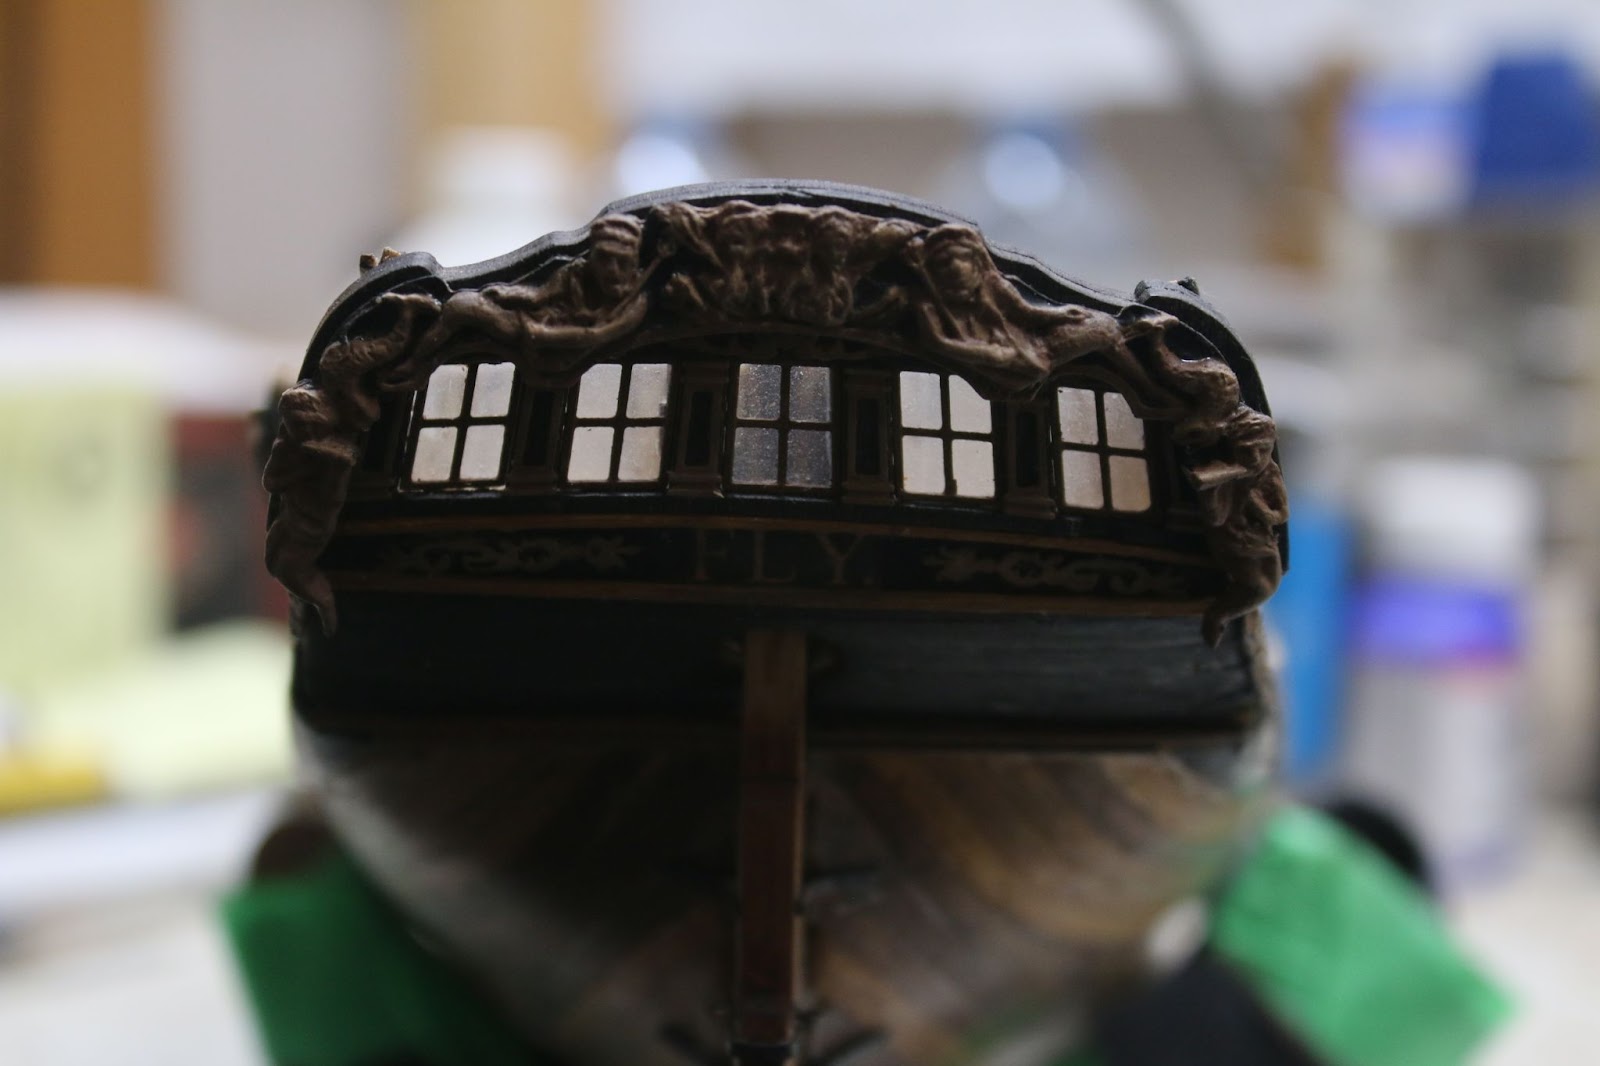
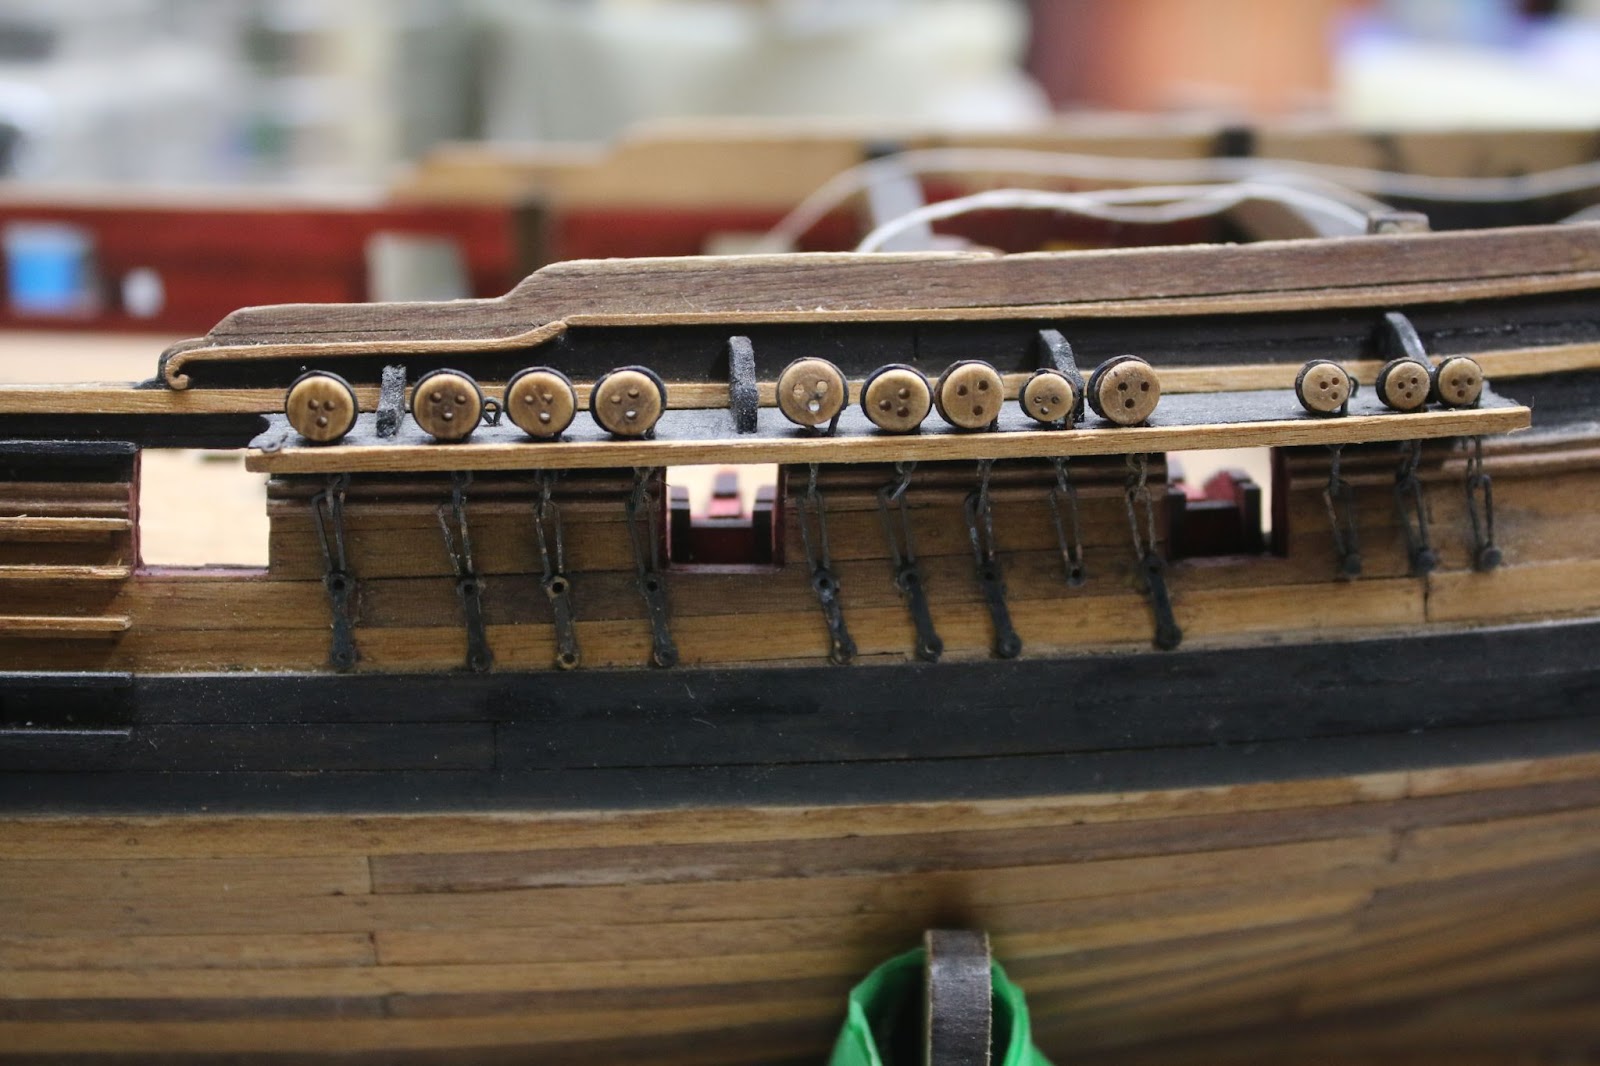
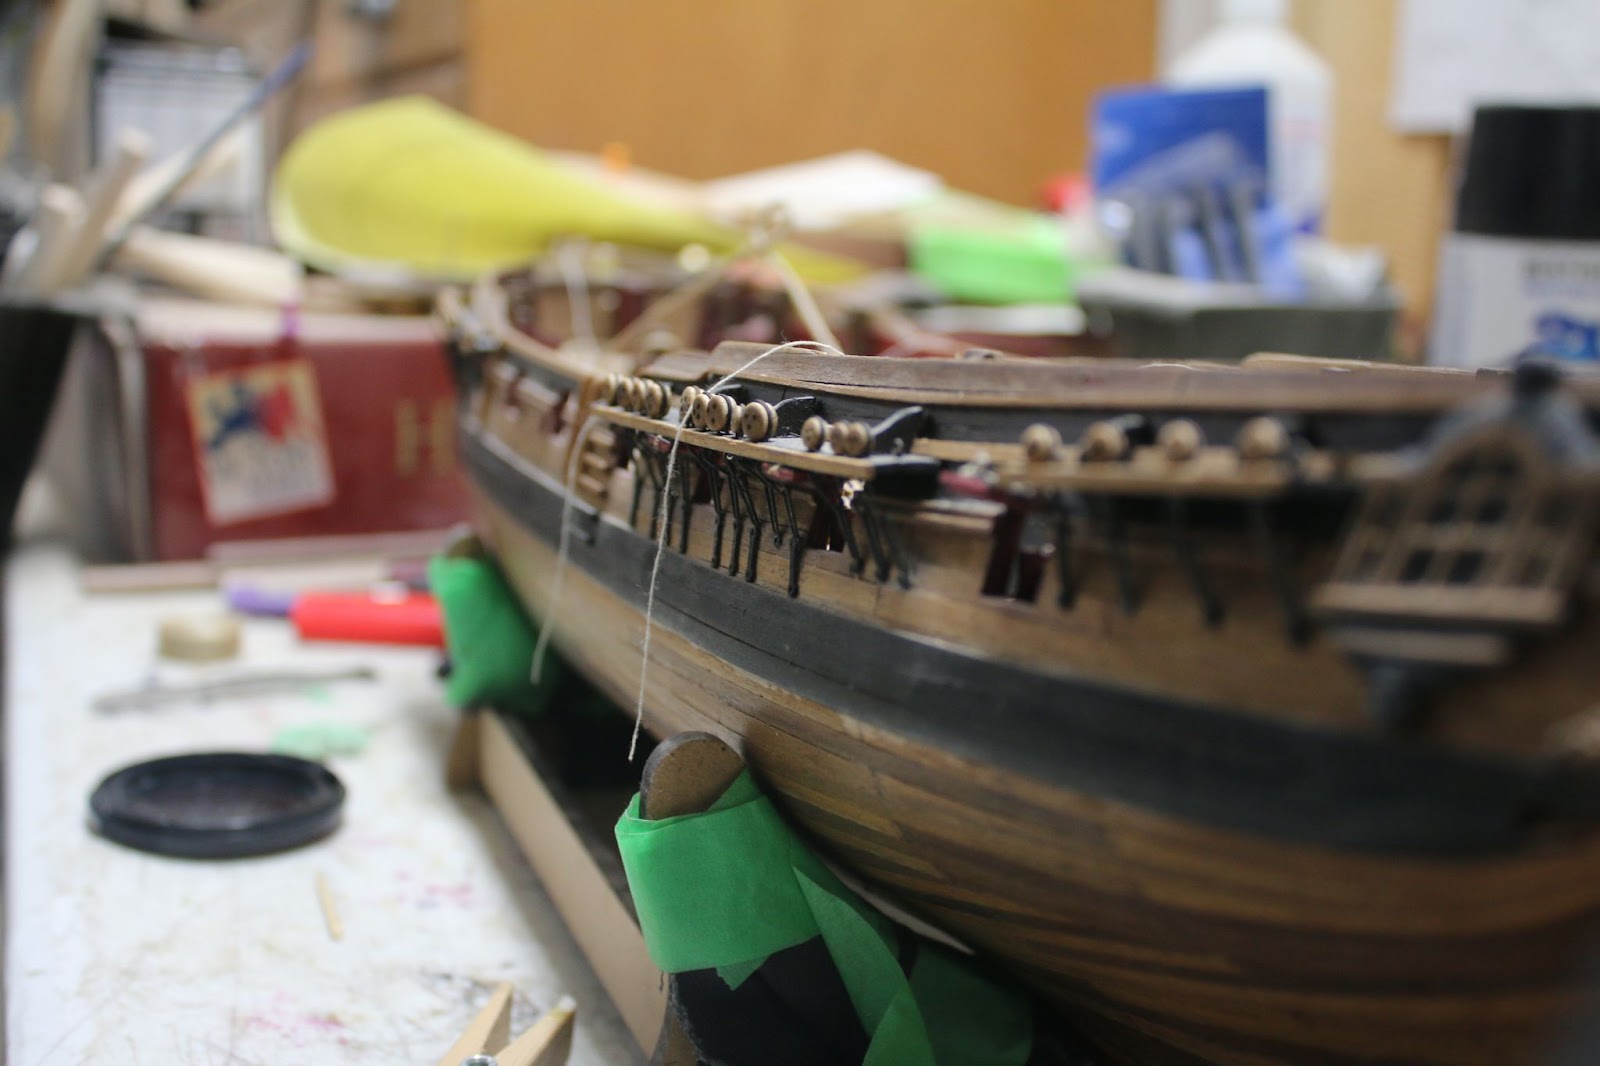
Along with more bow details and some additional details that the kit did not have.

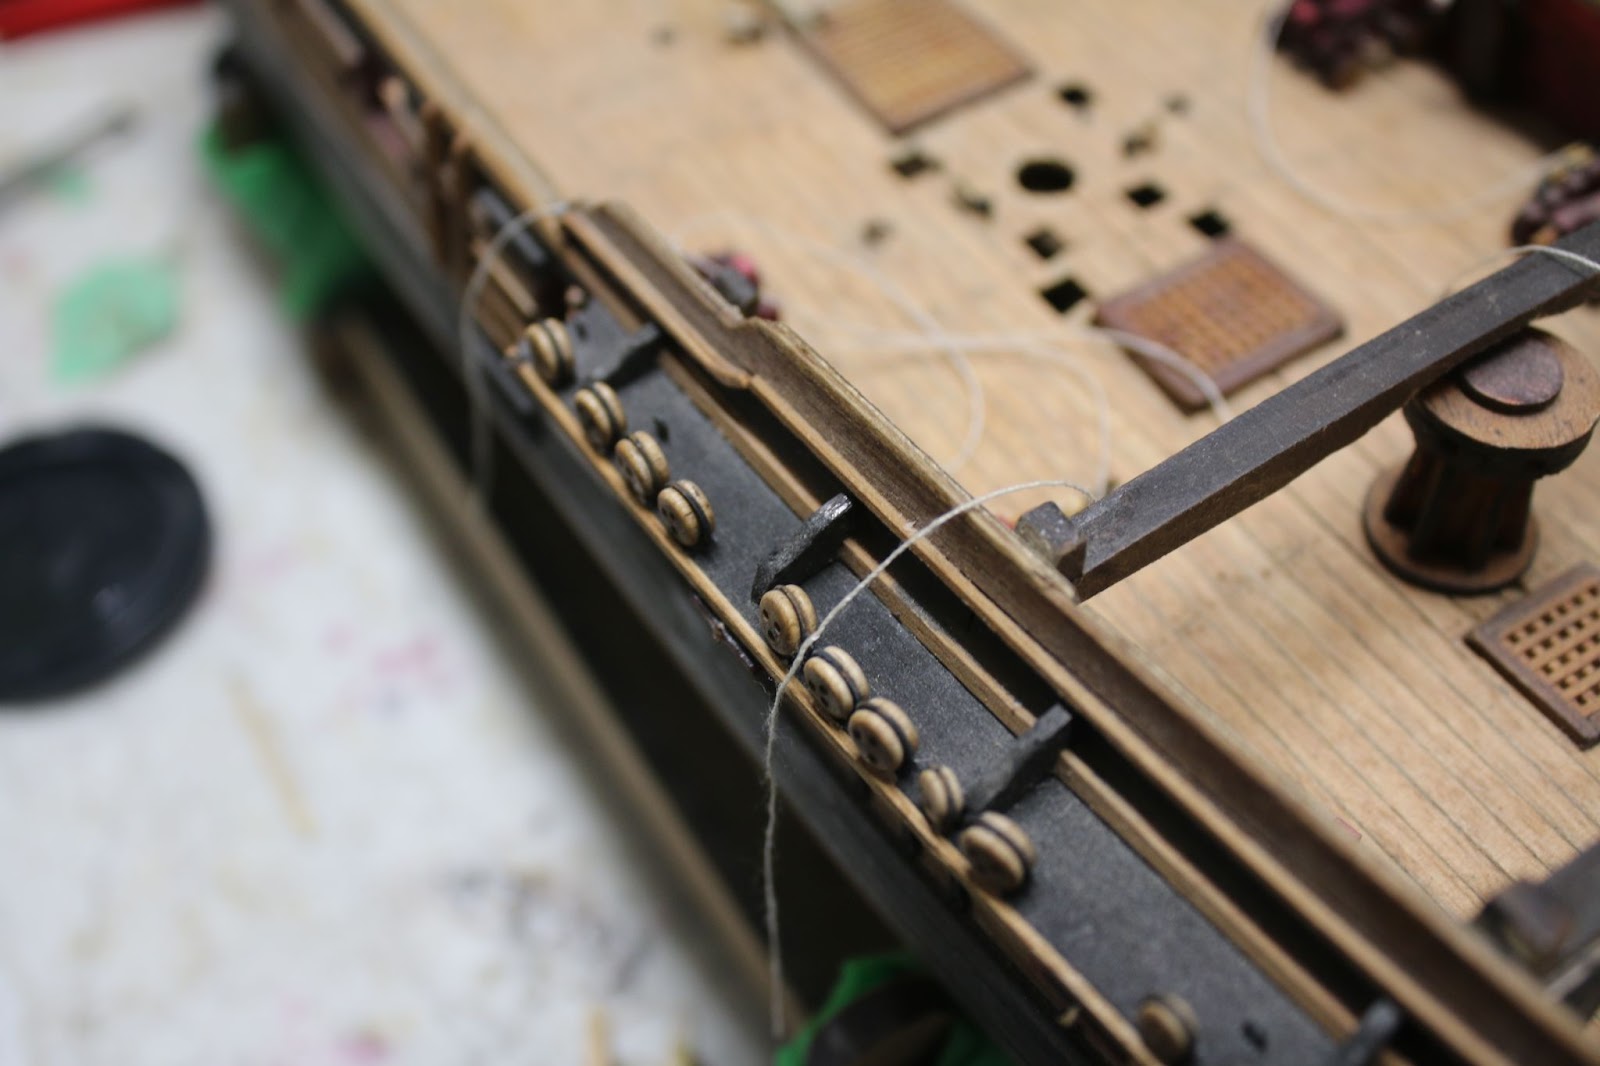


With that project done I got back into the build and started making the other channels and dead eyes as well as gun carriages.


This progress was slow and finding time during school proved to be hard. But today I relatively completed the rest of the carriages. While they still need fittings, they are built.
Jamie,
Thanks for catching us up! Great work. You have a real talent with wood-working.
Bob
thank you, Bob!