Do you know that the Piper J3 Club first flew in 1937 and has roots back earlier in the name of Talyor E2 which flew in 1930?
Do you know they are still countless Cubs flying today.
This will be a build thread for one little cub that packed a lot of wallop. 6 wallops to be exact, 6 M9? Anti Tank Rocket Launchers better known as Bazookas were strapped to the wing struts and rigged to be fired from inside the cockpit.
So the stage is set…there is no aftermarket stuff for this kit, least not what i’ve seen.
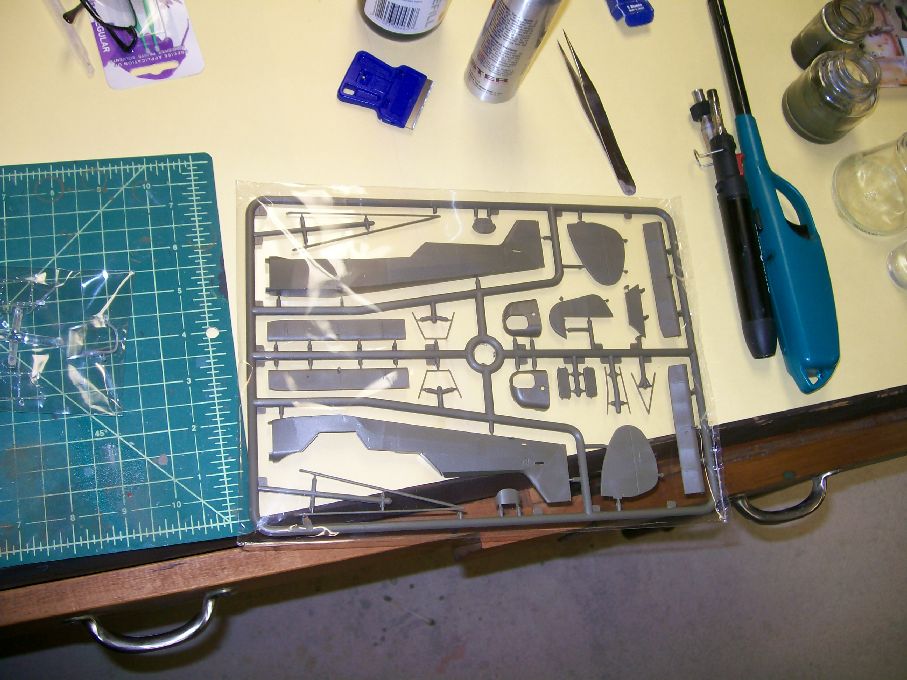
Work bench is cleared, reading glasses at the ready, think I can stow the microtorch on this one… [;)]
nice color reference but we’re not going for the monotone look of OD on light grey…
The kit seems nice enough, instructions are a little weird, some things lost in translation. VERY nice texturing of the canvass surfaces and I hope I can spray paint thin enough to preserve the grain. The cockpit has a nicely engraved wooded floorboard. I do not know yet whether it was painted or not but I intend put the wood treatment to it. If I have to do an overcoat of OD and show the wood surfaced from the wear I think that will be OK.
The exposed cylinder heads of the engine is CRYING for some super detailing, I have a friend who has a Cub, I’ll check with him if I can do a close up inspection, not sure if I can get a check ride as I might tip the scales to much. Who knows, we may have a panel to pop off somewhere to see more STUFF.
Of course there is a lot of windows and the door will be open so let’s see how much stuff we can put in the Office shall we?
Ah the smell of Tanex7 is so much better than burning flesh… [:D]
This looks like a build I could get into! Having spent a fair amount of time in Super Cubs being hauled around the Alaskan and Canadian bush I love these little planes. Arming them with rockets just makes it super cool!!
The Bronco Cub is a pretty nice kit. A thin coat of spray won’t harm the detail at all.
One note: You know that thin little piece that’s holding the main wings together? Find a way to beef that up a.s.a.p. as mine broke right when I was about to install it. What a pain to fix!
Unless they had the aimed slightly down. I know fighter pilots could tune the aiming point of their guns to where they like. How many degrees down from the C/L or even the convergent point of the rounds.
I’ve never shot a rocket launcher, you think it would have recoil? I tought the other end was opened and all the exhaust gas escaped that way.
Looking forward to following your build. I’m about half way and on a break…wing roots stressing me a little. I actually have about 3 hours in a WWII veteran Cub, still in it’s war scheme. The floor is a natural wood finish. Rudder pedals are shiney smooth from boots rub. Sorry, no pics though. Maybe next time I’m home I’ll do a complete walk-around. Enjoy.
The Bronco kit builds up pretty nice. Heed that warning about the center section of the wing… a real PITA to fix[;)]. There are 8 weird holes in the bottom of the wings that need to be filled too. Lots of test fitting to get the wing to sit right on top of the glass. The thick frames on the glass make masking a breeze though. The back edge of the canopy sit a little too proud of the fuselage spine and some trimming is needed there. I got it lower but did not go low enough.
I did this is civilianmarking that can be seen HERE.
Thanks Wingnut, I was just cruising over some walk arounds now. I was thinking of finishing out the wing much like we do with biplanes but if it’s as britle as you guys are warning me about maybe I need to rethink that, or reenforce the connection between left and right. Perhaps a fitted sheet of brass will do, hmmm…
Edit to add: Nice Grasshopper! Reading your review and others, I can’t help to notice that Bronco must have been listening to you guys as they have made some changes to the kit. You made mention that control lines need to be added, we they have included lines to be installed for the control cables. I doubt I will use them, I have a stiff wire I can use in it’s place and don’t have to worry about it getting tight. I’ll get some better shots of the sprues and PE and let you make the call if anything has been added to this kit.
Ended up pulling out the solder and trying to scratch make some stuff. Started with the kit supplied PE entry door. I wanted to add the upper framing where the latch is, looked simple enough from the few pictures I found. Just a hollow tube with a lock pin coming out into a receiver on the door frame (Which I haven’t gotten to yet).
I used .5mm pipe from Griffon and soldered it on the top edge of the door. It’s given some depth to the door, I can’t get a good picture of the end of it to show the hole, but it’s there.
Here’s the floor board, kewl lookin’ ain’t it?
To the fuselage, those chunks of plastic is suppose to be hand holds to pick up the tail of the Cubby, needless to say, those buggers are gone, holes are drilled to accept bent wire, just forgot to get a picture of it.
Product of the day’s work
Engine is assembled for the most part, I’ve hollowed out an aluminum pipe to use as exhaust pipe. The kit part just was not going to cut it.
Here’s the first problem. I’m not sure if I will open panels or not. What’s missing is the actual mounting of the engine to the firewall. I haven’t figured out how the kit wants to mount the engine, just seems to float in mid air. I guess the prop shaft is all that’s used to mate the cowl to the engine. I sure would like to have a little more.
OK Here’s the question for discussion. The Bazookas, how did they fire? It was electrical right? If one were to wire a Bazooka to fire remotely, now many wires would you have to run to each one?
I got a little update that covers some AMS I’ve been dealing with. According to Saul Garcia’s review and Karl Engelskirger of Northern Ohio Museum of Aviation comments the radio that mounts in the wing root is incorrect.
Karl’s comment had a photo of the right radio that would have been used.
Well I took a crash course in USArmy radio sets of WW2 and found that the one in the reference picture is according to this site is a BC659. Of course I don’t have a BC659 laying around in 1:35 scale, or do I? The Dragon Halftrack comes with several radio sets, again using the cited website I was able to ID all of them. The large radio set, that I used on my halftrack, is the BC-684. Dragon is kind enough to send two… :face: They also send BC620 set. The BC620 looks the same as the BC659 with the exception of the speaker that is common between the BC659 and BC684 so BING.
Long story short, I do have a BC659 just laying around in 1:35 scale! After a little strategic surgery and relocate that speaker from one to the other and i’m golden! Pictures tomorrow
I think this is going to be really nice eye candy for inside this fish bowl canopy, especially with some wires coming out. I’m going to try and find some generic service plates to stick around the radio, hope no one checks to see if they are the correct ones or not…
Thanks Daywalker, I started with a base of acrylic Raw Sienna, let that dry then I pulled several colors from my oil paints ranging from Yellow to burnt Umber, think there were 5 all told, Yellow some reds and brown. I applied them in a Dot pattern, like Dot filter. Came back with the ol’ stiff brush and blended them in and got the grain. I tried a couple of knots in the wood but couldn’t get the artistic side of me out.
Got the engine built, painted and inside it’s cowl, prop in place also. Pretty much a sub assembly in itself that can be added last thing.
Here’s the IP and the visible part of the gas tank.
Something strange with the paint job so it’s a good candidate to get stripped and try again.
Sorry about the quality of the photos, something is up with the camera, just couldn’t get a good shot tonight.
Now to the radio. I’m having second thoughts about the radio,
First problem is the “simple” surgery didn’t go to well. I did get the speaker off the one radio and when I placed it on the correct one and applied Tanex, it pretty much melted to an unrecognizable glob.
Second problem, the only pictures of the real Rosie i’ve seen you can clearly see inside the rear deck. There is no radio mounted on the rear deck of the cockpit.
Question, Would the radio have been removed for a publicity shot like they did with the Norton Bombsite and other classified equipment?
Was this BC659 radio classified equipment that would have required the removal during photography?
Worked on the tail plane and got the rigging done there. Notice the opening where the linkage ties to each side, think this is trim mechanism. Bronco had that filled in, I cut it out and placed a .5mm brass rod between the two stabilizers, also dropped the elevators.
Underbelly,
Notice the control stick kicked over to the left and forward, that’s why the elevators are pushed down, the ailerons will be cranked in the proper position also. Something strange going on with the acrylic OD I’m using, when it dries, it has that dead paint, faded look to it. Not sure how or why that’s happened.
I think a radio would have to be battery or wind generator powered, the Cub had no engine mounted generator or other electrical components normally. The ignition system was not normally shielded either. With two on board there is also limited useful load for such things. Most Cubs weighed about 750 pounds empty, and the gross was about 1200 pounds.
Will a satin coat help the paint? I find it usually darkens drab colors a lot.
On the Bazooka wiring, I think 2 wires is the safe bet, or 1 more wire on each side more than the tubes, if a common ground were used. Cubs were not built with grounding straps between major components, so one wire for each tube would not allow a ground.
We used to shoot a ducks and mudhens in the rice fields from the Cub, with the gunner in back. I can’t imagine setting out with bazooka tubes on the struts. You ever looked at the size of the forks on the fuselage end of the struts? Not so big. Later on they were the subjecty of an AD that required their replacement, due to breakage. What might happen if a rocket hung on the tube?
We’ve figured it would have a slipstream generator mounted somewhere, most likely down between the landing struts. You wouldn’t happen to have a picture of what one looked like would you? I’ve seen one on an older gun pod they use to mount on F4s, think it was a SUU20 or something? It had it’s own power.
That’s my thinking, it’s a nice effect but I don’t think I can preserve it for long.
I think for the scale that two wires will be enough to represent the wiring.
I guess some german ground pounder would claim credit?[(-D]
Thanks John! Seems you always come up with an answer or a reference. Looks simple enough to pull off. Looks nothing like the generator on that gun pod, it looked more like an 70s era GM alternator.
Engine is dry fitted right now and from this angle you can see the hand lift on the tail section made from wire.
Really taking shape
Still can’t see that danged radio. I also went ahead and installed the one over the pilots head. Don’t know if it’s 100% accurate but it should be viewable when the masking is off.
Added rivets that were omitted by Bronco, They may be larger than they need to be but it was all I had, these are rivets are from the Lions Roar stuff. Little touch up of paint it’ll be OK. Just don’t put a level to it please…
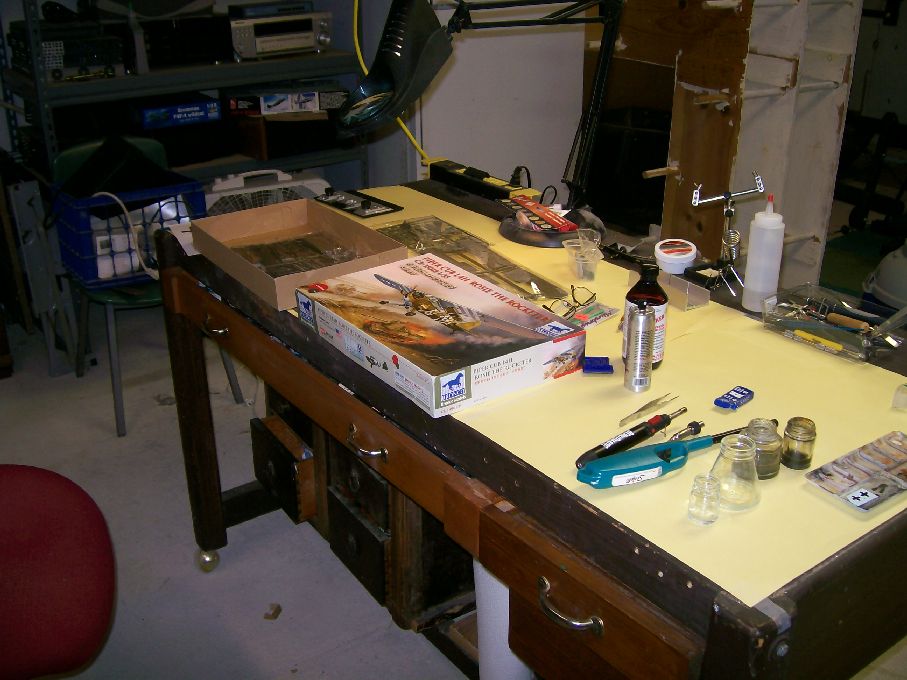 Work bench is cleared, reading glasses at the ready, think I can stow the microtorch on this one… [;)]
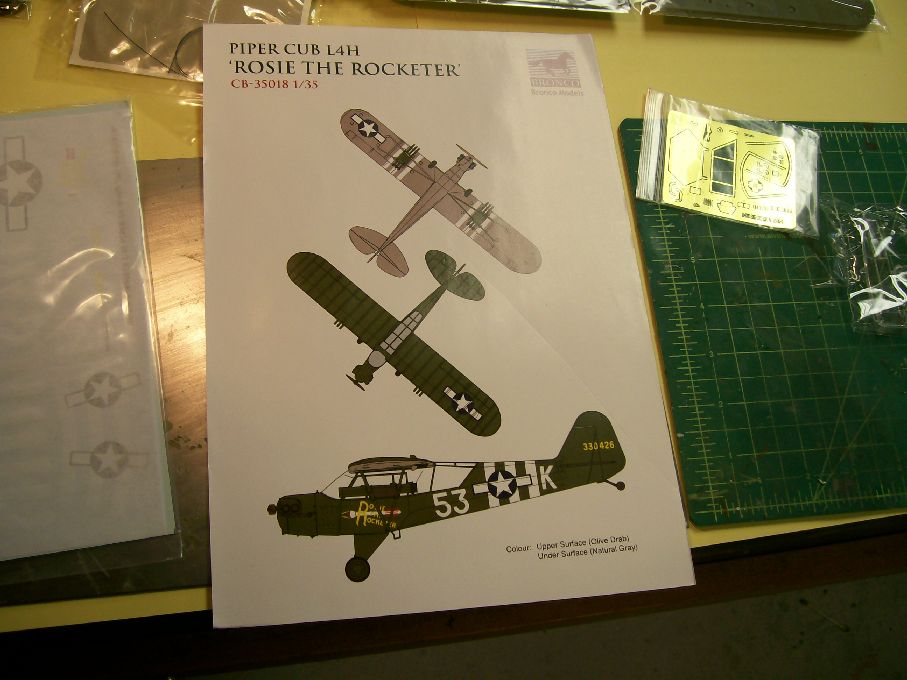 nice color reference but we’re not going for the monotone look of OD on light grey…