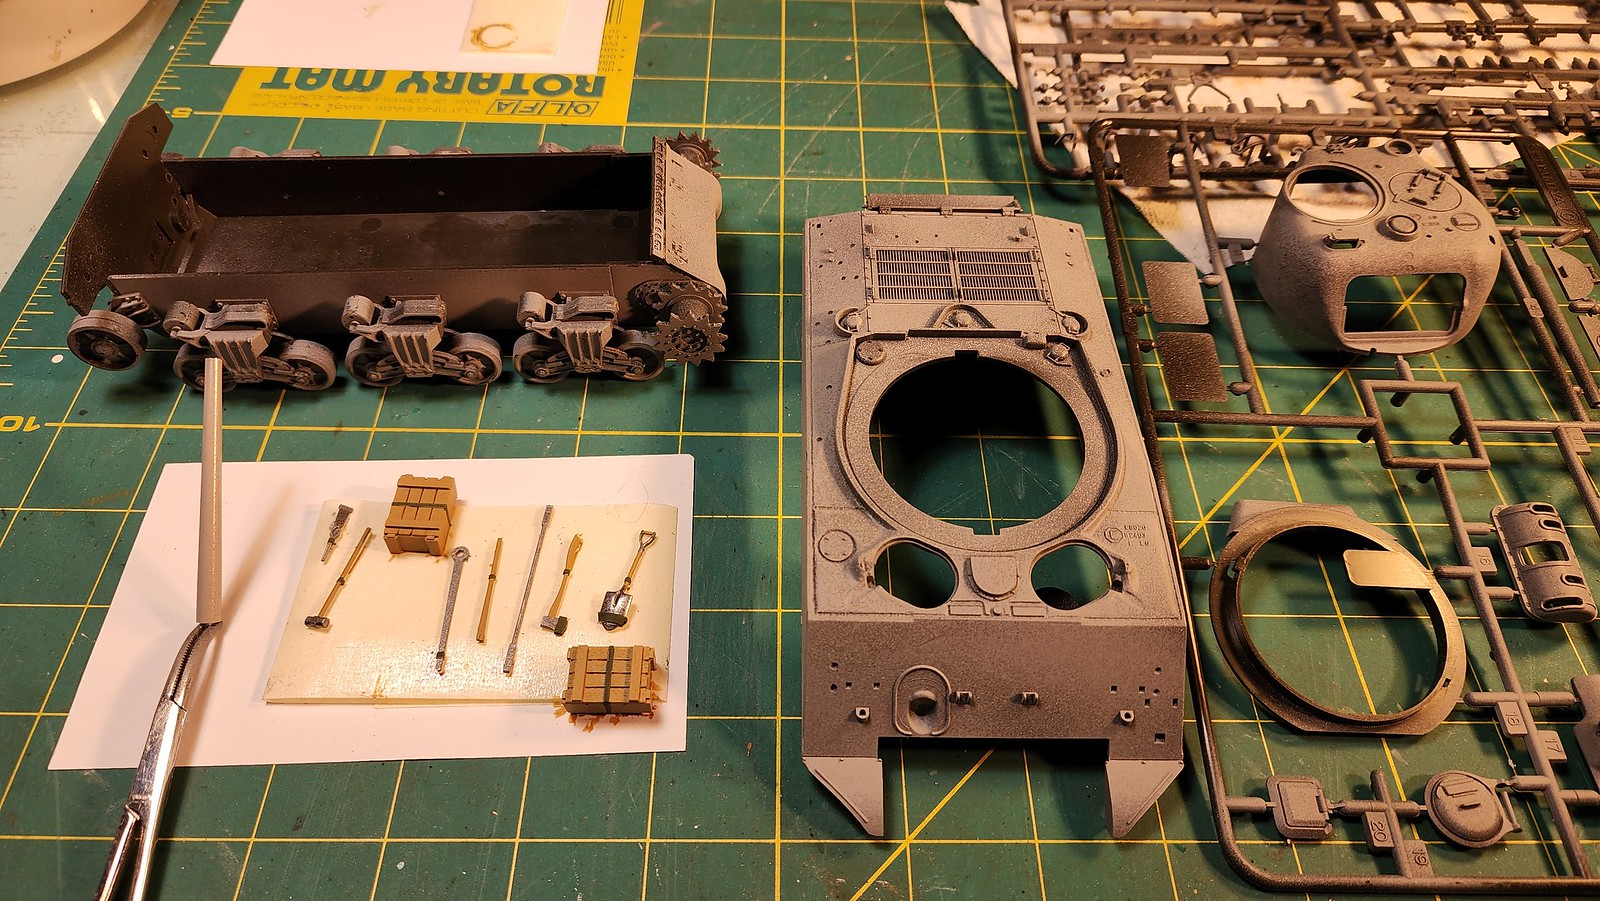
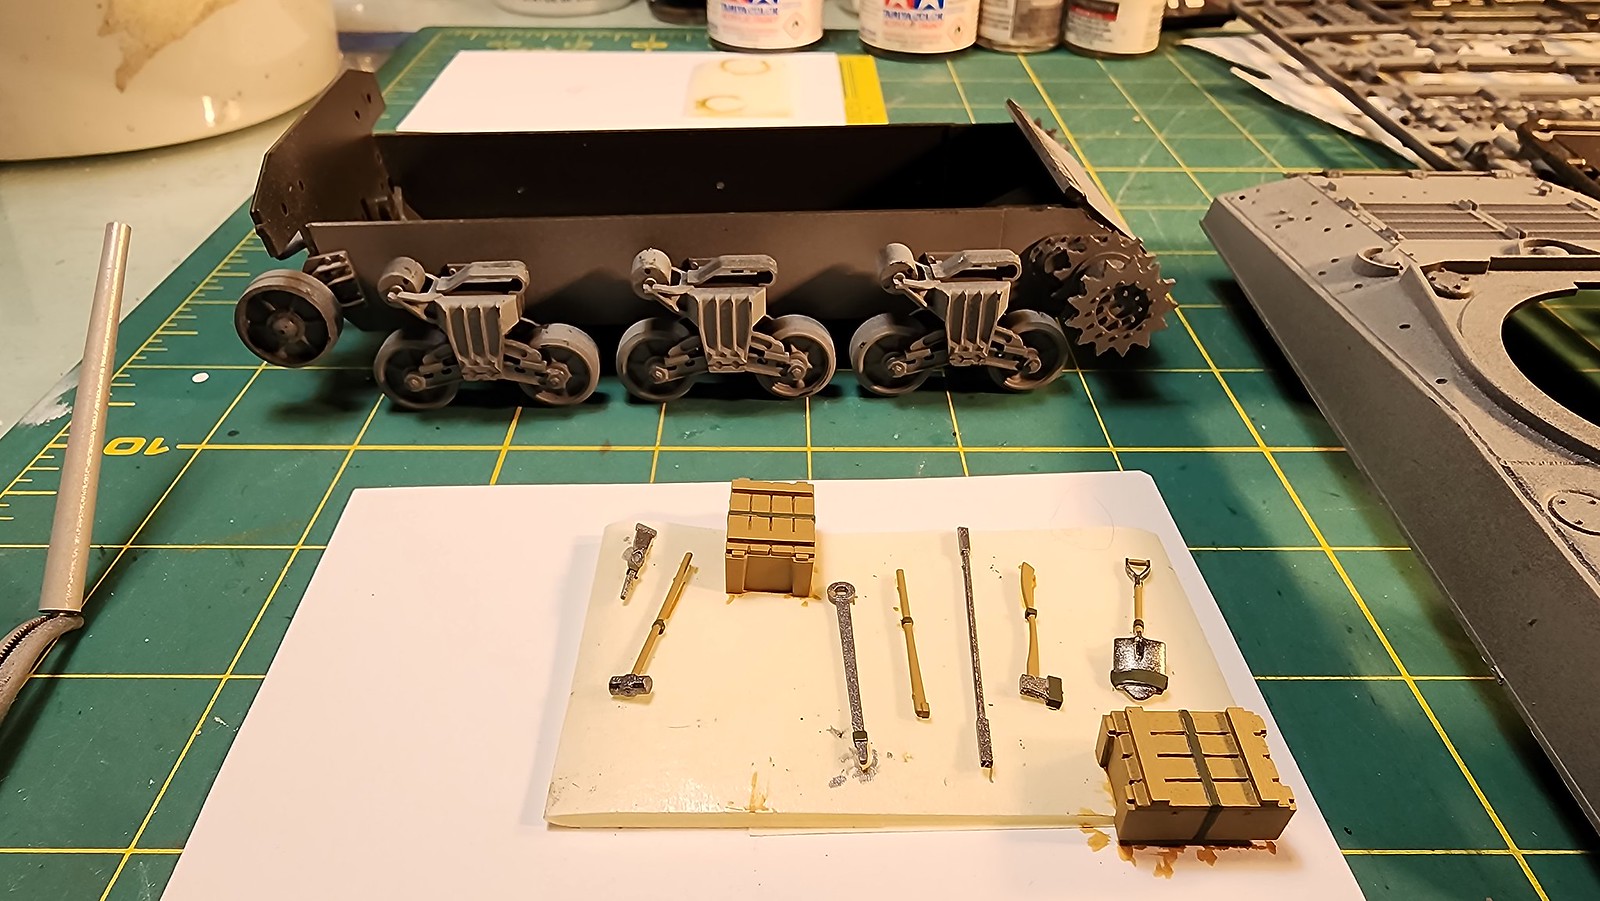
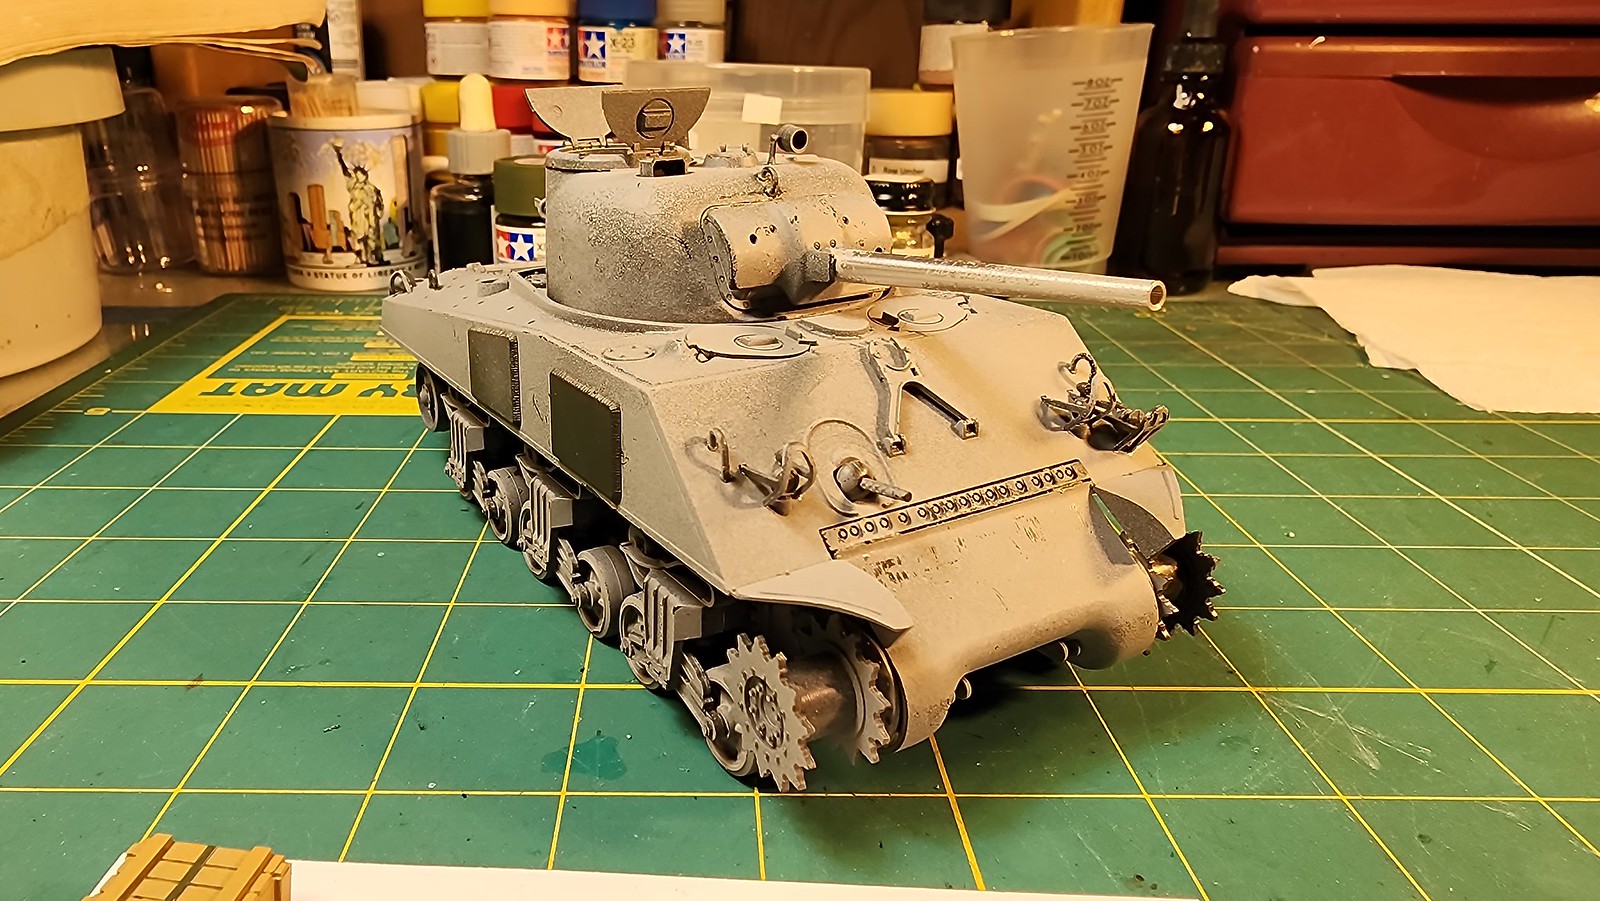
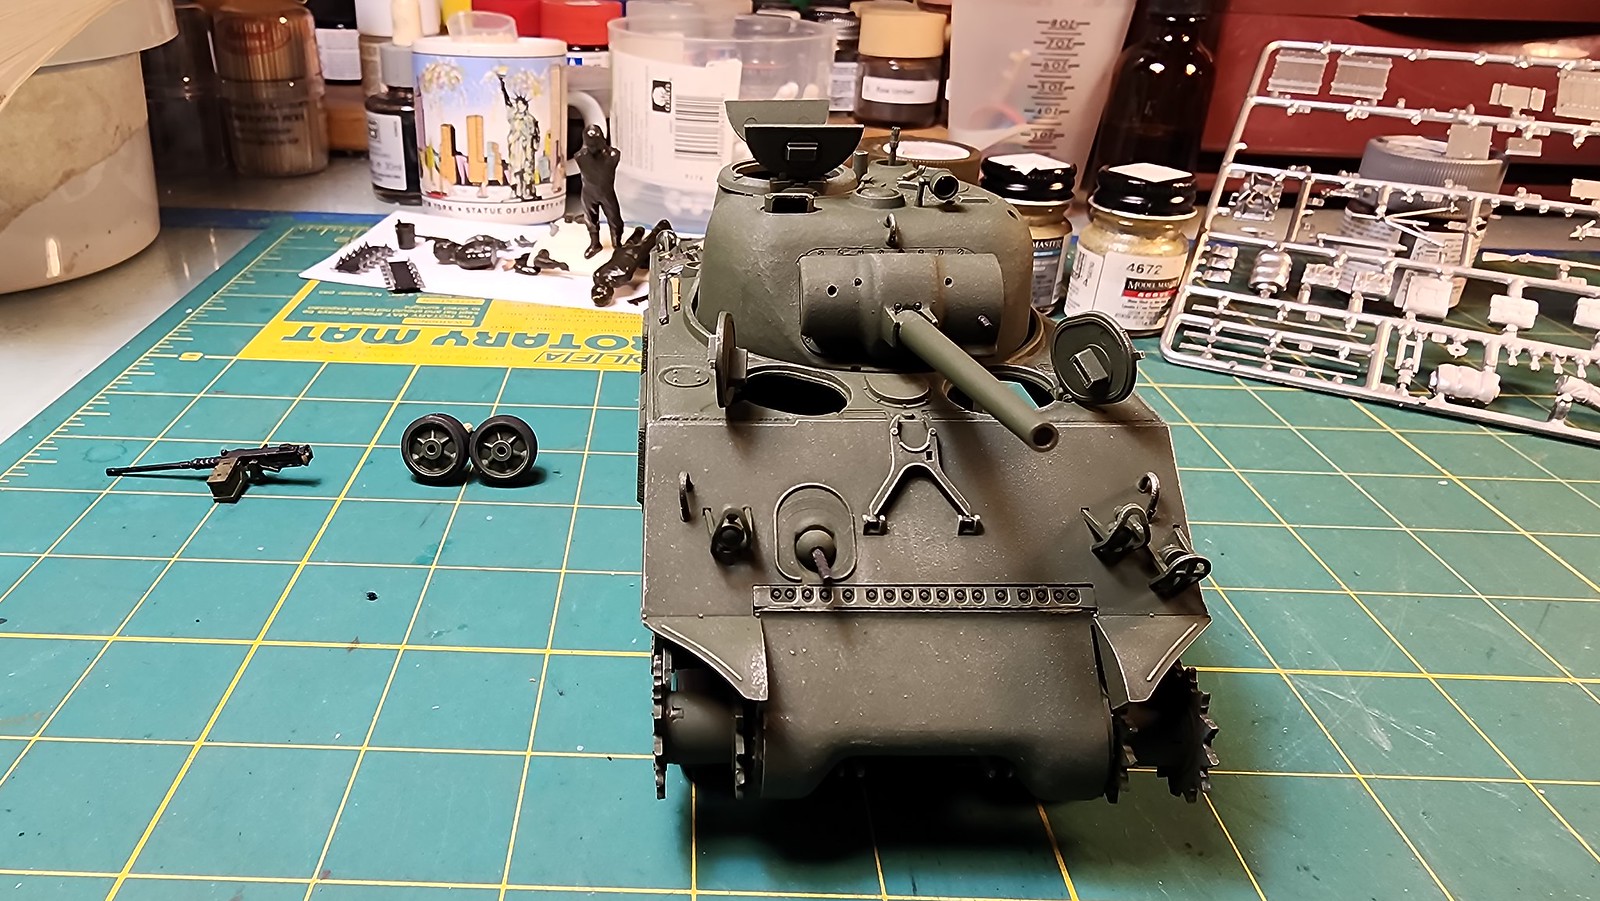
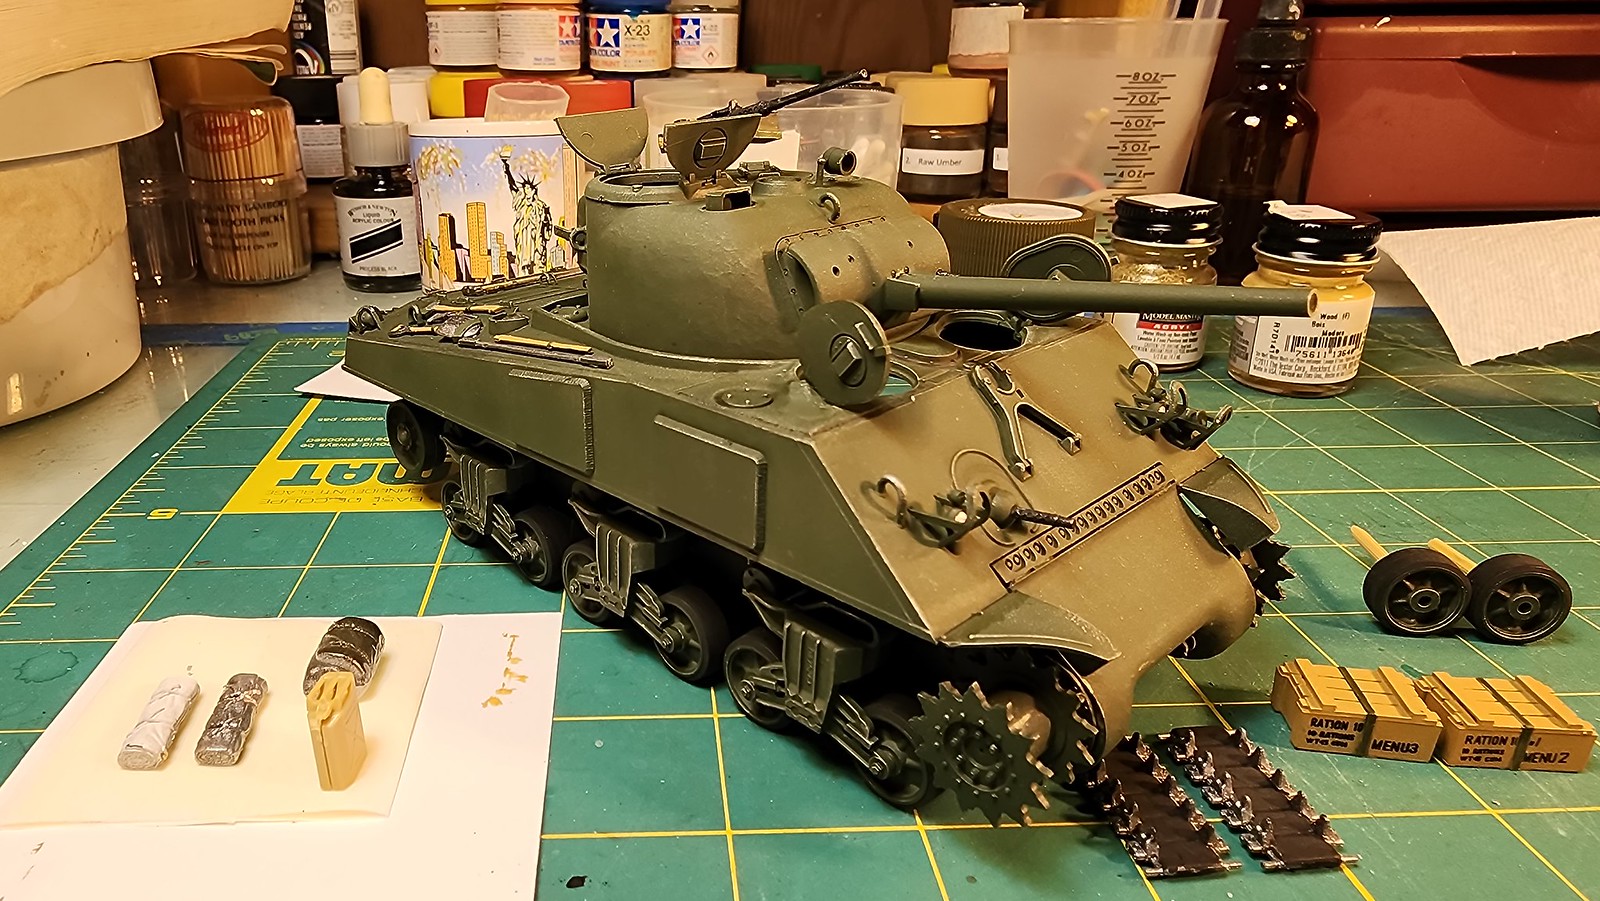
I’ve begun my next project with Tamiya’s M4A3 w/75mm main gun. This tank will be a part of the 761st Tank Battalion, aka The Black Panthers. This will mostly be an OOB build except fot the AM 75mm barrel. Here are my first WIP pictures. As always all comments and critiques are greatly appreciated.
Hey Gamera, I already received the decals from Star Decals. They do look very nice. Unfortunately they’re for the 76mm M4 Sherman with that battalion. But I’m going to make it work.
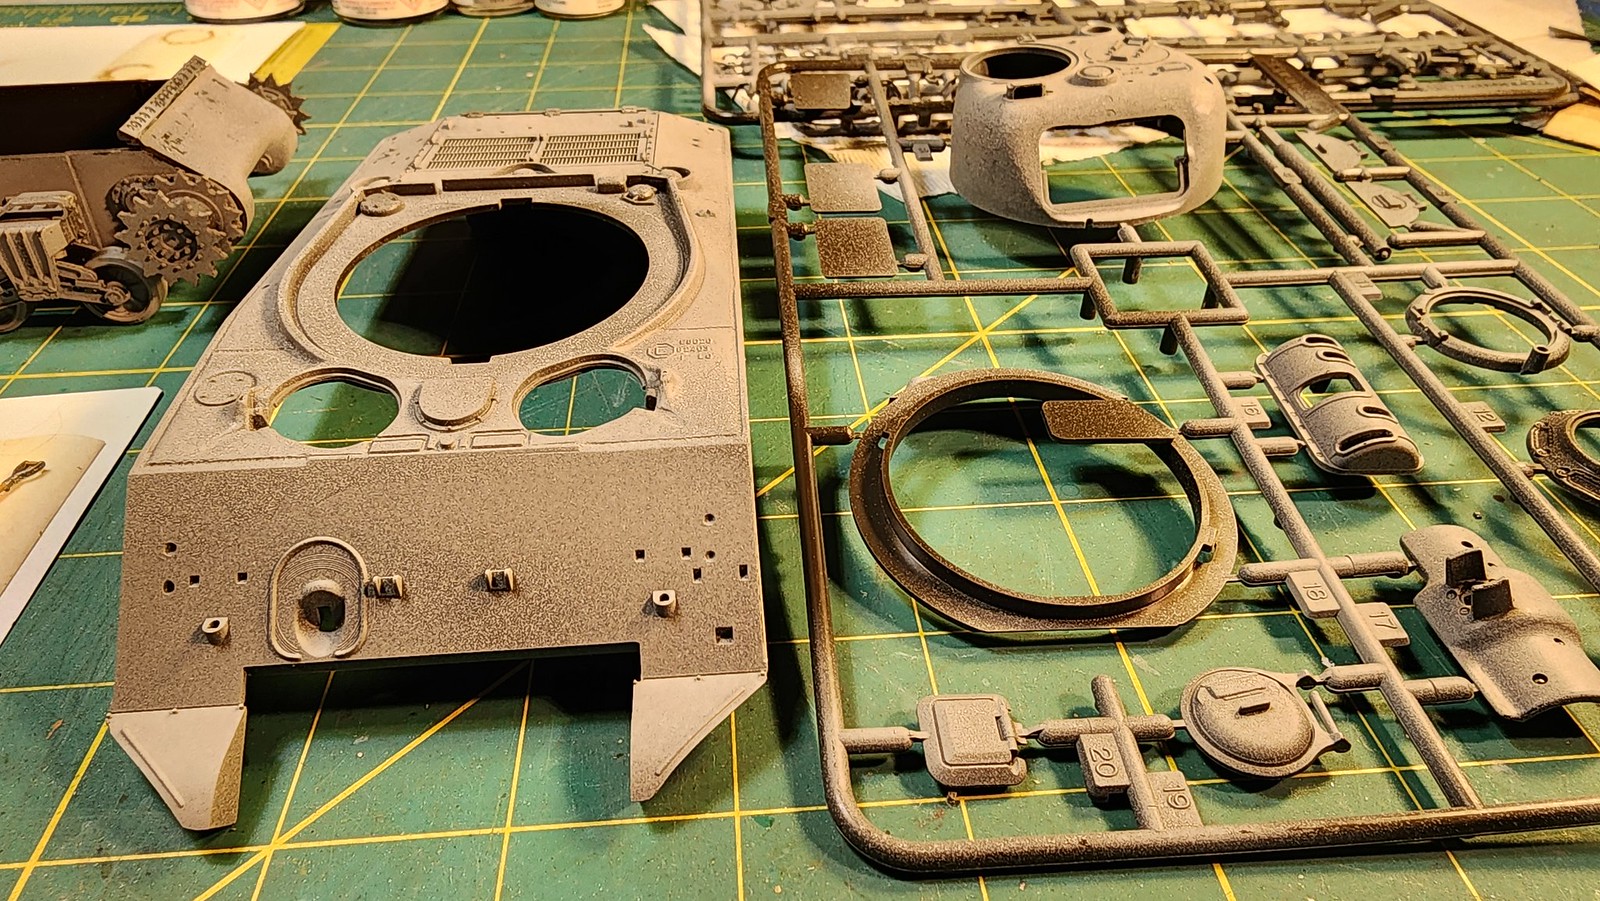
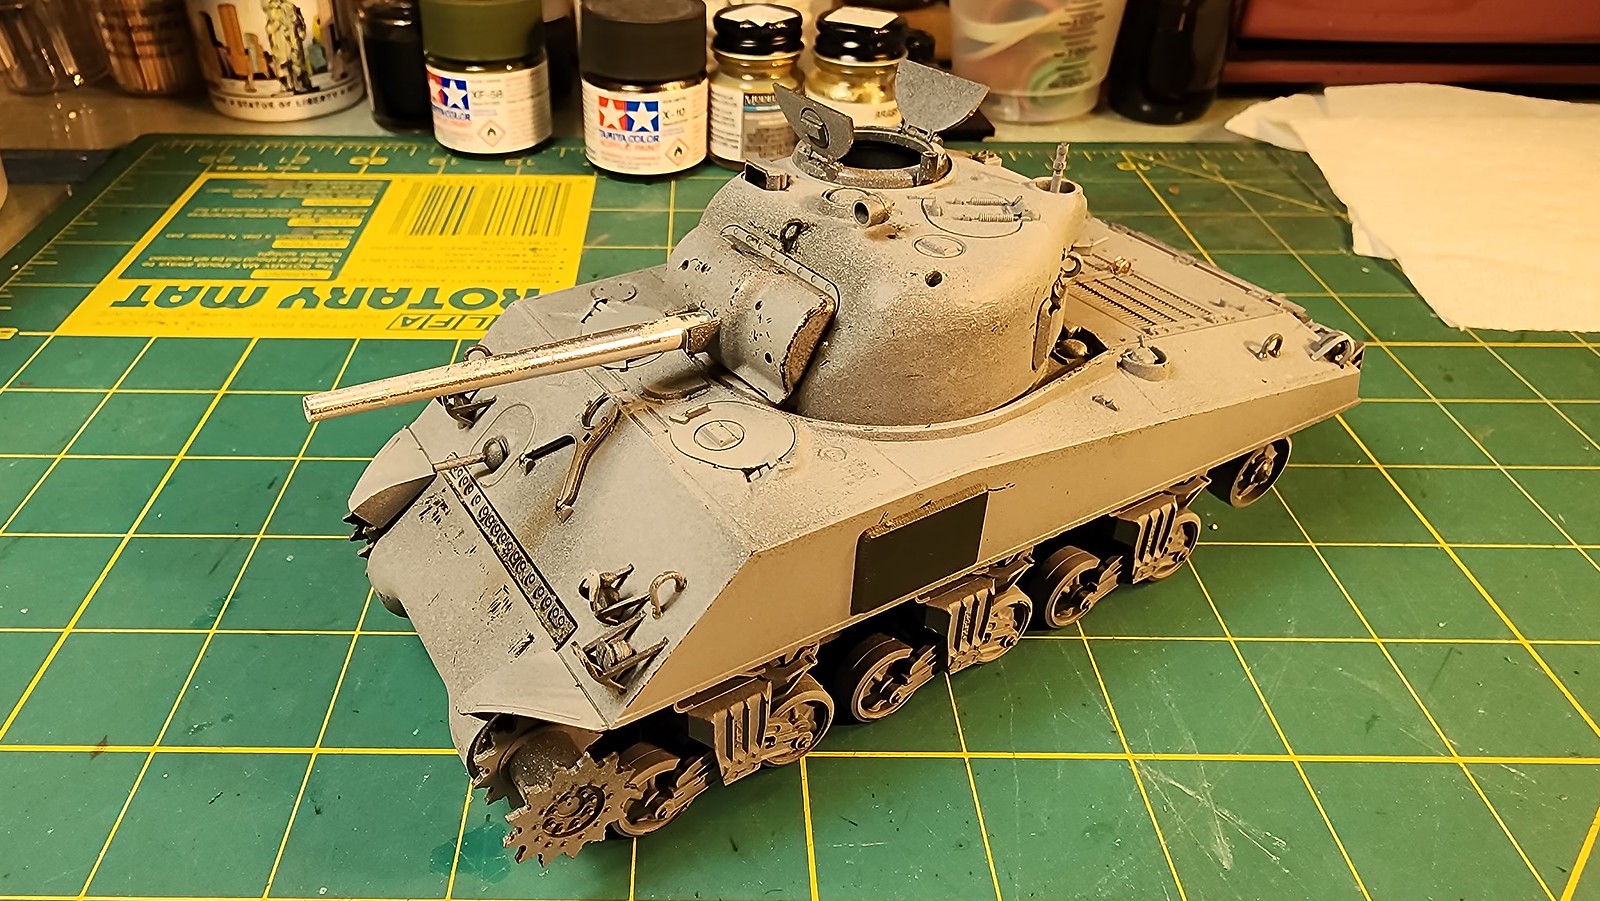
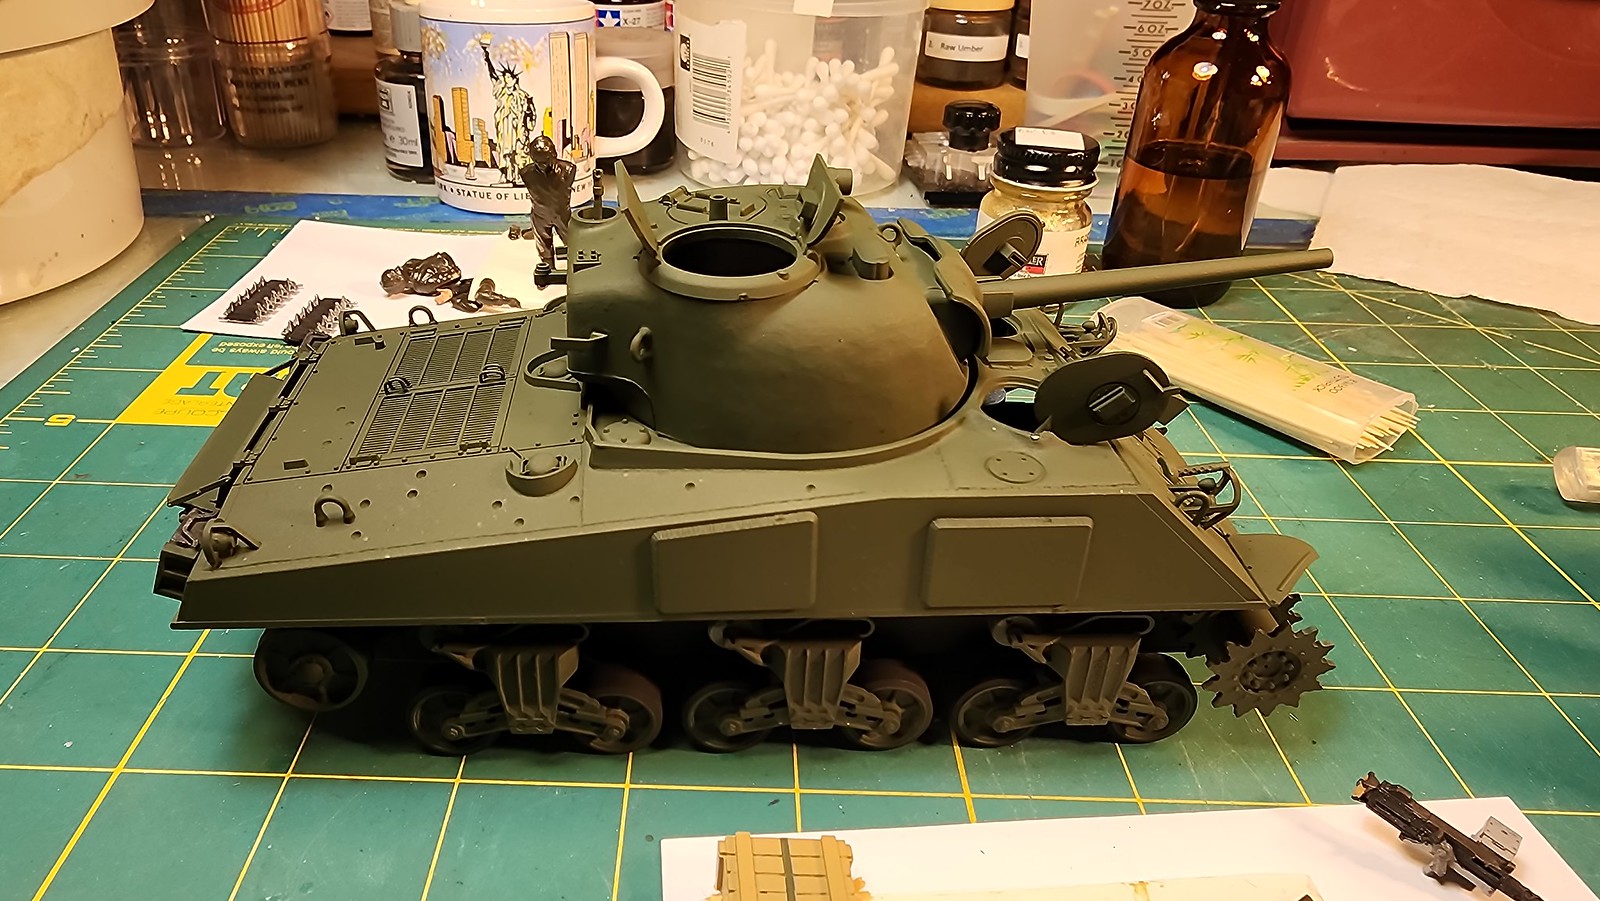
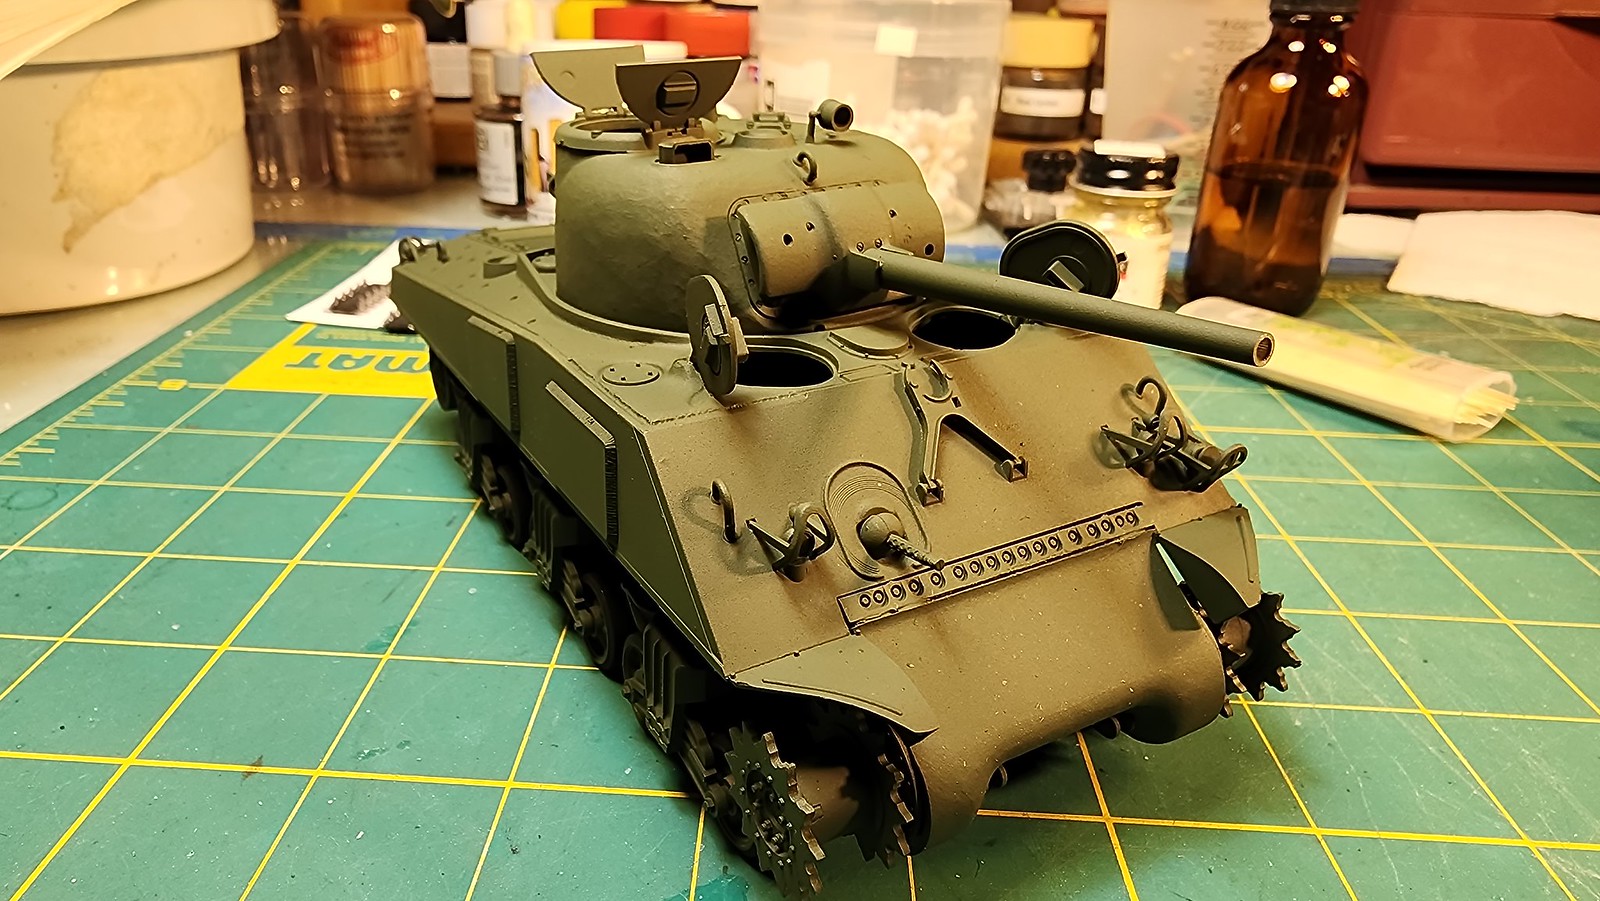
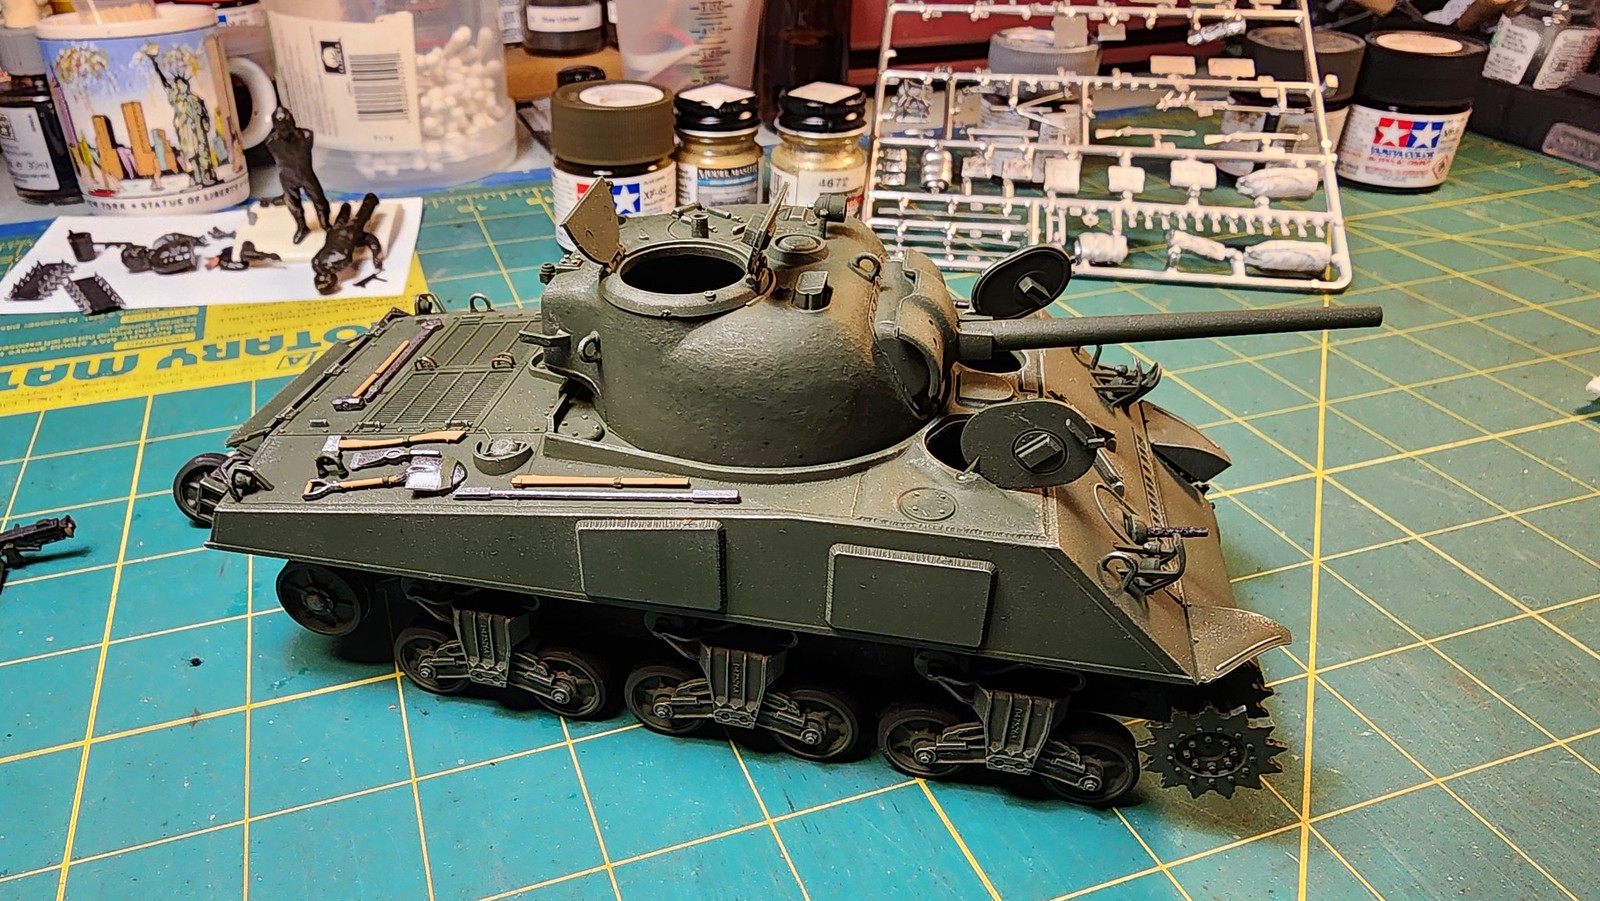
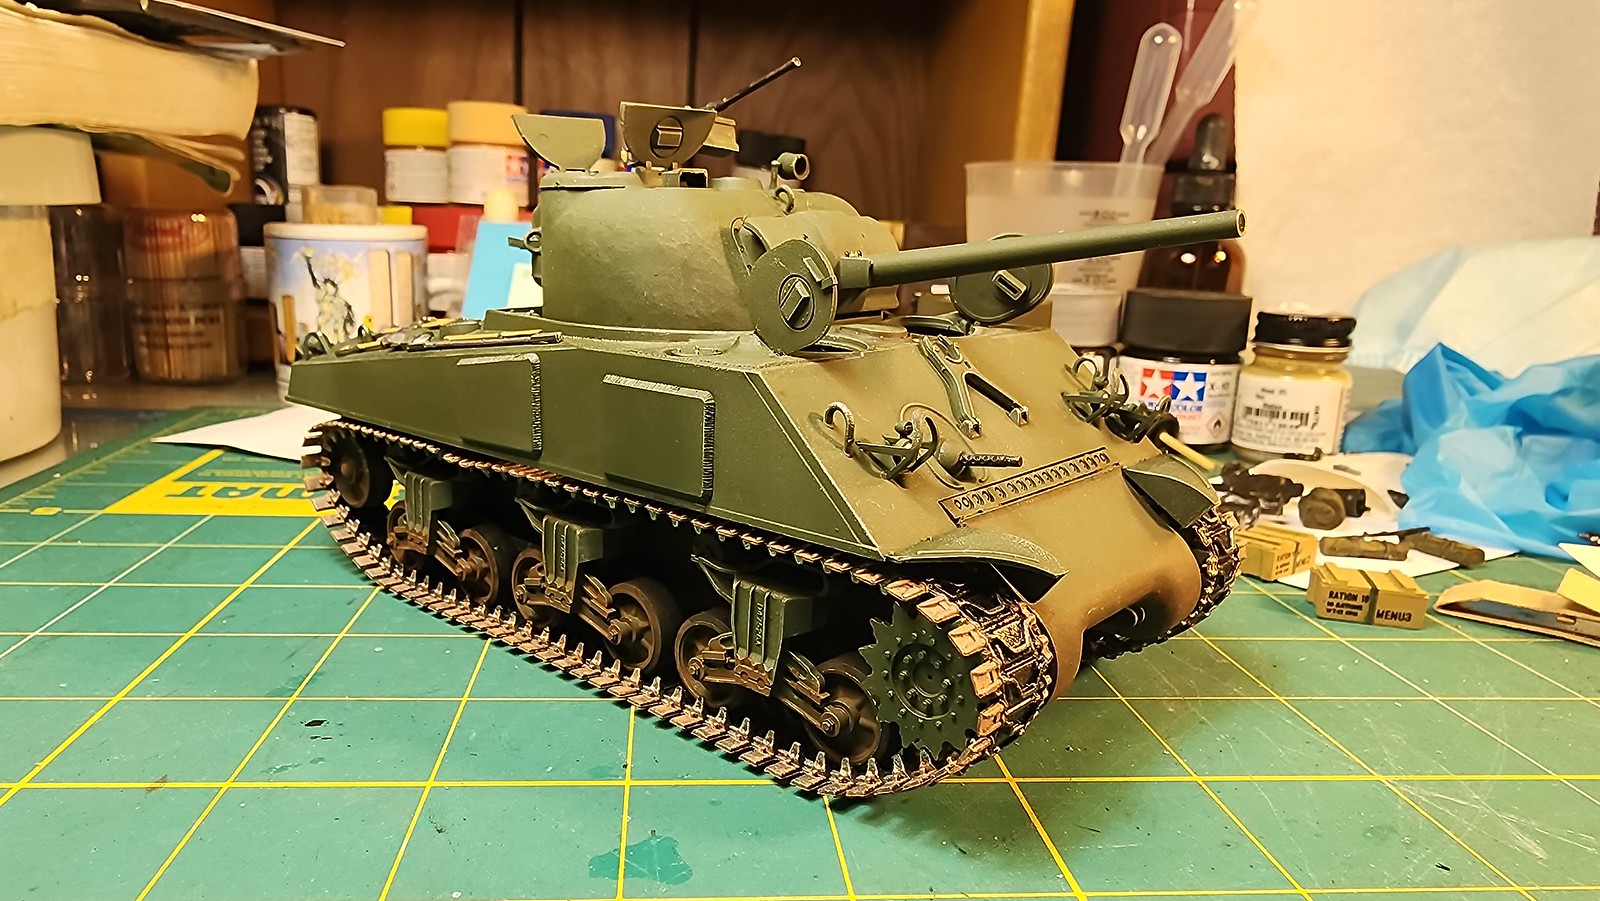
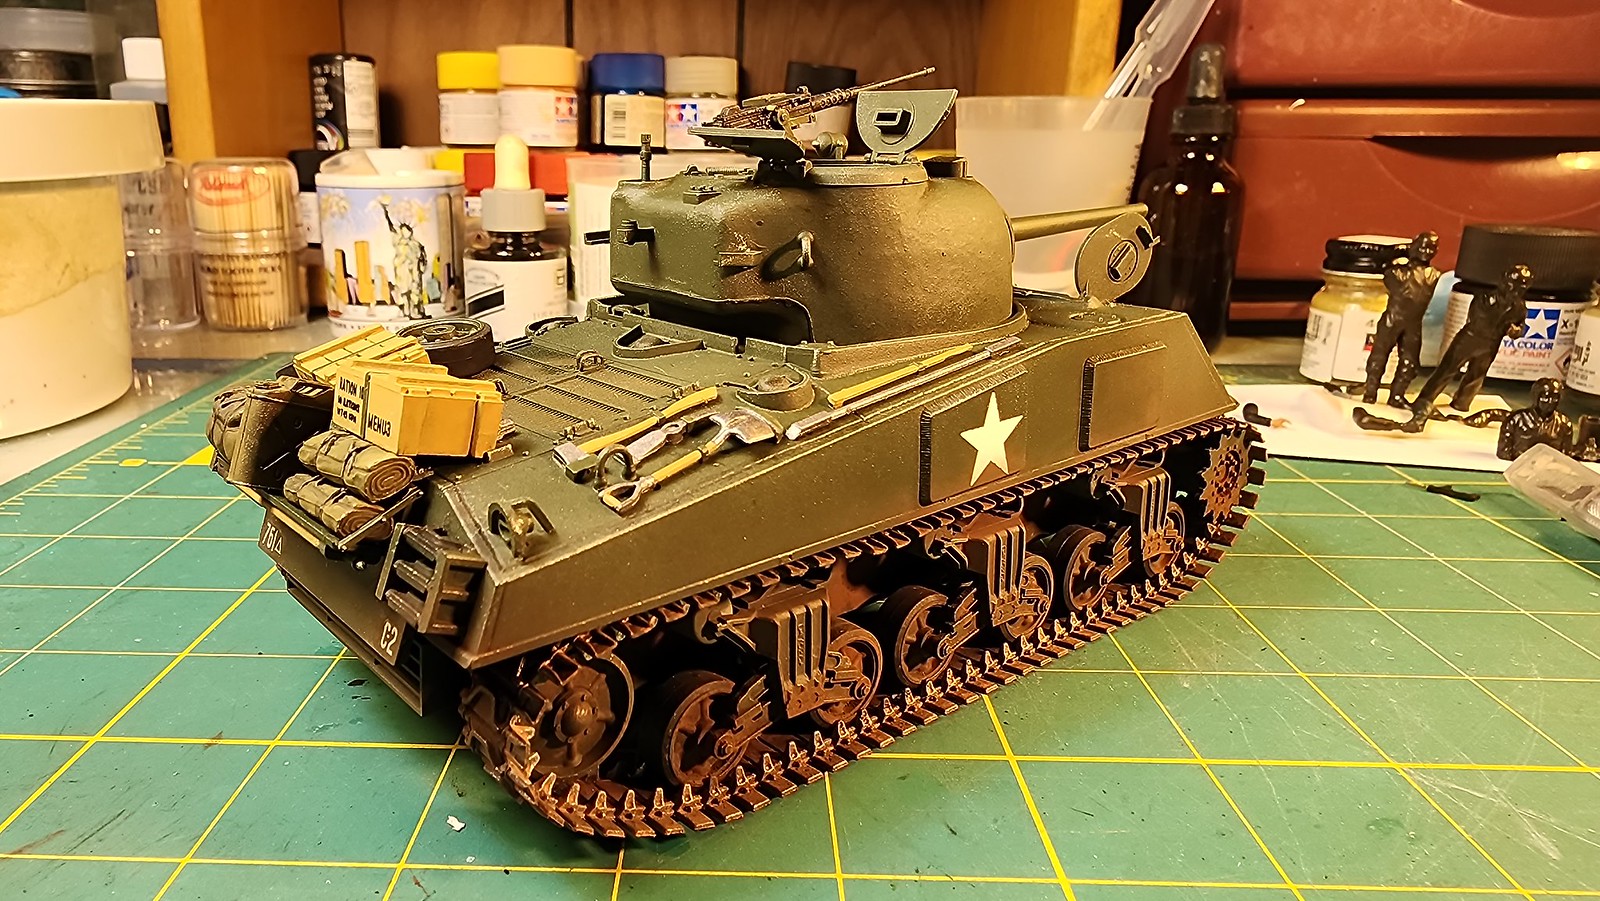
Well I’ve done some more work on this kit. This kit is a delight to work with, due to its ease of build plus all the added features, add-ons and details. This M4 is ready for its base coat. All comments and critiques are greatly appreciated.
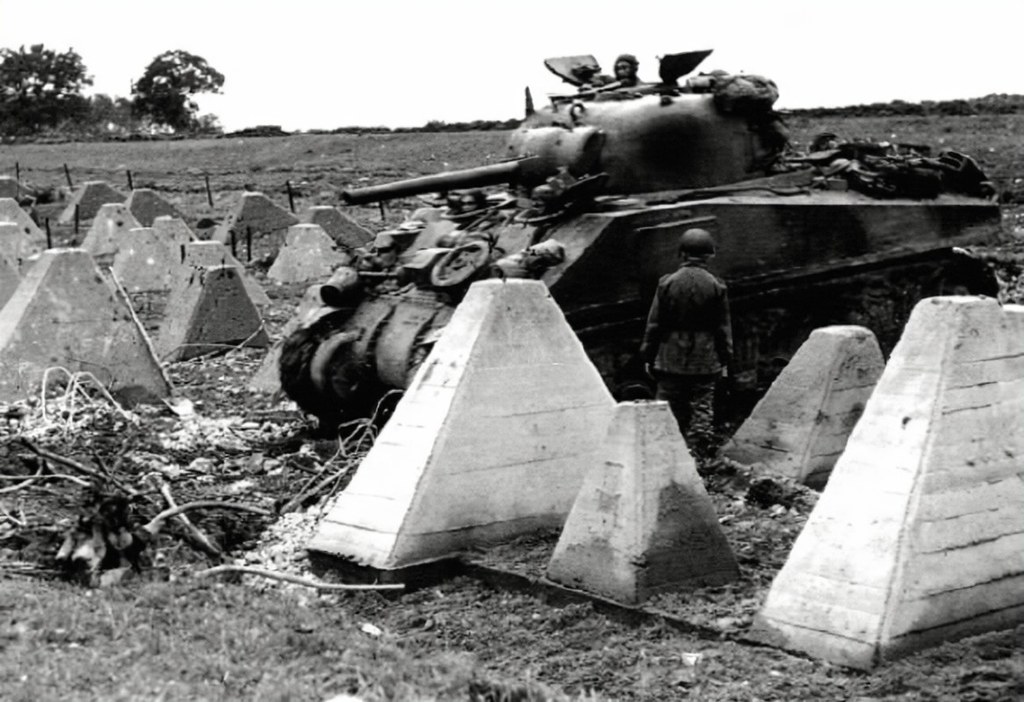
Tamiya boned up when they included those extra side armor plates on their M4A3 kit. They shouldnt be there, because of the revised “wet” stowage moving the ammo racks off of the sponsons and down into the hull bottom… Only the similar hulled diesel engined M4A2 variant had those plates, as they retained the “dry” sponson stowage on the 75mm gunned ones… The US Army did not use that variant, but the Marines did, and the rest were reserved for Lend Lease.
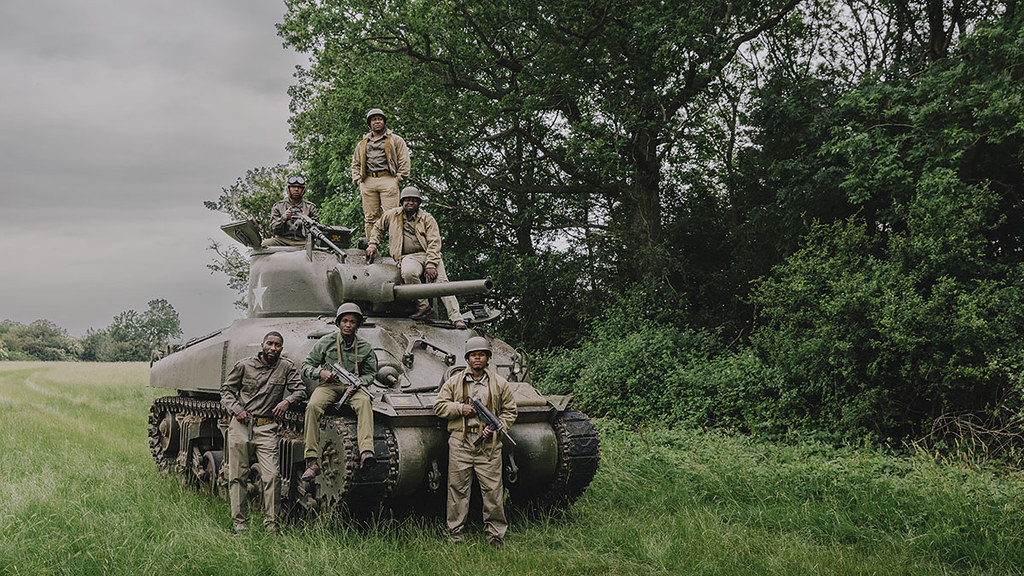
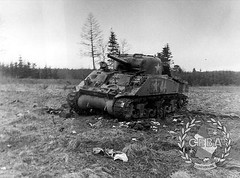
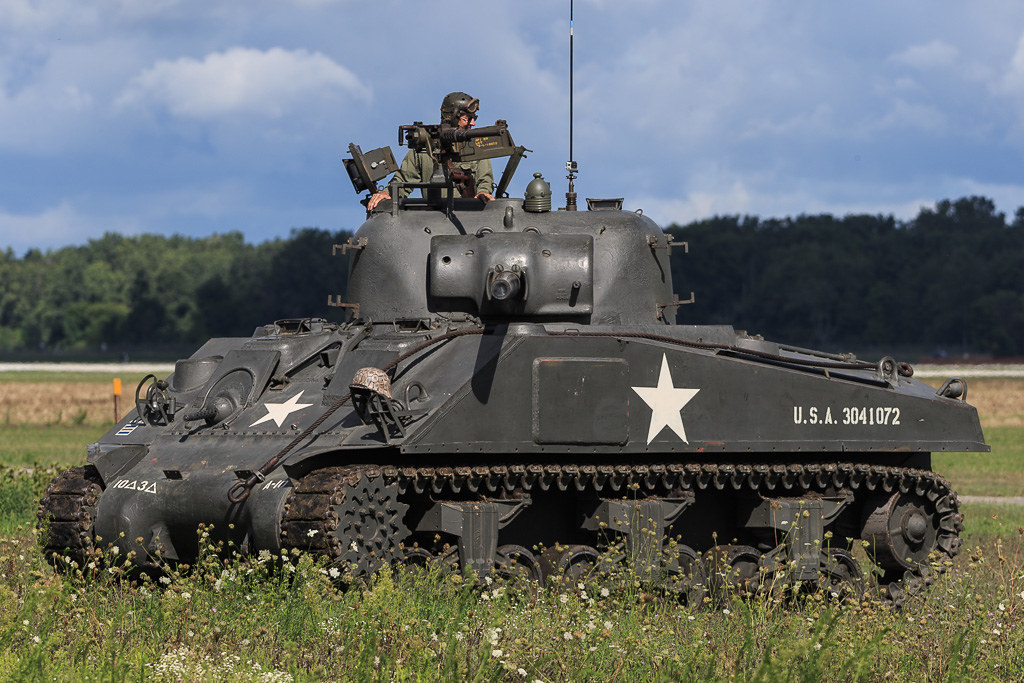
Hey Stik, you might be right regarding the extra side armor plates. But I’ve found plenty of WWII and museum pics that show that the A3 used them, while in US Army service. I could be wrong, they could be A2’s but you have to remember, that the 761st Tank Battalion, normally got the scraps of the armor ie. like the M5 Stuart when there was a shortage of M4’s. But since the plates are on and they’ve cured, they’re staying on and they’ll work just fine. BTW the first pic is from the upcoming movie regarding this unit and the final pic is from The Museum of the American G.I. Thank you for your comments.
Those photos are all small hatch dry stowage types, M4 and M4A1 with the protruding boxes for the driver and bow gunner. When the hull was redesigned for the large hatch and single piece glacis, the need for the extra armor over the ammo stowage bins was eliminated.
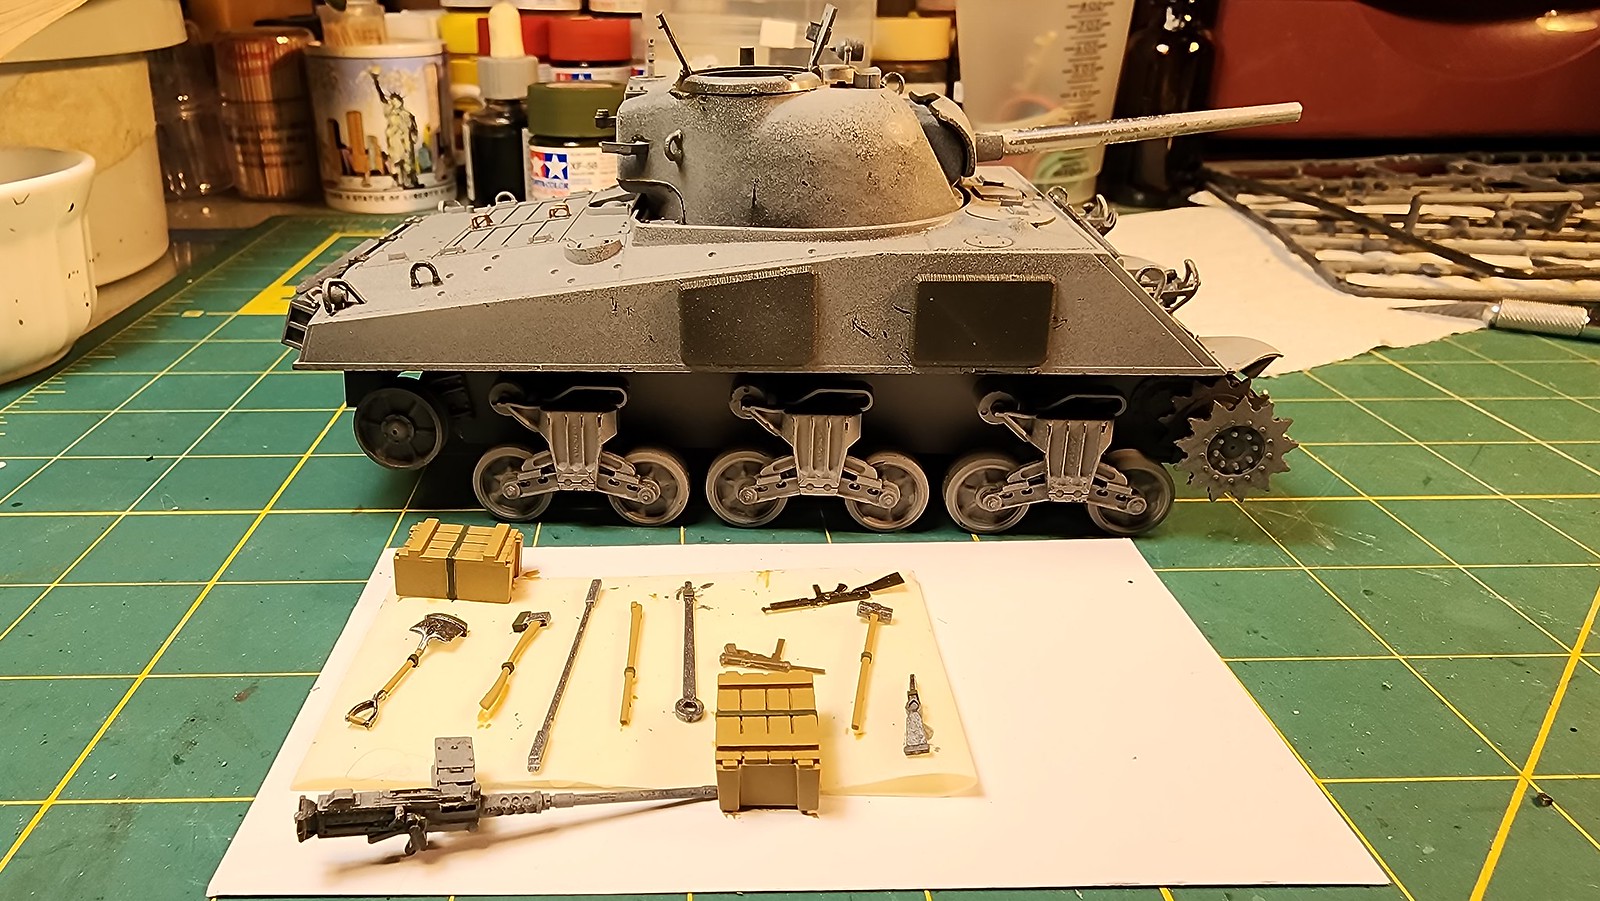
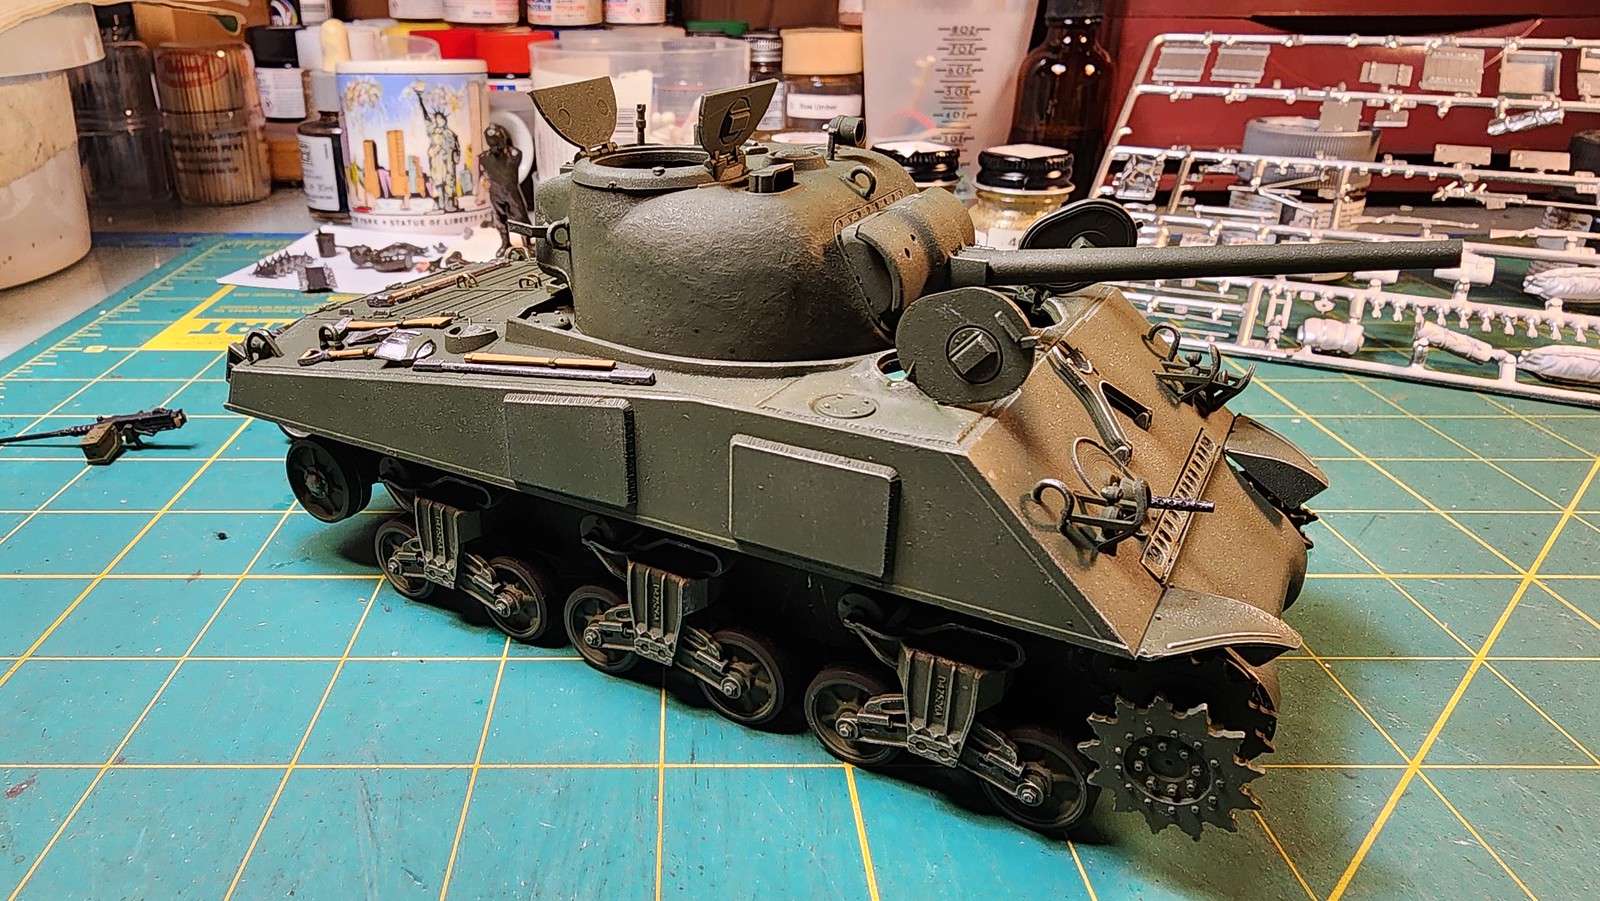
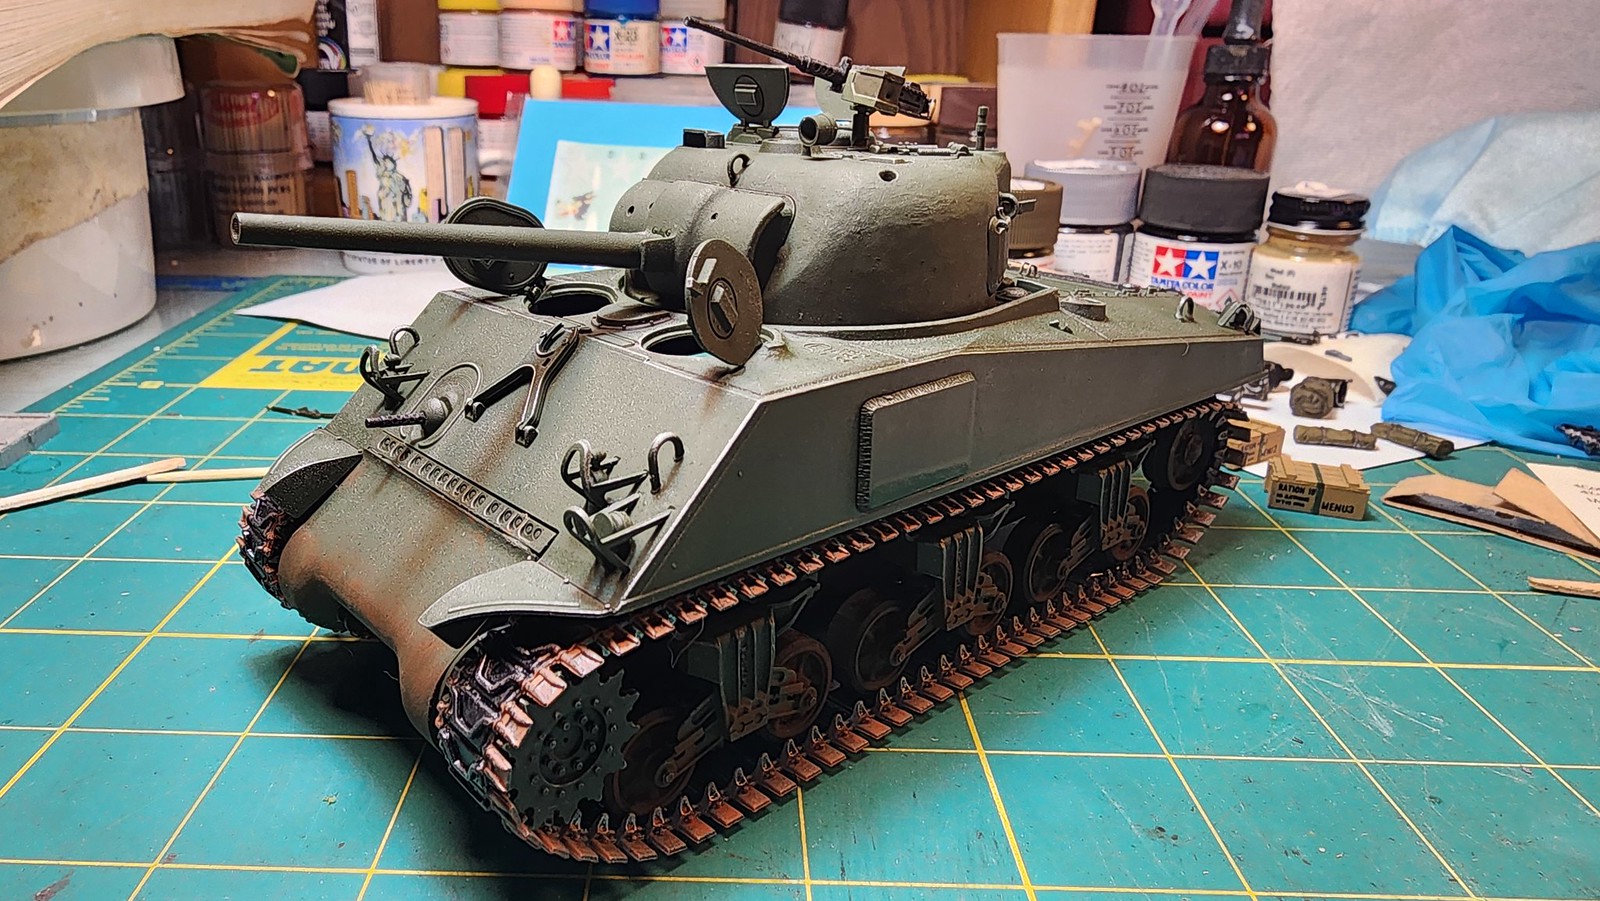
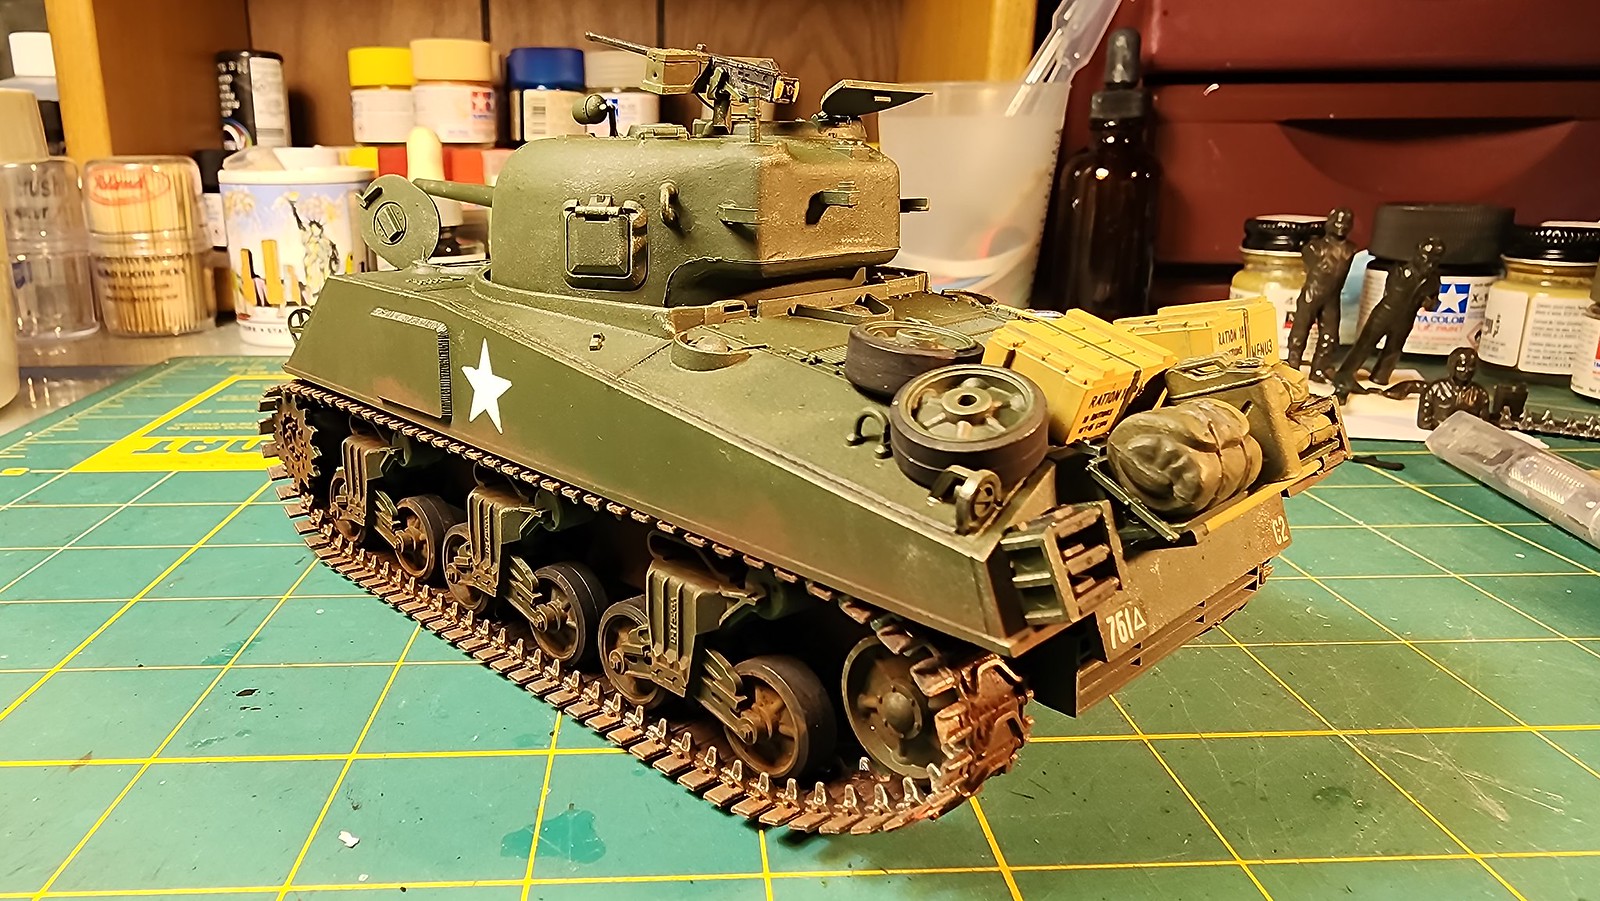
I got some work done on the Sherman. Thanks again Stik for the info. I gave it its base coat, metal weathered it, but not too heavy, added the tools and .50cal MG and gave an oil pin wash. Next I’ll be using the kit tracks and painting and adding extra gear, then onto the figures and base. Here are some WIP pics. All comments and critiques are greatly appreciated.
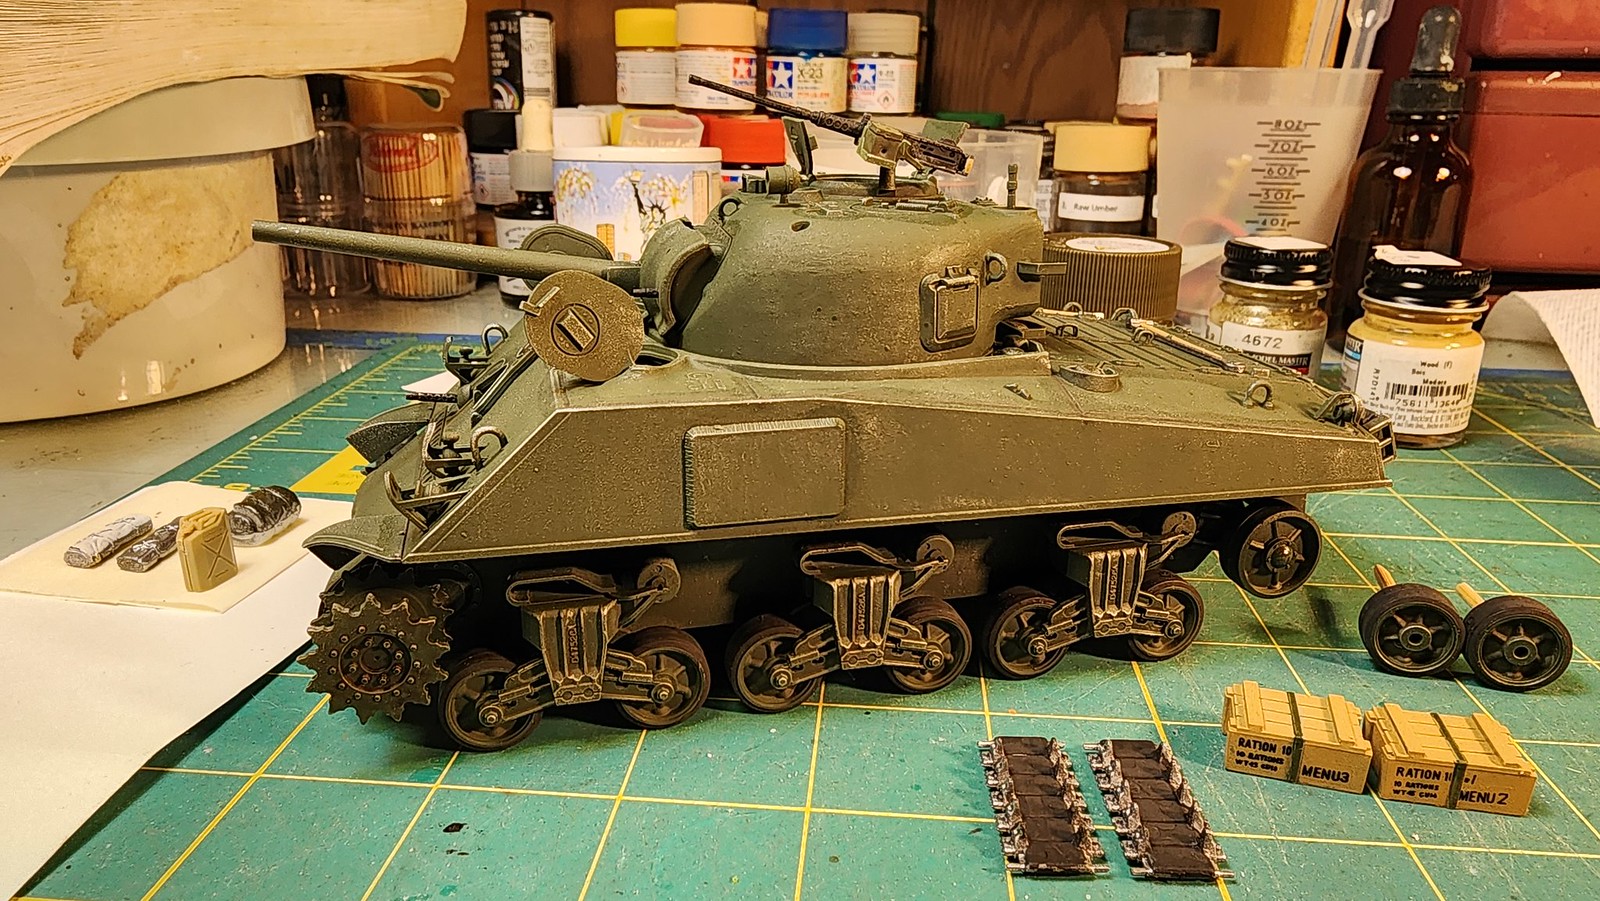
Yes Stik, paint and weathering usually hide a variety of sins. I’ve painted, weathered and added the tracks. I also weathered the running gears and lower hull and probably will add more weathering as I go along. I know the tracks will get some more tweaking. Now I’ll be adding decals, extra gear and boxes. Normally this kit comes with 2 figures, but I decided to open up the hull MG’s hatch and add another figure propping his head out. Enjoy the WIP photos.
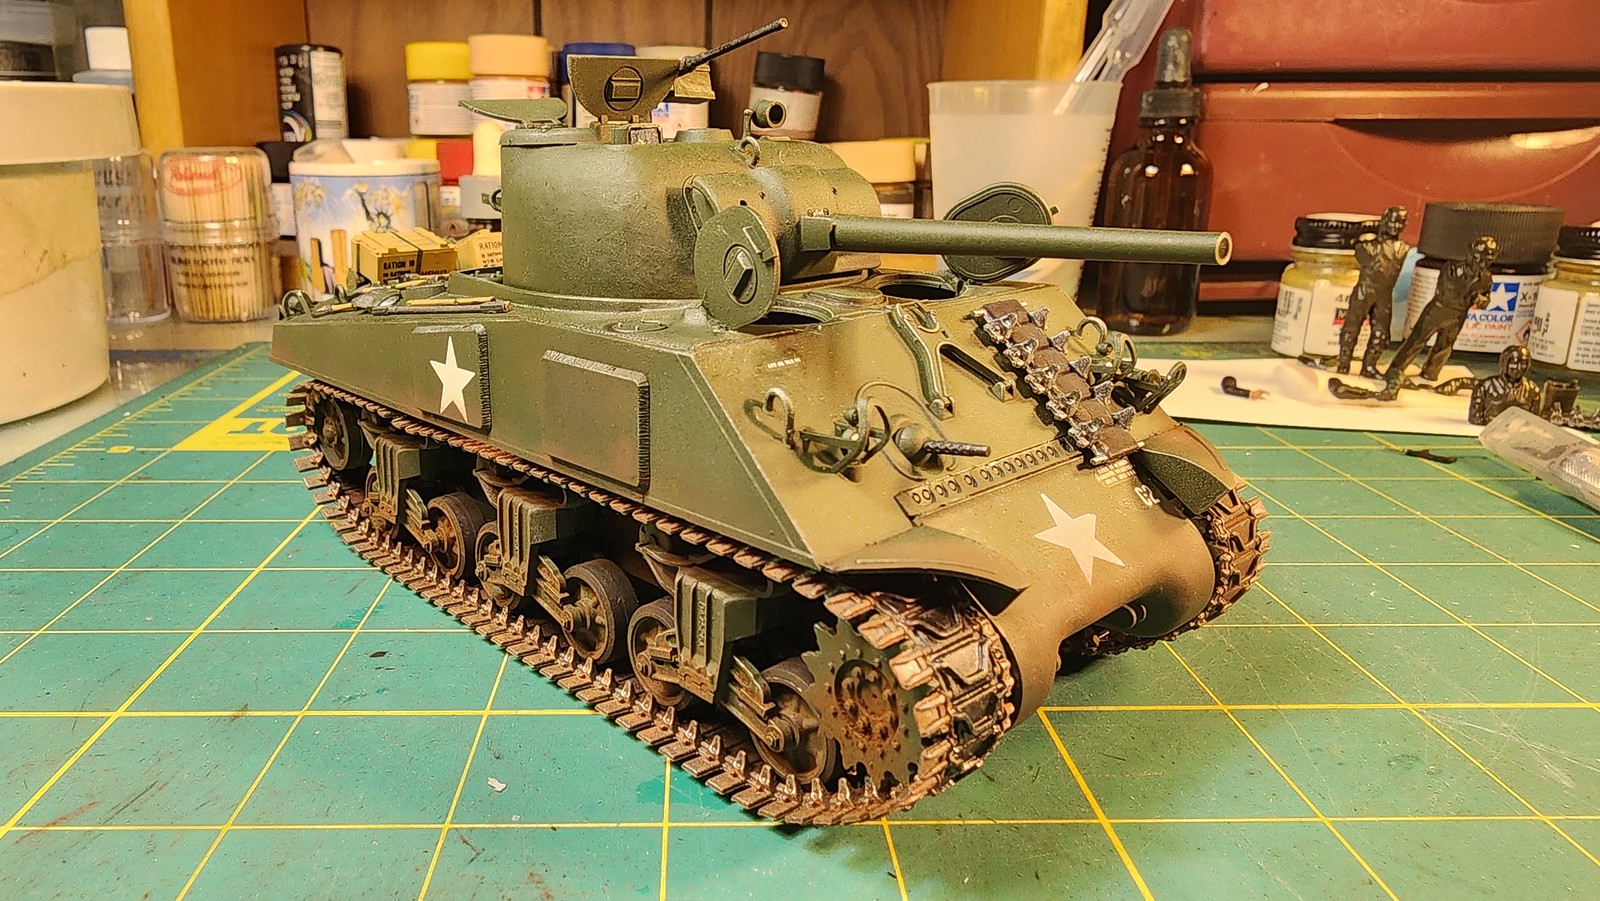
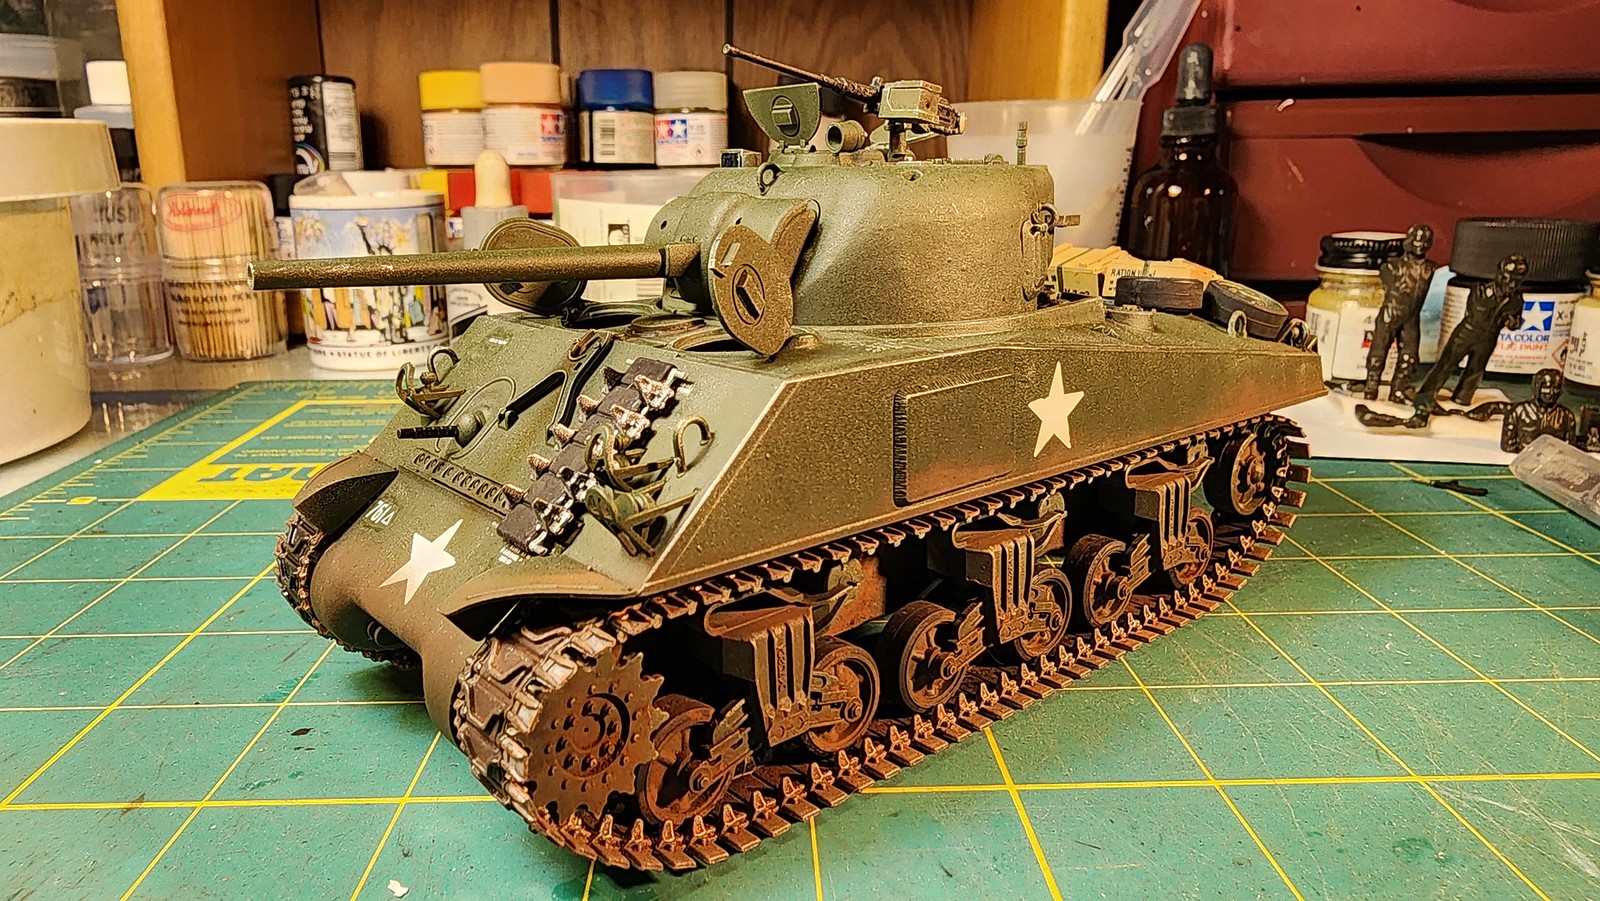
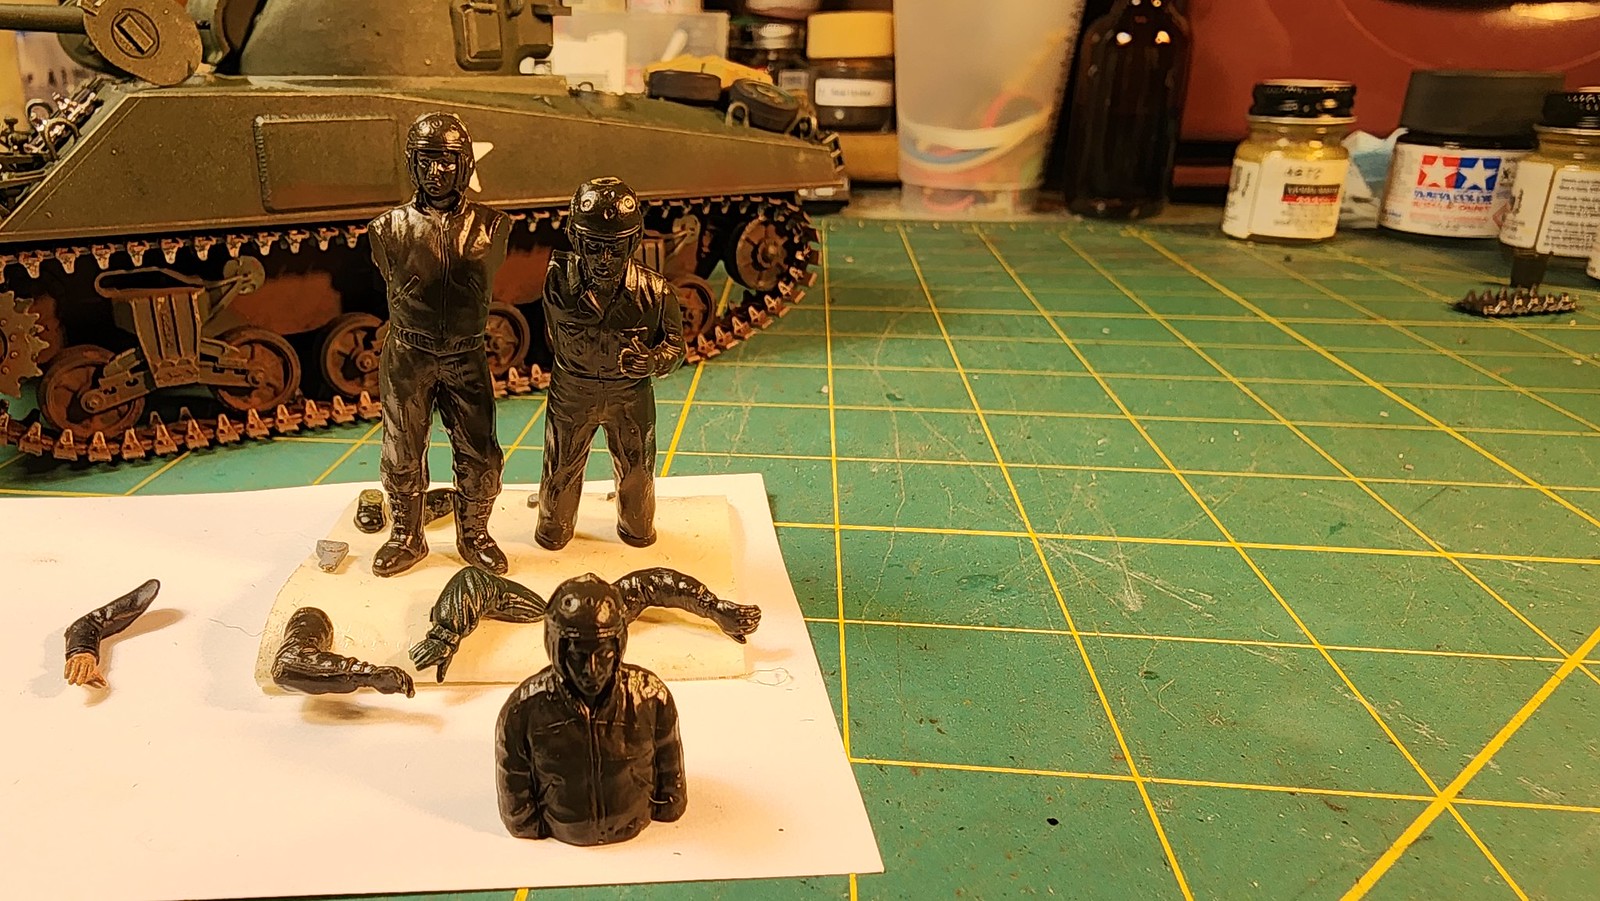
Well, I’ve added the gear and extra gear from my parts box. Plus I added the stars as transfers from Archer Fine Transfers and decals from Stars Decals of the 761st Tank Battalion. I didn’t put the white stars on the turret, because the American tank crews were aware that the white star was a perfect target for enemy tanks and anti-tank guns. I also used pigments and pastels for extra weathering and I’m debating about doing a very thinned wash on the turret and upper hull. Now on to the tank figures and possibly three infantry figures, then the base. As always all comments and critiques are greatly appreciated. Enjoy the WIP pics.