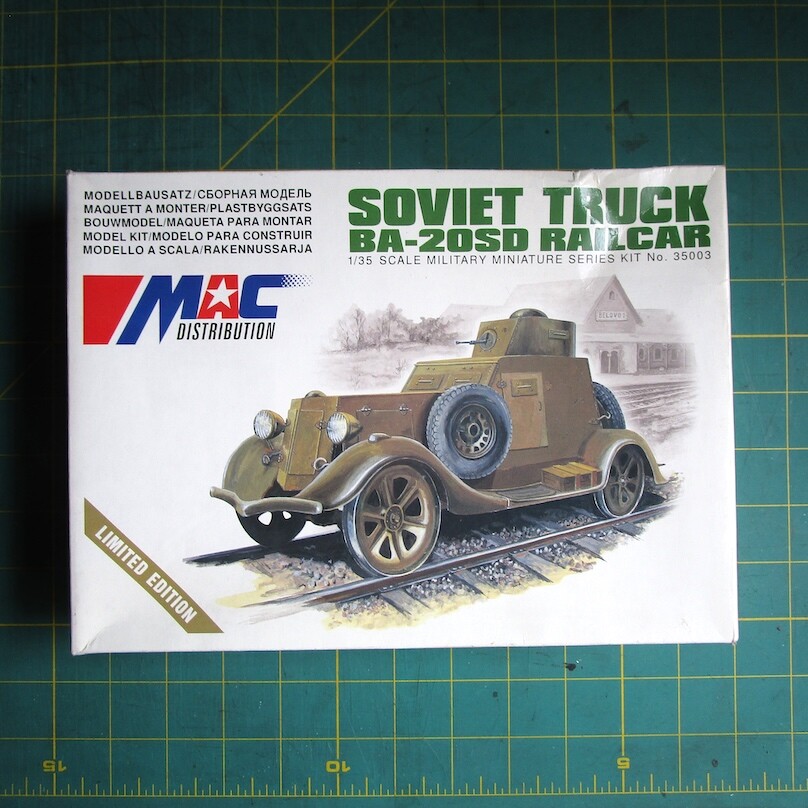
MAC Distribution #35003
Soviet Truck BA-20SD Railcar
1/35
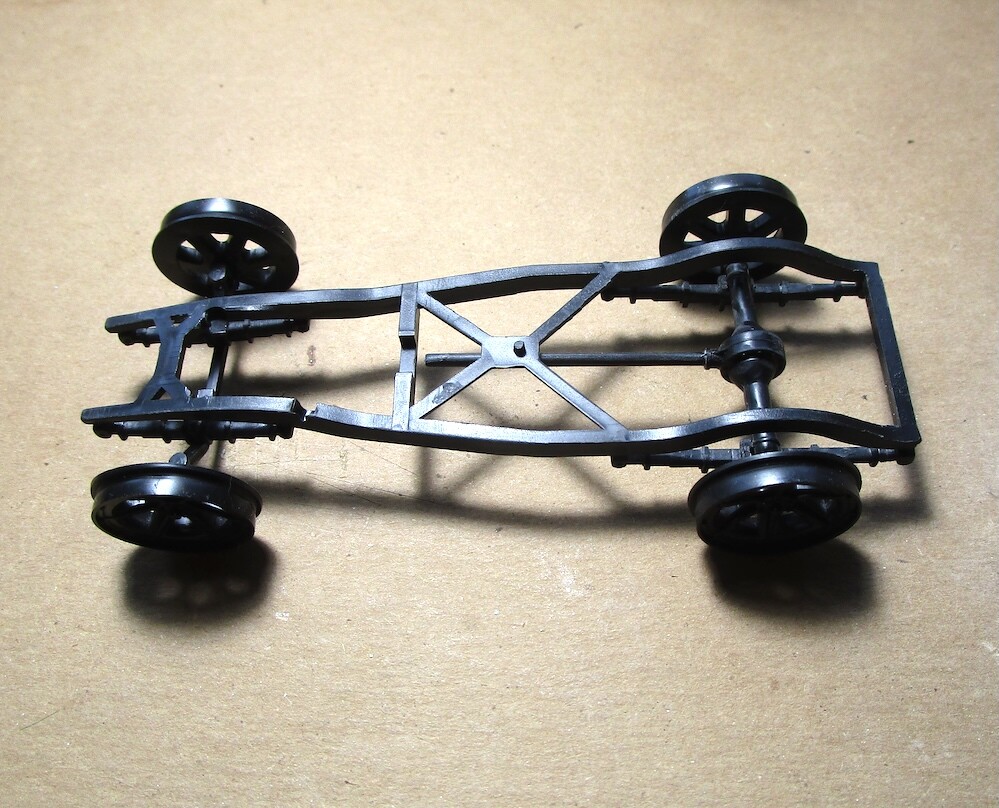
Rear differemtial assembly seems difficult to get all four wheels to touch the rails.
MAC Distribution #35003
Soviet Truck BA-20SD Railcar
1/35
Rear differemtial assembly seems difficult to get all four wheels to touch the rails.
Looks like an interesting build. In what way does the difficulty present itself? Too wide? Too narrow? Are you asking for suggestions? I’m just a blockhead trying to understand.
Thanks for the reply. I’m figuring it out now. Just sharing my build.
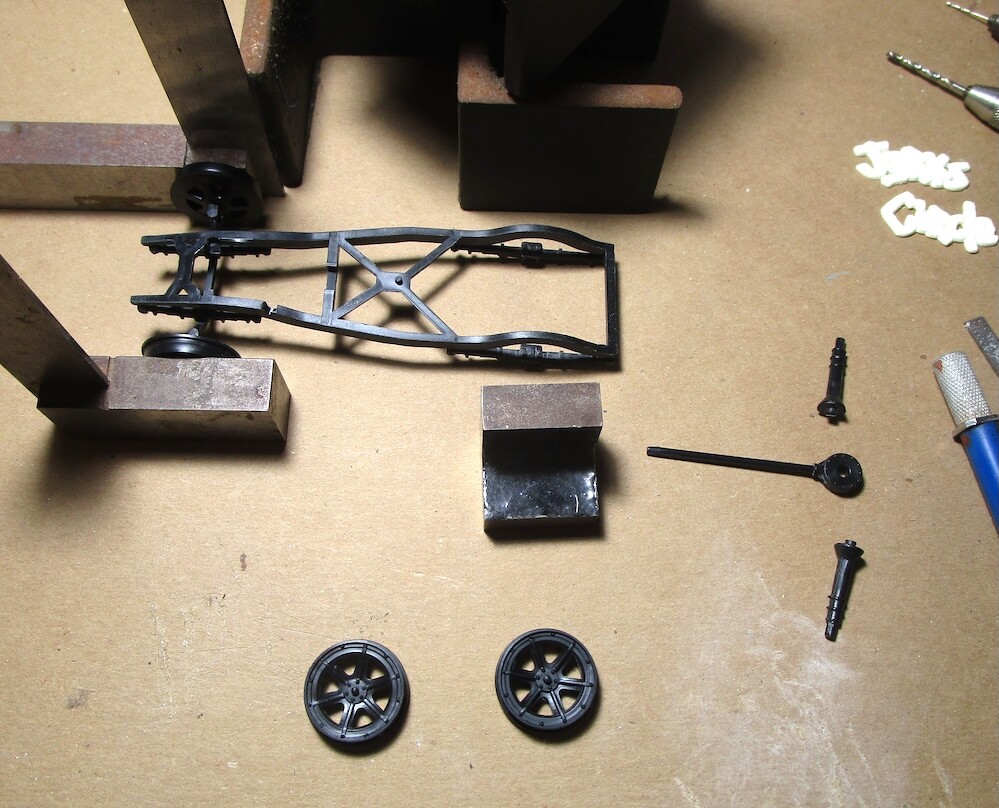
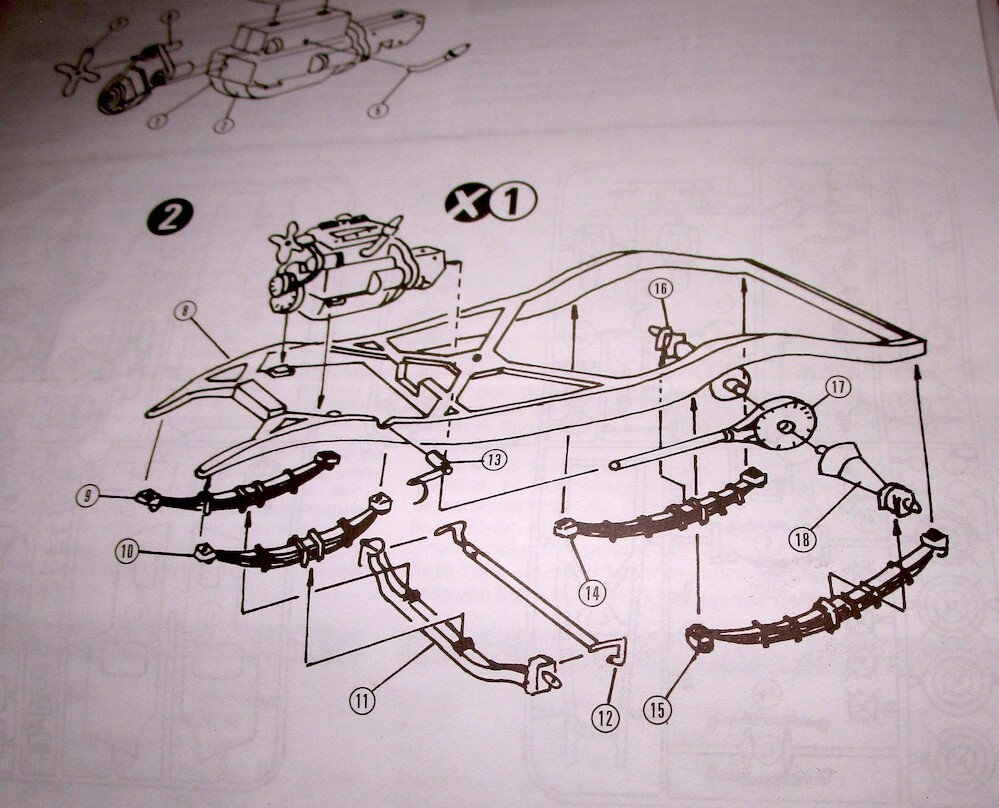
The three separate parts to build the differential and axle assembly. The drive shaft angles up to the transmission and the two axle parts have to sit on the leaf springs. There are just tiny flat spots on these axle parts where - I think - they are suppose to contact the leaf springs and no locator pins.
What in interesting kit, looks like a fun build. Looking forward to following along.
Thanks for checkin out my build.
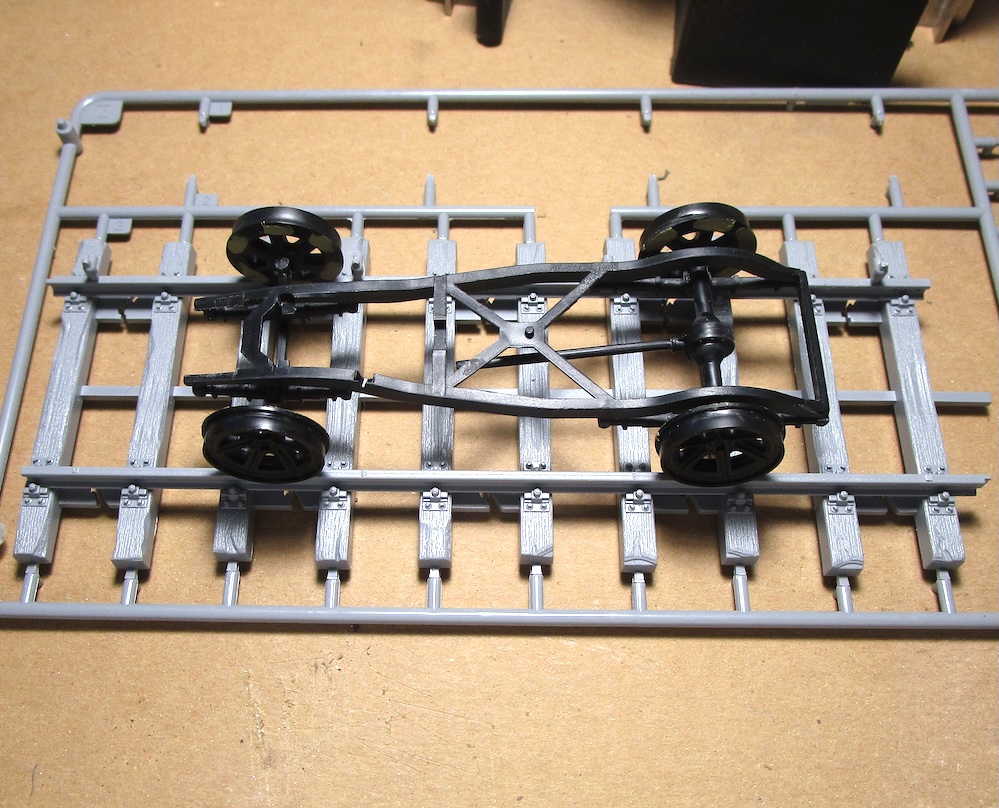
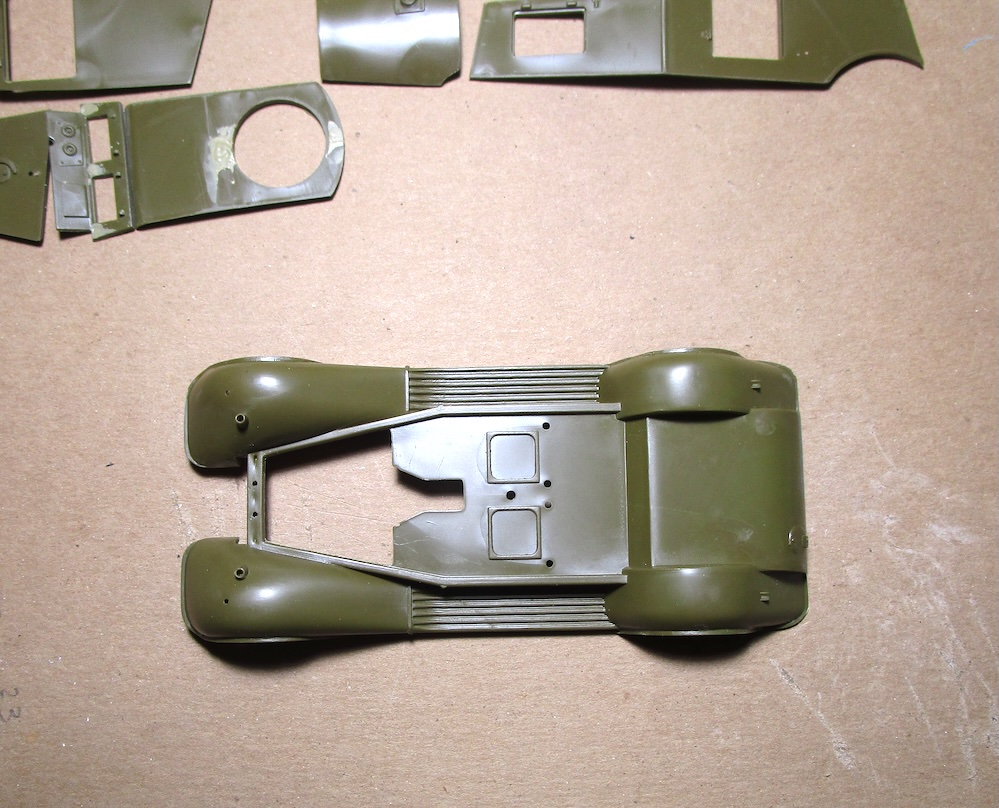
Got all four on the floor but the kit is Russian gauge. I shaved down the axles so the traction wheels will install further inboard (picture on standard gauge rails) ![]()
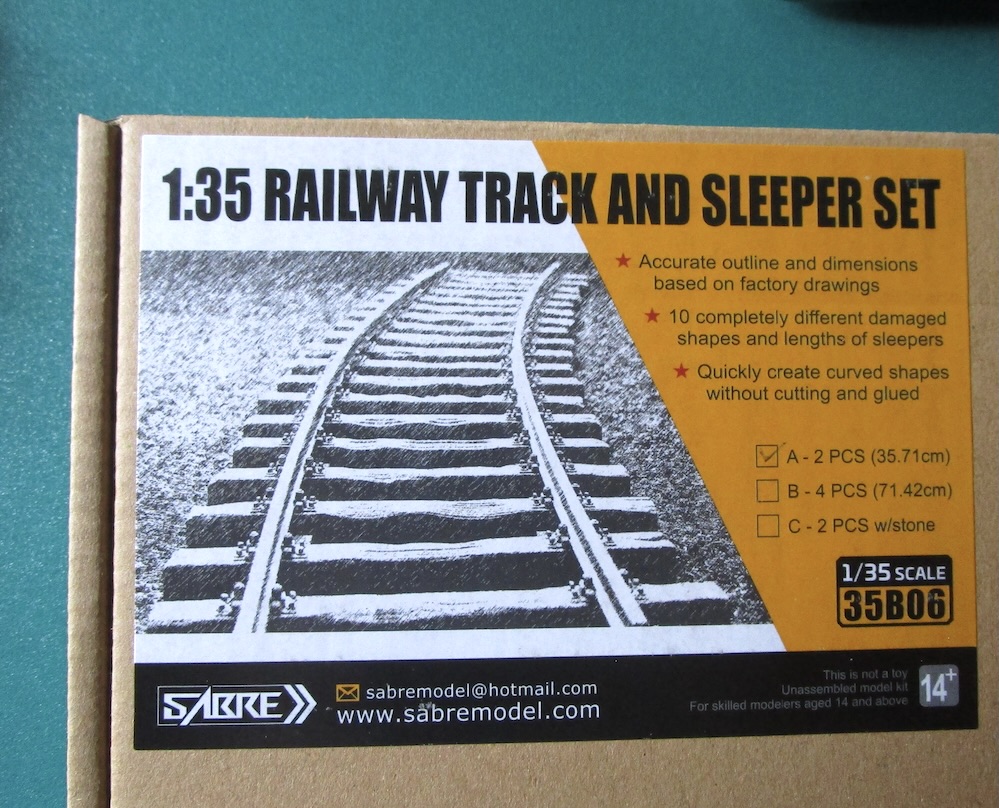
The kit came with tracks! That’s neat, those will be fun to paint and weather.
The tracks are from the SABRE kit 35B06. This kit just included the optional rubber tire wheels or the rail traction wheels.
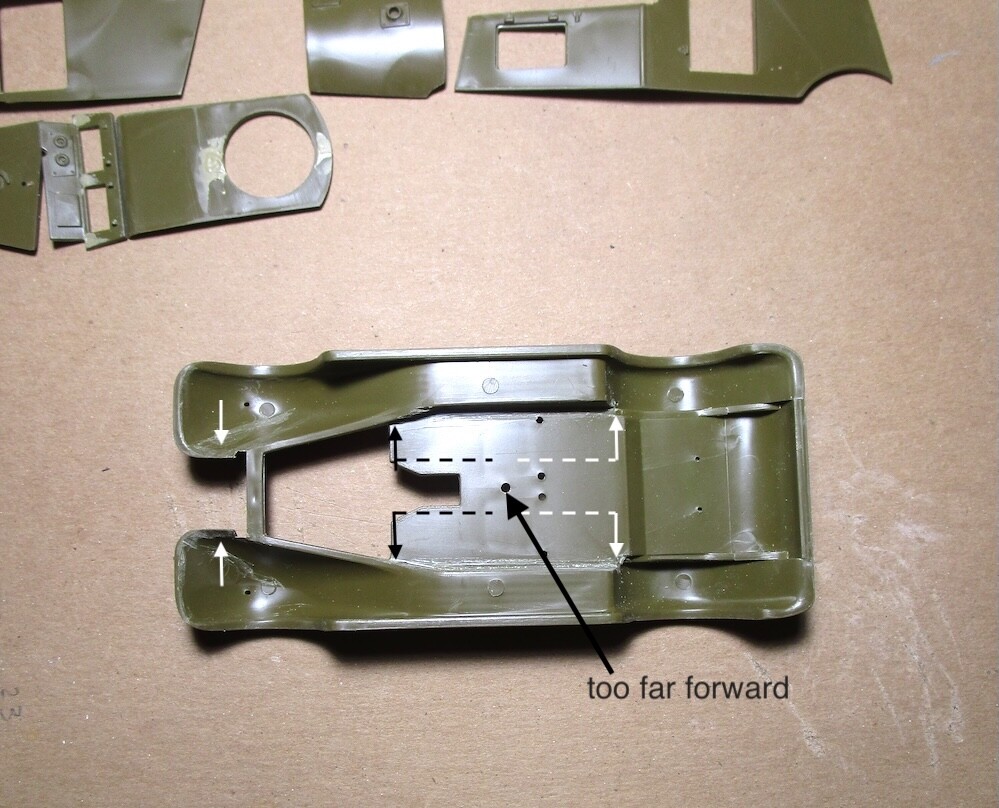
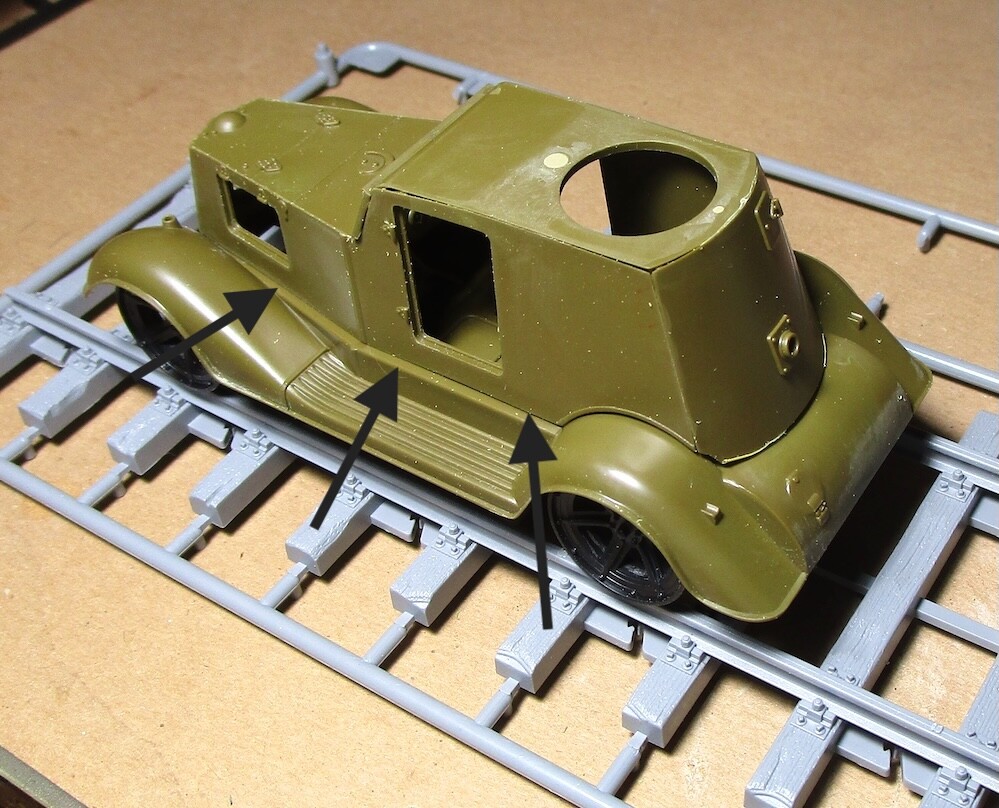
More shaving under this part to get the chassis part to fit (arrows). the center locator hole is too far forward to properly receive the locator pin on the chassis part.
I hate things like that, try your product before you sell it. I’ve ran into several things like this and it’s baffeling they just let it roll out and collect your cash.
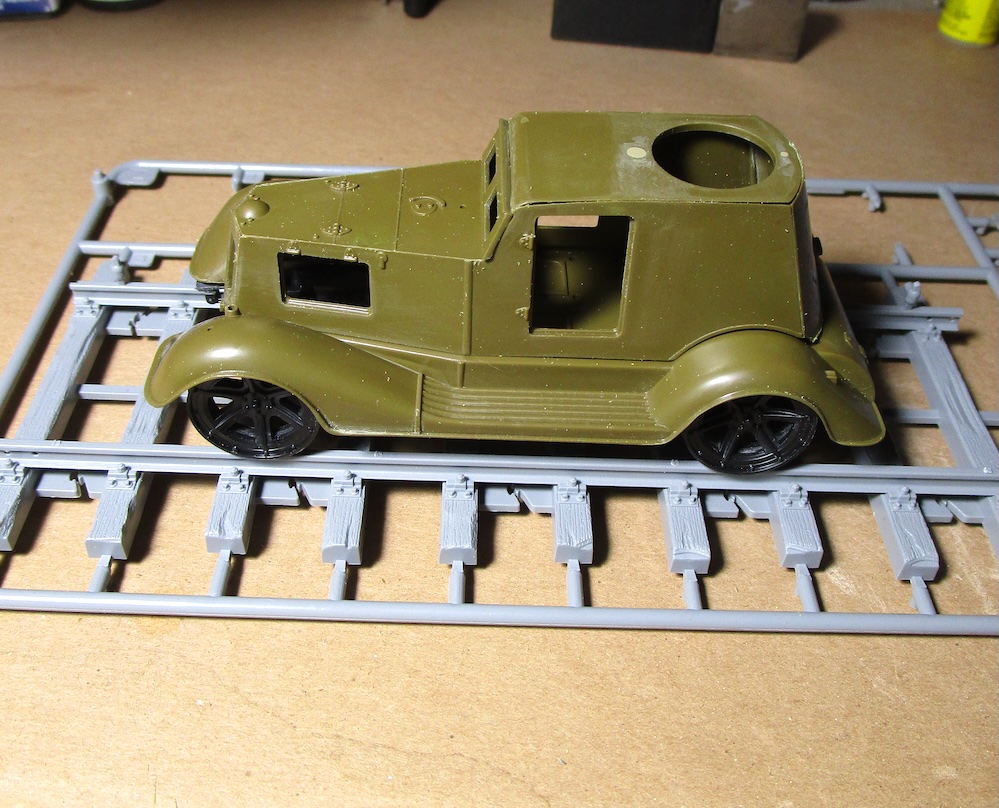
This is the current status of the BA-20SD Railcar:
Axles reduced to Standard gauge.
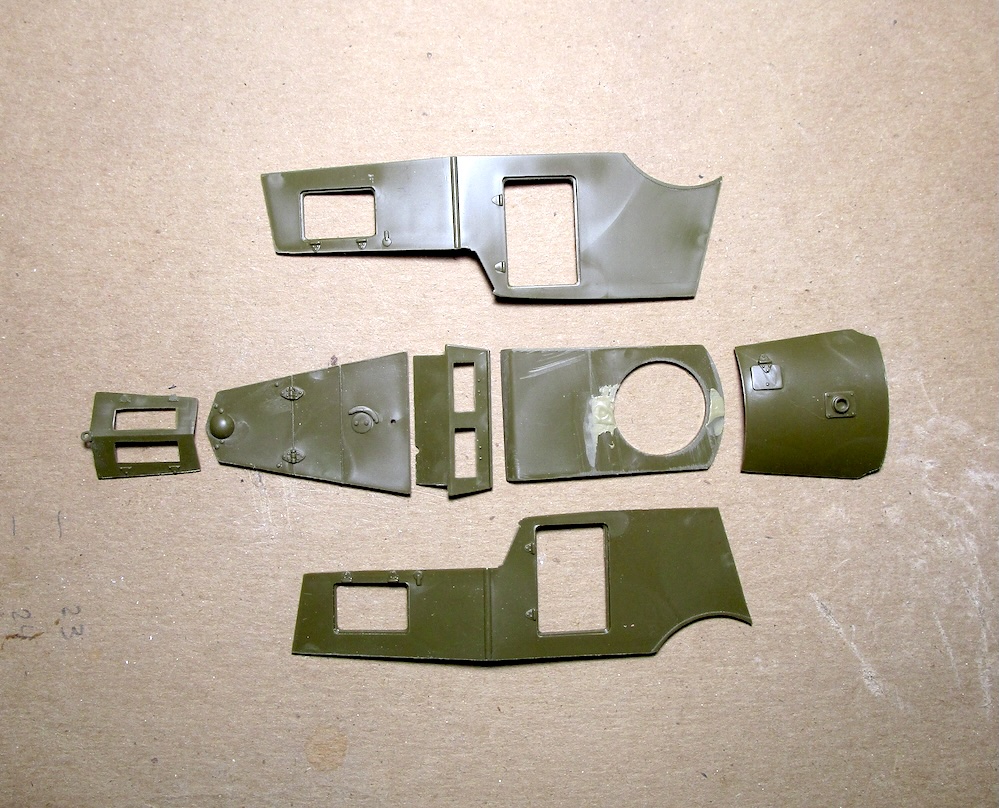
Armor body panels cemented together to the best they can fit and just sitting on top of the pan part.
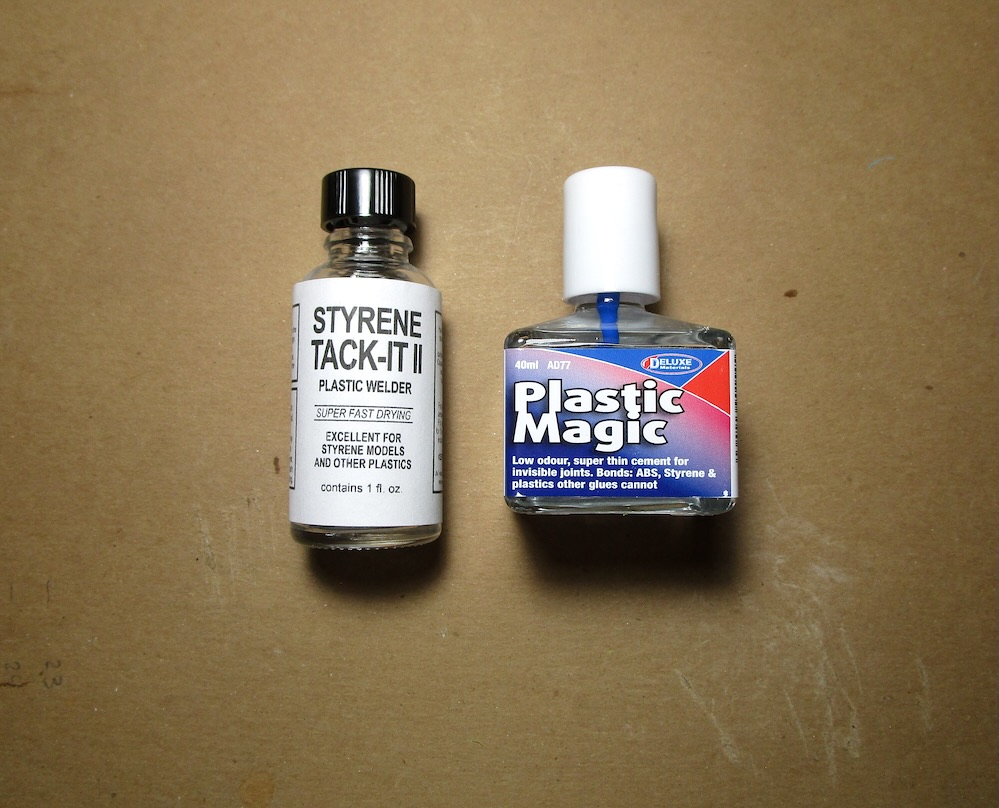
Tamiya Thin will cement the black styrene - chassis parts - but will not cement the green styrene from this kit. I had to go to my LHS to pick up these heavy hitters for that.
![]() Fumey
Fumey ![]()
See how the armored body assembly foot print is too narrow for the bottom mating part. I glued in styrene blocks to spread out the bottom of the armored walls. This works but I have to hold the two halves in place while the cement cures. Which means I have to have all the interior painted and assembled prior to that. Don’t have this problem with the Hobby Boss kit because it’s one piece. So I fabricated a spreader pole from sprue from the same kit. I’ll make another one to install in the engine compartment. This way I can dry fit assemble this top half in place to work on the interior later.
Might not be worth the hassle but i wonder if you could install the spreader bars then put it in hot water to relax it a bit. Then take the spreader bars out and see if it stayed. That does look pretty thick so im not sure if it would be a success…
Interesting idea. I haven’t tried hot water with styrene only tried it with resin.
I’ve used a heat gun but it was a bit much….
Looks like this one is going to fight to the end, but my money is on your ultimate victory.
@Demolition, I have a hair dryer but I don’t want it to break apart. It was a hassle getting all the parts together in the first place ![]()
@mrb865, Cheers ![]()