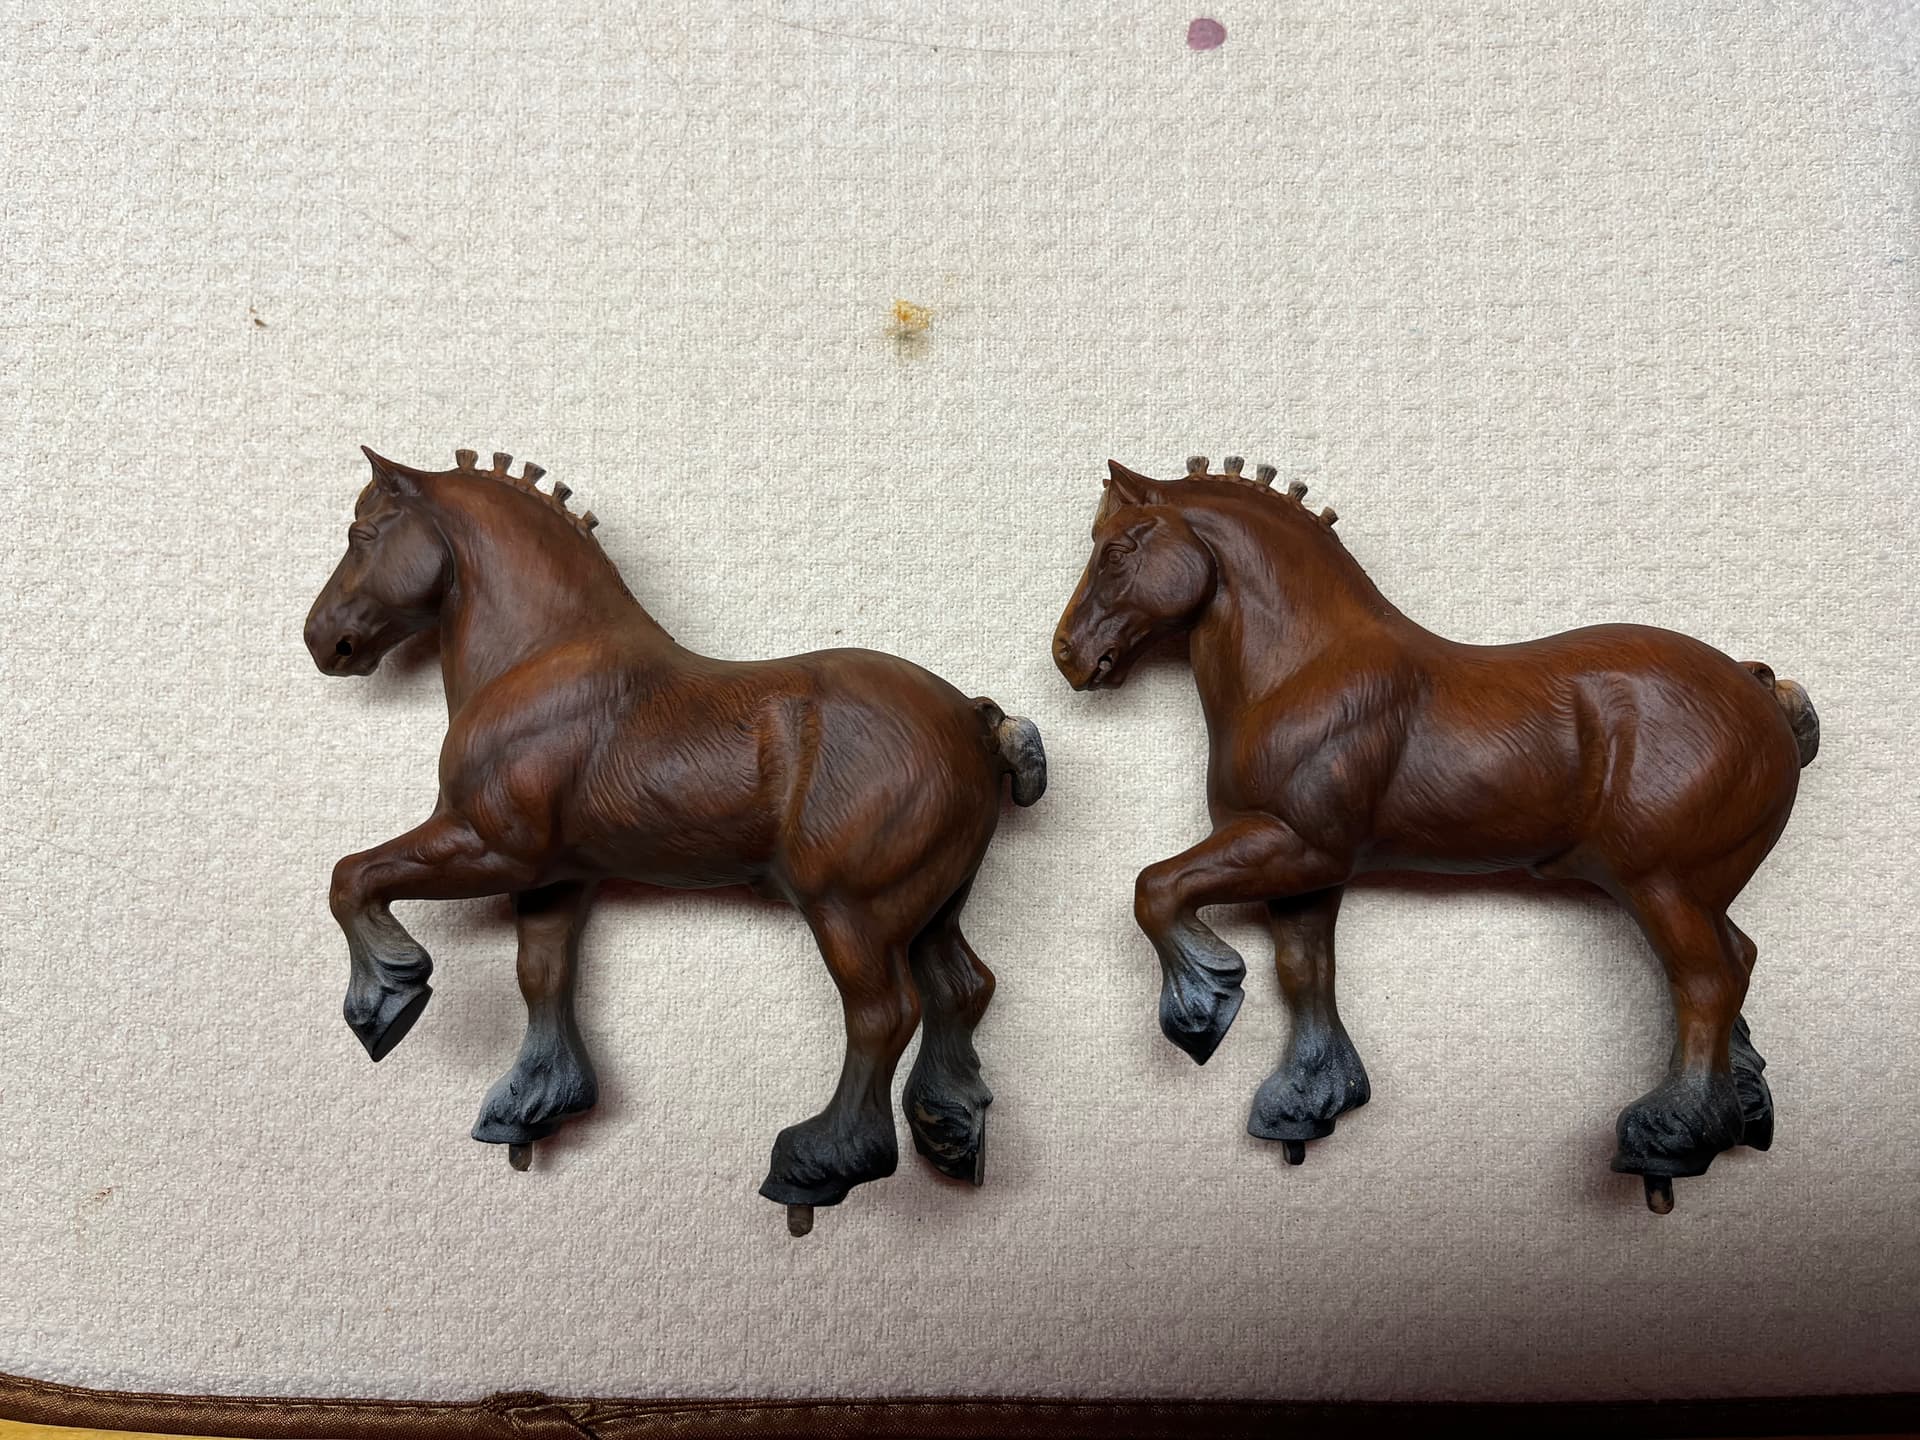
AMT/Ertl 1/20 scale Clydesdale Budweiser 8-horse hitch (Yeah, that one)

If you’ve been watching FSM videos over the last three years, you know that I ended up with a number of kits from my dad’s stash after he died. One of the kits I acquired was his AMT/Ertl 1/20 scale Clydesdale Budweiser 8-horse hitch. There’s a story behind this kit that I won’t recount here, but if you want to hear about it, you can watch the video. (Skip to around 10:54.) Sort of as a joke, Aaron and I said that if that video received 1,000 likes or more, I’d build the kit. Well, it did, so I was on the hook. In November 2023, I began working on the model.

It’s now September 2026, and it’s still not finished, although it is close! So, so close! Close enough that I thought I’d begin to post photos of the build process and give some history for how this thing has come together and why it’s taken me three years to complete. I hinted in another thread that I talk a bit about why in my From the Editor in the Nov/Dec 2026 FSM, and instead of undercut that, I think I’ll start with it as a both a bit of a preview for the issue and a little bit of what’s to come in this thread over the next several days. I’m not sure how long this thread will end up being, but I intend that it will be mostly wrapped up by Sept. 24, because that’s when the model should be wrapped. More on that later!

As promised, let’s start with my preface for the upcoming Nov/Dec 2026 FSM.
And here’s the text version if you don’t want to read it off the image:

A lot of what you’ll read in this issue revolves around modelers looking at the choices in front of them, deciding on a solution, and then completing the task. It’s not always easy, and sometimes might take us a little longer than we’d like, but that’s a big part of the hobby, especially when you dive into kitbashing, scratchbuilding, and custom paint jobs.

Personally, over the past year, I’ve had to figure out a lot, too, regarding my time at the workbench. I’ve been suffering from a condition called trigger finger in both my hands for several years, but it worsened to the point that I could no longer do the things I loved that required manual dexterity, like modeling and playing guitar.

Even before that, I was battling burnout. As Aaron Skinner and I ramped up our plans for FineScale Modeler, I took on more projects than I should have. After he departed and I added his duties to my own, well, let’s say that certain things required triage. What that meant for me was less time at the workbench. Add to that the difficulties with my hands and I had the perfect storm. It was easier to avoid the workbench altogether.

Avoidance, however, works only in the short term. In June, after covering NimCon, I had the first of two hand surgeries to correct my trigger finger. The second was in July. Being able to open and close my hands without their fingers locking up, even with stiffness and discomfort, was incredible. I picked up a guitar, which I hadn’t played in over a year, and ran through a scale. Sweet Jeebus, did that feel good!

With my hands working again, I turned my attention to the burnout. My solution was to set a two-hour timer on my cellphone and place it face down on the workbench. That’s all the time I get for a session per day. It means I have to get moving, no dawdling. It also means that when the alarm goes off, I stop and clean up. Discipline.

What I’ve found is that I’m anticipating my time at the workbench now. I’m planning my next session in my head. Limiting my time also keeps me from screwing up, because my hands get tired quickly right now. But I’m back to the bench and looking forward to finishing these models!
5 Likes

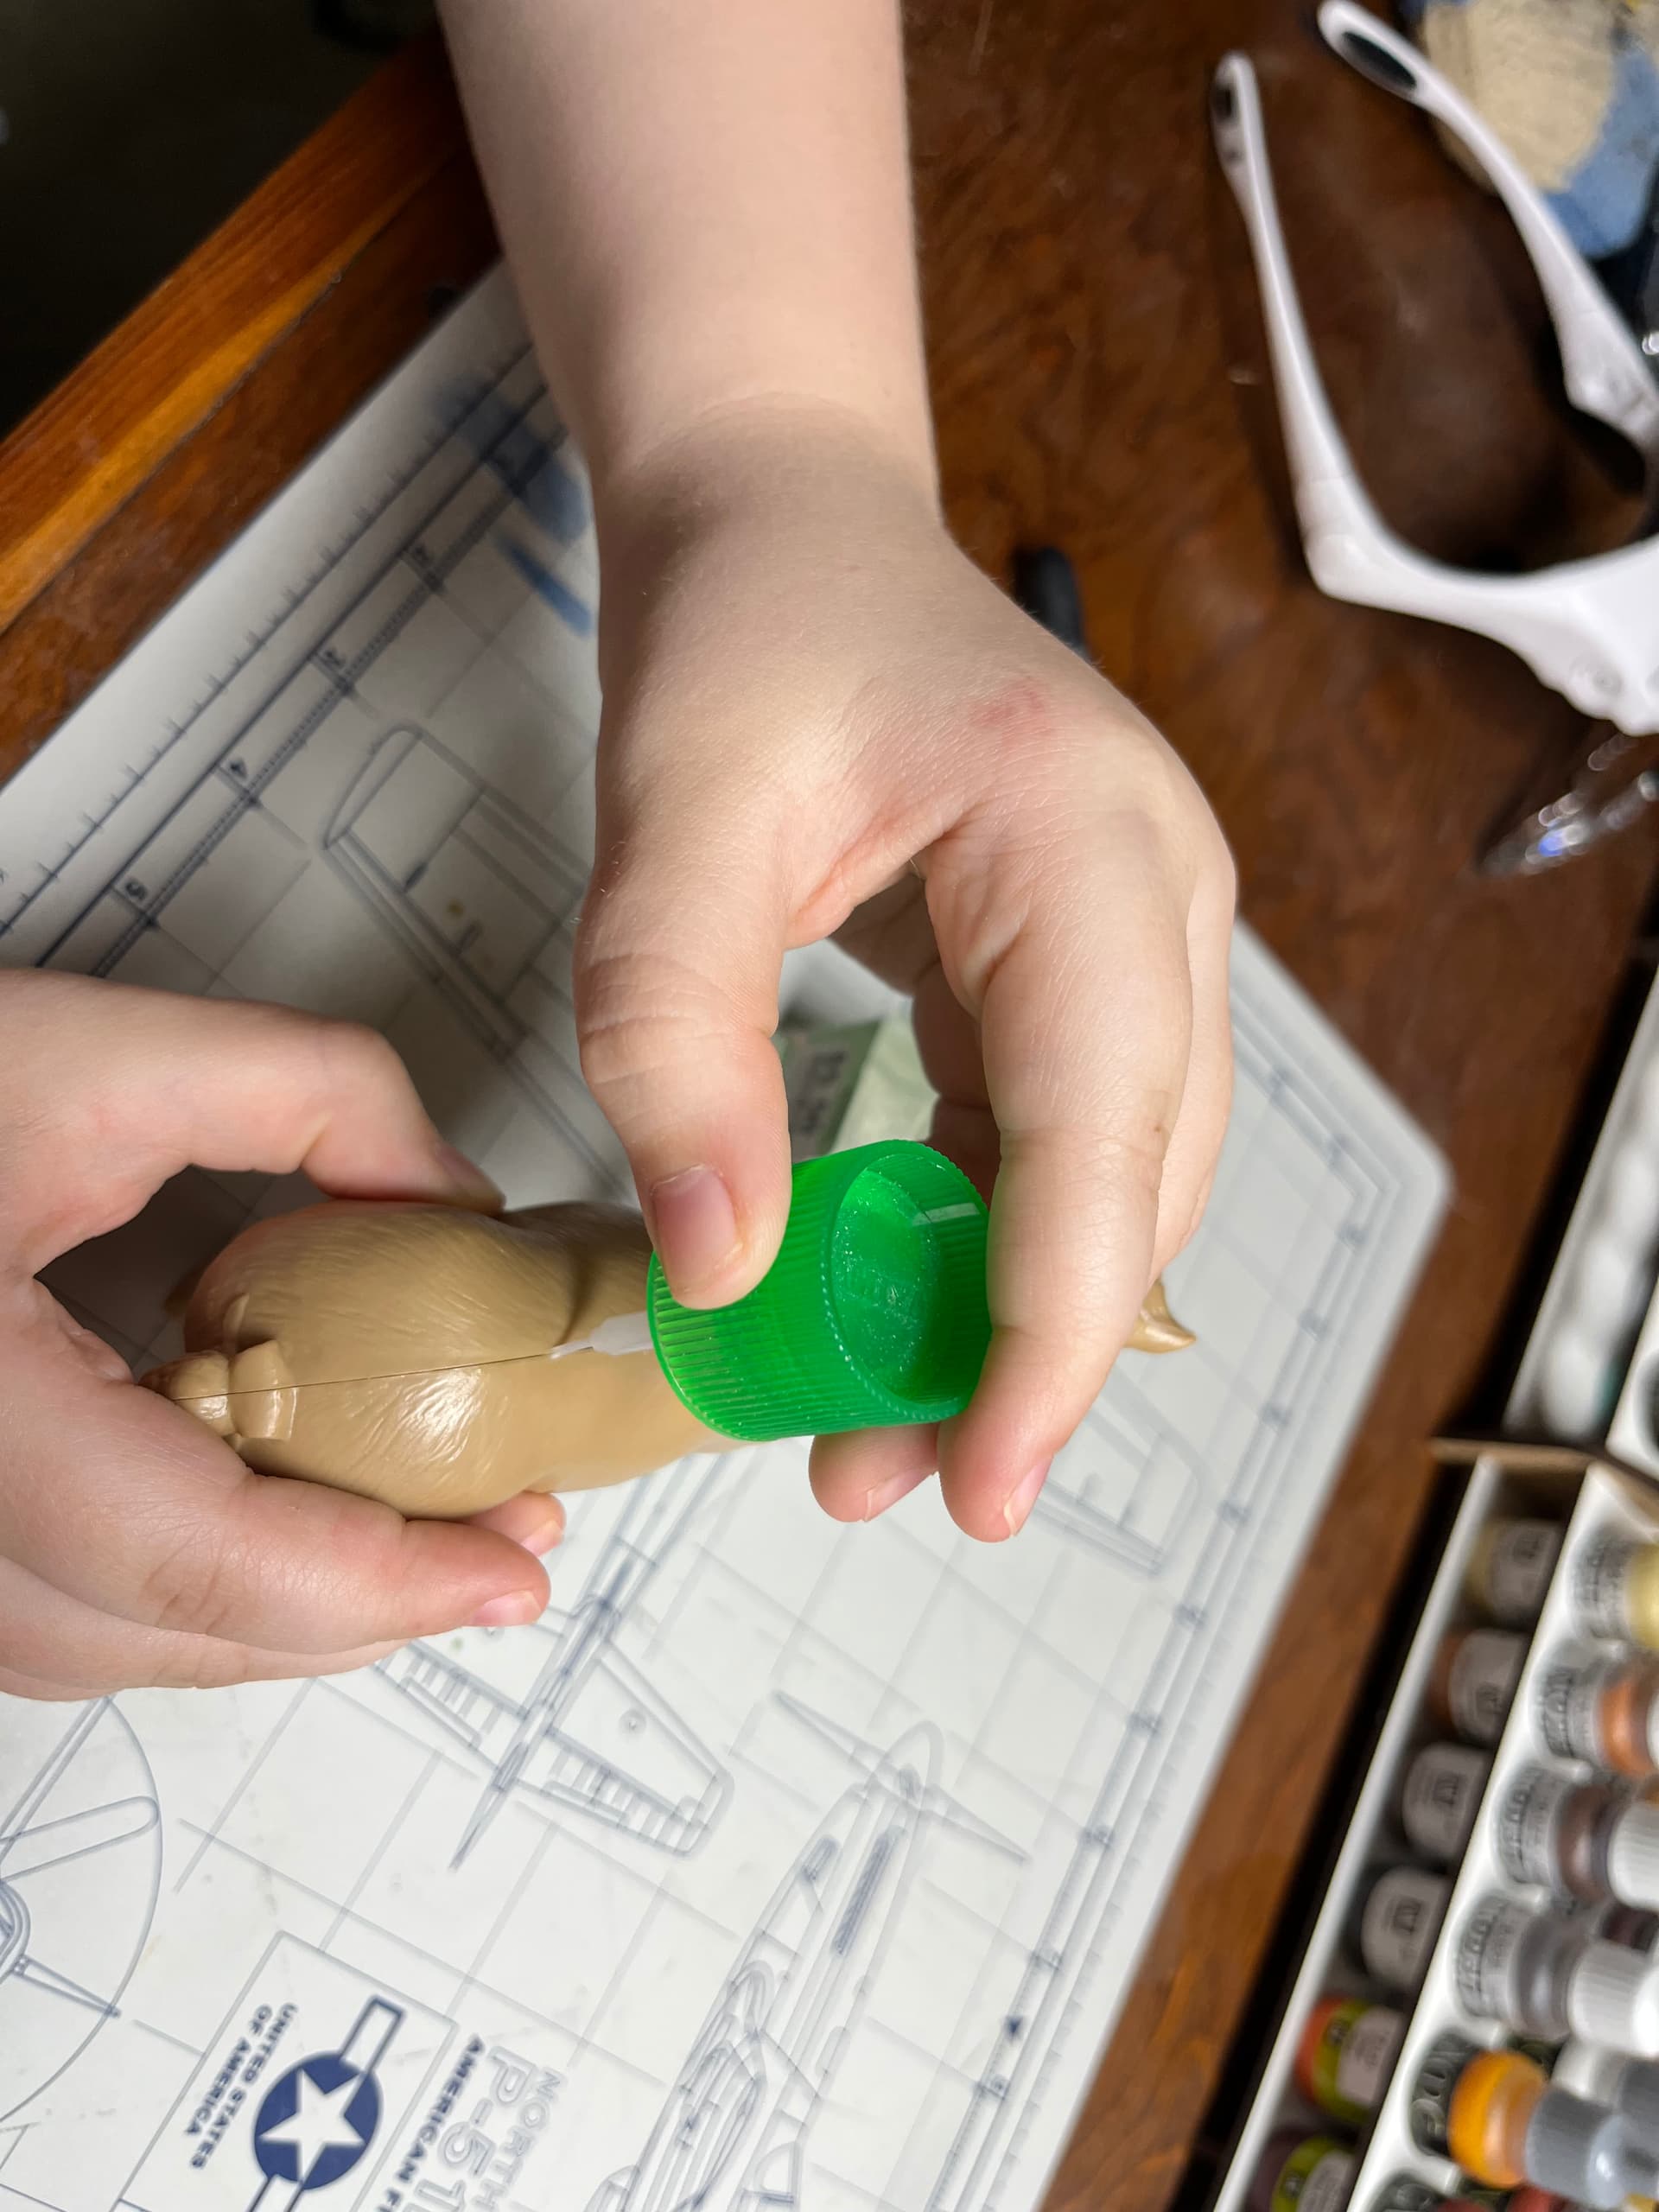
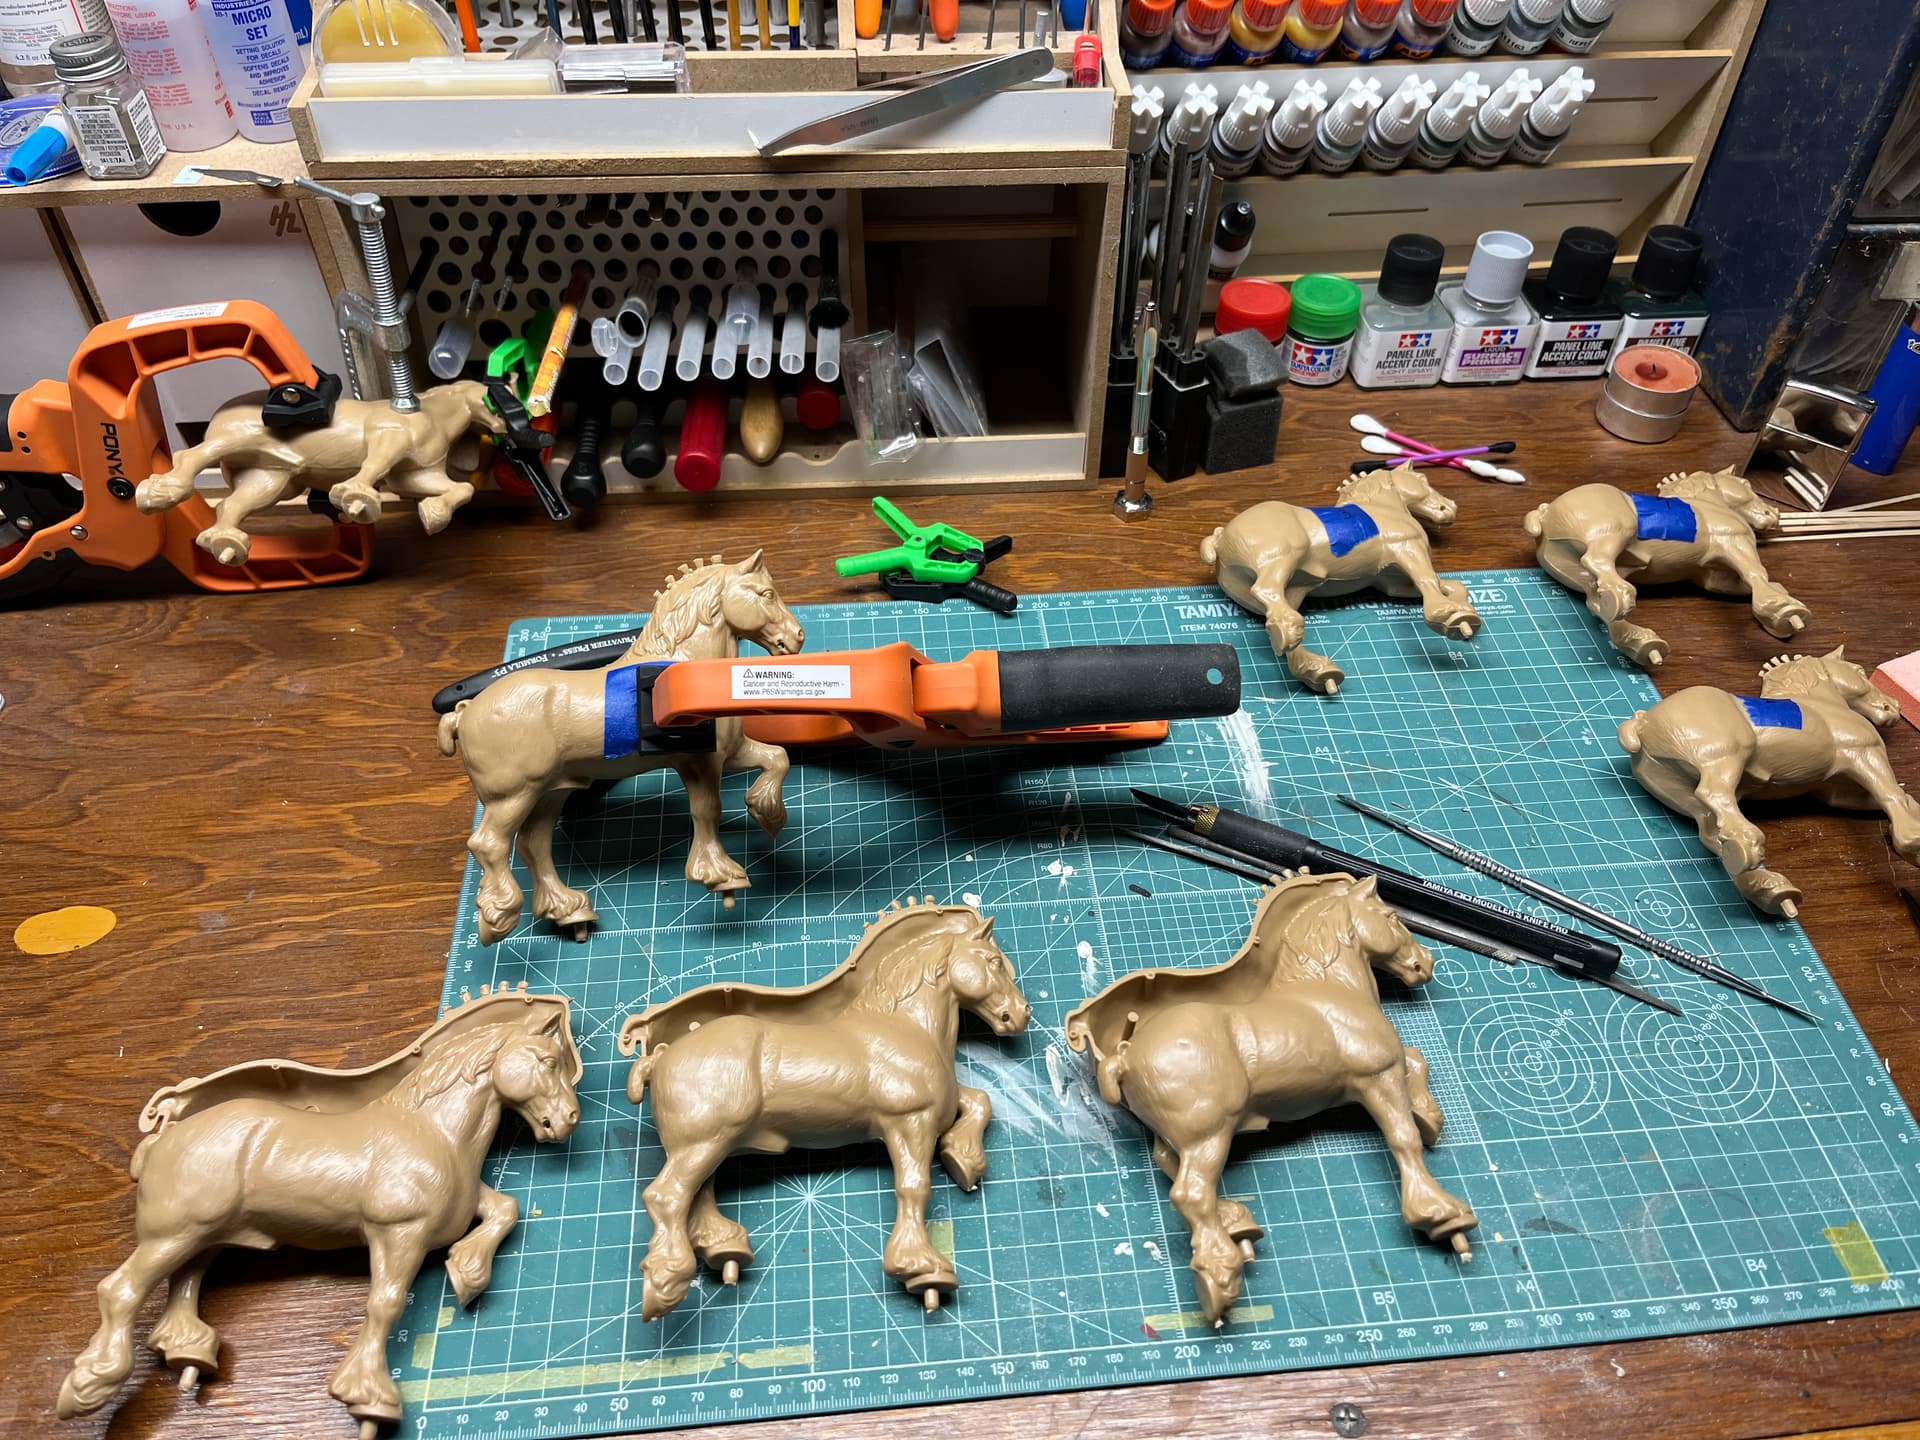
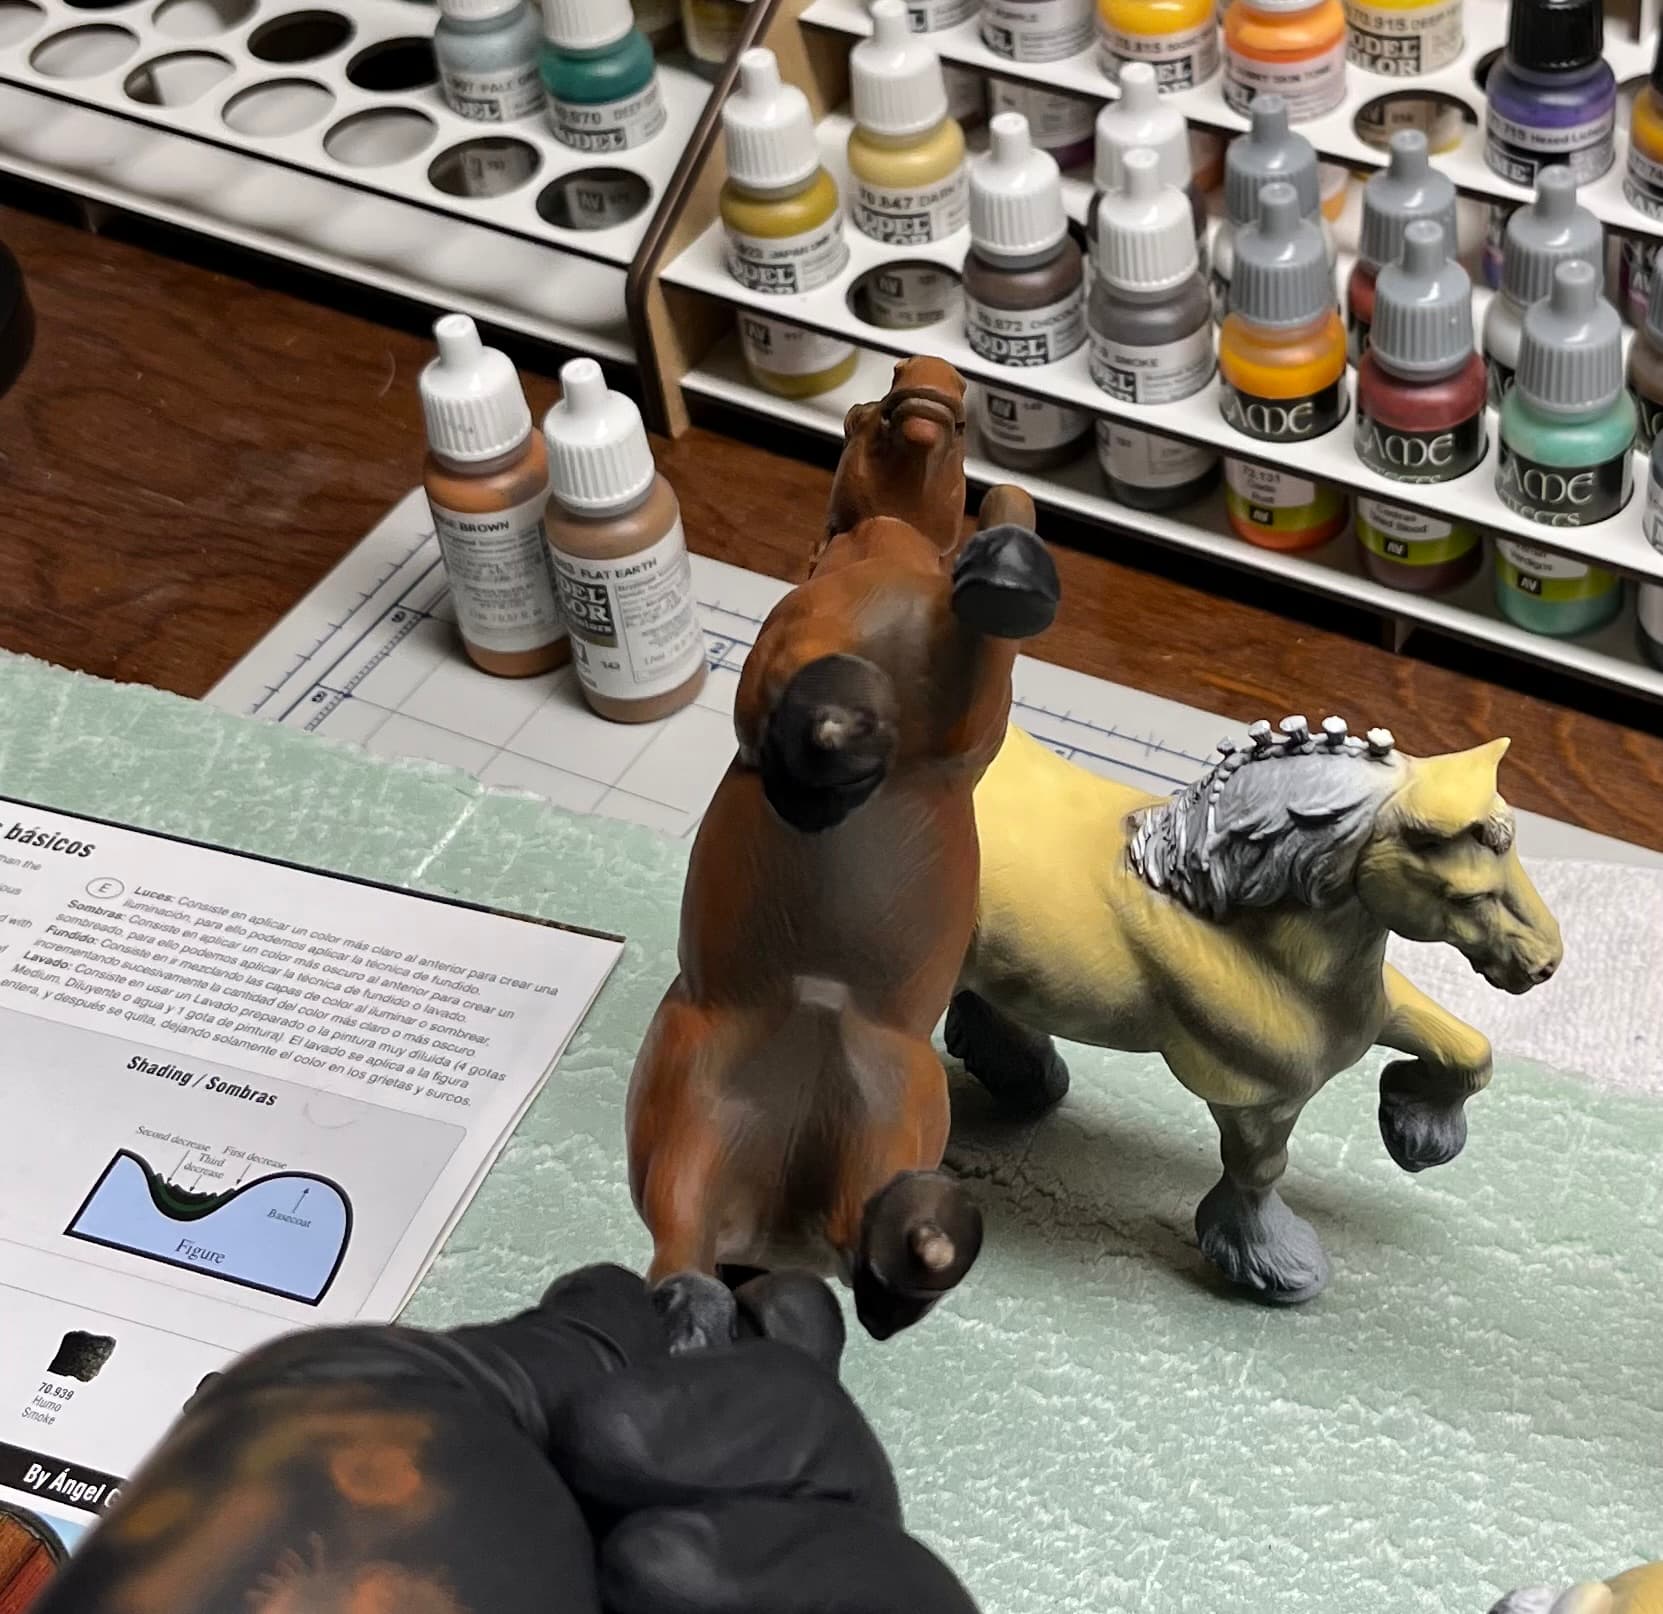
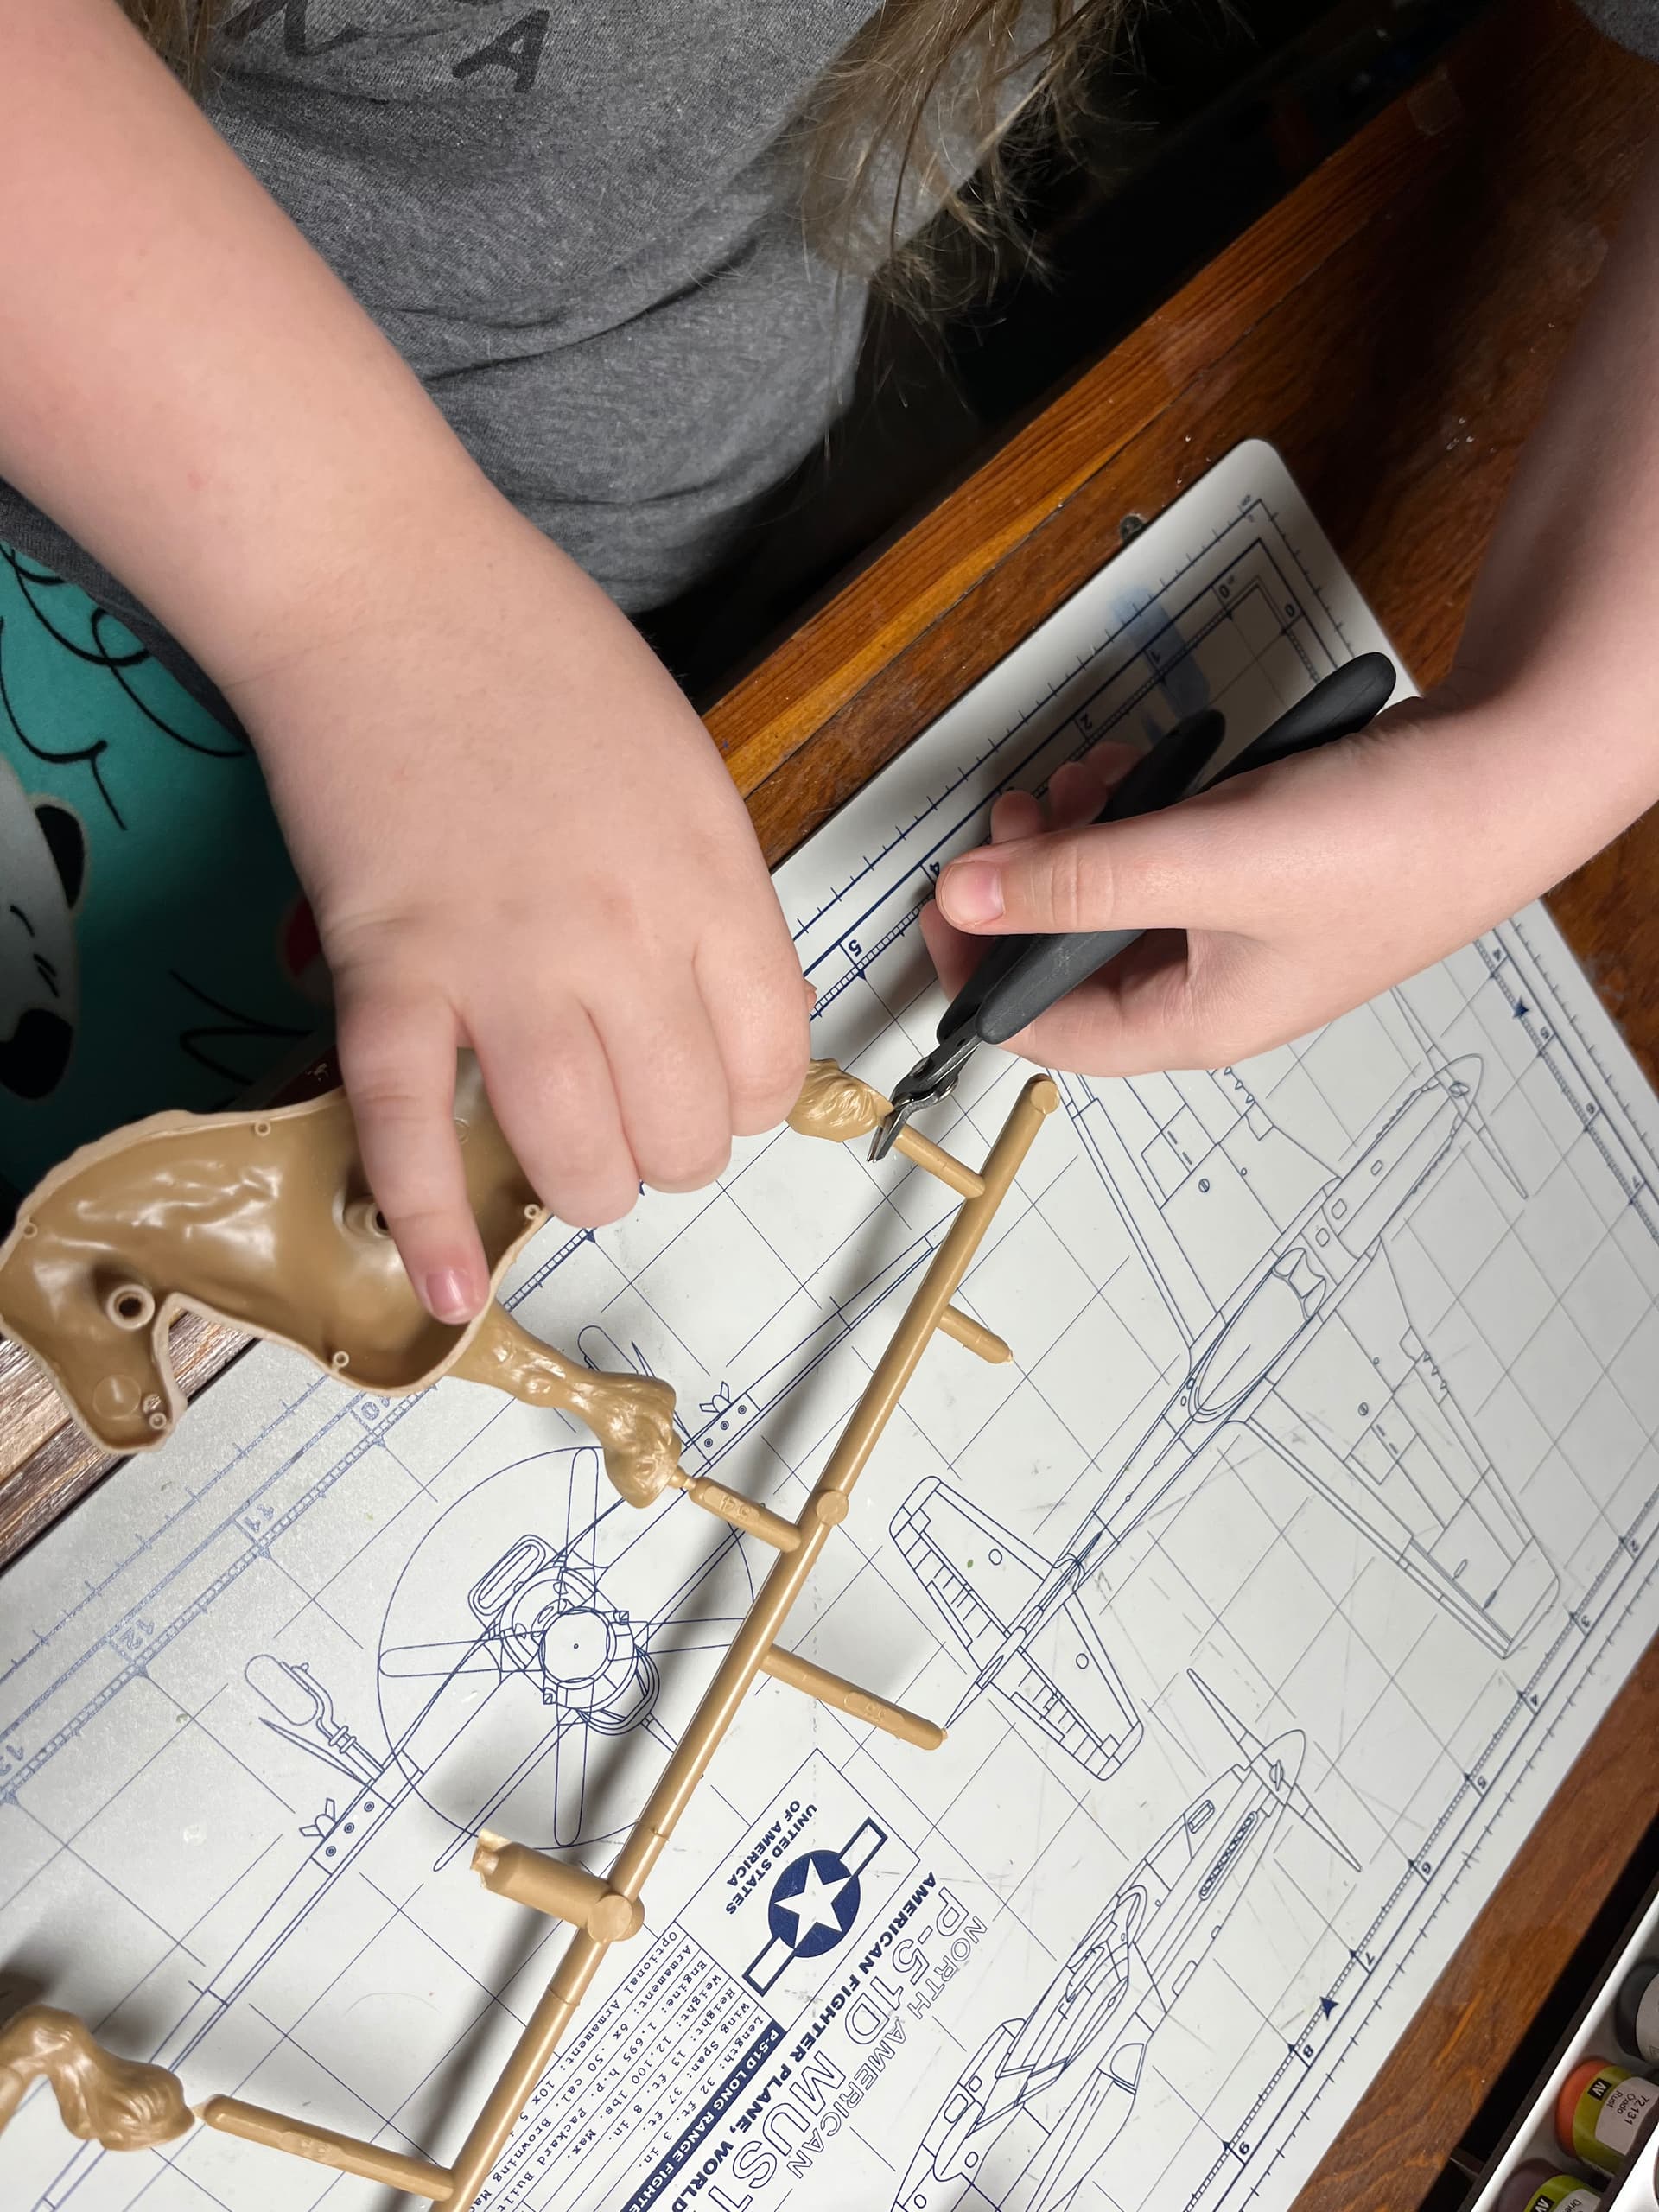
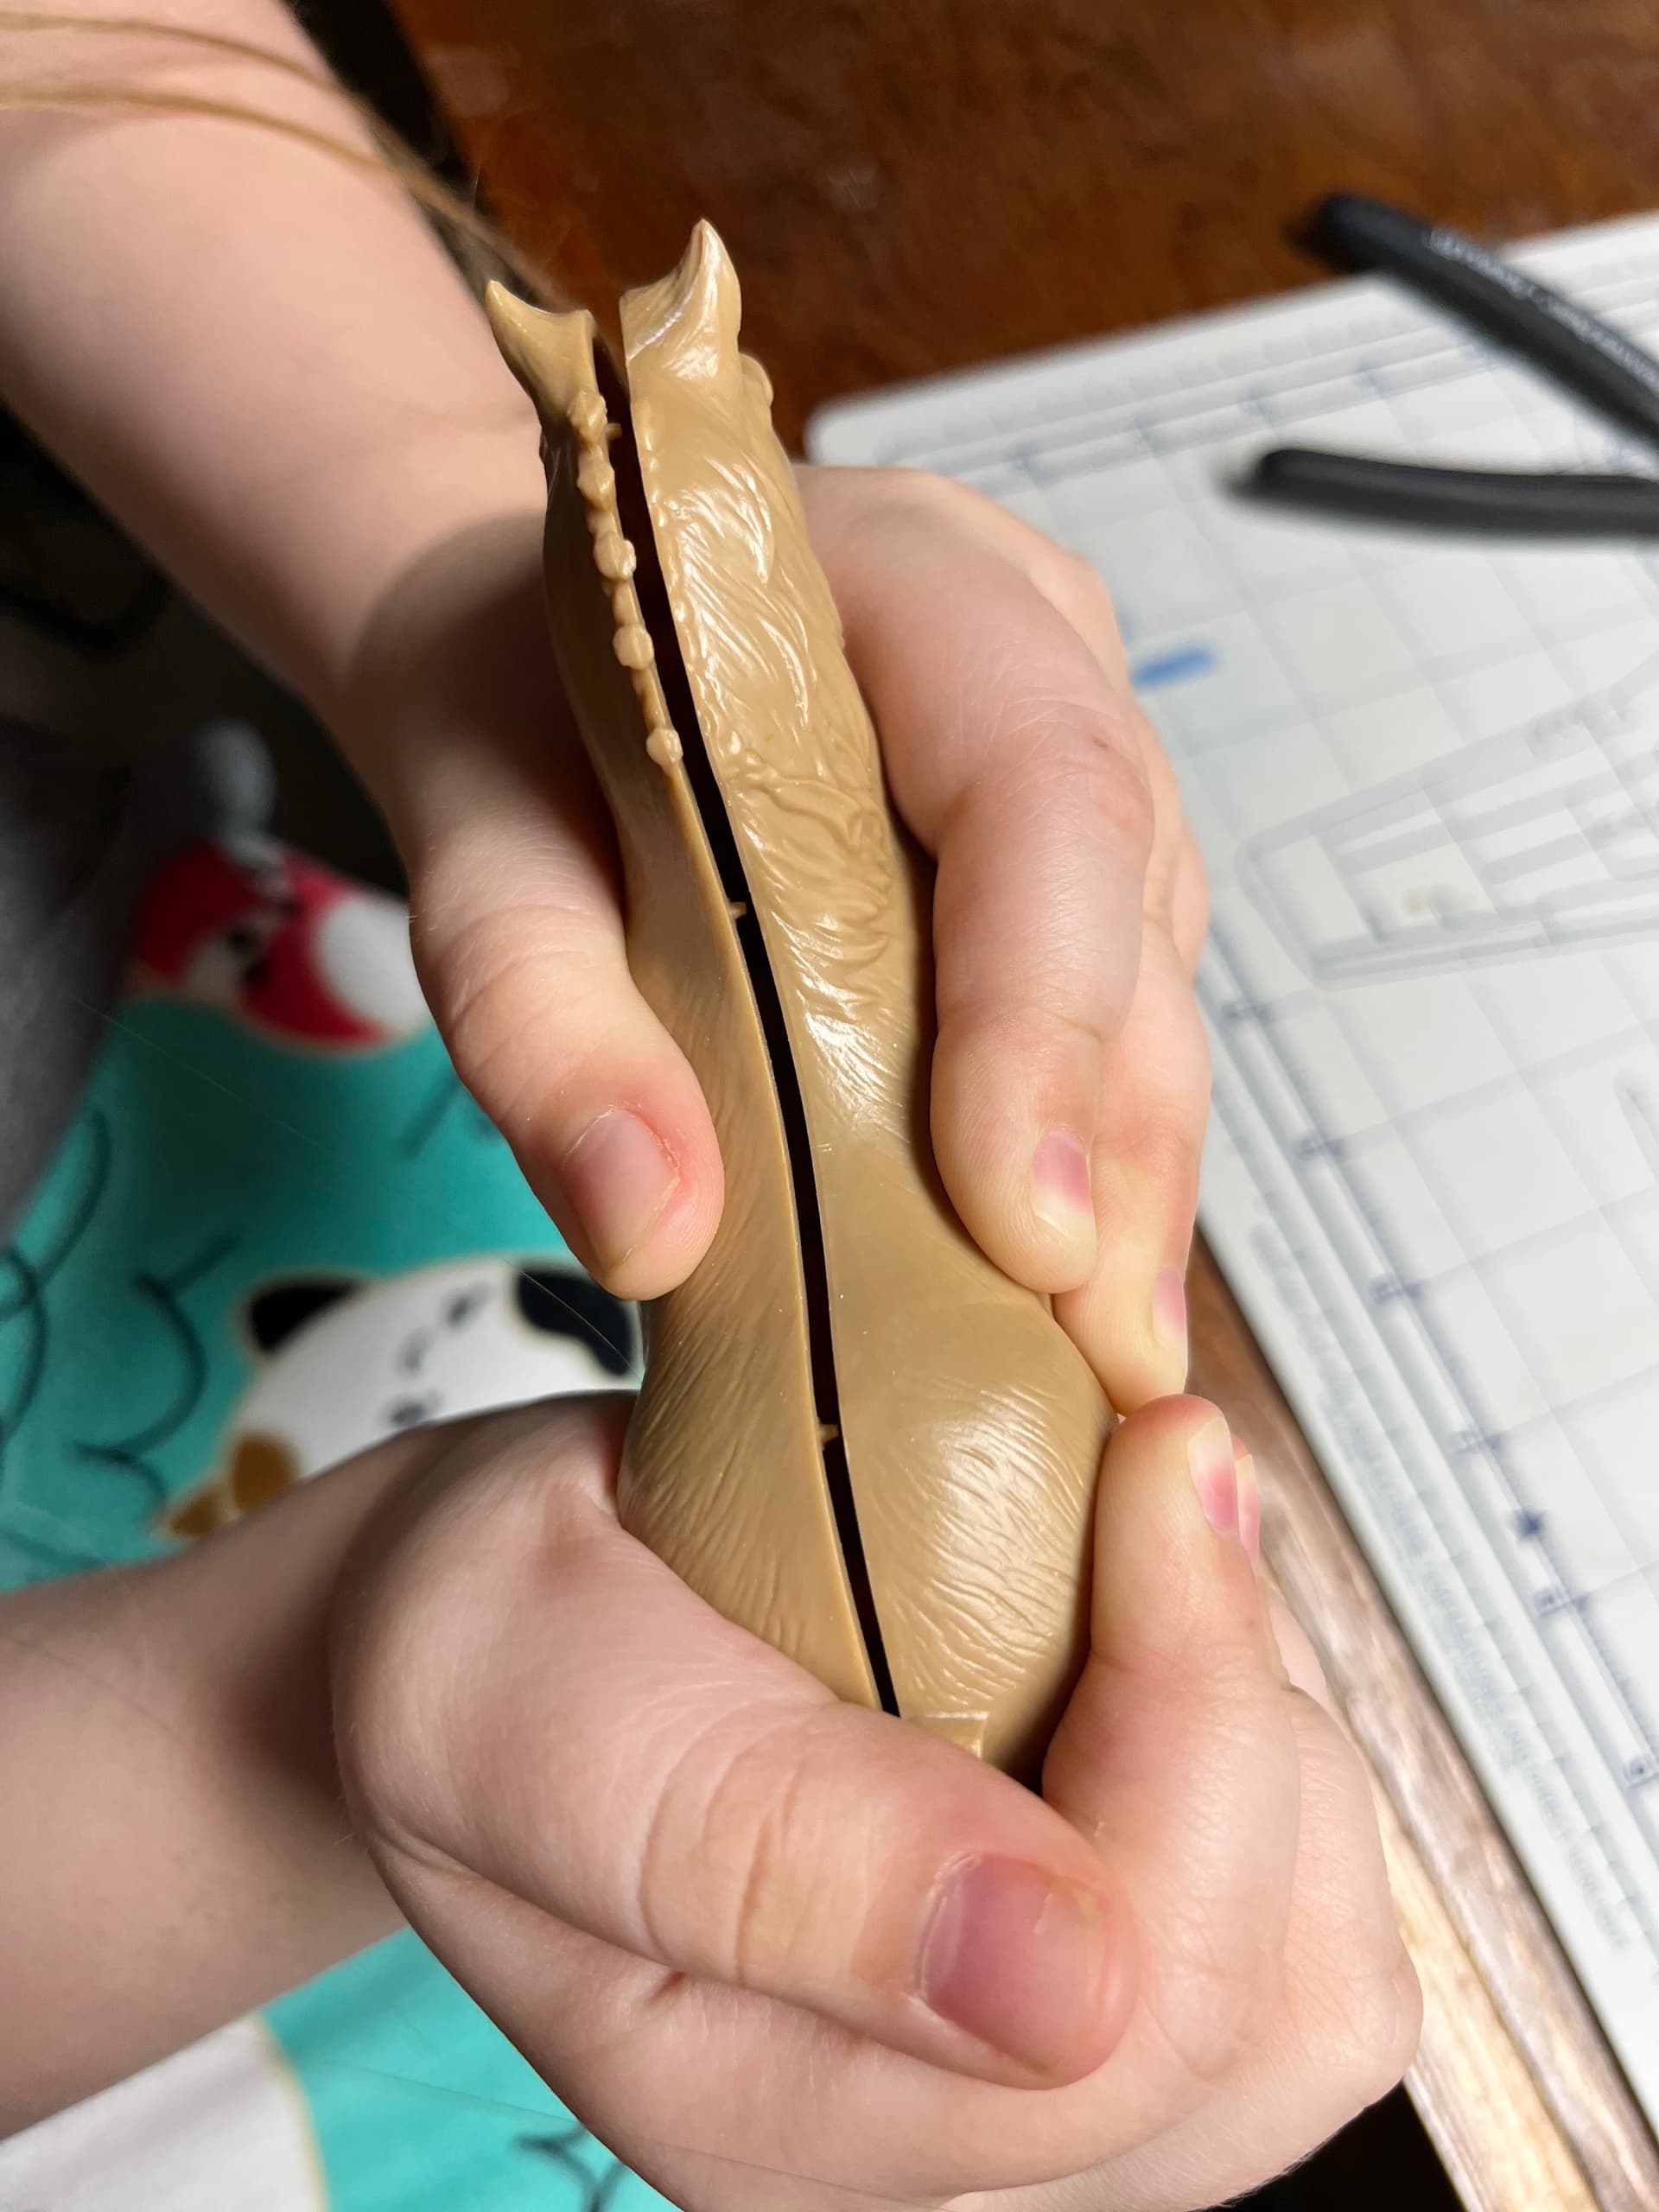
Of course, the build started with the horses, and I got Shushu involved right away. The heady, early days of this build when I brazenly told Aaron, who was rightfully skeptical about powering through eight horse models, that I’d assembly-line them like I used to do with gaming miniatures. Bwahahahaha … no.


5 Likes

When people talk about burnout, I suggest something similar - ‘force’ yourself to go to your workstation for an hour a day and you’ll be amazed at the progress you make!

Can’t wait to see the finished piece!

2 Likes

The horses built pretty quickly, as you’d imagine. imagine. I set them aside and turned my attention to the wagon.

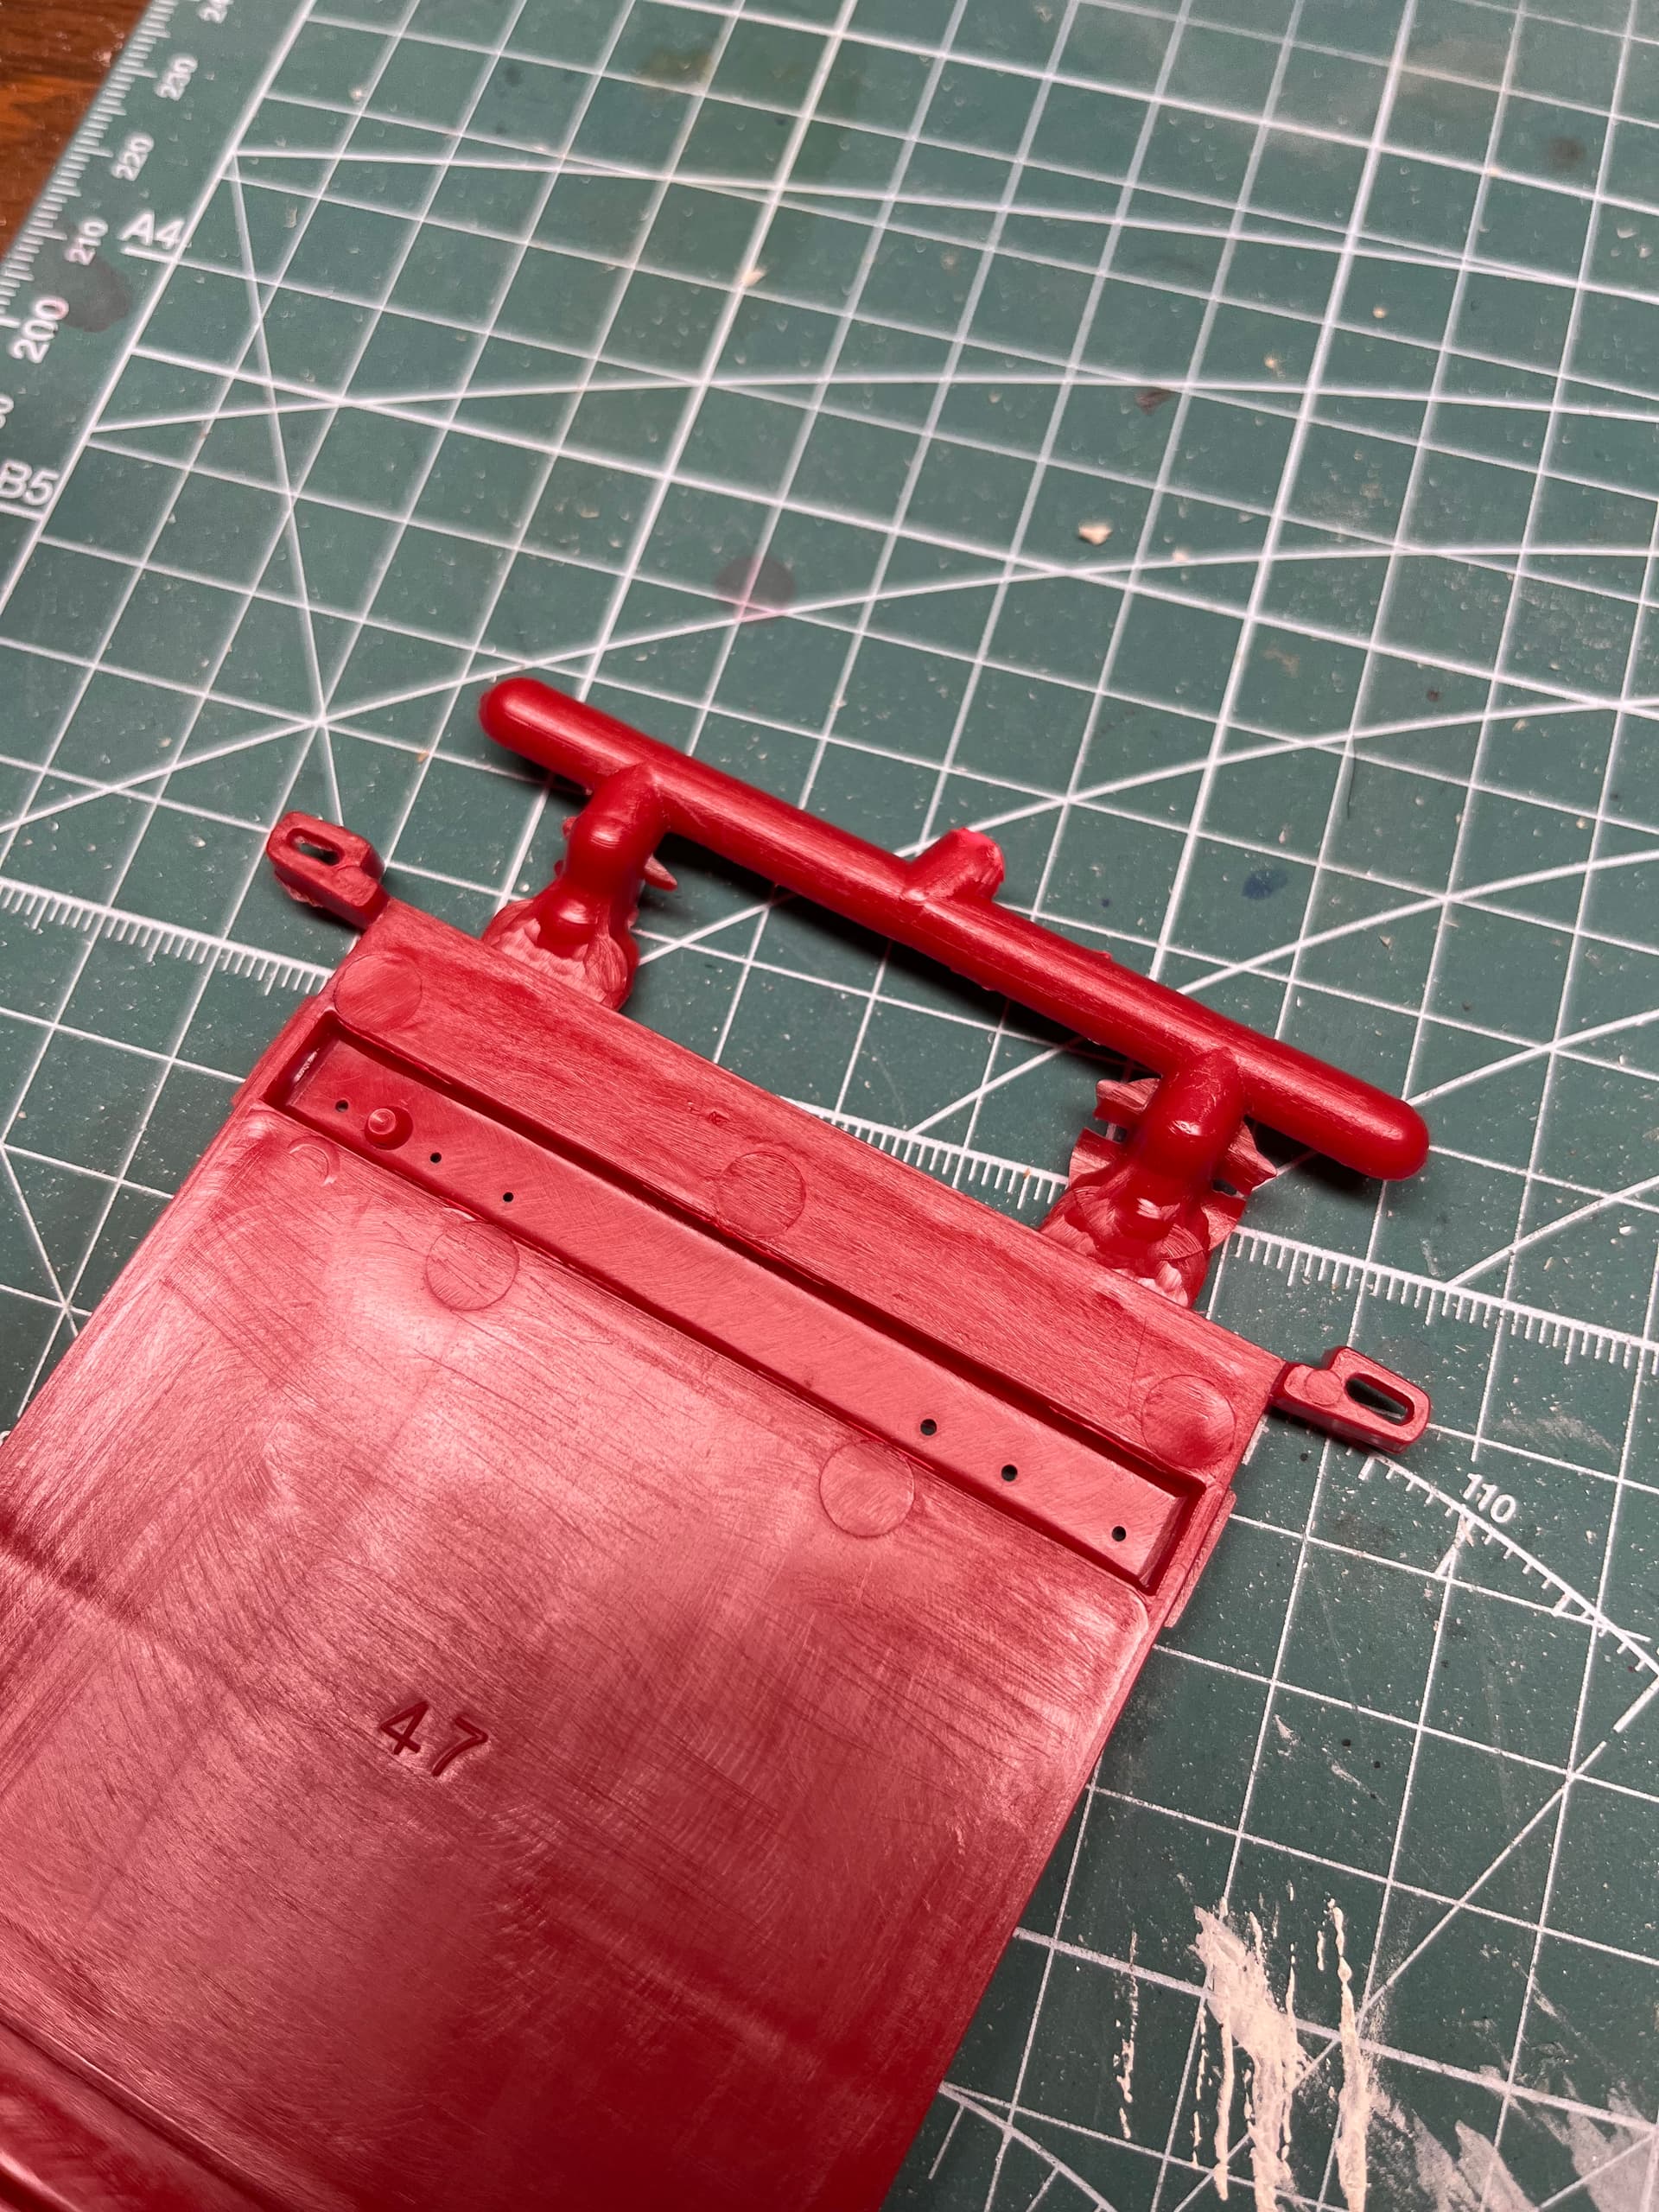
Look at that sprue and the attachment points! On top of that, the plastic was a bit brittle. But forward!


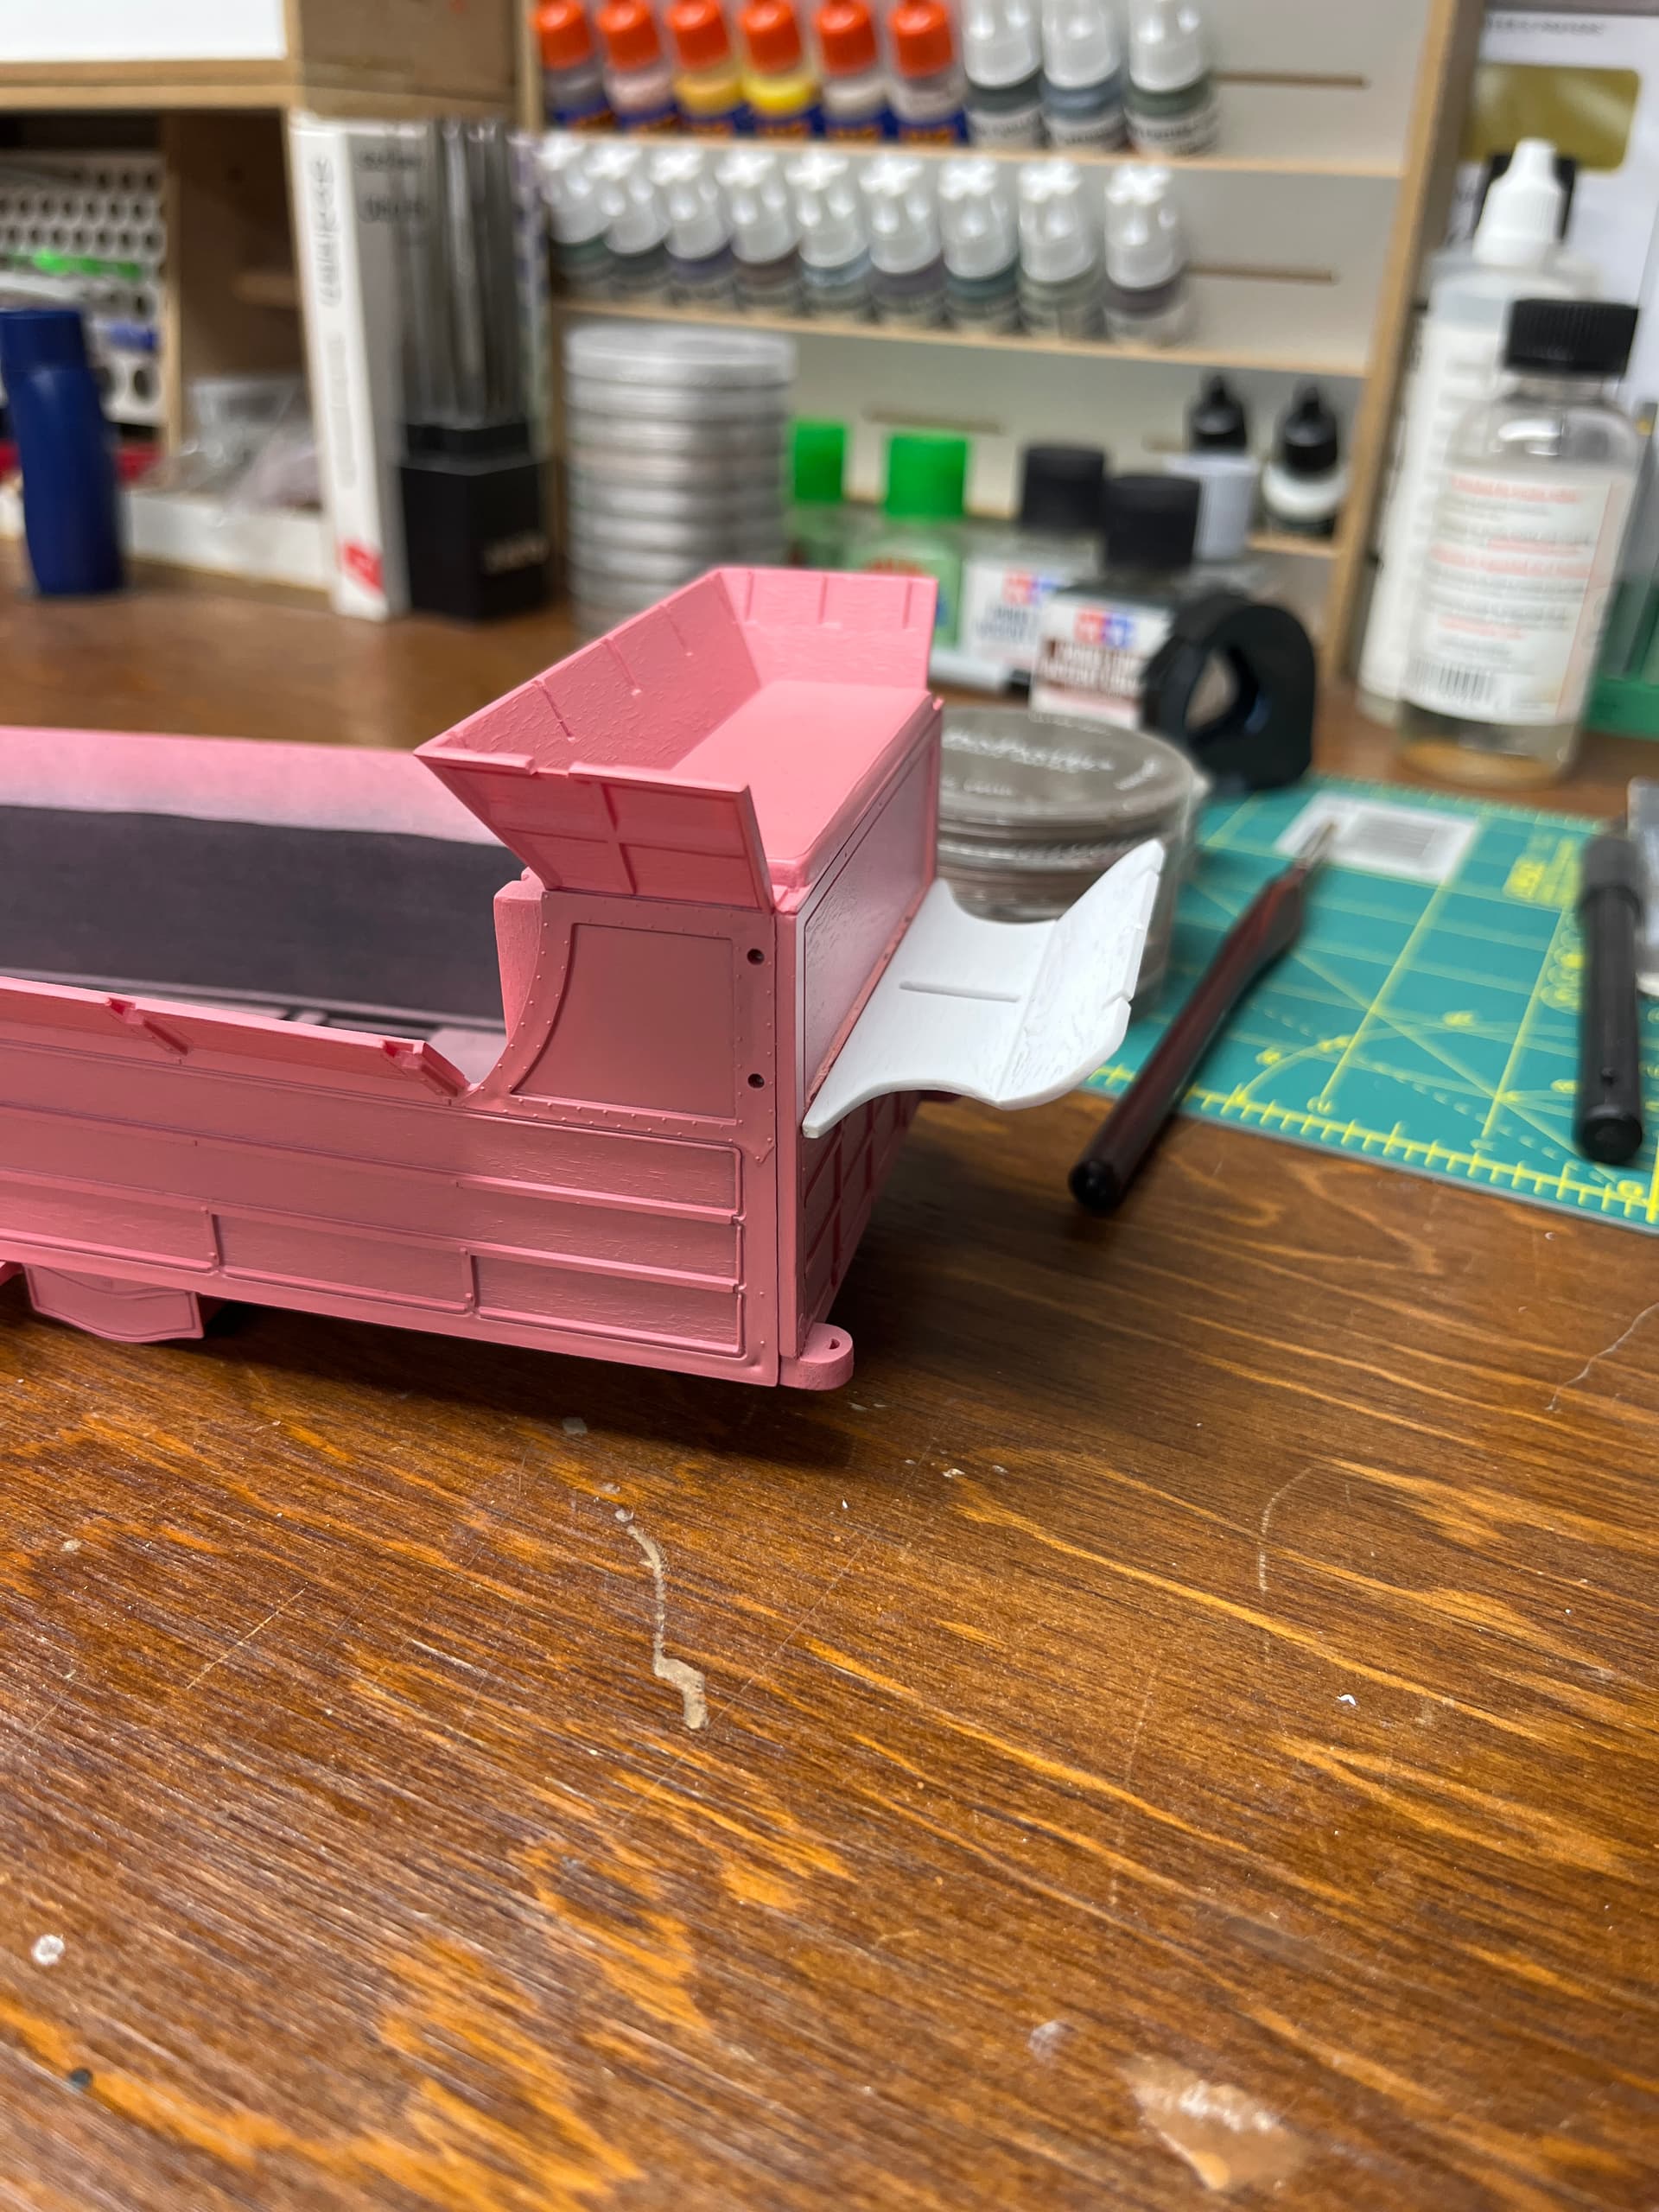
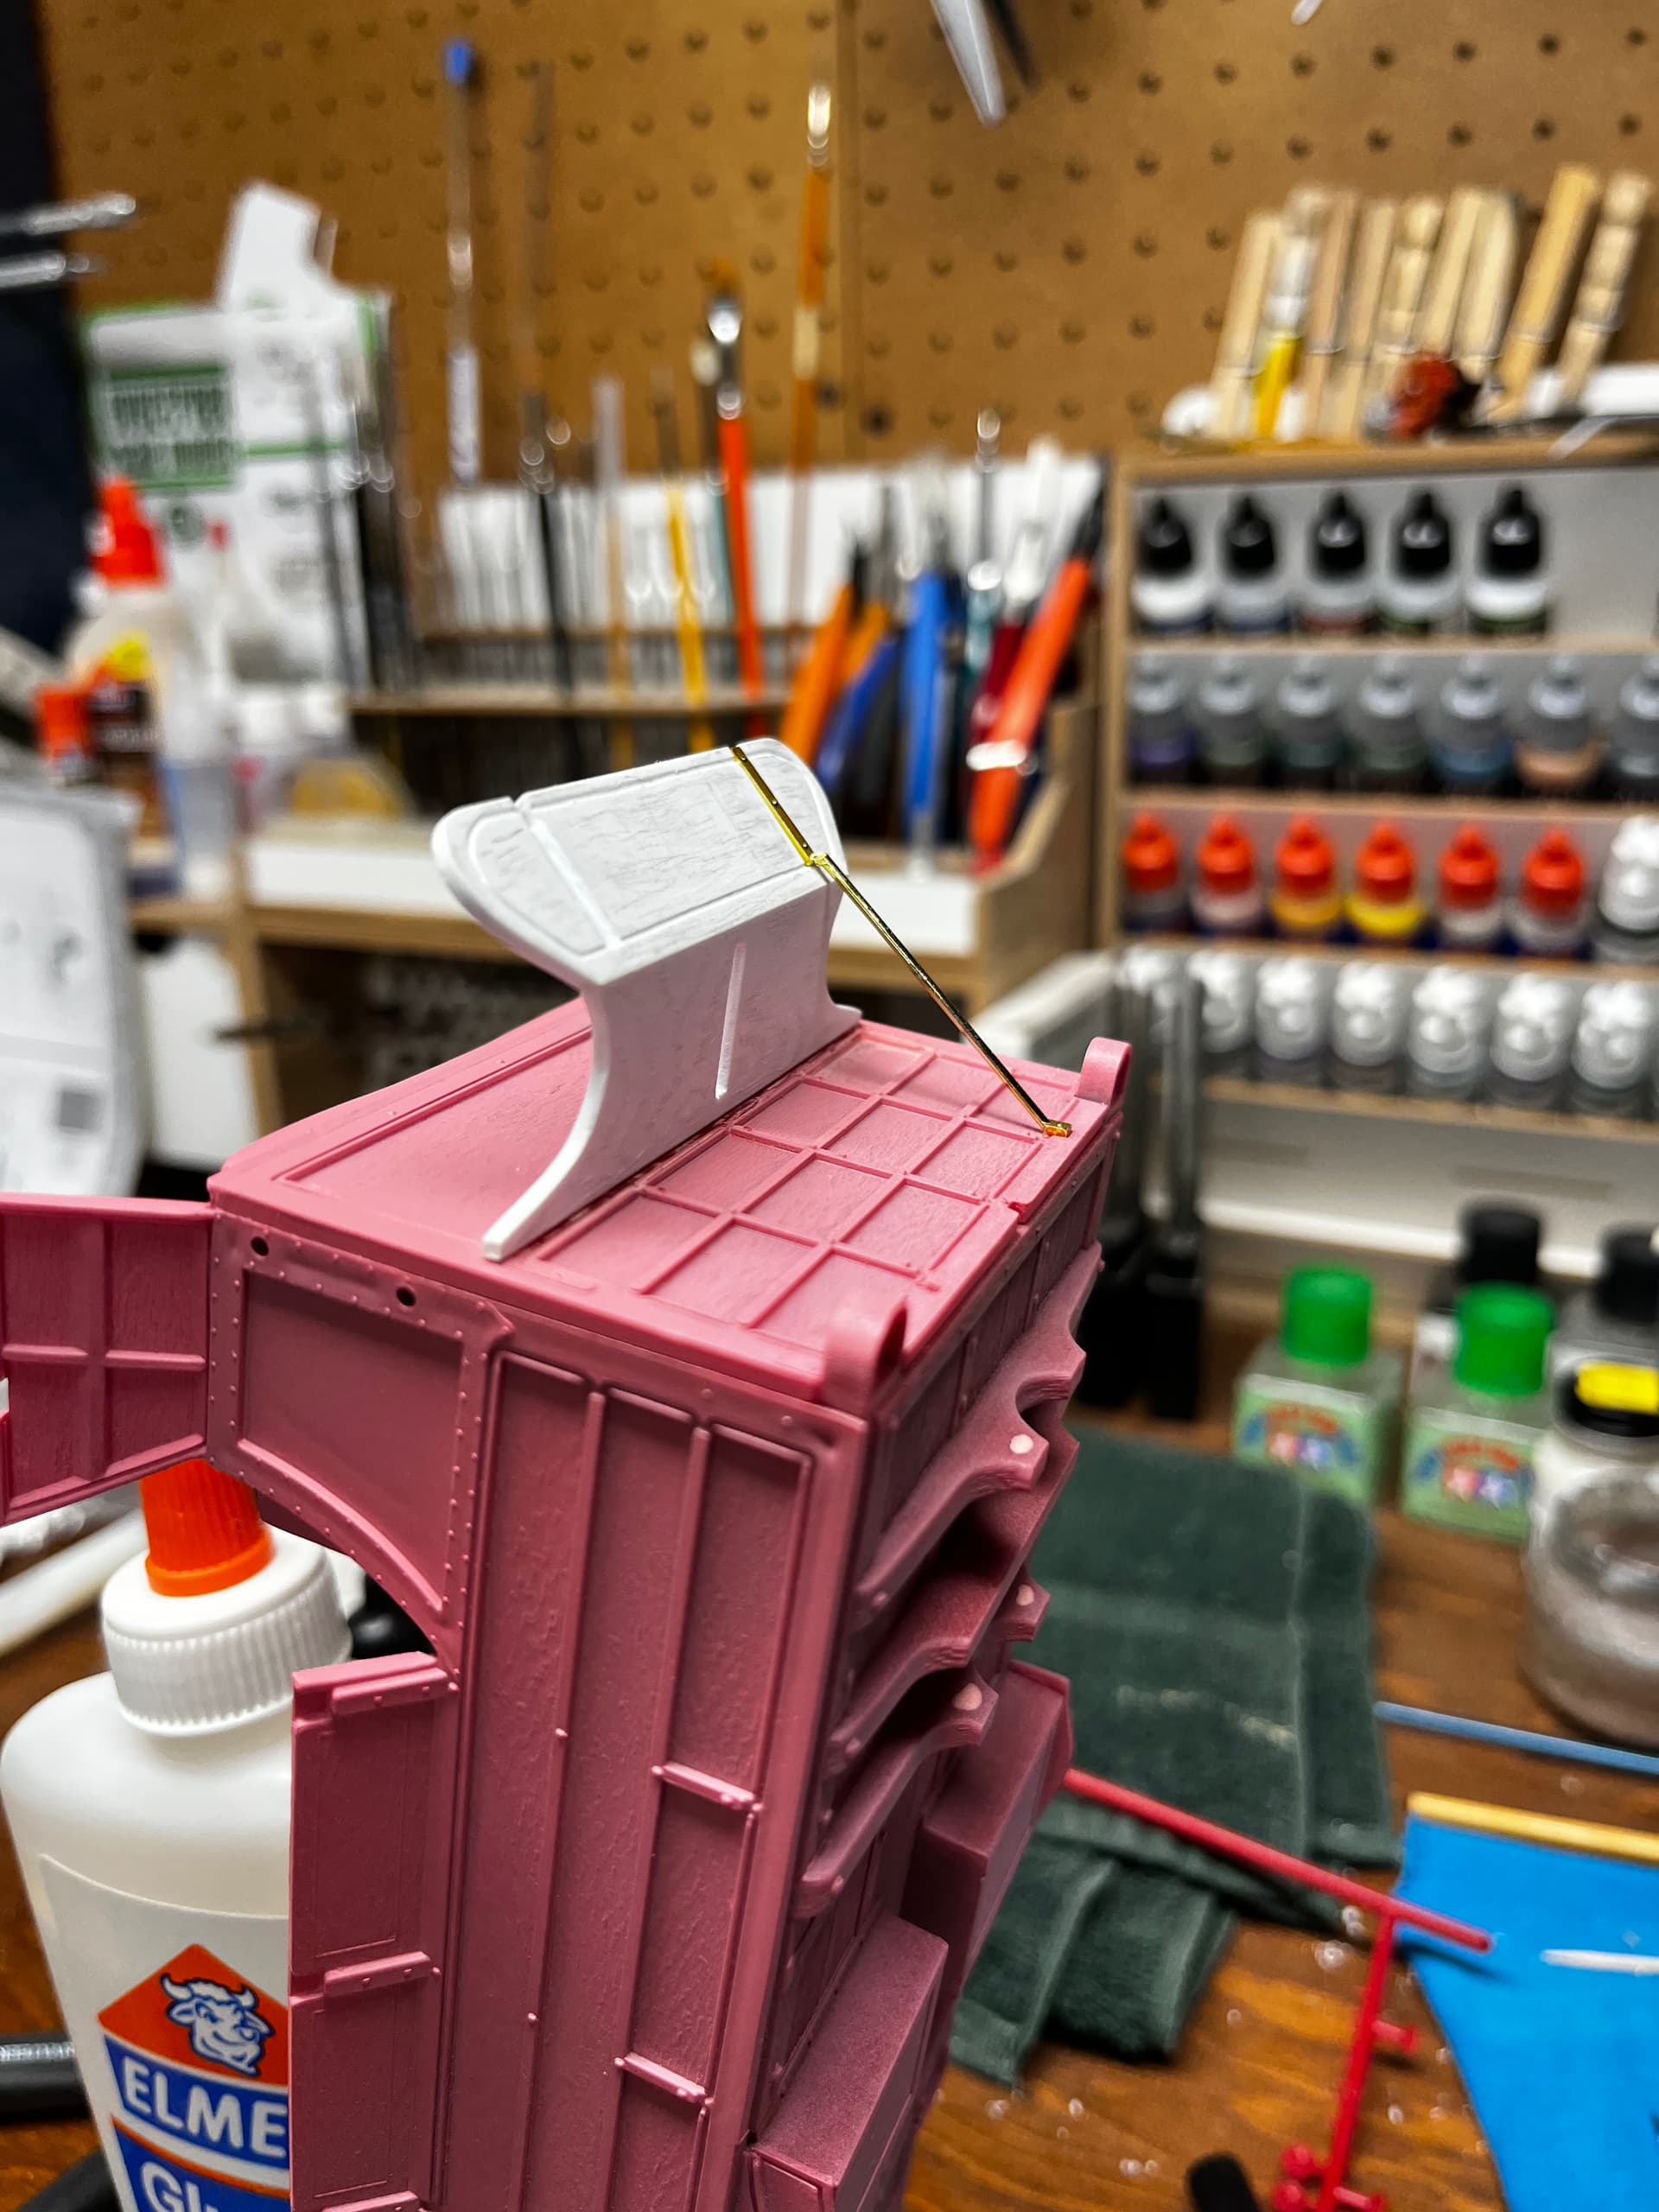
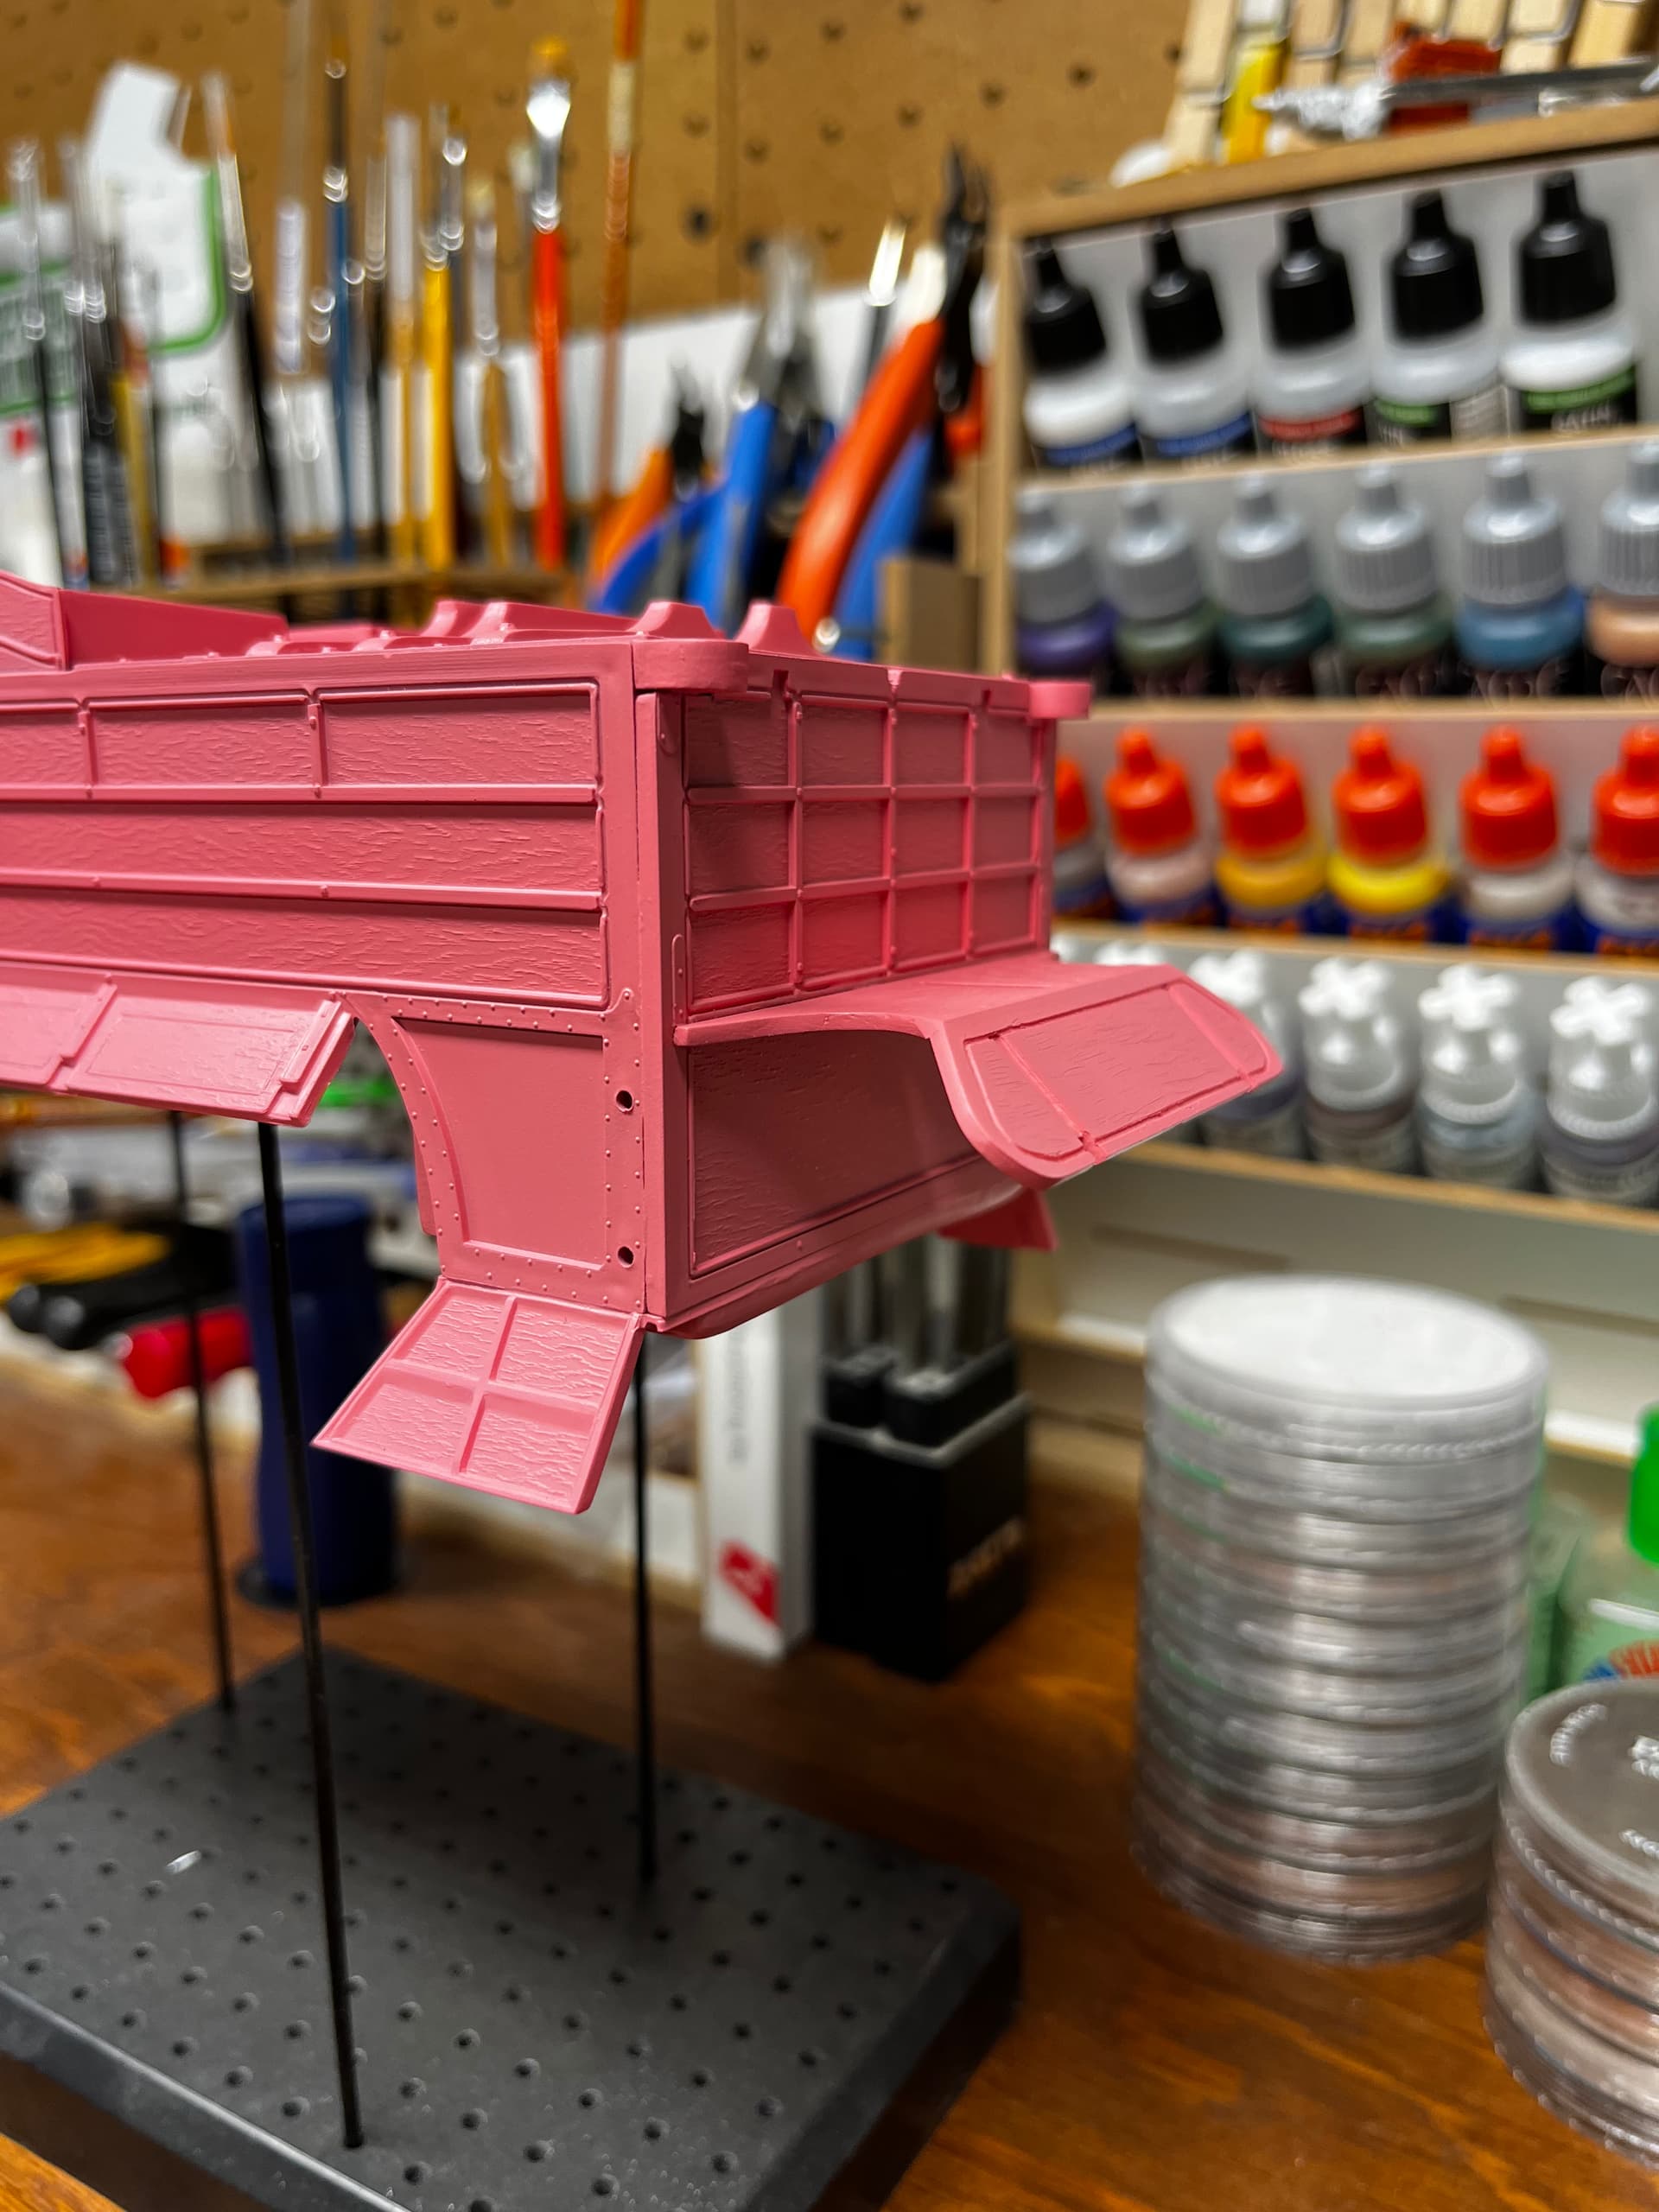
Some parts needed a little persuading. In that last photo, notice the footboard and the warp. At the time, I convinced myself that I could live with it. It was an old kit and the plastic was not in a forgiving mood. This, too comes back. Partly because I couldn’t leave well enough alone, but also hubris.

3 Likes

Yikes - Looks like you’d need a chainsaw on those sprues! :flushed_face:

As we say around the FSM offices, they were CHONKY.

1 Like

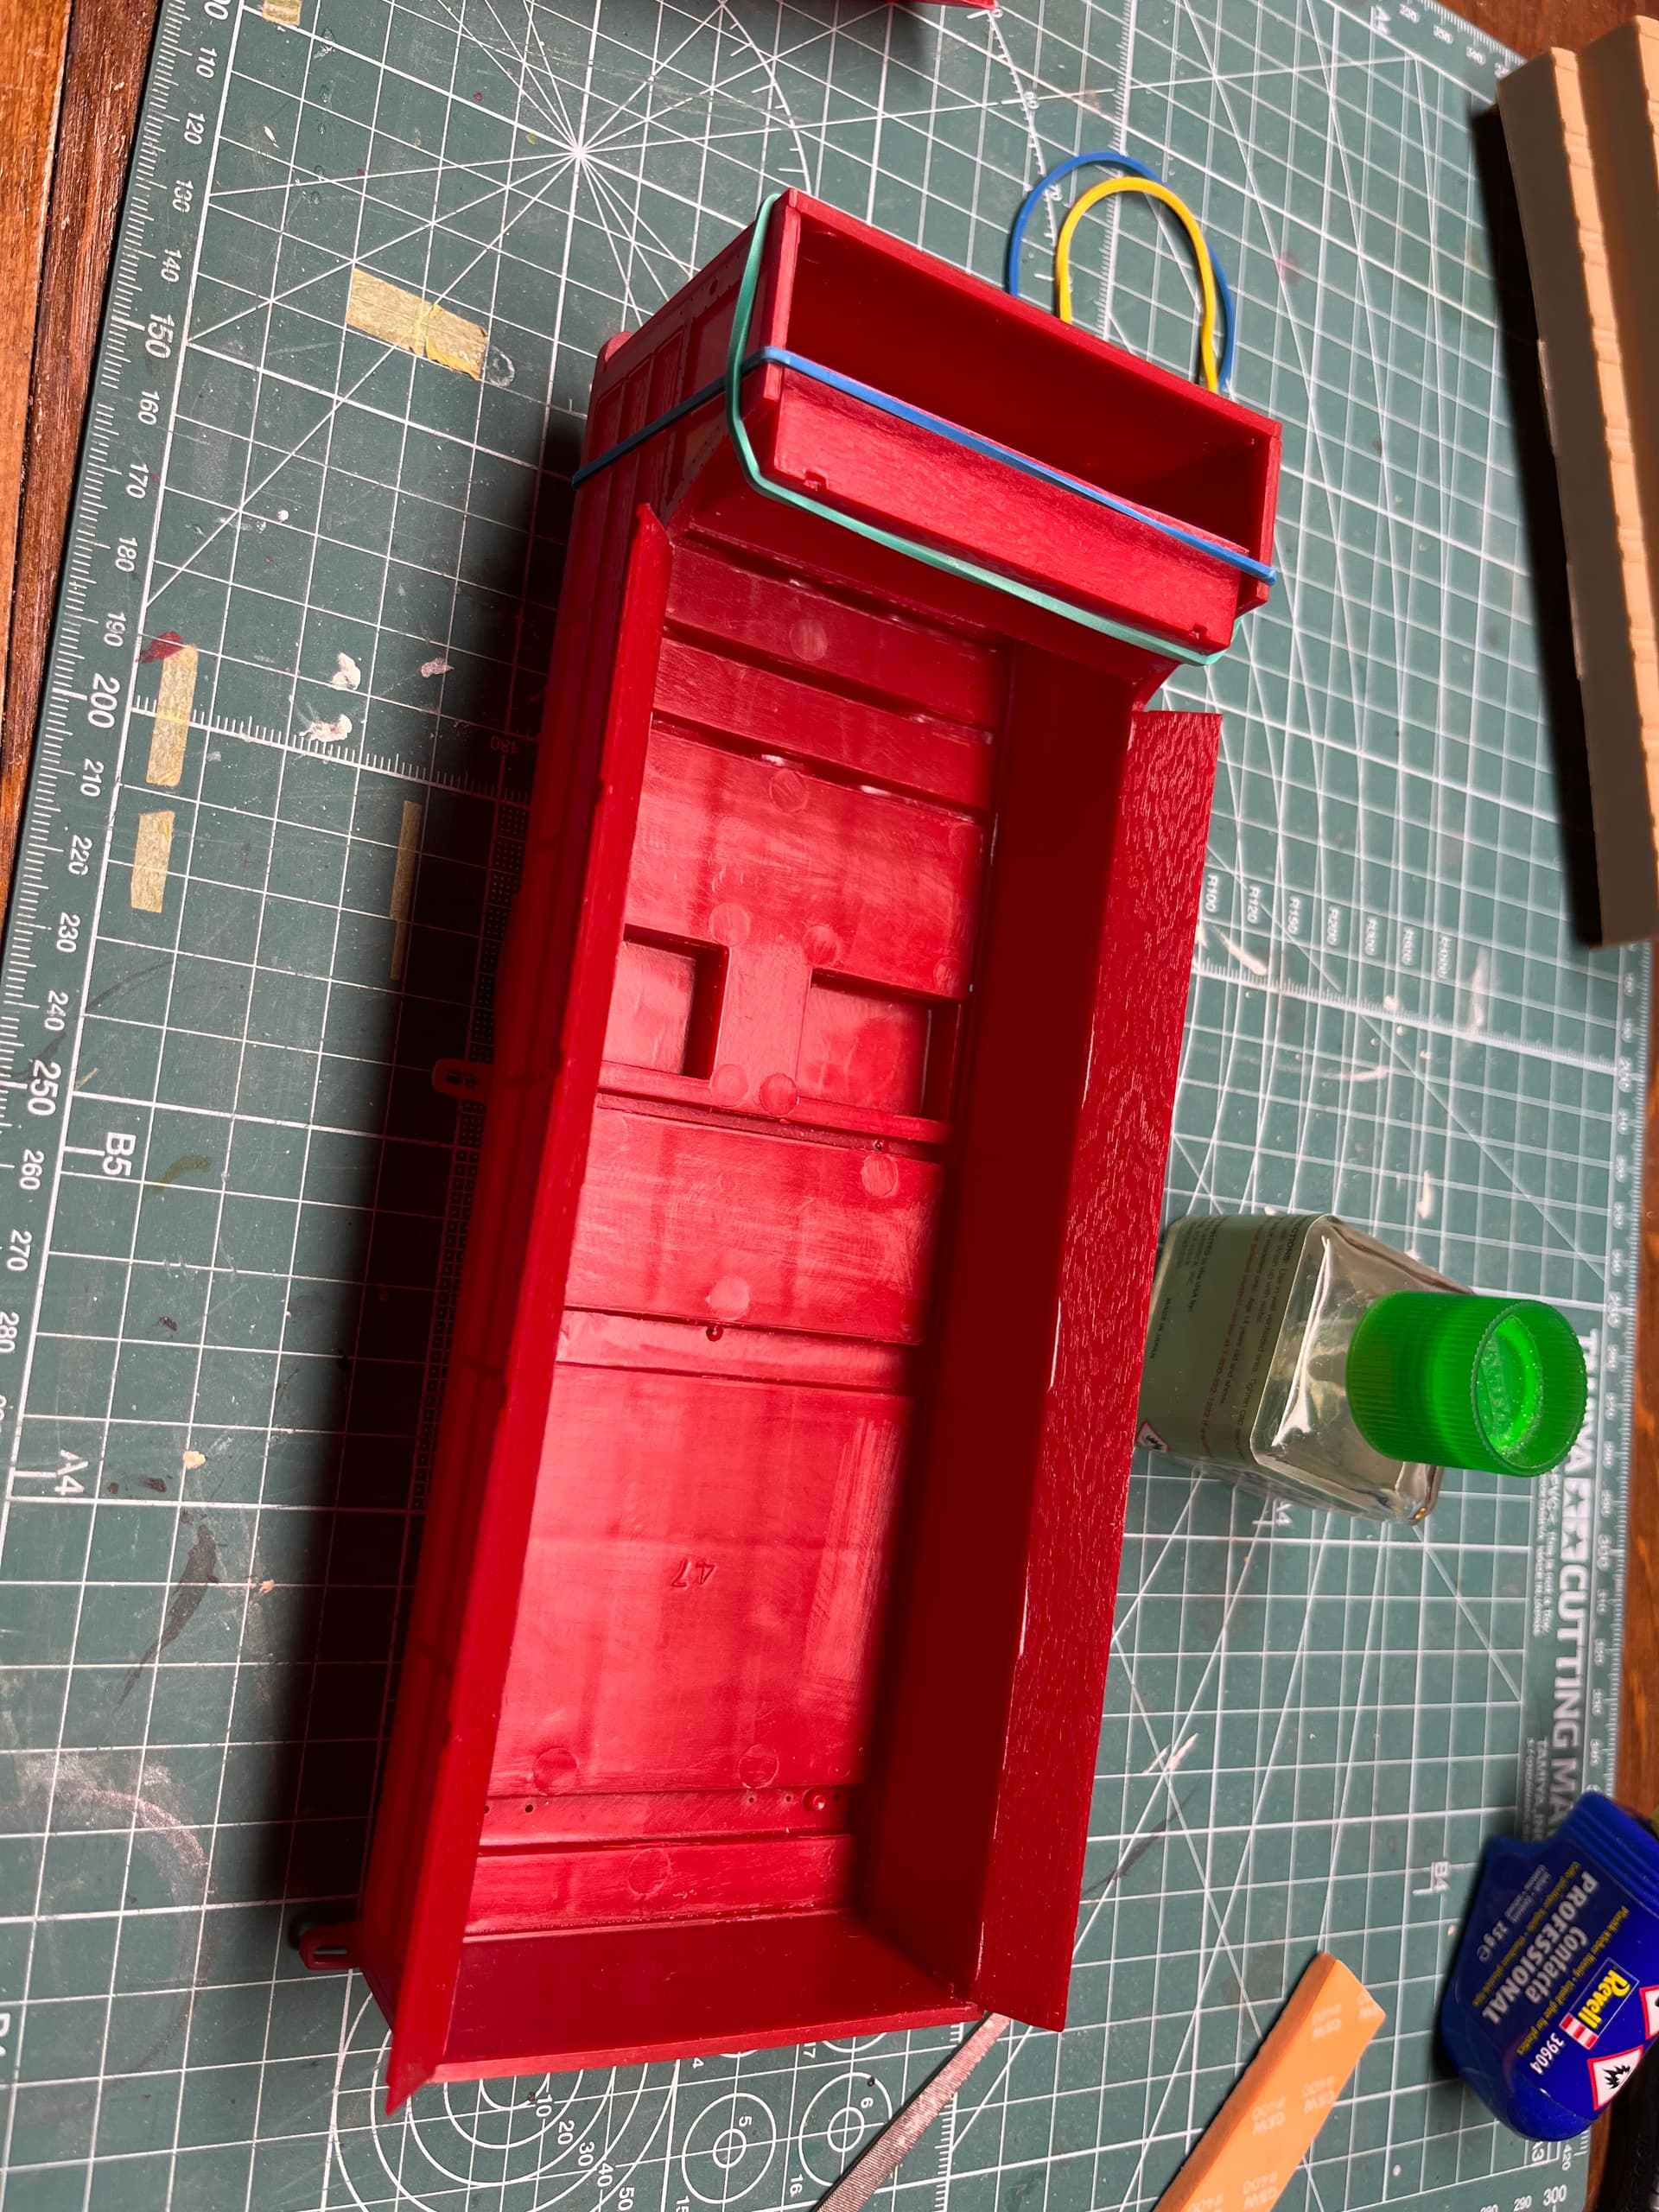
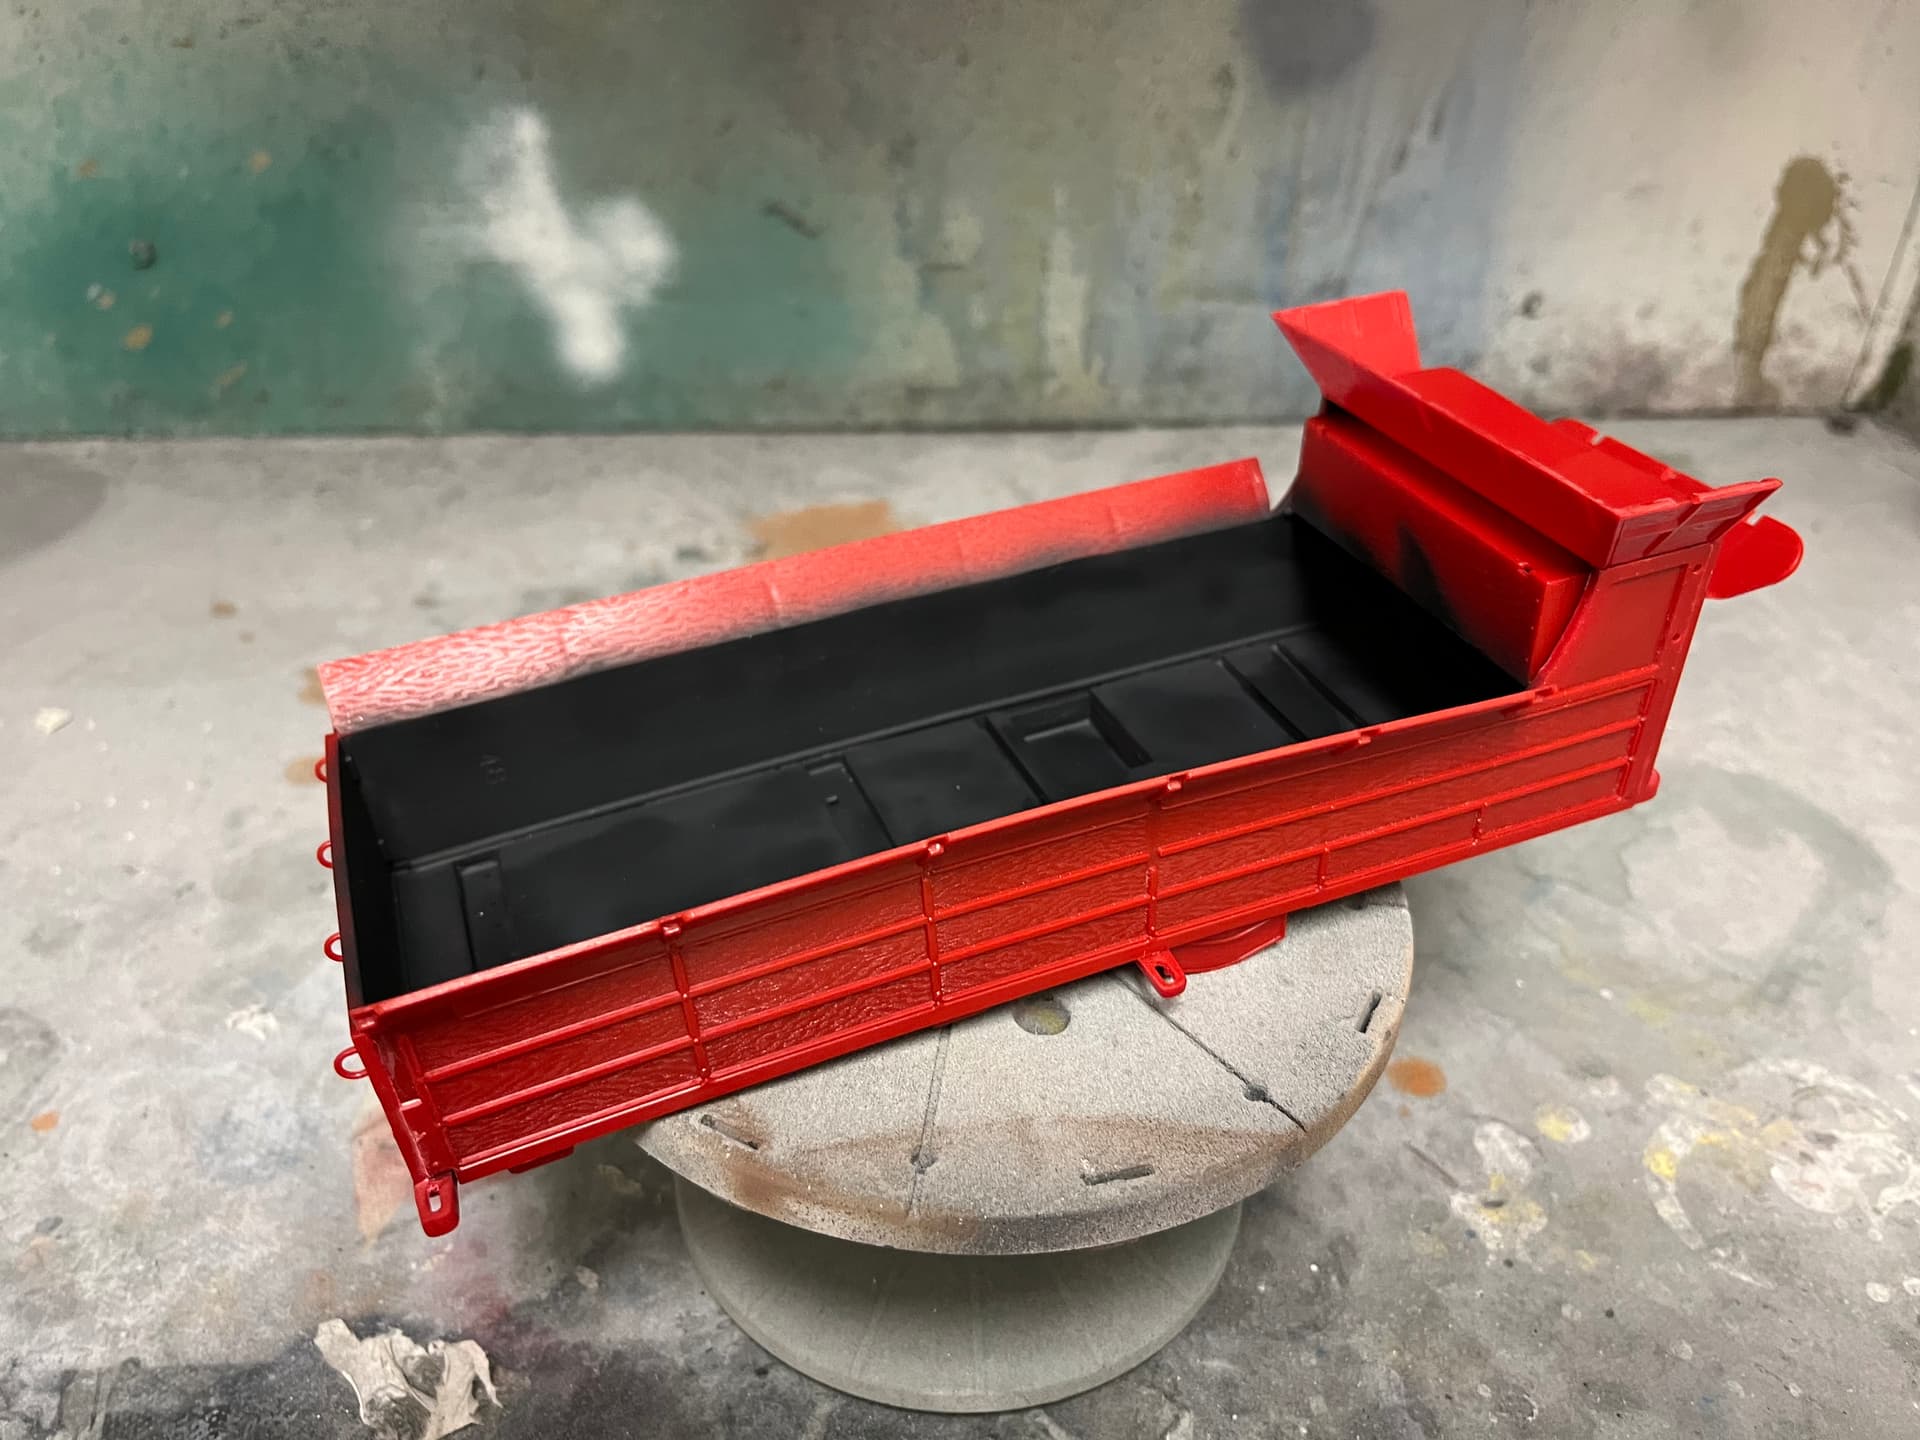
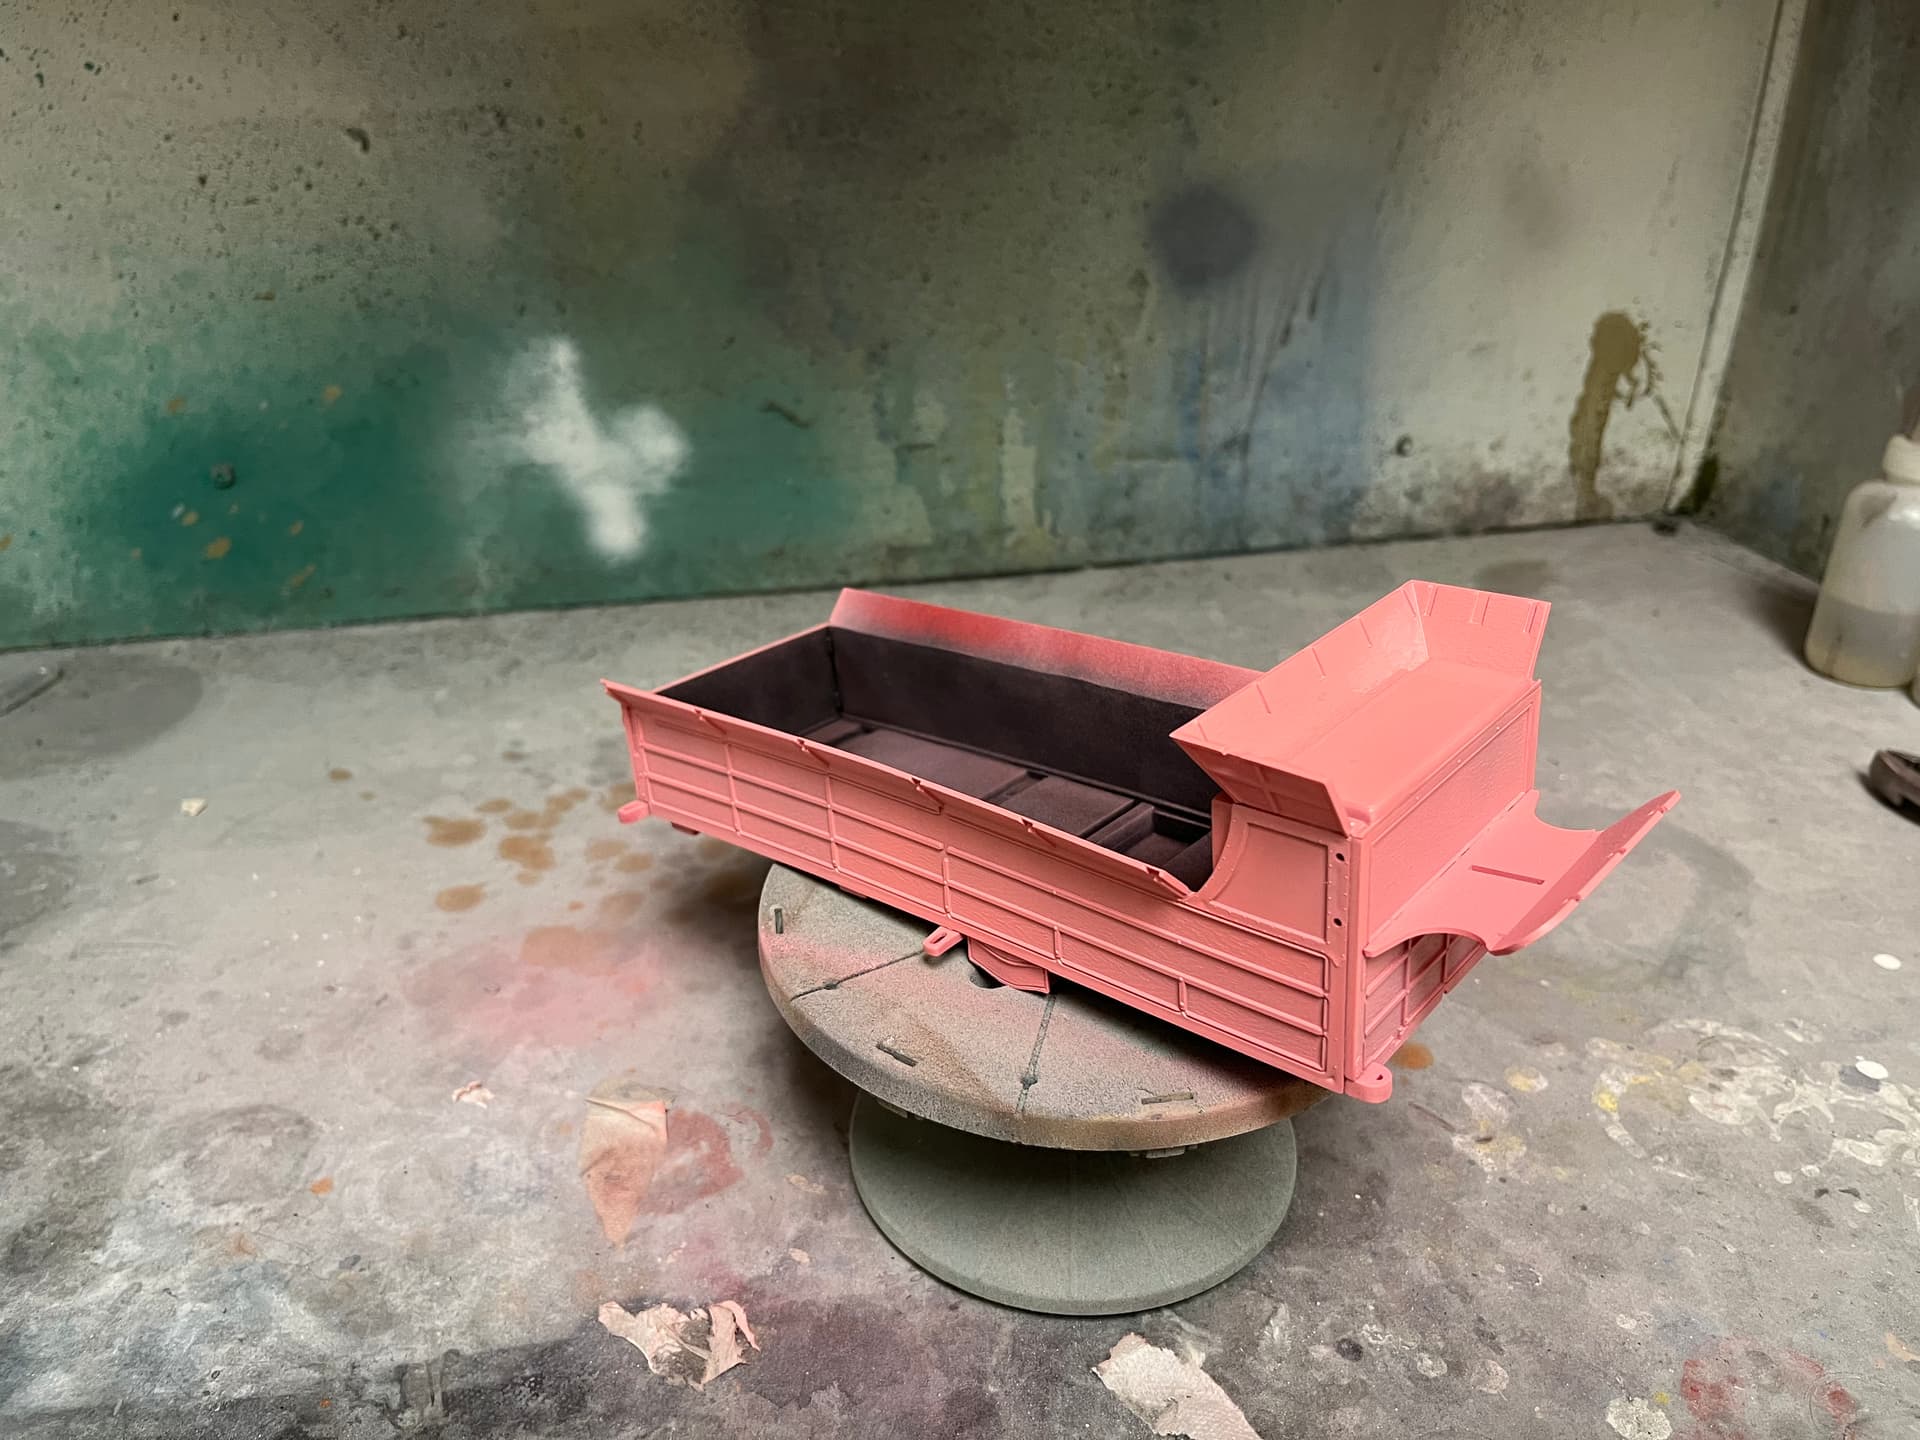
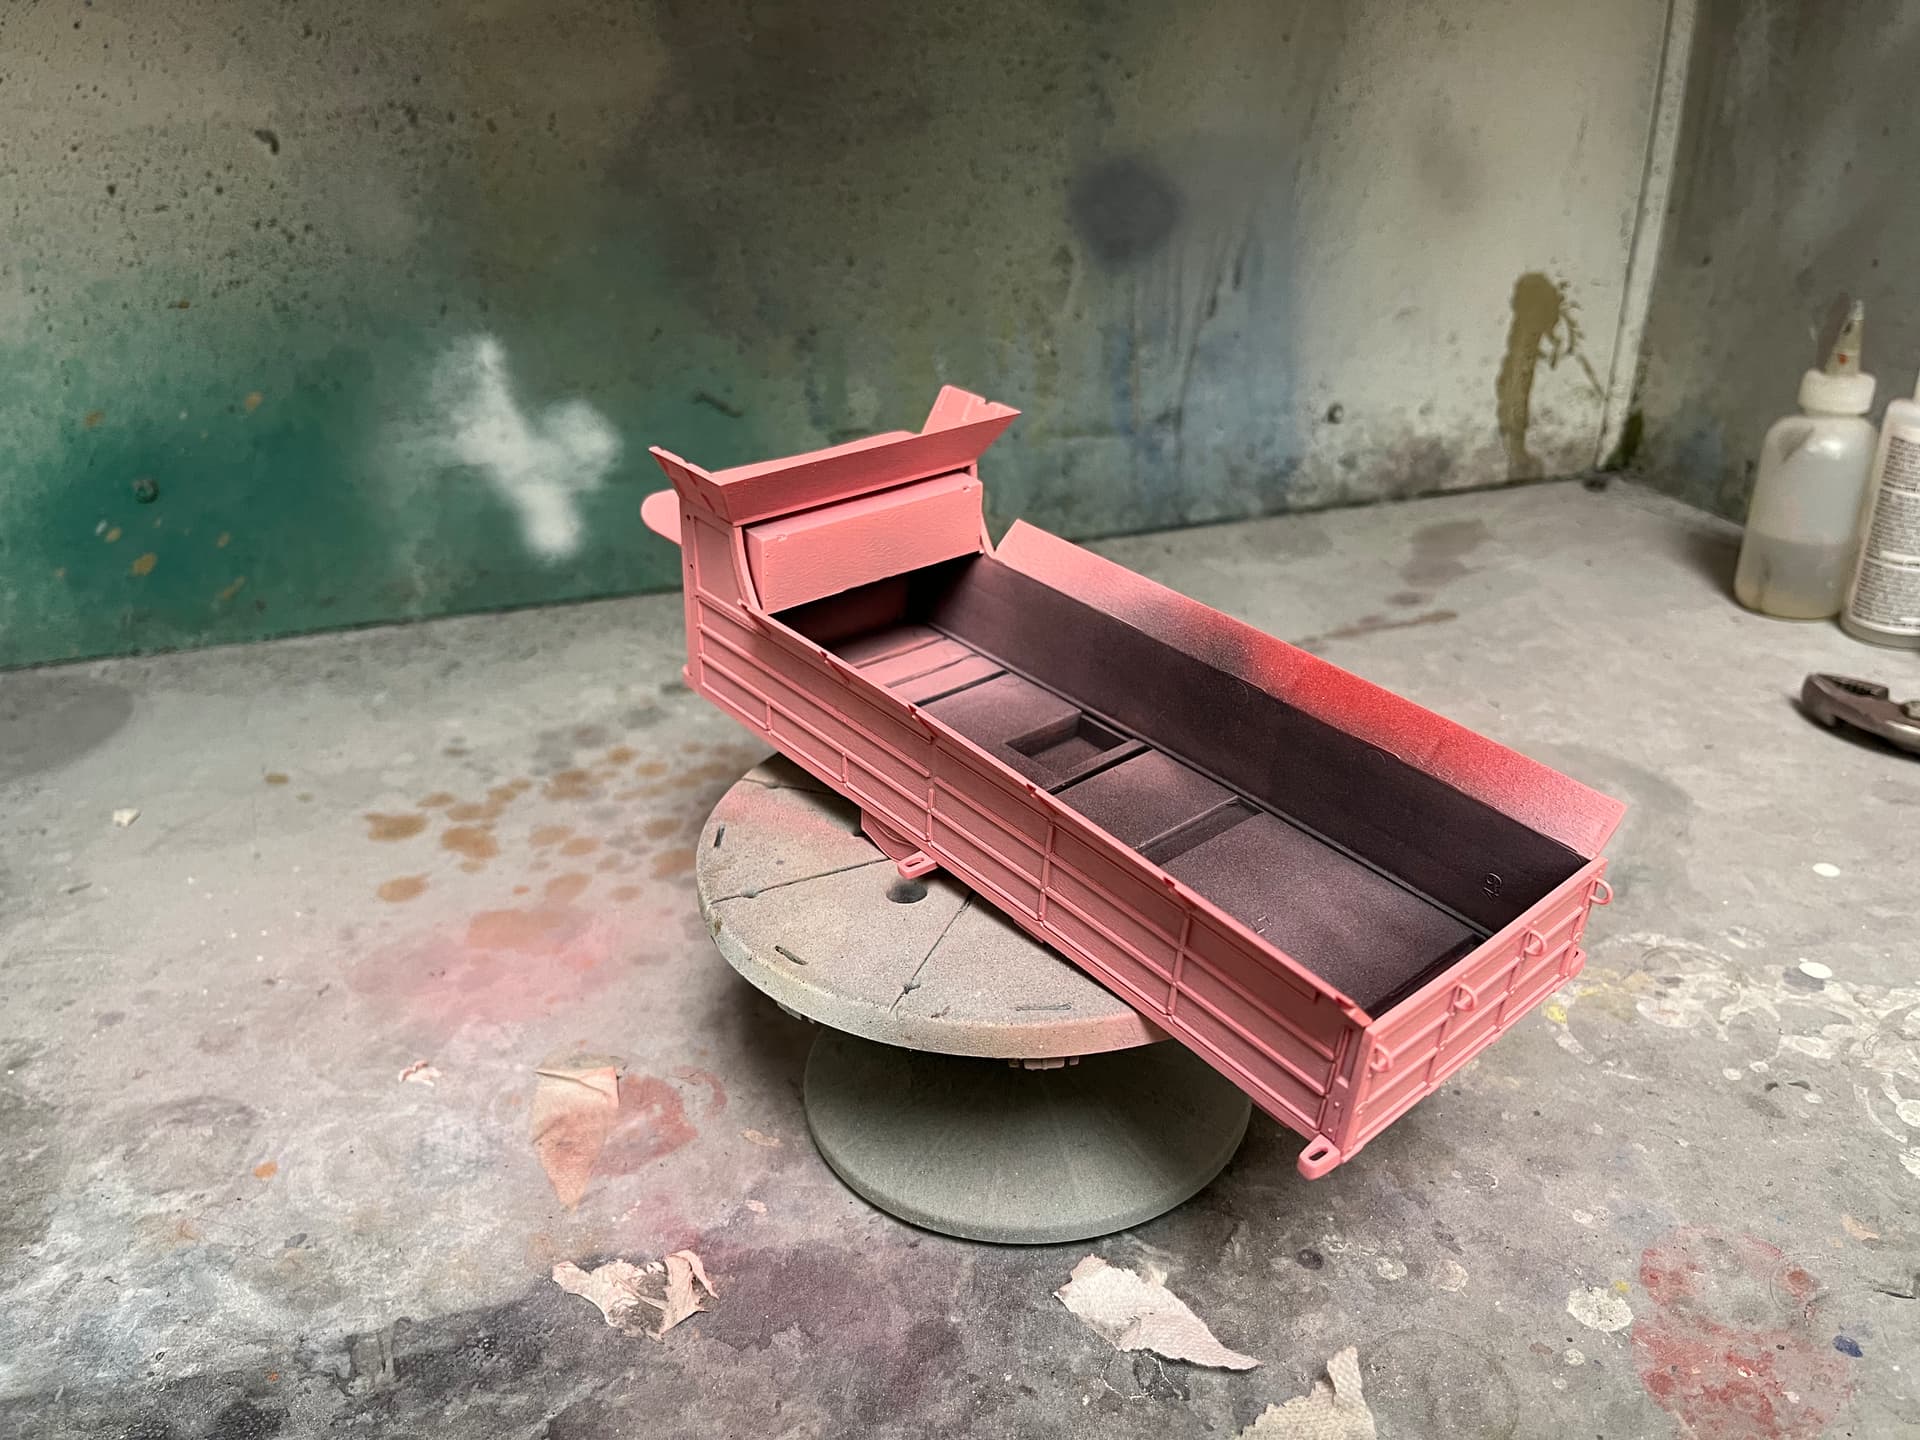
With the wagon bed, bench, and footboard assembled, I primed the interior black and the test pink. weird to see the old FSM paint booth in these photos.

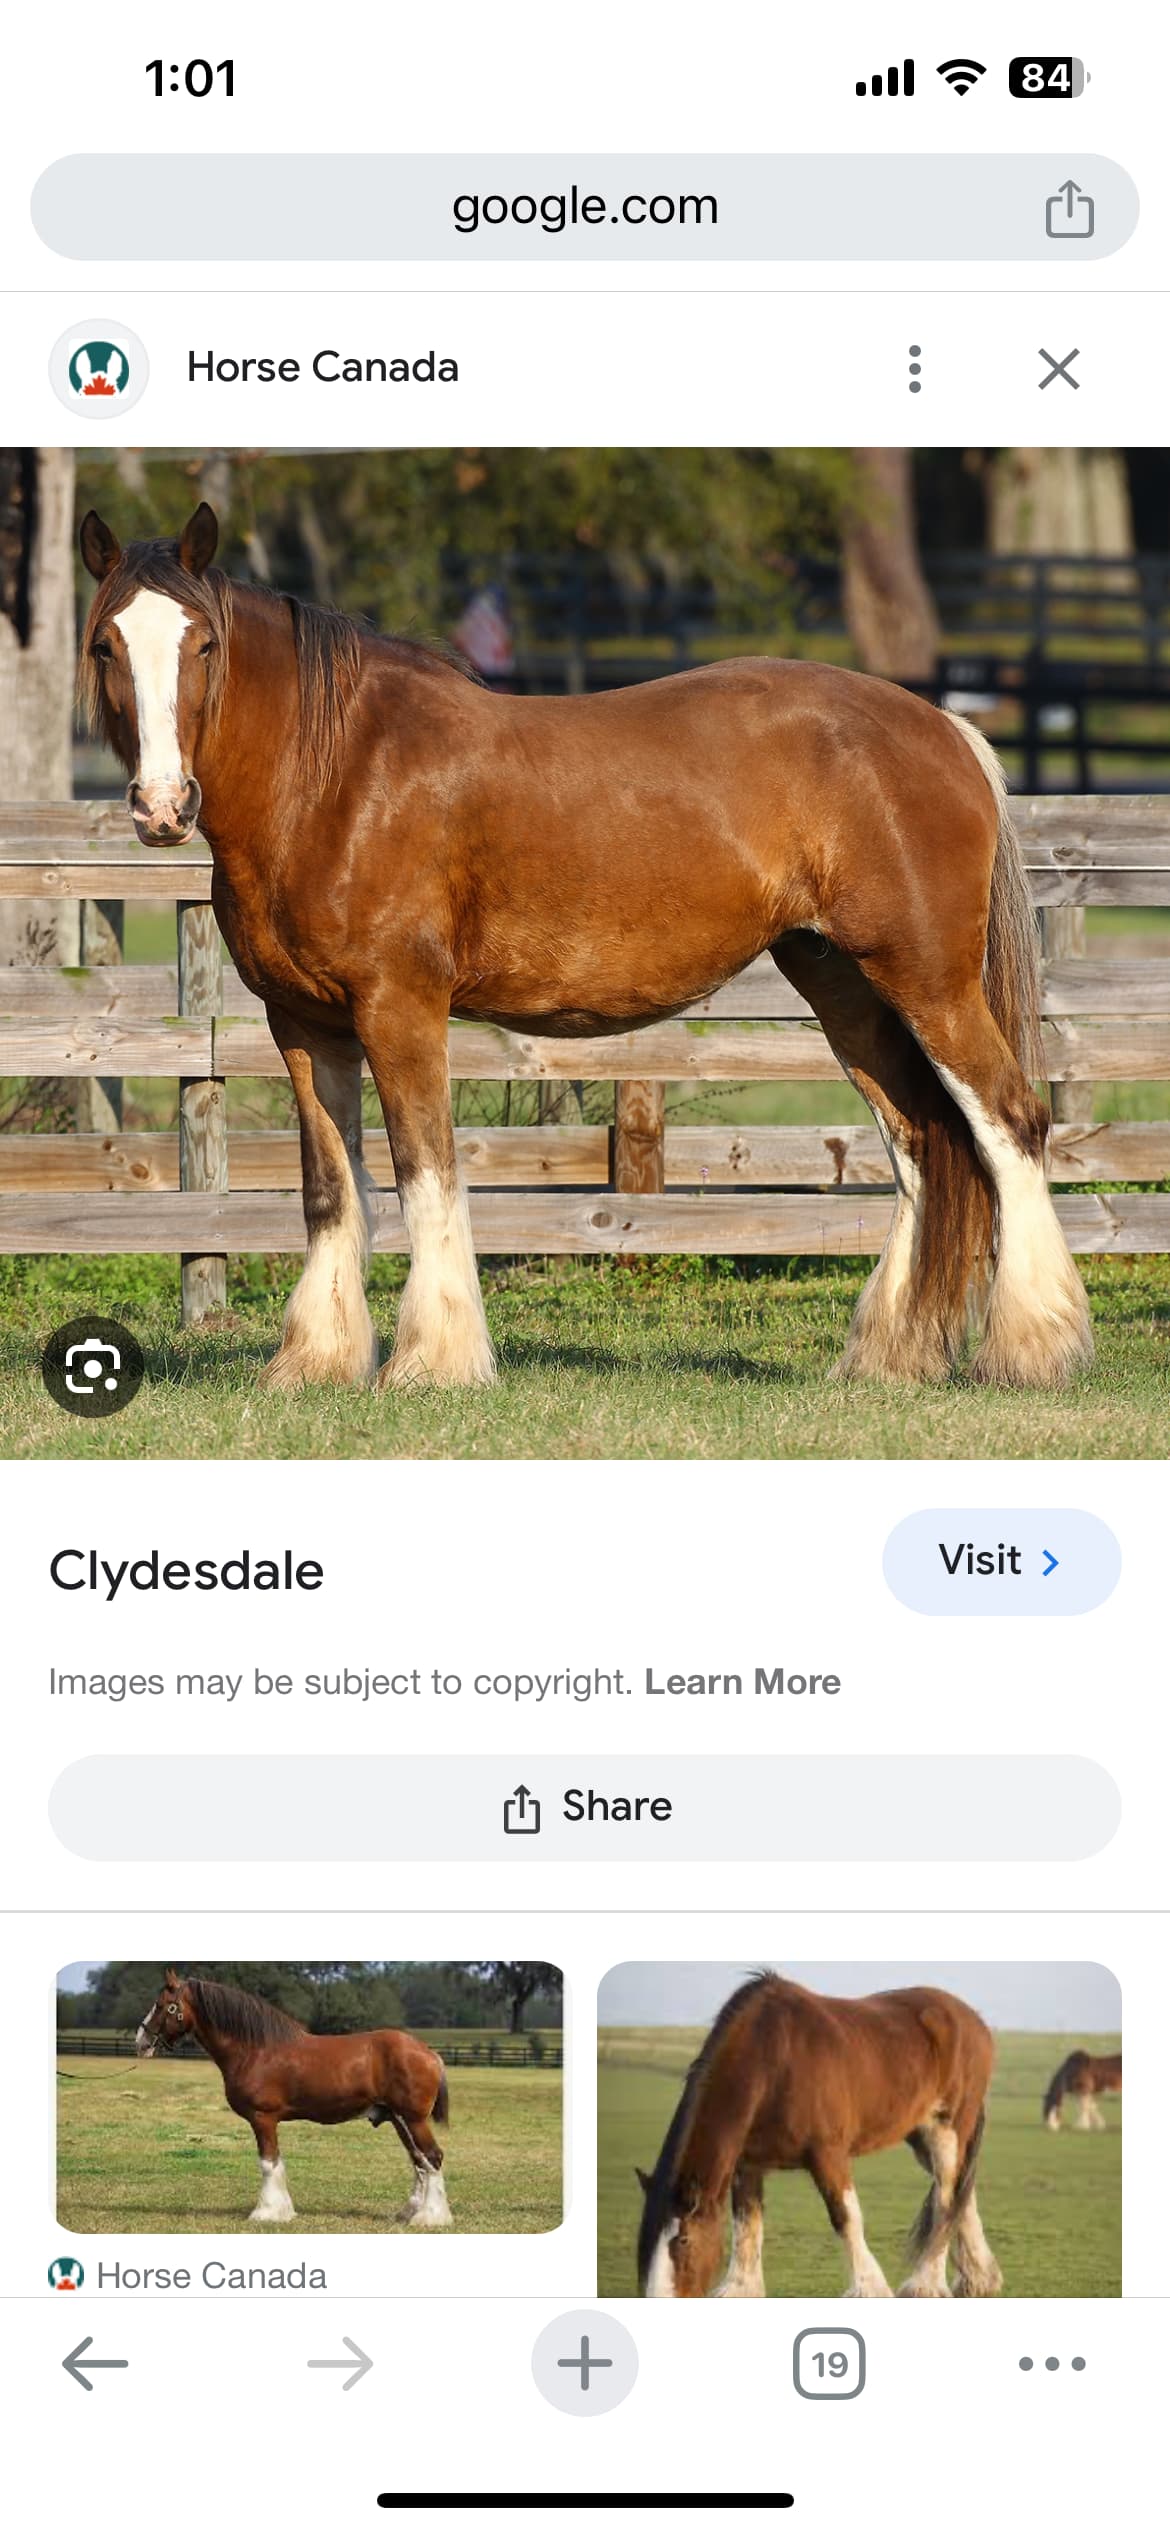
Then I was researching Clydesdales. We all know what they look like, right? Wrong! They can be bay, black, gray, or chestnut, and painting each of those is its own journey. I discovered a whole subset of modelers, mostly women, who exclusively model horses. I was ignorant of the genre, of companies like Breyer and the contests that around this part of the scale modeling community.

These modelers are amazing, able to achieve stunning finishes on the coats. So i read and watched and tried to learn. I determined the Bud horses were bays …

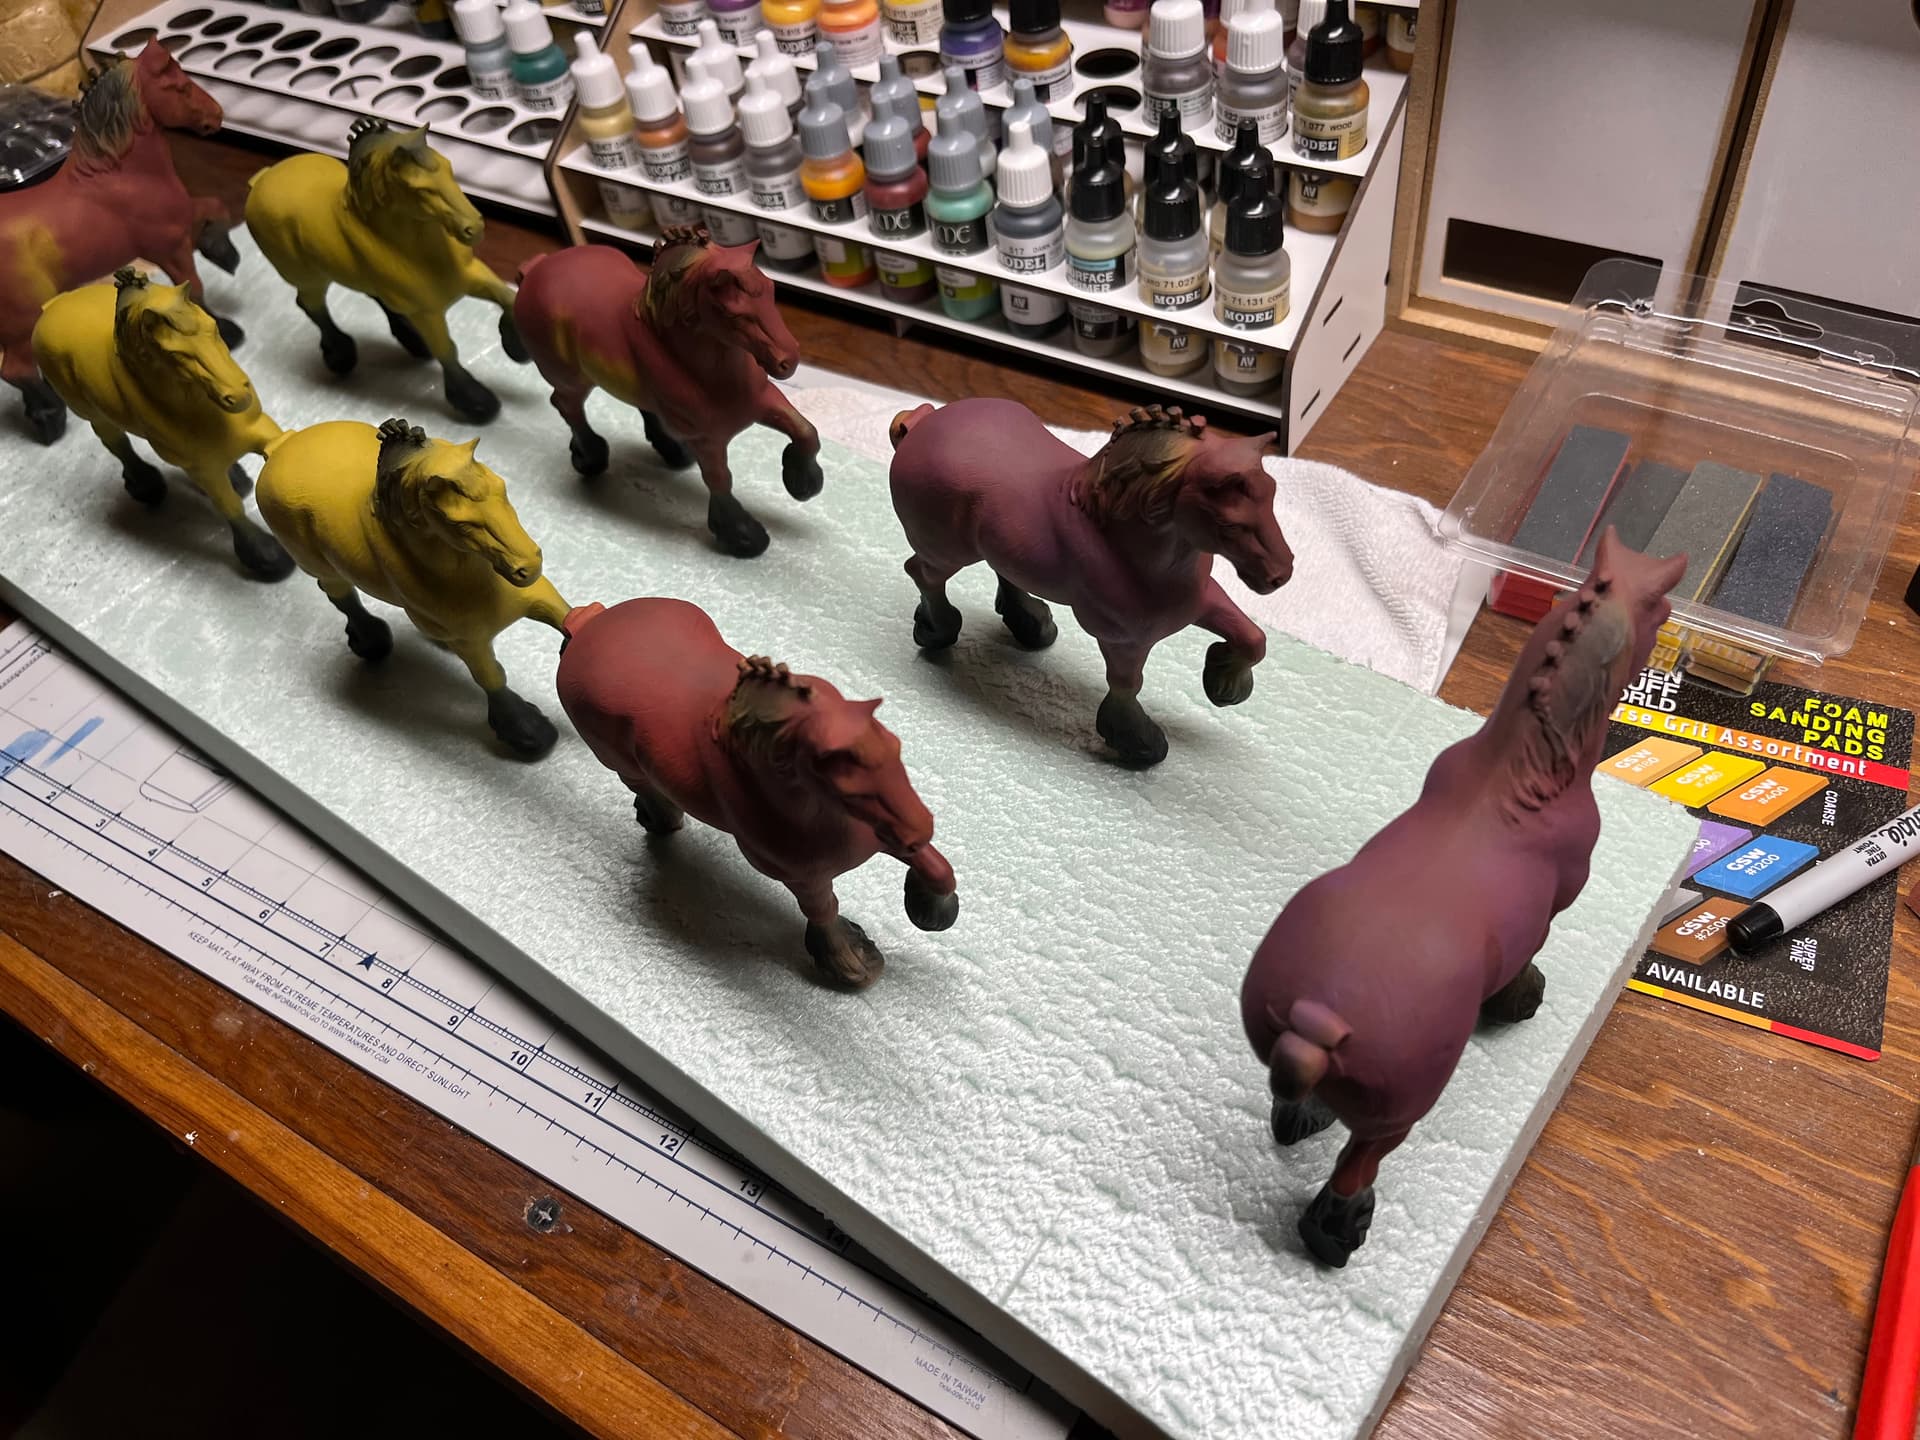
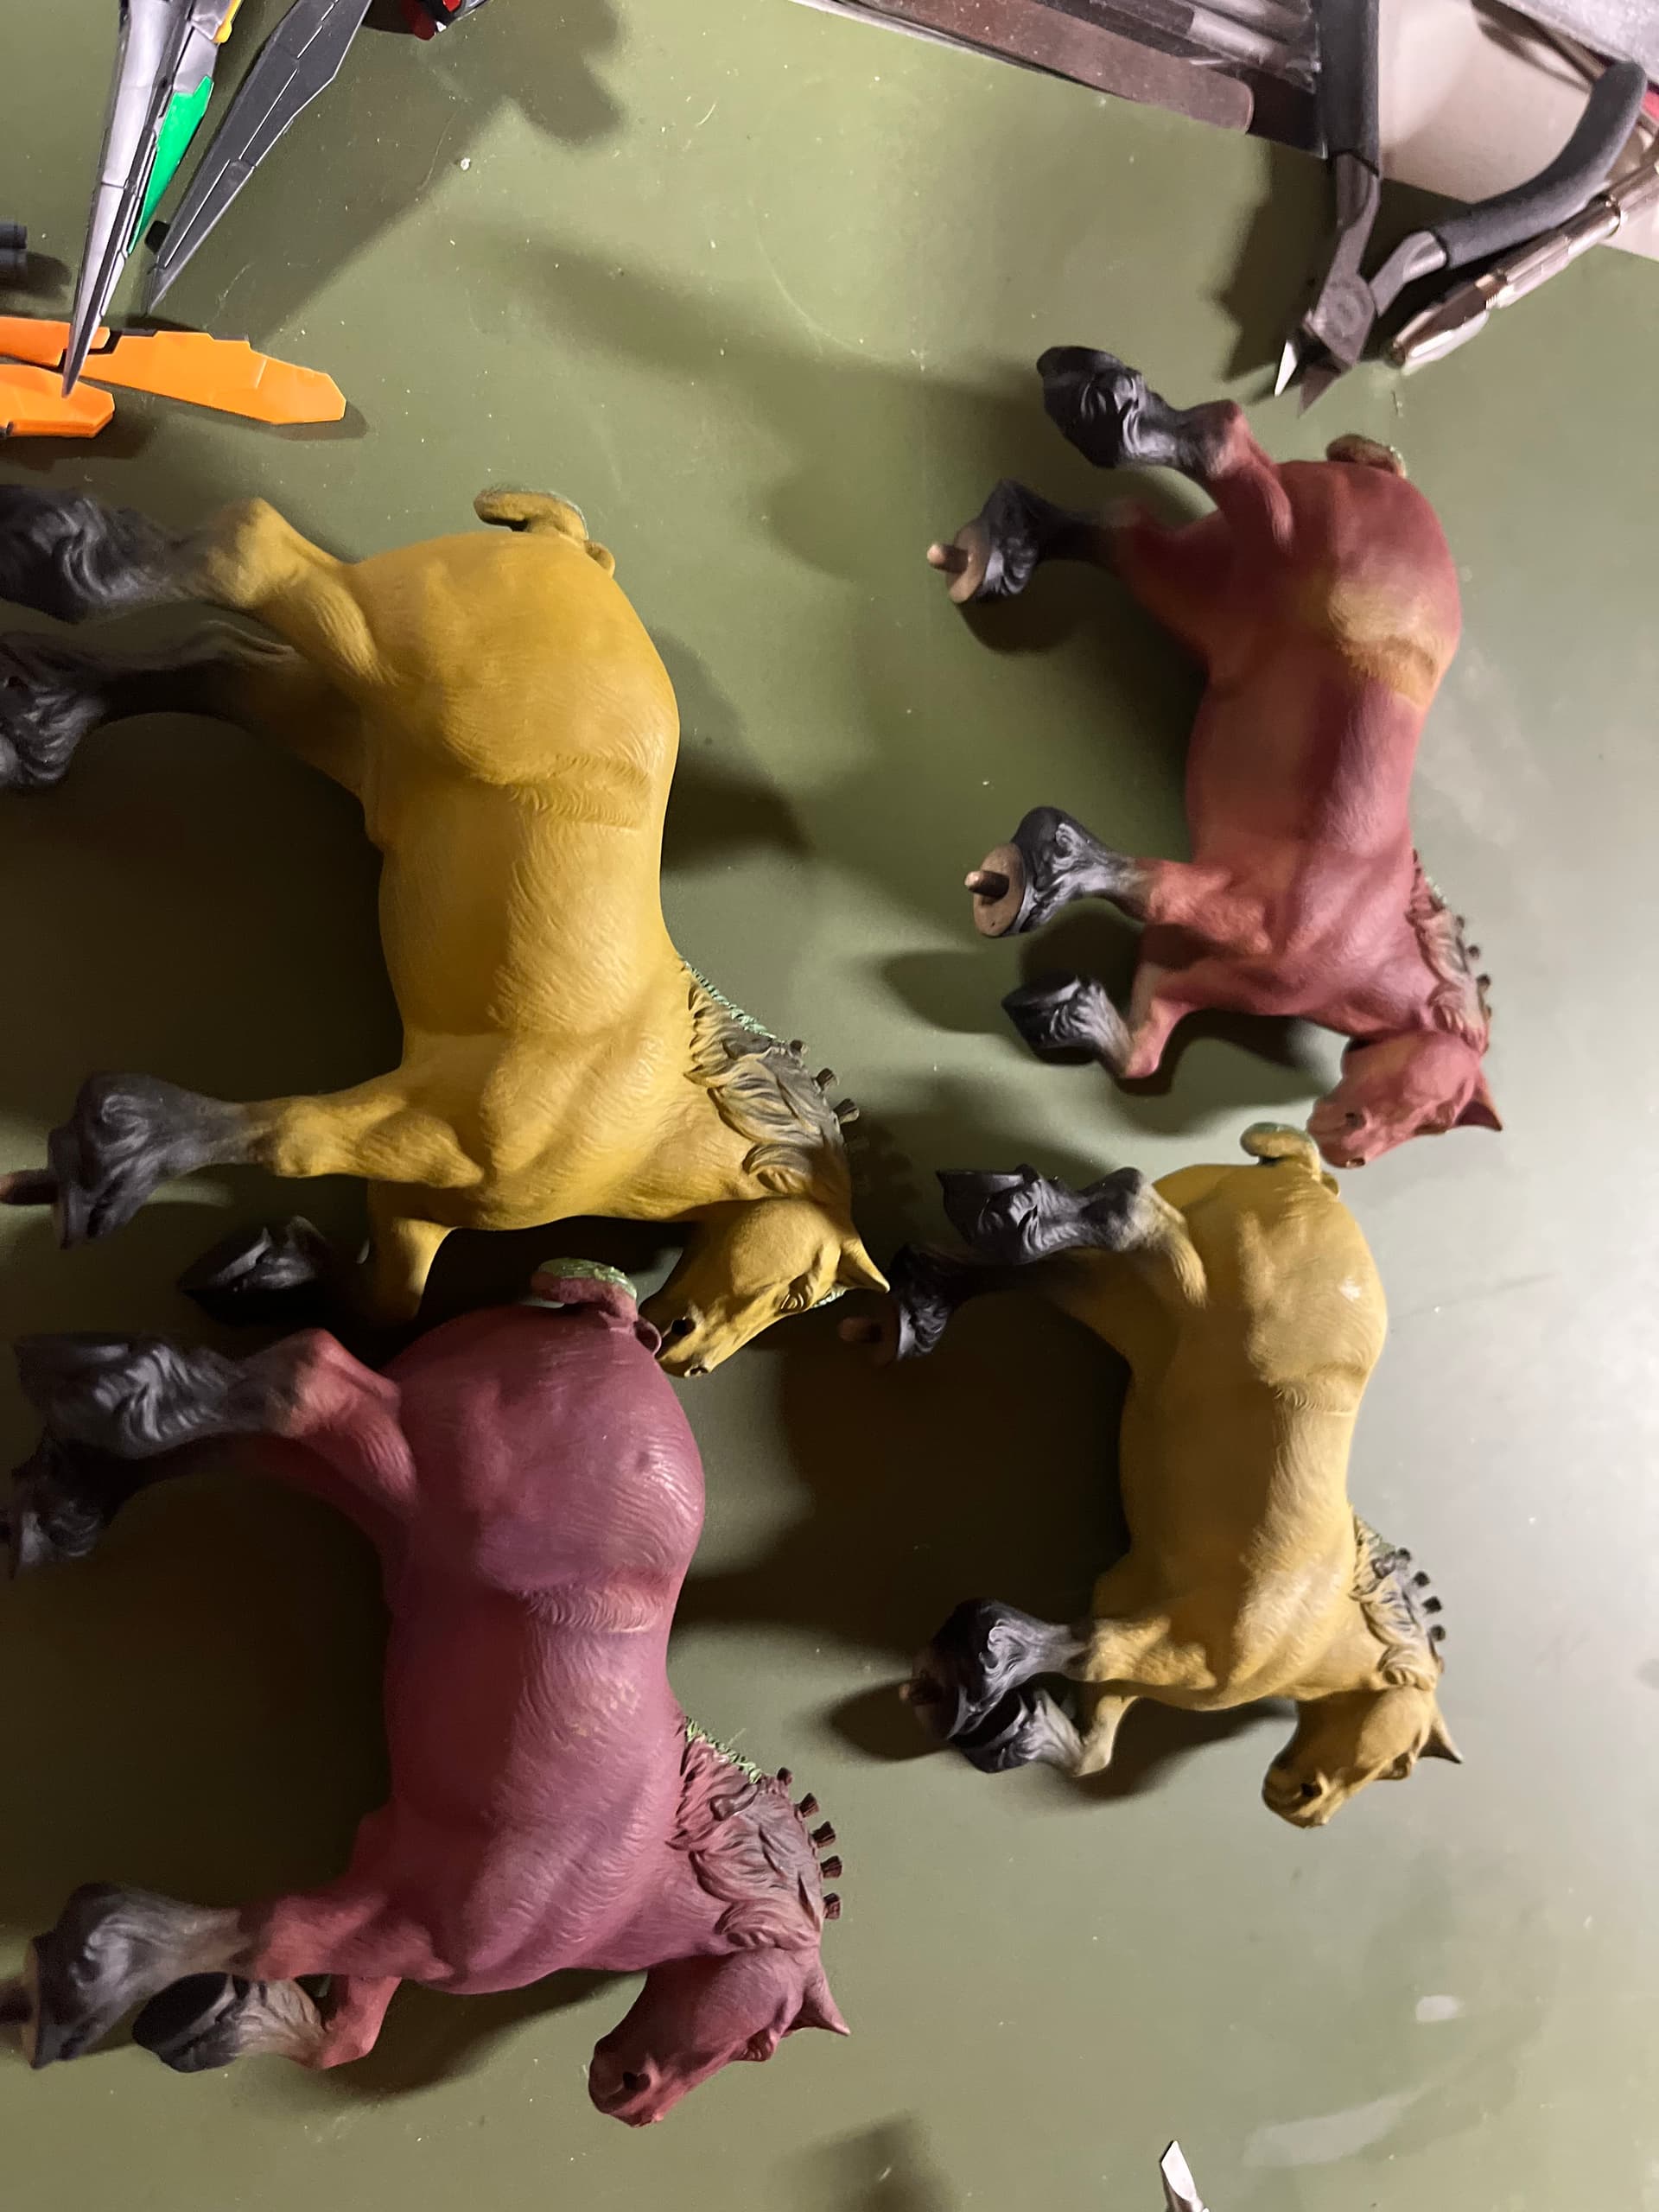
and went looking for how to paint them. After a while, I determined I liked this one modeler’s results and attempted to follow her techniques, which included purple and gold and … well, a lot I didn’t and still don’t understand. and I got clown horses.

Nope. That was enough time in the wild horselands. Time to reset and fall back on my wargaming foundations and go there.

4 Likes

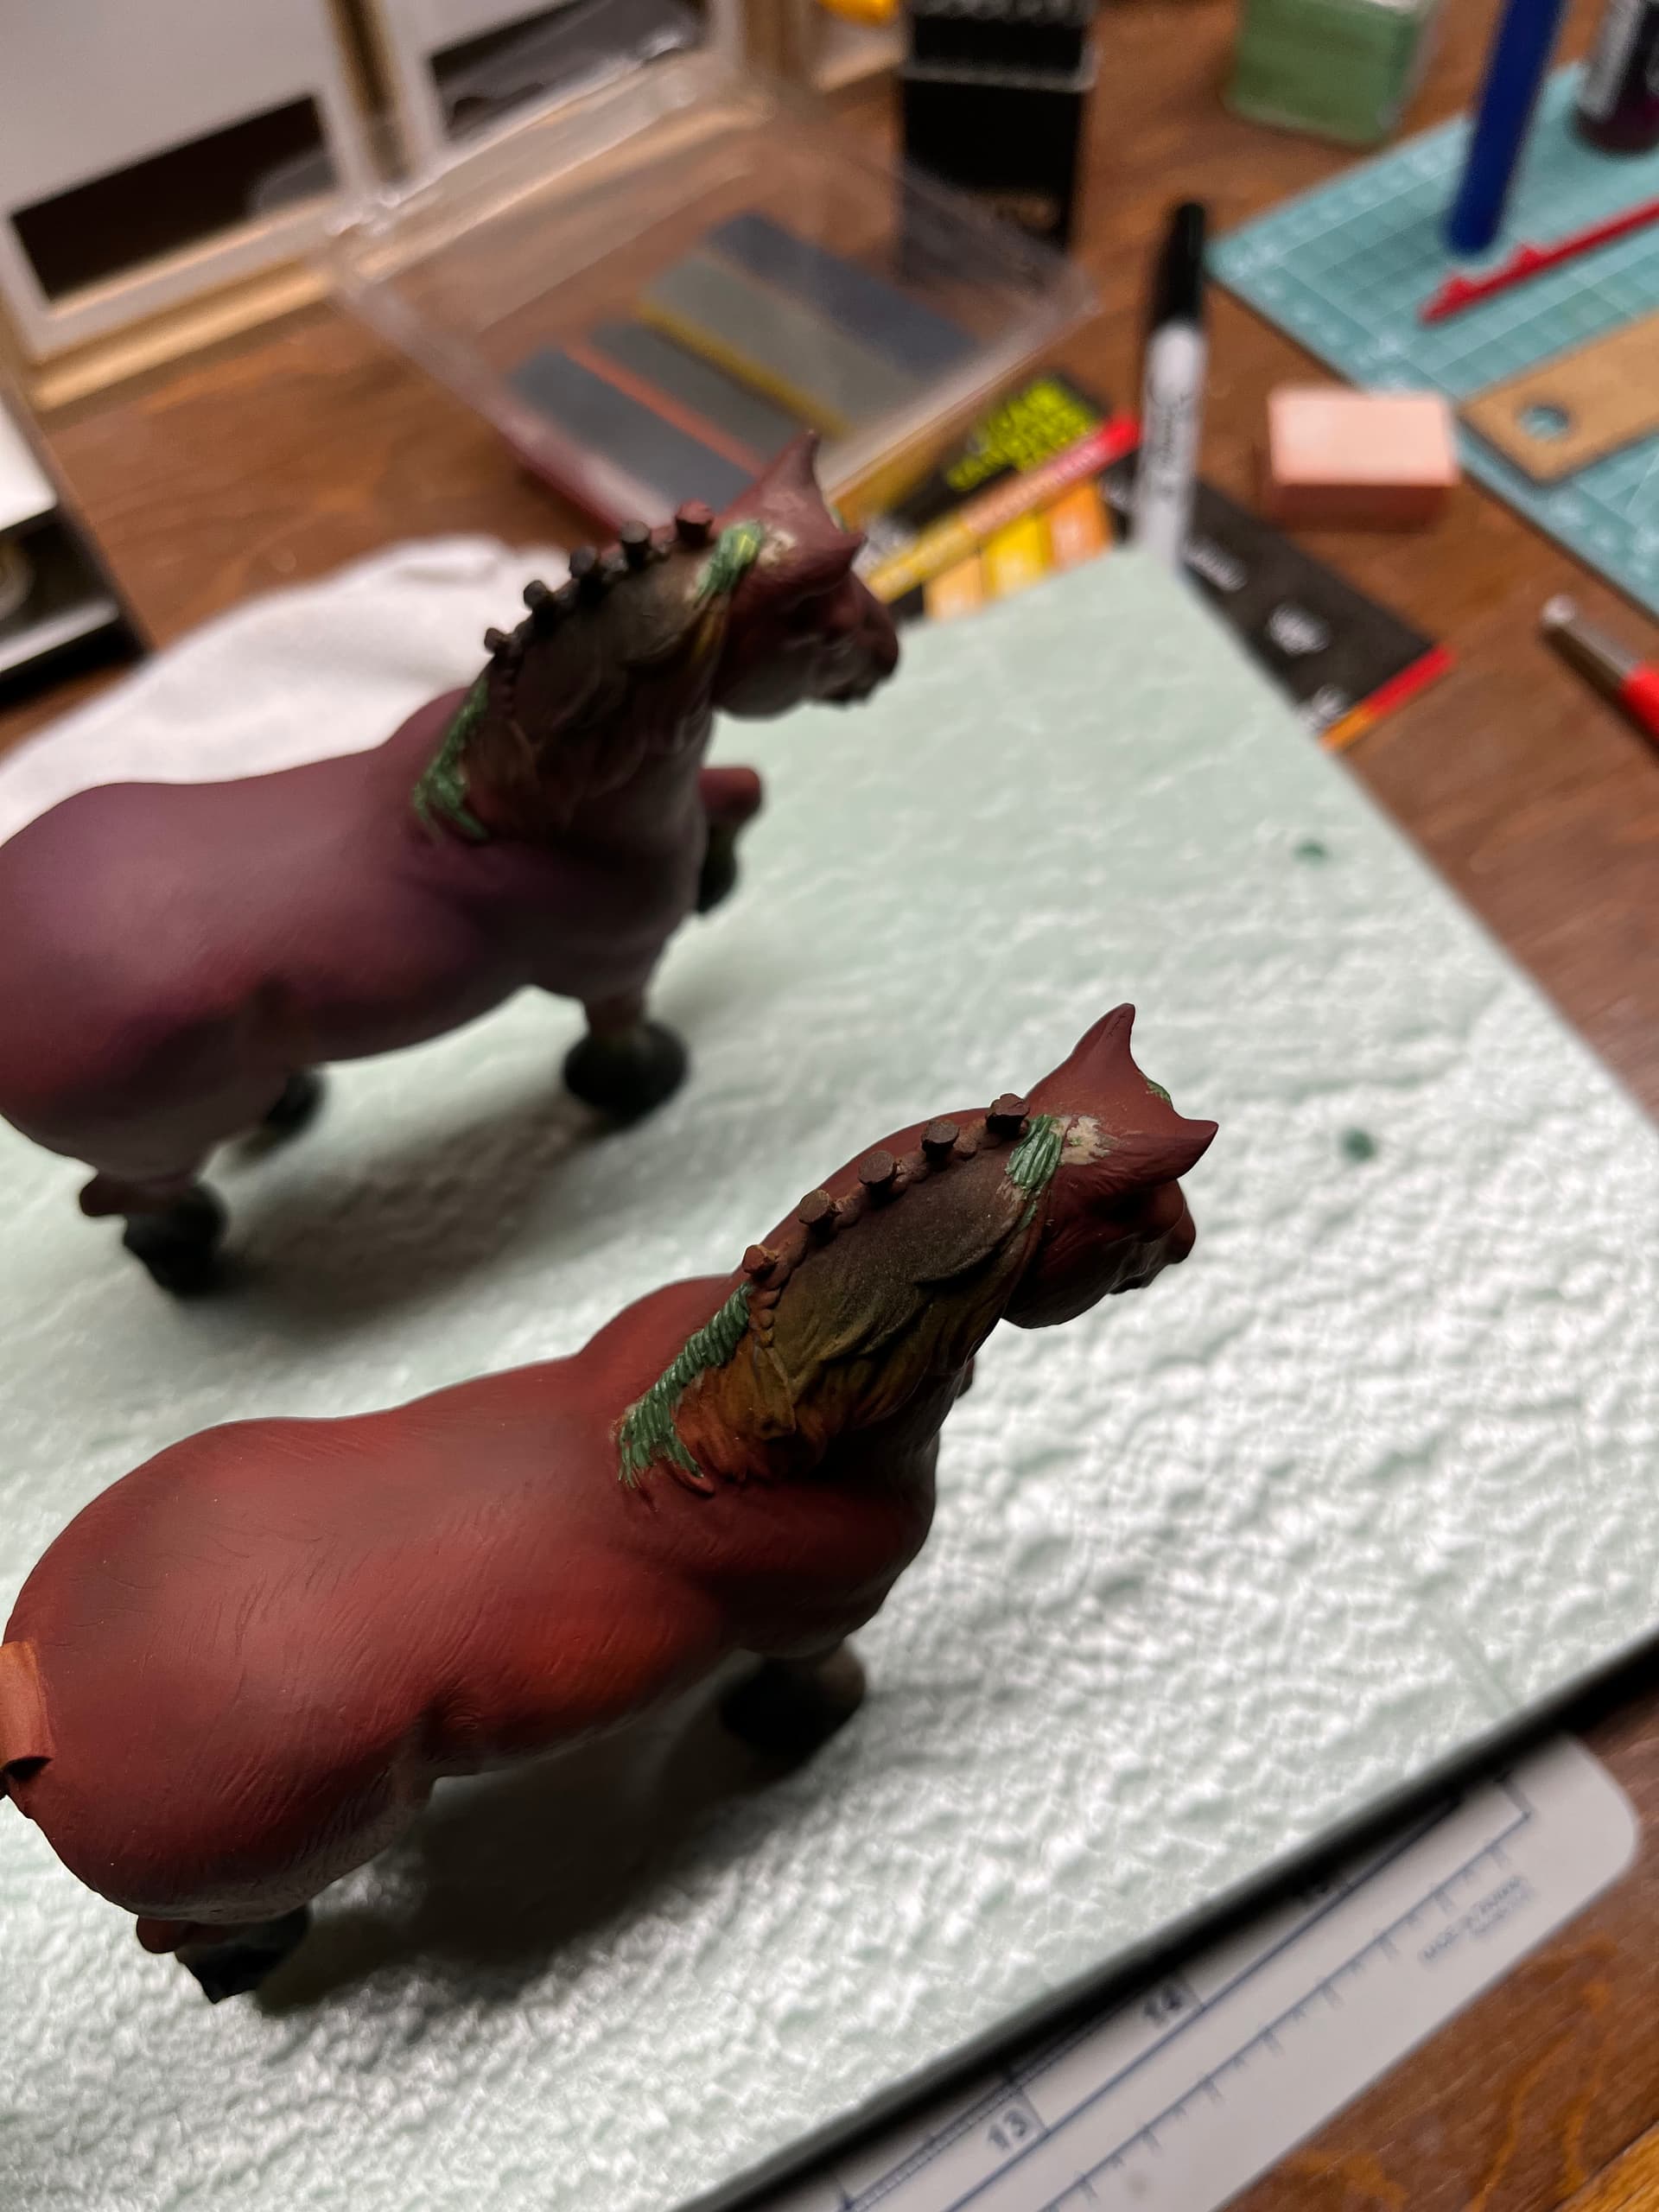
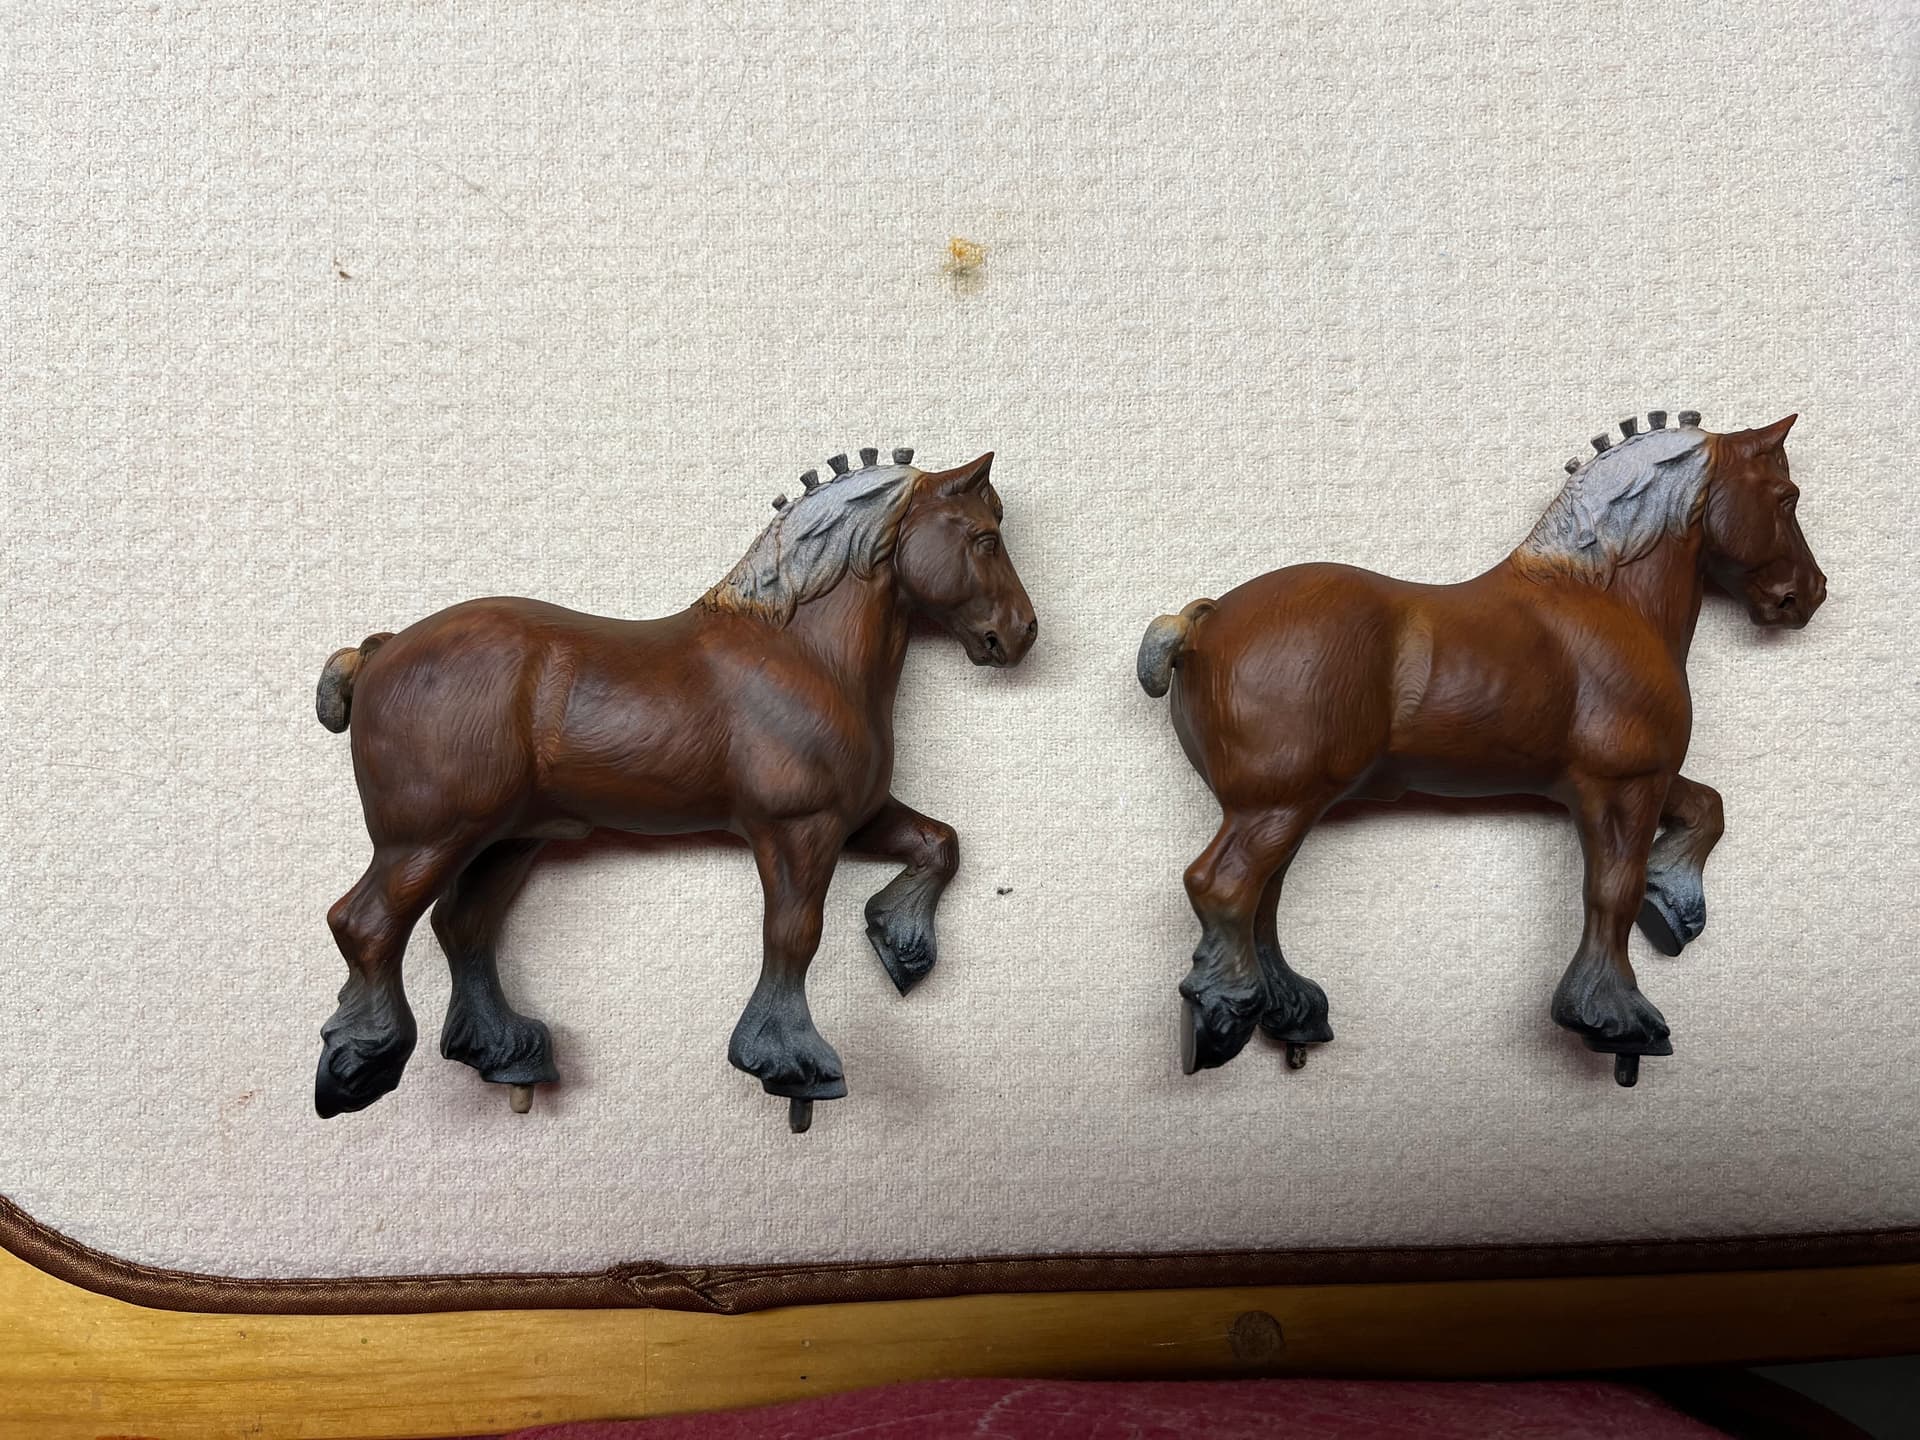
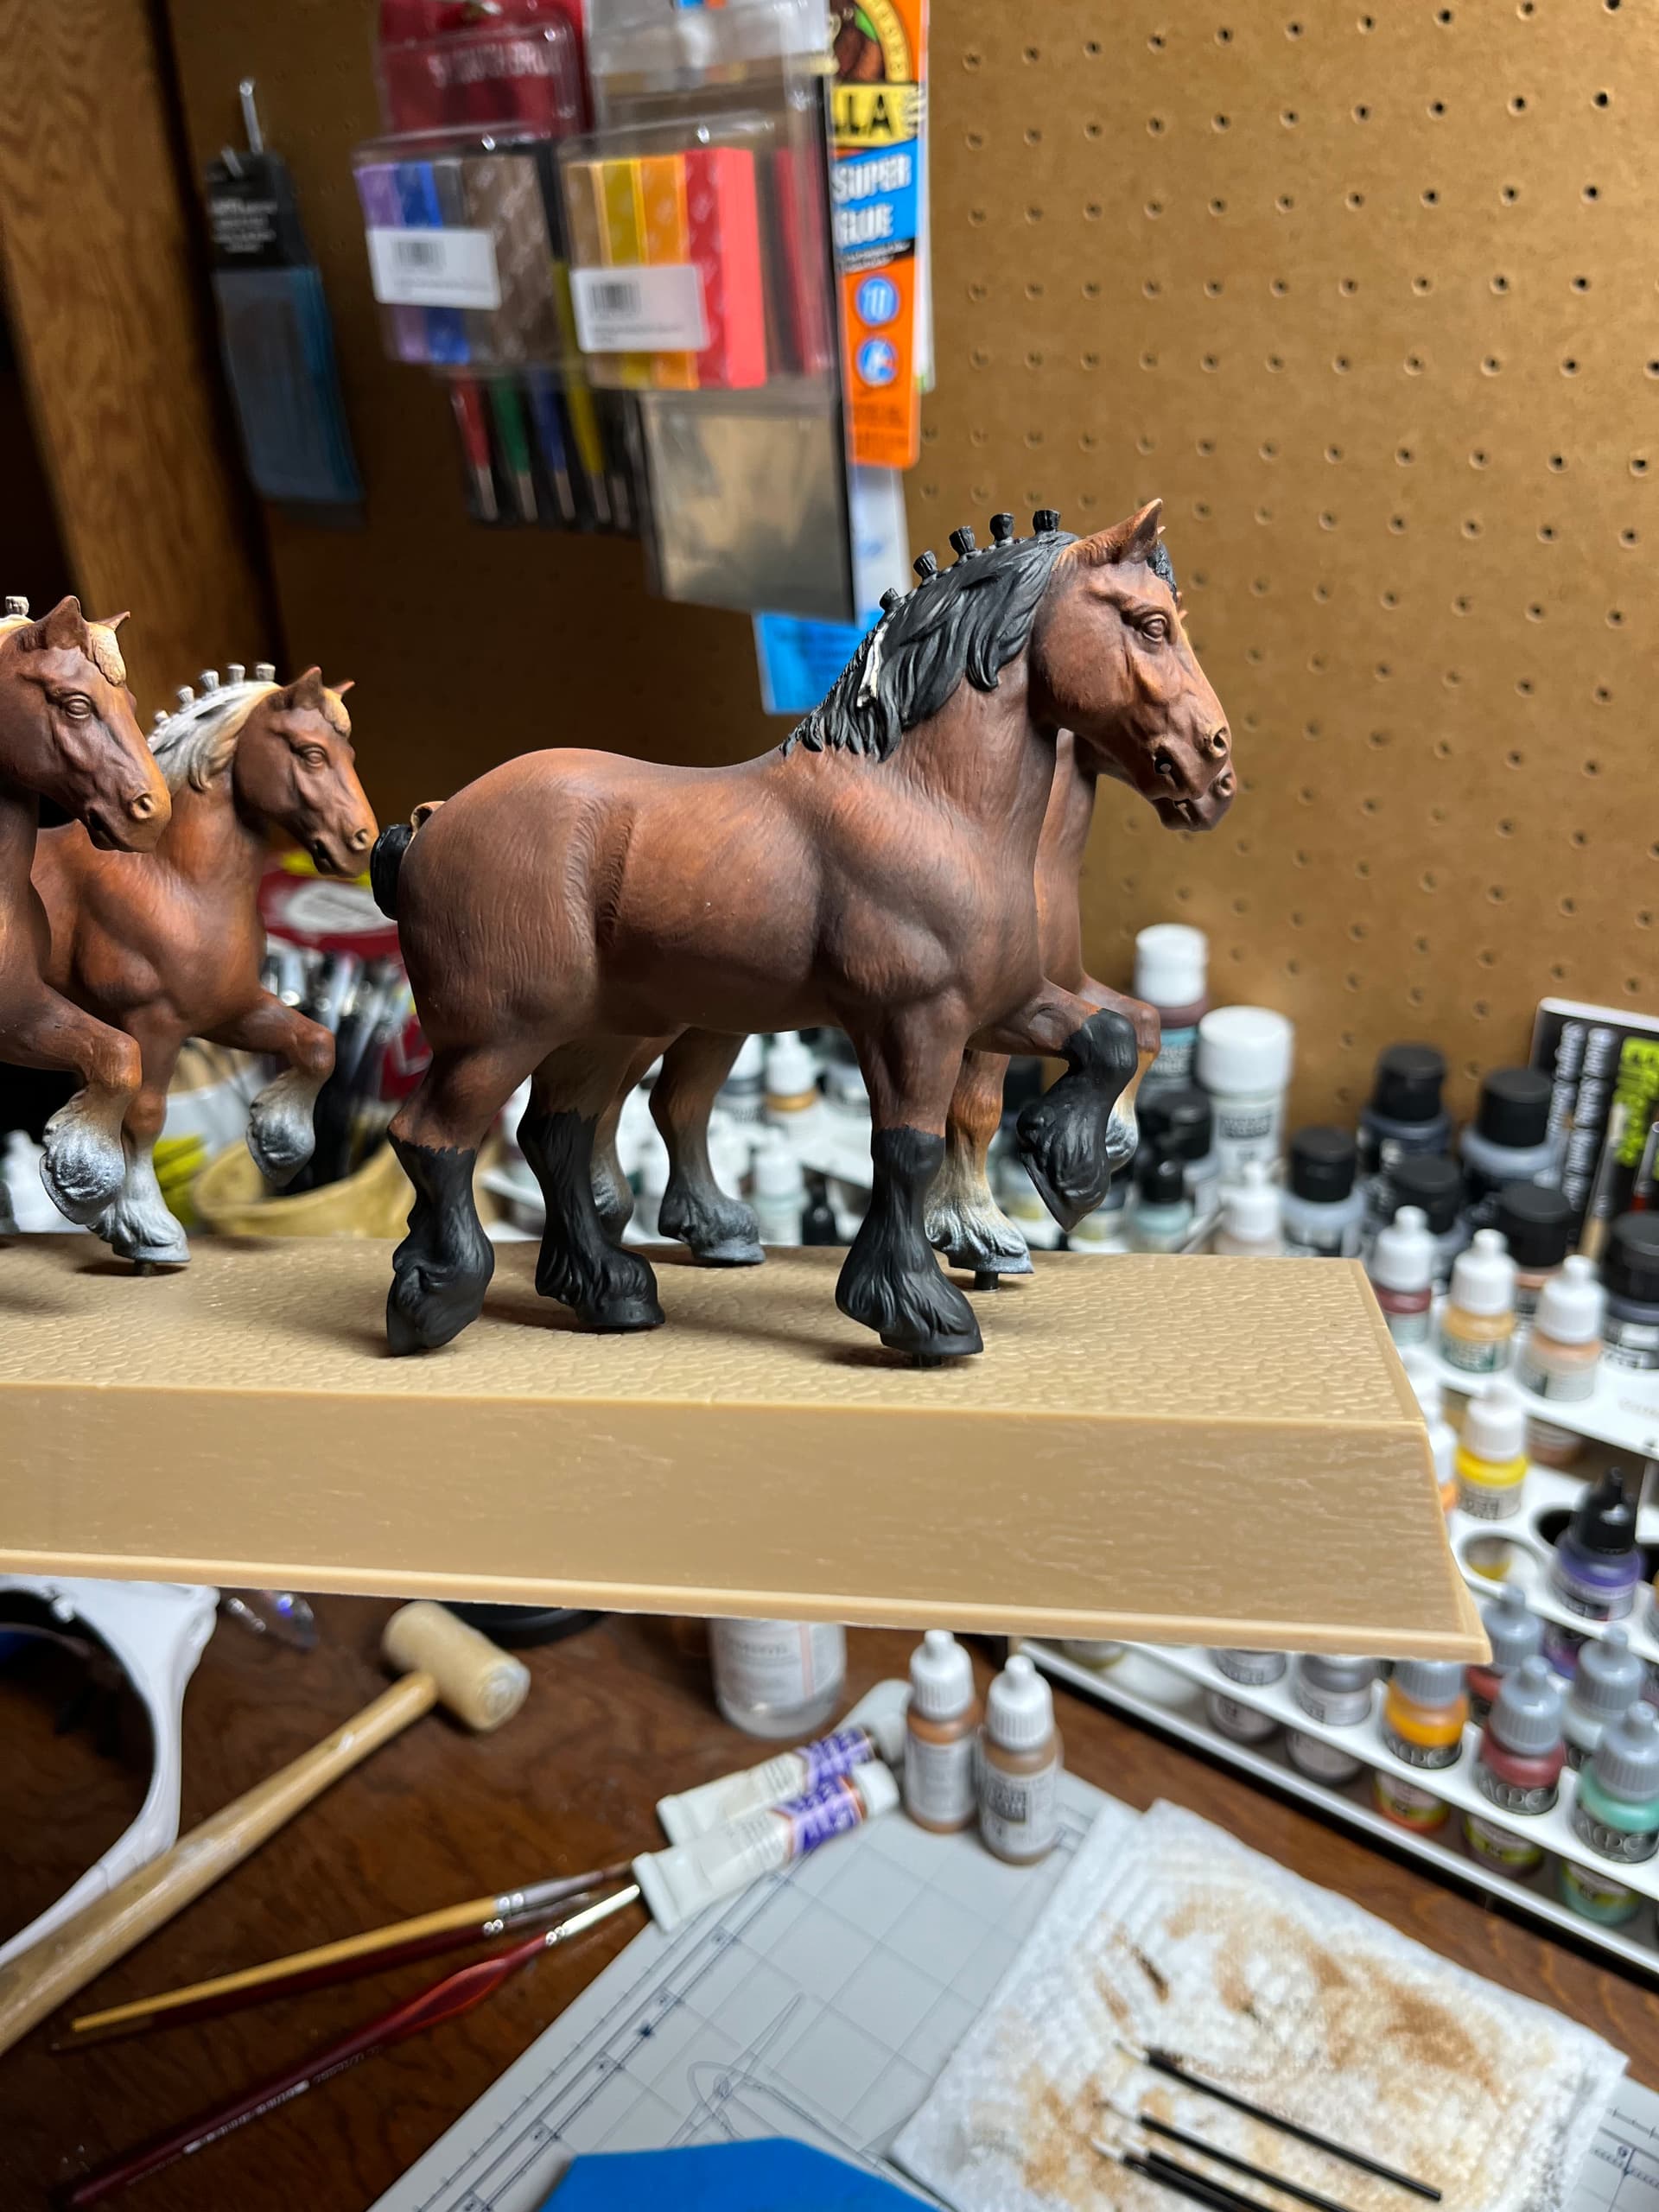
I primed and began again, trusting my eye, and going at the first four horses with an airbrush. I got reasonable results.

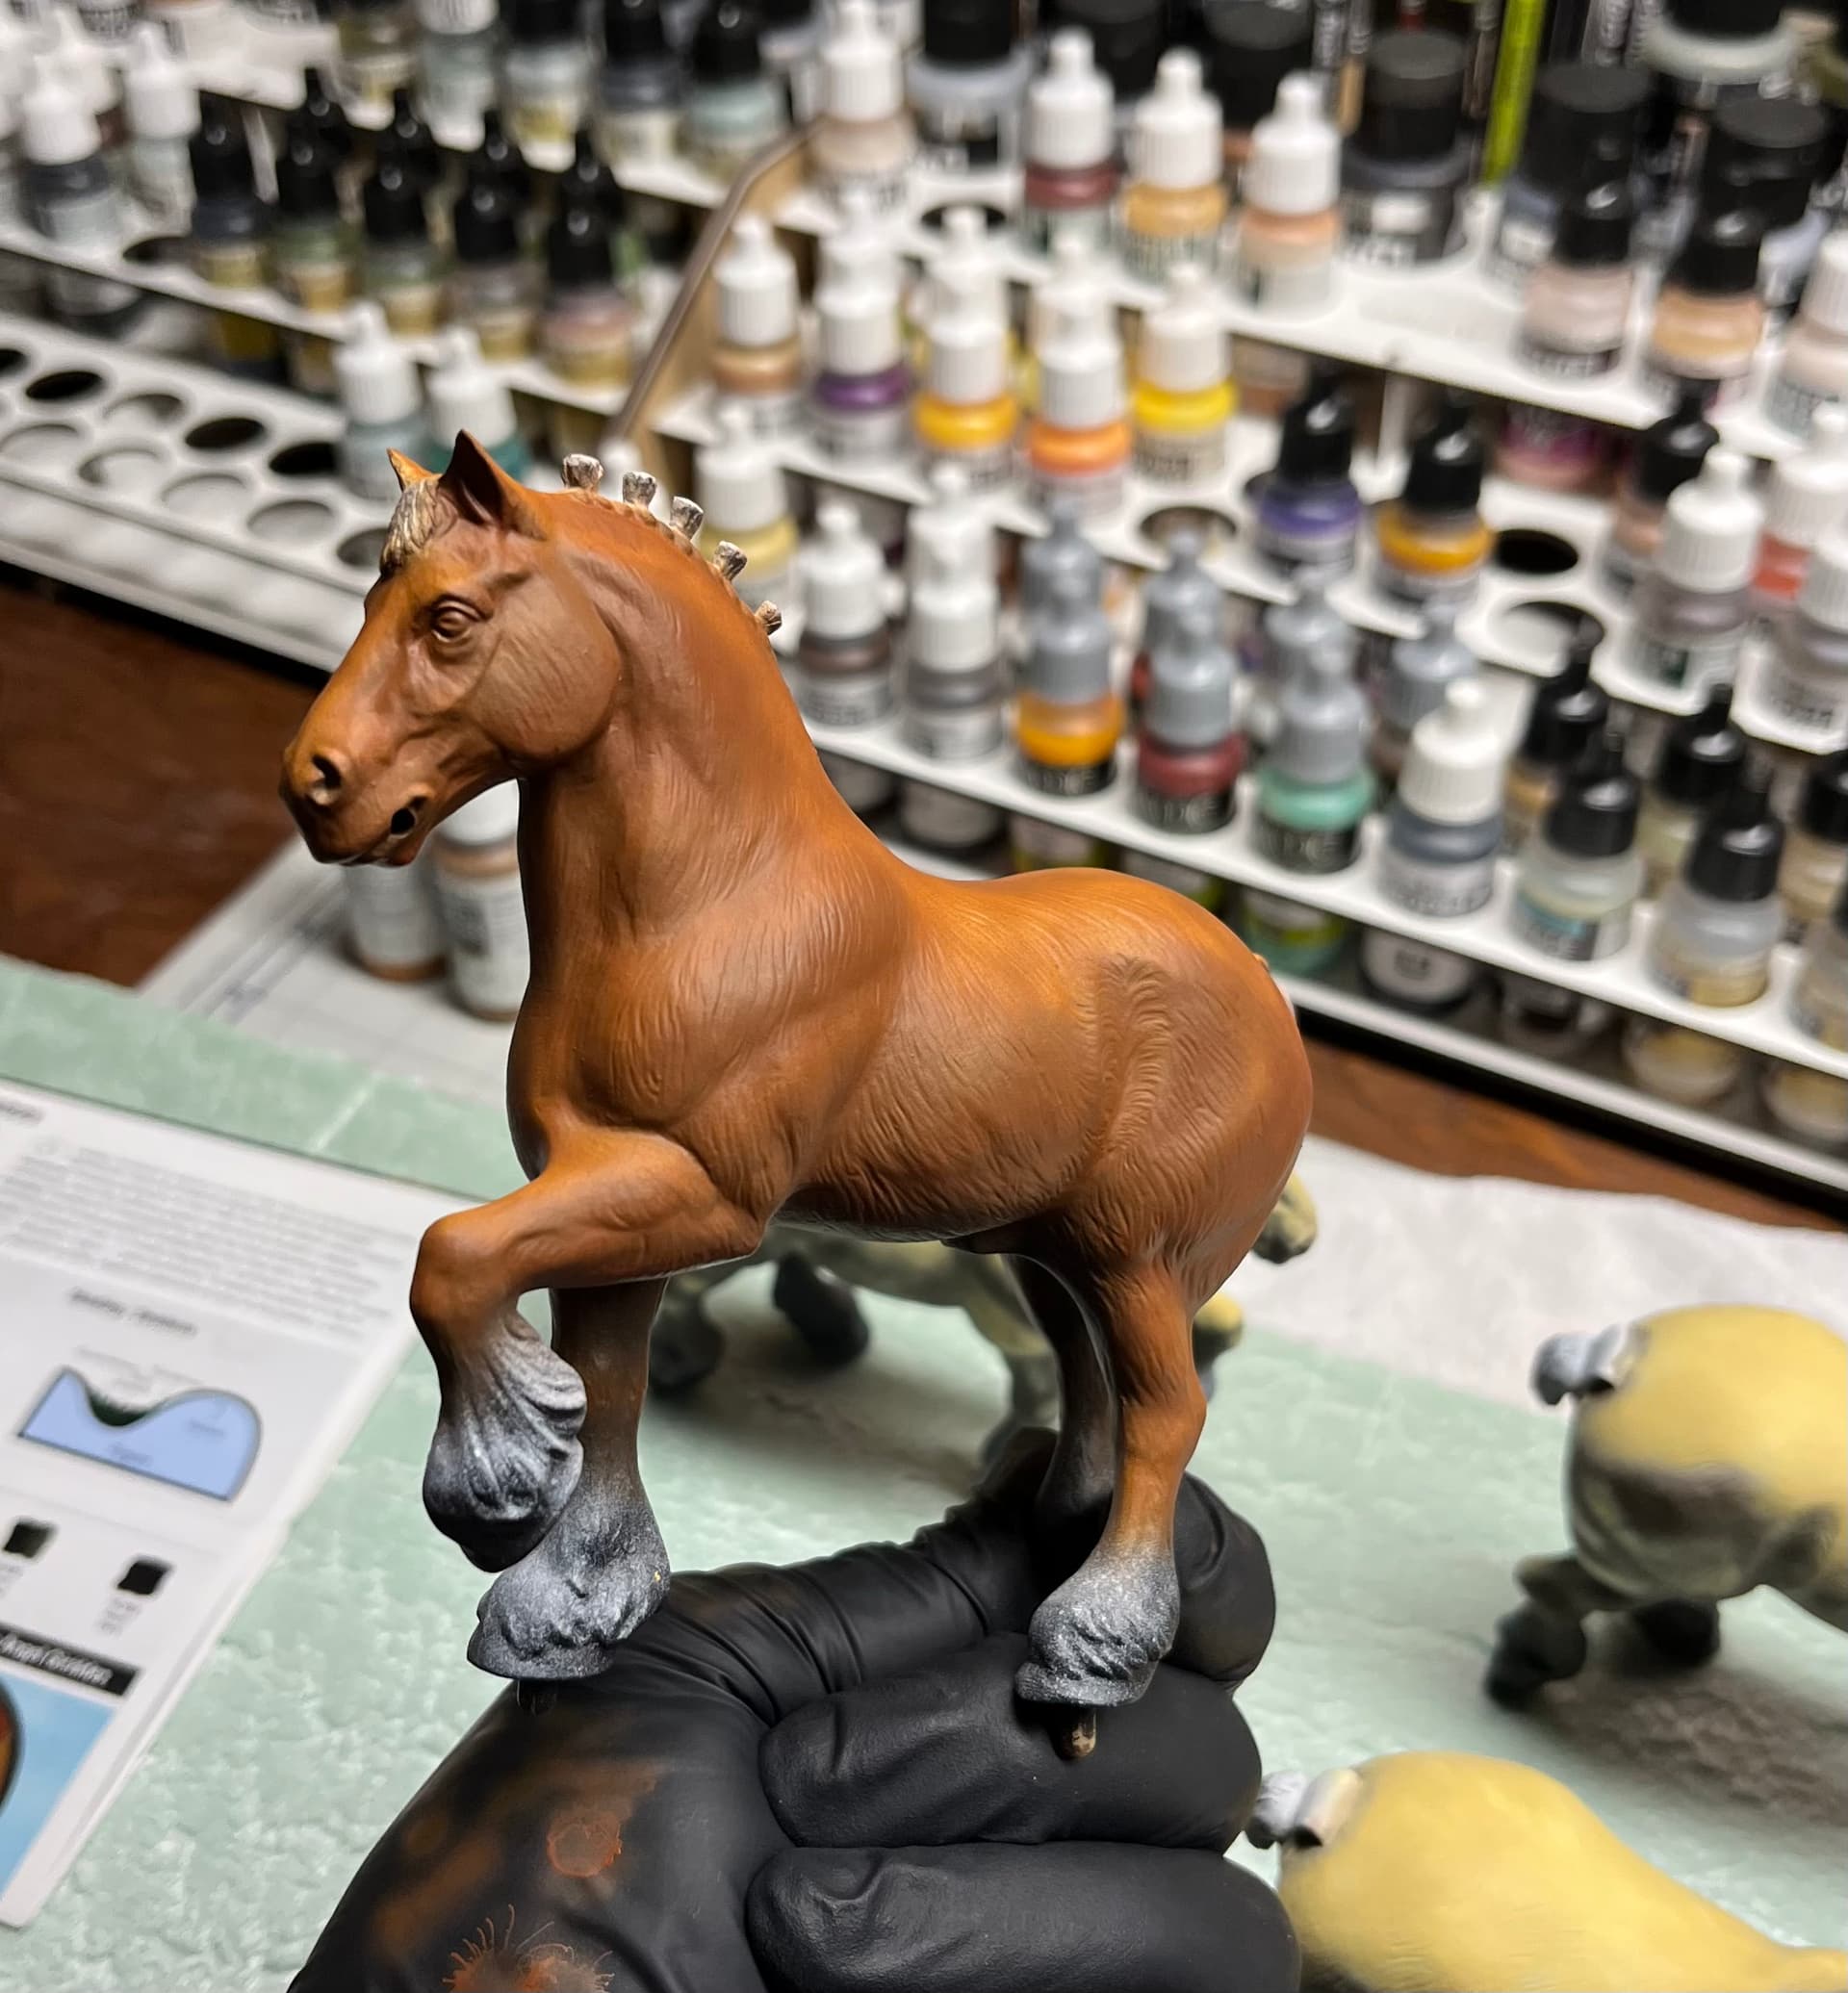
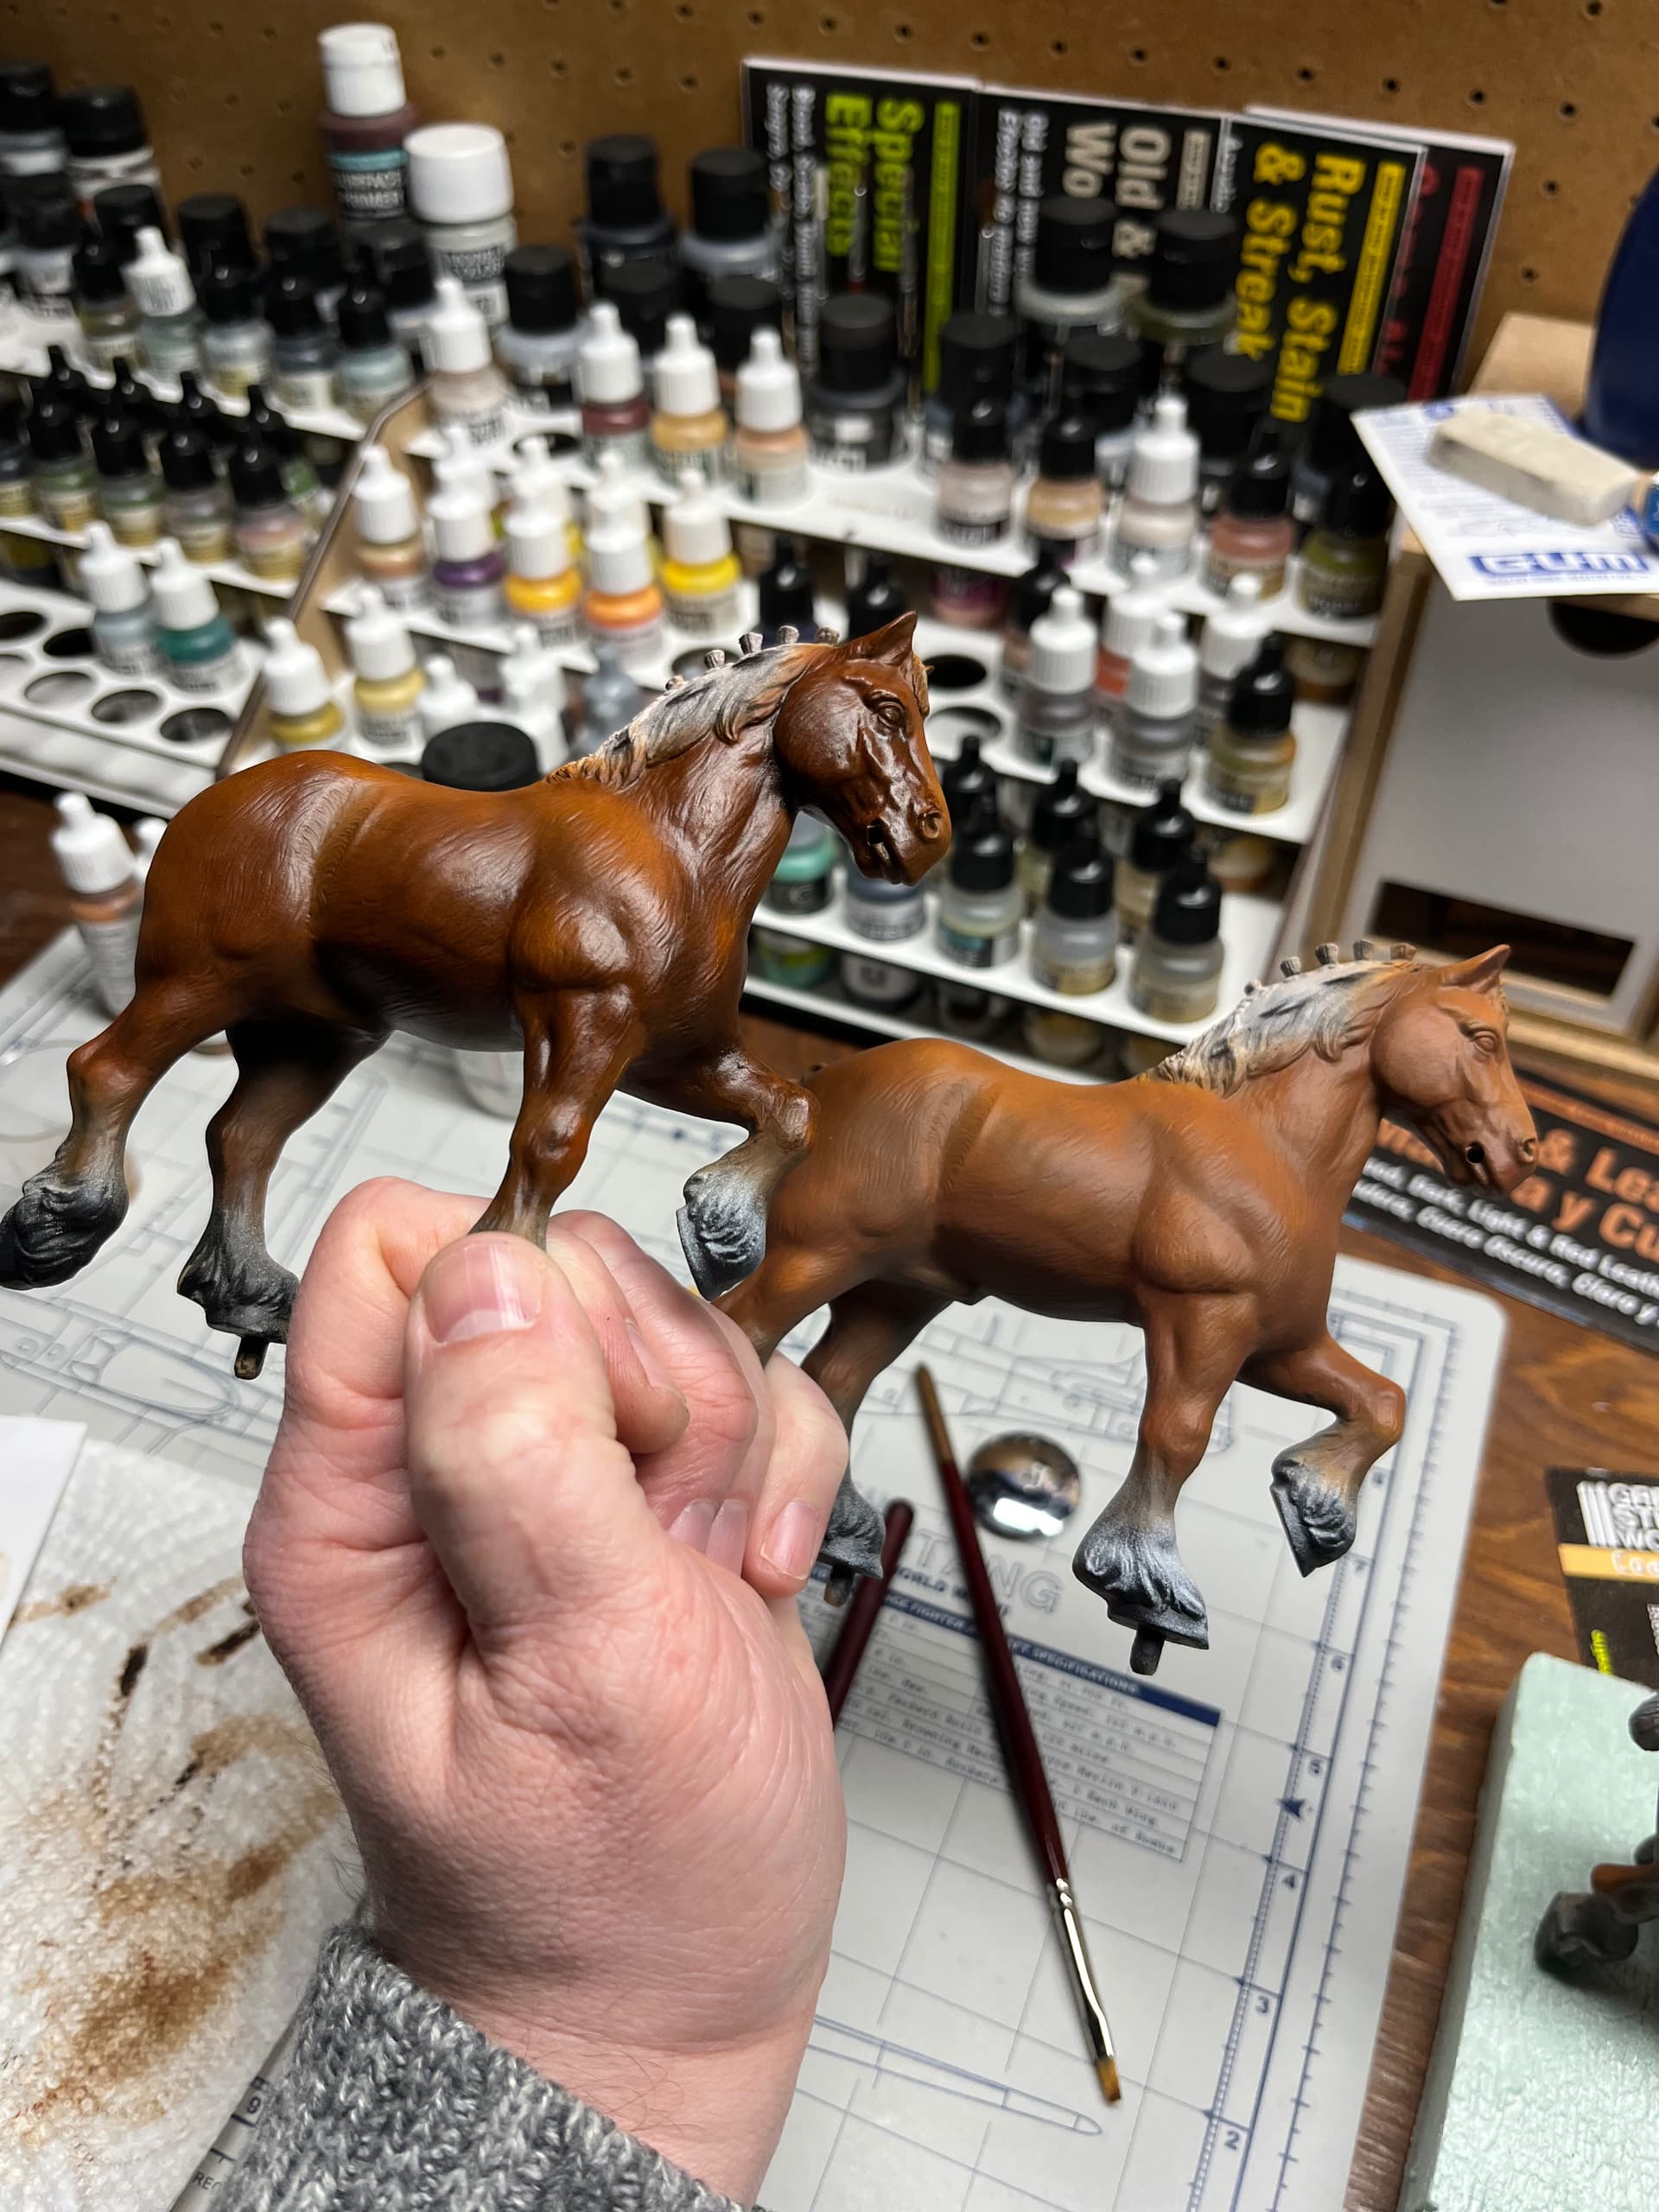
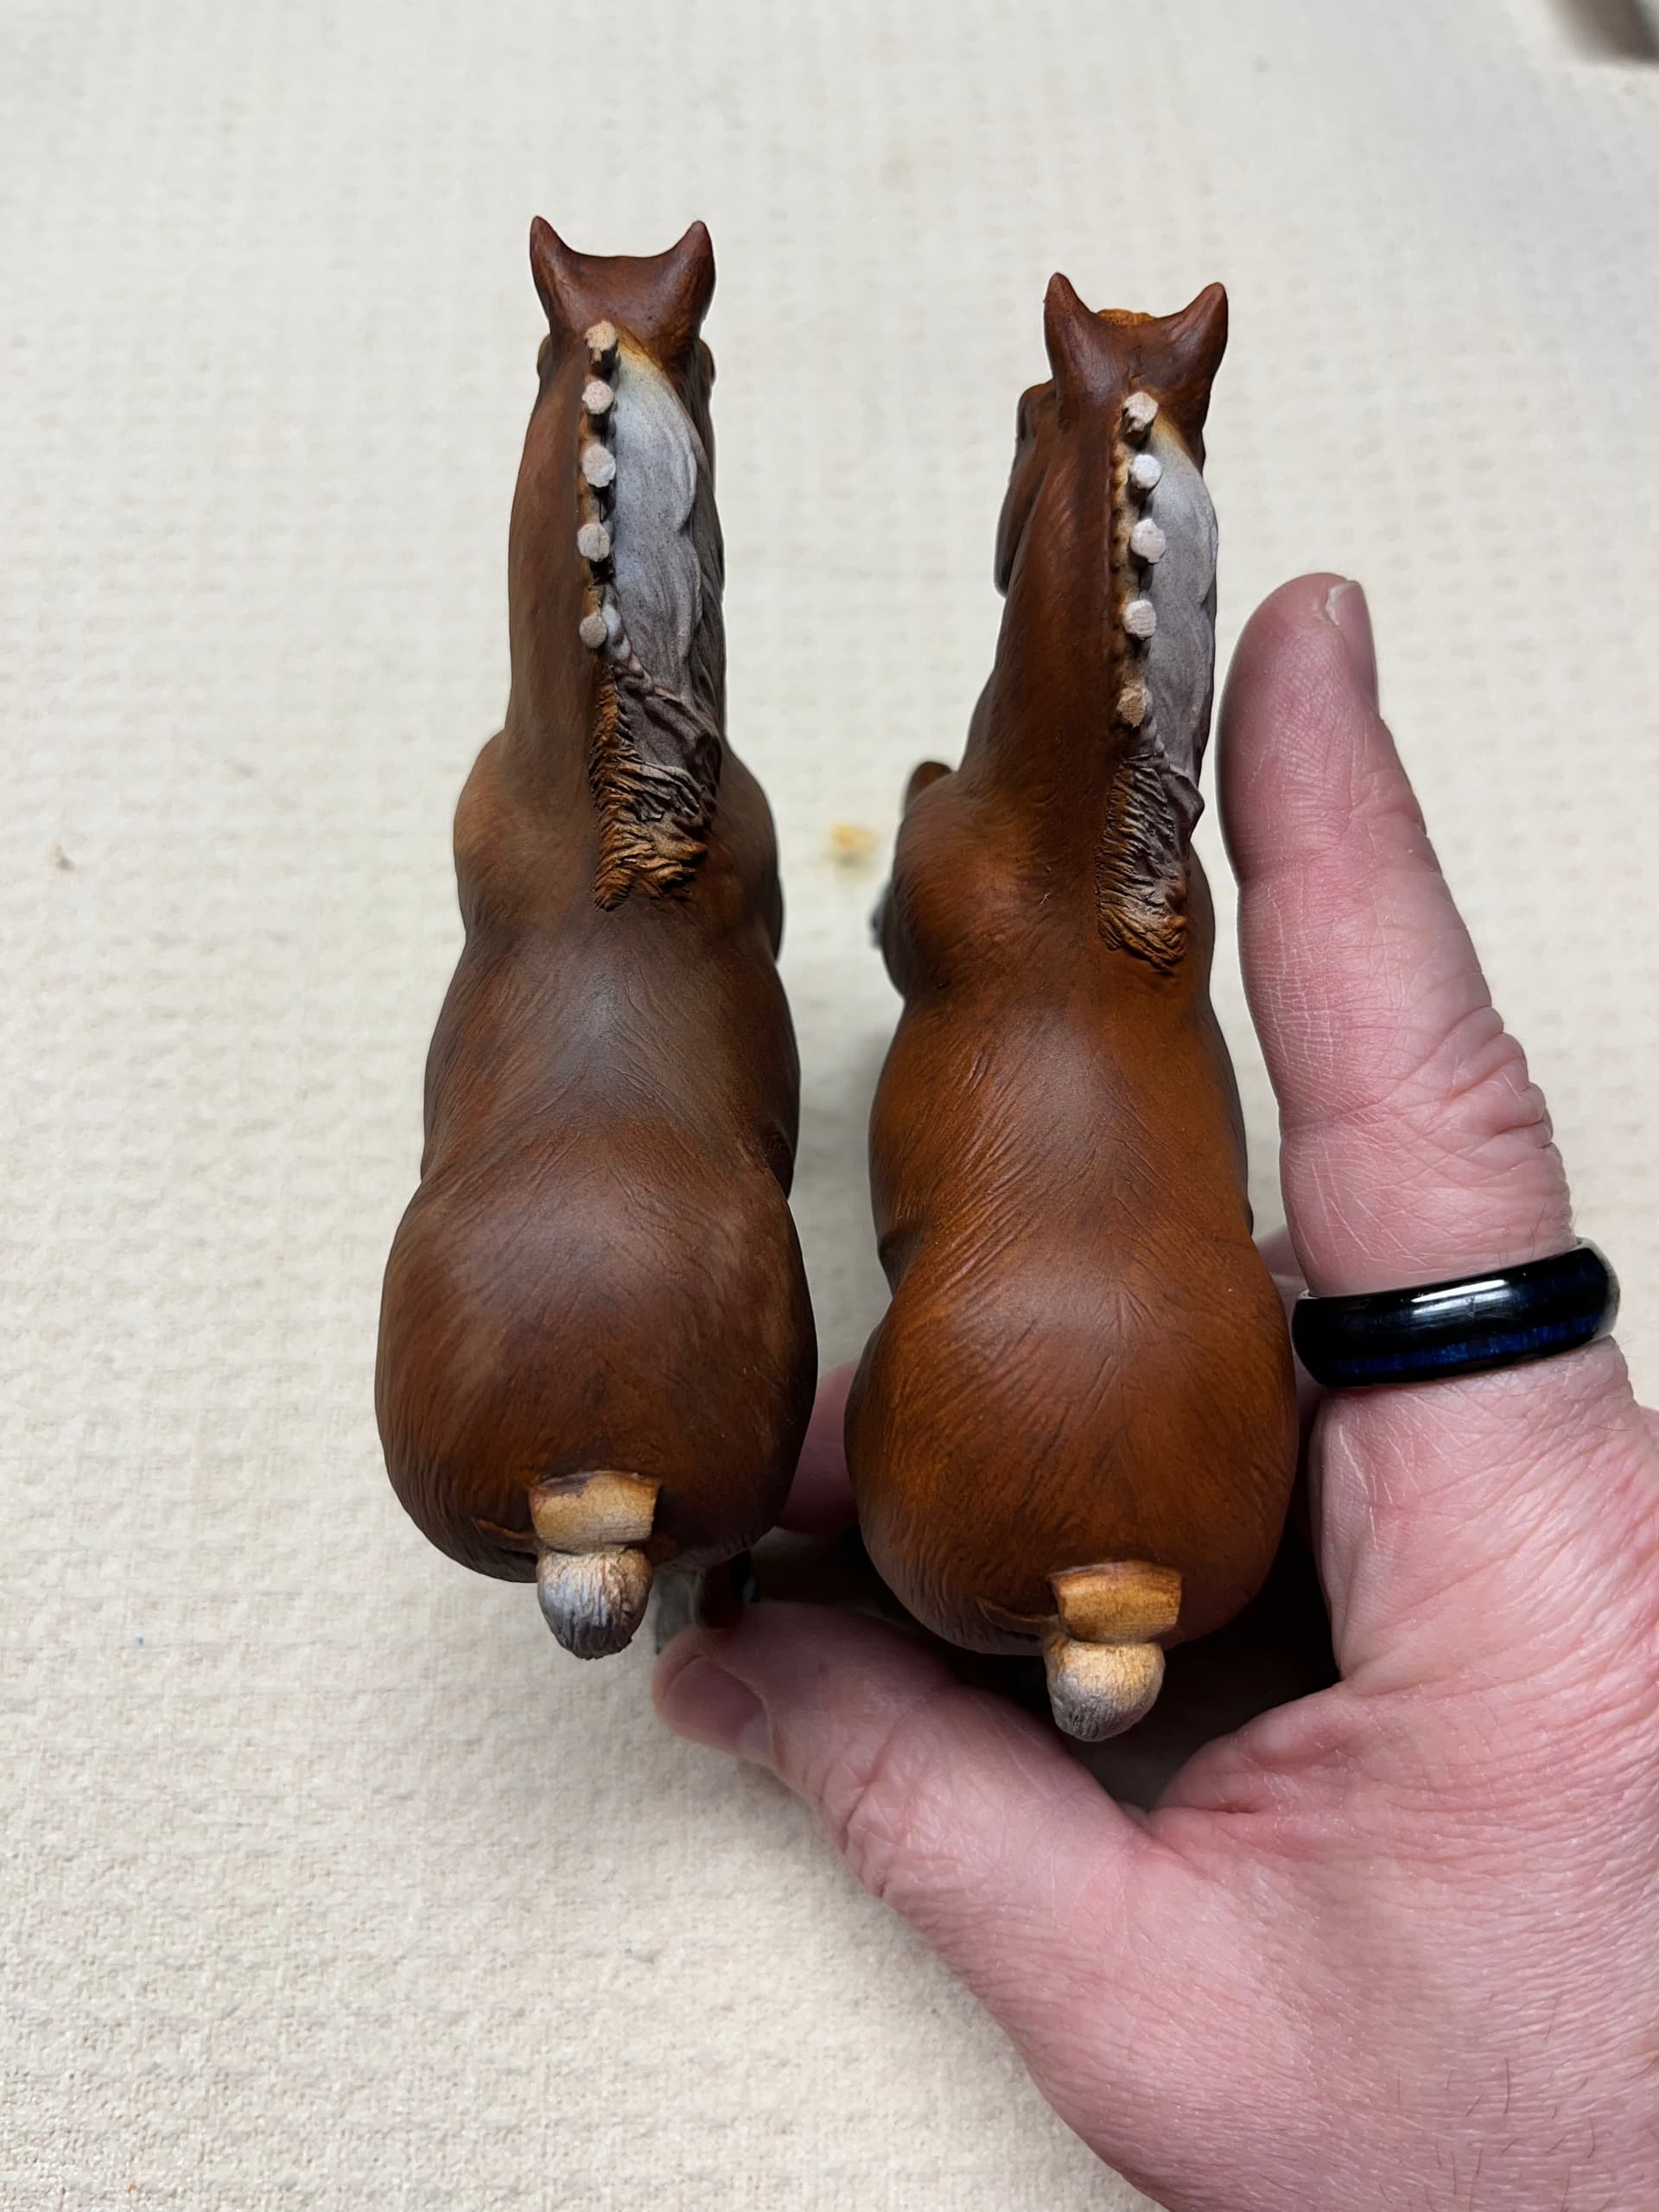
After talking with contributors like Robert Raver and Chuck Davis, I modified the colors with artist oils for better blending. You can see the difference.

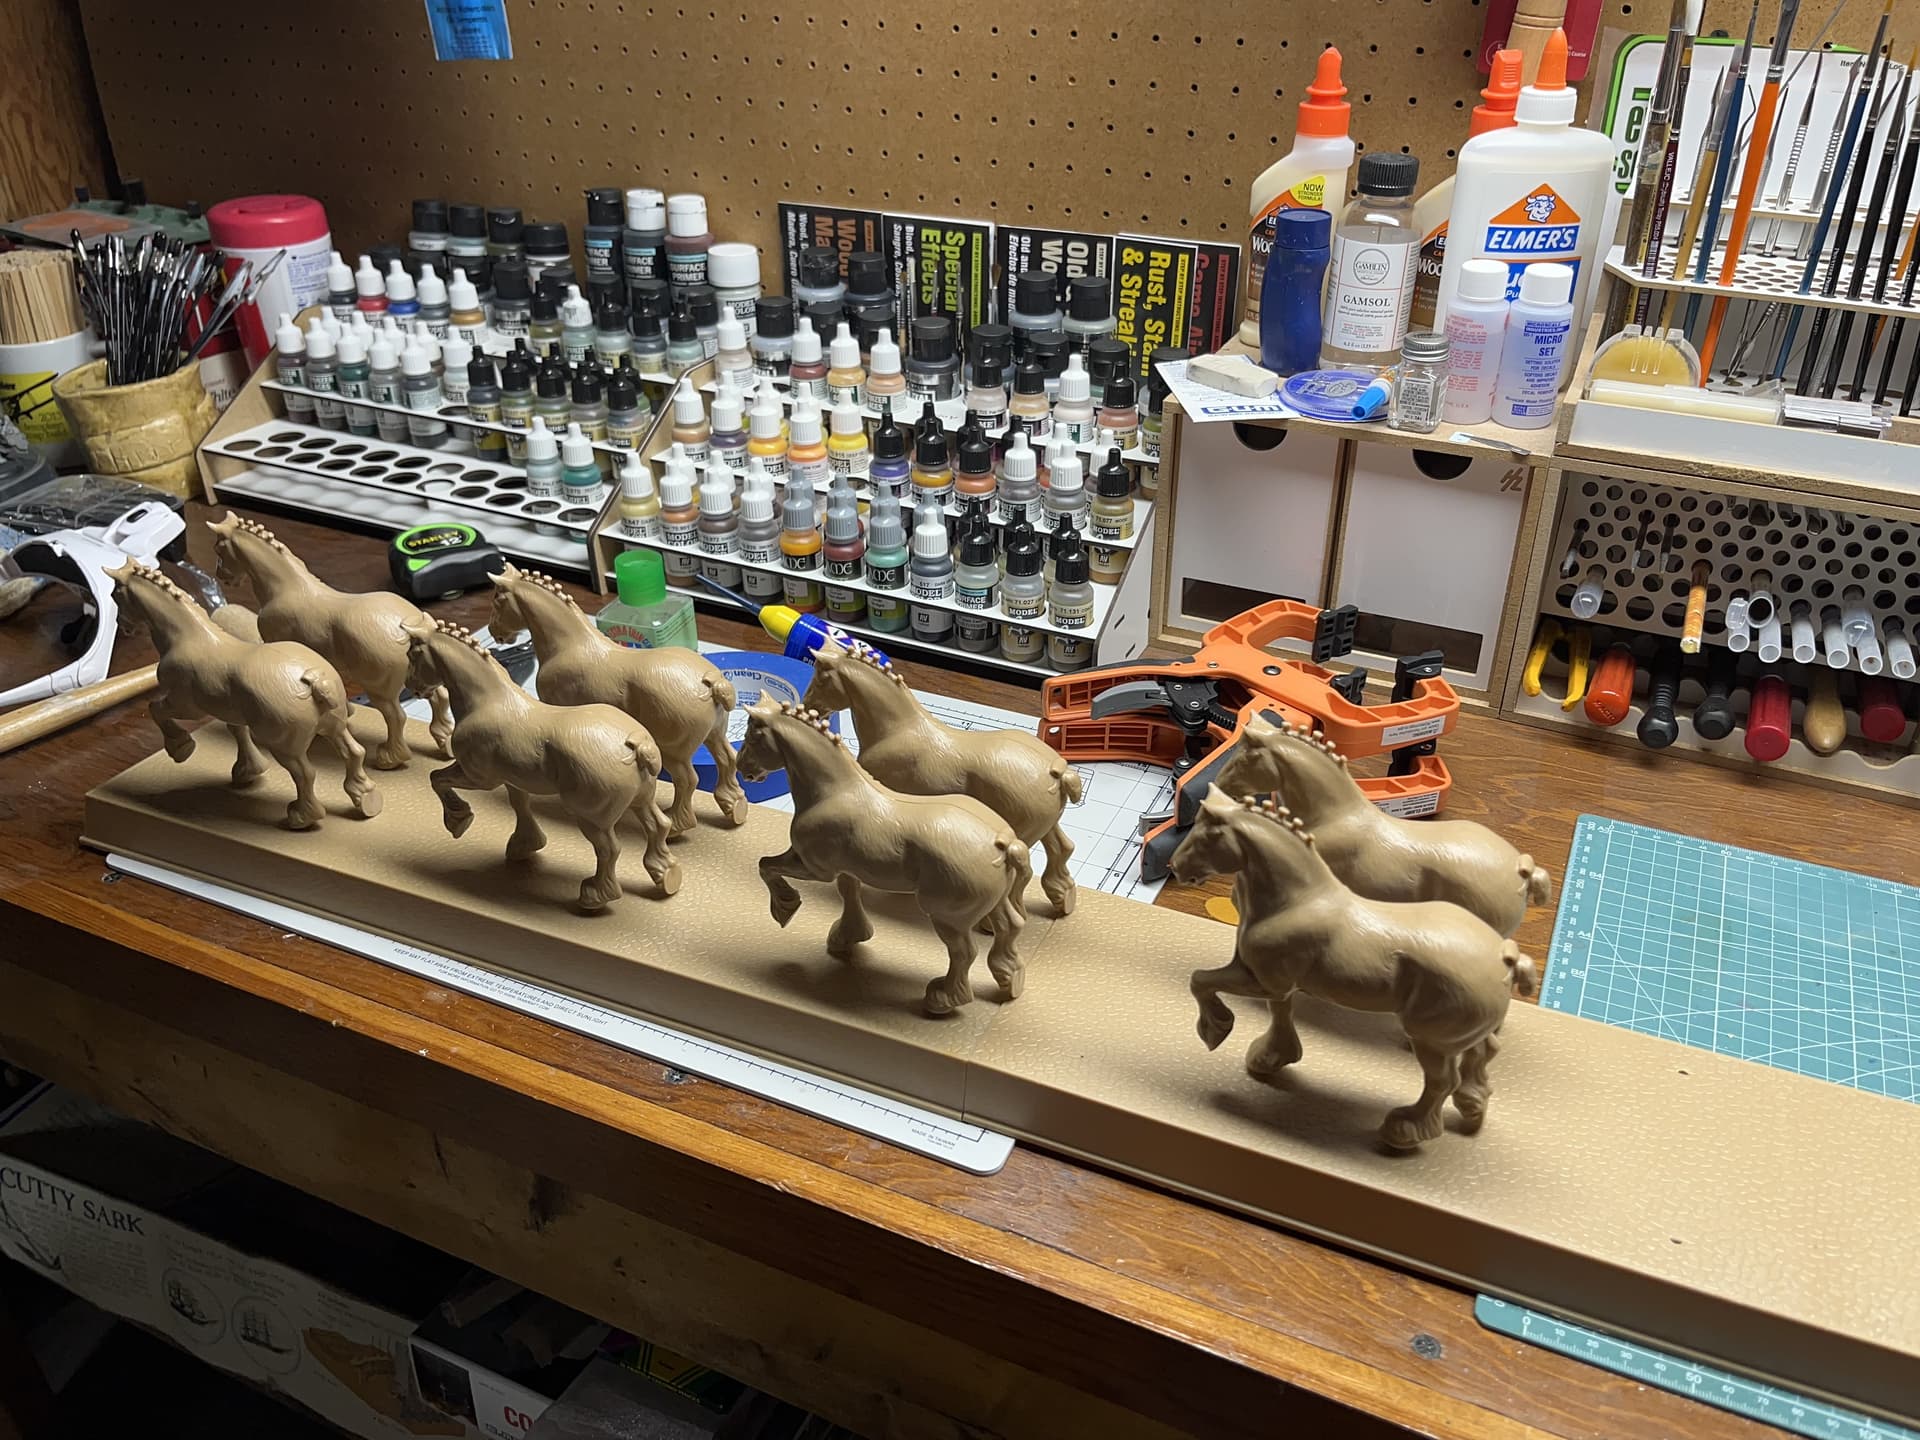
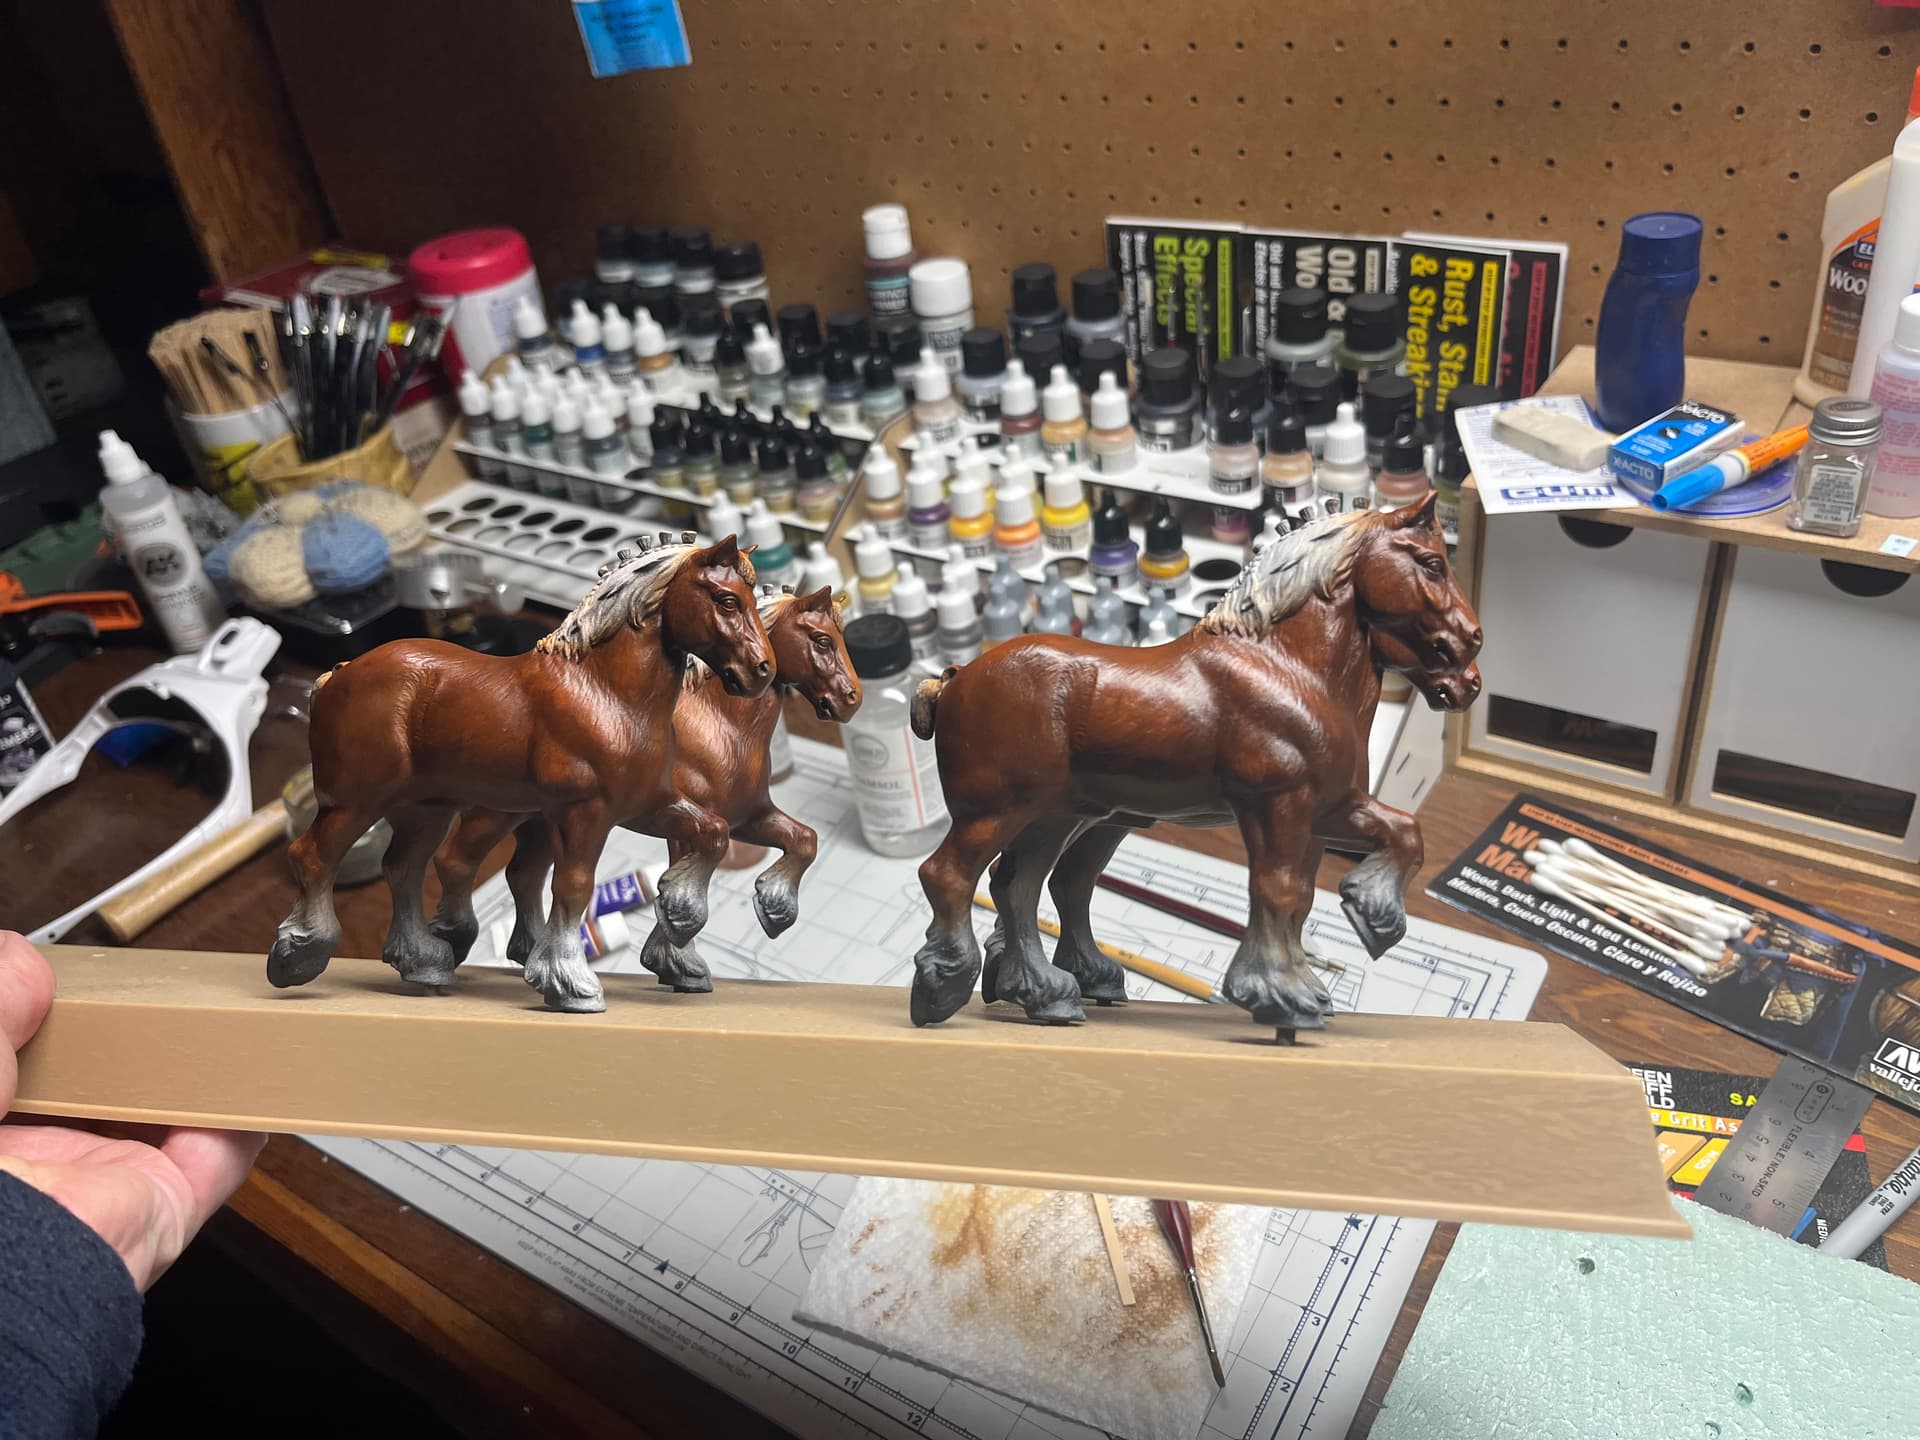
And, after a while, there were four.

5 Likes

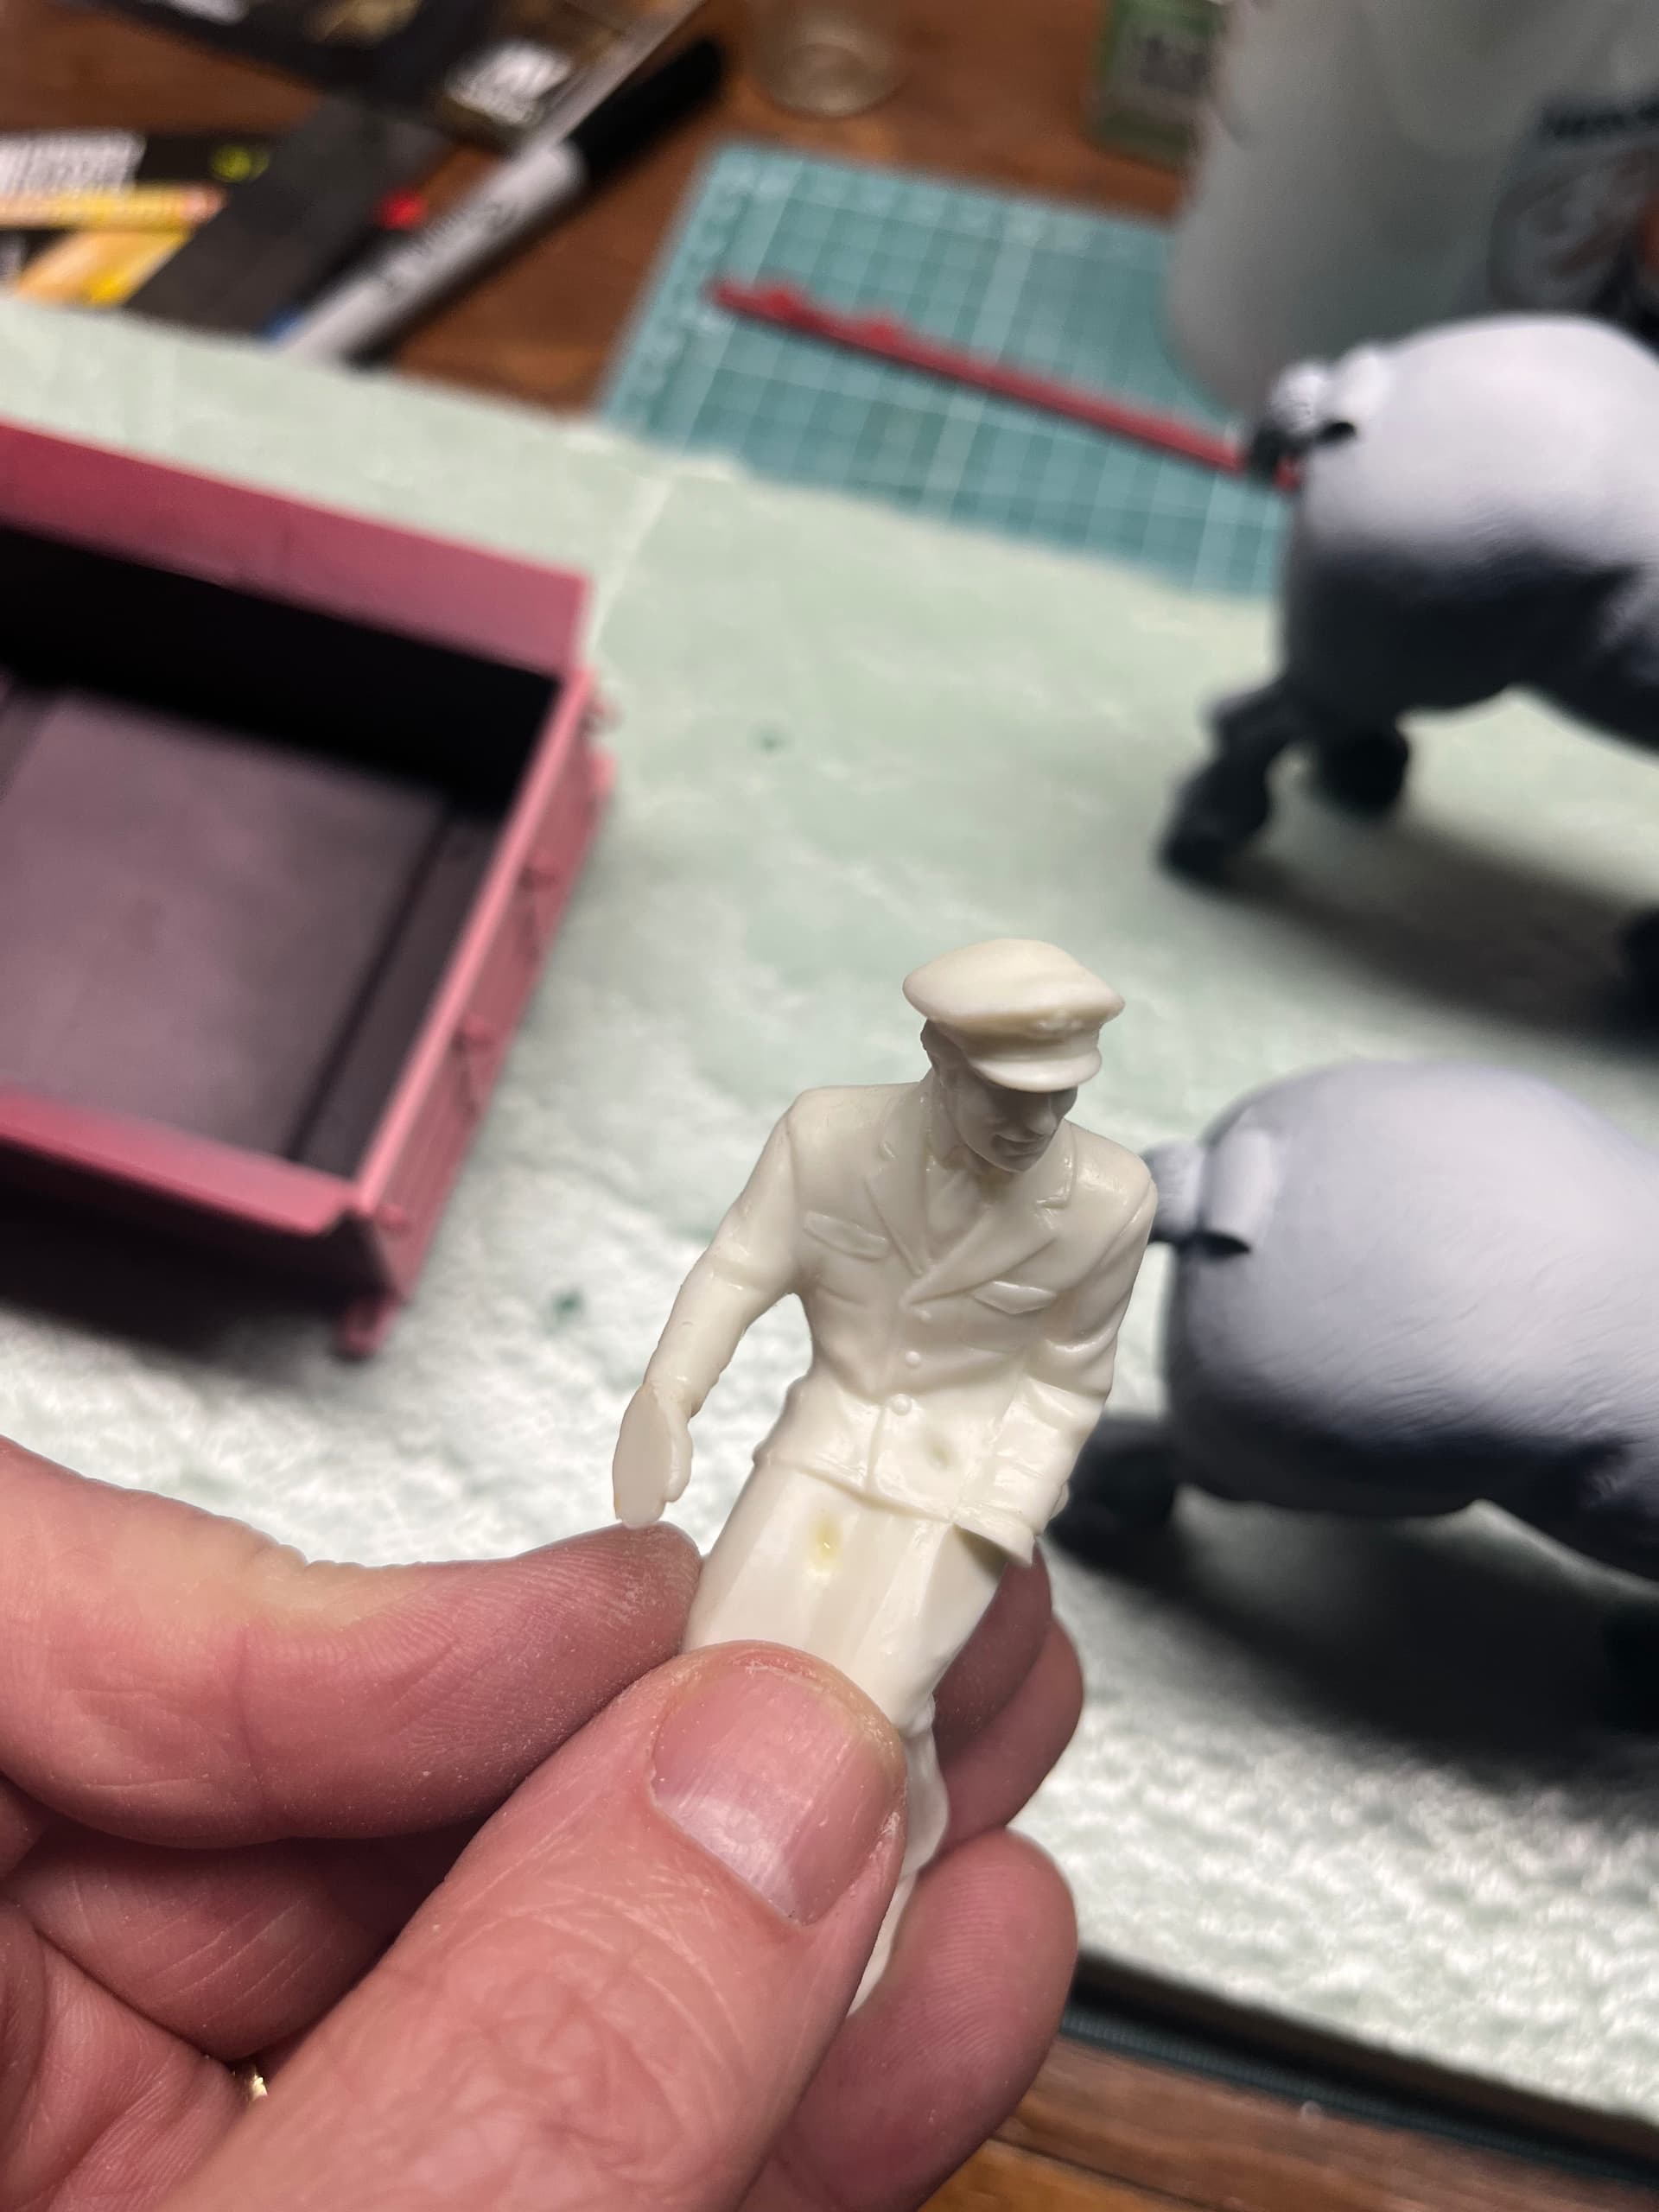
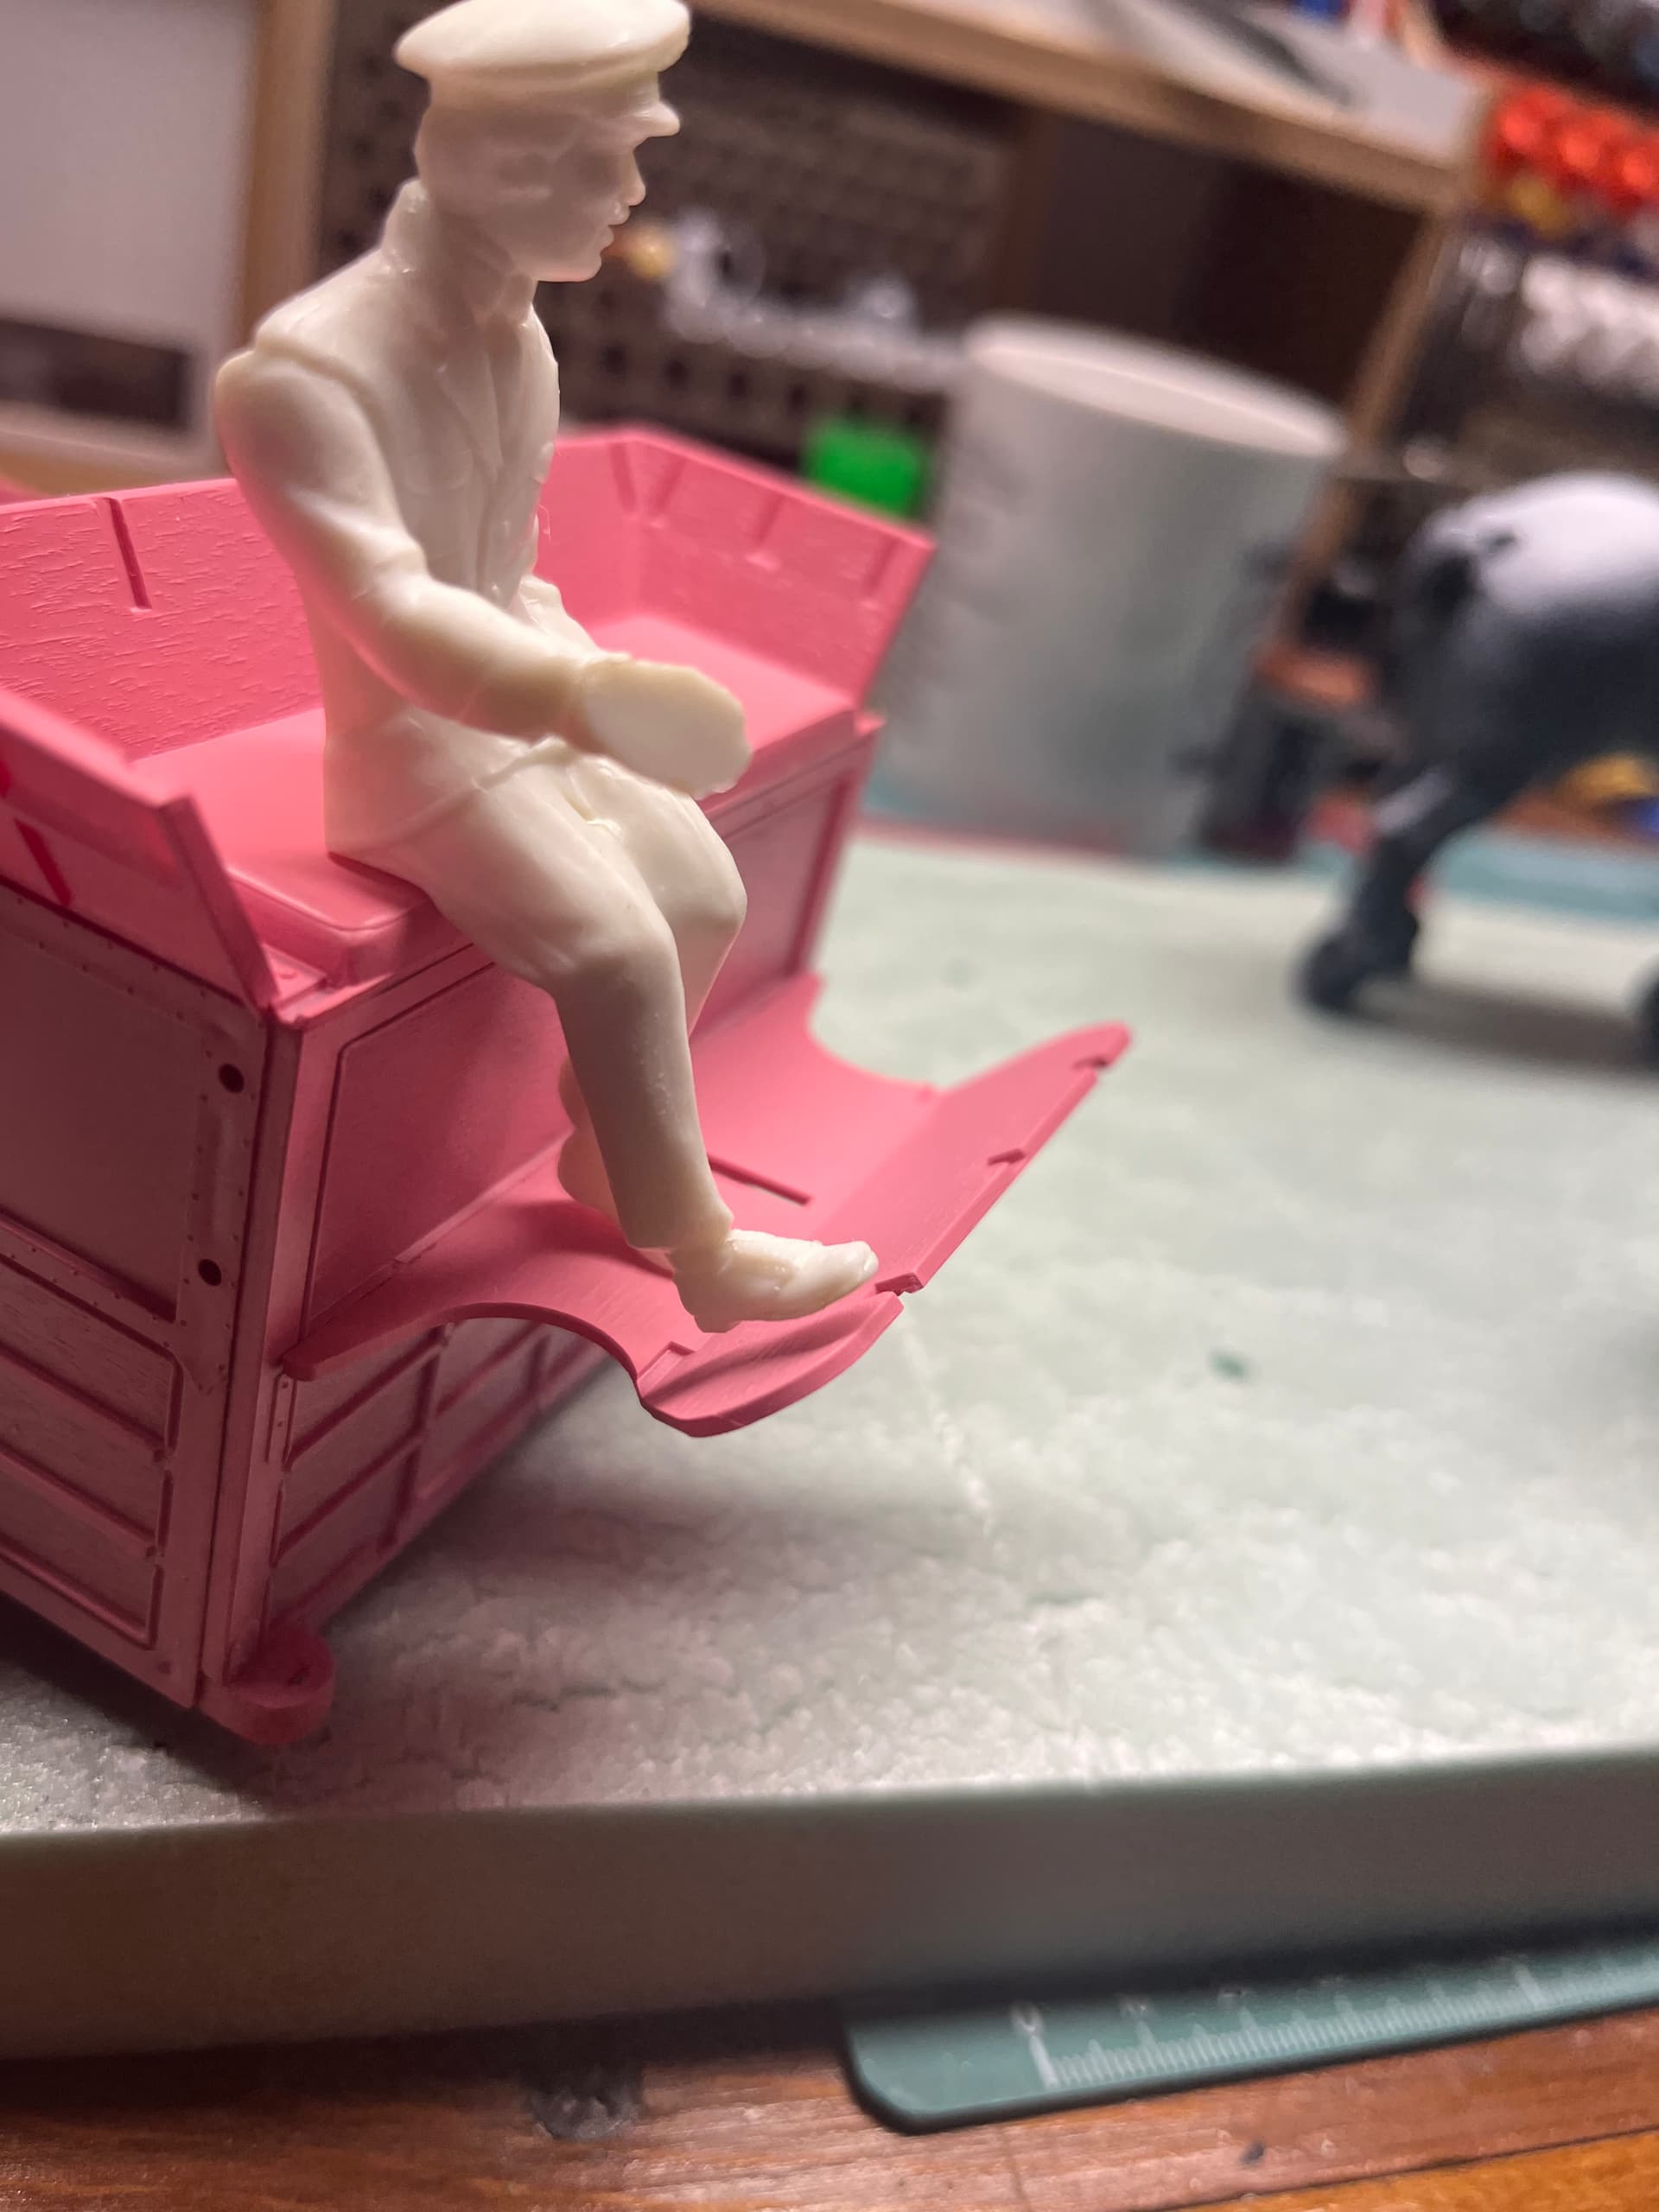
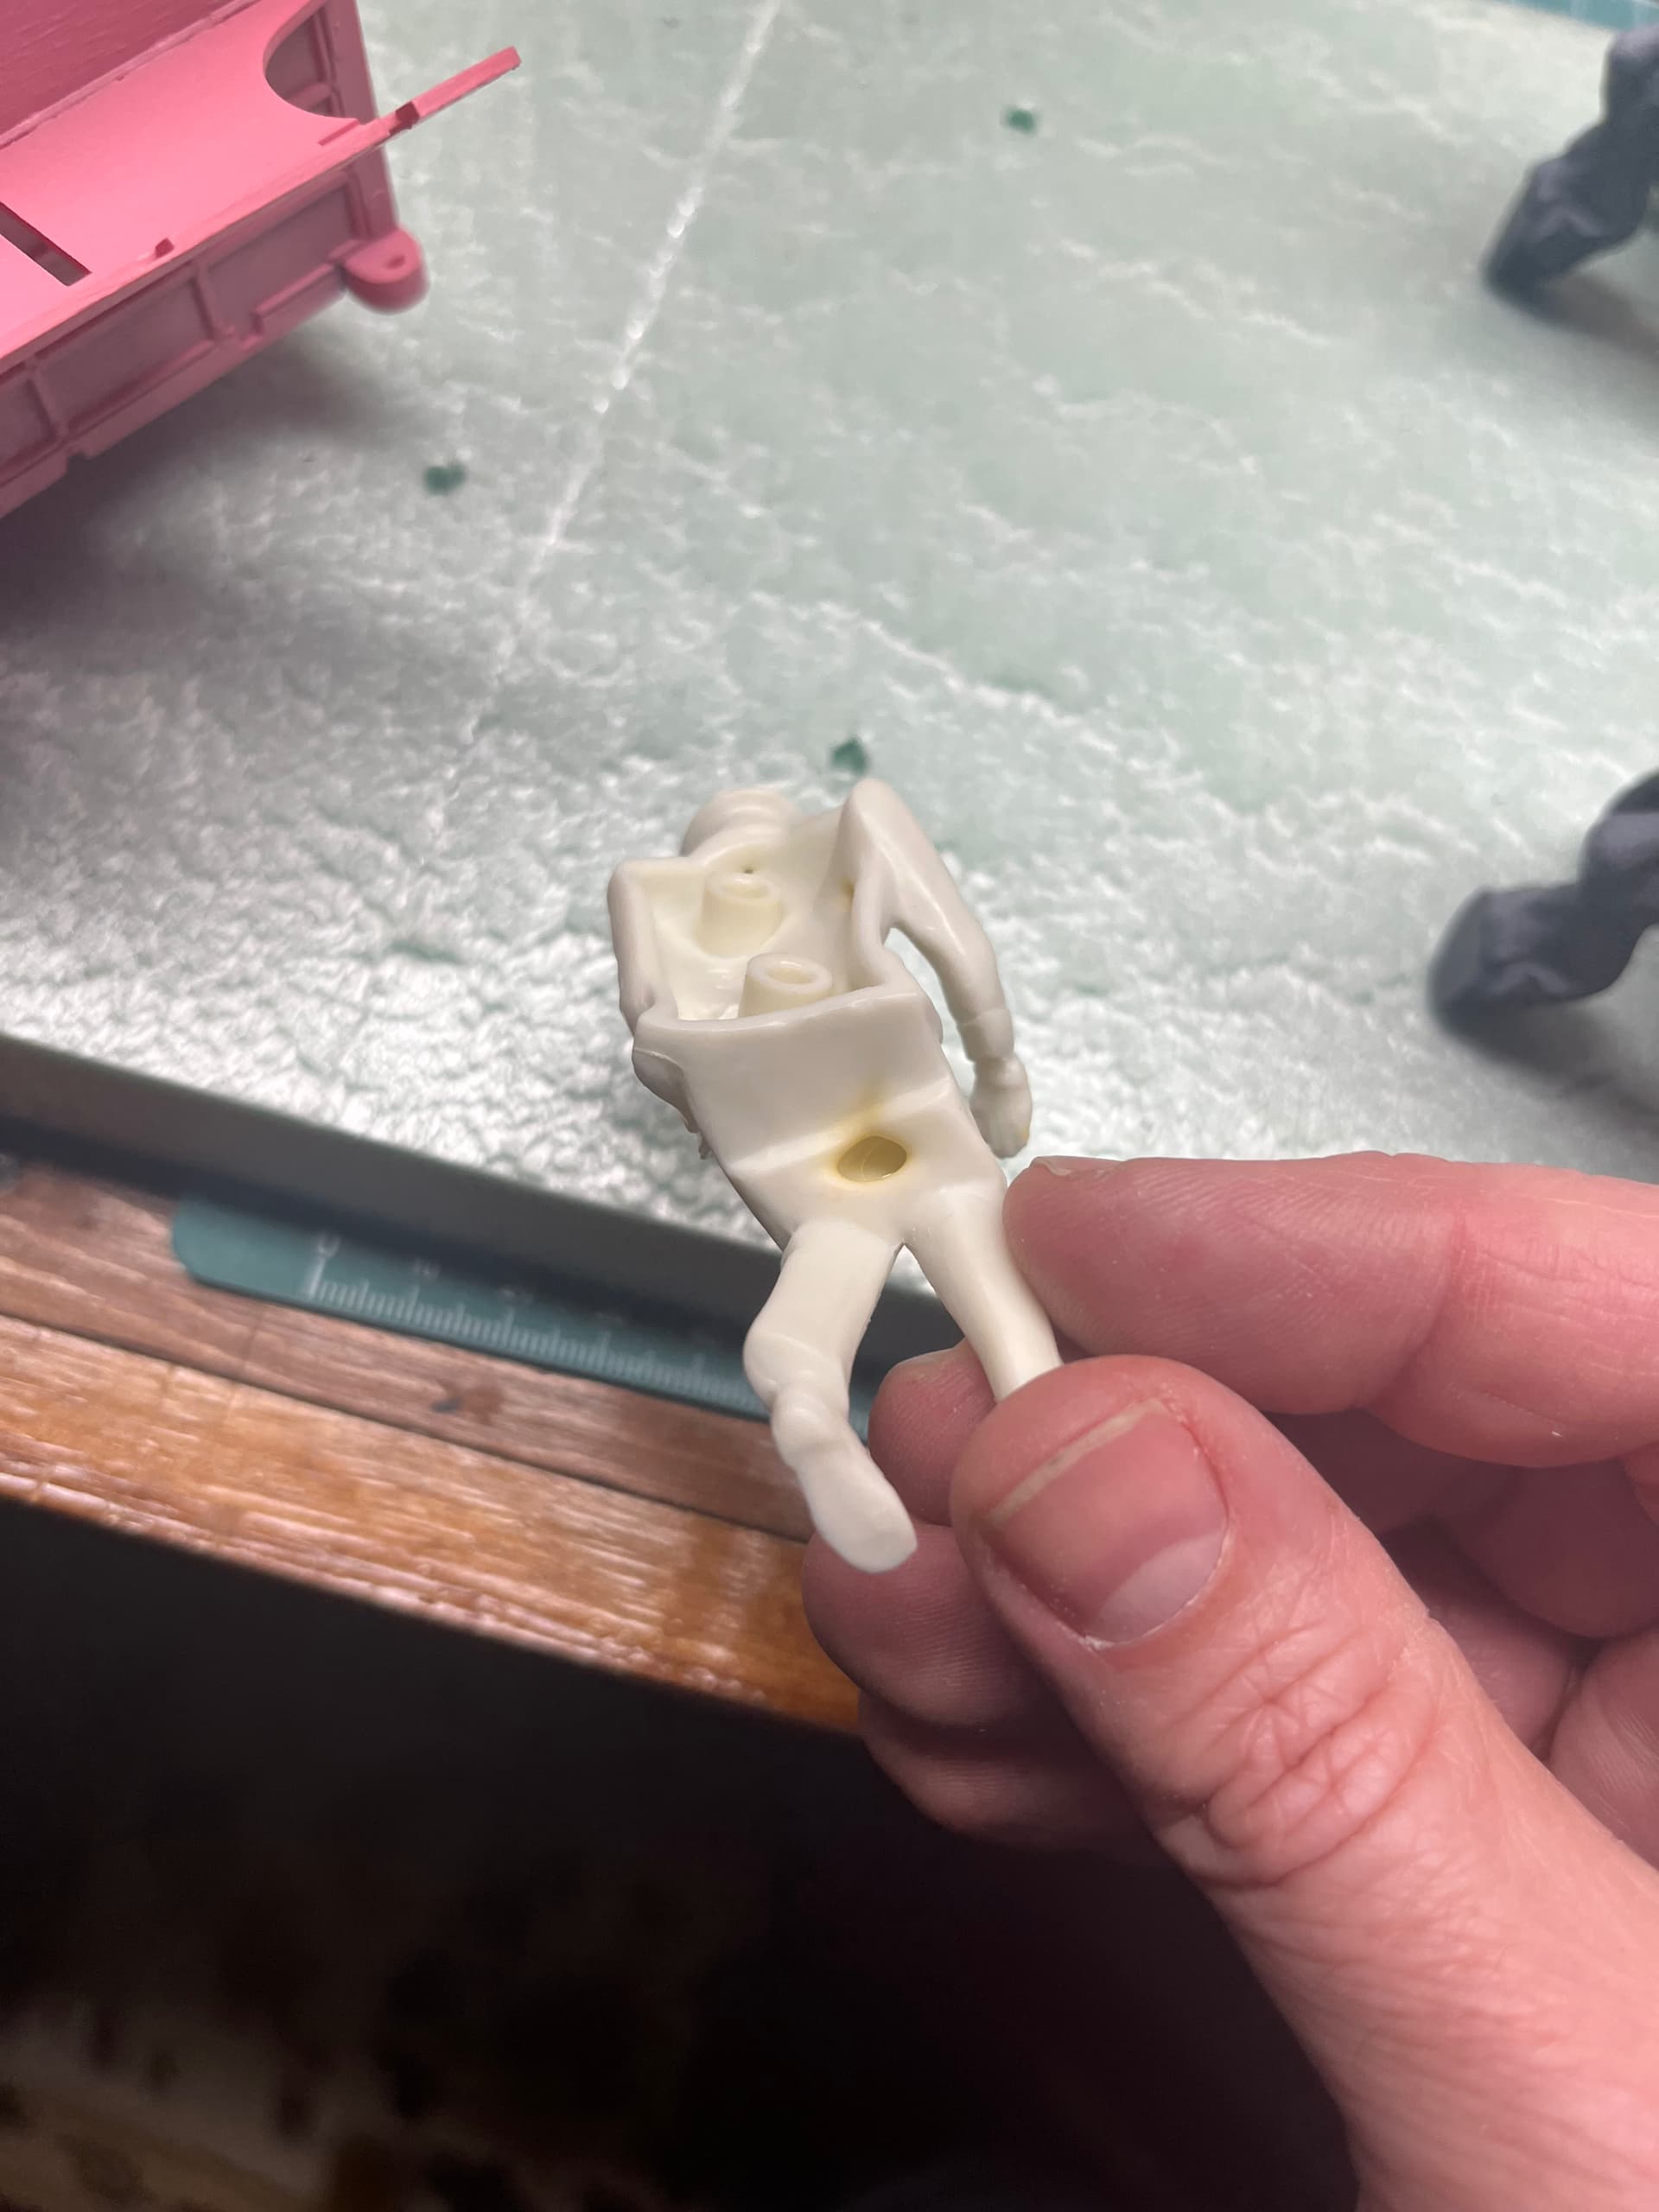
Look at this dapper blob of man flesh. Soft details. So soft.

No matter. Testing the figure on the bench and … oh, crap. That’s right, the warp in the footboard.

That’s quite the hole he has there. Luckily, he’s sitting on it.

5 Likes

I commend you for taking on this project and for doing a fine job on the horses. As an old wargamer myself, I understand what you mean about “clown” horses! Keep up the good work!

Gary

The horses are looking great! Nice work, Tim.

@GAF @S.Hollowell Thanks, you two. I’ll keep the story running with another post this afternoon. Remember, those photos you’re looking at were taken back at the end of 2023 and the beginning of 2024. I’ll check the metatags for more exact dates.

GAF, thank you for the kind words. It’s been an adventure and taken far longer than it should have to get where I am now, but the end is in sight.

Nice project, Tim!

I have accumulated a couple of the driver figures for use with Maschinen Krieger-always looking for 1/20 figures. They need filling in the back, as you noted.

Best regards,
Brad

2 Likes

Thanks, @the_Baron. We’re going to come to a reckoning with the driver, but you’ll notice he was in our most recent FSMW when I talk about reducing hand tremor.


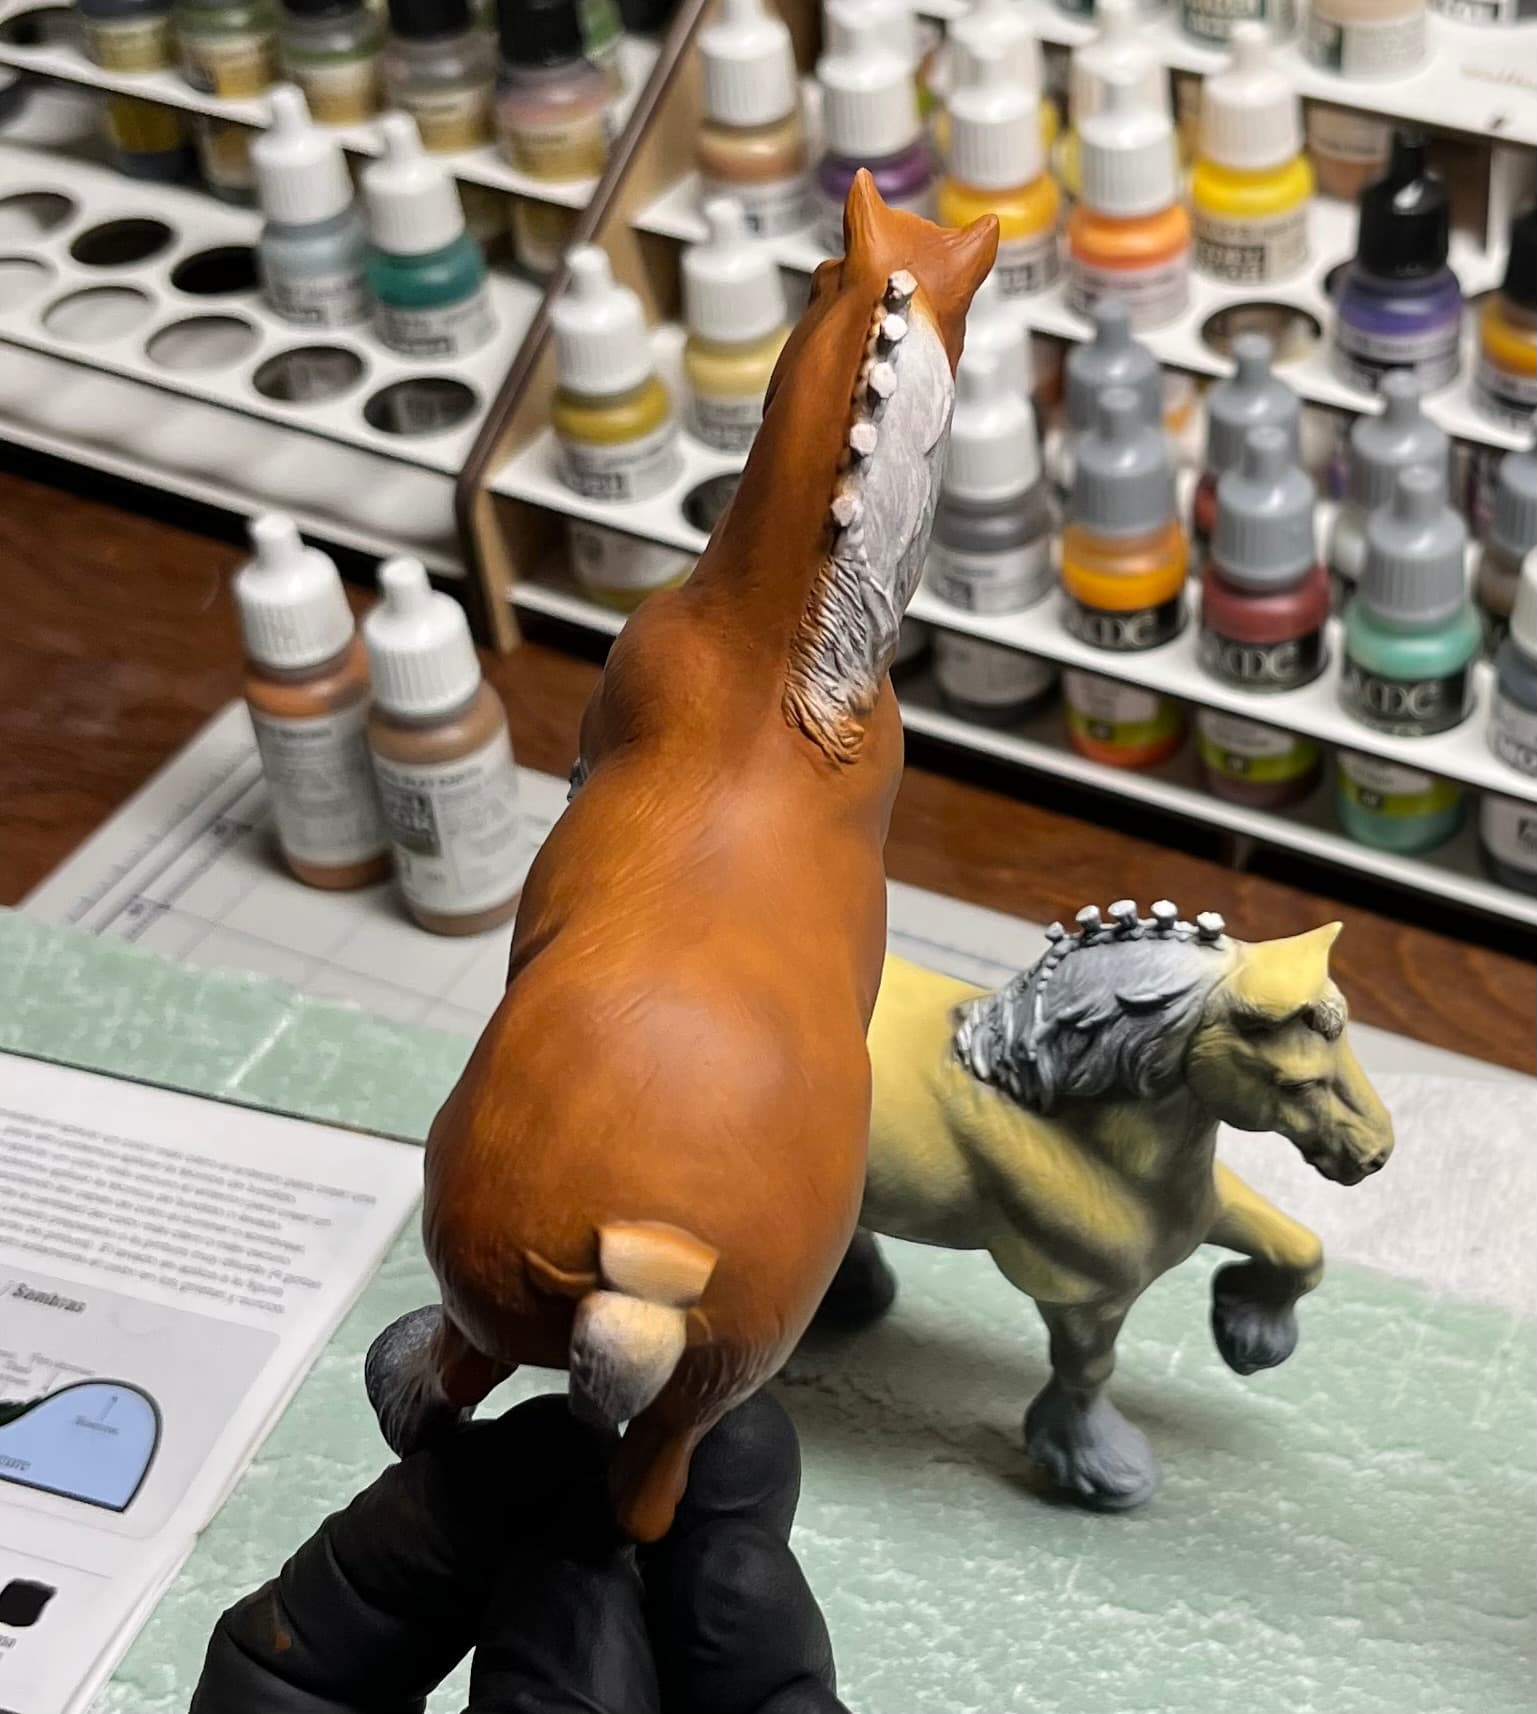
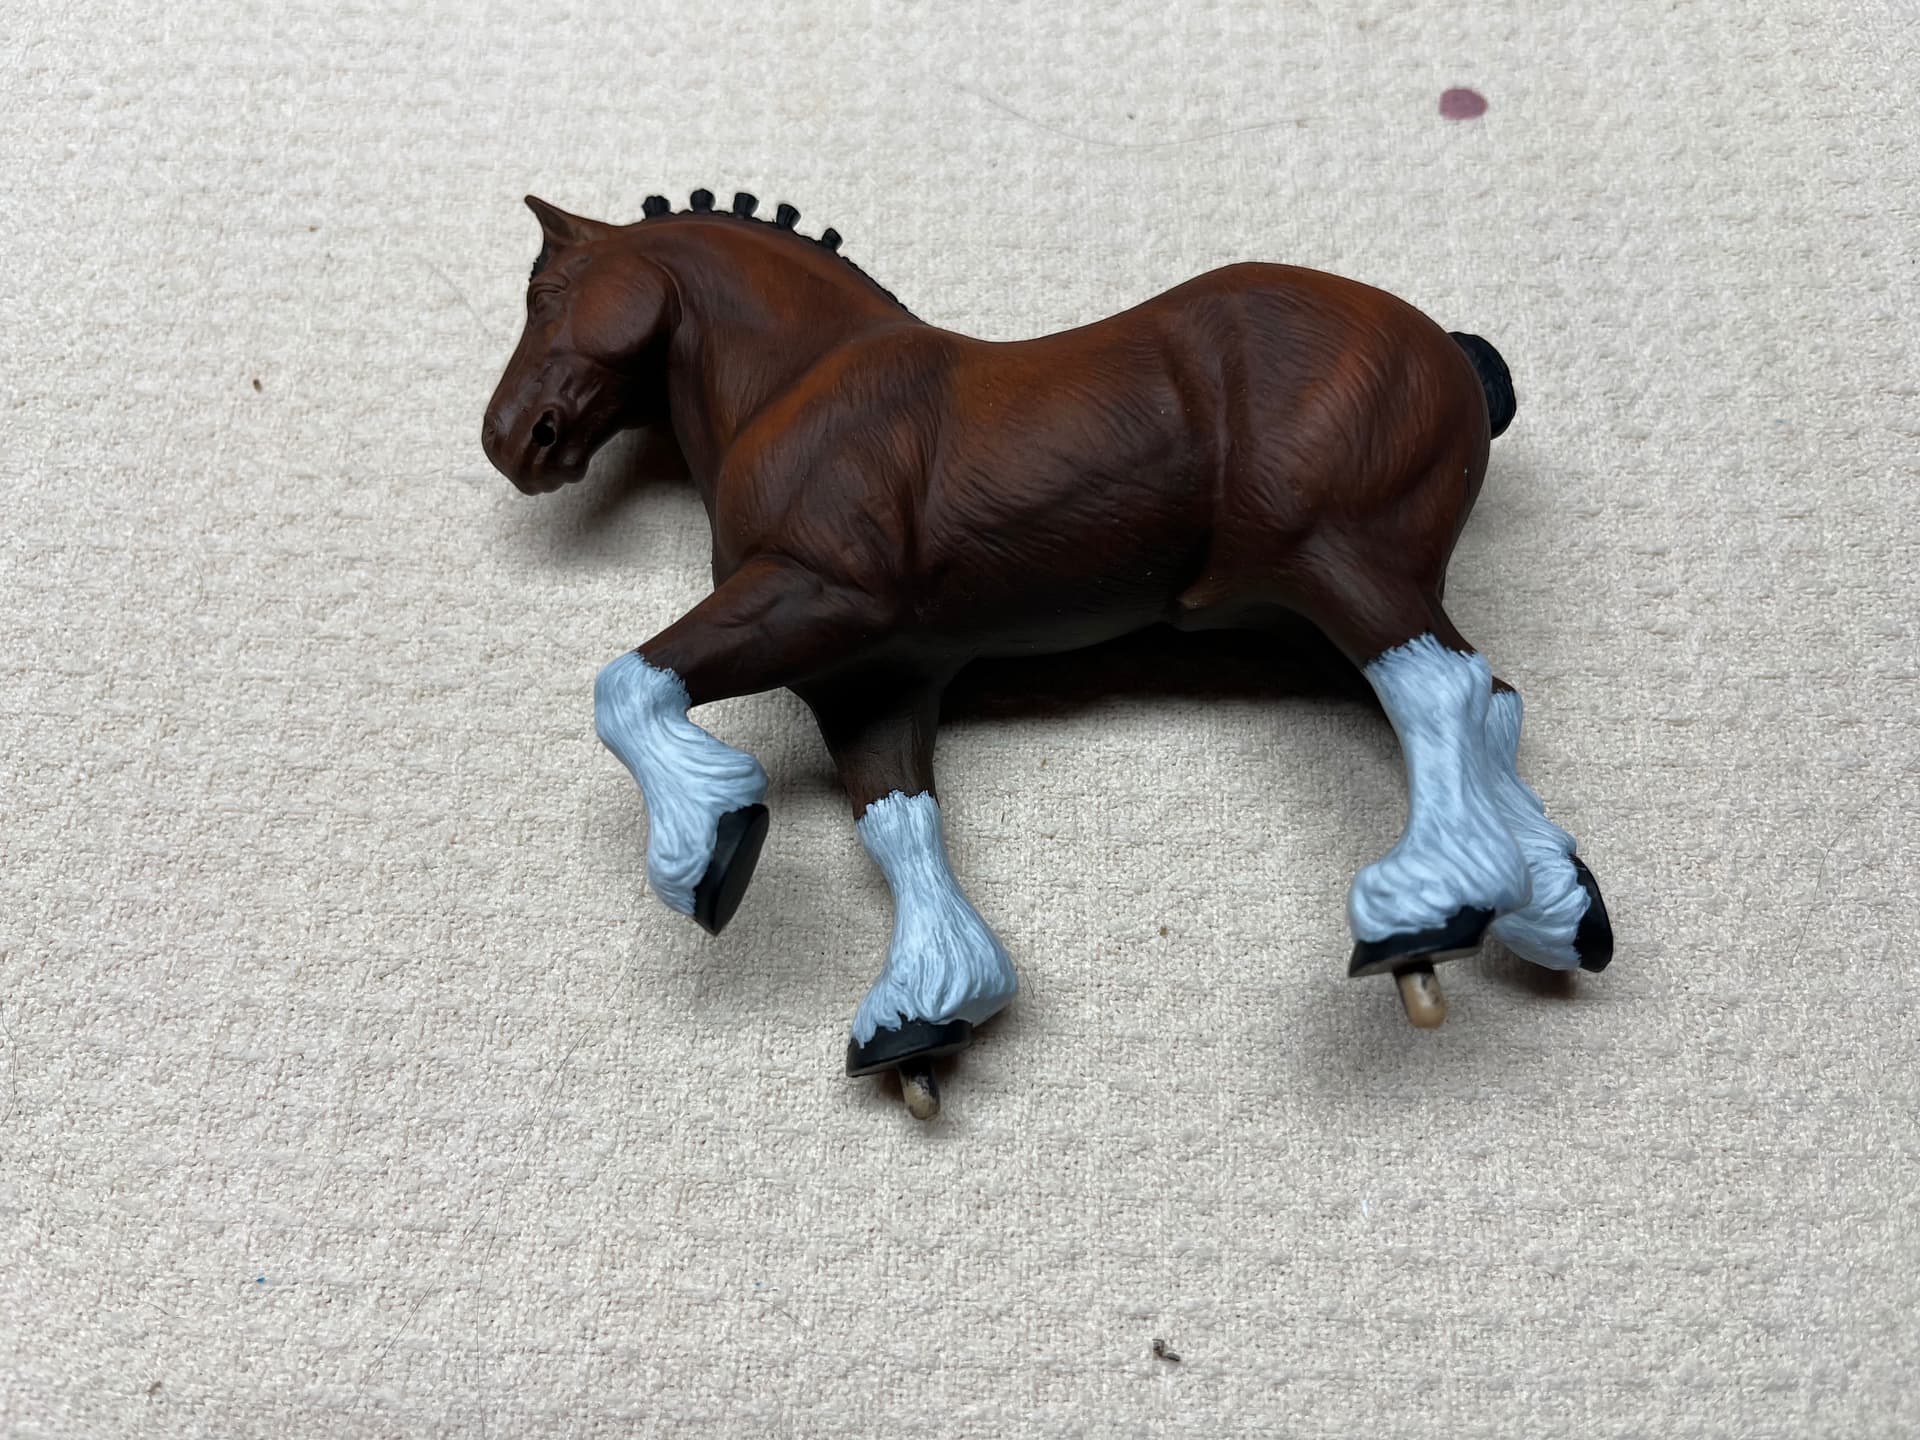
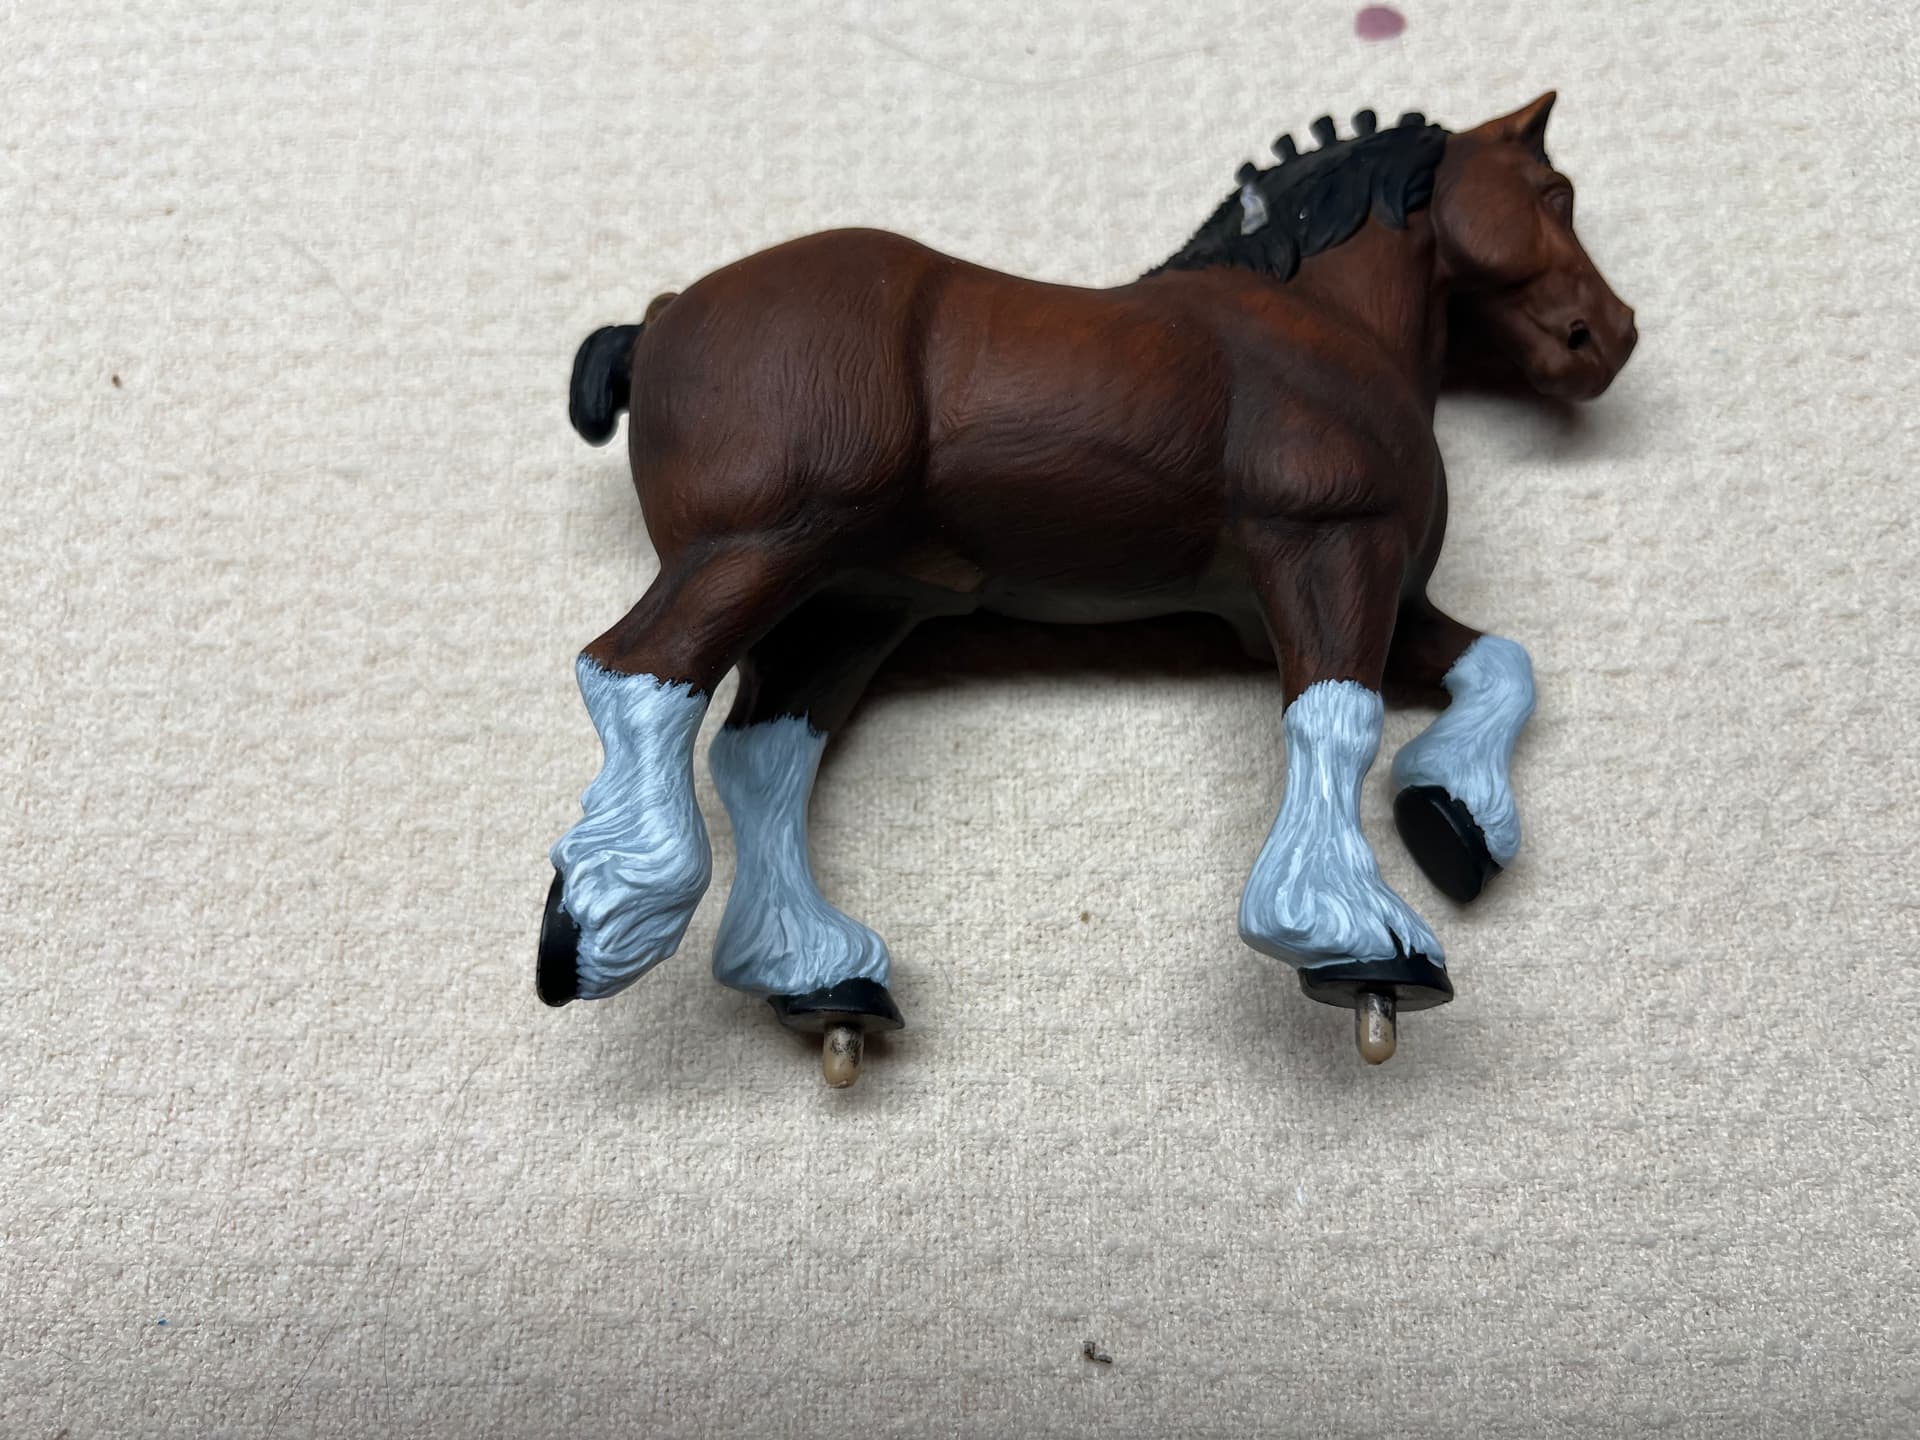
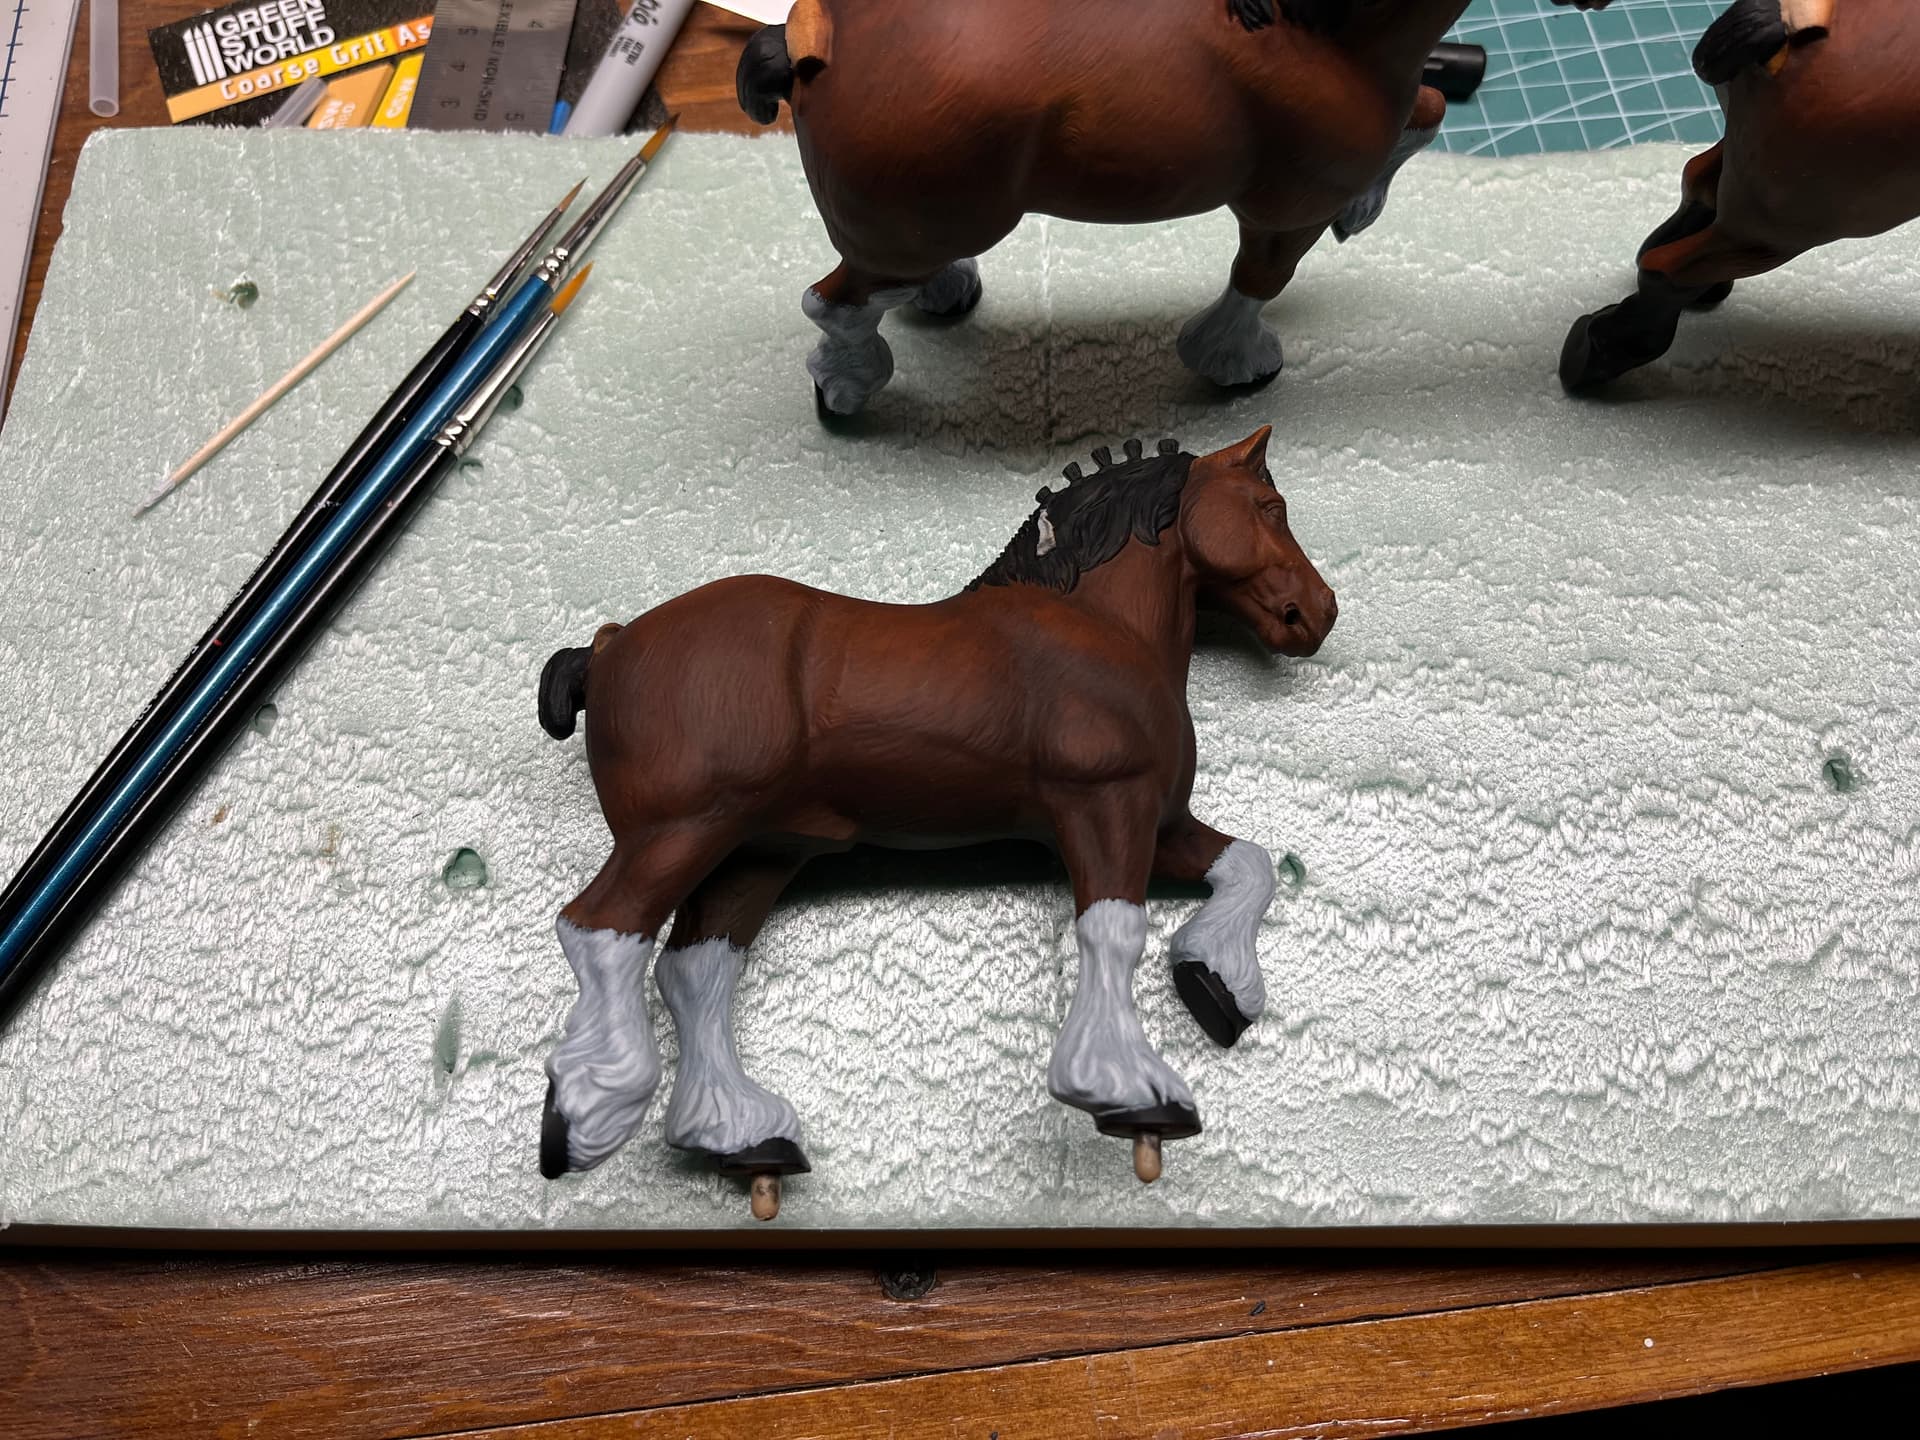
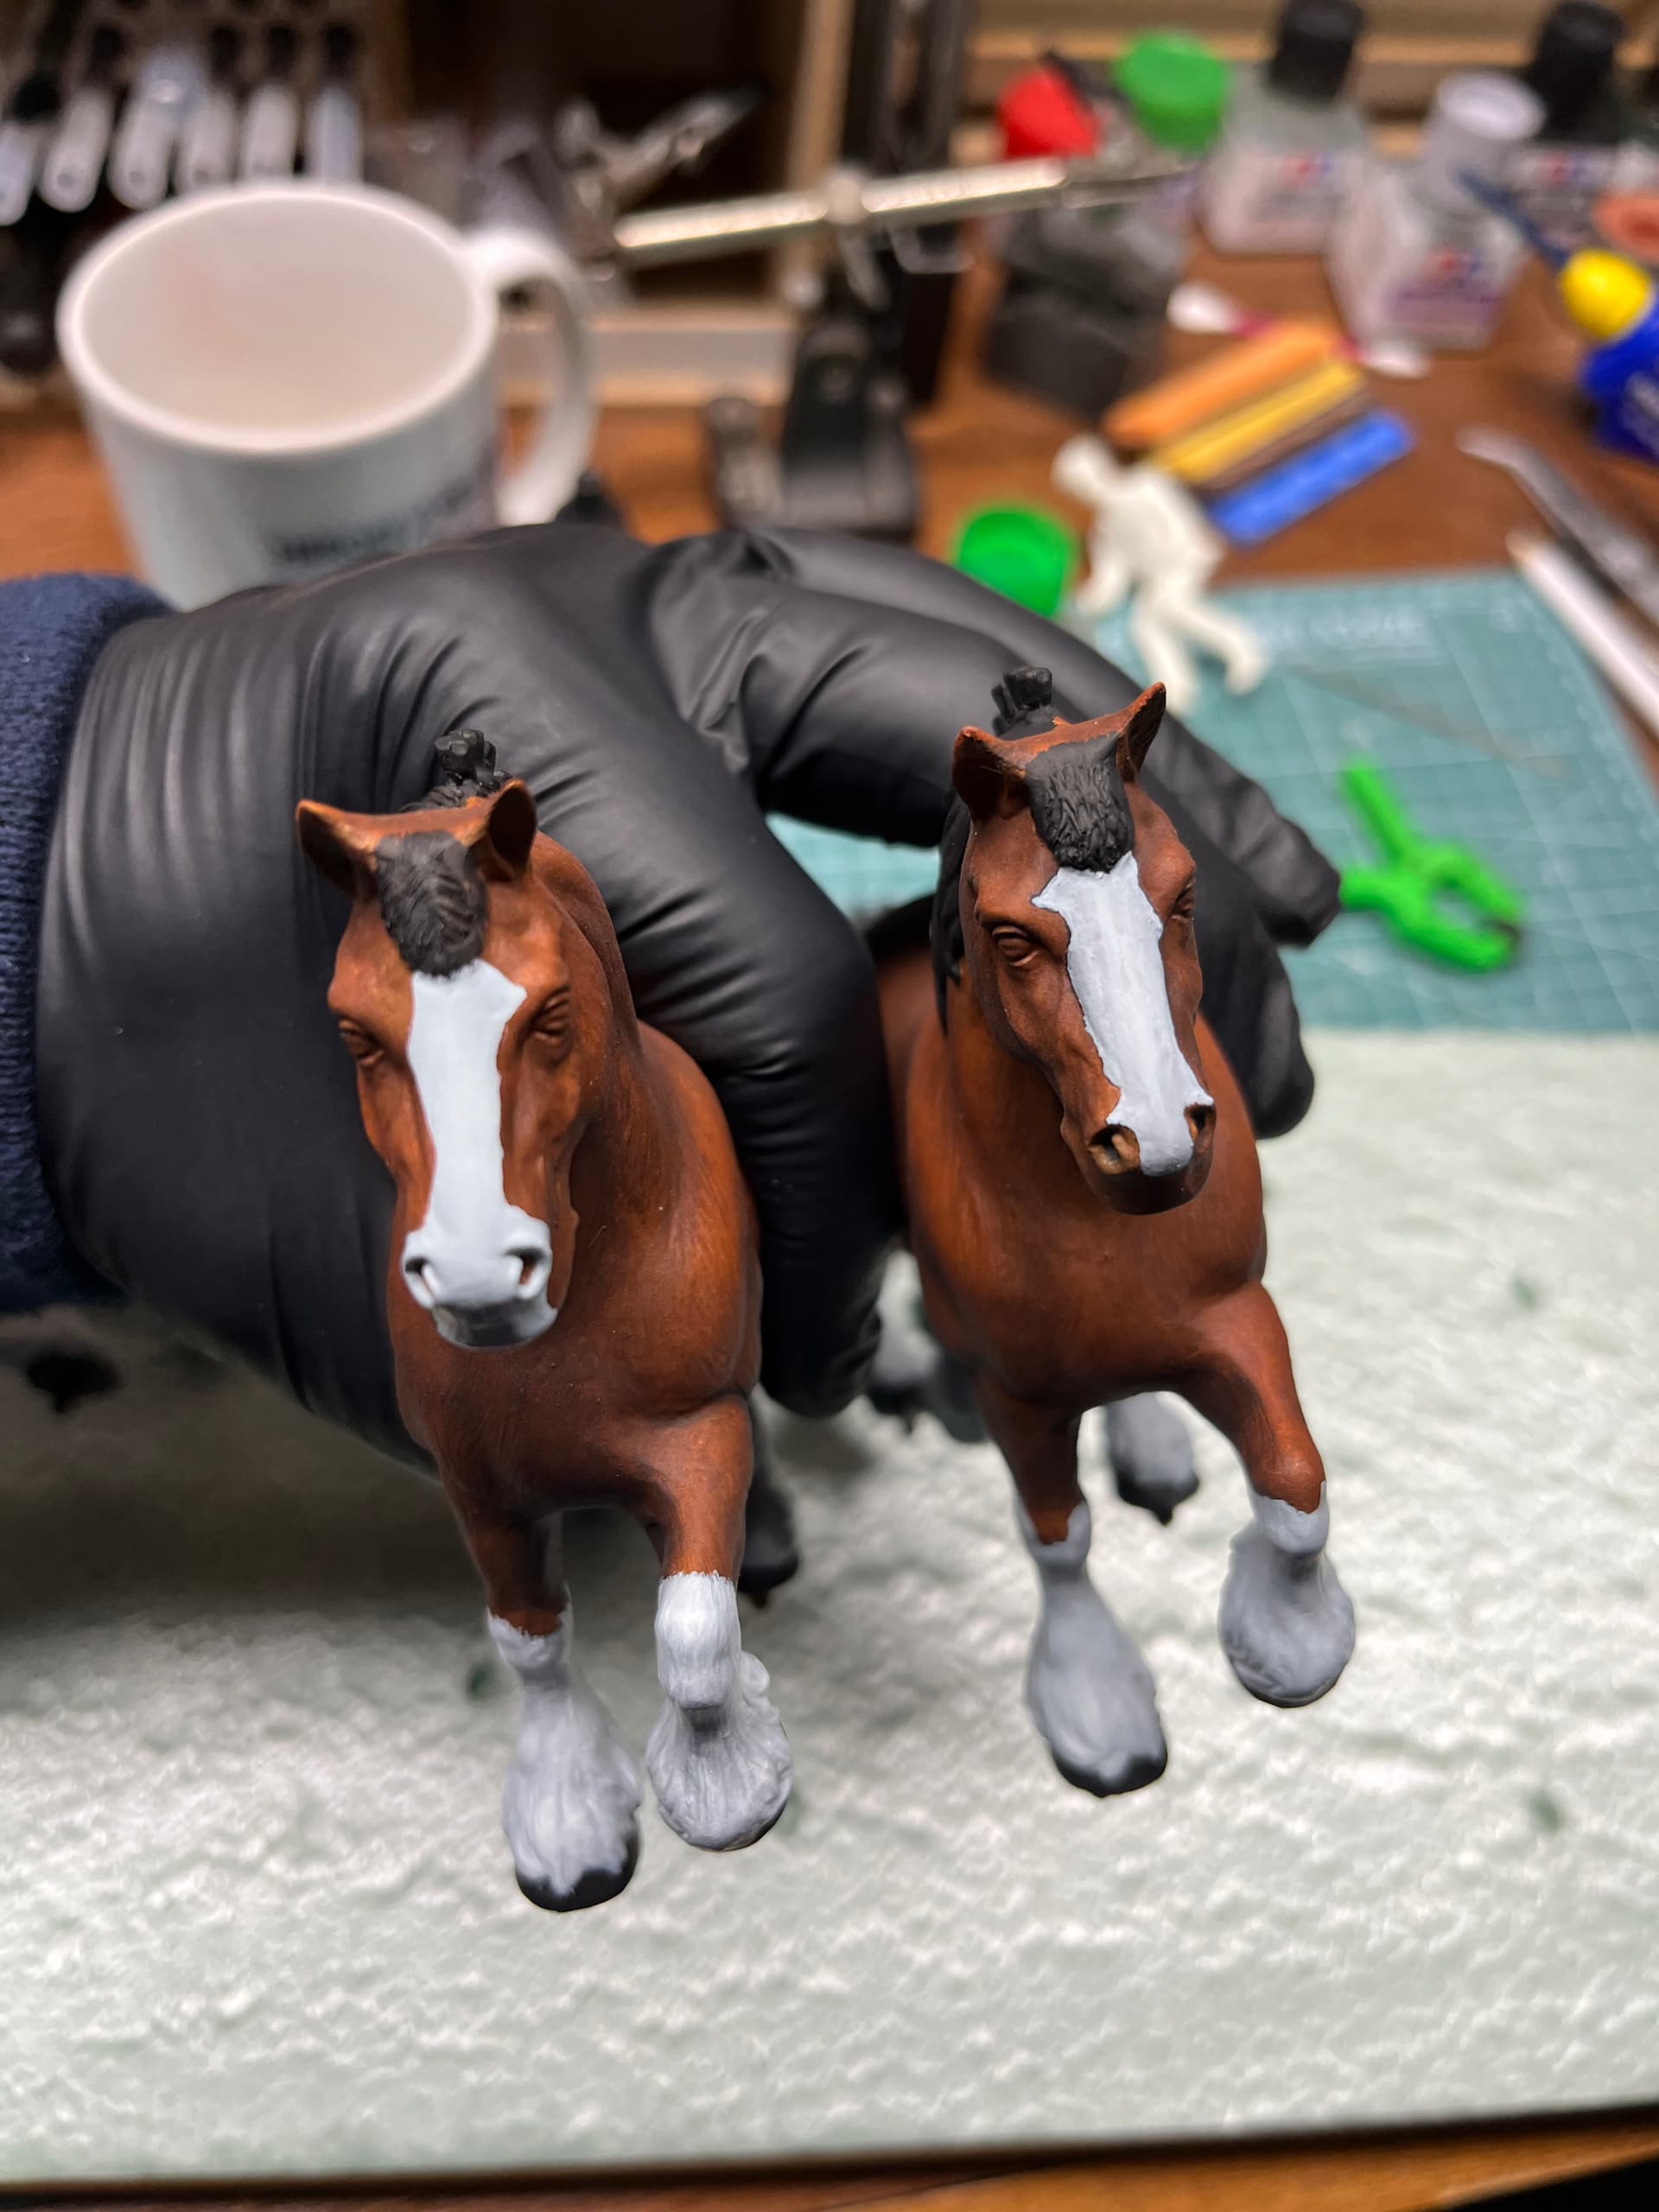
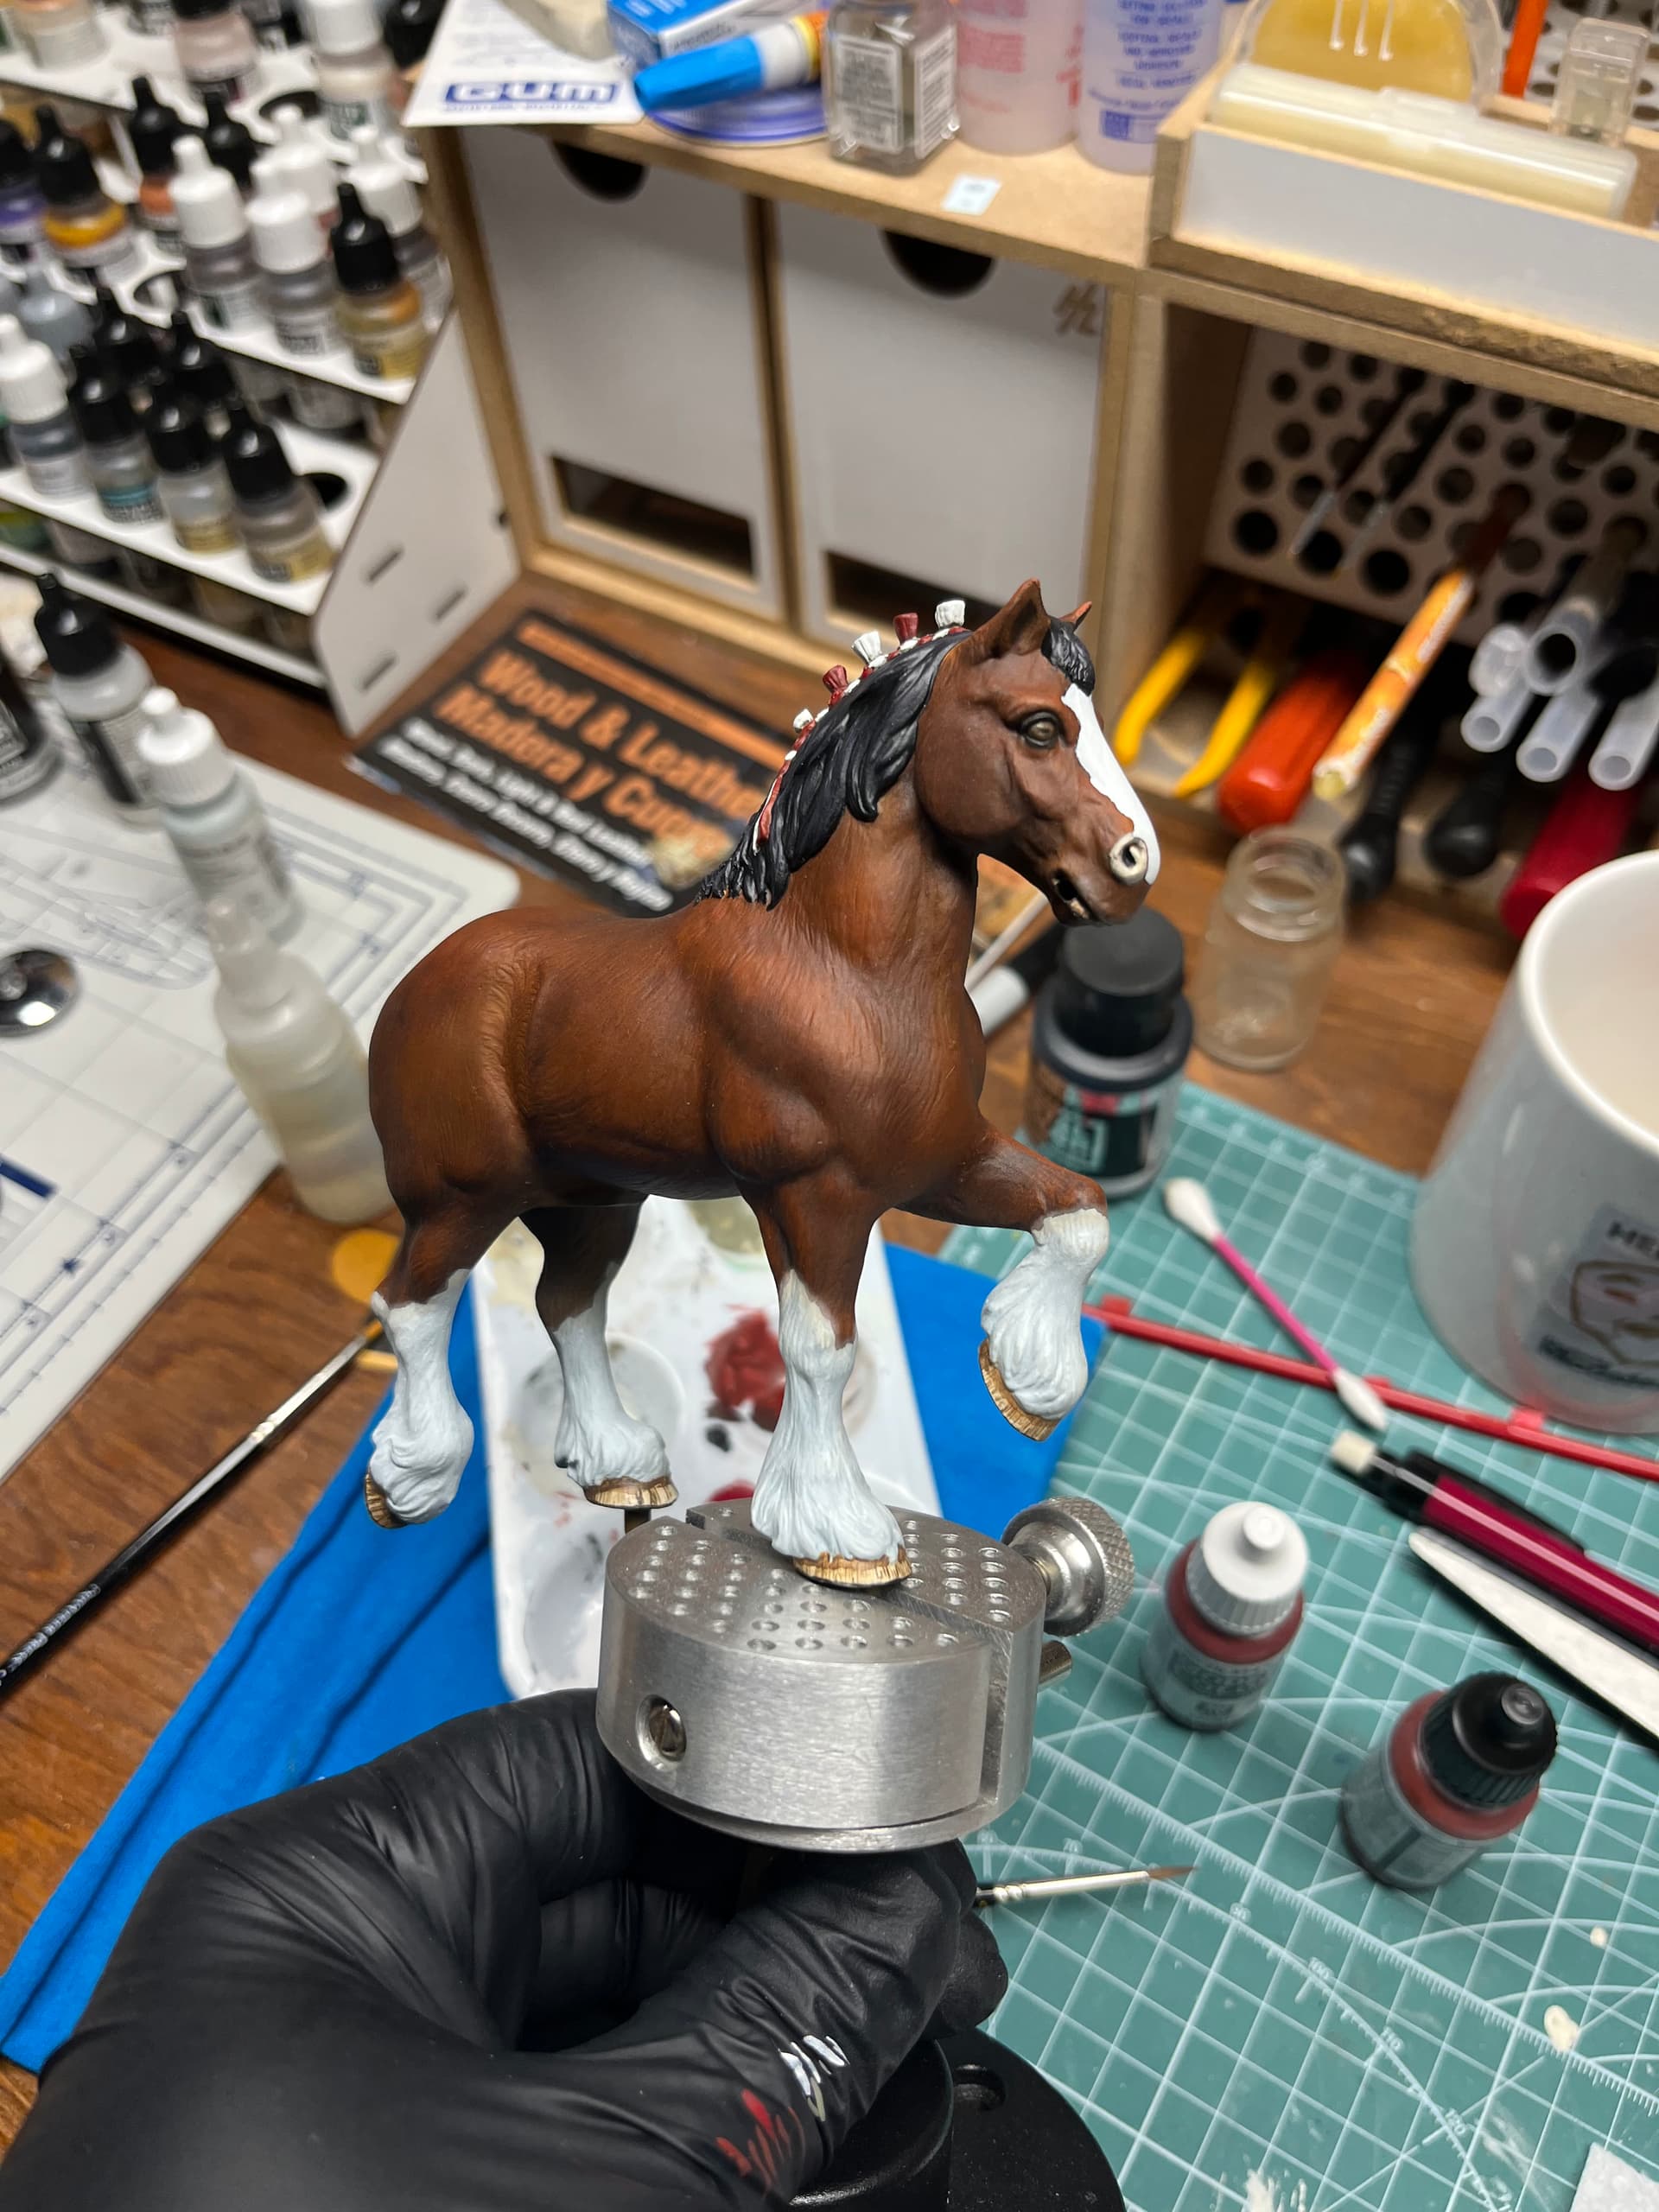
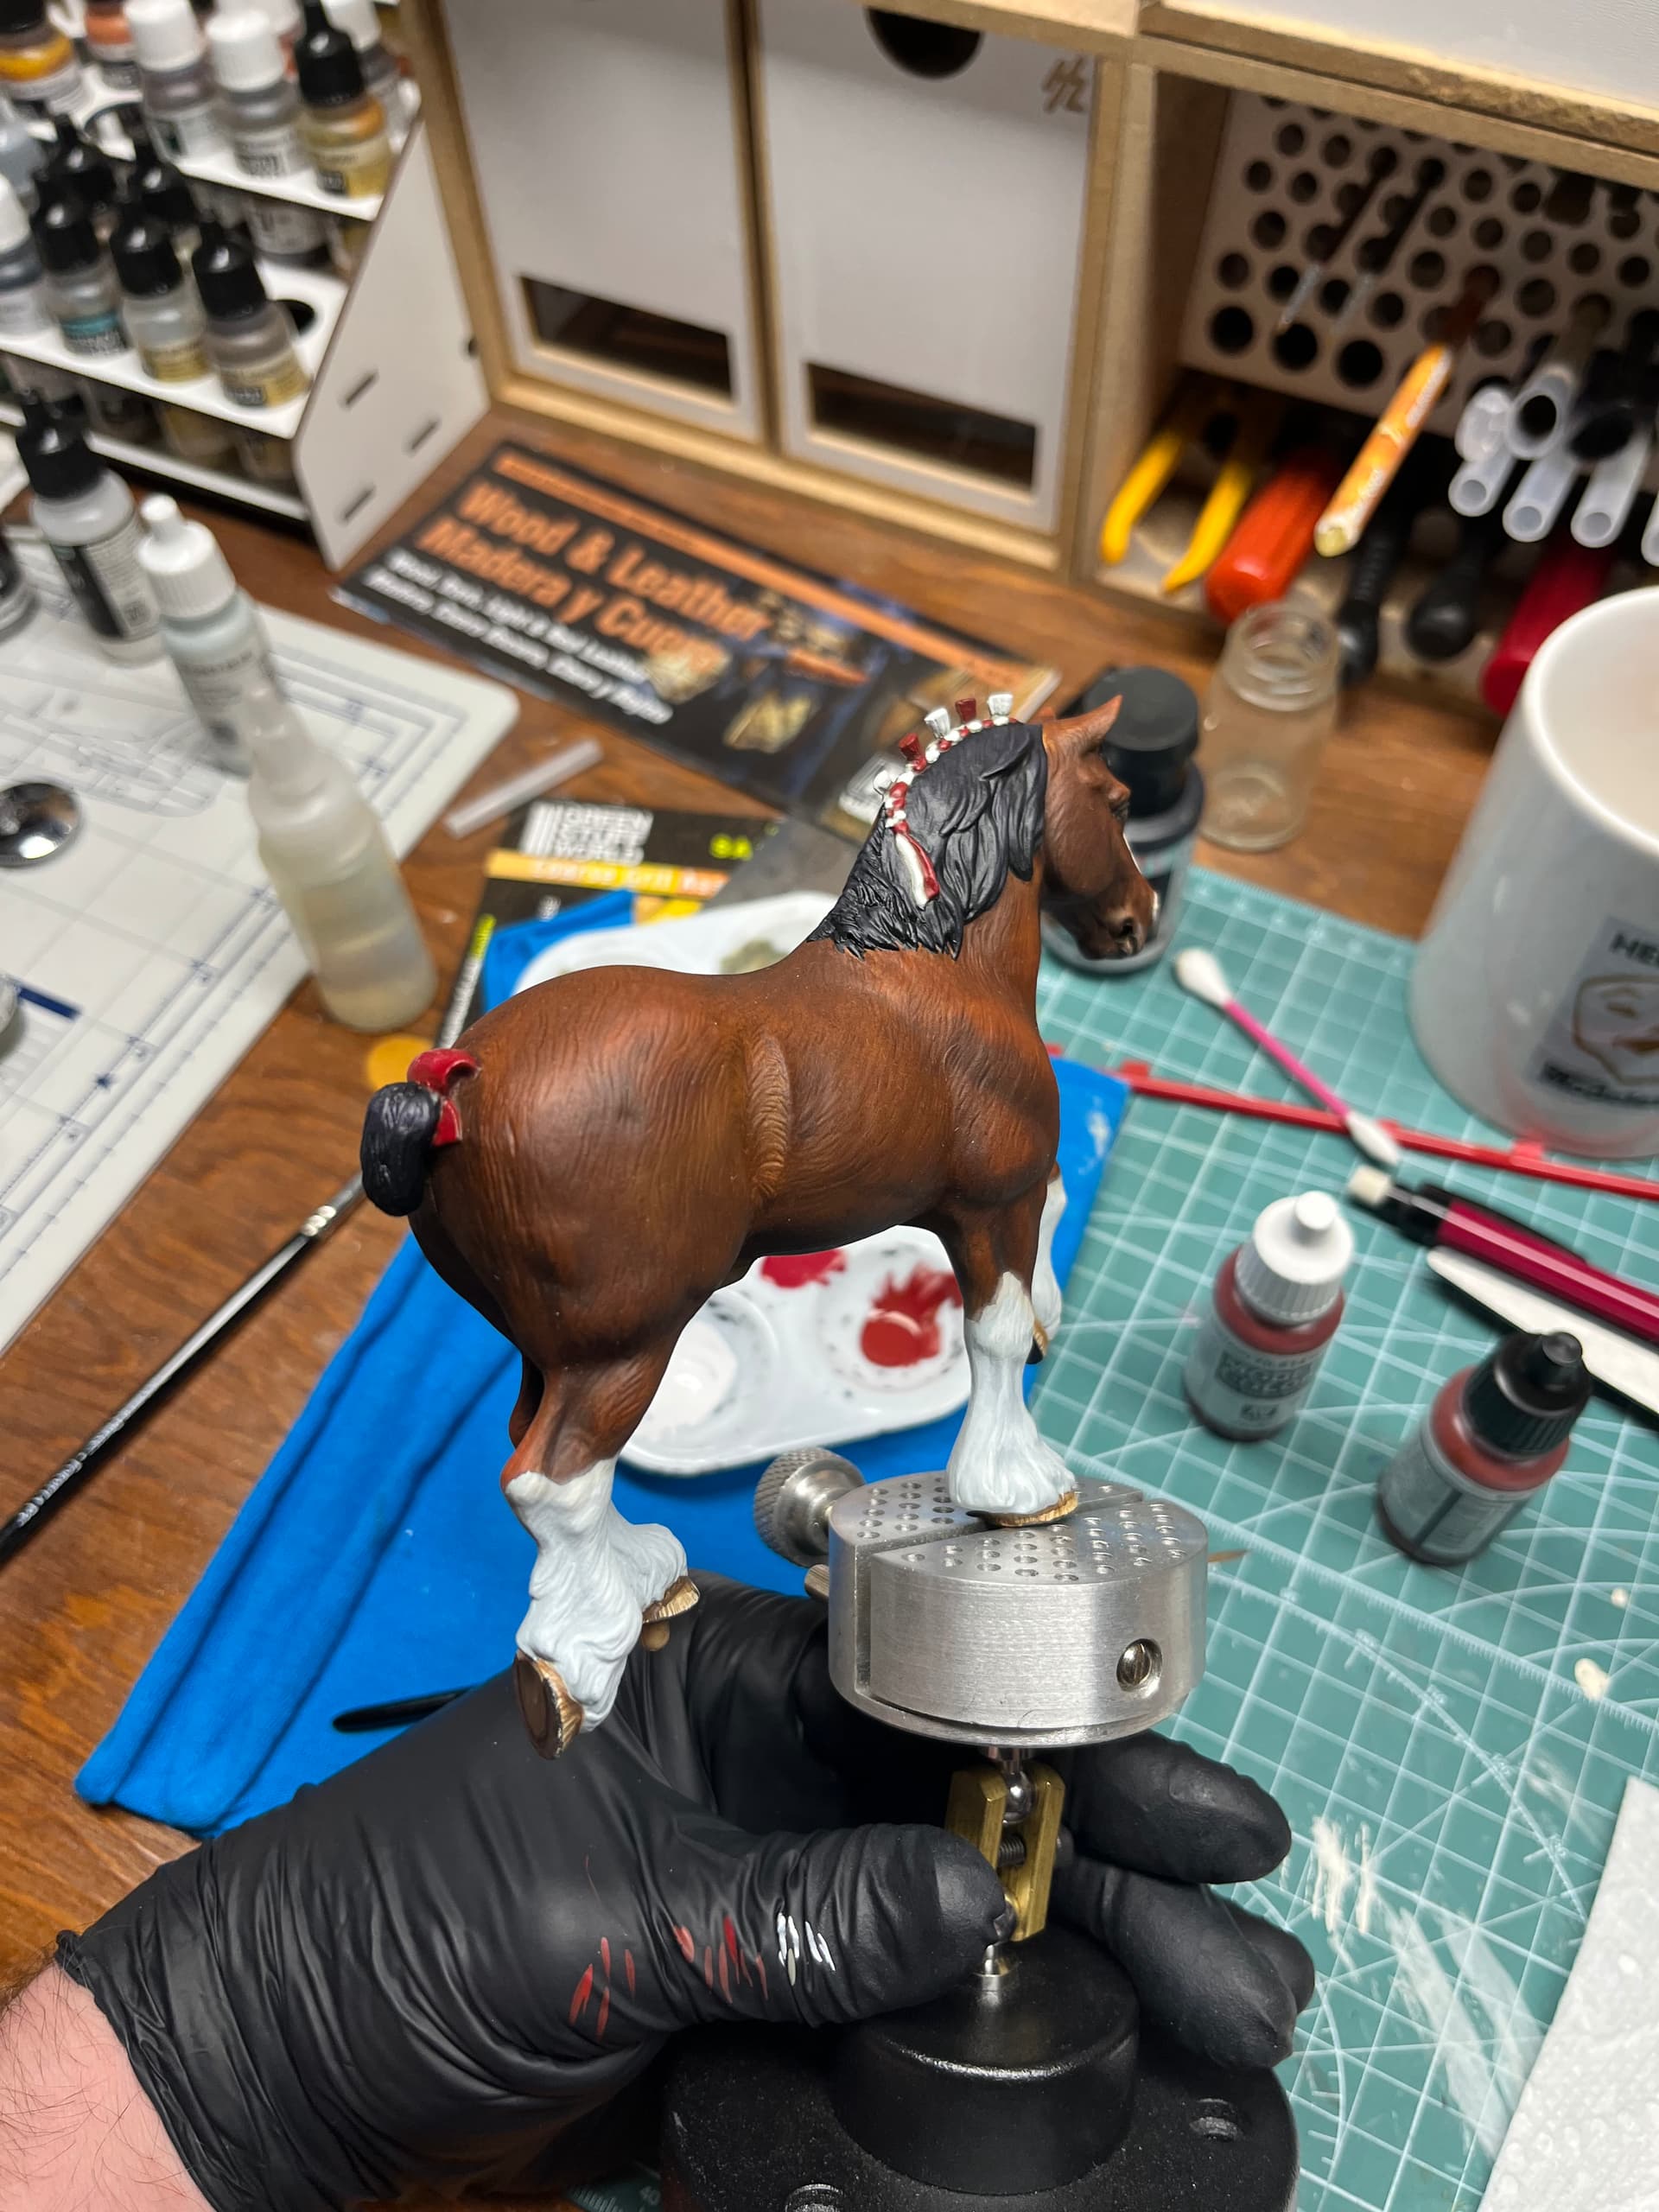
Back on the horses, I was battling color shift and correction. They didn’t need to be identical, but the Budweiser Clydesdales have a consistent look, so I wanted consistency.


Because I was not going to open the can of horse apples that would have been repositioning the legs for more variety of poses and individuality, that was going to have to come from painting the stockings, blazes, manes, and other individual markings.


With one horse done, there were seven more to
do.

4 Likes

The photo of that Clydesdale was taken on May 10, 2024. Things were about to get hectic both professionally and personally for me. I just didn’t know how busy. I already had two other projects added to the workbench, and I started having trigger finger symptoms, but my fingers weren’t locking completely, and they didn’t hurt—just annoying—so I was mostly ignoring it.

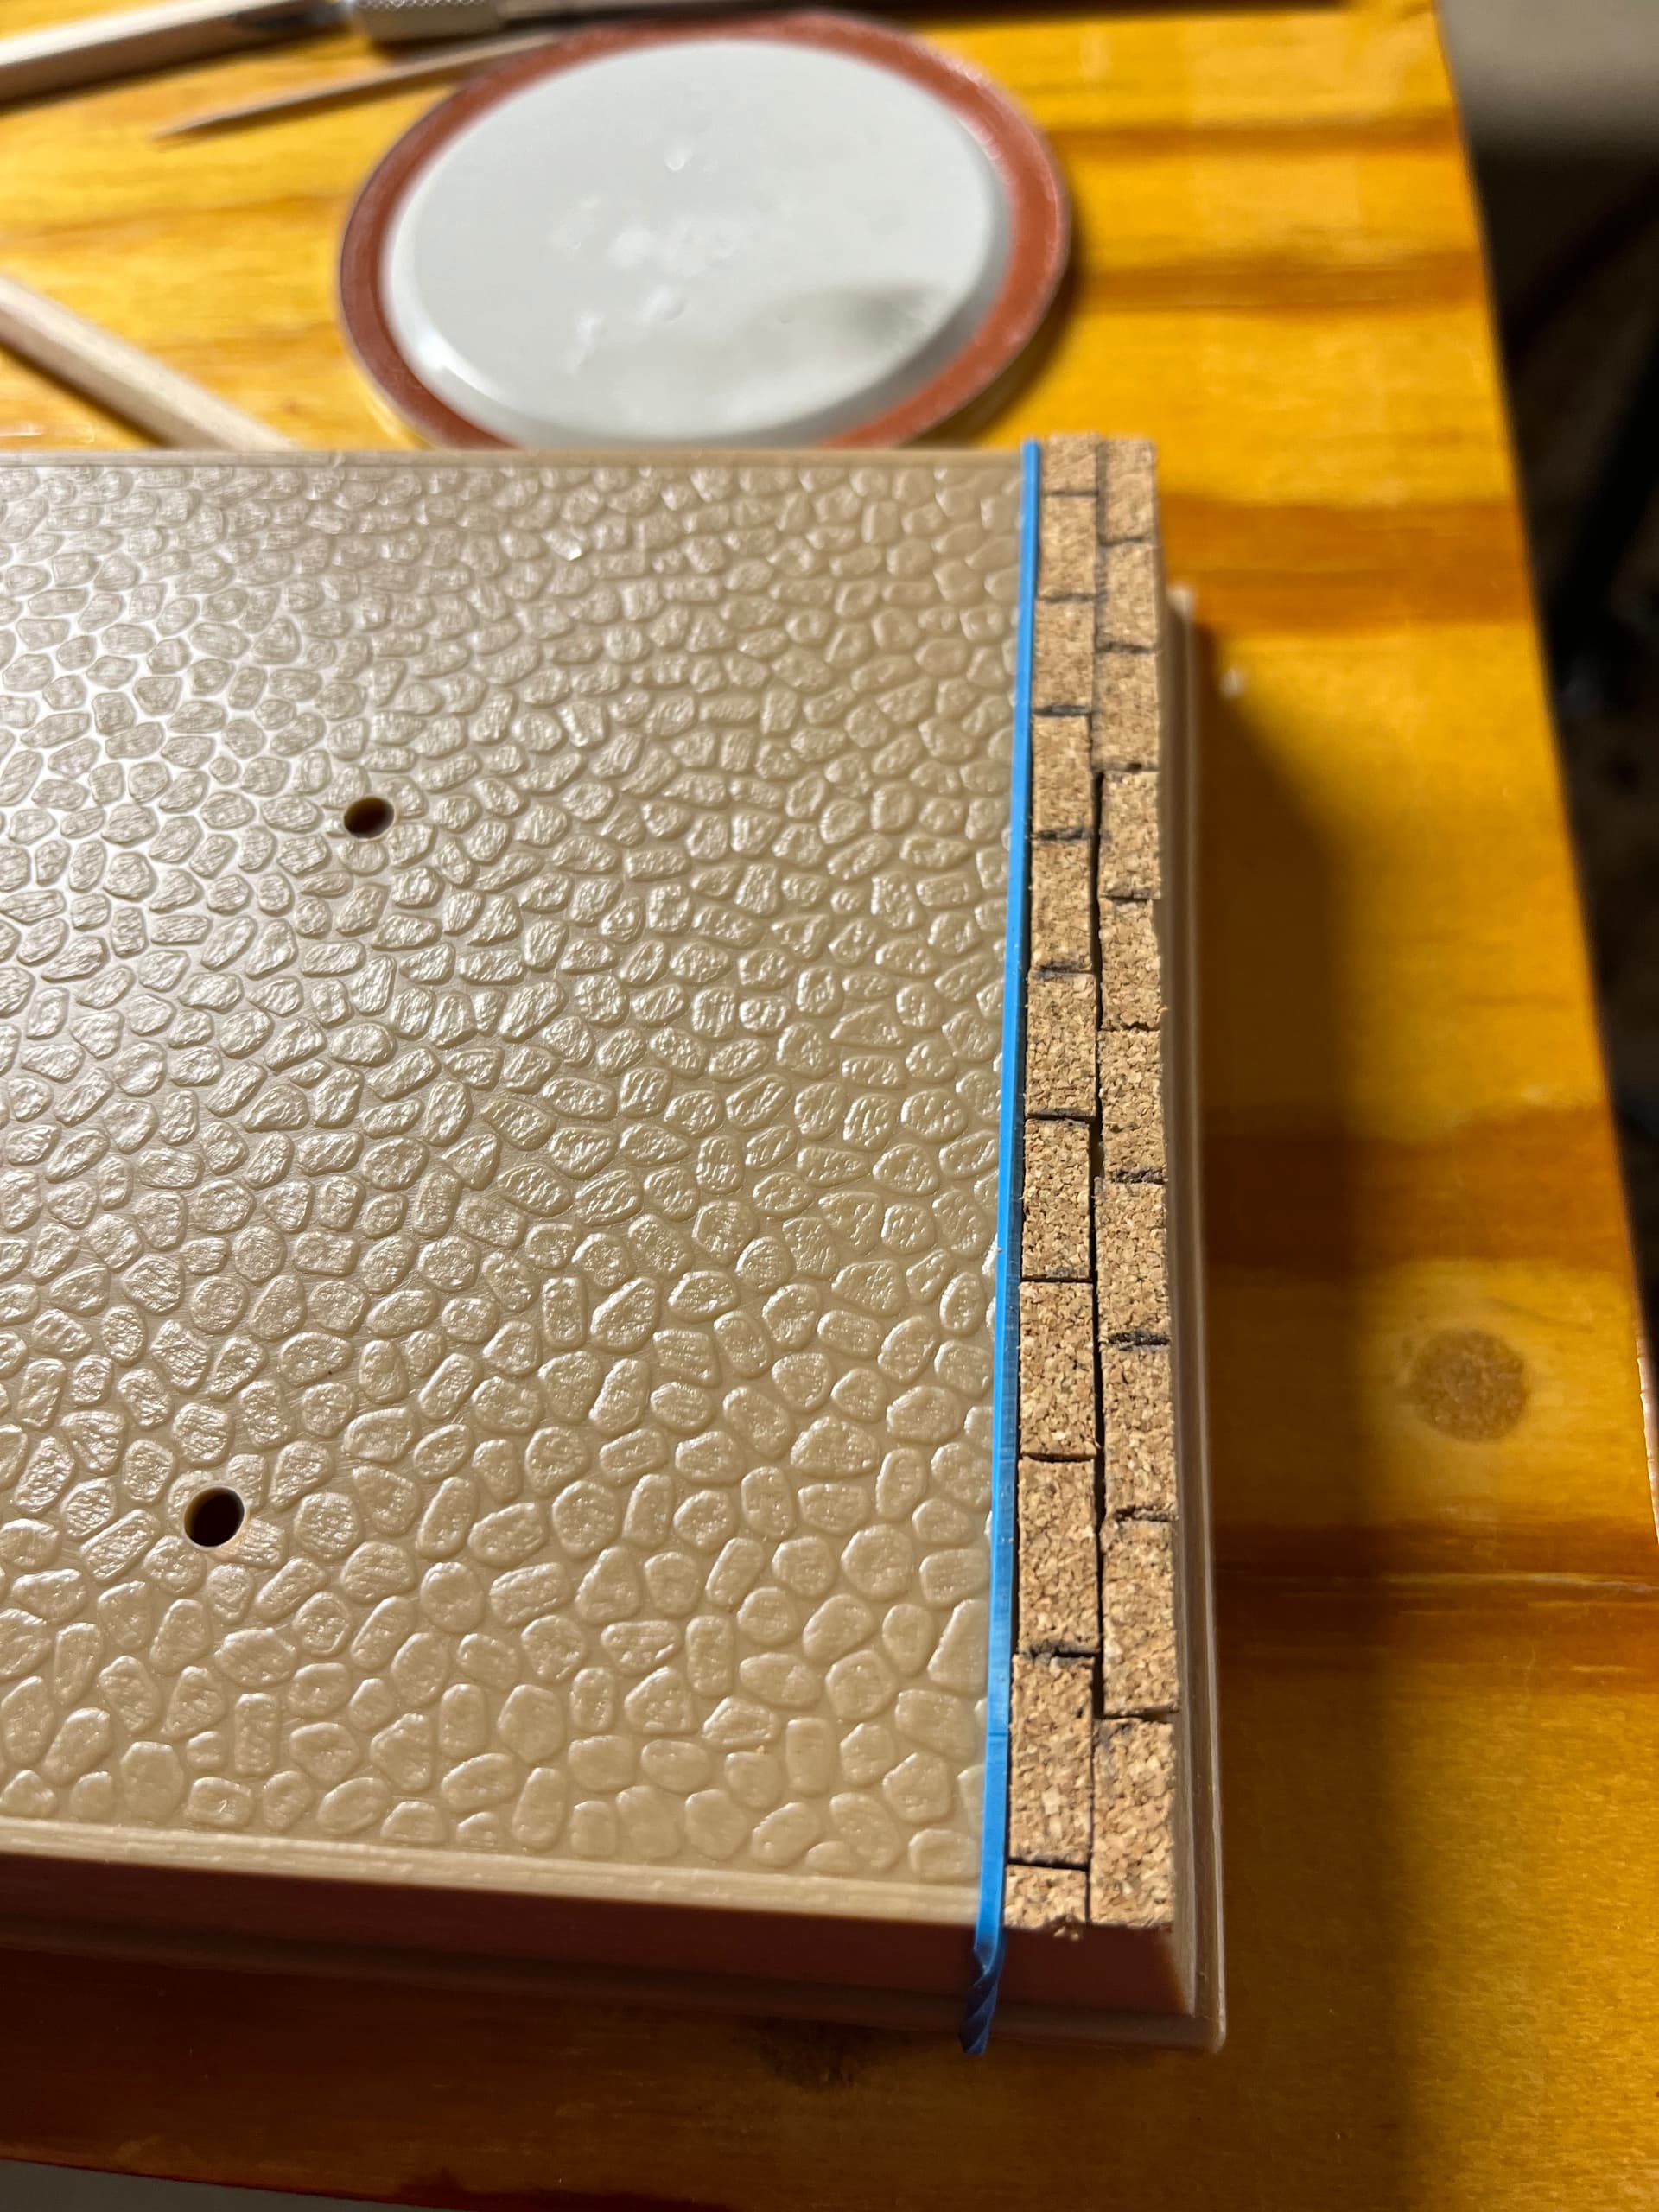
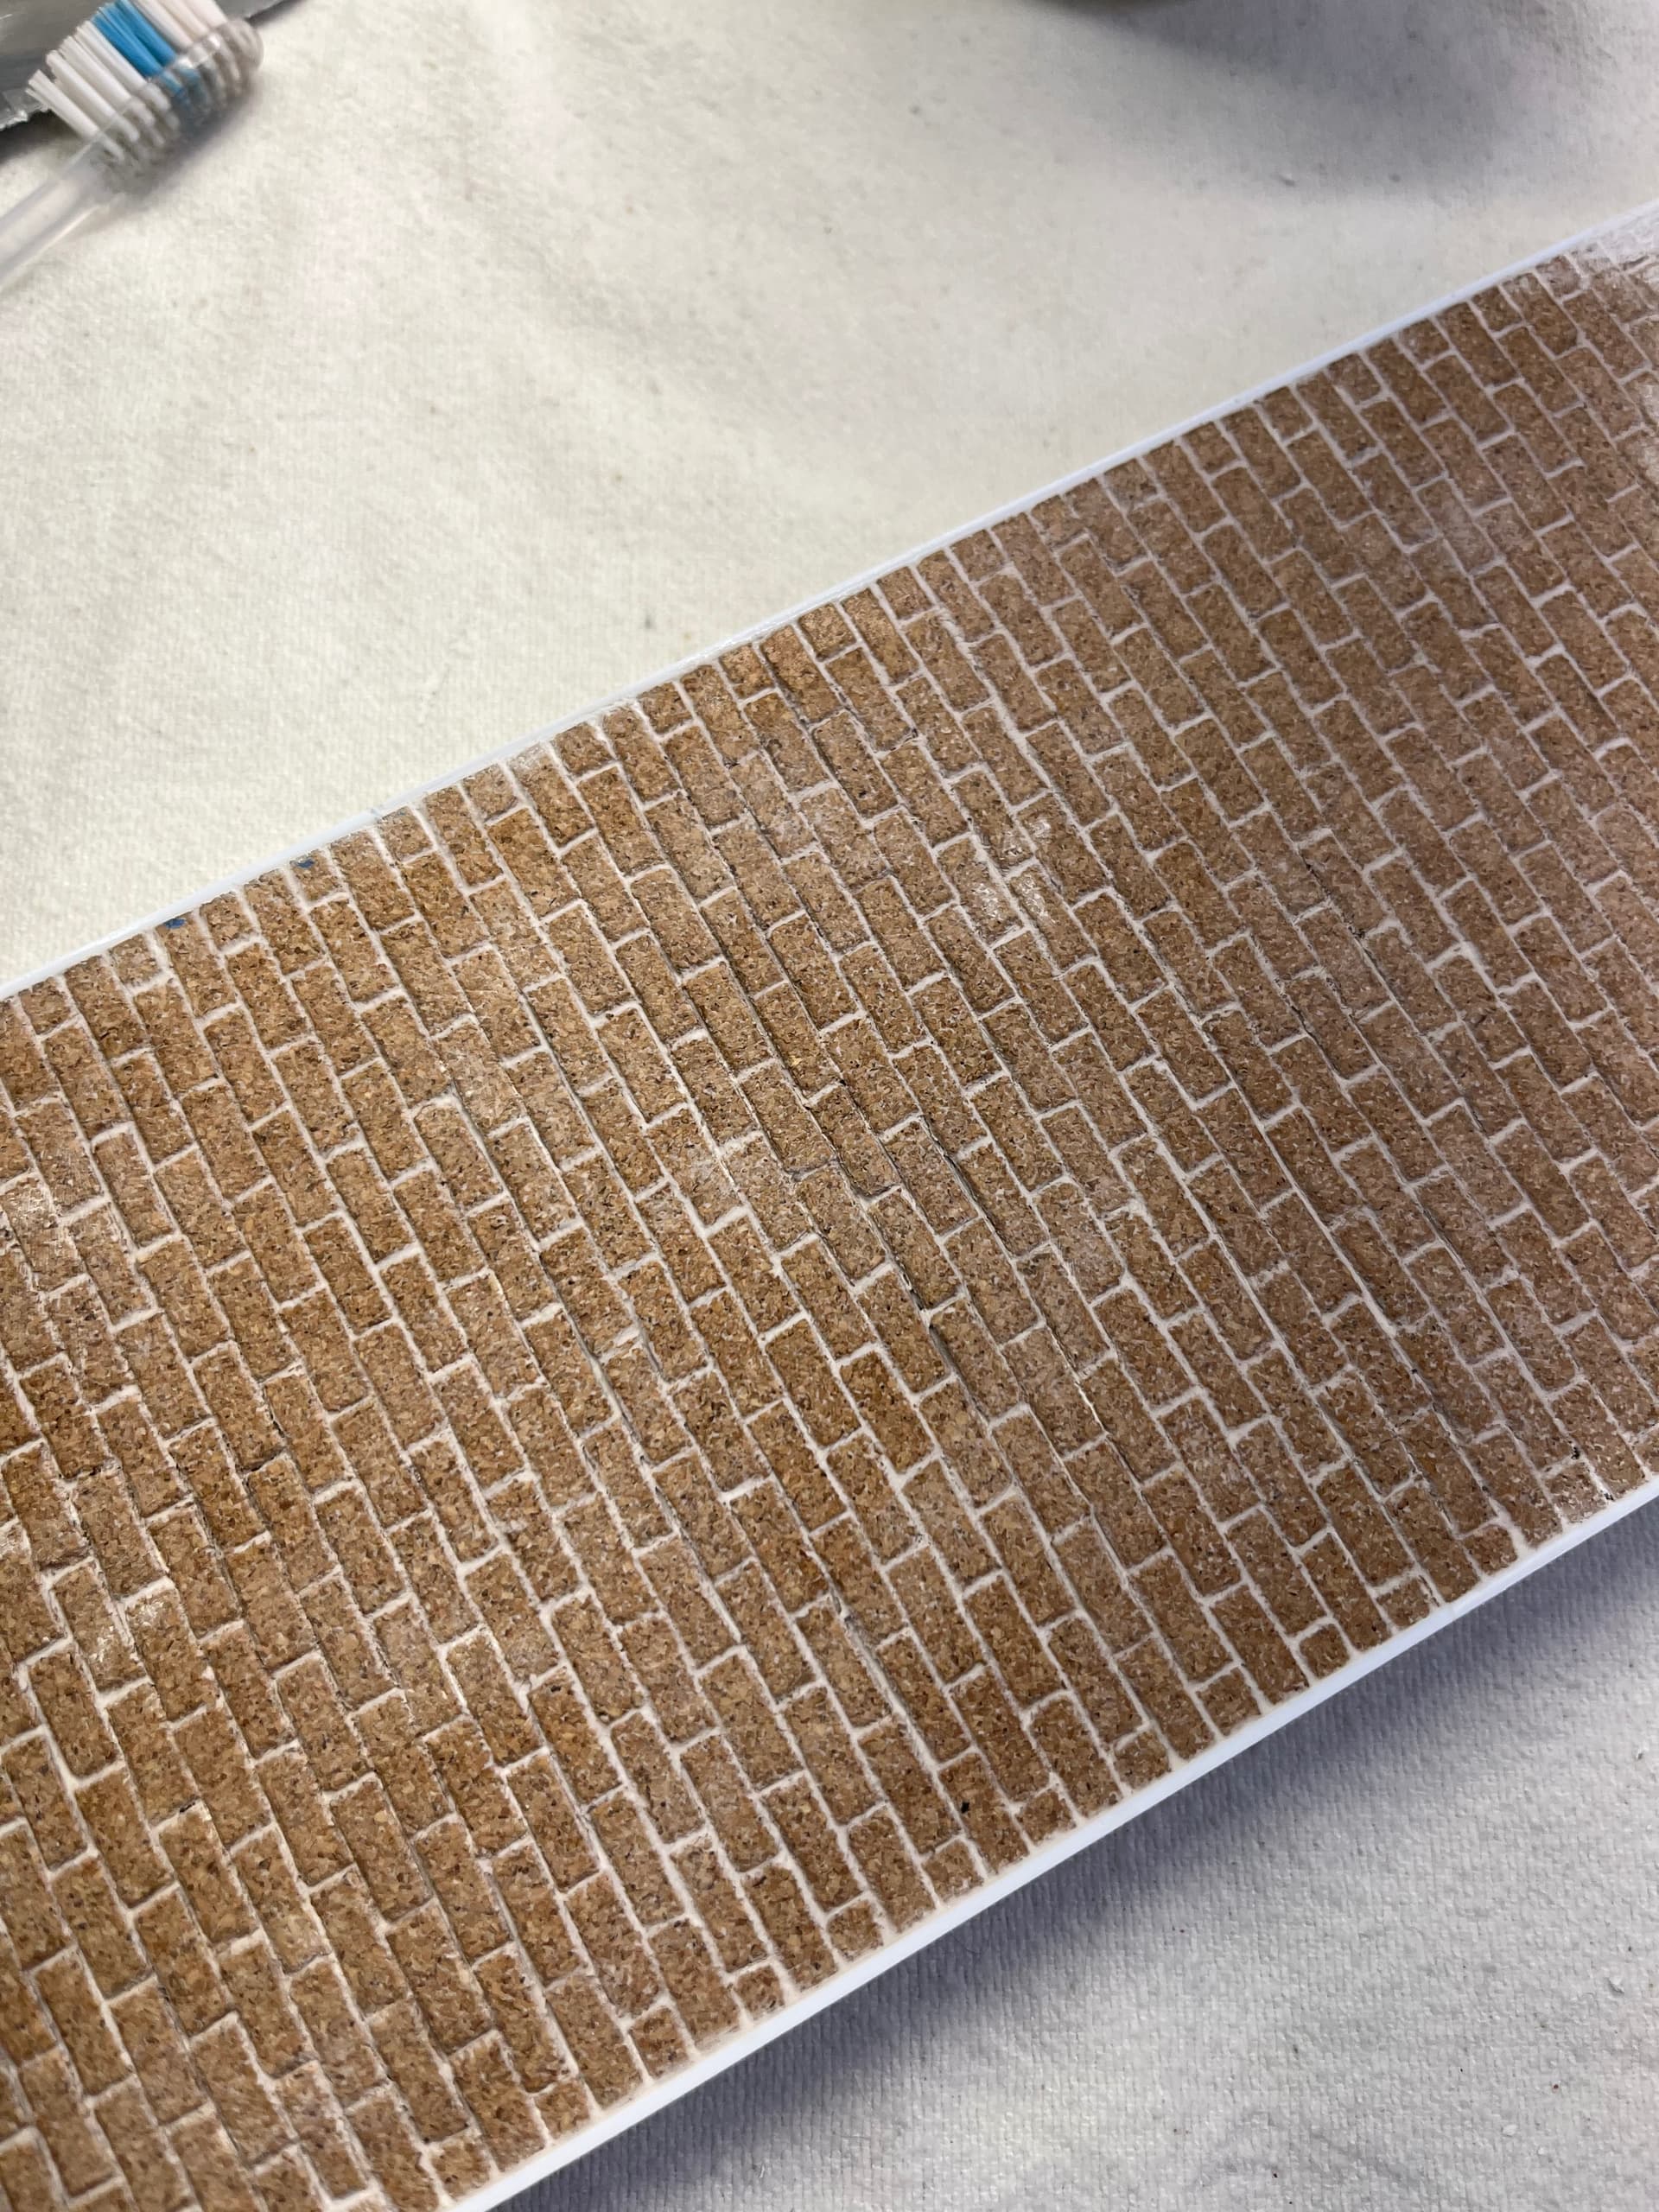
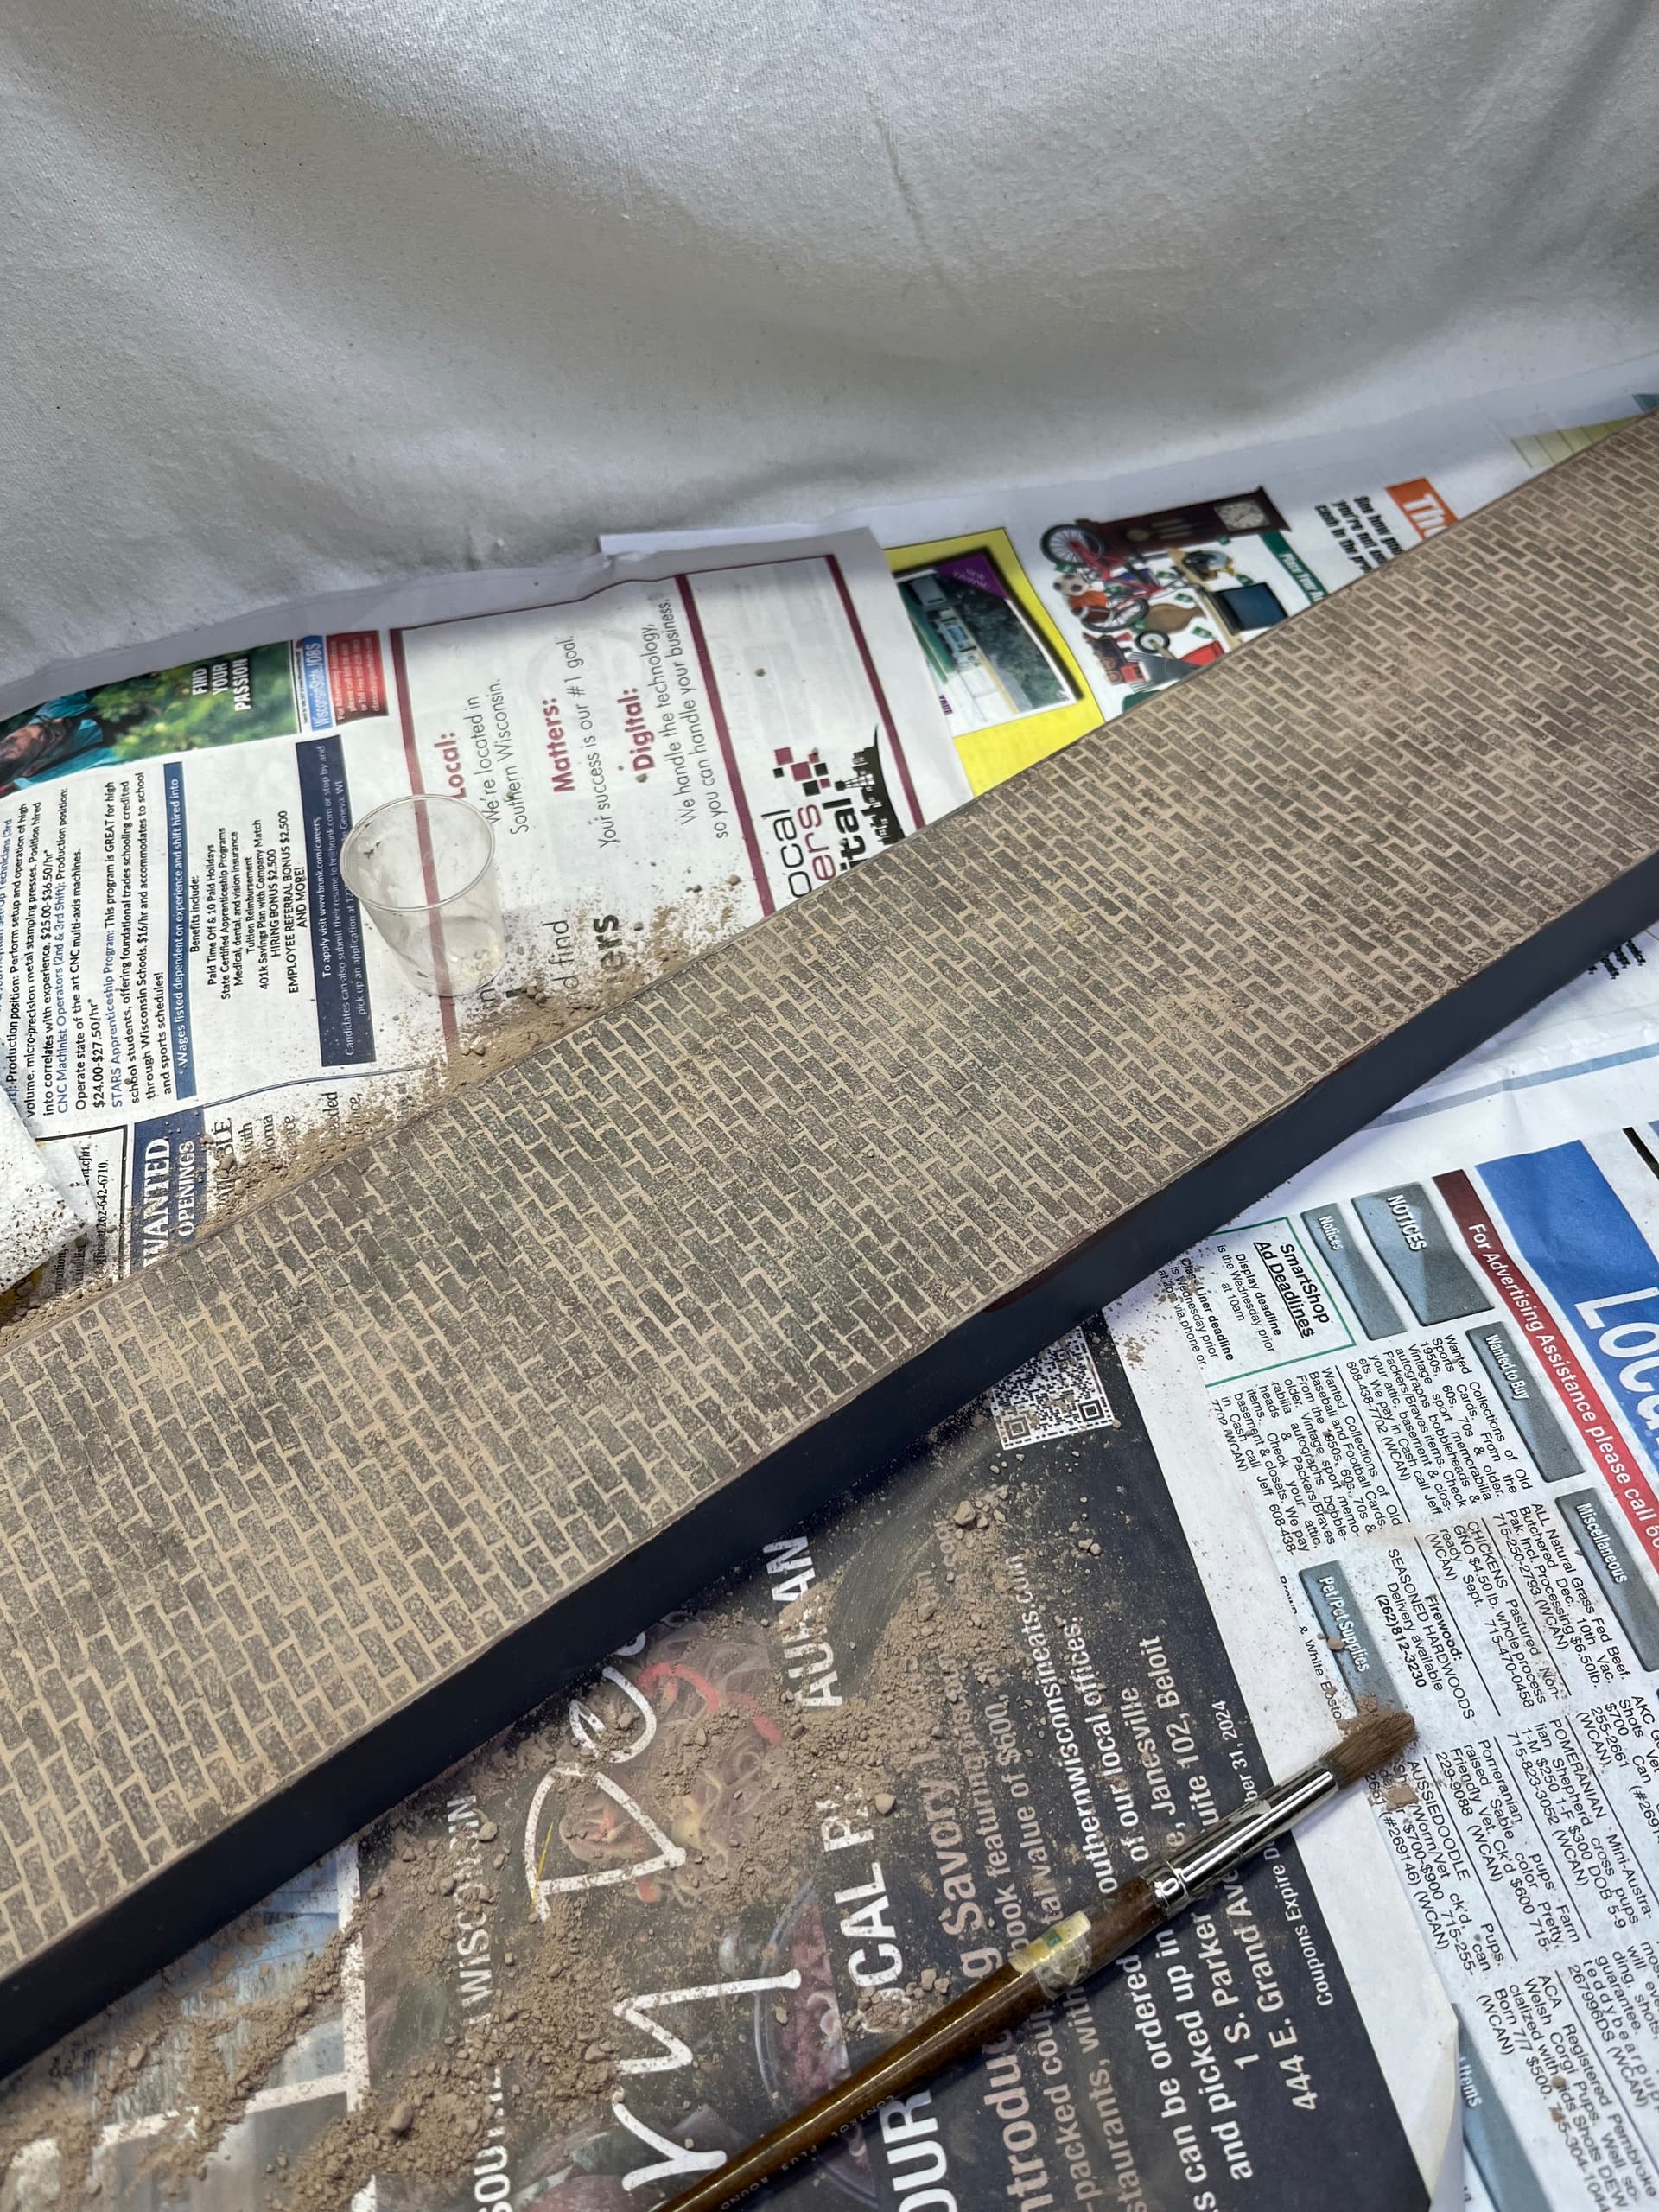
With four horses finished, I was ready for a change of pace on the model and started looking at the base. I was not happy with the molded texture and painting it was not going to give me the results I wanted.

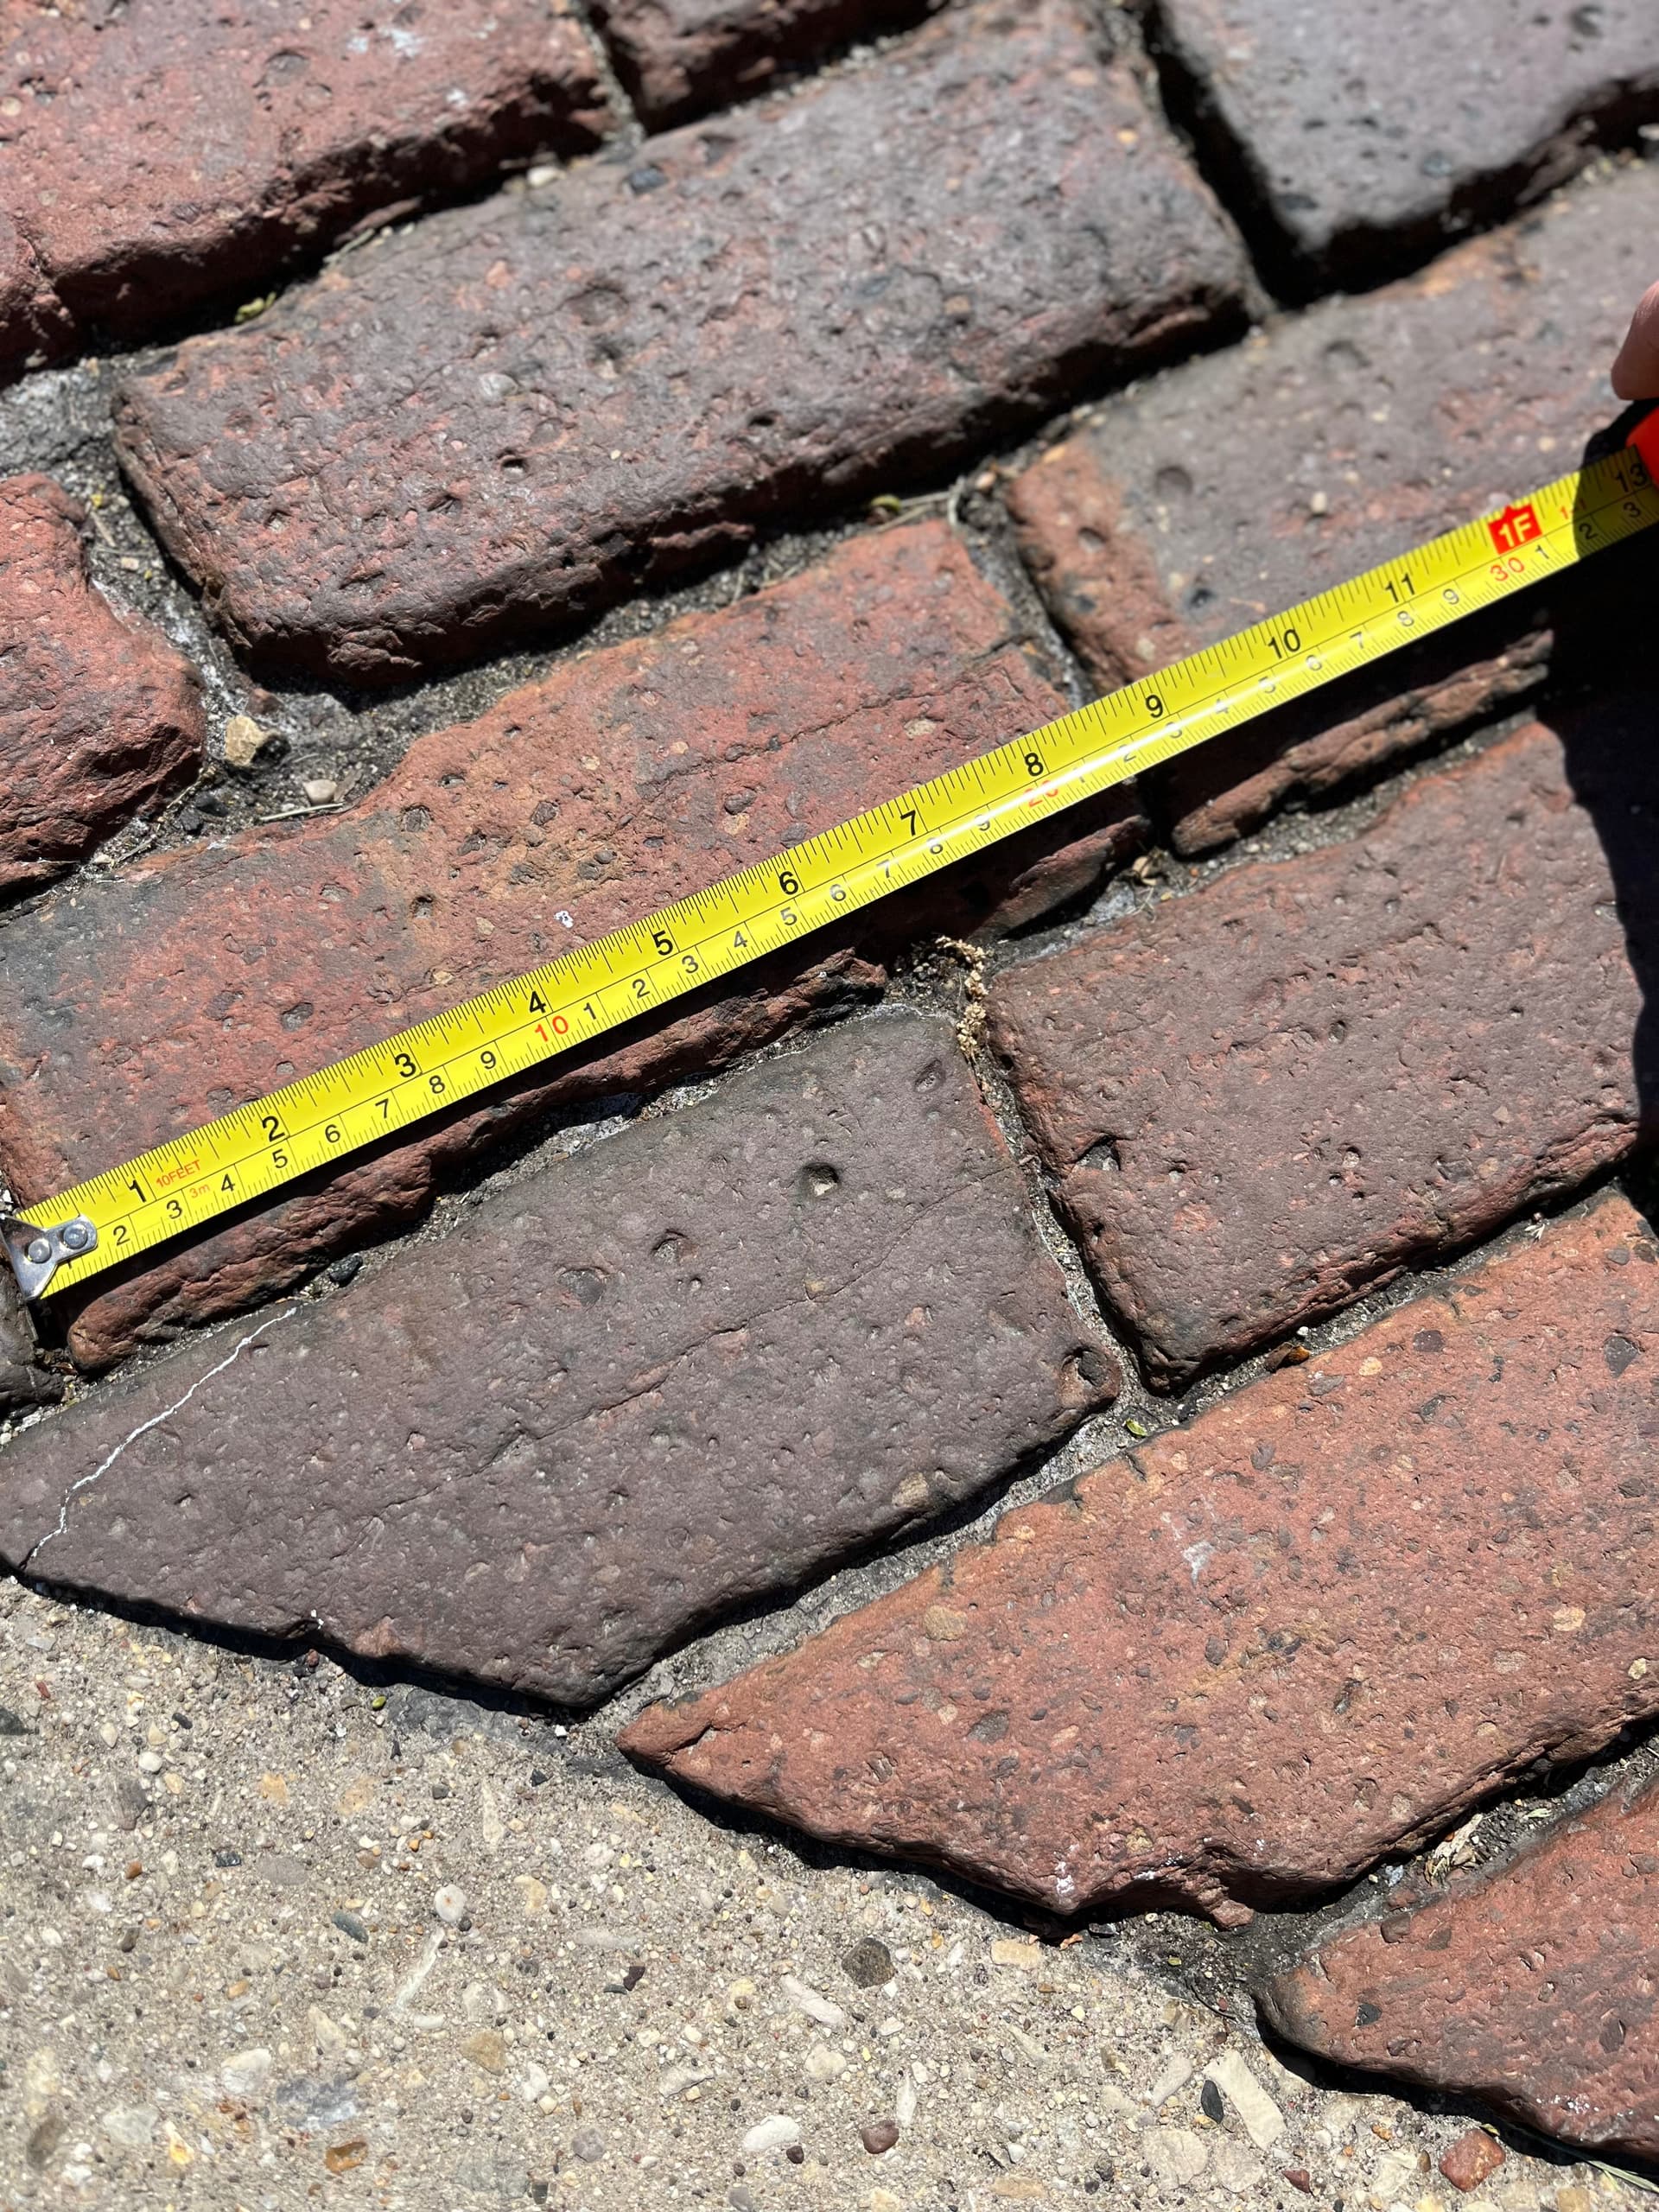
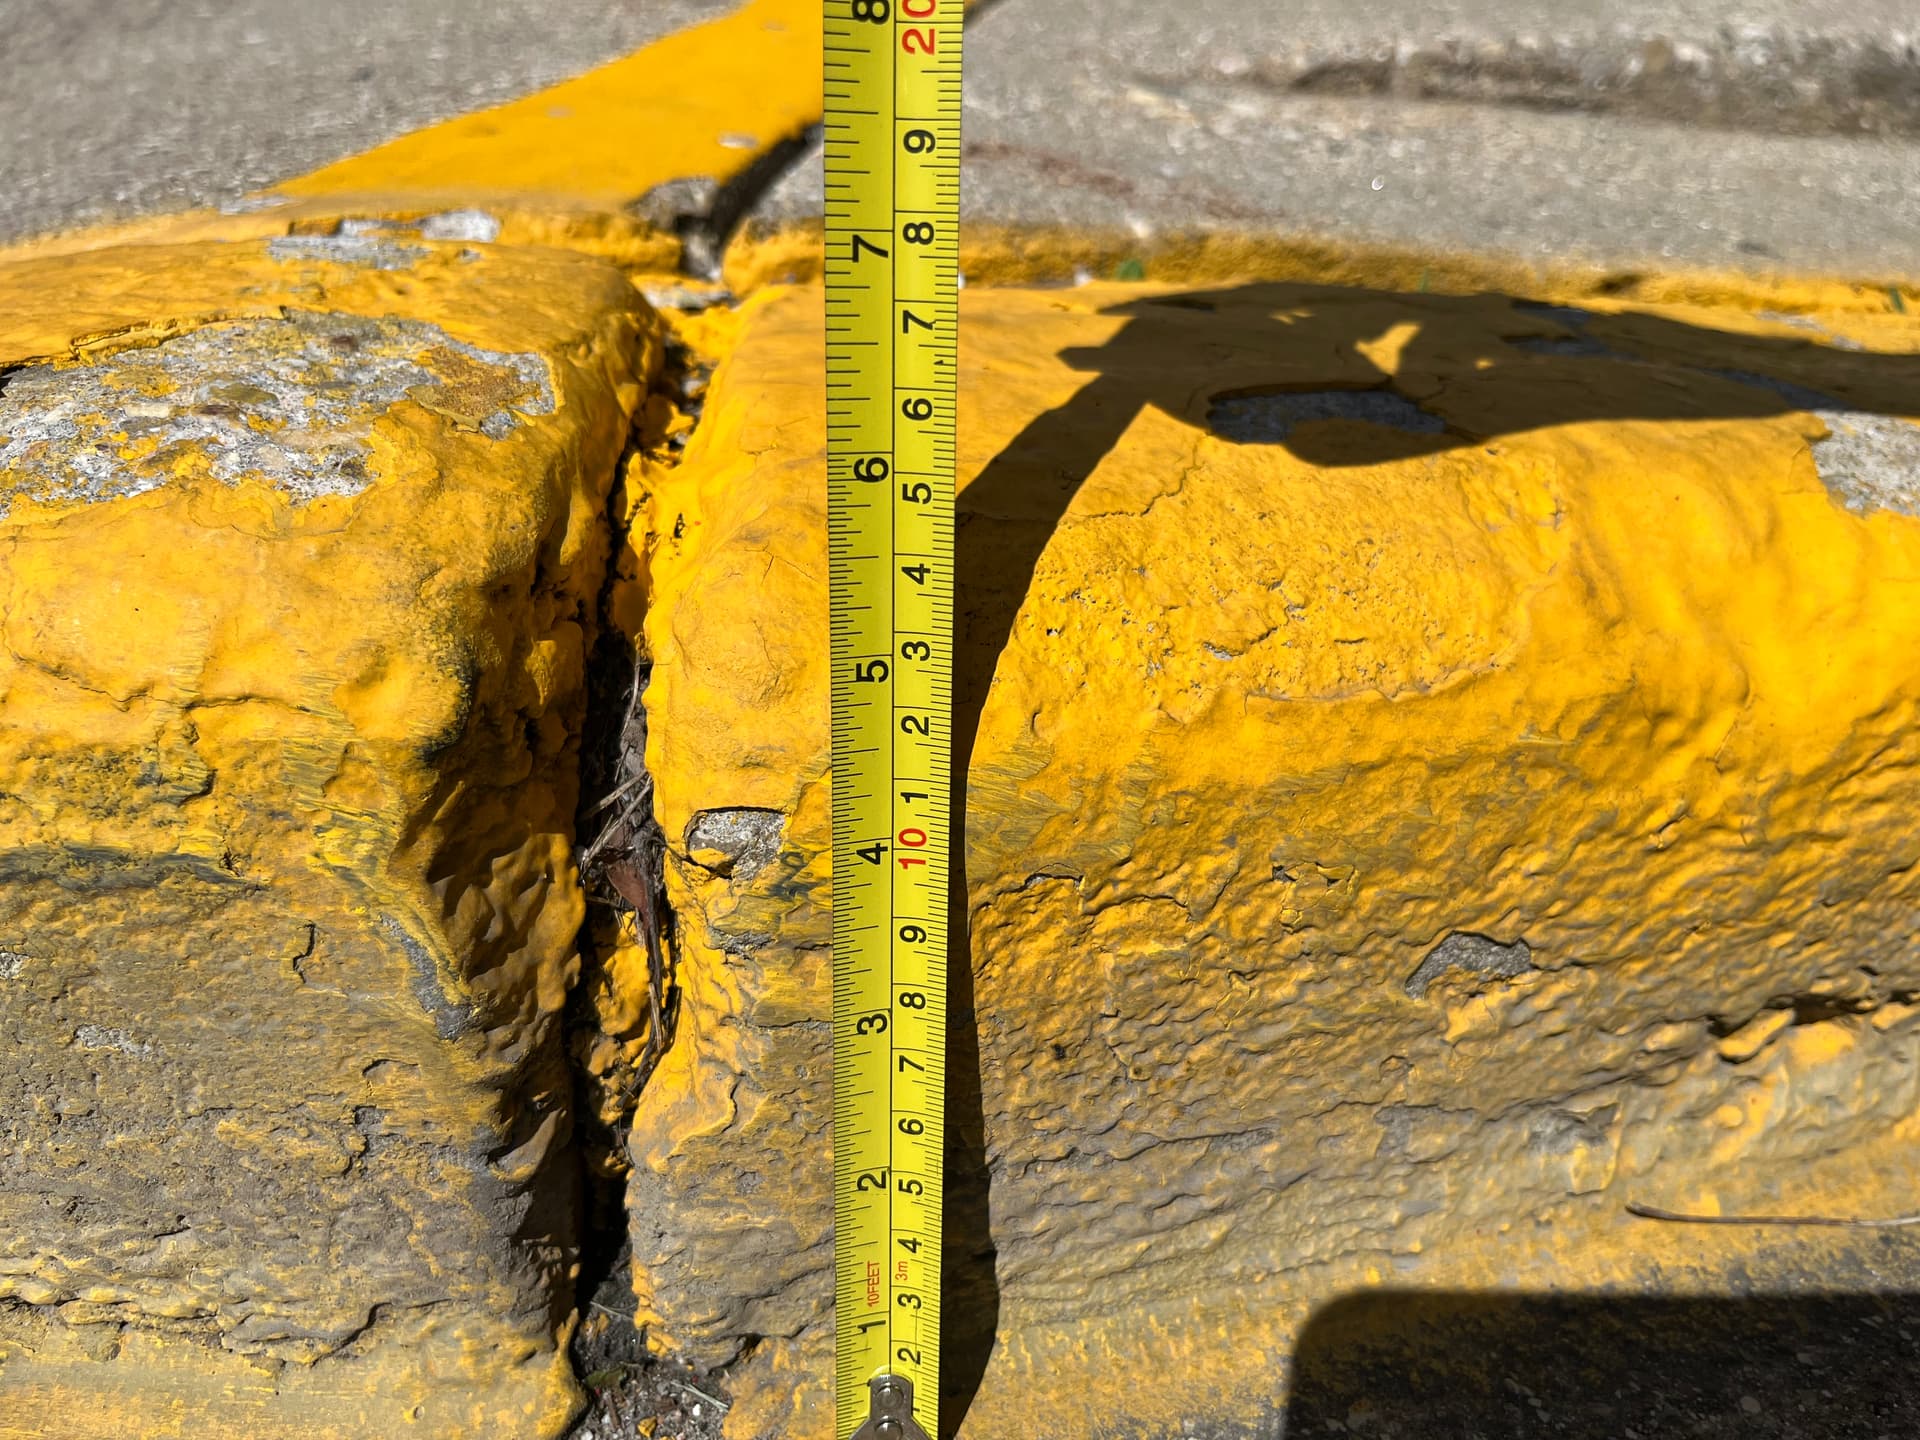
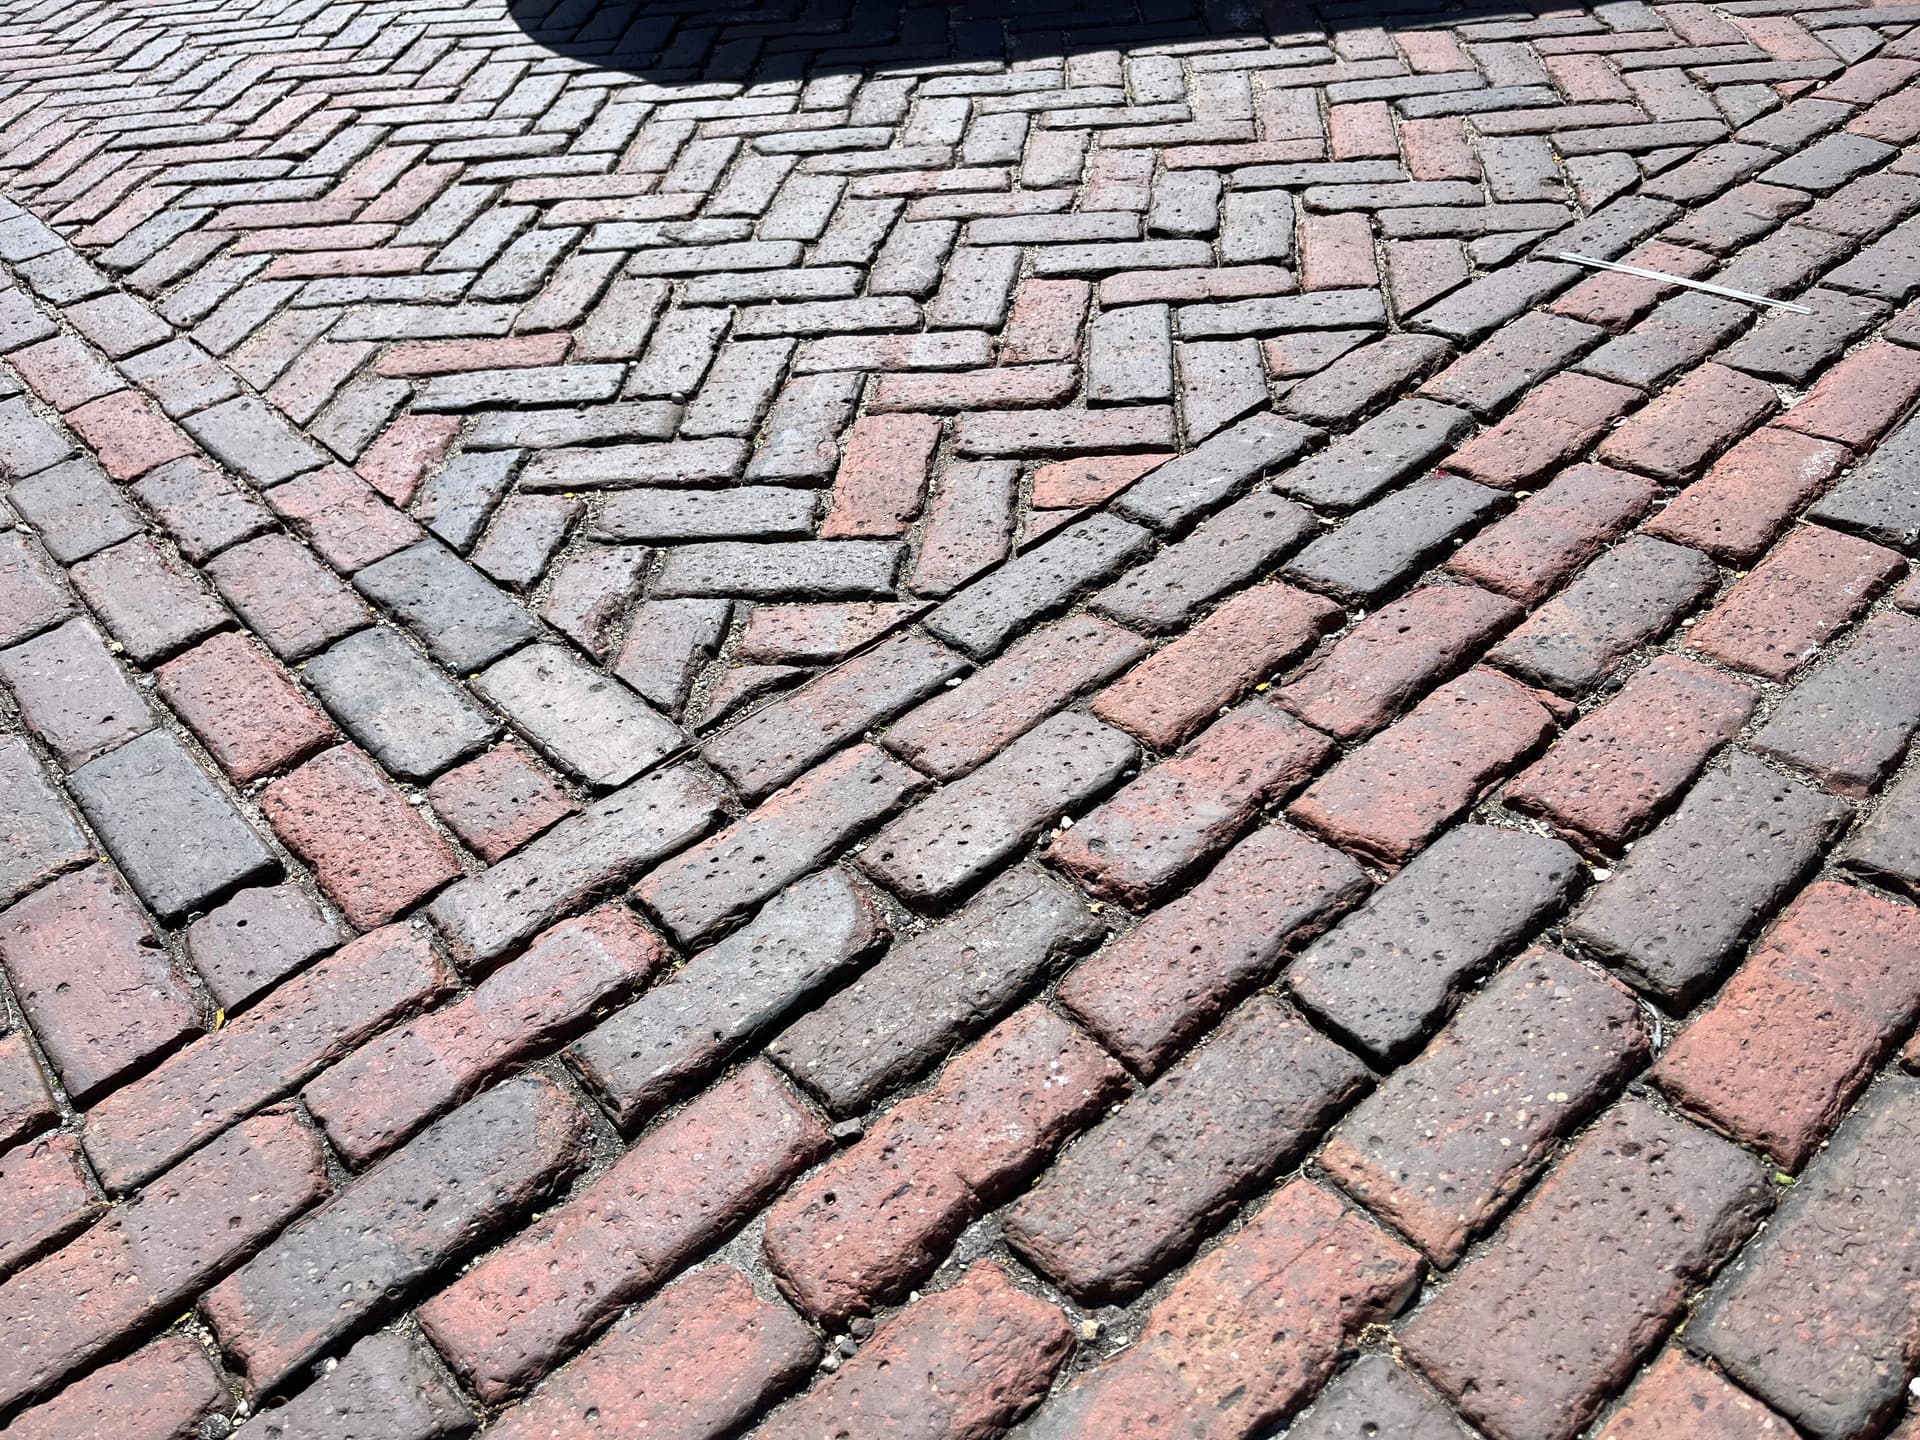
There’s a brick street in my town and I went on a field trip.

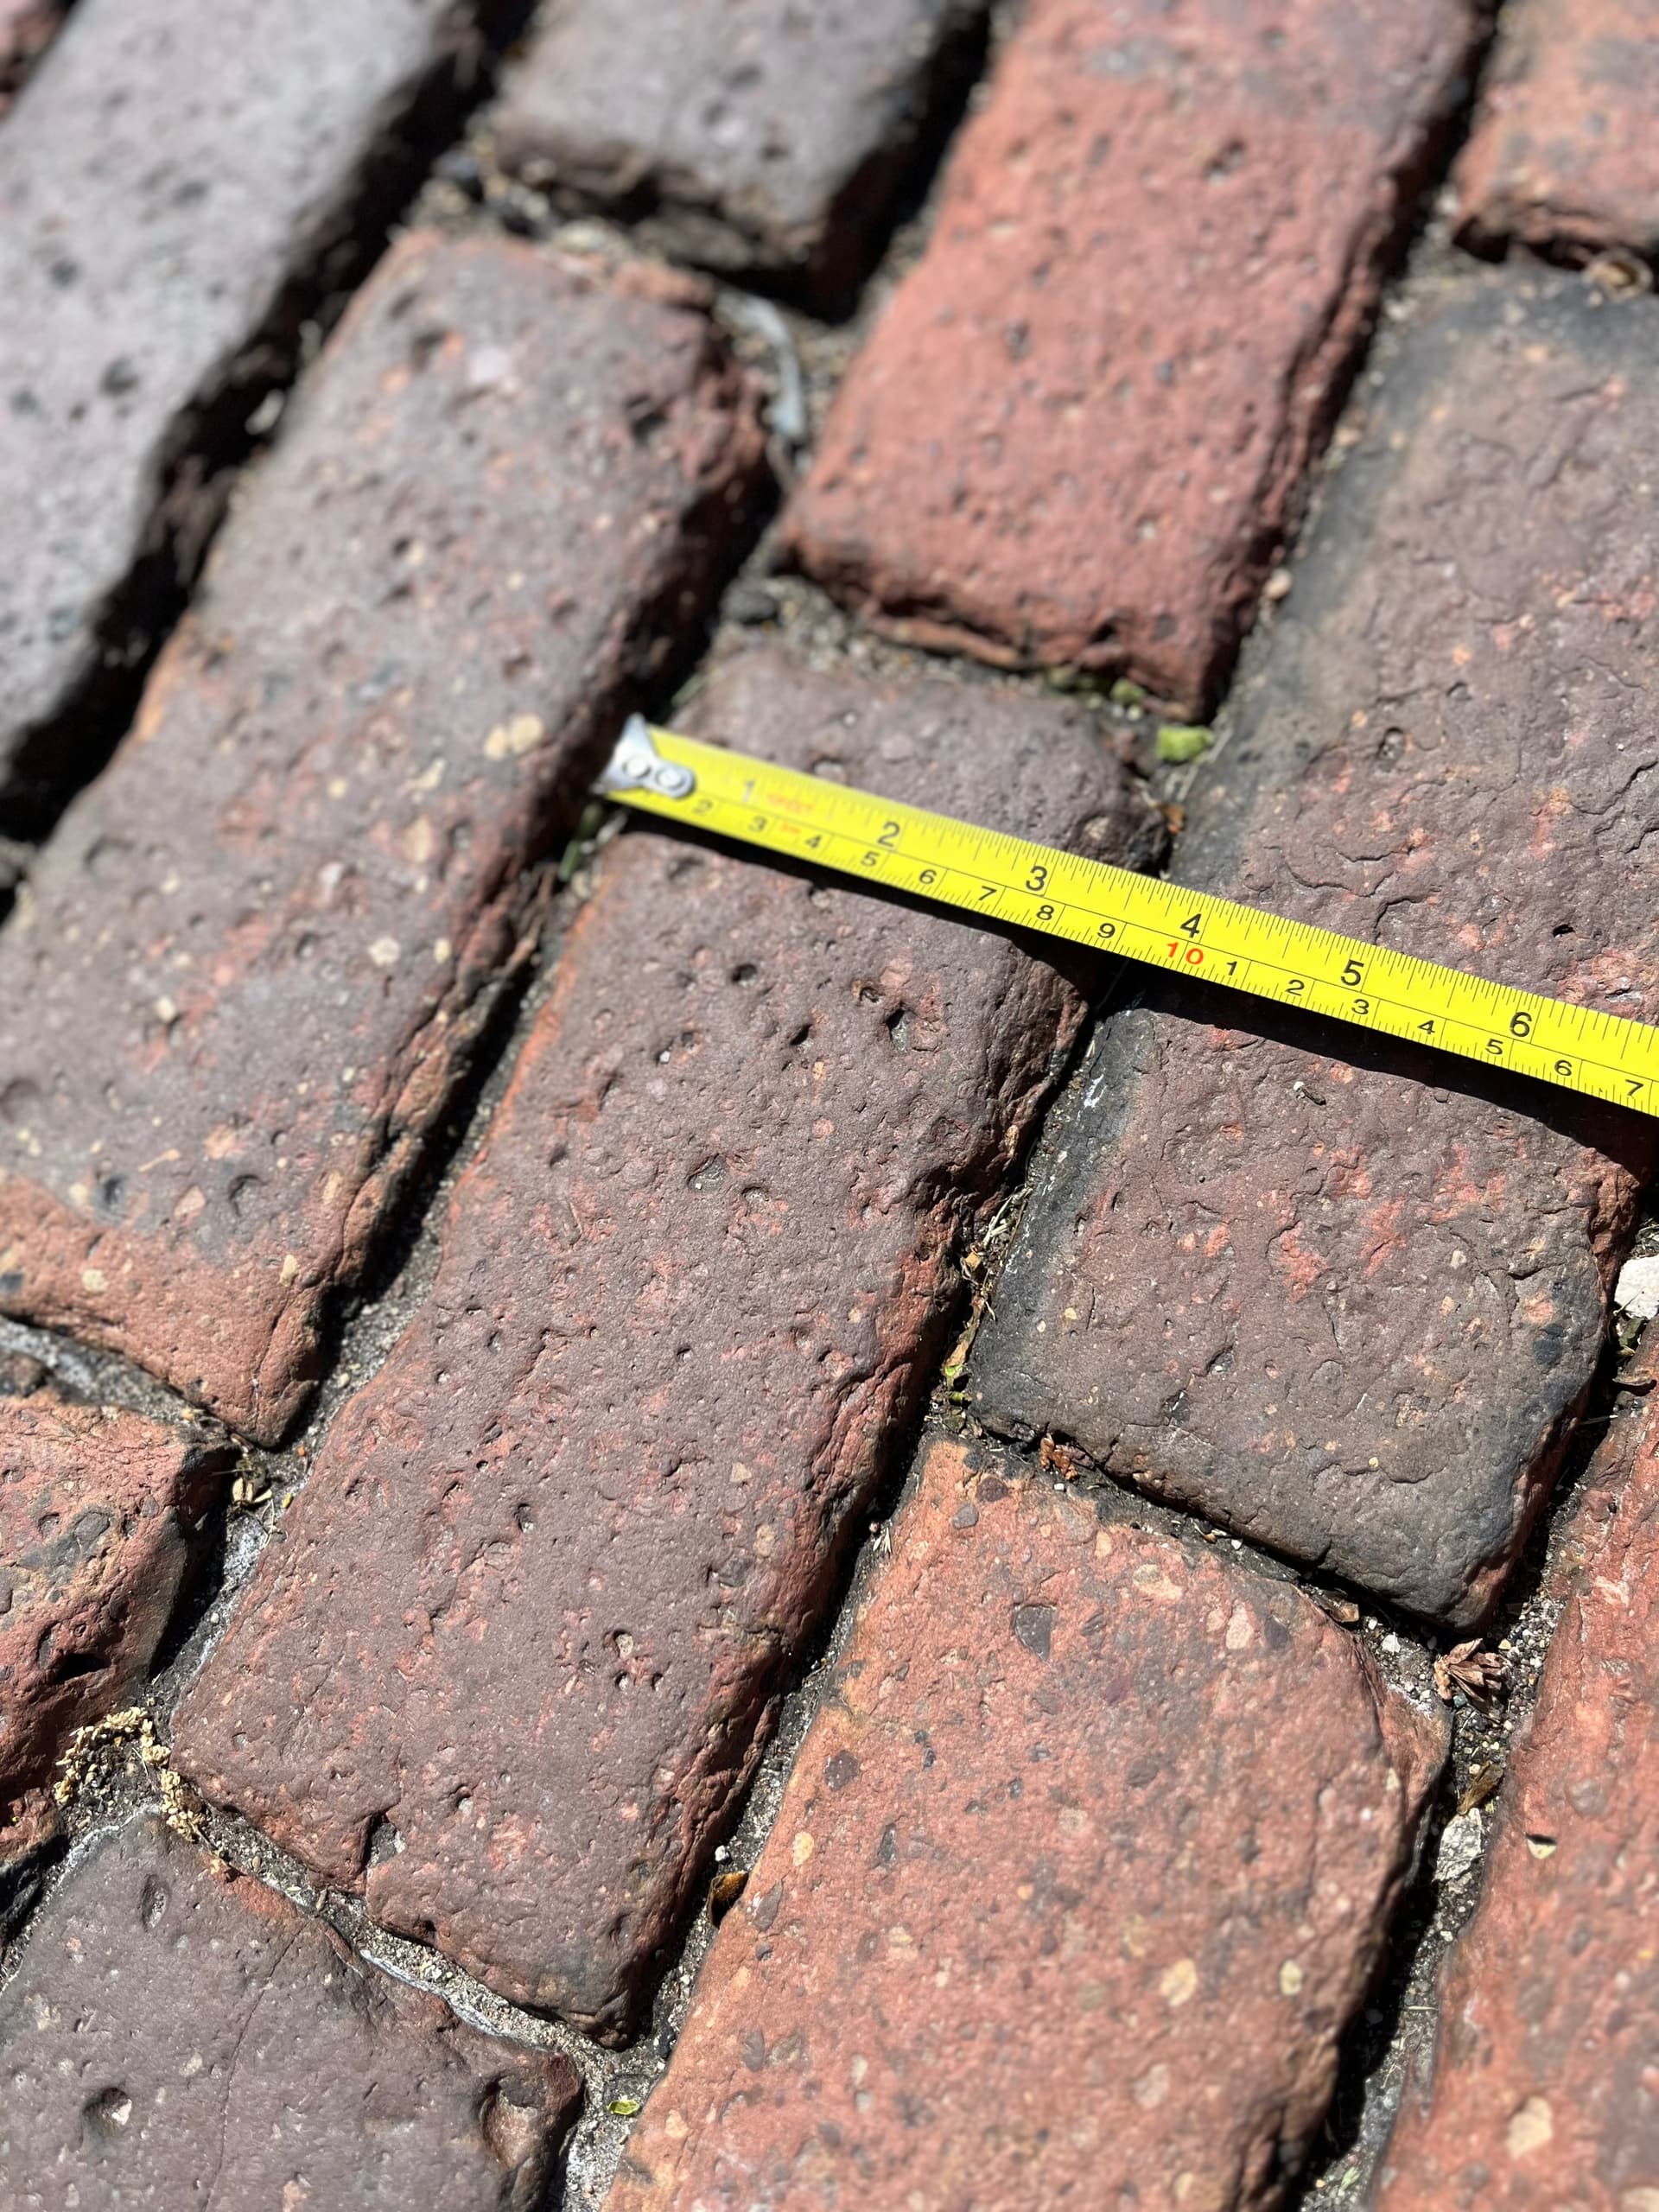
After some measuring and math, I had dimensions for 1/20 scale bricks.

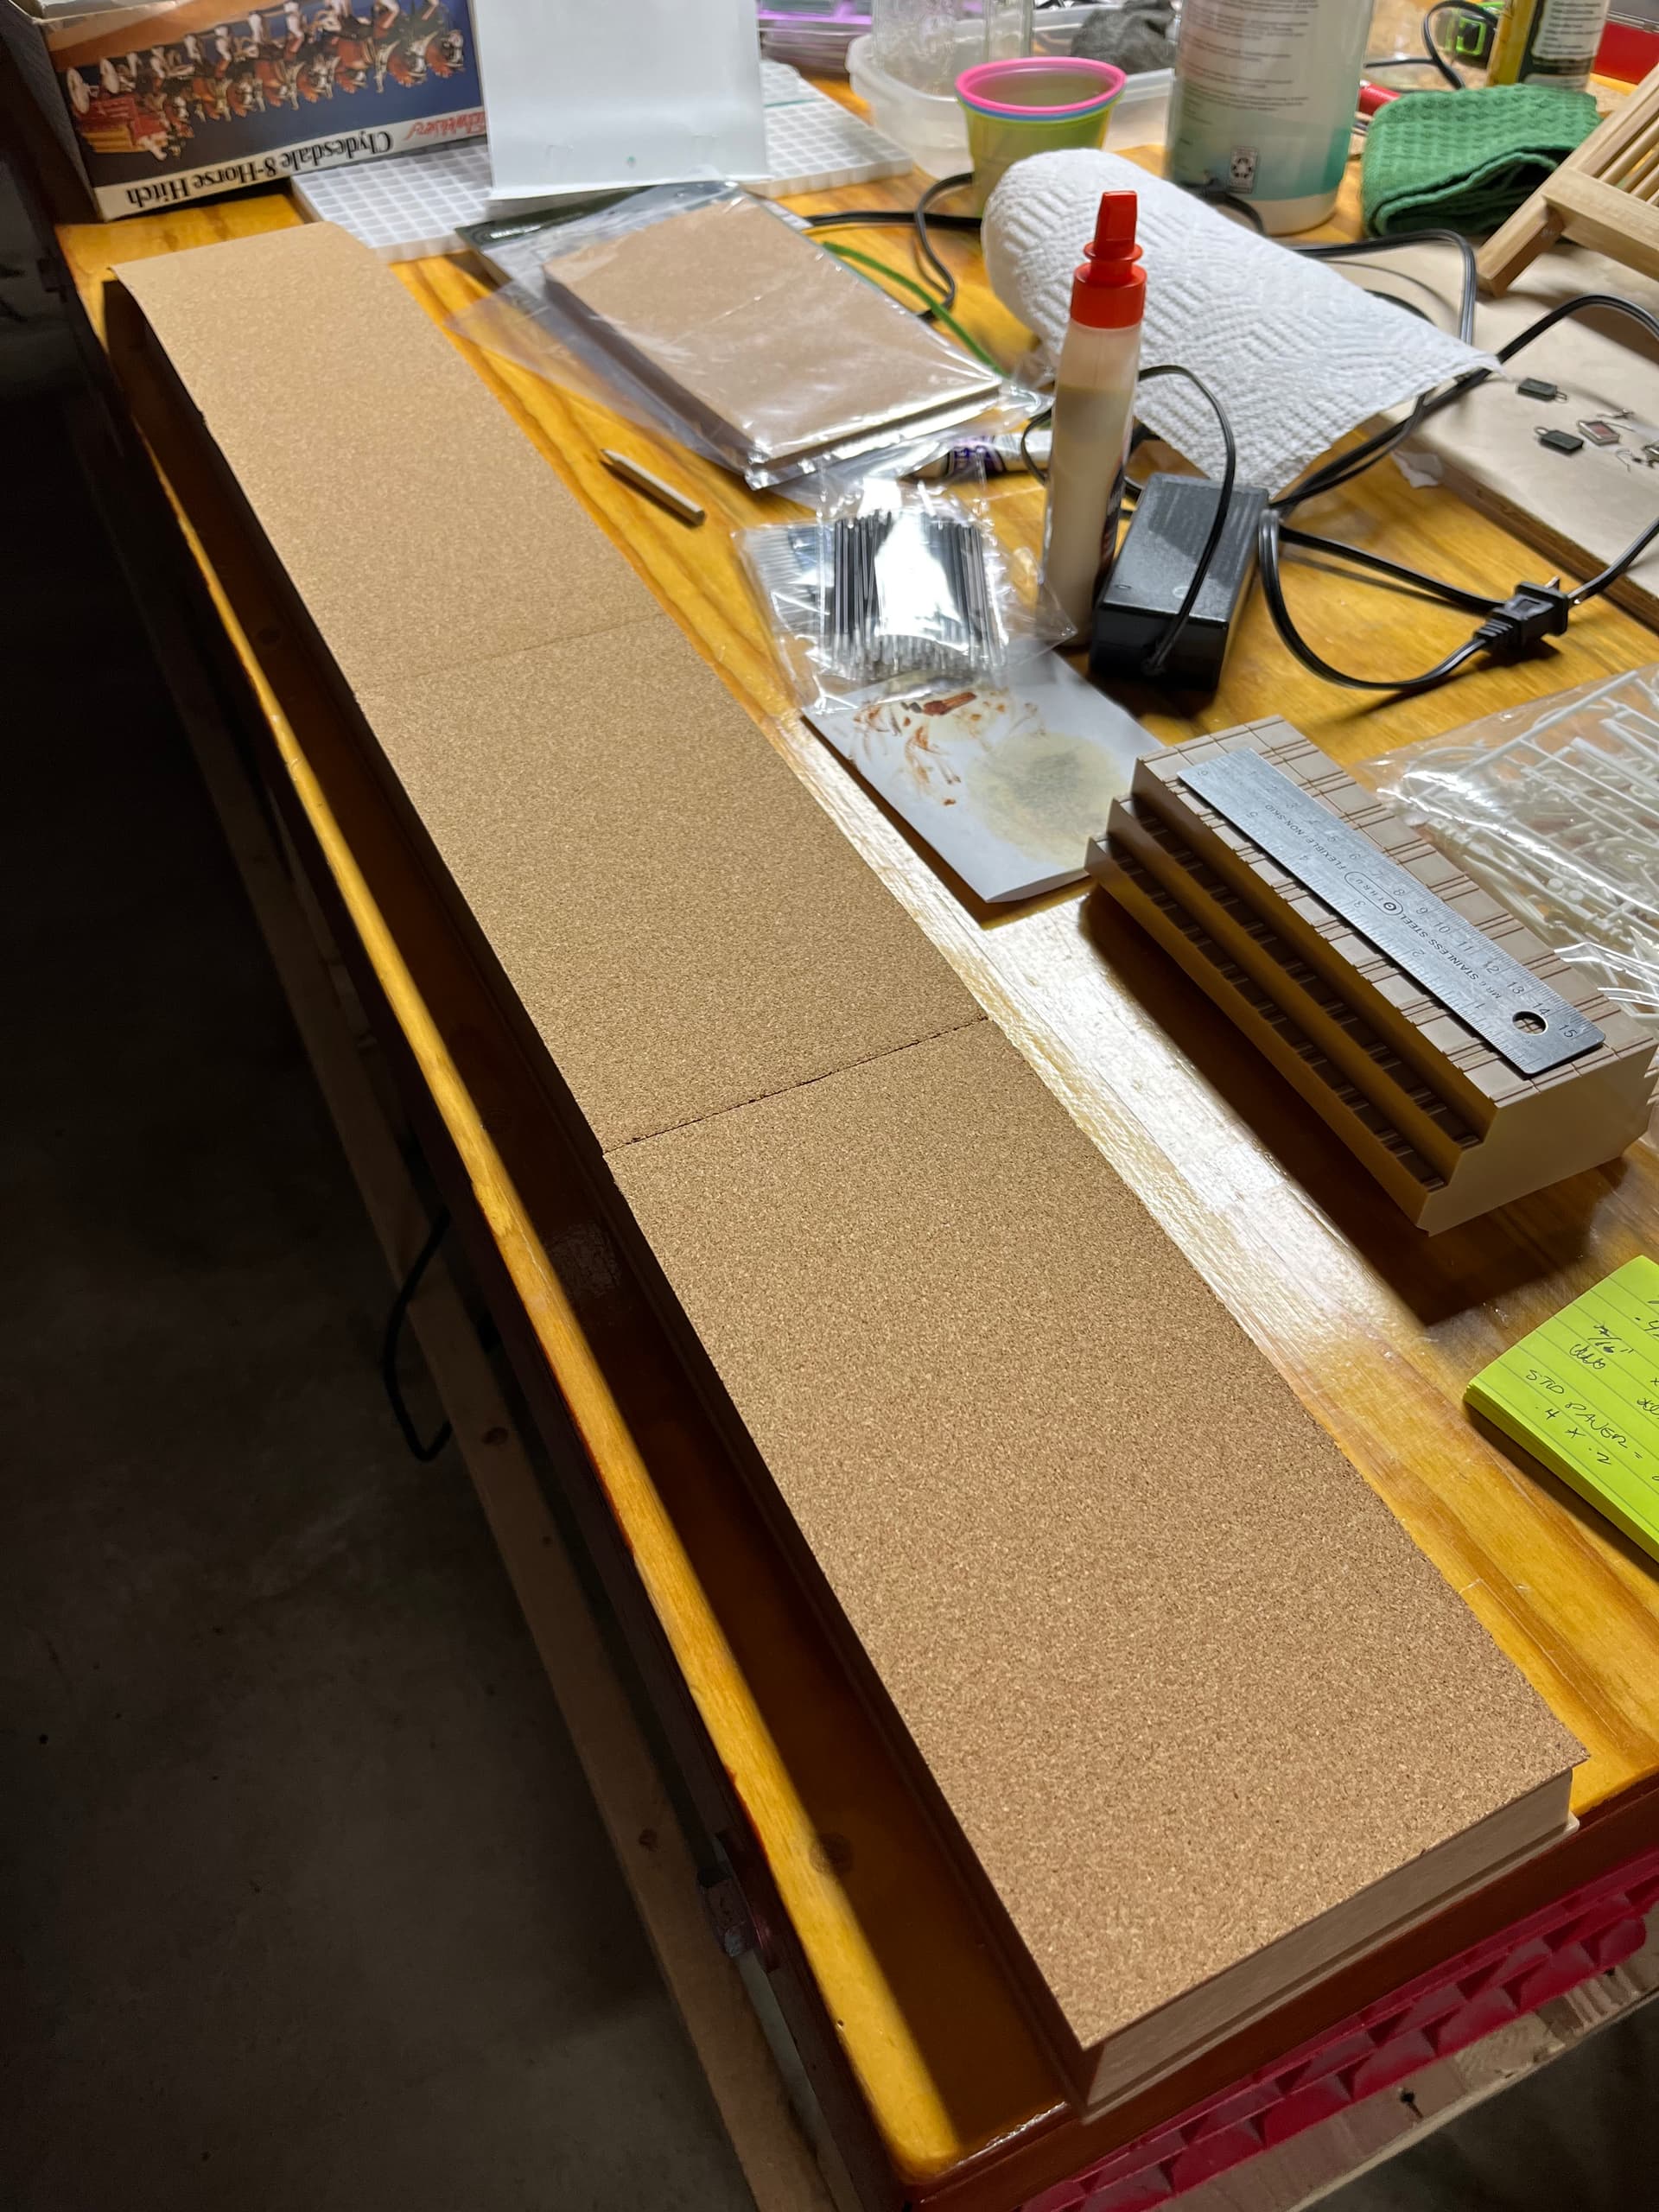
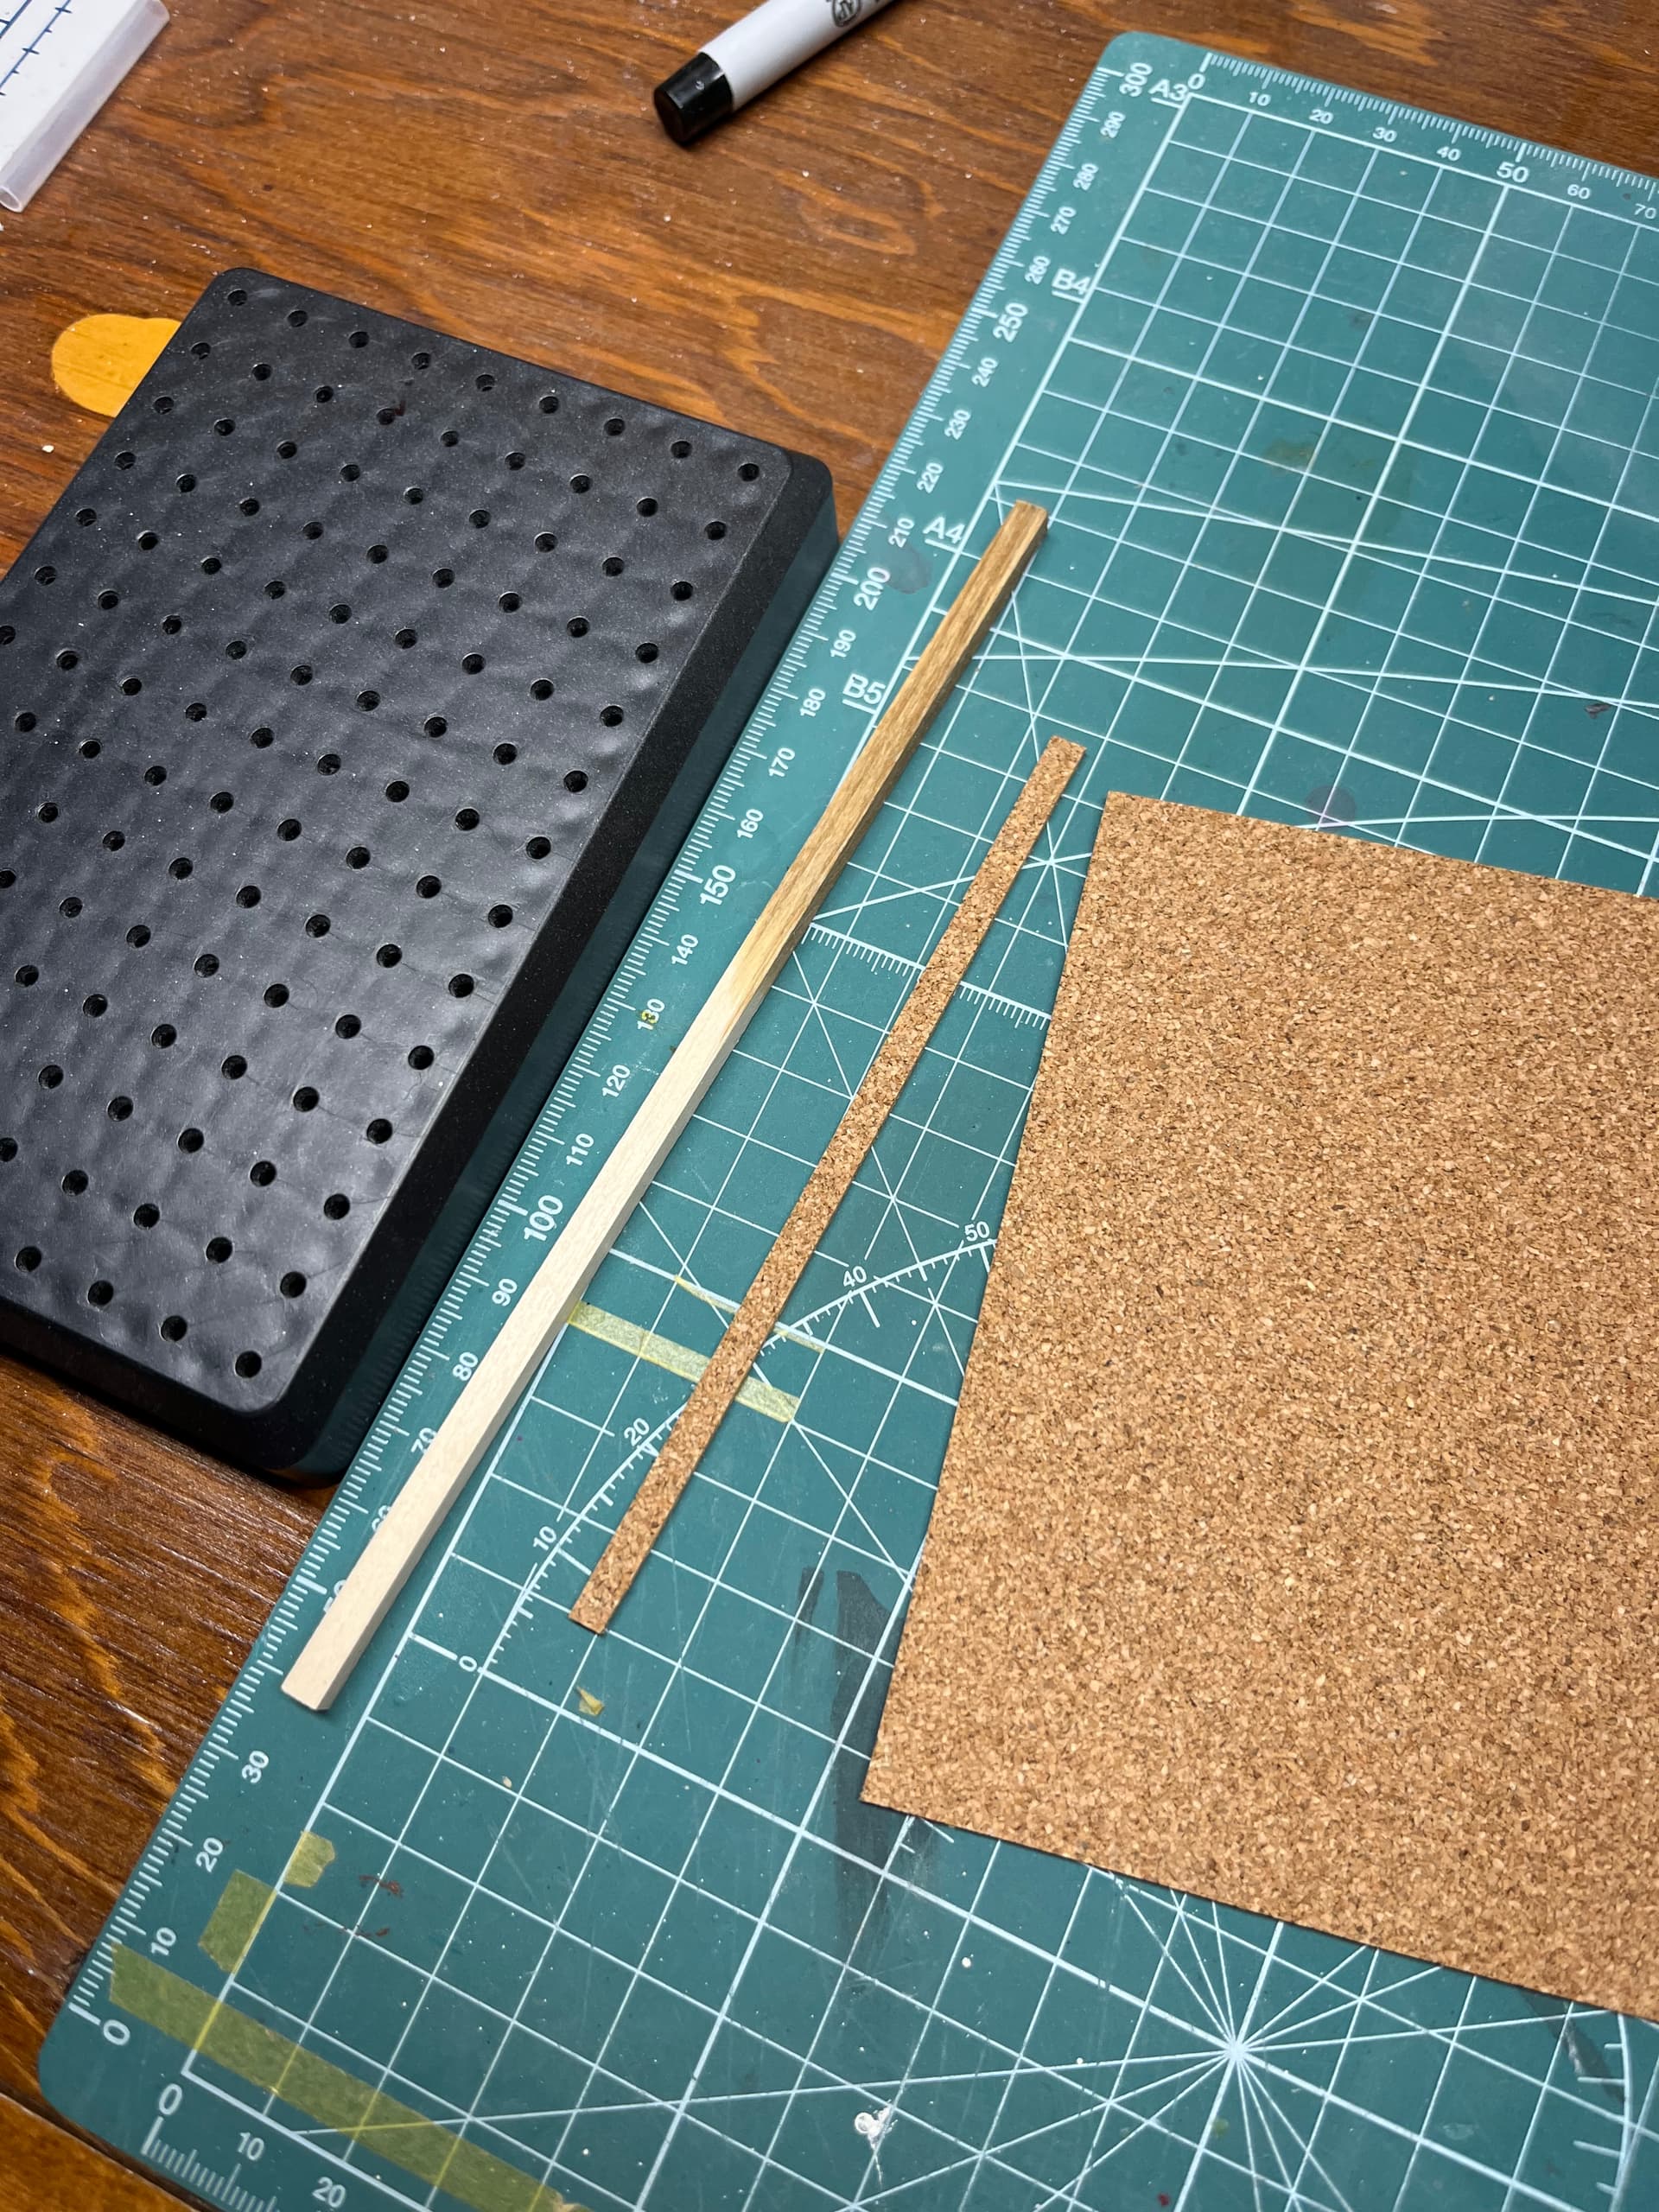
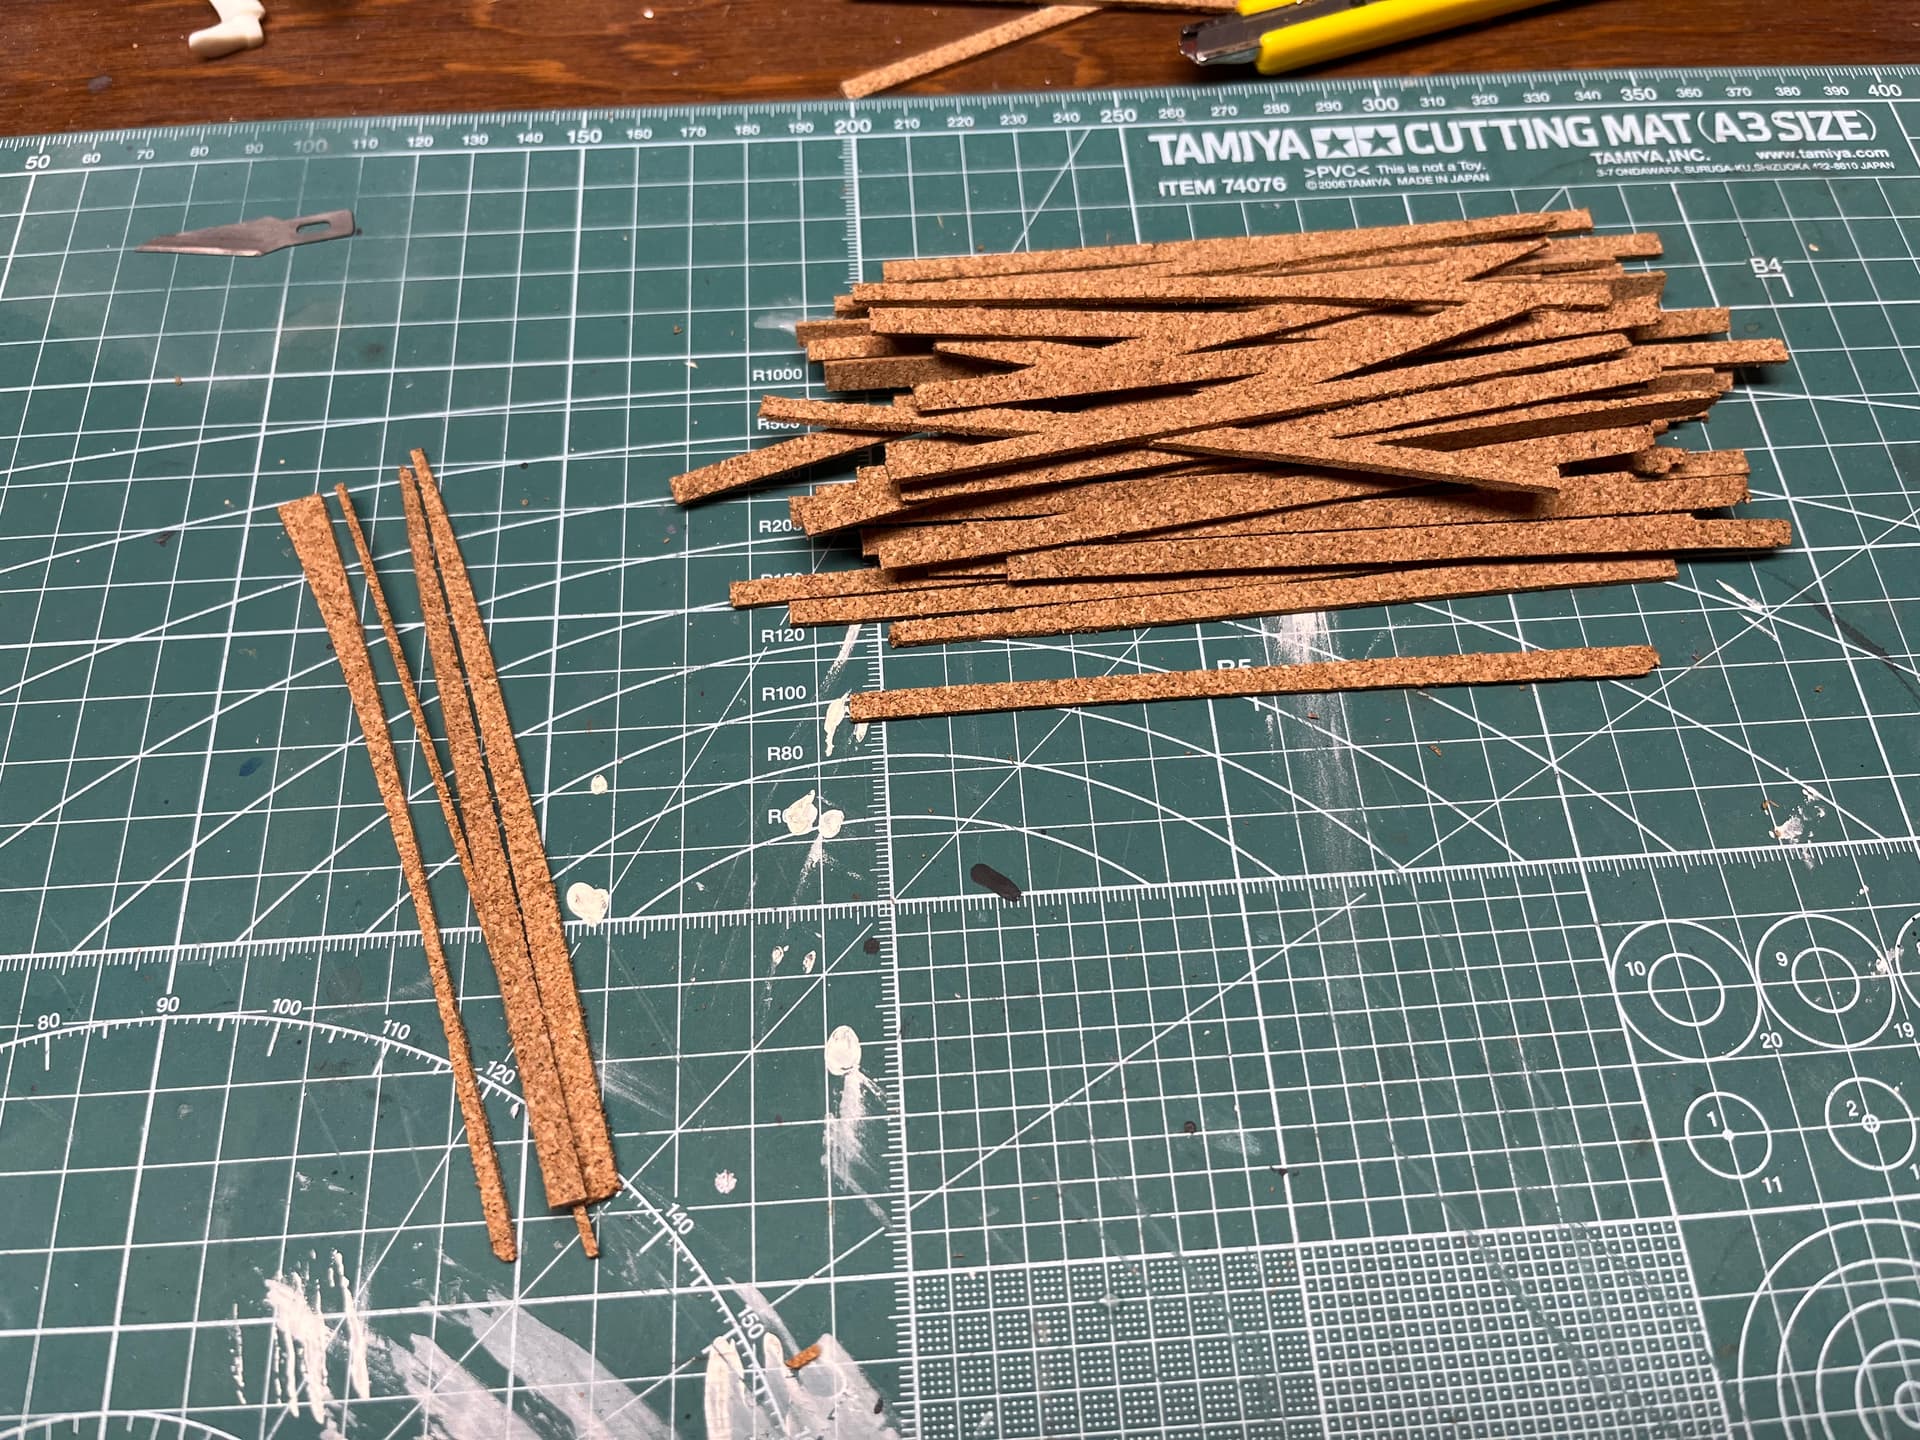
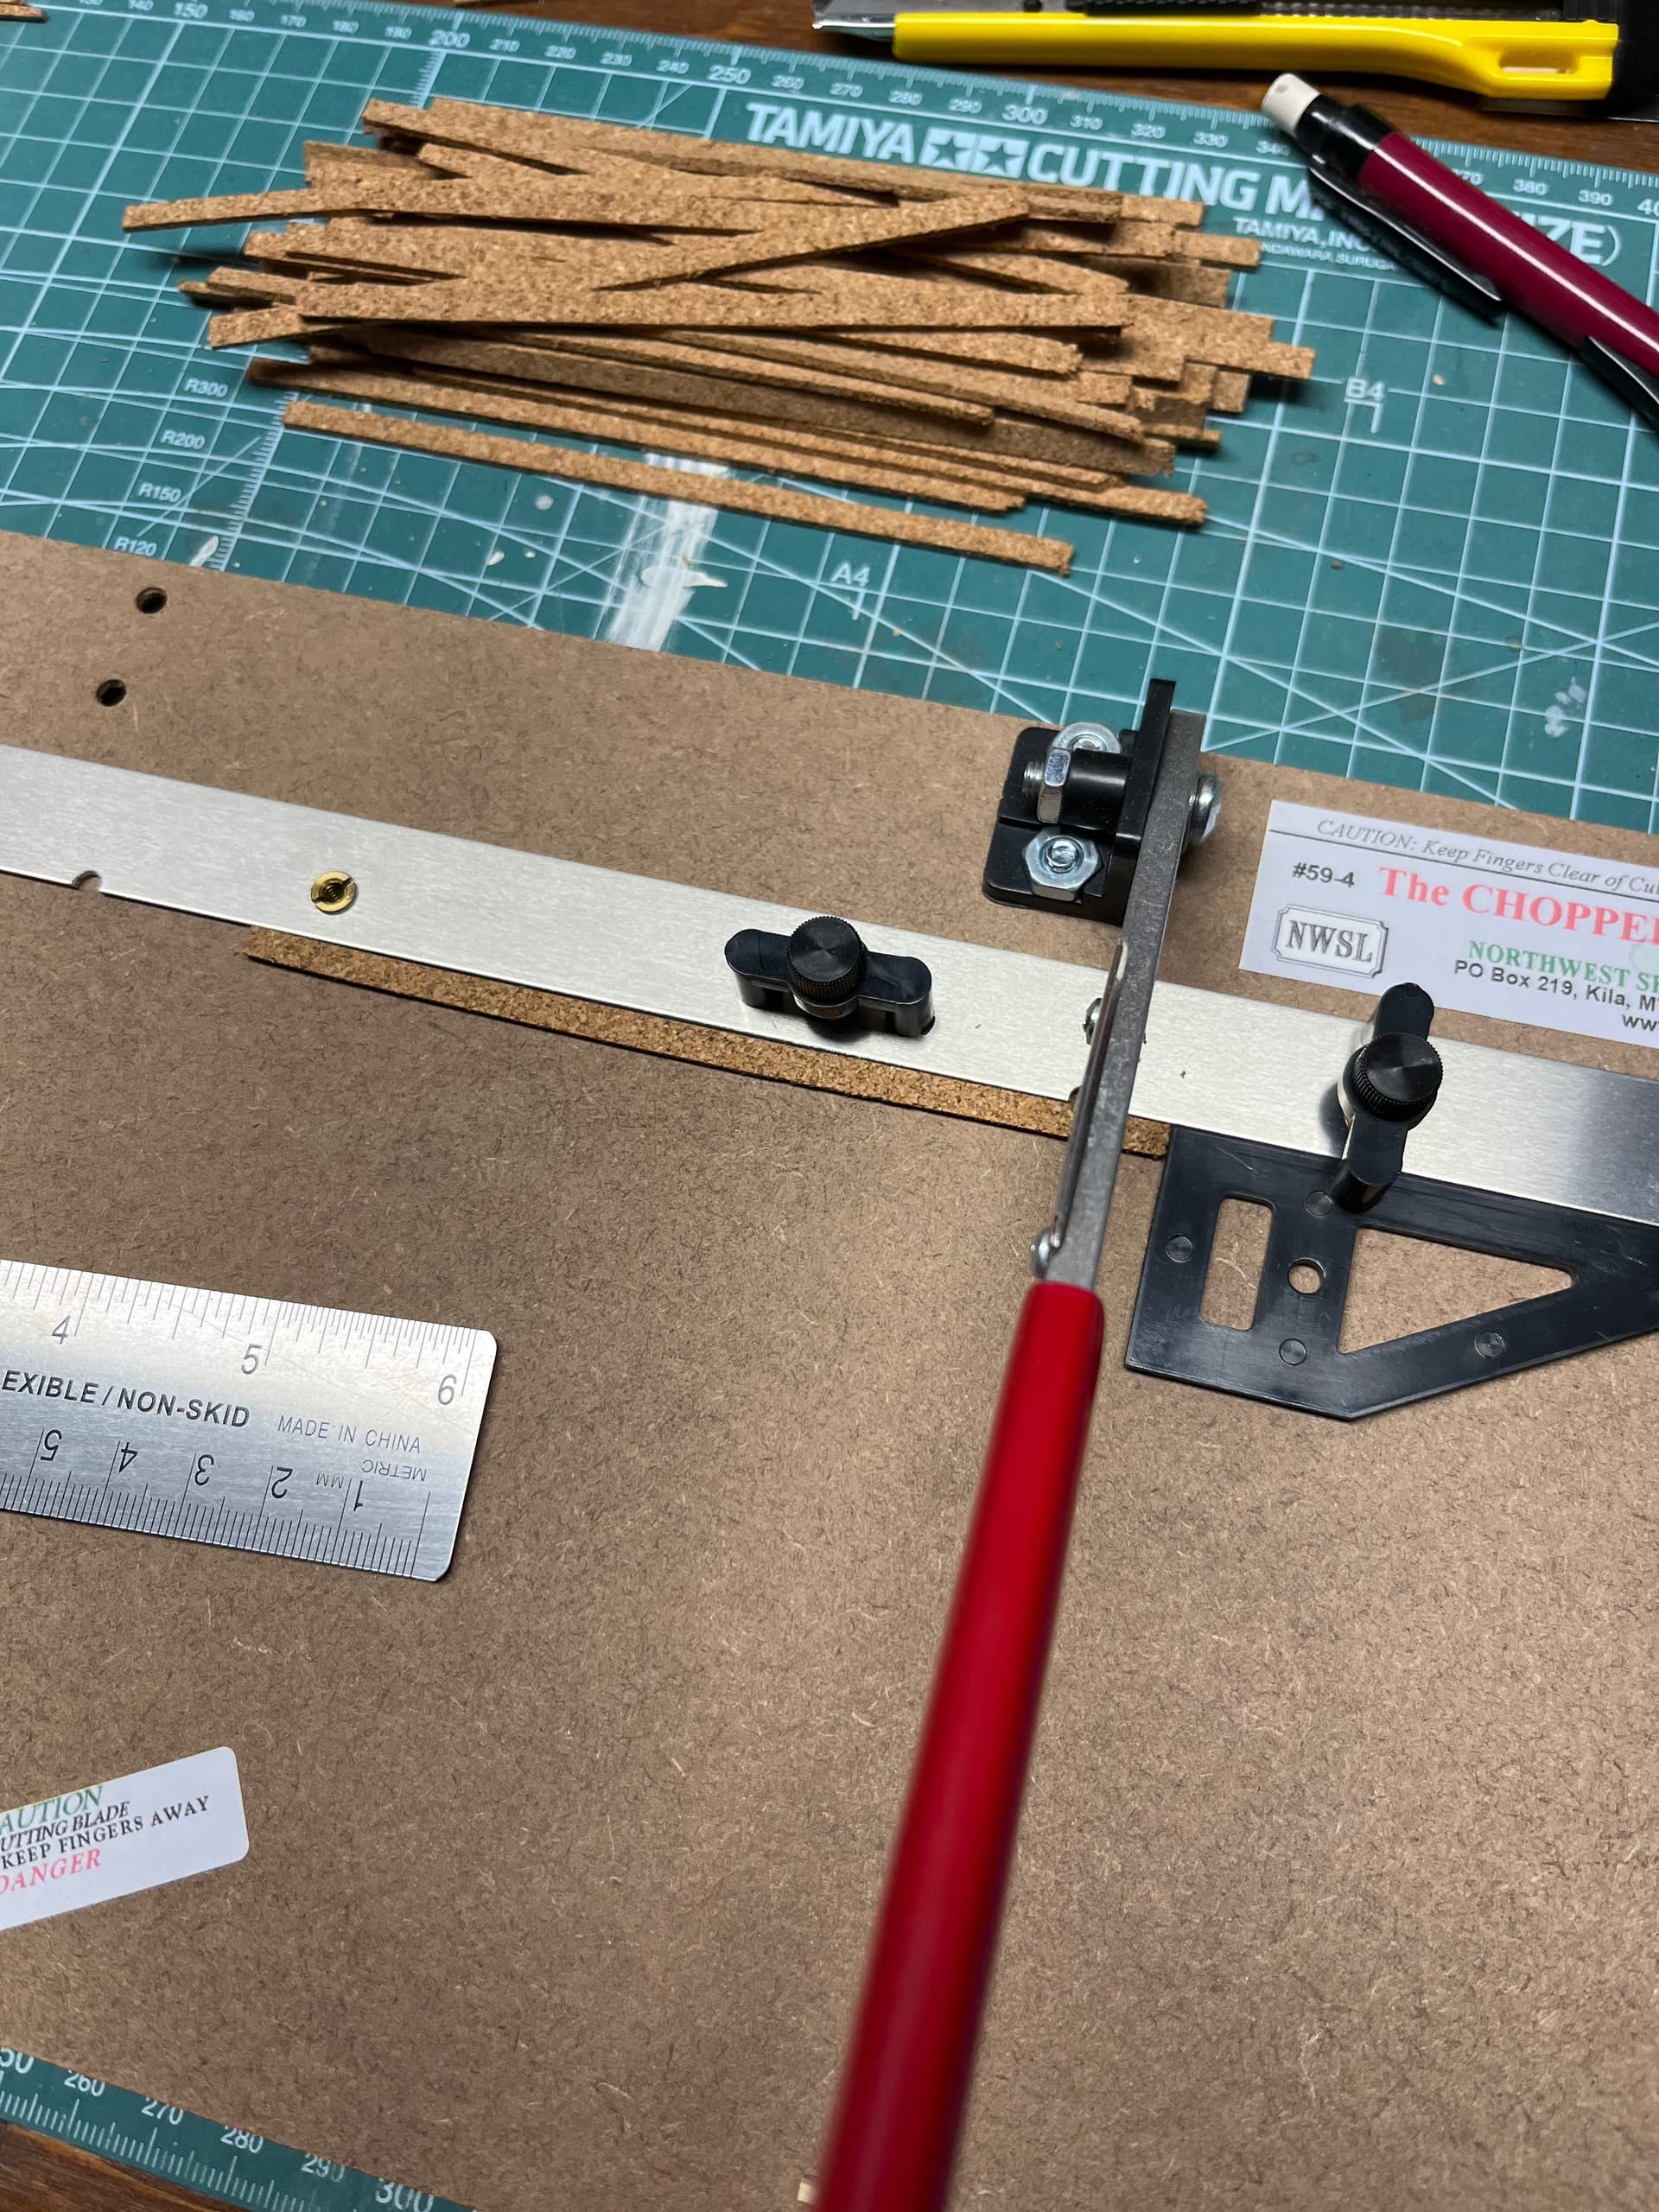
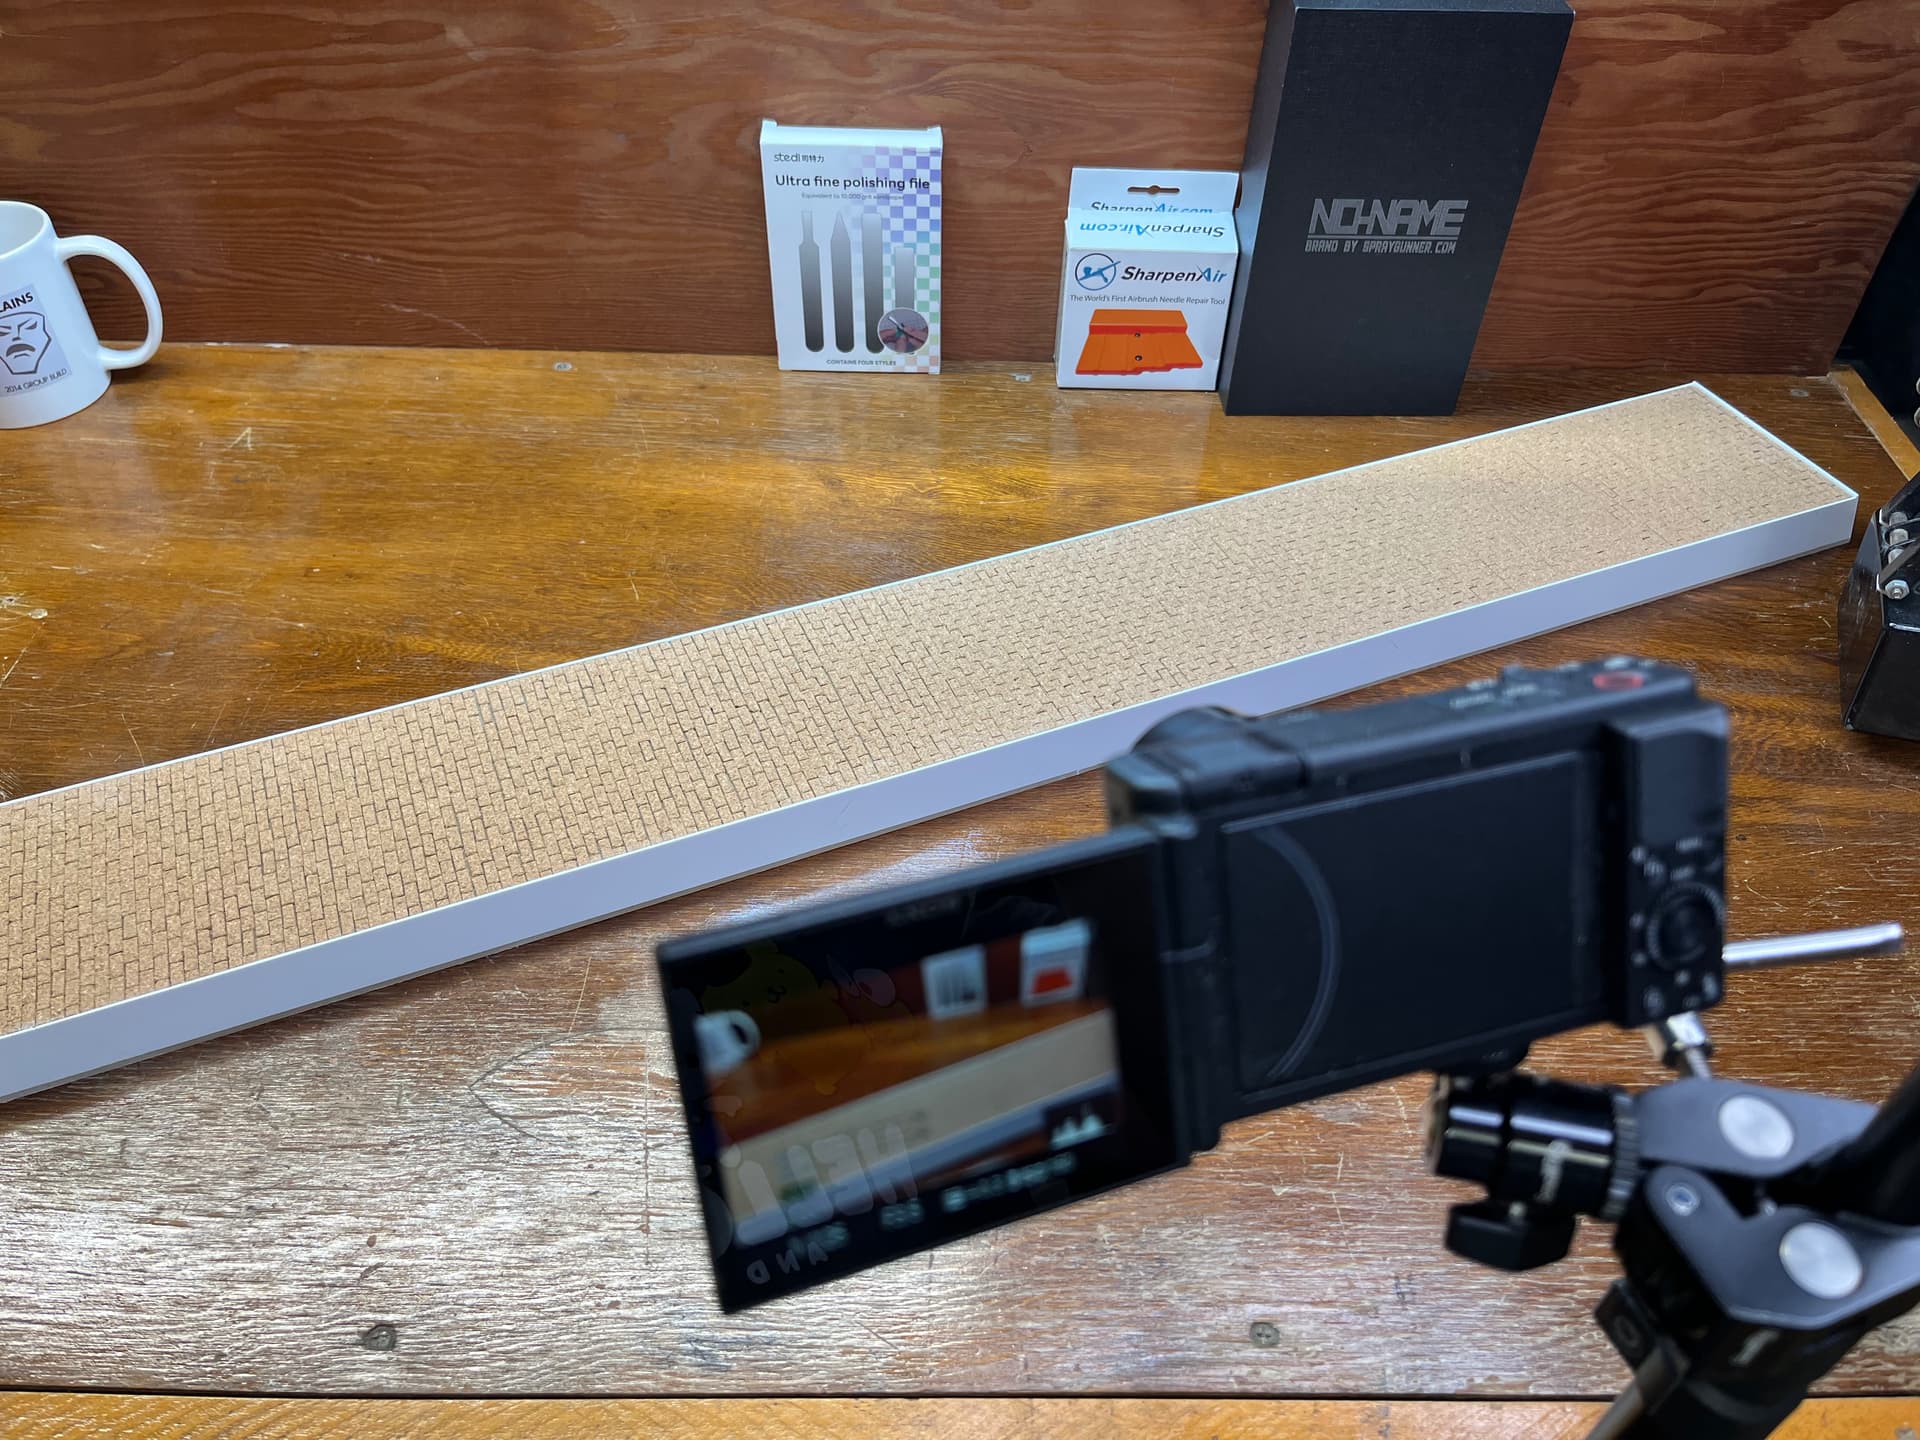
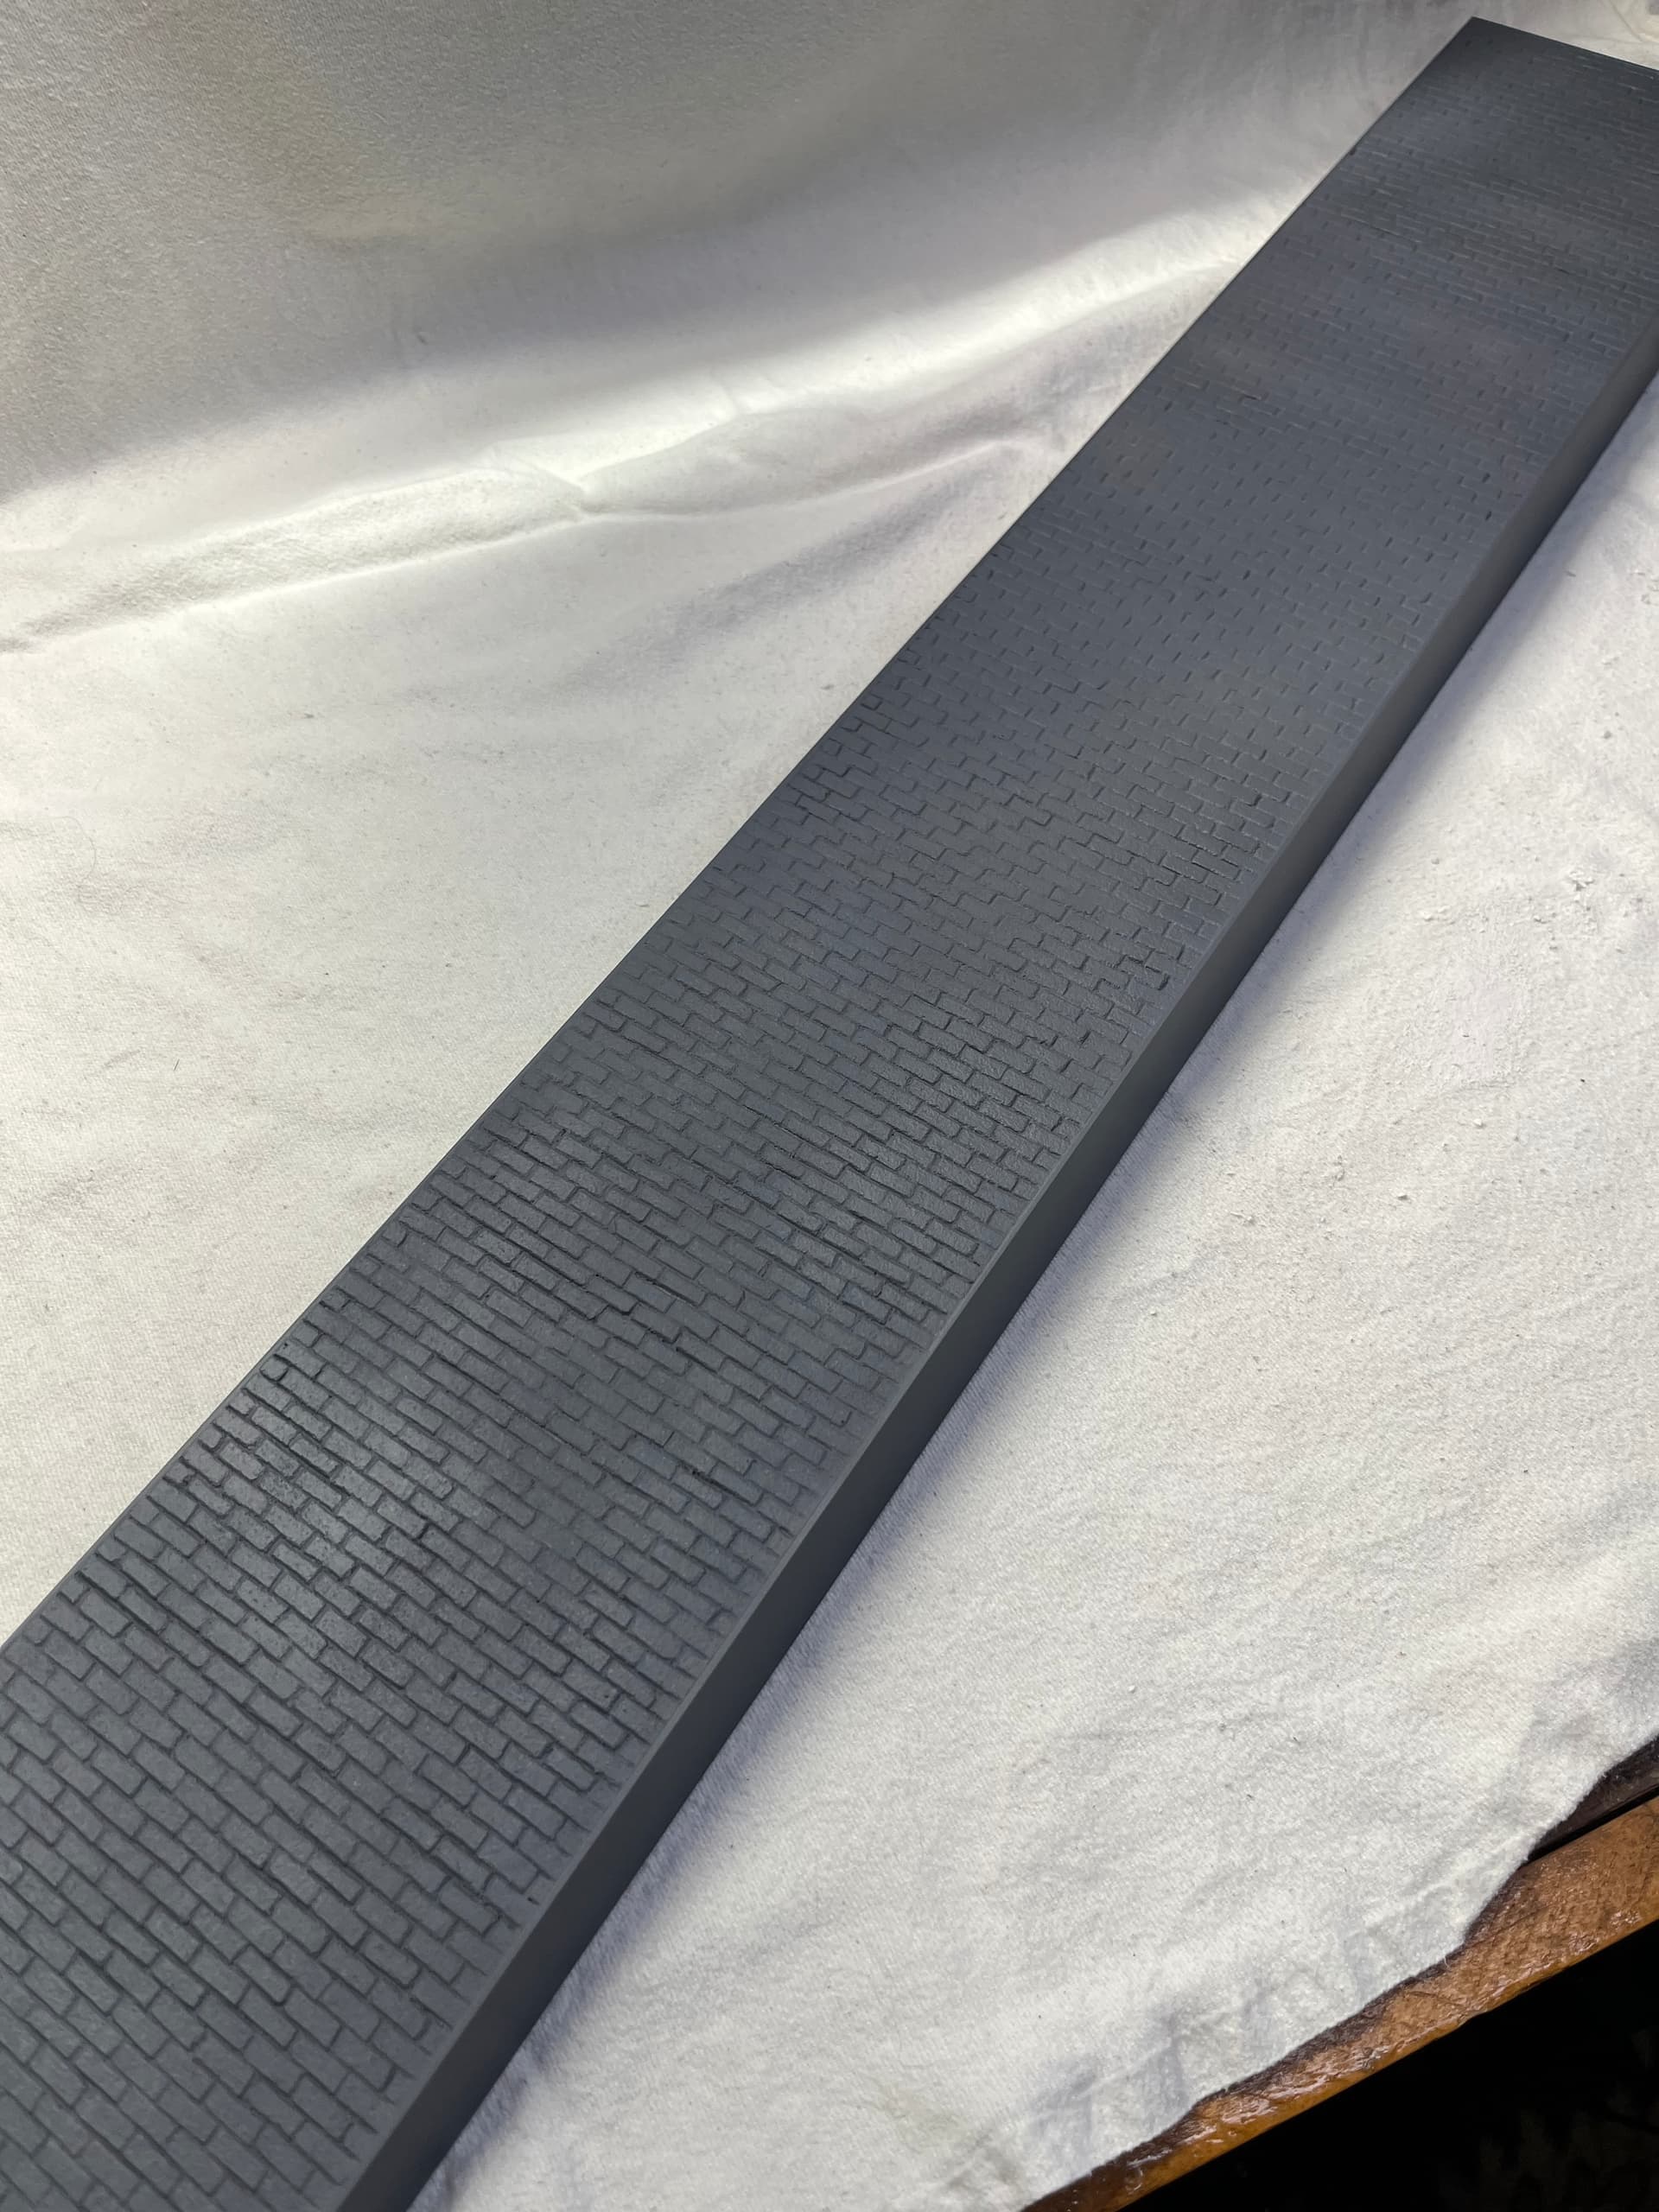
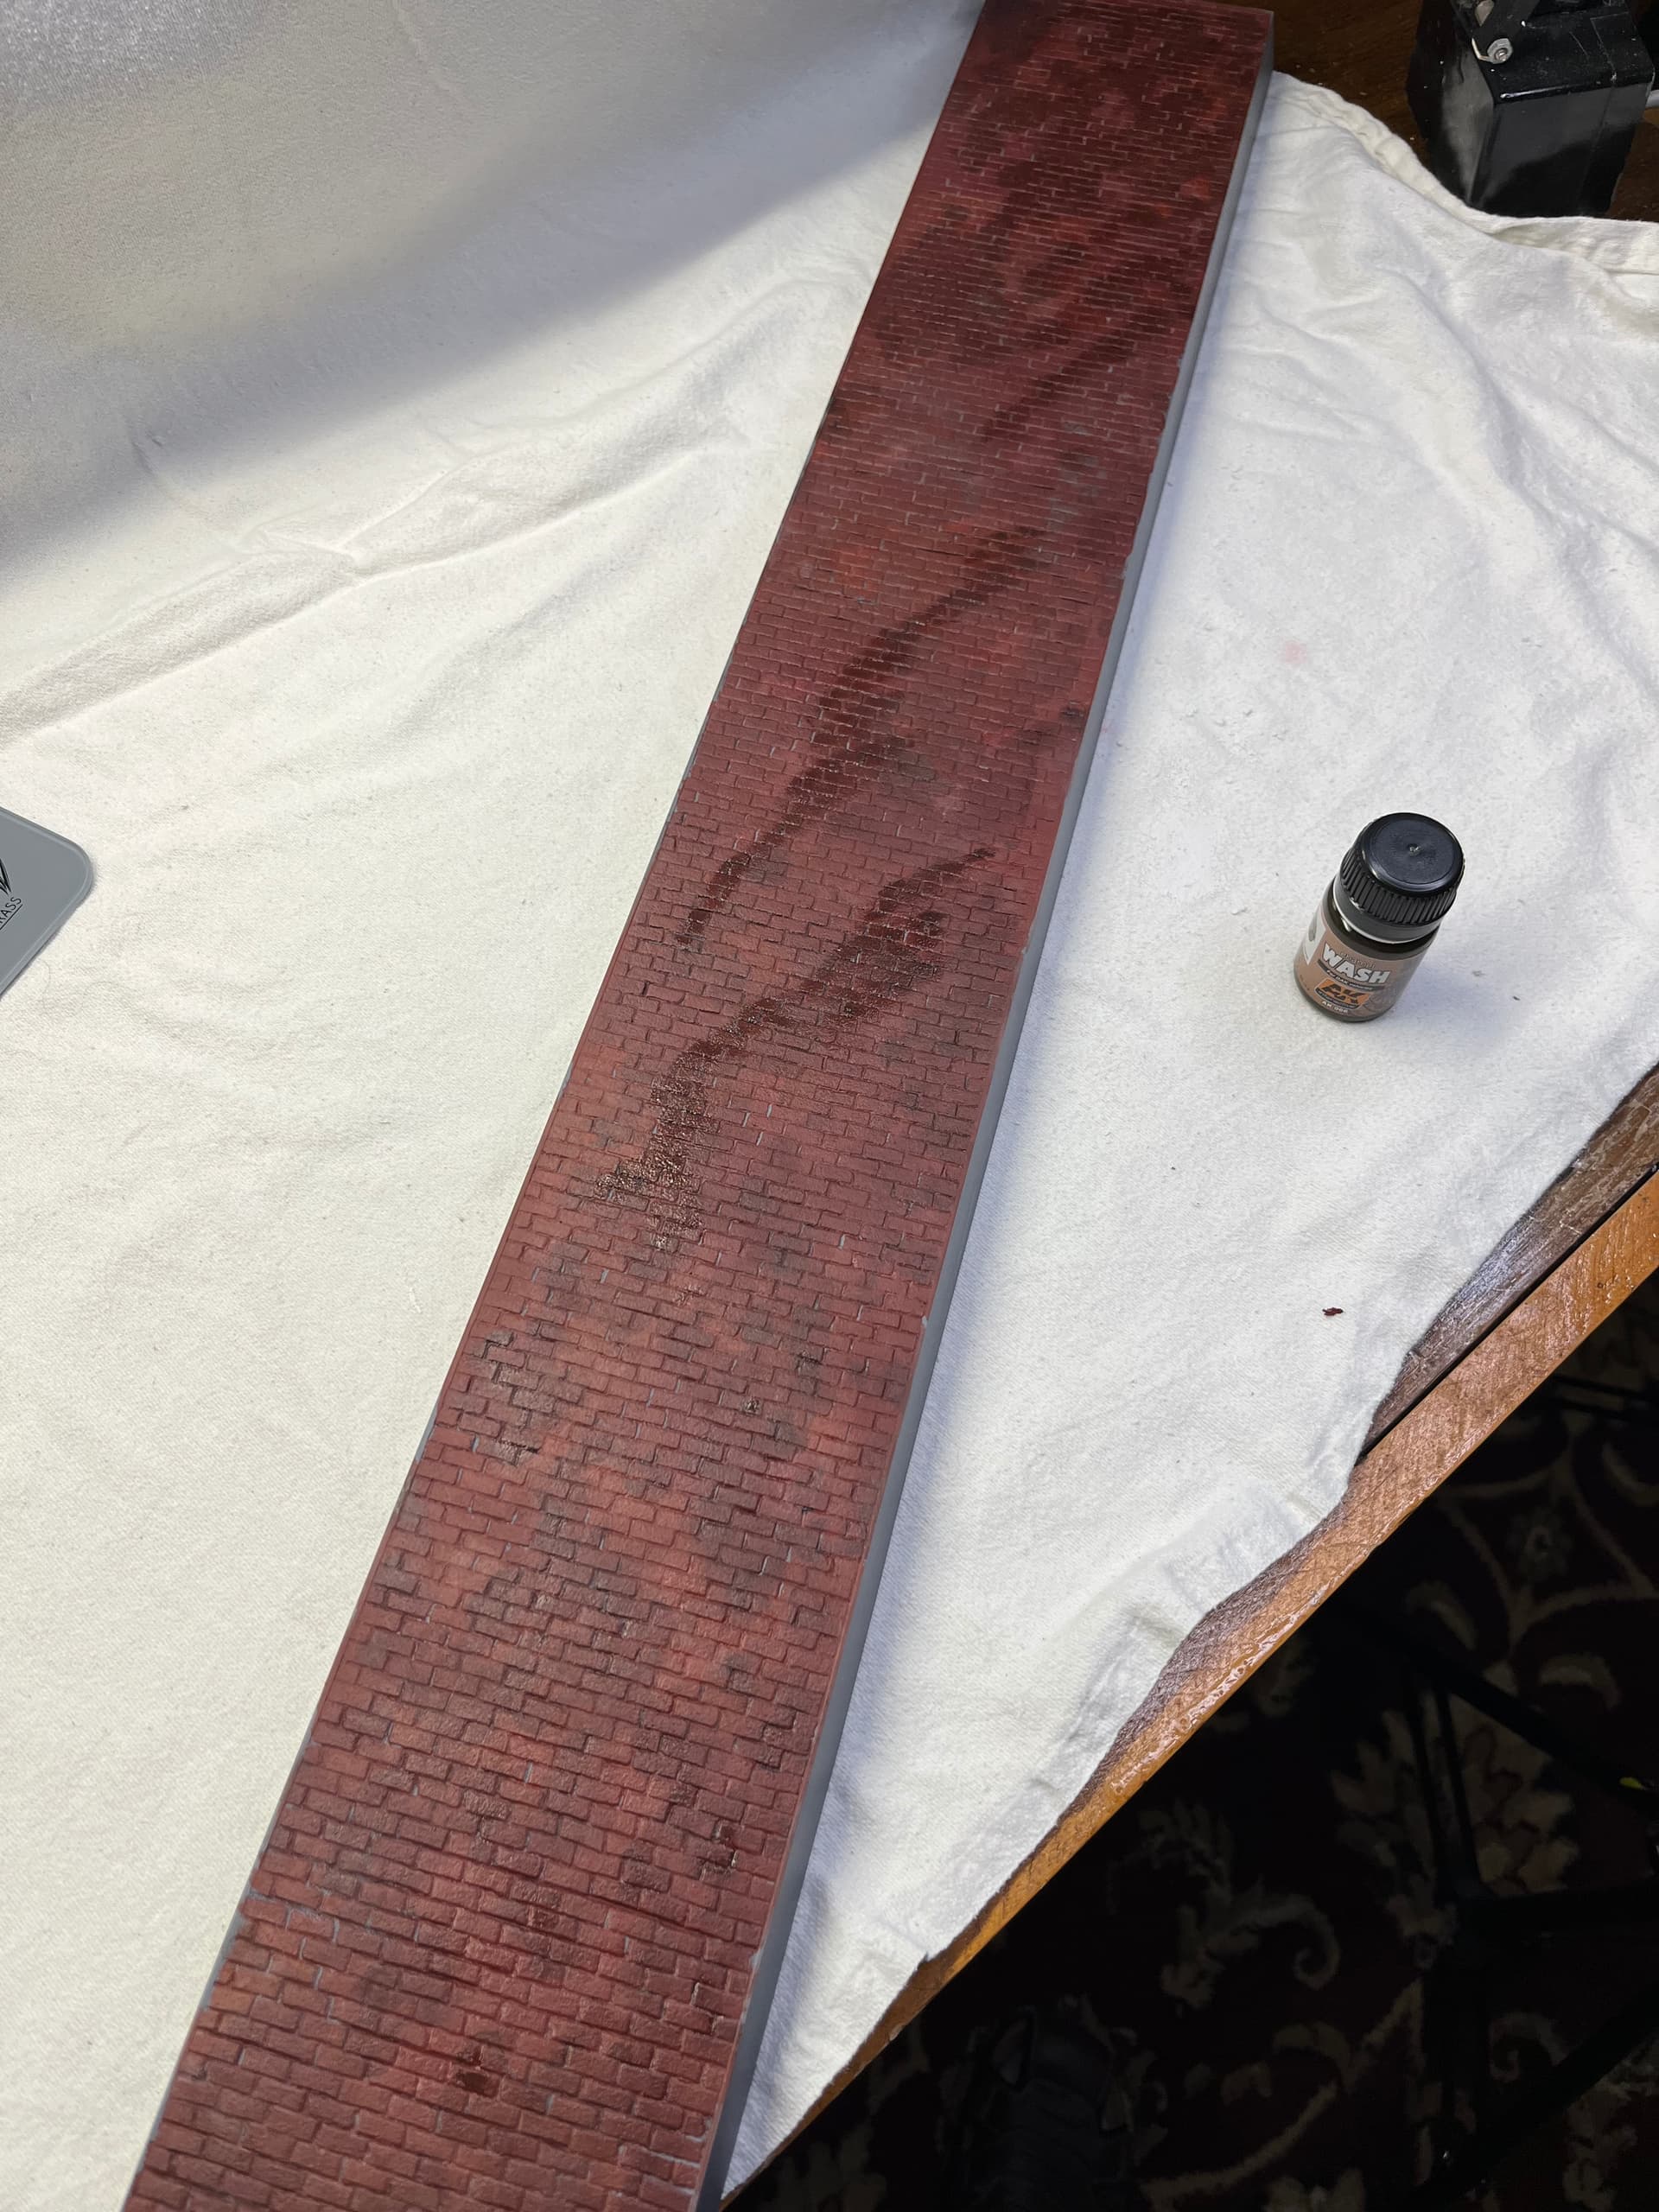
I went back to the workshop, laid out some cork sheet, made a plan, and started making and laying bricks.

3 Likes

Some of you might remember this video.

Or maybe this one?

I remember one commenter saying I’d never finish the base, let alone the model.

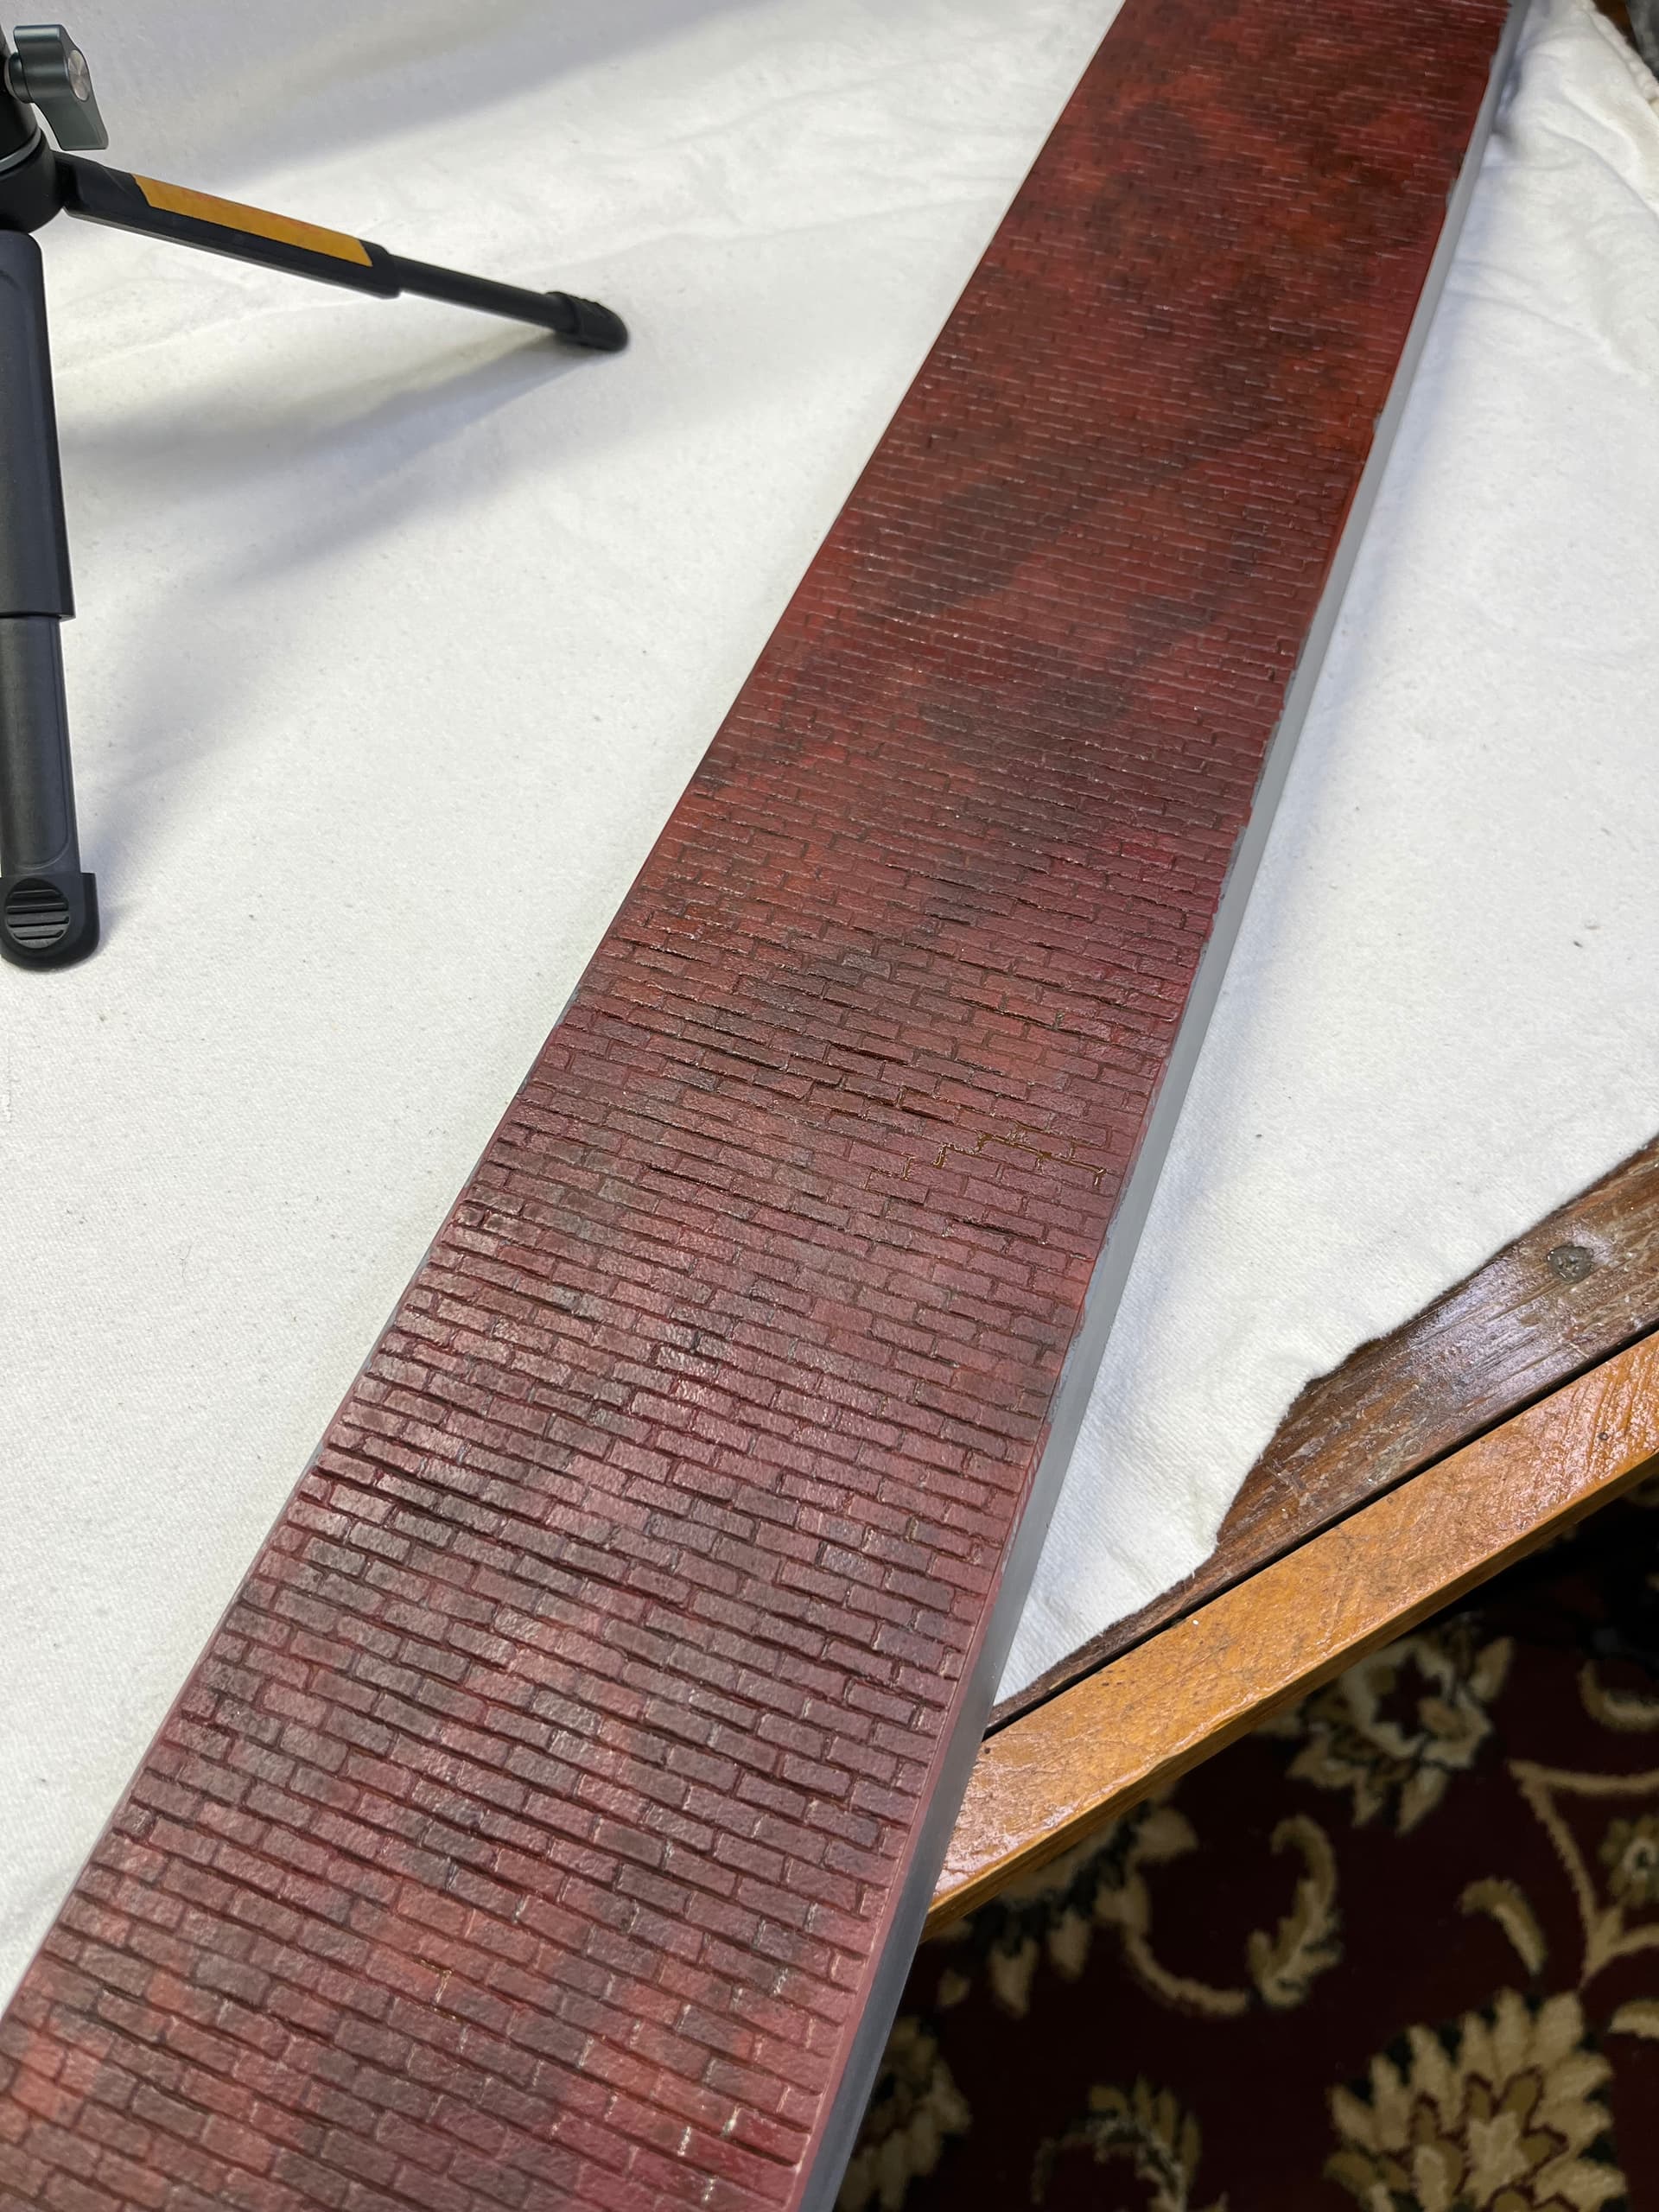
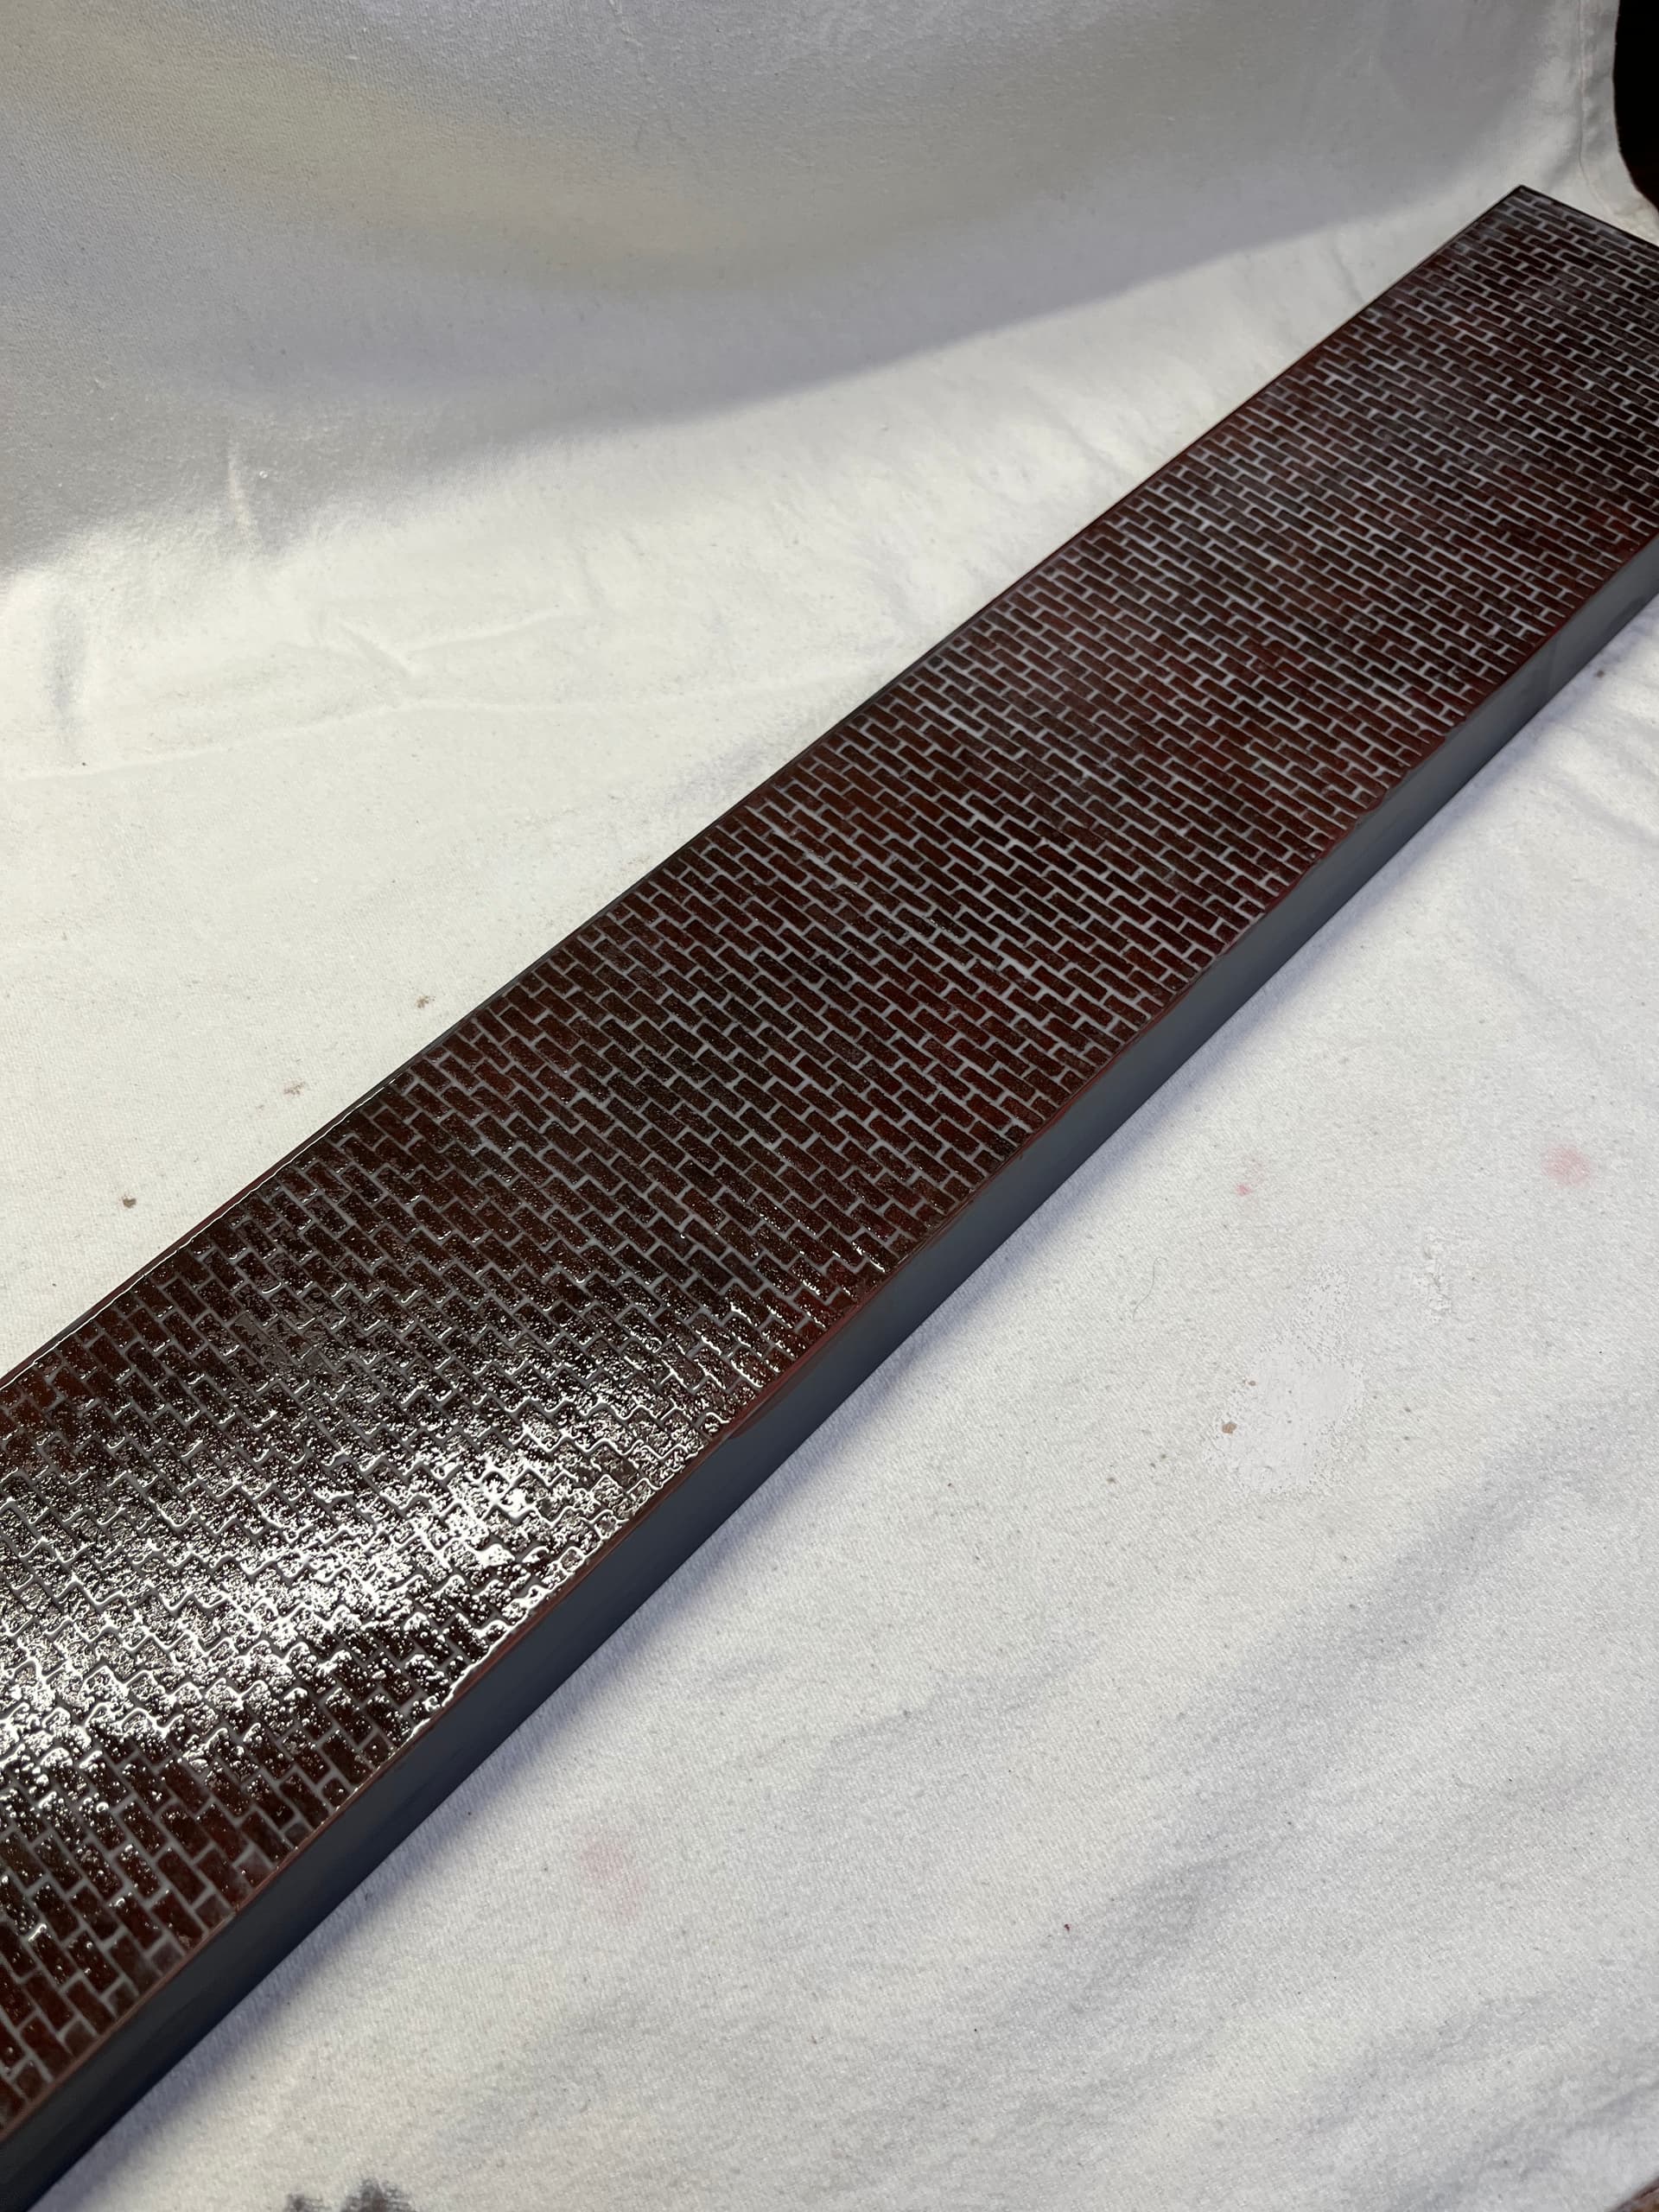
Here are some stills I took behind the scenes.
You basically see all the steps in the videos.

The glossy shot was on Nov. 12, 2024. Between work and real life, I wouldn’t really have a chance to work on the 8-horse hitch again for about a year.

In October 2025, I put together the driver and started preliminary work on sharpening the details. But now, my trigger finger had worsened and was hindering even simple tasks like typing—useful for a guy who types and builds models for a living.

4 Likes

I puttered around in the workshop. I’d pick stuff up, look it over, think about things. But nothing serious. It was while puttering on Feb. 15, 2026, I was looking at the warp in the footboard and I fumbled the wagon body and I snapped the footboard off.

Fine. I thought, this is the kick I need. I cleaned up the glue seams and took a closer look at the warp. It was slight, so I thought I might be able to hit it with a hair dryer and bend it to shape. The spring in the plastic was too much though.

Okay. Let’s go the boiling water route. I texted Chuck Davis about the idea, having forgotten he’d had a bad experience boiling a part trying to correct its shape. He warned against the plan and told me I’d be better off fabricating a replacement. “But that’s what I’m trying to avoid!”

Needless to say, the warp became the least of my problems as the edge of the part shriveled with just a couple of brief dips. Old plastic, I tell ya.

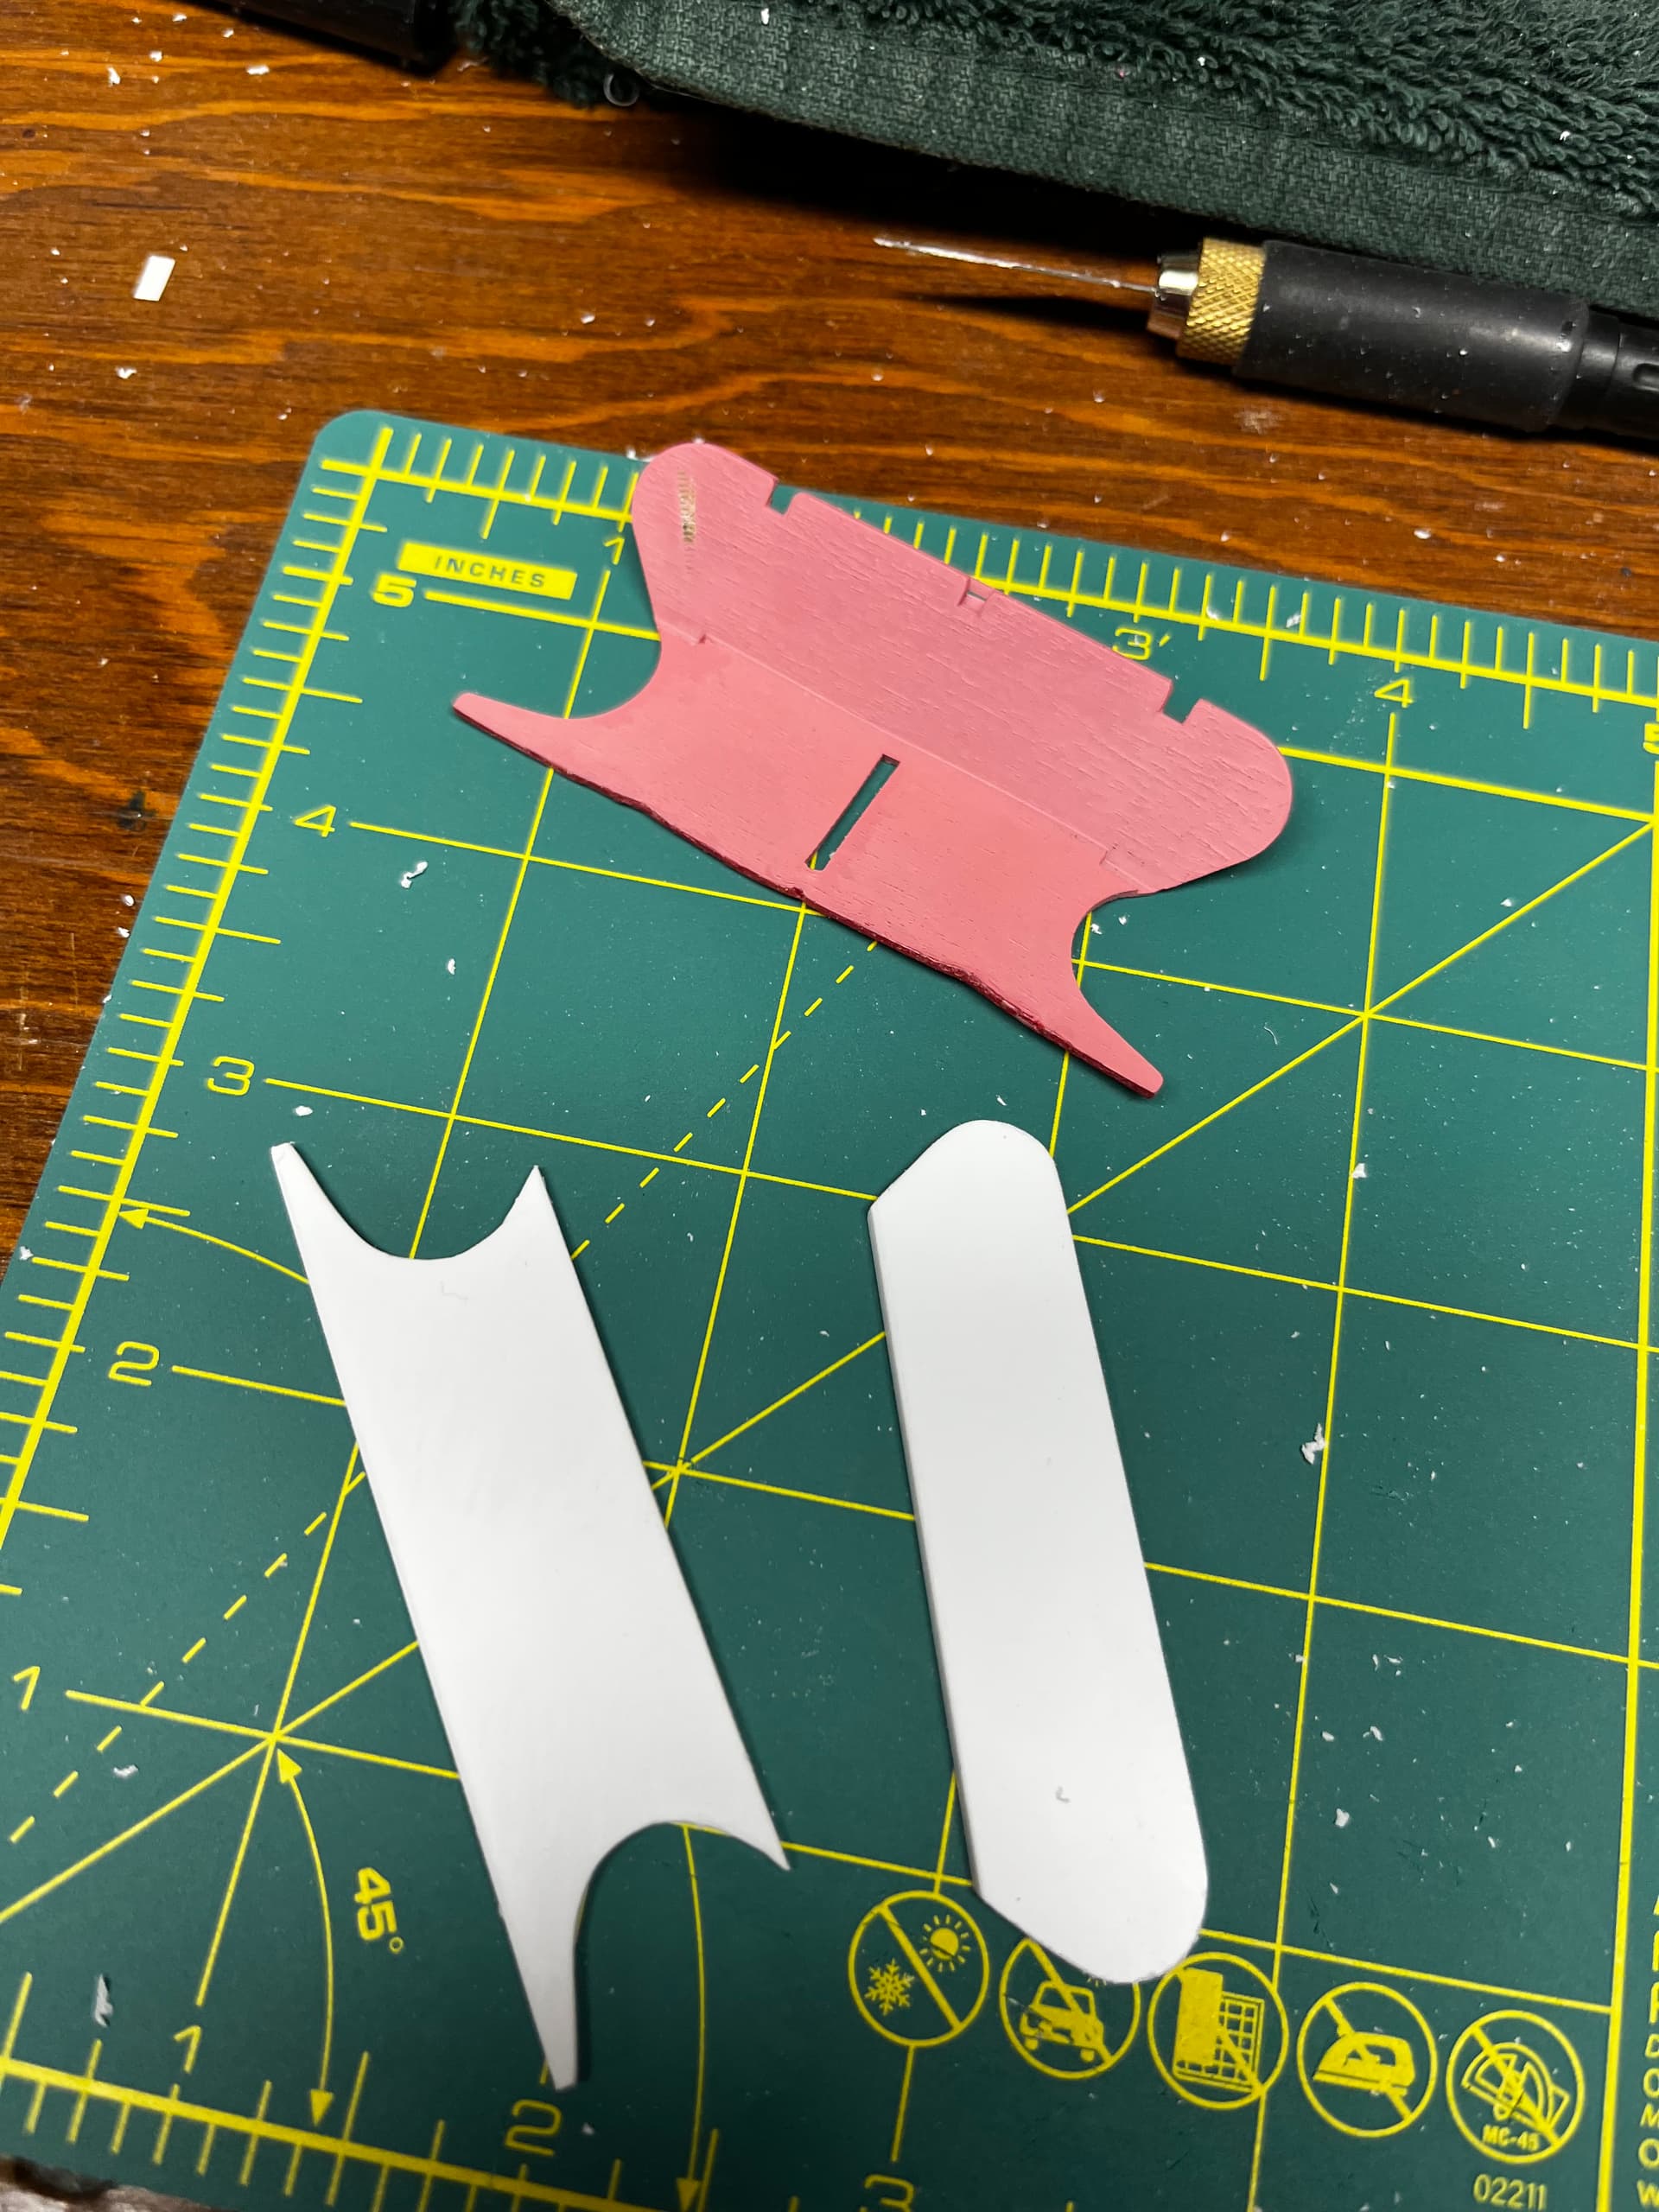
Fabrication it was.

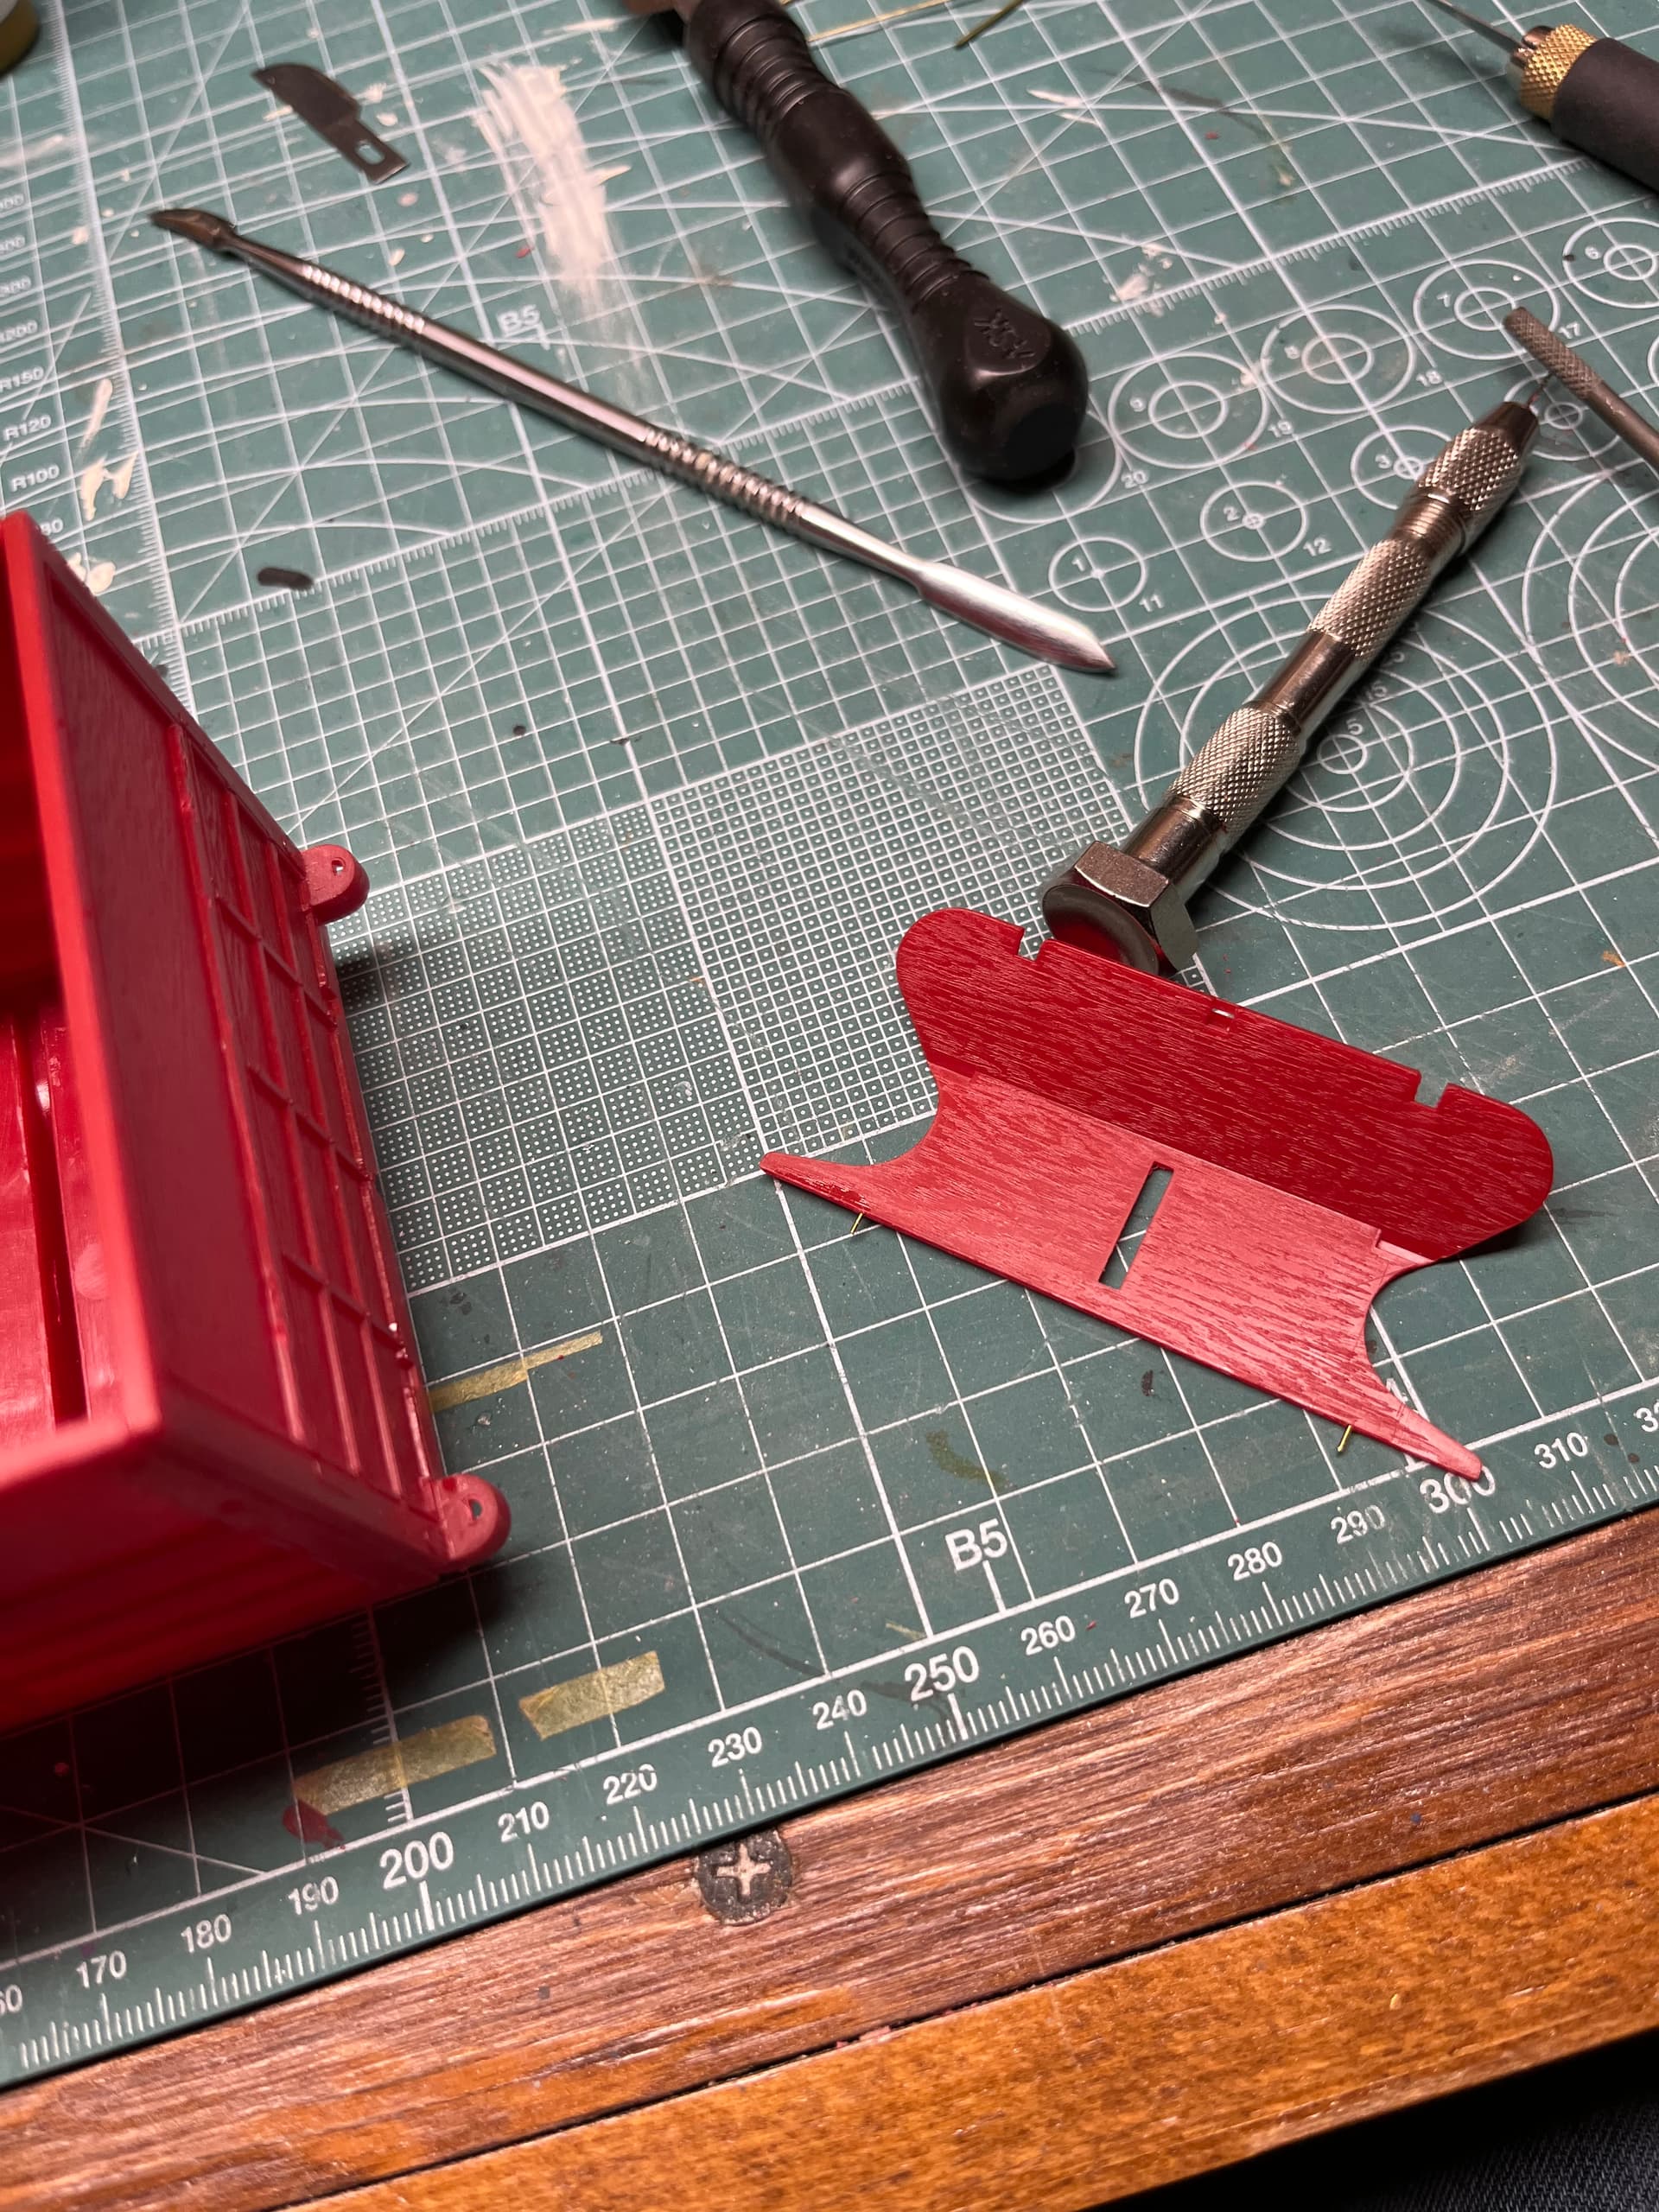
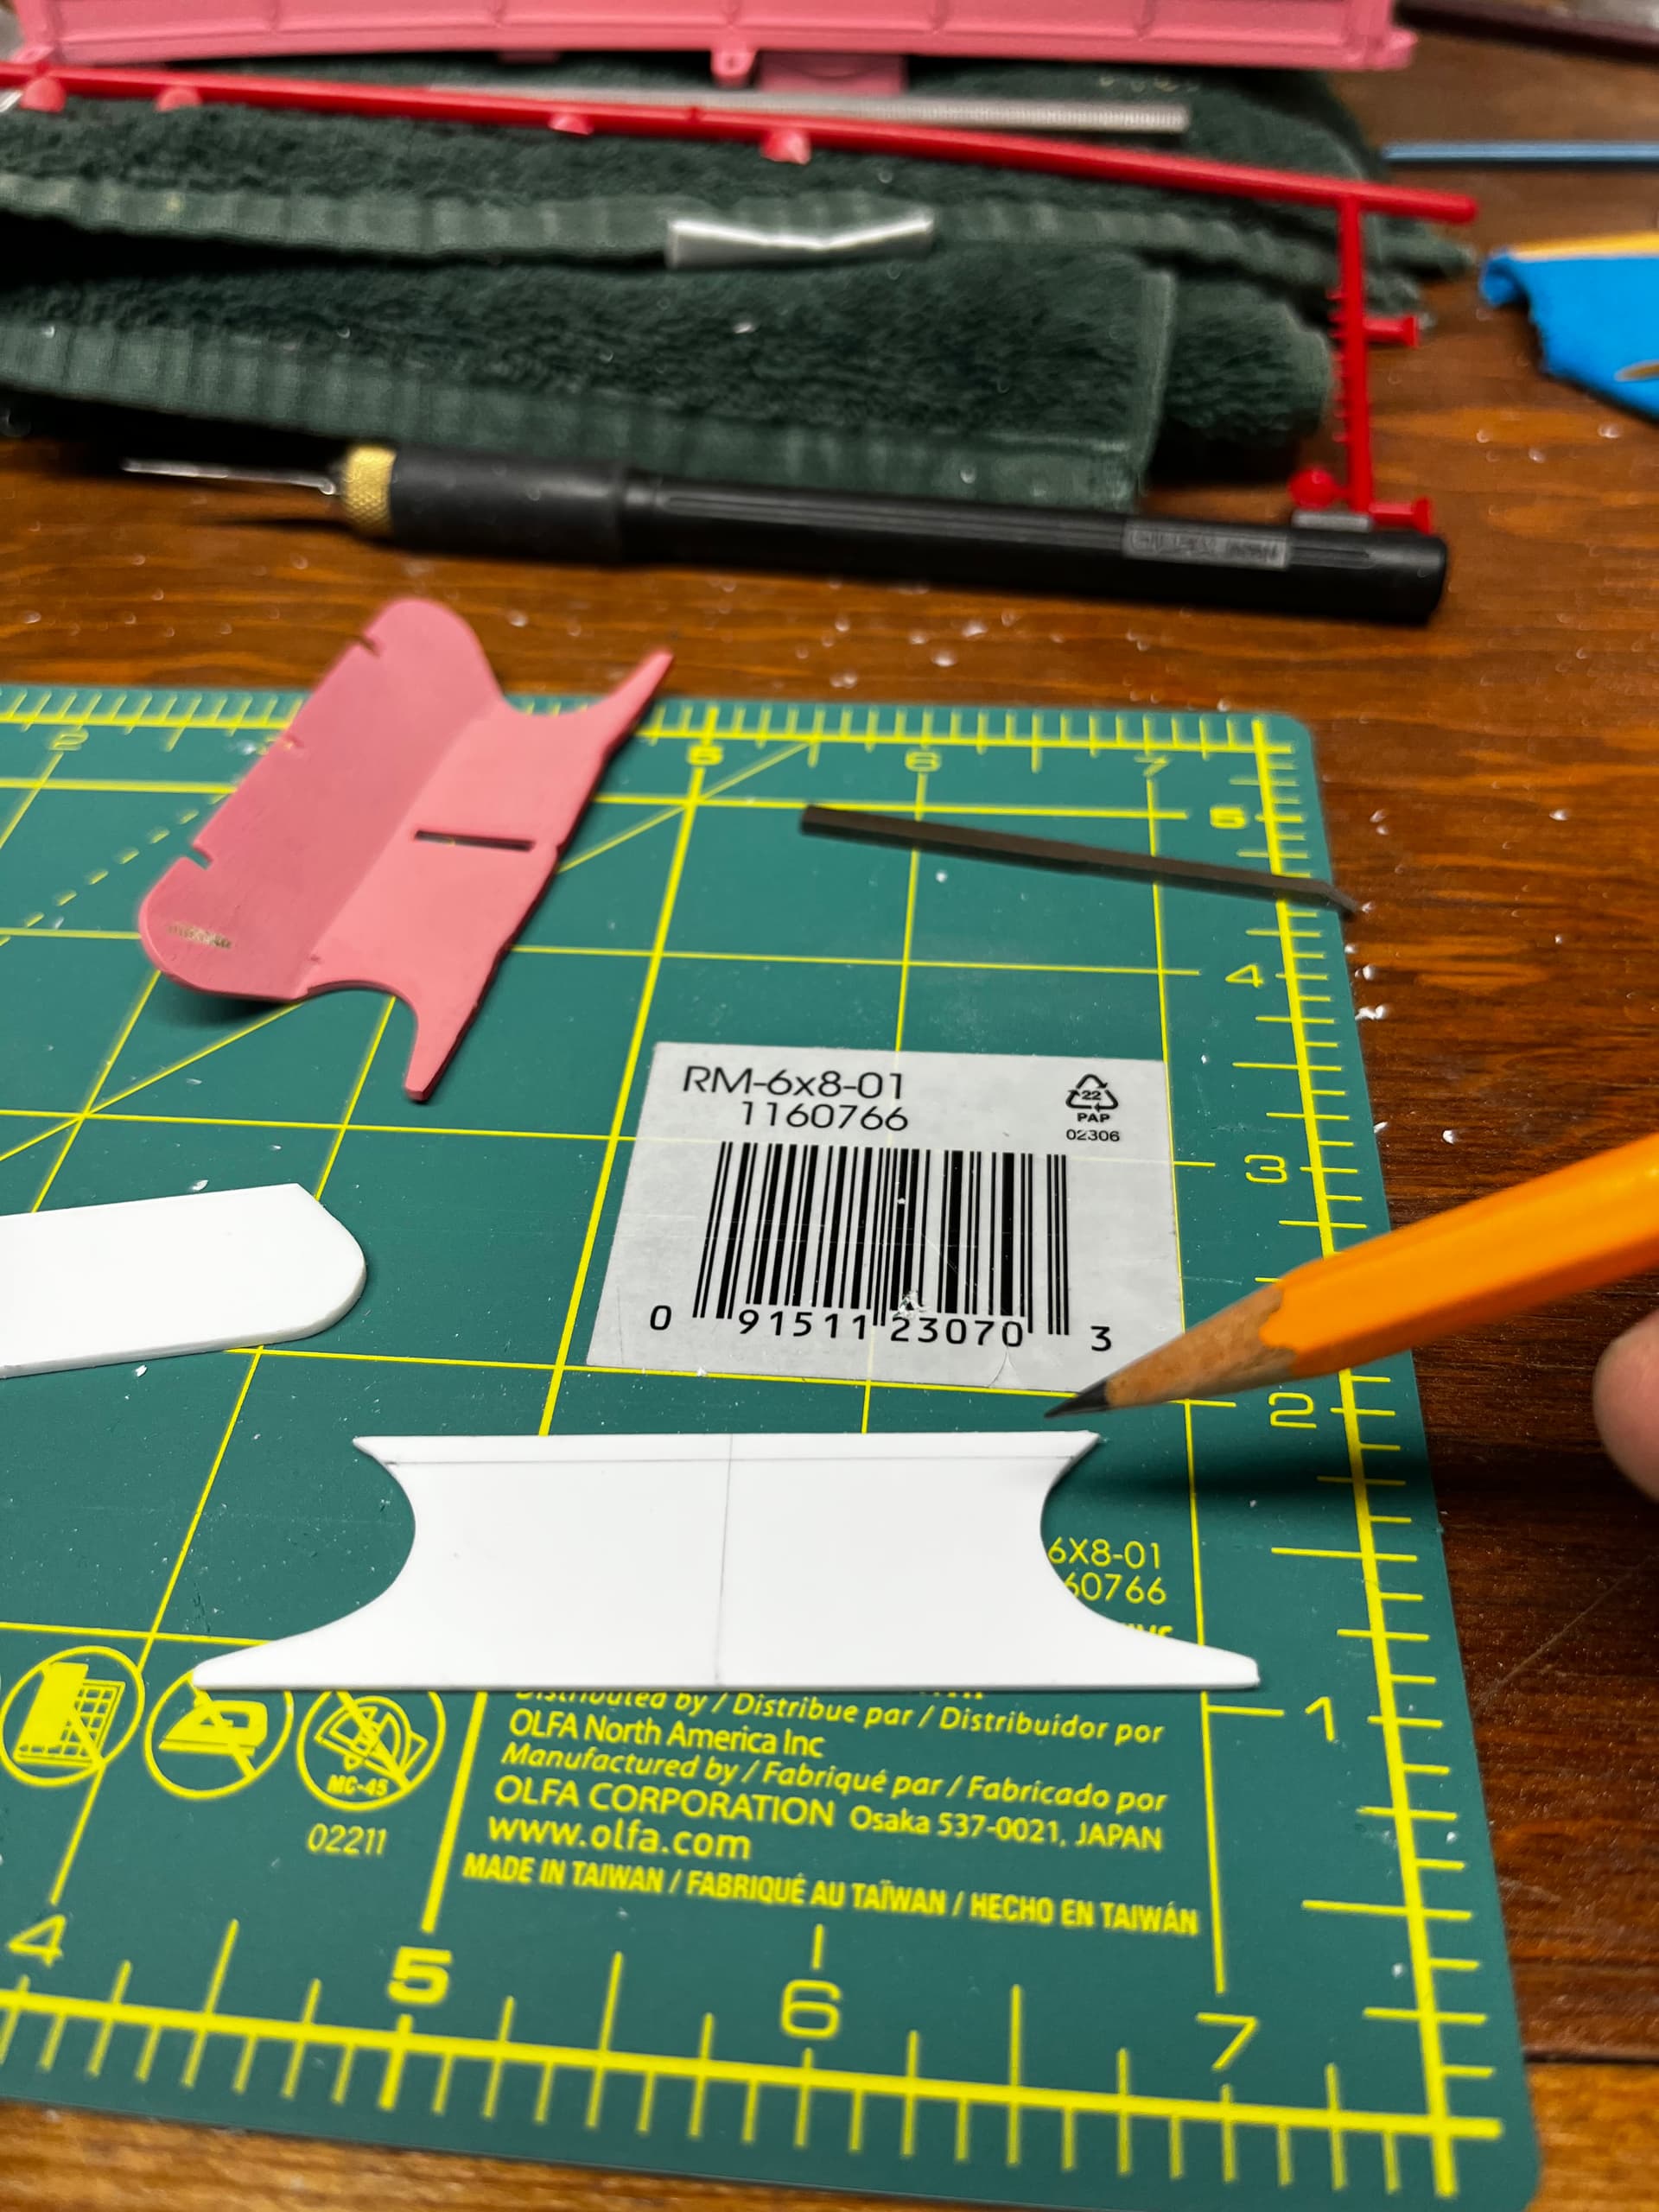
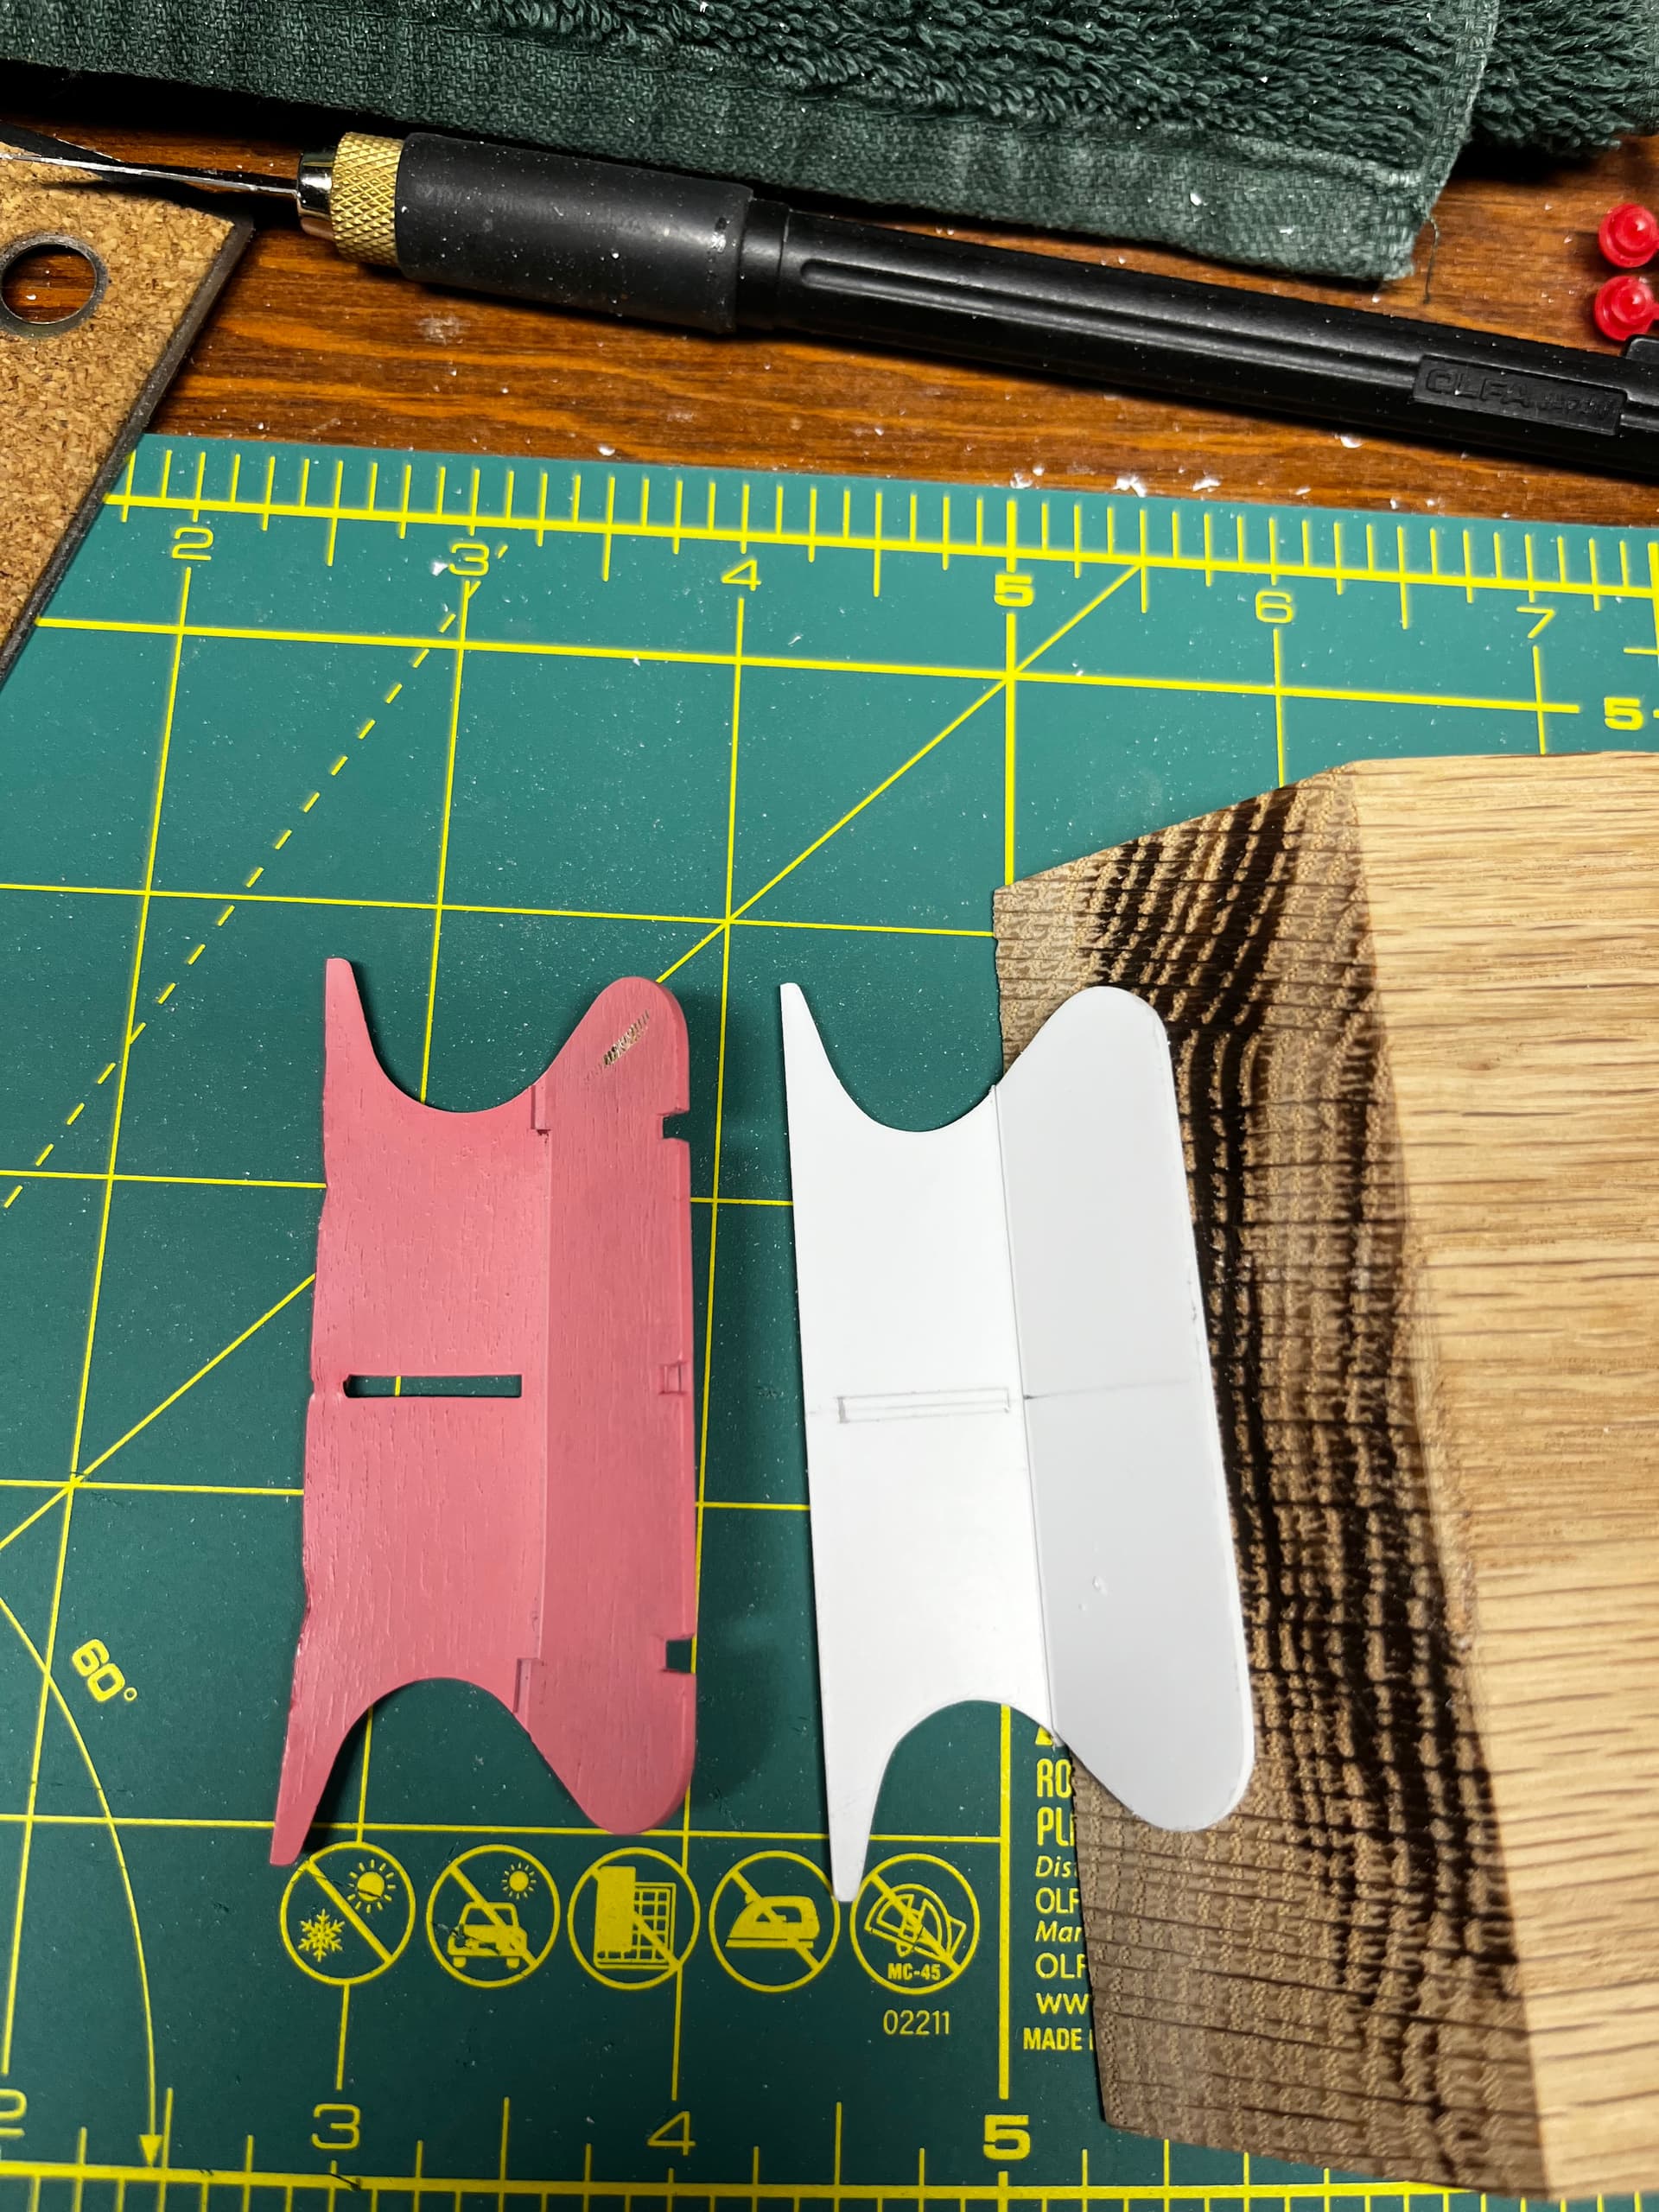
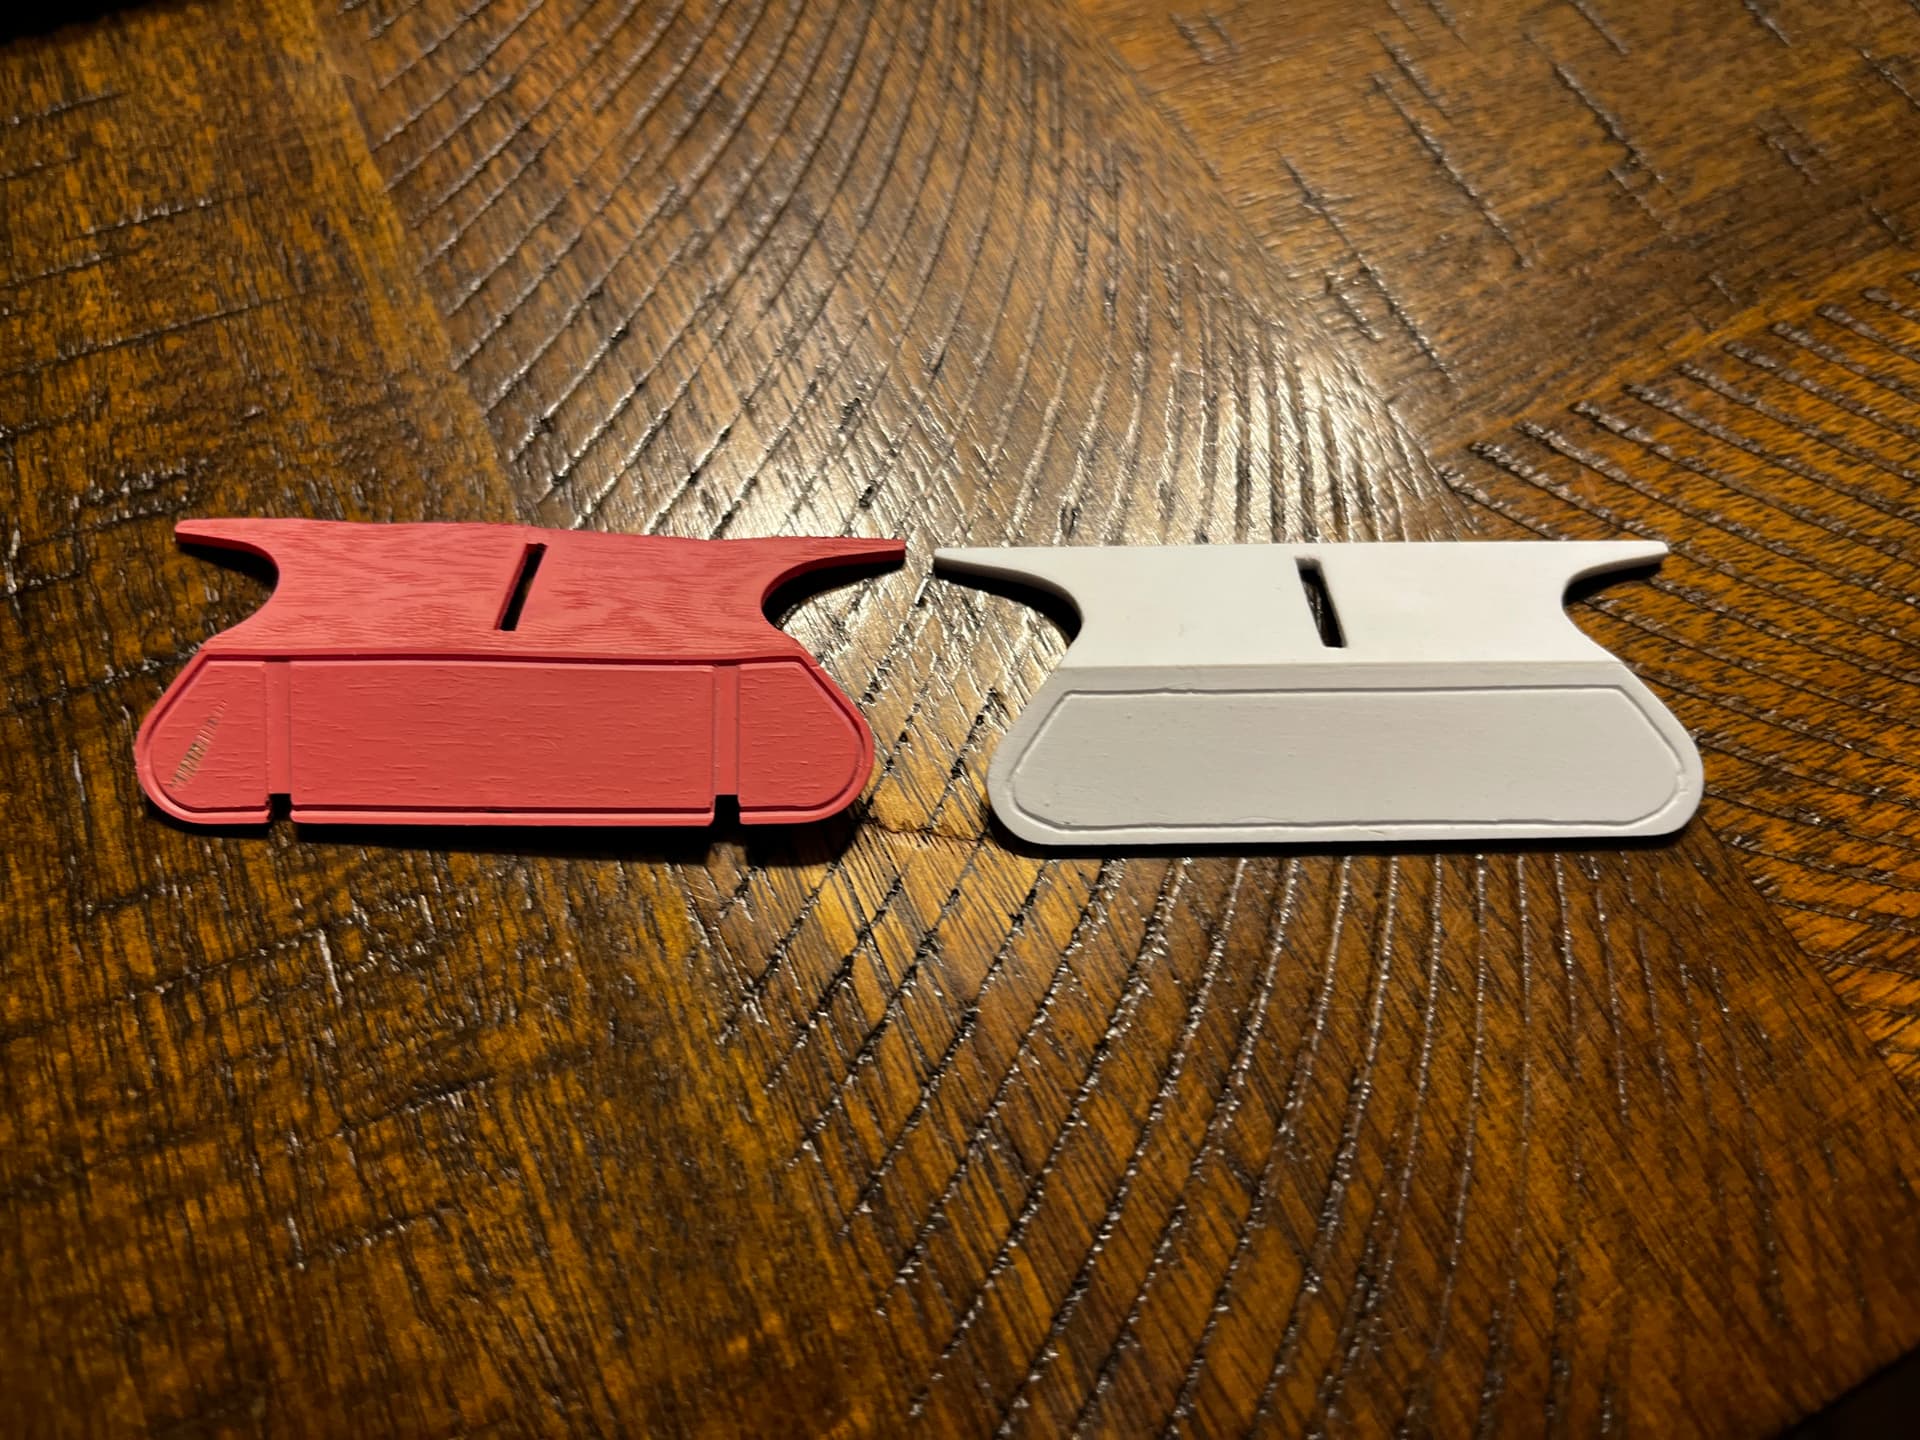
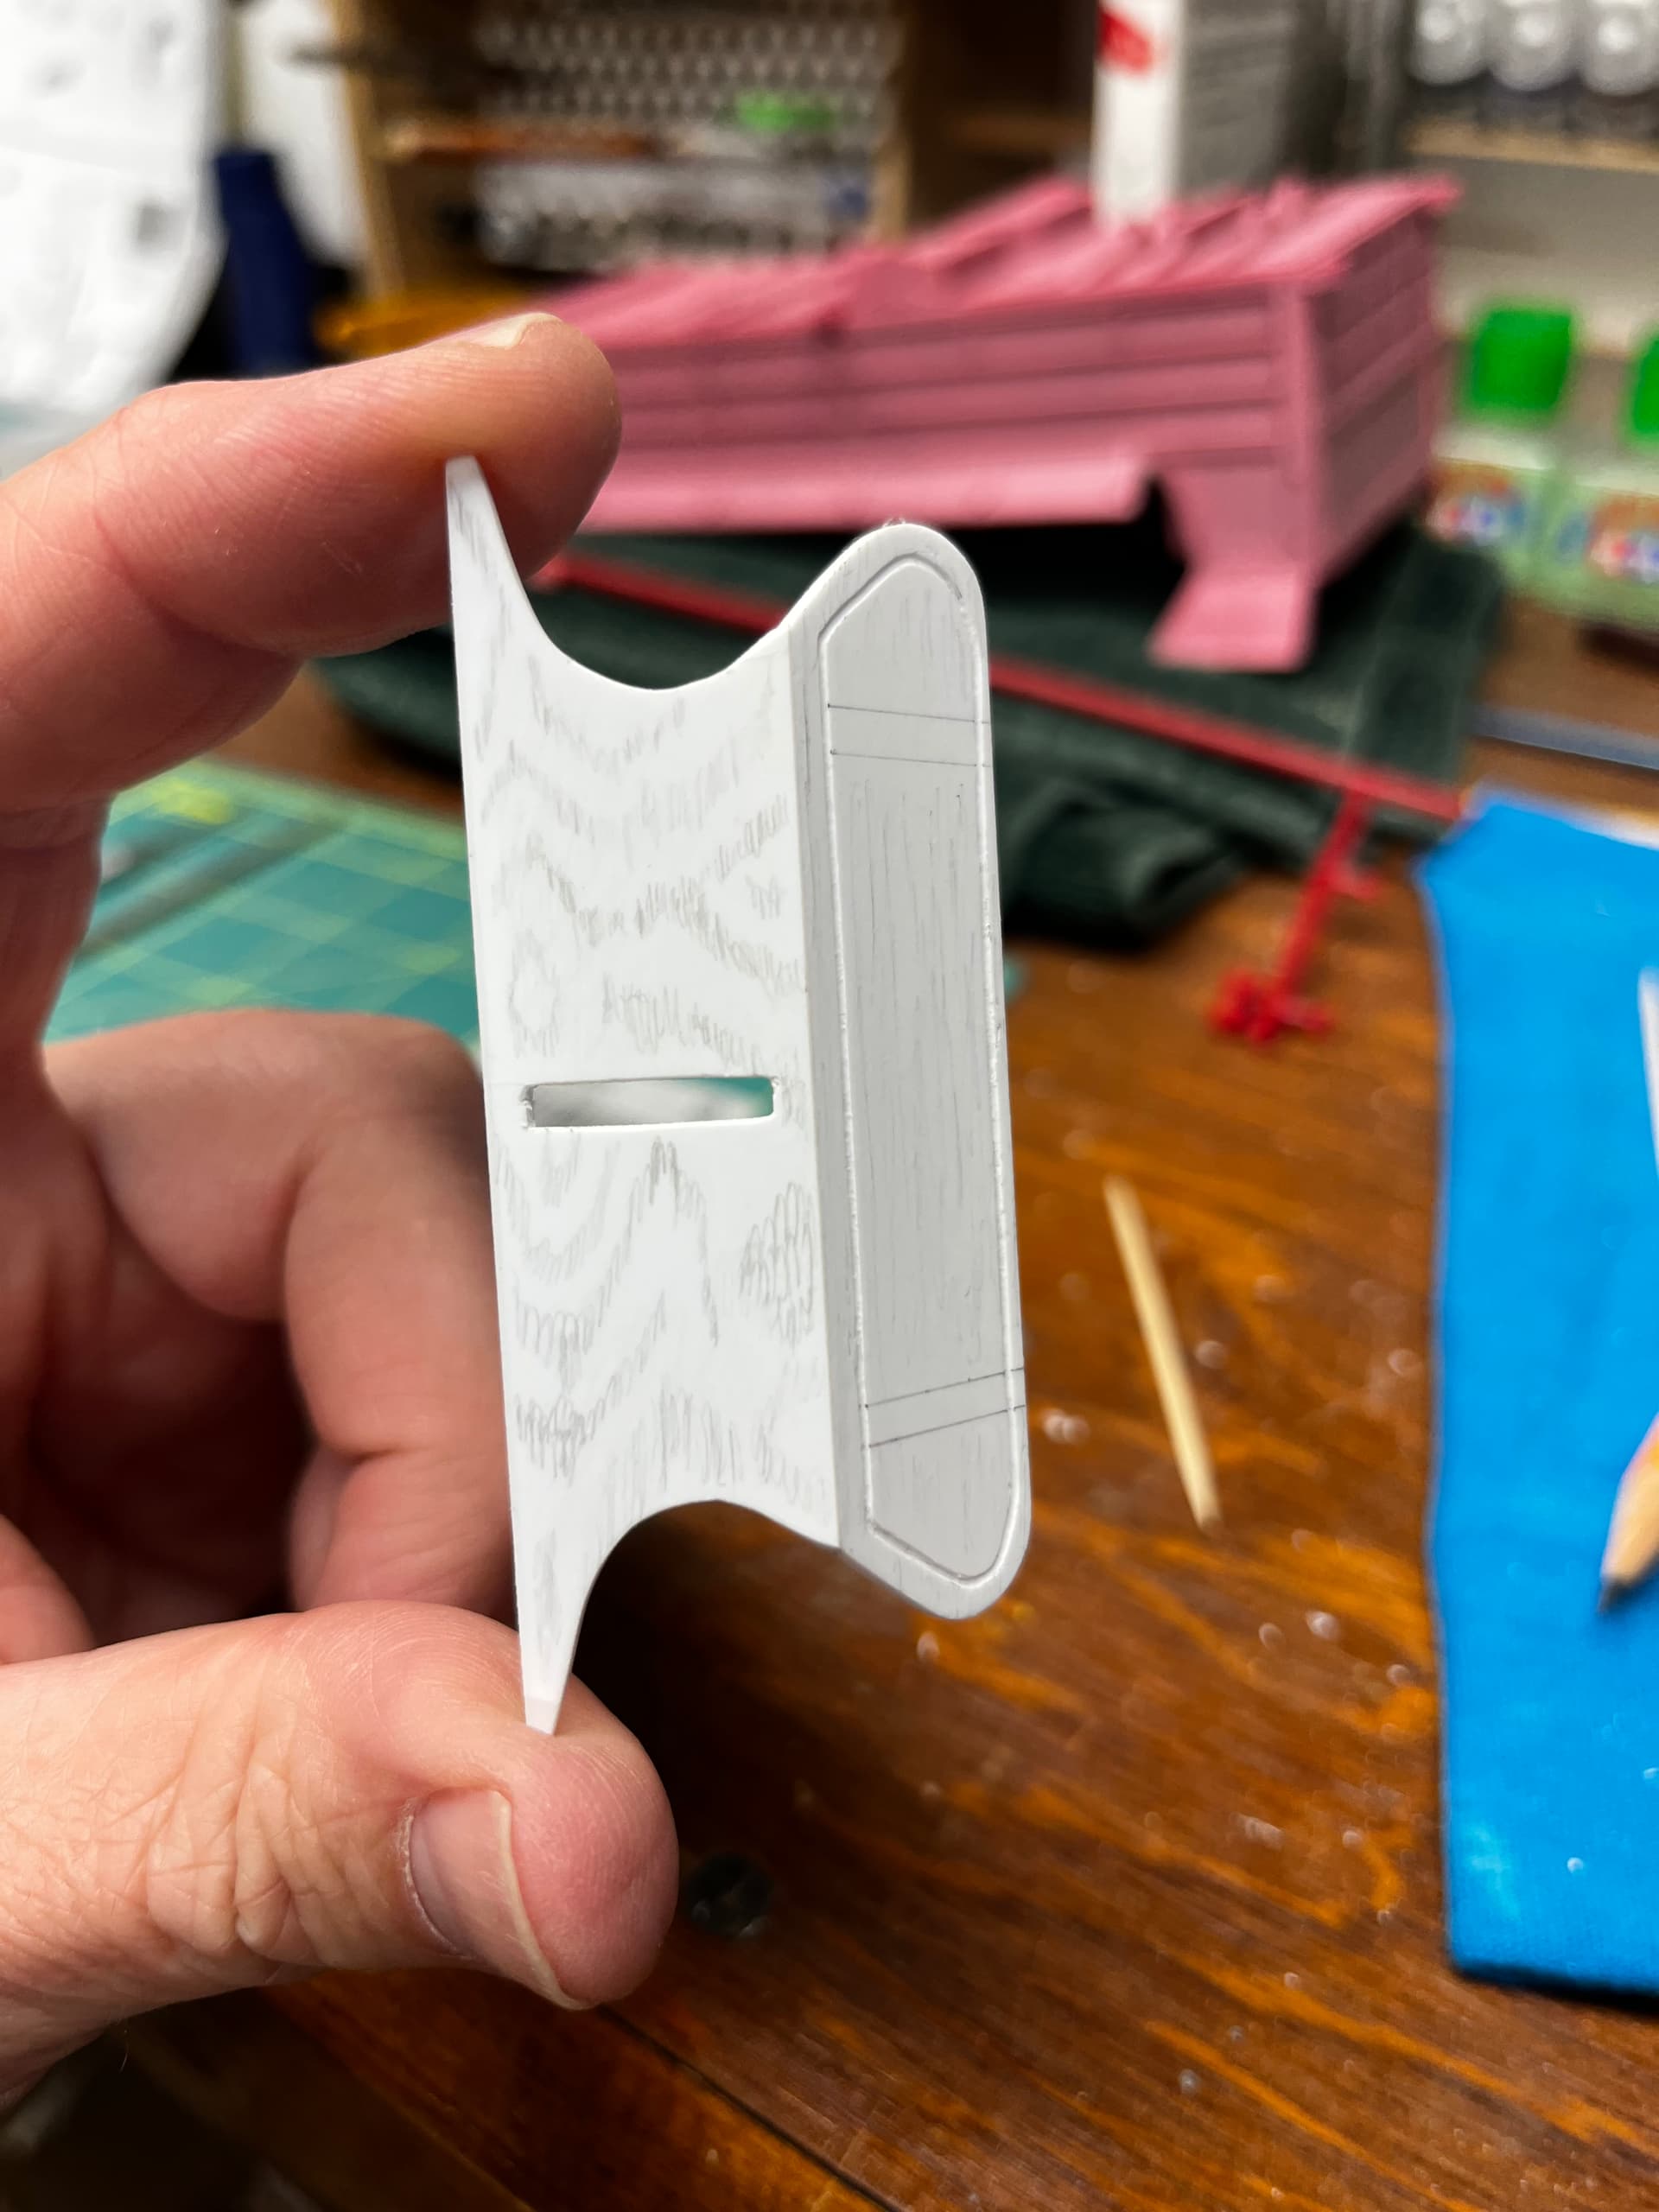
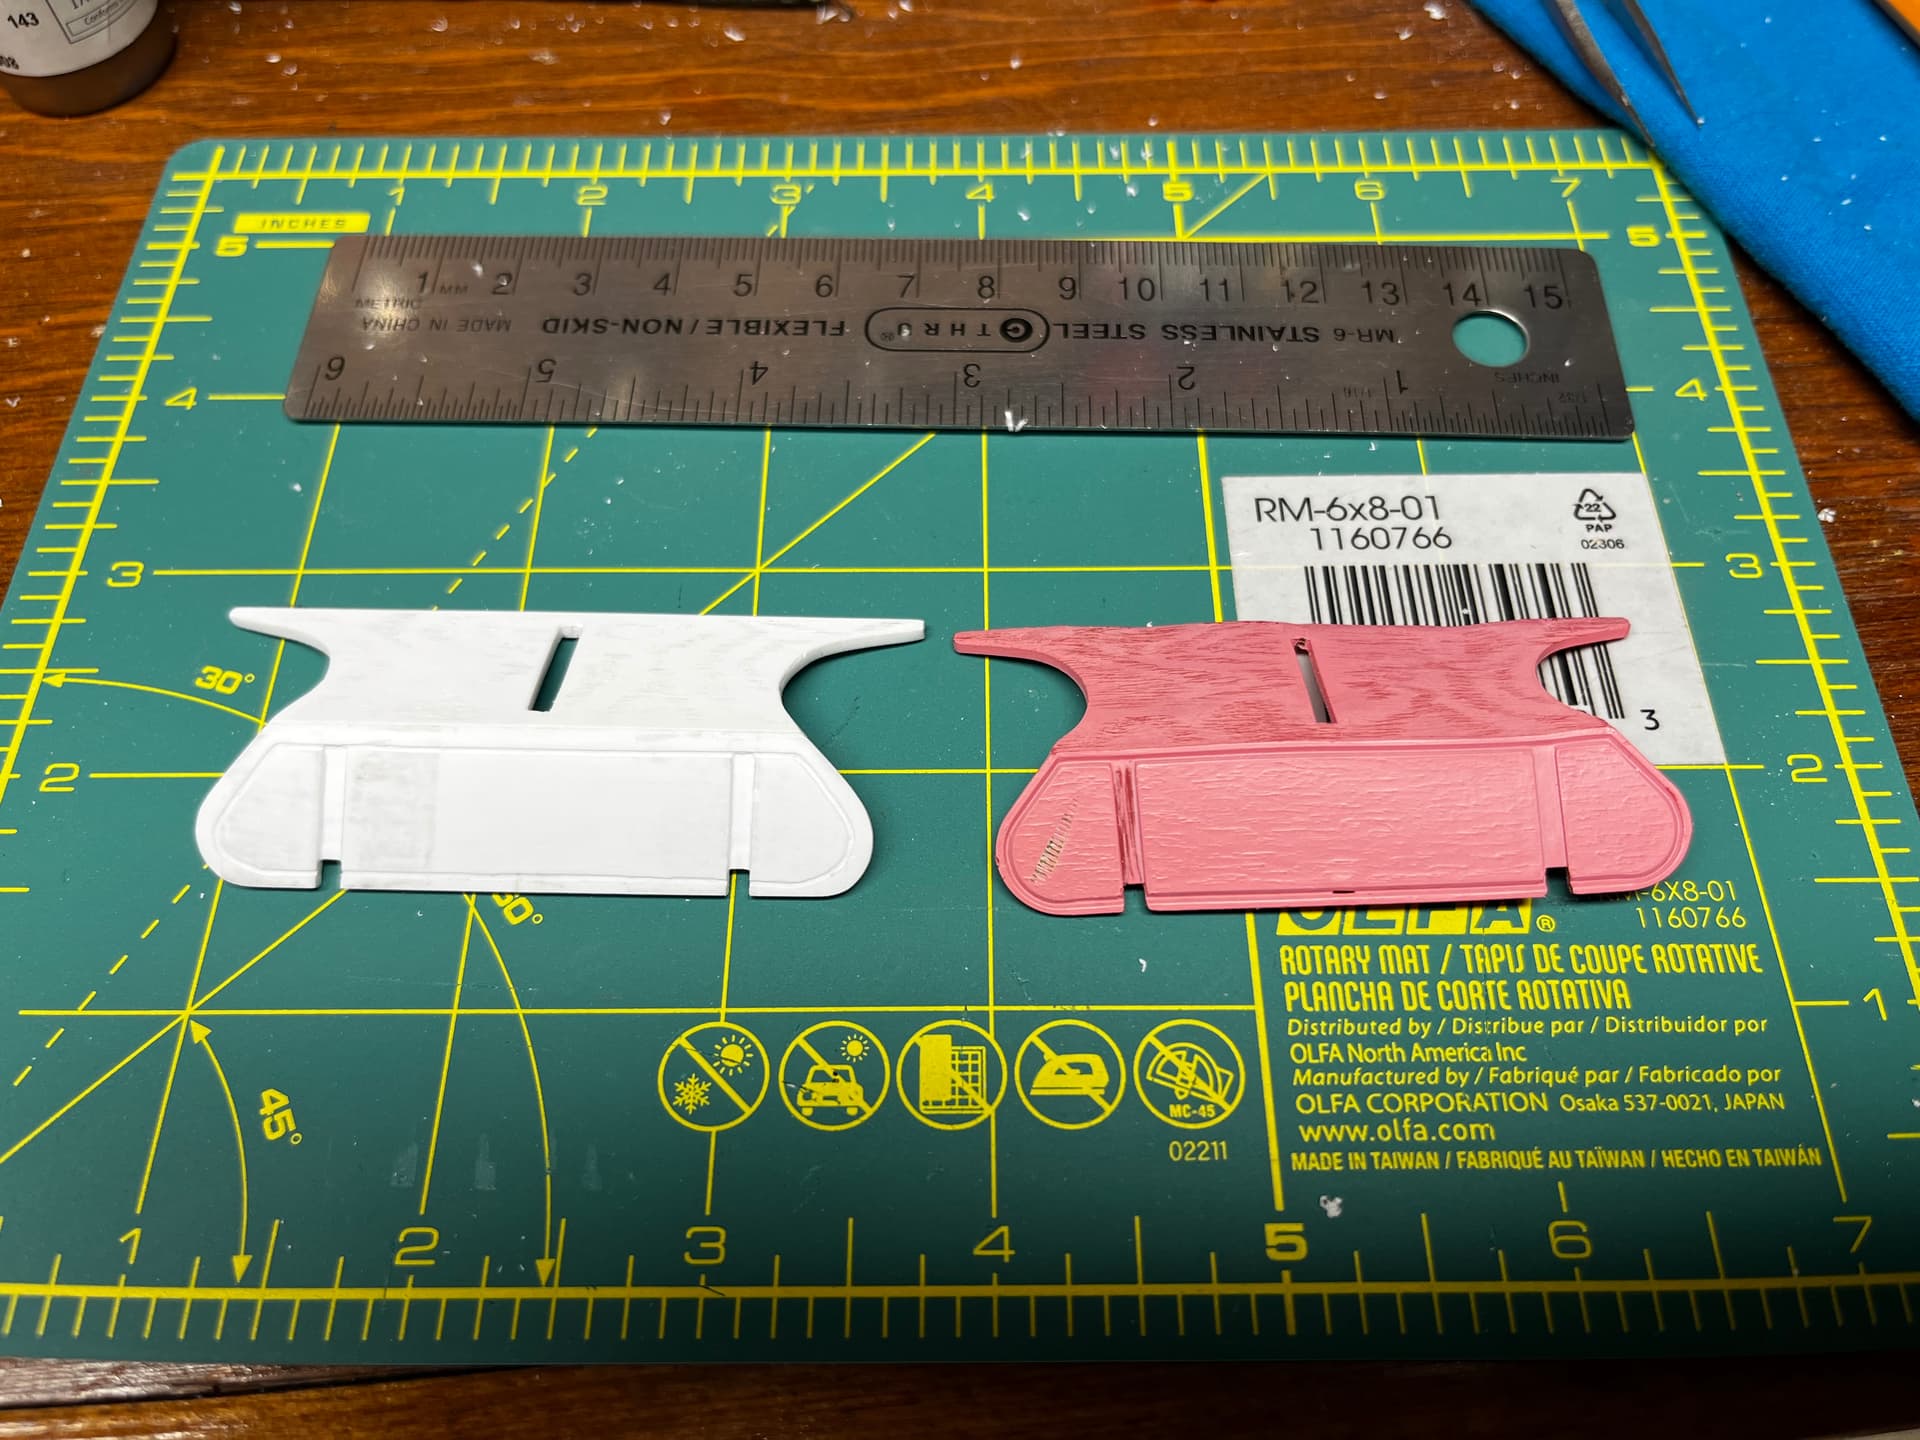
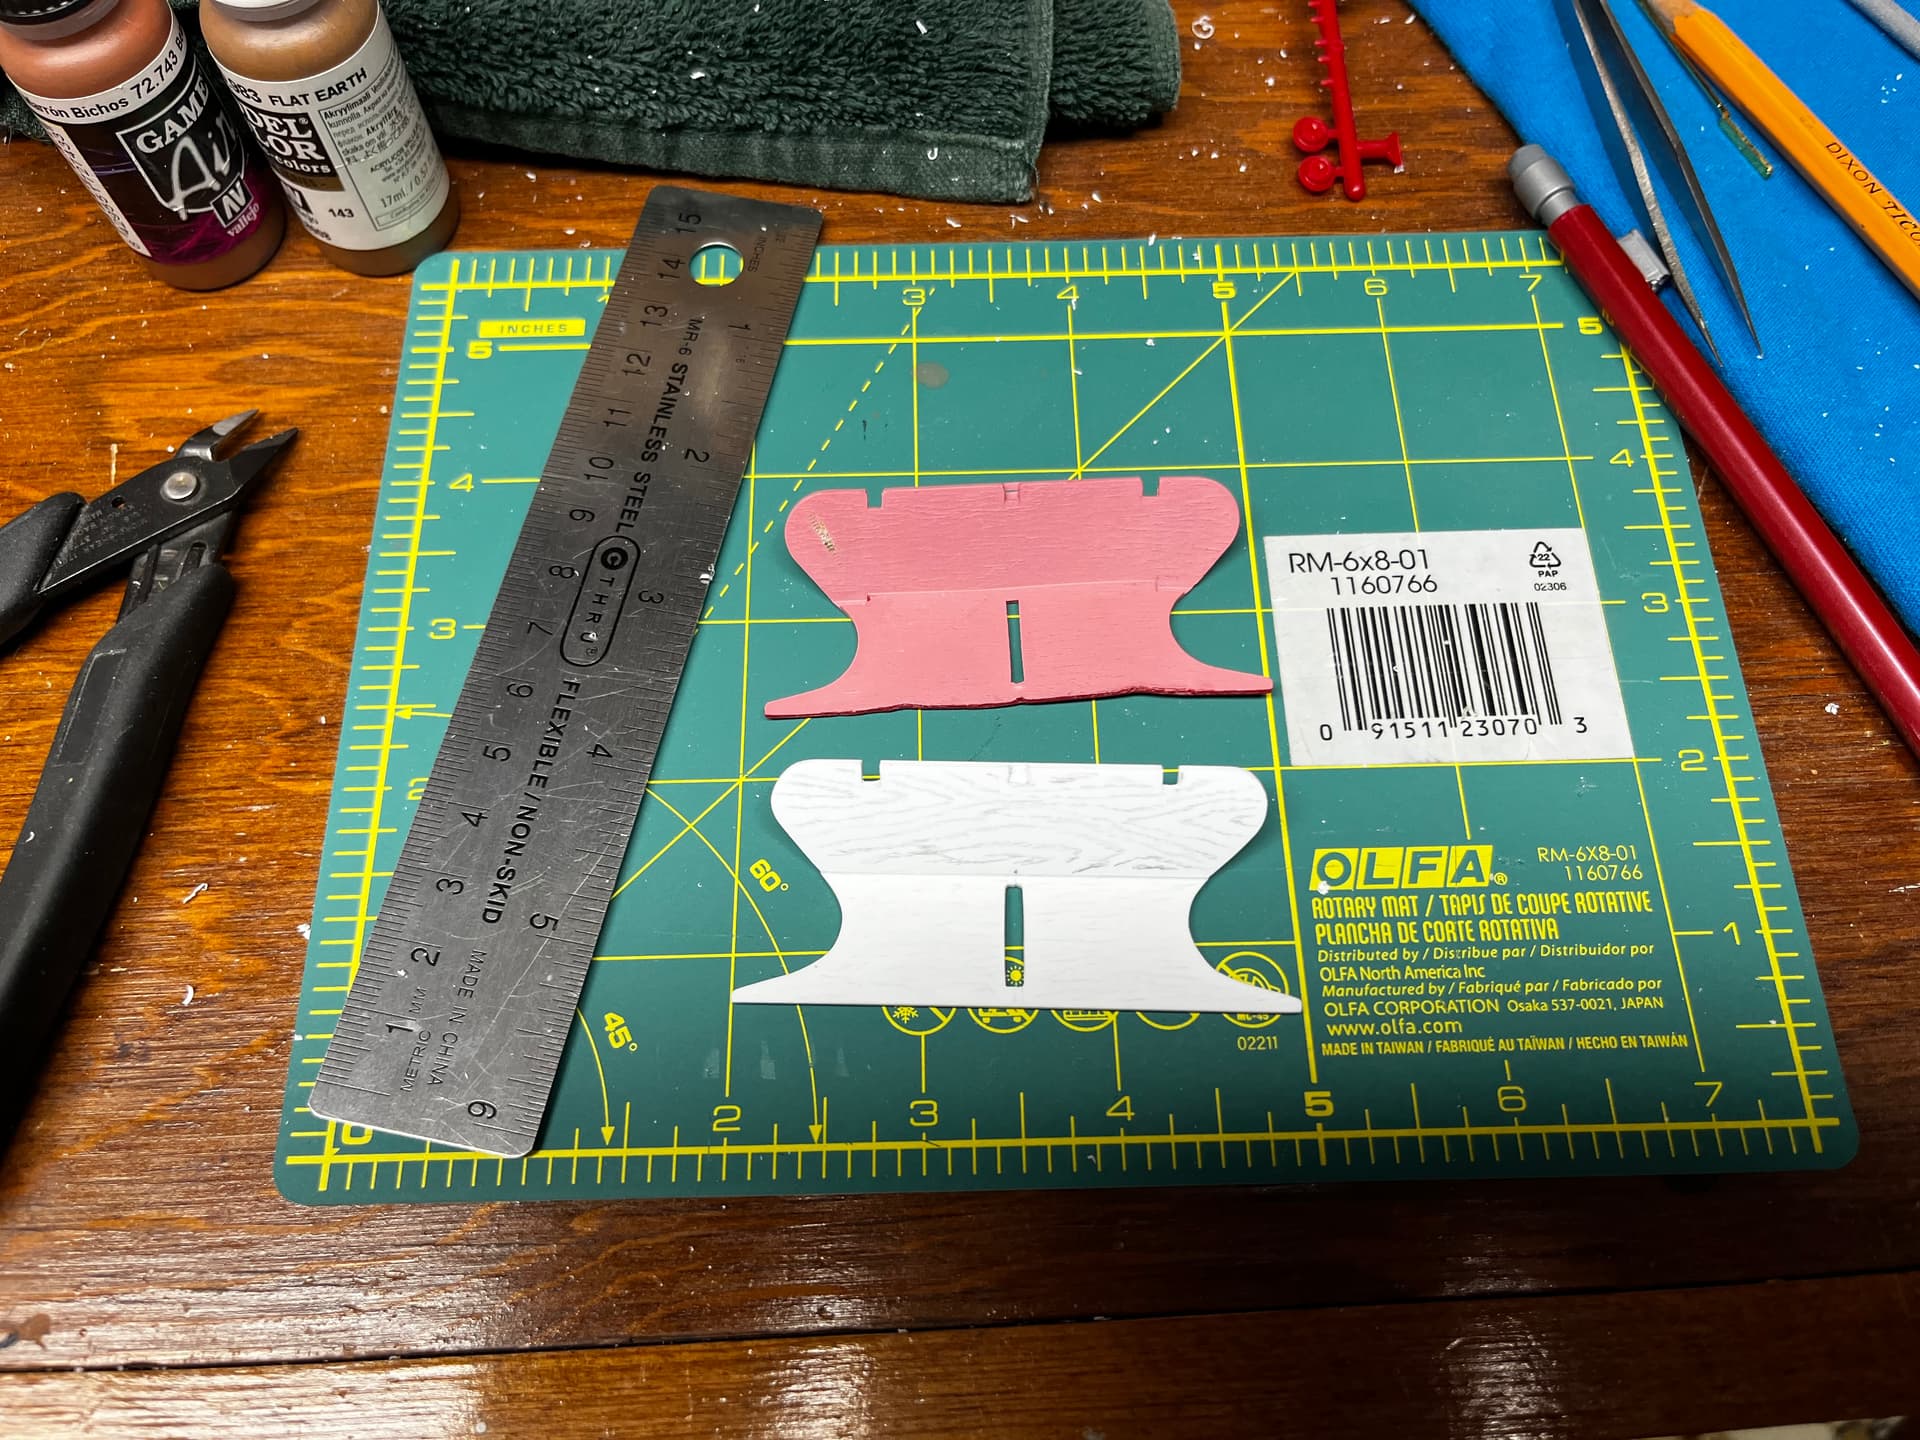
I traced the angle front portion and the base, separately, onto graph paper, cut out the templates, and then used them to cut out two parts from 1/16” styrene sheet. You can see the abused kit footboard, too.

Here’s the thing: The footboard is at a 45-degree angle to the base. Also, there are details like a groove around the front, space for brass fittings, and an opening for the hand brake. So, I marked where all these things would be.

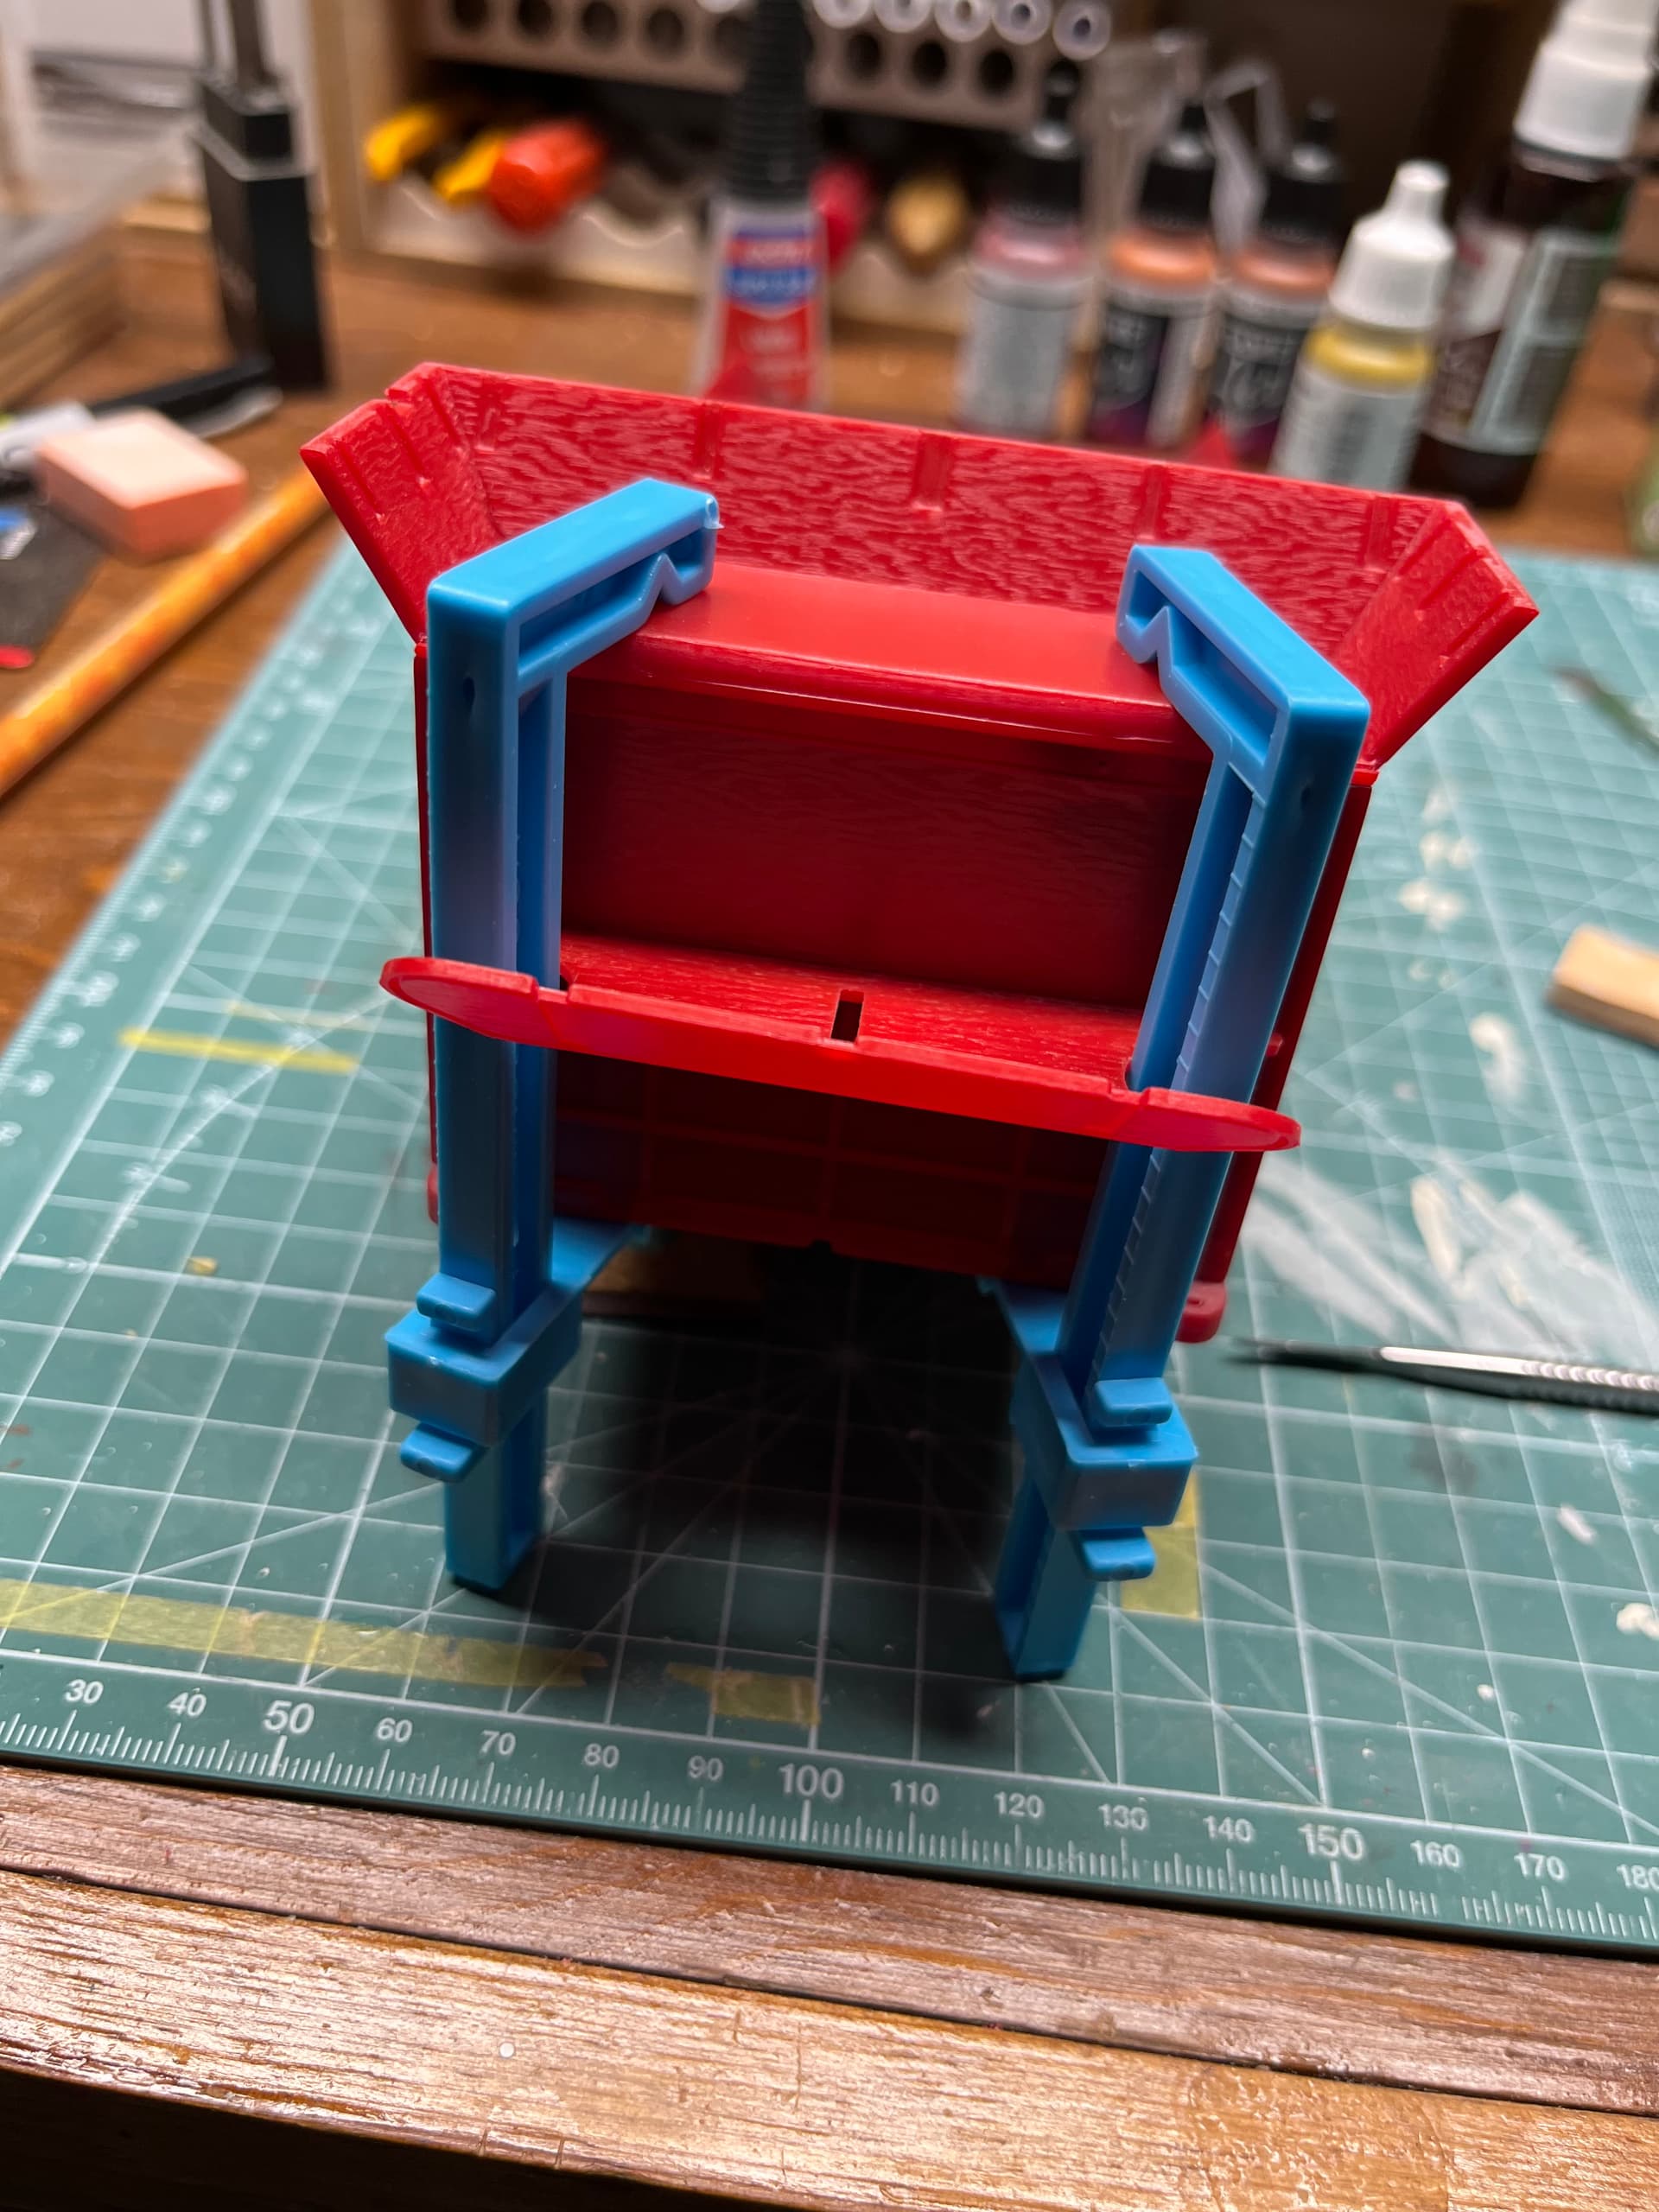
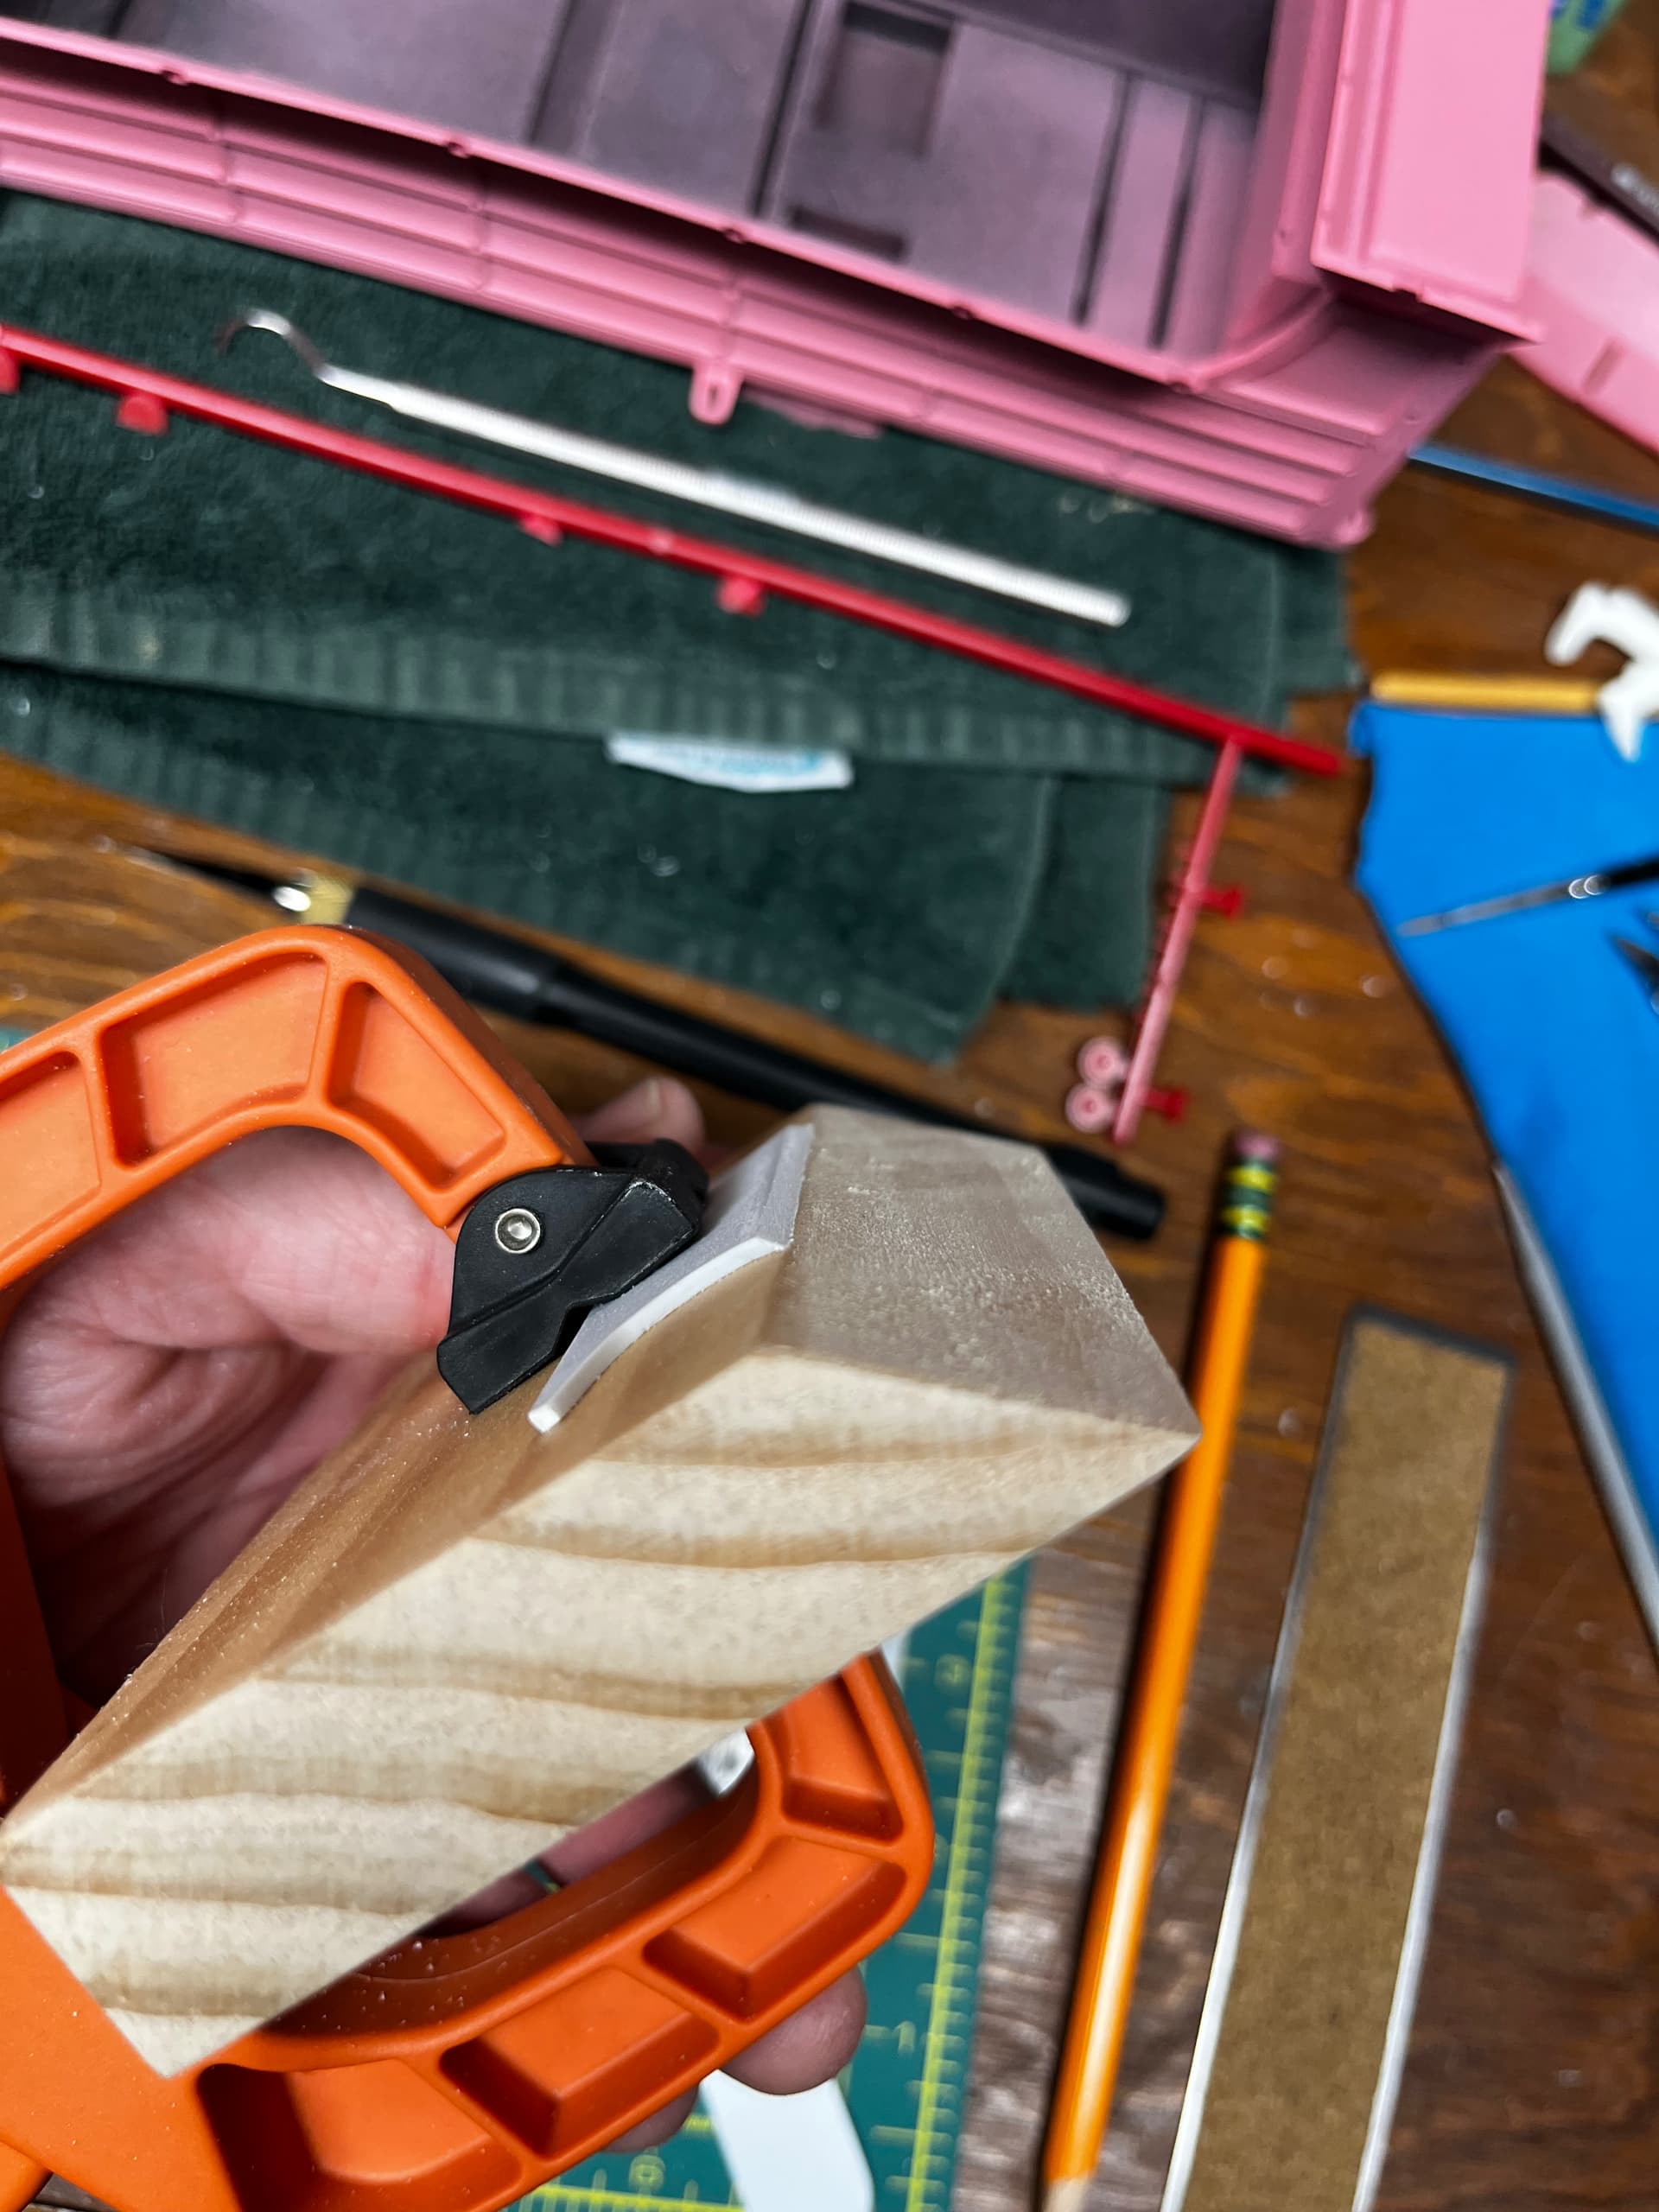
I clamped the footboard base to a scrap piece of maple with its edge beveled at a 45-degree angle and then sanded it to match with a coarse sanding block.

3 Likes

Quite the journey, Tim! Considering the trouble with your hand, it really is a sign of perserverance. Glad you documented the steps over the years.

Gary

1 Like

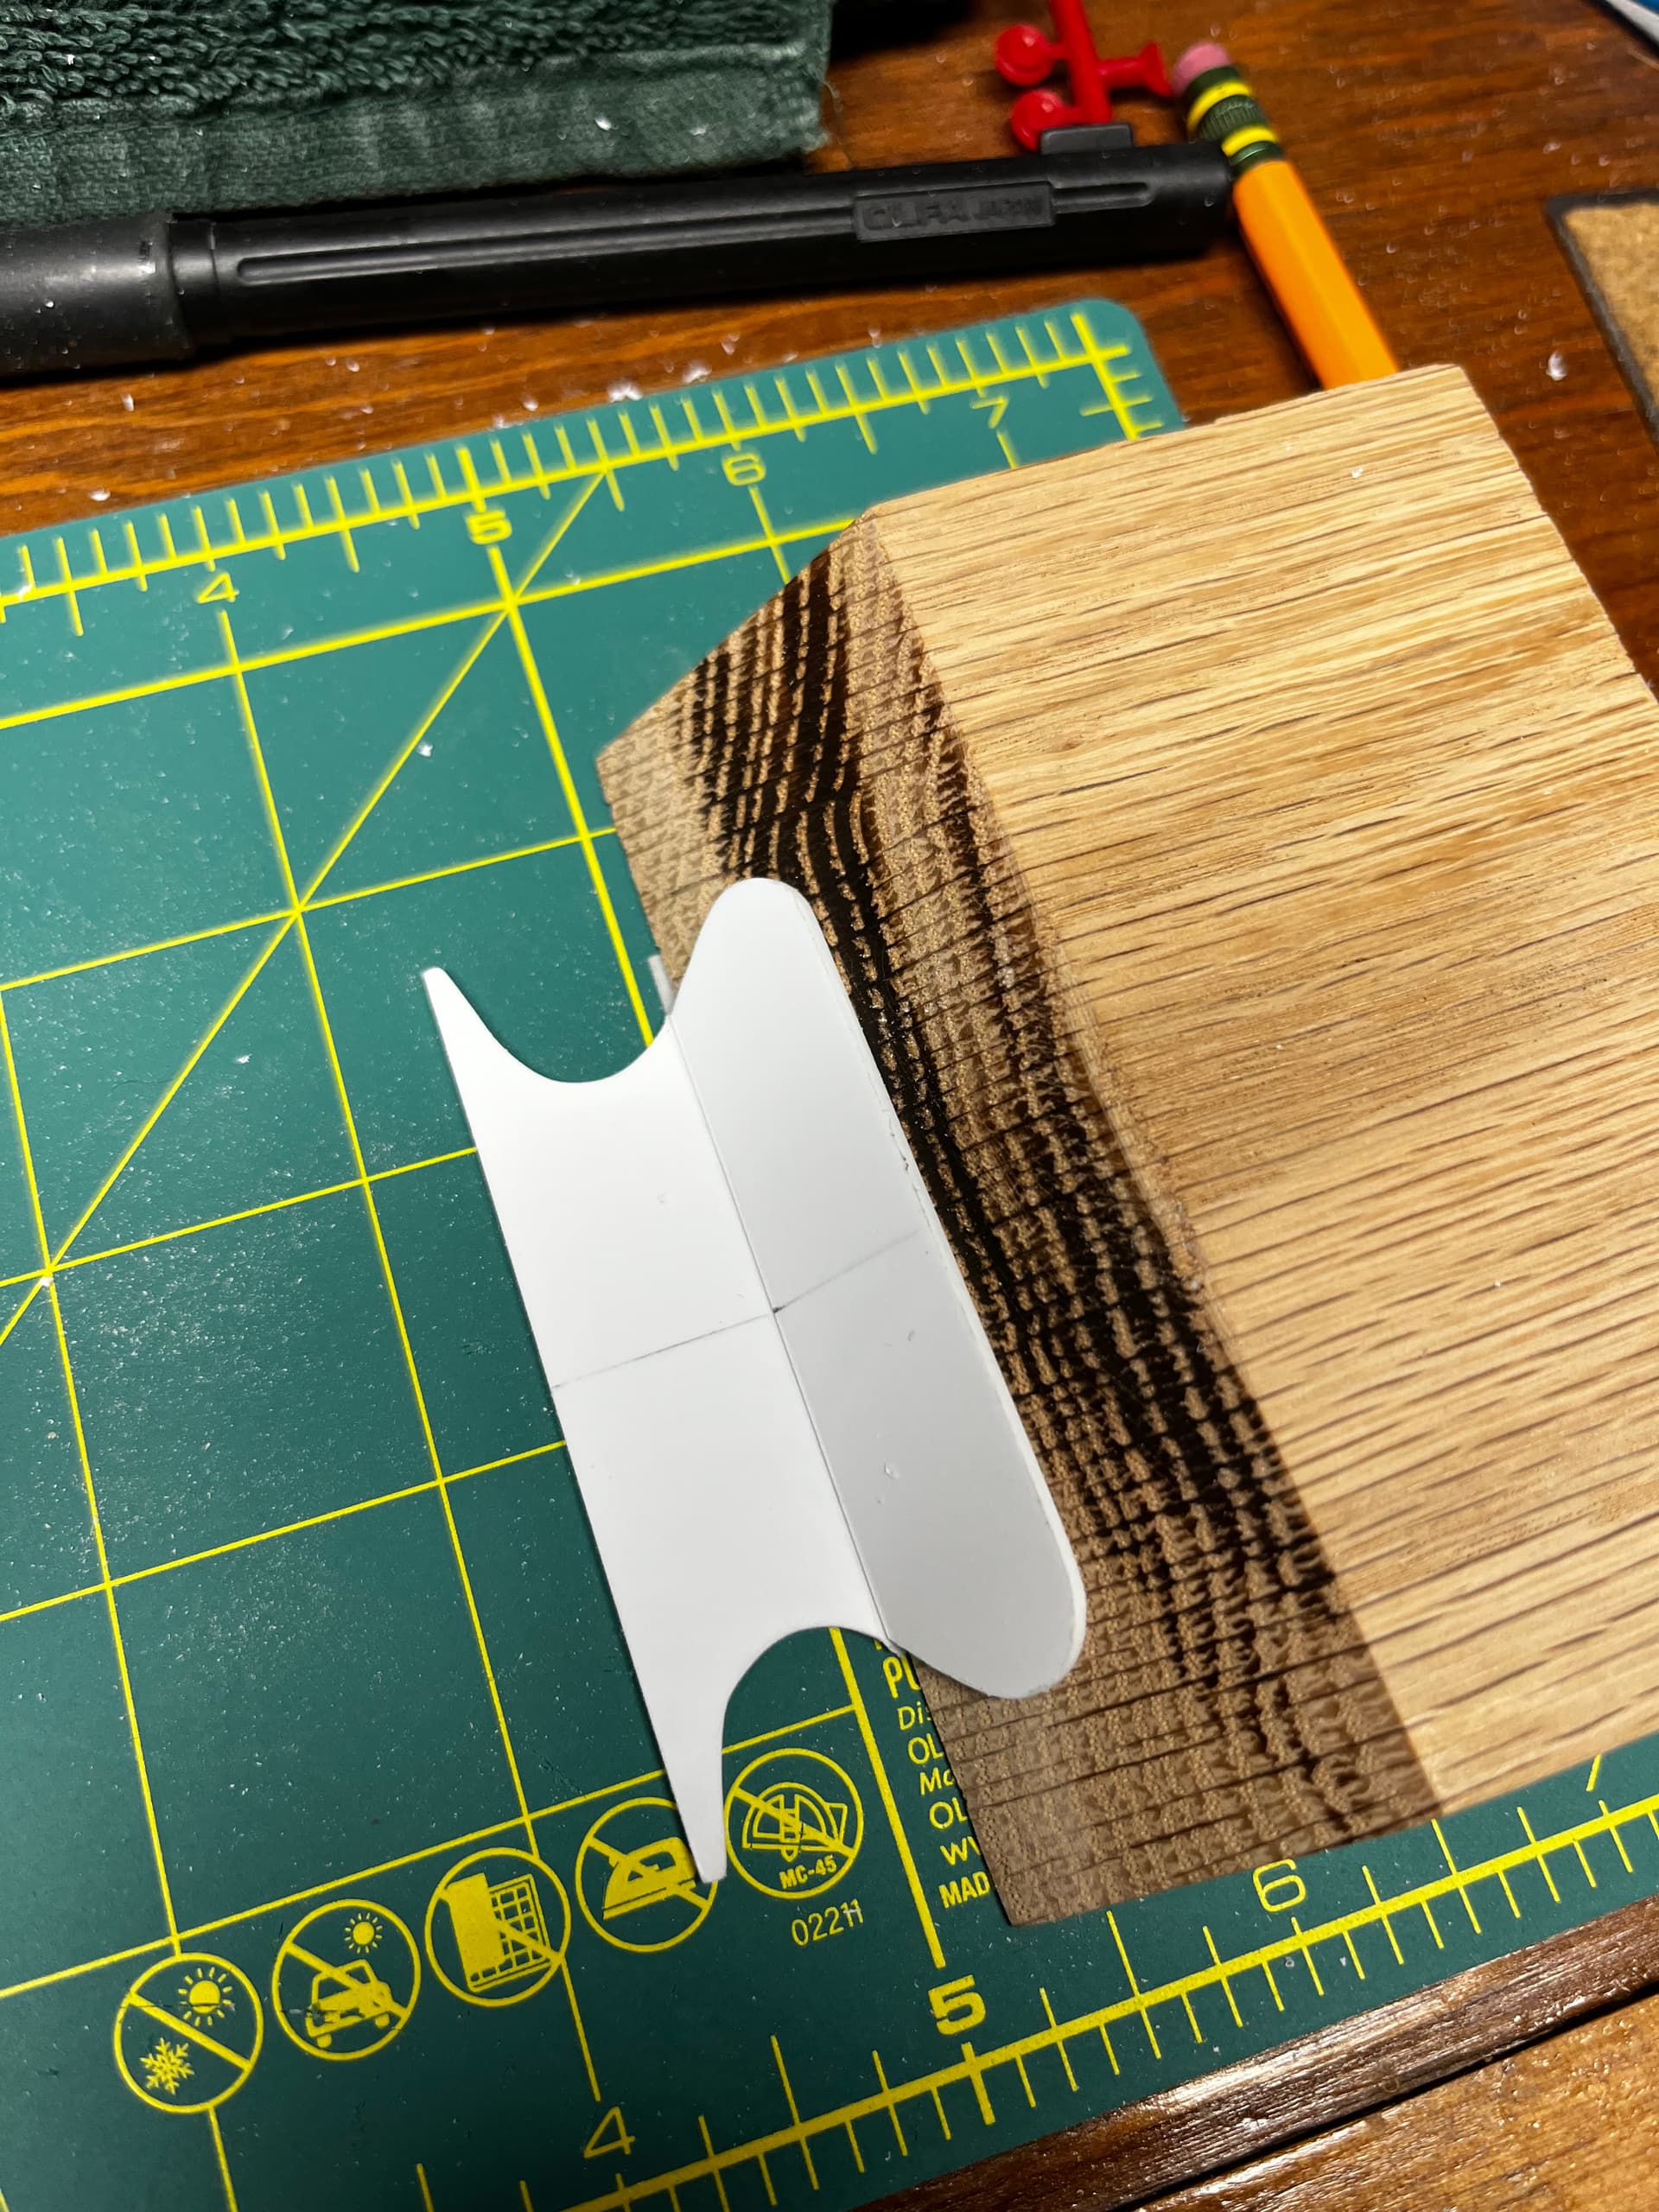
I squared off the sharp edge on the new base and then placed it against the bottom of a scrap
piece of oak crosscut to a 45-degree angle. The footboard was located and Tamiya thin cement applied.

Not a bad result, given the compound curves. I cut the decorative groove with repeated applications of a carbide tipped scriber. It’s not perfect, but it was close enough. I drilled the four corners of the opening for the hand brake and then dragged the tip of an old No. 11 blade backward against a straight edge along the lines. Then I filed the inside edges clean.

I sketched the woodgrain on the new part in pencil, and marked where the locators for the brass fittings needed cutting. Those were knocked out with a combination of micro chisels and razor saws. The woodgrain texture was achieved with the scriber.

Not bad, if I say so myself. But the test was did the brass fitting fit correctly. The only way to know was by gluing the footboard to the wagon and test-fitting the brass.

I cannot adequately express to you the relief I felt seeing that brass part sit prettily exactly how it was supposed to. No adjustments needed.

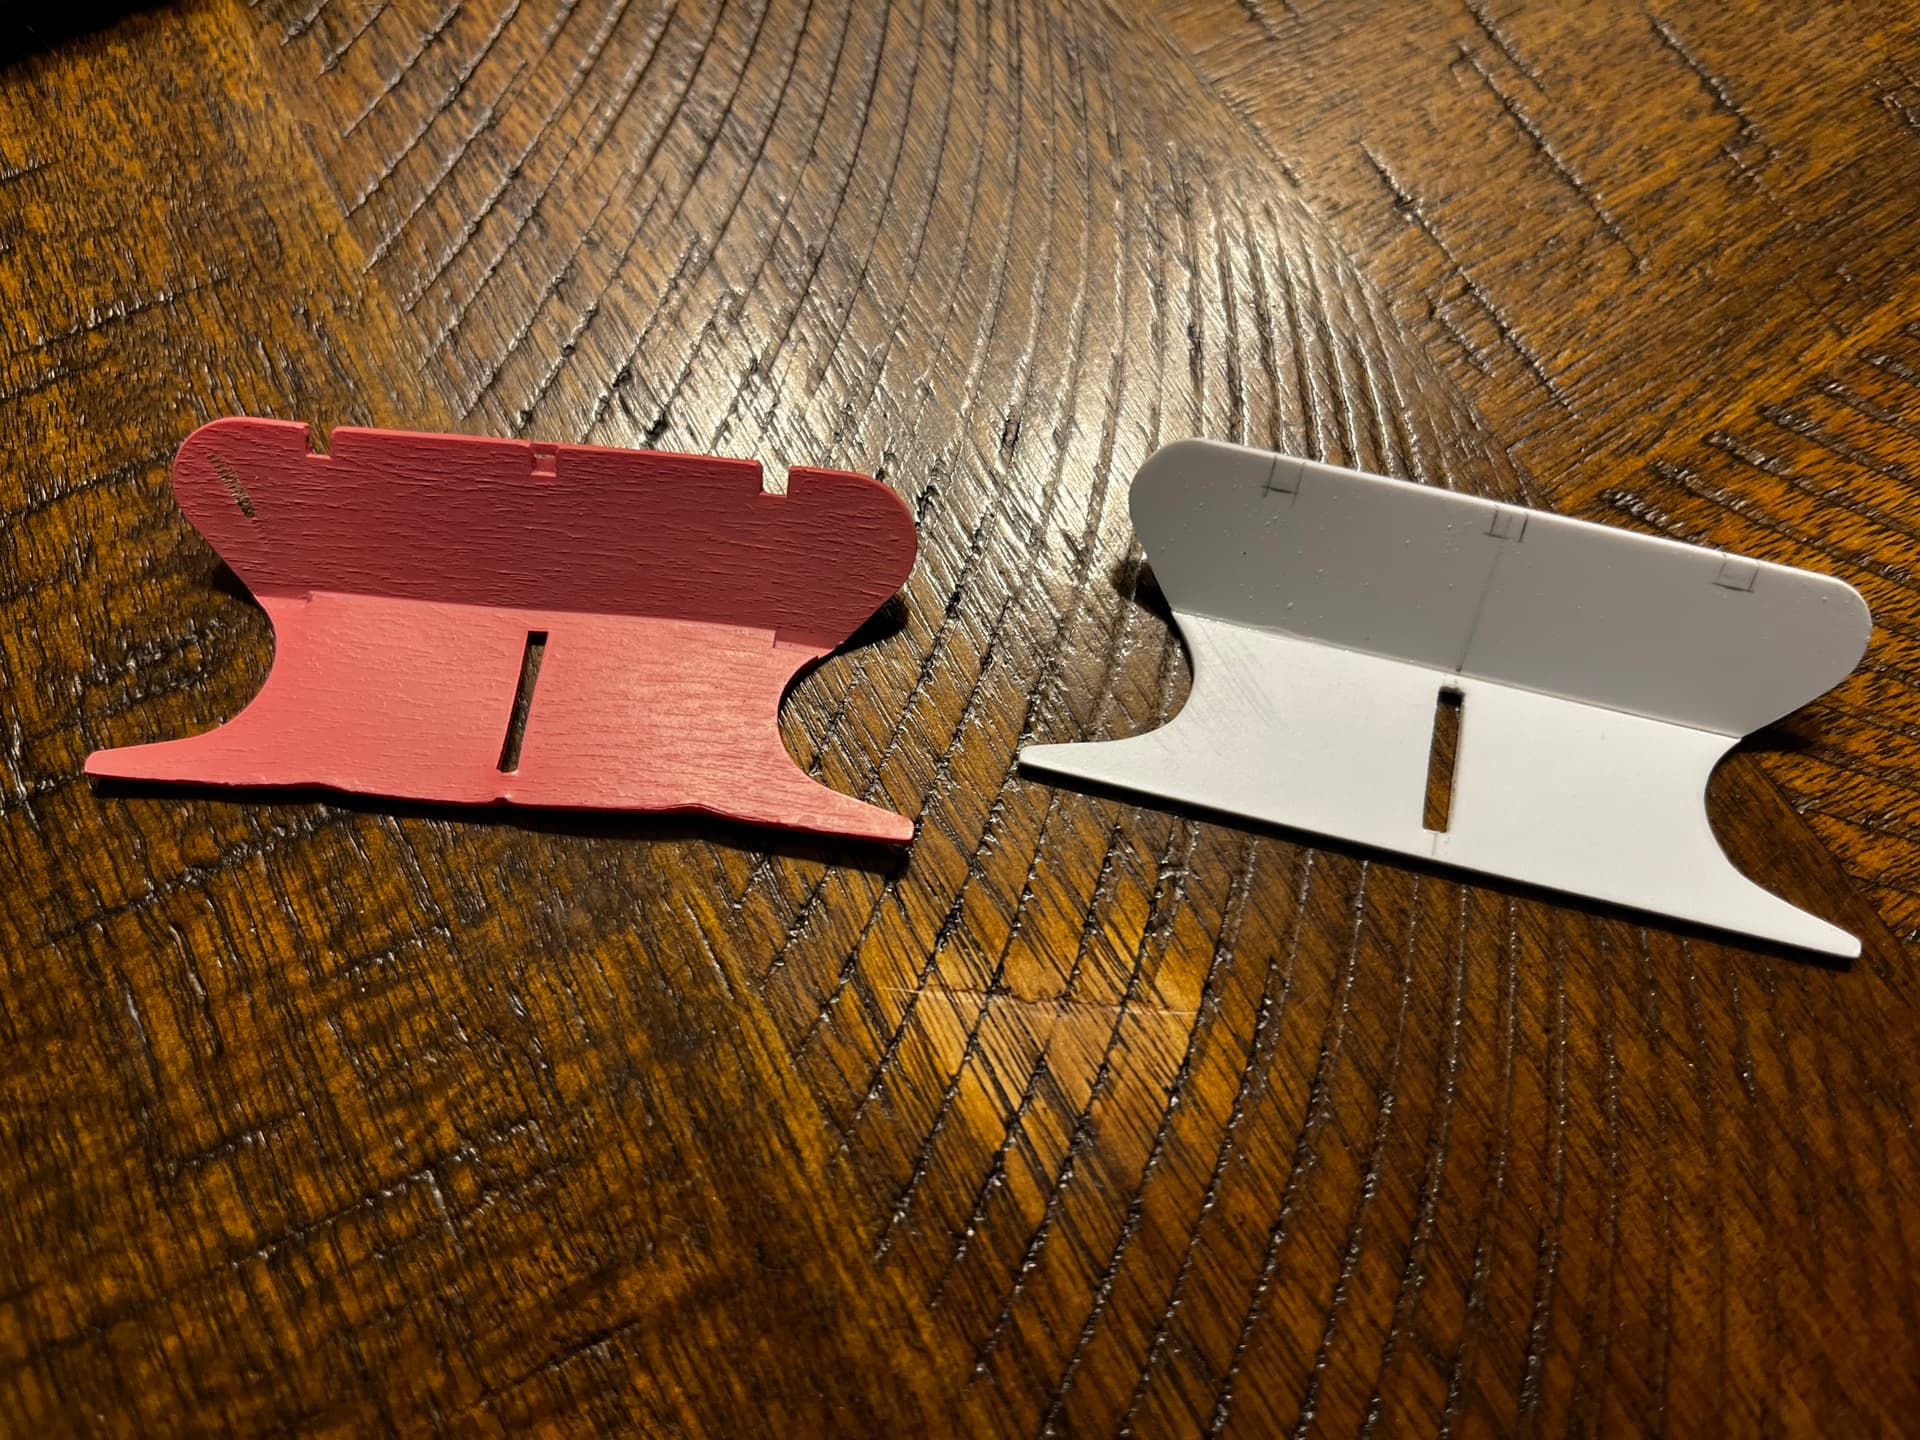
New part on, warp gone, I primed it pink and if I hadn’t told you about it and you saw it, I don’t think you’d know it was a replacement. Needless to say, this little bit felt good to accomplish.

My hand surgeries were scheduled, but I’d have to wait until June and July for them. I still wasn’t feeling up for returning to the horses, but there had to be something else. How about those vinyl parts?

1 Like

This is such a simple yet amazing solution to one of my problems when doing a bunch of identical cuts or fitting pieces. I do stuff like this when working with wood, but never thought to apply it to plastic.

The scratched foot board looks great, the kit one is too perfect. The new one gives more of a feeling of a real wood piece, shaped by hand. Nice work.

1 Like