Thanks, Frozin. It’s those sorts of comments that every person who has ever worked at FSM lives for. That we may have helped a fellow modeler with a technique or example embodies what the title is about.
And thank you for the compliment on the footboard. I’m remarkably proud of how it turned out.
Yeah, the vinyl parts. But first, two hand surgeries. By July 21, I was able to get back to the bench. My fingers were stiff, but they opened and closed without locking and without pain other than healing. Good to go!
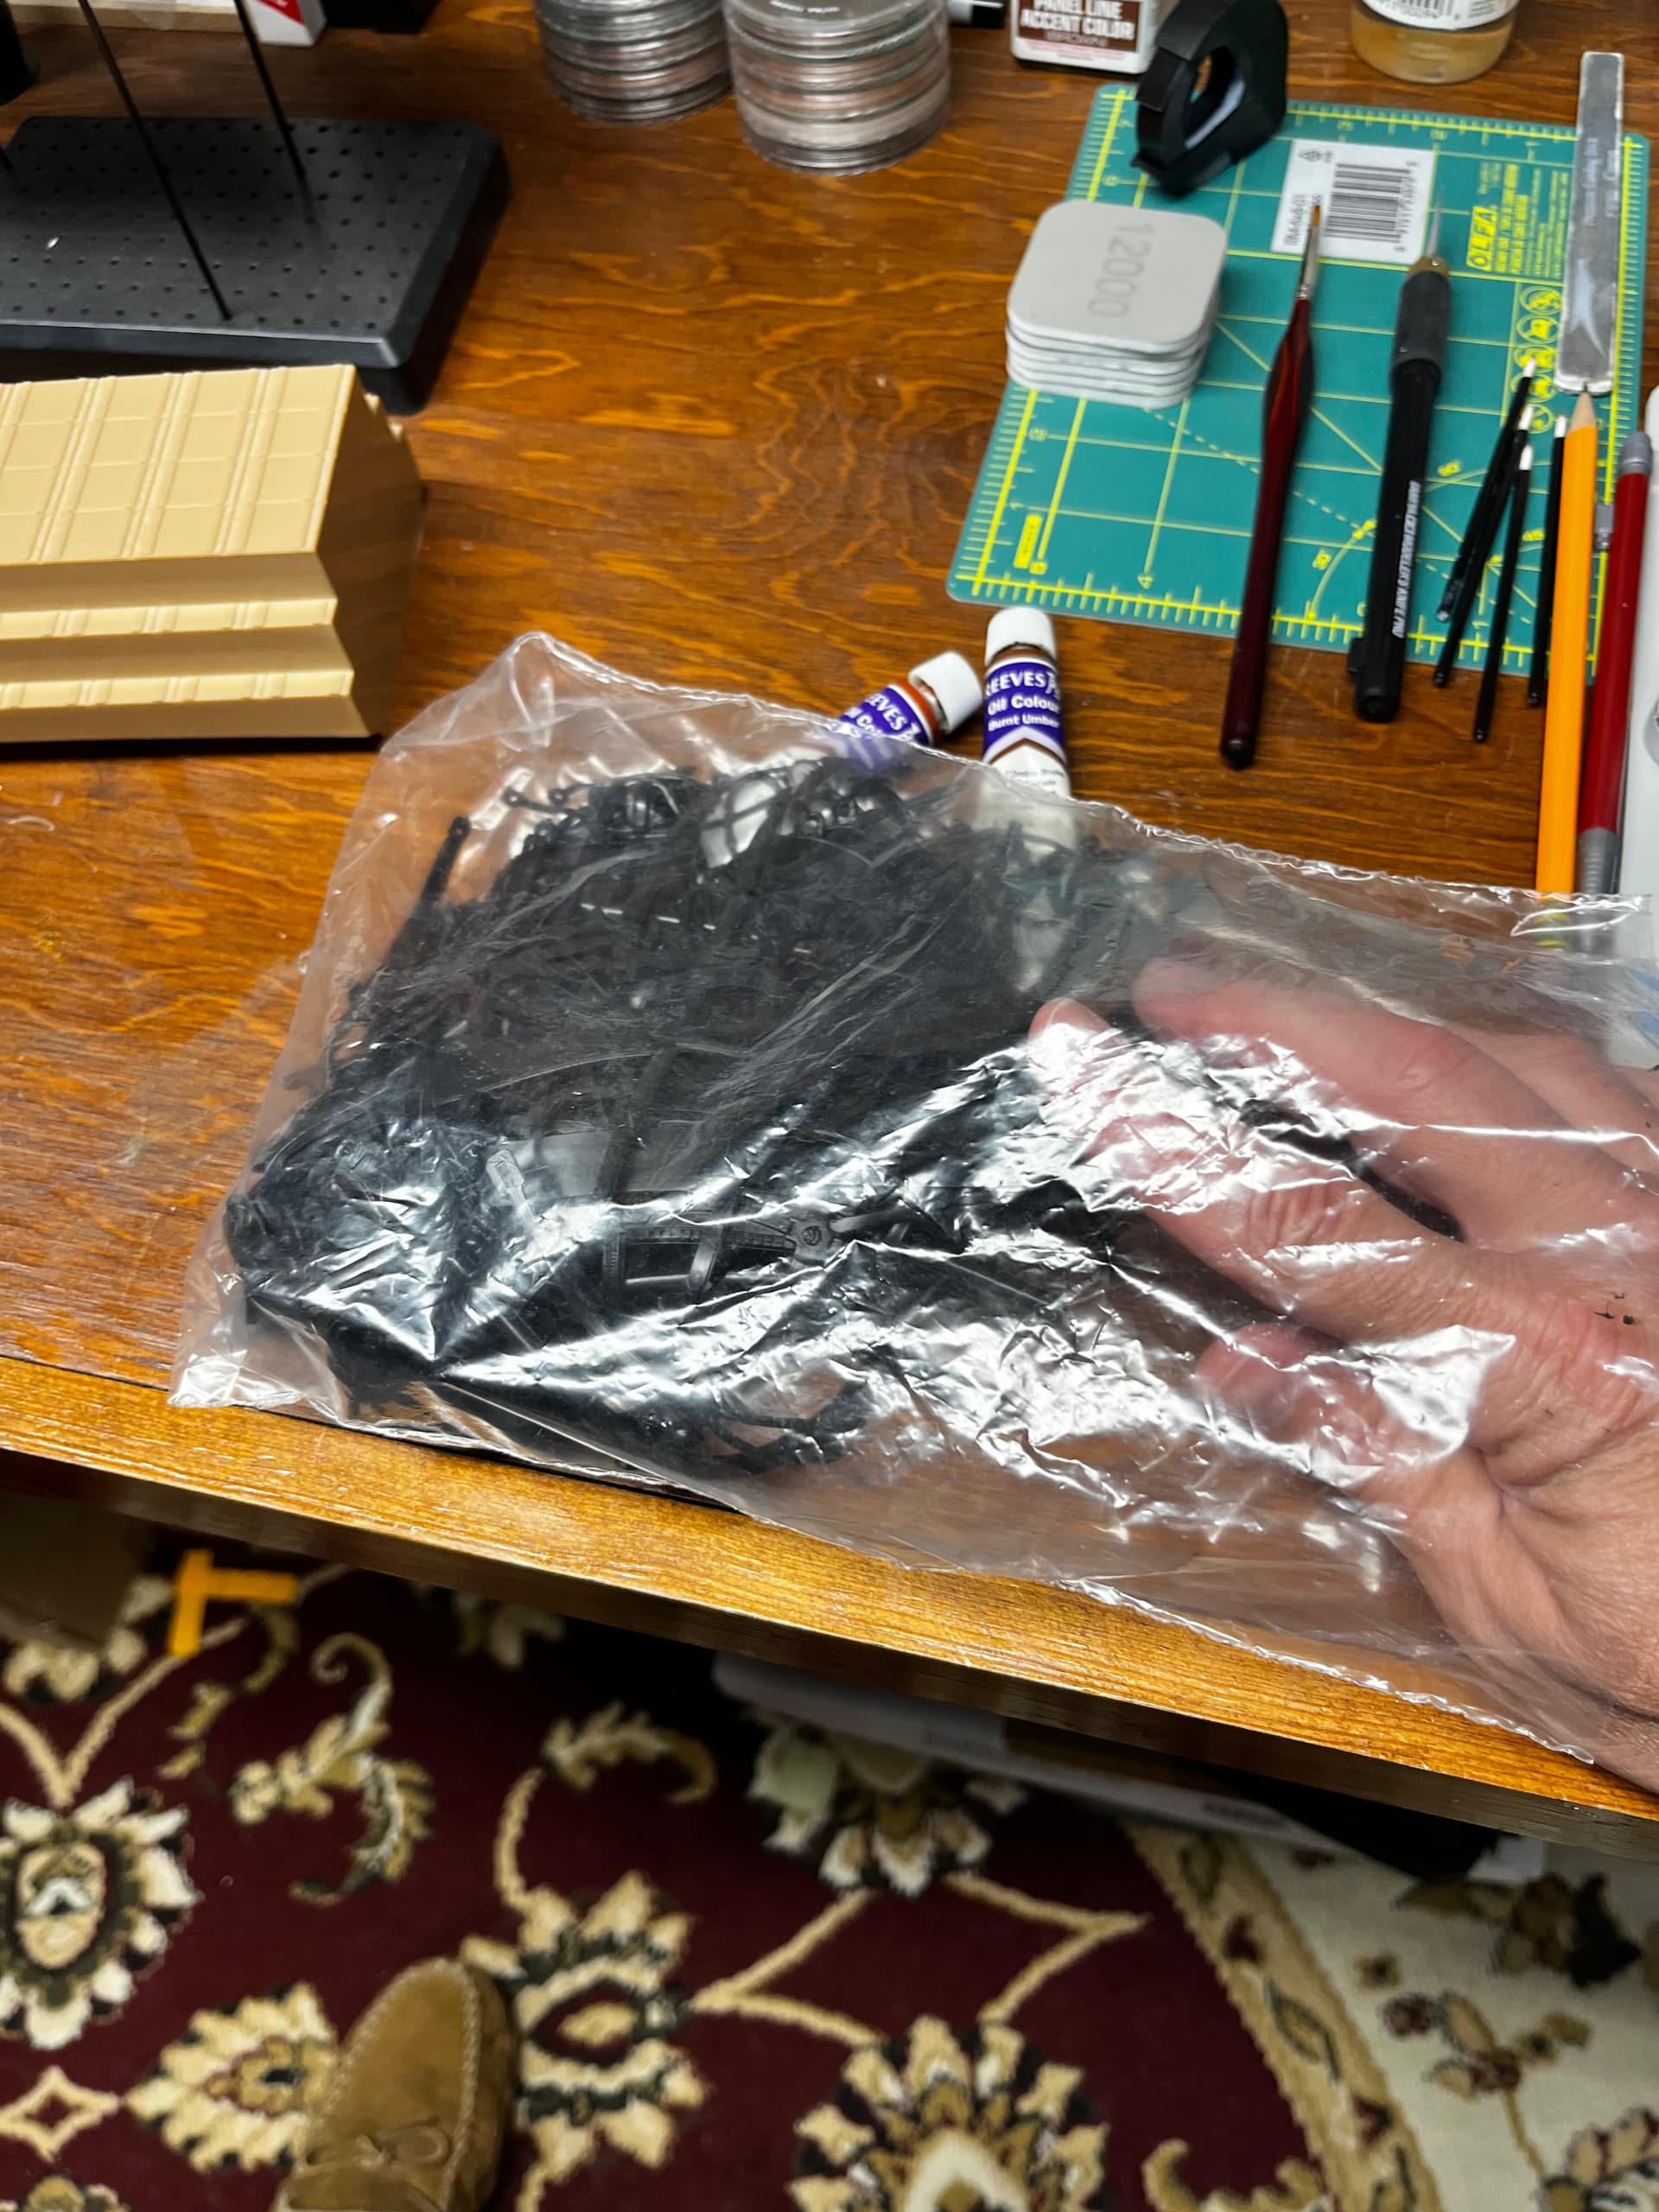
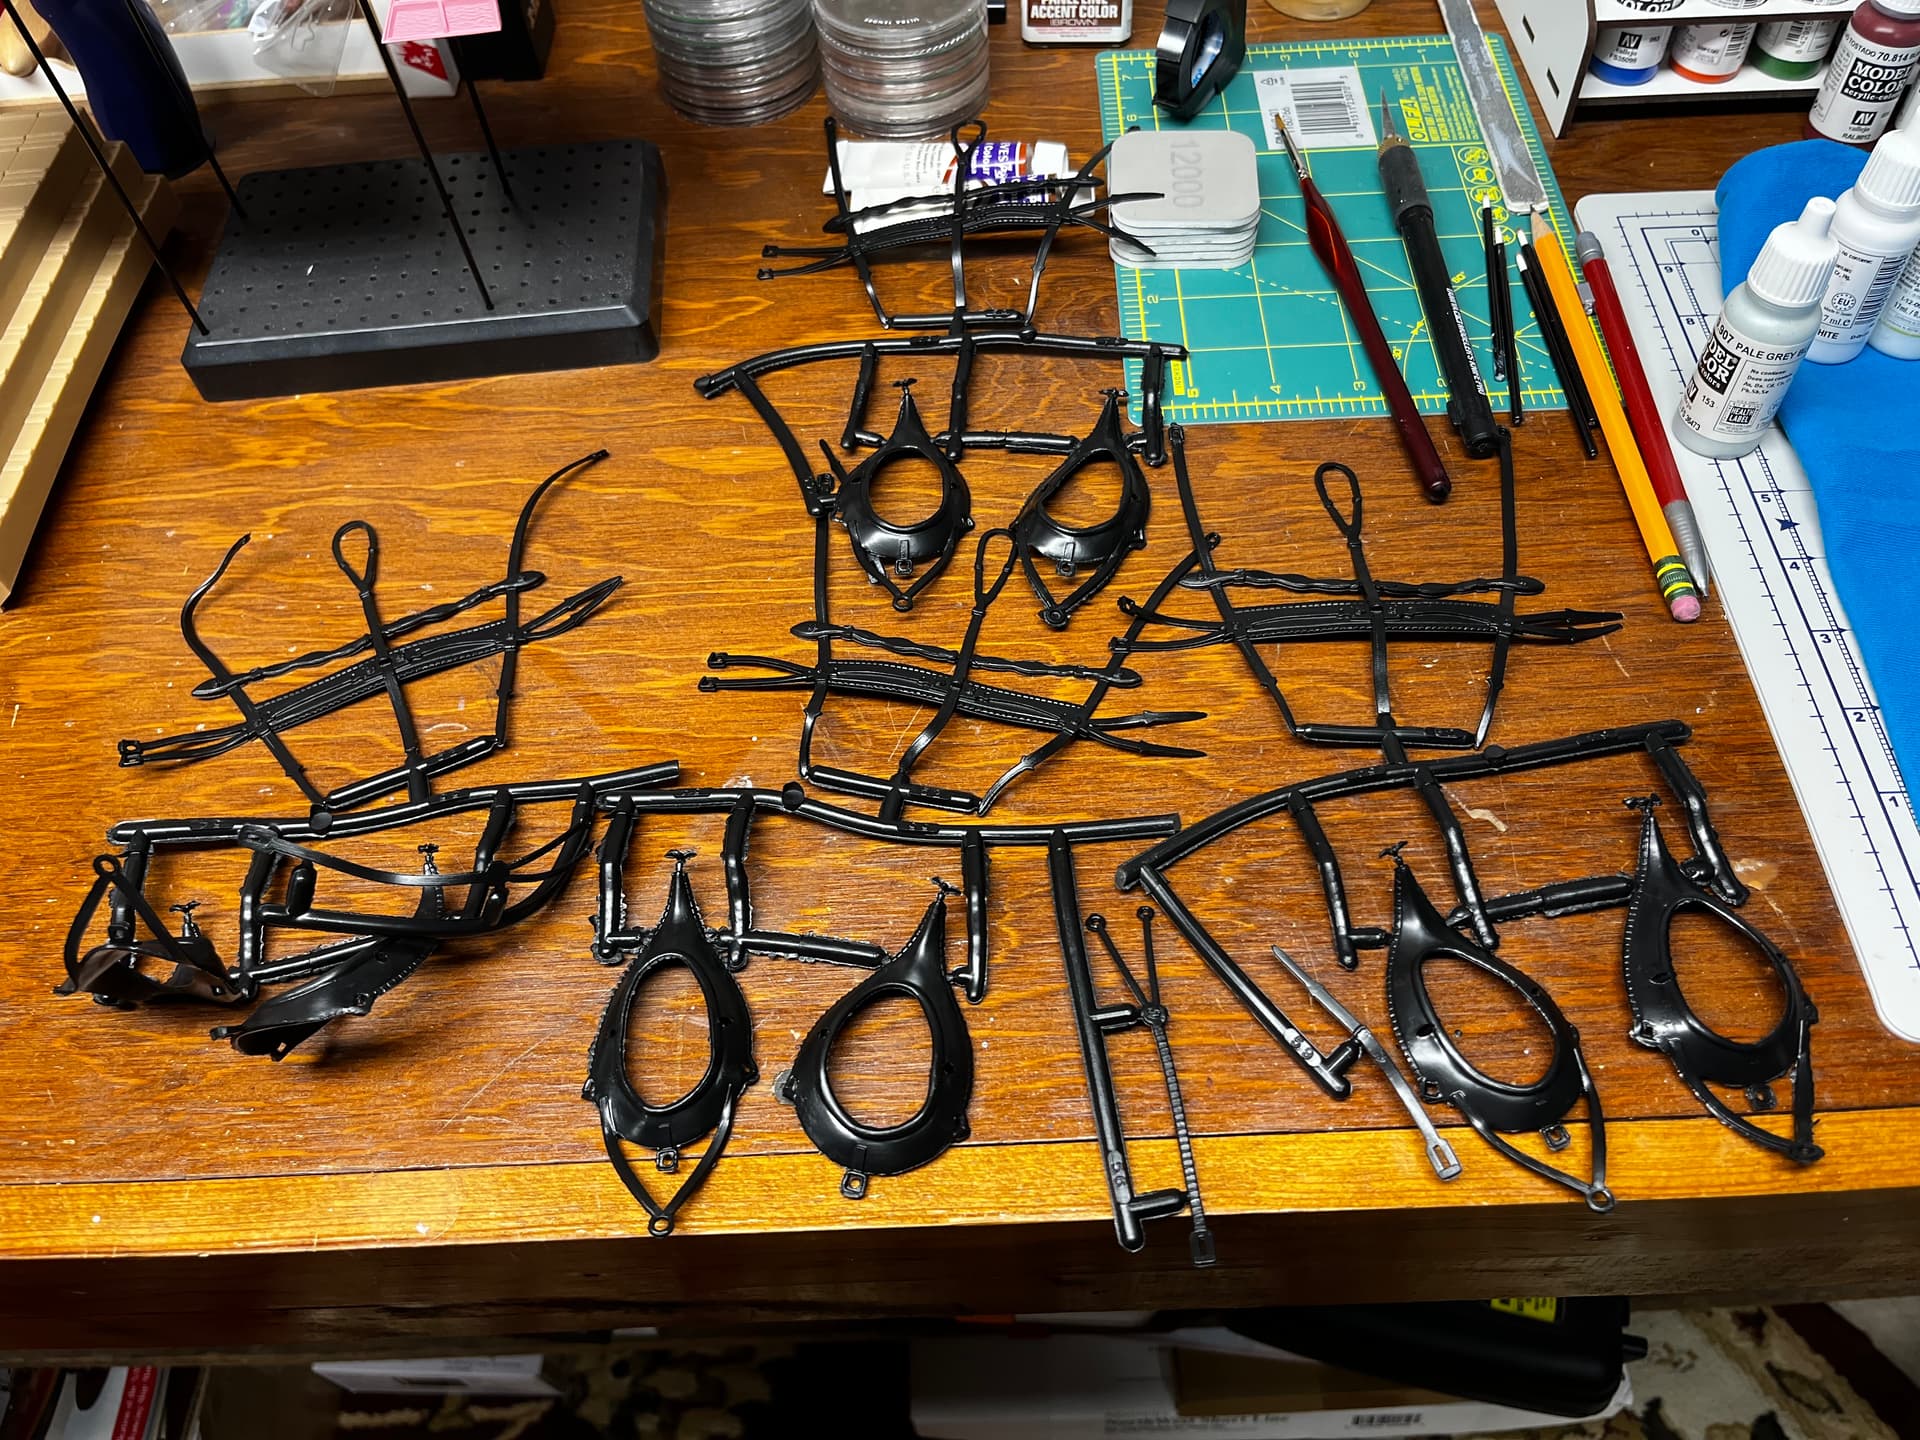
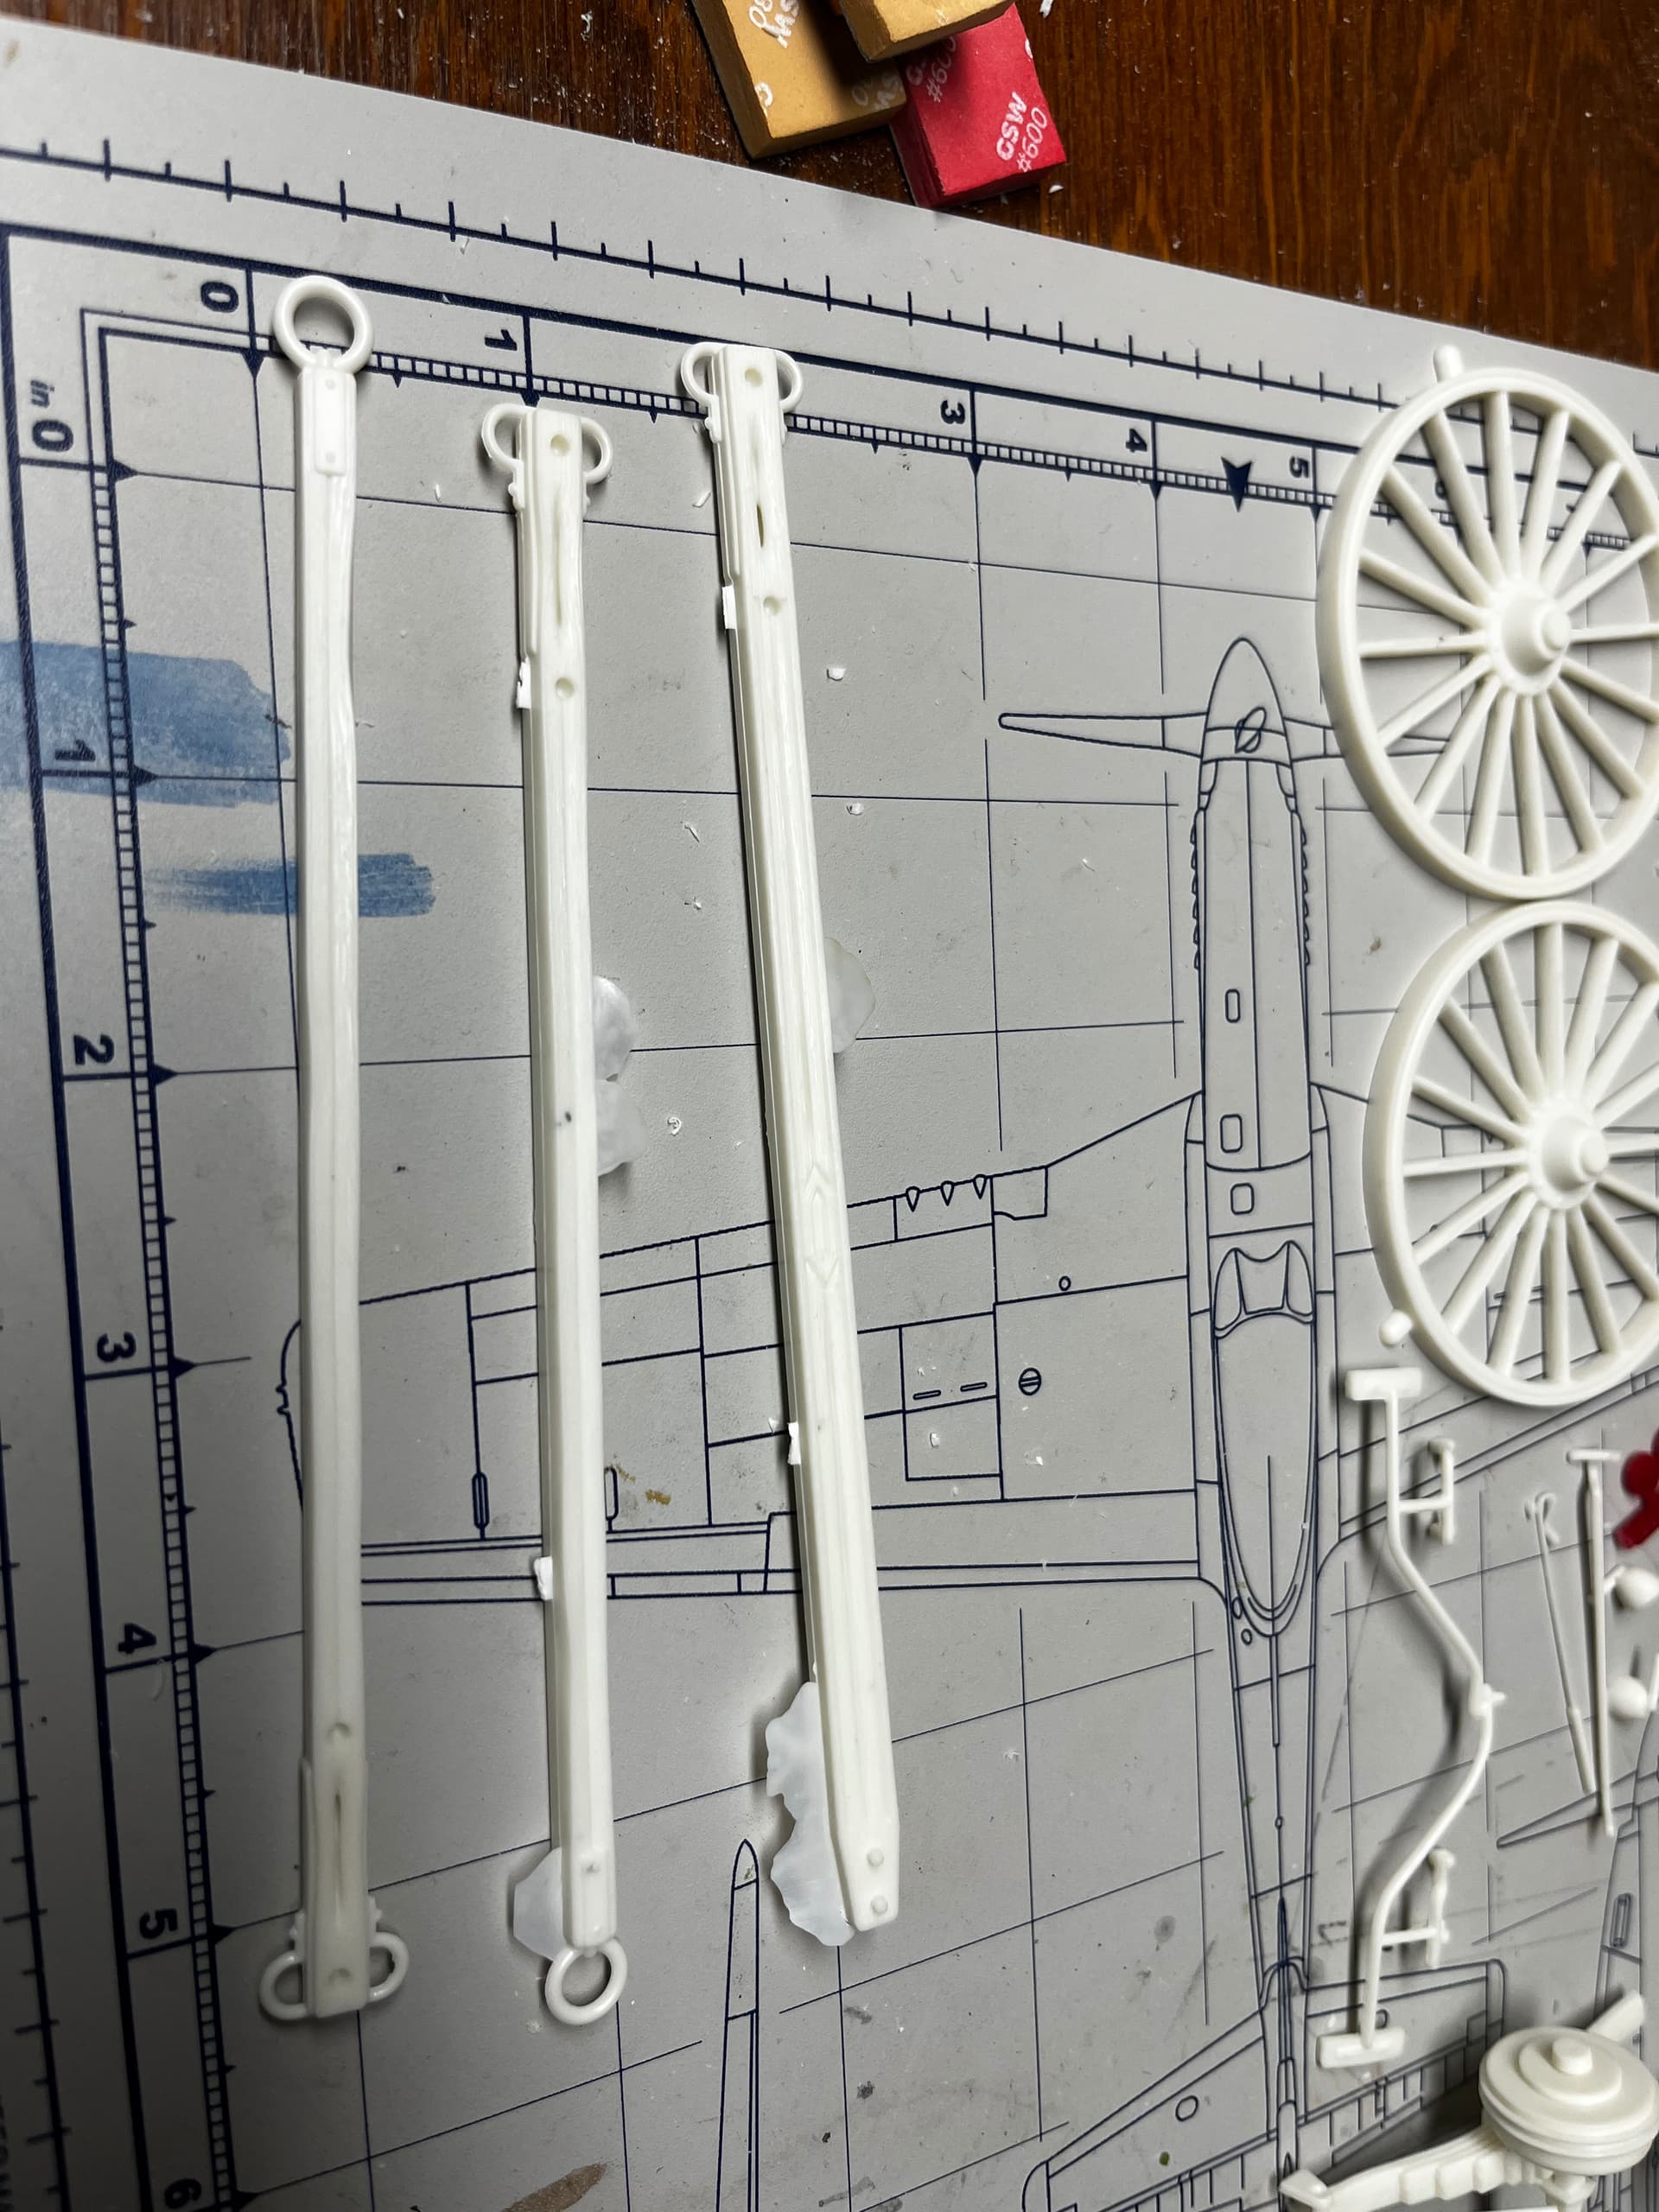
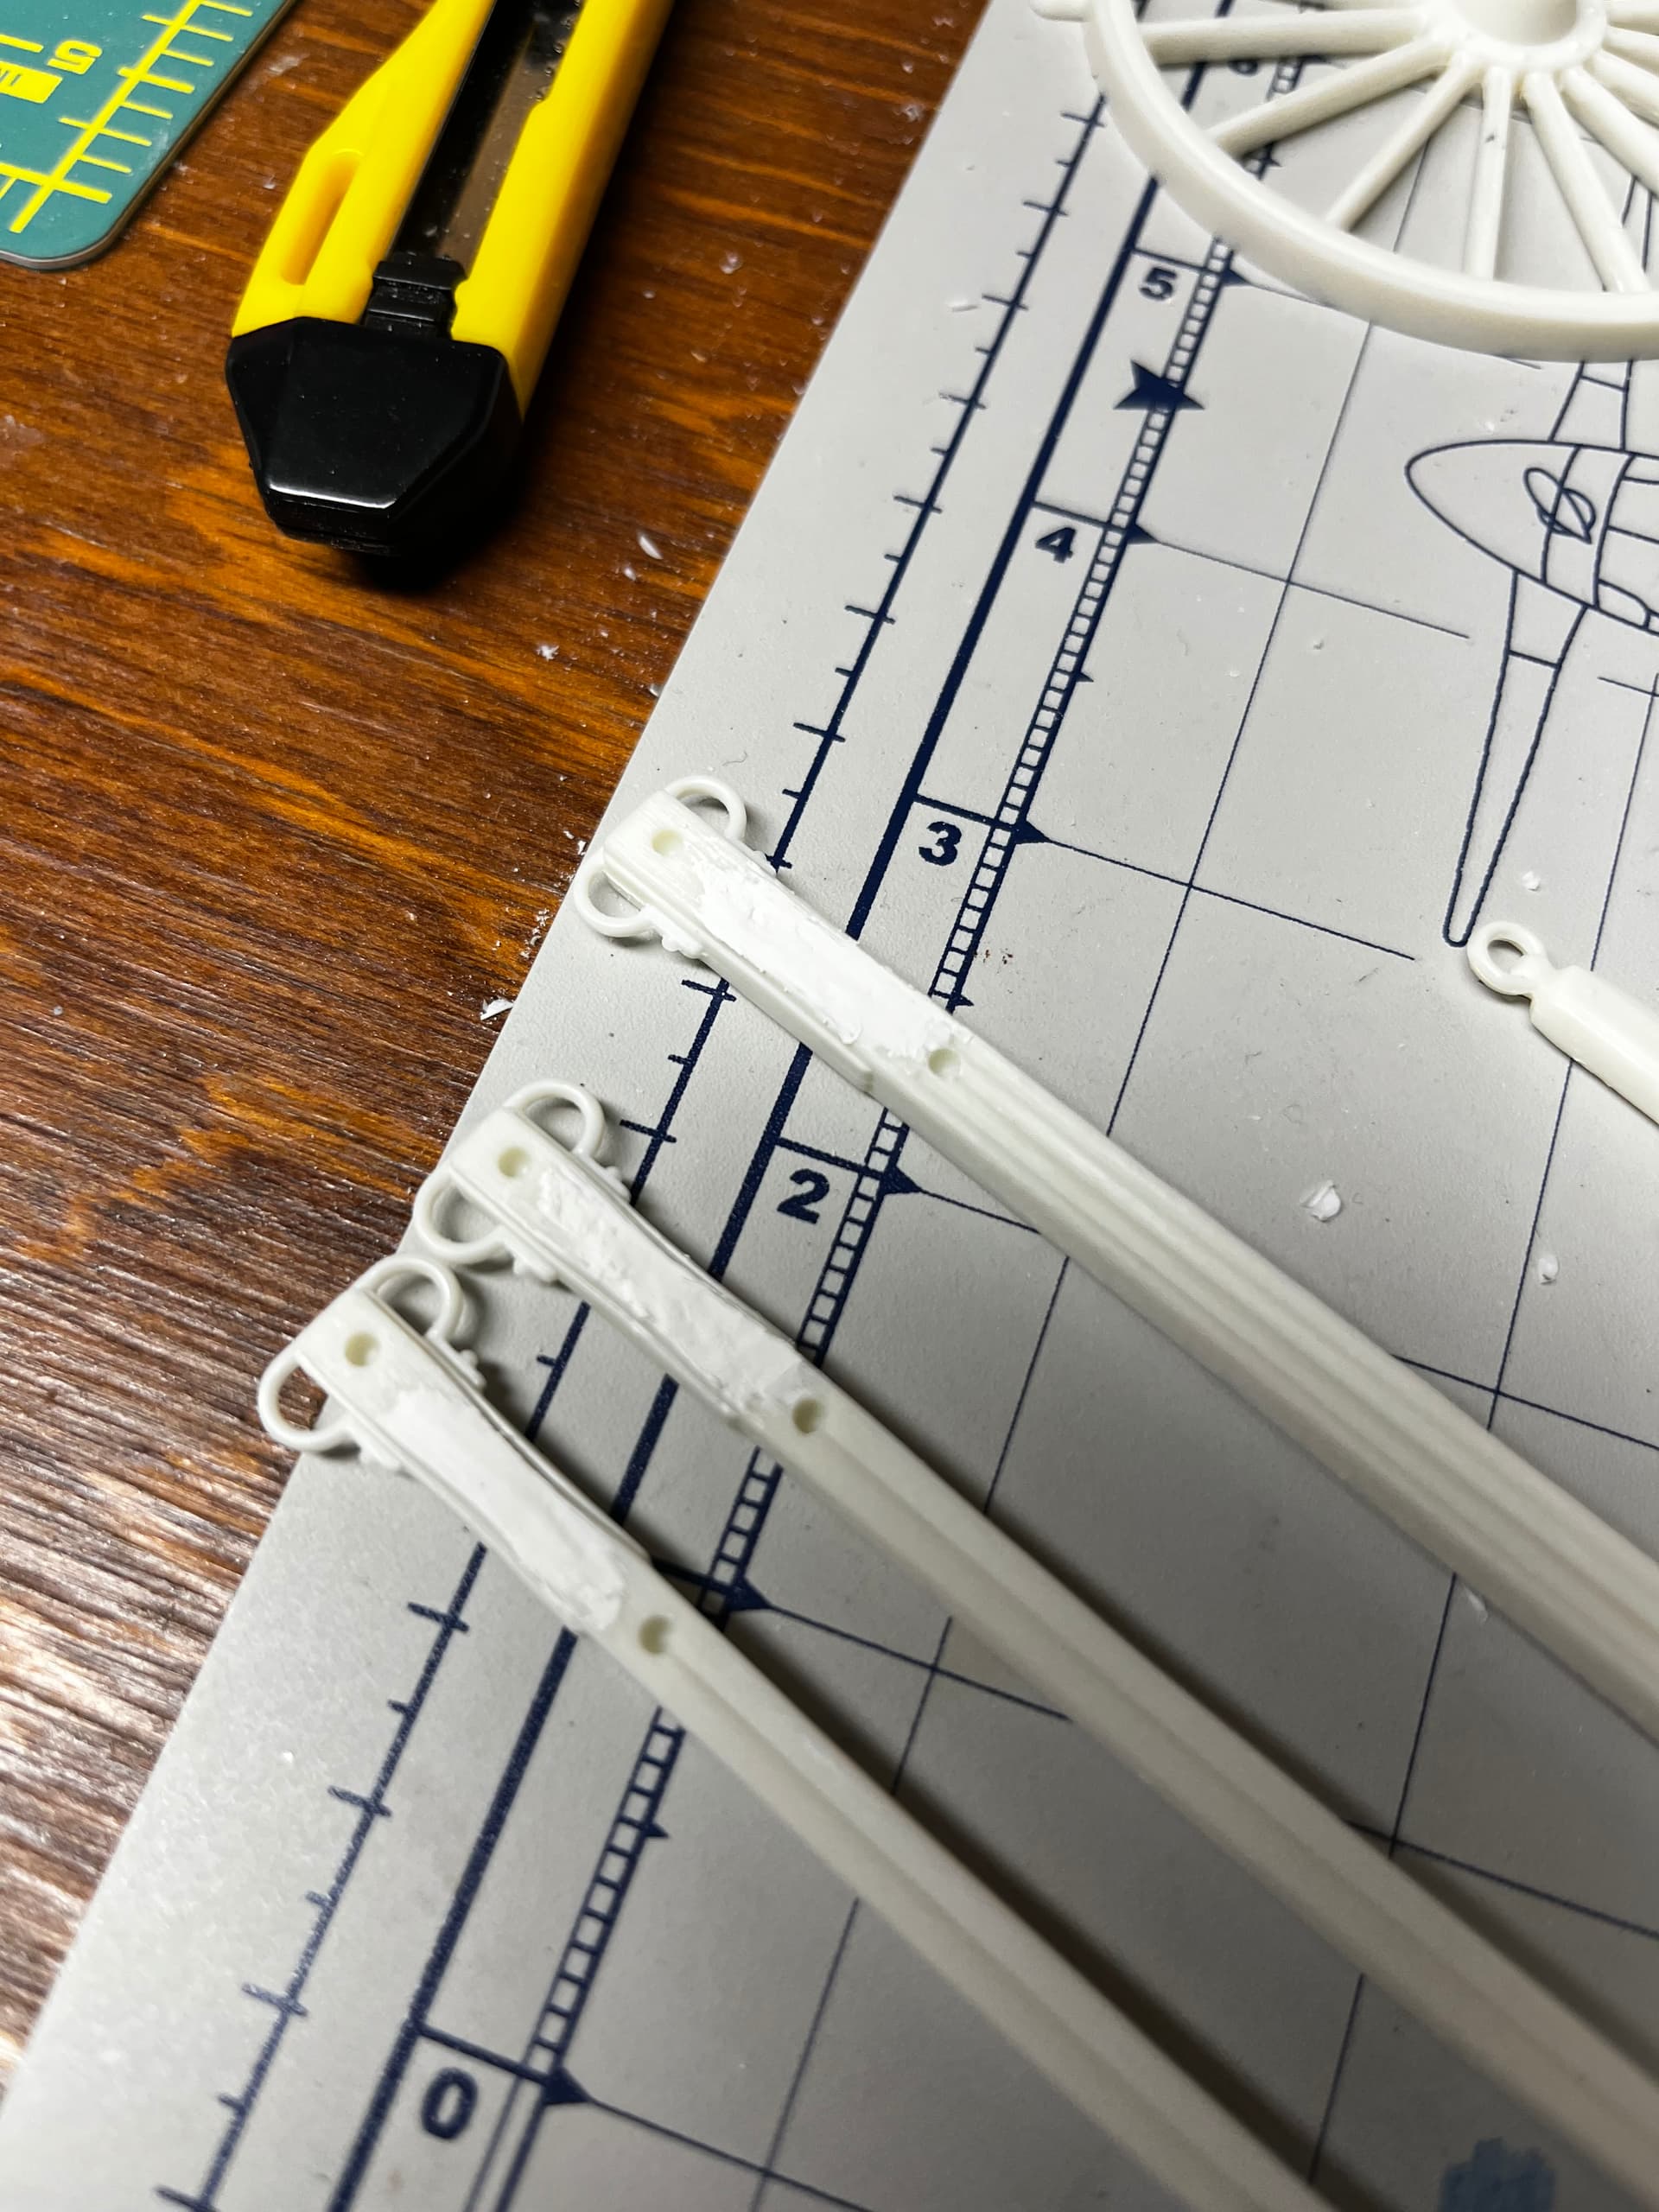
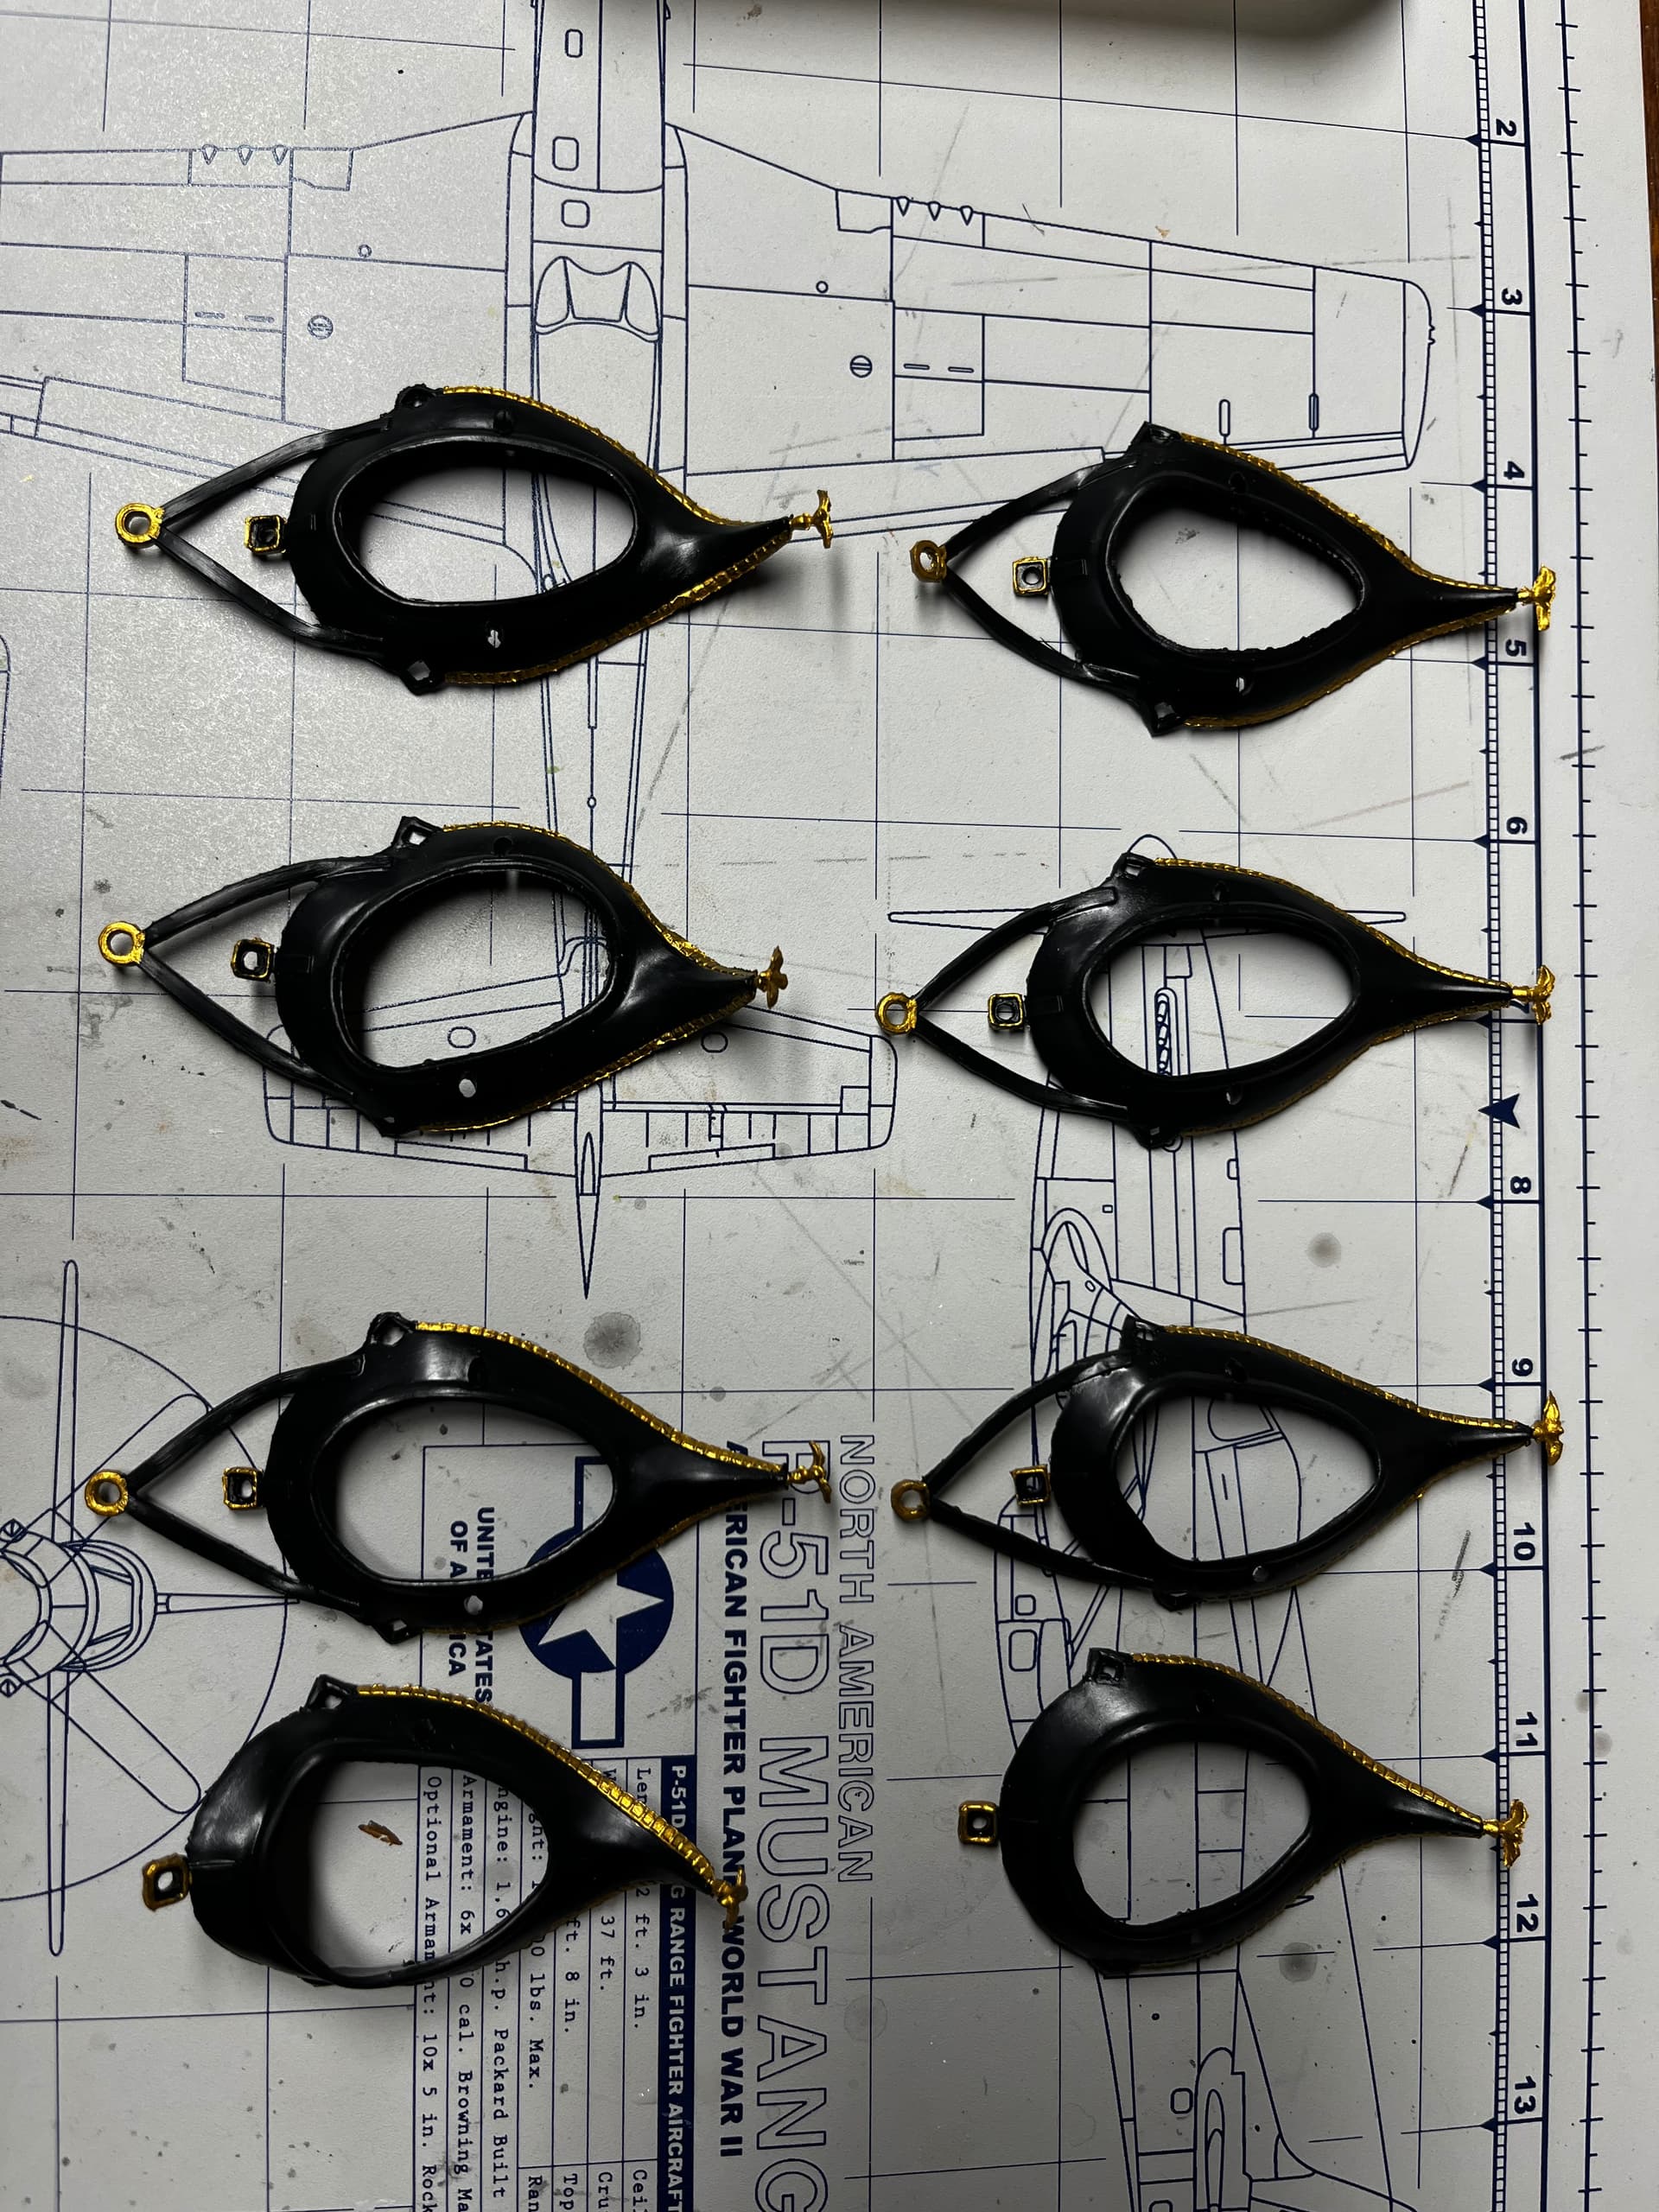
Turns out sitting in a plastic bag in a box for 40 years isn’t the greatest for vinyl parts. Anyone who has an old kit and found vinyl tires touching the styrene can attest to what can happen. Luckily the bag was intact. But …
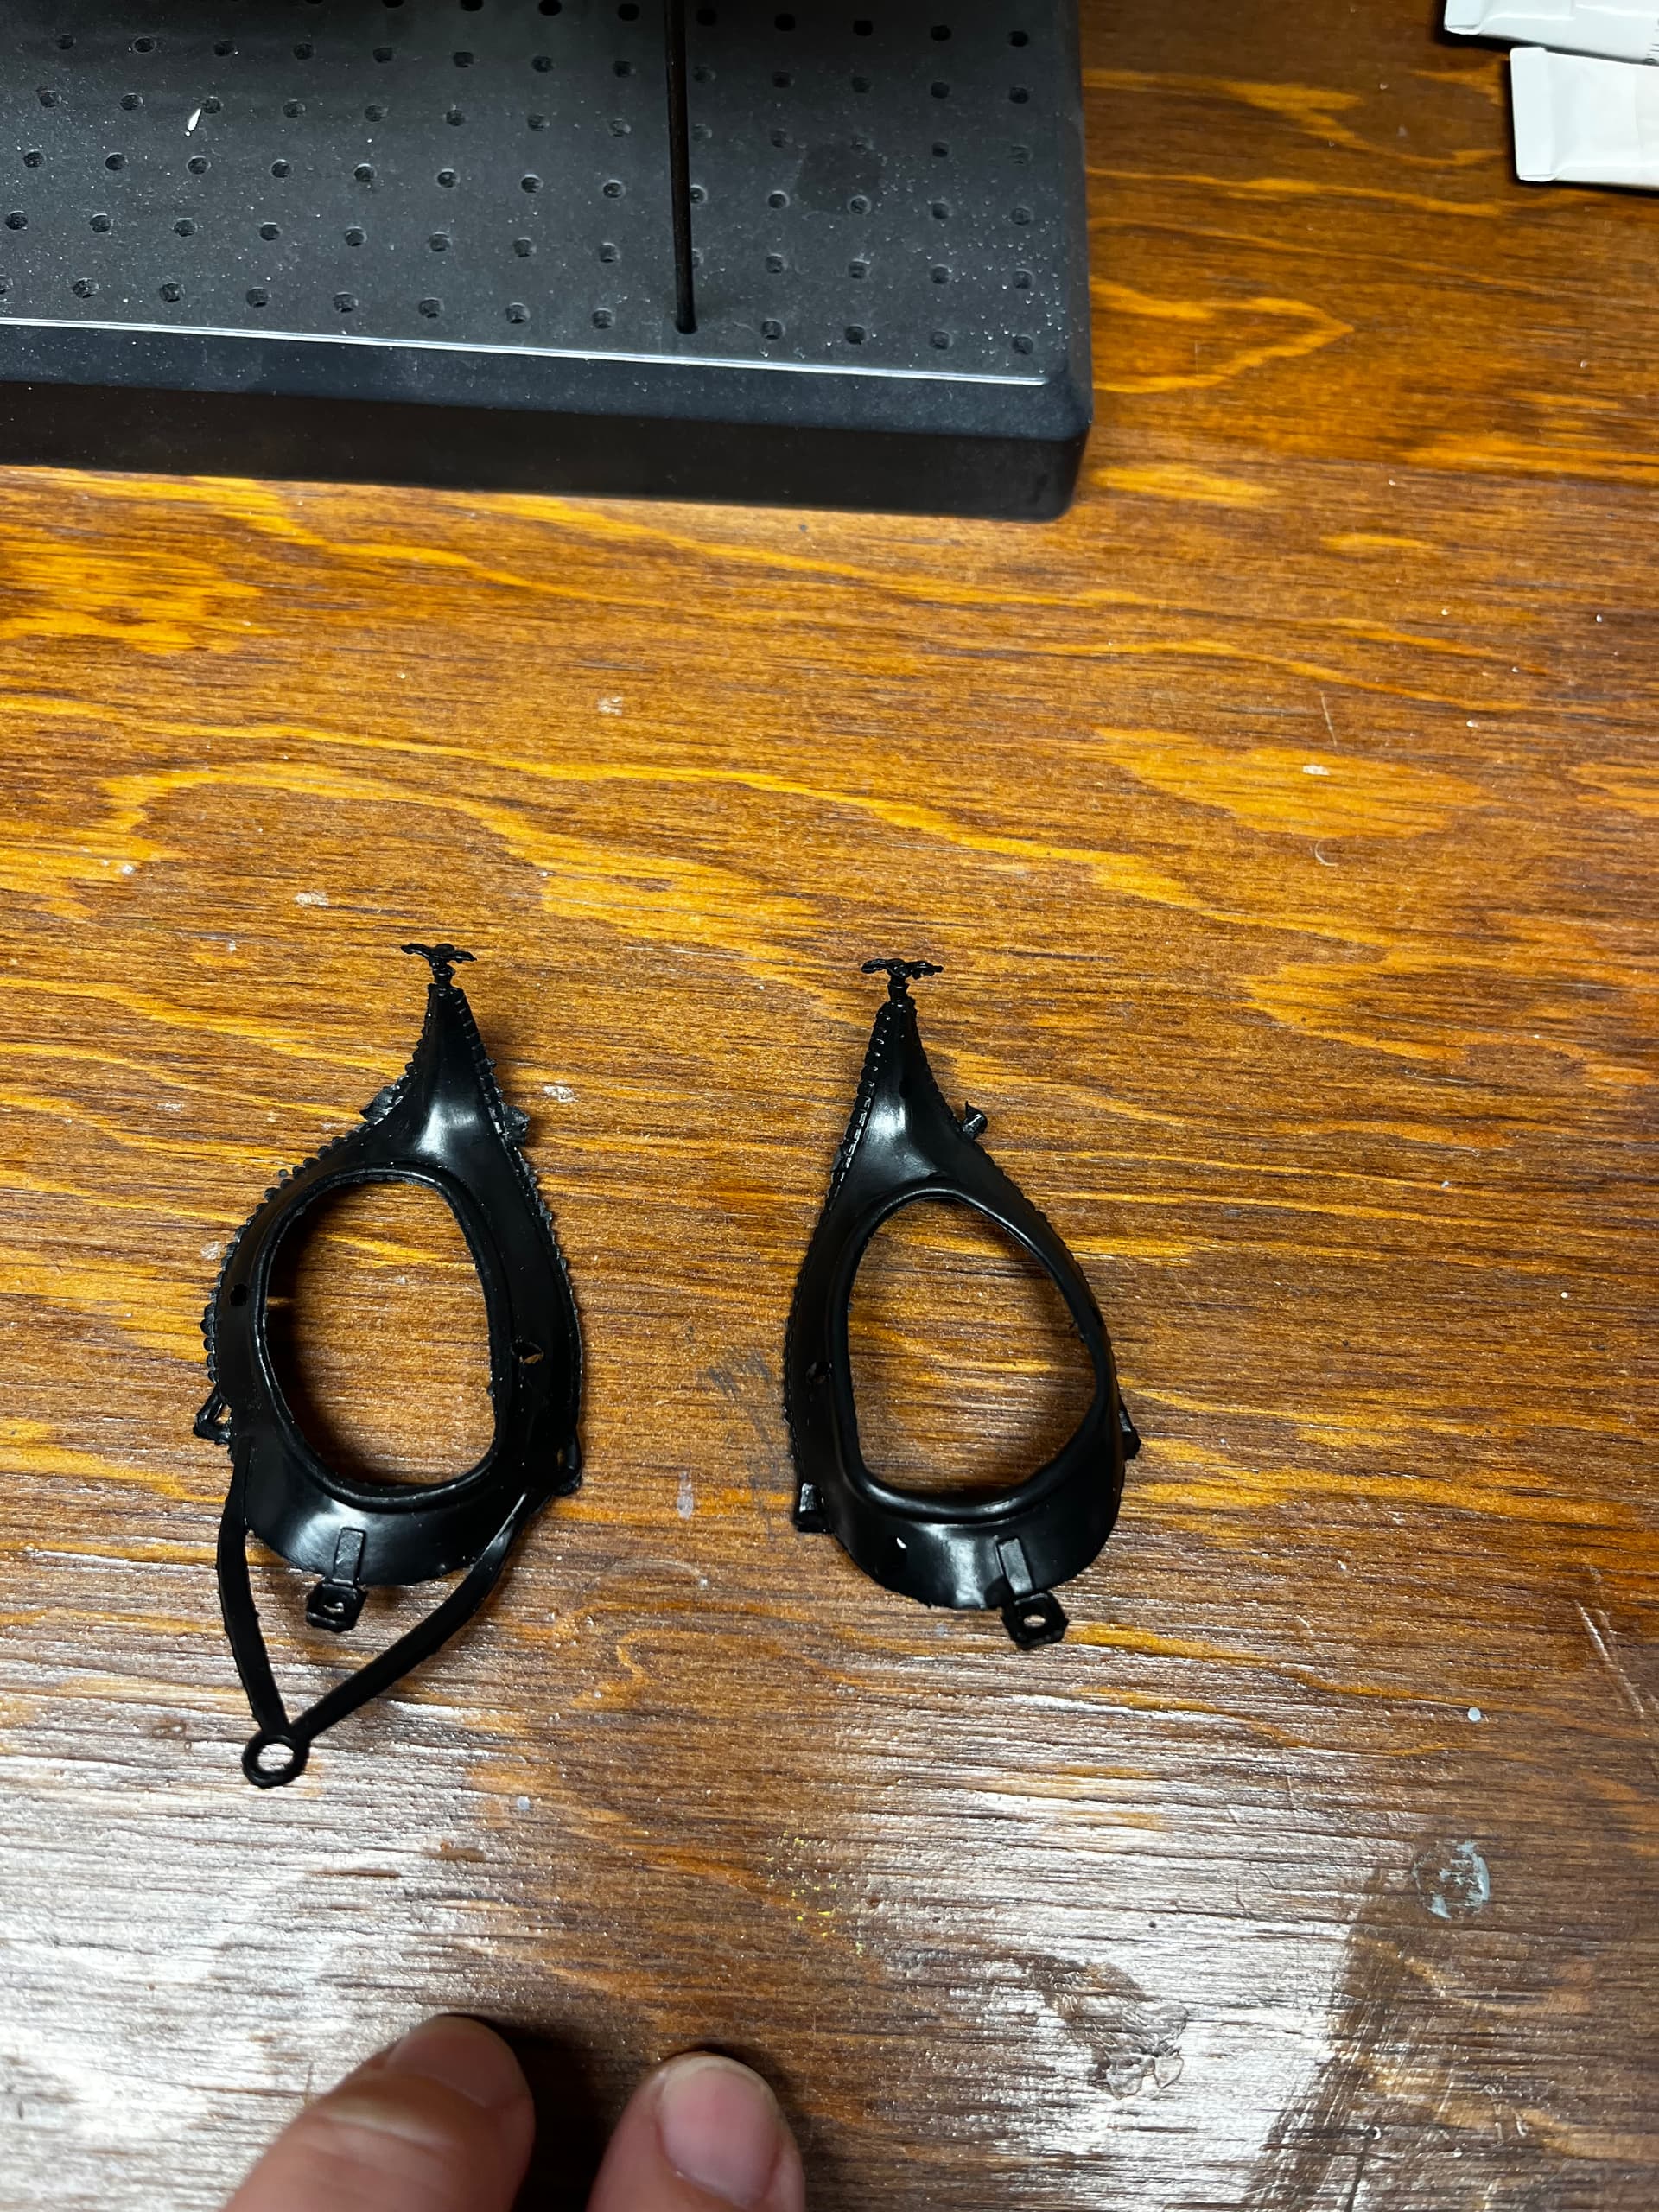
… these don’t look great. Sigh. Yeah, there was a lot of going back and forth about how to correct this deformation. Against my better judgment, I went back to boiling water. It worked, mostly. When I test-fitted the collars on the horses, the deformation mostly disappeared.
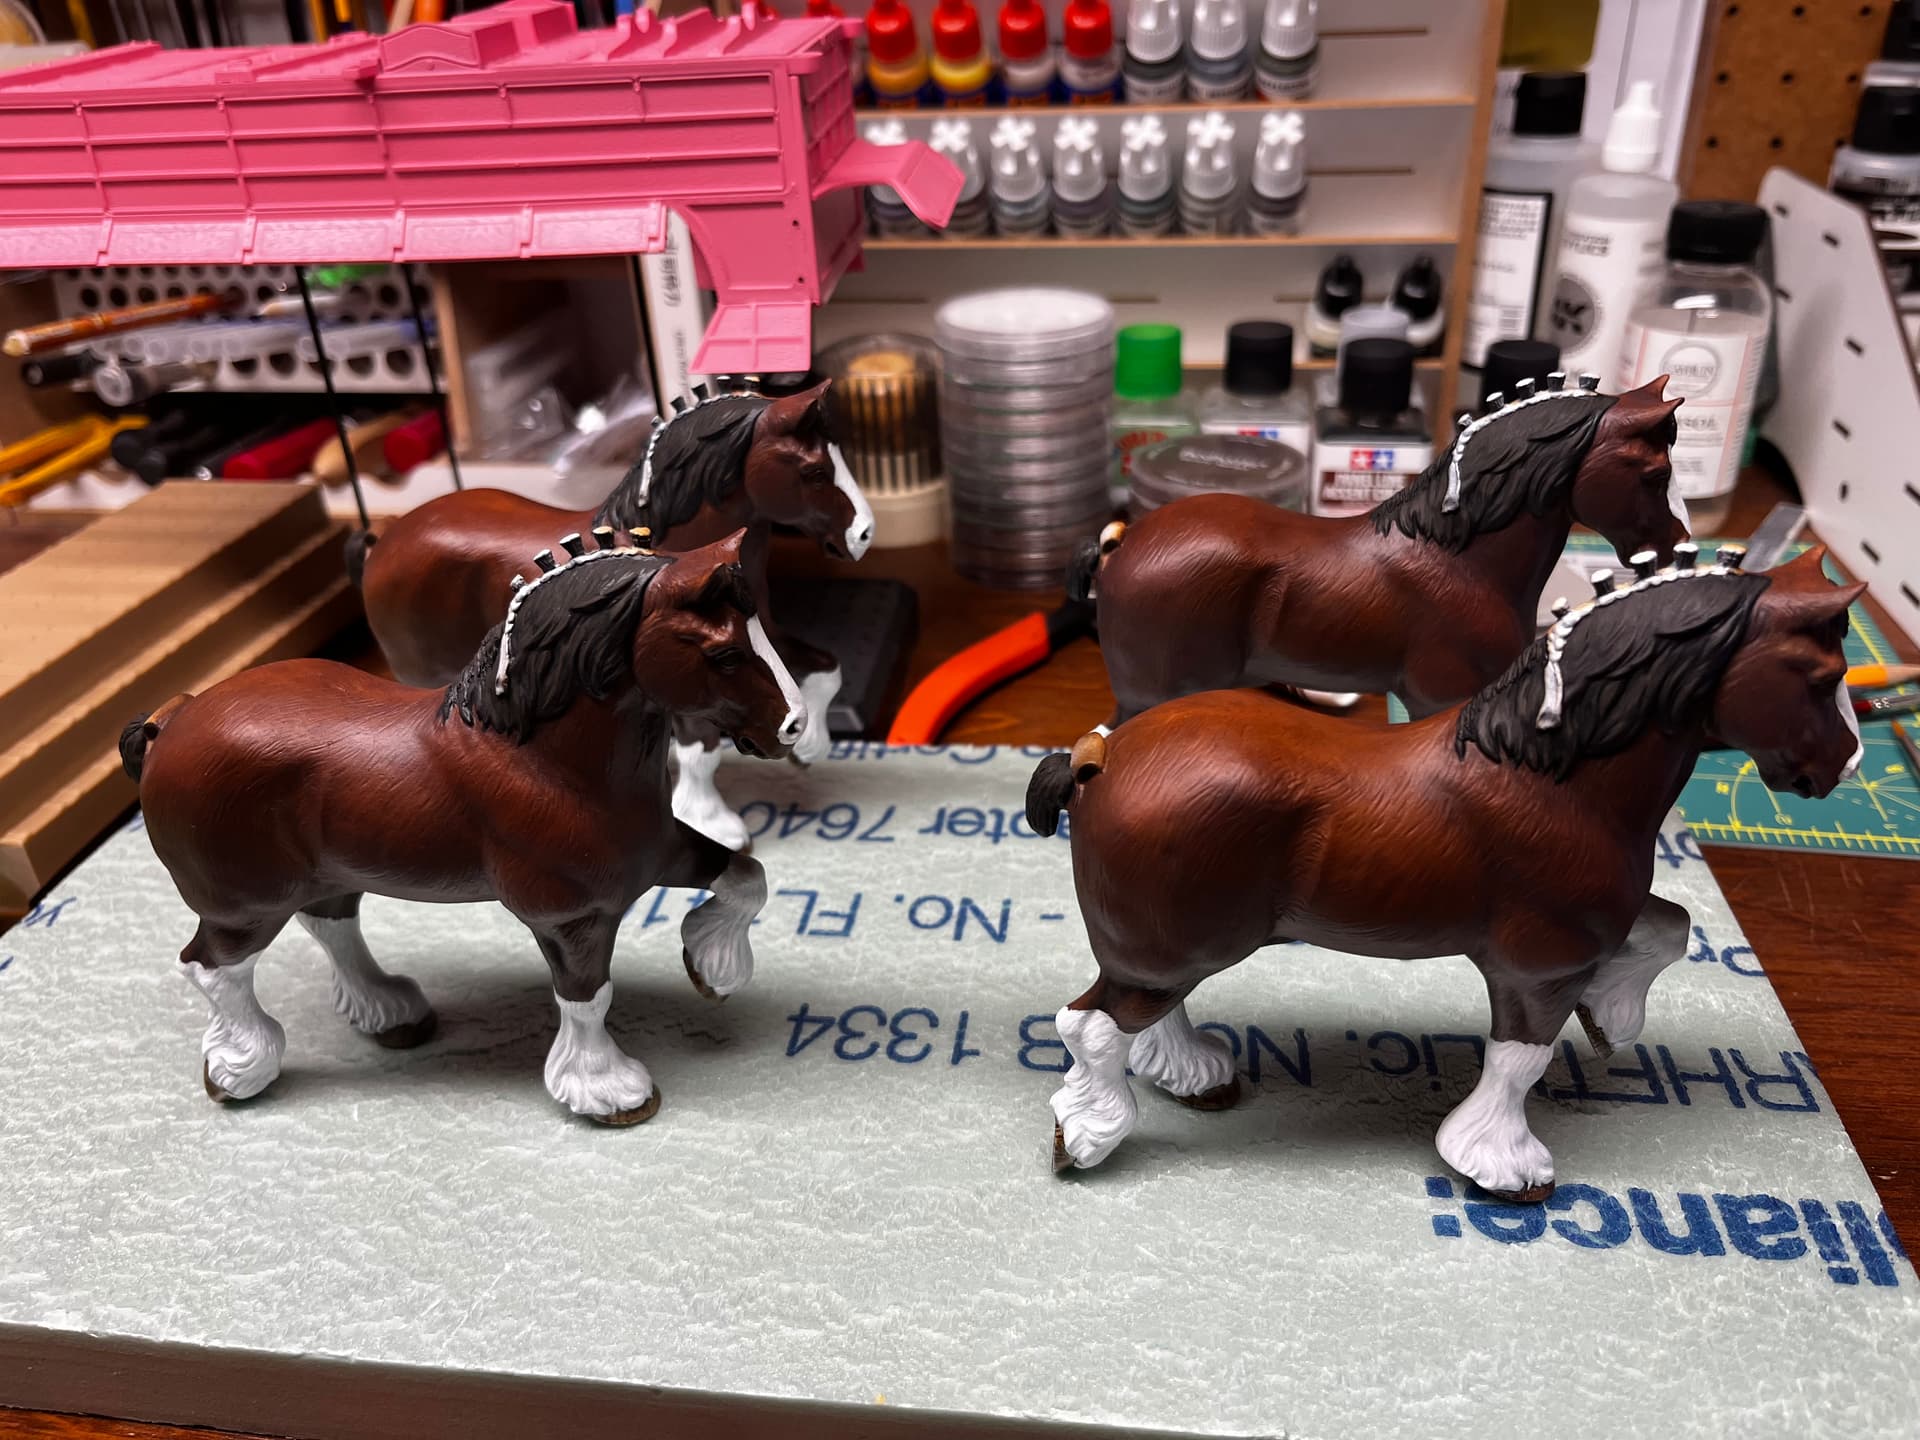
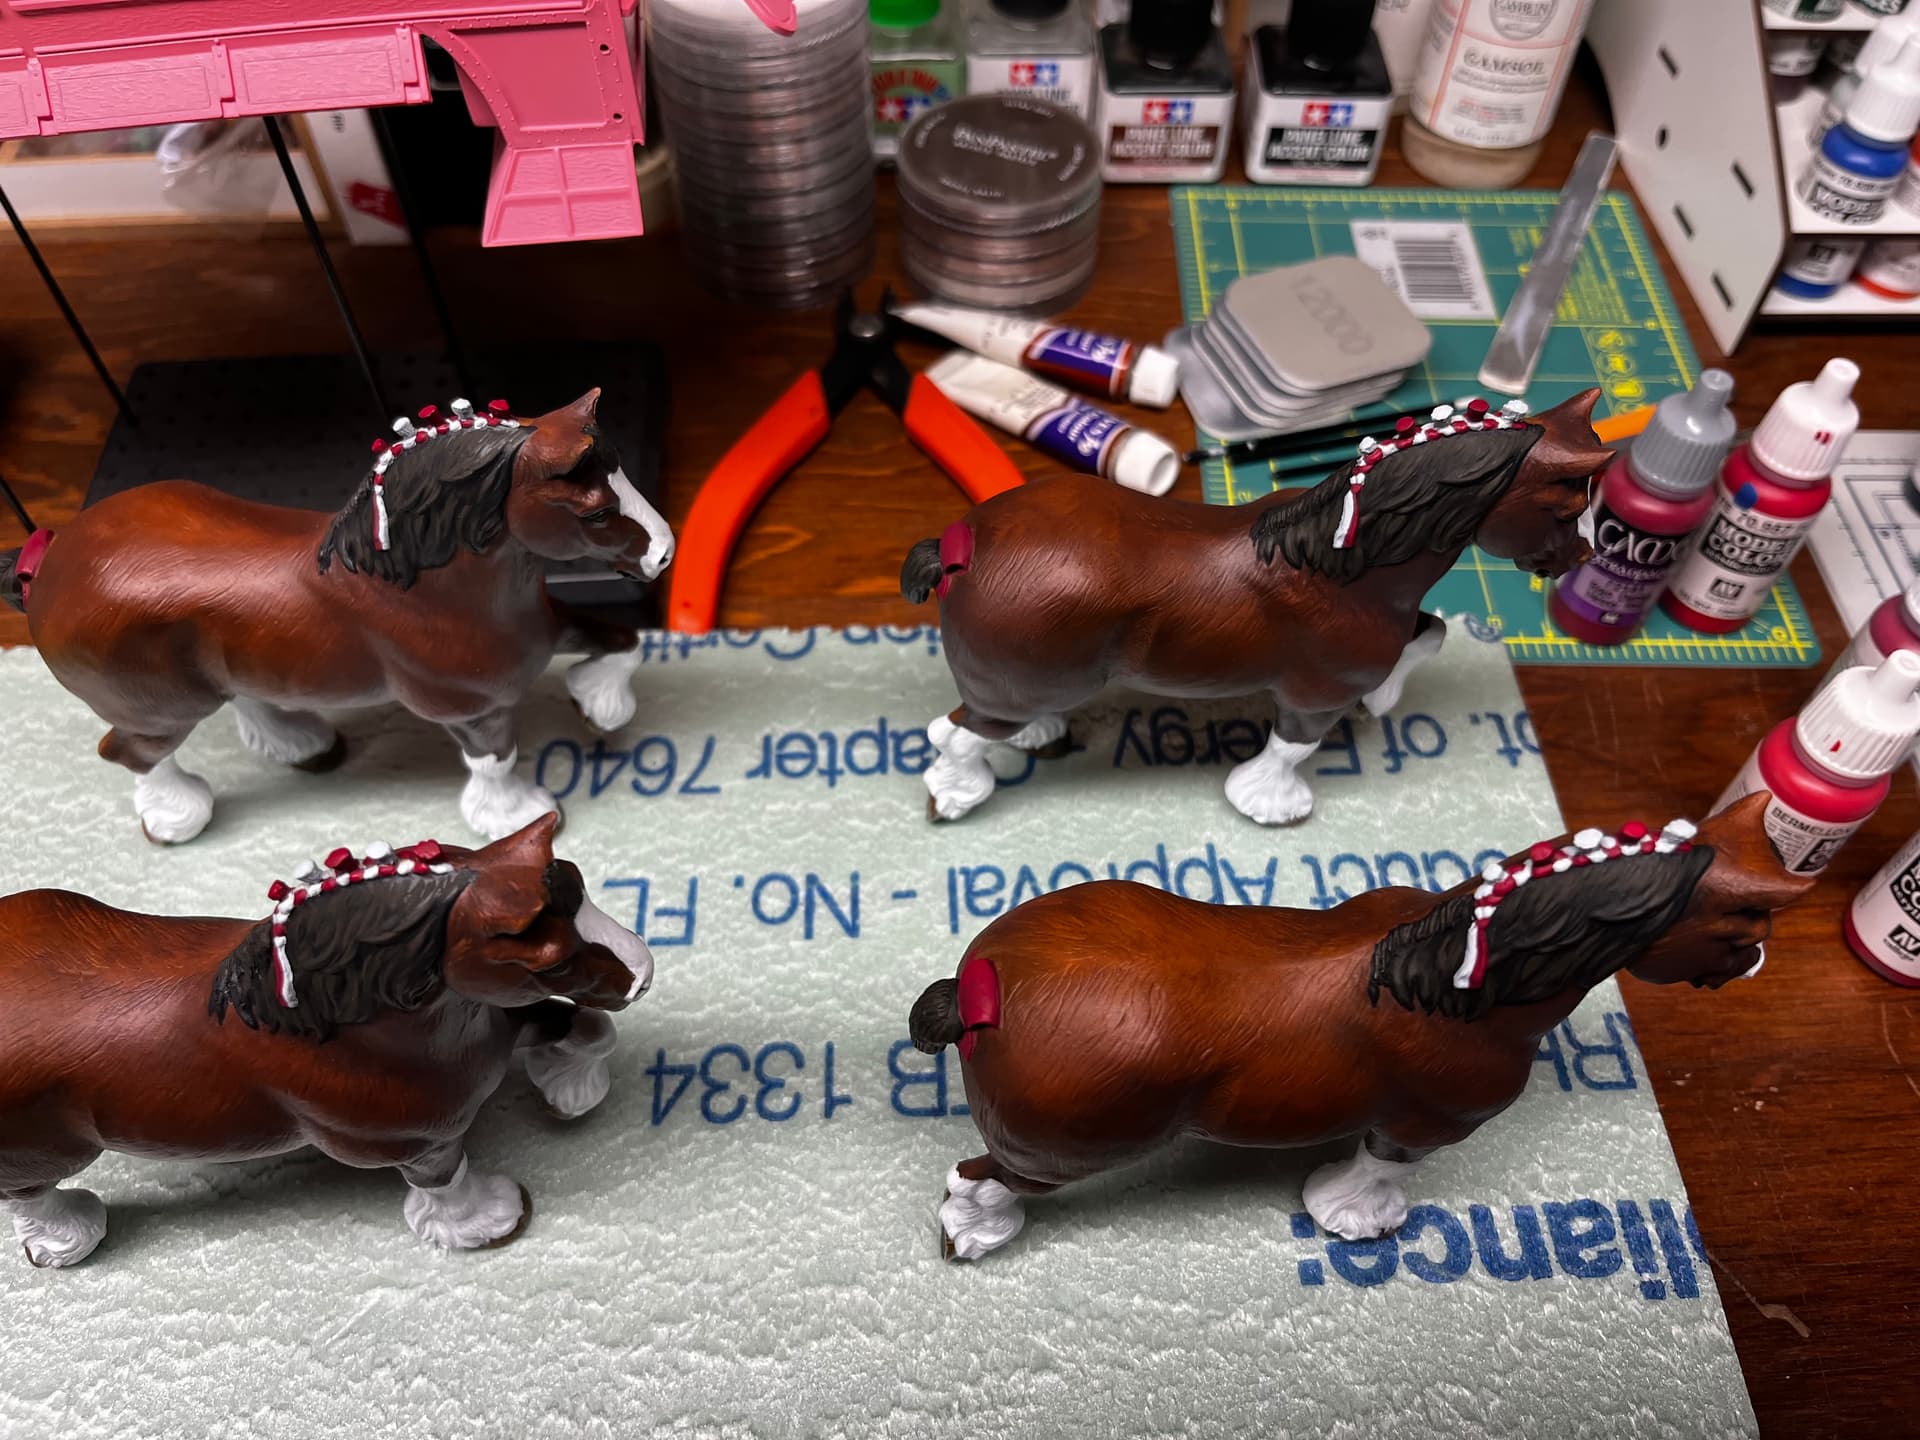
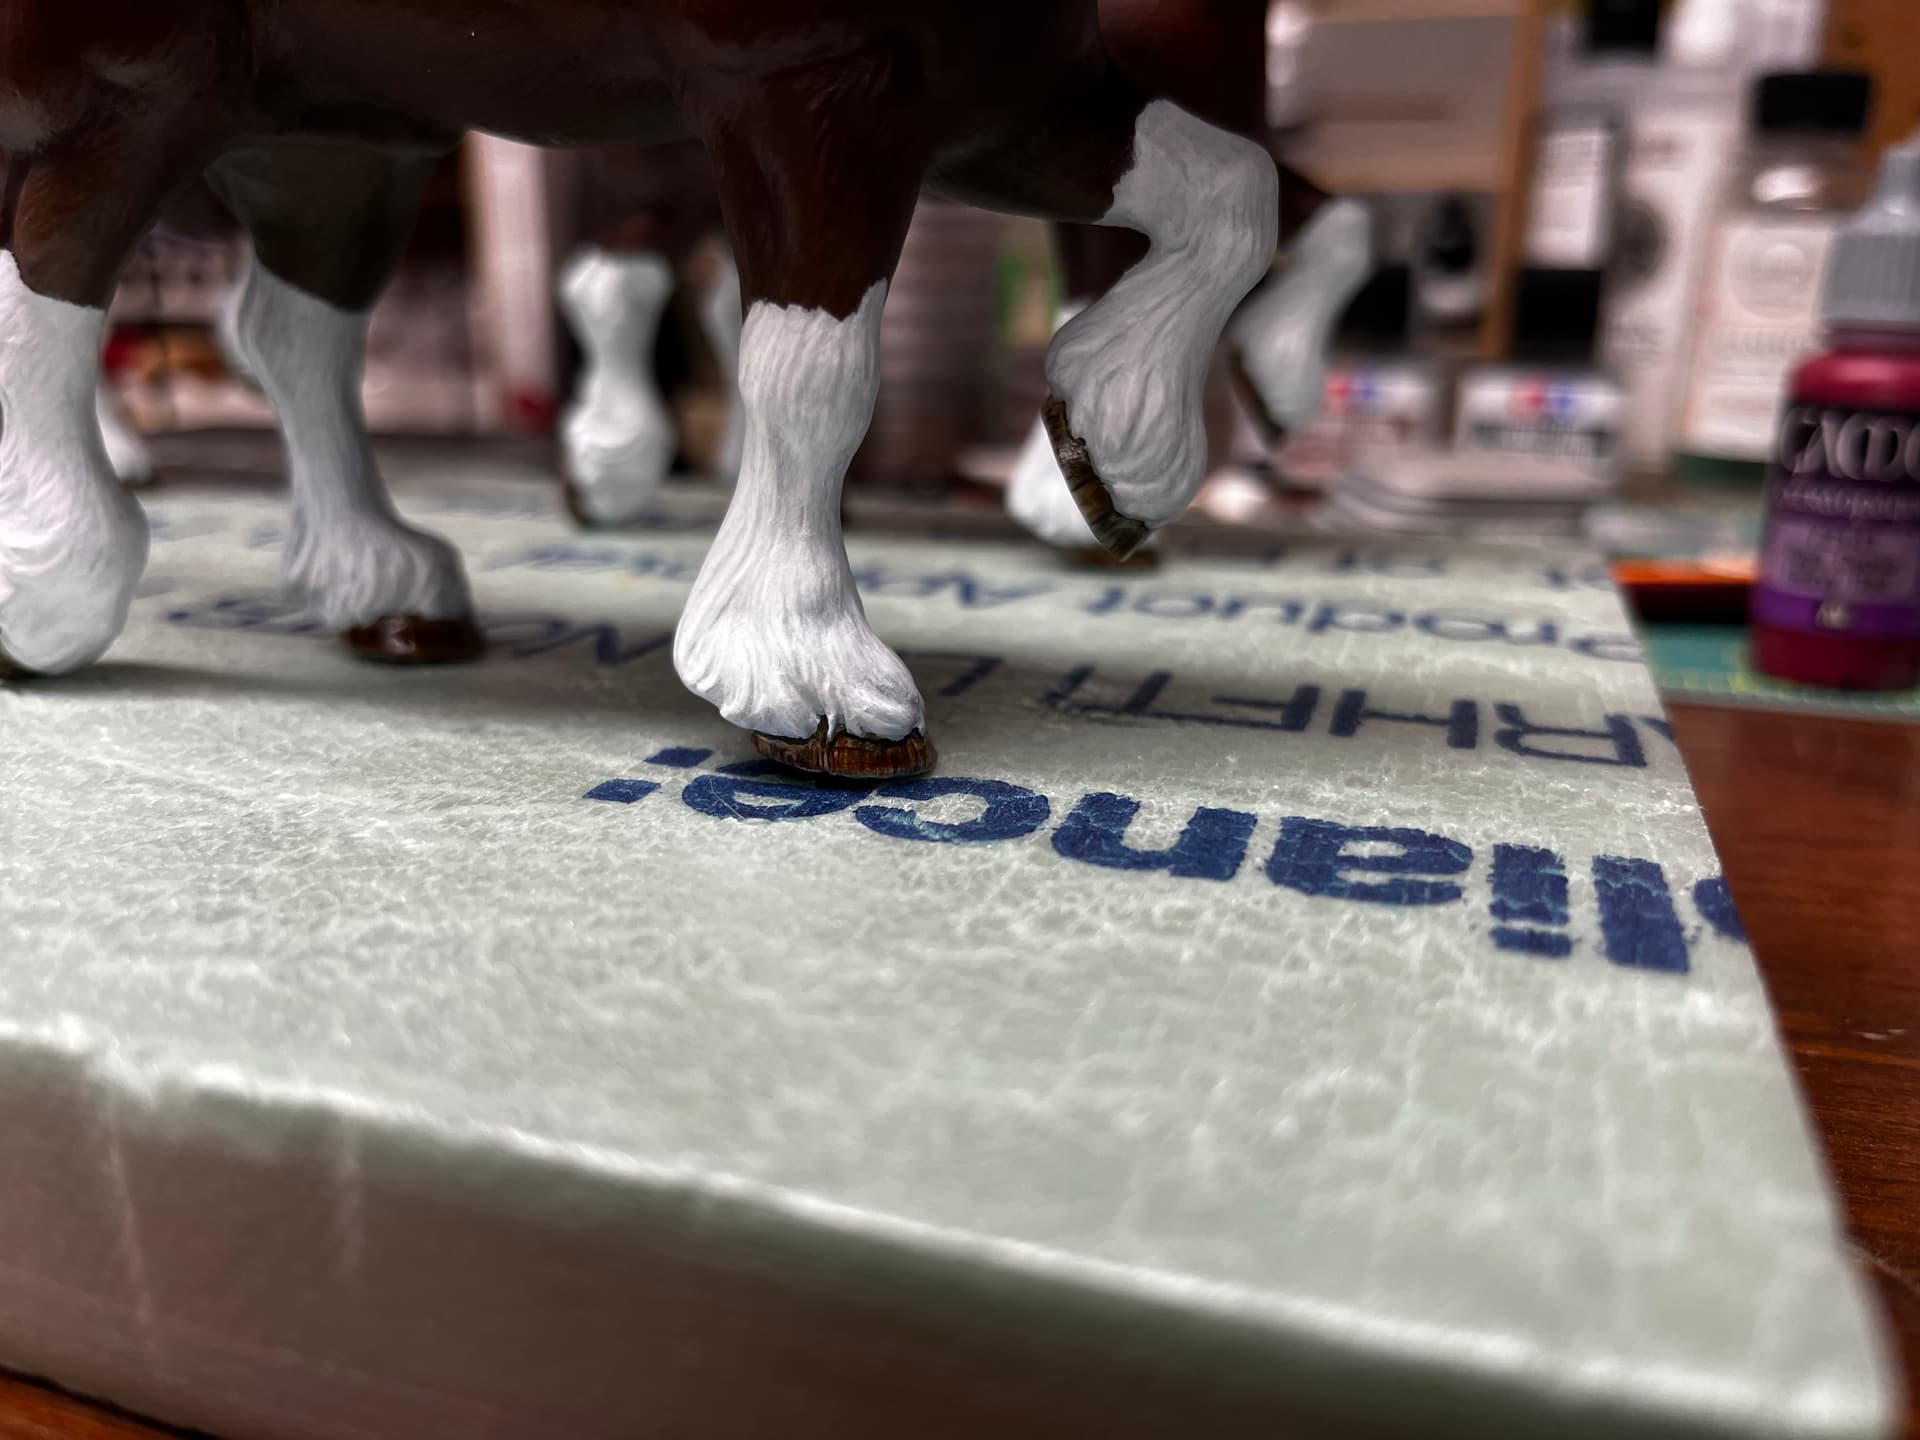
Fine. I set those aside and what then ensued was a month of painting horses for two hours every night. Just working away, trying to get the second set of four finished. And on Aug. 25, they were done.
That was just 12 days ago! When I finished the second set, I didn’t know what to do with myself. I snapped these photos, sent them to Aaron, and said I’d finished them and then sat there for a few minutes staring. Then it was time to reset the workbench for more building. OMG! I was actually going to be able to start moving forward again!
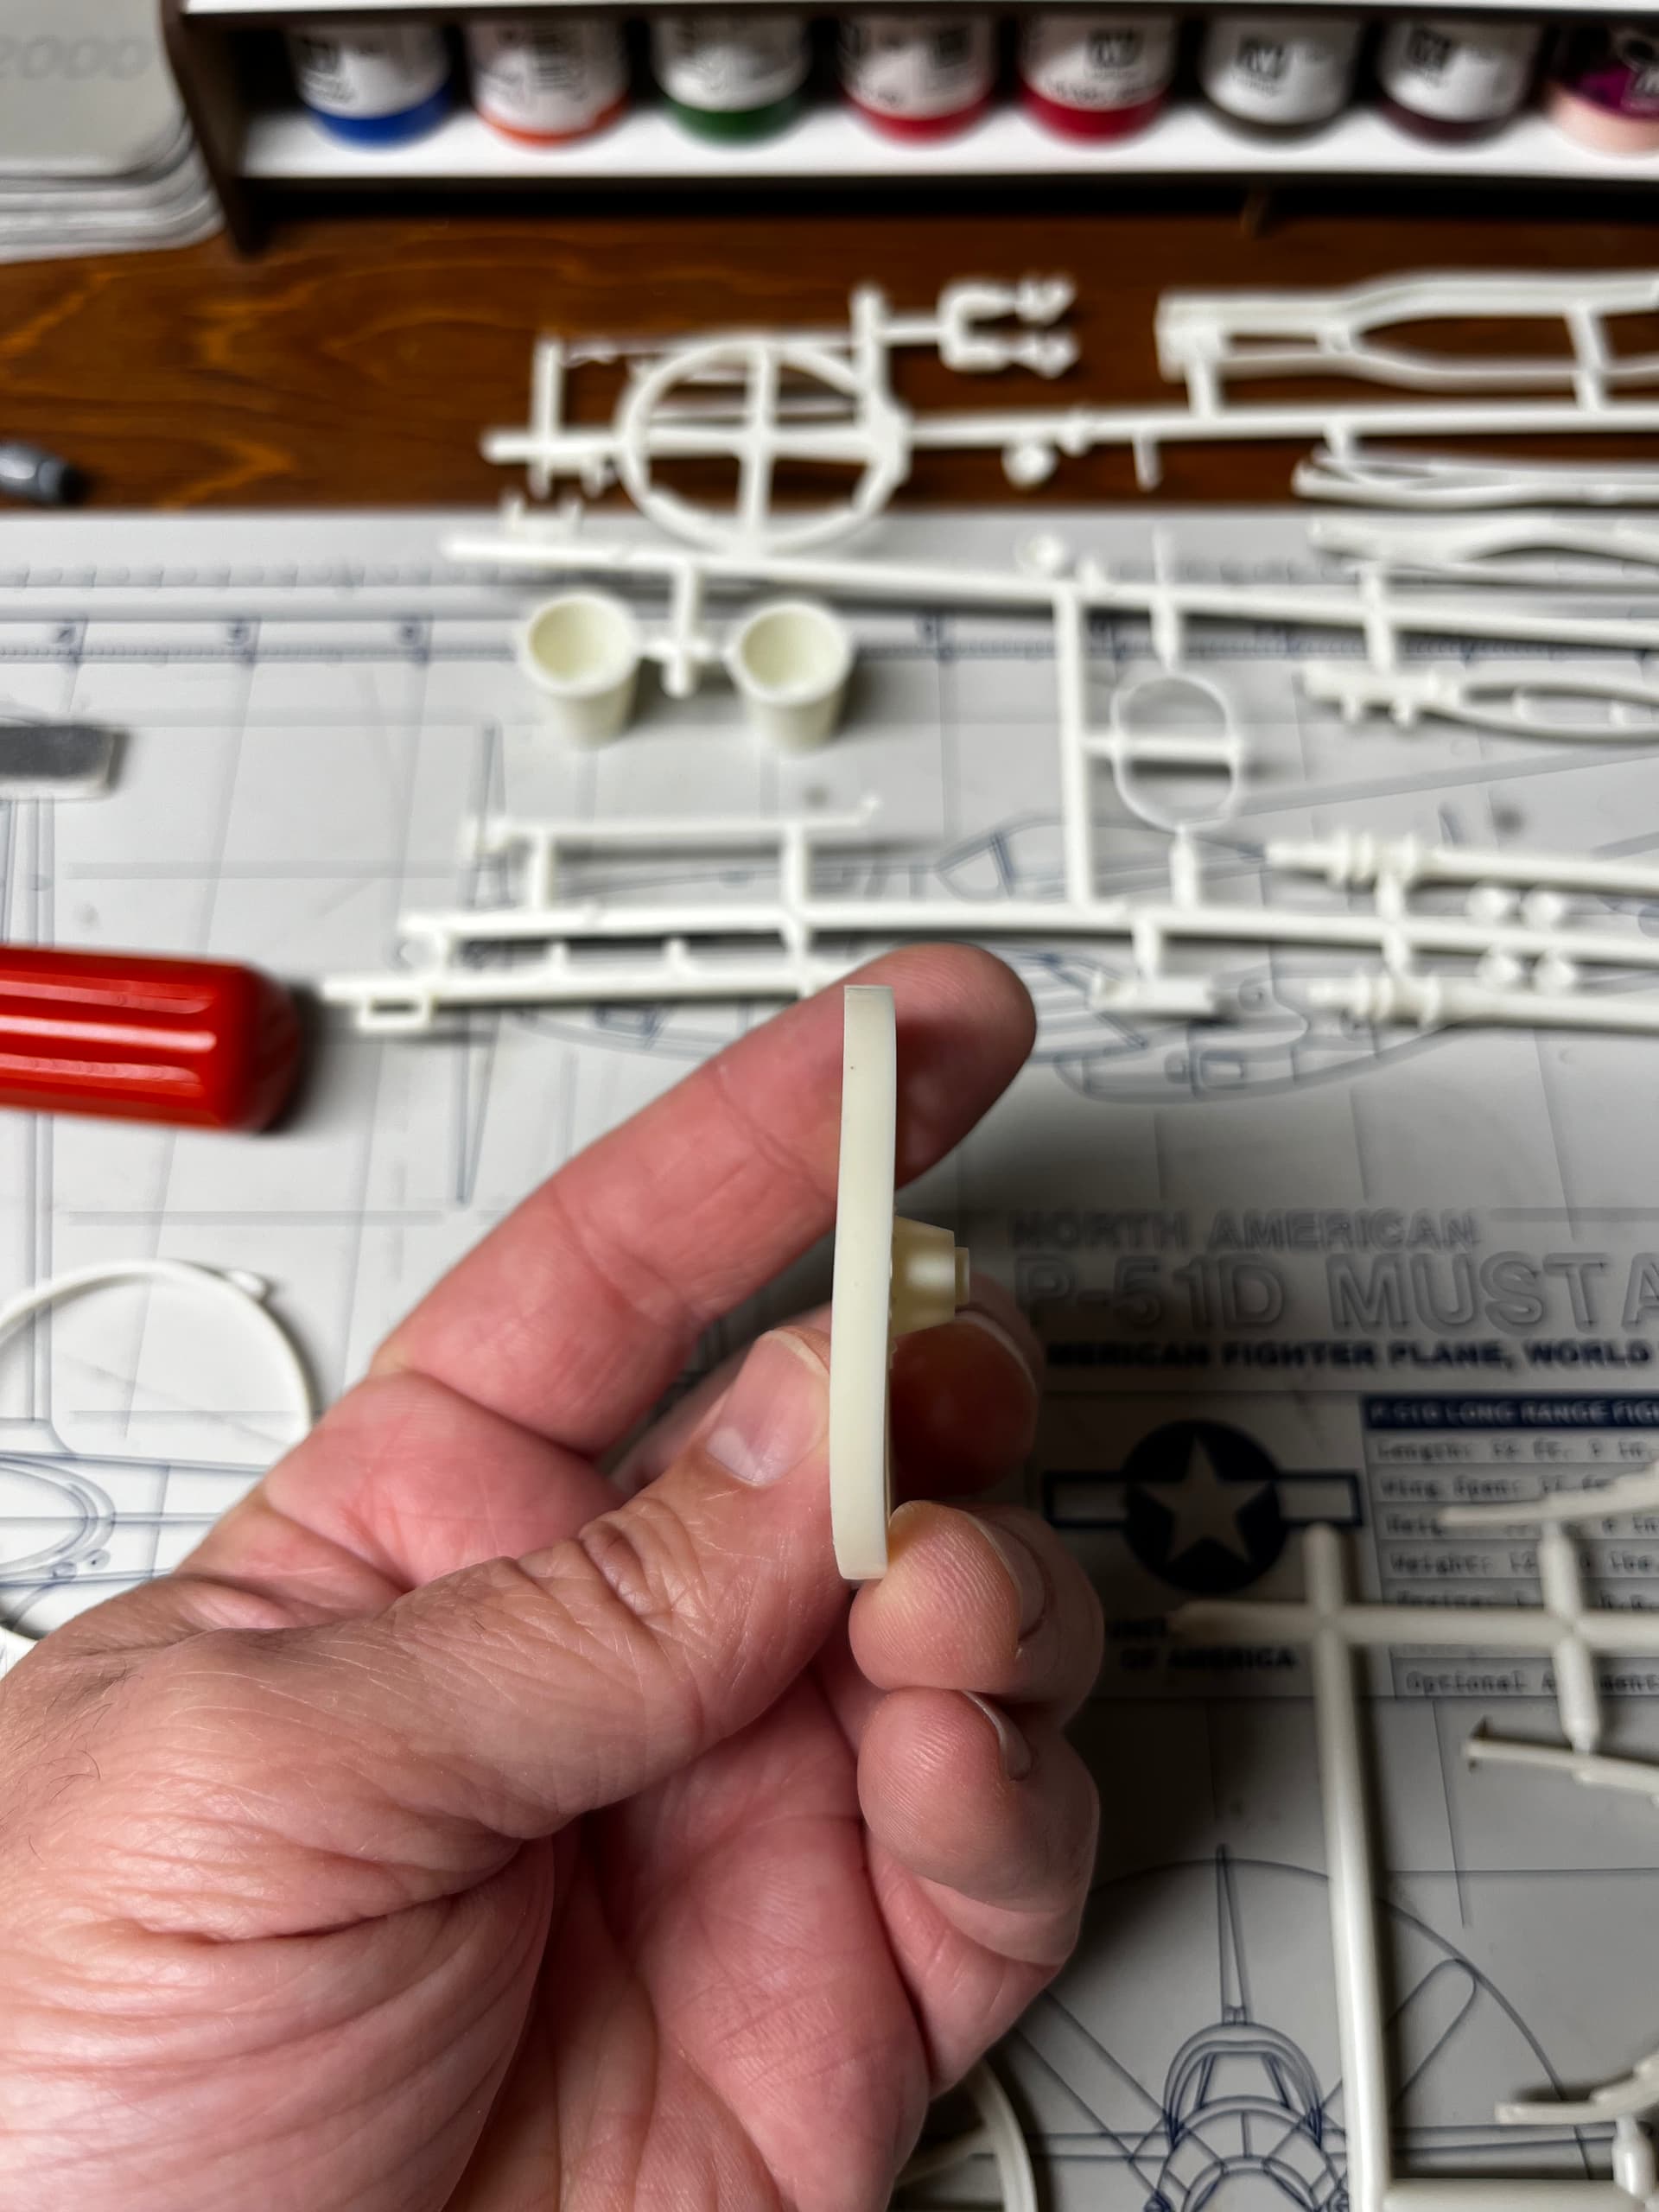
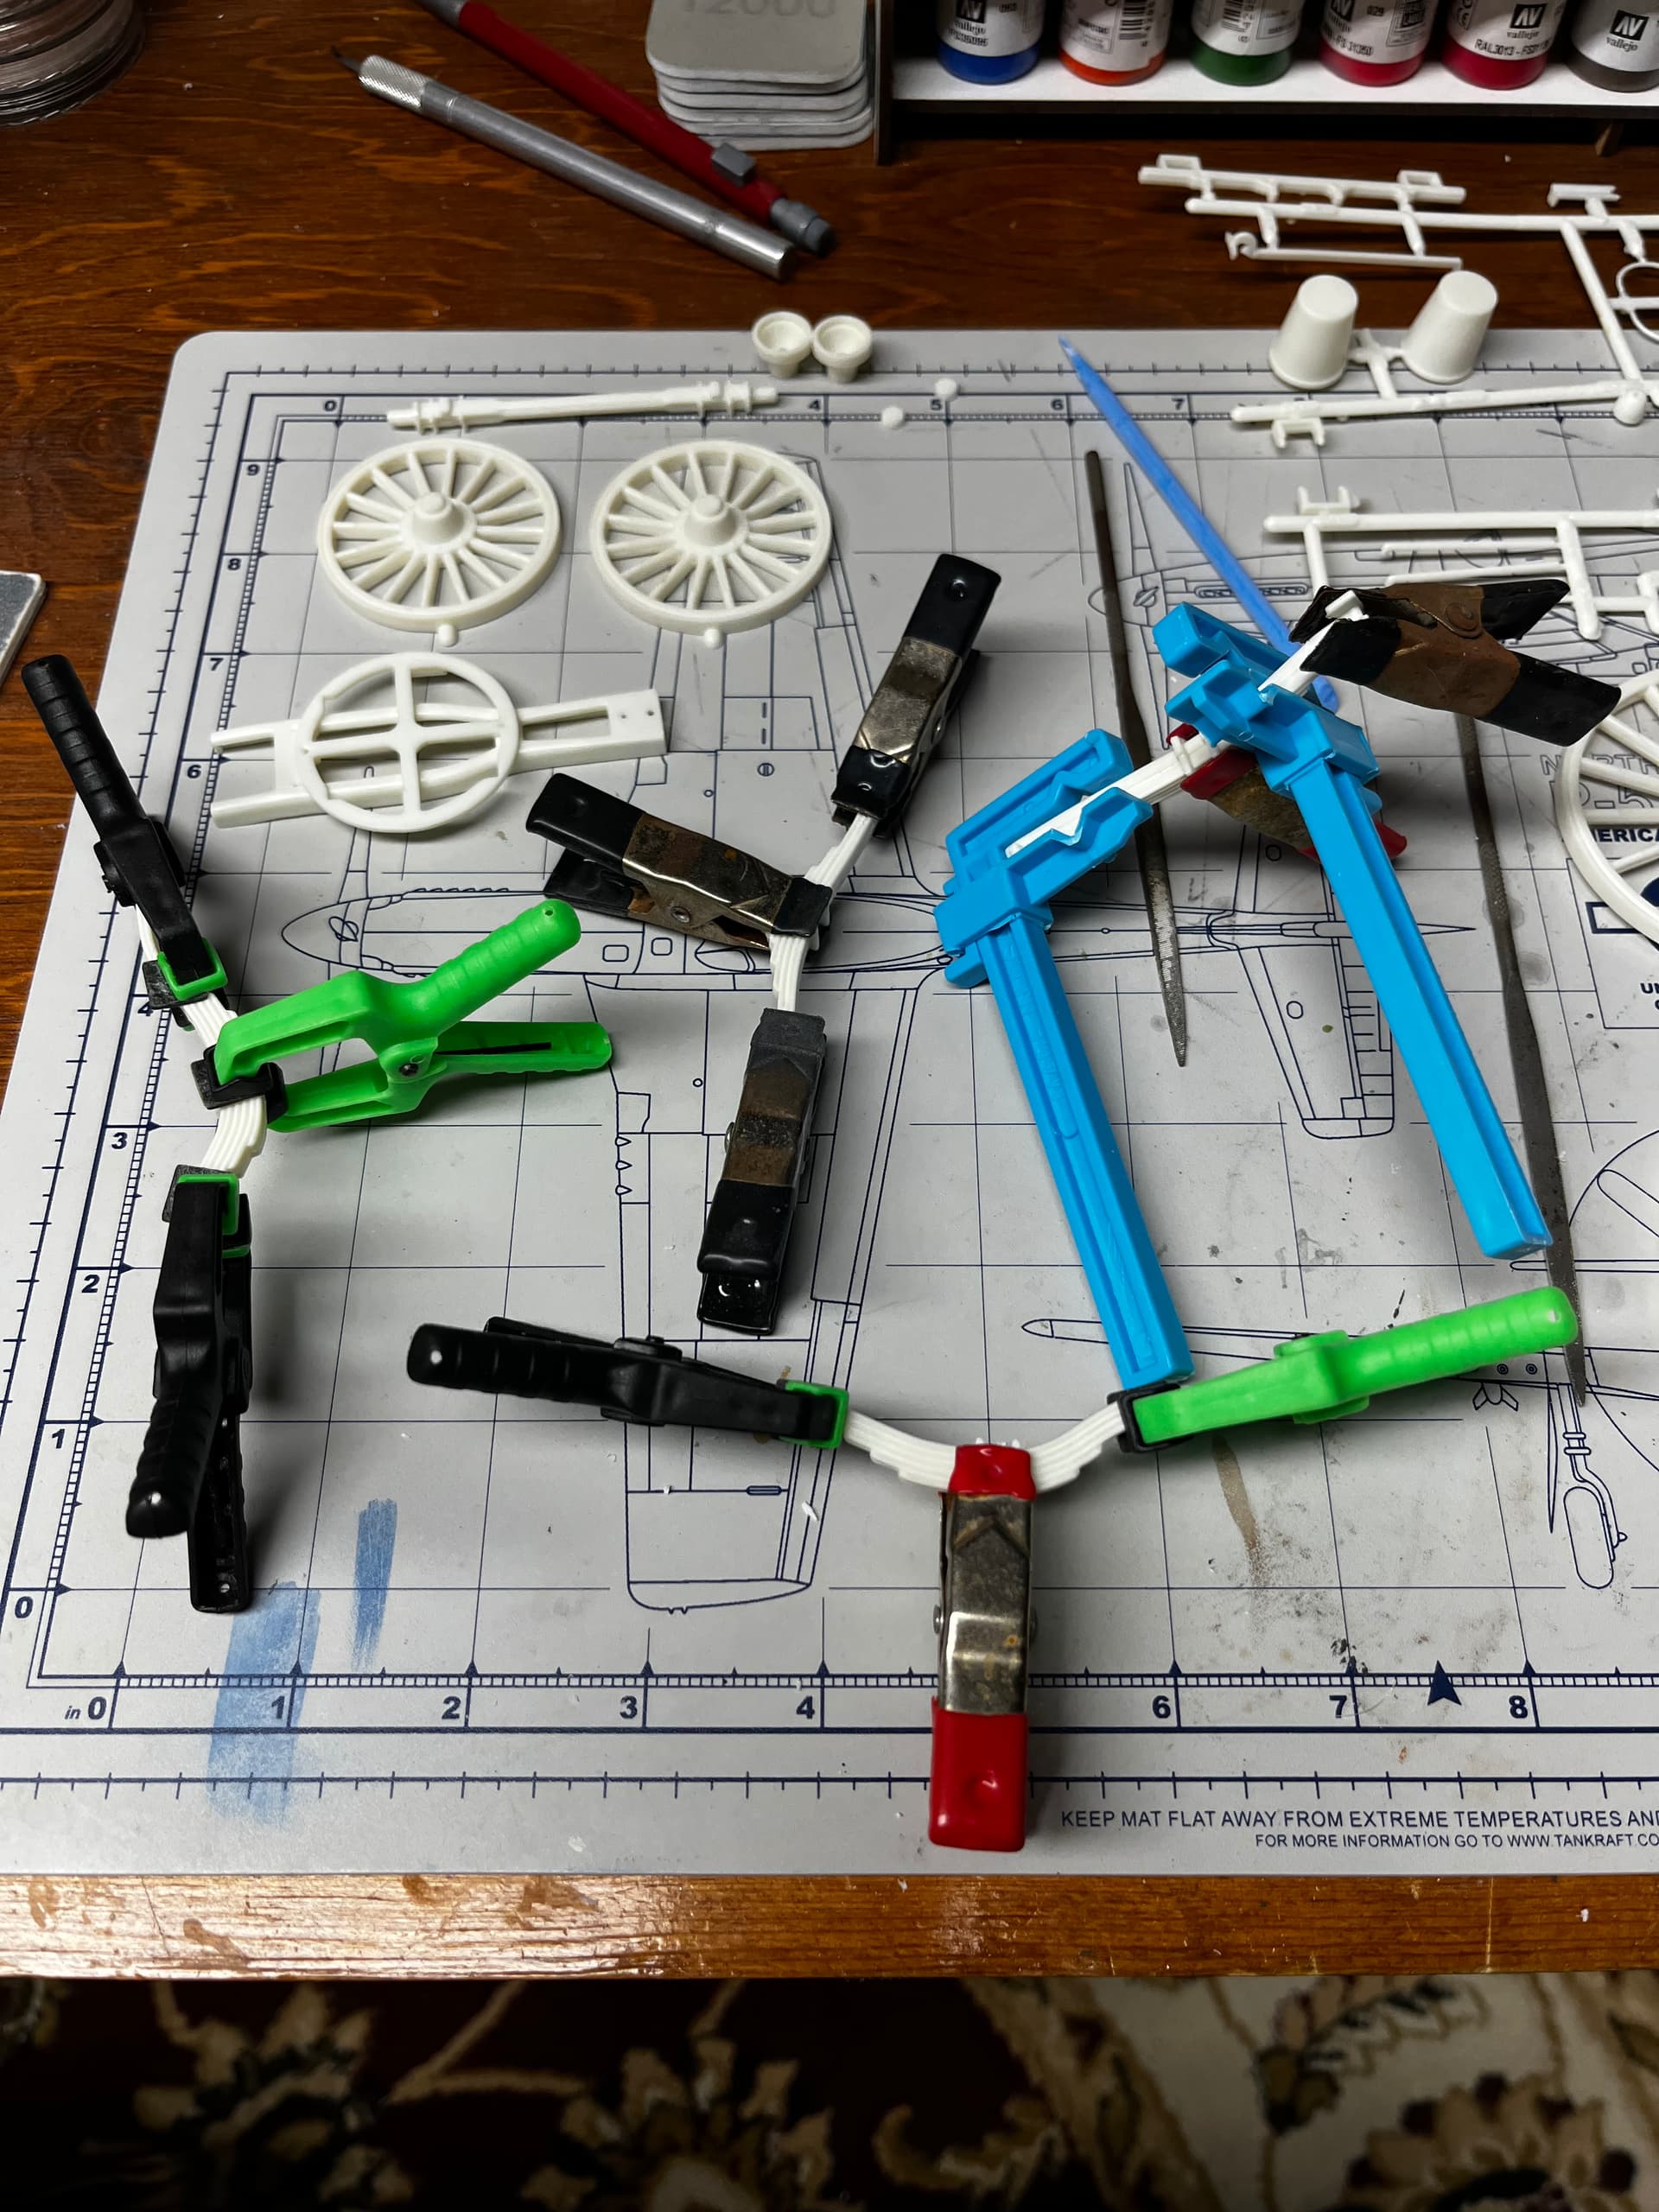
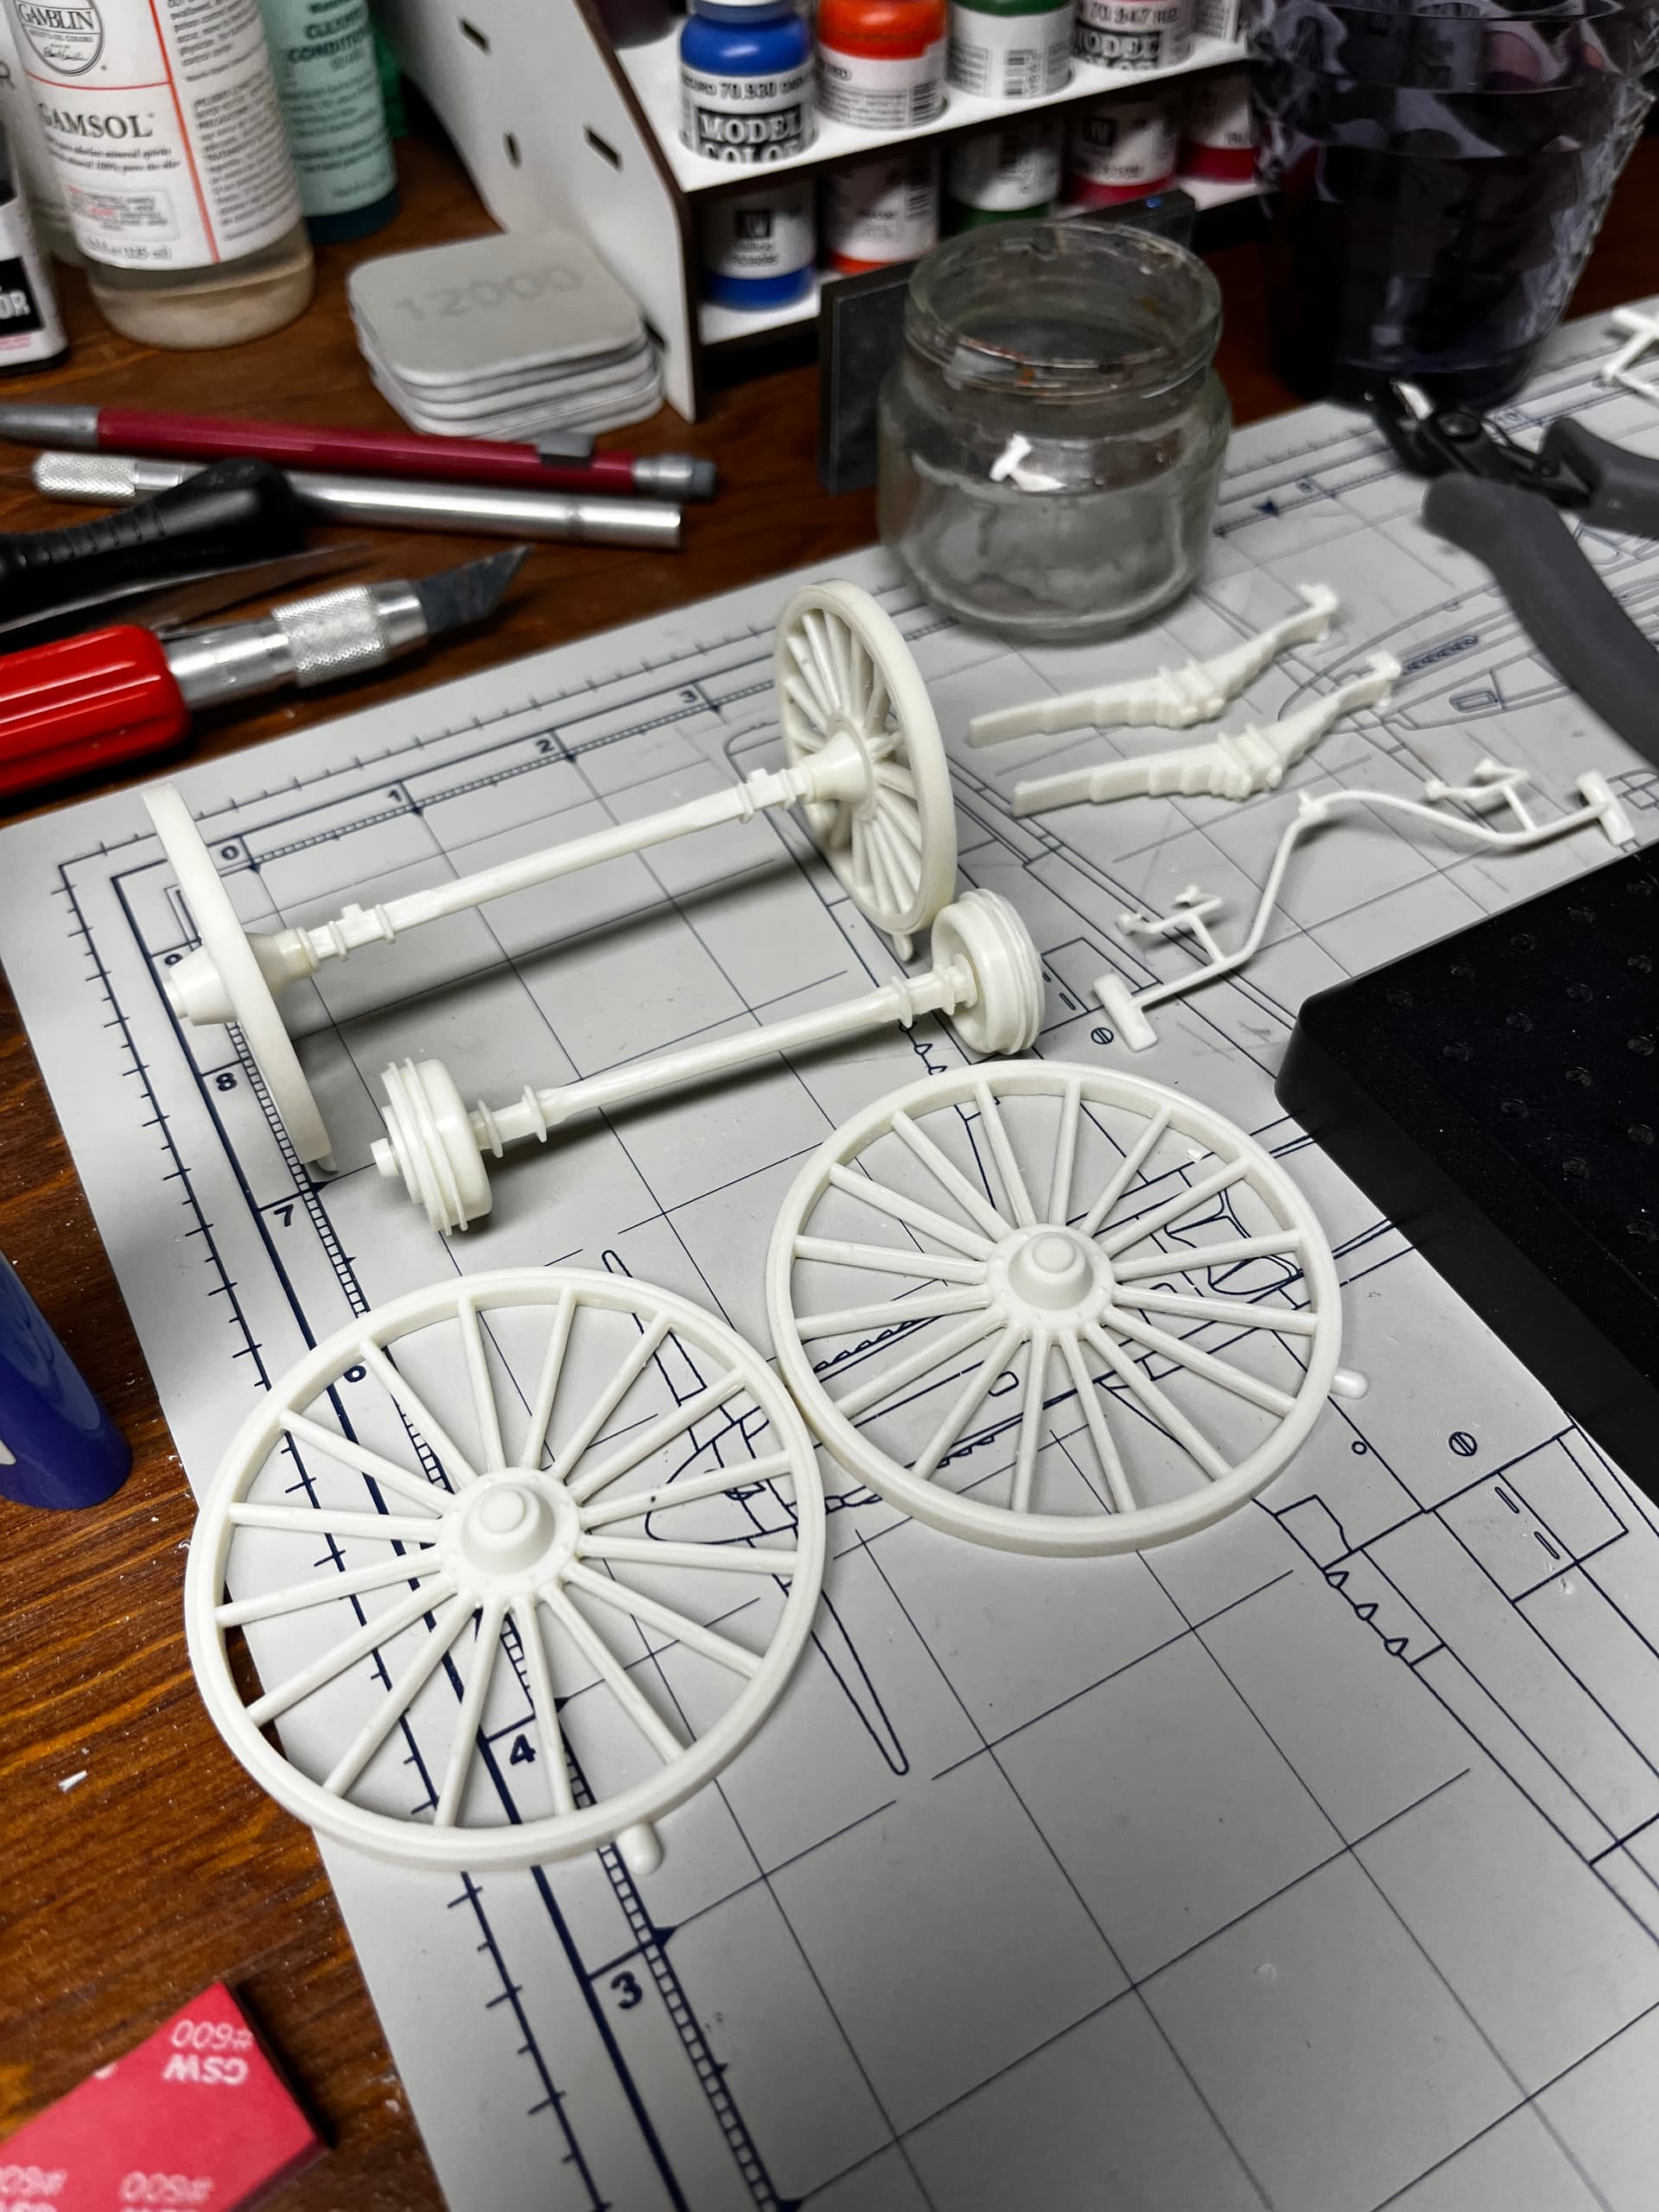
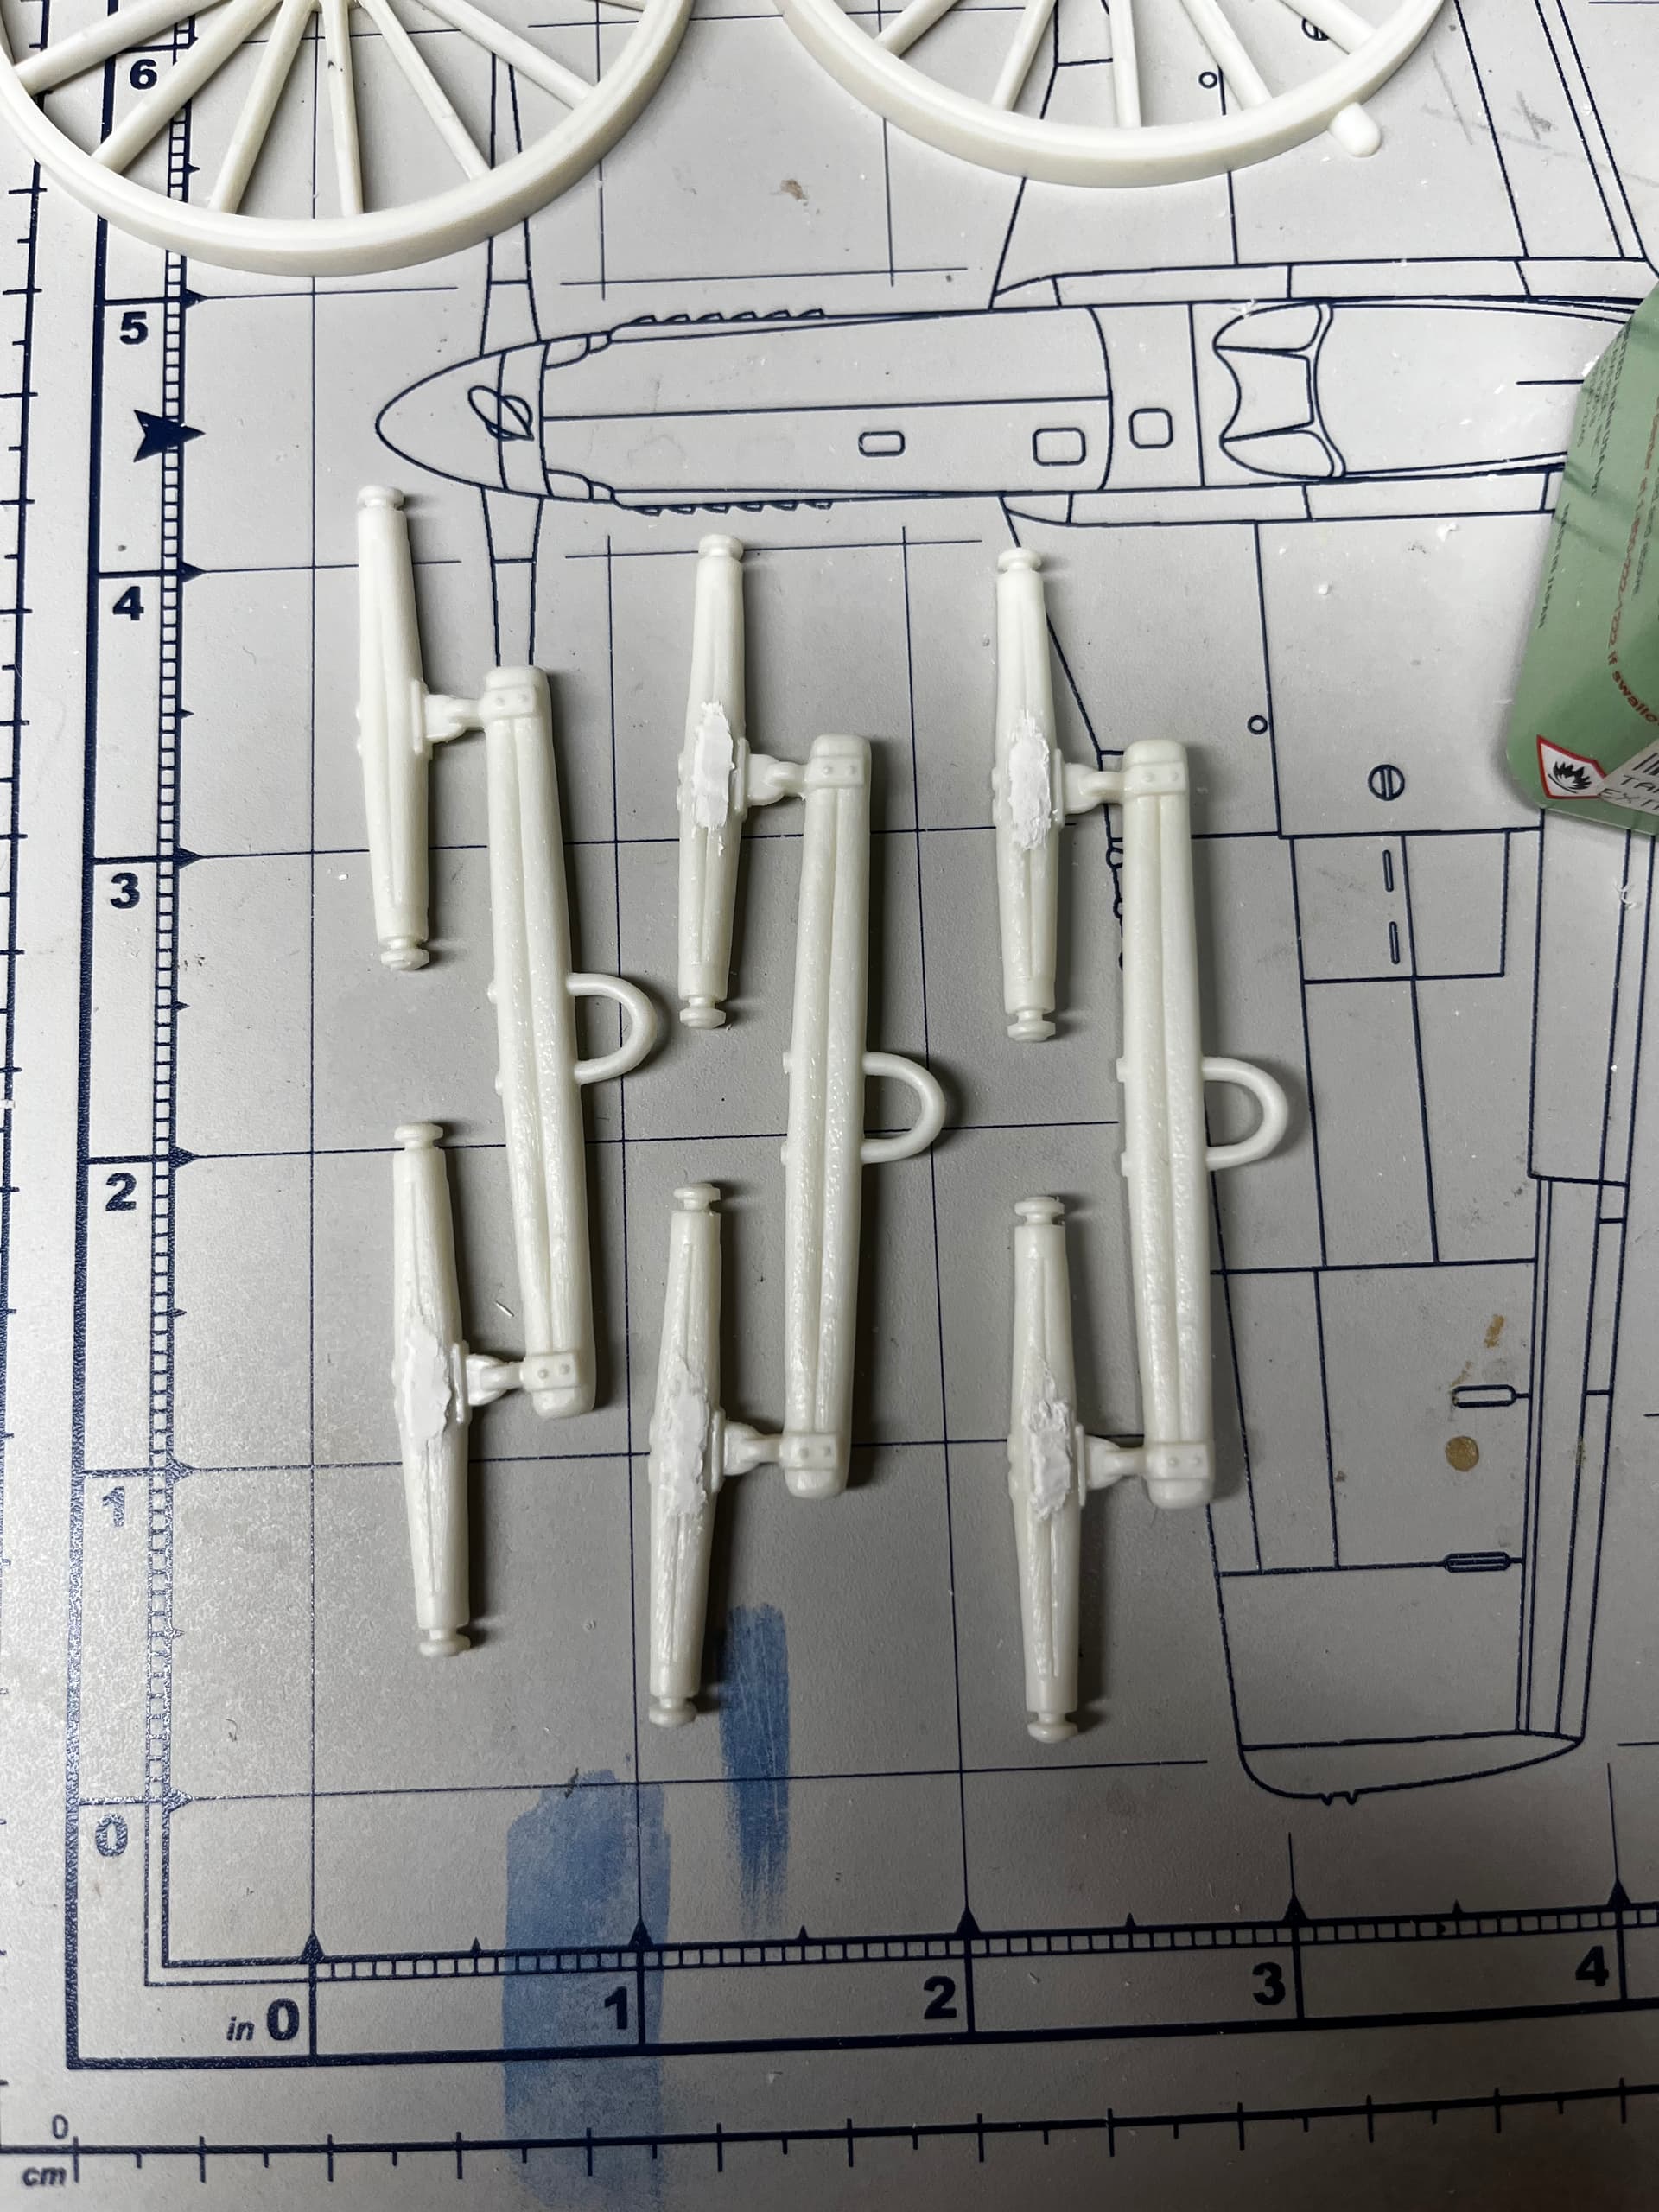
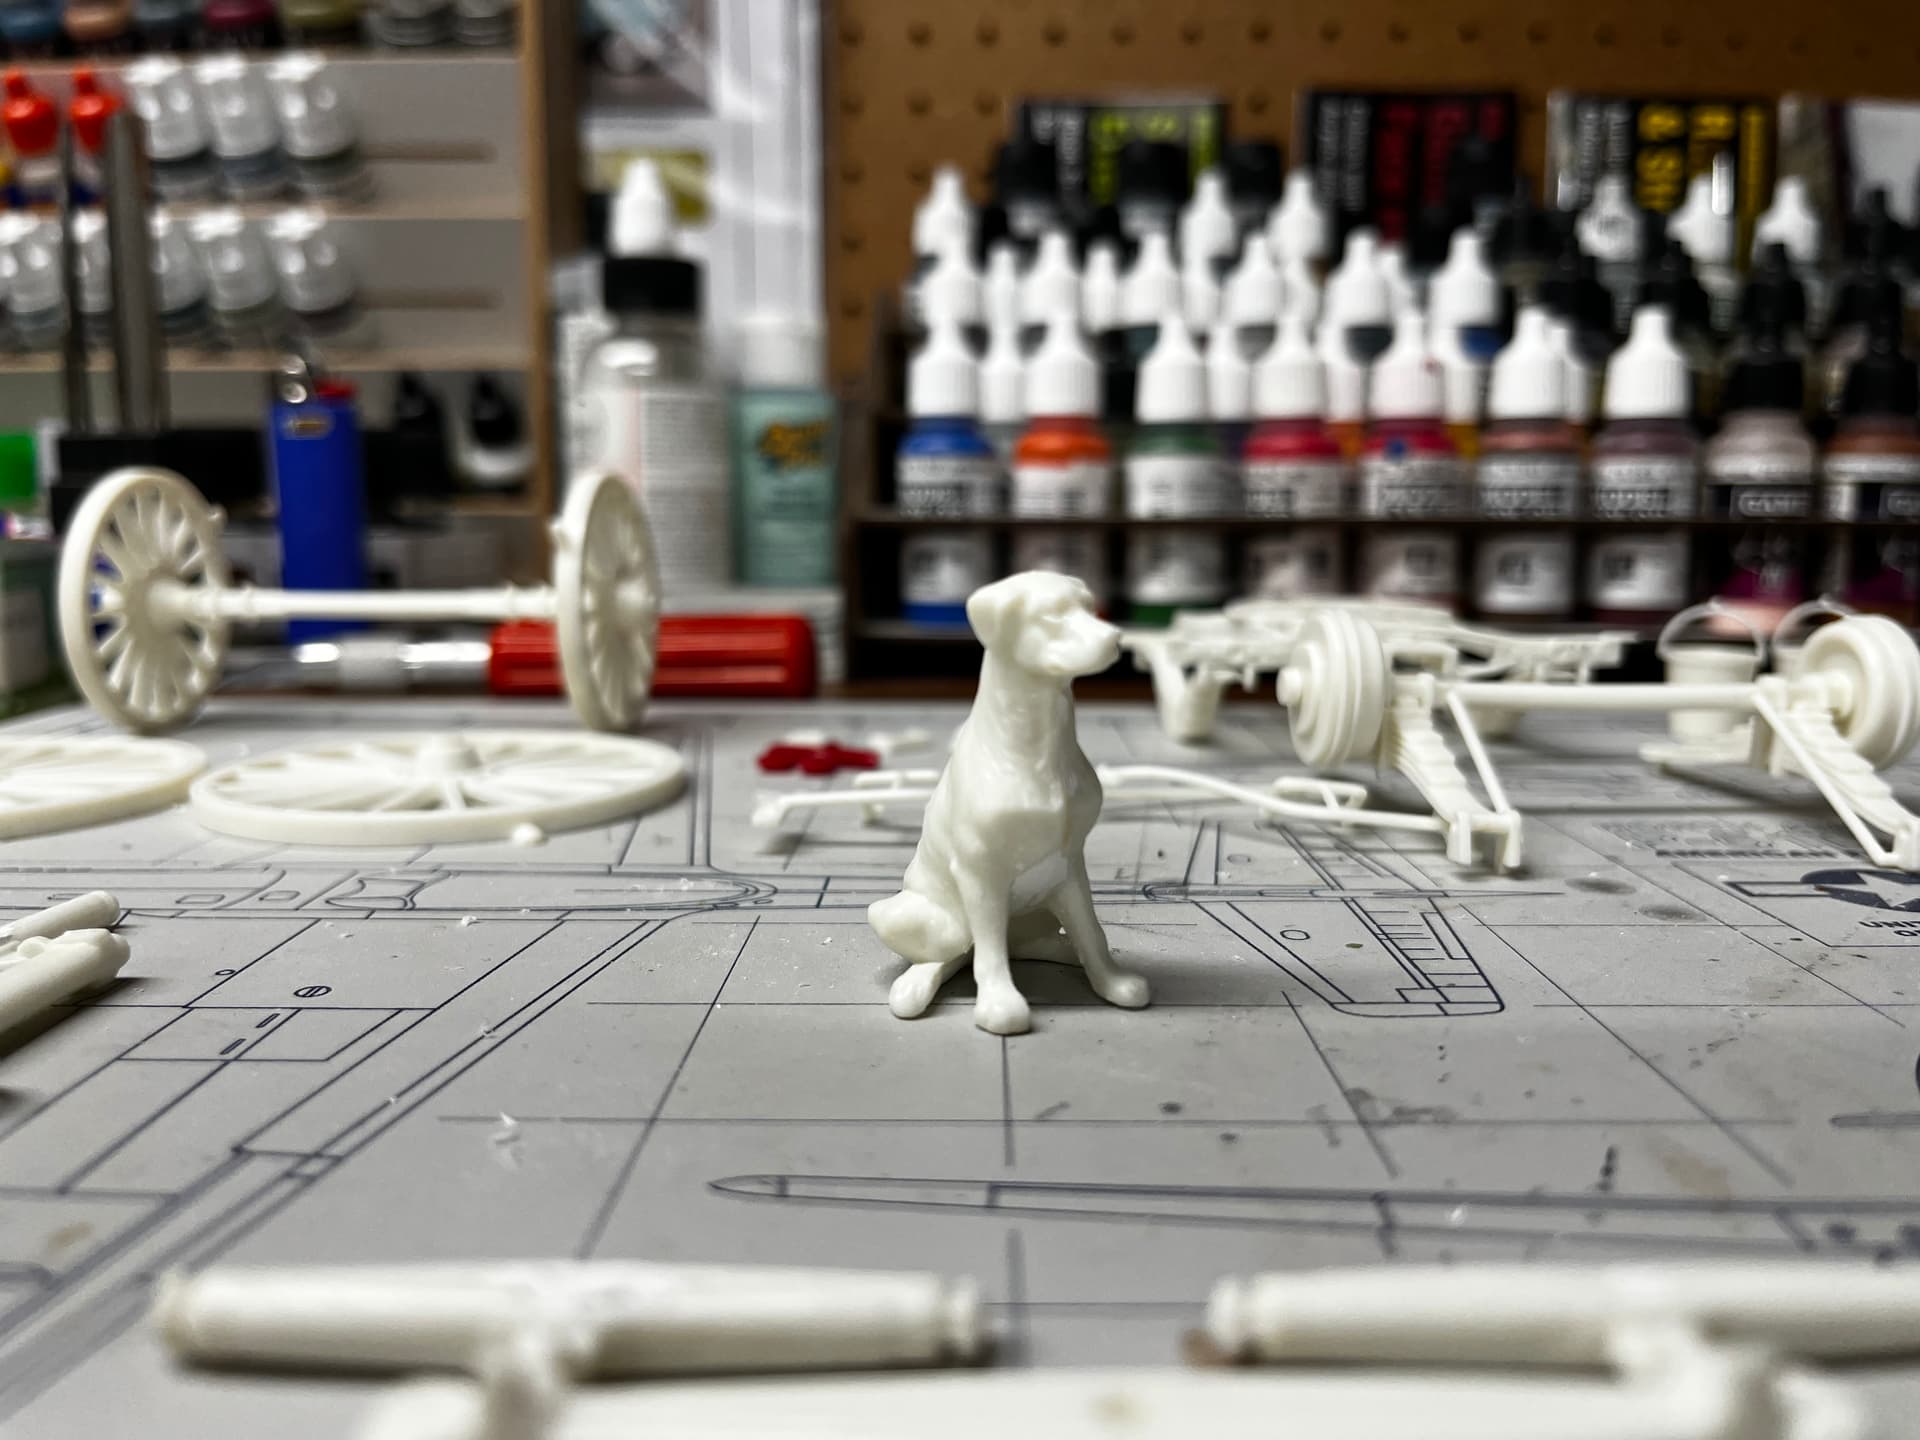
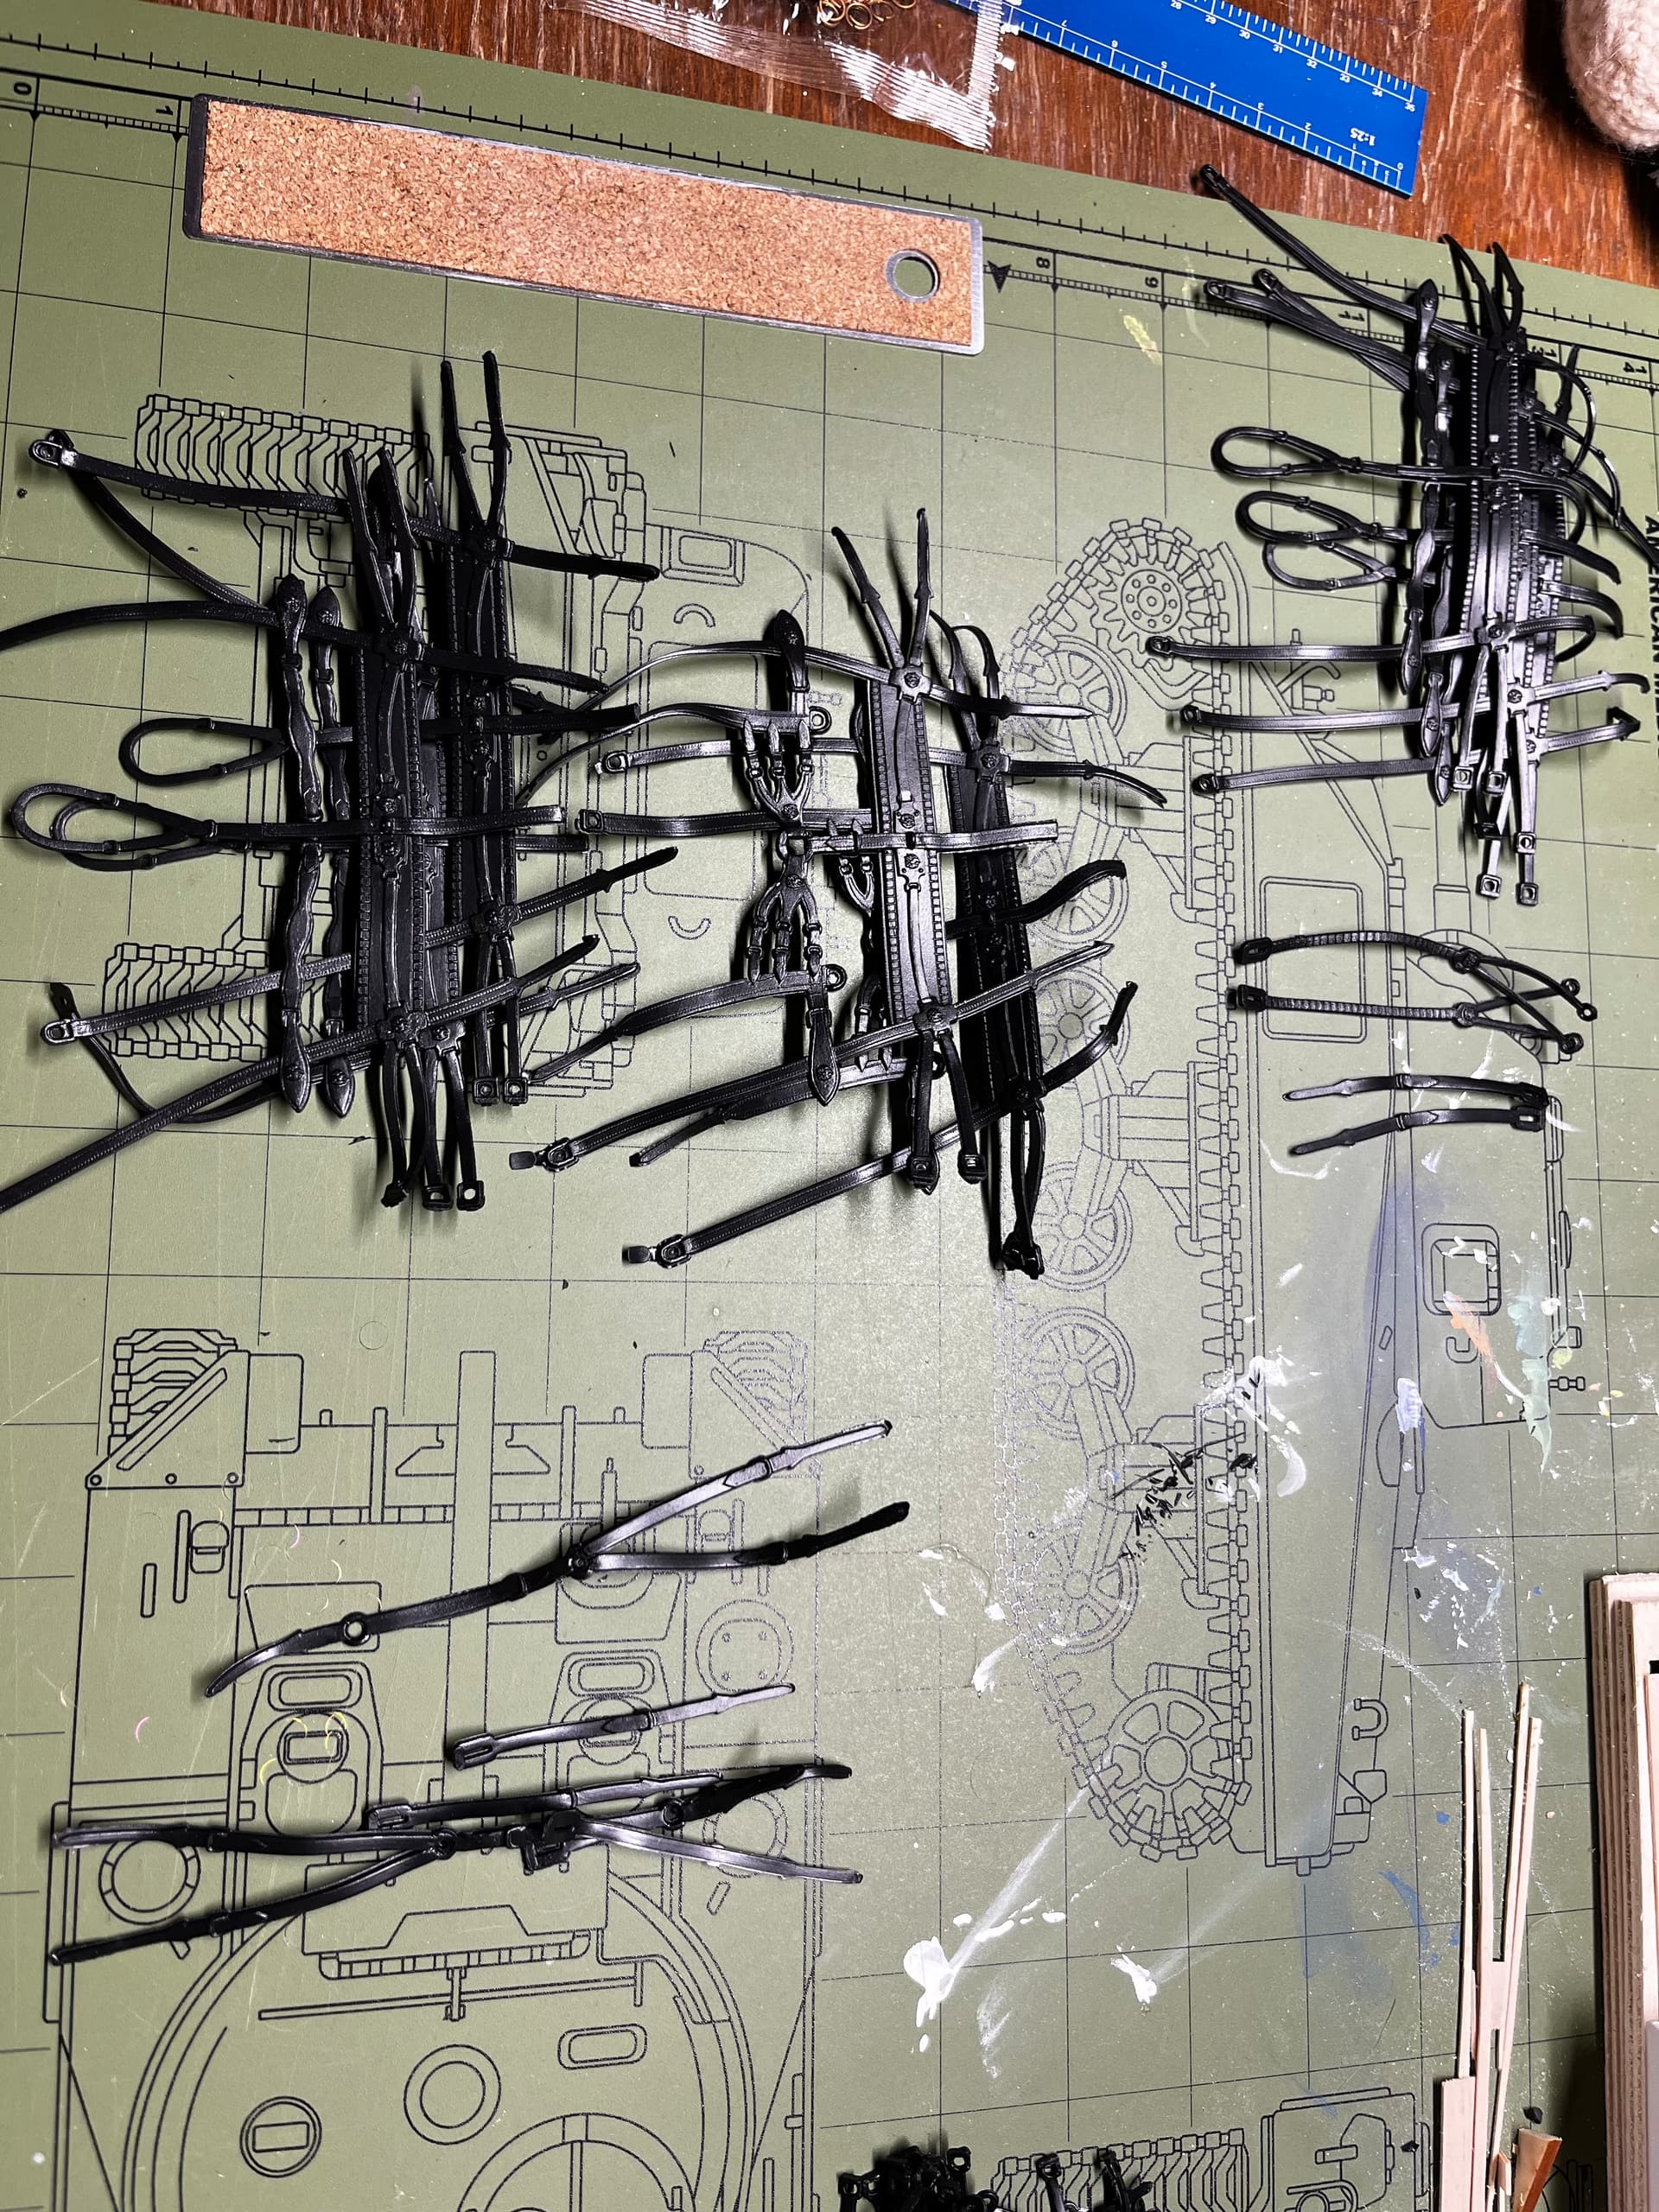
Started cleaning up the parts for the wheels and suspension. See the warp? Not even gonna worry about it. At this point, it is to make the best of what is in the box. No, I’ll not be taking suggestions for resin or 3D-printed replacements. No, I’ll not be heating anymore parts in boiling water, with a heat gun, not my own warm breath. This is now an exercise in crossing the finish line.
Cleanup. Cleanup. And more cleanup. Old kits are a time suck when it comes to cleanup and filling, and this one has some of the worst sink marks I’ve ever seen. Milliput to the rescue!
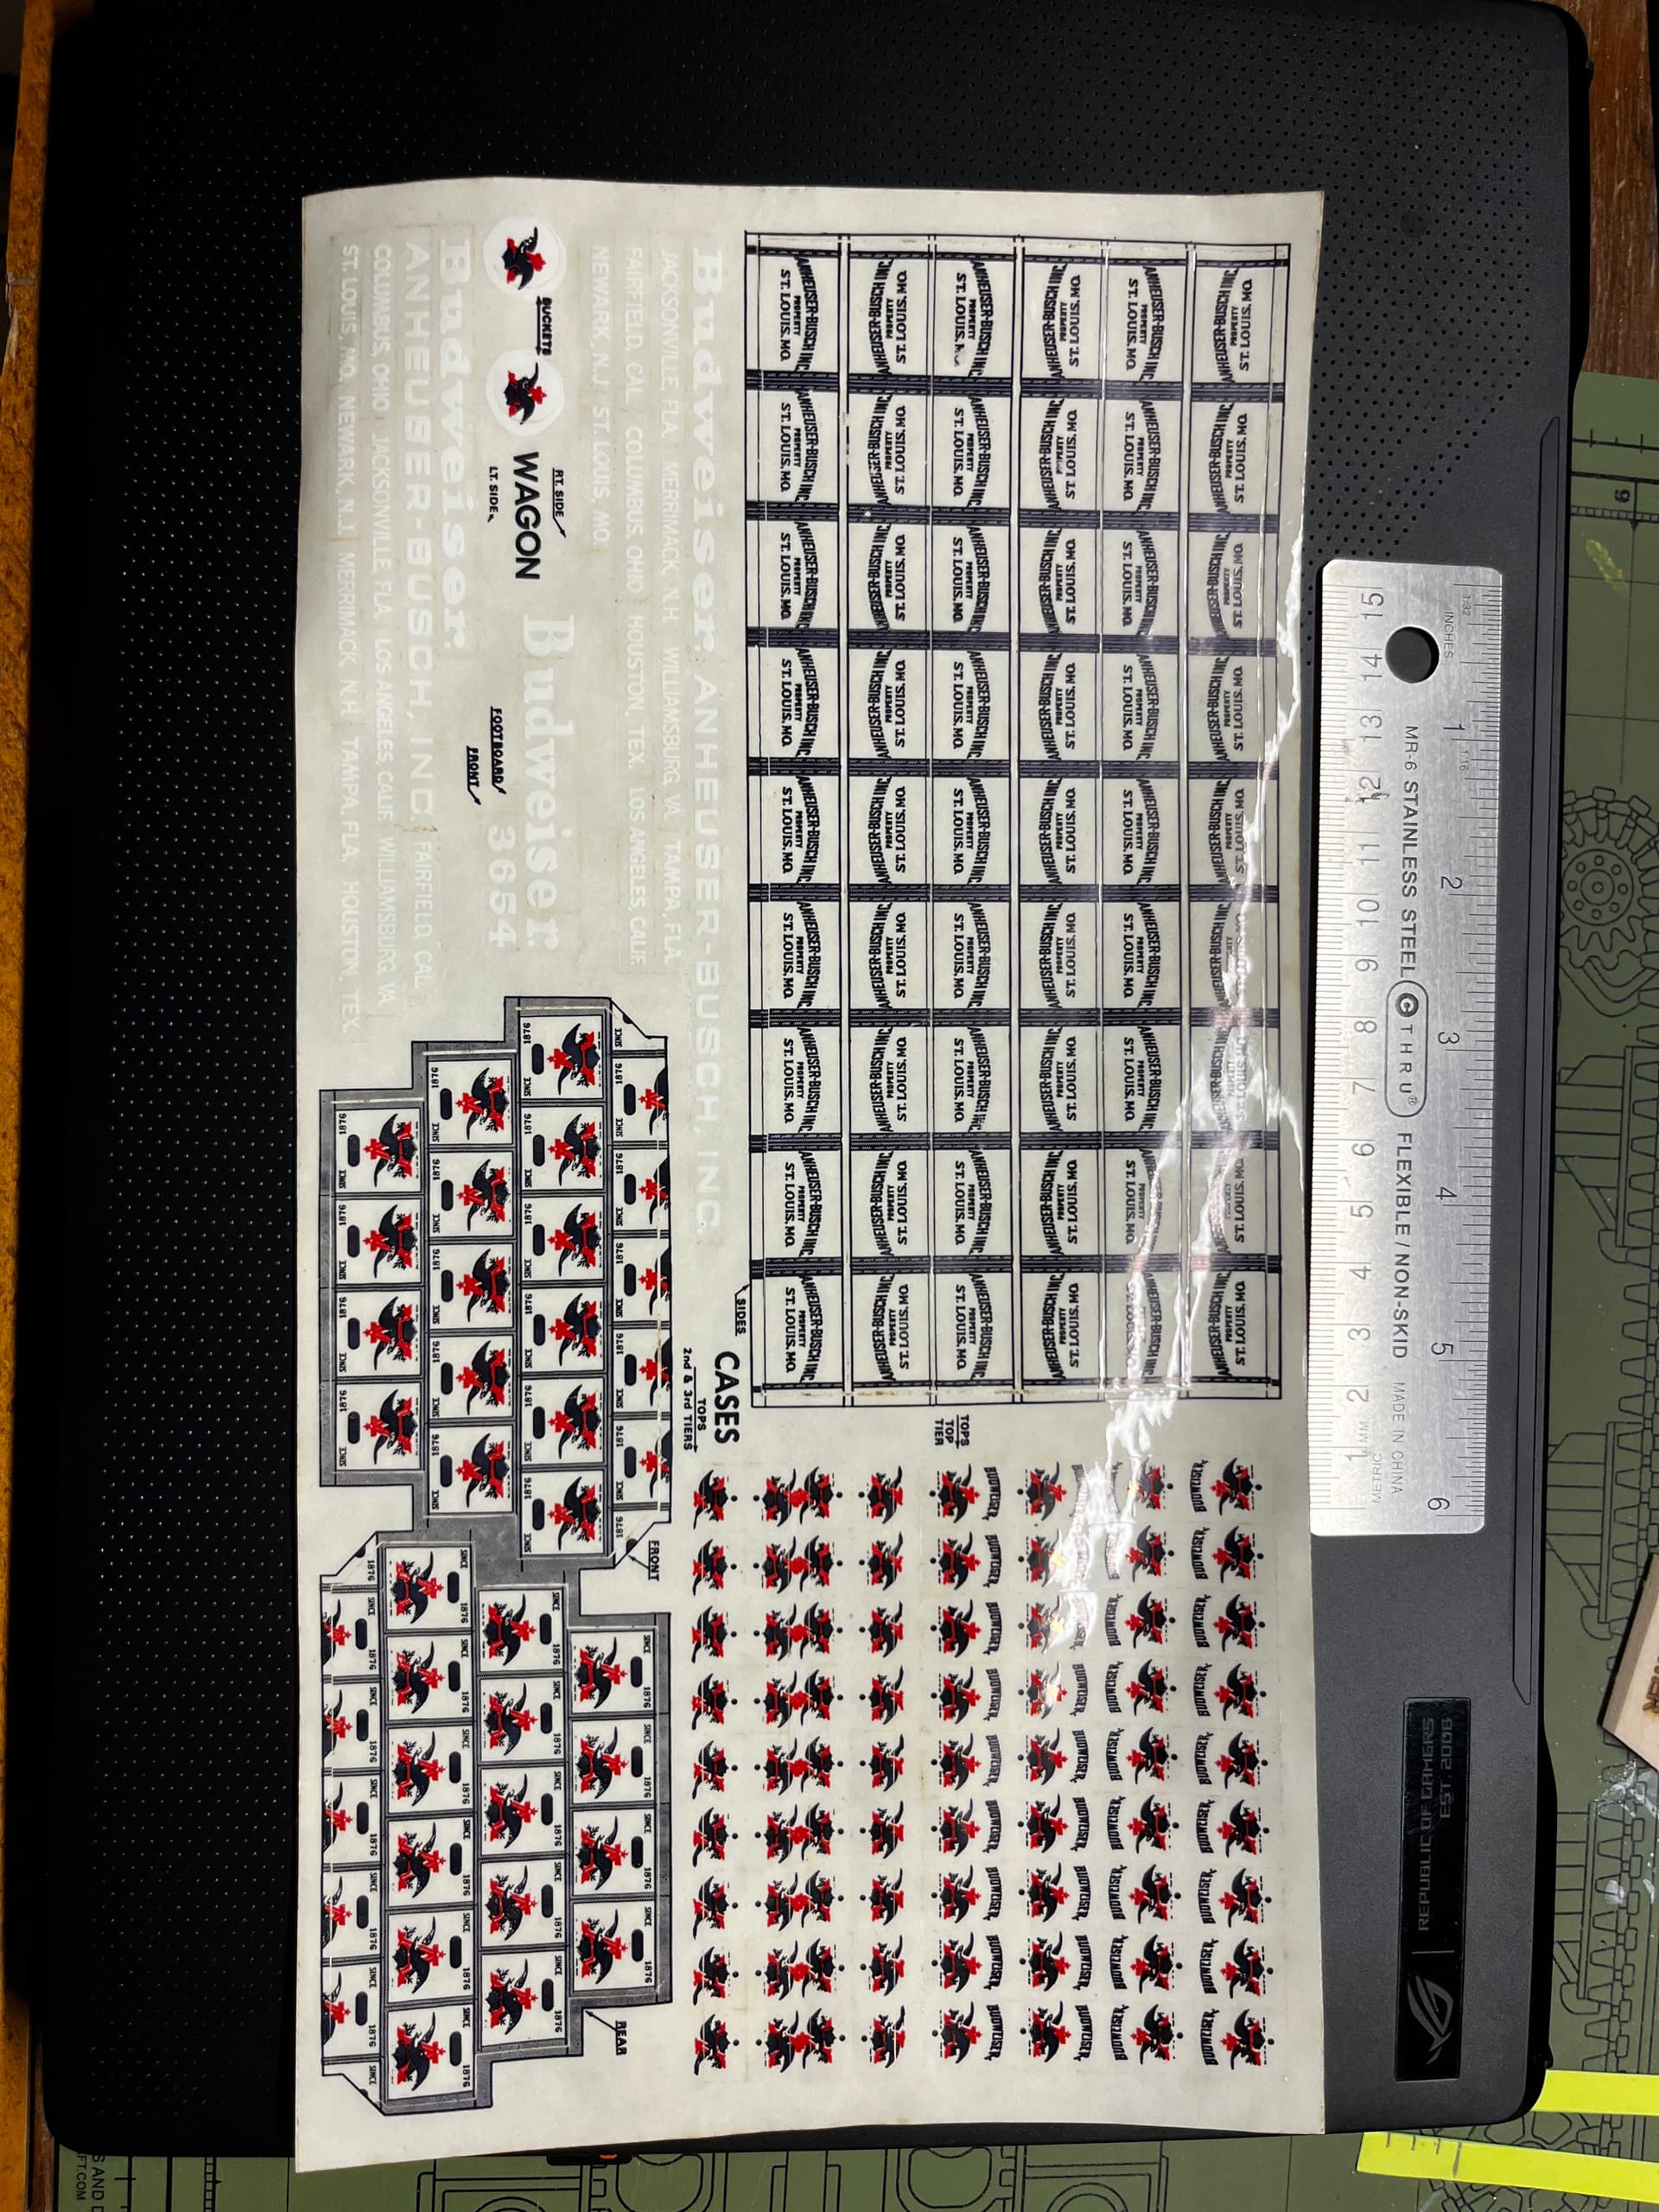
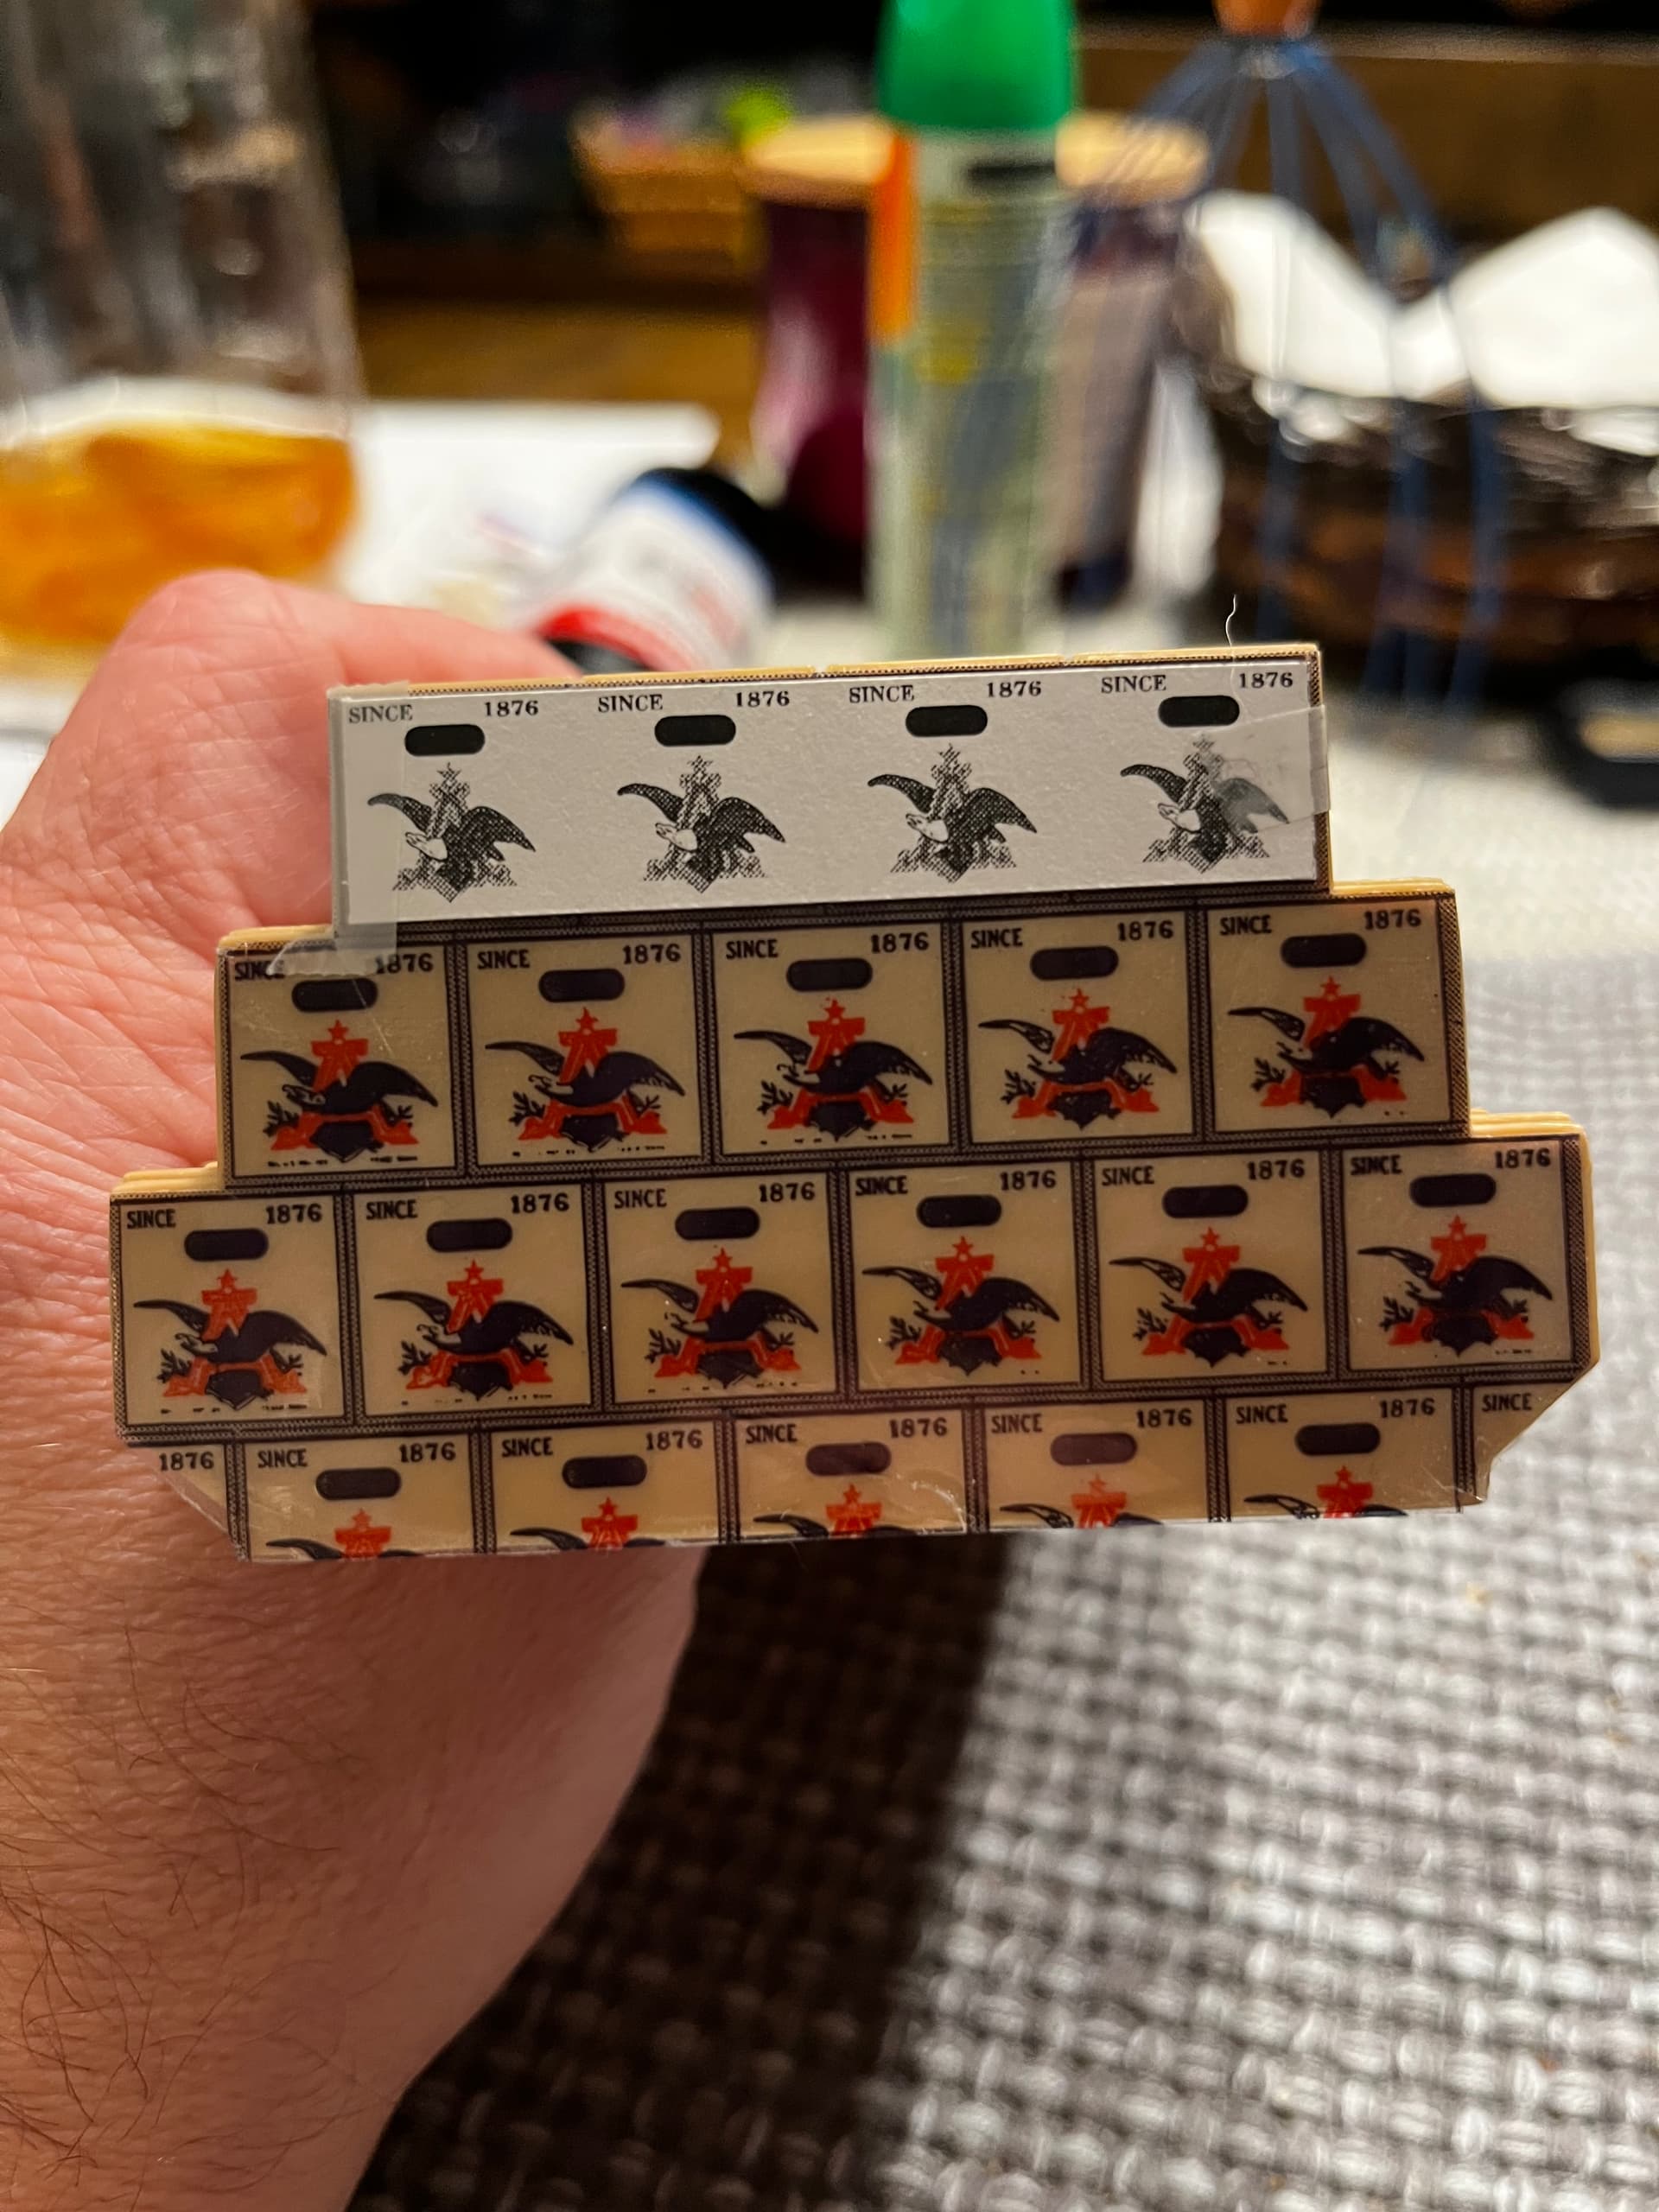
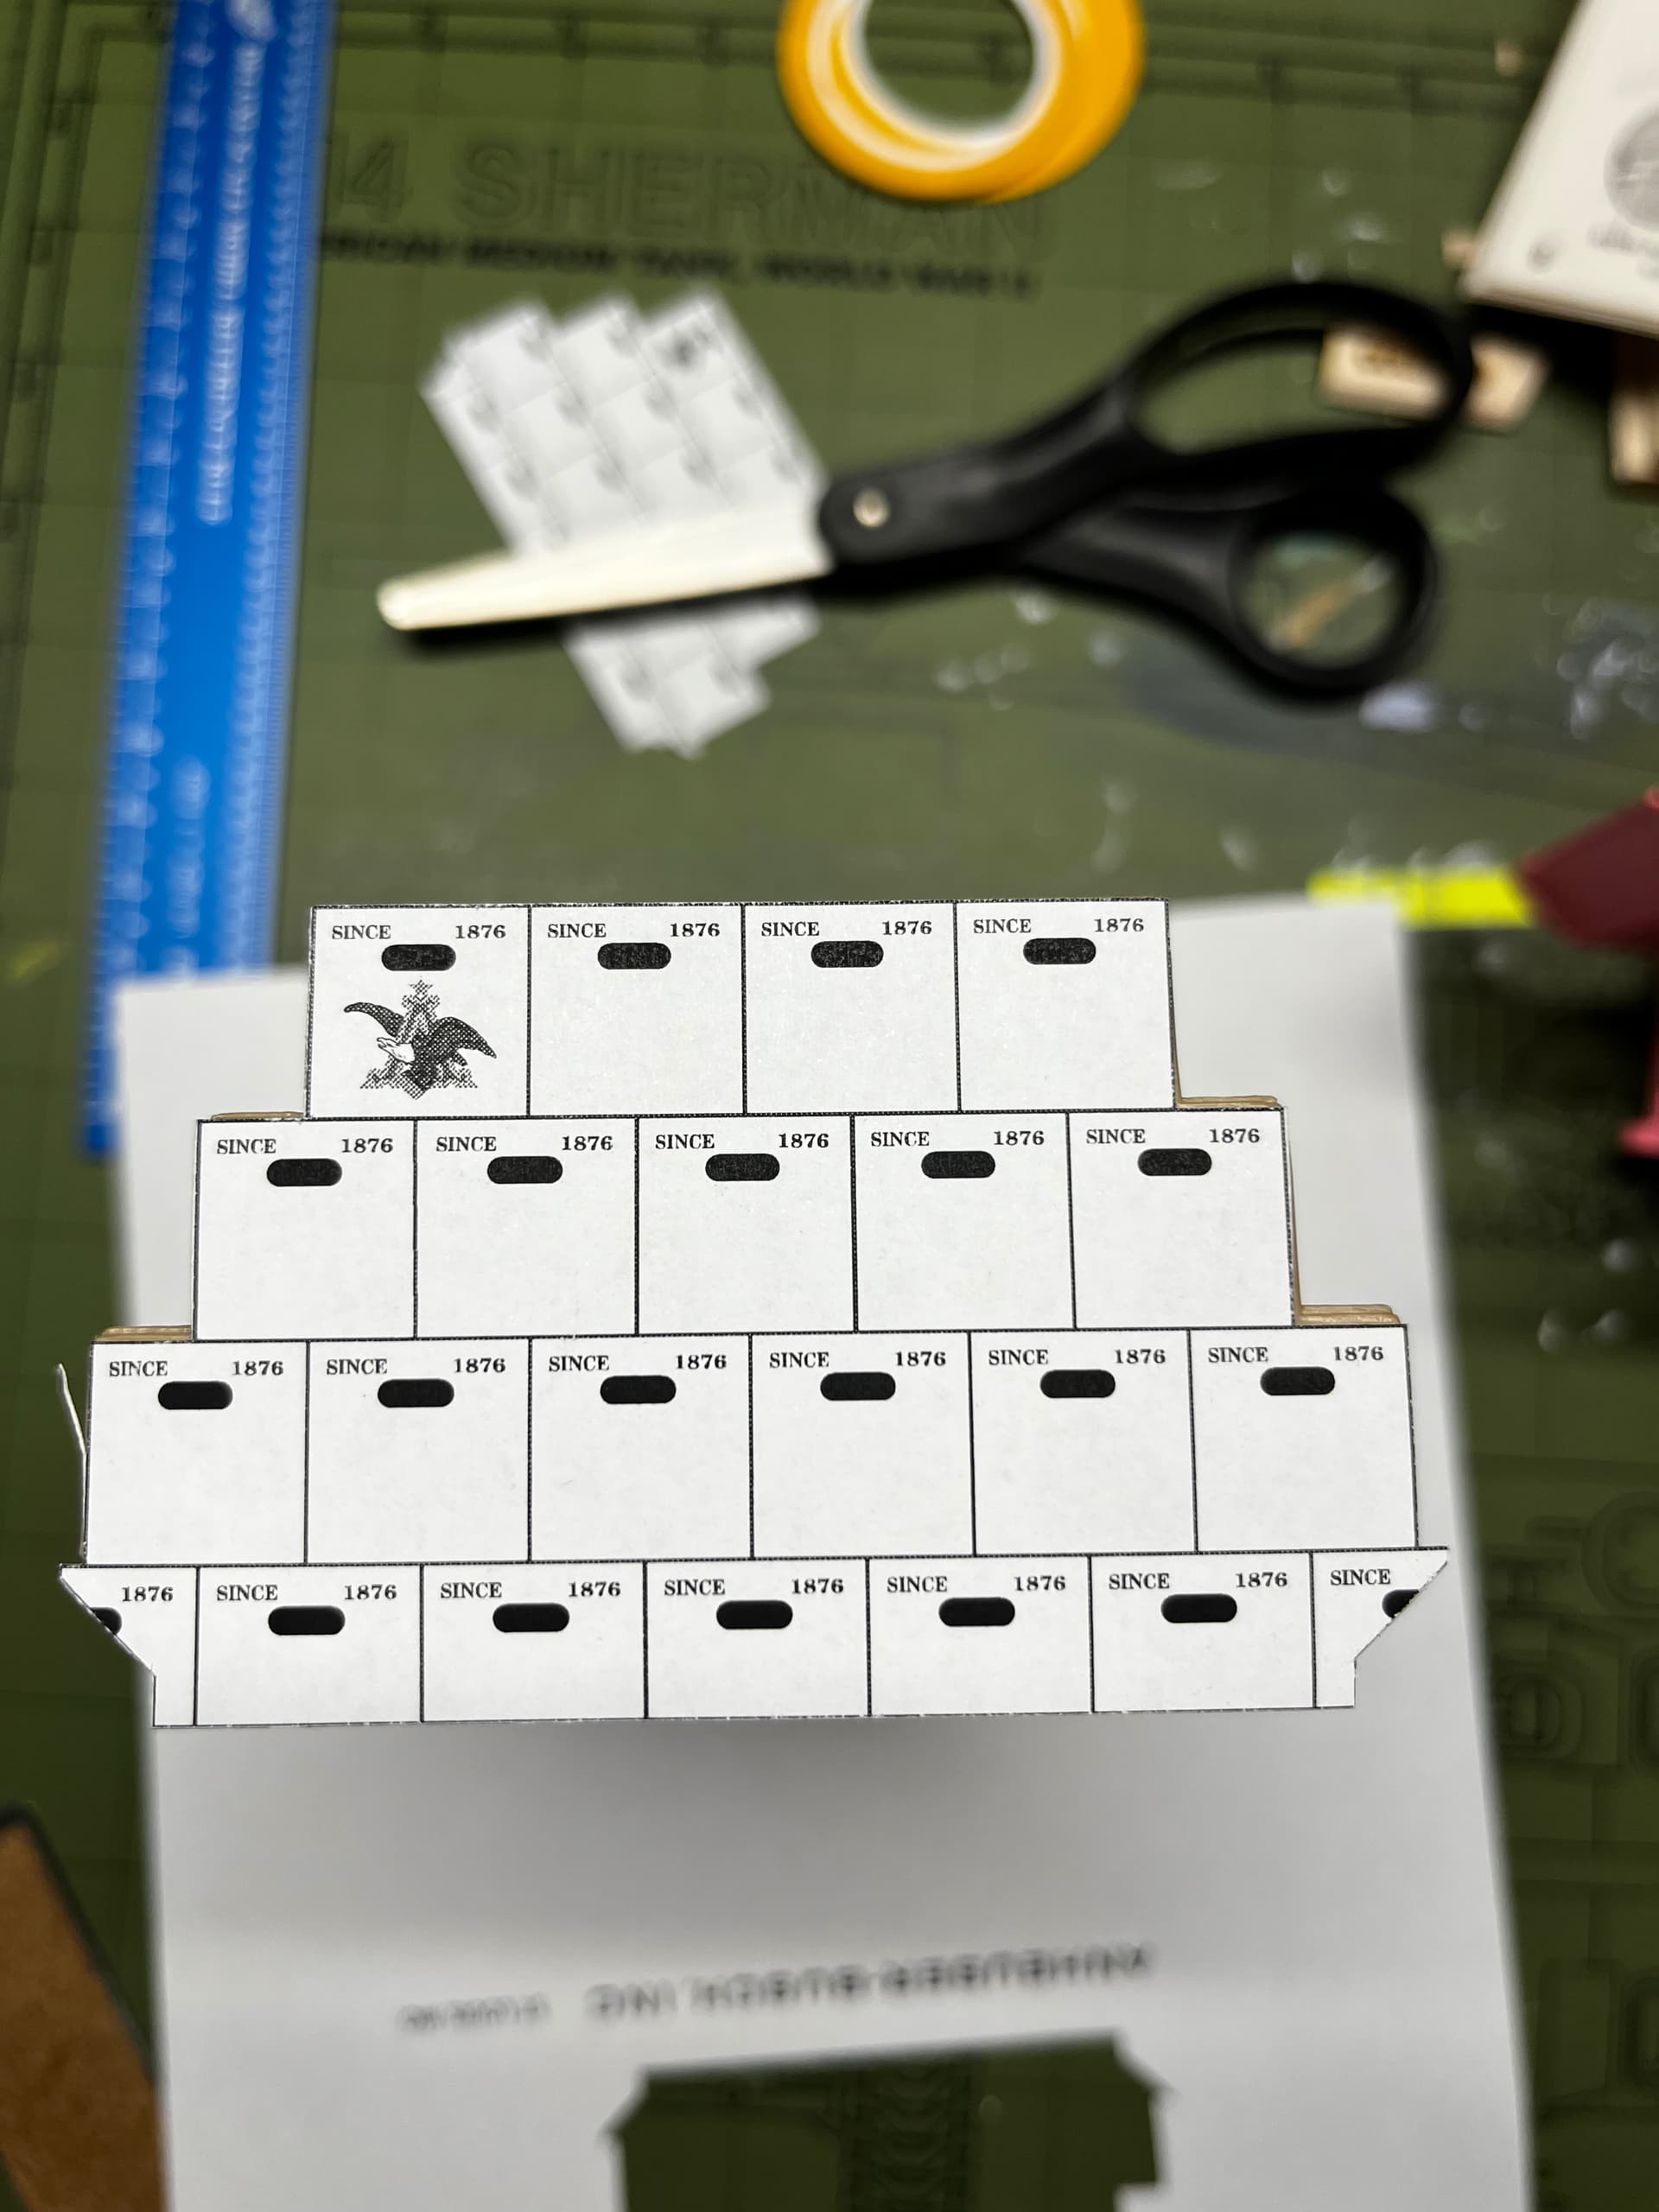
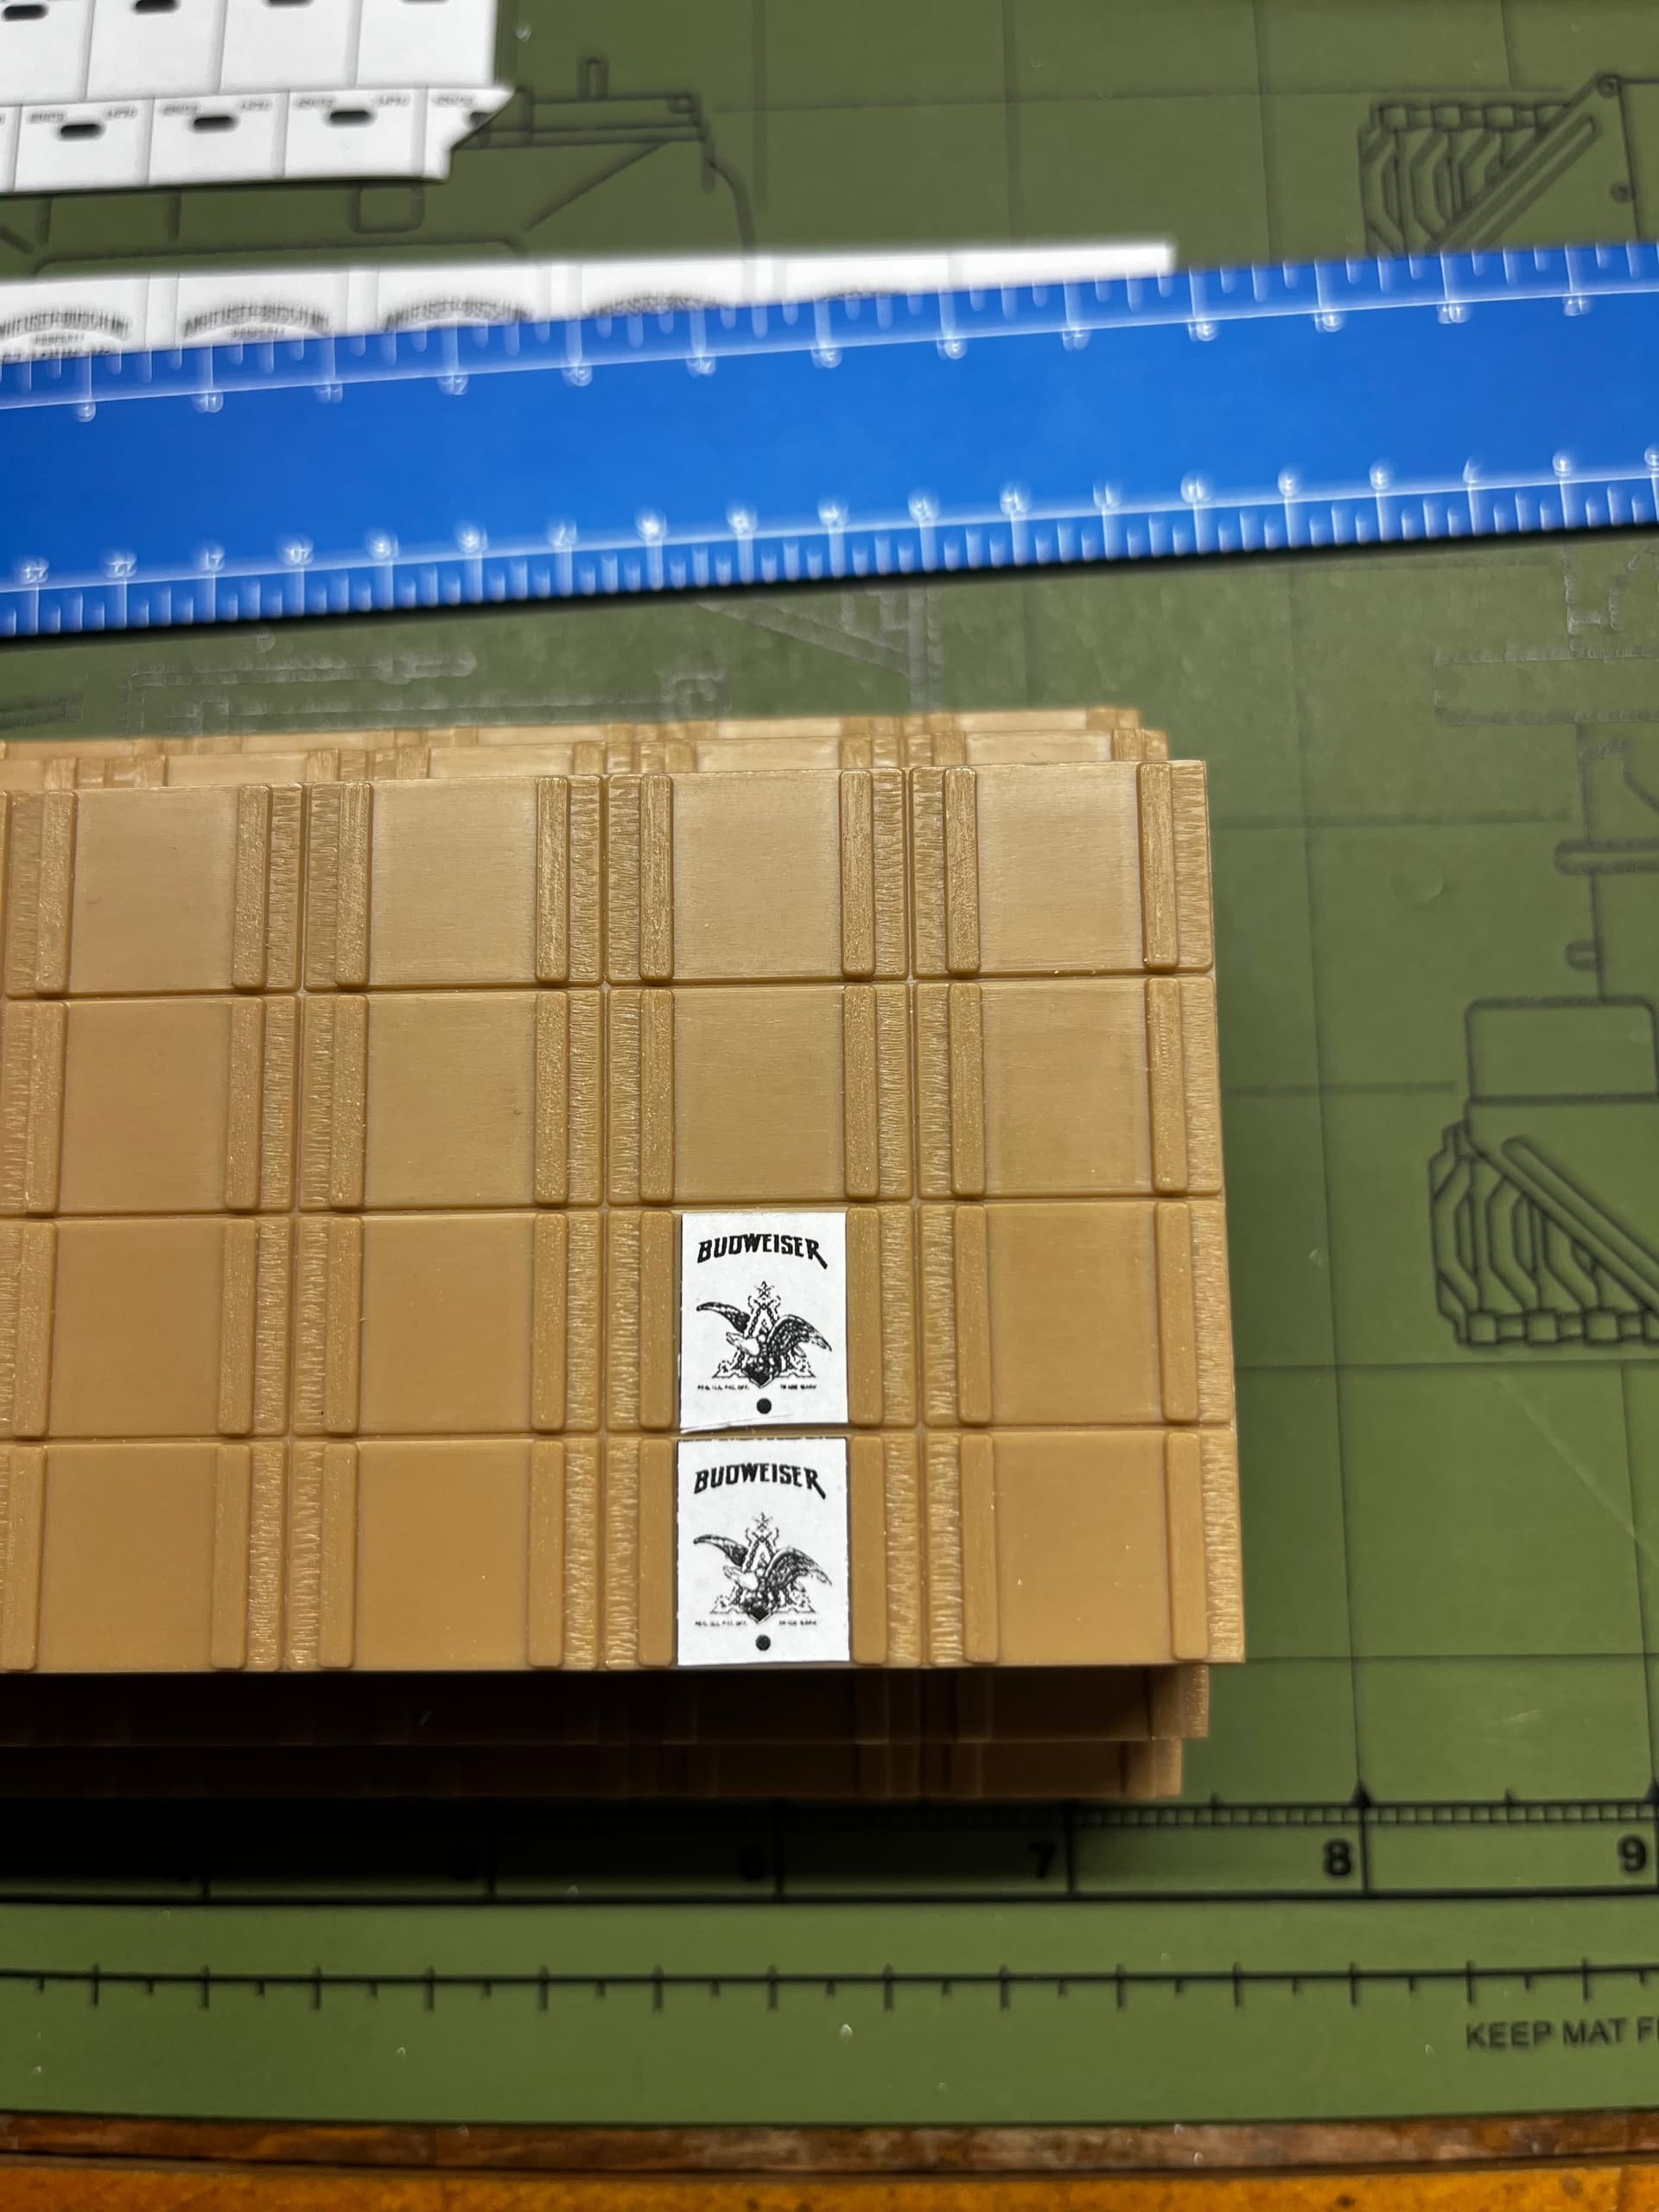
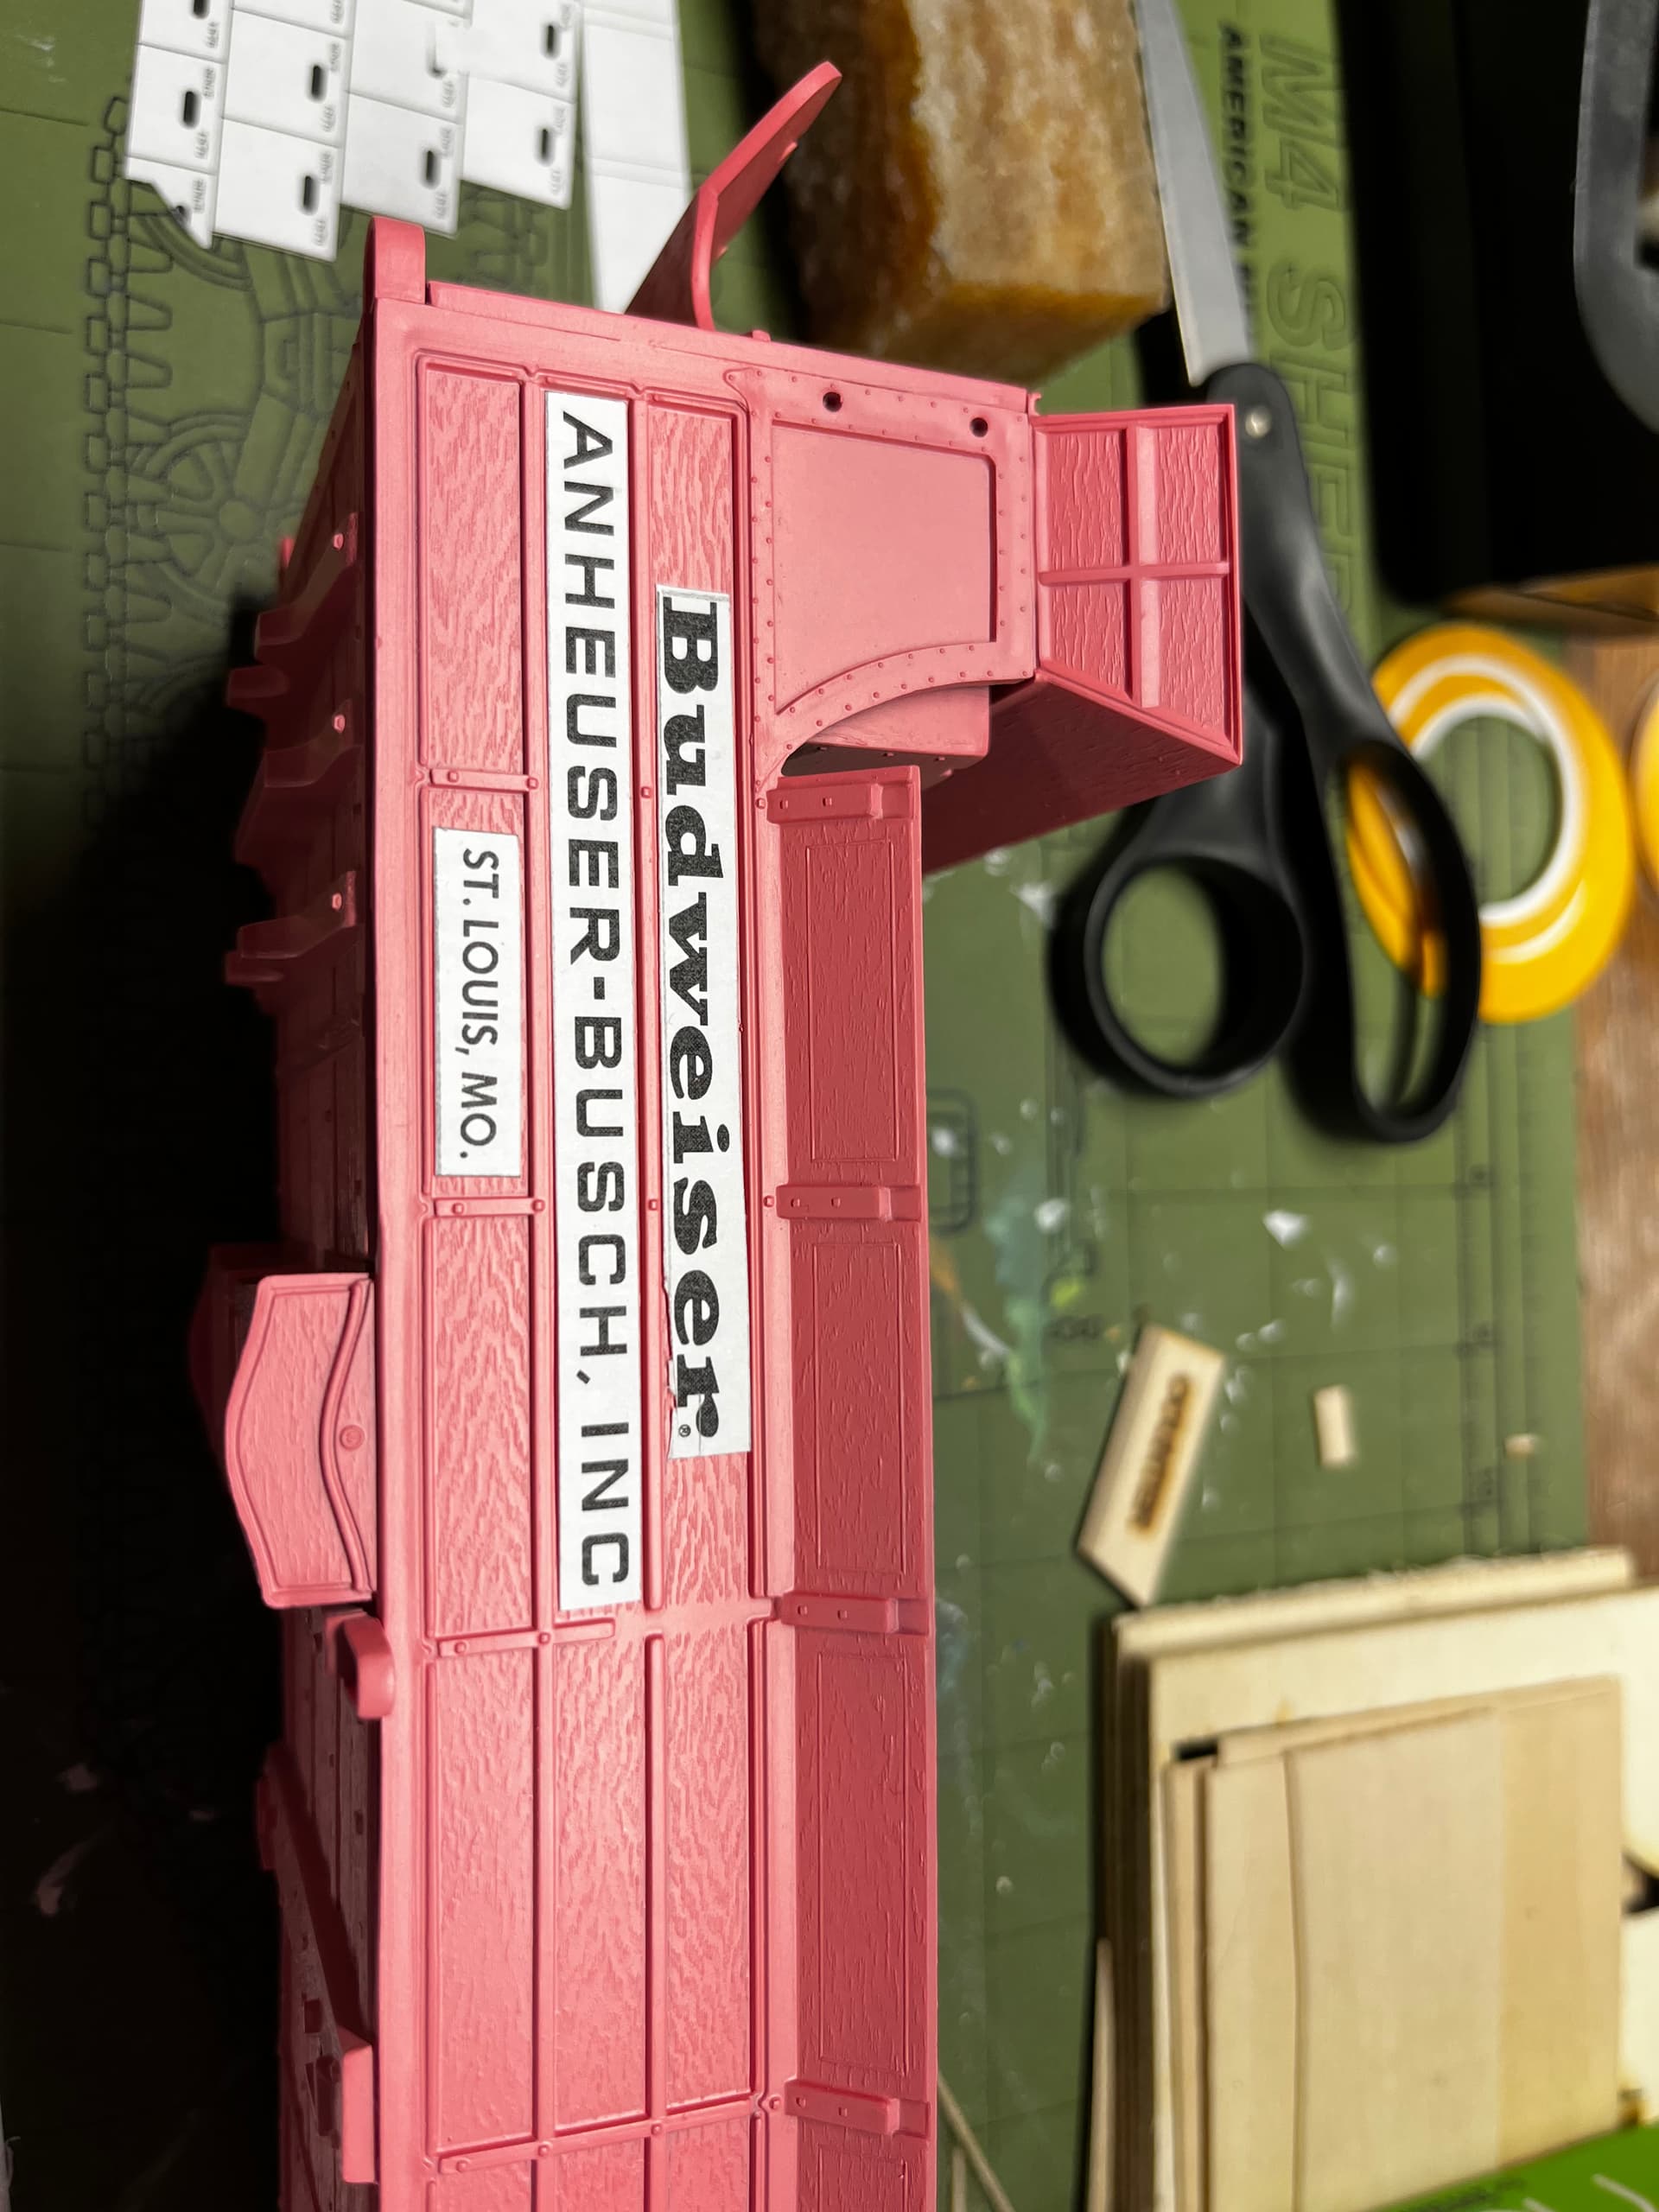
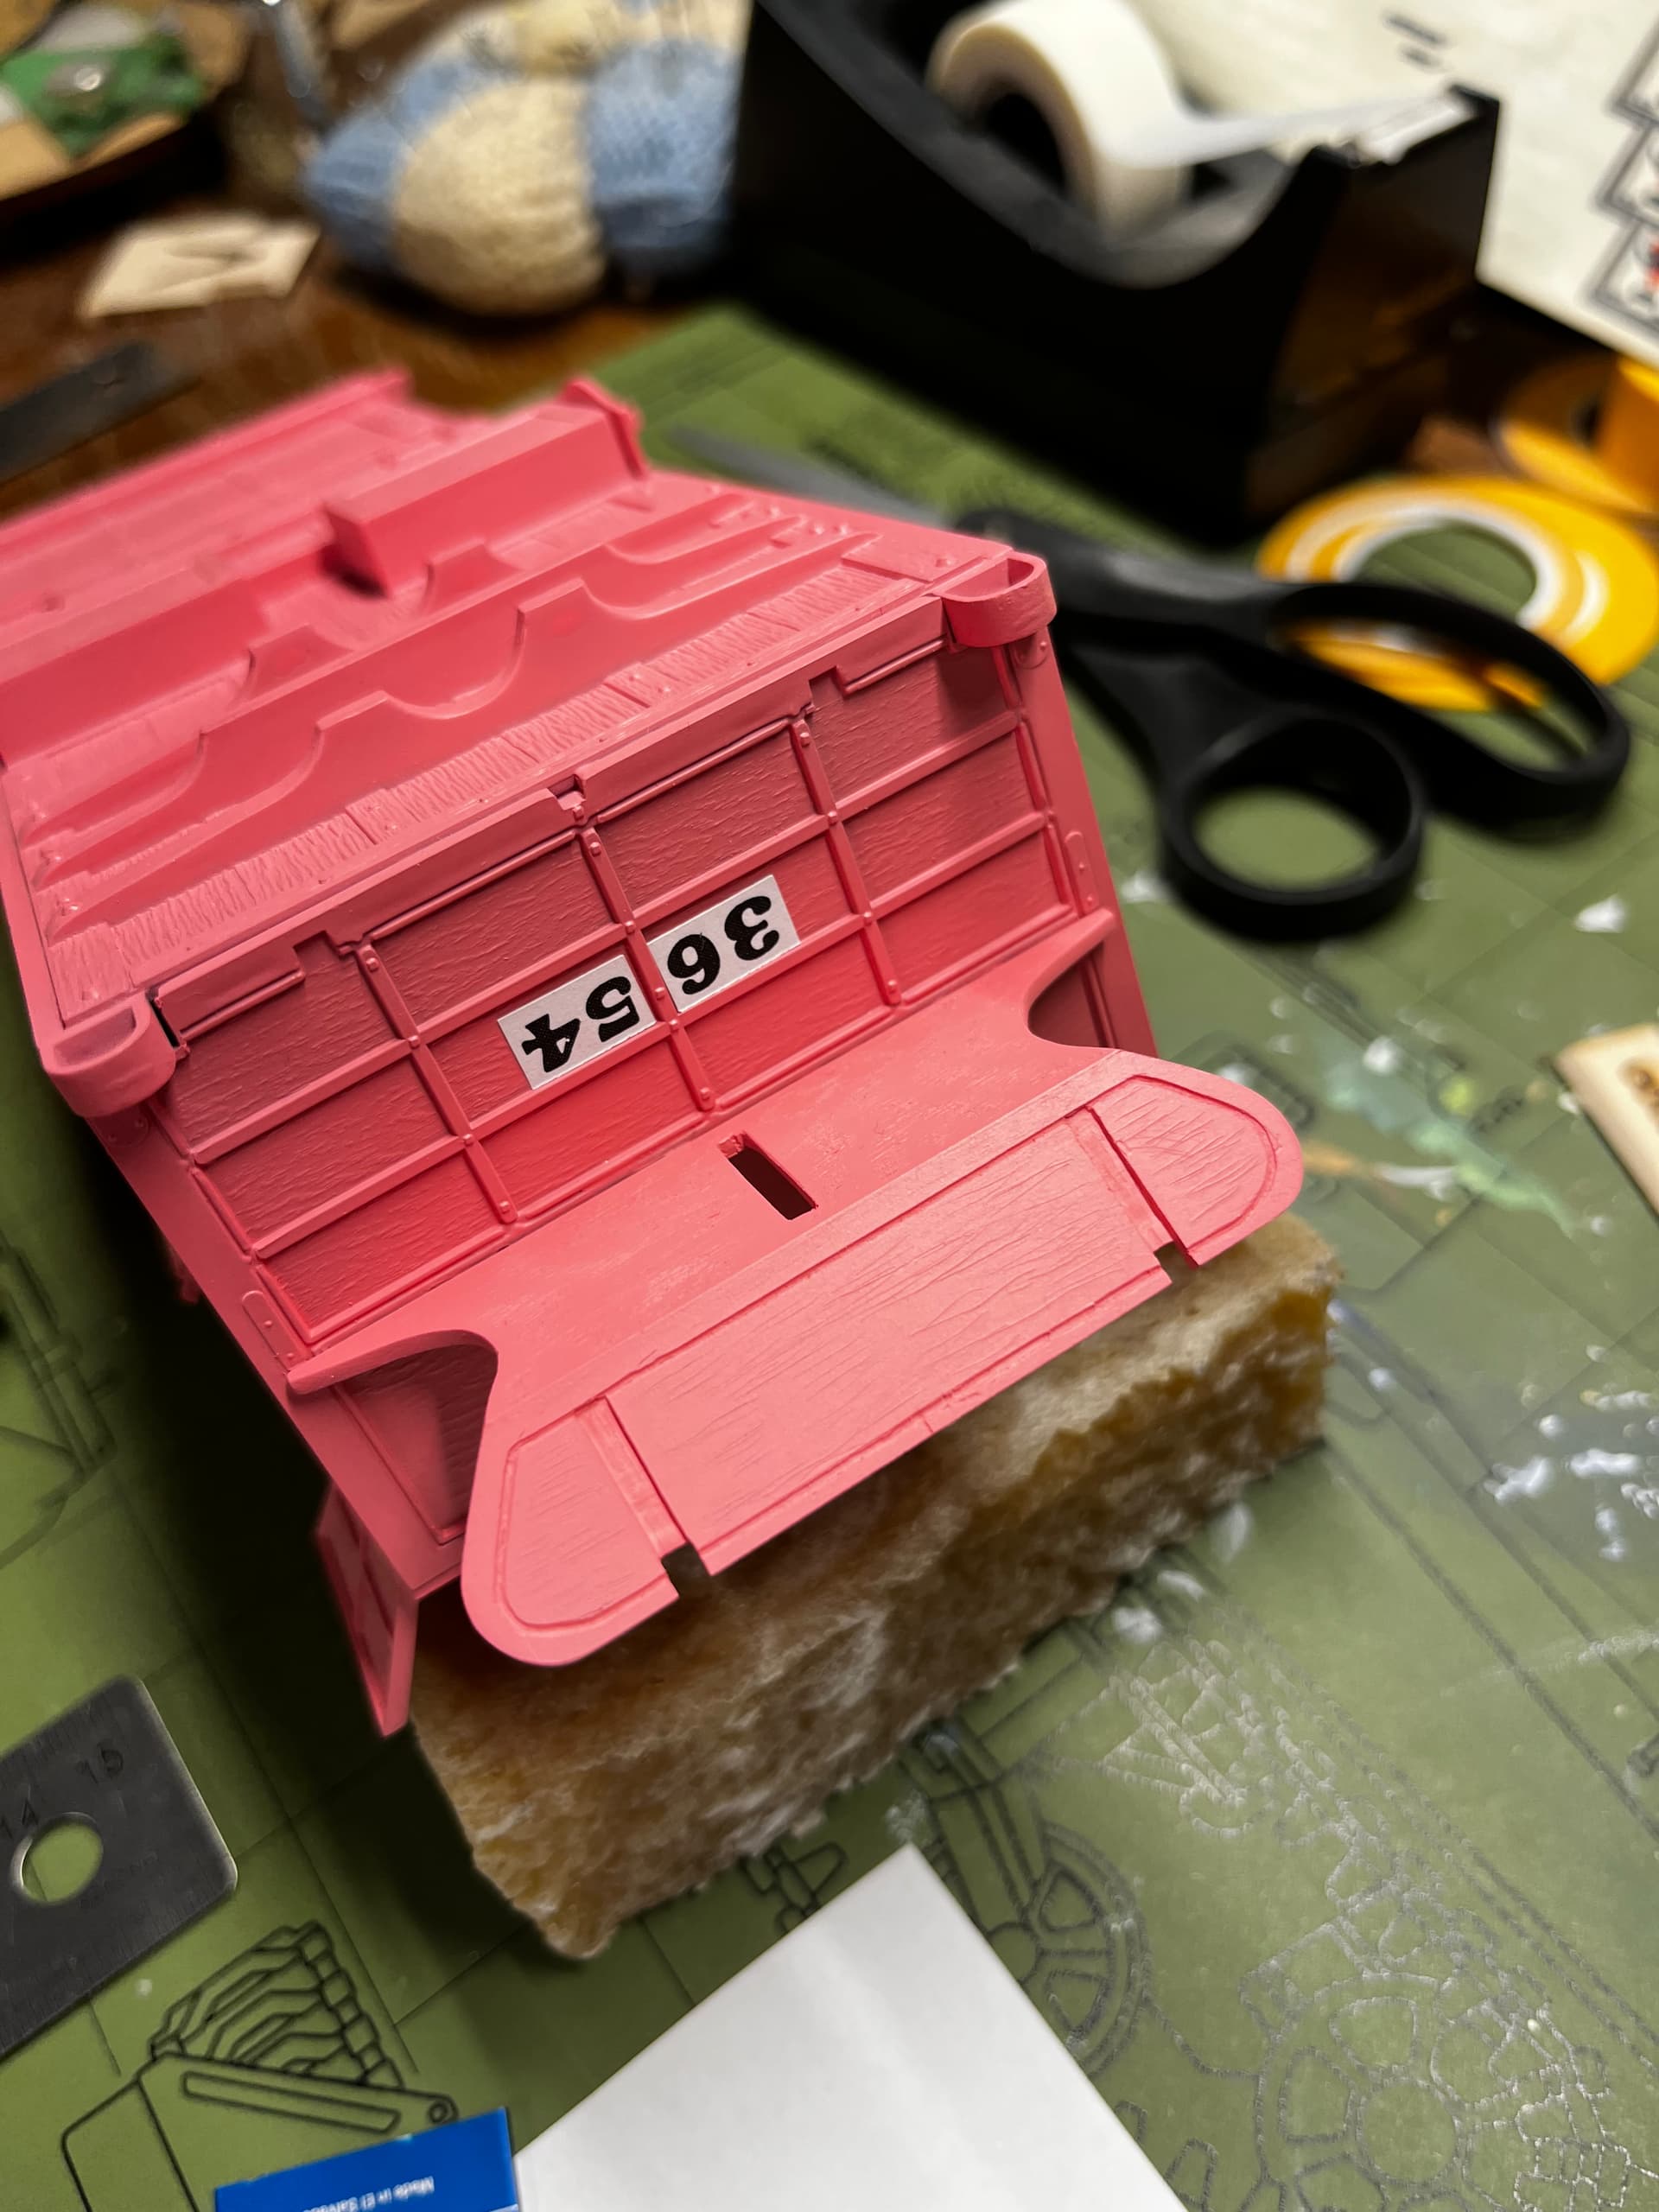
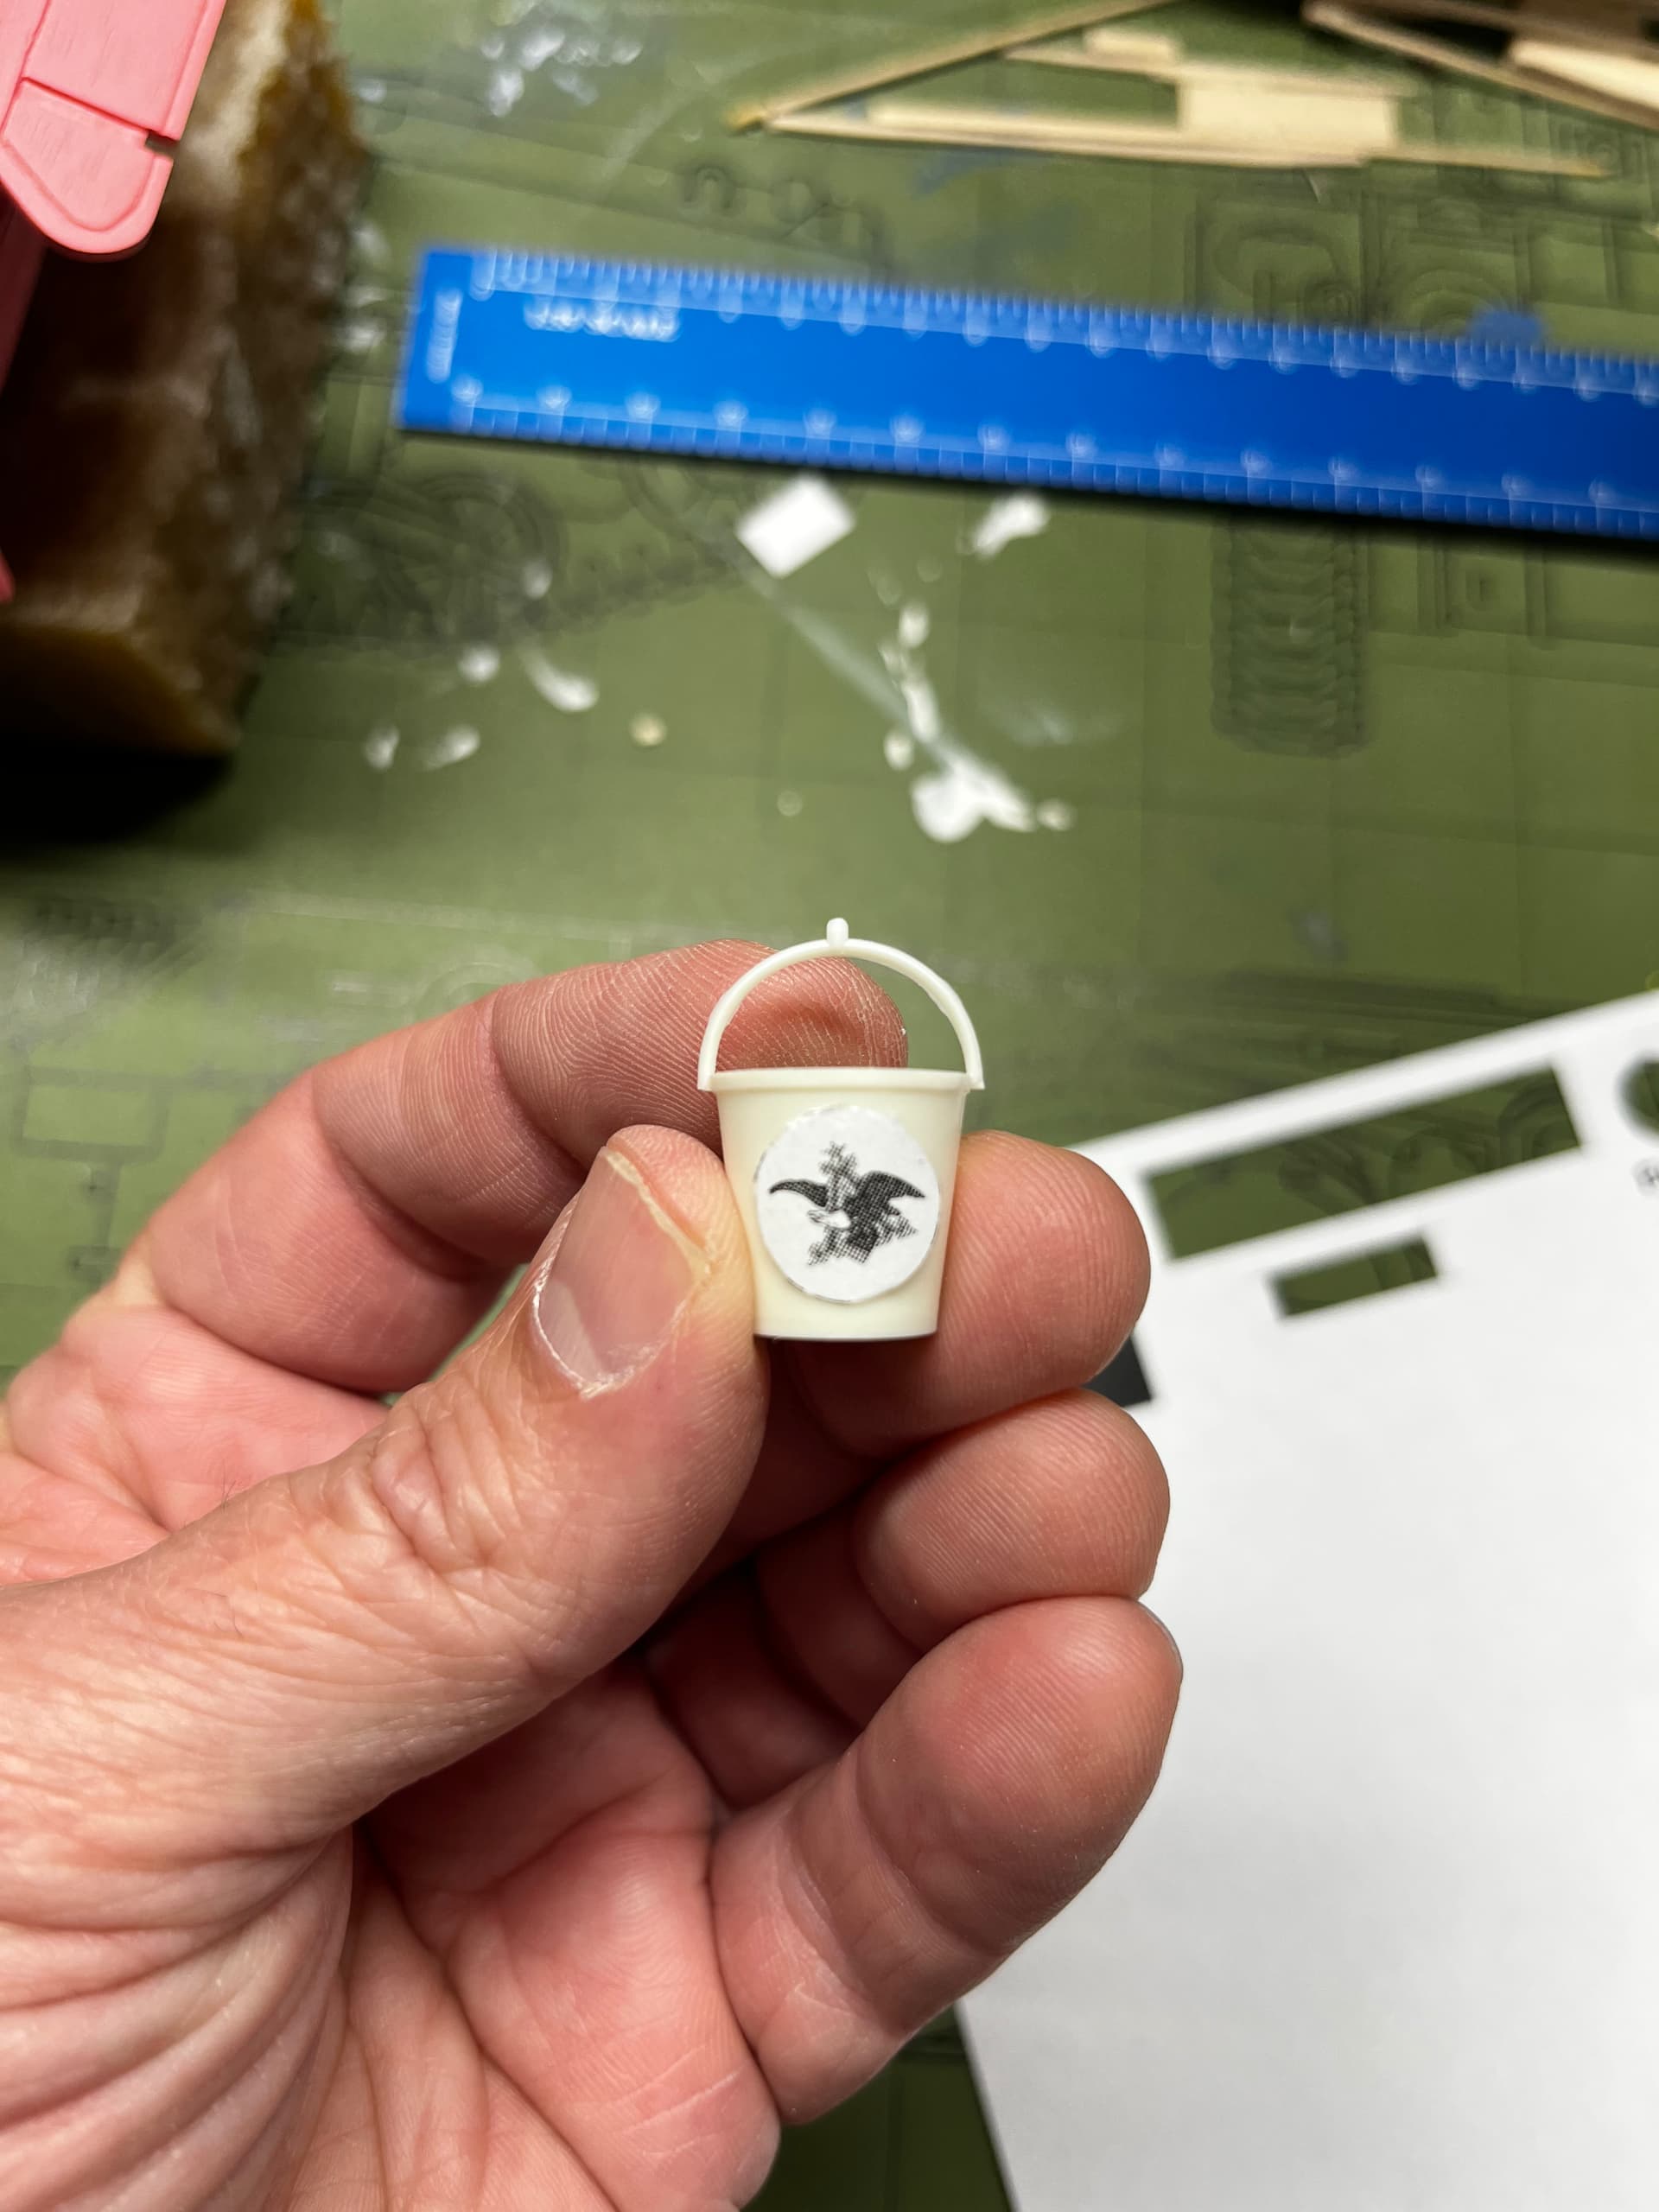
And I’ve also been working with Mark Jones of Scale Master Decals to remaster the original decals. If you don’t remember from the video at the top of this thread, those AMT/Ertl decals were actually stickers and they were kind of ugly.
To freshen to look and bring life to this old kit, Mark is using modern design capabilities, revamping the look with the help of photos, a bunch if texts, phone conversations, and photos.
It has been a flurry of activity, constant, every day since starting on the horses again in July. My burnout is pretty much gone, and I’m marching toward having this model finished by Sept. 24. Yes, 18 days or 36 bench hours away. Are there 36 hours left in this model? I don’t know. I hope not. We’re gonna find out.
About to head down for a session now. And of course there will be a video coming out covering all this. But first, there’s another part of this story that I want to relate.
Back in May, I was covering NNL North in Minnesota. One of our contributors was there, and we were talking. He told me he he’d basically hit a wall and hadn’t finished anything for about a year. I told him I knew exactly where he was coming from and what he was feeling. He was the first person, other than Aaron, I explained my own predicament to. It felt pretty good just getting it out there. And I proposed a deal—we’d both finish the projects that had been lying on our workbenches and bring them to NordicCon in September. He finished his already. Now, I’m on the hook and I don’t want to let him, me, or now you all down. The excitement is back, my hands are working, and the end is in sight.
I can certainly relate to the burnout part of this, Tim, although fortunately I haven’t had to deal with the physical problems you’ve been going through. I’m really glad to hear the surgeries have helped and you’re able to get back to both modeling and playing guitar again.
The F-4 I’m just finishing has been on my bench since the beginning of December last year. There’s absolutely no reason it needed to take this long, but there were stretches where I just didn’t have the energy or enthusiasm to work on it. The longer it sat there, the easier it became to find something else to do instead.
I generally do my modeling in the evenings, usually starting around 9:30-10:00, so I’ve been trying to give myself a goal of wrapping things up by midnight. It gives me a couple of hours at the bench but also keeps me from looking up at the clock and discovering that somehow it’s 3:00 in the morning. I’ve done that more than once.
I’m finally reaching the end of mine, and I suspect you’ve discovered the same thing with the Clydesdales—once you start seeing real progress again, some of the enthusiasm starts coming back with it.
Glad you’re back at the bench, and I’m enjoying watching this one finally make its way toward the finish line.
Thanks, Scott. That’s really the story here. This was a project that I really never intended and stumbled into for the magazine. A lot of things happened in the intervening time, and the project became something other than what it was meant to be—fun.
Like practicing guitar or writing every day, the routine with the timer helped a lot. Very achievable. There was a point I was so sick of looking at those horses (“I’m sick of looking between horses legs” is how I put it to FSM contributor Mike Klessig at one point.) Hours and hours of painting hair and hooves. It’s a lot. And slap-dash just wasn’t going to cut it for me.
I’m on the other end of it, now, and we’ll see what tonight’s session brings. Every day is one day closer to the last. (In a good way!) And I hope more people share their stories of how they’ve kept the hobby fresh and fun for them, because if we aren’t having fun modeling, we should do something that brings us enjoyment instead.
I know how you feel. I’m in the middle of rearranging my modeling room. I finally ran out of space due to clutter, so I had to make some decisions about what to keep and what to trash. It will take a few days, but the effort will be worth it. A mental palette cleanser. Maybe then I can get back to projects I need to work on.
Gary, you make an interesting point. The first thing I did when I came back to work on the beer wagon was to clean up the workbenches. Just taking that time to reset helped get me in the right frame of mind AND allowed me to remember where I was at in the build. Just a step as simple as picking up can do wonders to help you recharge.
@Tim_Kidwell I think you’ve really hit on something with the idea that if we’re not having fun modeling, we need to figure out what will make it fun again. This is supposed to be the thing we do to get away from all the other stuff in life, not another obligation we have to grind our way through.
@GAF Funny you should mention rearranging the modeling room, because I just did almost exactly the same thing. I finally reached the point where I had too much stuff and not enough organization, so I spent some time cleaning everything up, moved my stash into the closet and added a proper display cabinet for the finished models.
And @Tim_Kidwell, cleaning the workbench is actually part of my routine between builds. I haven’t done it yet because the F-4 is still sitting there, but once it’s finished, everything comes off the bench and I give the whole thing a thorough cleaning before starting the next one. I change the filter in the spray booth at the same time. I’ve found that one airplane is about enough for a filter anyway.
There’s something satisfying about finishing a model, cleaning everything up, putting in a fresh spray-booth filter and starting the next project with a completely clean bench.
This is one of those projects that I would have a lot of apprehension about starting. Especially with a kit as old as this one.It amazes me the steps that you used on each horse. I never thought that you could get those kinds of results. The yellow base coats made all the difference. Awesome job on the new foot board. Glad to hear you’re back at the bench. Hope you have continued healing.Couldn’t imagine have those kinds of issues with my hands trying to do anything, much less modeling. Looking forward to the next post.
I have that kit 90%built, just can’t figure out how to do the reins. My friend in Belgium is painting the figures for me, i’m terrible at figure painting.
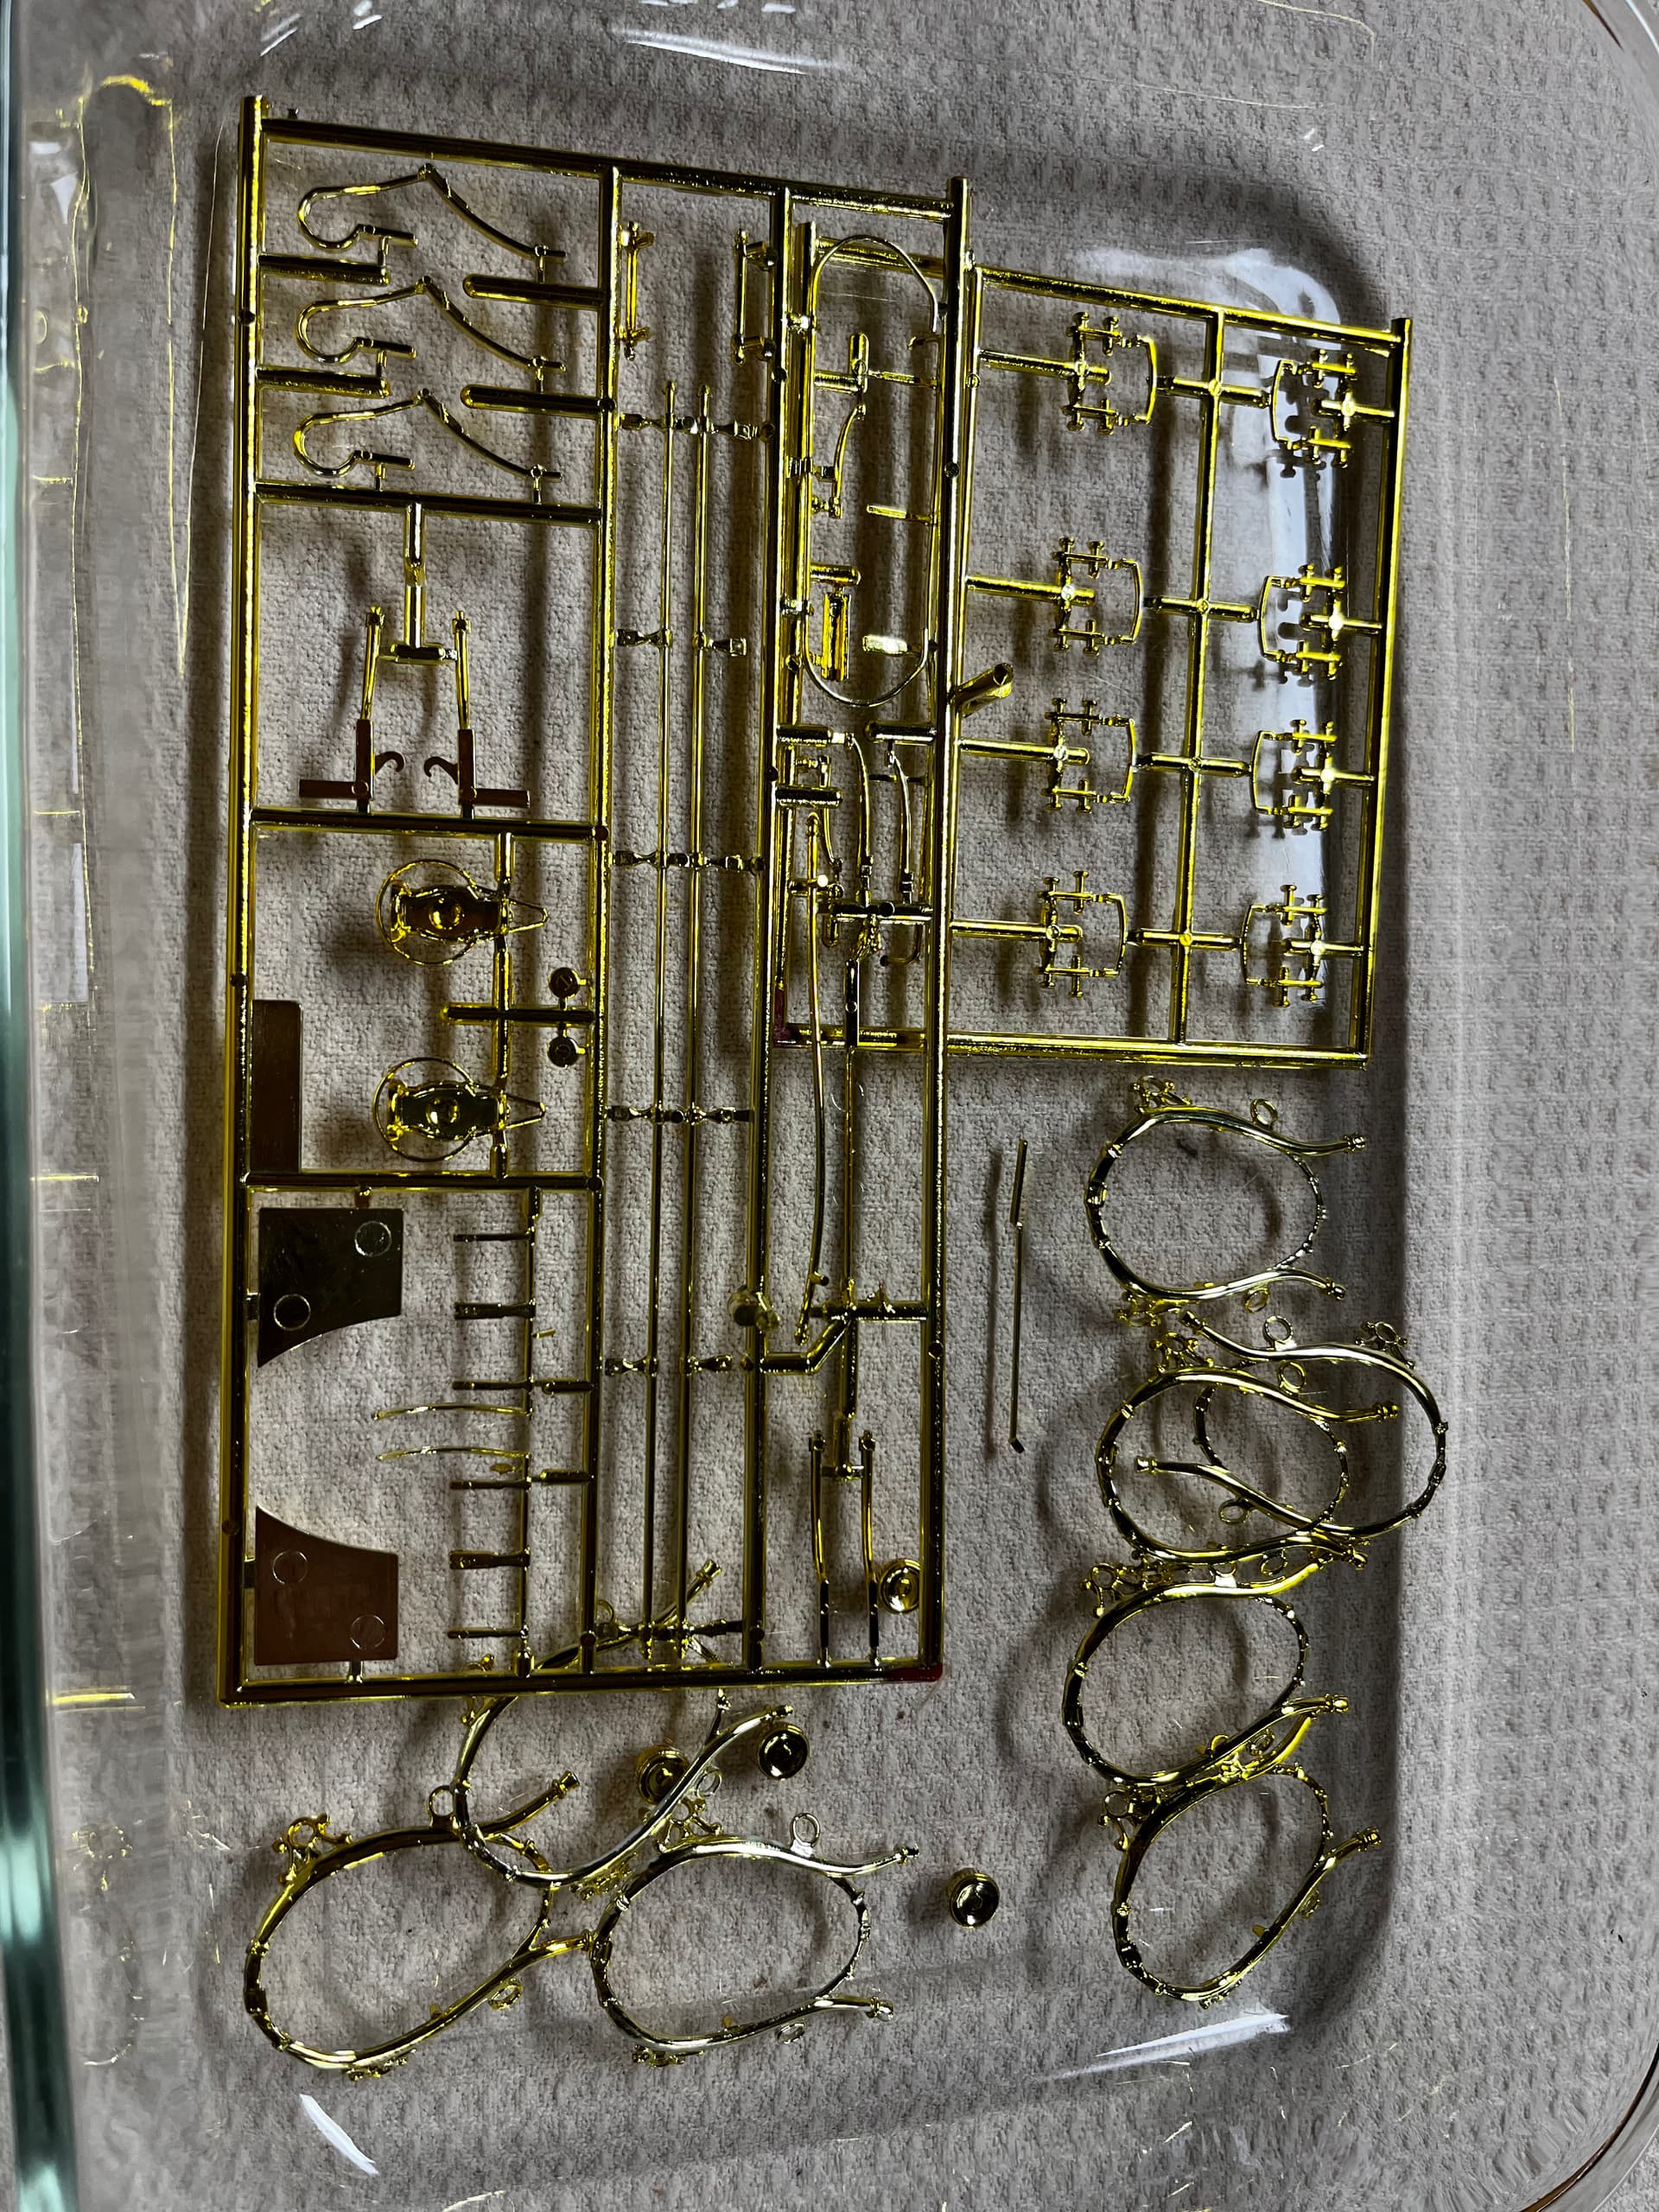
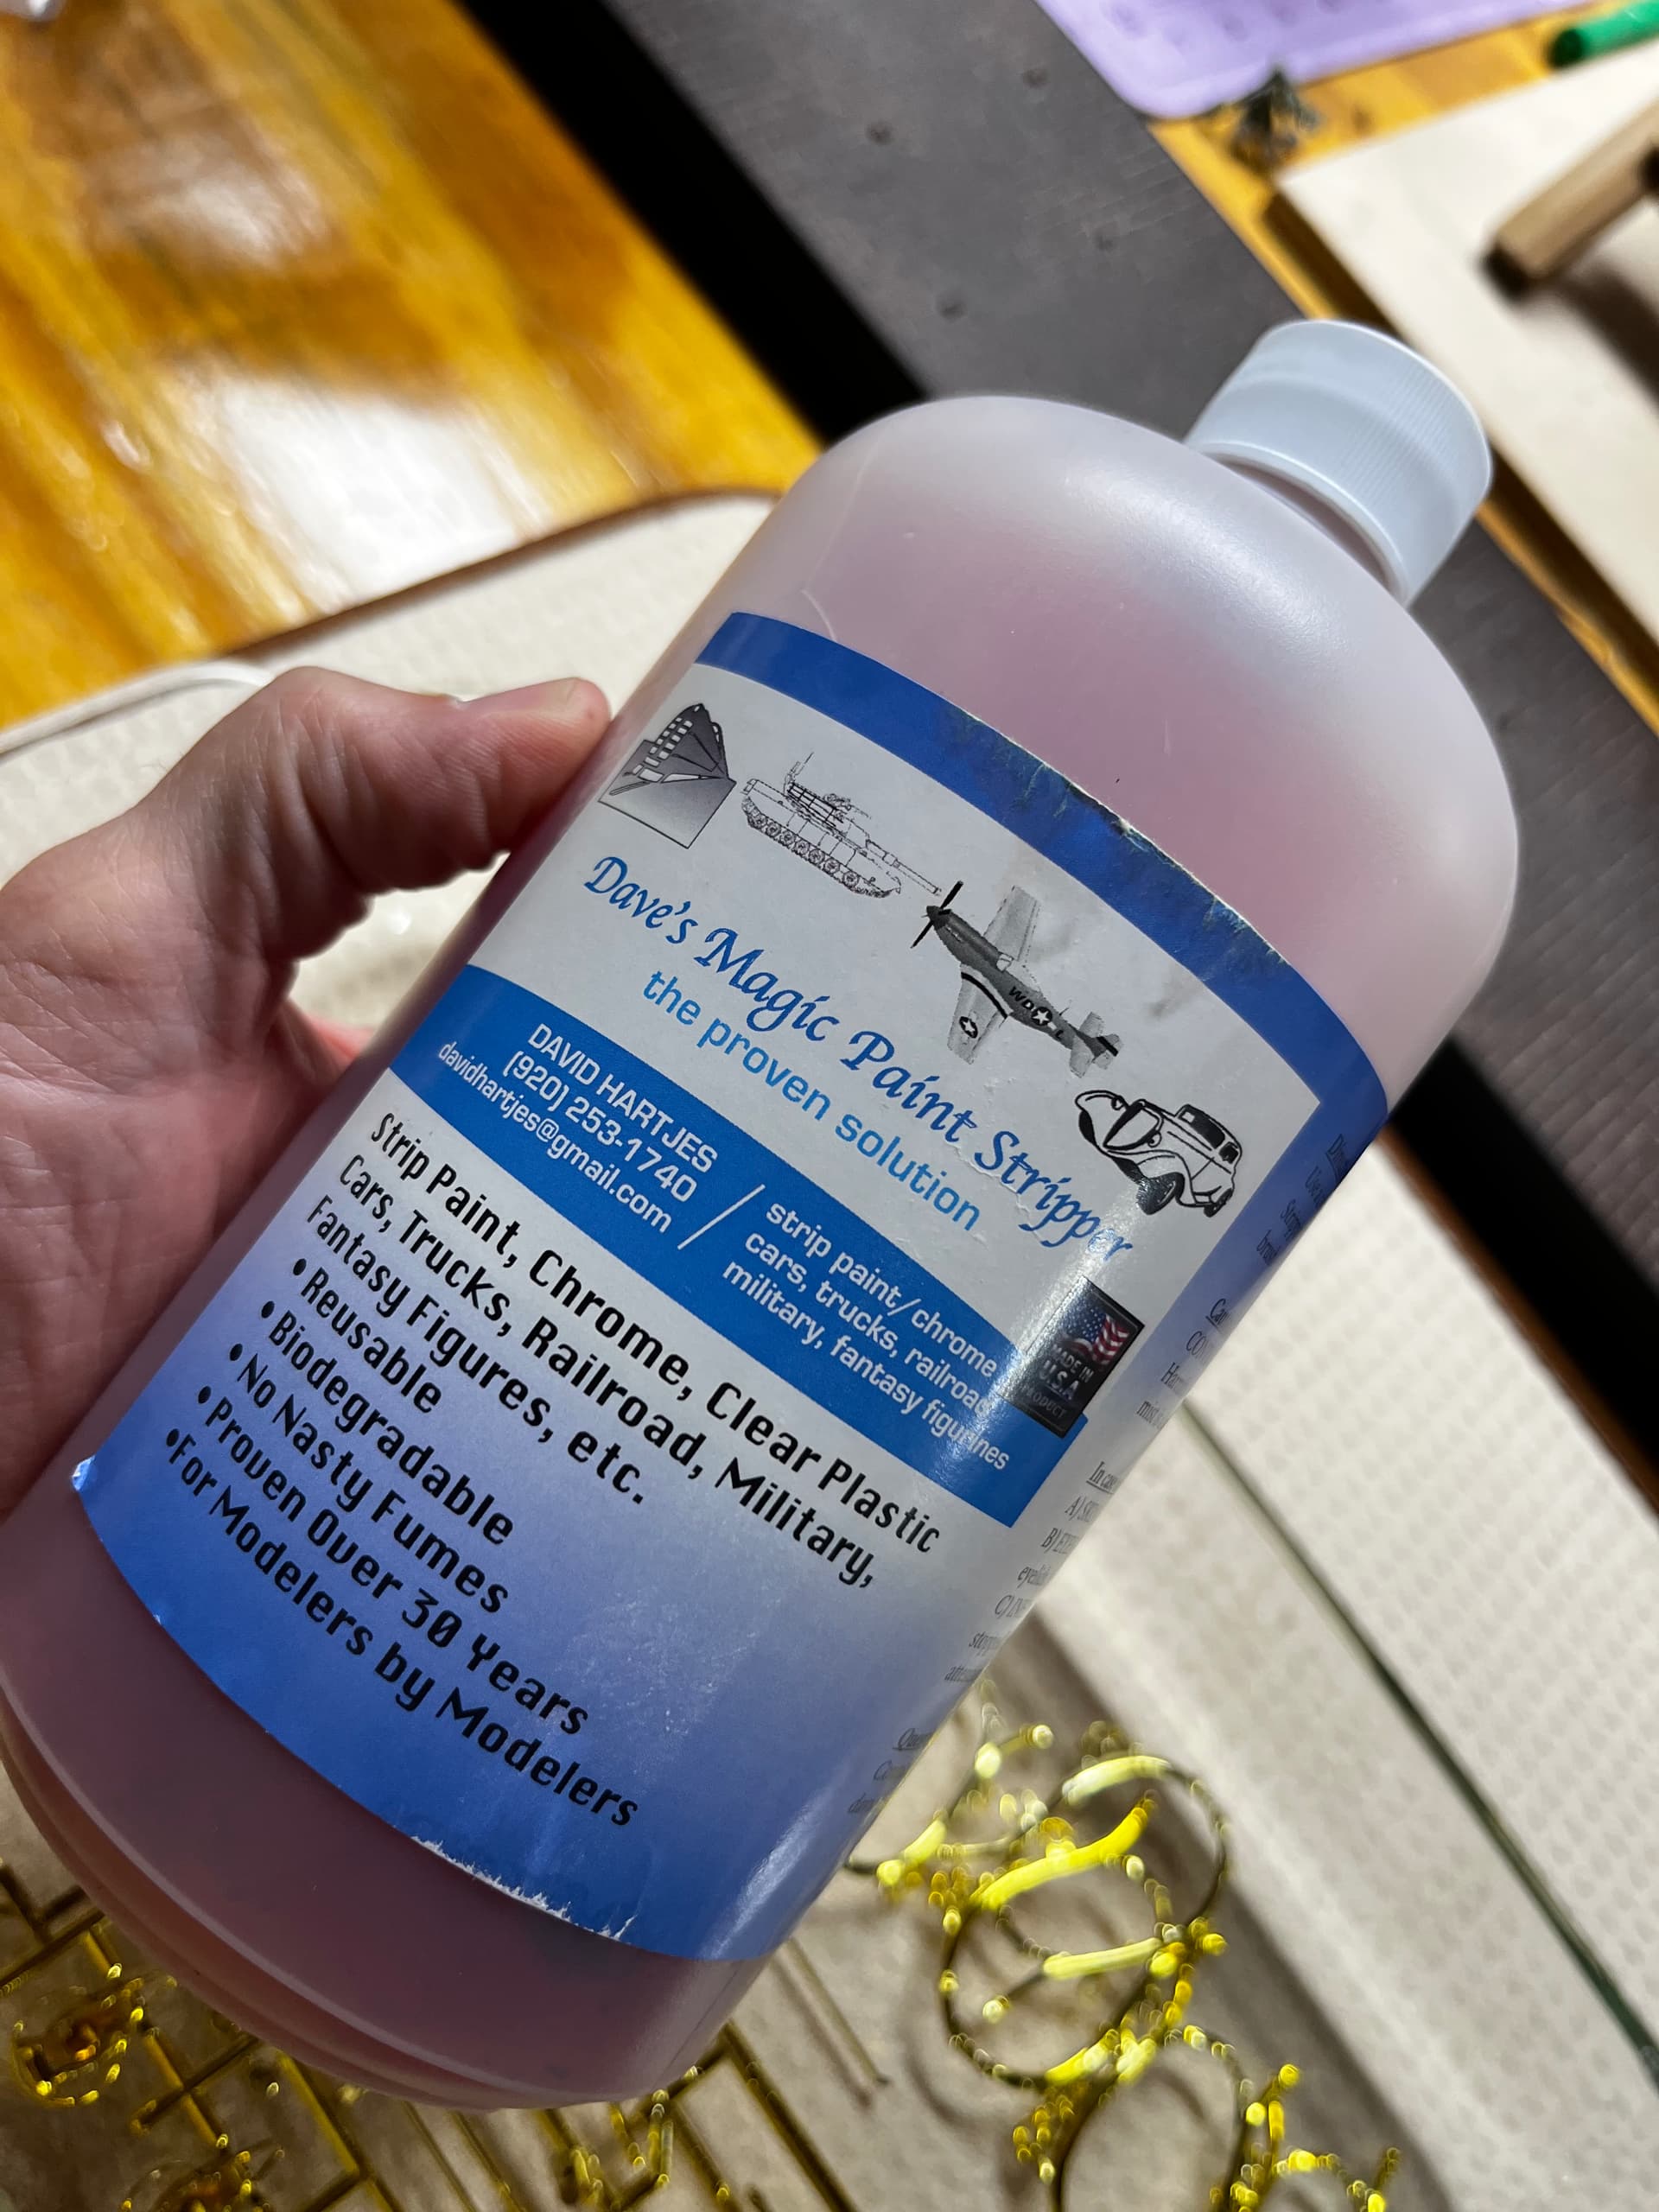
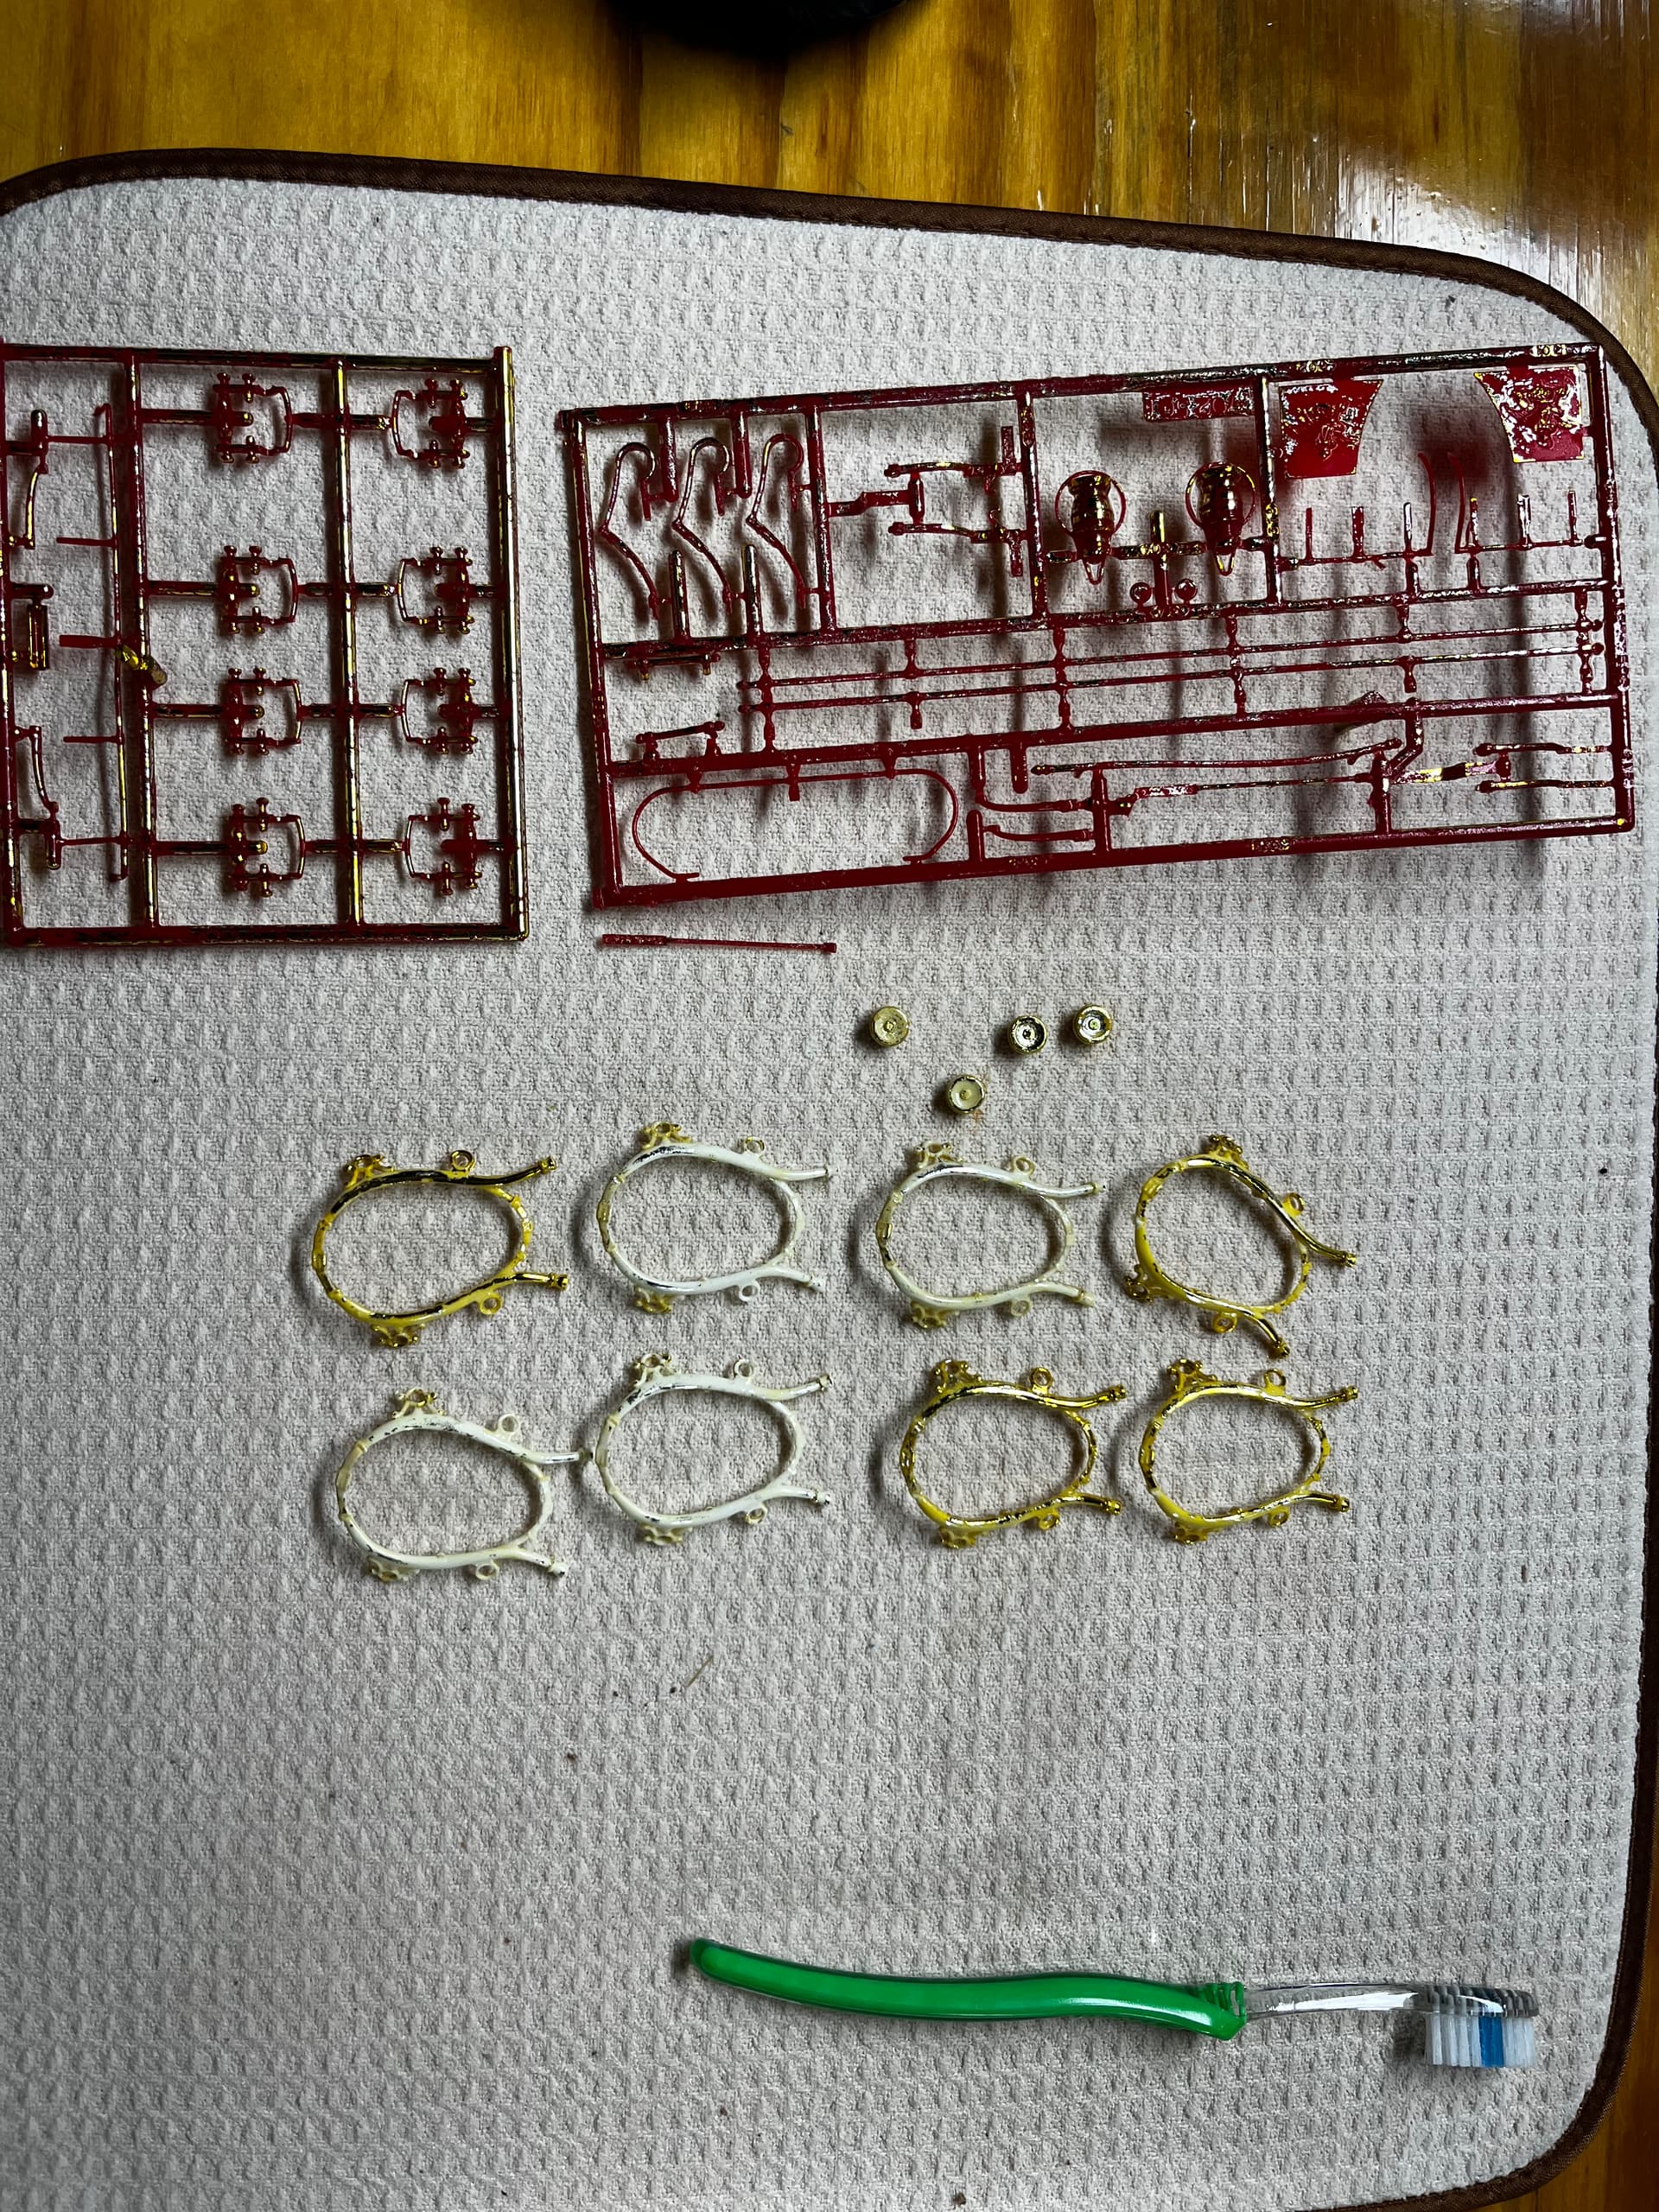
Lots shaking on the bench tonight. Stripping chrome. Priming parts. Cleaning up some faux leather goods. We’ll need another round of de-chroming, but the first one has been good. Tenacious stuff, that old school plating.
Every time you post an update on this thing, I discover another entire category of modeling I’ve never even thought about. Stripping chrome, cleaning up leather tack, painting horse collars… this is a long way from gluing wings onto an airplane.
That trim on the collars especially looks like some seriously tedious work. This may be one of the most unusual builds on the forum right now, and I’m really enjoying watching it come together.
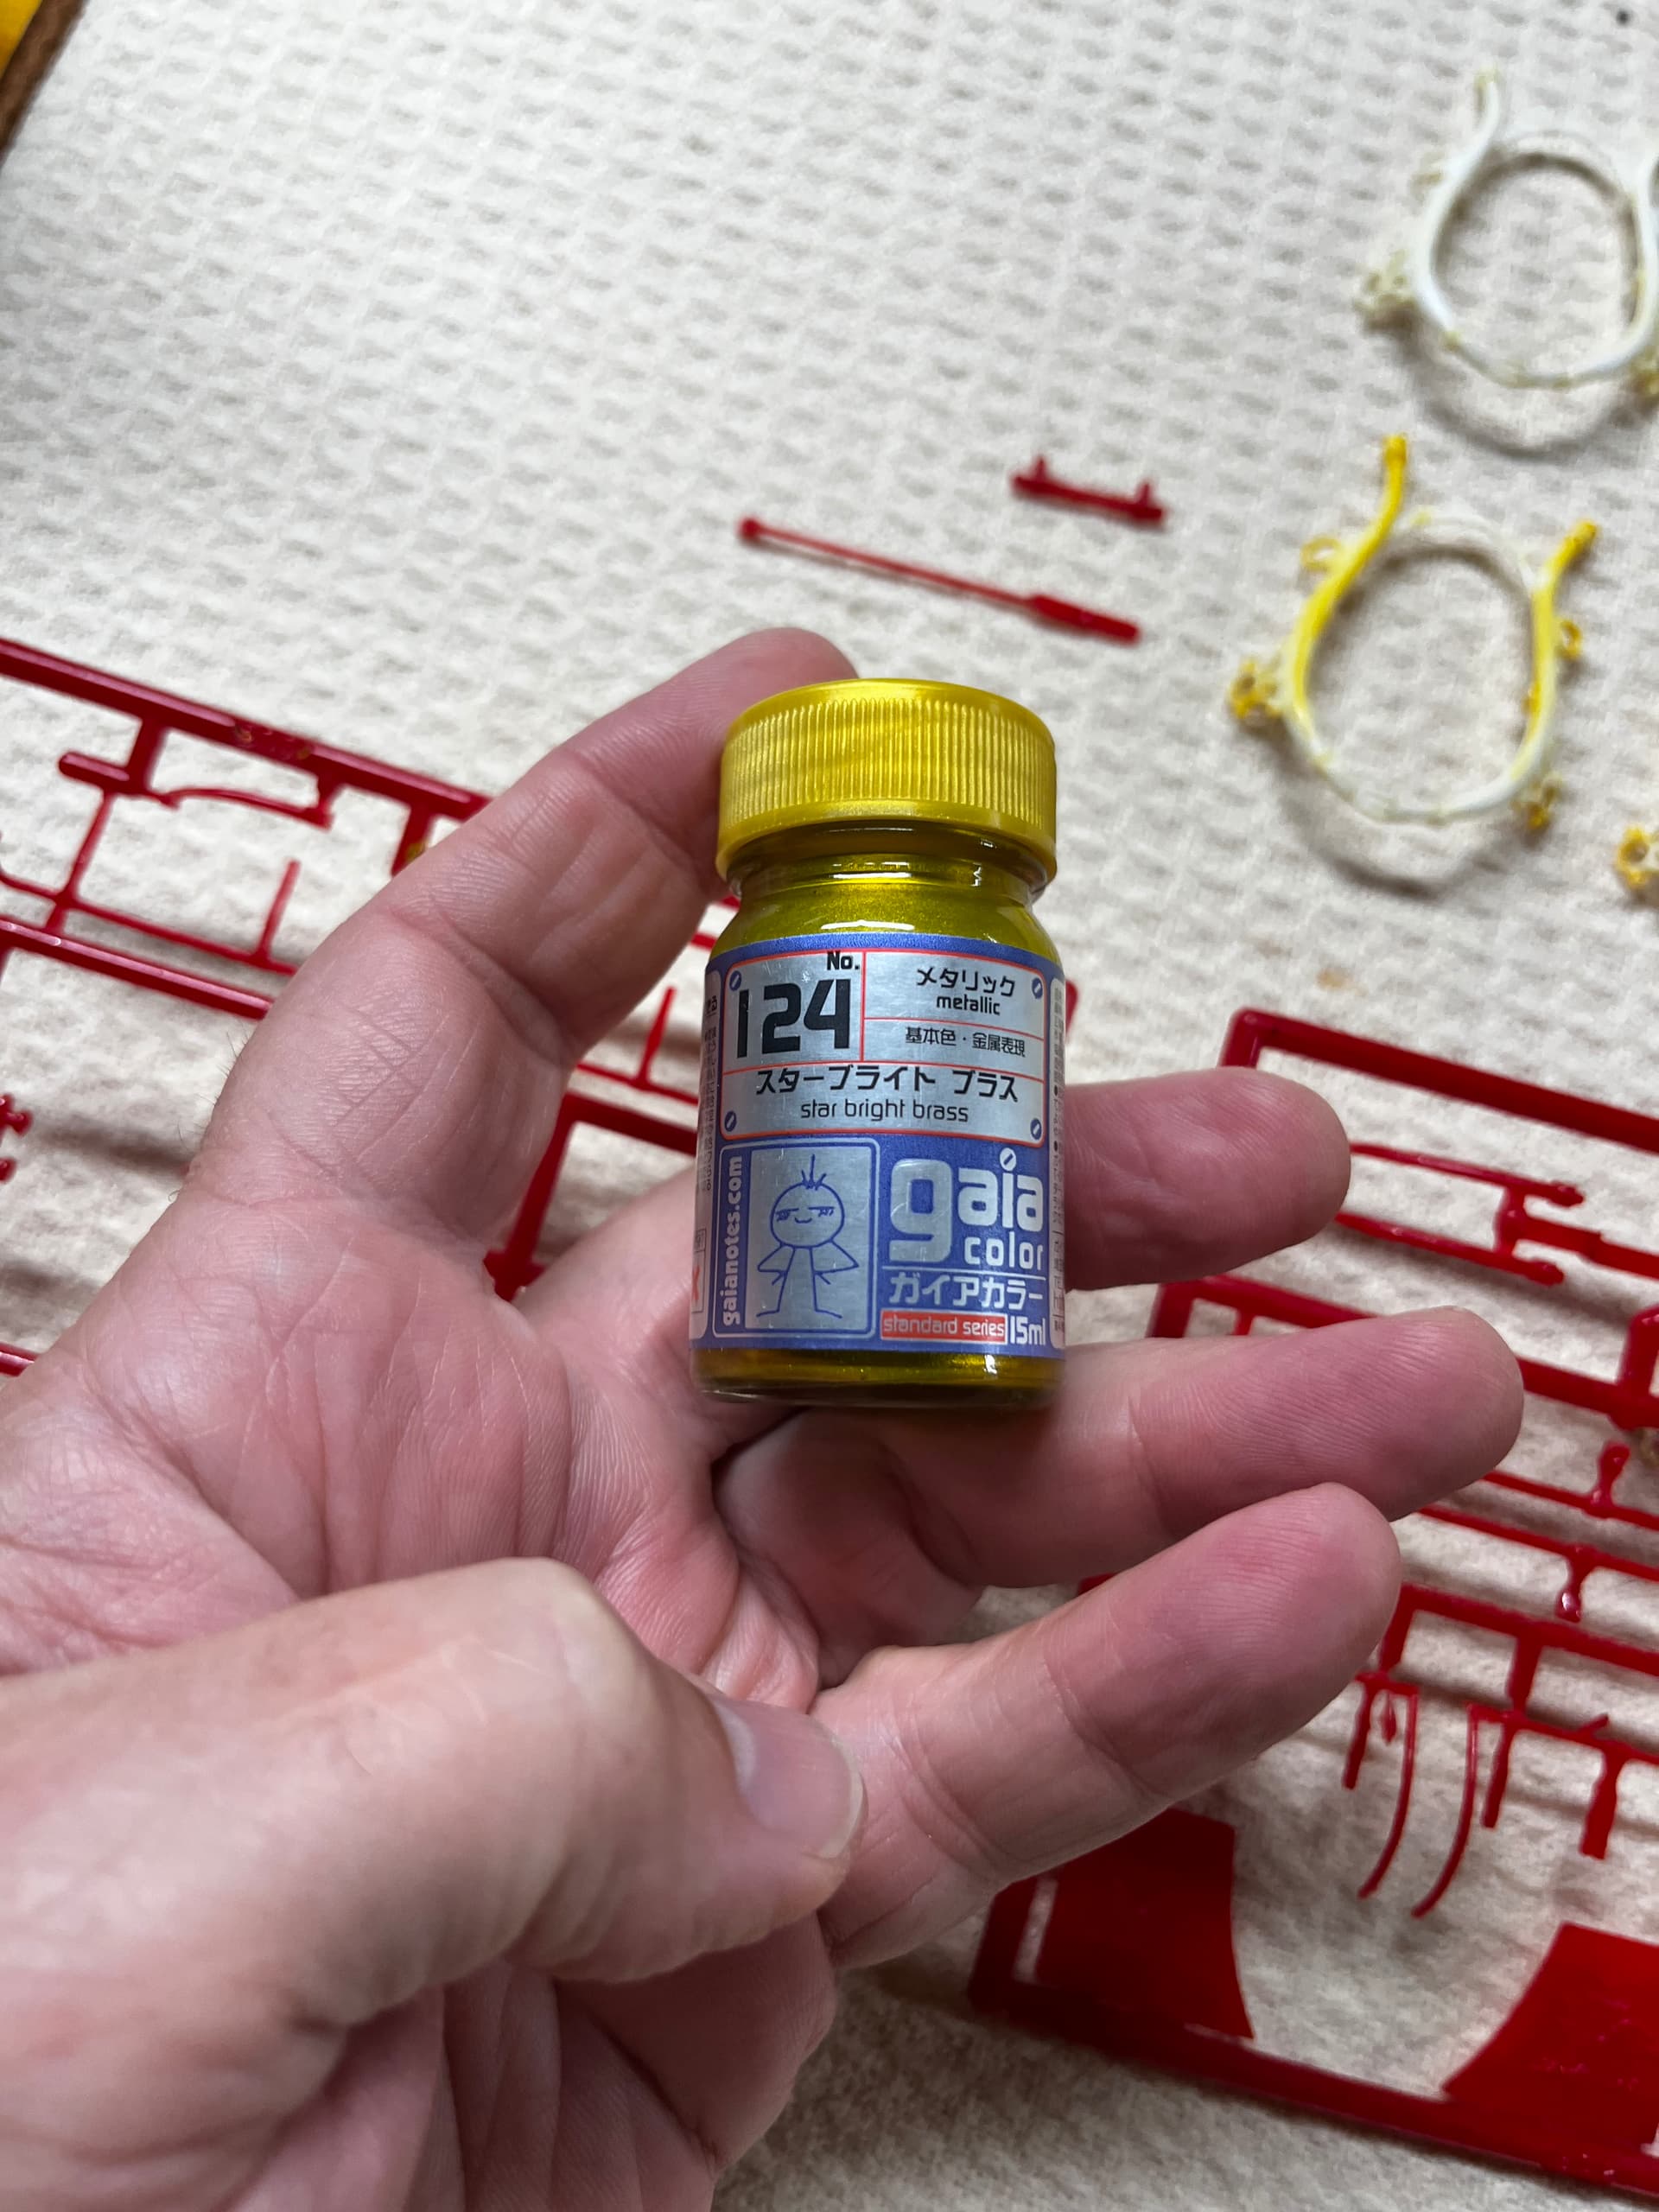
There’s definitely a lot going on with this one, Scott. Tonight, the plan is to finish trimming the vinyl and paint the rest of the brass details on it. I’m still awaiting arrival of my Gaia Notes Starbright Brass and lacquer thinner for the plastic parts. Which is fine since I’m still stripping off that nasty plating. When it comes, I’ll clip the parts, clean them up, prime and airbrush them. I can’t start basing the horses until I can paint the brass parts. So, there’s a bit of work on this while waiting for that going on right now. Fourteen days (28 hours) left.
Chris, I’ll admit I went into it thinking it was a simple looking kit. And it’s not like it has a high parts count. Buuuuut … It is an older kit and requires a lot of cleanup and care. I completely underestimated how much time I was going to take on the horses and overestimated my capacity to sit there and work them again and again. I’ve been out of wargaming long enough that the chops for doing the same thing over and over just weren’t there. And then the hands. Serious fatigue the other night painting those collars. But I got through them!
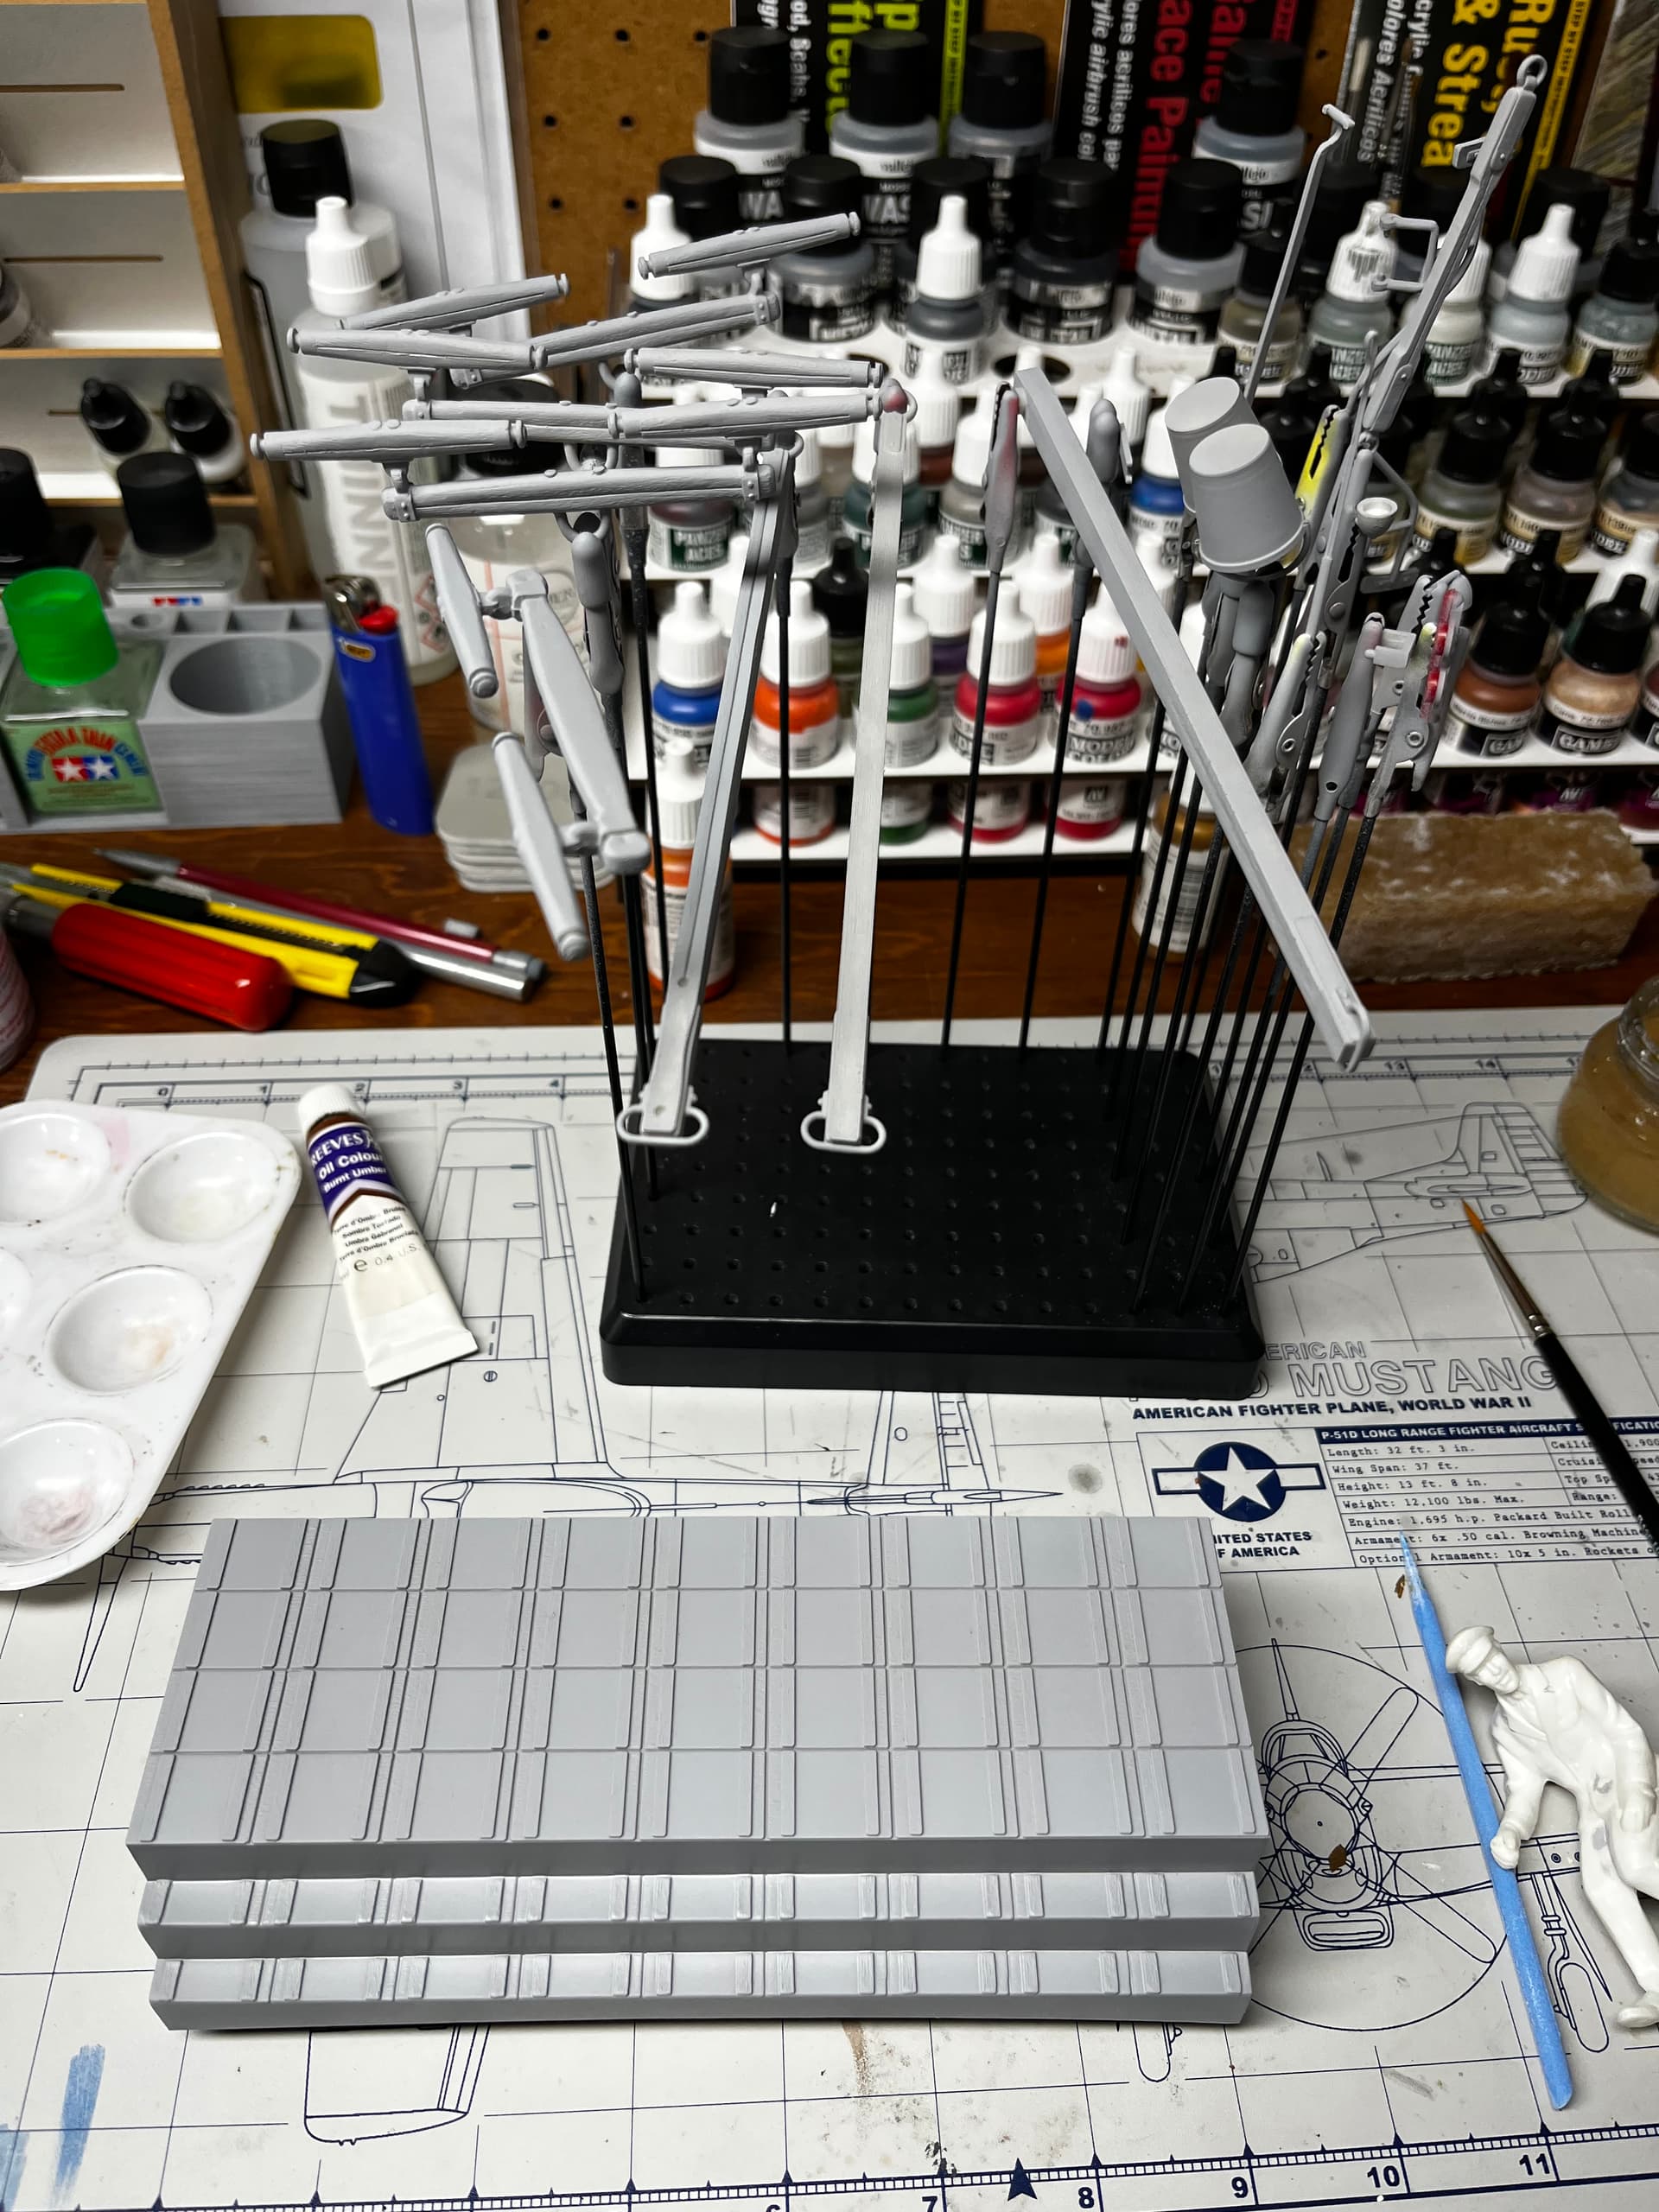
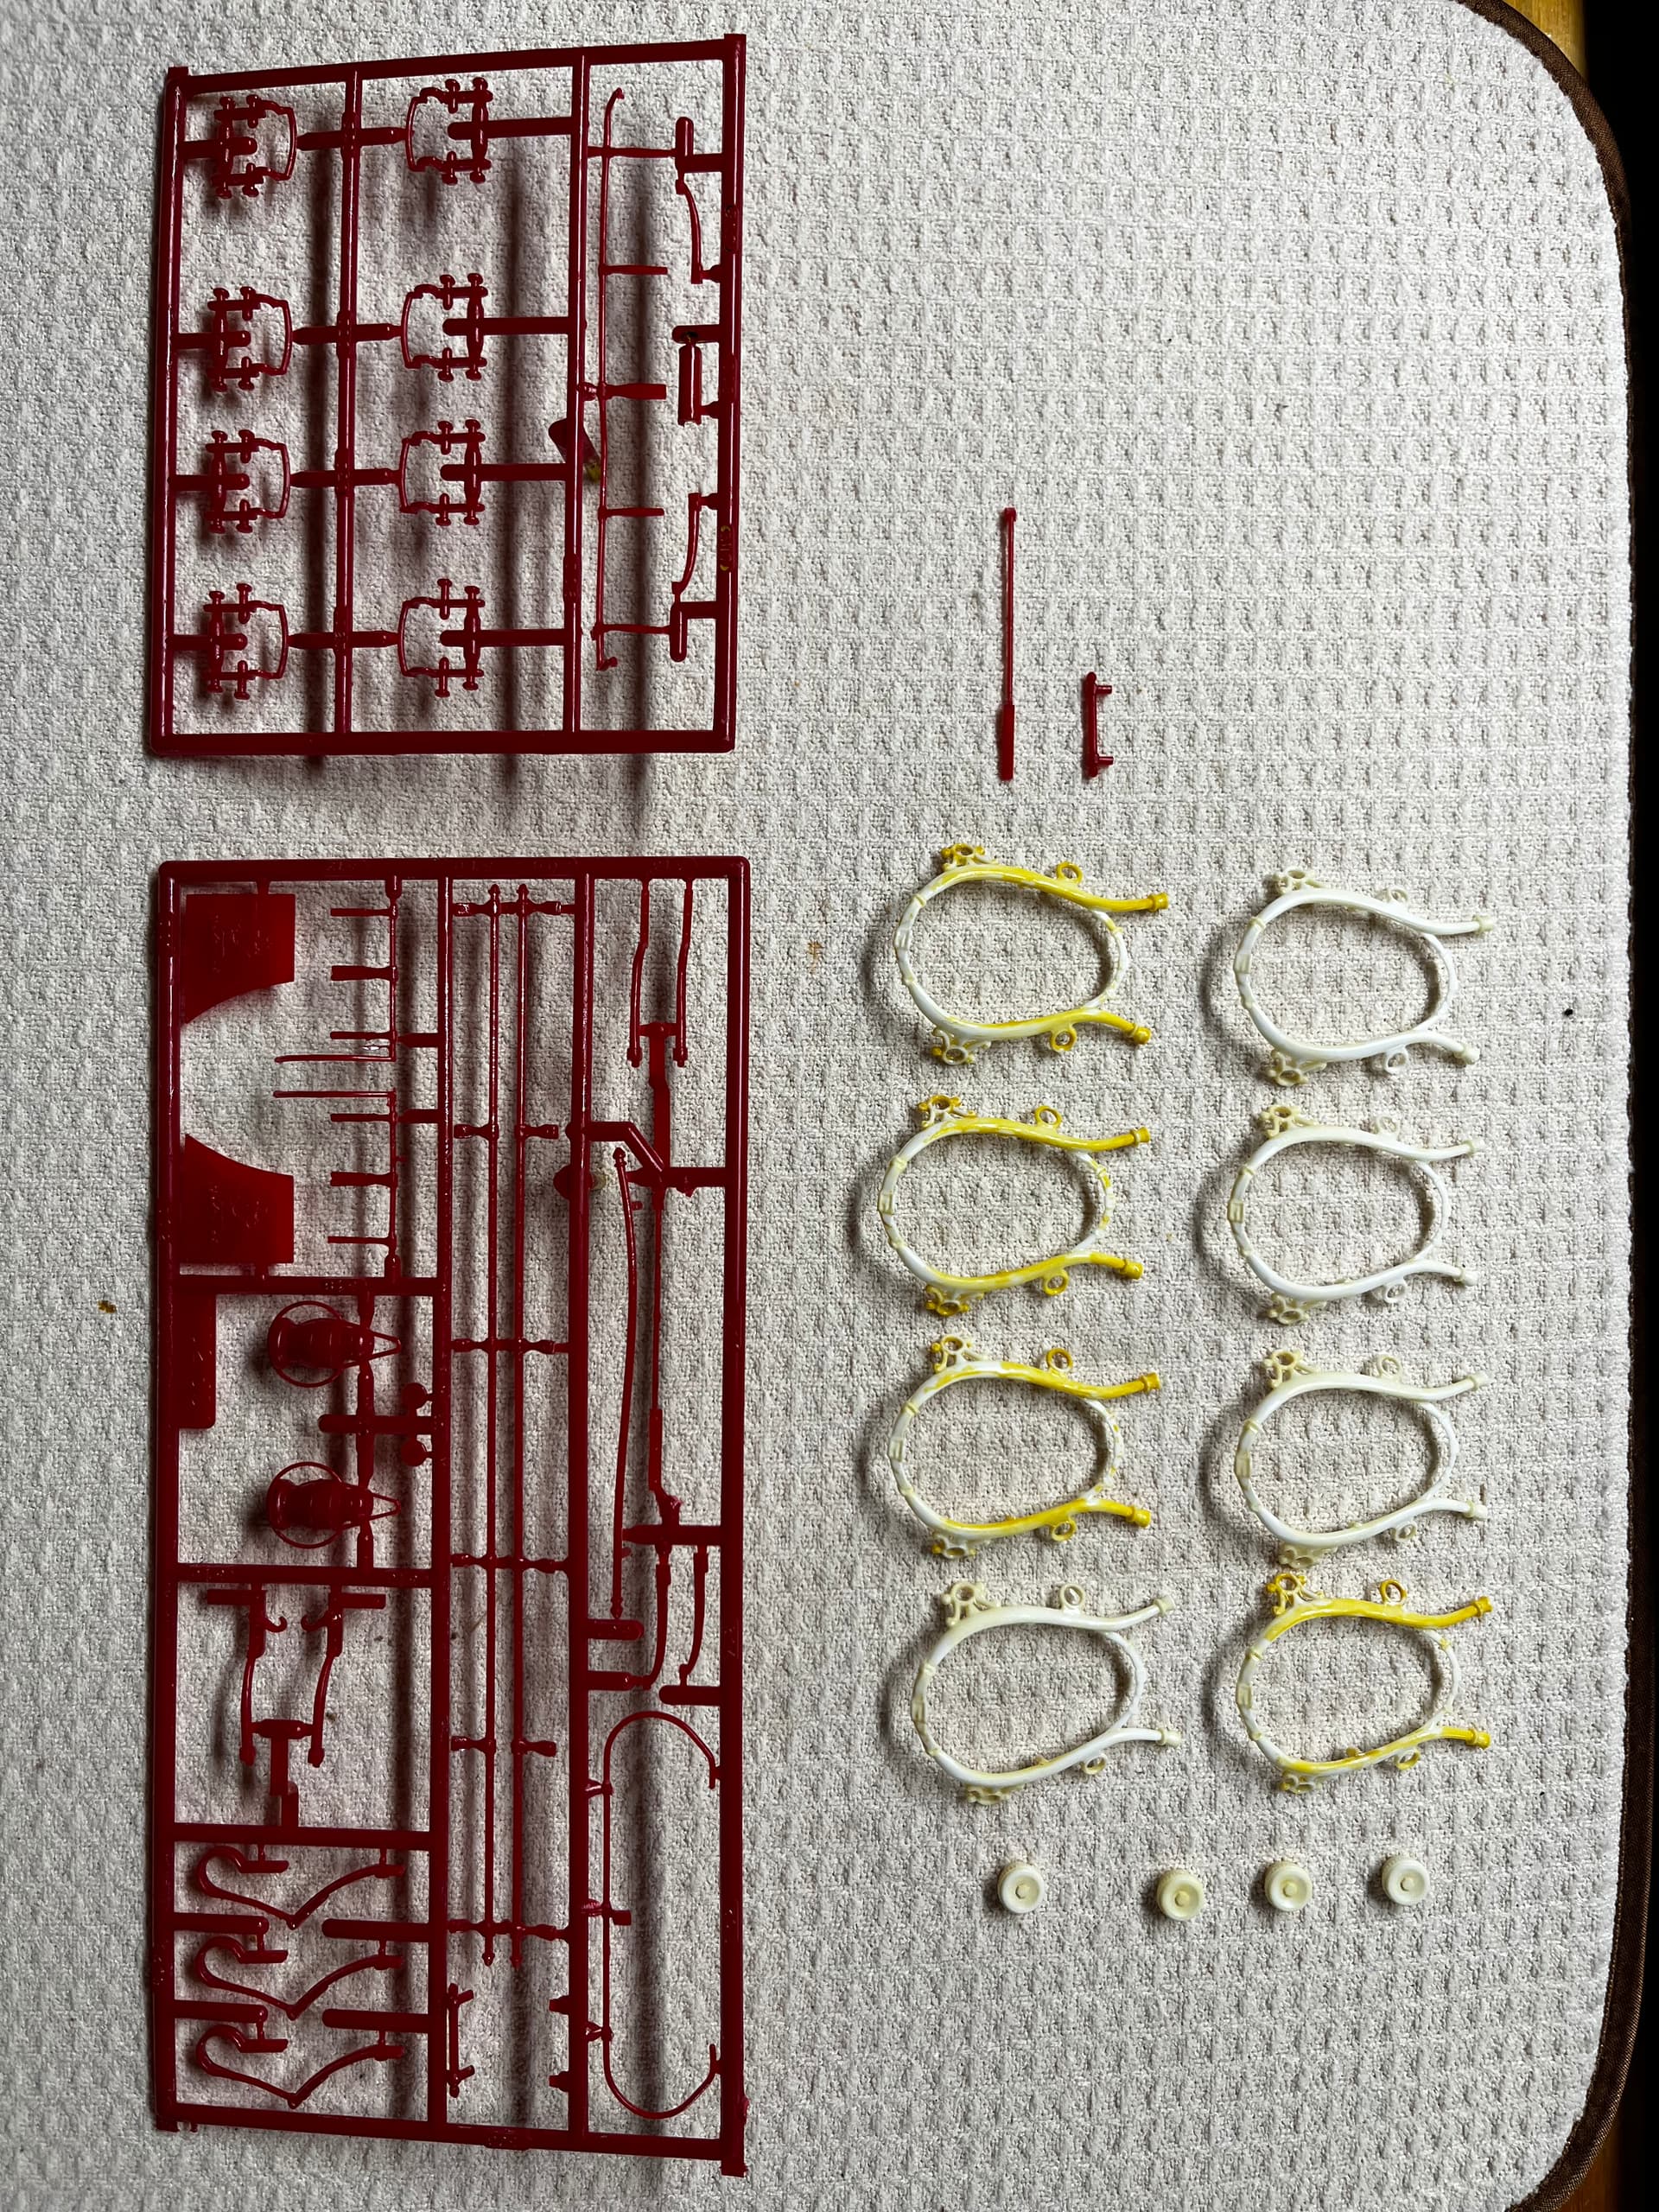
Two hours at the bench and I’m saying the tack and harness are as trimmed up as they’re likely to be. Tomorrow, I’ll start the process of hand painting all the buckles and brightwork.
Rob, it is a lacquer paint. I’ve had a number of conversations about how to go about this, primarily with Aaron, and more recently with Mark Jones, who is a phenomenal paint guy as well as modeler. From the beginning, I knew I’d have to strip the brass off the parts because it just looked ugly. The problem is that I’ve never found an acrylic metallic paint with as fine a flake as you could get with lacquers. So matching the metallic color on the plastic to the metallic I’d use on the vinyl was going to be challenging. (I even considered BMF for a while, but time and reality, frankly, asserted themselves on that front.)
As the project got rolling again, and I decided that I needed to keep my intended audience in mind, I came to the conclusion I was being too precious about the colors matching. I still want everything to look good and the plastic parts to appear as close to metal as possible, but if there’s some hint of variation between the plastic and the vinyl brightwork, then so be it.
I’ve heard really good things about Gaia and have wanted to give it a try for a while. It’s popular in the Asian market and used there widely for Gundam models. I hope to spray it this weekend at some point–probably Sunday because I’m covering Midwest Scale Madness on Saturday.
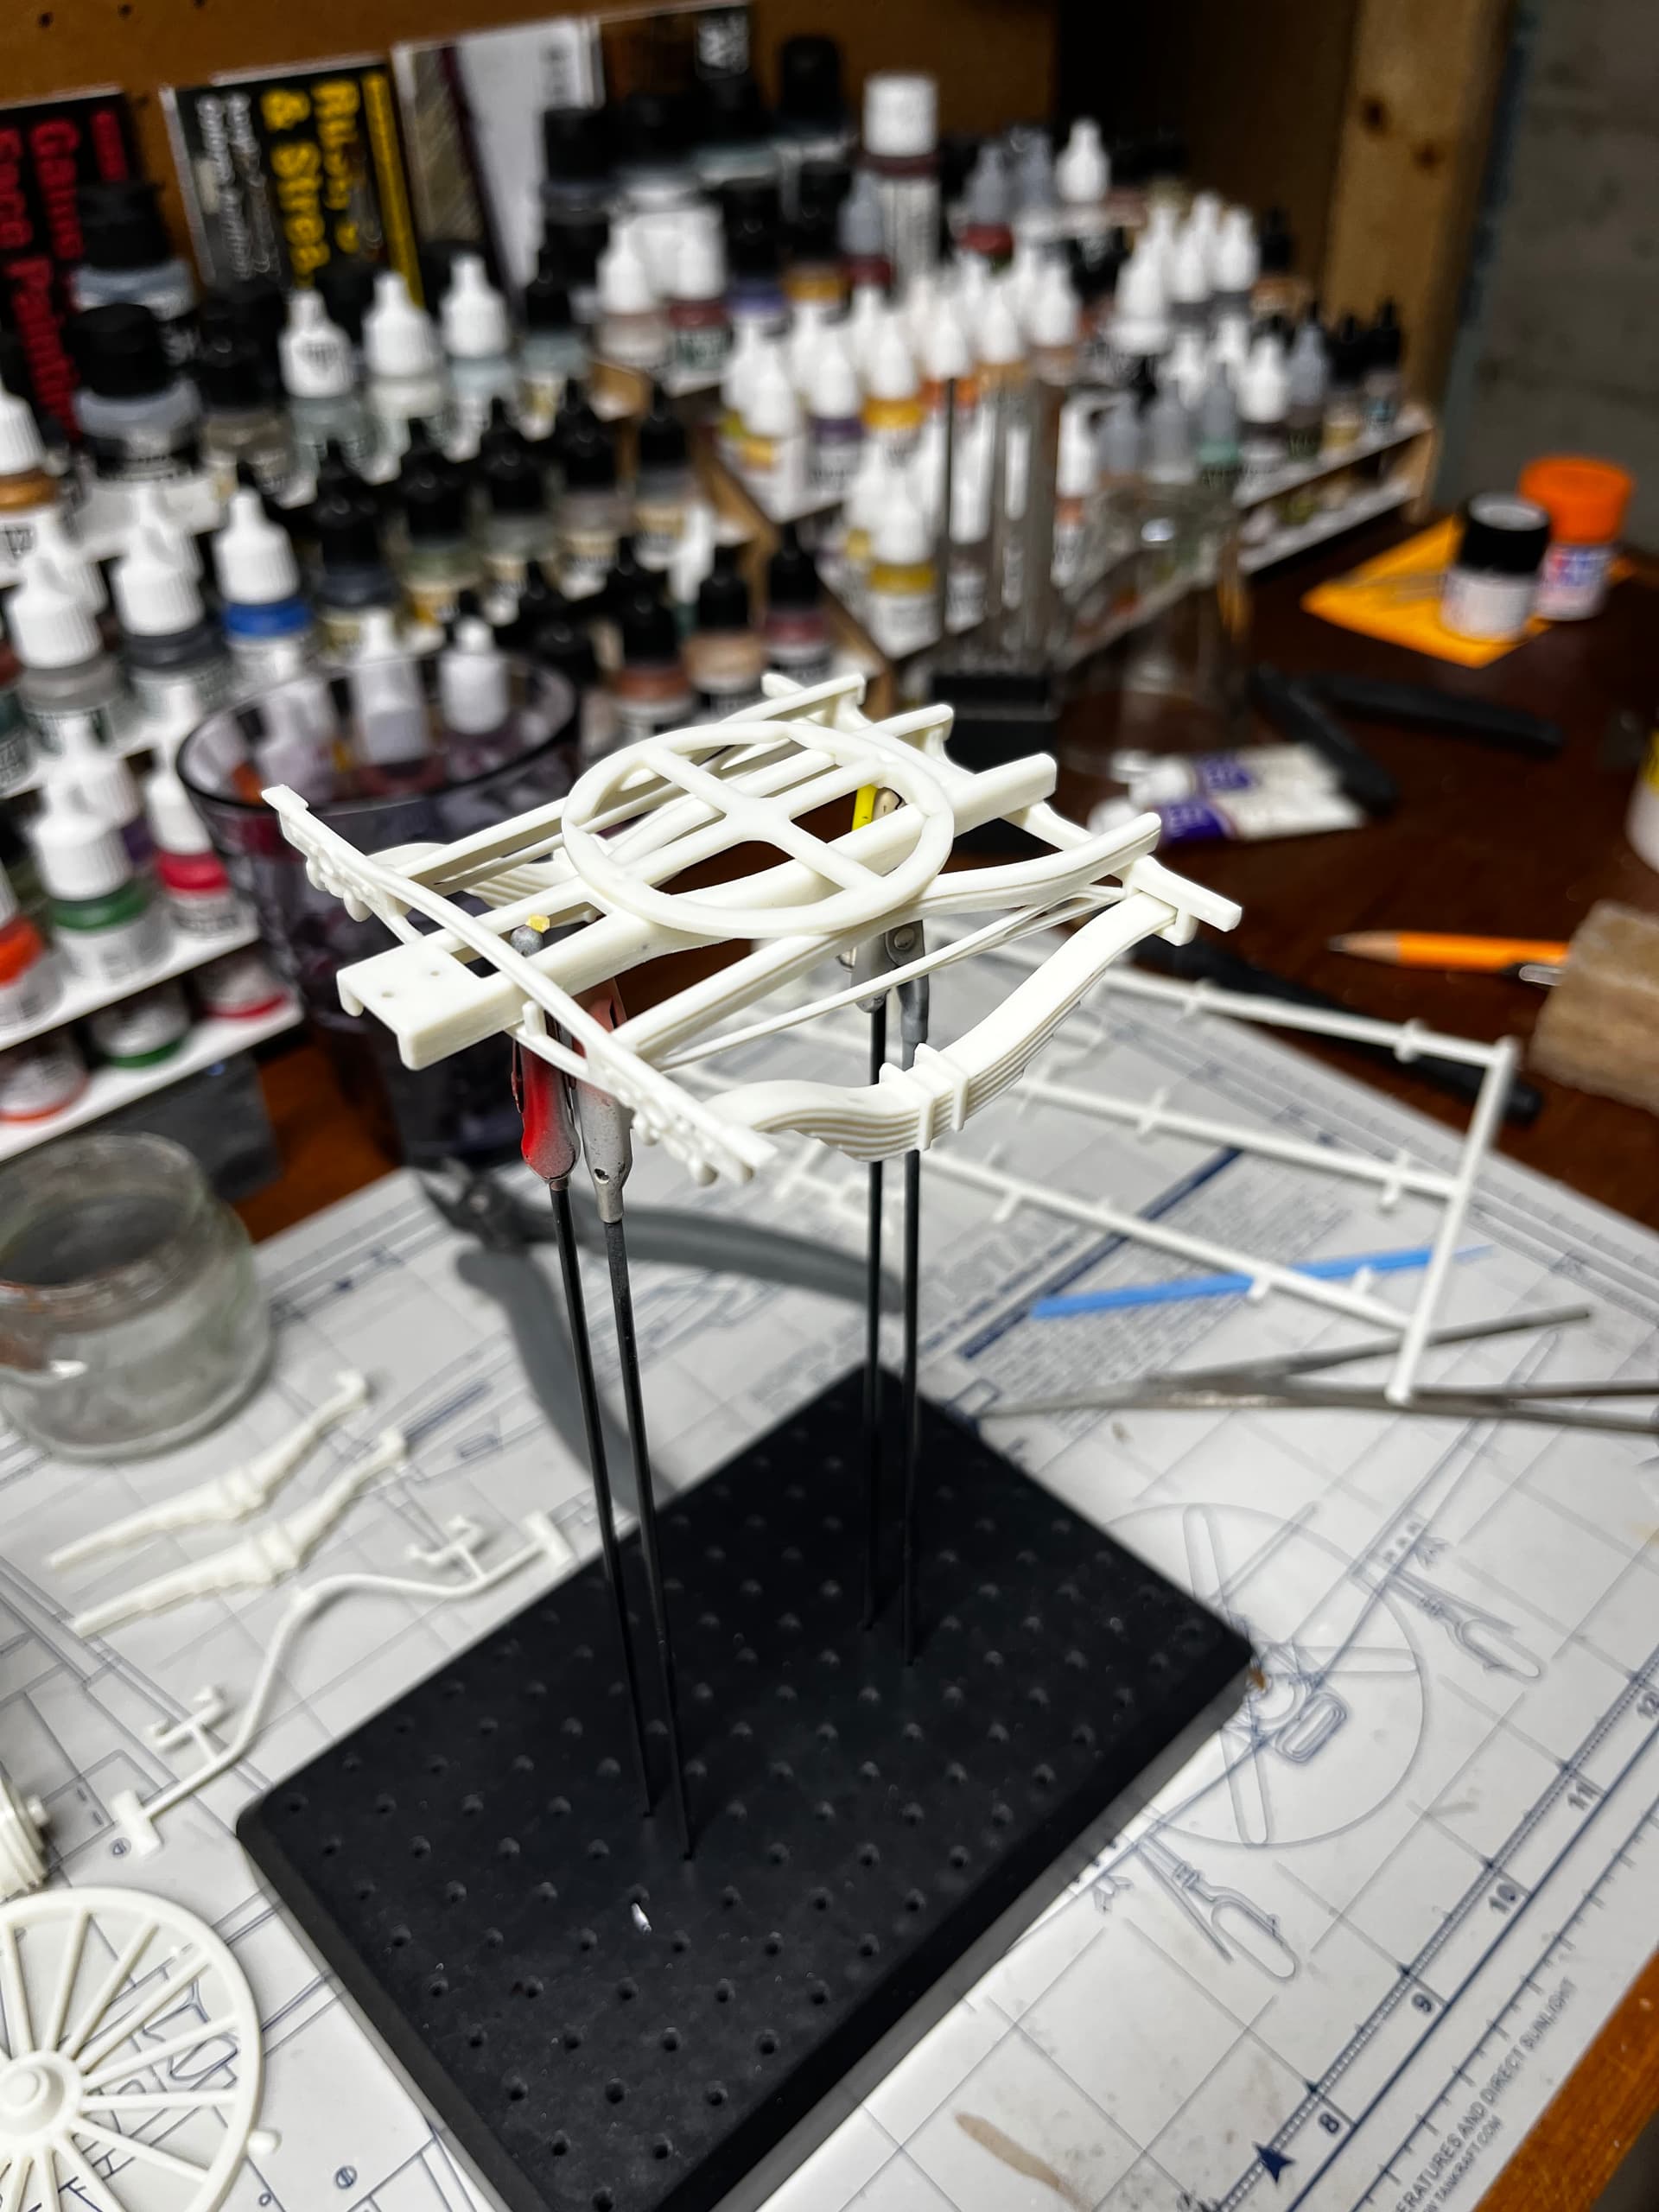
After covering Midwest Scale Madness, I out in. couple of hours at the workbench. Friday, paint commenced. first coat of white on the undercarriage parts and sanded them. Nothing exciting there.
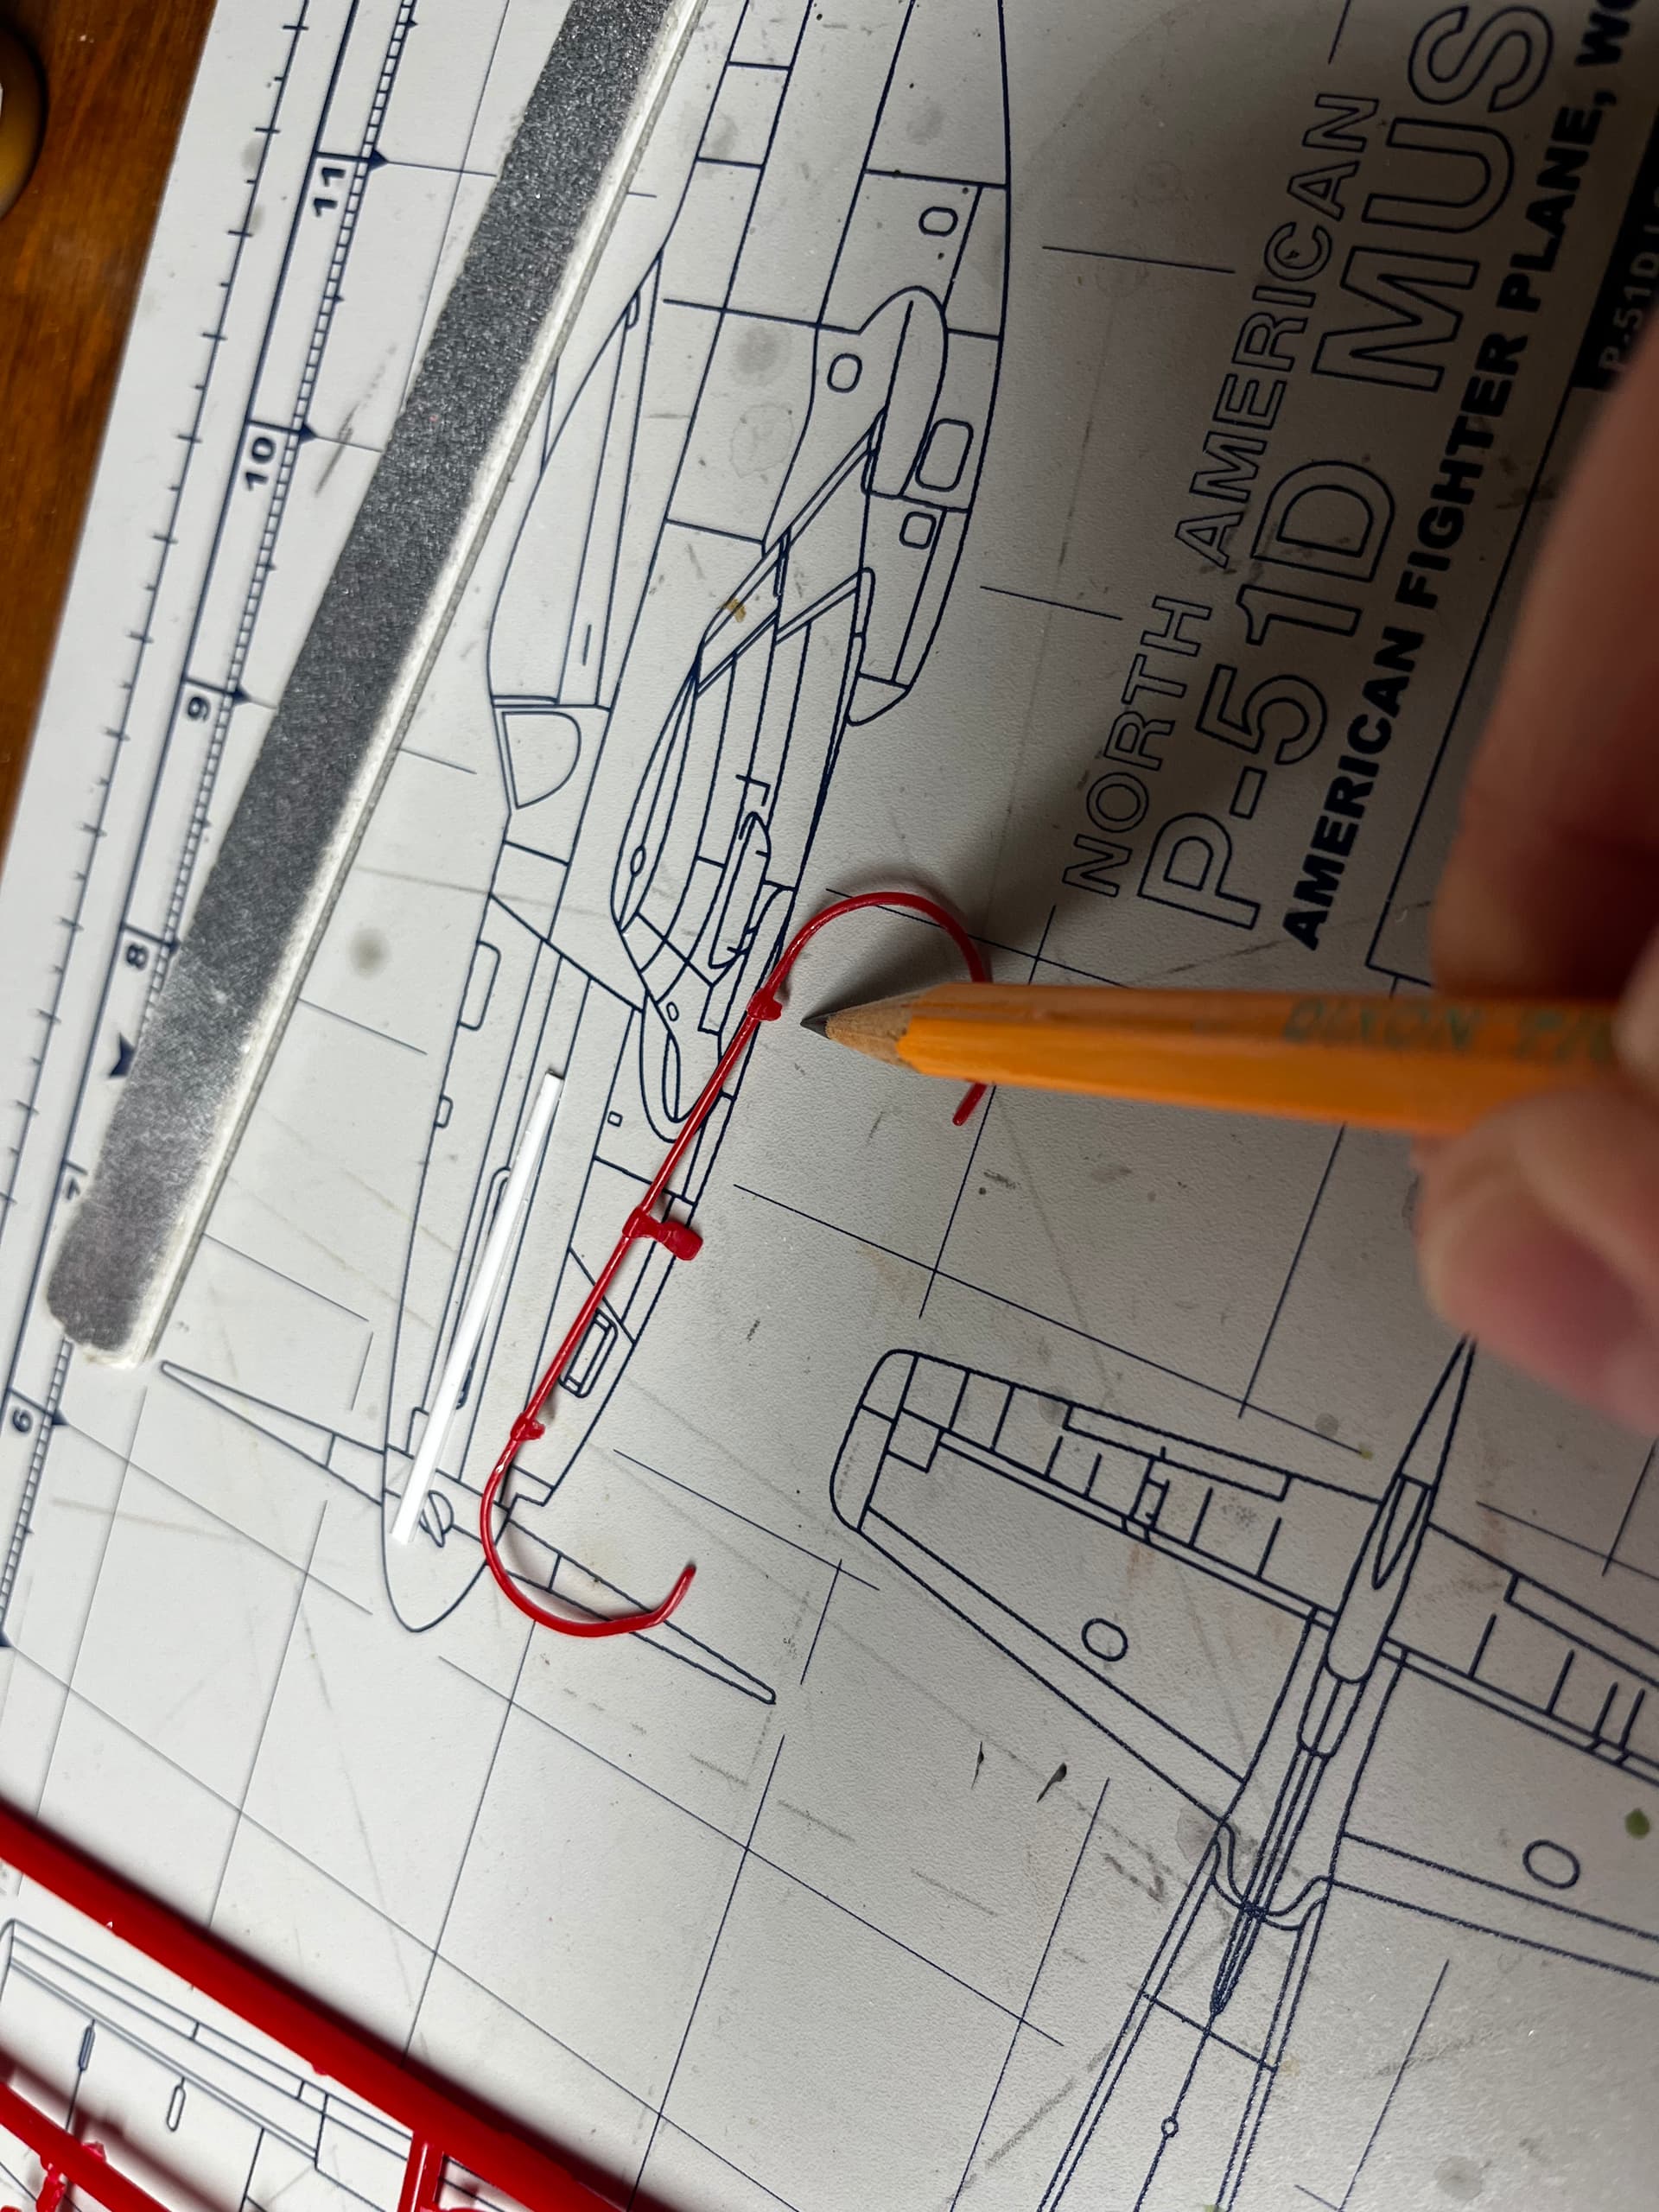
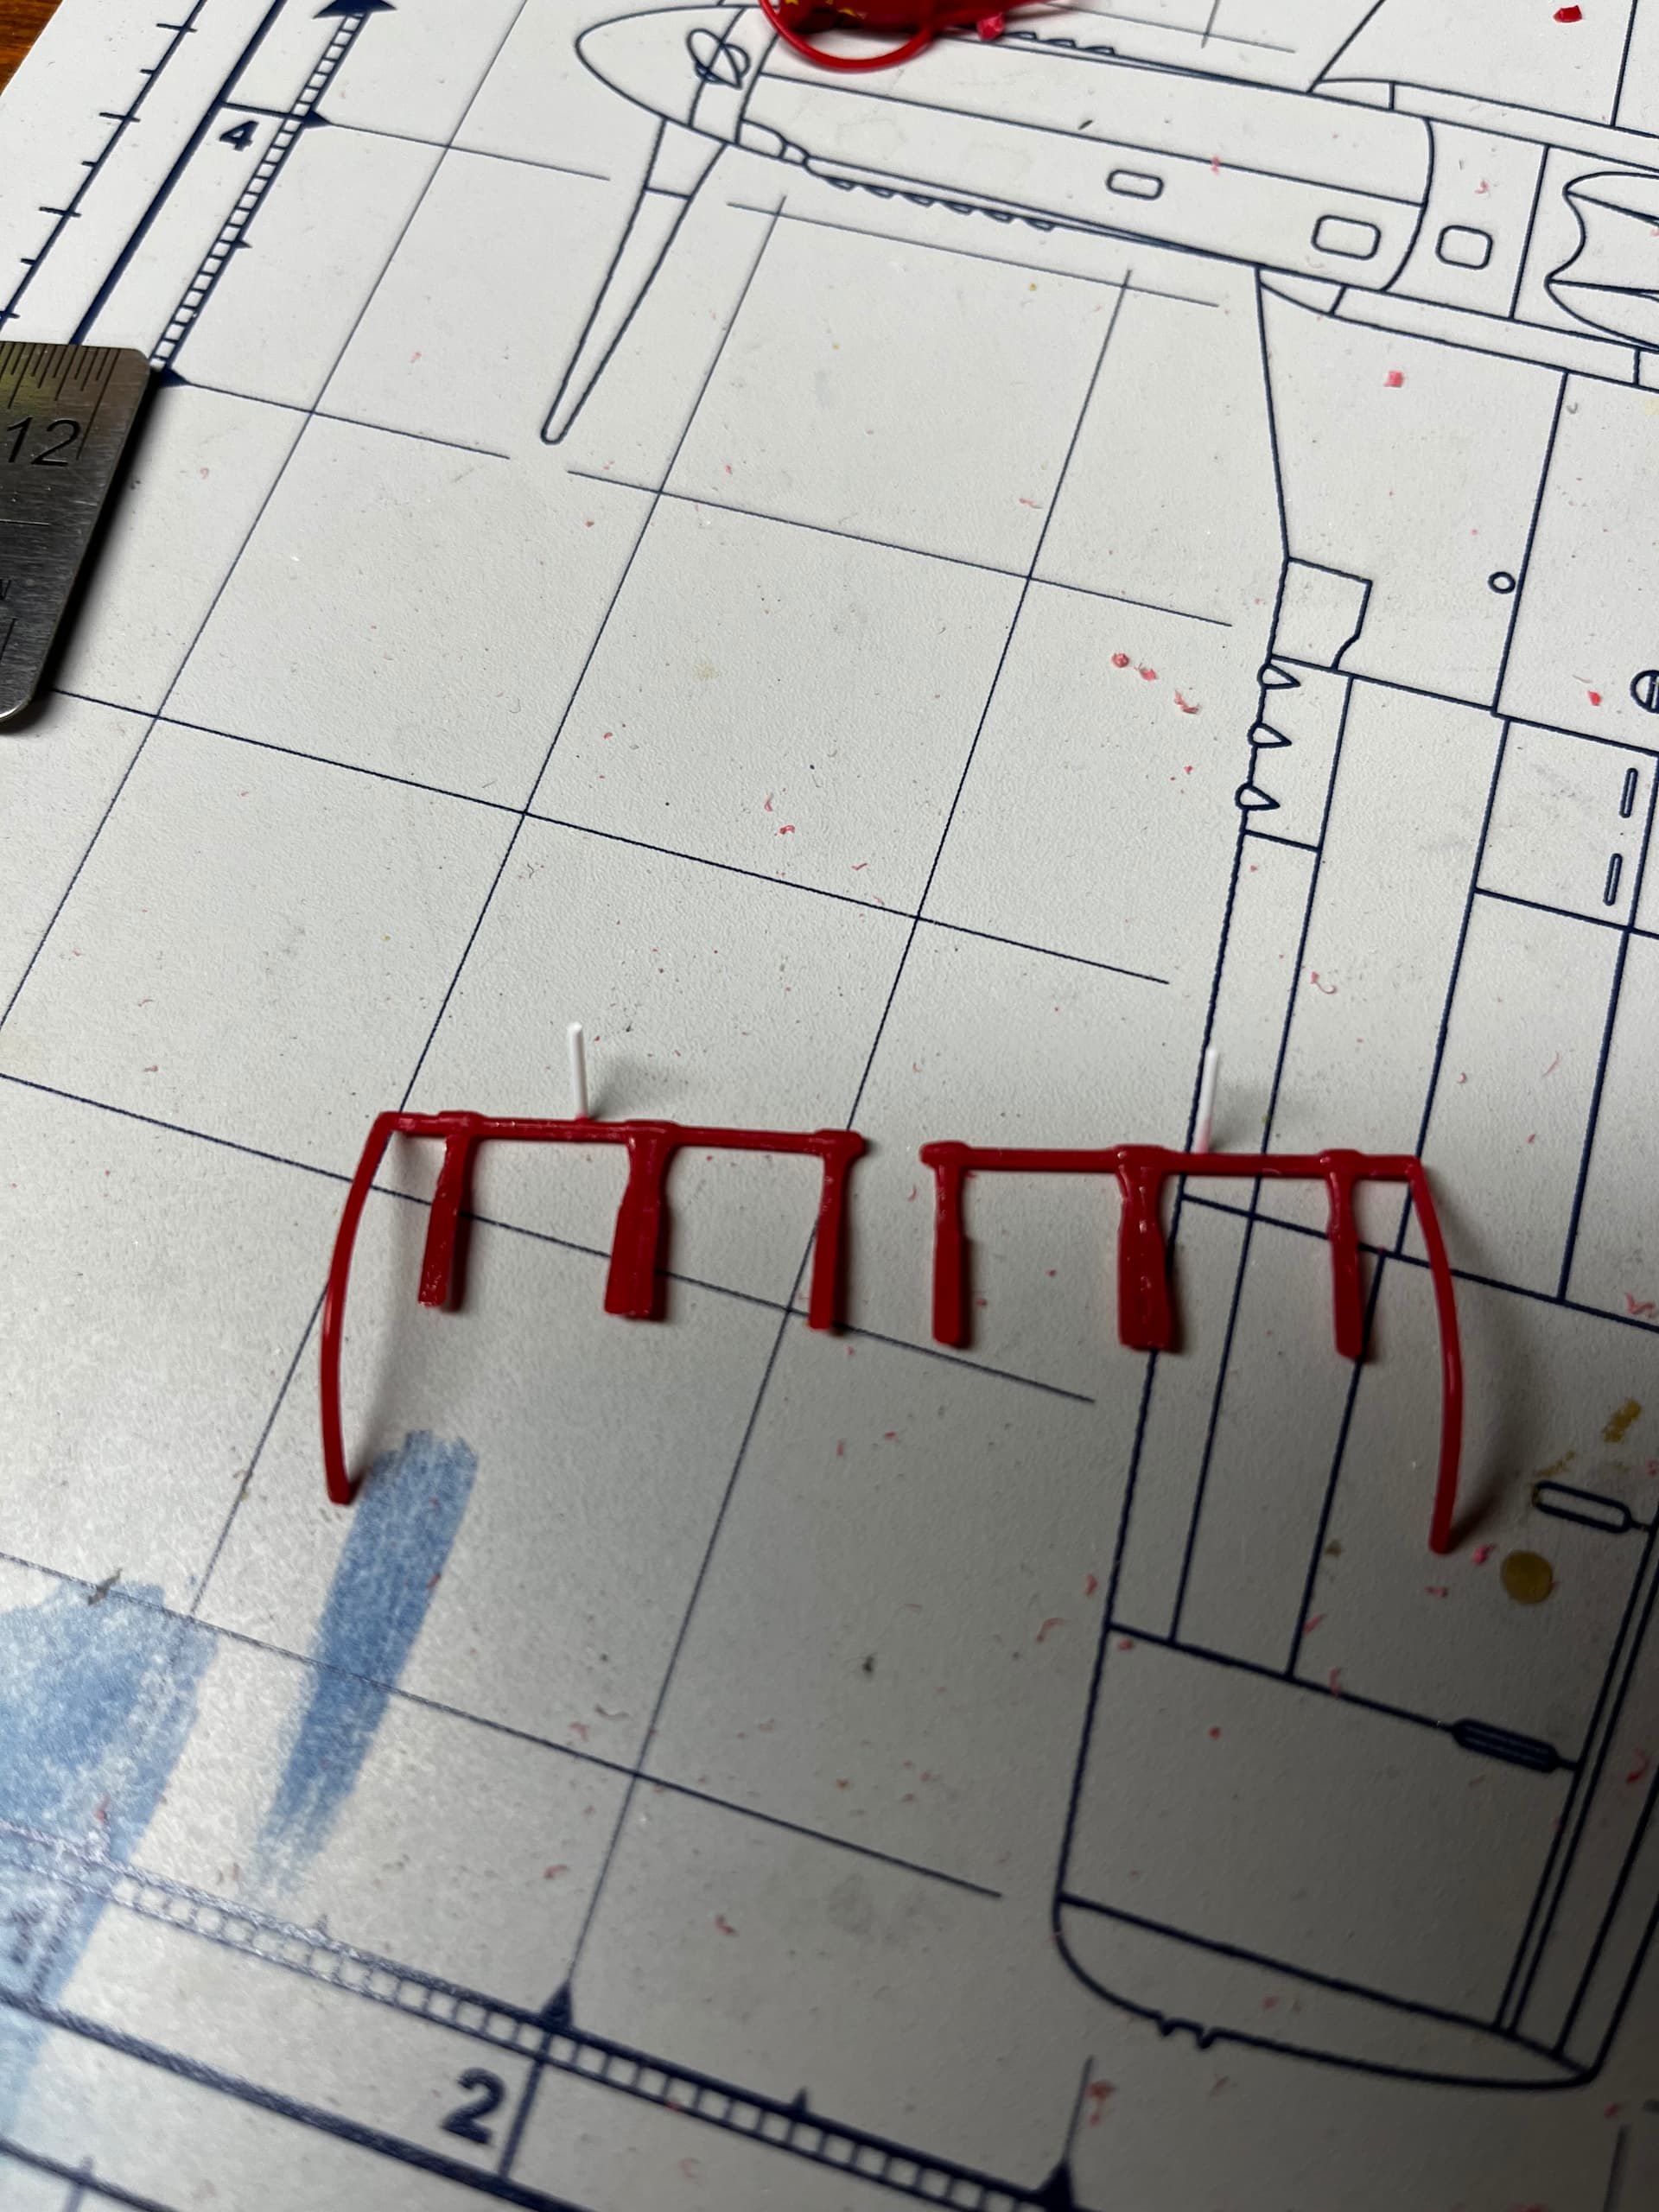
The foot rail is supposed to have two attachment points descending from the interior knobs. Nope. Either short shot or they broke off at some point over the years. Grumpy.
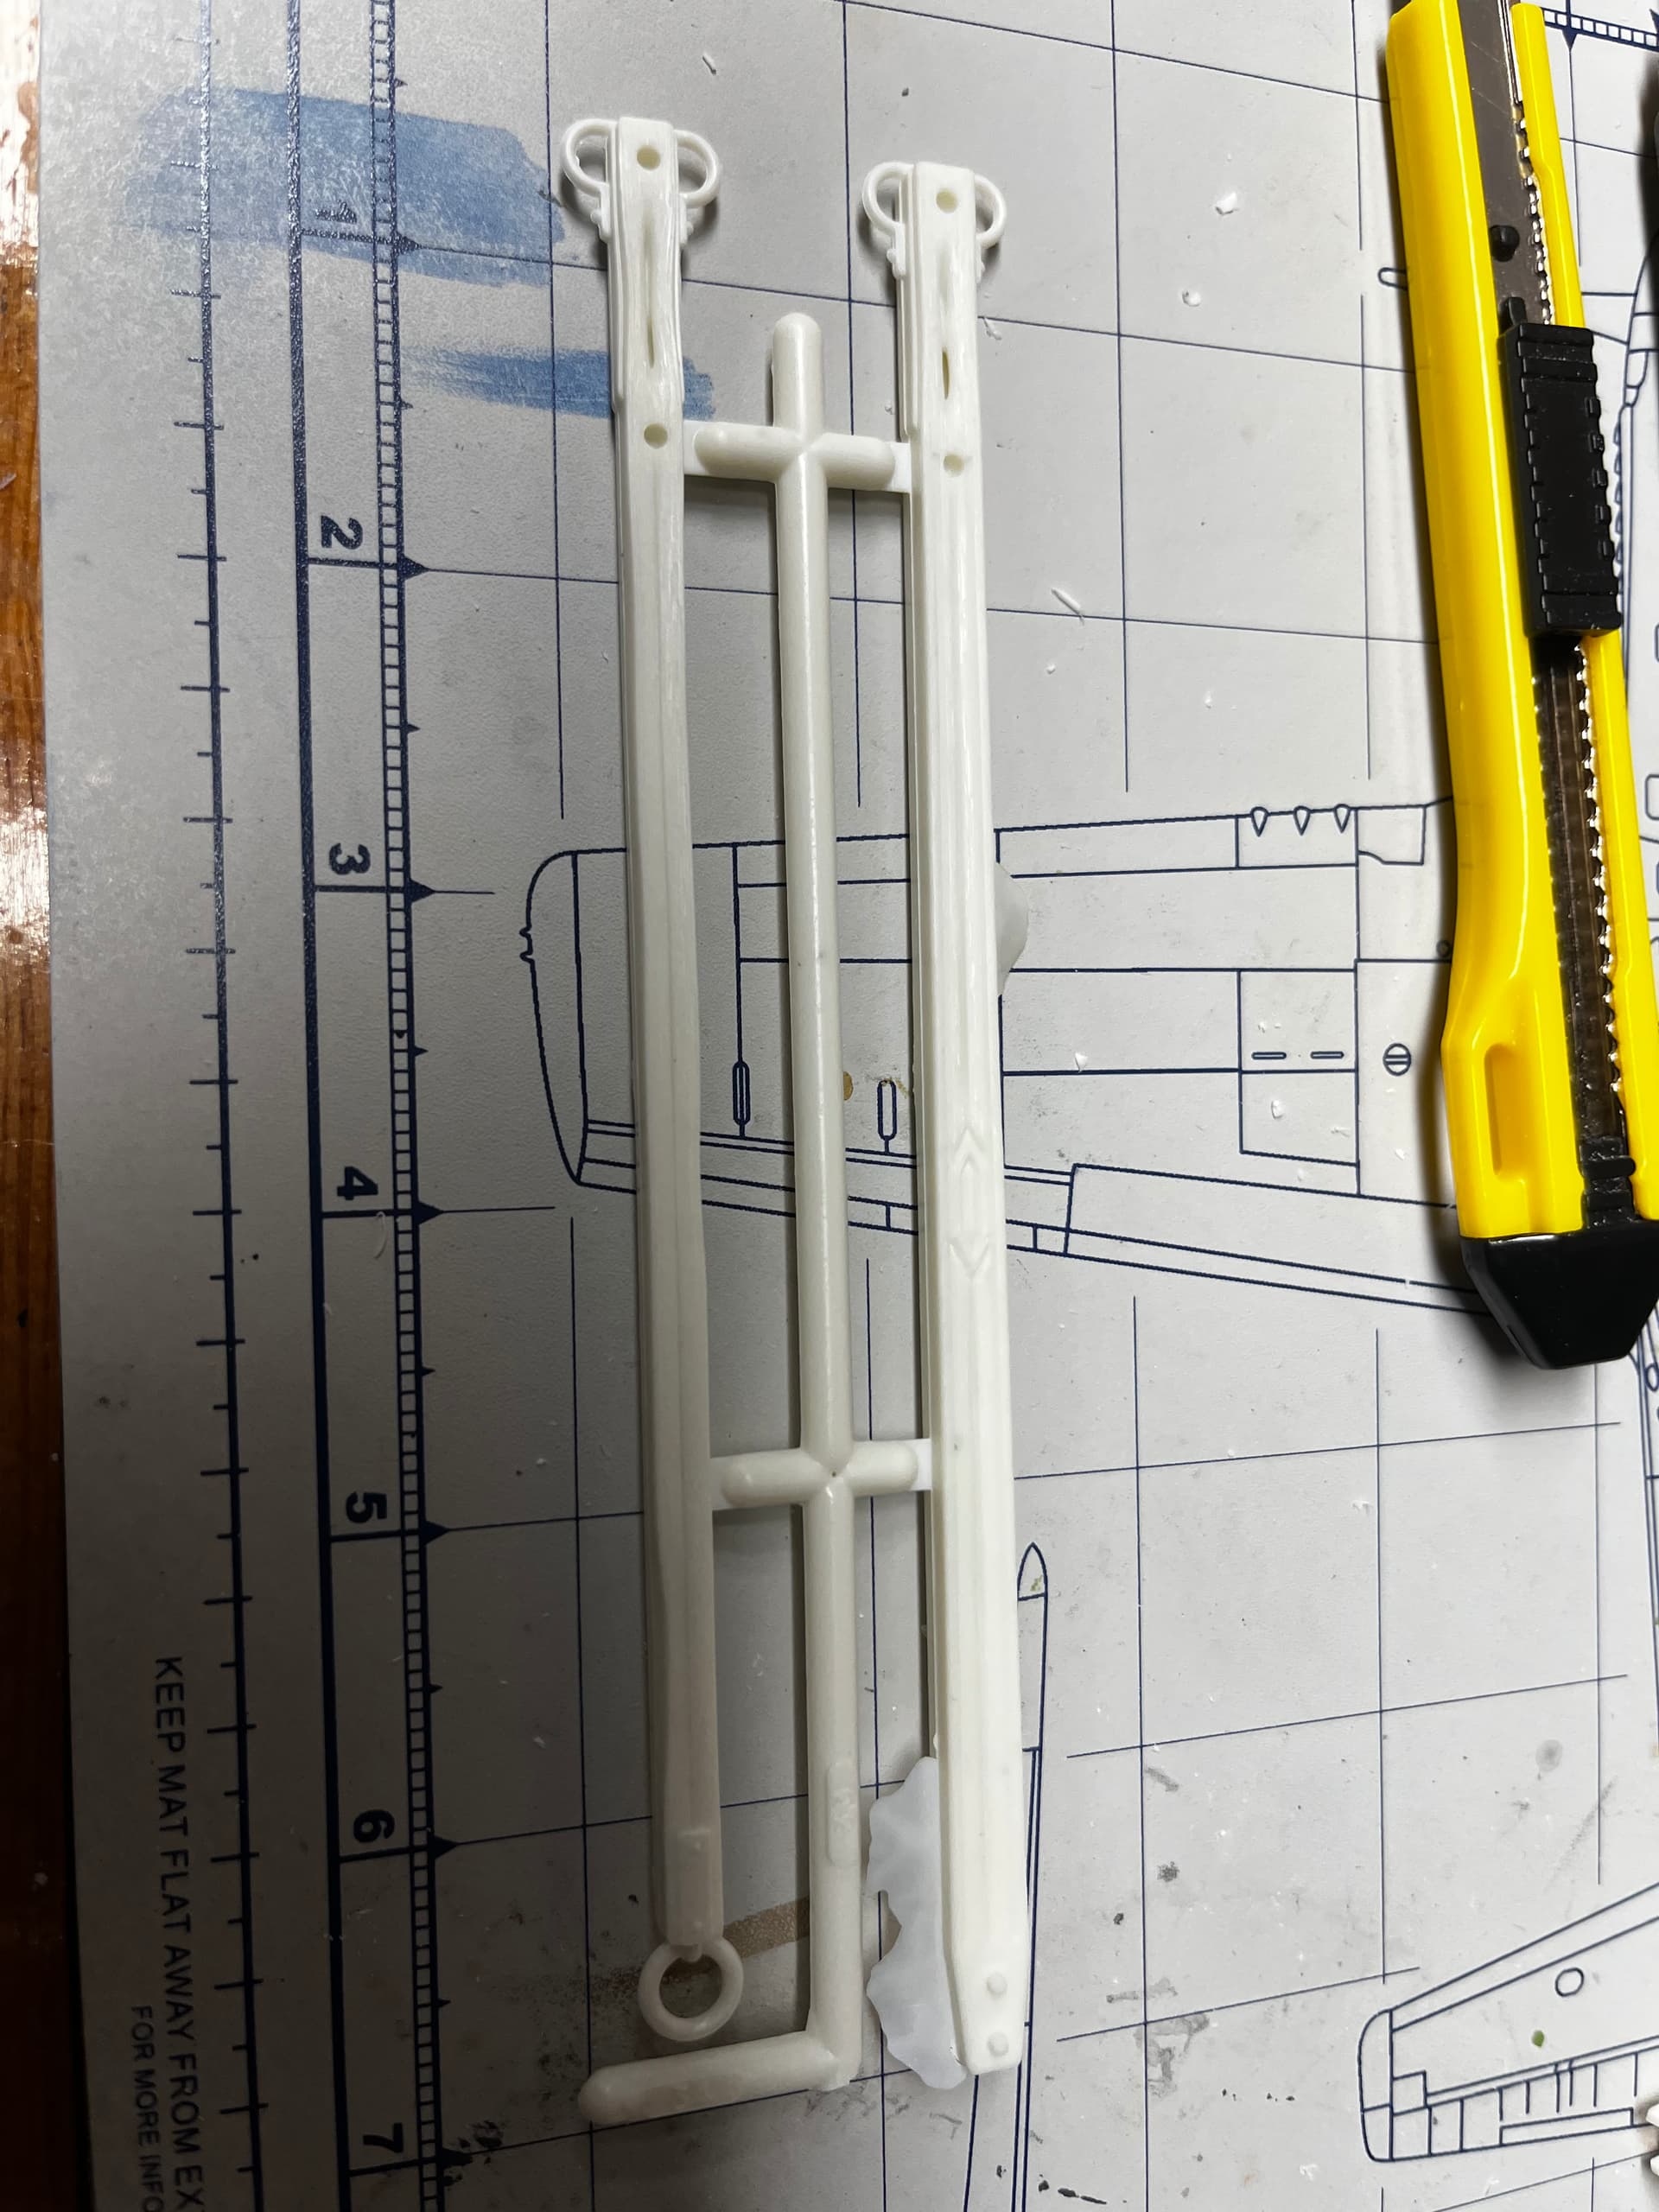
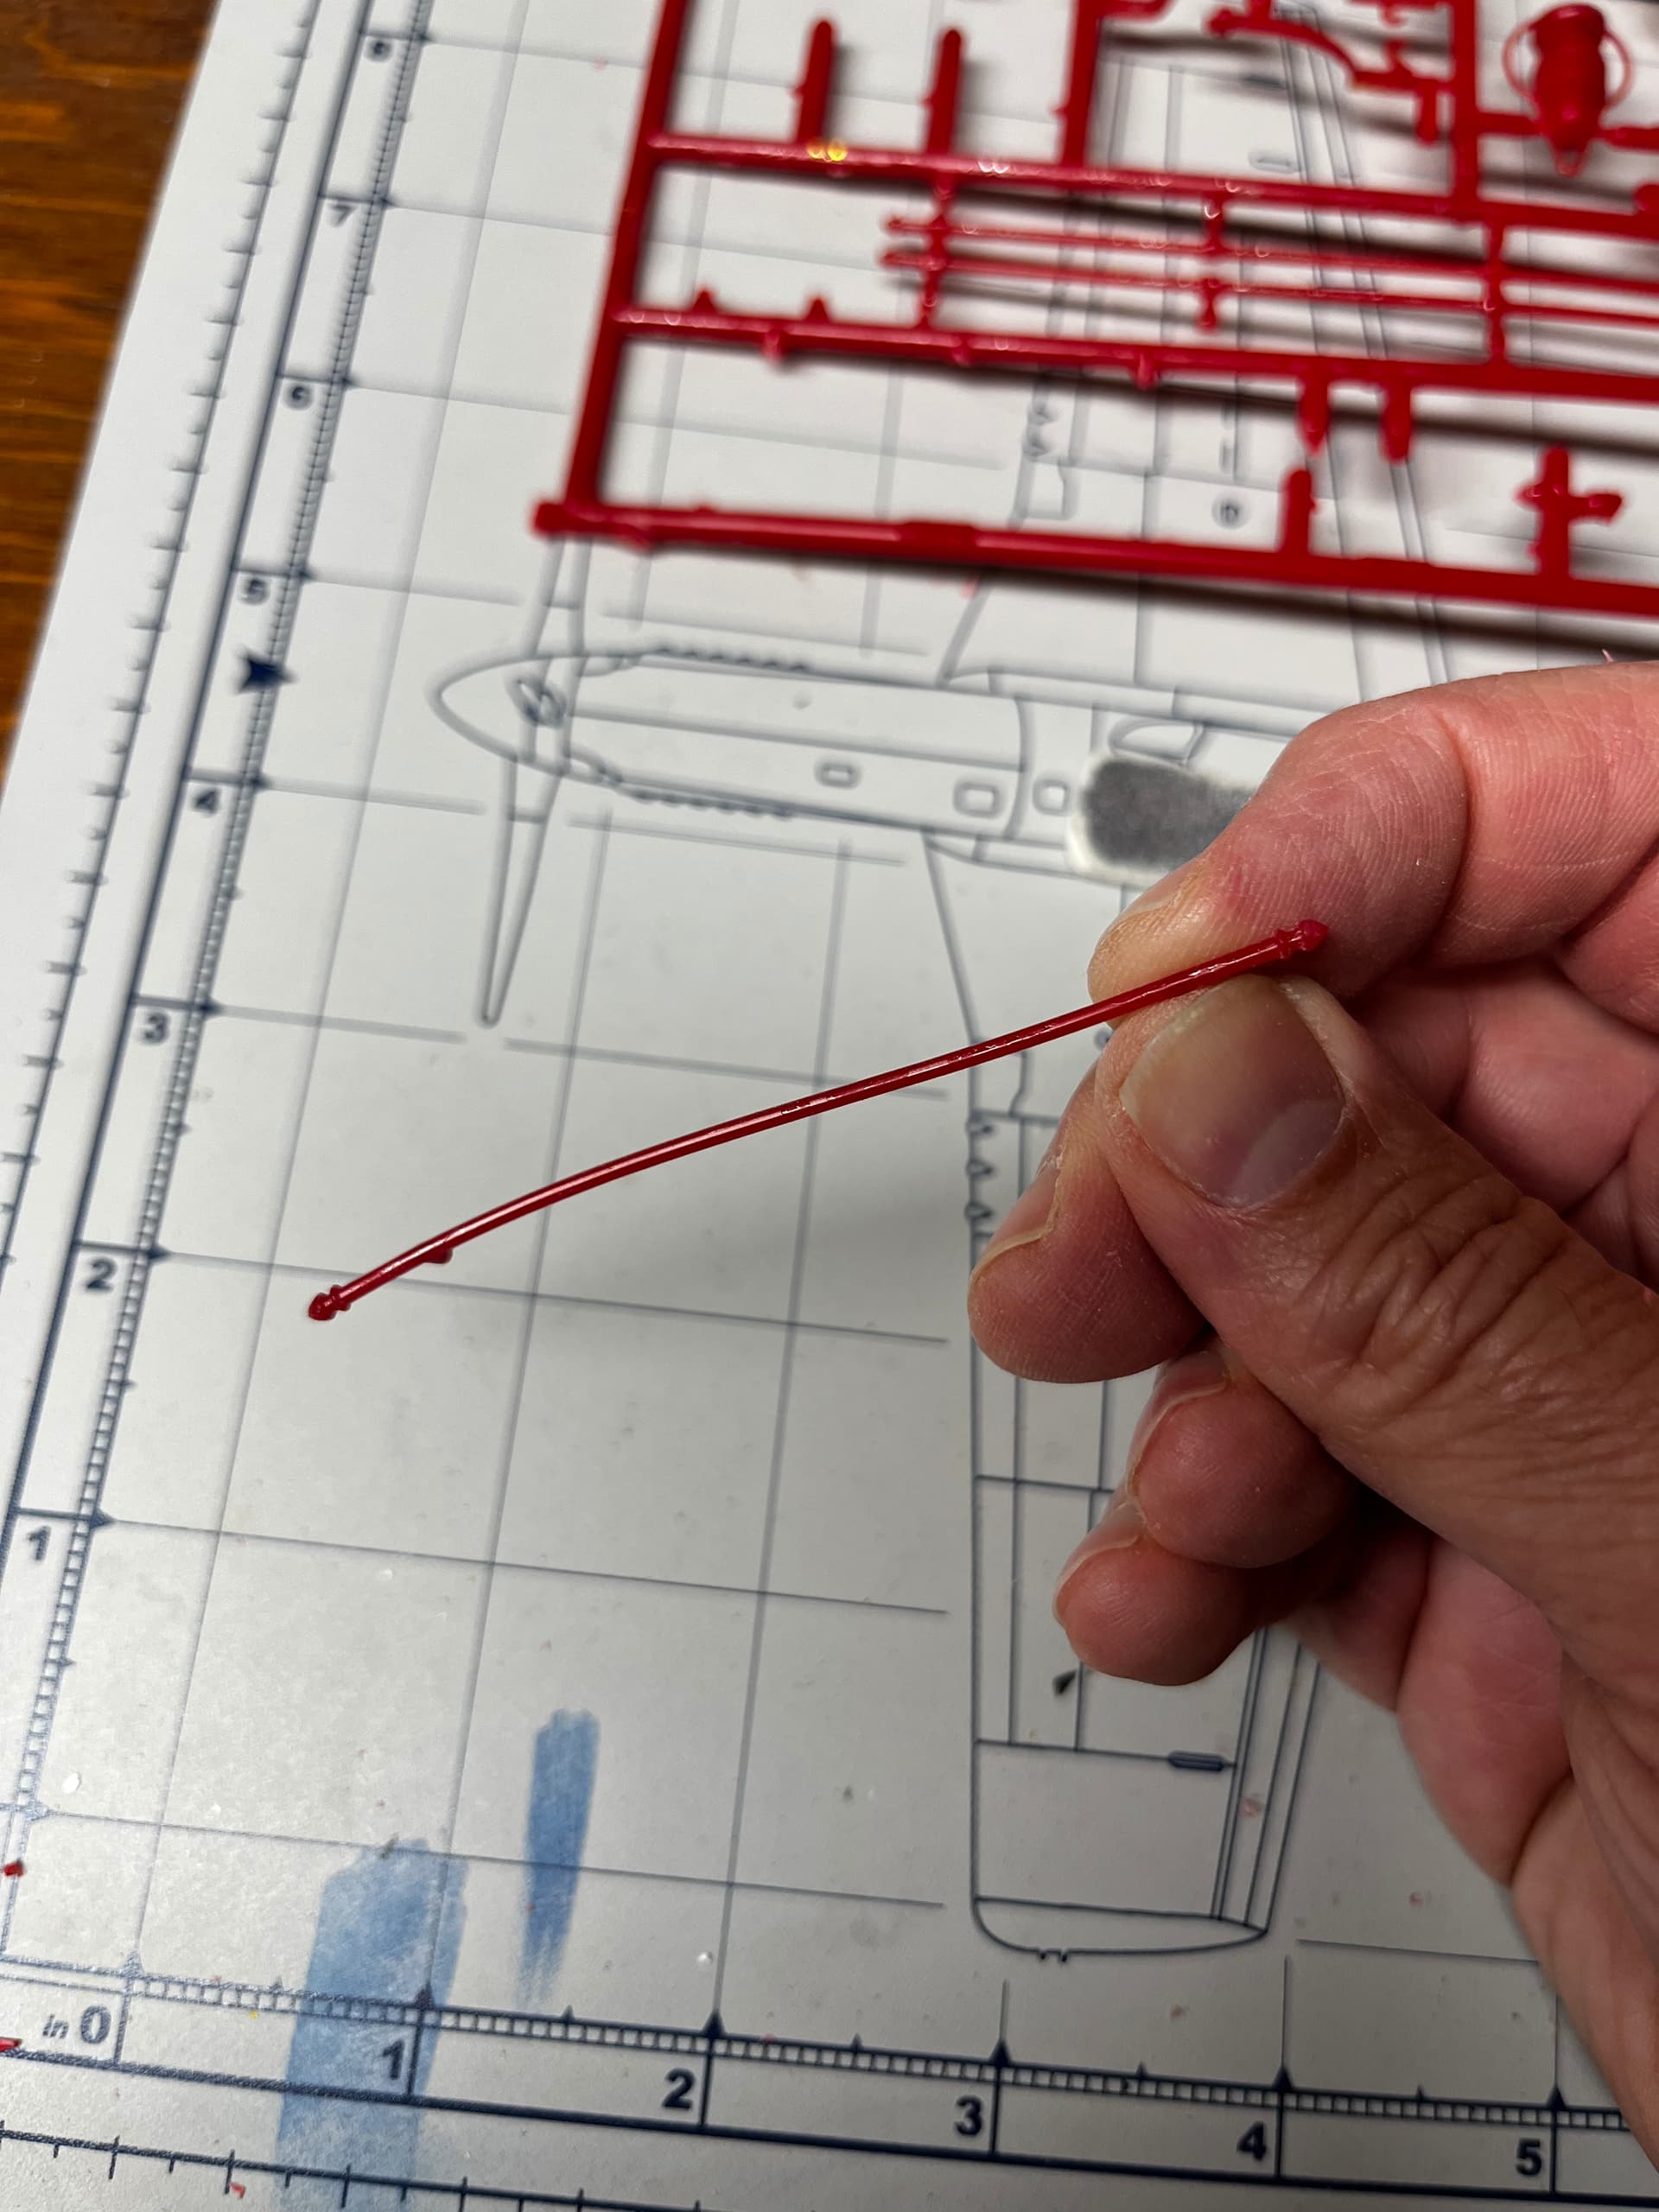
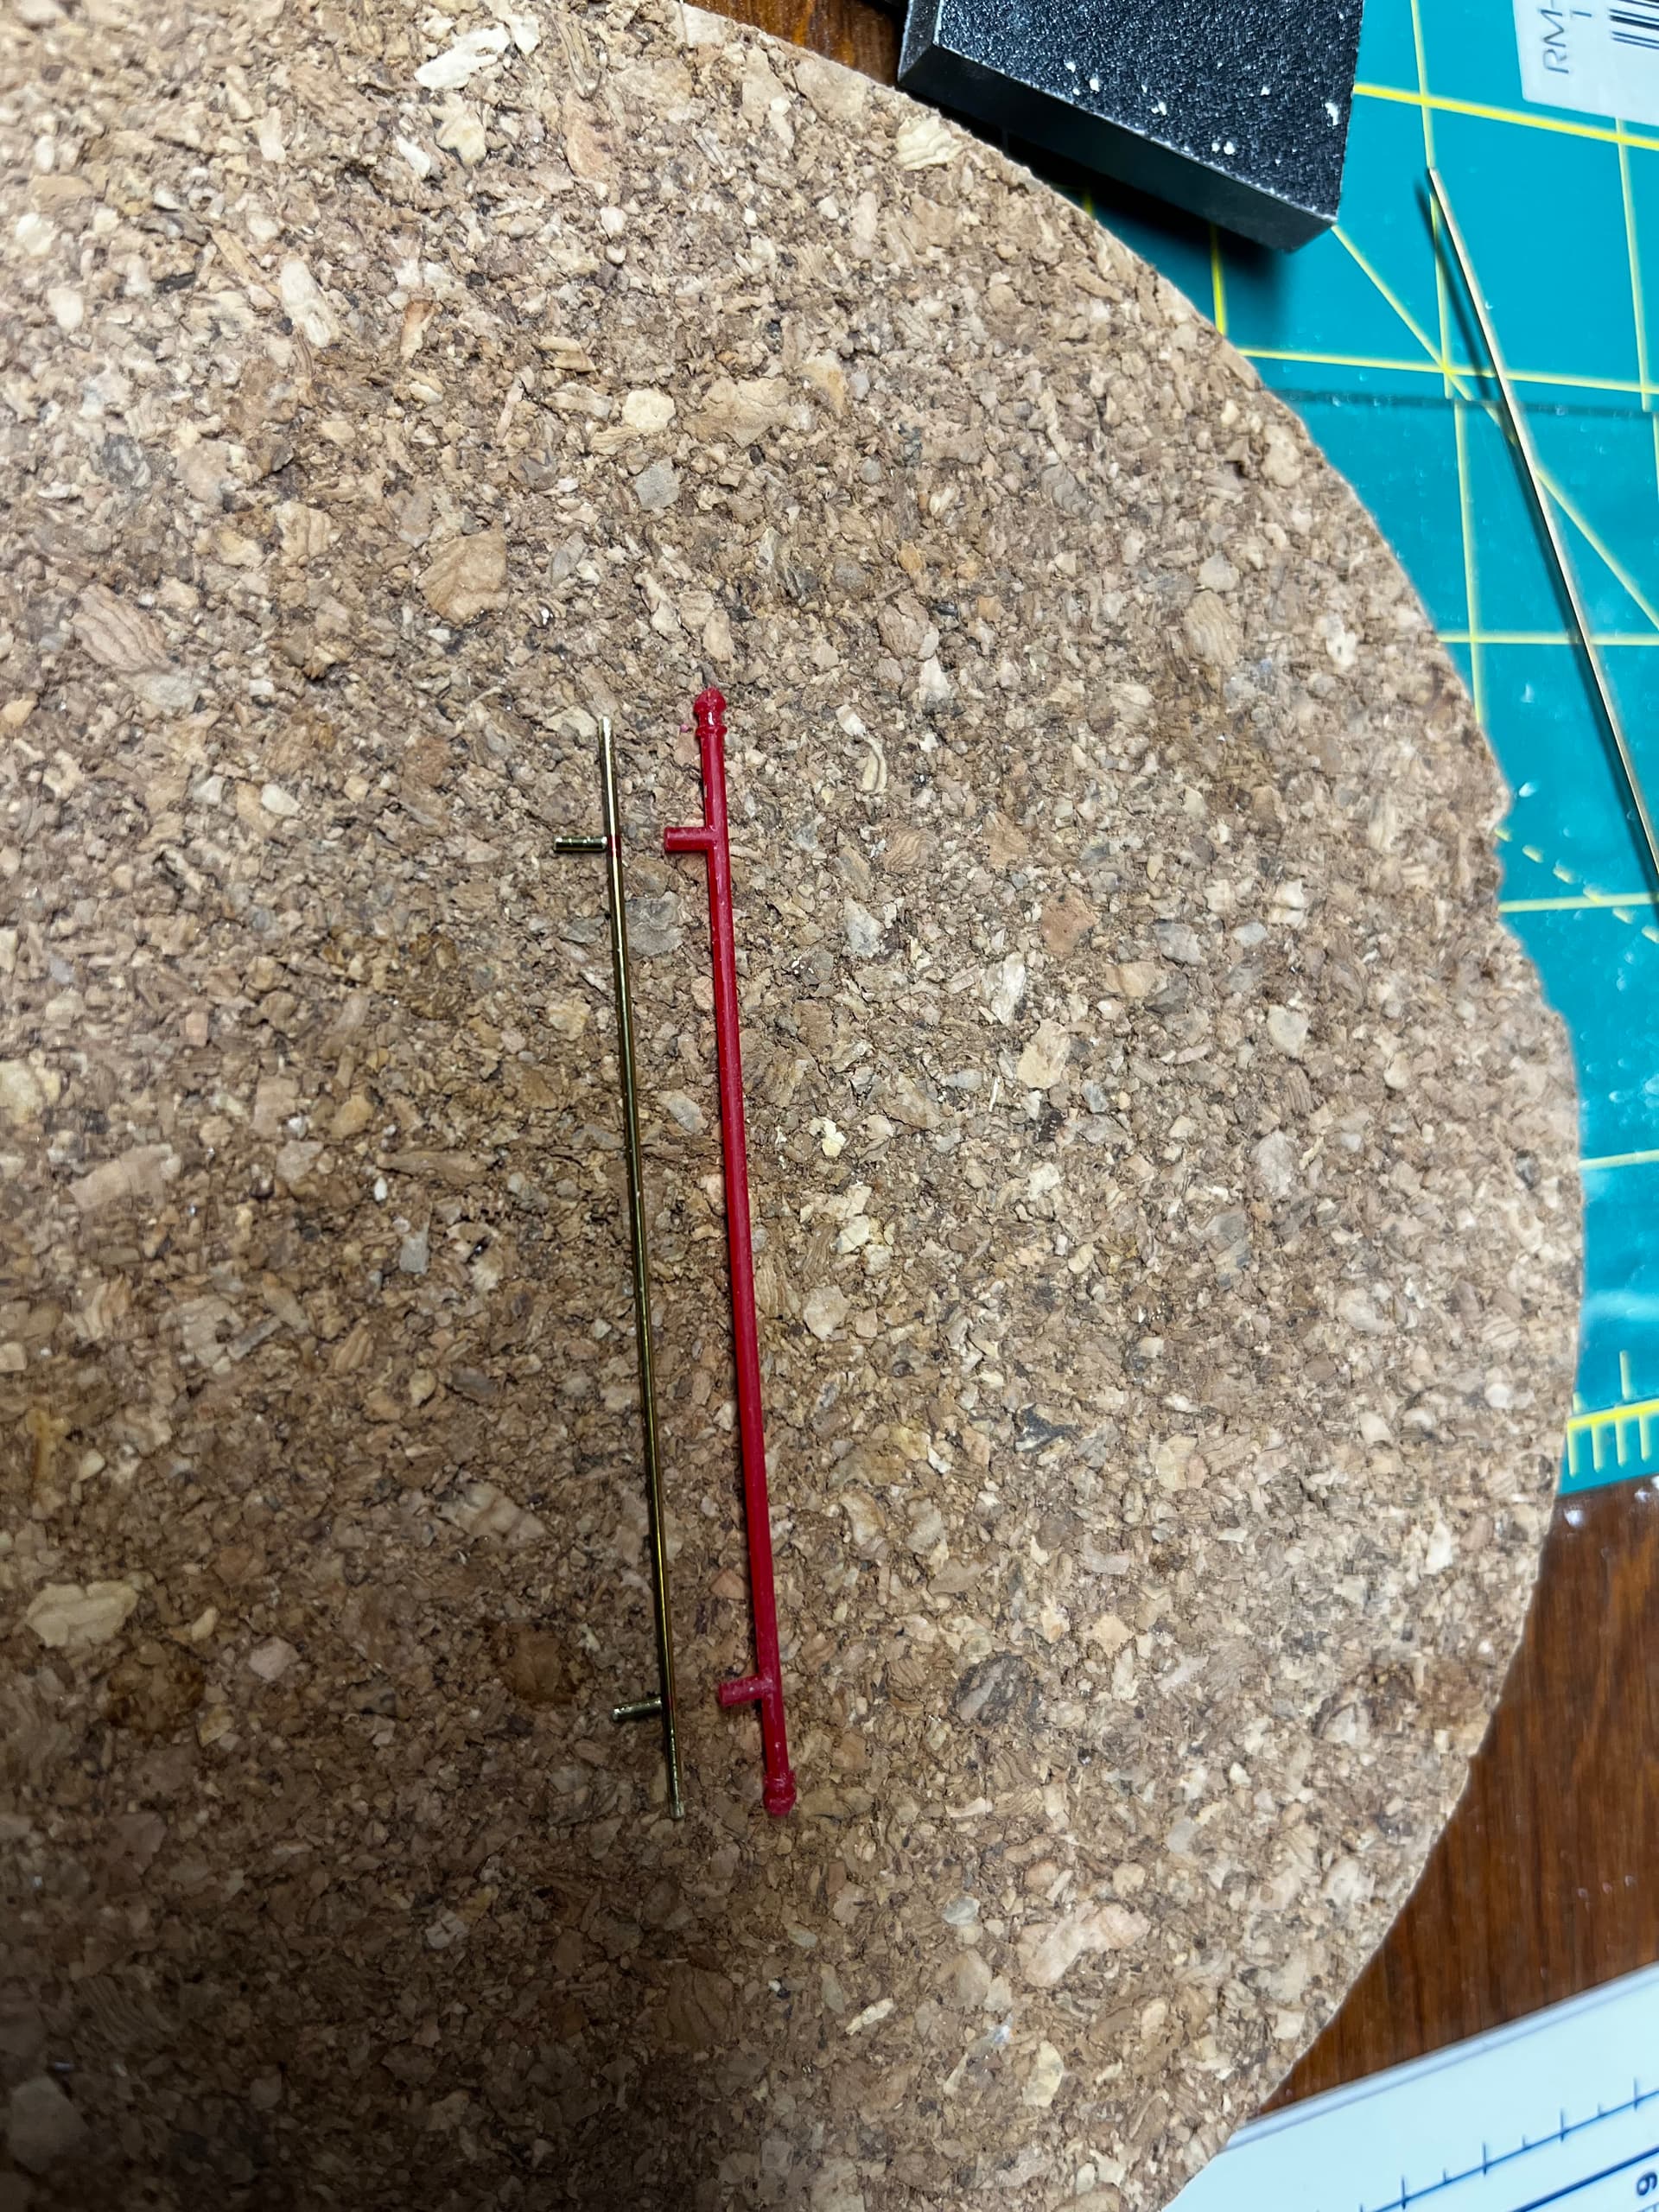
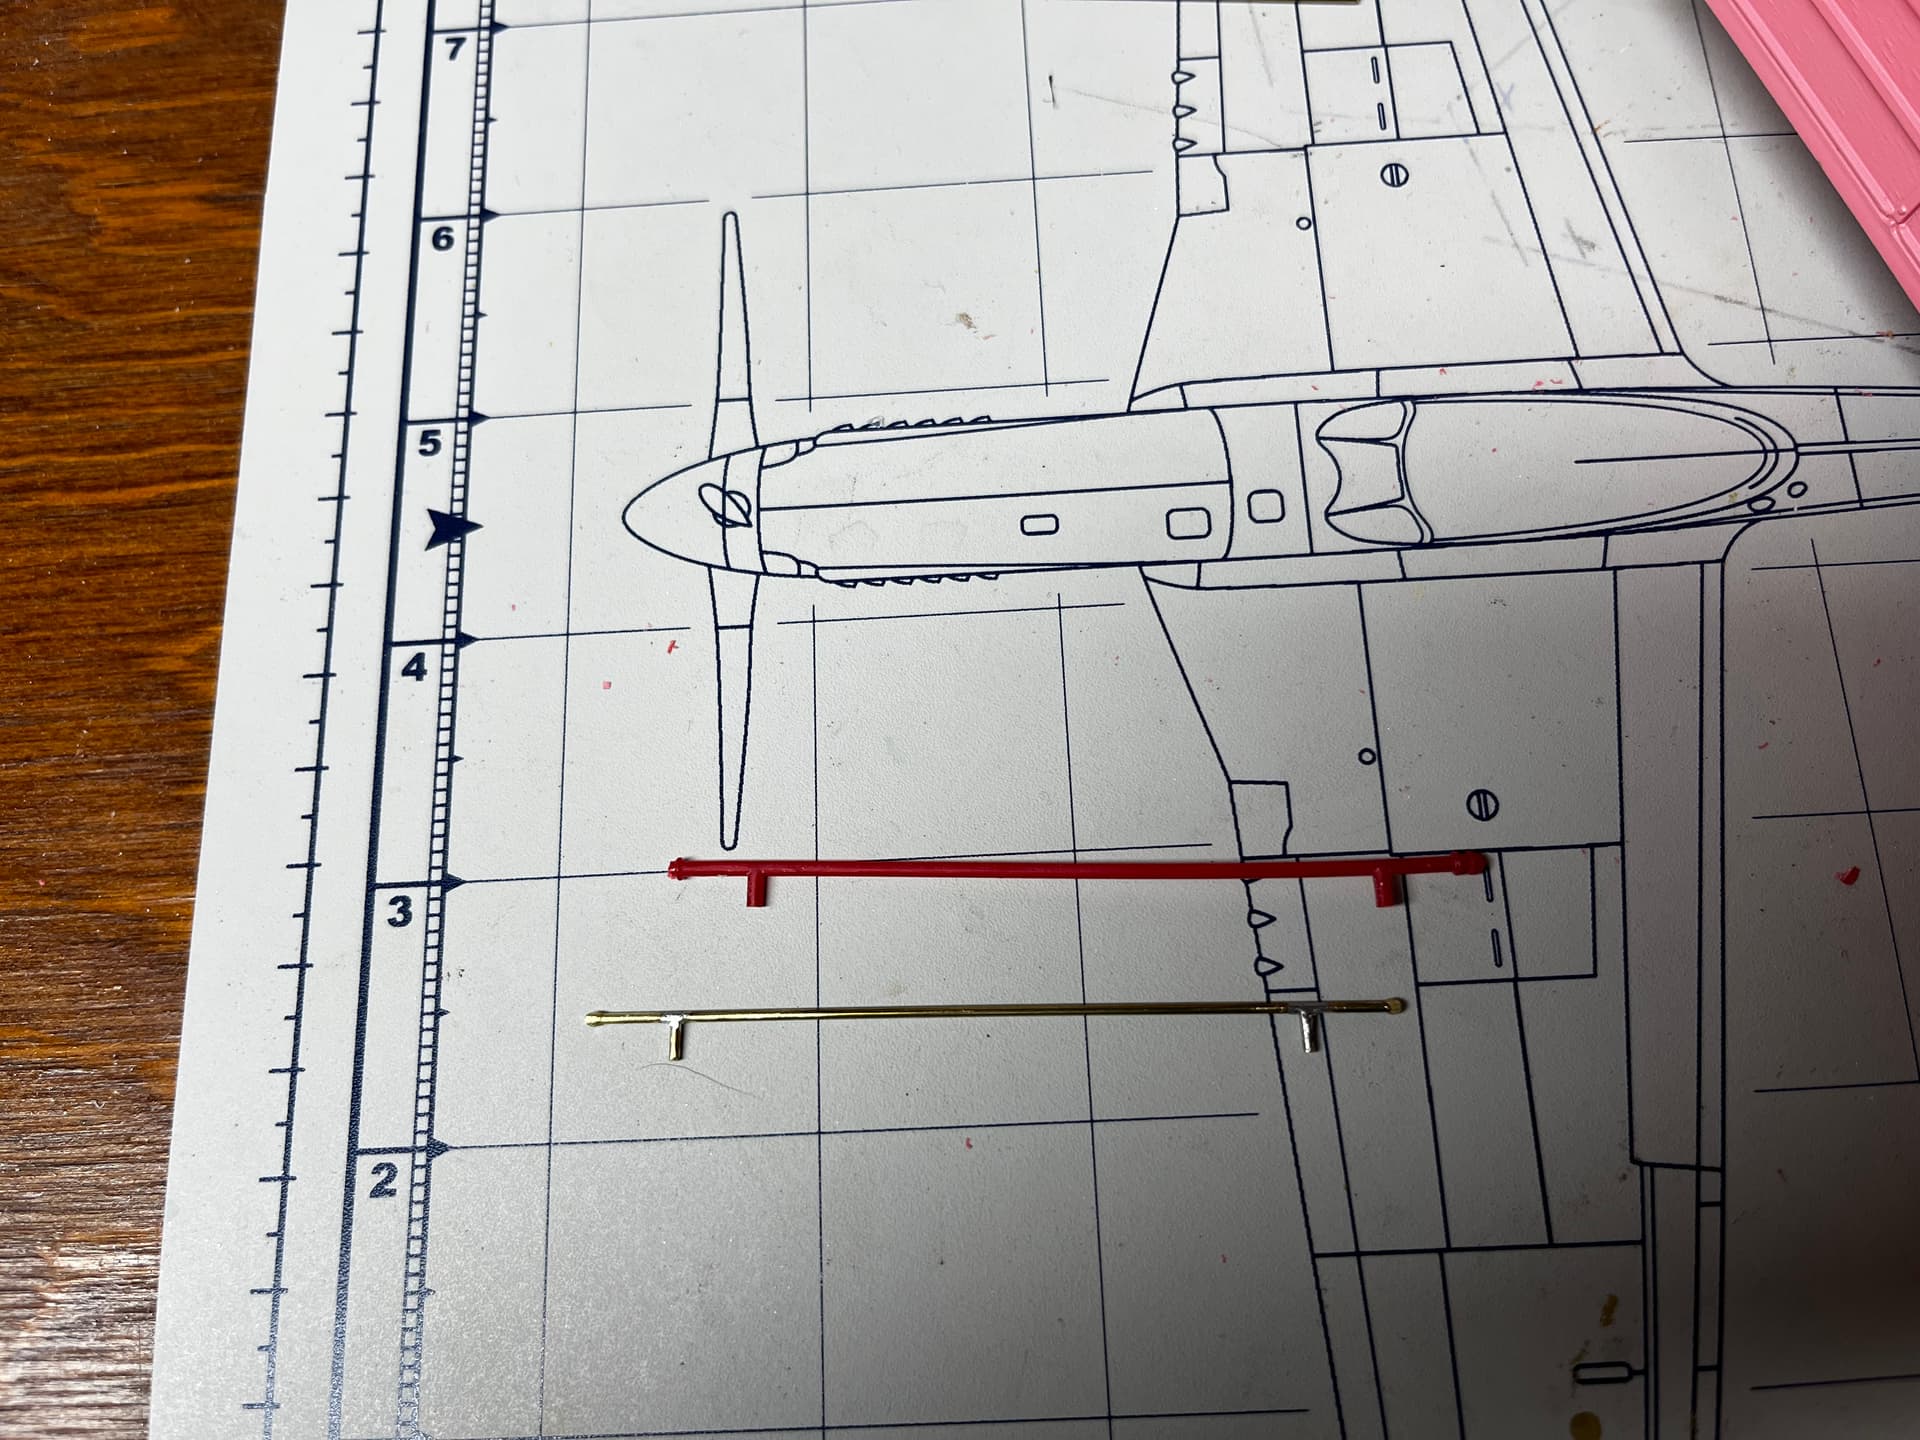
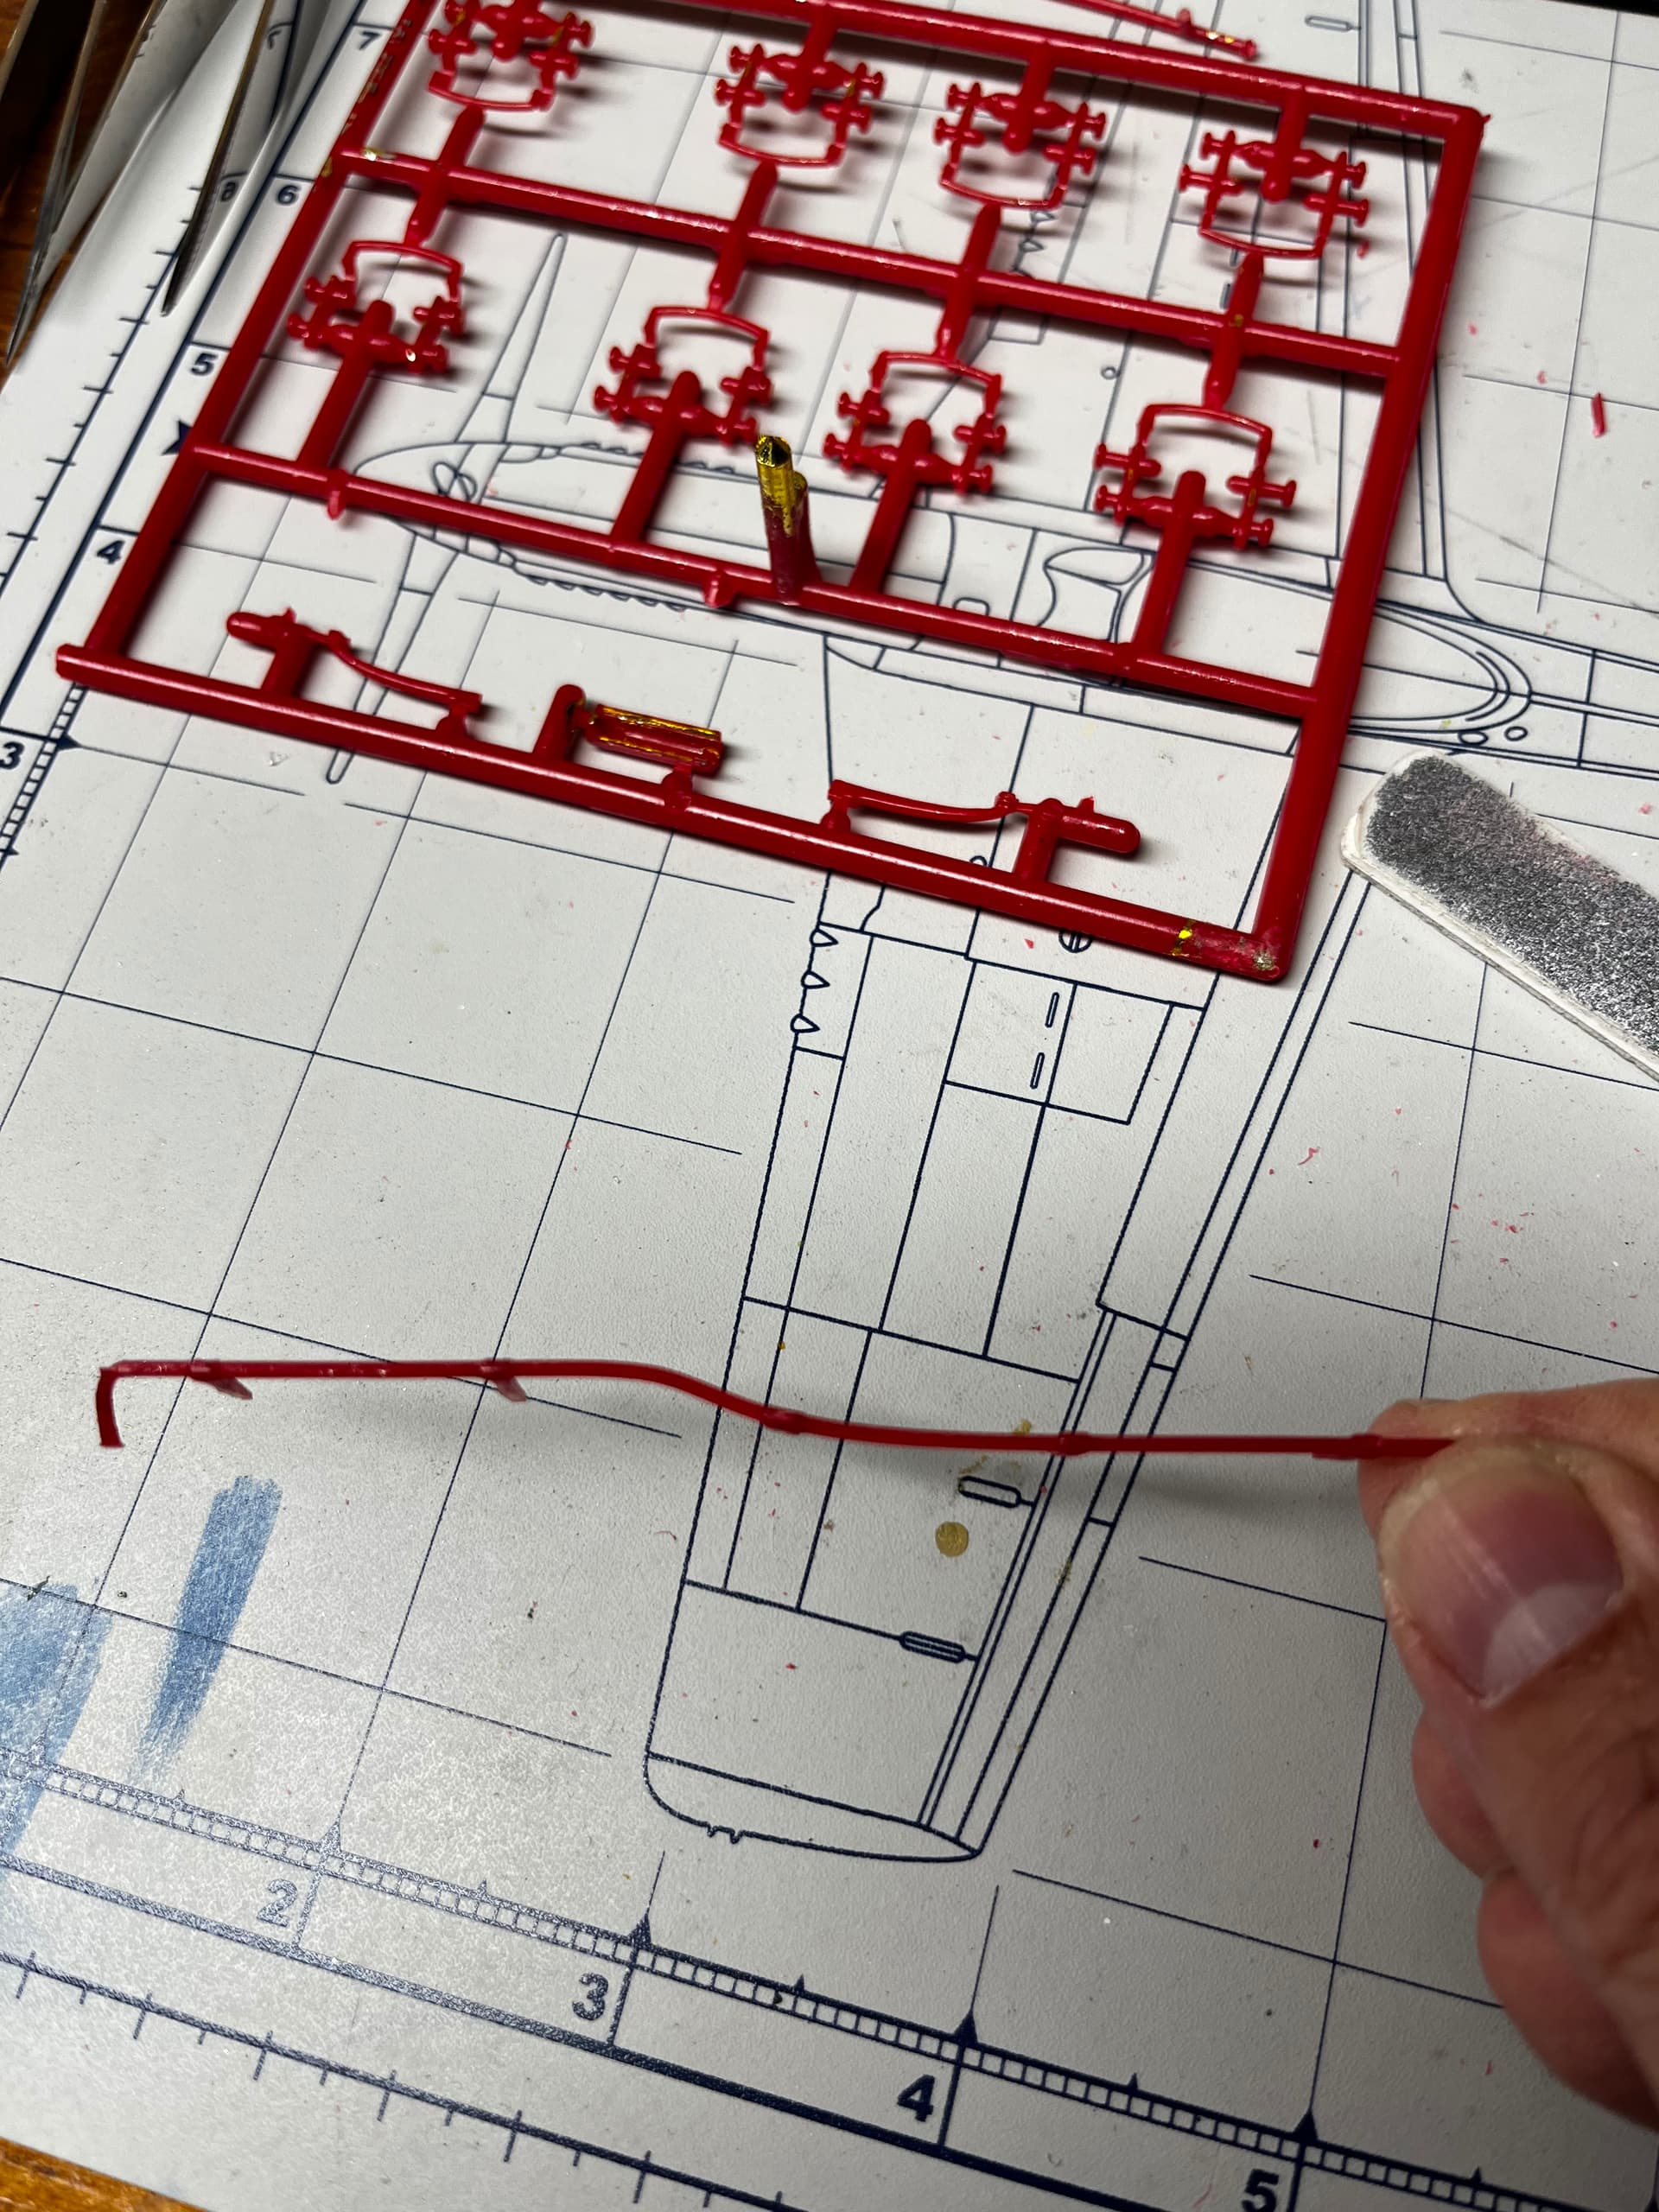
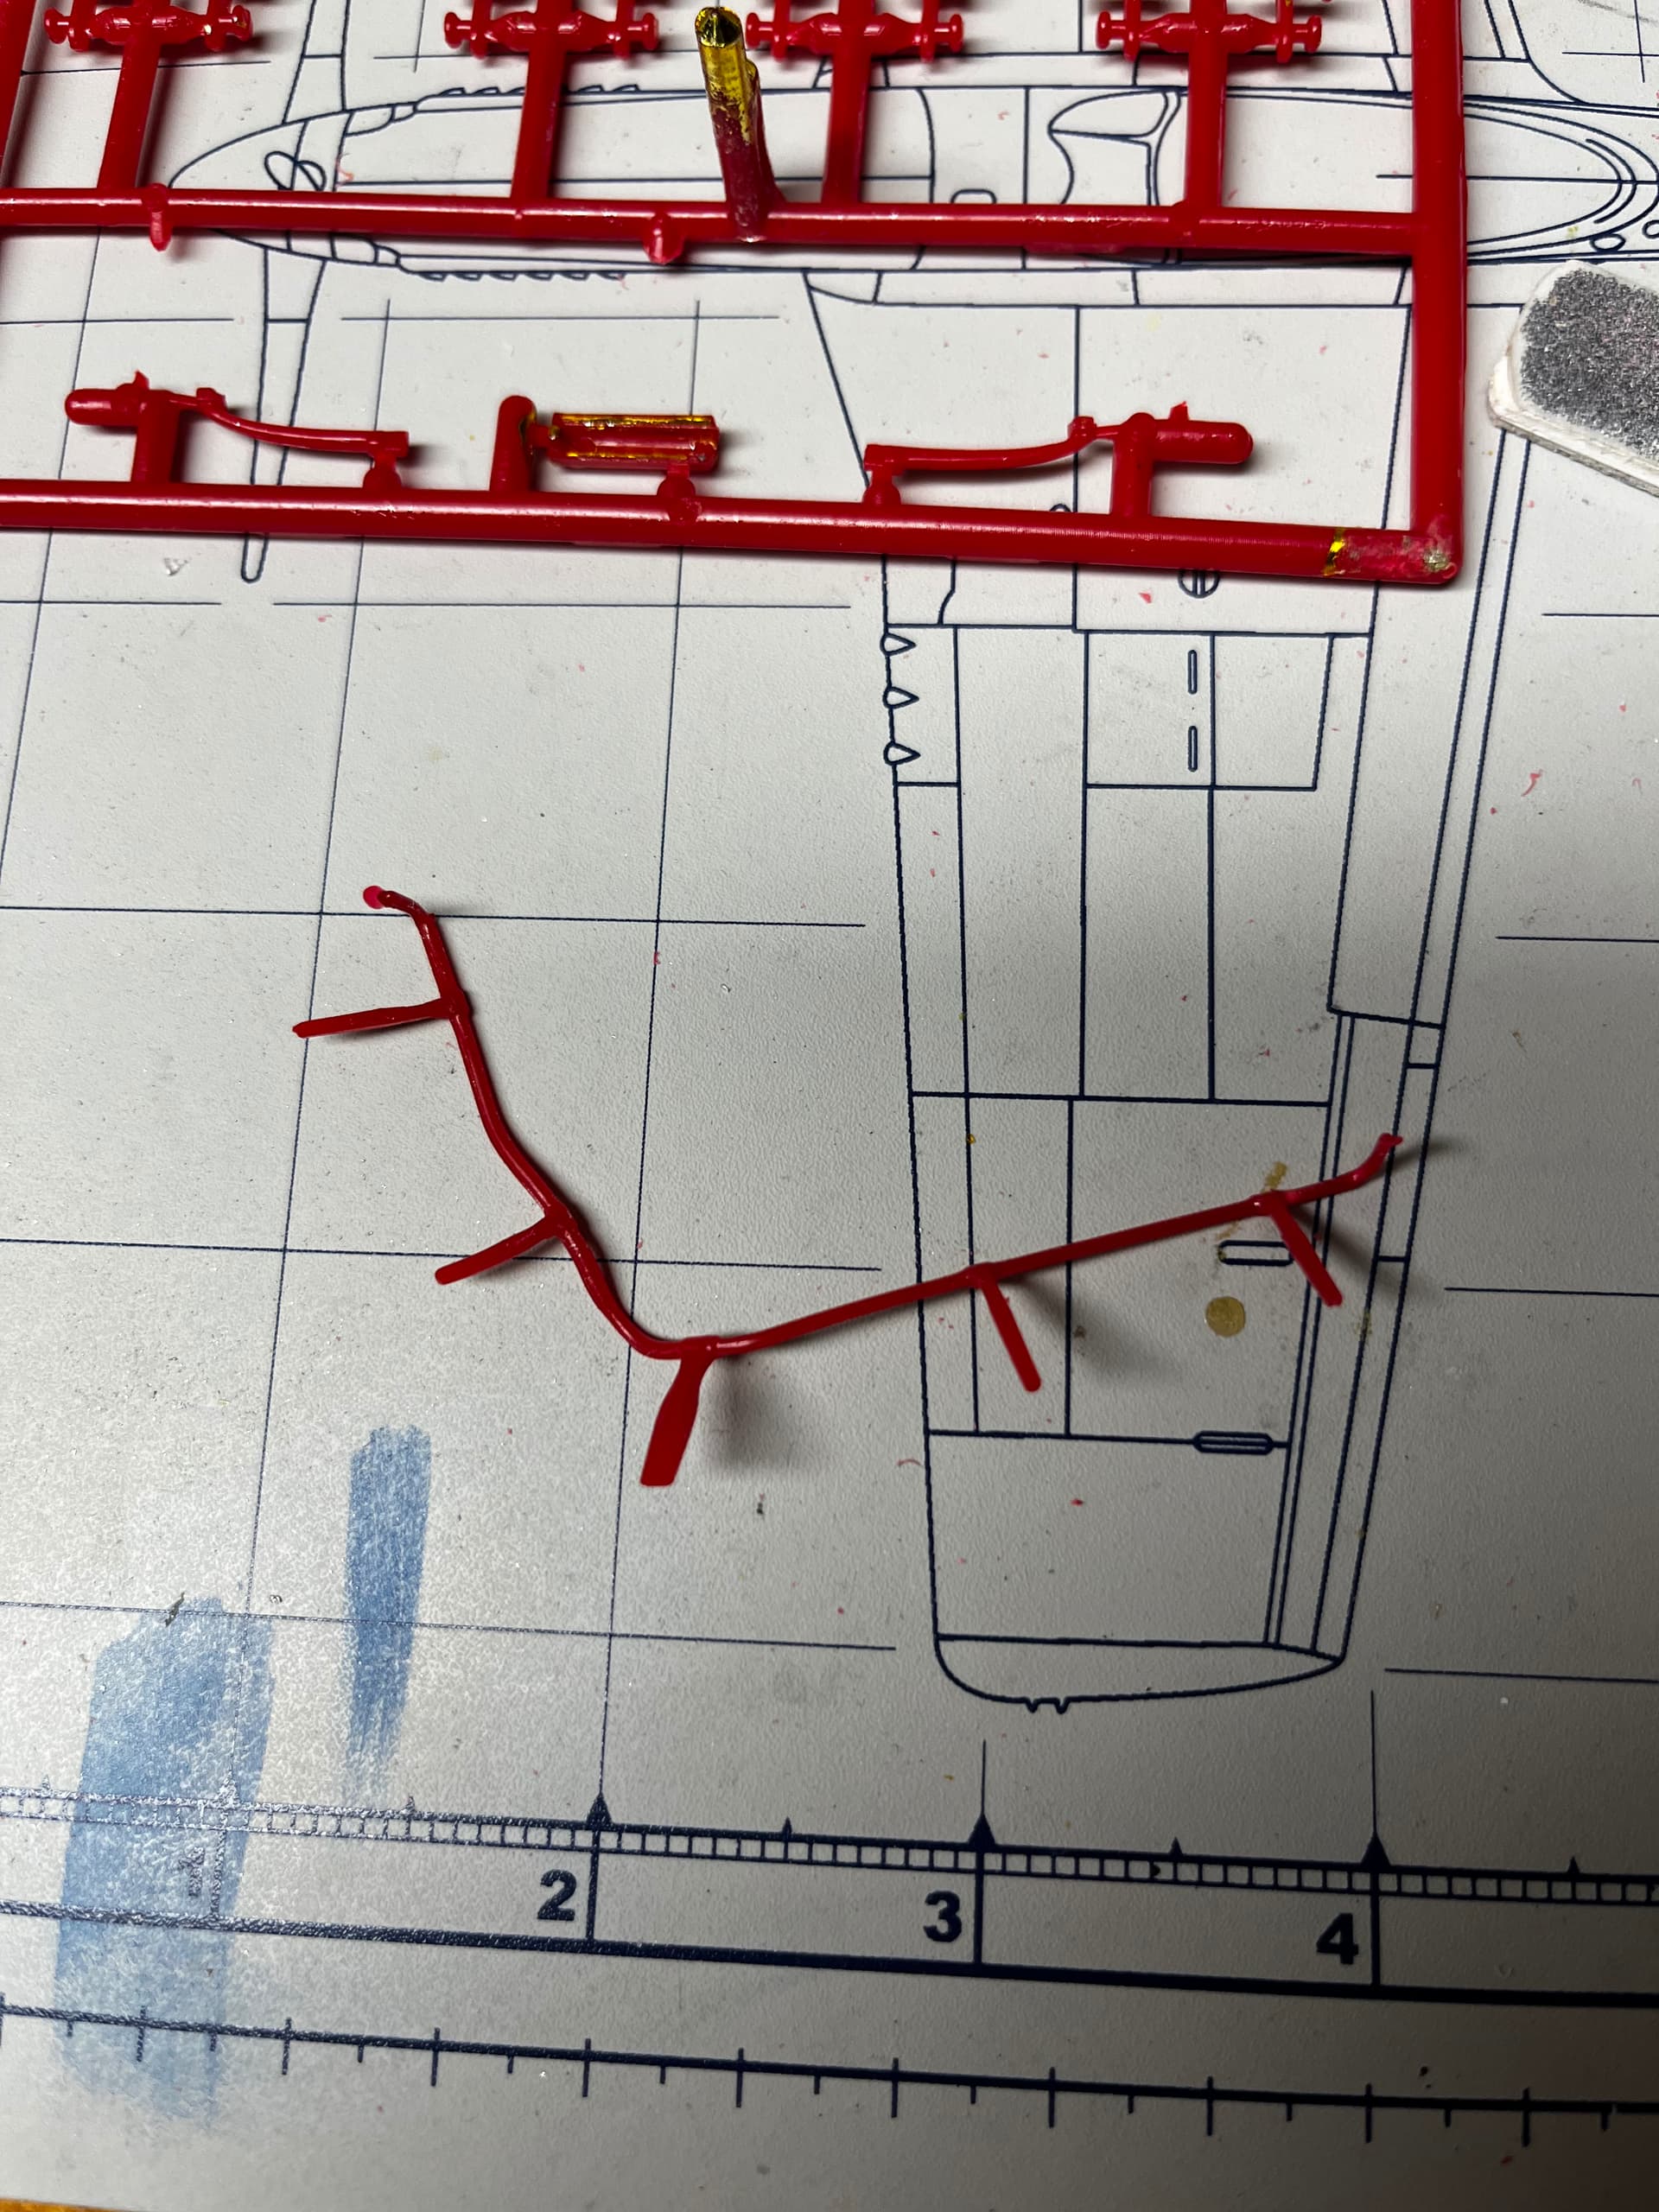
Cleaning continues and … oh. The rail for the false box under the seat is twisted like an S on the sprue. I thought it might straighten when snipped free. Wishcasting, my friends. Grumpier.
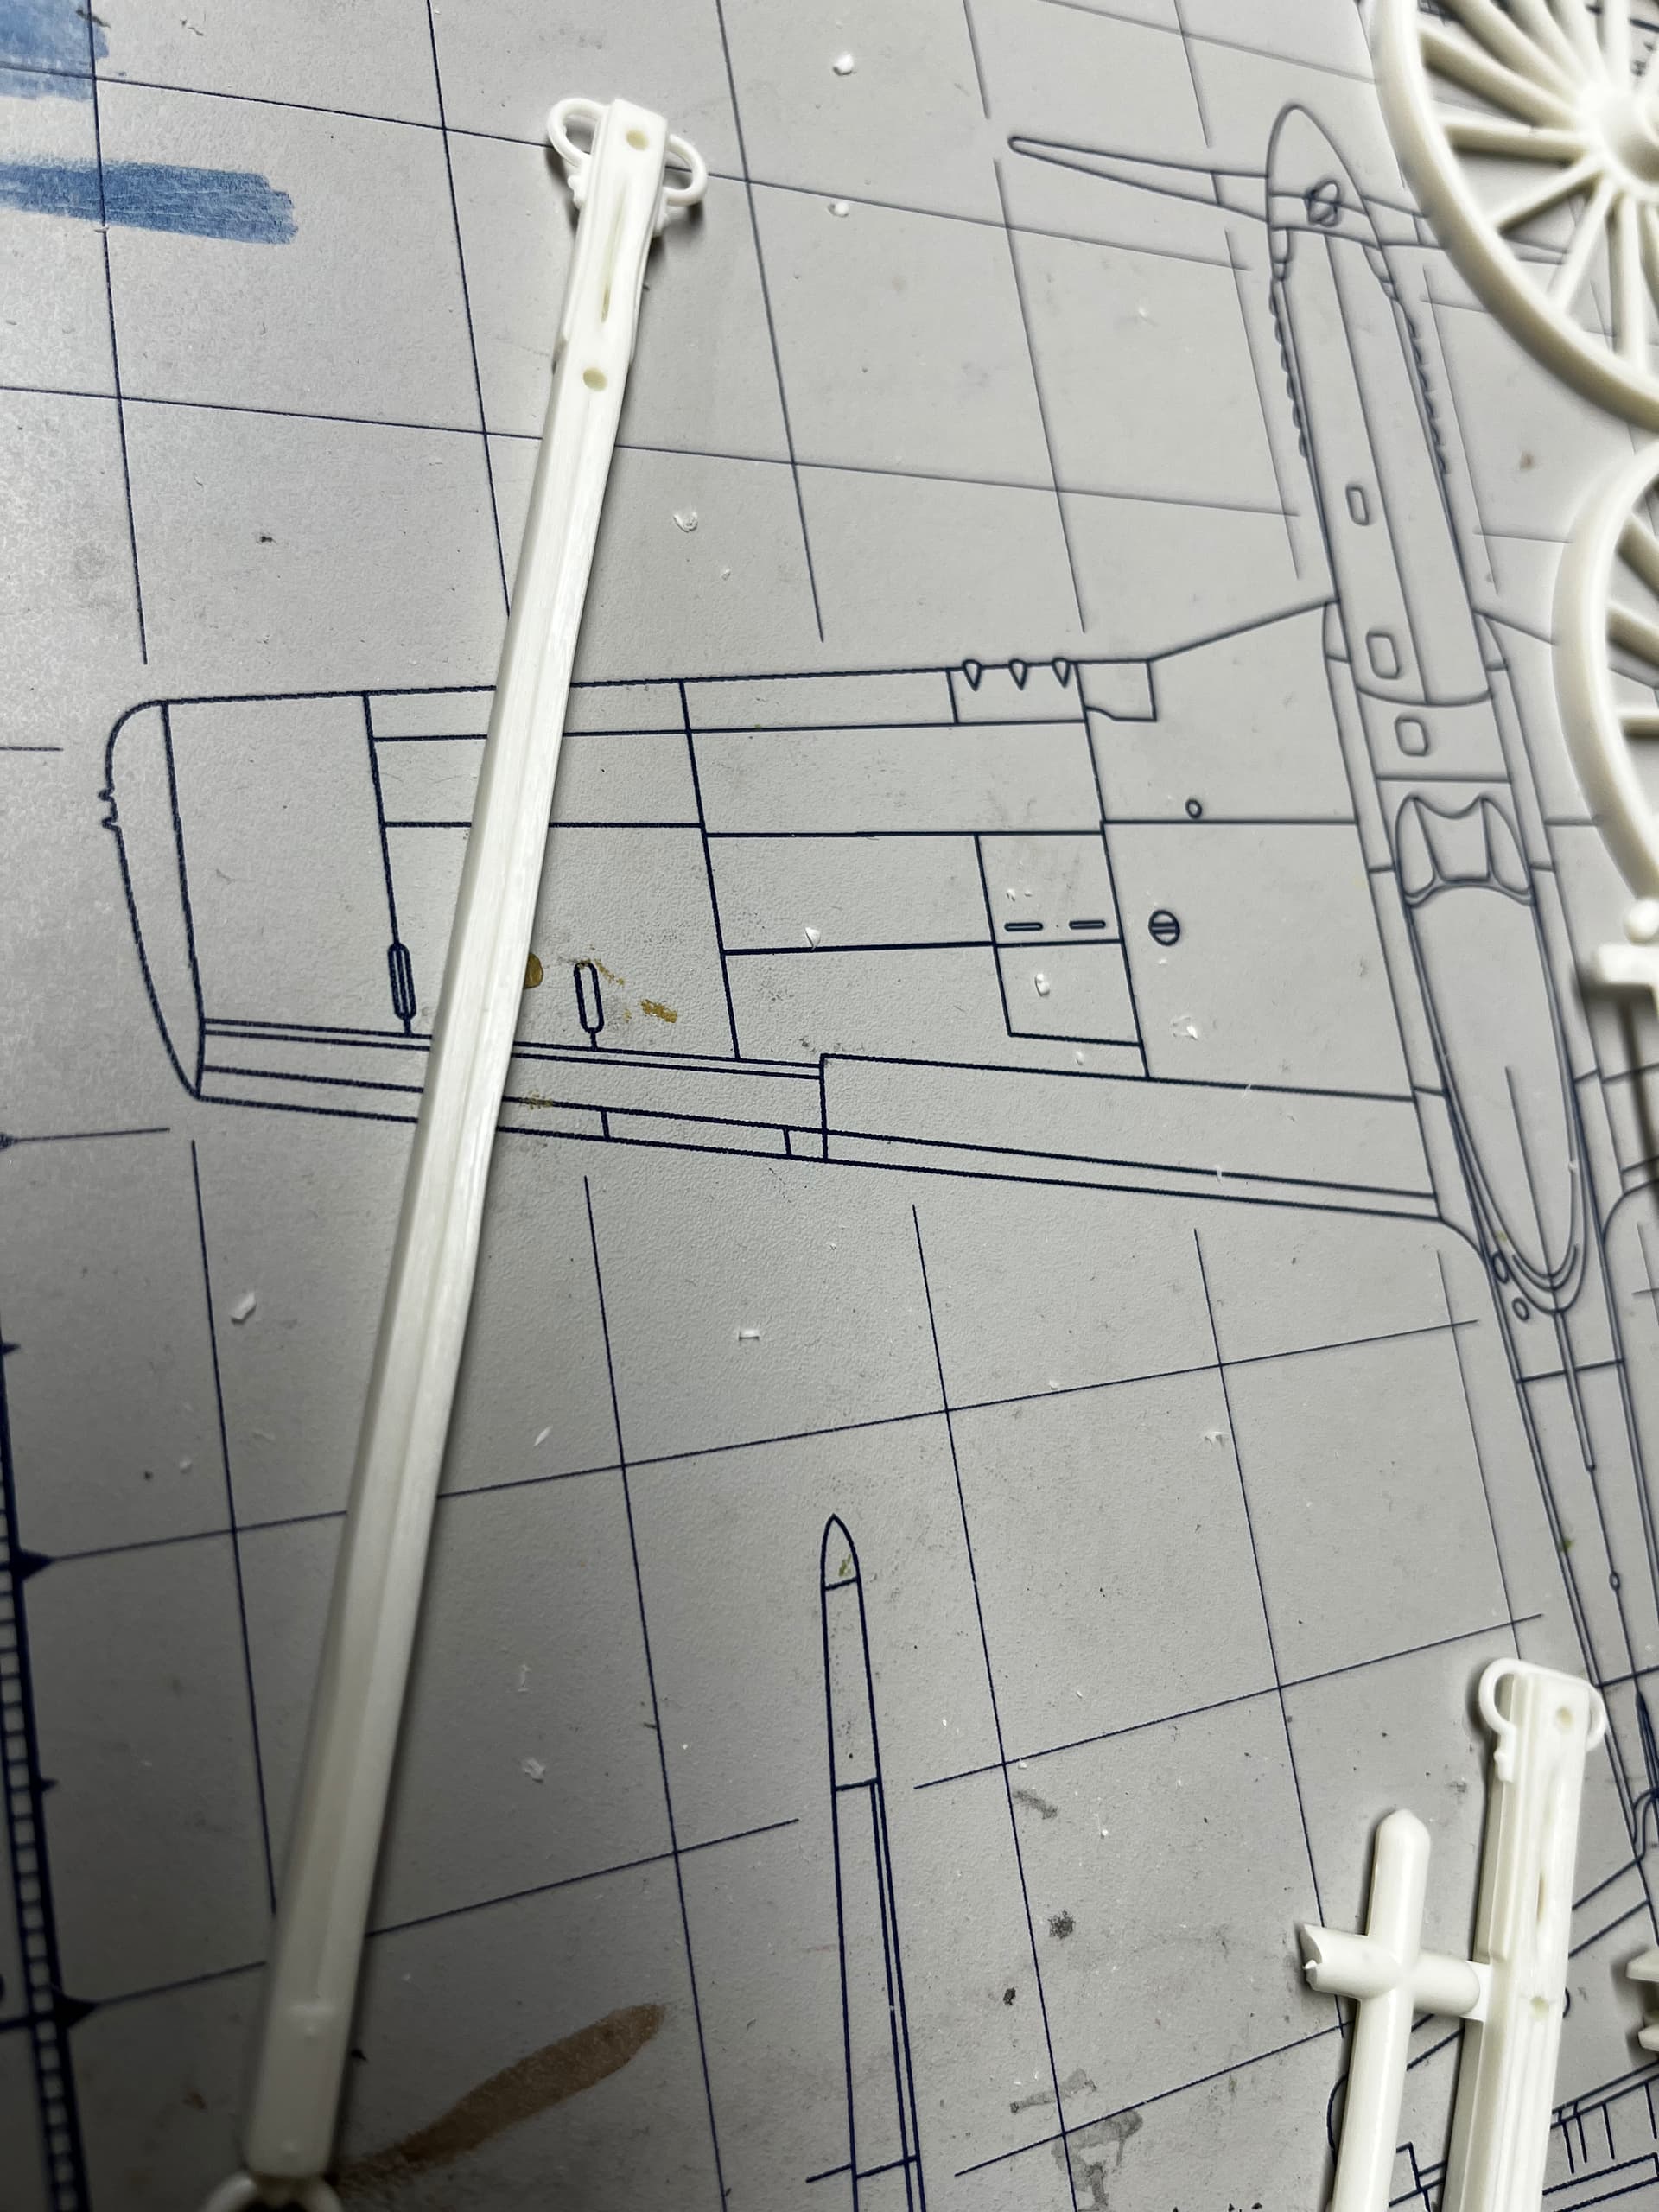
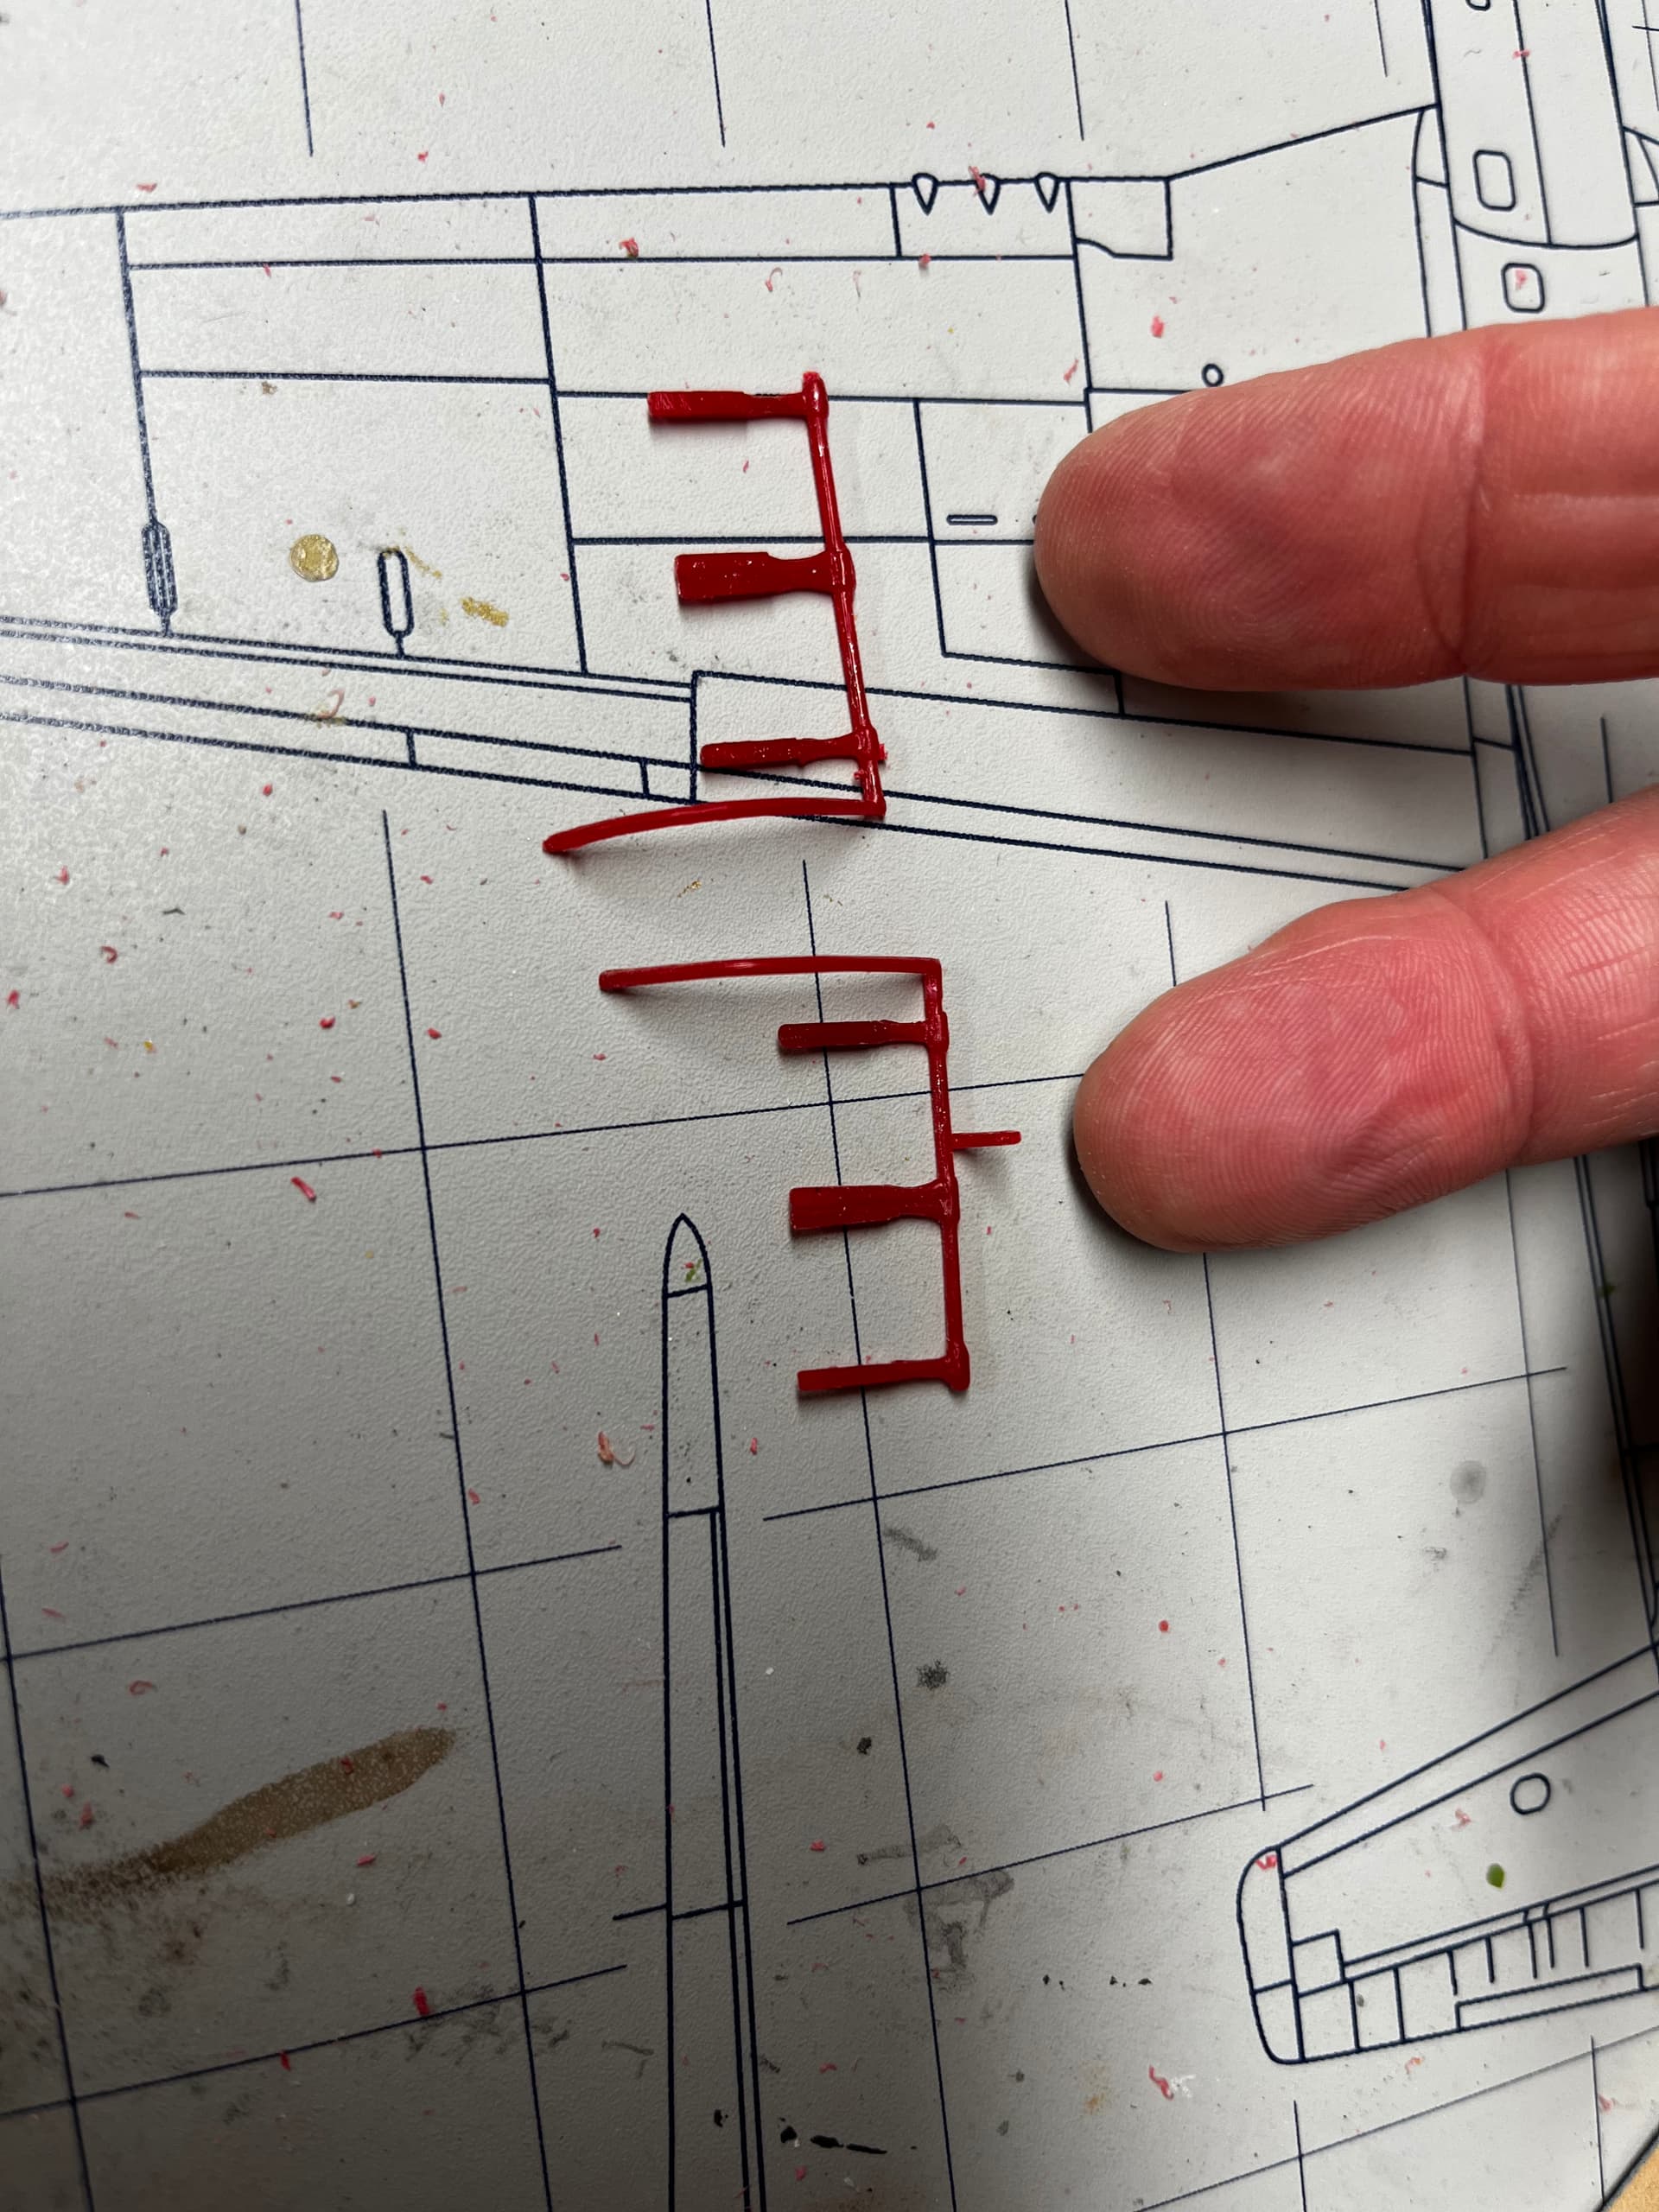
Seat side rails. Part on the right has part of the lantern holder still intact; the left part doesn’t. Either short shot or broken, They both need replacing. Grrrr.
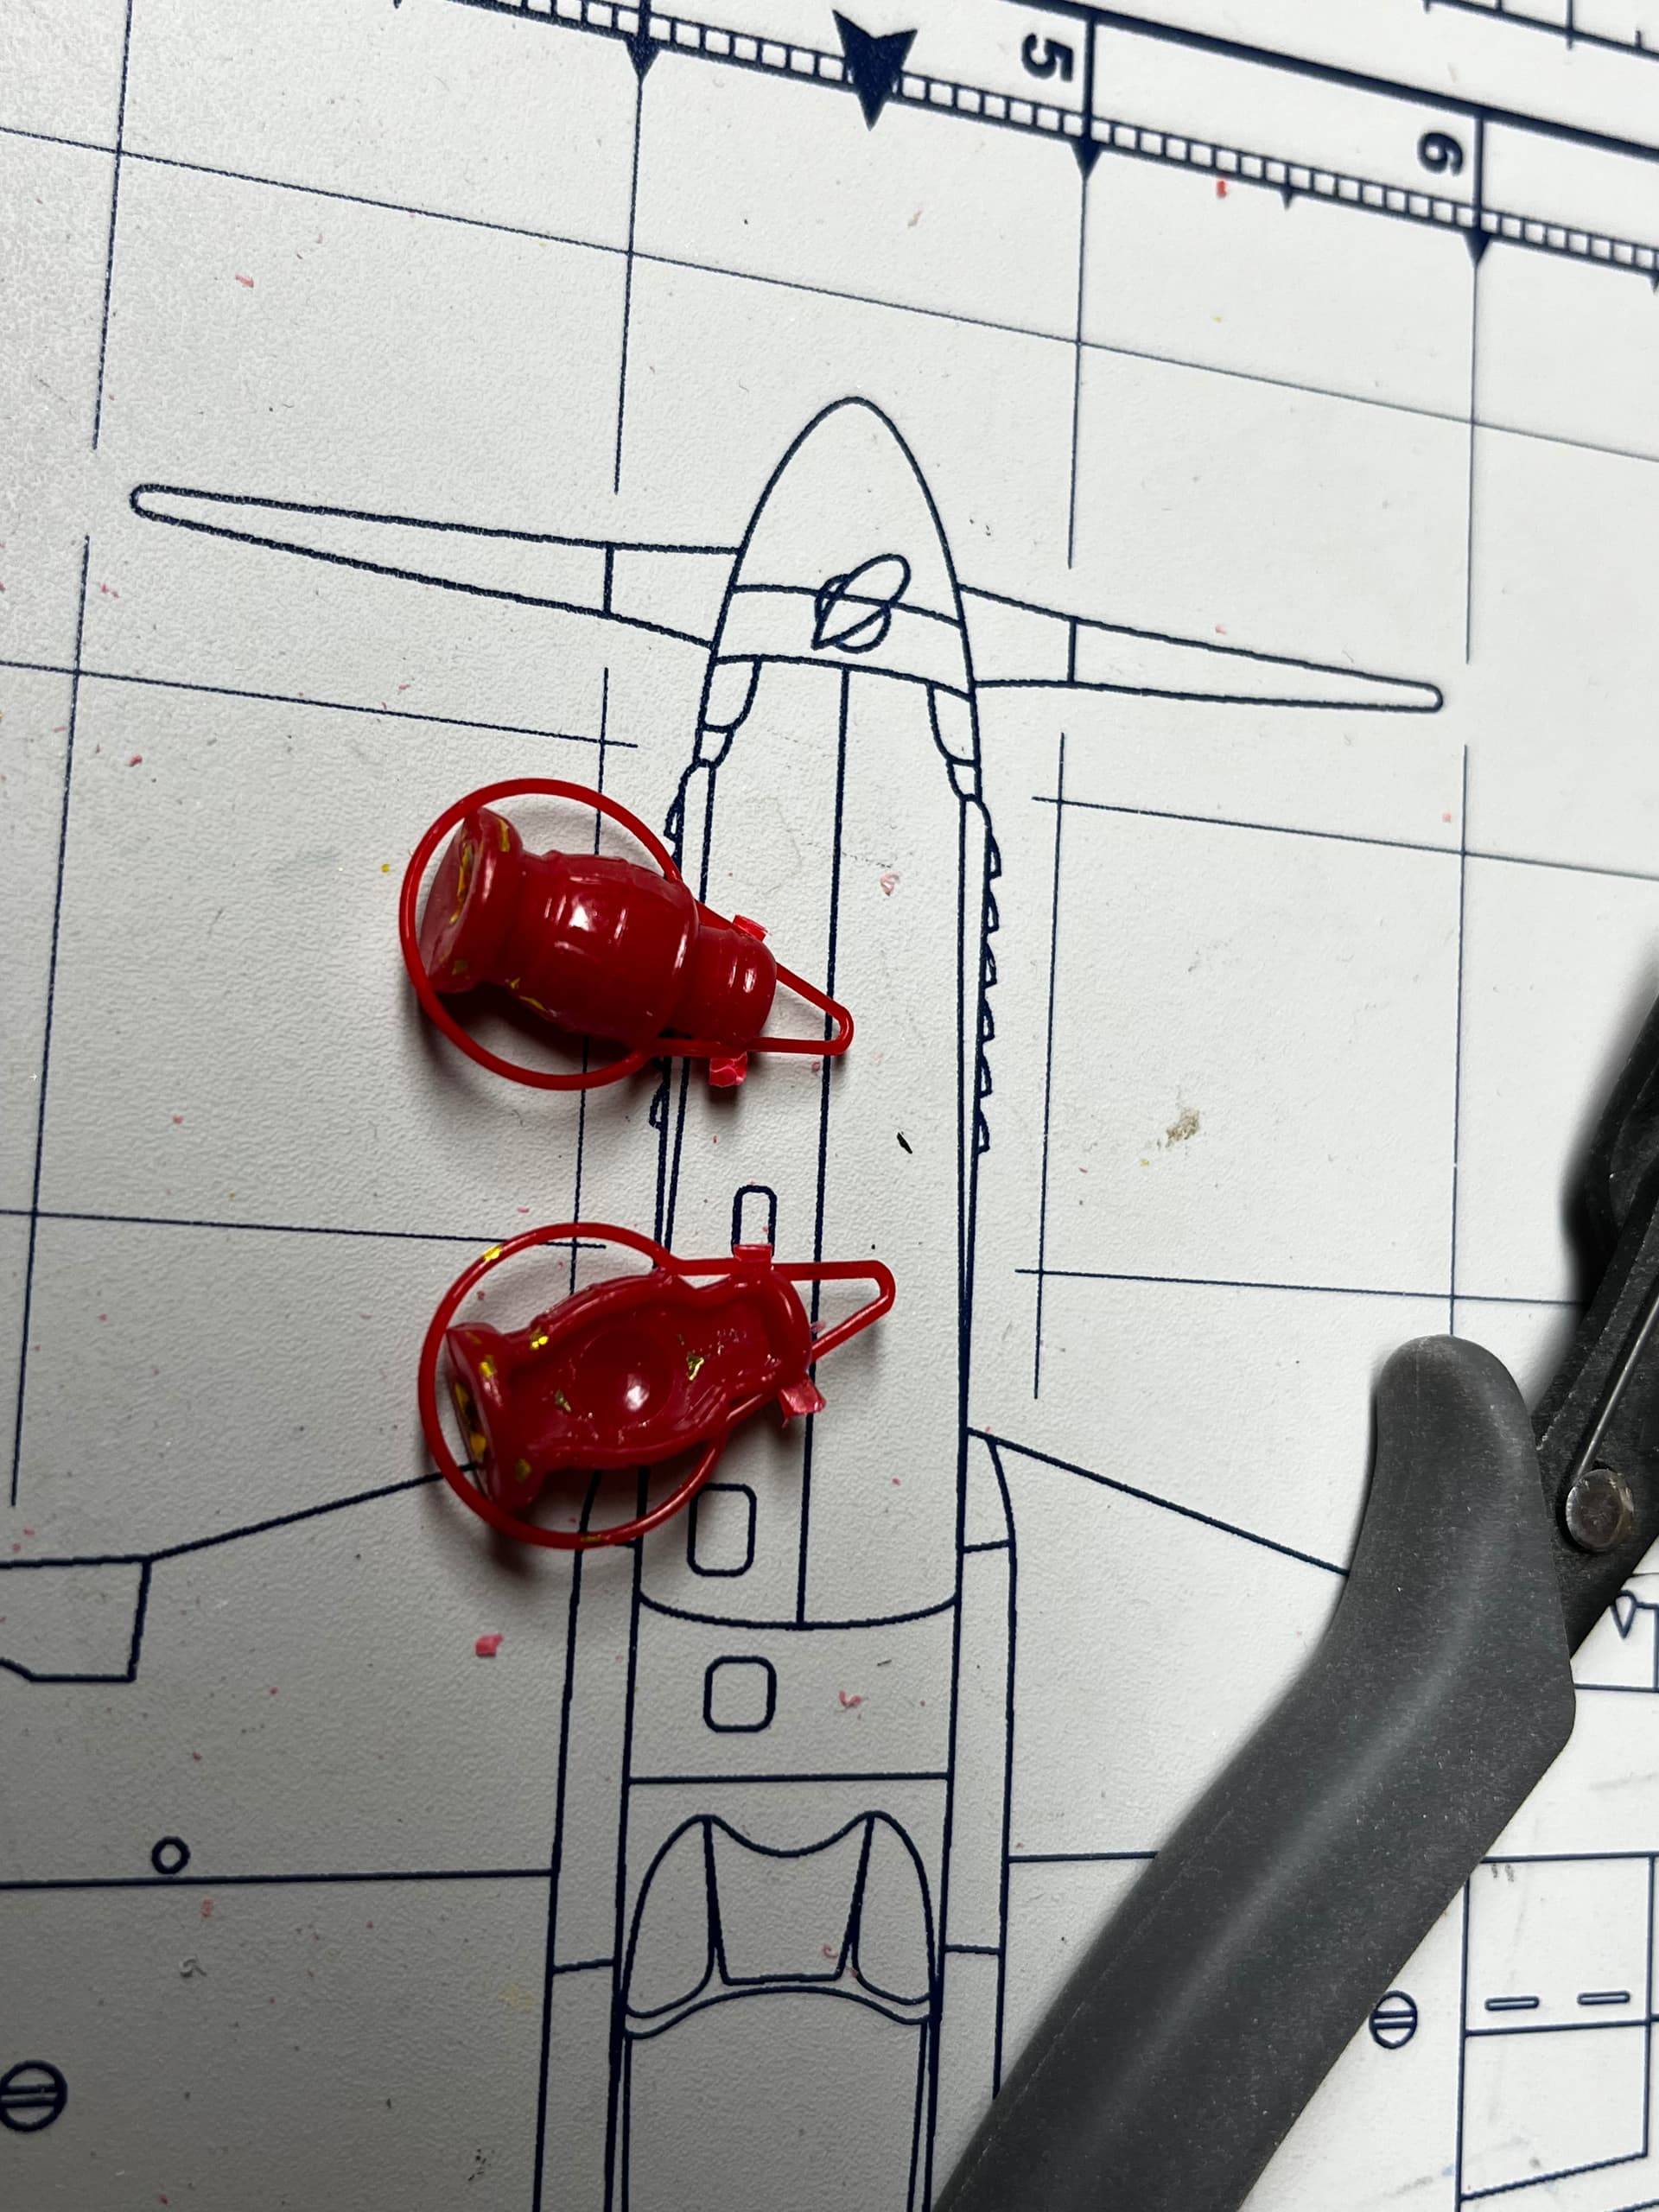
The lanterns have no backs. Literally, just half lanterns. Like, whu? [rubs place between eyes with my hand] Fine, universe, I’ll also do some modeling. FINE.
Parts for the replacement false box rail made of brass rod laid out for soldering. Ding! Time was up at that point. Solder and a solution for the lanterns on the docket for tonight.
Then, instead of working on the lanterns, I wanted to finish primary cleanup on the rest of the brass, and this is how the rear seat rail came off the sprue.
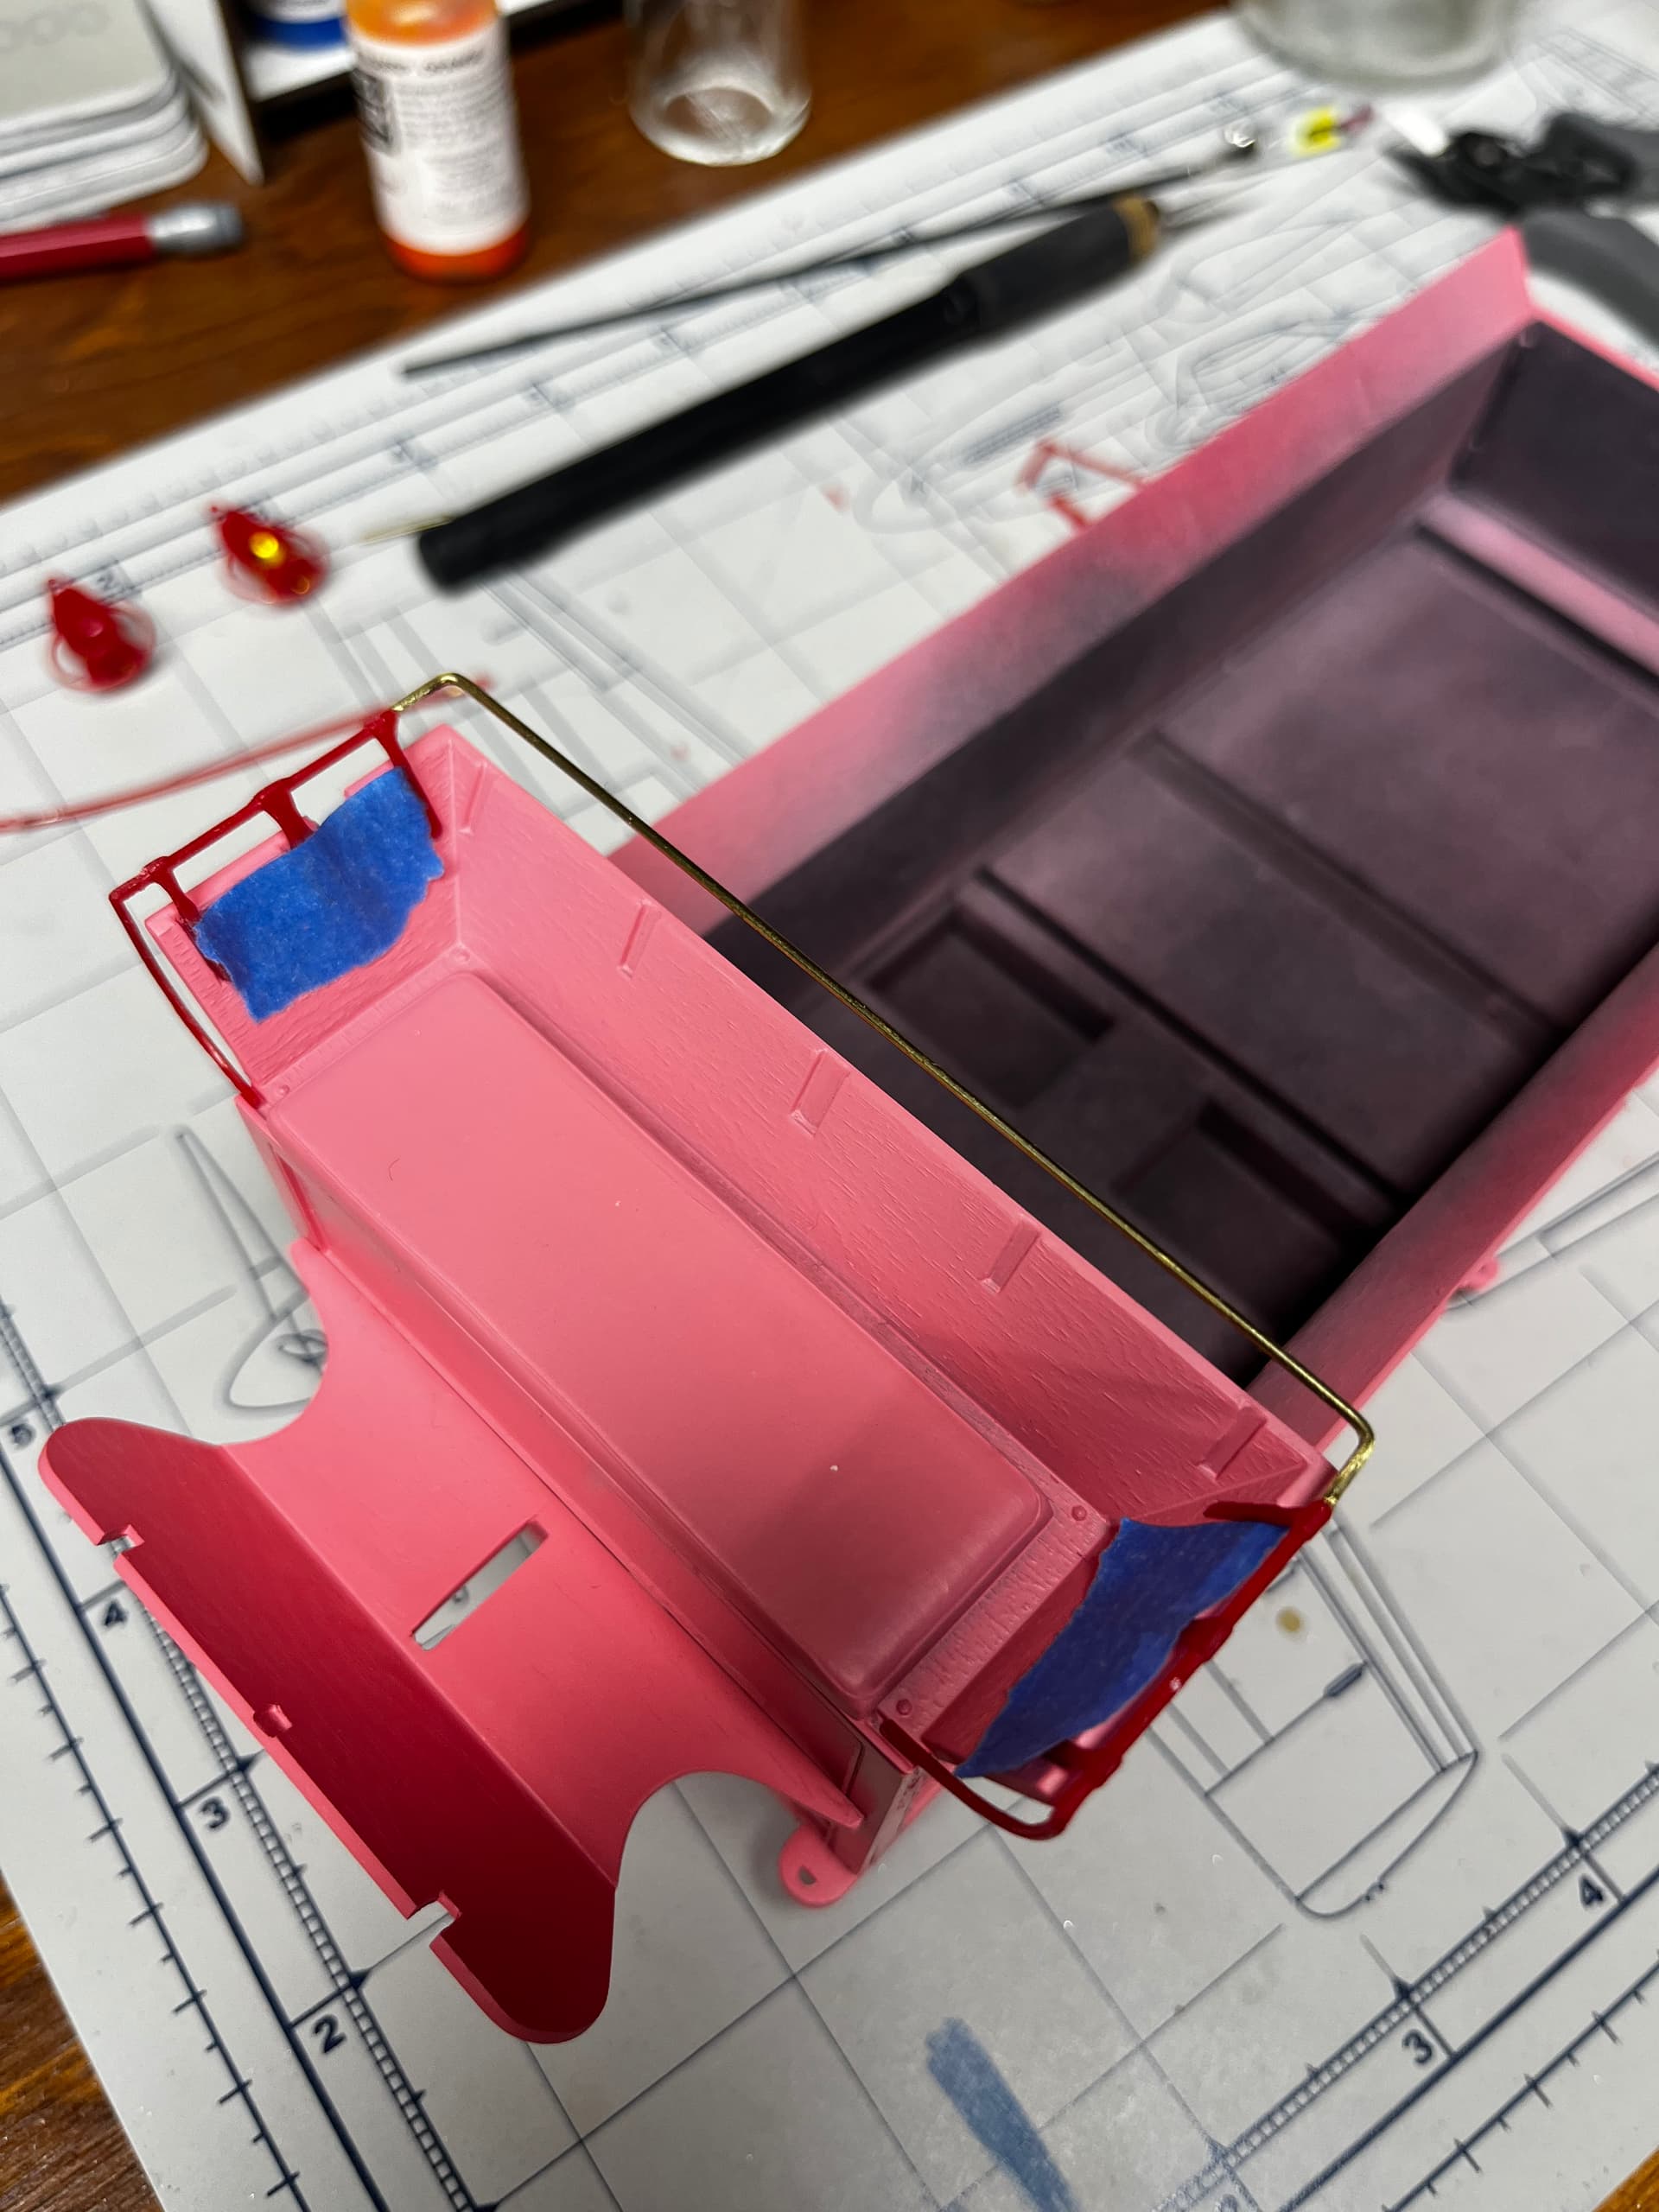
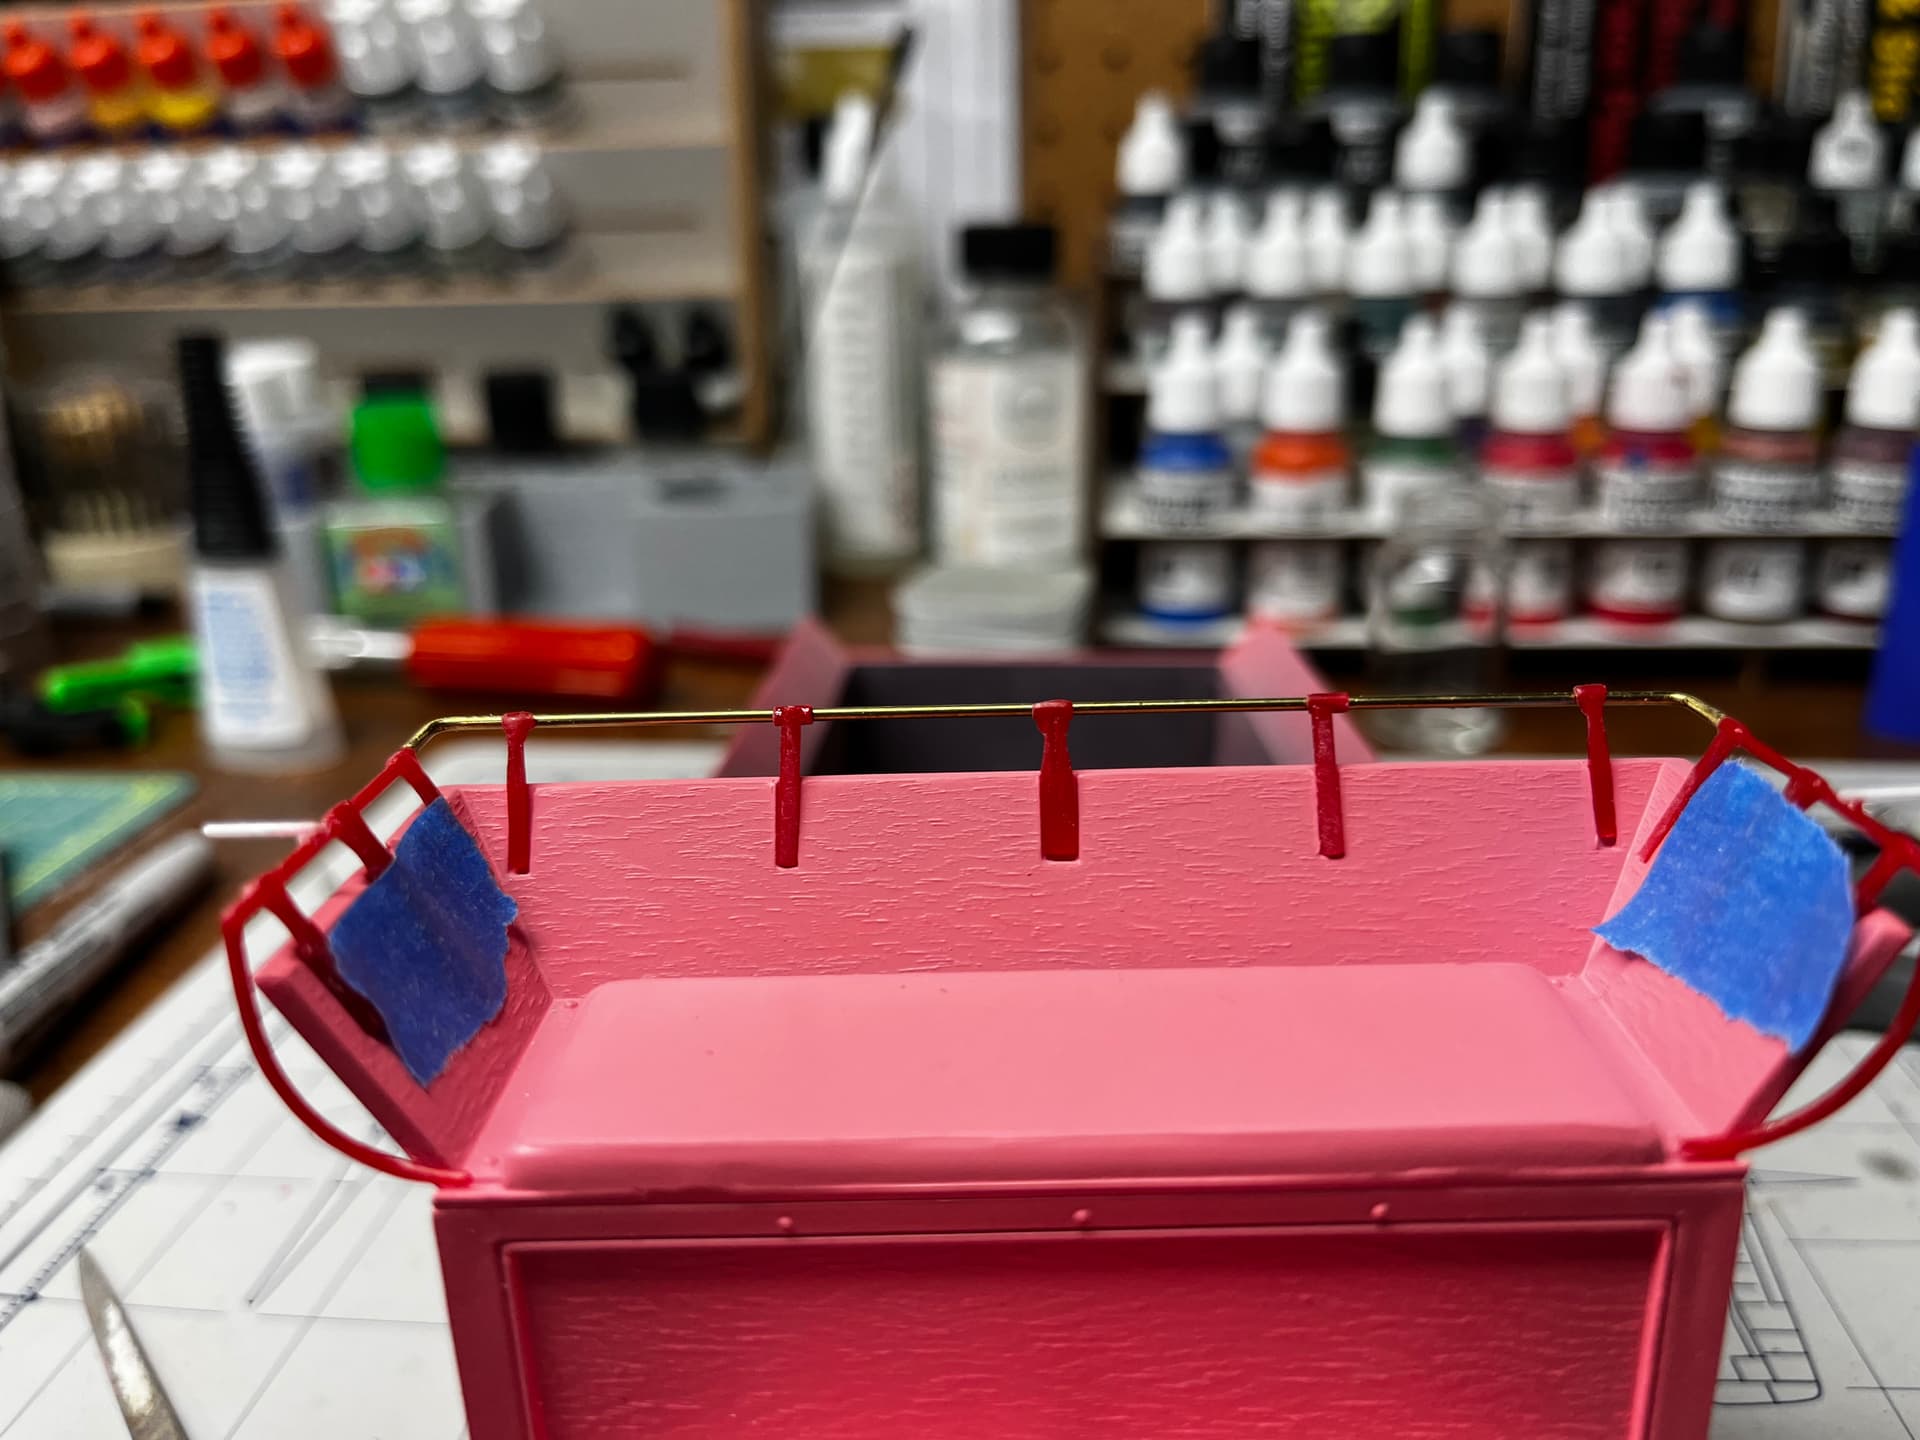
First, I taped the side rails in place to give me some proper measurements for the back rail. Then I shaped the rail from .060” brass rod and, using a third hand for, well, a third hand, I superglued it in place.
I salvaged three supports from the ruined part and fashioned two others from the discarded false box rail and superglued them to the rear rail. The full assembly is not yet attached to the seat.
Not perfect by any stretch. But with a little cleanup tomorrow, primer, and paint, I think it will be fine. Just have to avoid any other self-inflicted wounds and get this model finished.