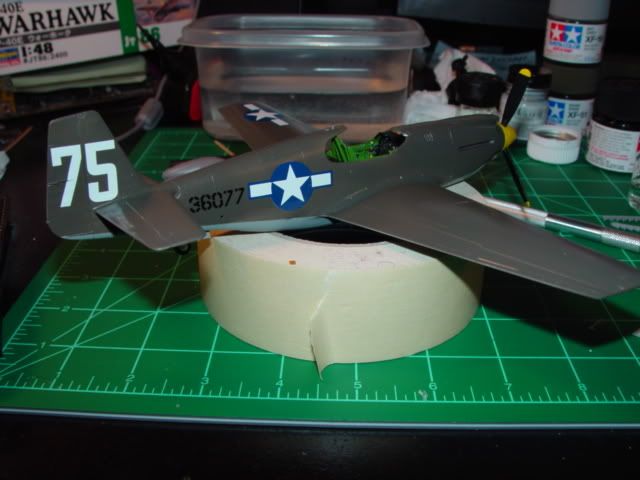
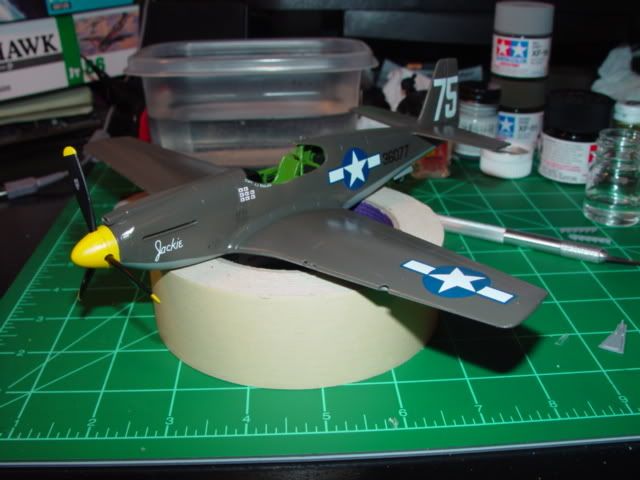
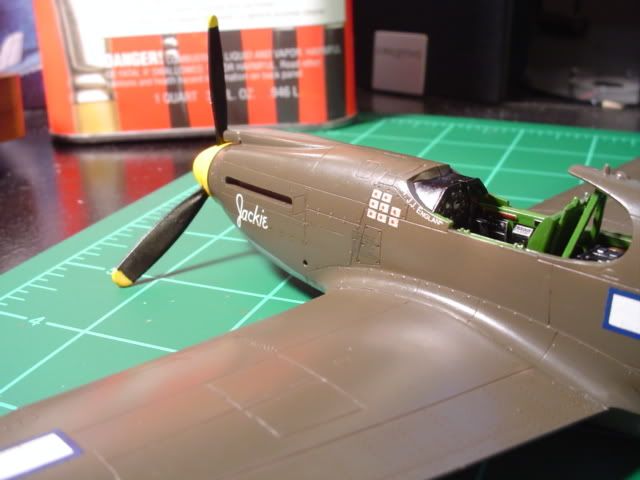
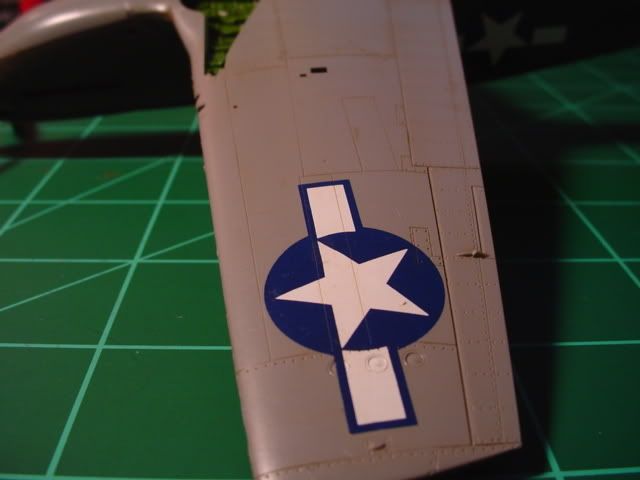
Here are 2 more pics. Now has decals and a topcoat of Future. Once that dries I will start attempting to do some slight weathering and finish her up. The end is in sight[party]
Here are 2 more pics. Now has decals and a topcoat of Future. Once that dries I will start attempting to do some slight weathering and finish her up. The end is in sight[party]
Jester, for your first effort with an airbrush, you have certainly done an exceptional job. You seem like you’re very well informed about air pressure and paint mixture. Of course, you could just be using a soft lens[}:)] hehe. Don’t be too intimidated by the wash, since you’ve coated everything in Future, you can take anything off (except acrylic wash) if you mess up. I’m not sure which markings I’ll be using for mine in the CBI group build, but the markings you chose just went up a little on my list
Thanks radmax!! I did alot of reading here on psi settings and all. I have been spraying at about 16 or 17 psi with this build using MM acrylics and an Aztek 470 a/b. I really like how its turning out!! The markings I used came with the kit and are of Capt. JJ Englands Mustang of the 530th Fighter Squadron, 311th Fighter Group from India 1944.
Yup! Those are the only markings in the box, unfortunately. I bought the 1st Air Commando decal sheet from SuperScale for really cheap. If you can find an F-6B, you can build a P-51A into “Slick Chick” which was a P-51A tested at Wright Patterson AFB. Pretty cool stuff.
Hehe, got that one in my stash too! Gonna do it up in full invasion stripes with the decals in the box.
I just HOPE that my P-51A turns out as good as your.
Bud
I’ve seen your work and am certain that it will if not surpass mine Bud!! Thanks for the compliment!
Thank you for Thanking me for Thanking you… I think…
Bud
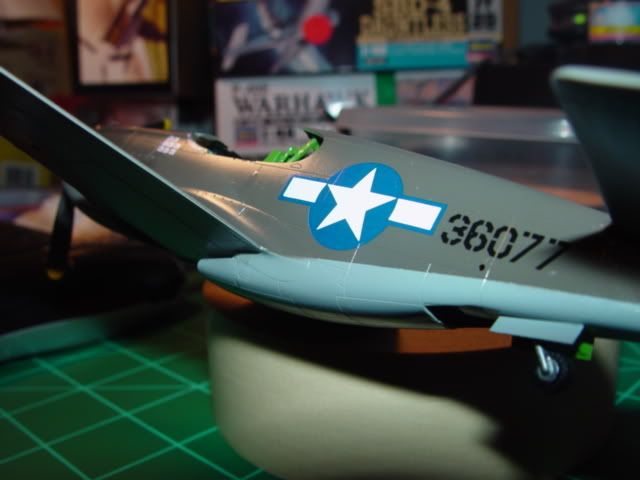
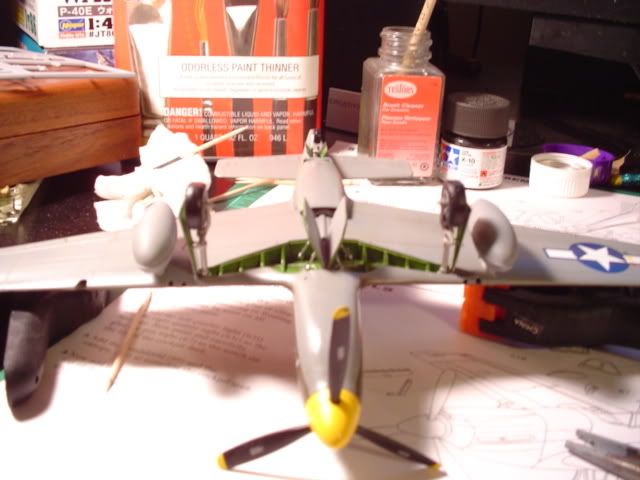
Couple of more closer shots while the Future is curing…

Hay Jester do me a fav, can you take some pics of the front of the back wheel, you know what I am taking about, right ?
Thanks
Bud
You mean this area?[;)]
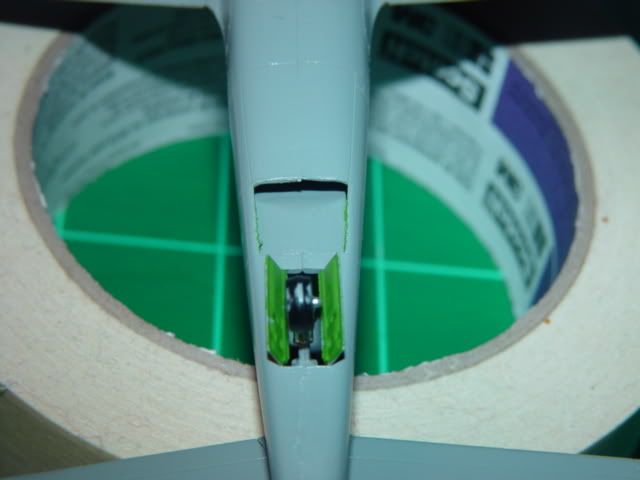
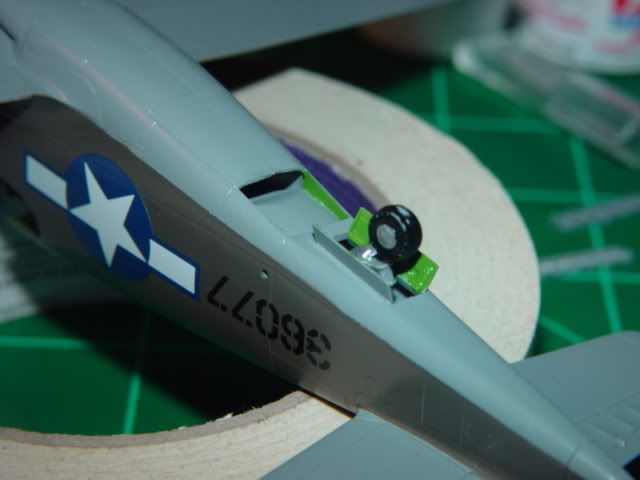
After all the help from the folks here and some research on the web I am 100% sure that this is how it is suppose to look on this kit. Thanks to everyone who helped me with this part.
Eric, you have done a great job on this[^] I just hope my P-51B turns out this good!!
Yeap that’s it…
Up inside I see, Hmmmmmmm
I am still thinking on how to do it with my P-51A
Thanks and it Looks GOOD !
Bud
Thanks alot Ed, that means alot to me coming from folks like you and Bud who have been in this and kick out some awesome stuff. There are alot of firsts in this kit for me from airbrushing to working with Future. I just hope I dont screw it up now on the weathering and doing the panel lines. Any tips from you pros are more than welcome!!
As for weathing… Look at a LOT of photos and see what it looks like and do that… LOL
Did you read Swanny’s thing on Panel Lines ?
Bud
Yup, sure did (great site btw), thats how I think I am going to do the panel lines. As for weathering, I just want some real subtle stuff on this one, not too worn but yet not off the production lines if you know what I mean.
Yep I do and I can’t wait to see it
Bud
One more of the last few updates before this turkey is done! I took these shots while listening to ZZ Tops “She’s Got Leg’s”…

Here is a shot of the “formation lights” and maybe a hint of panel lines…
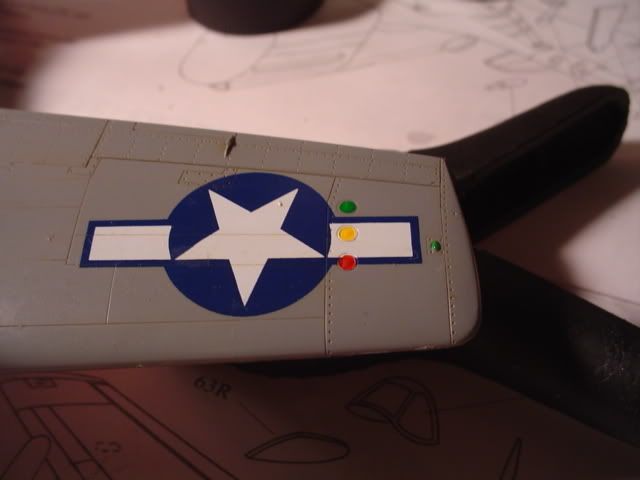
And a couple of the very subtle panel lines. Had to turn the flash off or it would just wash out the light panel lines completely. Didn’t go for the too worn look but just enough to see them. The pictures really dont do them justice as it looks much better in person…
A few more odds and ends and this puppy is on the shelf! Thanks for looking!!
GREAT Song
and your P-51 looks GREAT too
Bud
Thanks Bud, she is getting there!