Def keeping the fire hot as promised [Y] [I]
Verrrrrrrrry Interessting ! T.B.
As of last night, the lighting installation is 90% figured out. I goofed on the measurements of the headlight mounting box, so the lights ended up just a little too close together. Rather than start over, I just sawed the box in two and added some patches to extend it. It’s not pretty, but it worked!
https://flic.kr/p/C6Shmz]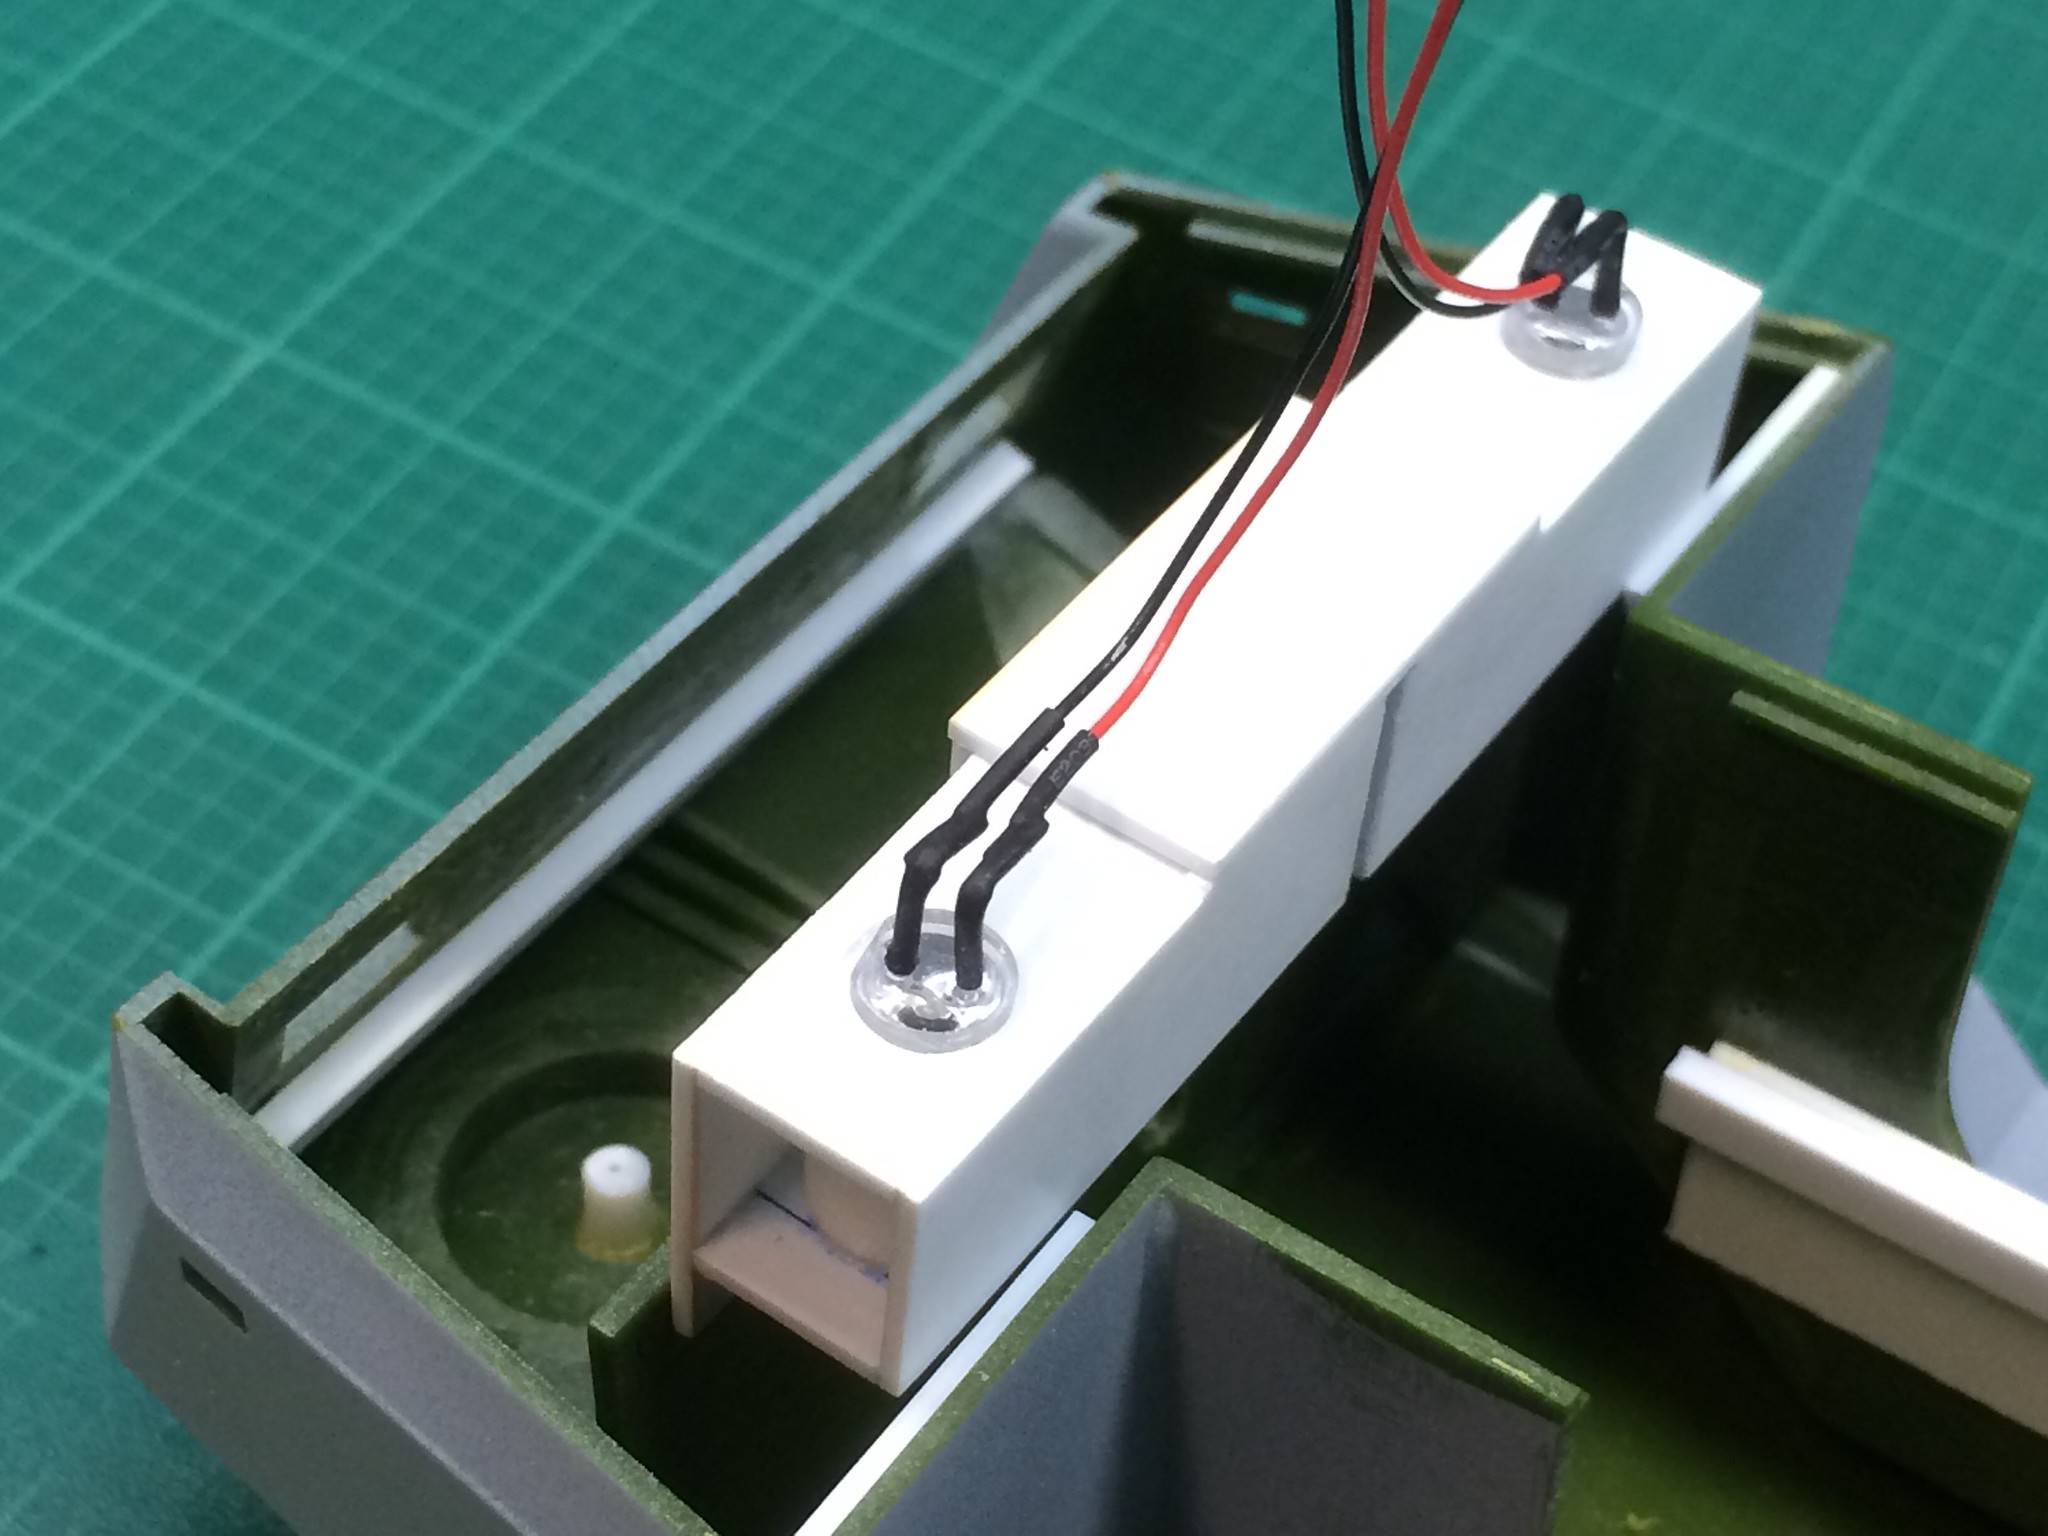 [/url]APC-44 by N.T. Izumi, on Flickr
The front side marker and tail lights had simple bits of styrene sheet glued together to form boxes to accomodate the SMD chips. I just had a brain fart this morning to tone down these lights - I’ll add a 0.005" or 0.010" white sheet of platic between the SMD chips and clear parts. I really want them to not look like Xenon floodlights! Plus the sheet plastic will eliminate the obvious yellow color of the SMDs from peeking through when they are switched off.
https://flic.kr/p/BDKqqW]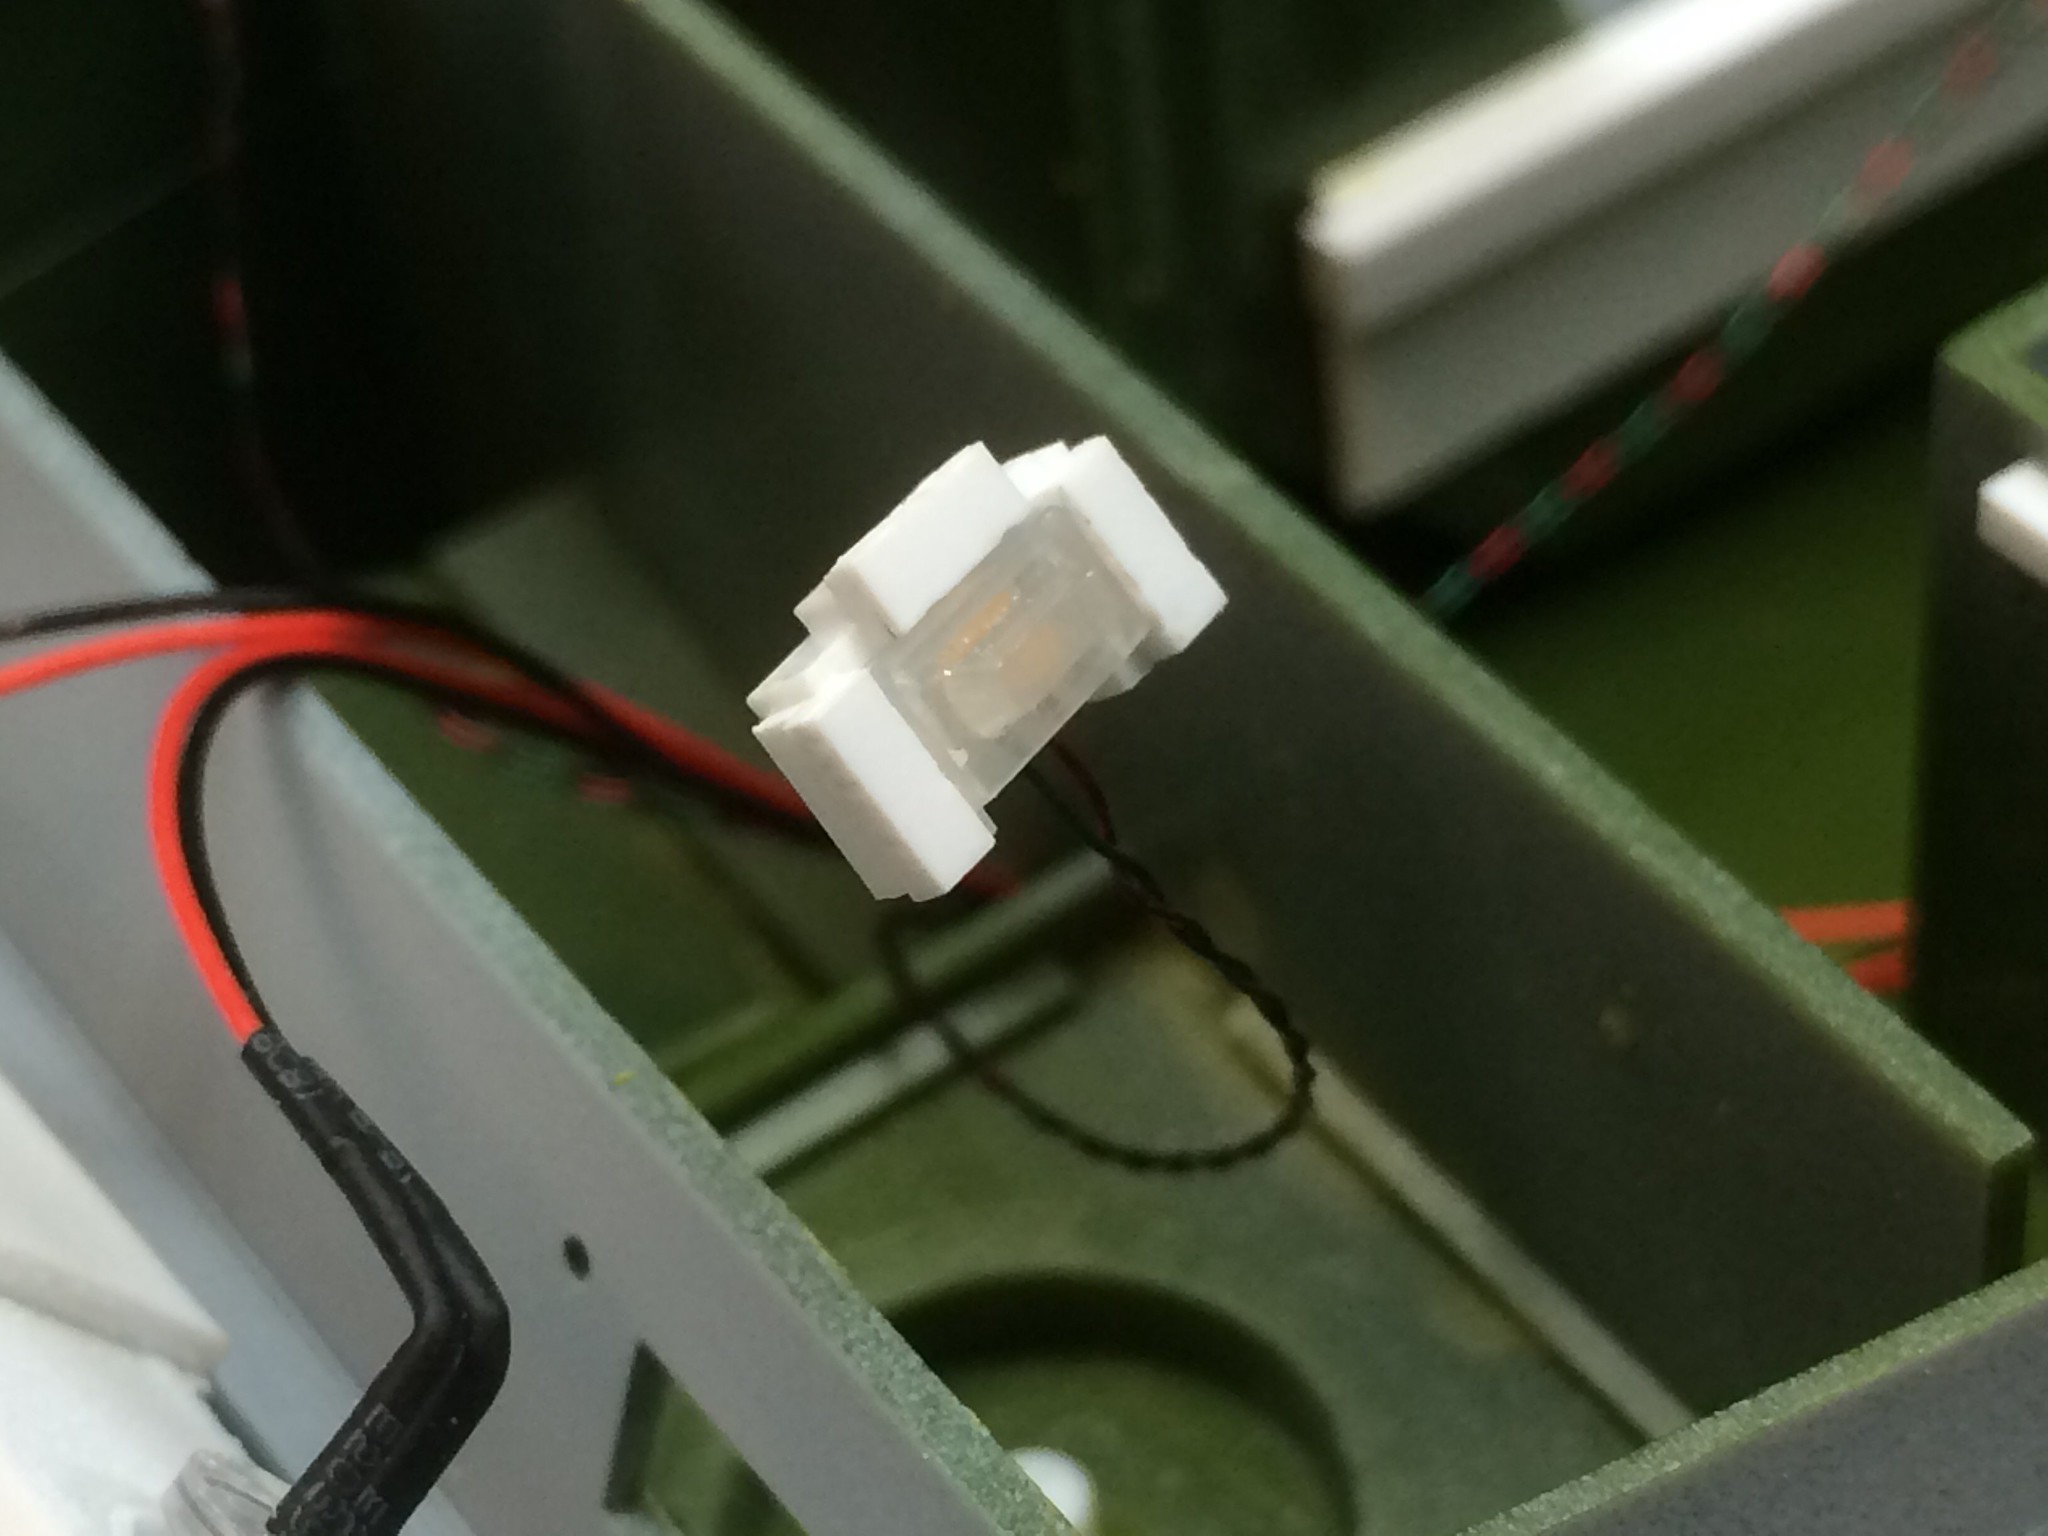 [/url]APC-45 by N.T. Izumi, on Flickr
https://flic.kr/p/BDKDH7]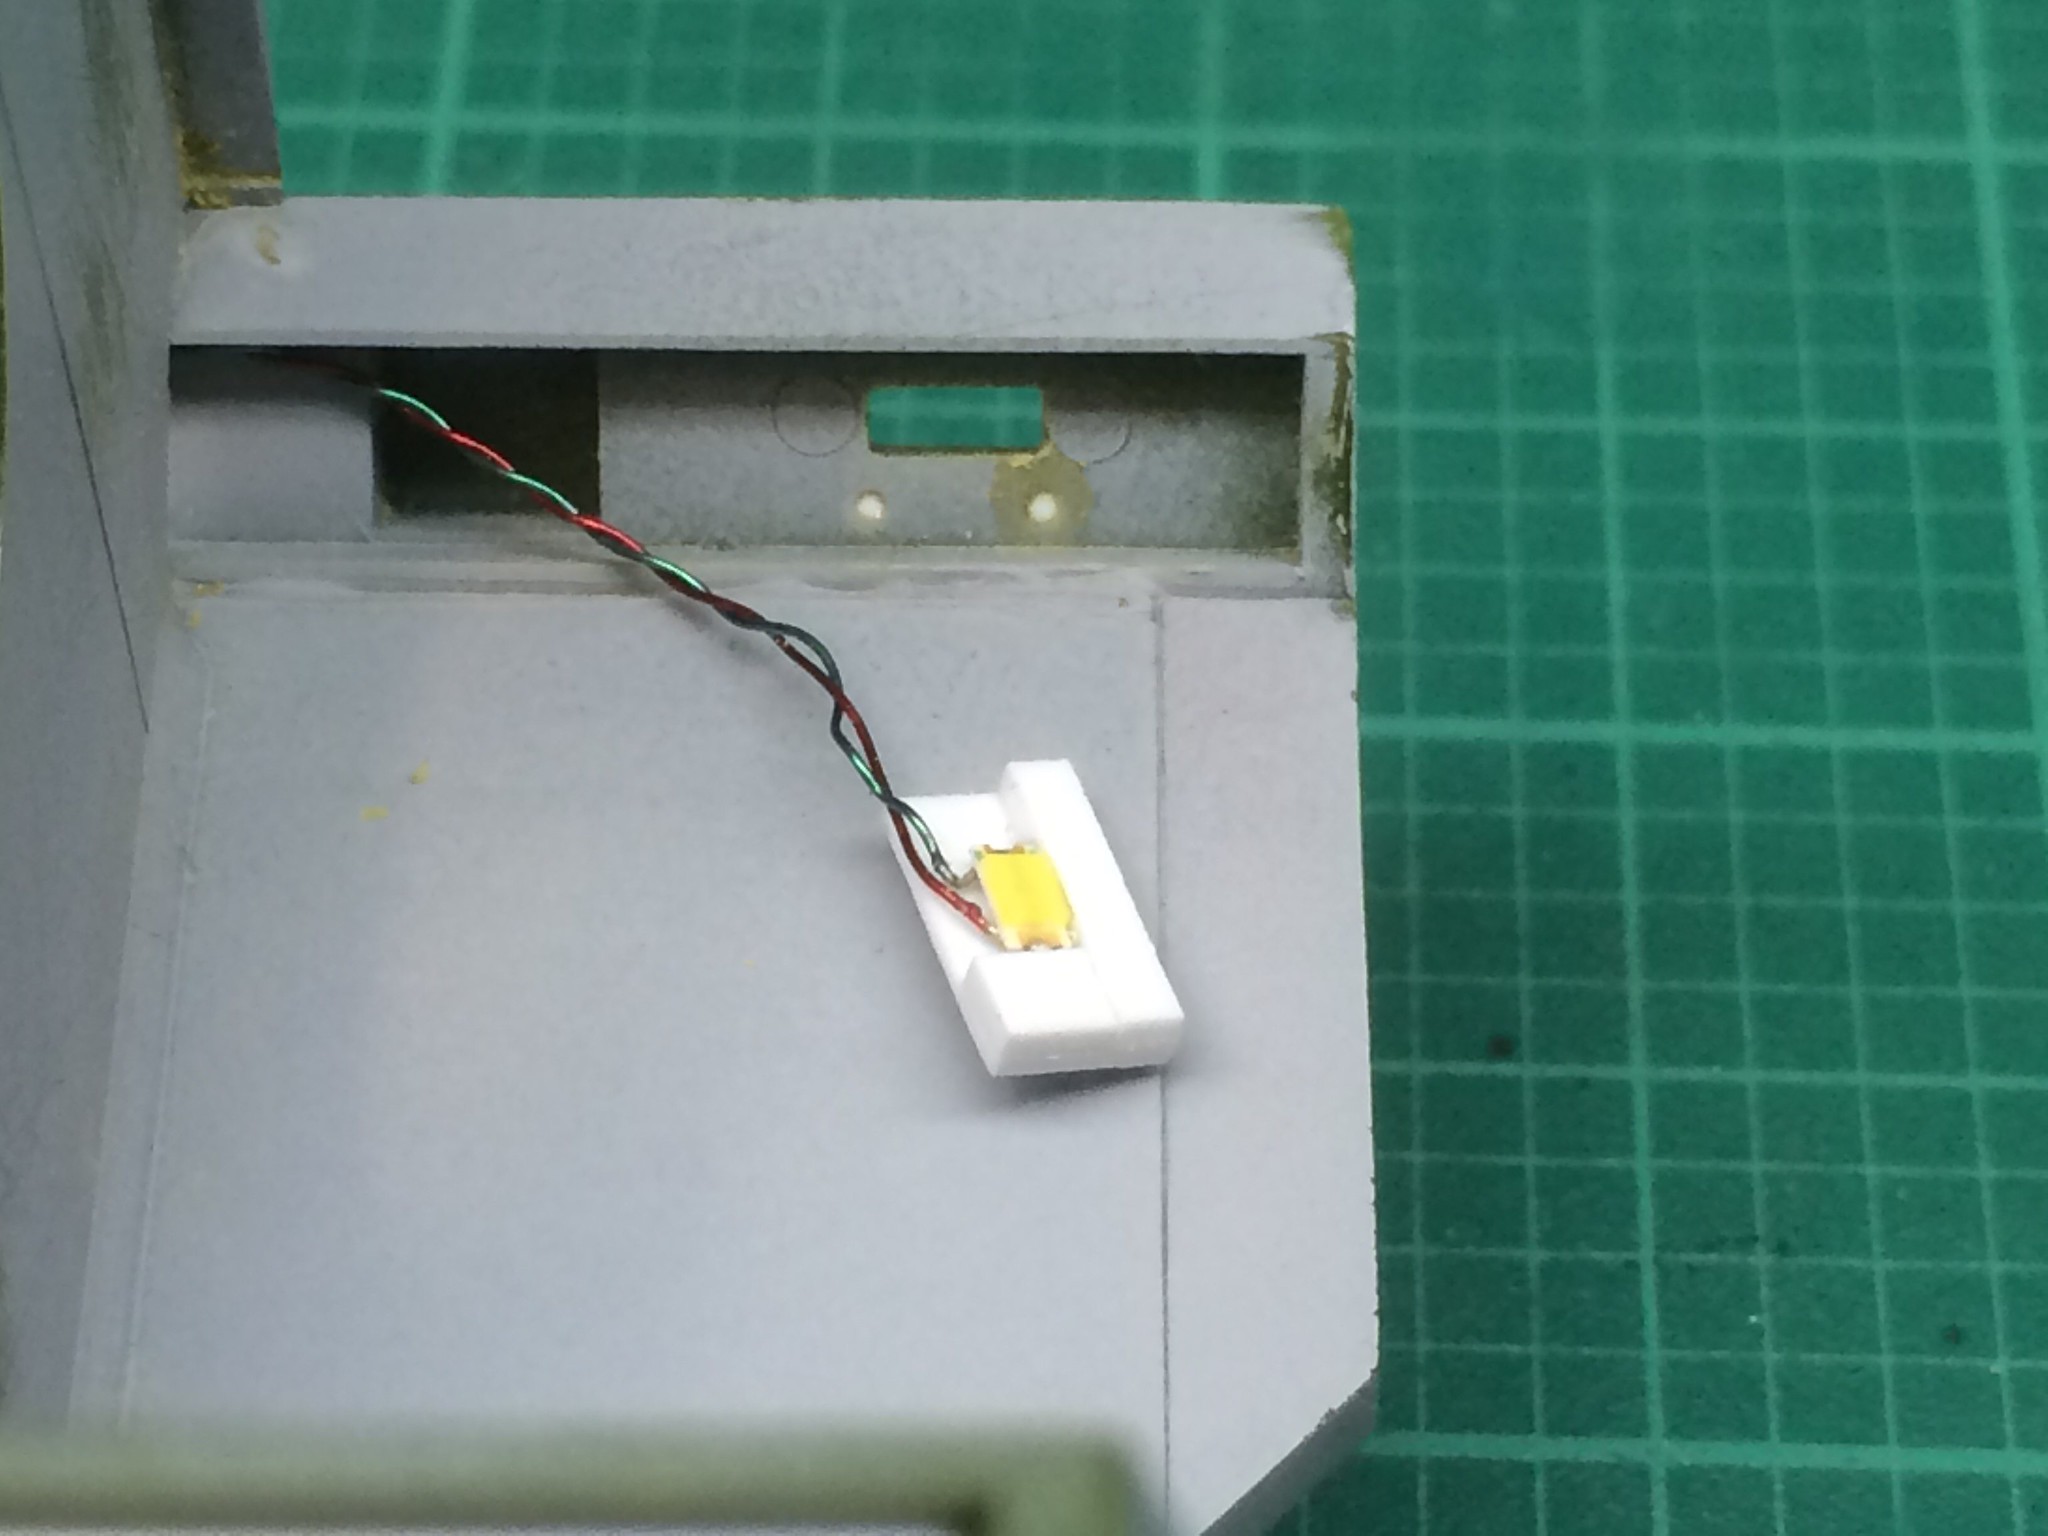 [/url]APC-46 by N.T. Izumi, on Flickr
And here is what the extent of wiring will look like once everything is in place. But it will be neater of course.
https://flic.kr/p/BDKRym]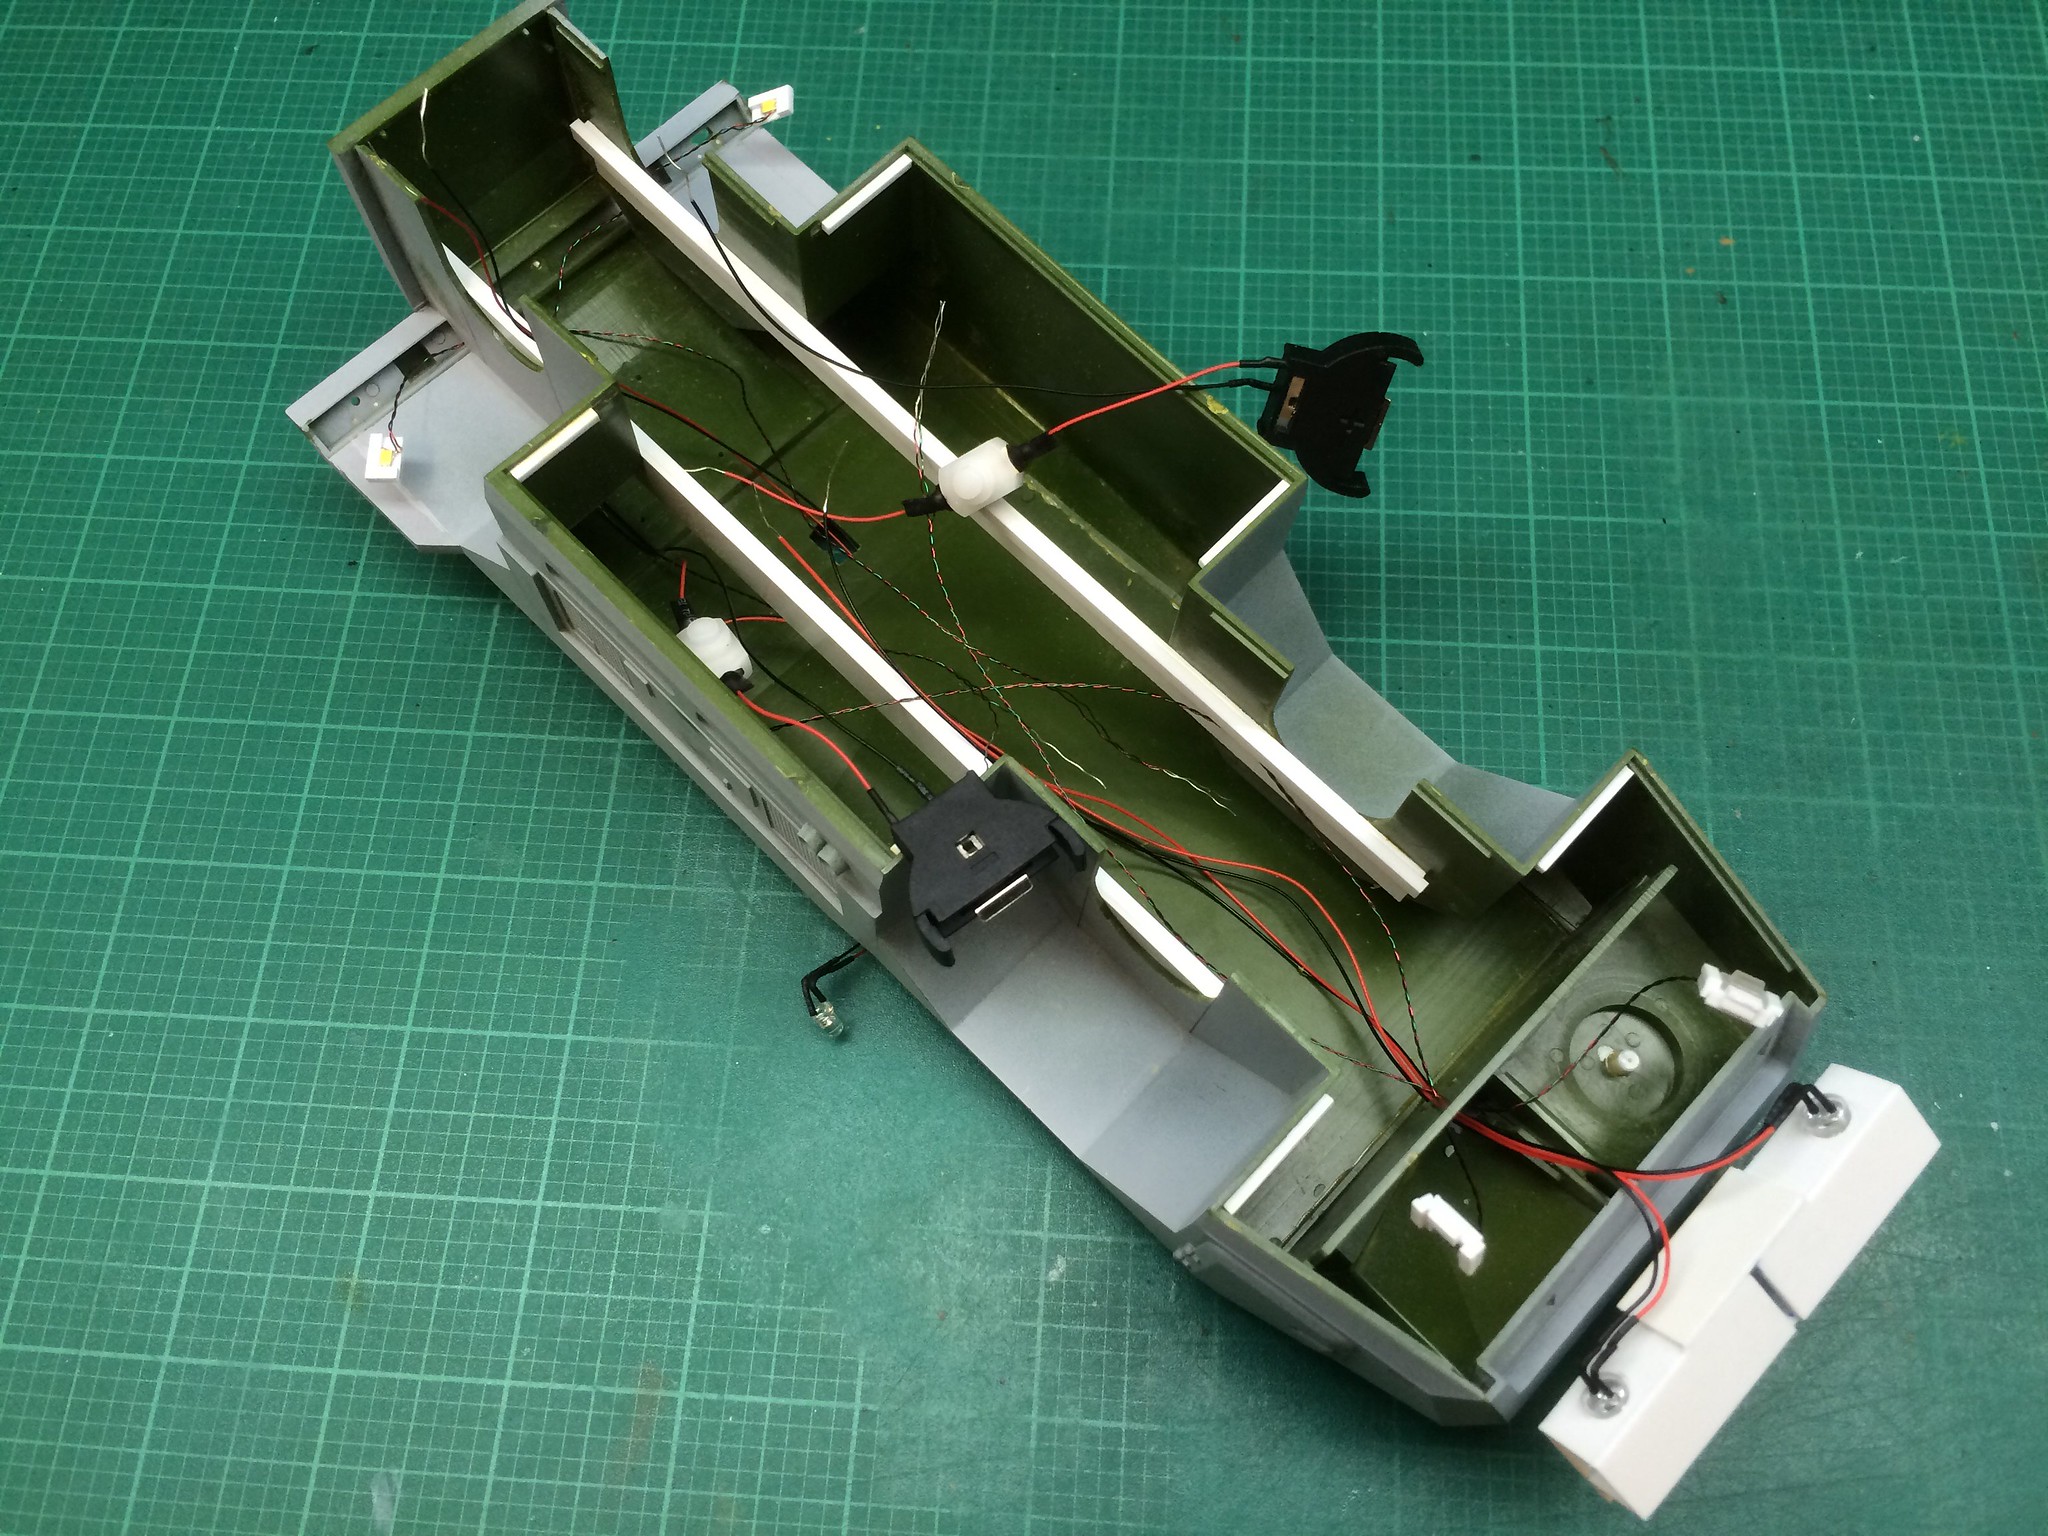 [/url]APC-47 by N.T. Izumi, on Flickr
OK, no more excuses - I have to finish working the hull details and take care of some ugly seams. Stay tuned!
This is getting better 'n better. Now the electric s I got my stuff out and
am ready to go  OOPS maybe later
Looking really cool there G!
You can tone down the LED intensity by inserting a resistor in the line. You can buy small potentiometers and twiddle the adjustment until the illumination is perfect.
TomZ, thanks for the advice! I am going super low tech (read lazy) on this project, so the engineering approach will be as simple as possible. I tested white 0.020" styrene as a light block, and it worked well. I will definitely consider the use of resistors for more ambitious projects In the future.
A mini-update. I tested the 0.020" white styrene sheet to tone down the side marker SMD. It is hard to tell from the photo, but the side marker is noticeably less bright than the headlights.
https://flic.kr/p/C9uo8m]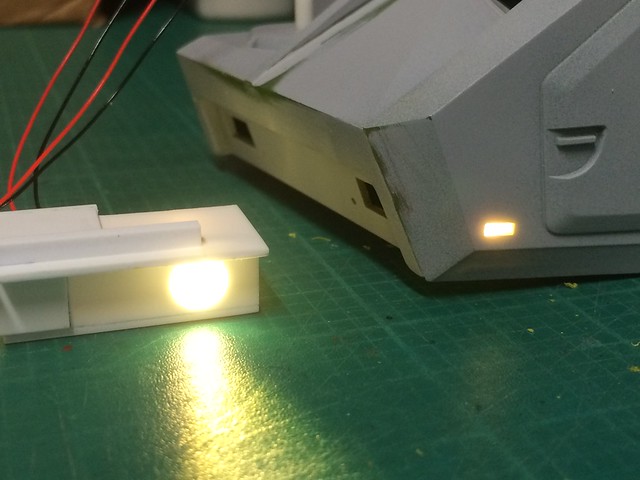 [/url]APC-48 by N.T. Izumi, on Flickr
I started the task of going over all the terrible kit joints with Mr. Surfacer 500 last night. Man, this is one ugly fitting kit!
“…I started the task of going over all the terrible kit joints with Mr. Surfacer 500 last night. Man, this is one ugly fitting kit!..”
Now, now don’t be so hard on the poor ol’ thing. [:P] After all of your upgrades it’s all down hill now - uhh I mean that in a Good way[:$]
A mini, mini update. I had a little time last night, so I tackled making replacement cylinders that go on the rear roof. The kit parts have mold slip lines and shrink marks, so new ones were made up of 1/8" plastic rod and 0.020" strip. I taped short sections of the strip around a steel ruler and drill, and dunked them in boiling water to impart curvature for the area that goes around the cylinders.
https://flic.kr/p/BH5TUg]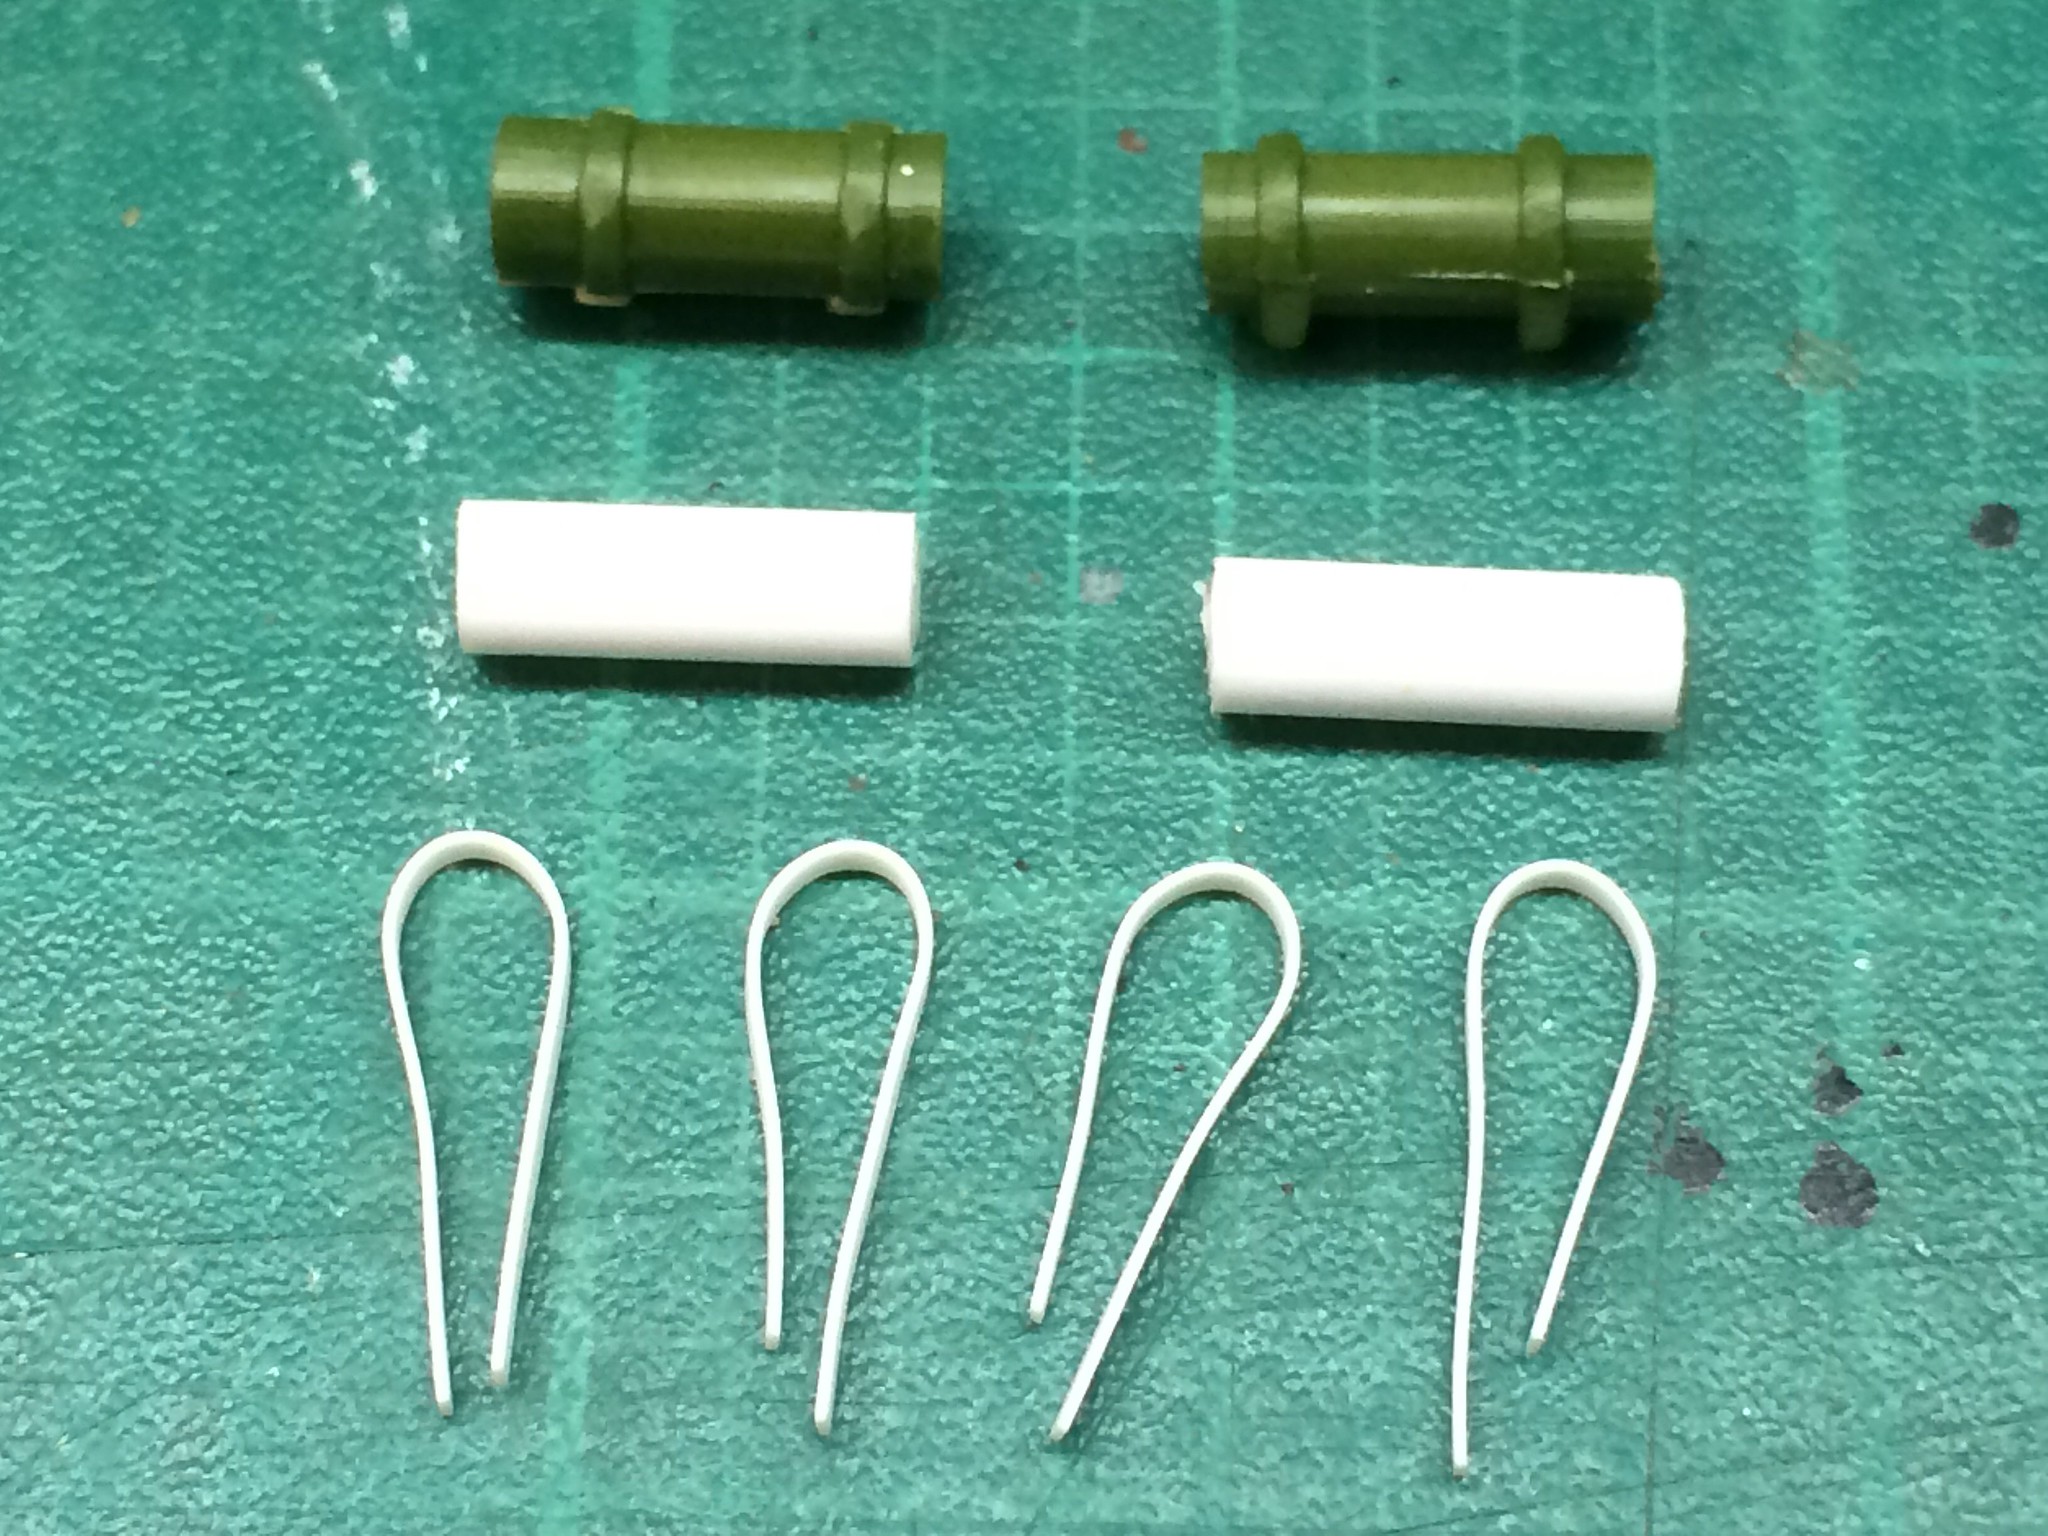 [/url]APC-49 by N.T. Izumi, on Flickr
To secure the free ends of the strip, I took 1/8" wide strip styrene and drilled a hole, cut the strip in two, then glued it between the strips and to the underside of the cylinders. I make everything over long so it would be easier to handle the bits, then sanded everything down to the correct height.
https://flic.kr/p/C9jqhM]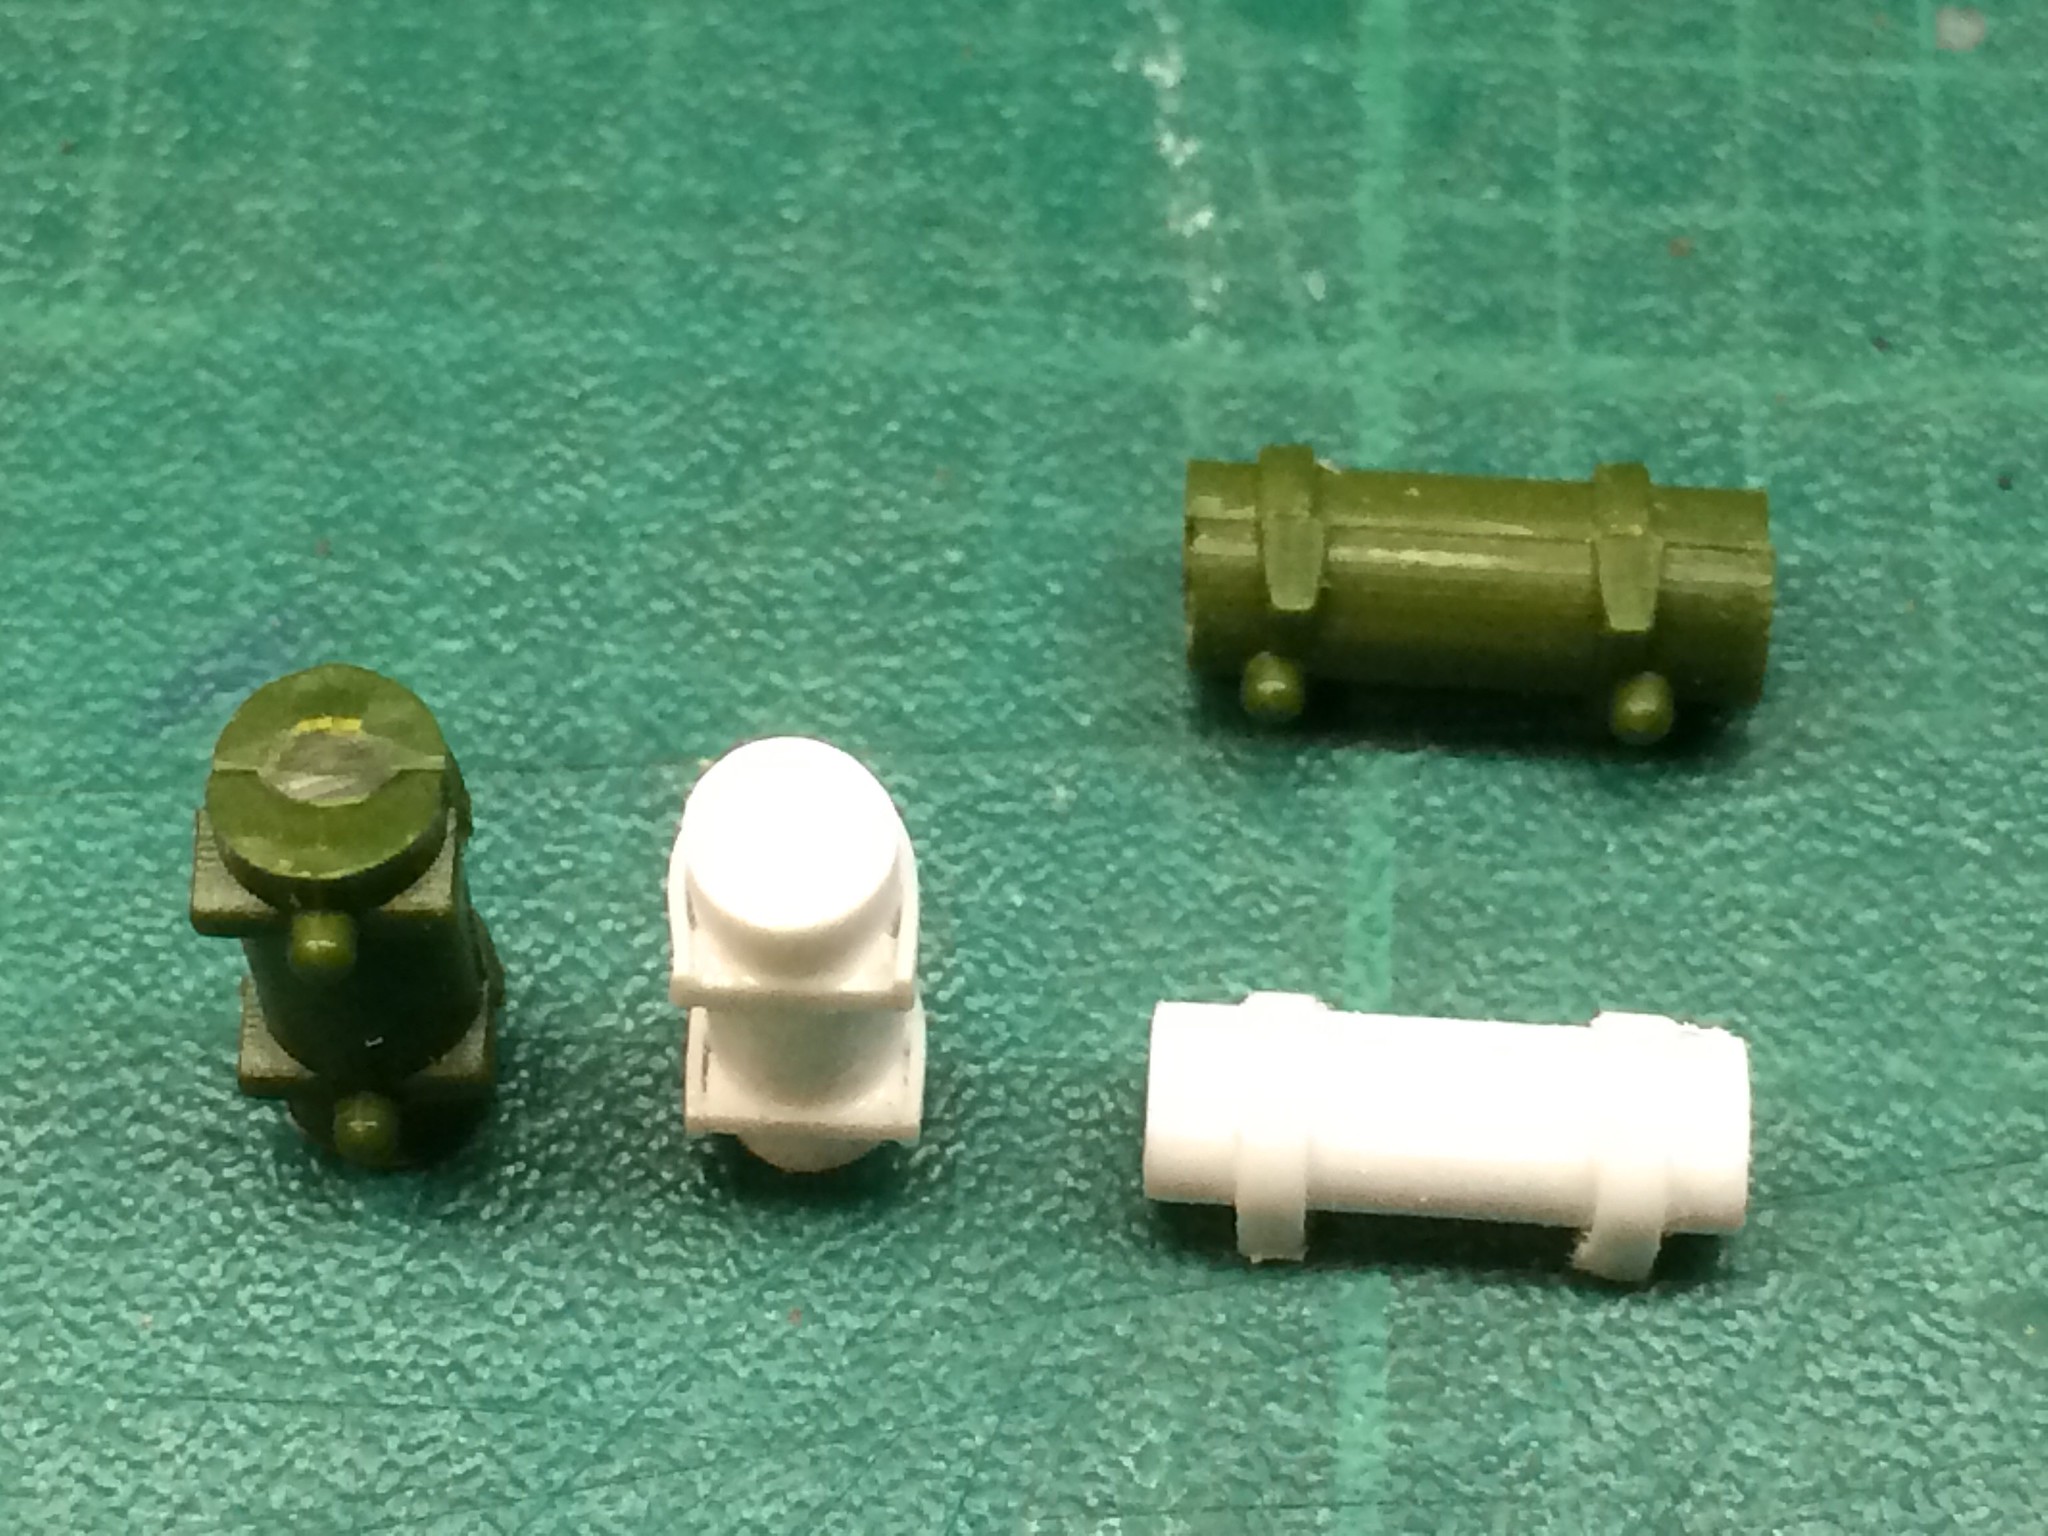 [/url]APC-50 by N.T. Izumi, on Flickr
For some reason, I didn’t feel like getting around to doing this task, but aside from a little Mr. Surfacer on the cylinder ends and a bit of sandpaper work, it is done.
A little more progress. I decided to replace the tail light base plates molded to the hull for two reasons. 1) I needed to clean up the plugged holes for the brush guards, and not having the plates there made it easier. 2) I wanted more light going through the tail light assembly, so replacing the plates with white sheet plastic would allow that.
https://flic.kr/p/CaobZw]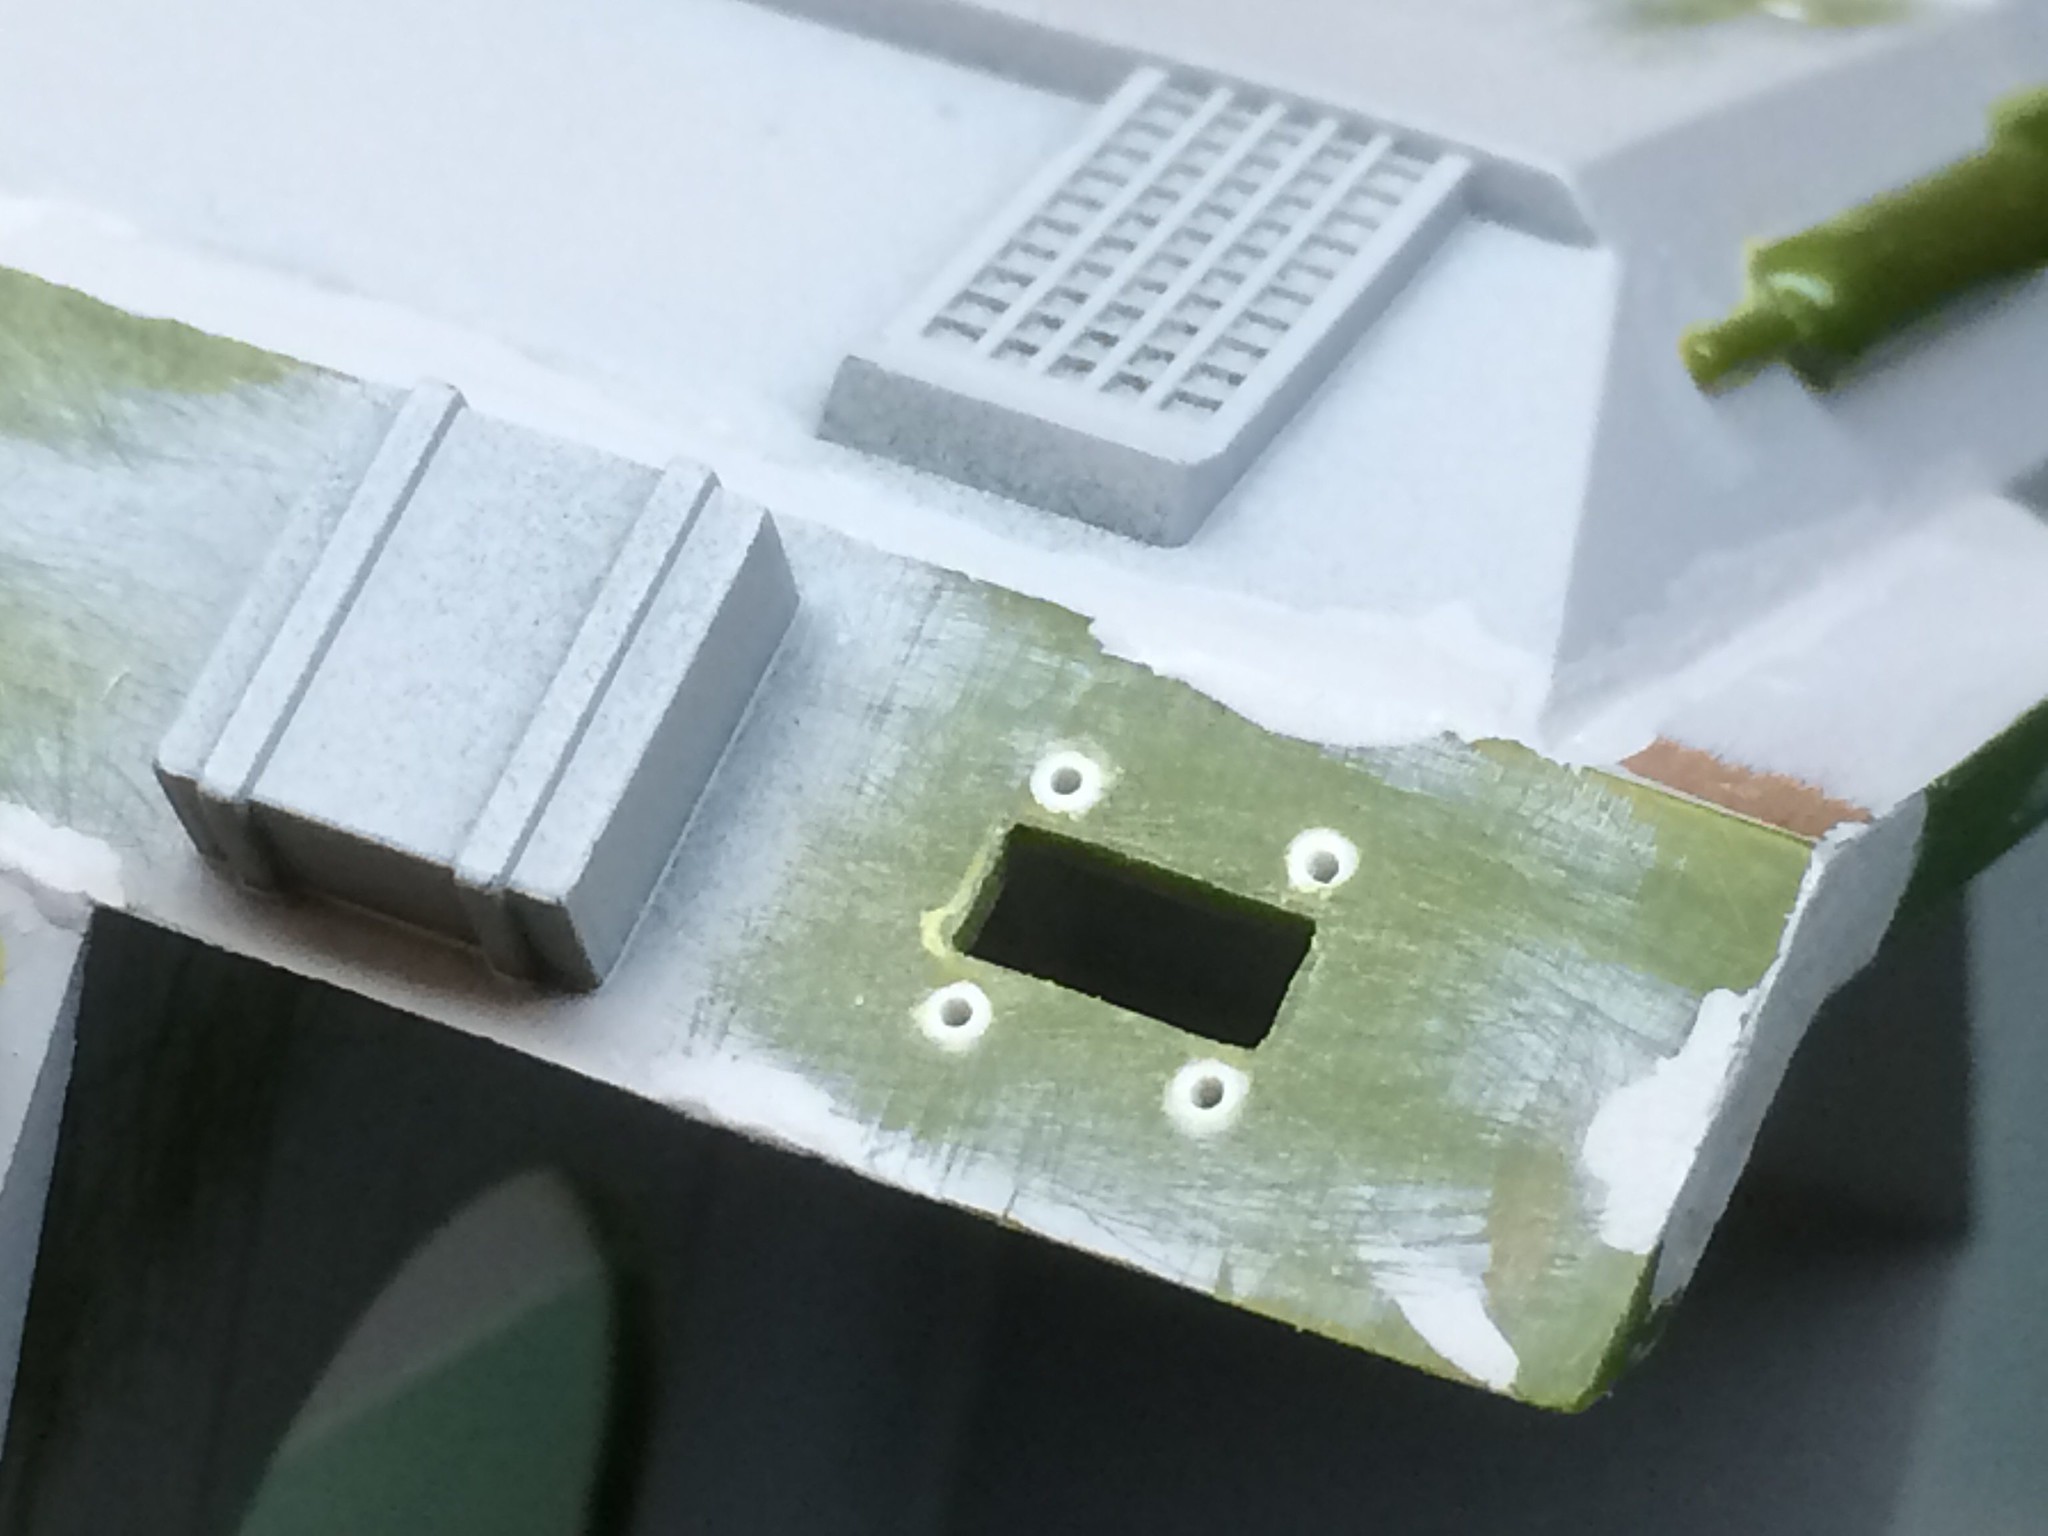 [/url]APC-51 by N.T. Izumi, on Flickr
I cut away the locator pins mounted to the clear(ish) tail lamps and drilled holes to represent bulbs. Two stepped 0.020" sheet plastic chips made up the new base plates, which were colored on the back with a cyan marker to impart the bluish color seen on screen. After some tests, it was found that a total of 0.040" of white sheet plastic cut down on the glare of the SMD to a desirable level. 0.5 mm brass wire replaced the massively thick kit brush guards.
https://flic.kr/p/CbmLTb]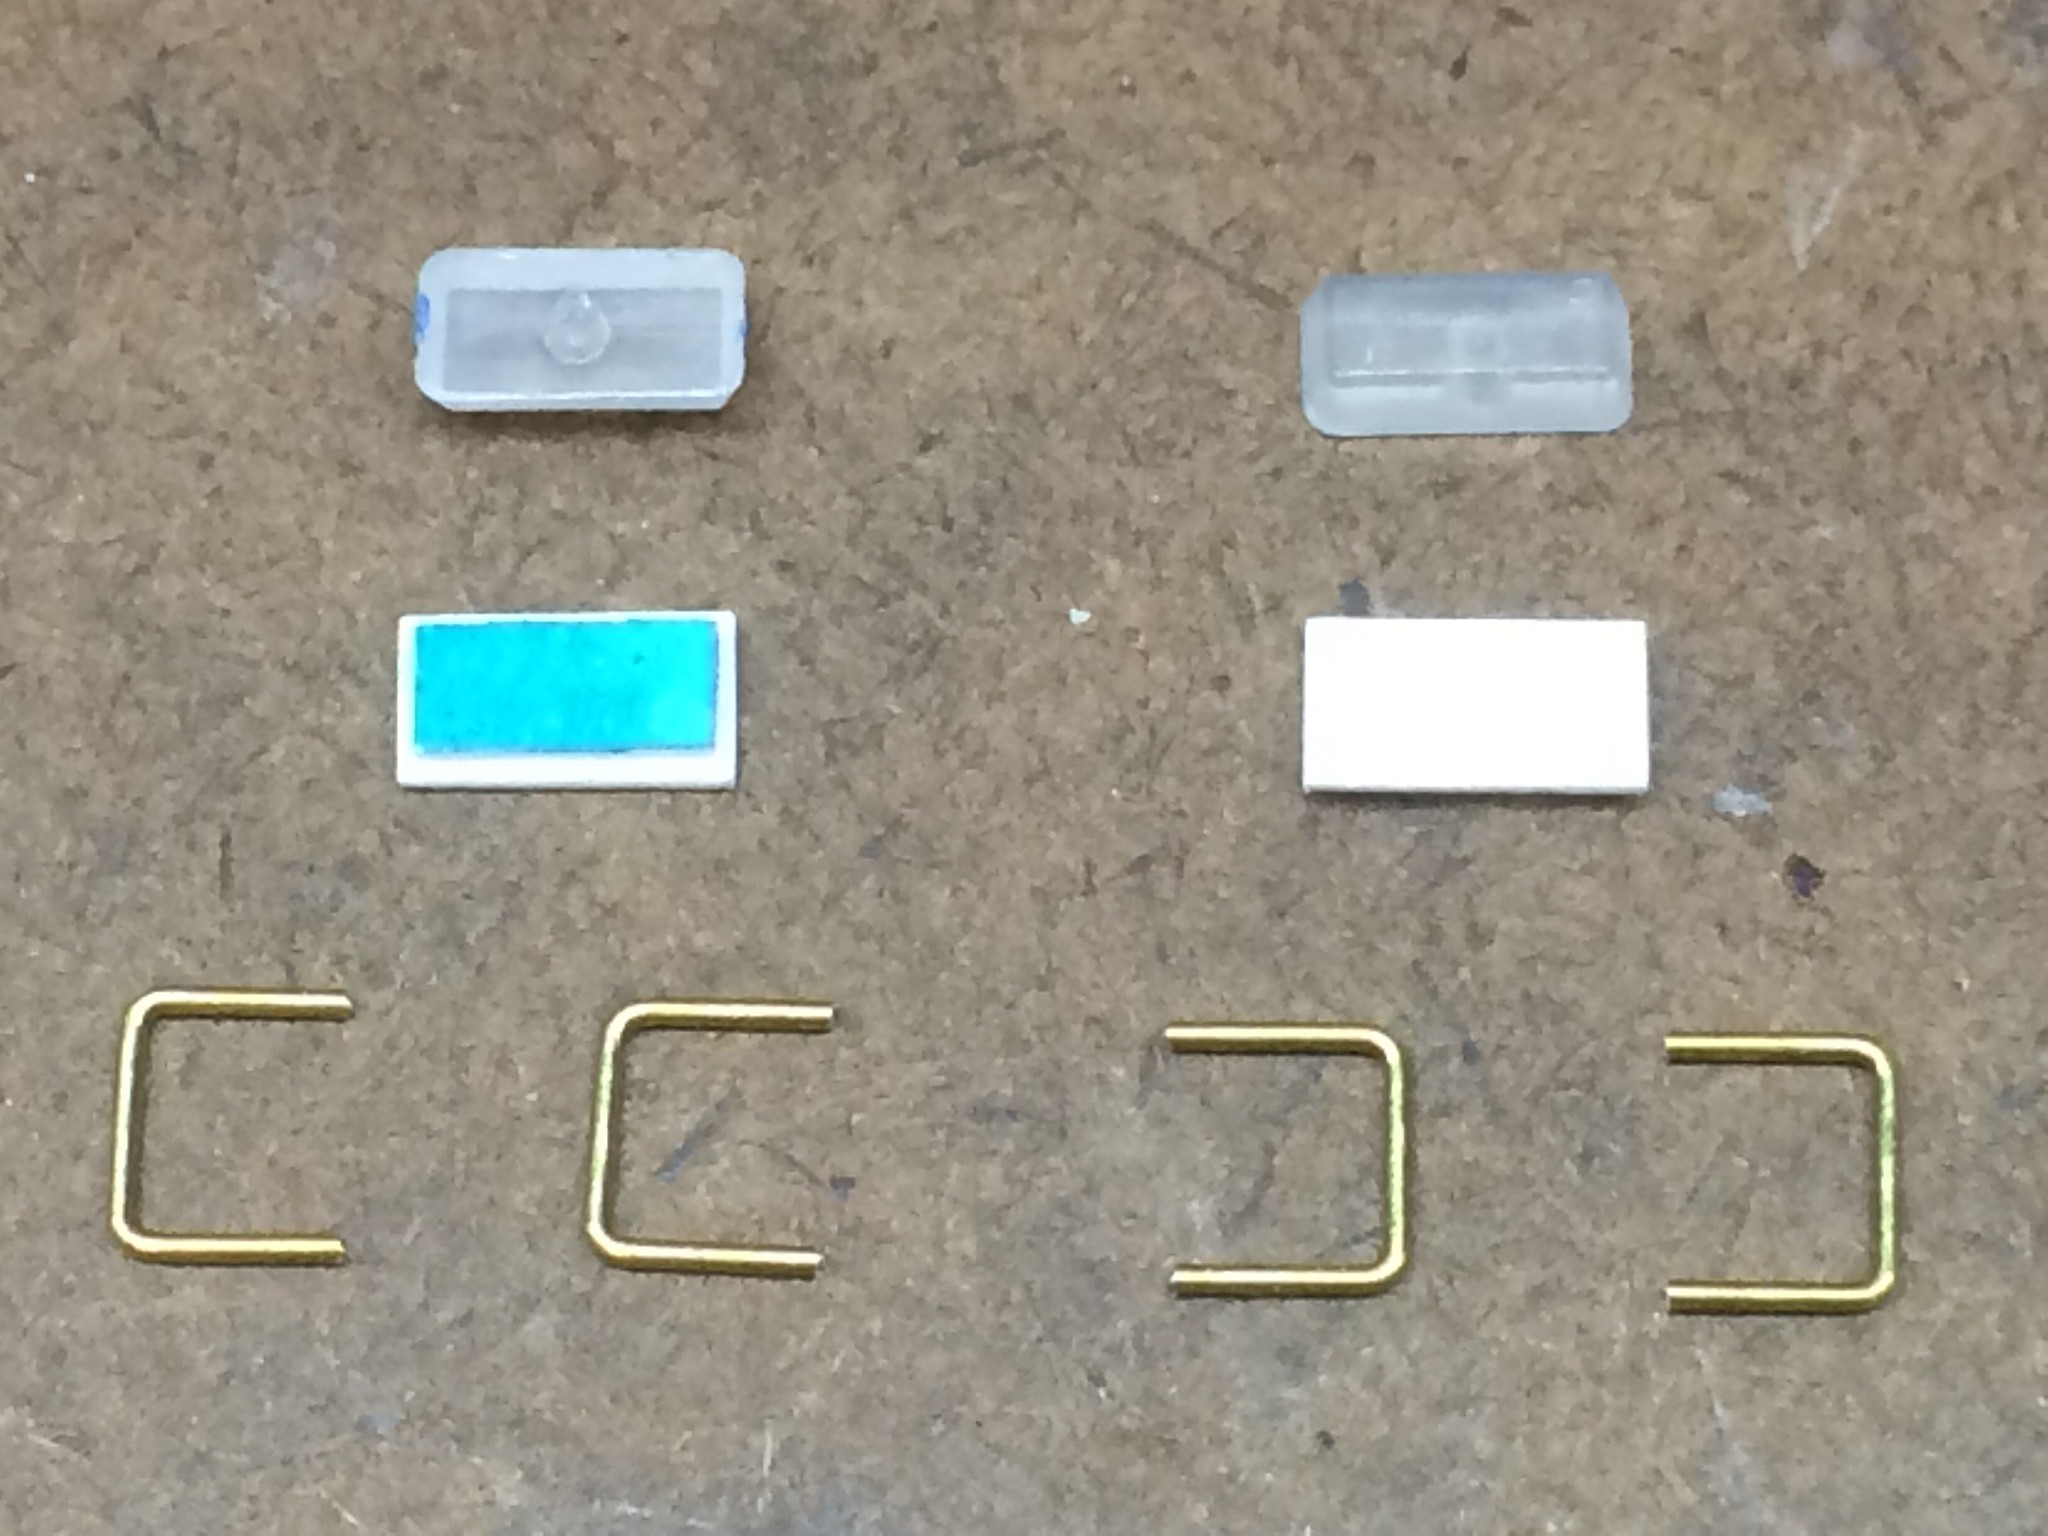 [/url]APC-52 by N.T. Izumi, on Flickr
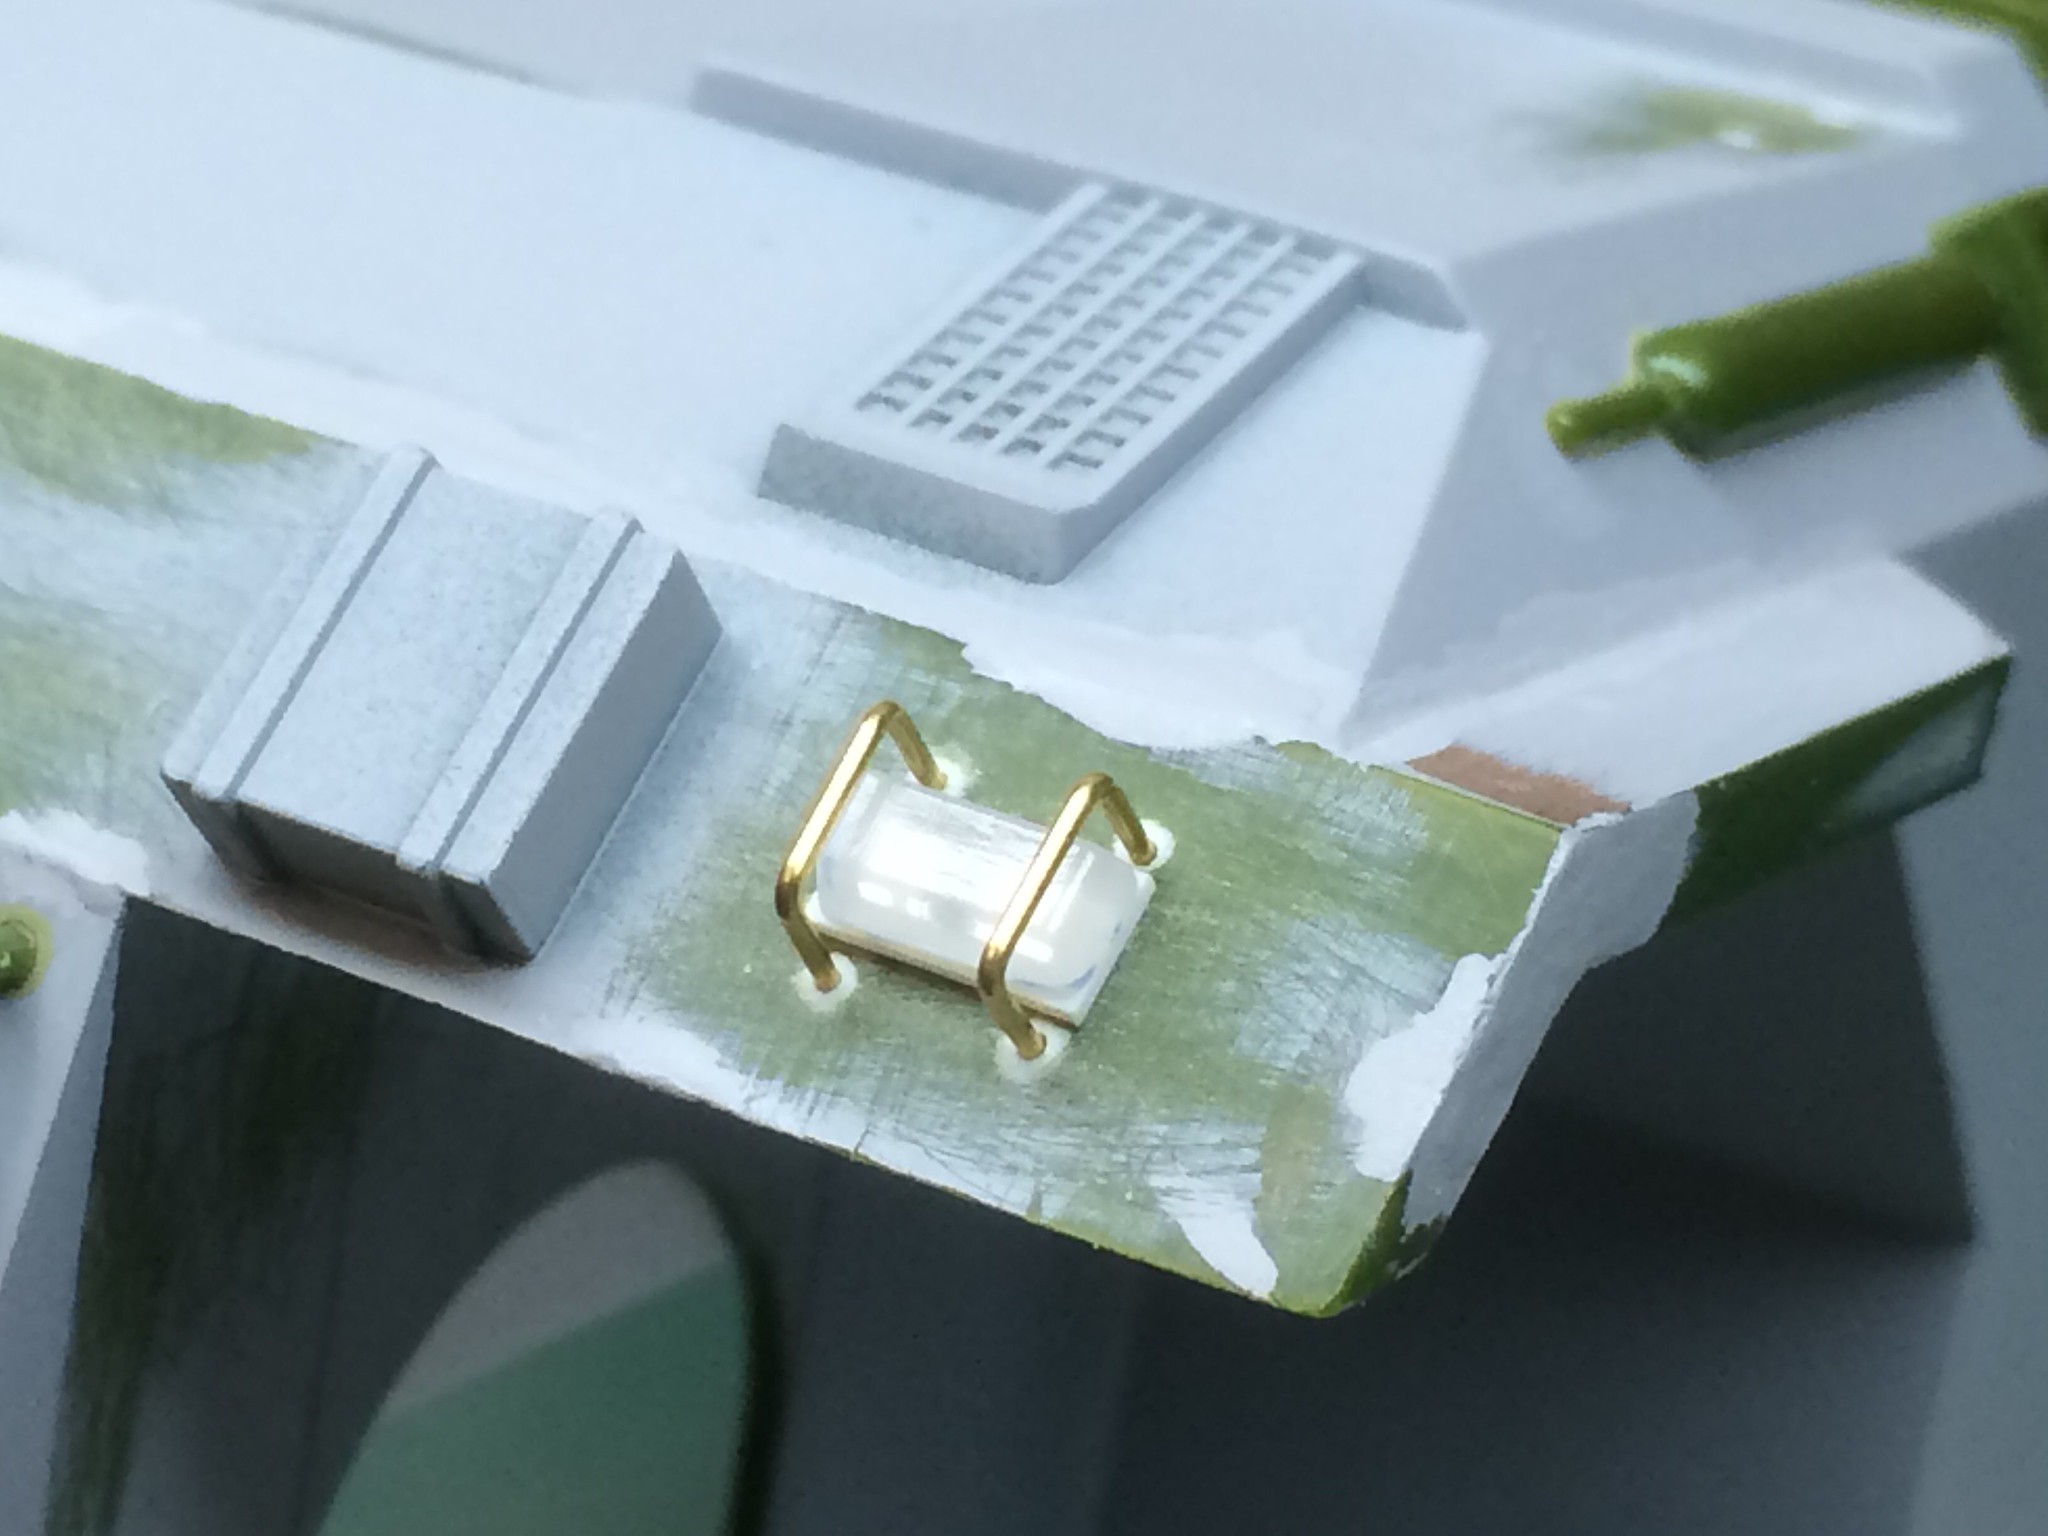
A test fit to see what everything will look like when done.
 APC-53 byhttps://www.flickr.com/photos/ntizumi/]N.T. Izumi[/url], on Flickr
And a quick battery test to see what those strange blue tail lamps will look like.
https://flic.kr/p/BTNUTC]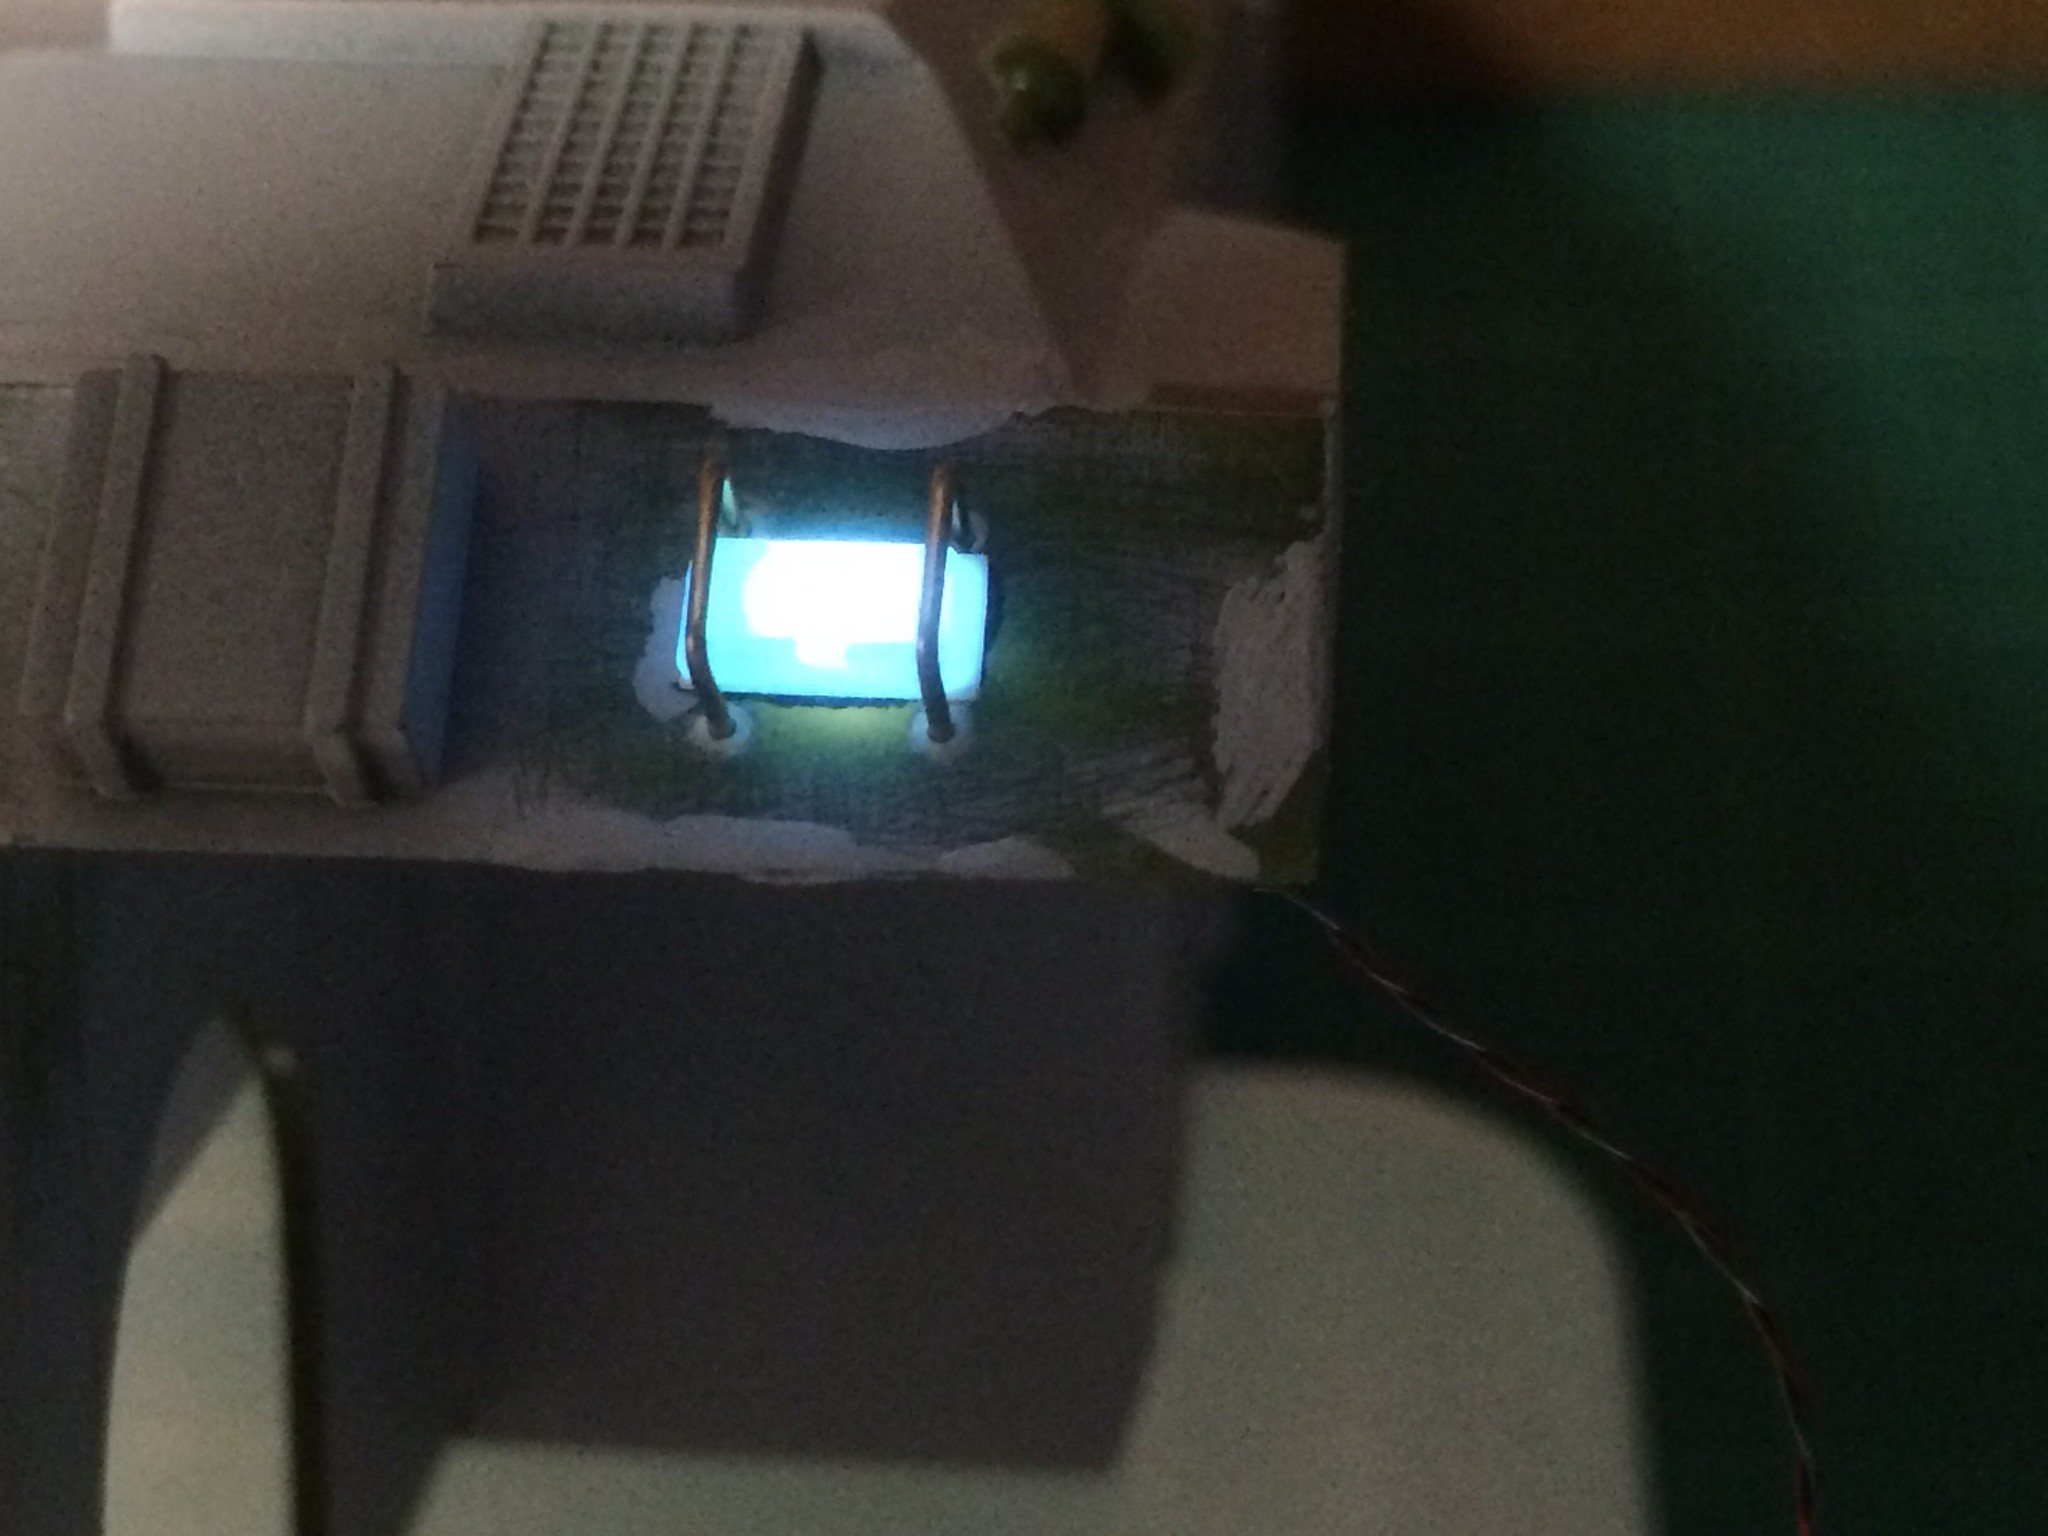 [/url]APC-54 by N.T. Izumi, on Flickr
I’m still banging away with the filler and sandpaper to get this beast to the paint shop.
With Christmas and New Year out of the way, work has finally resumed on the APC. The turret rails had round section supports that suffered from mold slip. Looking at photos of the full size prop, it appears that they should be square section, so I cut the kit supports off and replaced them with 0.080" square plastic rod. The rails are closer to 0.070" in width, so the rods needed a little sanding to match.
https://flic.kr/p/D6o3q7]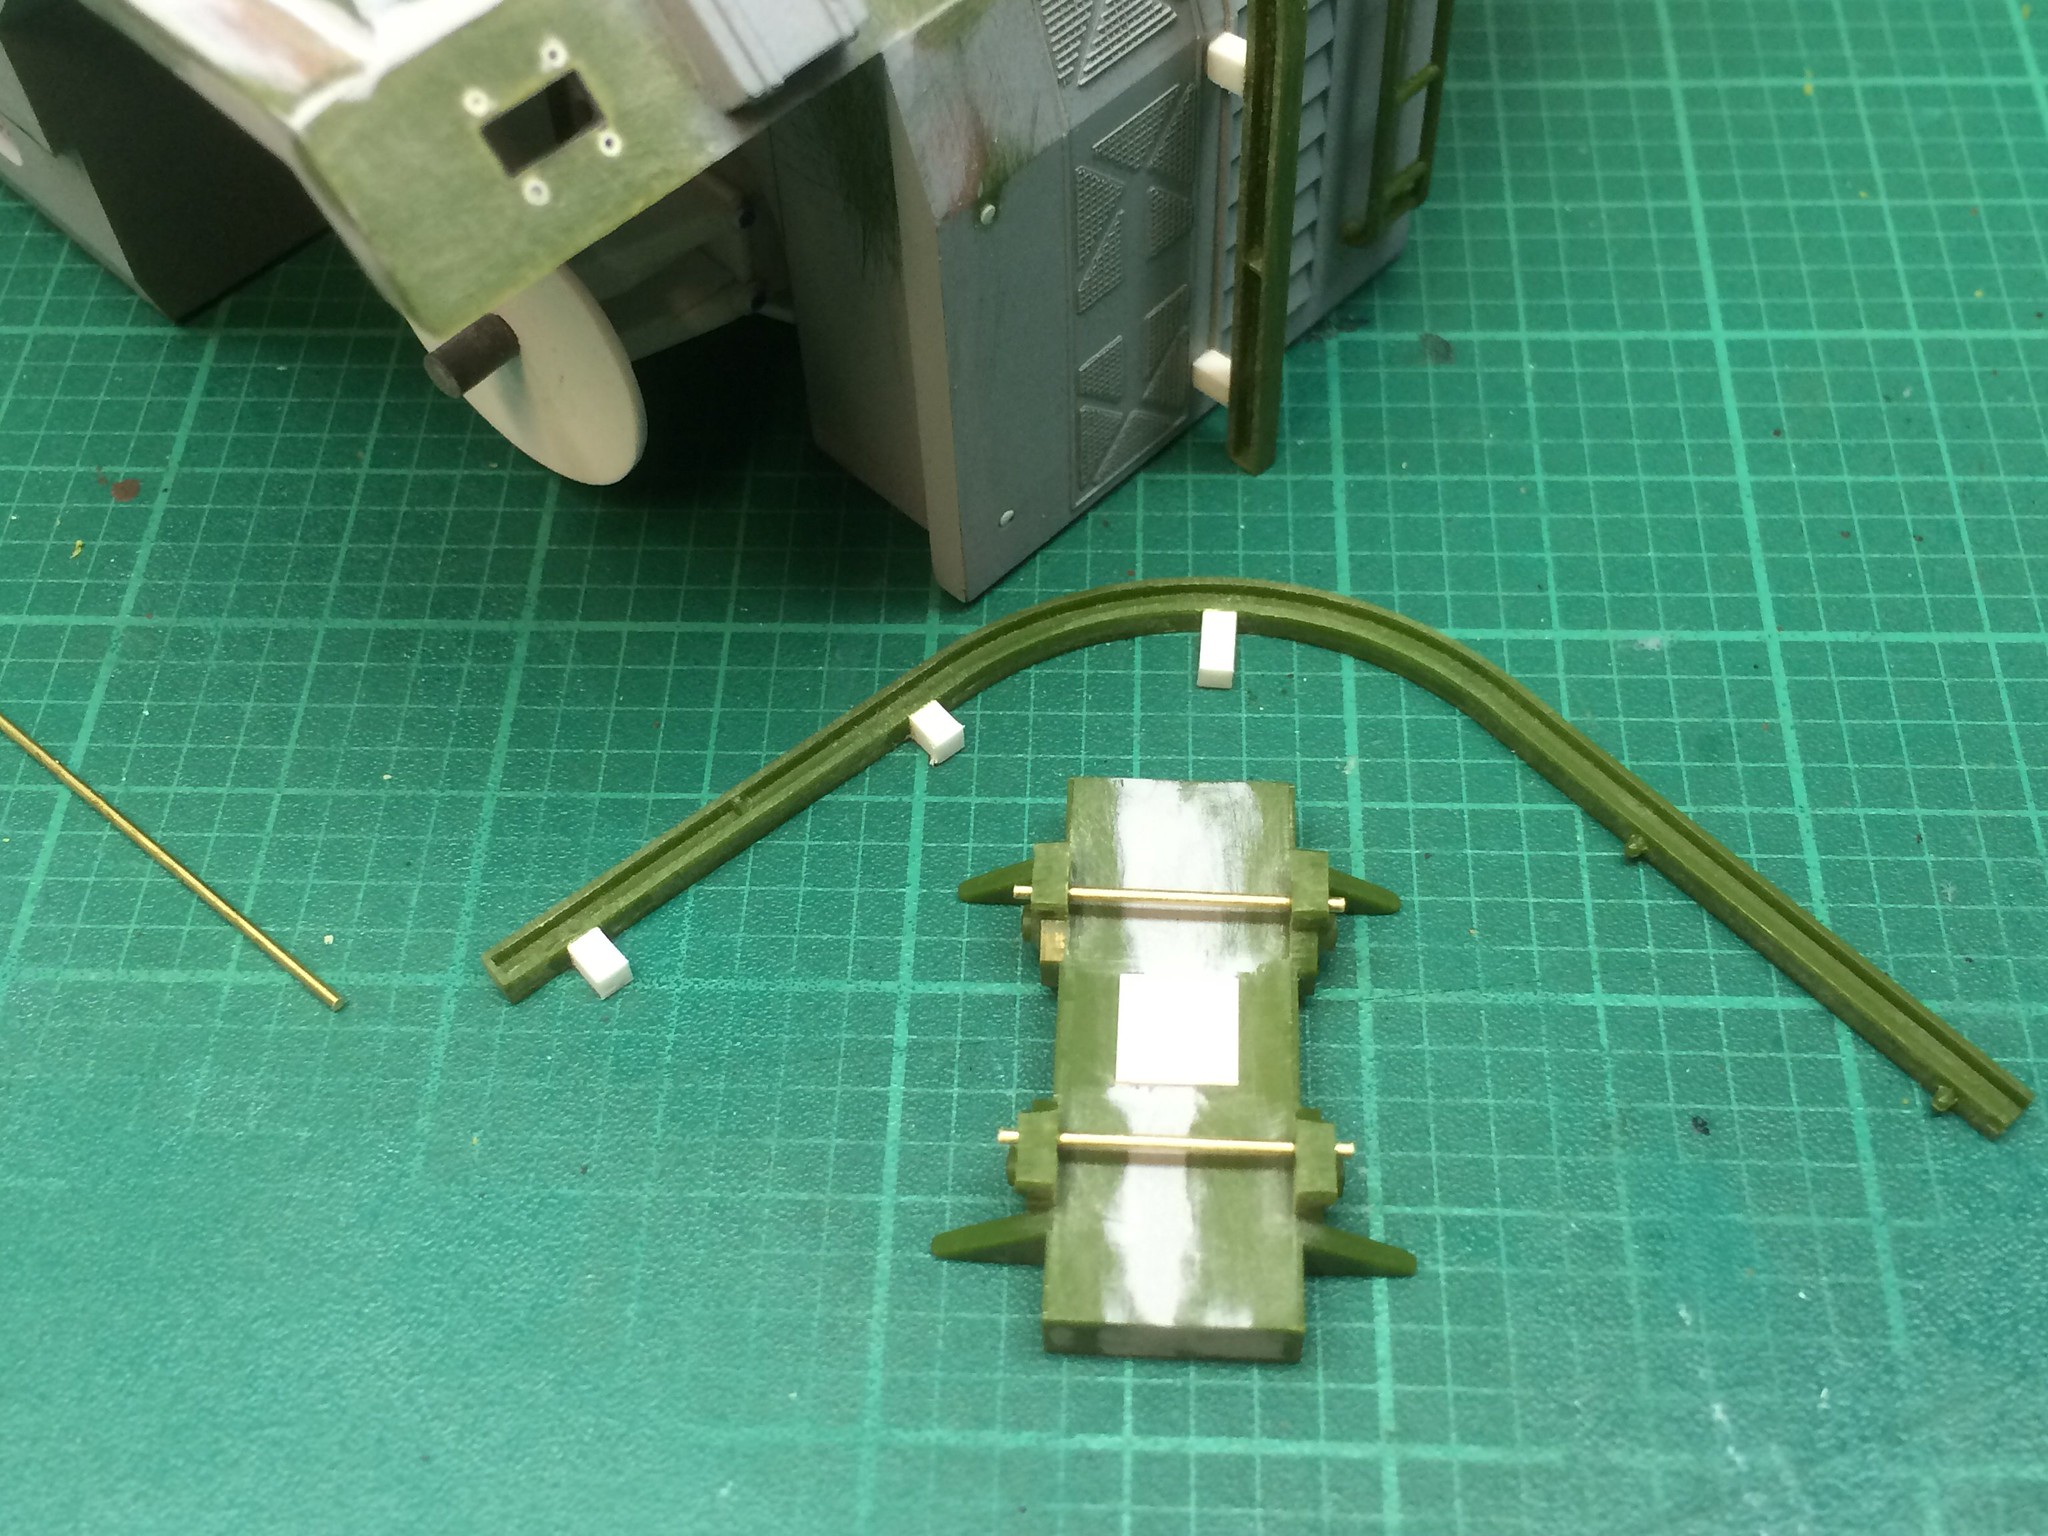 [/url]APC-56 by N.T. Izumi, on Flickr
Since the kit’s plastic was so brittle, I replaced the guide pins on the turret base with brass rods, and ran them straight through both lugs for alignment and strength.
https://flic.kr/p/Cxnnsx]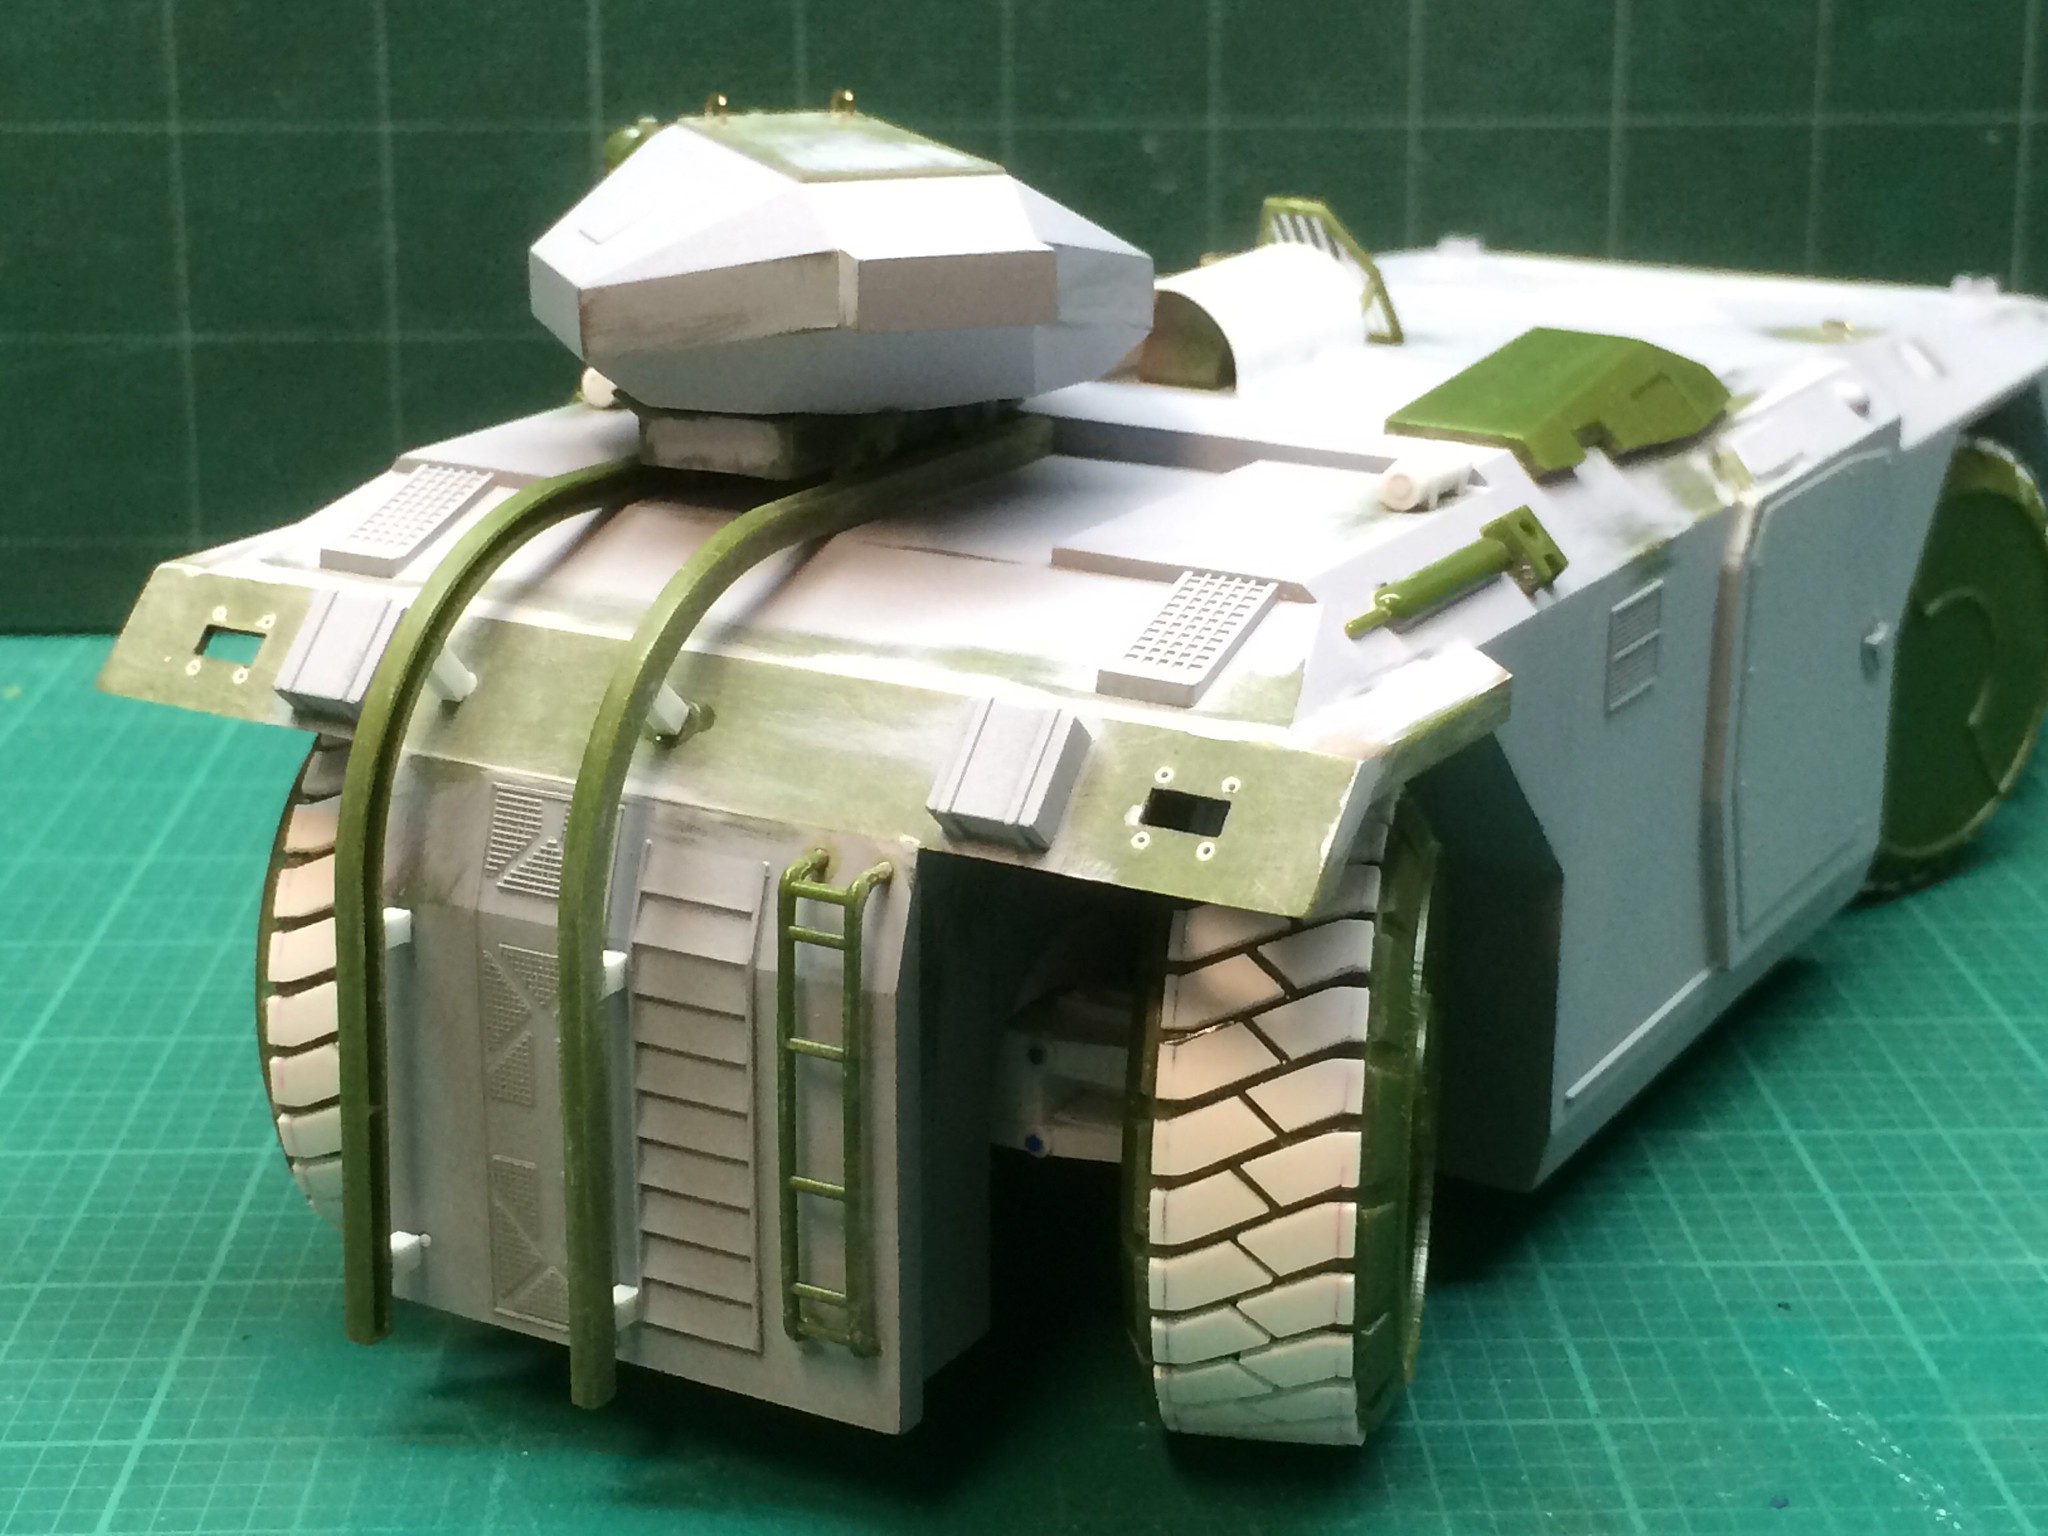 [/url]APC-55 by N.T. Izumi, on Flickr
Getting closer to finishing up the little details. Hope to get some primer on for a final check prior to paint application.
Wow, looking very good G!!!
Super cool! I can’t wait to see some paint on it.
Nice progress.
With Christmas and New Year out of the way, I can now watch this build again.
Very clever tail light solution. The rest is coming along like gang busters
Thanks for the encouragement guys! Things are still a bit hectic in my non-model world so progress is slow. Over the weekend I stuffed some poly caps into the wheels so they can be adjusted once in place. No rolling around on the carpet though; they are there just to keep the wheels from falling off. Hopefully more pics this week!
Duster, I am very pleased how the tail lights turned out. I tested the method on some other sci-fi kits and it looks useful for robot eyes and maybe even some Trek kits.
Okay, it’s the final push before heading to the paint shop!
https://flic.kr/p/CQNmis]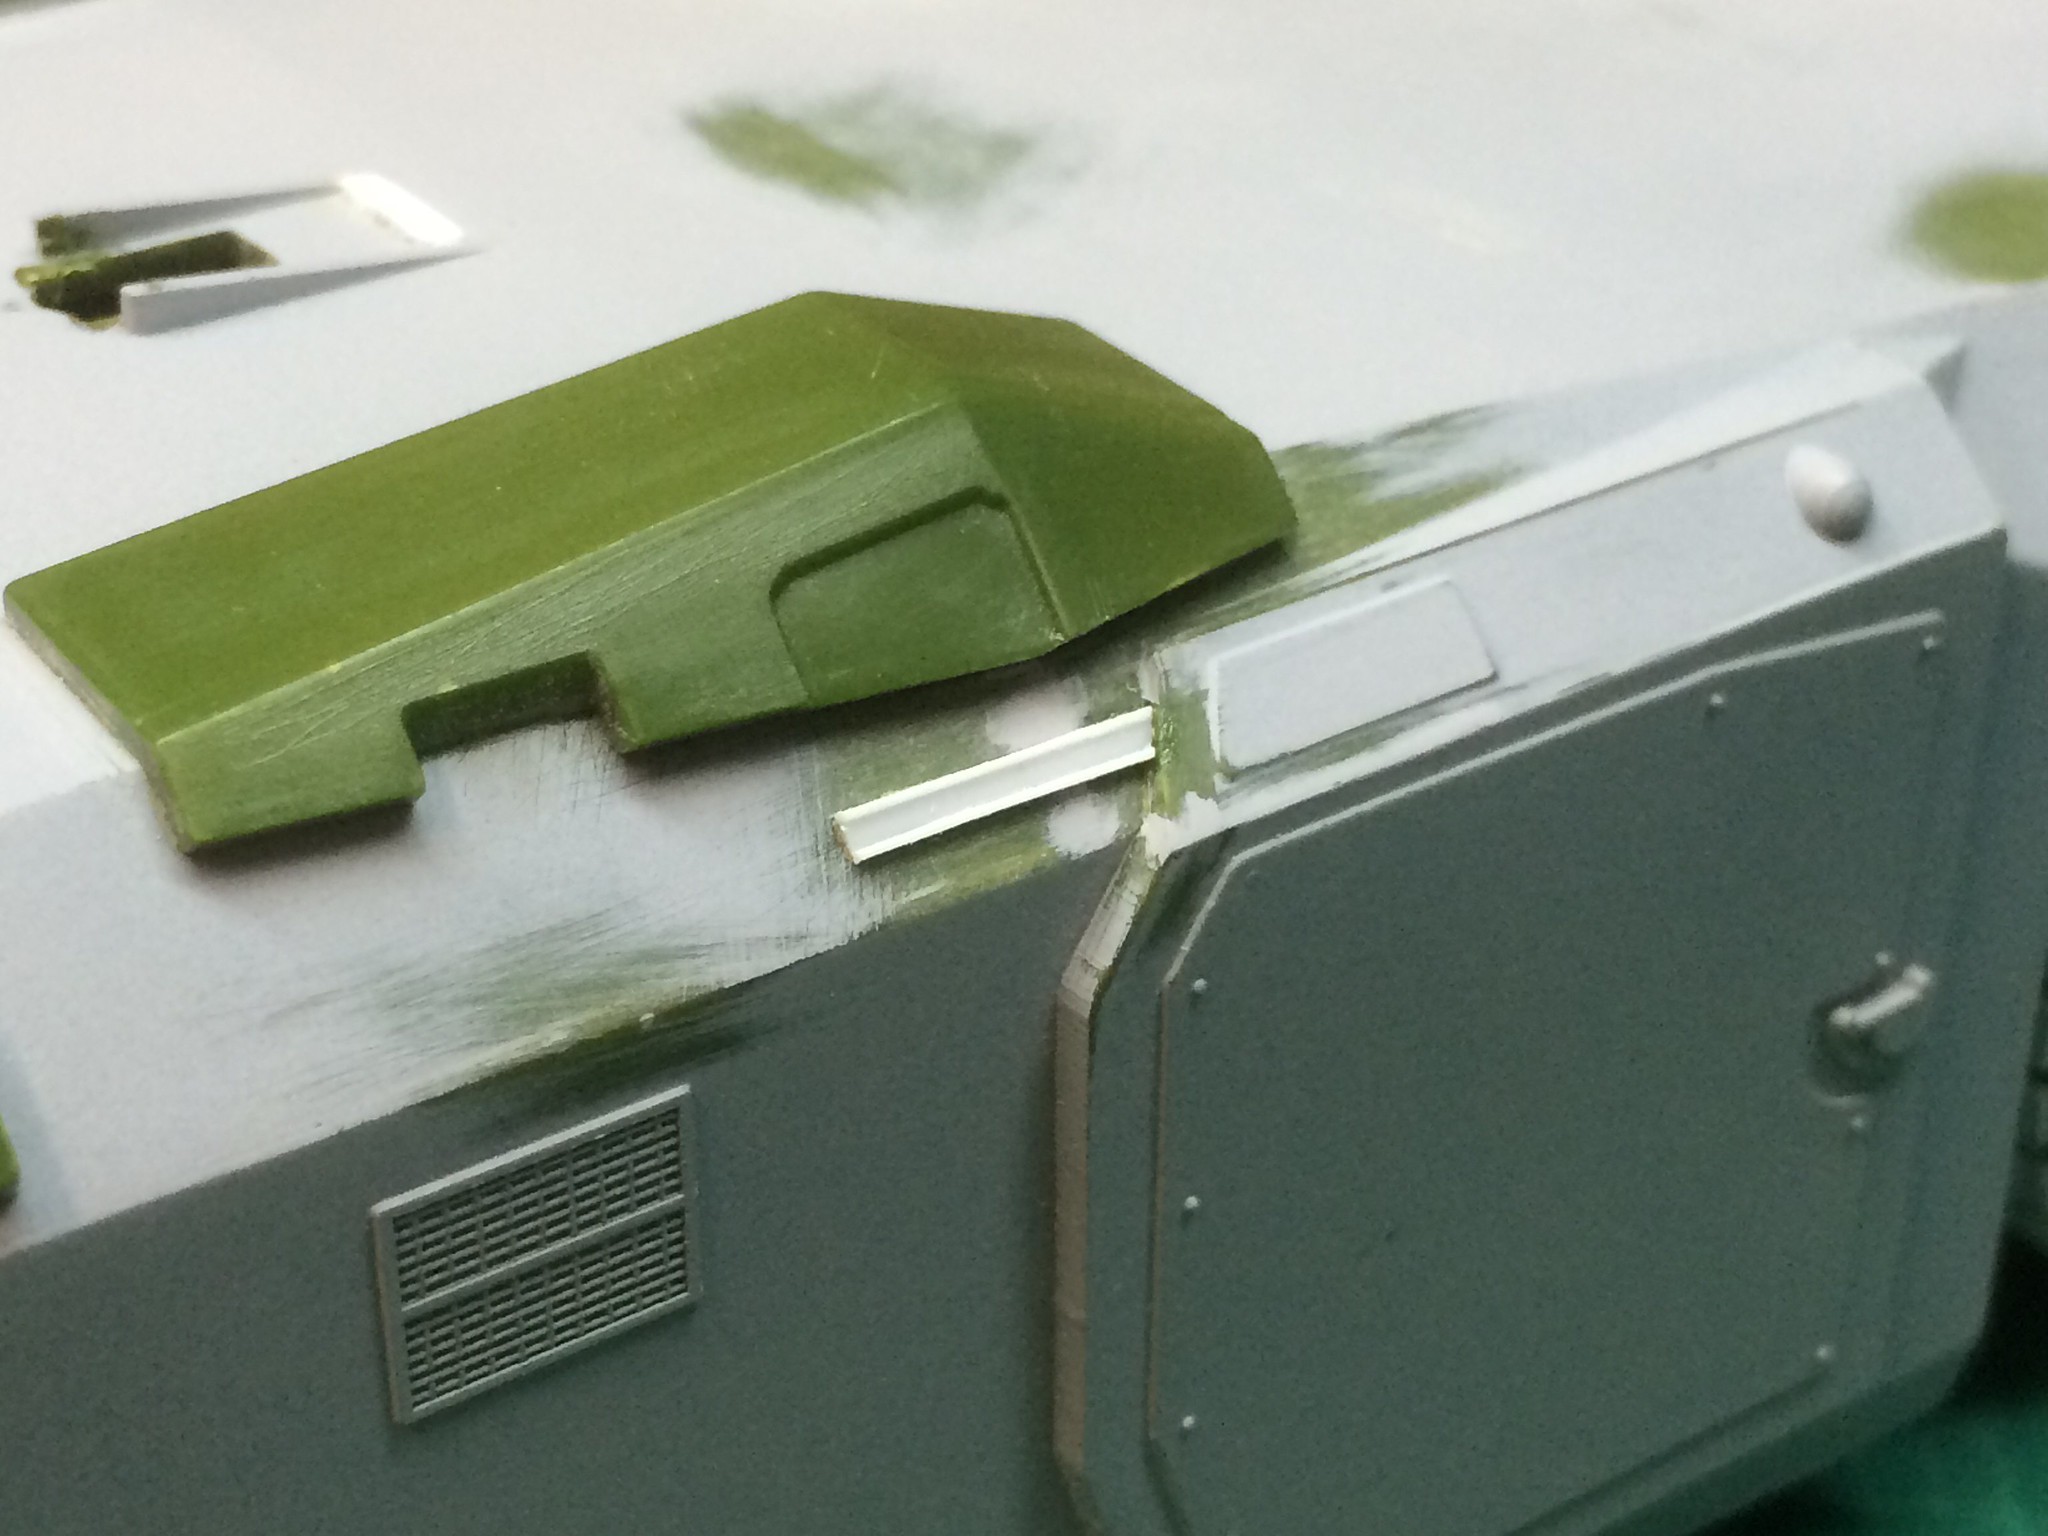 [/url]APC-57 by N.T. Izumi, on Flickr
The hull pates fit badly where the sliding door track was, so it was lost during filling/sanding. A replacement was made from strip styrene.
https://flic.kr/p/CkwPyt]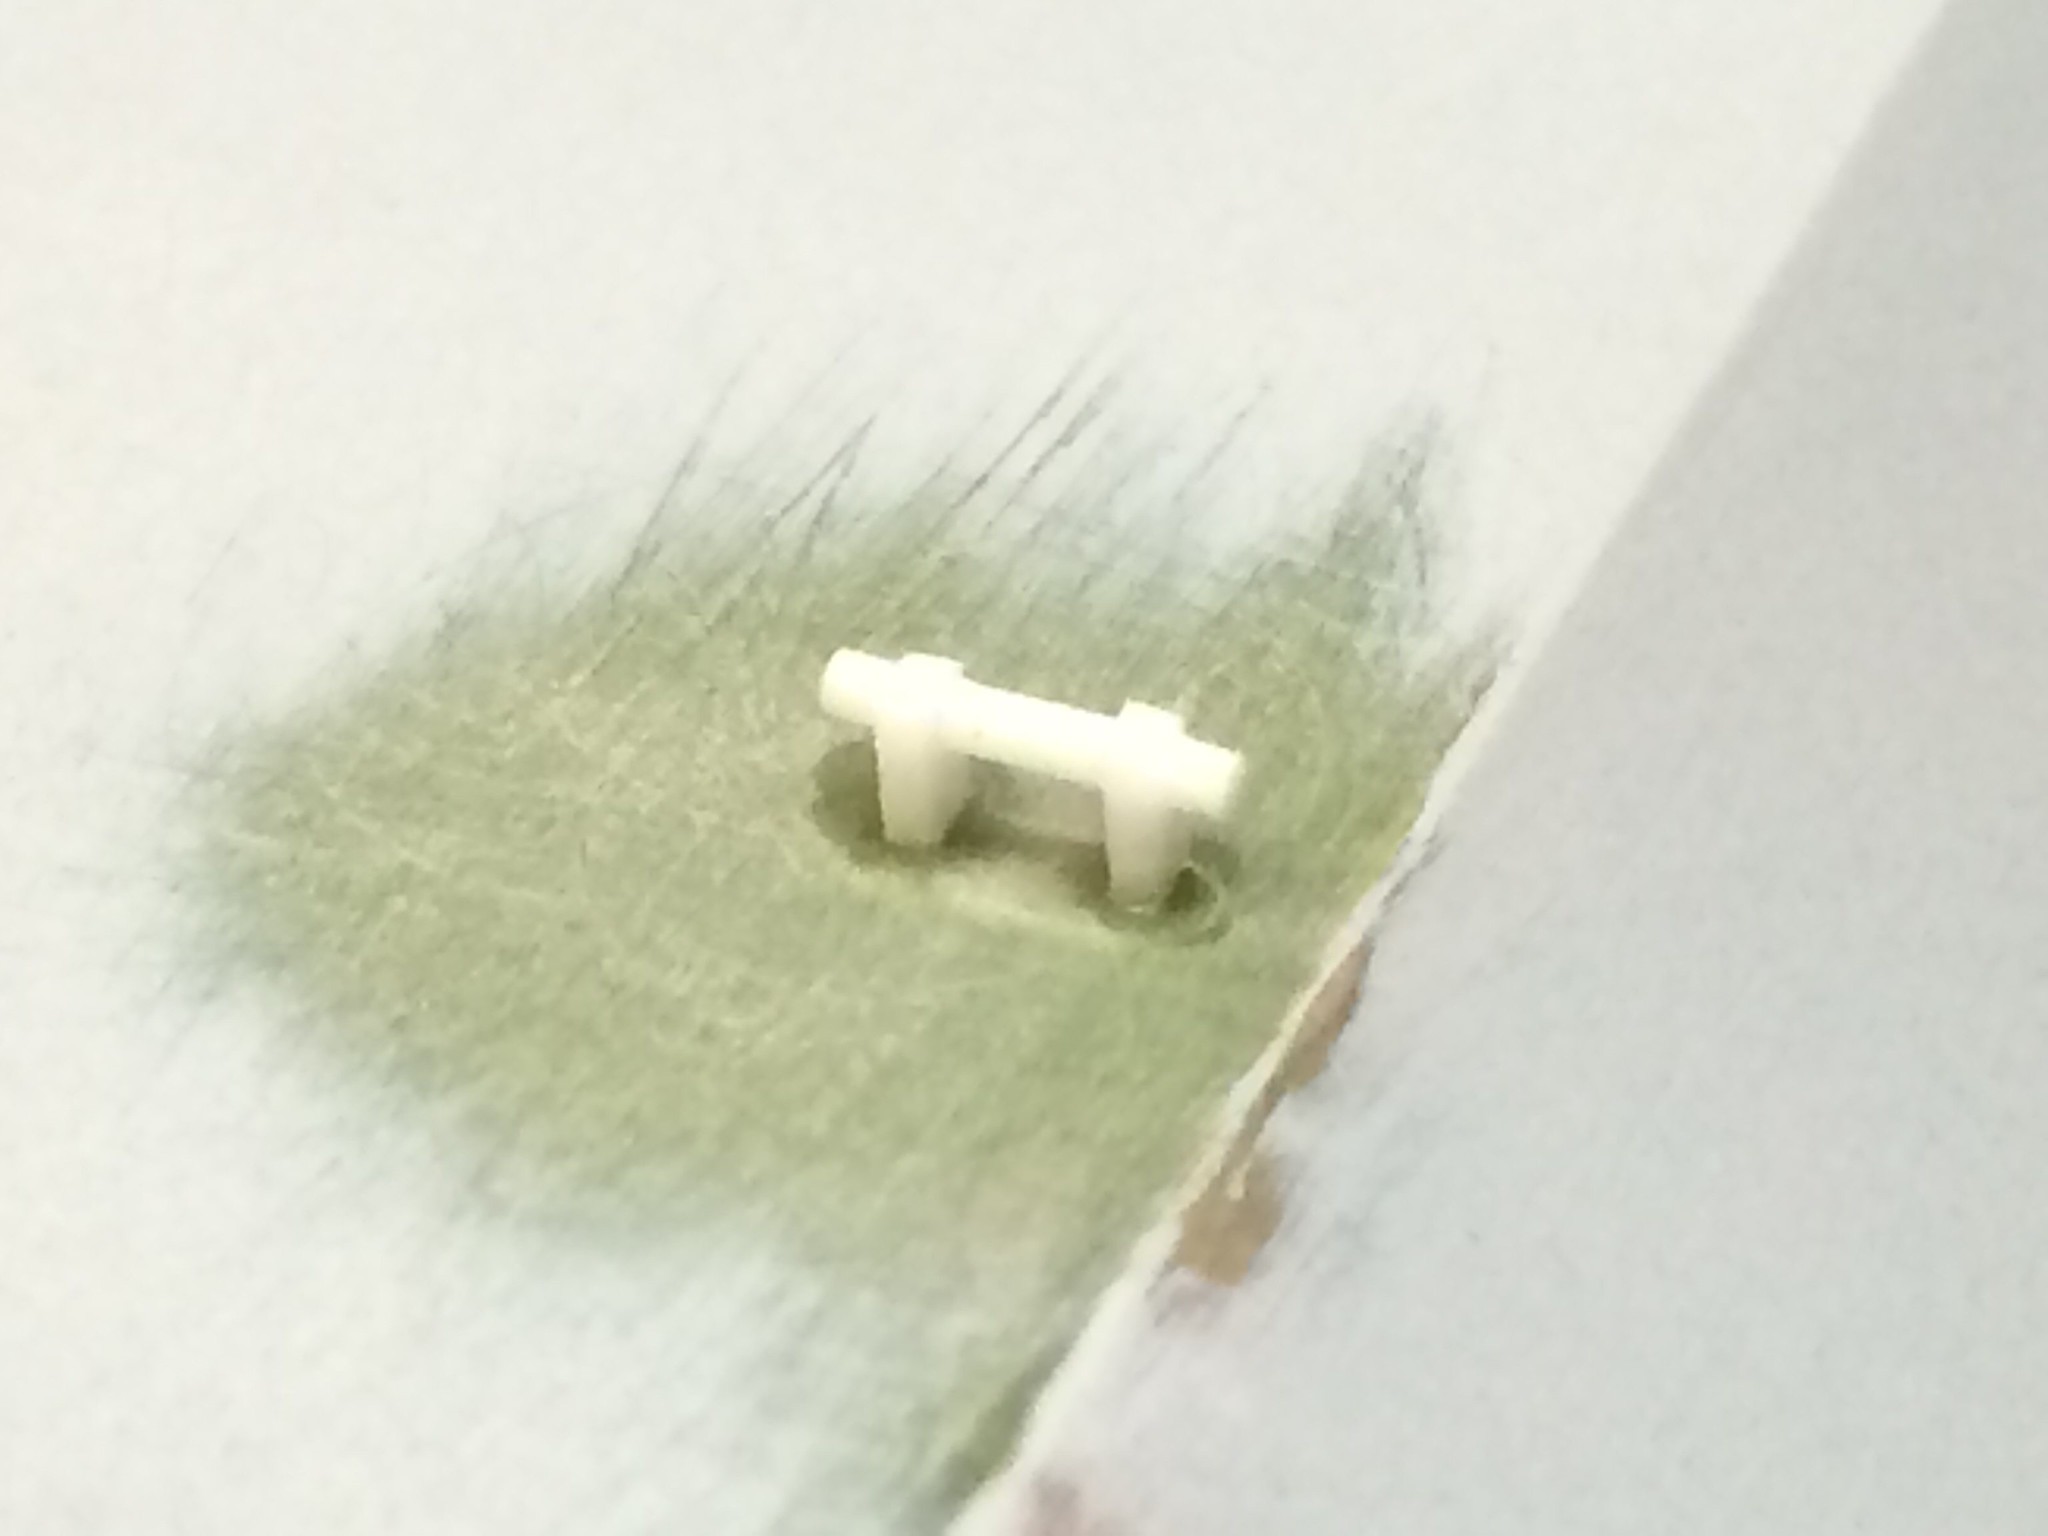 [/url]APC-58 by N.T. Izumi, on Flickr
There was a tab molded on the roof that looked like a simplified grab handle, but it appears to actually be a rod supported by two small tabs according to photos of the full size prop. So some bits of sheet and rod were used to make something representative.
https://flic.kr/p/DfBgS7]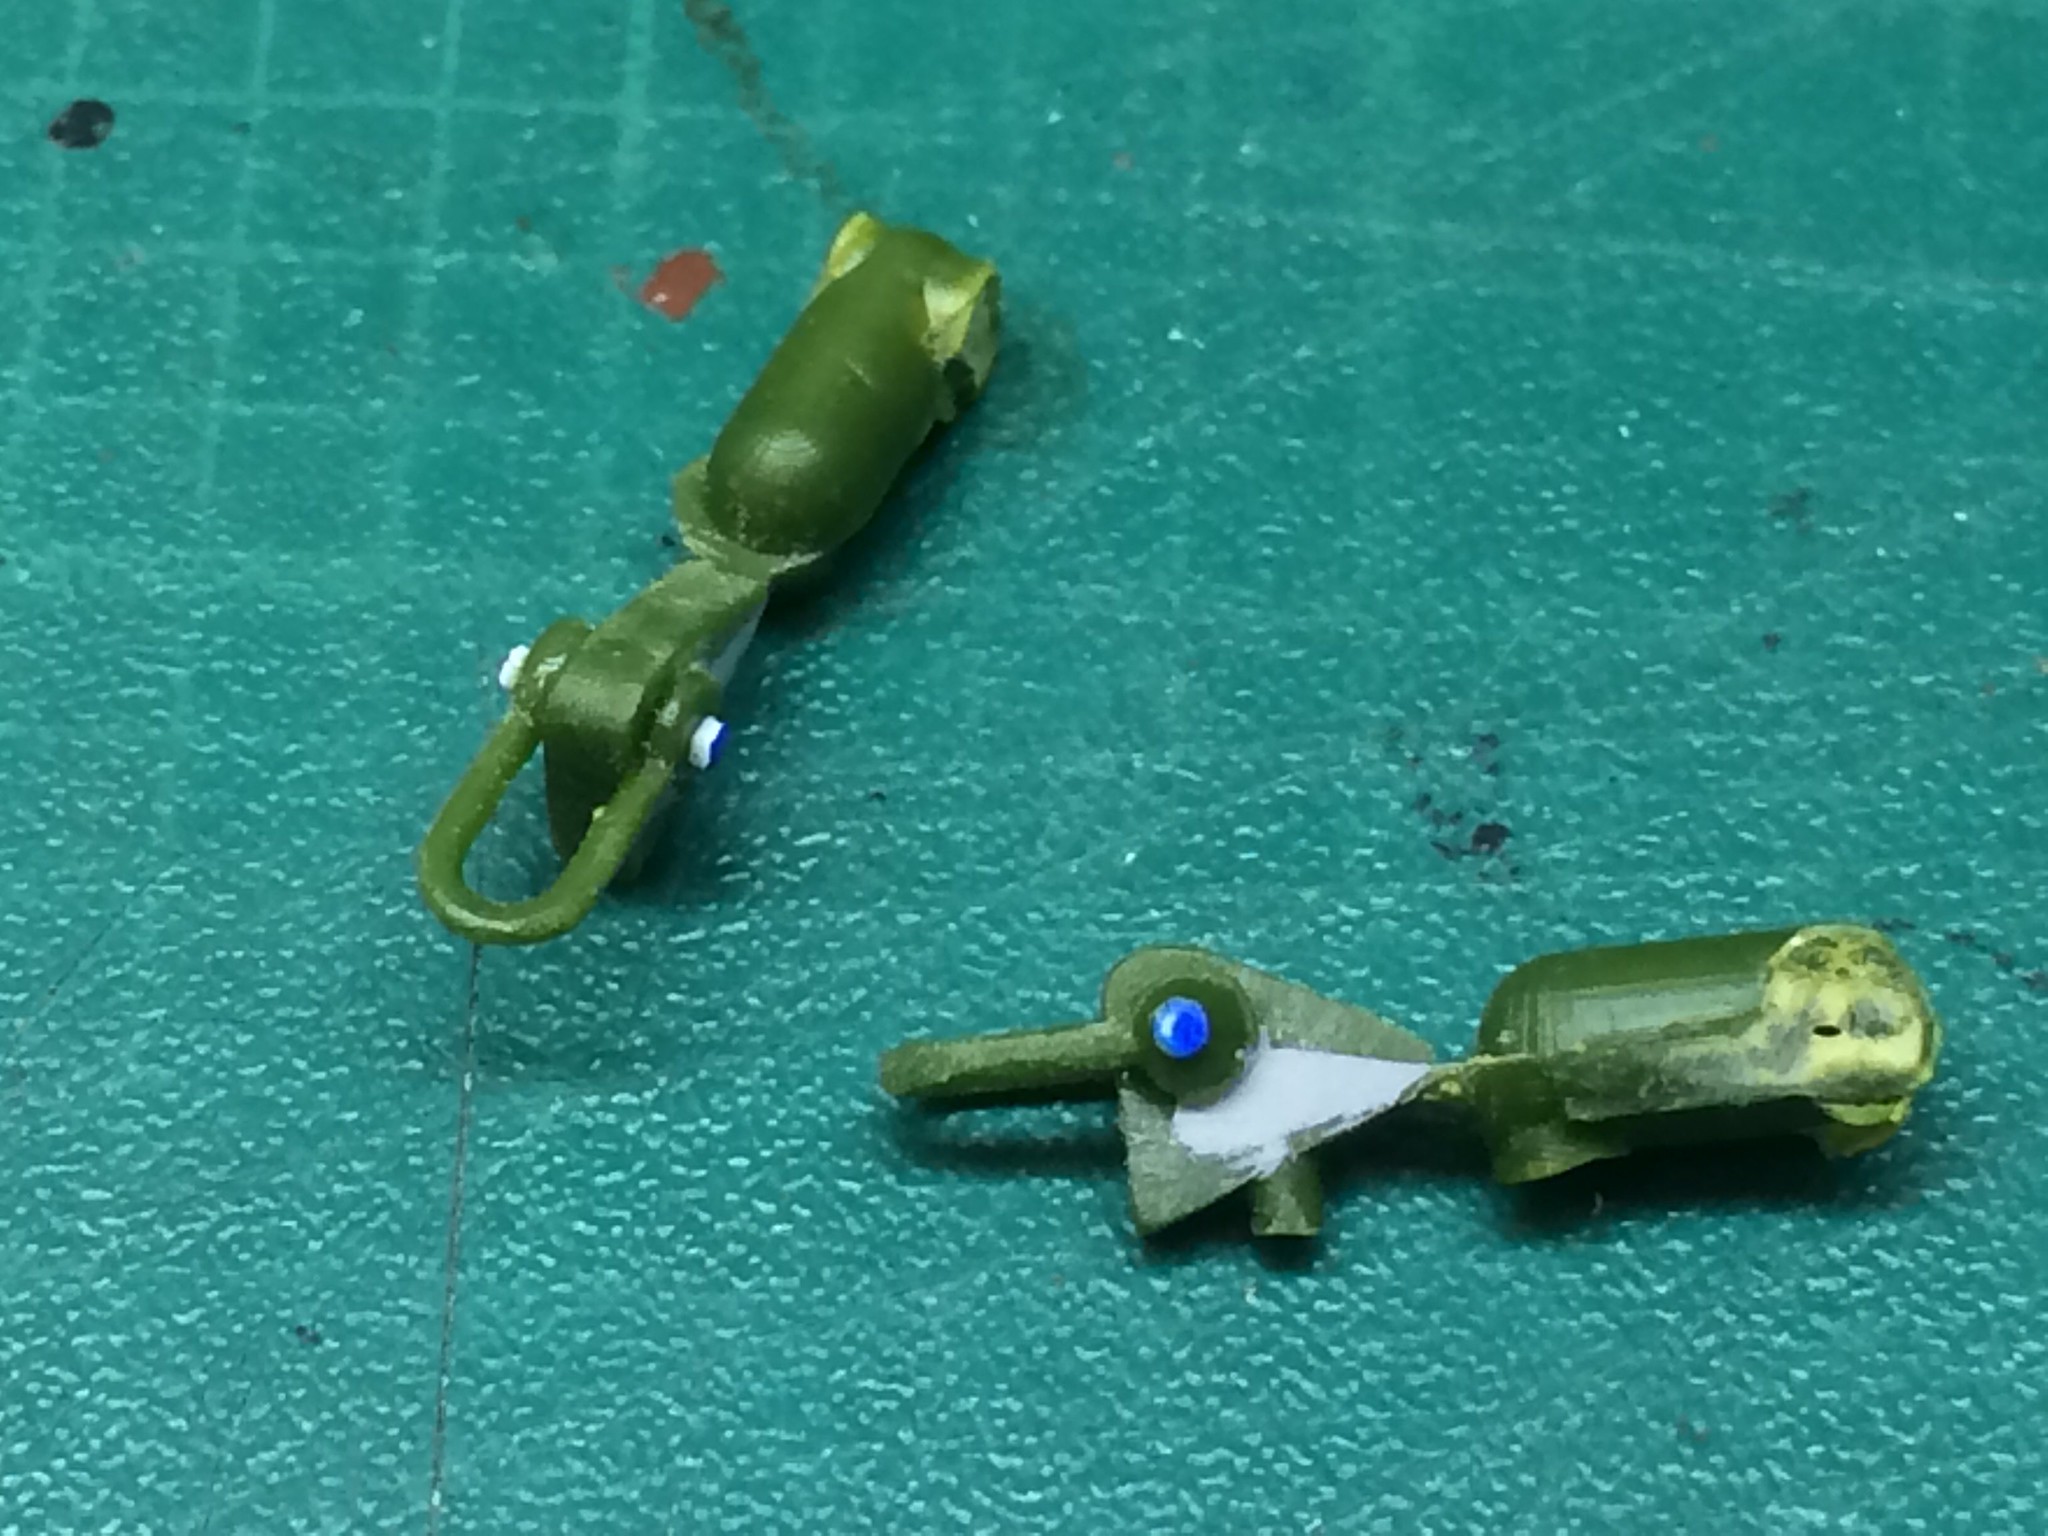 [/url]APC-59 by N.T. Izumi, on Flickr
The front tow shackle mounts has bad mold slip lines and sink marks, so Mr. Surfacer 500 was carefully brushed in to fill all the nasty stuff. The blob-like bolts were cut off and new ones were punched from 0.015 sheet plastic. 'Kay, that’s good enough.
https://flic.kr/p/DhVJBk]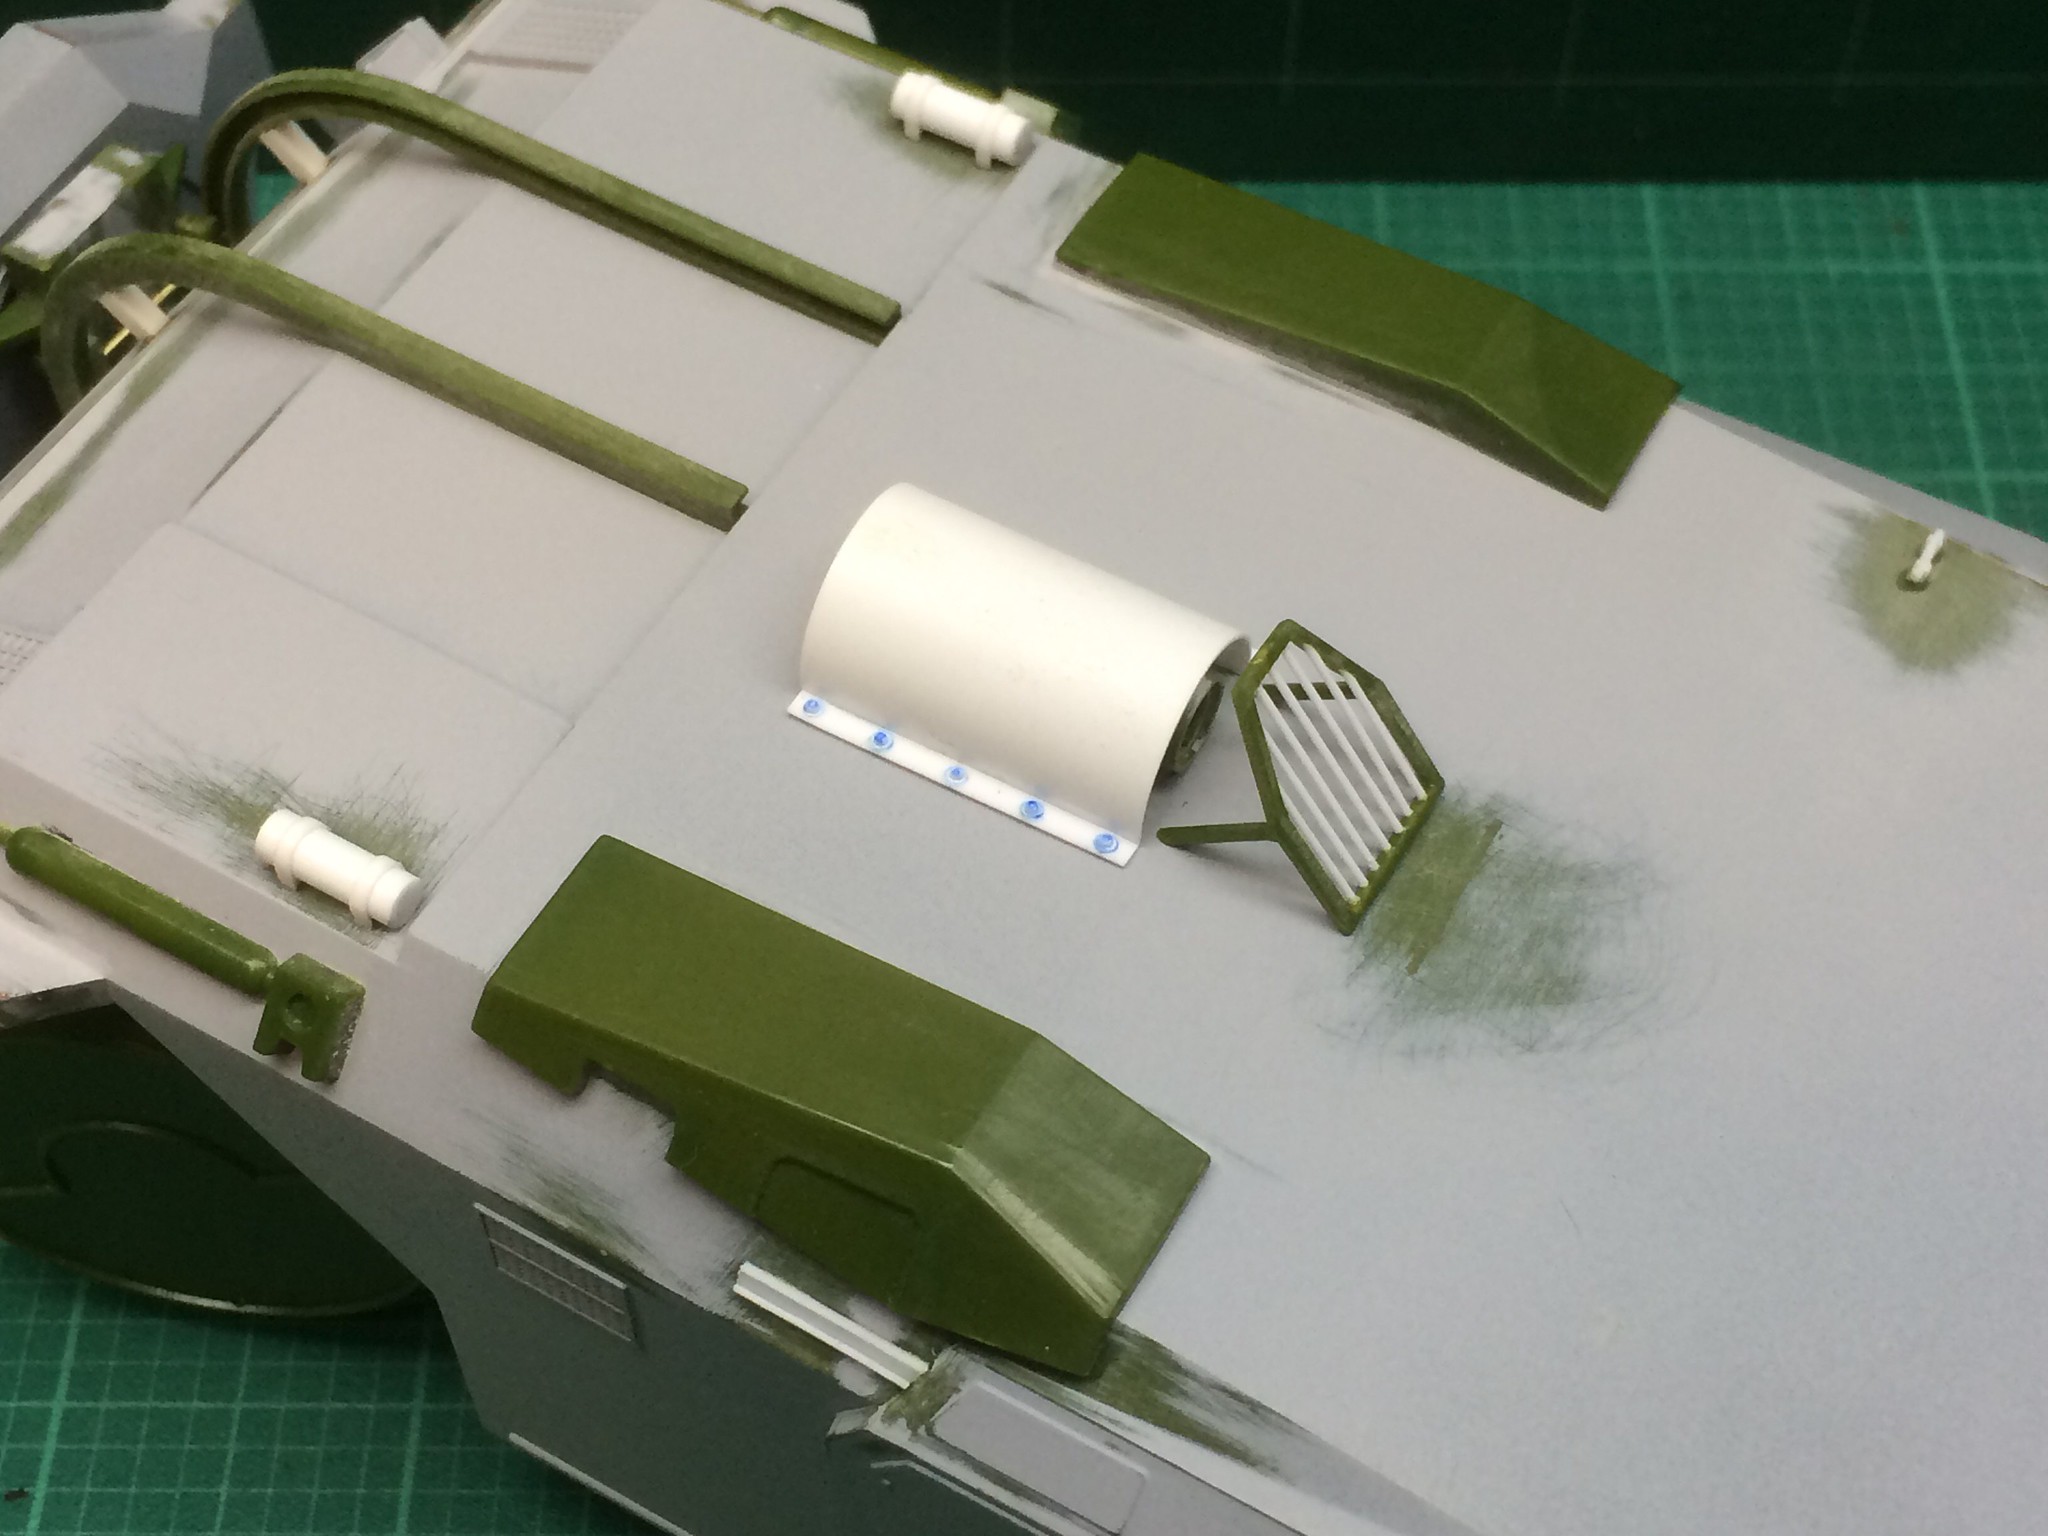 [/url]APC-60 by N.T. Izumi, on Flickr
The rooftop spotlight shroud had a couple more bolts to busy things up.
https://flic.kr/p/CQP1f9]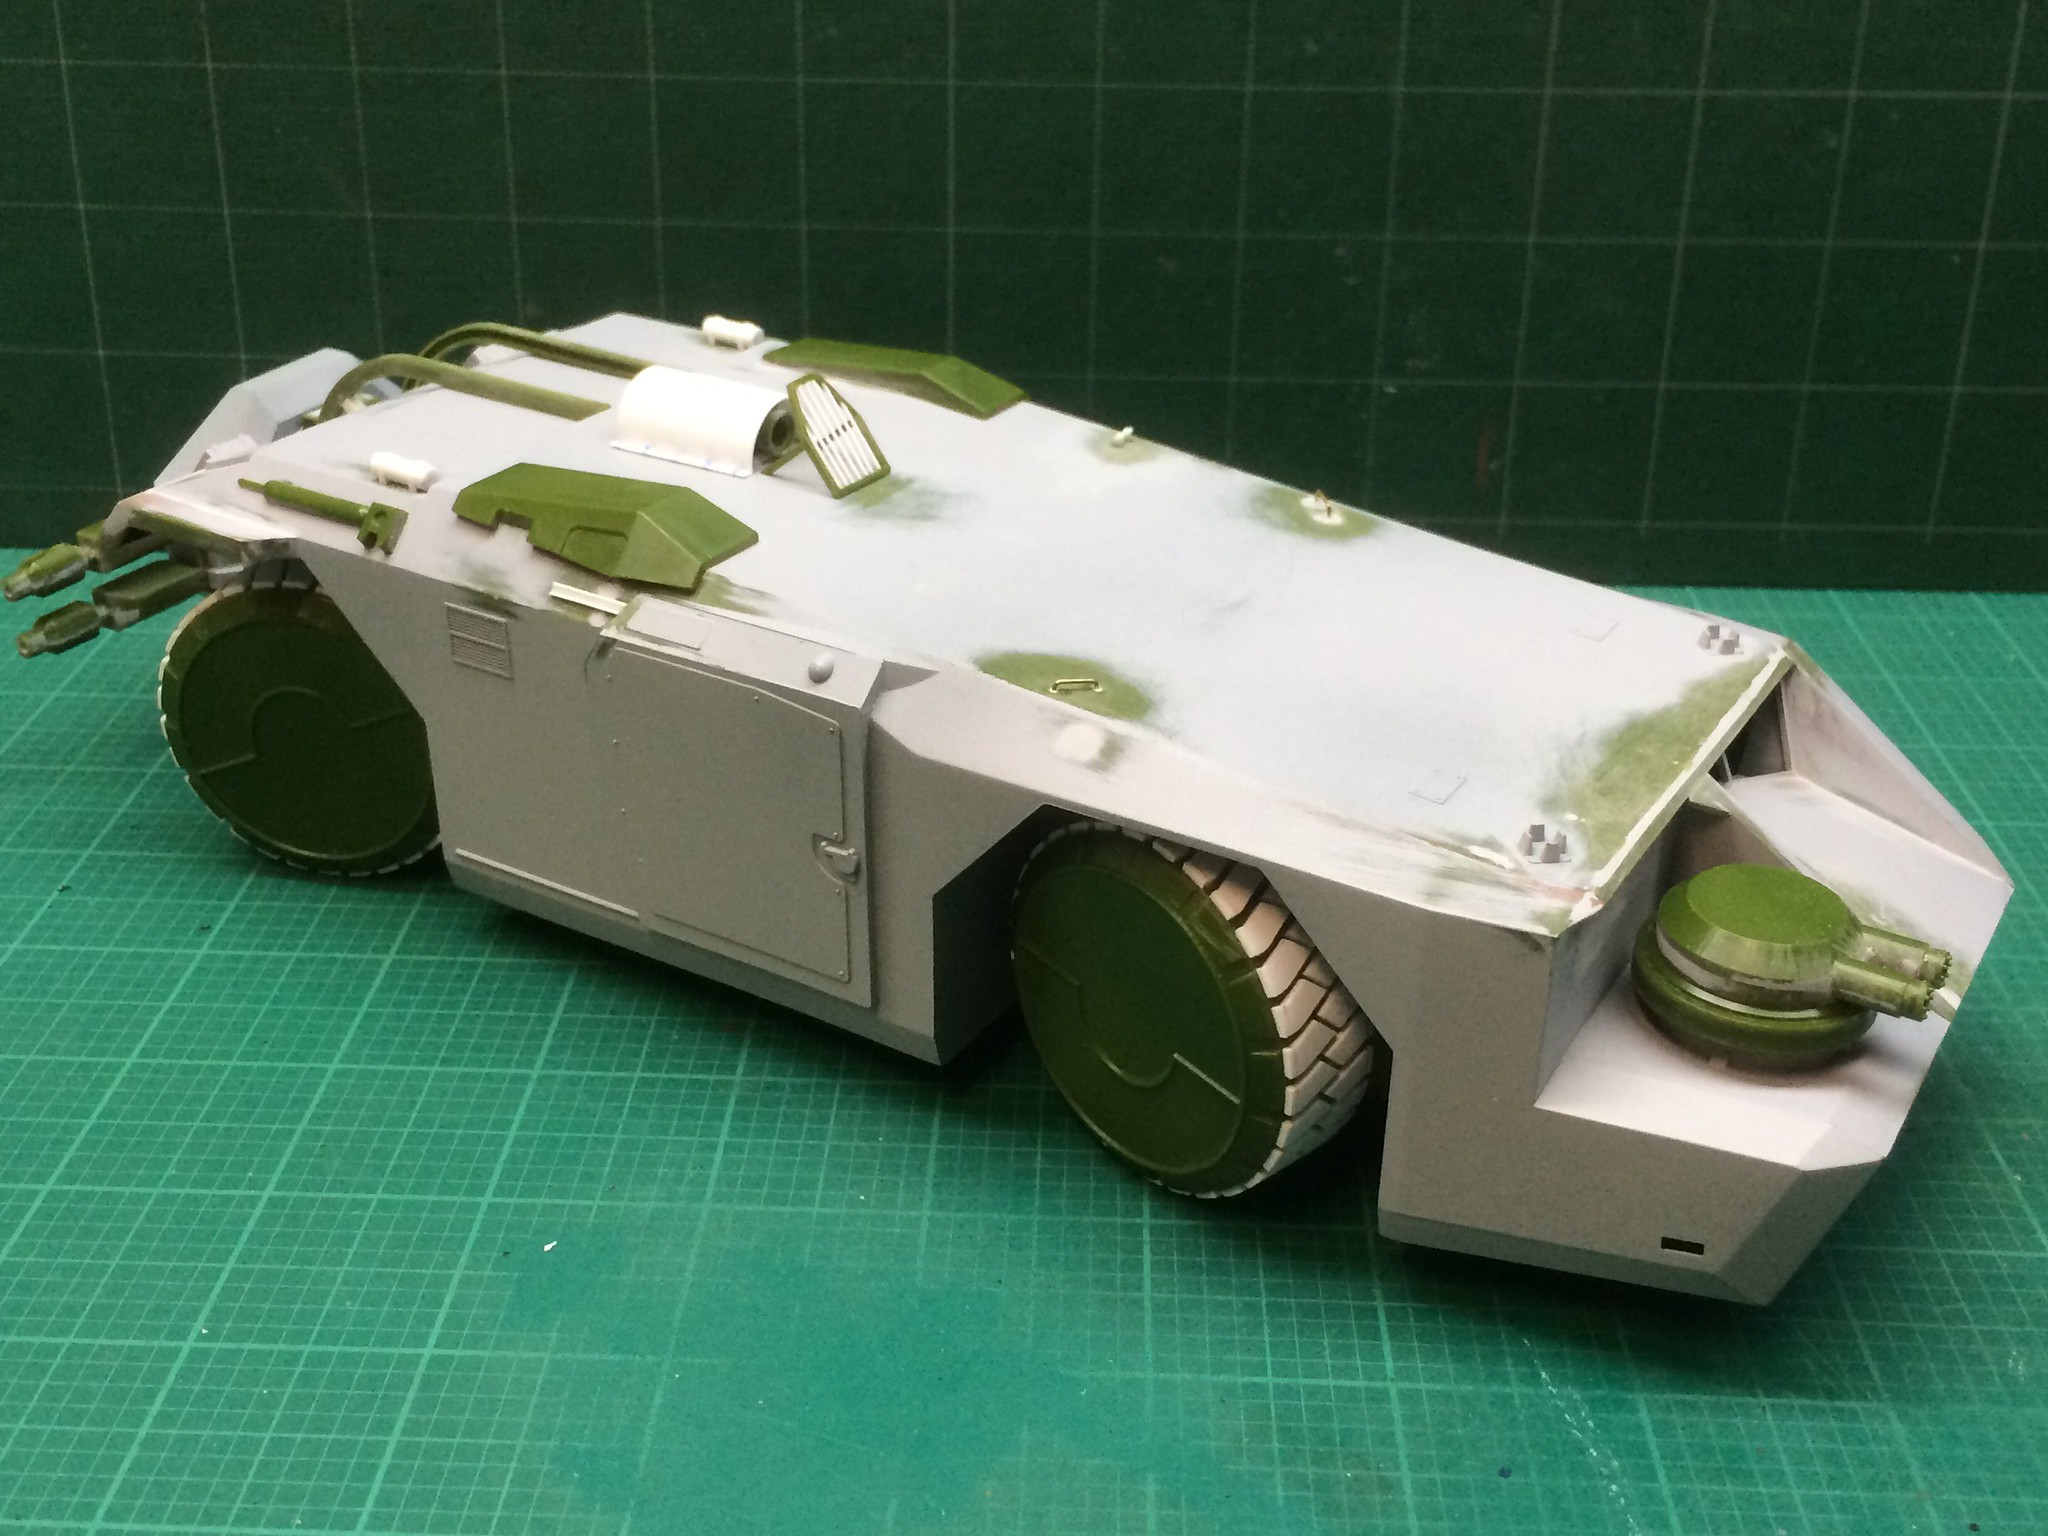 [/url]APC-61 by N.T. Izumi, on Flickr
A final look before a soap water scrub. Next stop: the paint shop! [:D]
Oh Boy! off to the car-er- APC wash 
Primer coat is on:
https://flic.kr/p/CW1YDj]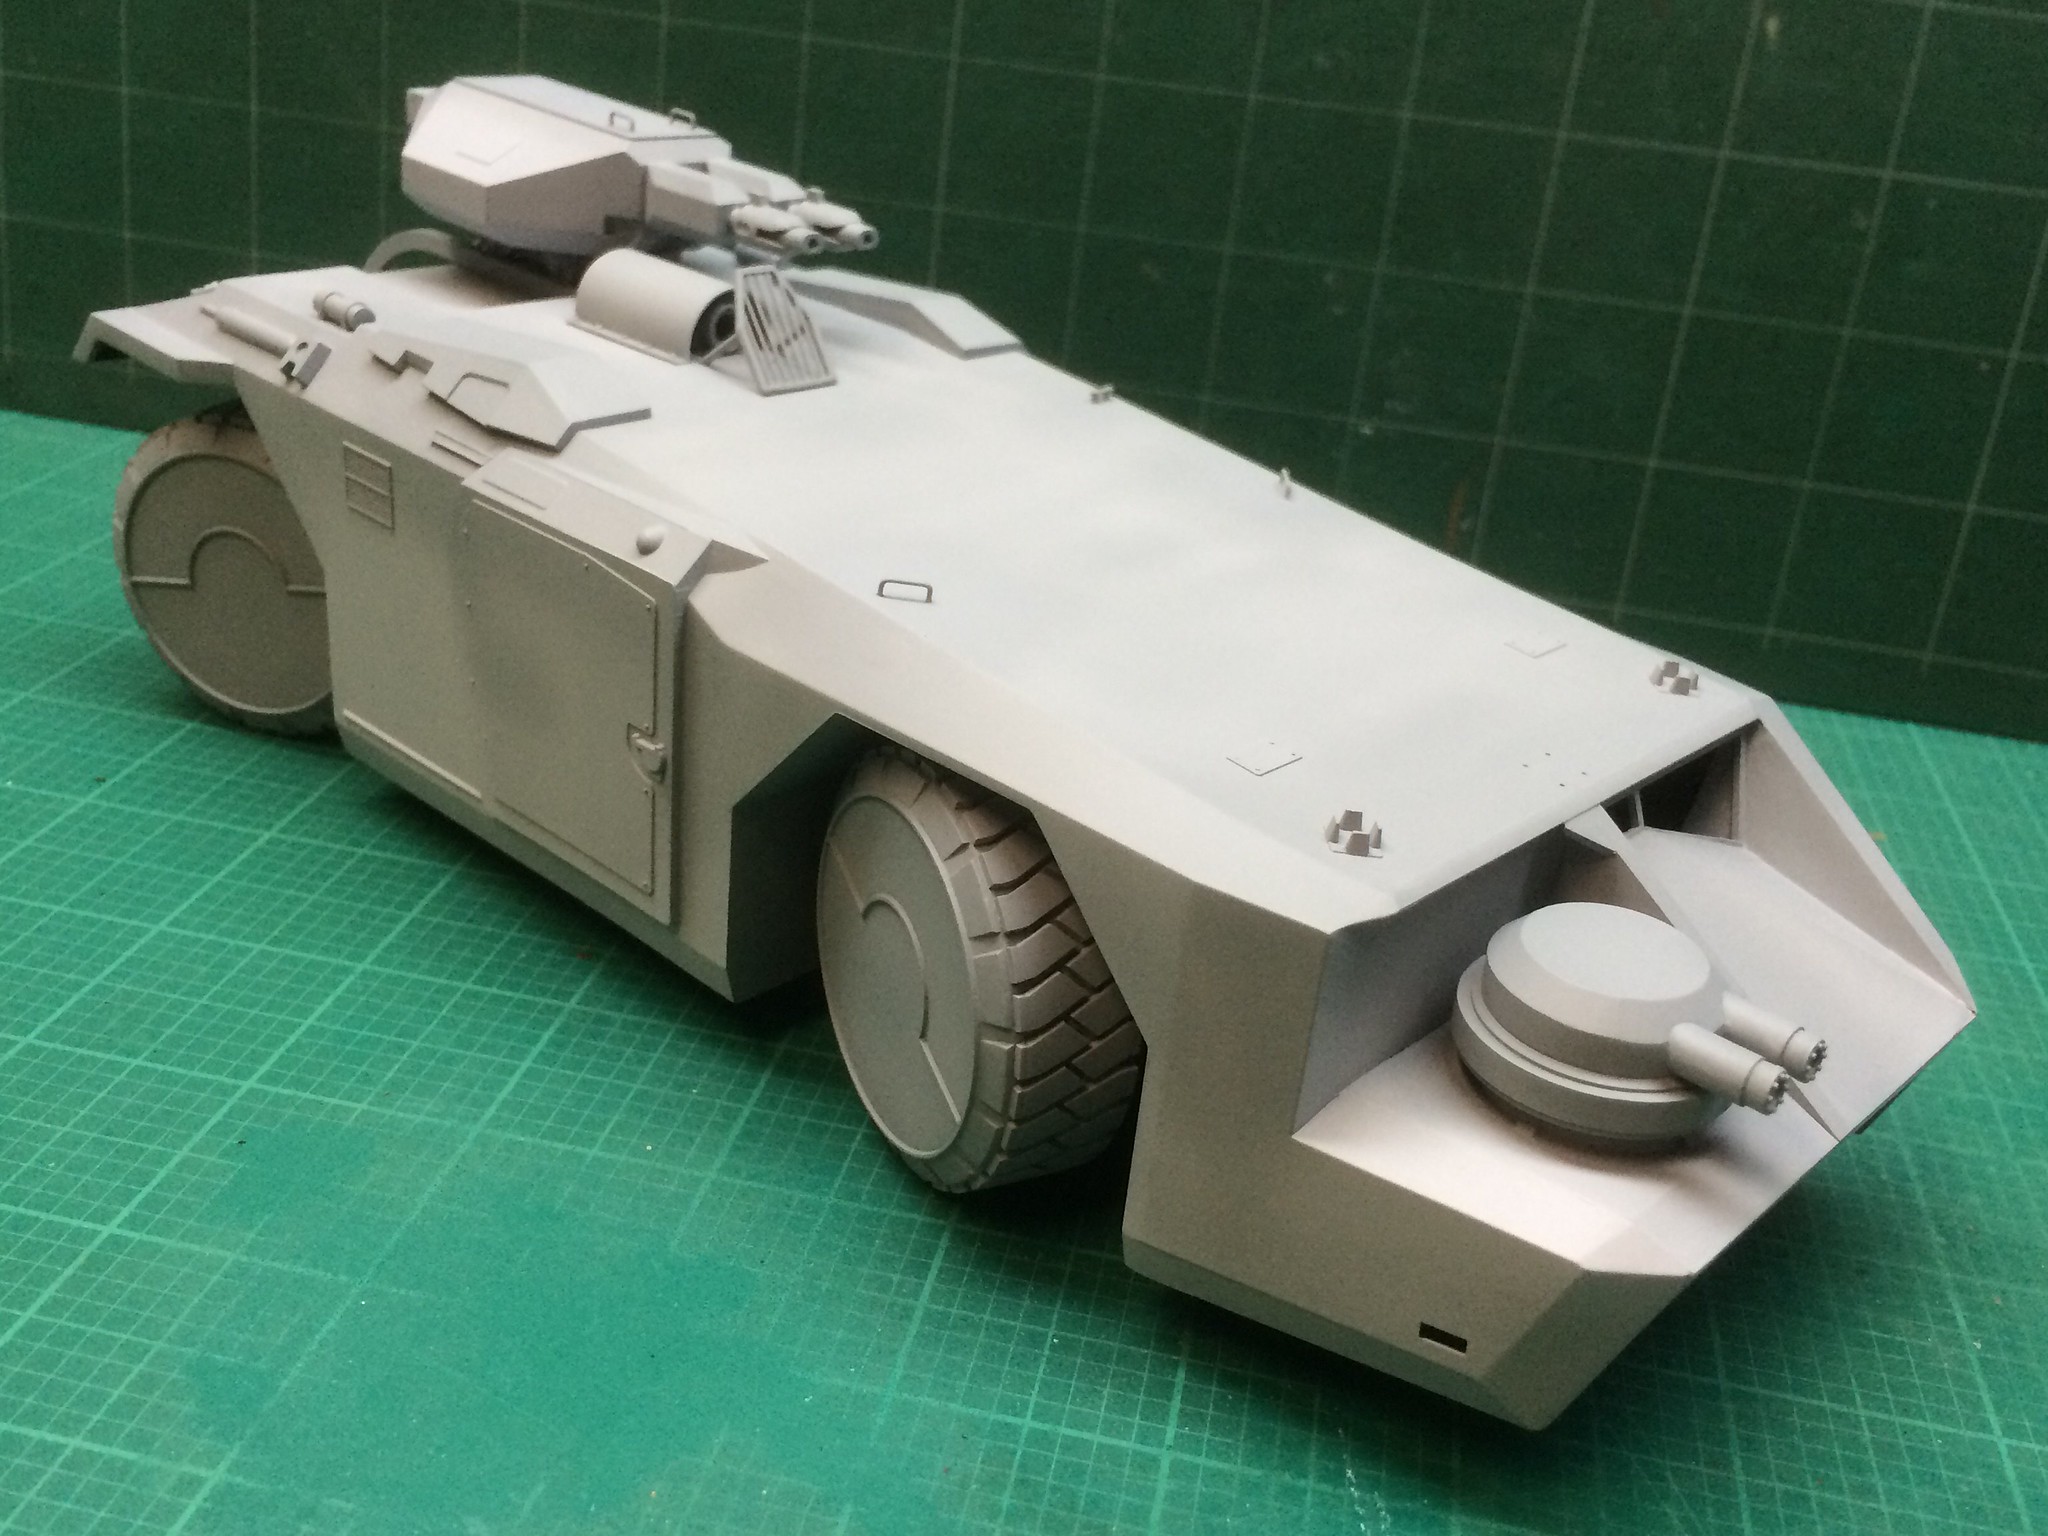 [/url]APC-63 by N.T. Izumi, on Flickr
https://flic.kr/p/CW2dK5]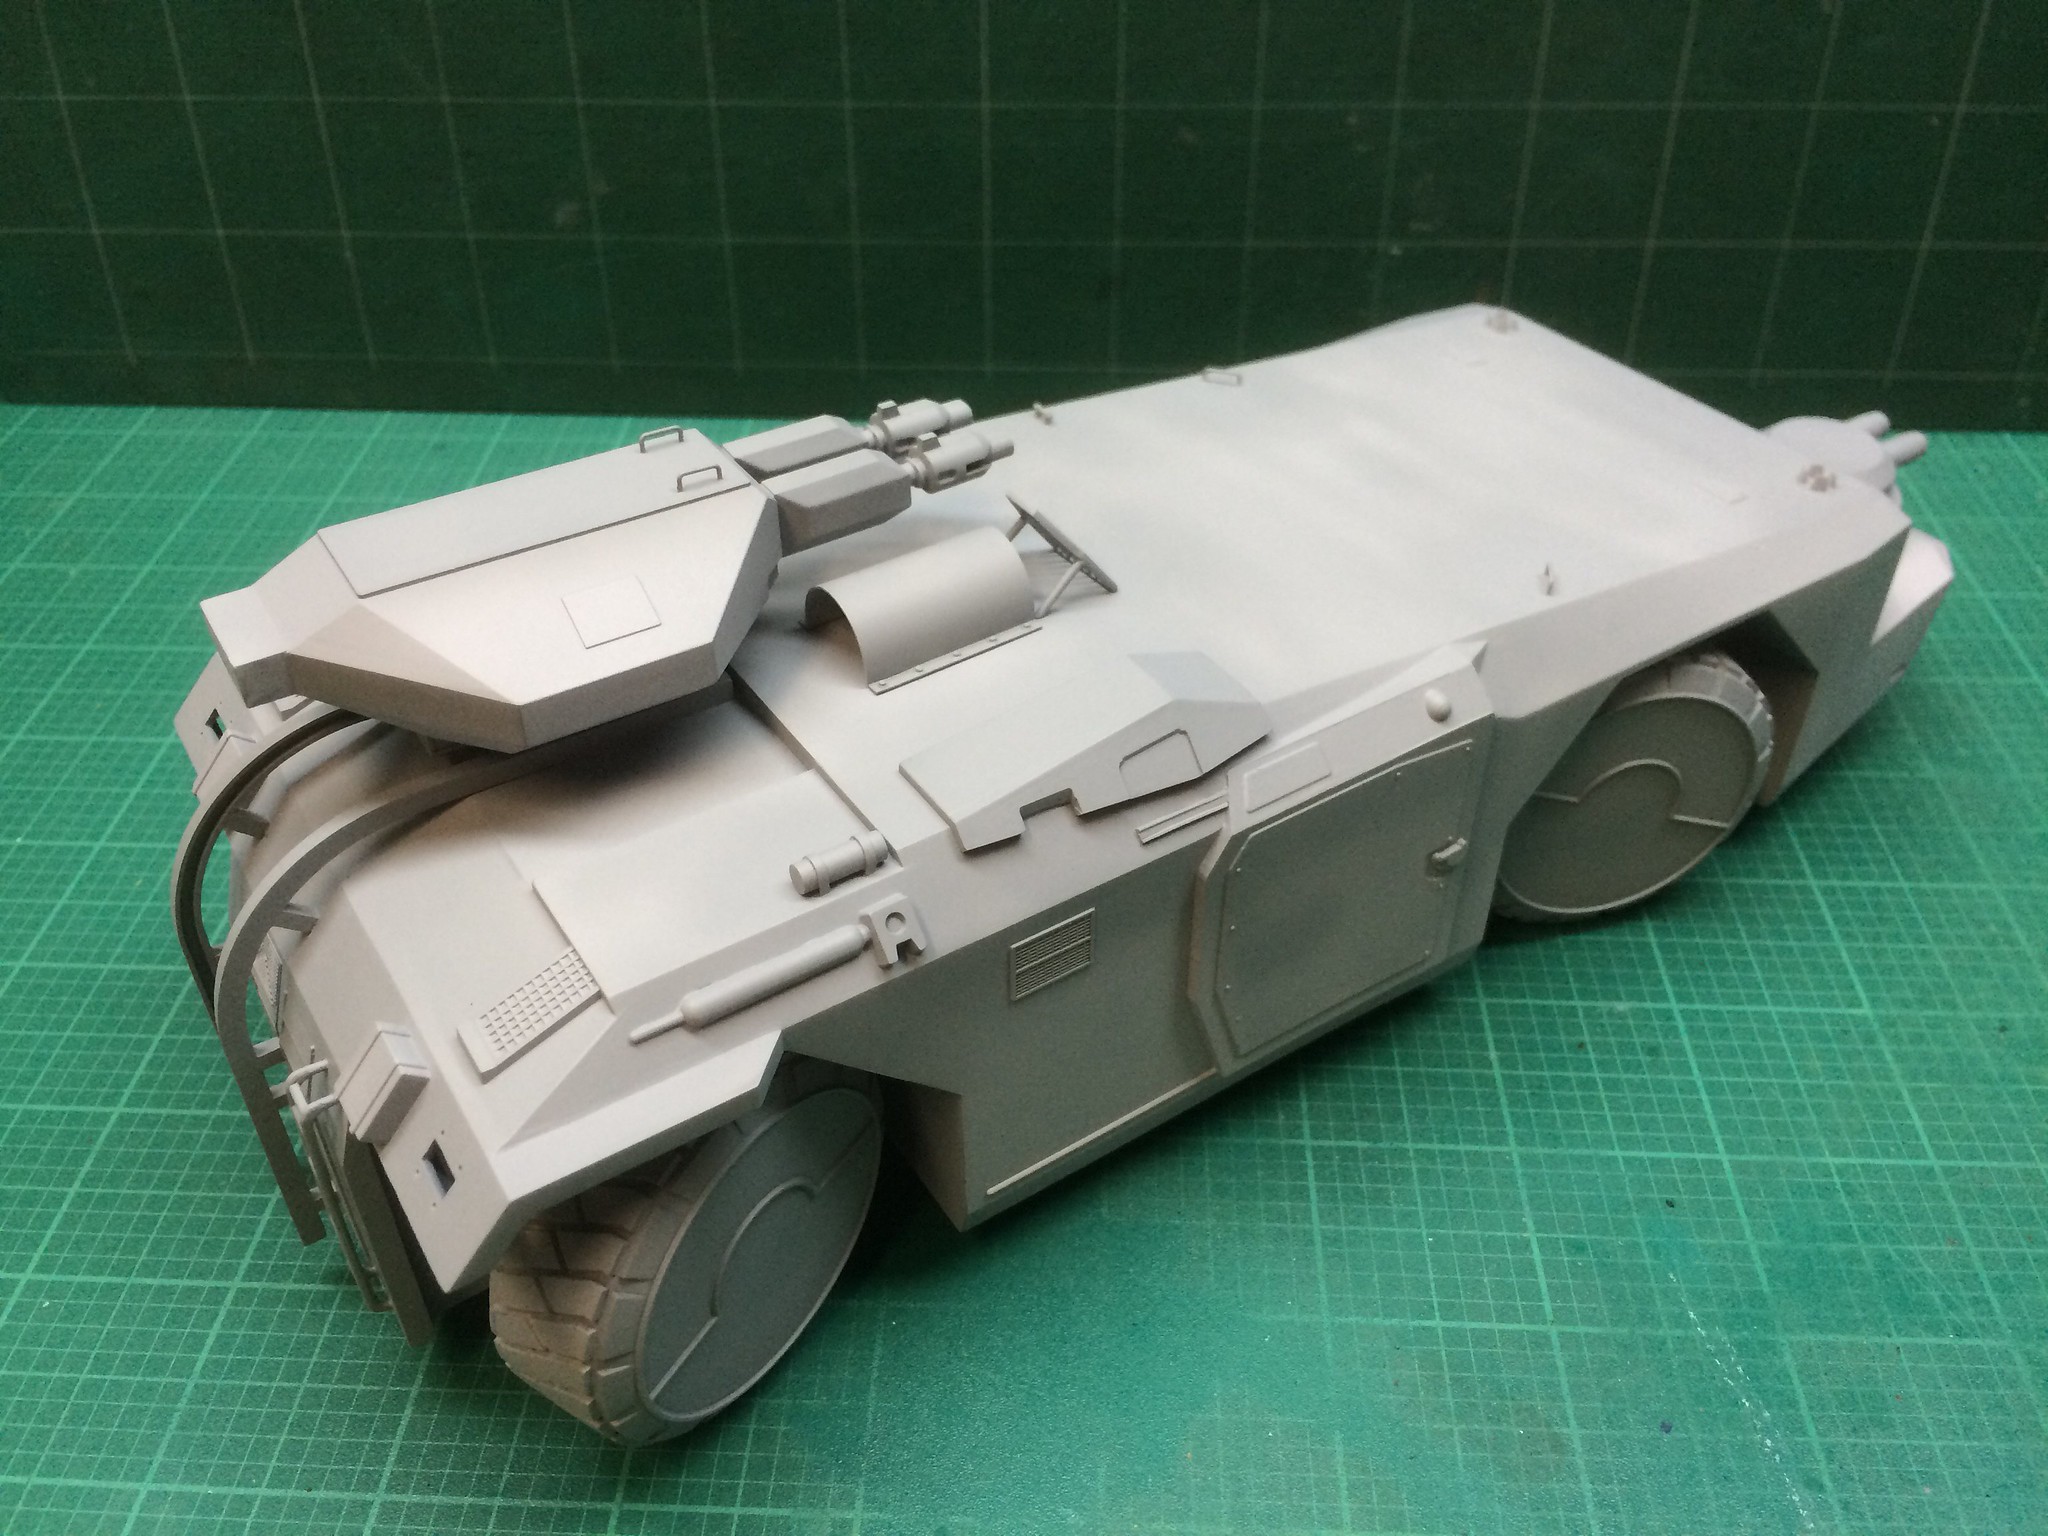 [/url]APC-64 by N.T. Izumi, on Flickr
https://flic.kr/p/DfS6Tz]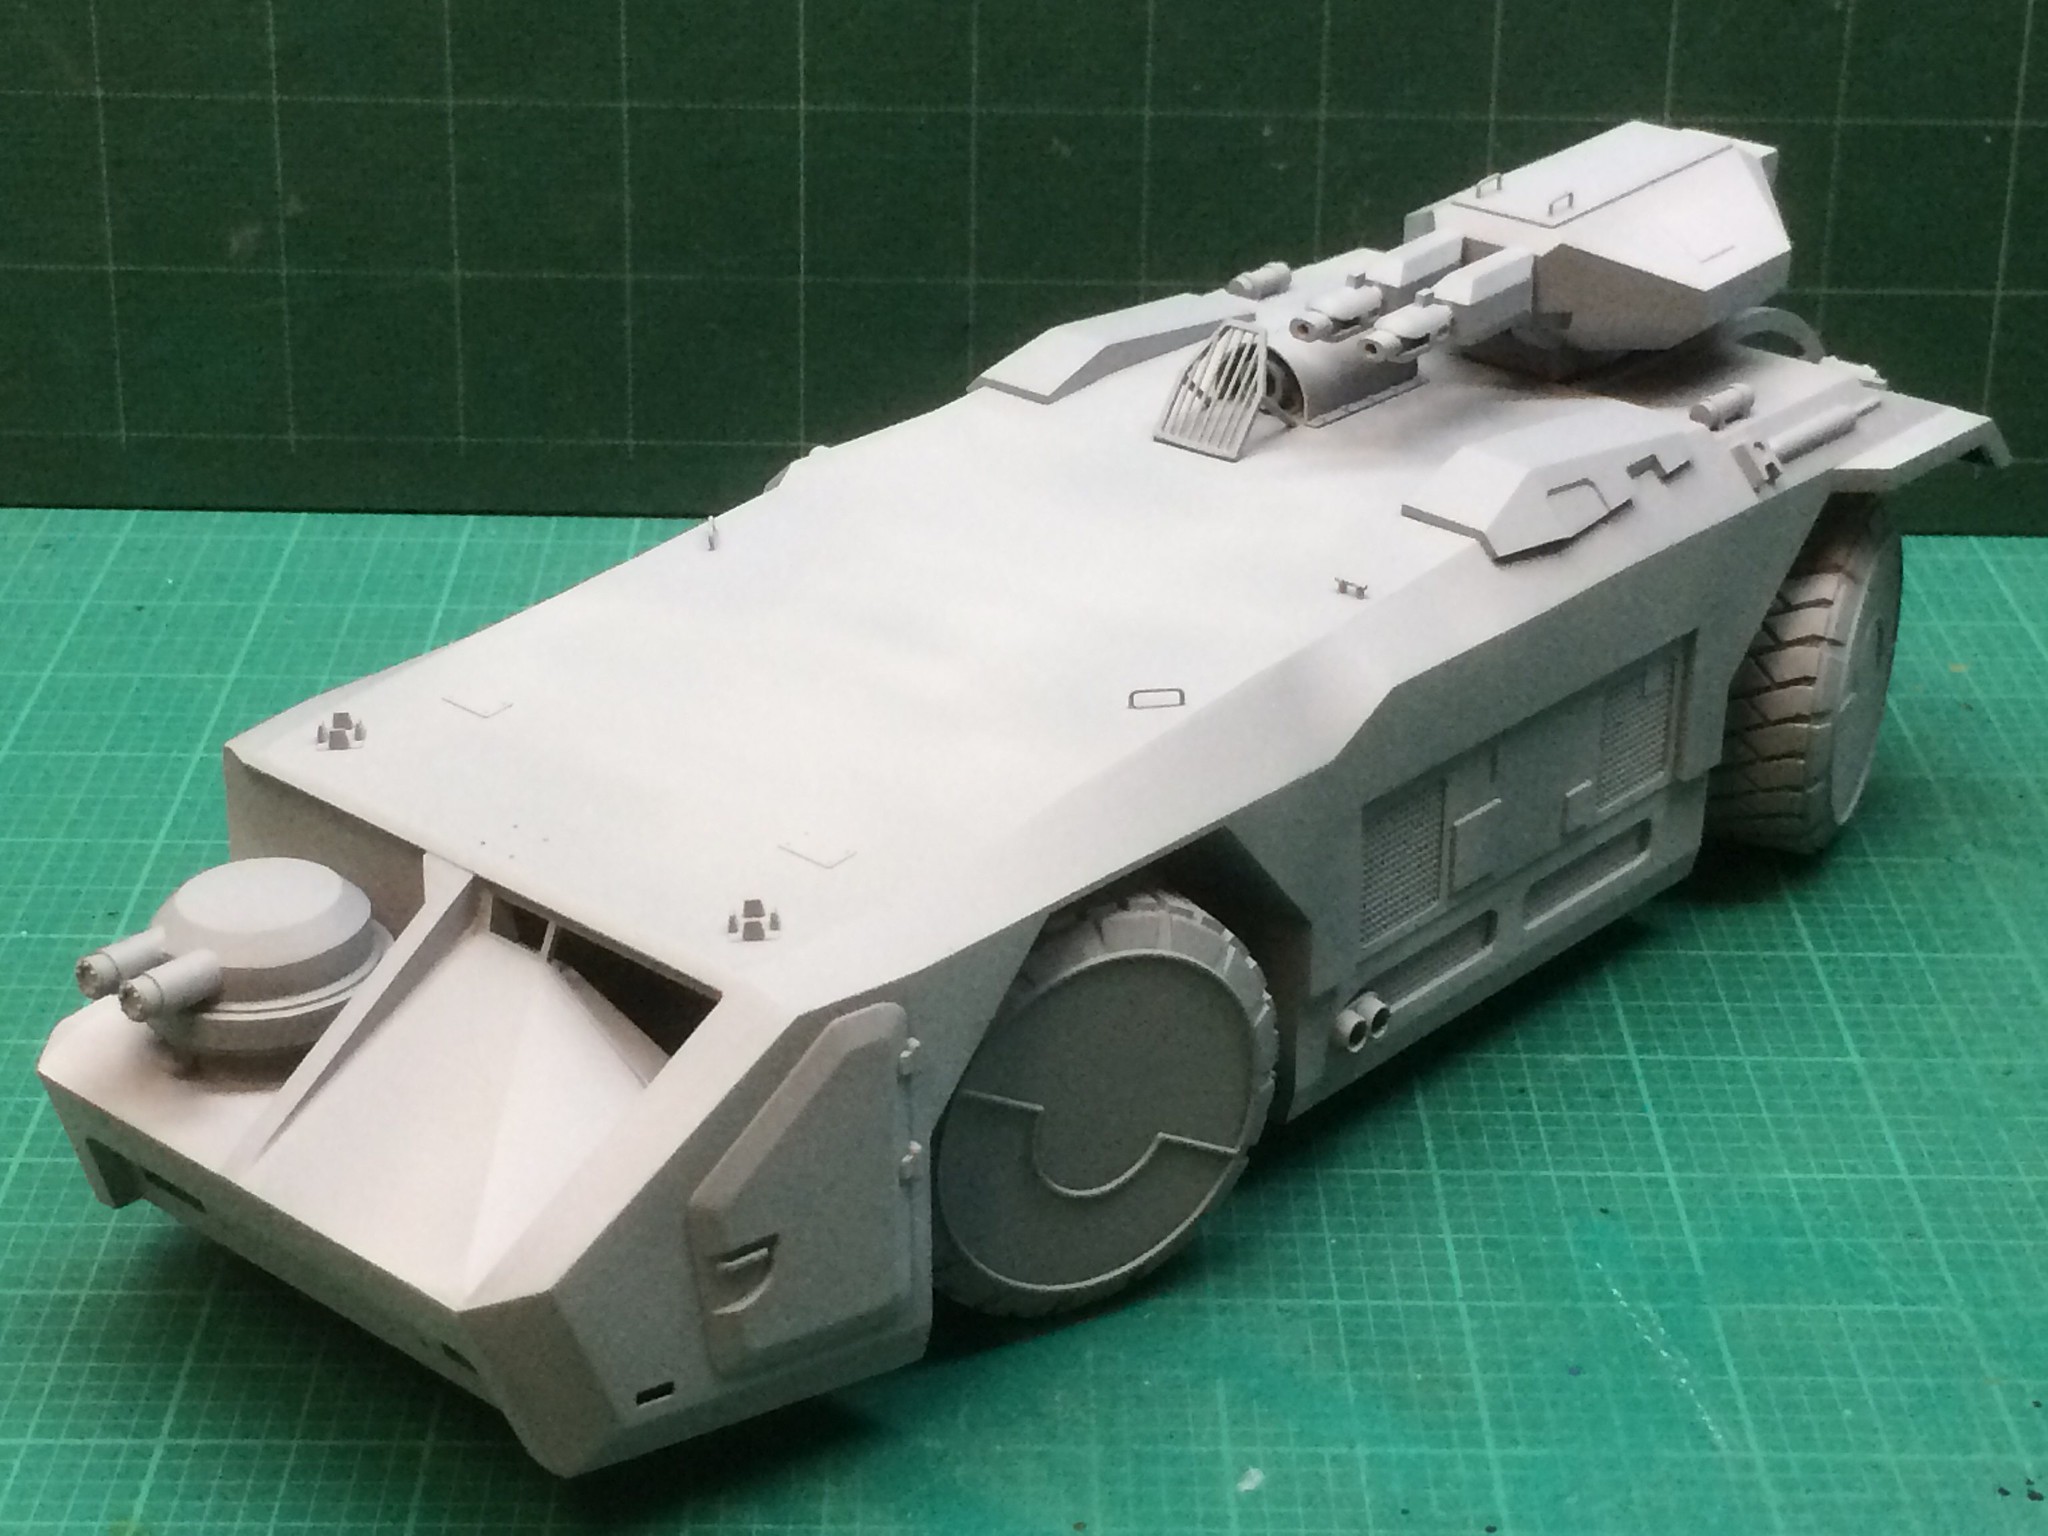 [/url]APC-65 by N.T. Izumi, on Flickr
https://flic.kr/p/Do9gU6]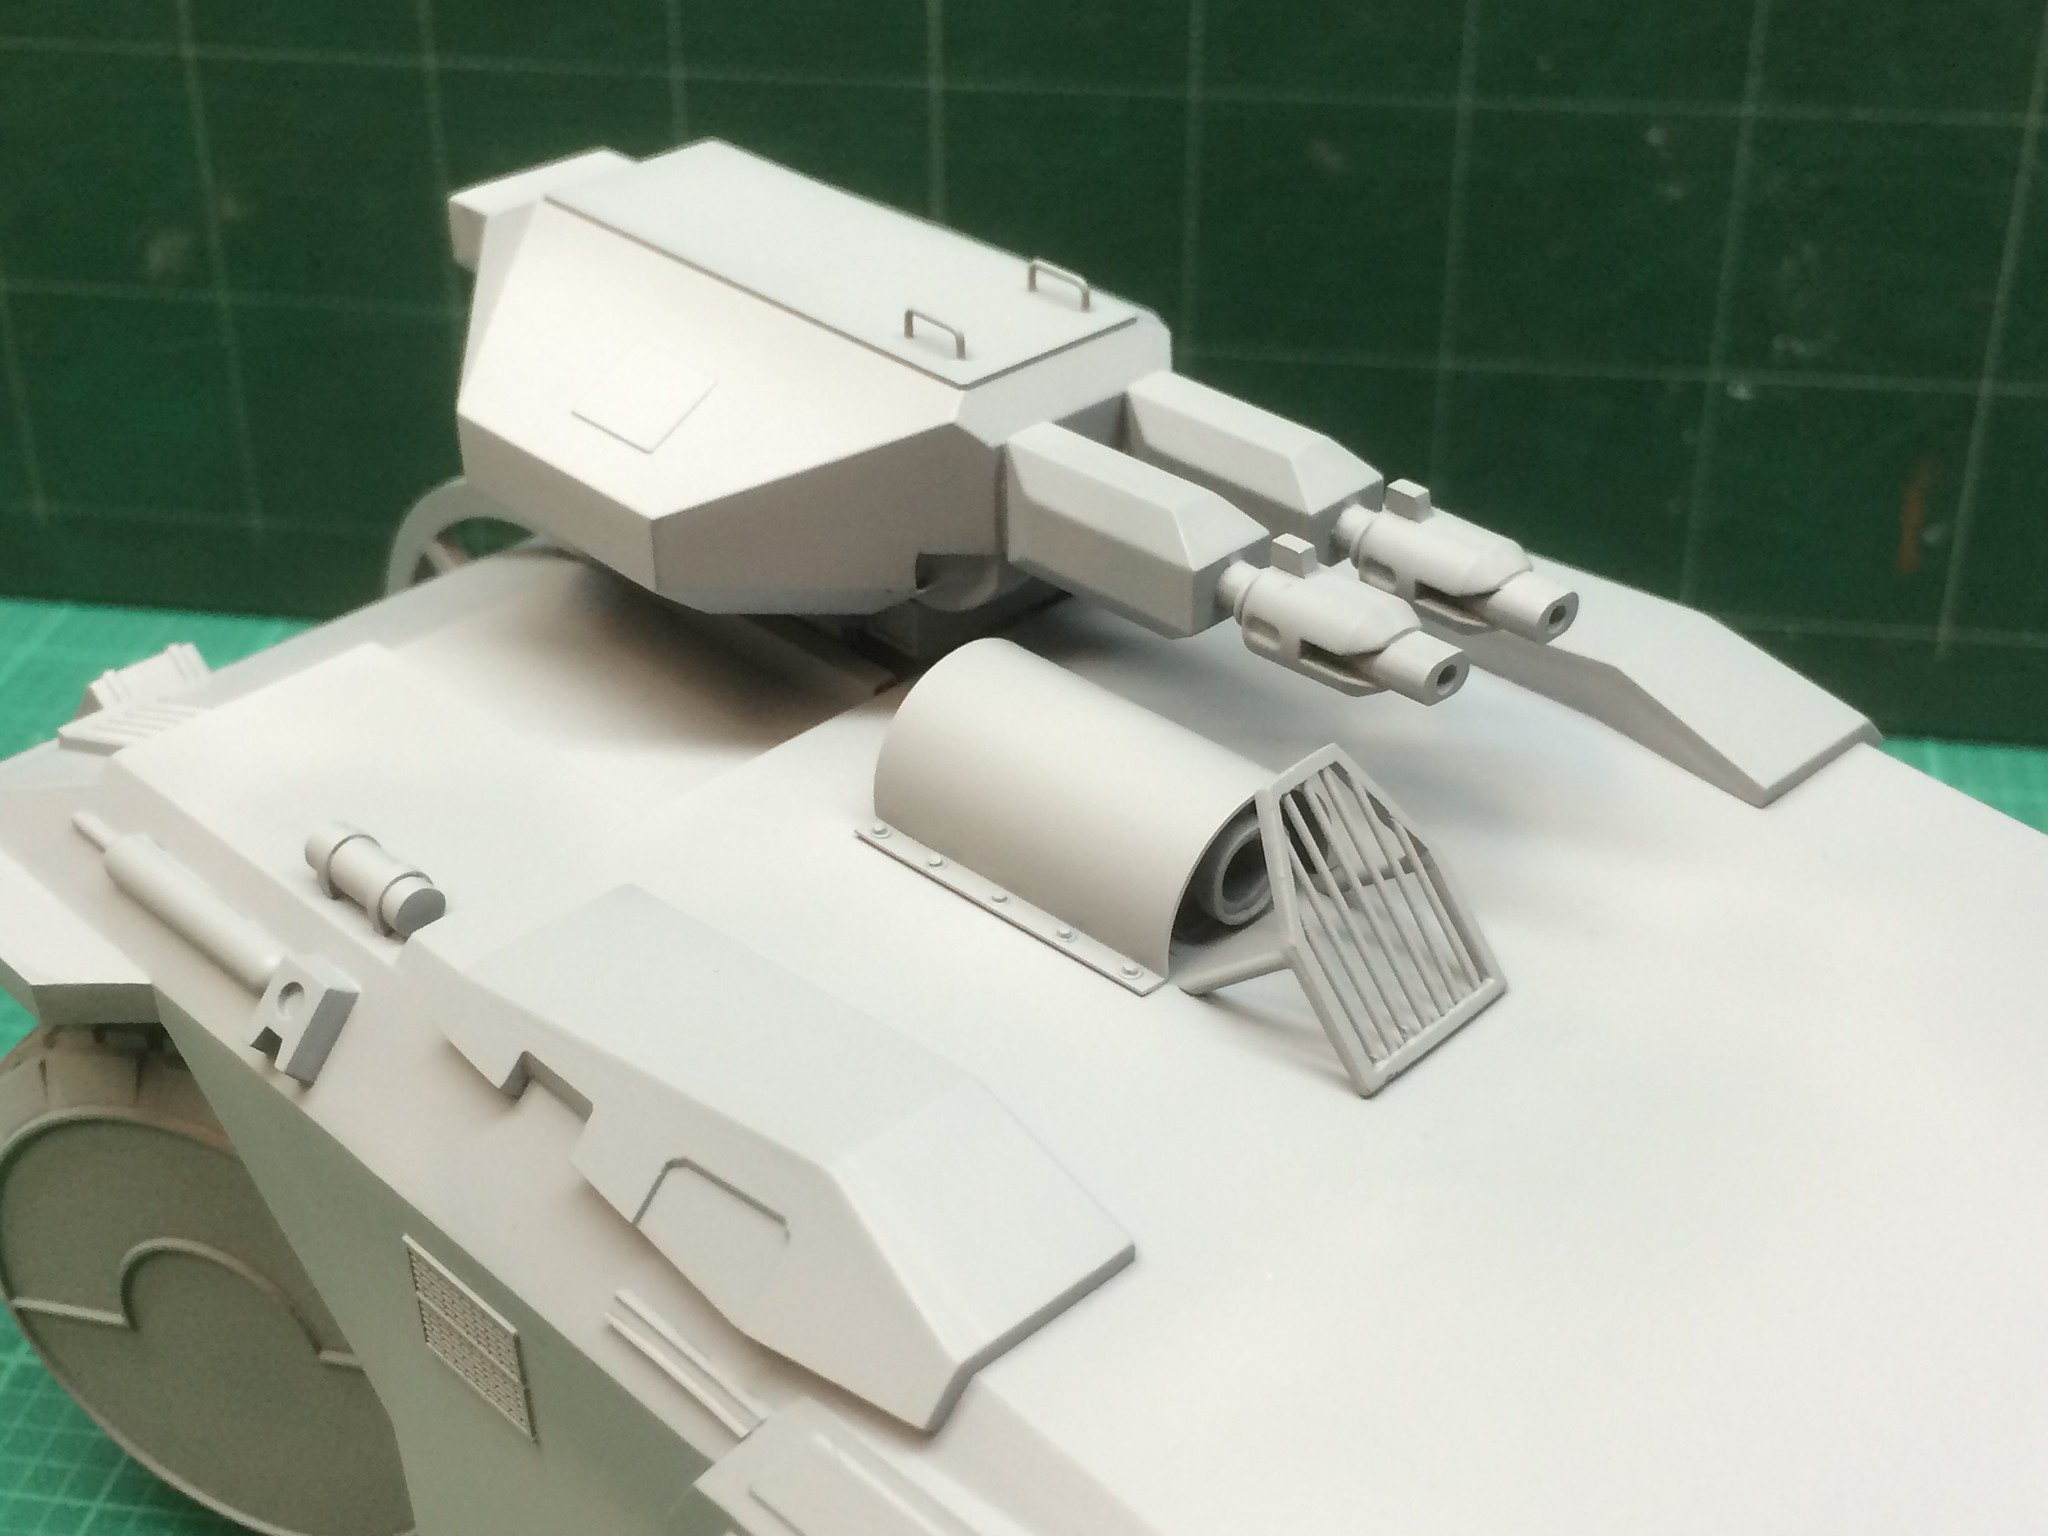 [/url]APC-66 by N.T. Izumi, on Flickr
https://flic.kr/p/Do9kPF]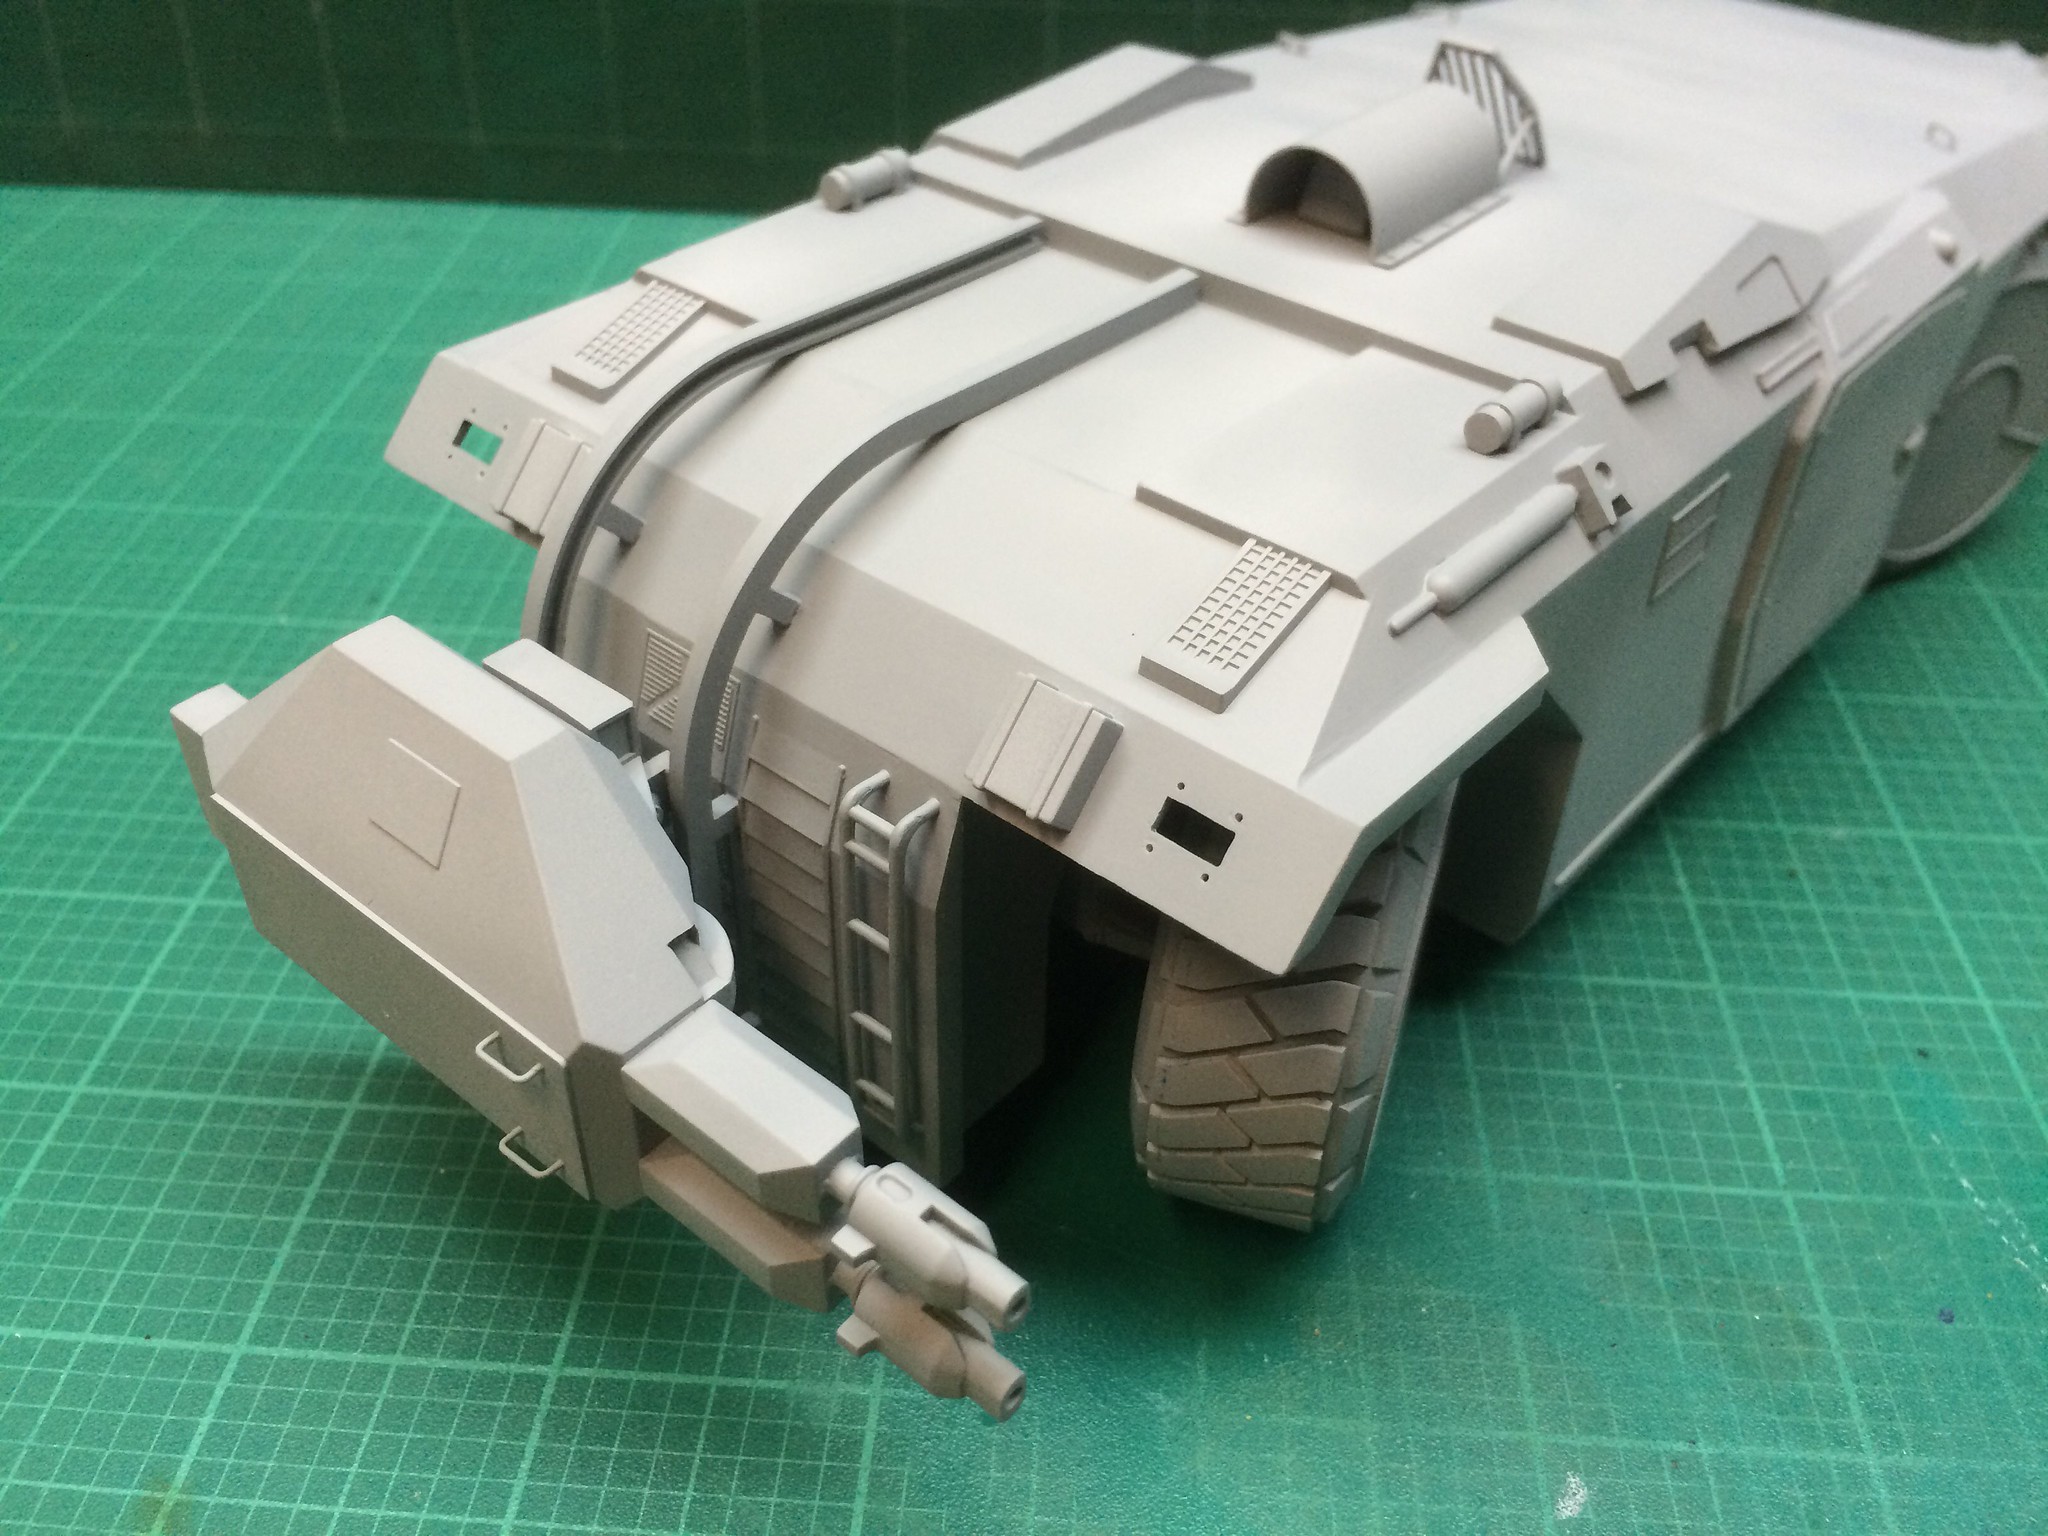 [/url]APC-67 by N.T. Izumi, on Flickr
https://flic.kr/p/Do9pde]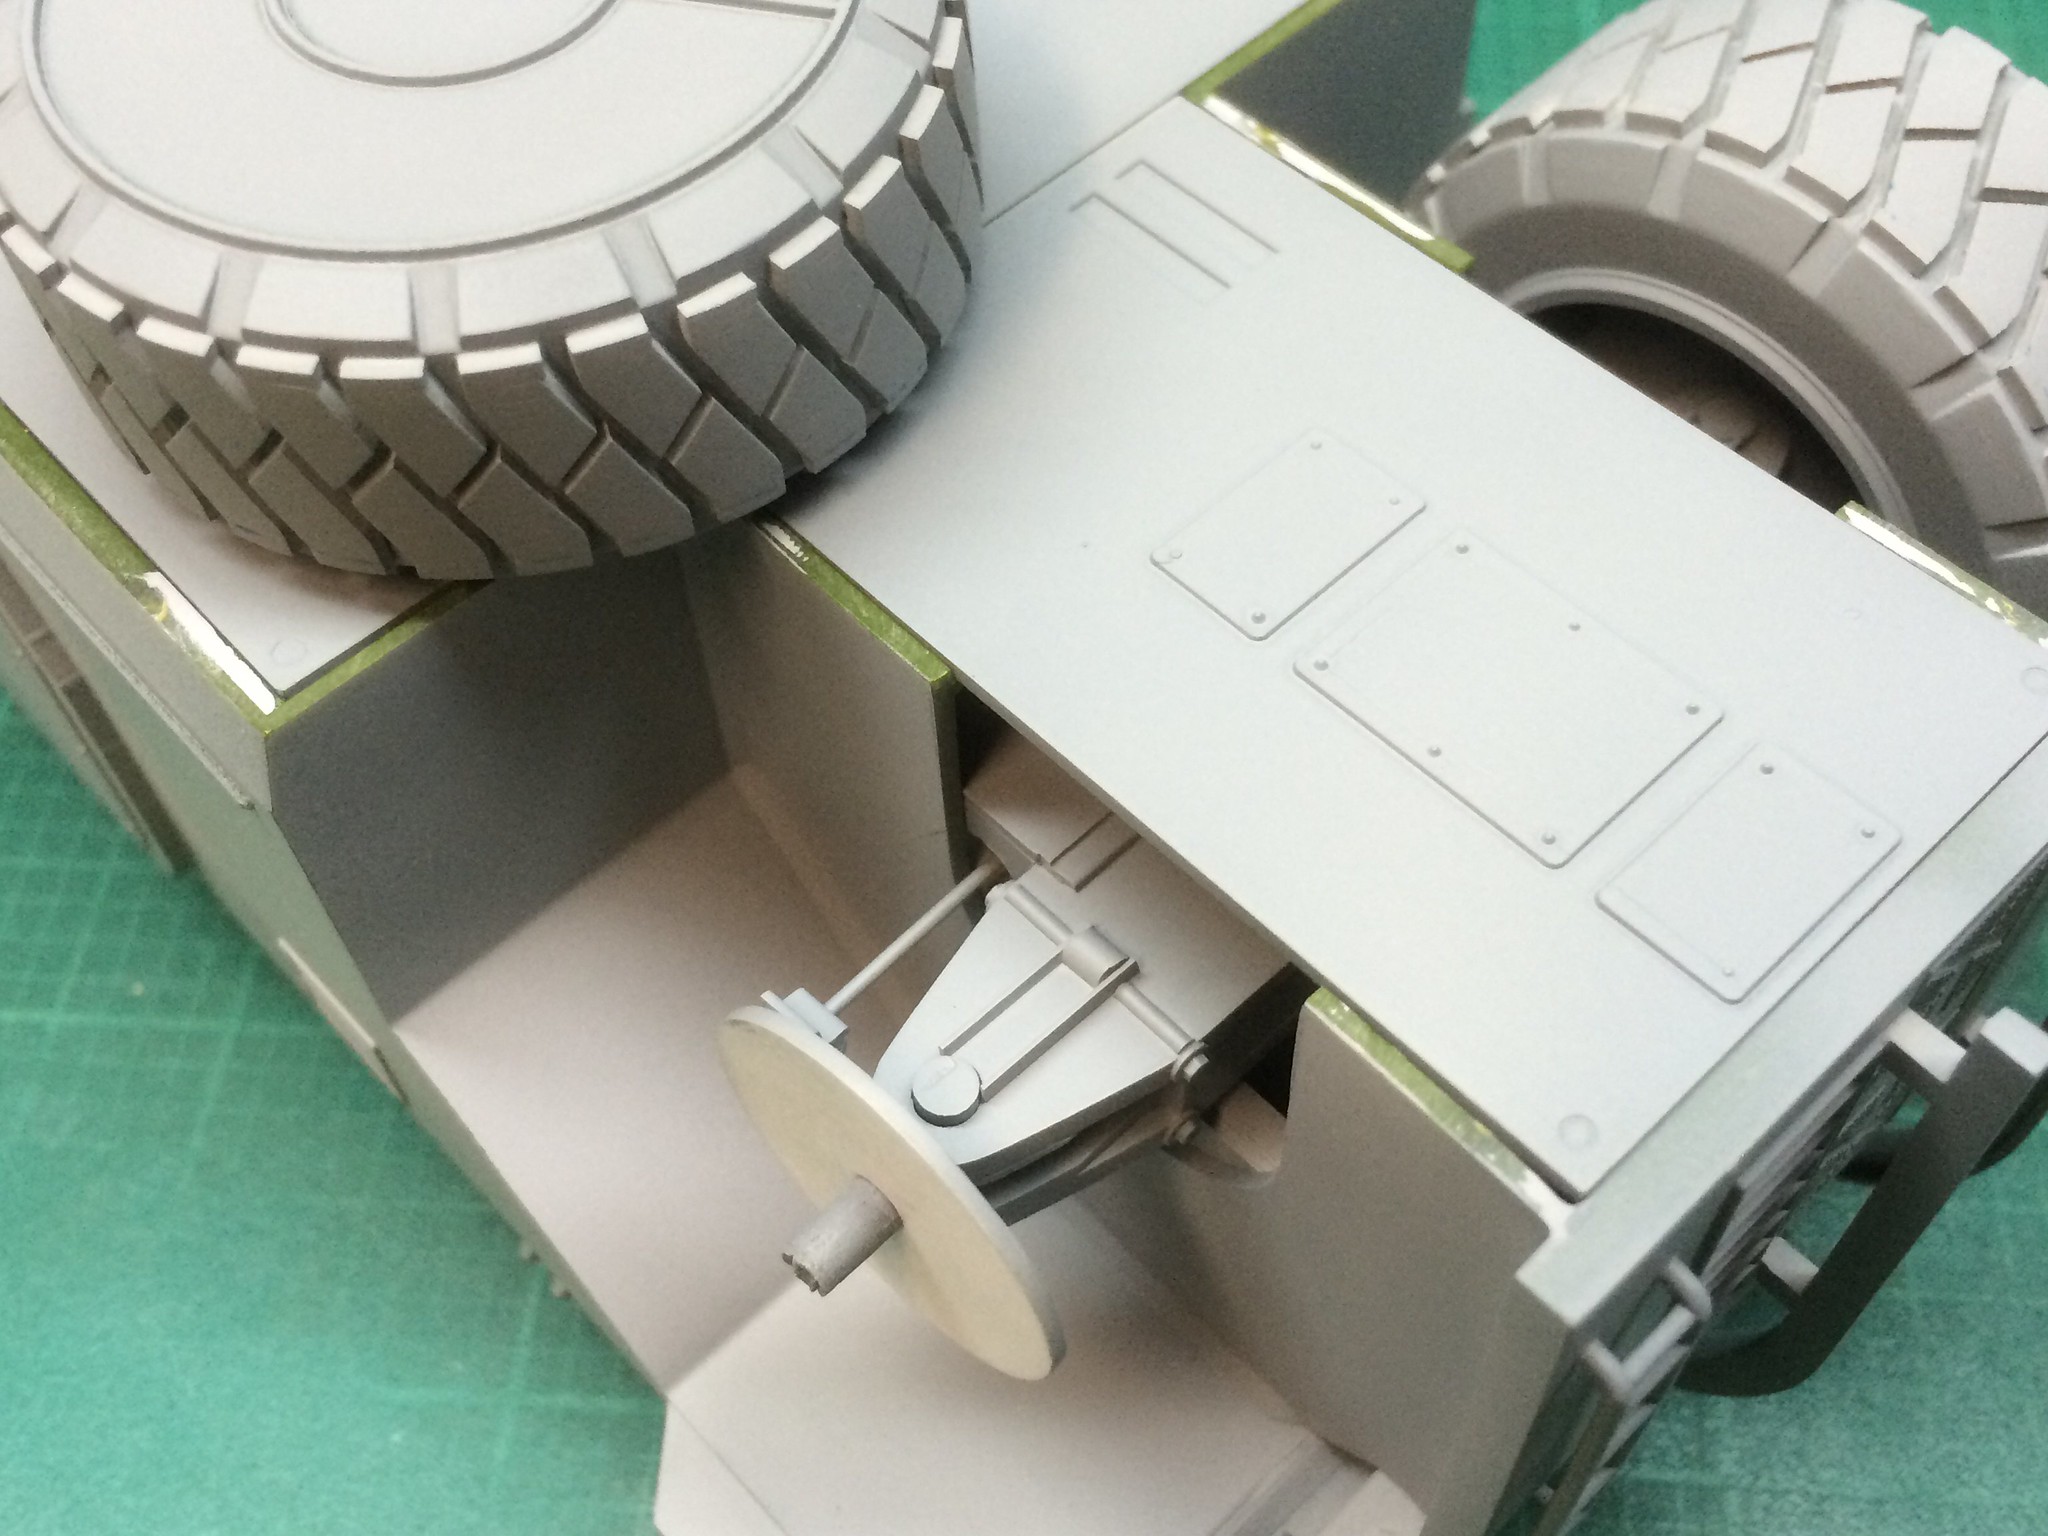 [/url]APC-67 by N.T. Izumi, on Flickr
Now to address the numerous little flaws with Mr. Surfacer and sandpaper. Hope to get color on the model by next week. (It’s kind of tough getting bench time for airbrushing, as I can only do it at night after work/chores are done.) Gotta keep the momentum up to get over the “project hump” to reach the finish line.