The cockpit is looking great!
Lot of fun following along. And for some reason after reading the thread I get the urge to find a snack. ![]()
1 Like
@Molly Great. That work is spectacular.
Love the cockpit detail. Great work on the seat belts.
Looking really good, Molly. I am particularly impressed with your wood-graining, but all of it is looking great. Well done!
Thank you, @fxsti03-42. I struggled with those and wasn’t completely happy with them.
More progress on the Albatross. I am trying to work up my courage to tackle the engine. I would like to add details suggested by a builder who shared a video on Scale-a-Ton (https://youtu.be/USpsdwtS_N0?feature=shared) and from tips on the fine site at https://www.ww1aircraftmodels.com/page20.html) but it is a little intimidating. Going slowly.
Checking the fit for engine mount sections

Adding a decal to the “optional” barograph

Barograph in place below empty cartridge containers

Rudder pedals with an added detail of foot “loops.
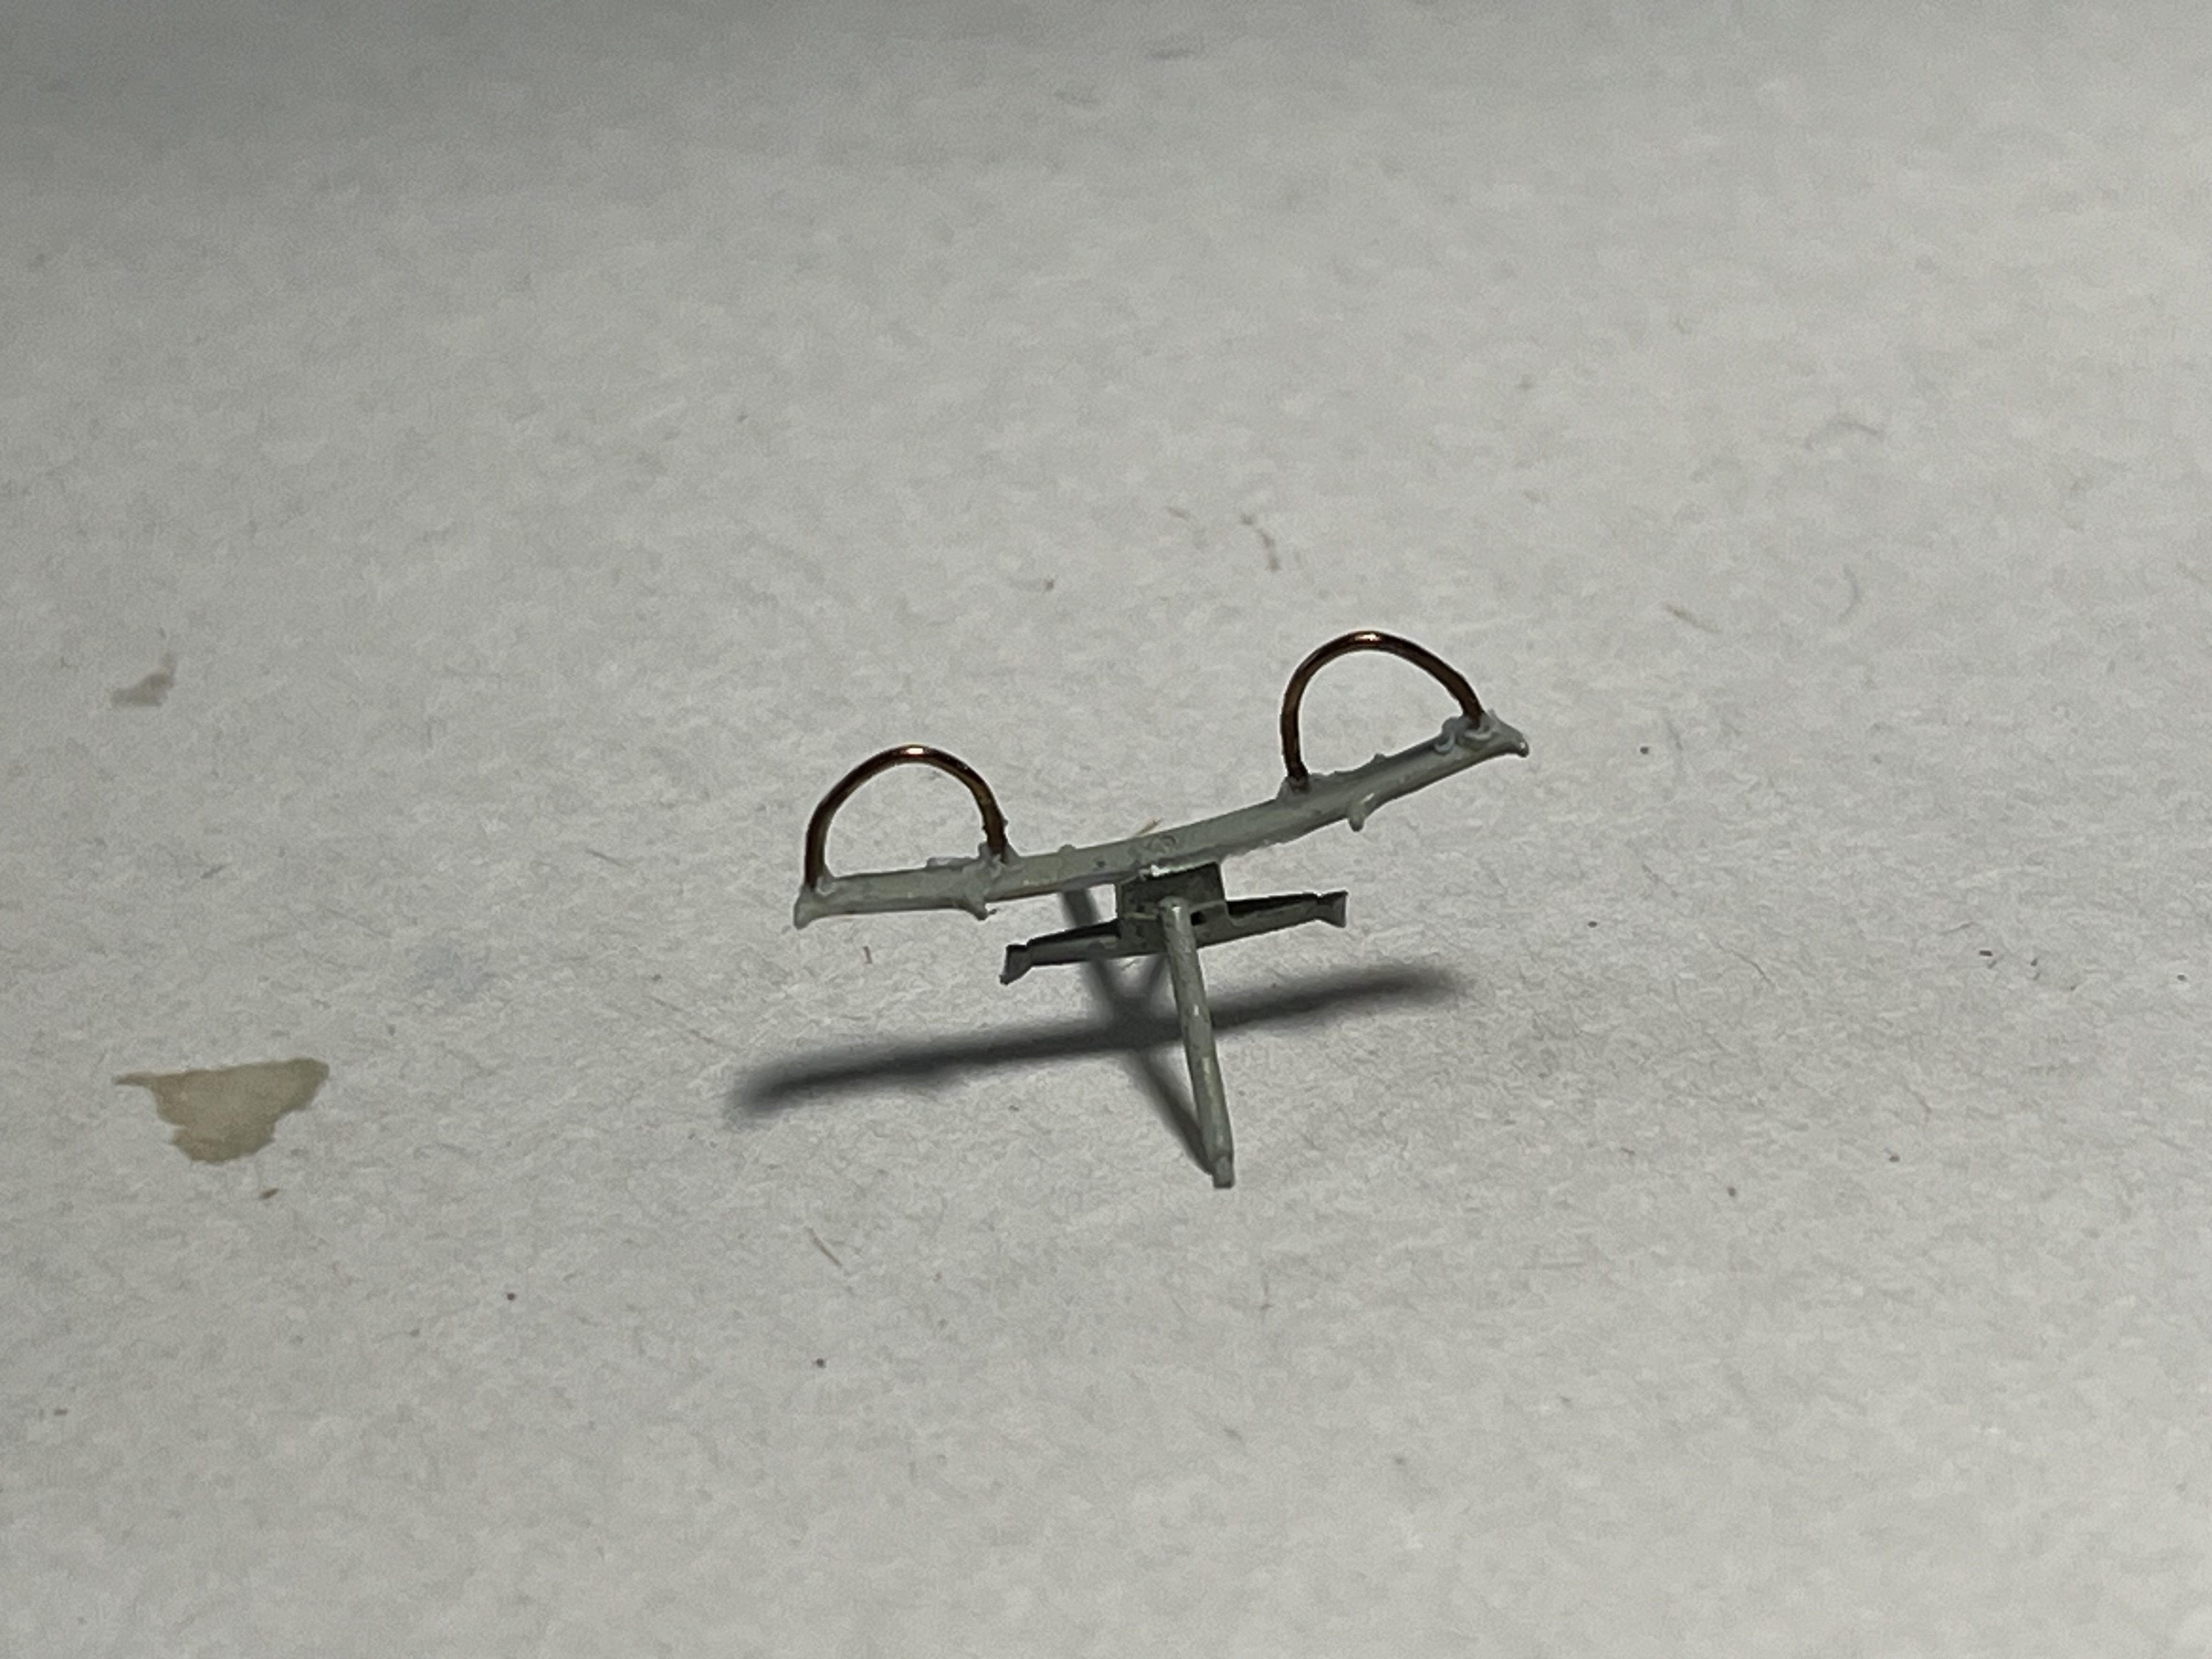
Rudder pedals will attach to the section wall below the empty container cartridges. I’m holding off putting these into the fuselage until I can give them a clear coat.

7 Likes
Of course I’ve heard of Wingnut Wings, but I’ve never actually seen a build log. Impressive detail and fine work on your part @Molly. The cartridge containers, are they supposed to be blackened metal or is it leather? Either way, they are well done. I’m interested in ow did you get that texture? The riveting is killer.
The containers are designated to be painted “aluminum” in the instructions. I used Tamiya XF-16 but applied it as dry brush over a flat black.
Thank you, Molly. Nice trick.
Wow! That’s some great work! Thanks for sharing your progress. I’m looking forward to watching as you progress.
Me to. That cockpit is just marvelous. ![]()
That cockpit looks just wonderful. The wood grain effect looks real AND in scale which is no mean feat. Great “in progress” photos too – they could be right out of an issue of FSM.
I am beginning to doubt your early claim of being a novice builder. ![]()
I’m not very familiar with WWI fighter aircraft so the idea of a special can for retaining spent casings seems so odd. Why not just route them overboard? Is it for weight/balance issues? Seems unlikely. Just a quirk of how the guns are mounted before the open cockpit, that retaining the brass was easier than finding some way deflect them outside the slipstream so they wouldn’t find their way back inside the pit?
After some basic wiki-diving on the MG08/15 I learned that they used canvas belts, not the more modern disintegrating links – which of course they do, being a Maxim-type gun. I can definitely see how loose, flapping belts in the pilot’s face and lap could be a problem!
In fact the Wiki article has a couple uncited paragraphs talking about this issue specifically, stating that the casings were indeed routed overboard, and the chutes/can was just for the belts. I won’t make that claim, but it’s a fascinating look at early aviation problem-solving.
1 Like
Well, thank you, @Toimi_Tom! I confess that I wondered about this design feature, too. I appreciate more background on it.
Oh, yes, I am truly a novice. This is only my fifth build. I did one years ago for a veteran friend who was part of a Troop Carrier Squadron and was on a C-47 which came under attack in Burma and actually got credit for downing a Japanese fighter. My friend was the radioman on the plane, and everyone aboard his plane survived. His story is here: Clyde Ginder - Radioman.
I did that build 20 years ago and had not done one since until just a few months ago. Then I built a Grumman Hellcat F6F-5N because my father was a night fighter pilot in the Pacific. But I knew so little about what I was doing that I applied the decals without really understanding (until later) that I had built a Marine night fighter. Dad was in the USNR. Oops.
Thank goodness other builders are generous with their knowledge and their tips. I reviewed everything I could find for previous builds of this model, and I keep finding other sites which are very helpful. YouTube videos and still photos are a big help, and the users on this forum have been great, too. Thanks to all of you.
3 Likes
Well, this was a challenge! Based on recommendations from another builder, I removed the plastic molded valve springs from the cylinder block, and added tiny 36 gauge nickel wound electric guitar string segments to provide a more authentic valve spring. I lost track of how many of the little pieces went flying across the room. But finally, I can stop and give my eyes a break. Threading a needle would have been easier!


8 Likes
No doubt! But those look awesome!
1 Like
@Molly Yes, that was likely a tough task, but from where I am sitting, that detail is going to add immensely to this build.
1 Like


Looking good. I still question your noob-ness to the hobby. ![]()
1 Like
Those little details are so cool! The extra effort is paying off.