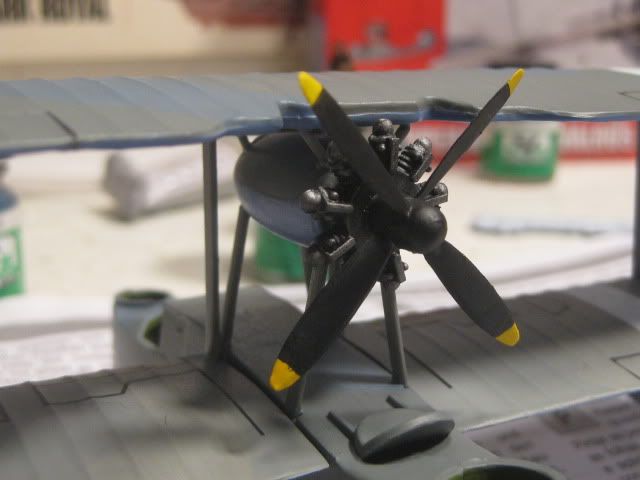
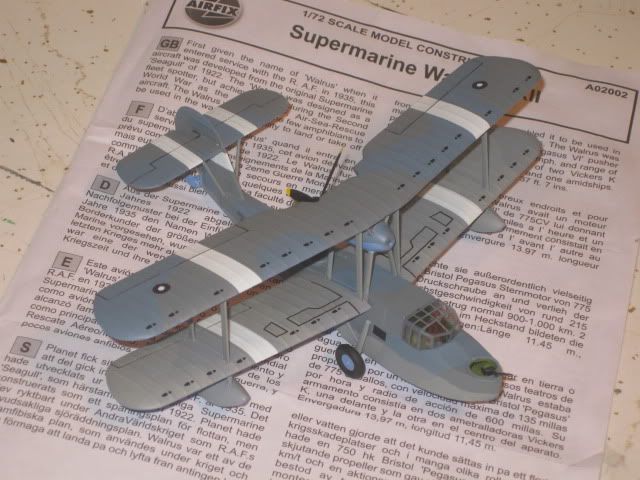
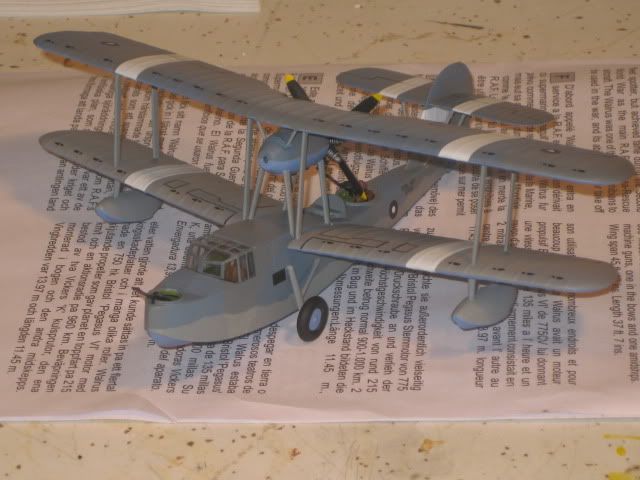
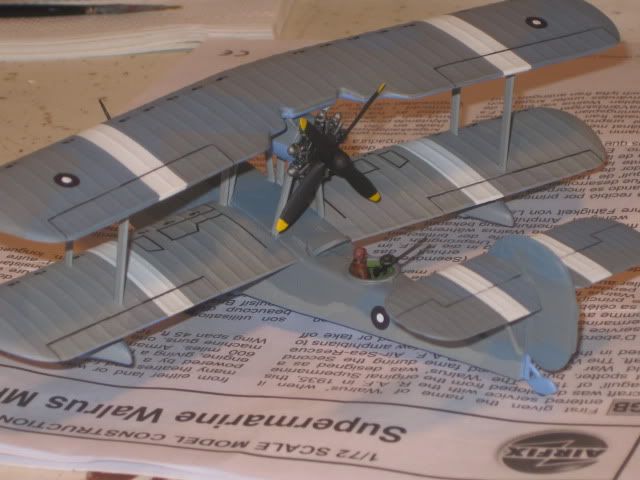
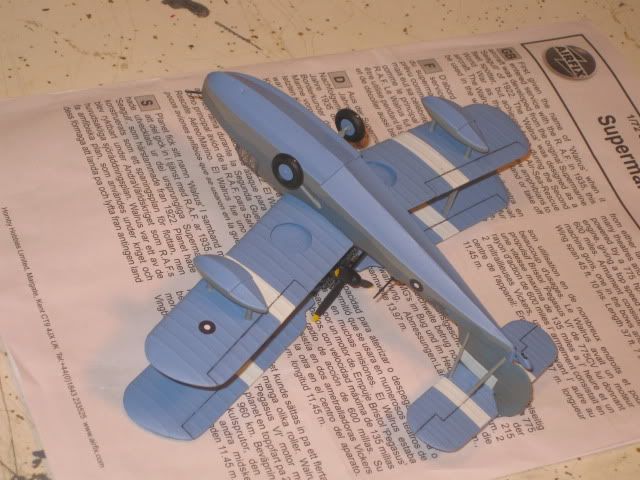
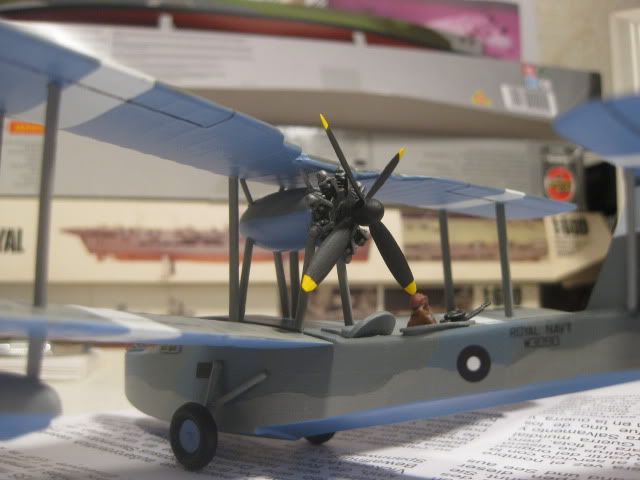
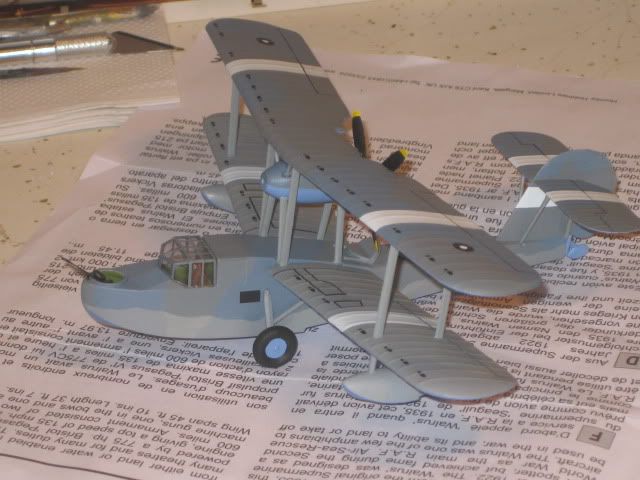
I’m callin’ this one done.The canopy is a bit lacking in fit and there are some good gaps between the lower wings and fuselage that are beyond my talent and/or patience to fix,but I did enjoy it and am looking forward to the next warbird.
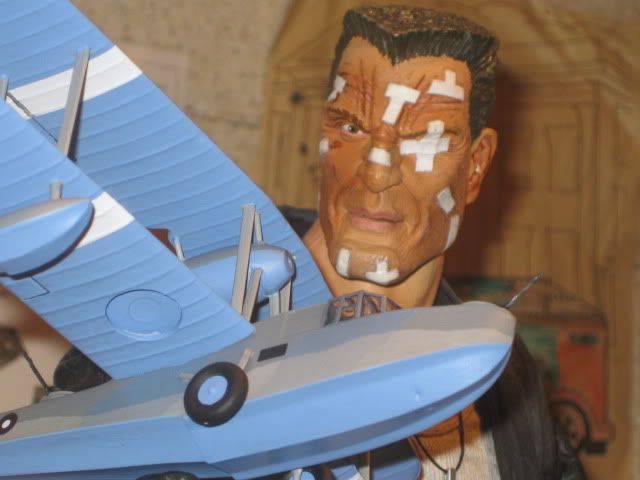
Marv says…“Not bad,but ya shoulda patched up them wings and canopy ya lazy b*astard!”
The “lazy man’s” way to fill those problems areas is with white glue–which, being lazy, I use regularly. With the wing and/or canopy in place, you run diluted white glue into the seam with a small paint brush (some say a toothpick works; but not well for me).
When the glue dries, you wipe over it with a damp q-tip and (voila!) gap is filled. It will leave a visible join, but then wings and canopies were separate attachments anyway, and I tell myself it would be there on the real item anyway.
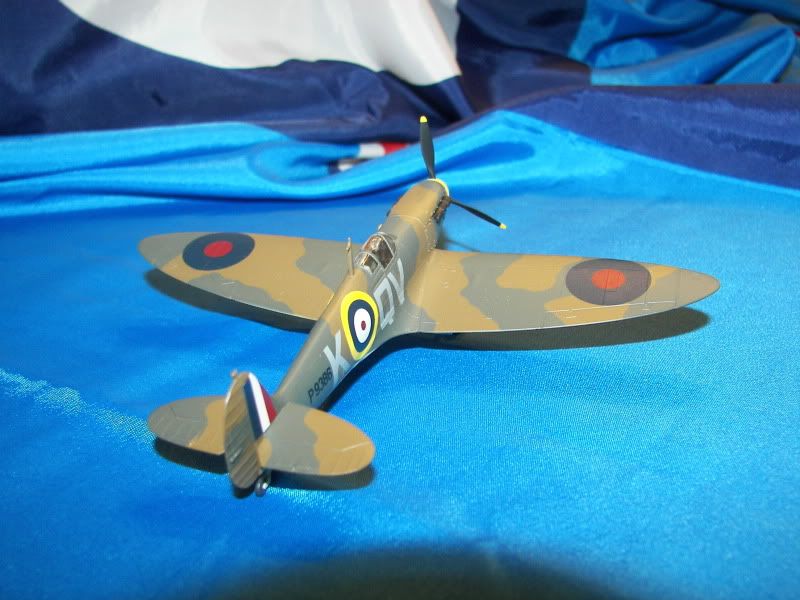
To give an example, here’s an Airfix Spitfire I did last year for the Battle of Britain group build. I filled the wing root and attached the canopy with white glue.
The problem is that I needed the top wings to keep the bottom wings straight.Once I had 'em put together,I had very little room to work.I never would have thought of using white glue as filler.
Marv’s my homie,but some times he just needs to STFU!
i agree [Y] whishing to see the catalina out [:D] me too likes amphibious.
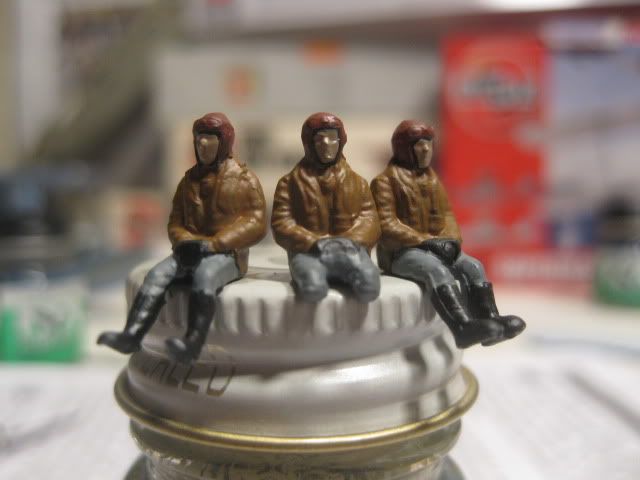
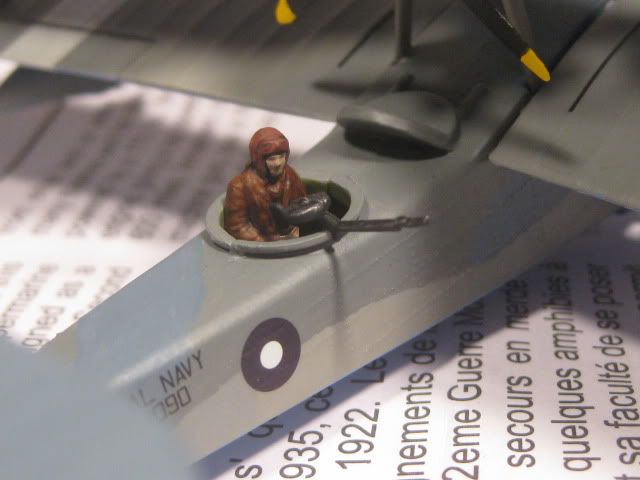
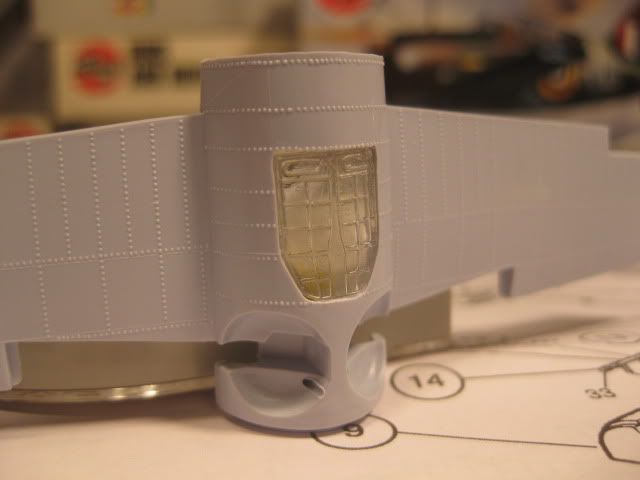
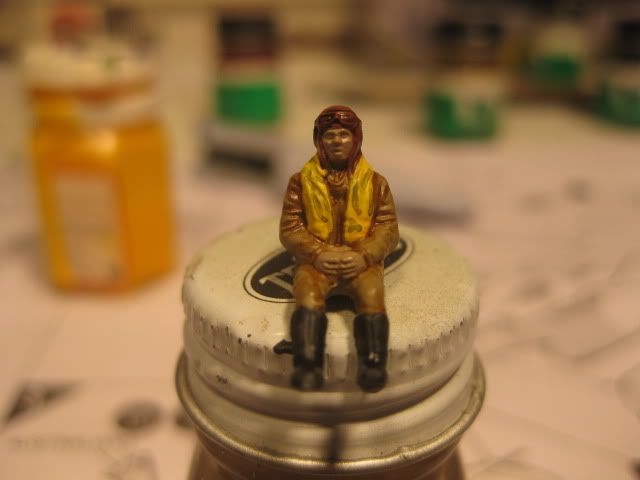
The warlus is really good , decals great and… fortunately the pilots seems pilots [B] sorry for the cockpit, anoder way was to put some really tiny plastic stripes at the back and sand it till the fit is best.
Nice looking spitfire checkmateking02 [Y]
the scout pilots just need the control stick and seat belts, if i not complicated the things with the canopy i can finish it in few days.For now just taking a break and thinkin to put down another kit here later, probably the mig-23 or the viggen… boh , one of these.
I got out of my aircraft element, at a friends request. He was looking for a model to represent his interest in antique cars. : At the LHS they had this: Airfix Ford 1910 Model T Construction Kit. pattern no. 1337. ( It seems to be an old kit as the Airfix logo is a “flag” like device, not the round ball of today). So I picked it up.
BUT the big question is… can I join the group build?? : Huh? can I? huh?
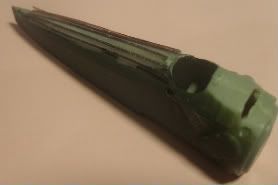
I tried to recreate the ribs using finishing line. A lot easier in theory, than reality, and lot nicer in theory than reality! I ended up removing the ribs, and re-painting.
Nice finish on the Walrus, now on to a Buffalo? You have a fascination with animals that hang out in the water don’t you!?!?
Centhot - fishing line for the ribs? Maybe if you had used the line as a guide, then applied some putty, or even white glue or CA to minimize the “step” between the line & the original surface???
Here is the kit I will build. I purchased this at a hobby shop in Methuen, Massachusetts in 2003. He had a pile of kits he got from an estate sale. I paid $5 for the kit because it had some pieces missing and many parts off of the sprue (common with Airfix kits), rattling around inside the box.
After a careful examination, I found it was only missing three pieces; the tank commander figure and both of his arms (parts 169-171). Since every piece is individually numbered, the kit contained 177 parts including the missing figure, so in my mind it was just as good as a complete kit. Not bad for $5.
The box art advertises this kit as new and the hull has the date 1975 on it, making this an original issue that is 36 years old. The kit was part of a short lived 1:32 scale series of Airfix armor kits that began with the poorly selling Monty’s Humber, and included the excellent M3 Grant, M3 Lee, Rommel’s halftrack “Greif” and ending with a towed 17 pdr anti-tank gun (extremely rare). The line also included a few kits from the Japanese company Max, but their kits were 1:35 scale. The Max kits exist today in Italeri’s line.
The Crusader kit was recently reissued for the first time along with a set of the popular Multi-pose British 8th Army Desert Rats and German Afrika Korps. The reissue goes for around $35-40. This is not the same kit as the Testors/Italeri Crusader models.
The decal sheet includes markings for just about any tank that rode around in the desert. Painting only gives an olive green tank in Tunisia or a black/buff tank from the Western Desert.
The only construction option is the turret hatches open or closed. Since I do not have the commander figure and there is no interior, I will most likely close the hatches. Interestingly, this kit uses separate hatches for the open configuration and shut hatches molded together for the closed option (it is pictured in front of the turret).
The overall kit is very solid, with thick pieces, but does not look clunky like most kits from that era. I think it will build nicely.
I tried using Mr.Surfacer to reduce the impact of the ‘ribs’ but it looked awful. Stuck instead with a smoothish surface, broken up in lines by the remains of the CA from the ribbing attempt.
ok, don’t cry for the catalina till the next chosen is the buffalo, the pilot looks already good [Y] good luck with the windows, if don’t work try with linux [whstl] (pc related sarcasm)
Nice looking kit Rob.
Centhot another way is to melt little plastic rods with excessive tamiya glue and refine with putty [^o)]
contact the gb operation chief if not appear soon [Y]


 :550:0]


