From the under damage seems as some boat have performed a bad turn on it.
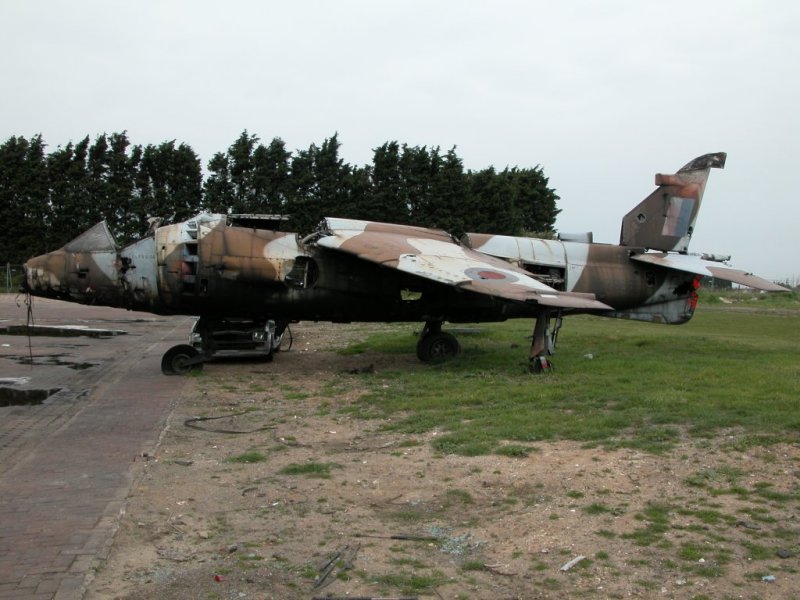
Recently finiding resources for the raf harrier gr3 i see actual photos mainly destroyed and abandoned ones with lots of parts dismembered… really sad about this. When i was child these machines was perfectly operatives.
One this i cant stand is seeing an aircraft get destroyed because of neglect. Someone spent hours of hard work on that, and by neglecting it till its so badly damaged its almost a write off is like saying “I see your work and it means nothing to me” Its like the memory of the person who originally built it means nothing anymore.
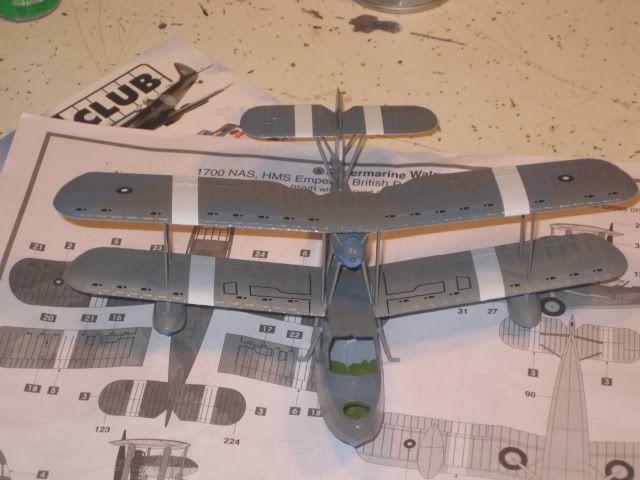
Oh well. My walrus is on the back burner at the moment, ive got a B-26 on the bench and my bearcat slowly taking shape next to it. Ill get there eventually.
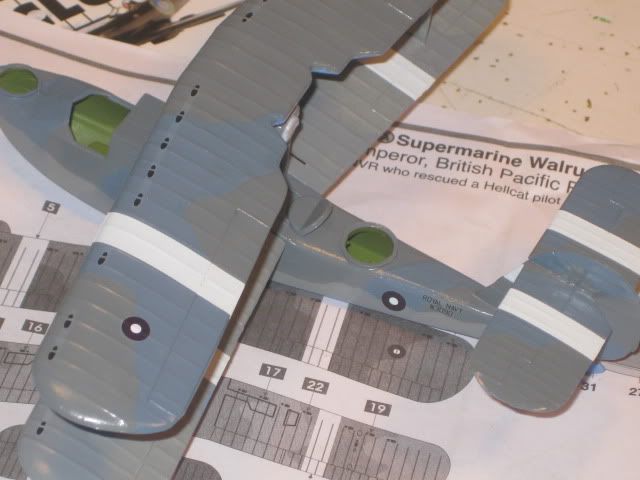
Good work so far everyone. Im looking forward to seeing that walrus finished. Its a very basic kit. Did you have any issues with the canopy?
The Airfix one? It’s a very nice kit for its time and will reward a patient builder. If I recall correctly, the tail guns may be a little on the long side. The fuselage is a little on the chubby side too, but it still looks good when built.
PS: Mikey, please put me down for the old Airfix Firefly Mk.V. [:)]
Actually its the Hasegawa B-26G. Had a bit of money in the model budget so i splurged and got that and the 1-48 Tamiya F4U-1A which im going to do in RNZAF colours.
I’ve actually gotten started on my Spitfire Mk I. Very old kit, no longer have the package, decals or instructions, but it’s so simple a build I don’t need them. 26 parts by my count – it actually looks like the mold had been modified into a snap together. I nipped off the pins because alignment was poor, shot the insides with Tamiya Sky (XF21) and put some black on the instrument panel. The seat is not quite right but since I build with the canopy closed it’ll probably look okay through the very thick canopy. So far the fuselage halves are together, the seat is on the floor and I’m ready to put the spinner on. I hope to prime it tonight and start painting tomorrow.
I’m tempted to go “old school” and brush paint it! Brings back great memories.
I’ve enough for a dozen or more Mk I’s. The Spit is my favorite and I’ve collected quite a few over the years, either aftermarket or spares from other kits. I’ll do a BoB machine, not sure which one yet.
Initial primer is done. There’s a few seams that need attention along the fuselage but the wing-fuselage joint is perfect. I used the technique of gluing the upper wings to the fuselage before gluing the bottom wings; first time I’d tried that and I like the results.
I also noticed I’d no main landing gear for this kit. I checked my spares box and there was a new Aeroclub white metal set – I seem to remember I cannibalized this kit for a frankenspit I’d built a few years a go and the Aeroclub set was a replacement.
I found my Aeromaster sheet (72-028) with 8 Battle of Britain Spitfires. I decided I’ll do R6596, DW*O of 610 Squadron. I’ve always wanted to do this subject because the fuselage markings are oversized, making it somewhat unique.
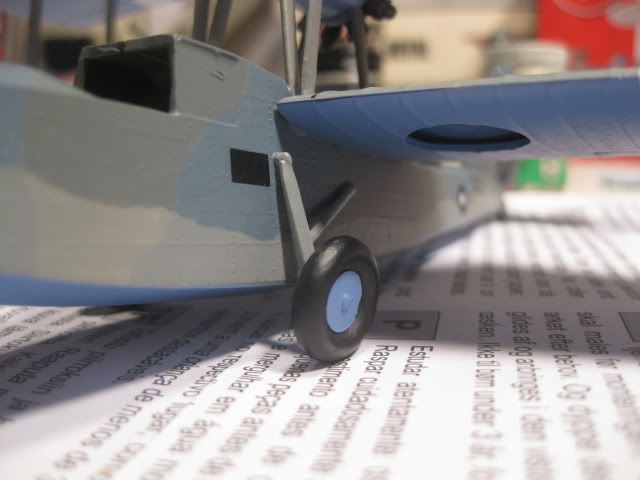
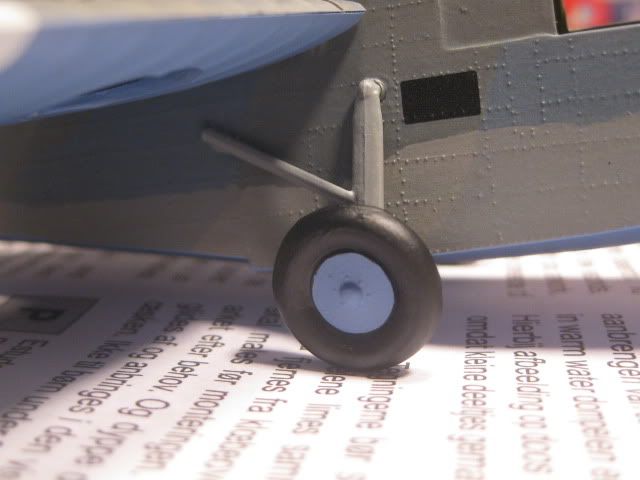
Spitfire wheel wells were often painted in the same color as the undersides of the wings and fuselage. Alternatively, they might also be a silver-colored aluminum.
Officially, the wheel wells (and all interiors except the cockpit) were supposed to be painted aluminum dope over the base primer (I read somewhere that Supermarine’s was a gray primer). Once in the field, especially during 1939-1940 when aircraft undersides were frequently repainted to conform to new recognition directives, the wells typically got repainted the same as the underside color for convenience. This applies to Spitfires only as Hurricane mechanics seem to have done better at keeping their wheel wells the correct color.
So for a Mk I Spitfire, “it depends” applies, but generally you can choose unless there is a photo that obviously shows the wheel wells. The inside of the main landing gear doors remained aluminum dope, as did the main gear themselves. Exceptions exist so if you have a photo then by all means follow that, otherwise you choose and dare someone to prove it otherwise.
Hi to all[:)] Sorry I have not been here for a while, or done anything, the joys of nightshift[|-)] Also, they are so short where I work, plenty of overtime$$$$$$$$ I wll be on annual leve in 2 weeks, so I should be able to do something. I was just wondering on this TSR2 I am building, I have the Xtradecal RAAF version, but it has a Canberra type green/grey scheme. Would a Vietnam 3 tone scheme look better, just like the RAAF F-111 early paint scheme. Just want some opinions.