Hi,
As a retired artilleryman, I keep on working on the history of my weapon. I occasionally support the Royal Museum of armed forces in Brussels. I also write and publish book about the history of the Belgian artillery. As a modeler - member of IPMS Belgium, I build/transform/scratch 1/35 kits of the Belgian artillery. I also support AFV Club in the design of new kits.
I got from AFV Club one of the first M109A2 and there was no doubt : it would be a Belgian one. Here is a shortened presentation of the construction and painting of that kit. A more detailed one was posted on a French blog.
About the construction, there is little to say. The kit is very detailed and accurate. One big frustration: although all hatches can be opened, there is nothing inside! Frustrating isn’t it? But for that I have another old long term project of superdetailing an old Italeri kit.
The parts fit very well; however, I had a bad surprise with the road wheels that were positioned too high. I did follow the instruction and I build kit for many years. I asked to AFV Club : they had no idea about that problem and proposed me new parts. I repaired it myself by cutting the torsion bars at the center of the chassis, repositioning the road wheels and strongly gluing the bars. Problem solved and the suspension still works.
Belgian SP’s have some specific equipment that require transformation/scratchwork on the kit. The first one is the installation of Leopard-type rearview mirrors. Since 1969, all Belgian M108, M109, M110 were equipped with such mirrors. I got some in my spares from an old Italeri M109 kit. The mountings are scratched referring to my pictures and measurements at the Gunfire Brasschaat Museum (former Artillery school museum, now fully depending from the Armed forces museum, Brussels). Very easy for me to get pictures and measurements as I have the originals on hand.
On the driver’s side:
On the other side:
Another Belgian typical part is the mounting plate for the V0-meter (called NERA). I scratched one according to pictures :
To be continued,
Here starts the second part of this story. I hope it will appear at the right place as I’m experimenting with posts on this forum. Thanks for your comments.
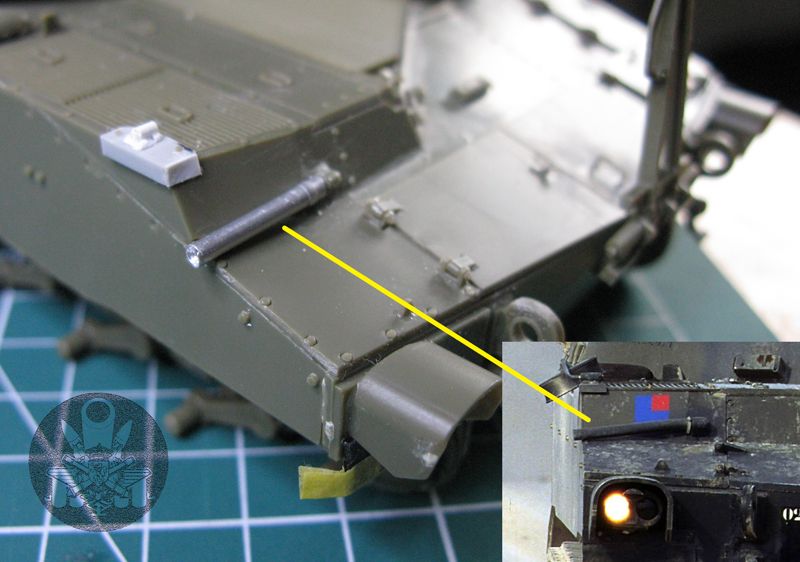
First additional Belgian modifications (called MWO). A drain pipe on the motor compartment bilge pump exit.
And the modification of the radio antenna mount
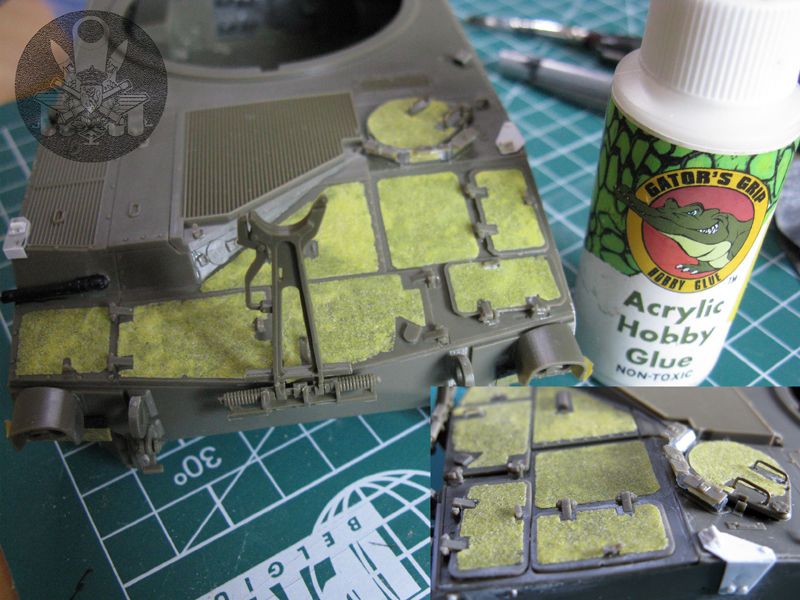
I added self-made anti-skid surfaces with sanding paper.
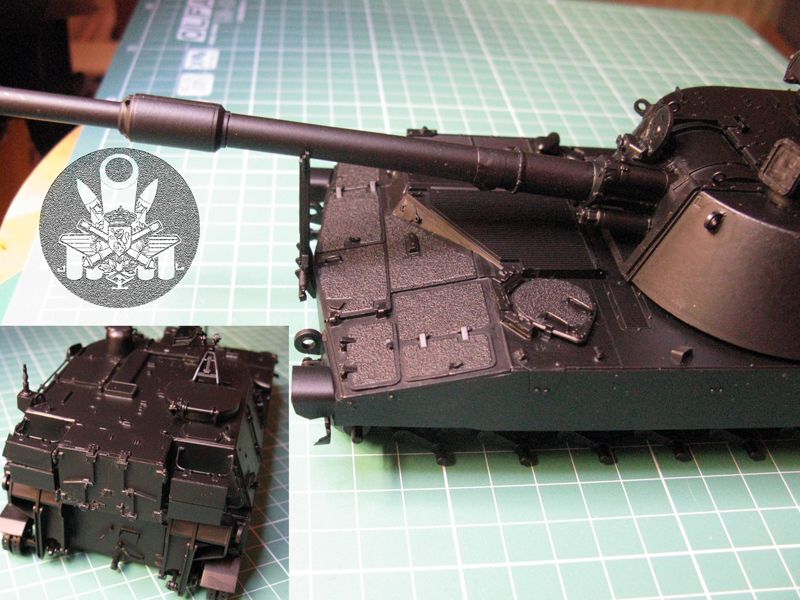
After this, painting of the primer: black acrylic-polyurethane from Vallejo. It isn’t easy to spray (rather thick). I use a minimum 0.3 needle (best 0.5) on my Aztek. You have to take care not to “open” too much the trigger to avoid a too fat layer of paint. Stay also away from the kit with your airbrush. You better make no mistakes: the paint isn’t good to sand. But correctly painted, it dries to a great flat satin finish. I use it as pre-shading, and in this case, part of the camouflage color.
“Panzer putty” to mask the black paint camouflage and paint in thin layers the “Belgian kaki” (Gunze 52) with my H&S Infinity. Not insisting too much on the limits between the colors and on the deeper parts (shading).
This is the result of the painting, before varnish, decalling (self-made), and weathering. I had some problems with the tracks. Problem is solved now with the brand new Italeri T136 kit. To be continued…
I’ll finish this story short and painless.
Here are the self-made decals :
Then finally after troubles with separate link tracks, I found a great solution with the Italeri set. Very well molded, fast to assemble and manipulationproof.
Painting the tracks
Painting and weathering the kit
I’m happy with the result.
This concludes this post that found little attention on this forum. I’m not sure I’ll start a new one on FSM.
Many thanks to those who found the time to post comments and encouragements.
Gunner


