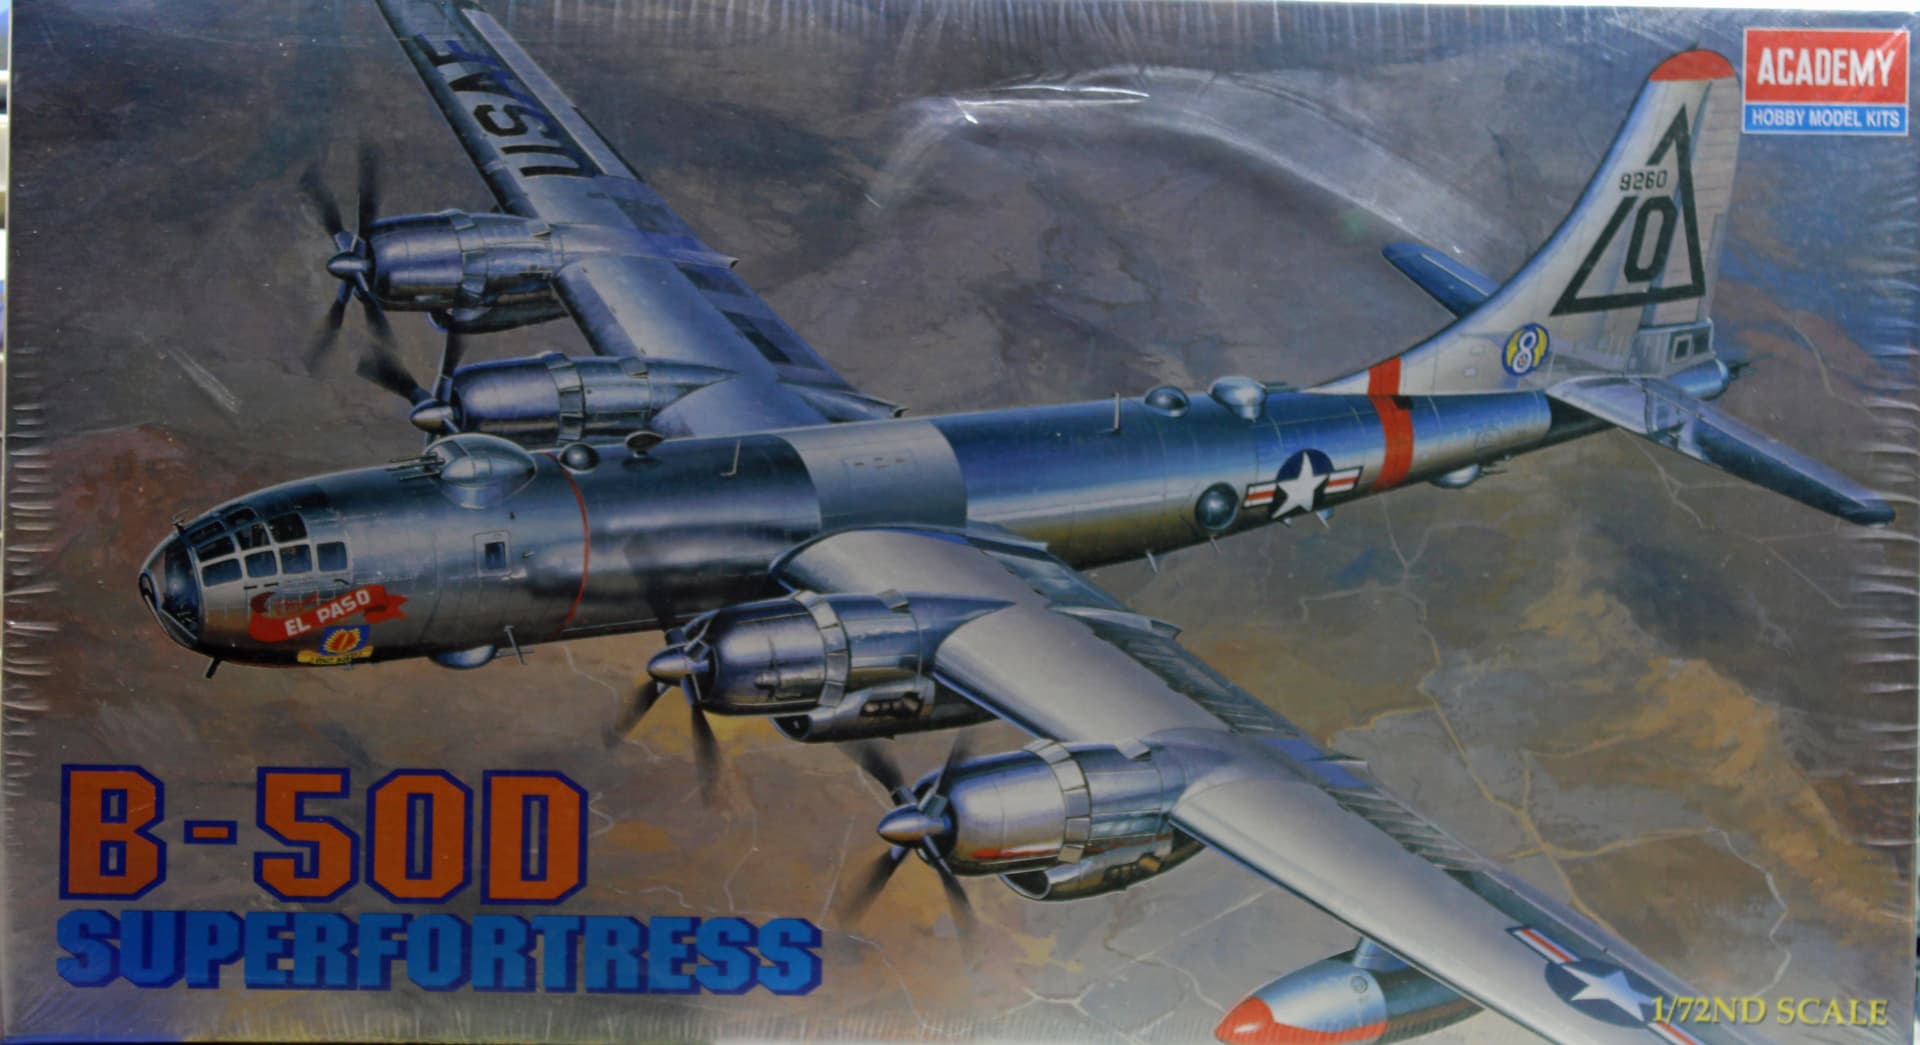
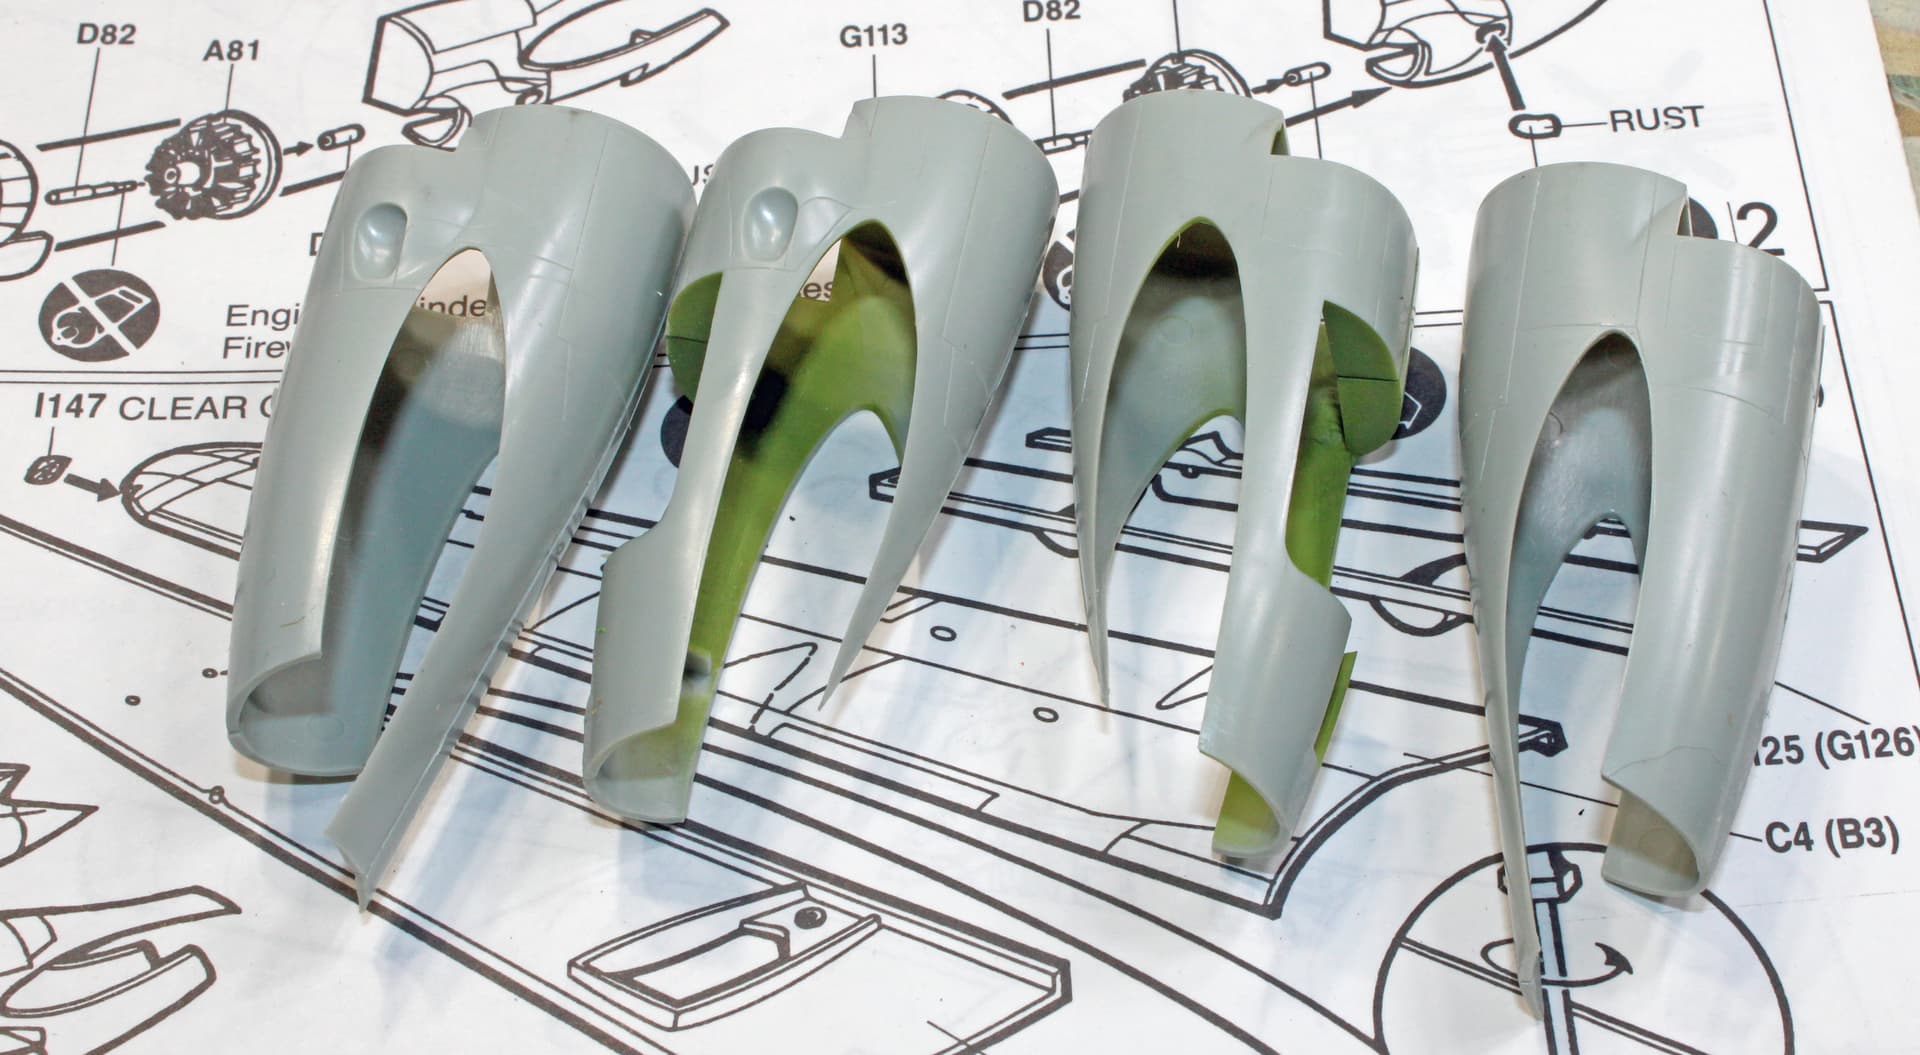
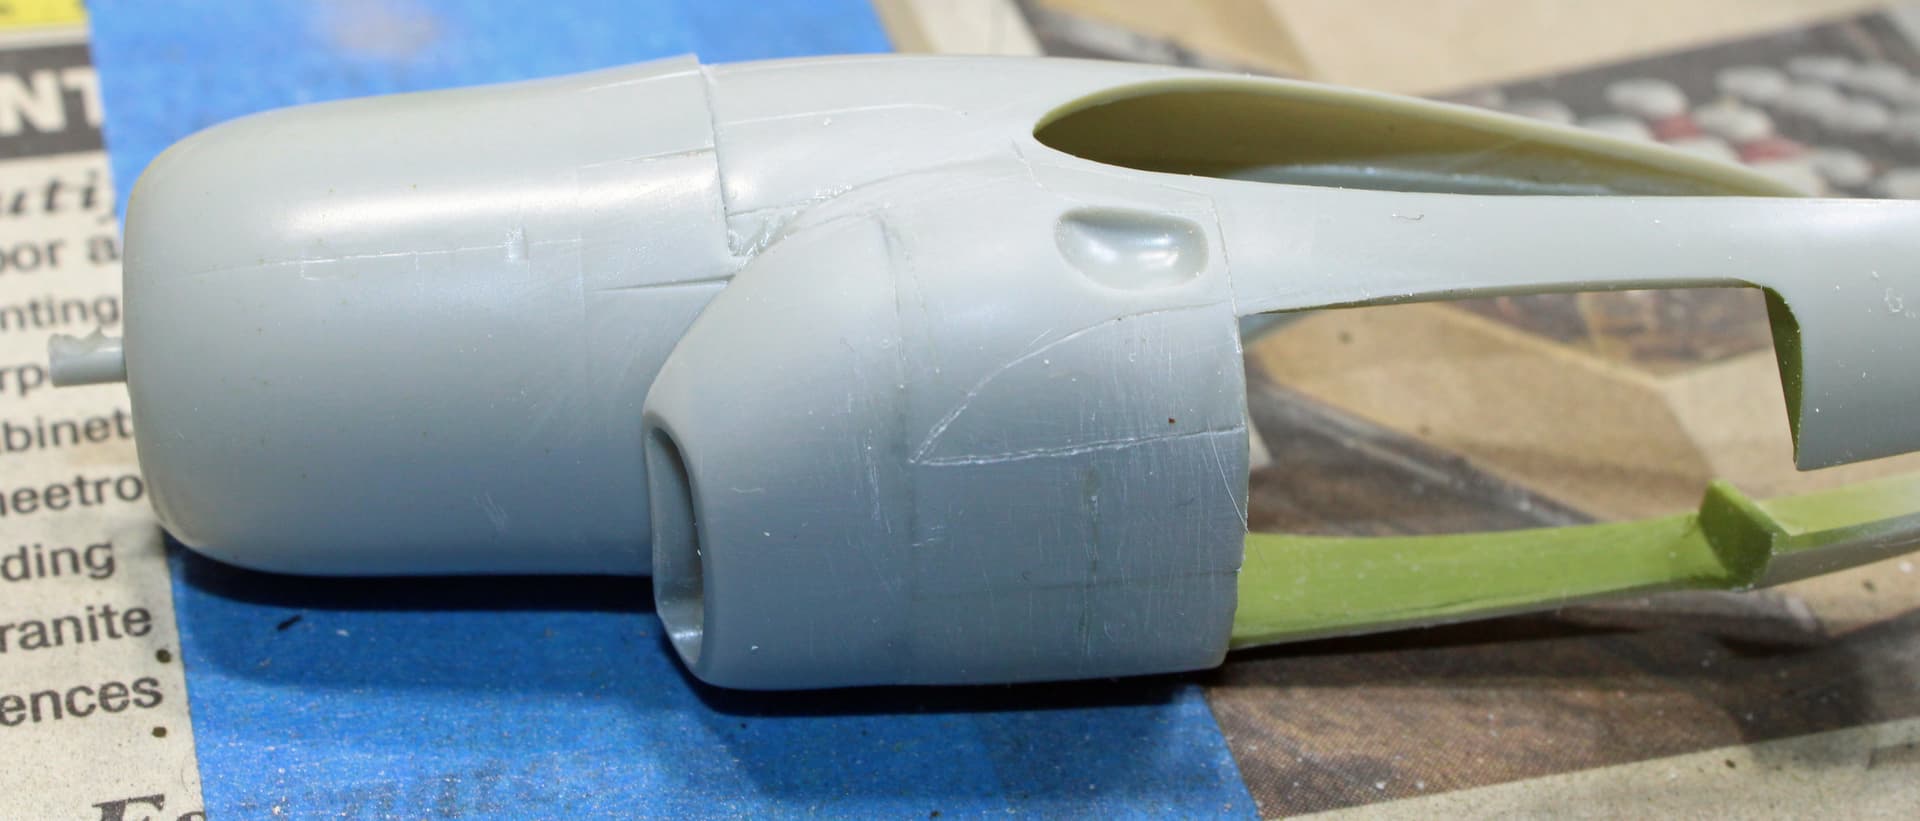
I built Academy’s B-29 Superfortress “Enola Gay” many years ago. Just doing a comparison, these kits share many of the same parts. The rudder on a -50 is much larger than on the -29, but Academy prepared for that by molding the rudder pieces separately from the fuselage. Engine nacelles are also different, which again, was considered when they manufactured the molds.
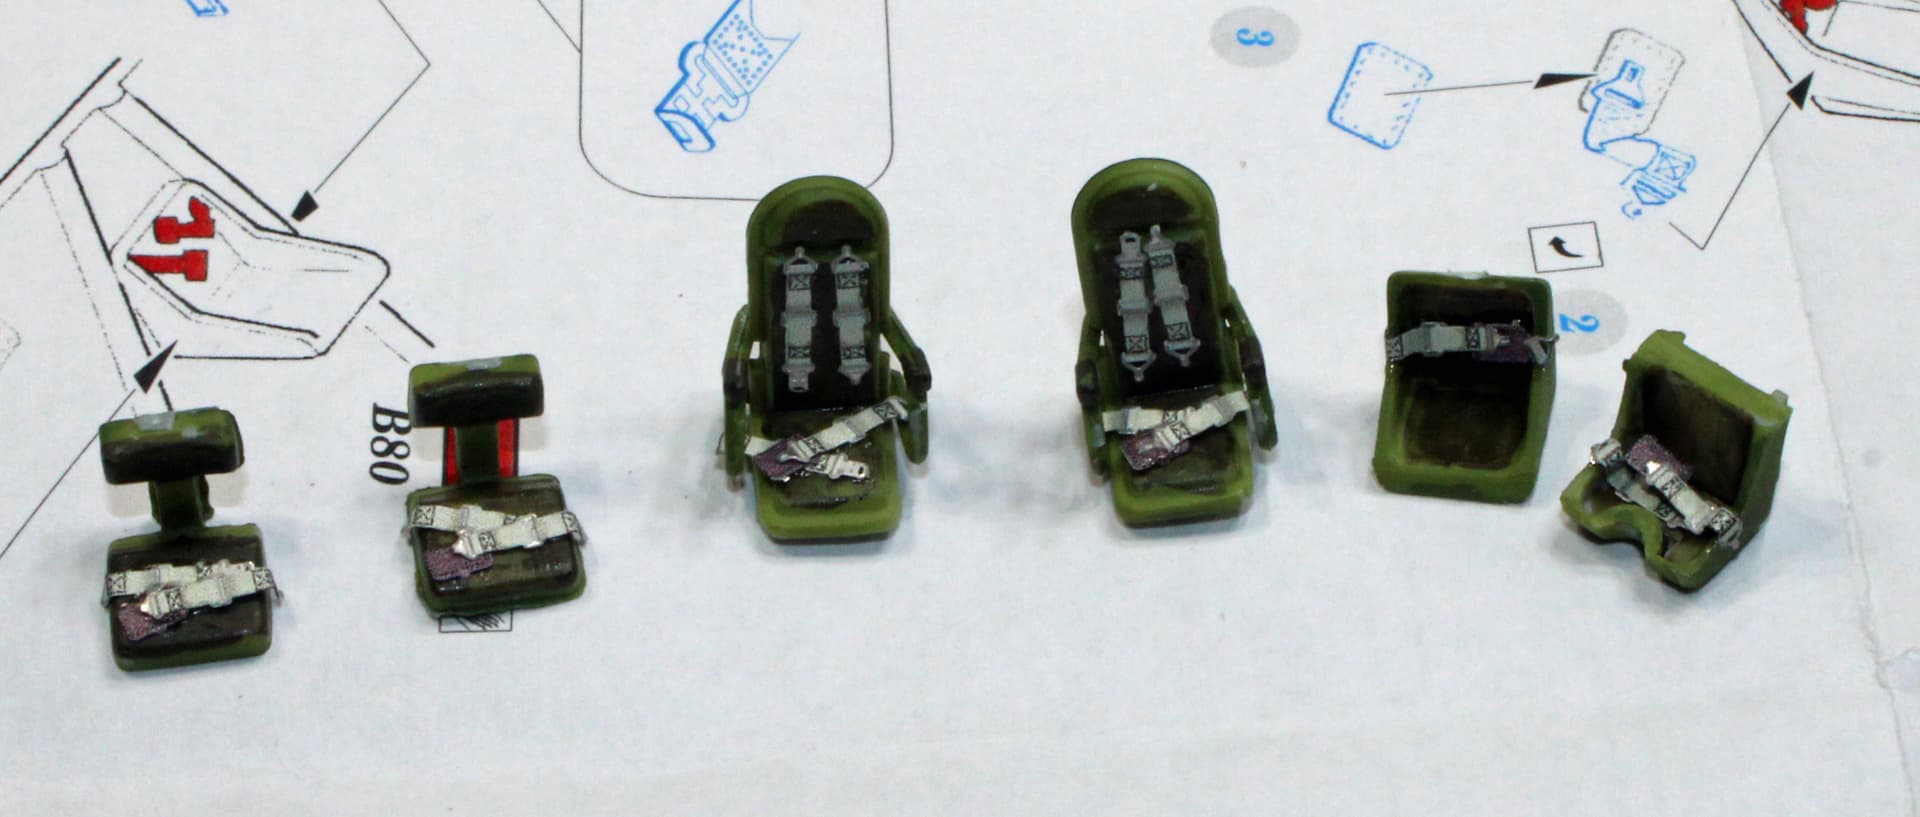
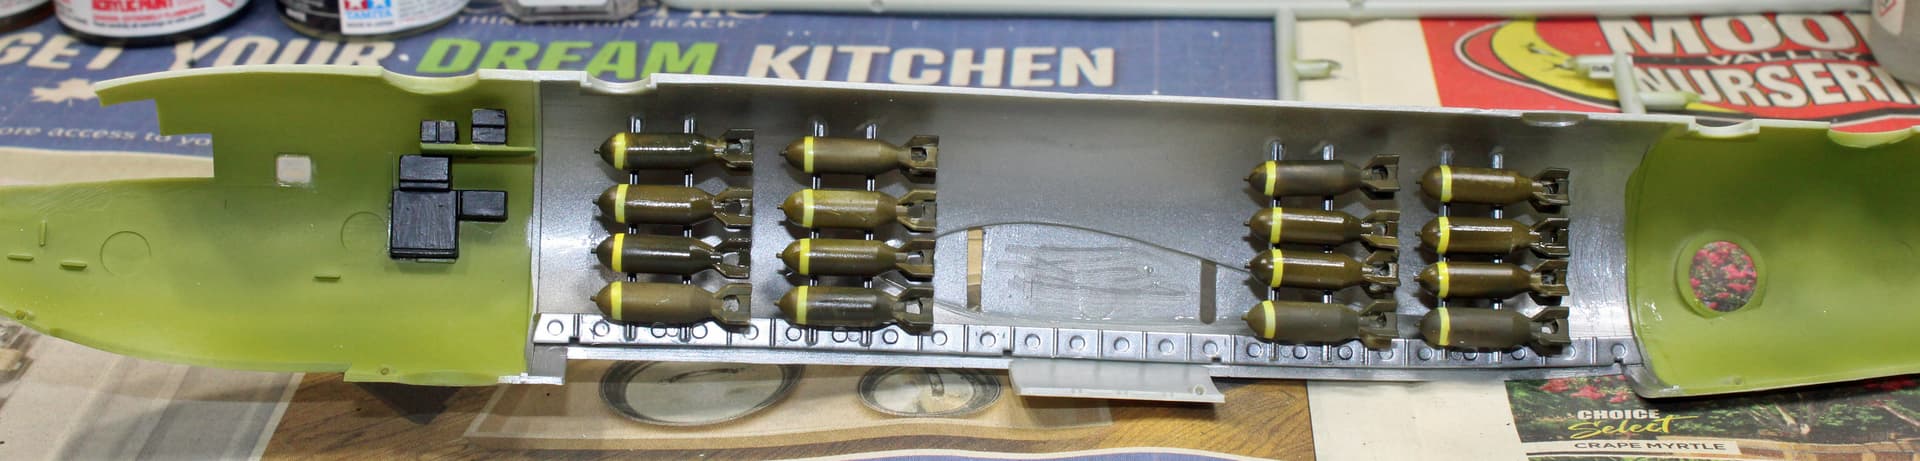
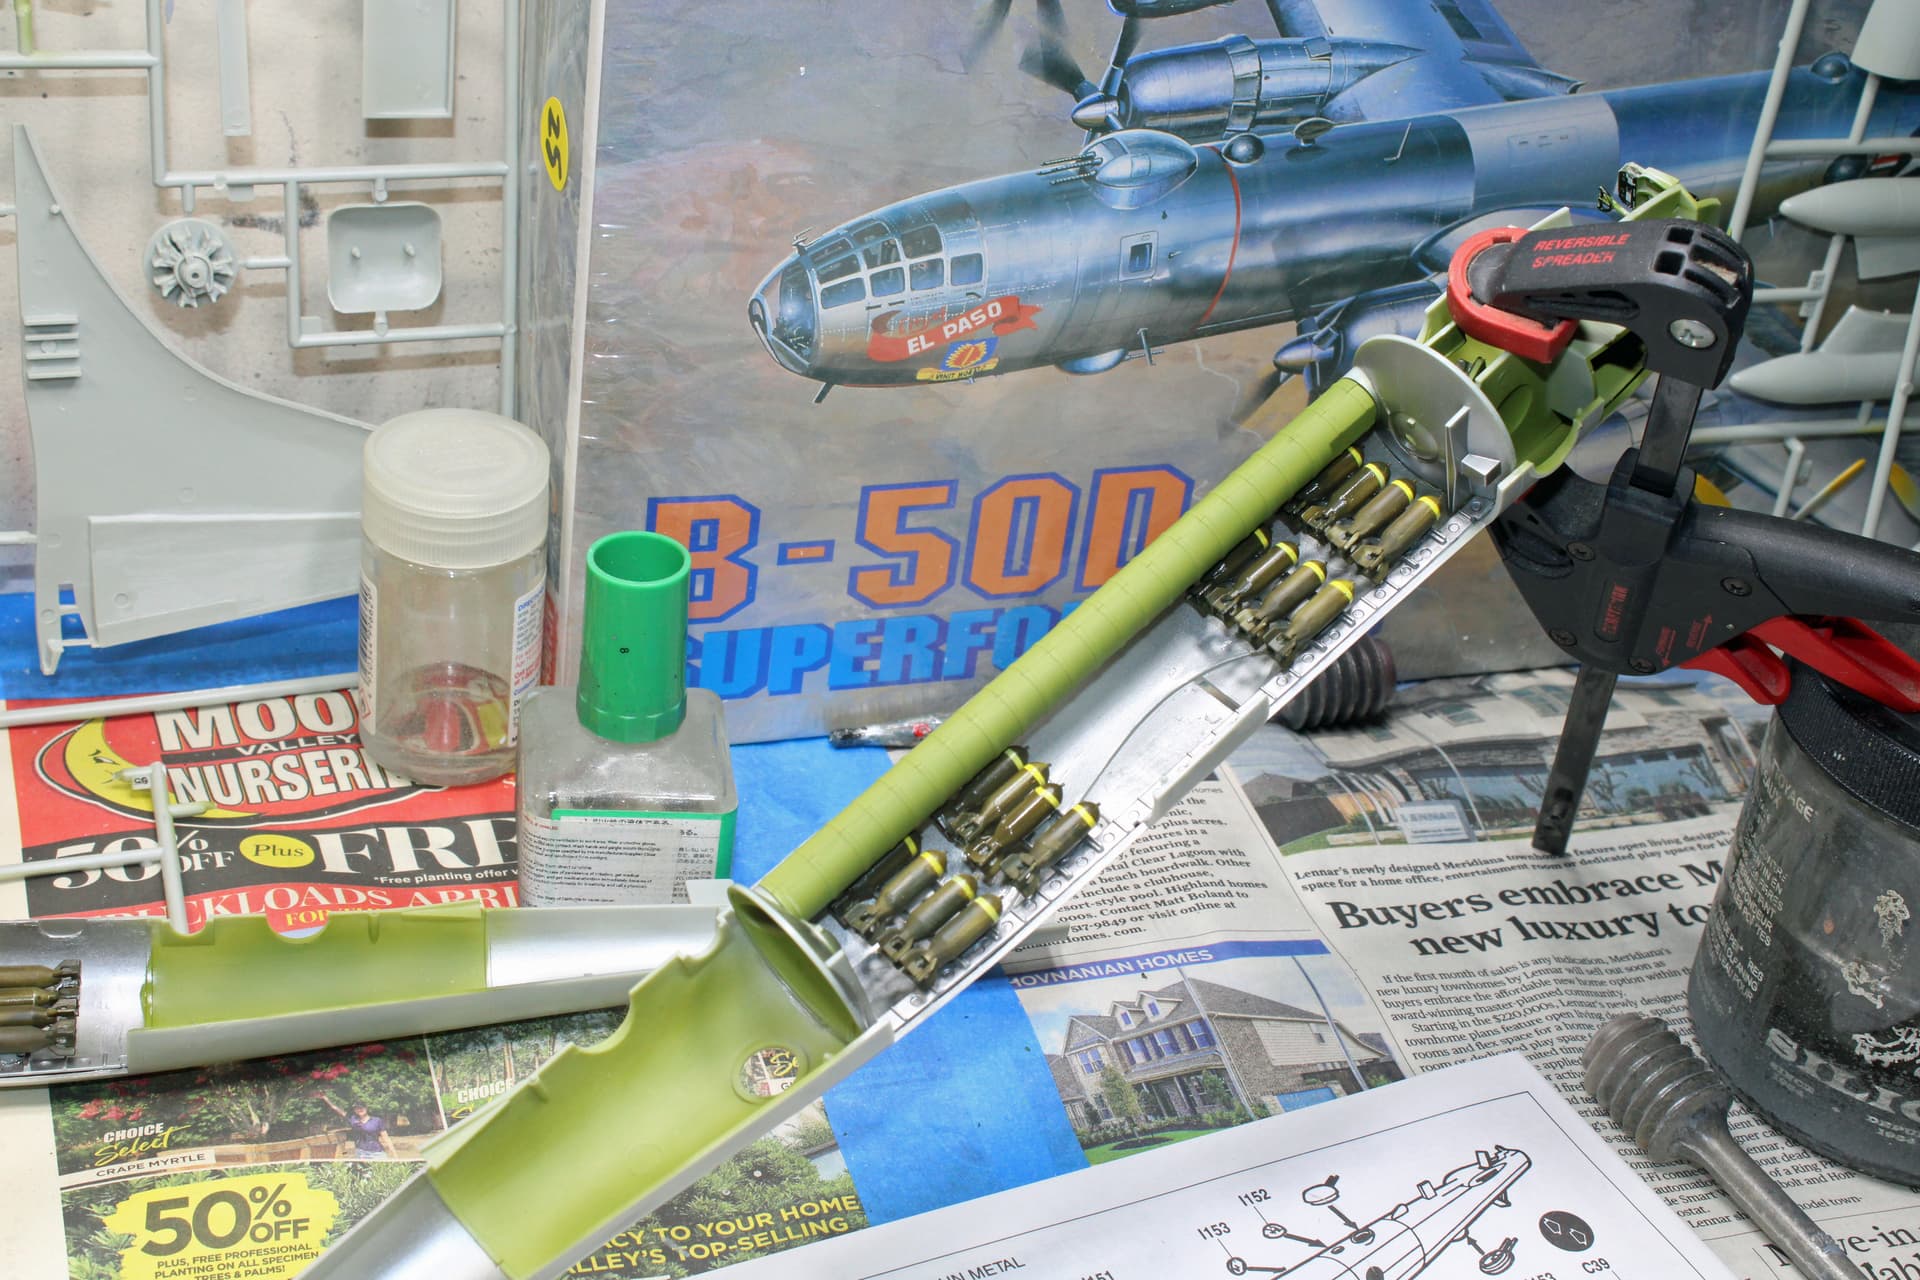
This is a pretty big model in 72nd scale. I will be building this beast wheels down, with the bay doors open and those cavernous bomb bays filled with bombs (not sure what size bombs these are supposed to be, perhaps 250 lb’ers. I am adding PE seat belts and aftermarket tires, but otherwise OOB.
This is my first build in several builds now that features a single, solitary kit.
Minimum of 500 lb’ers for the usual loadout… A standard combat load out would be 1,000 lb’ers
You can tell what they are supposed to represent by how many there are..
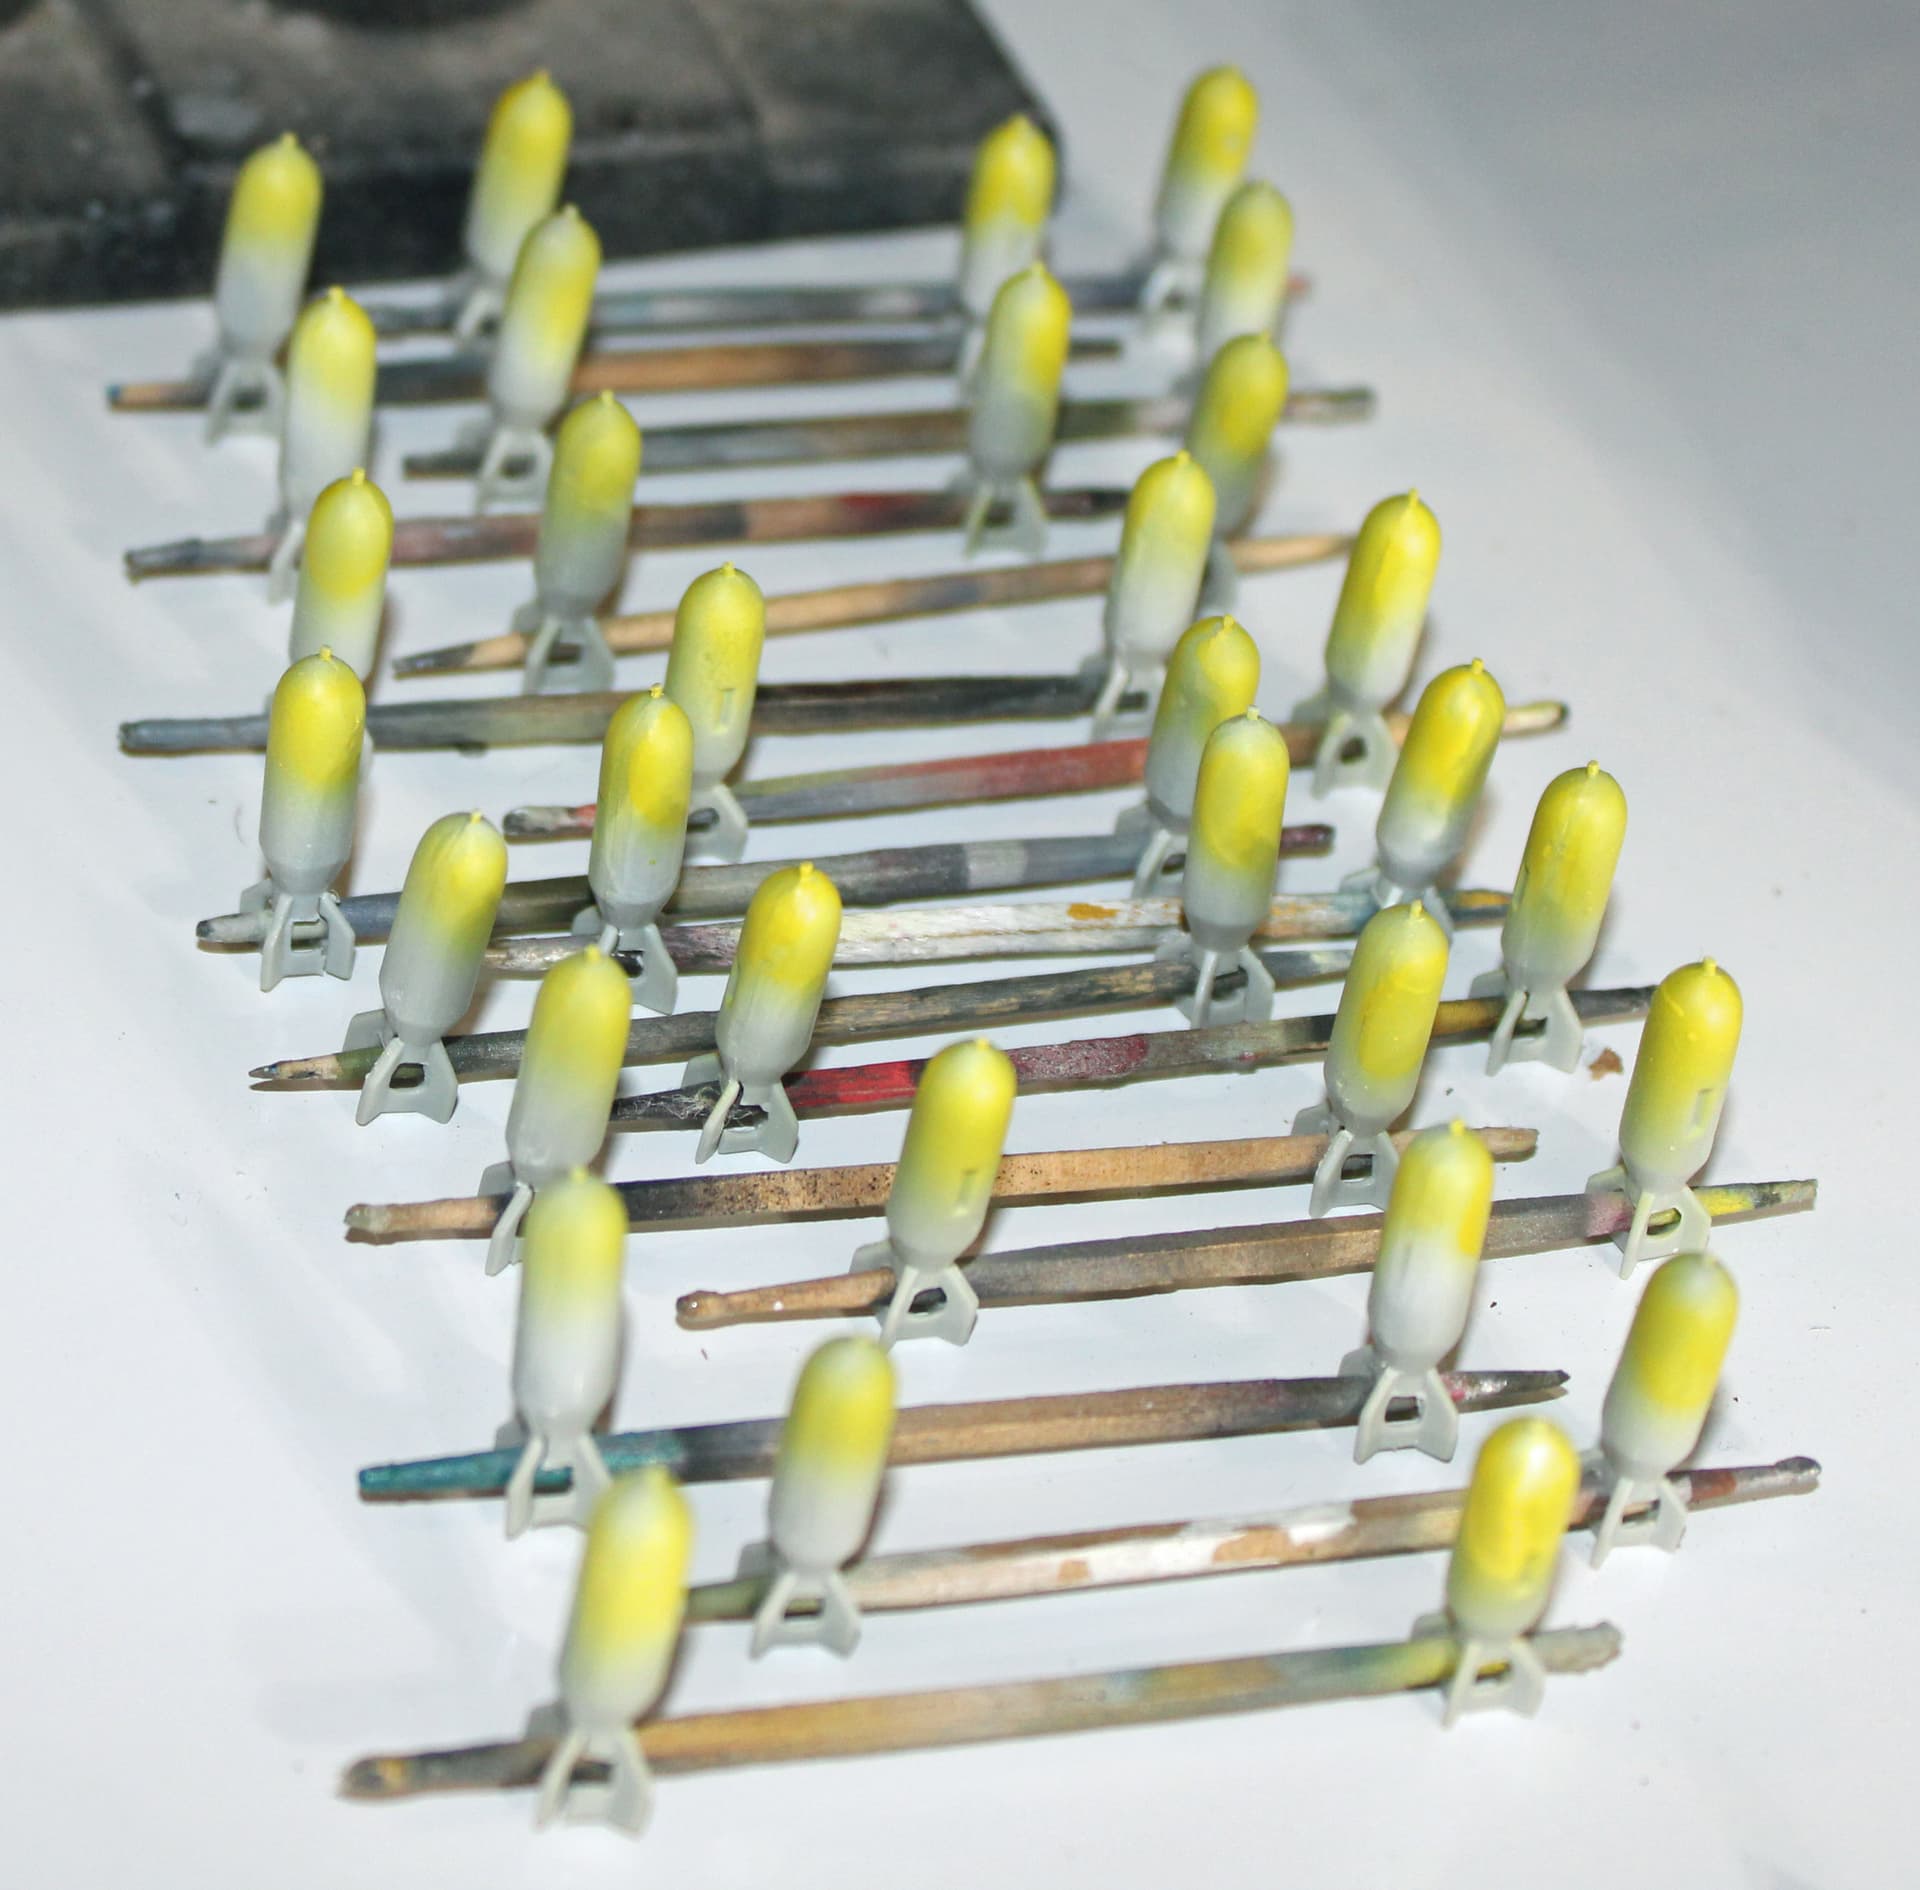
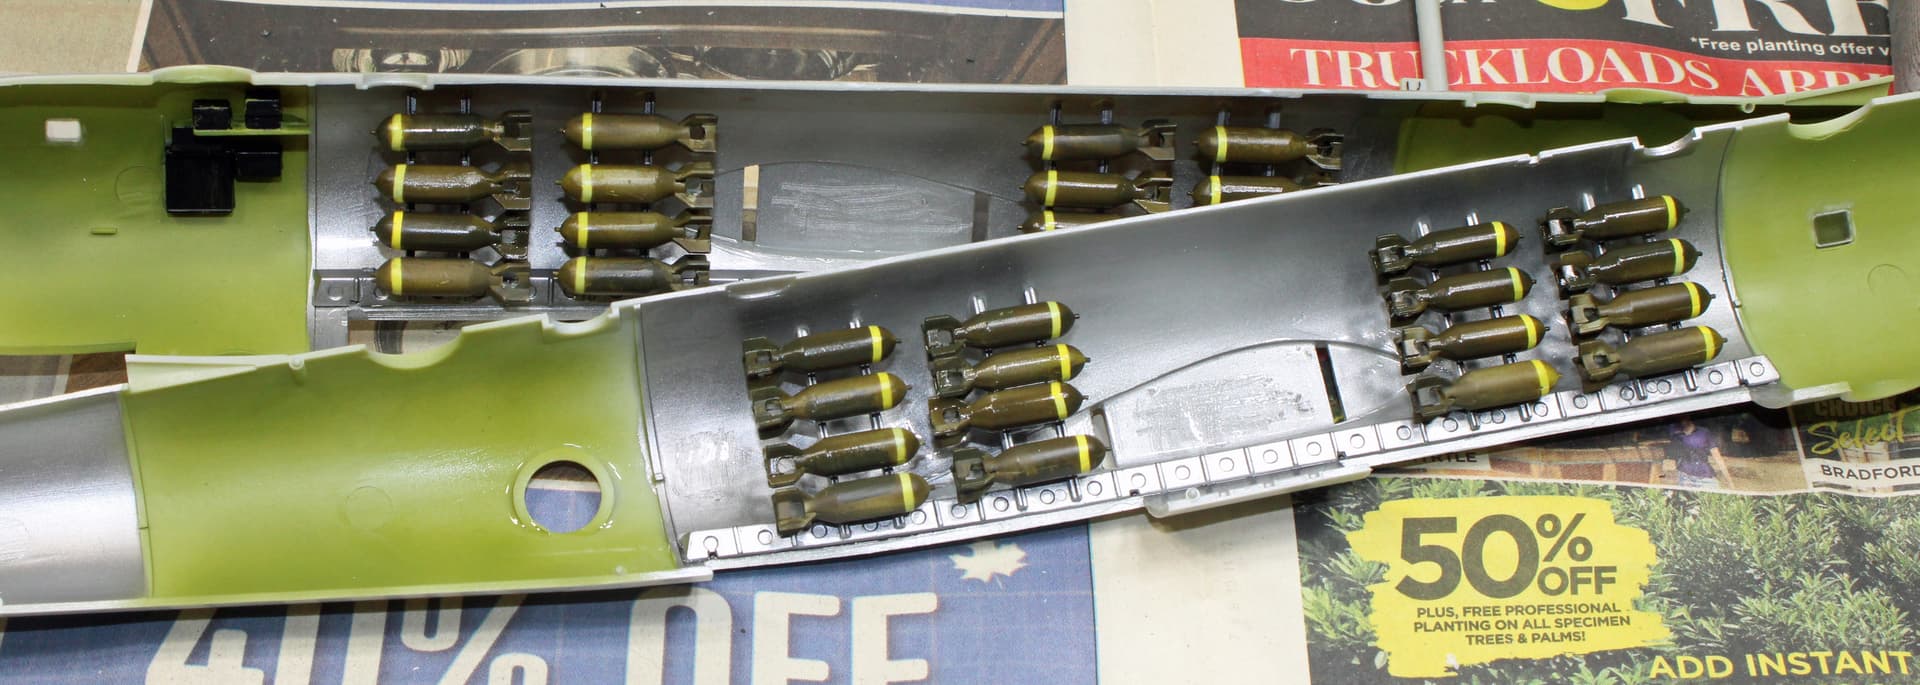
20 inside the bays… It also had wing pylons for 4k each maximum payload was 28,000 lbs…
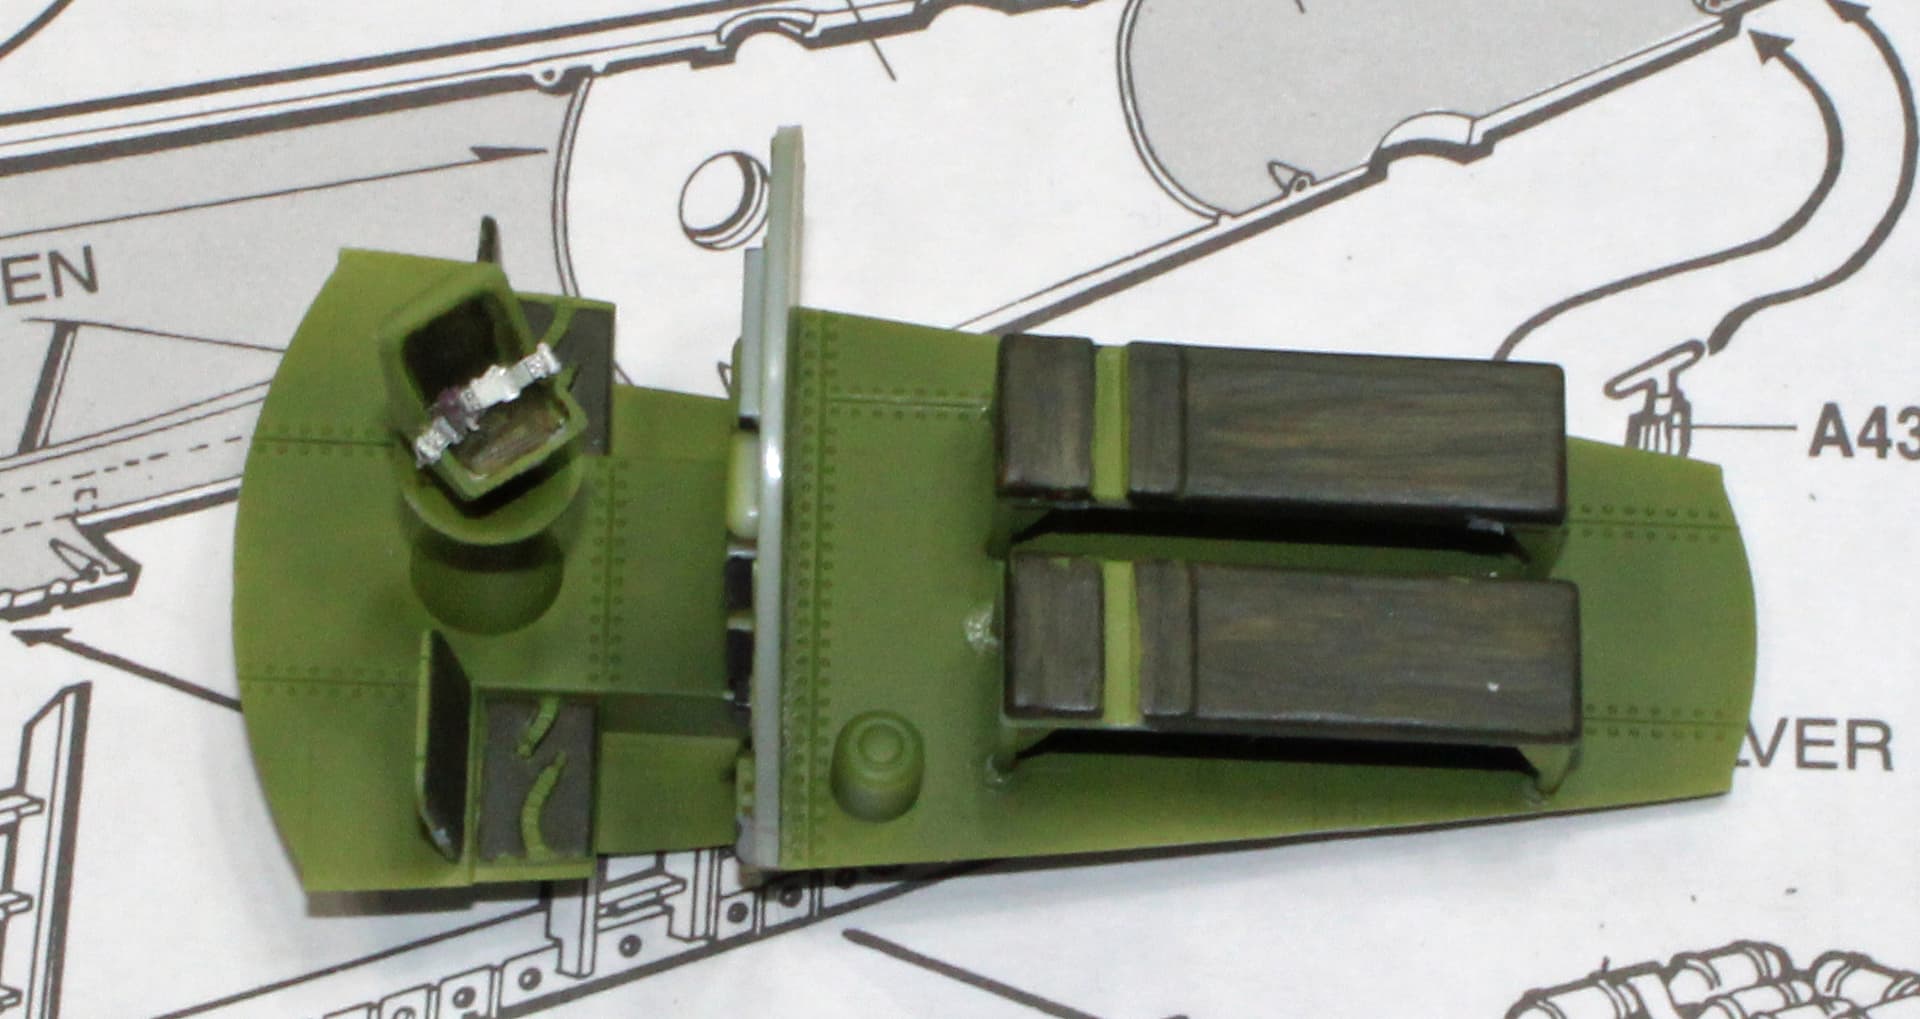
I got to spend about 4 hours at the bench (time gauged by the runtime of the movie Avatar: The Way of Water plus about an additional half hour). During that time I managed to install all of the PE seatbelts, assembled the rear gunner’s station and the observer’s station just astern of the bomb bays, and removed the seams on all 32 bombs. That last part was quite tedious and time consuming.
I used Gator Grip white glue to install the belts, so I set them aside to dry overnight. Tomorrow, or whenever I get back to the bench, I will need to finish folding down some of the belt connectors to the edges of the seats and then start building the cockpit.
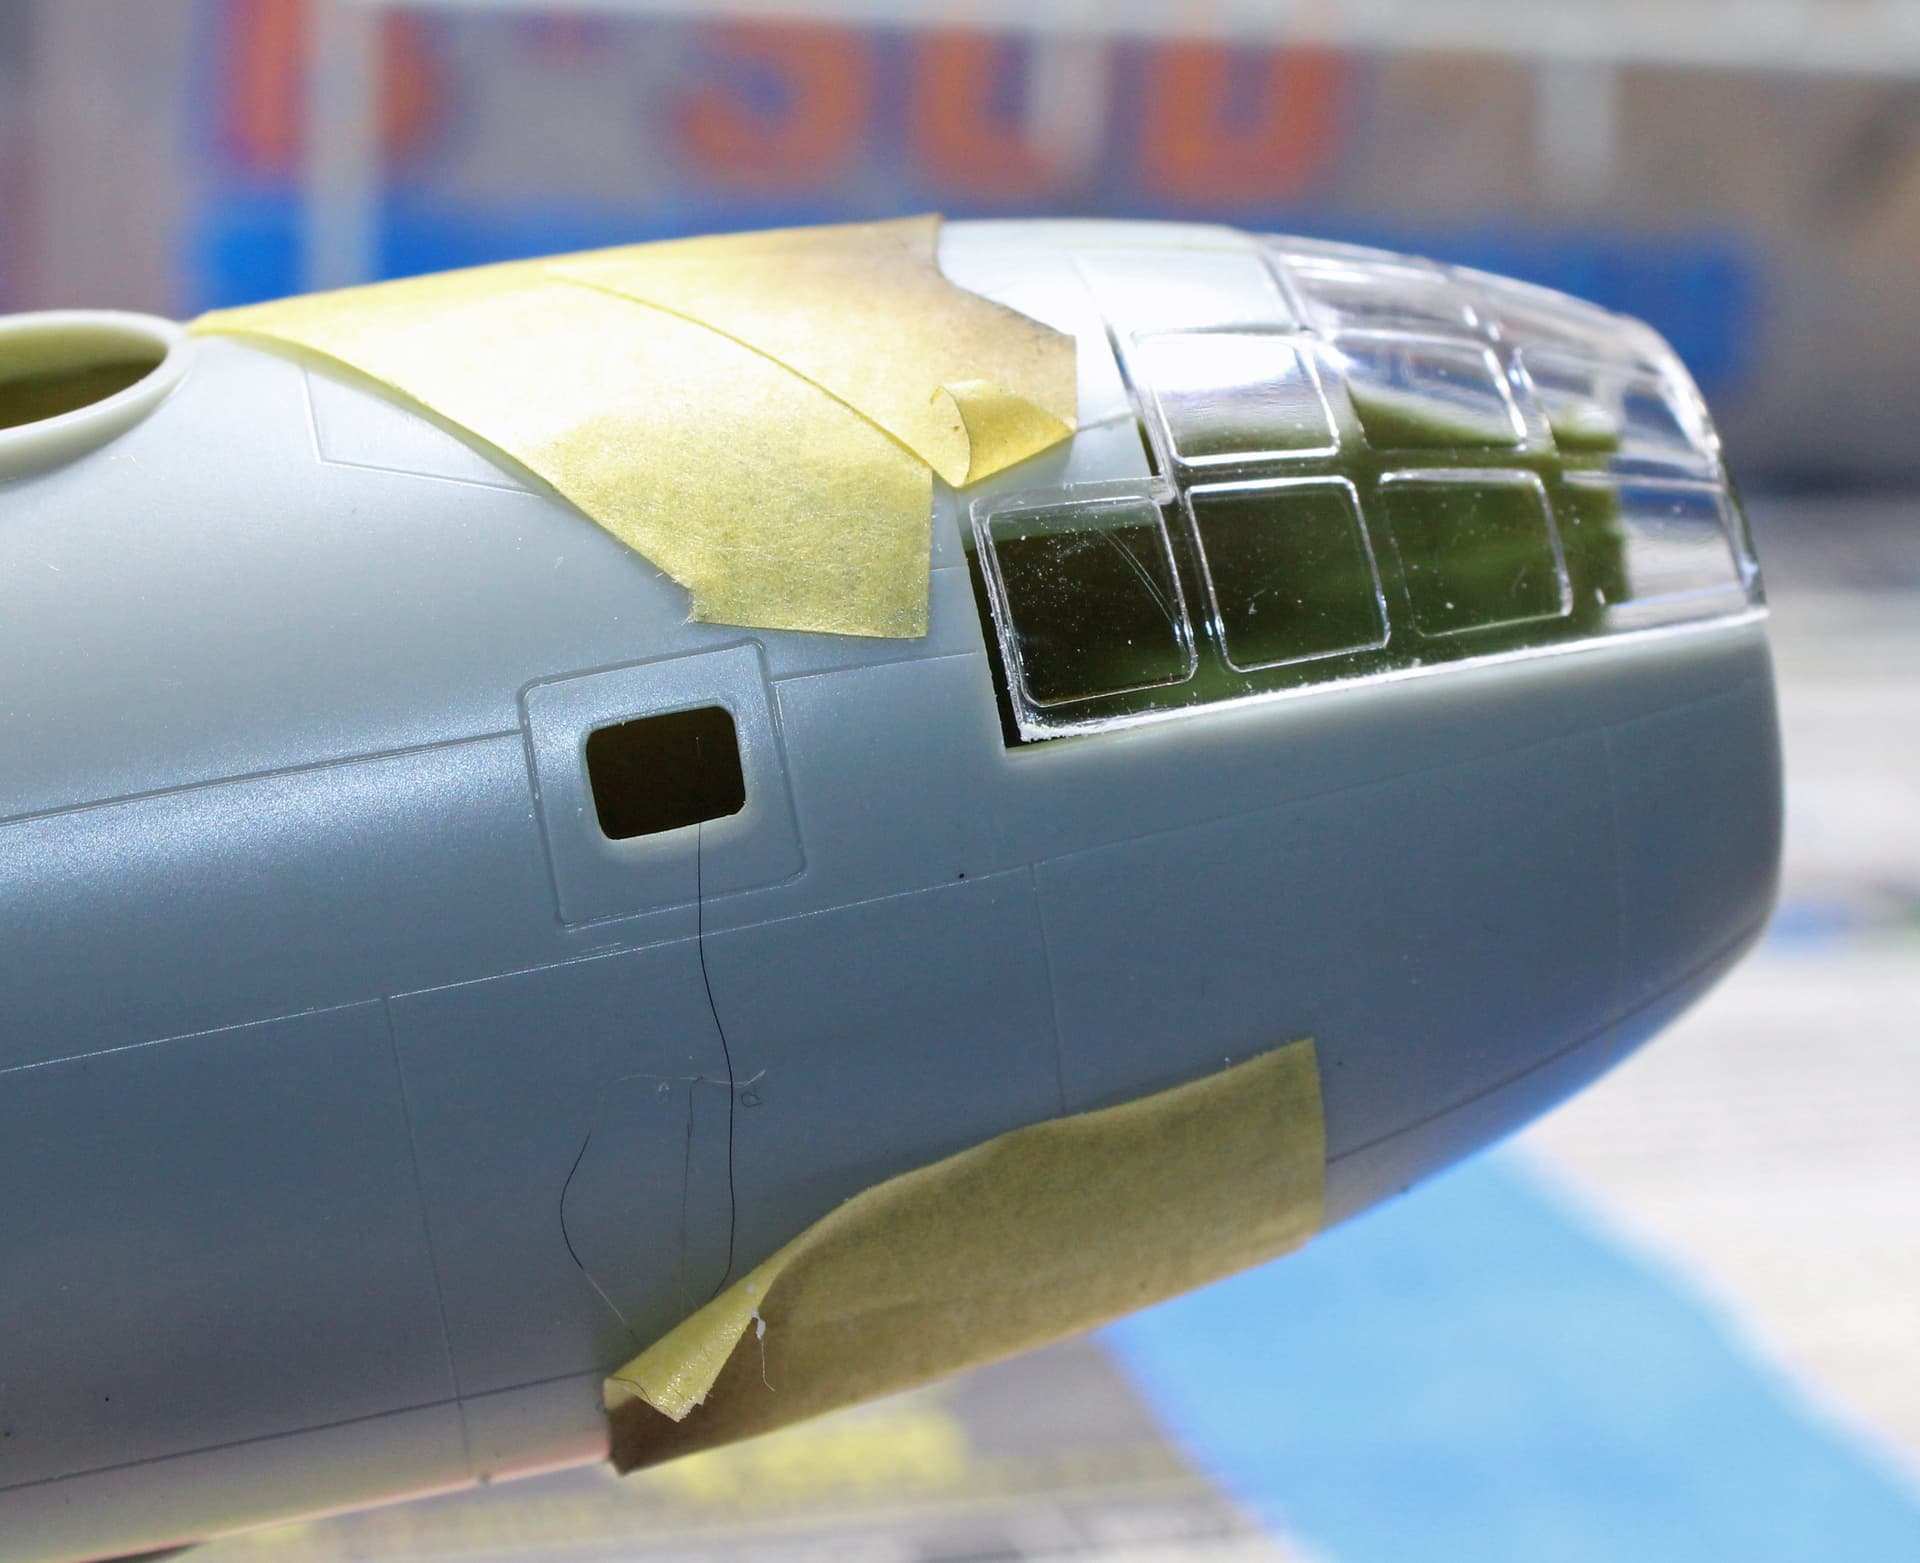
One thing to watch for is the fit of the canopy to the upper fuselage. IIRC, the fuselage roof needs to be tweaked to sit flush with the canopy. On the box side of Enola Gay, you can see where the guy who built the model cut the roof to angle it down.
Thanks for that info. I was suspecting that would be the case when I watched a Youtube video yesterday of someone who built this B-50. He didn’t say anything specifically about the canopy fit, but I noted in the photos of his build that the canopy didn’t look quite right.
I’ll definitely be dry-fitting that thing to see what I will need to do to get it on flush.
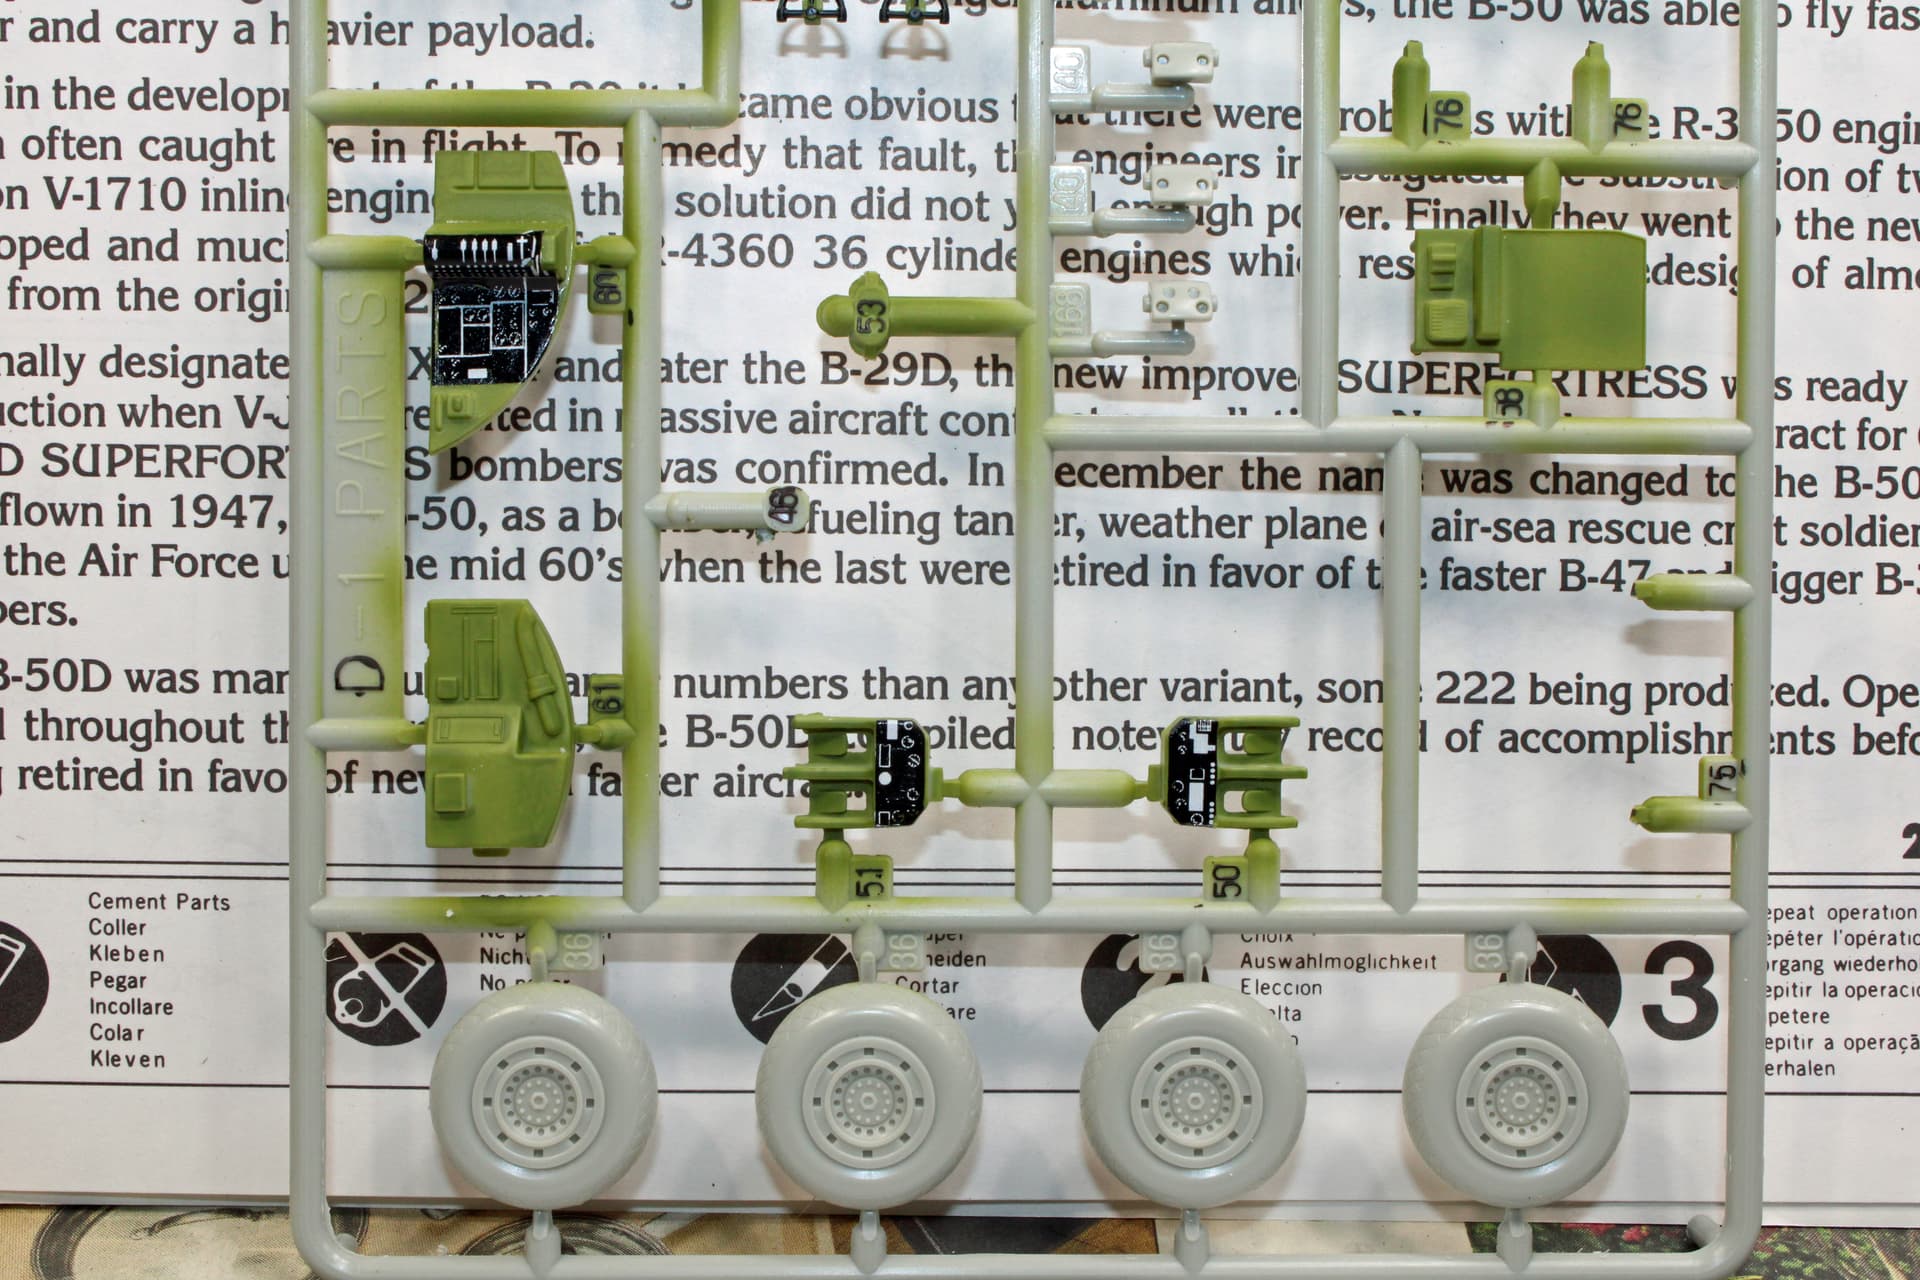
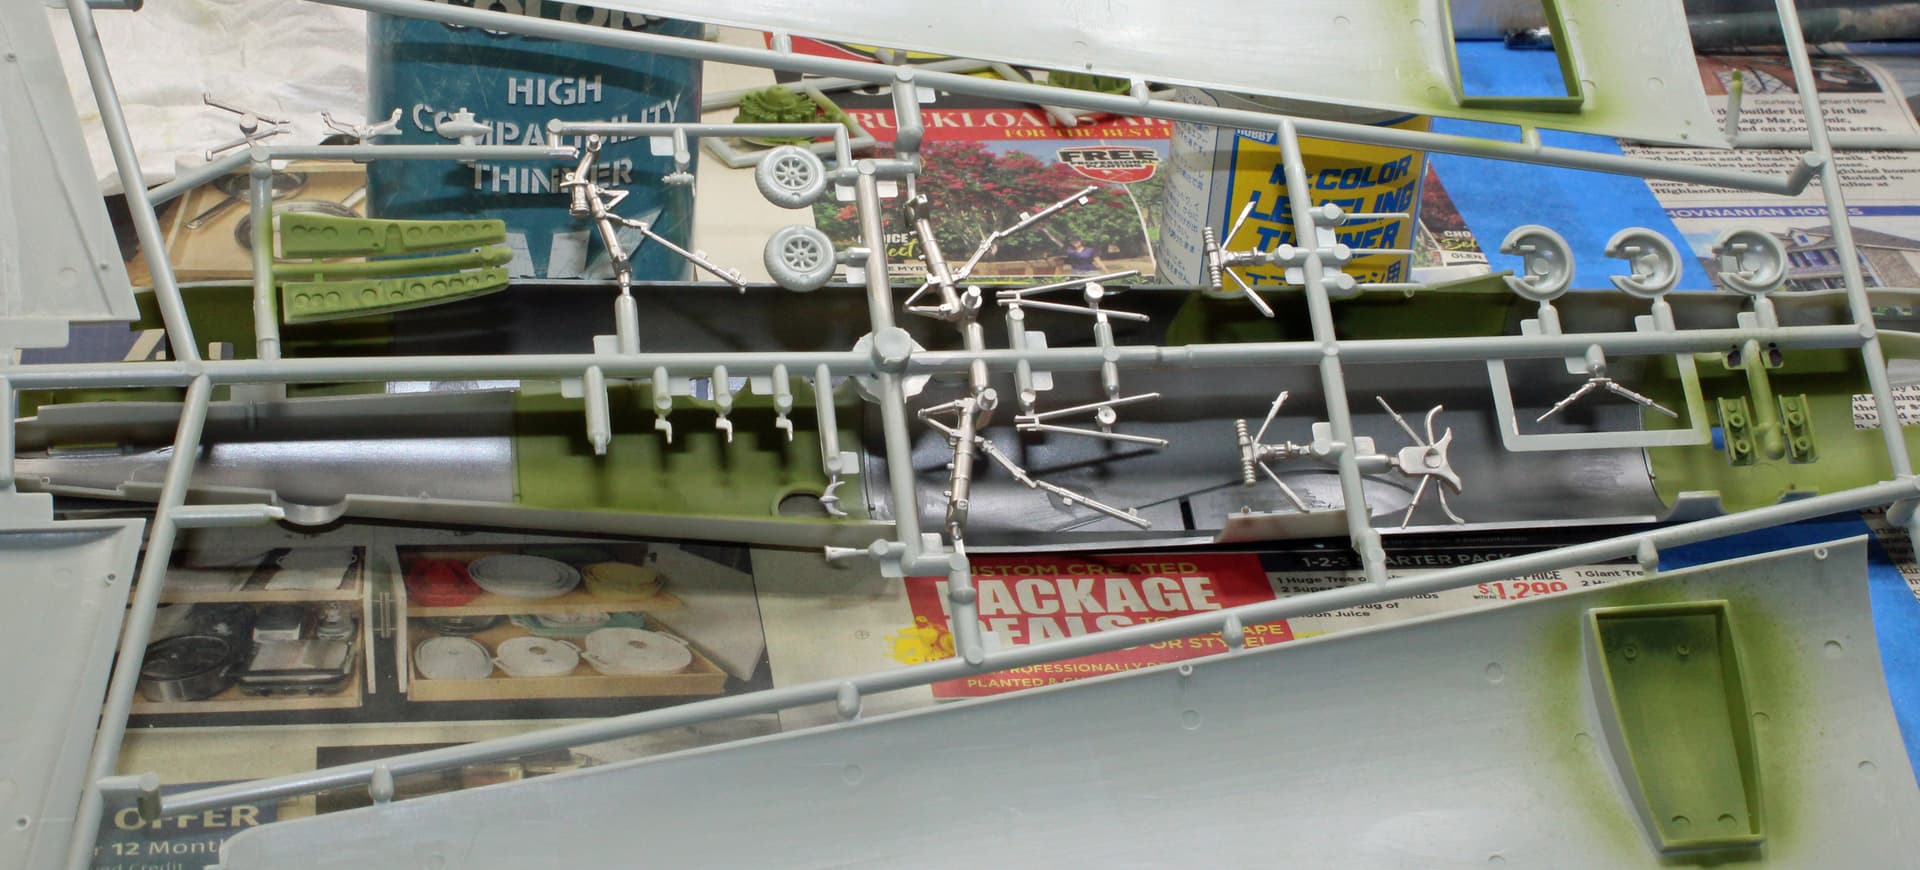
Seats are completed with the addition of the Eduard PE seatbelt set. The rear compartment is complete. I painted it just so there can be some color visible if one is to look through the observation blister, but otherwise I opted not to add PE belts to those seats as I doubt the effort would have been worth it. Other interior parts are painted interior green, with decals added for the IPs.
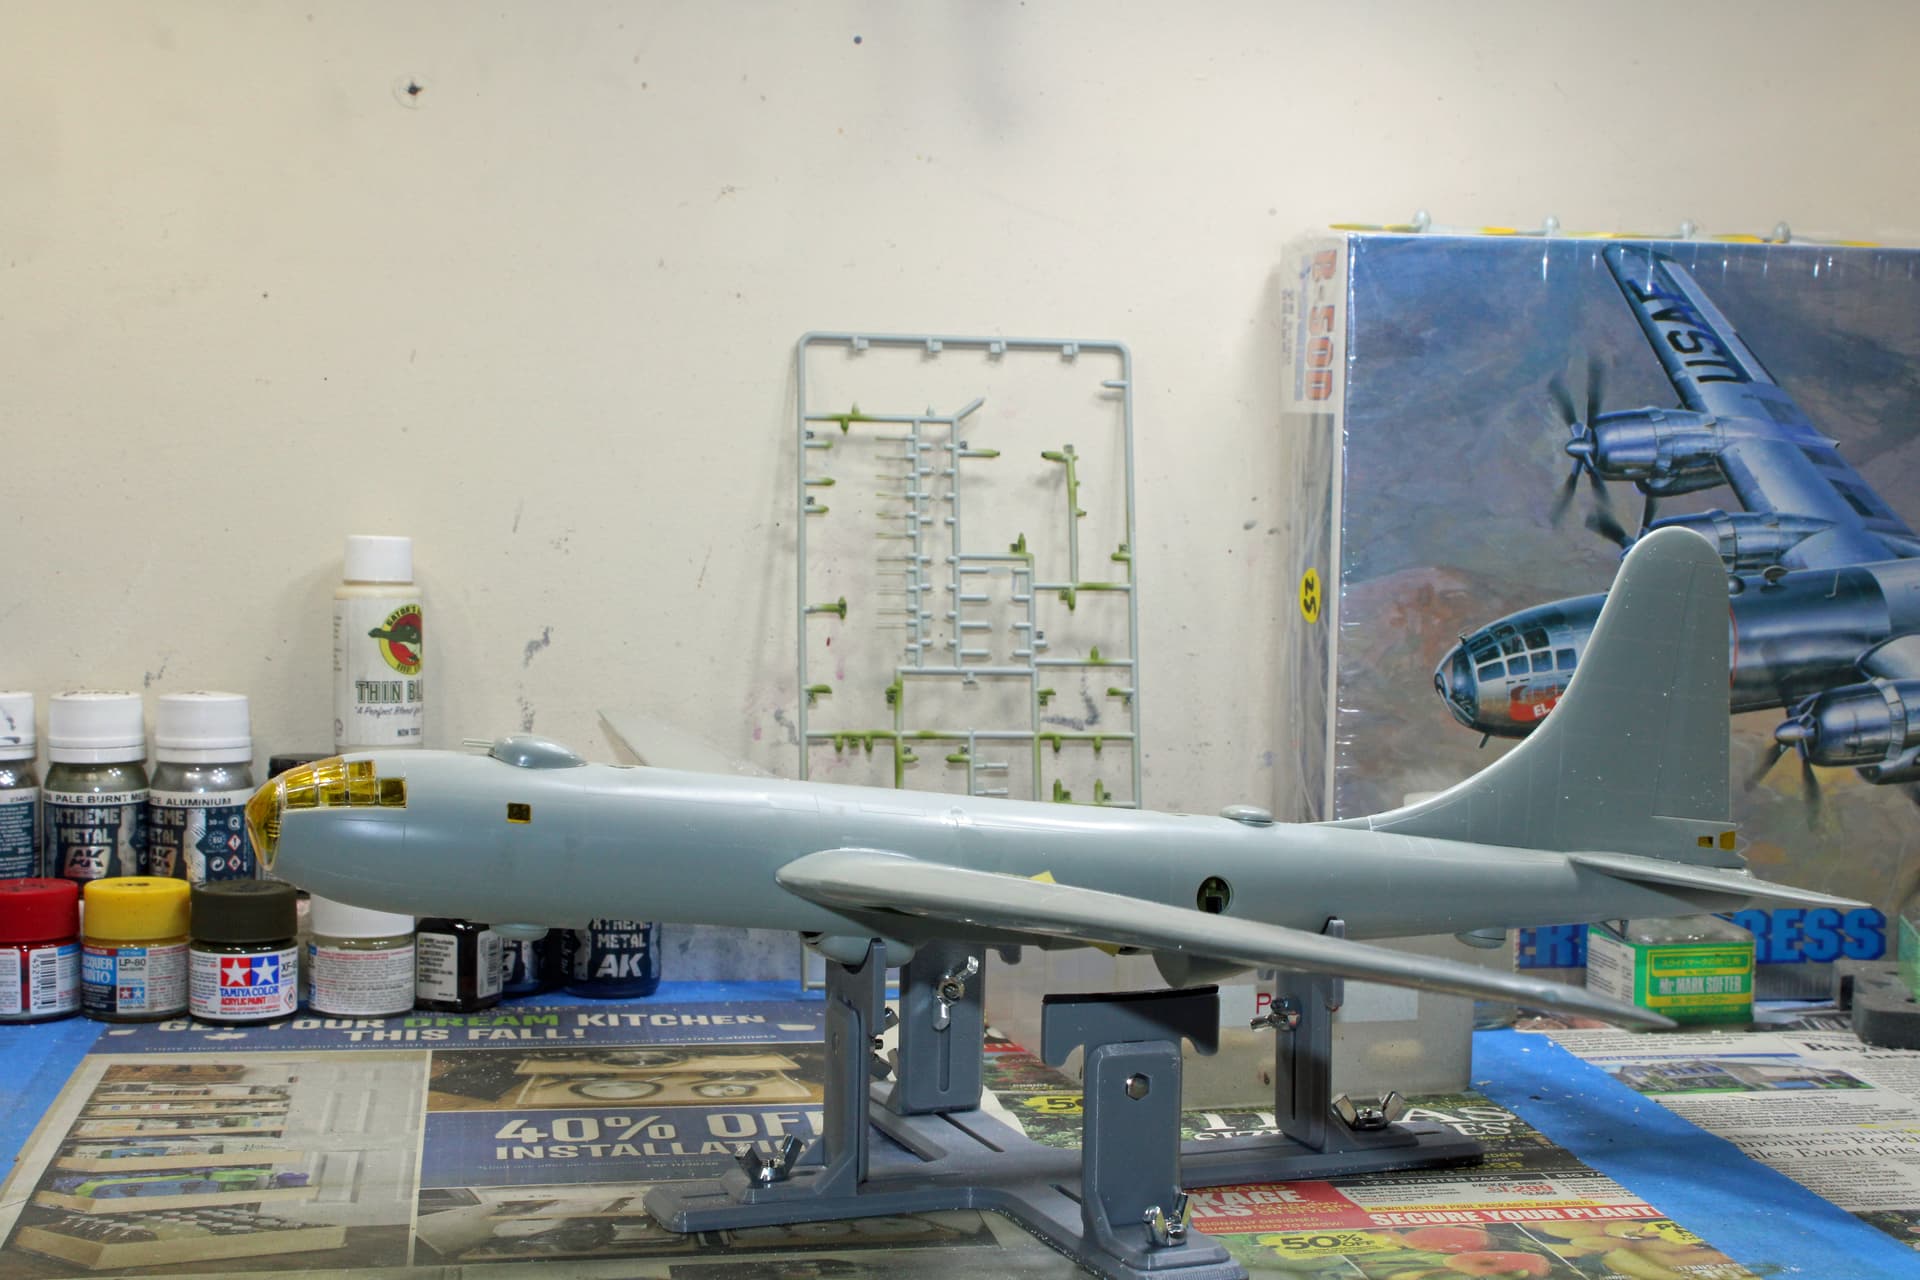
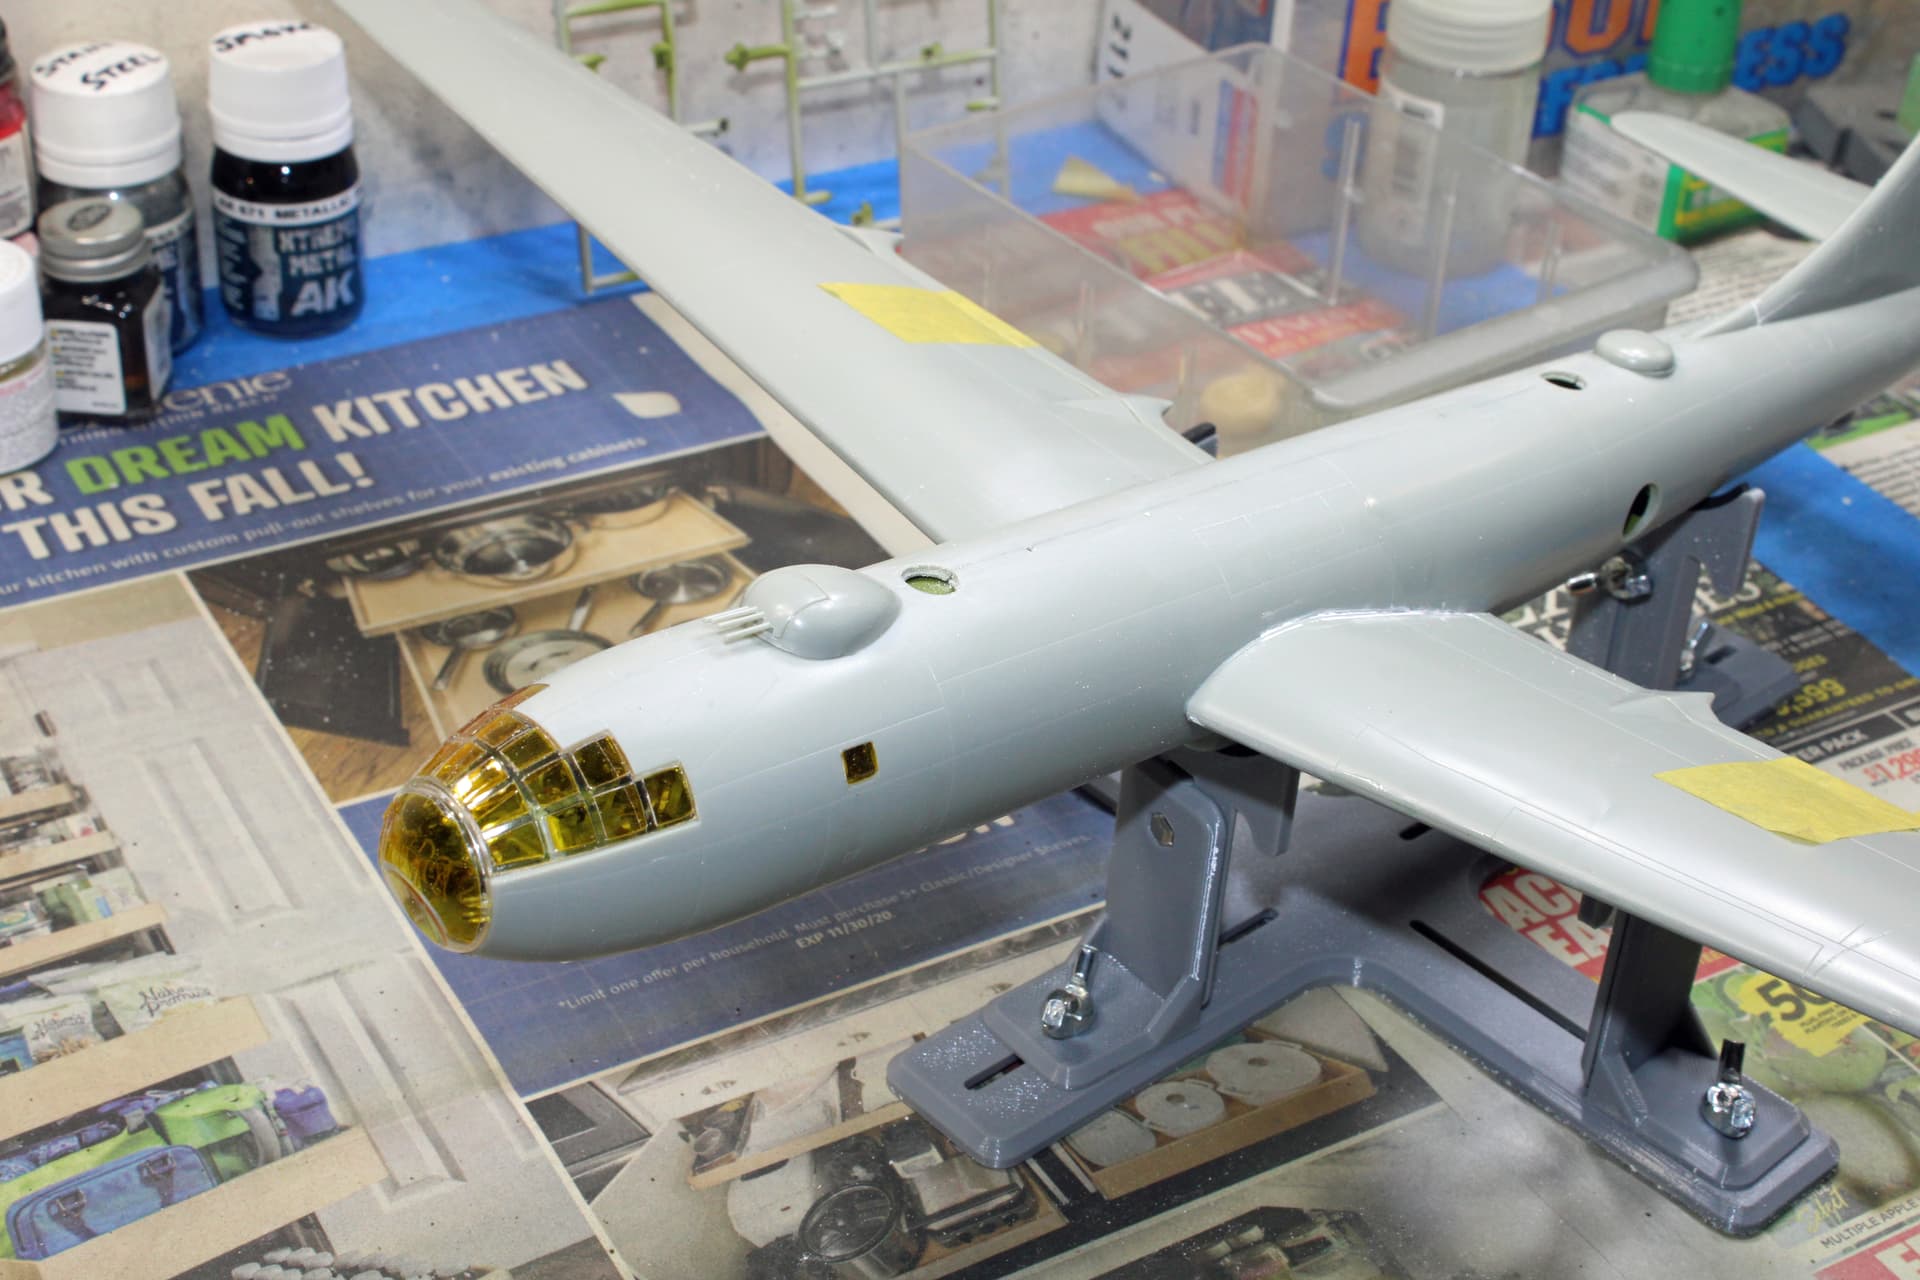
Did a test fit on the canopy to the fuselage. I’m mostly happy with the fit, although on the starboard side there is a bit of an area at the rear lower glass panel that is not entirely flush, so I’ll have to take my time getting that into position properly. The rest of it looks good to my eye, but let me know if anyone sees something I’m missing.
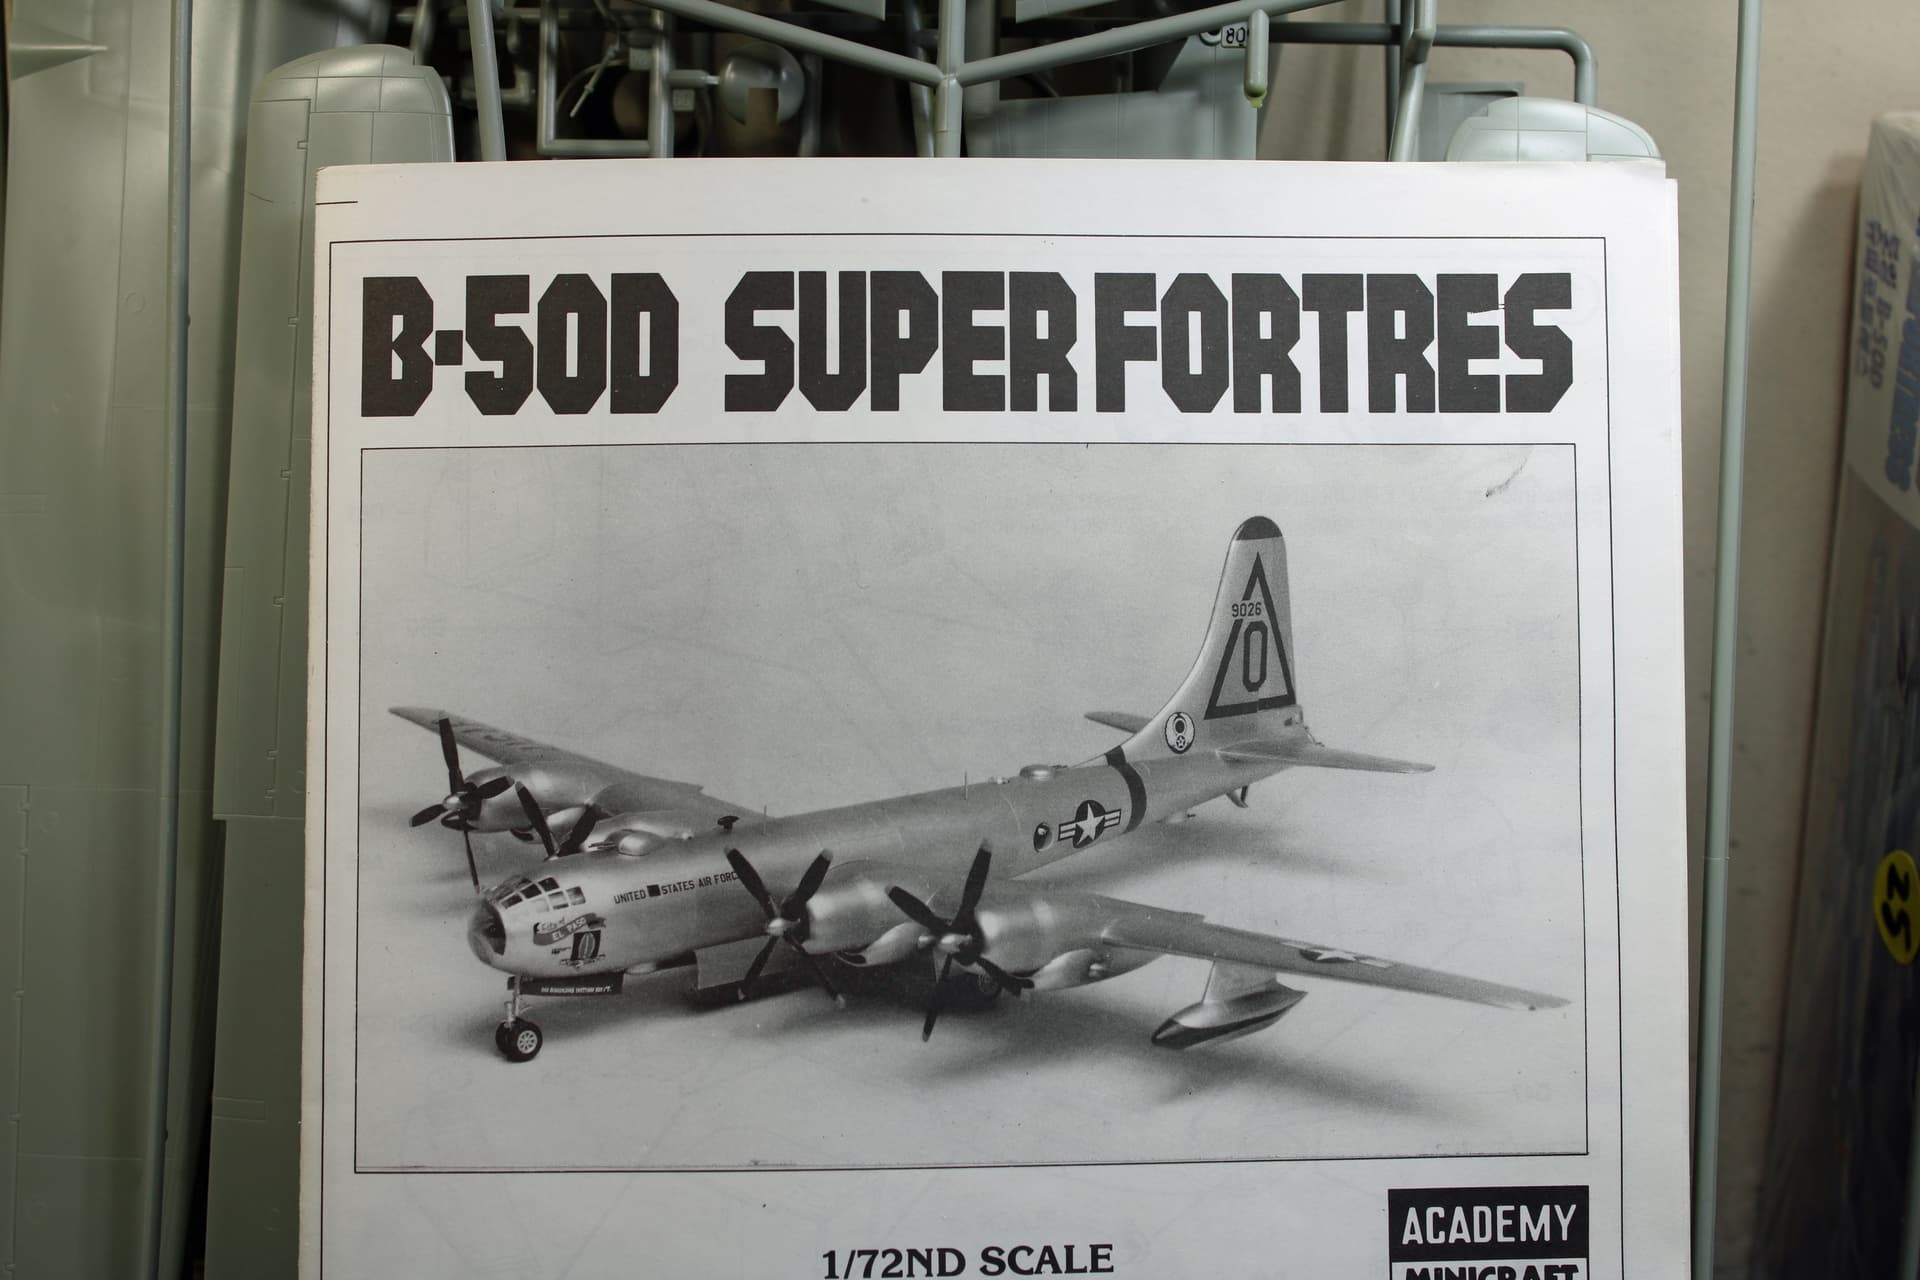
Finally, the instructions amuse me. Quality control is job 1,350 apparently. Looks like a font-size problem as the word Superfortress is spelled correctly everywhere else.
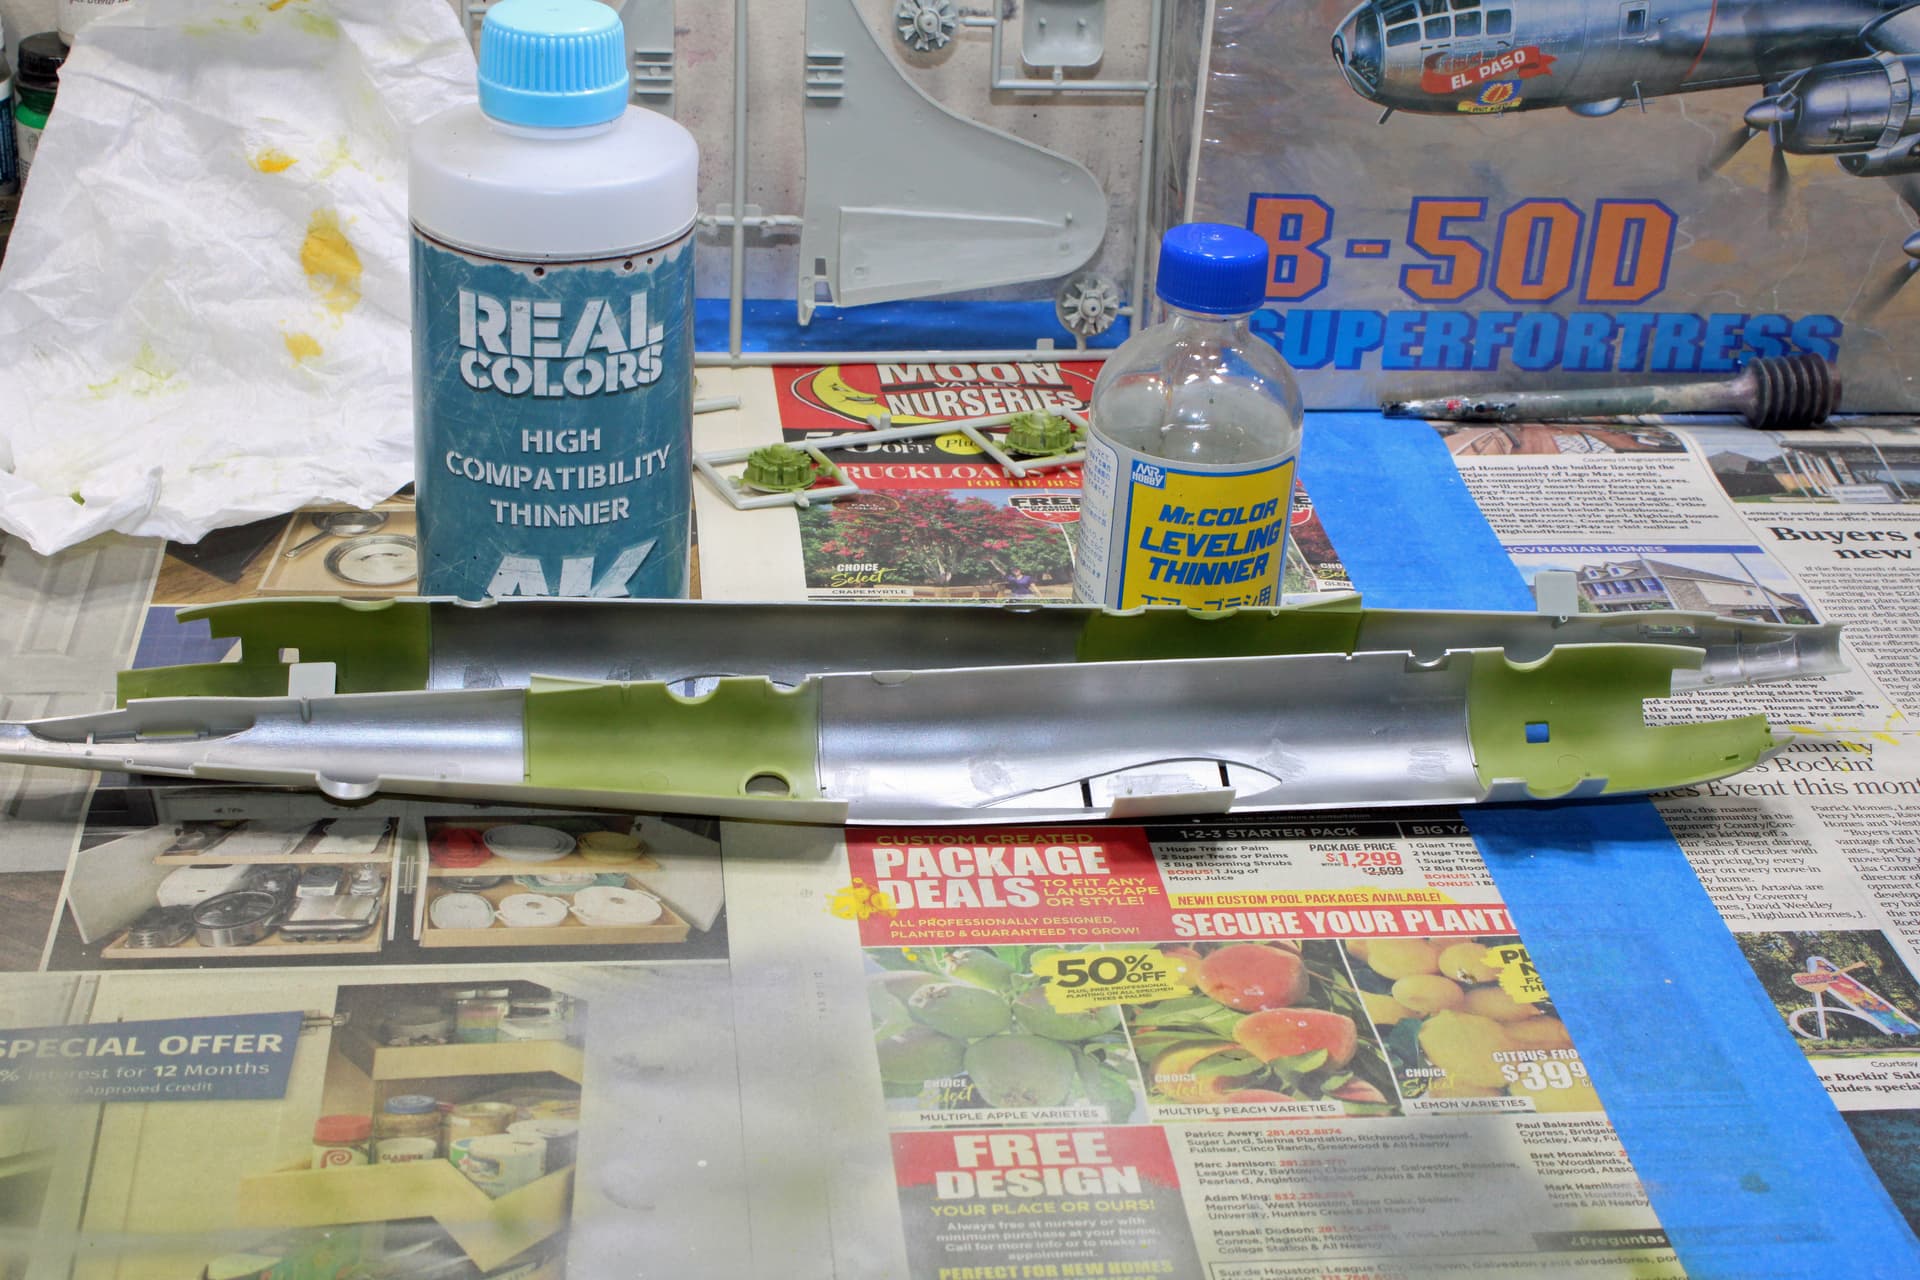
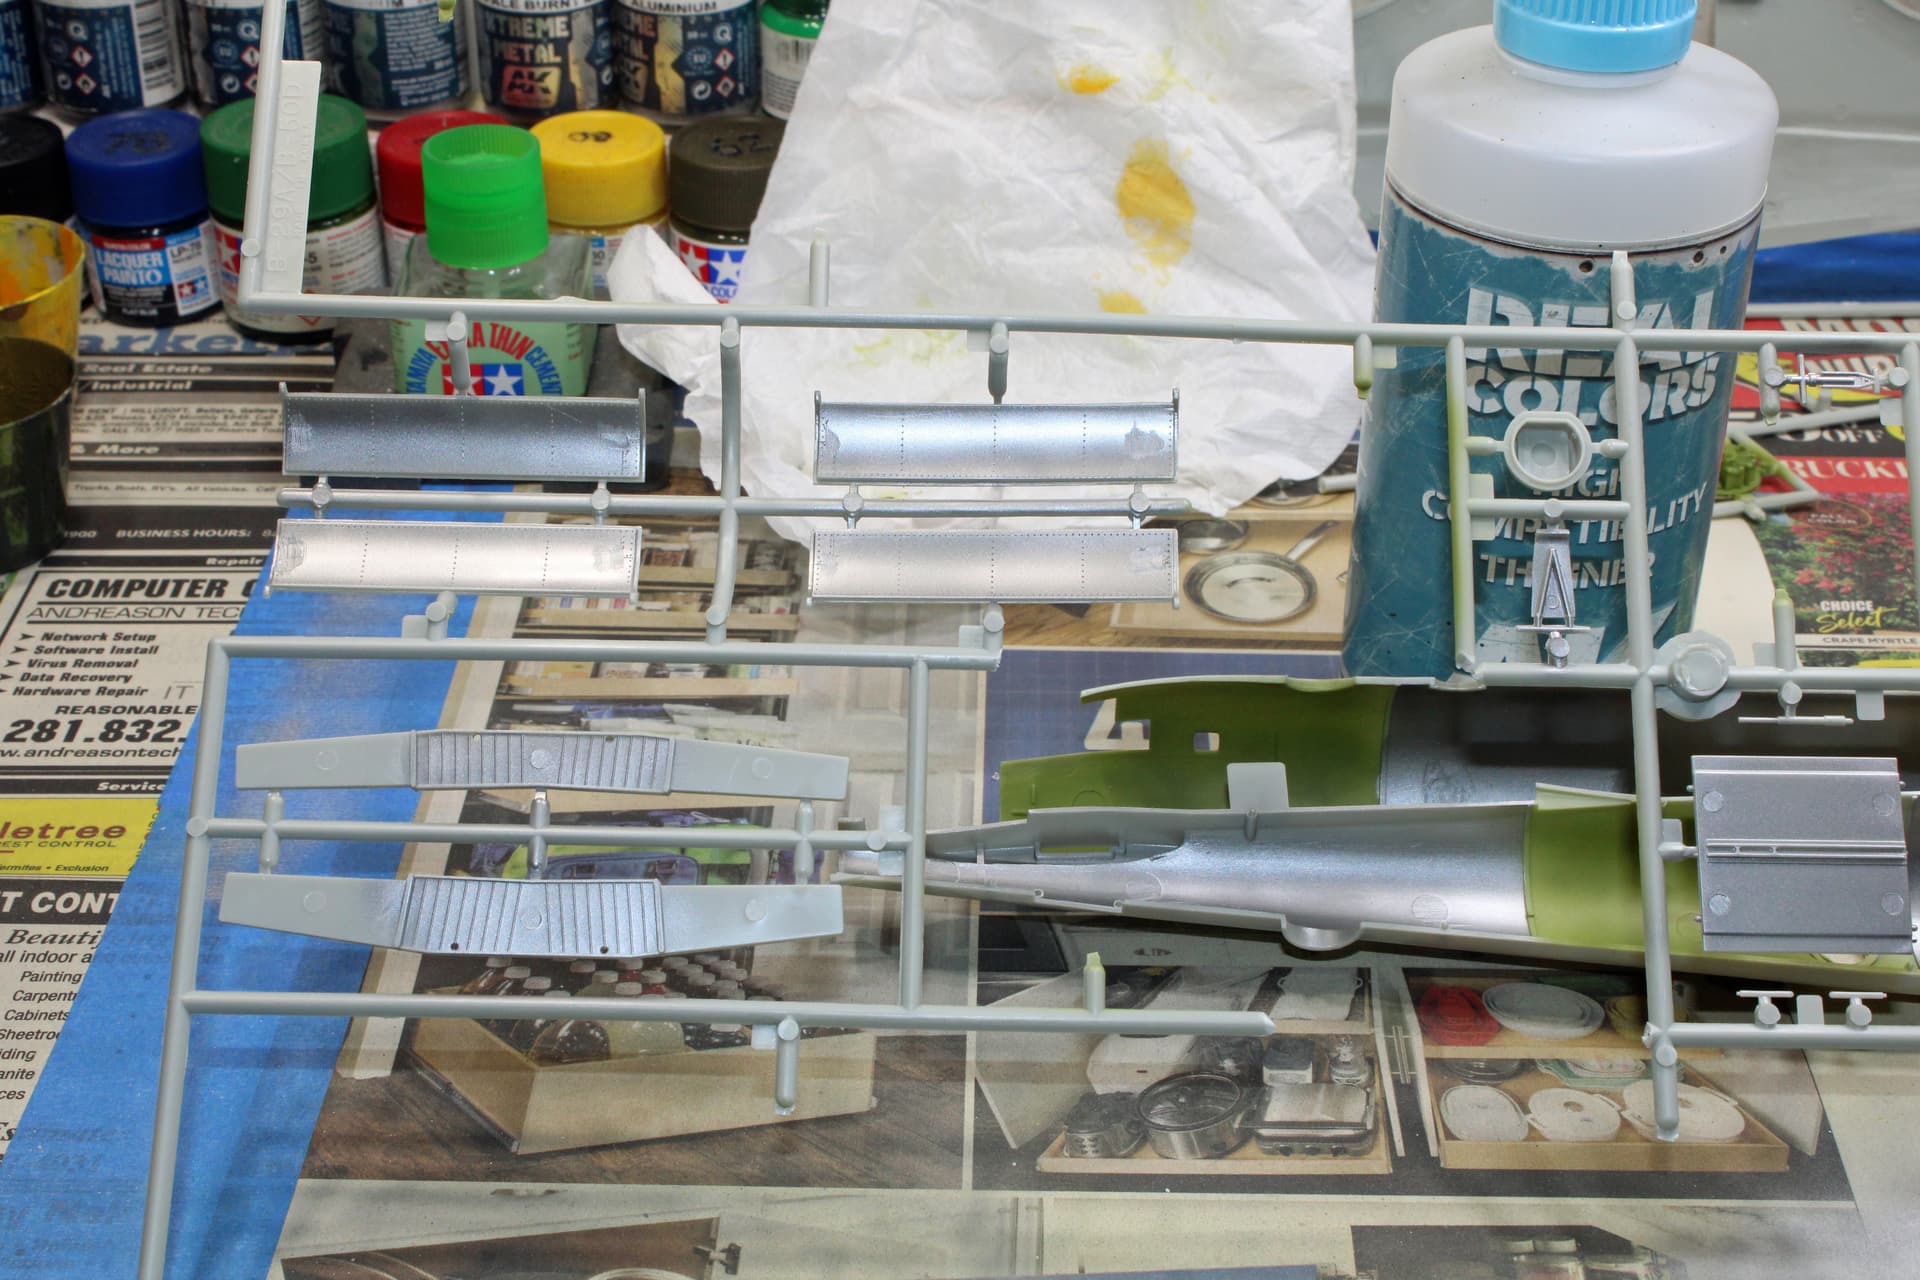
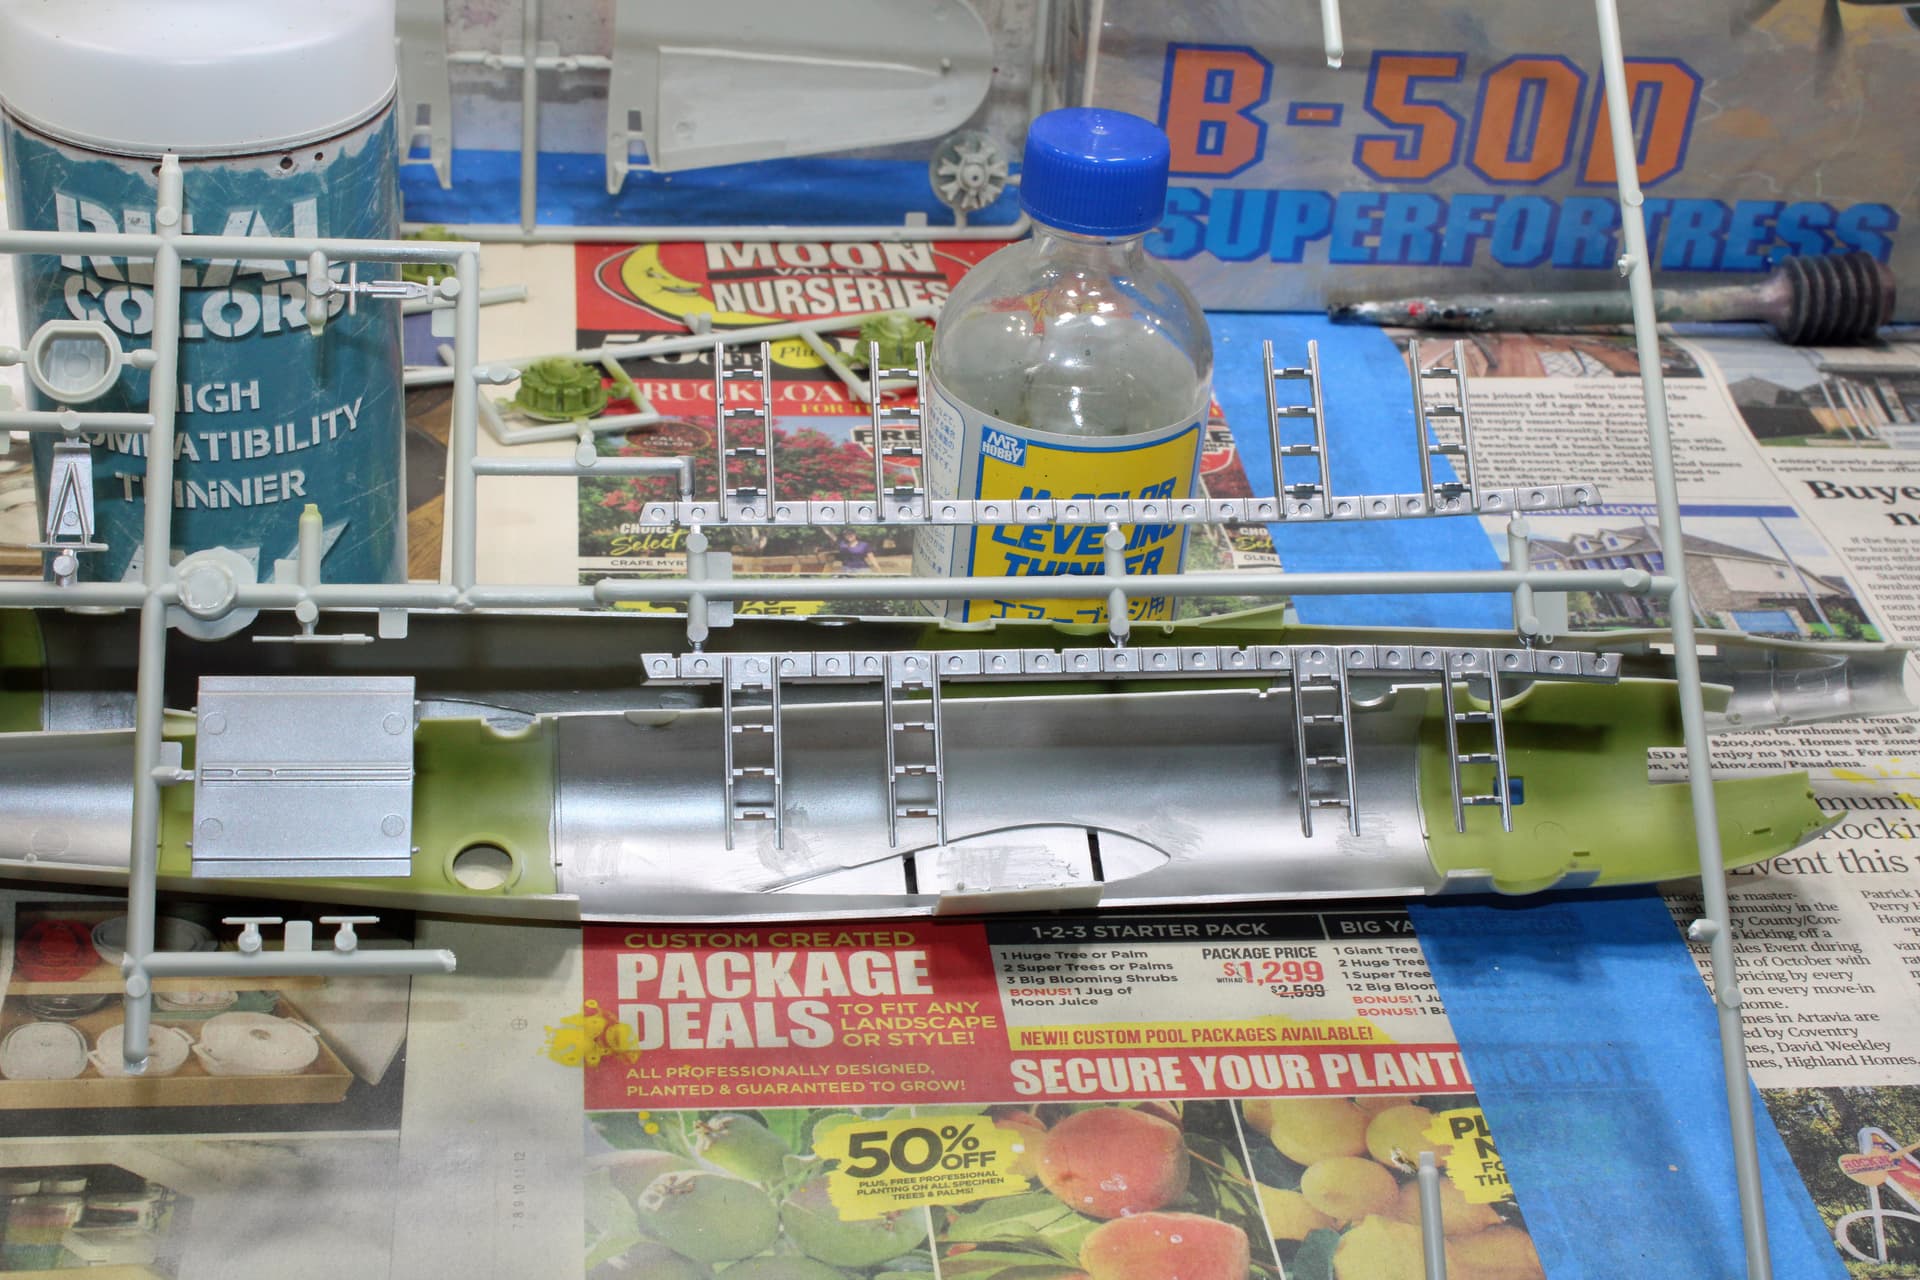
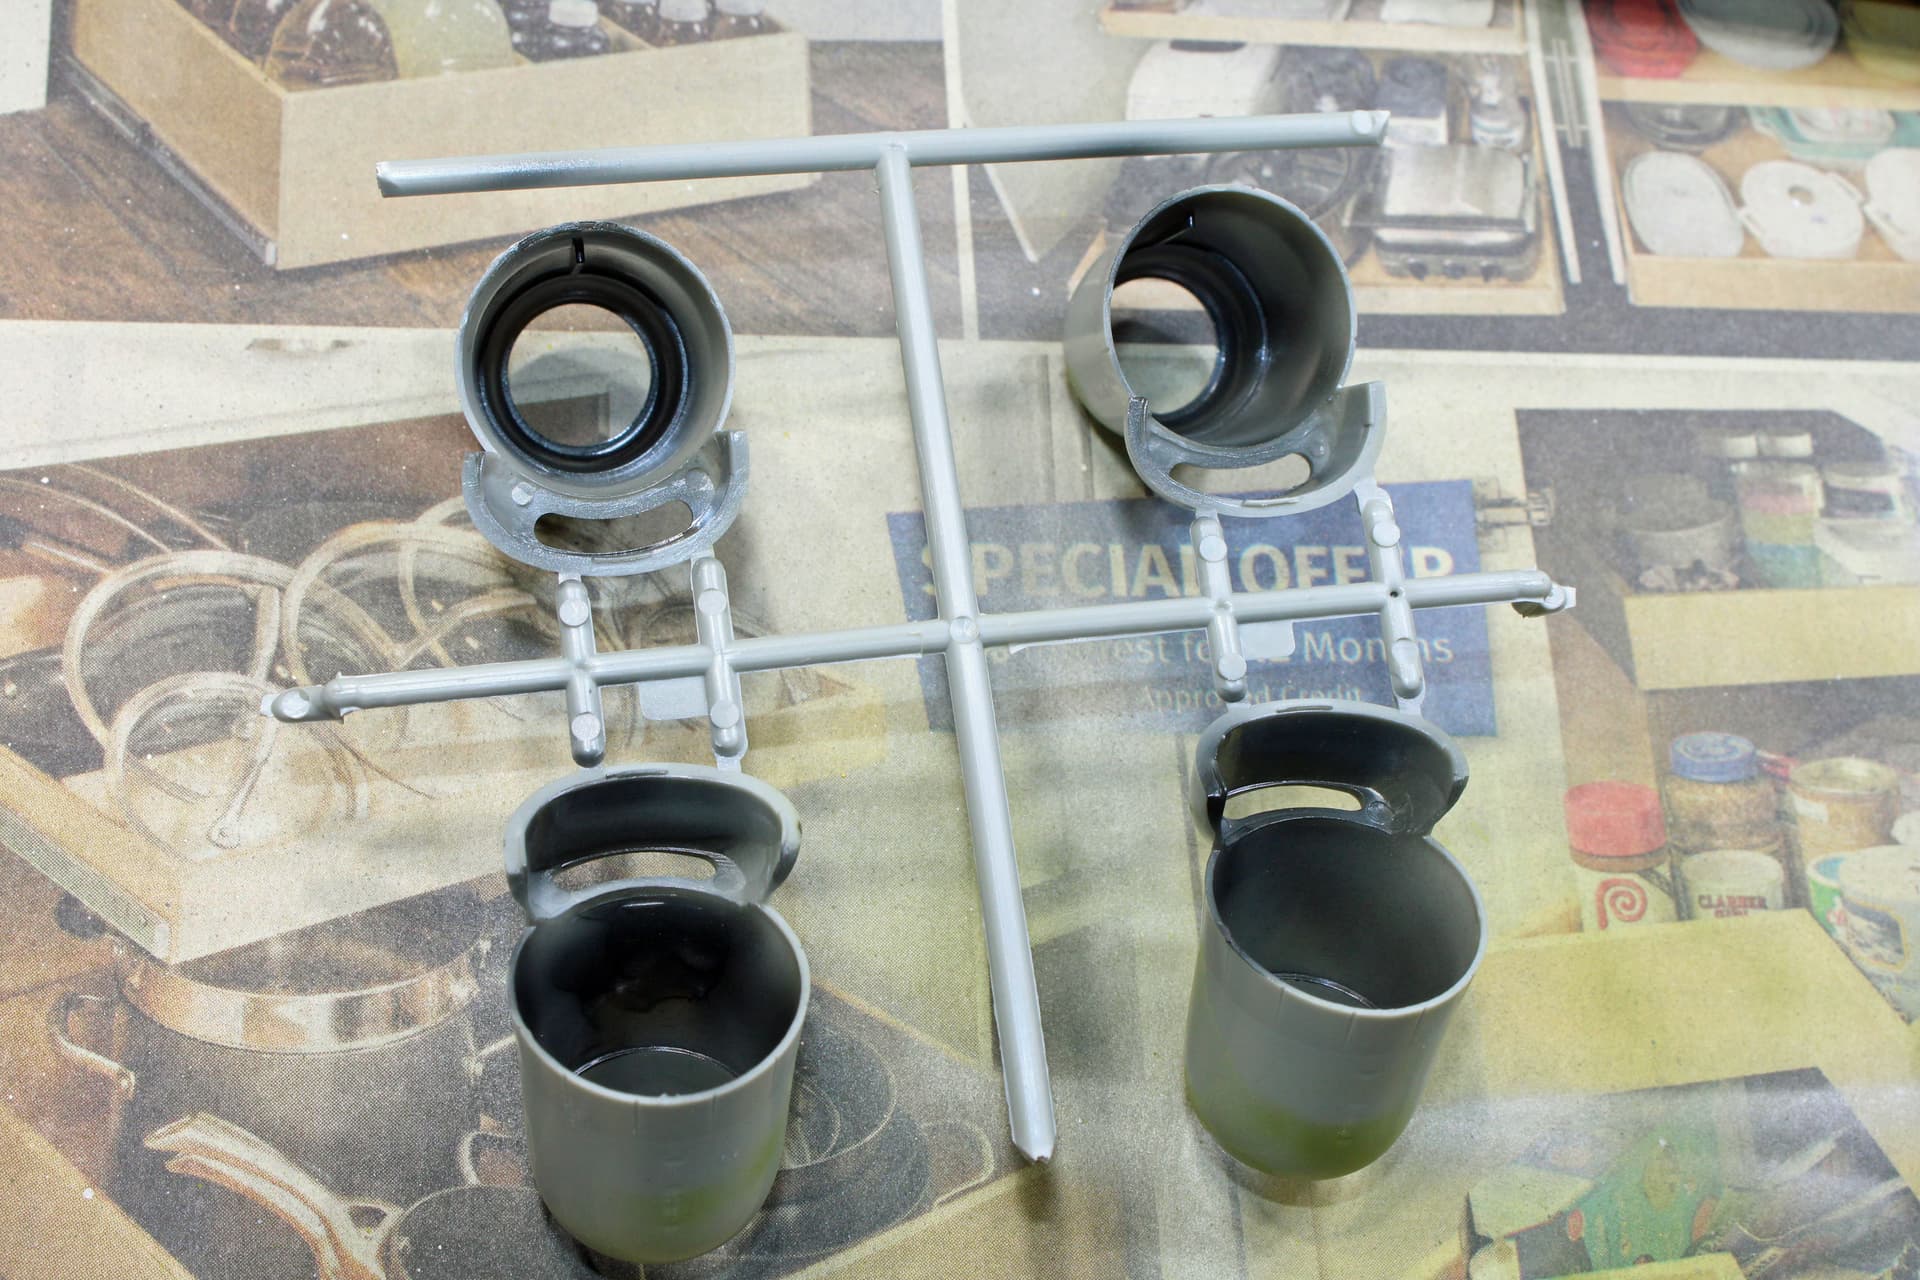
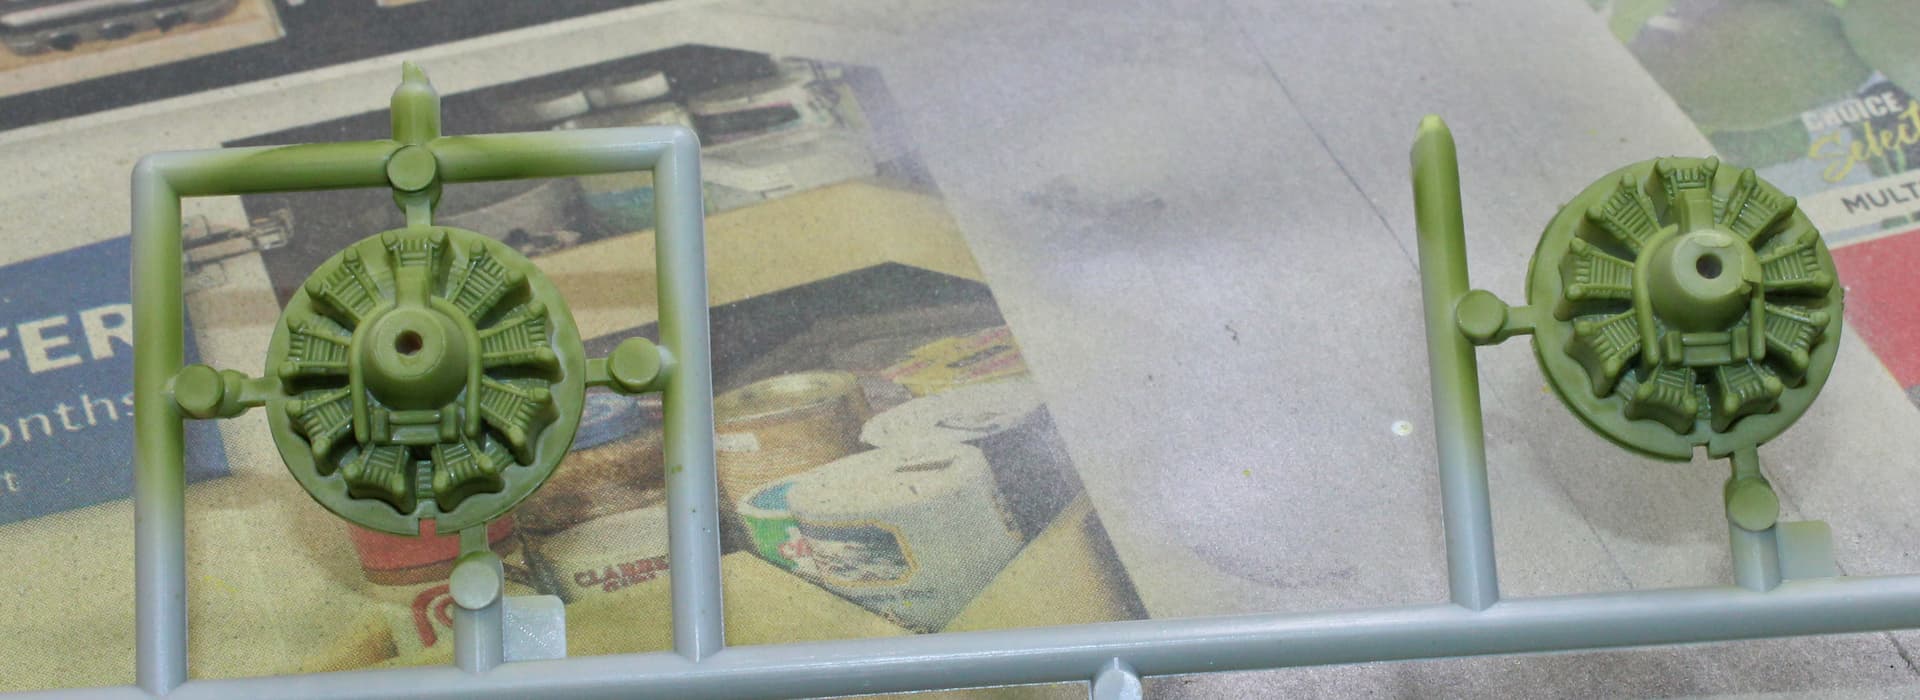
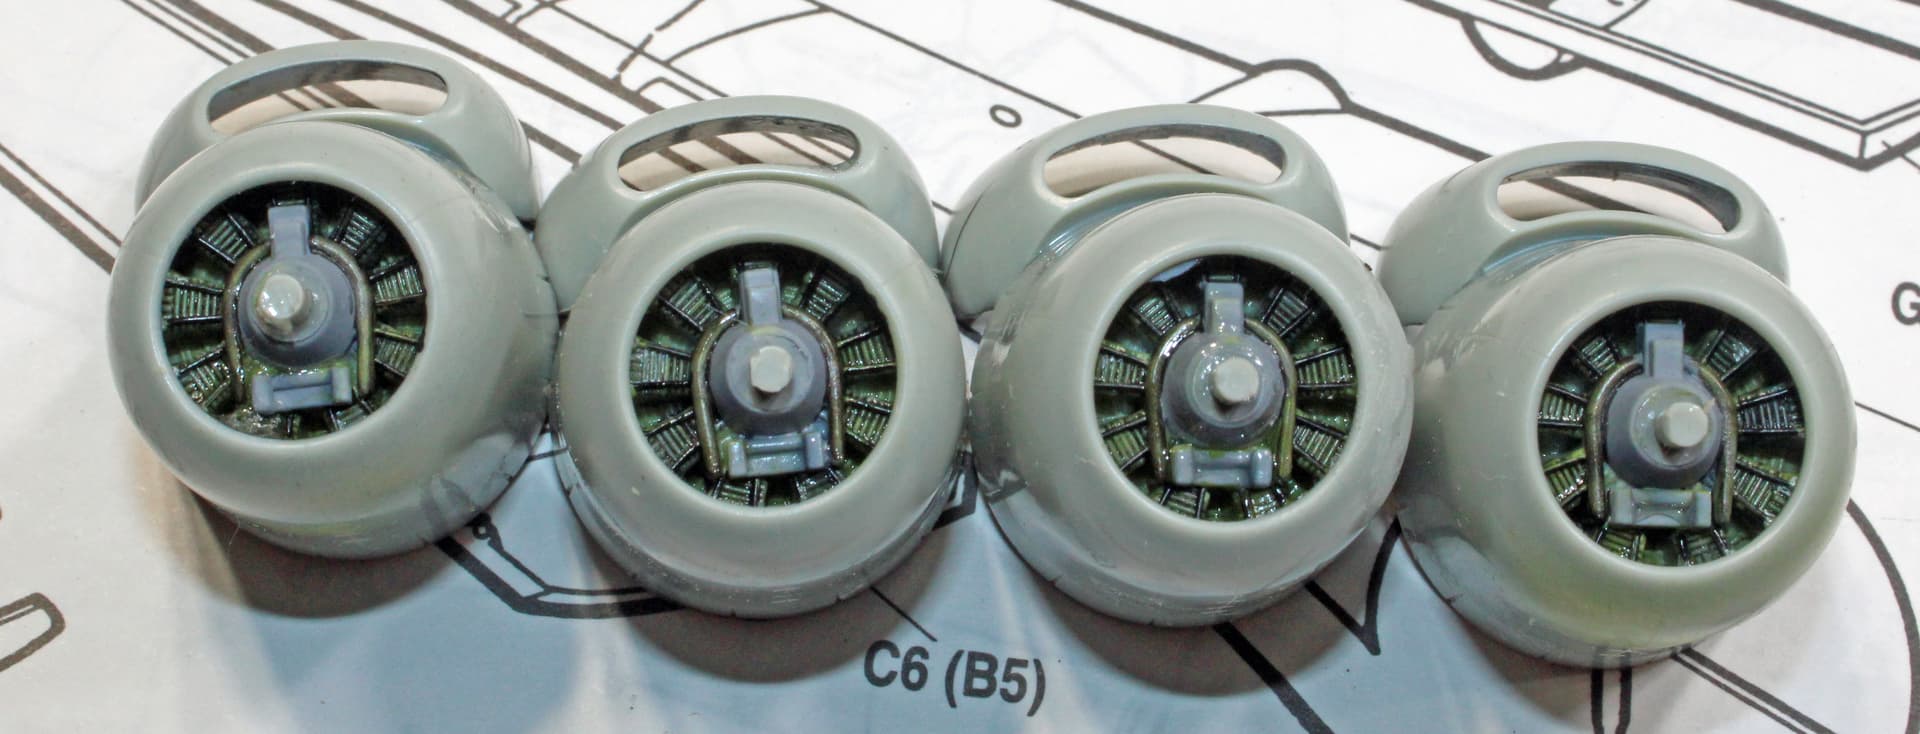
It was a busy paint day at the bench today. I completed paint work on interior fuselage surfaces, got started with the bombs, engines, and props, and did the interior of the cowlings and intakes. I have not found a lot of good reference photos for this aircraft; there are loads of photos available for the B-29 though. I even looked at how I built my big 1/48 Monogram B-29 (interior green in the bomb bay). I’m pretty sure that was accurate, but for the B-50, I’ve seen some museum examples with either interior green or aluminum in the bomb bay. I may be taking some artistic liberties with my choices, but I suppose if it turns out looking like a B-50 when I’m done, I won’t remember how I painted the interior (since much will not even be visible).
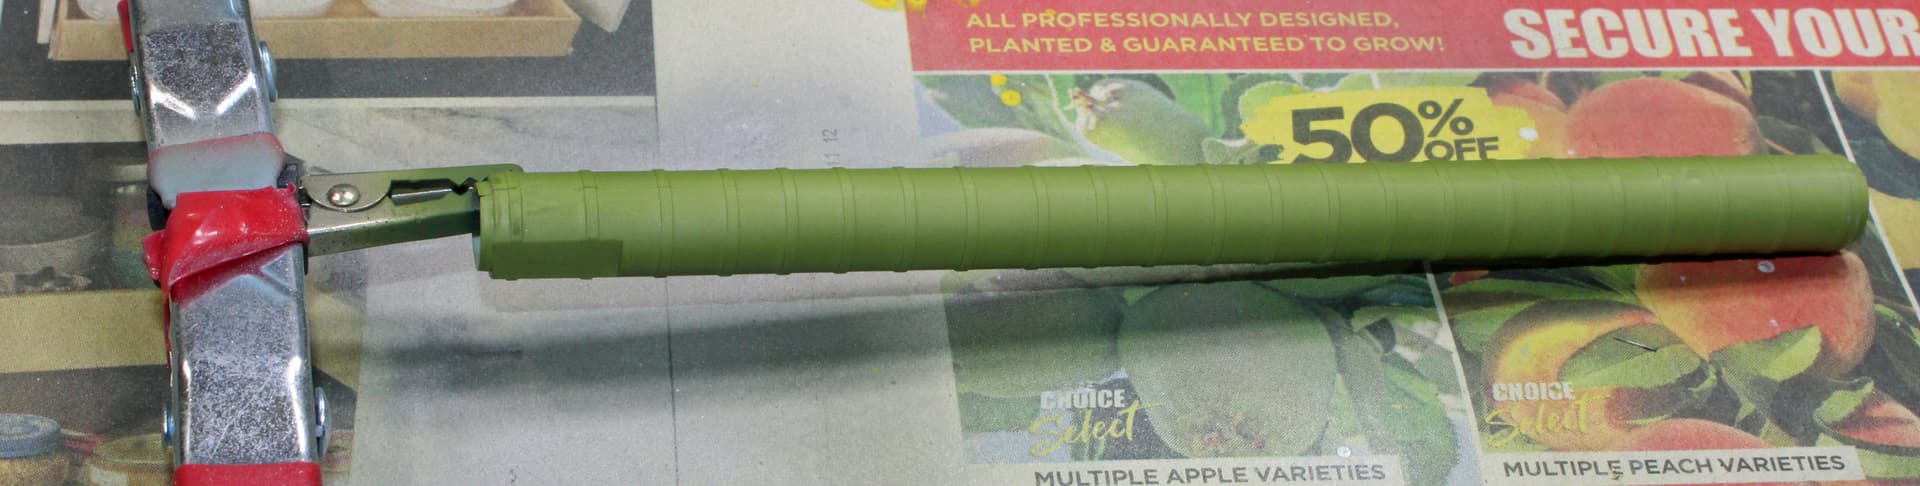
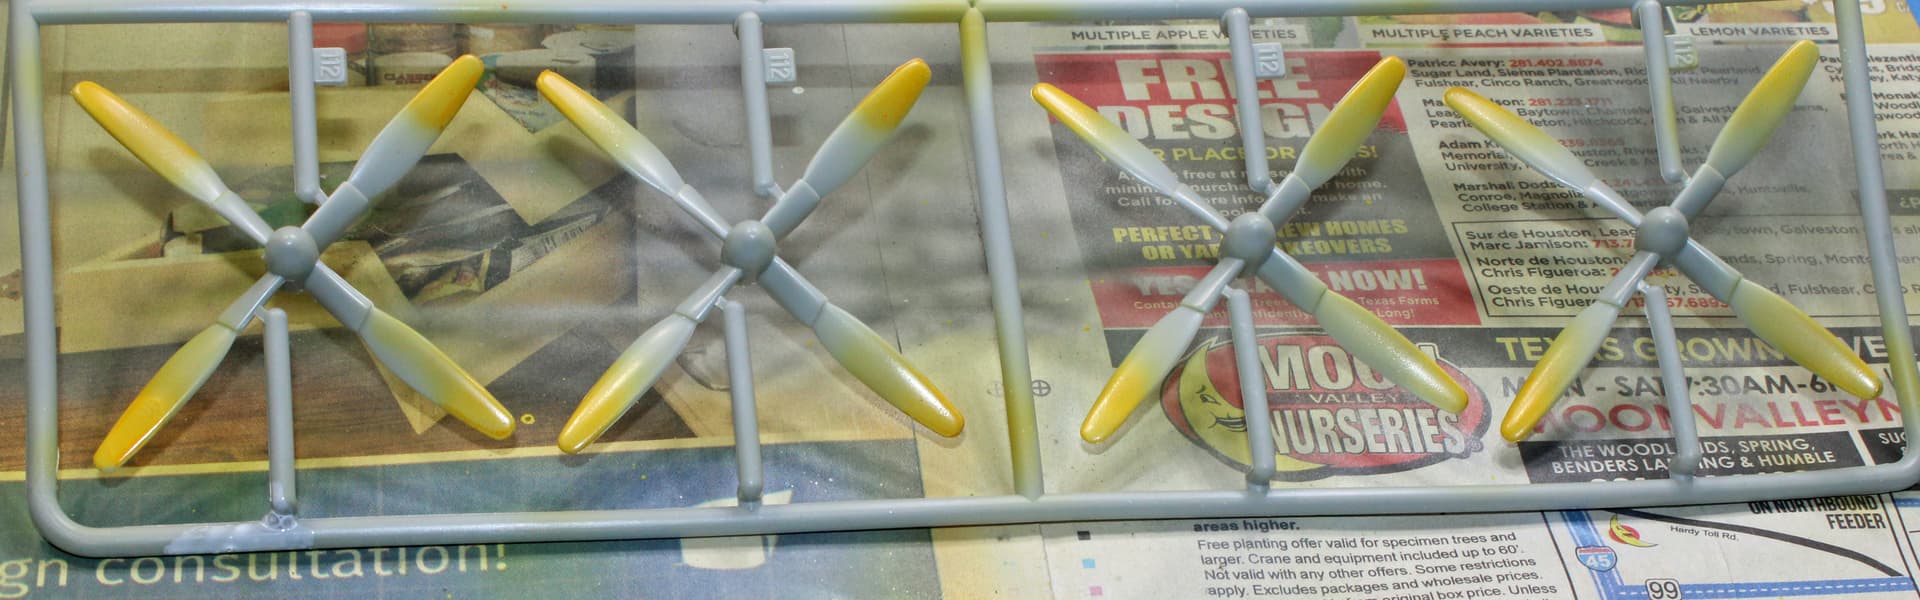
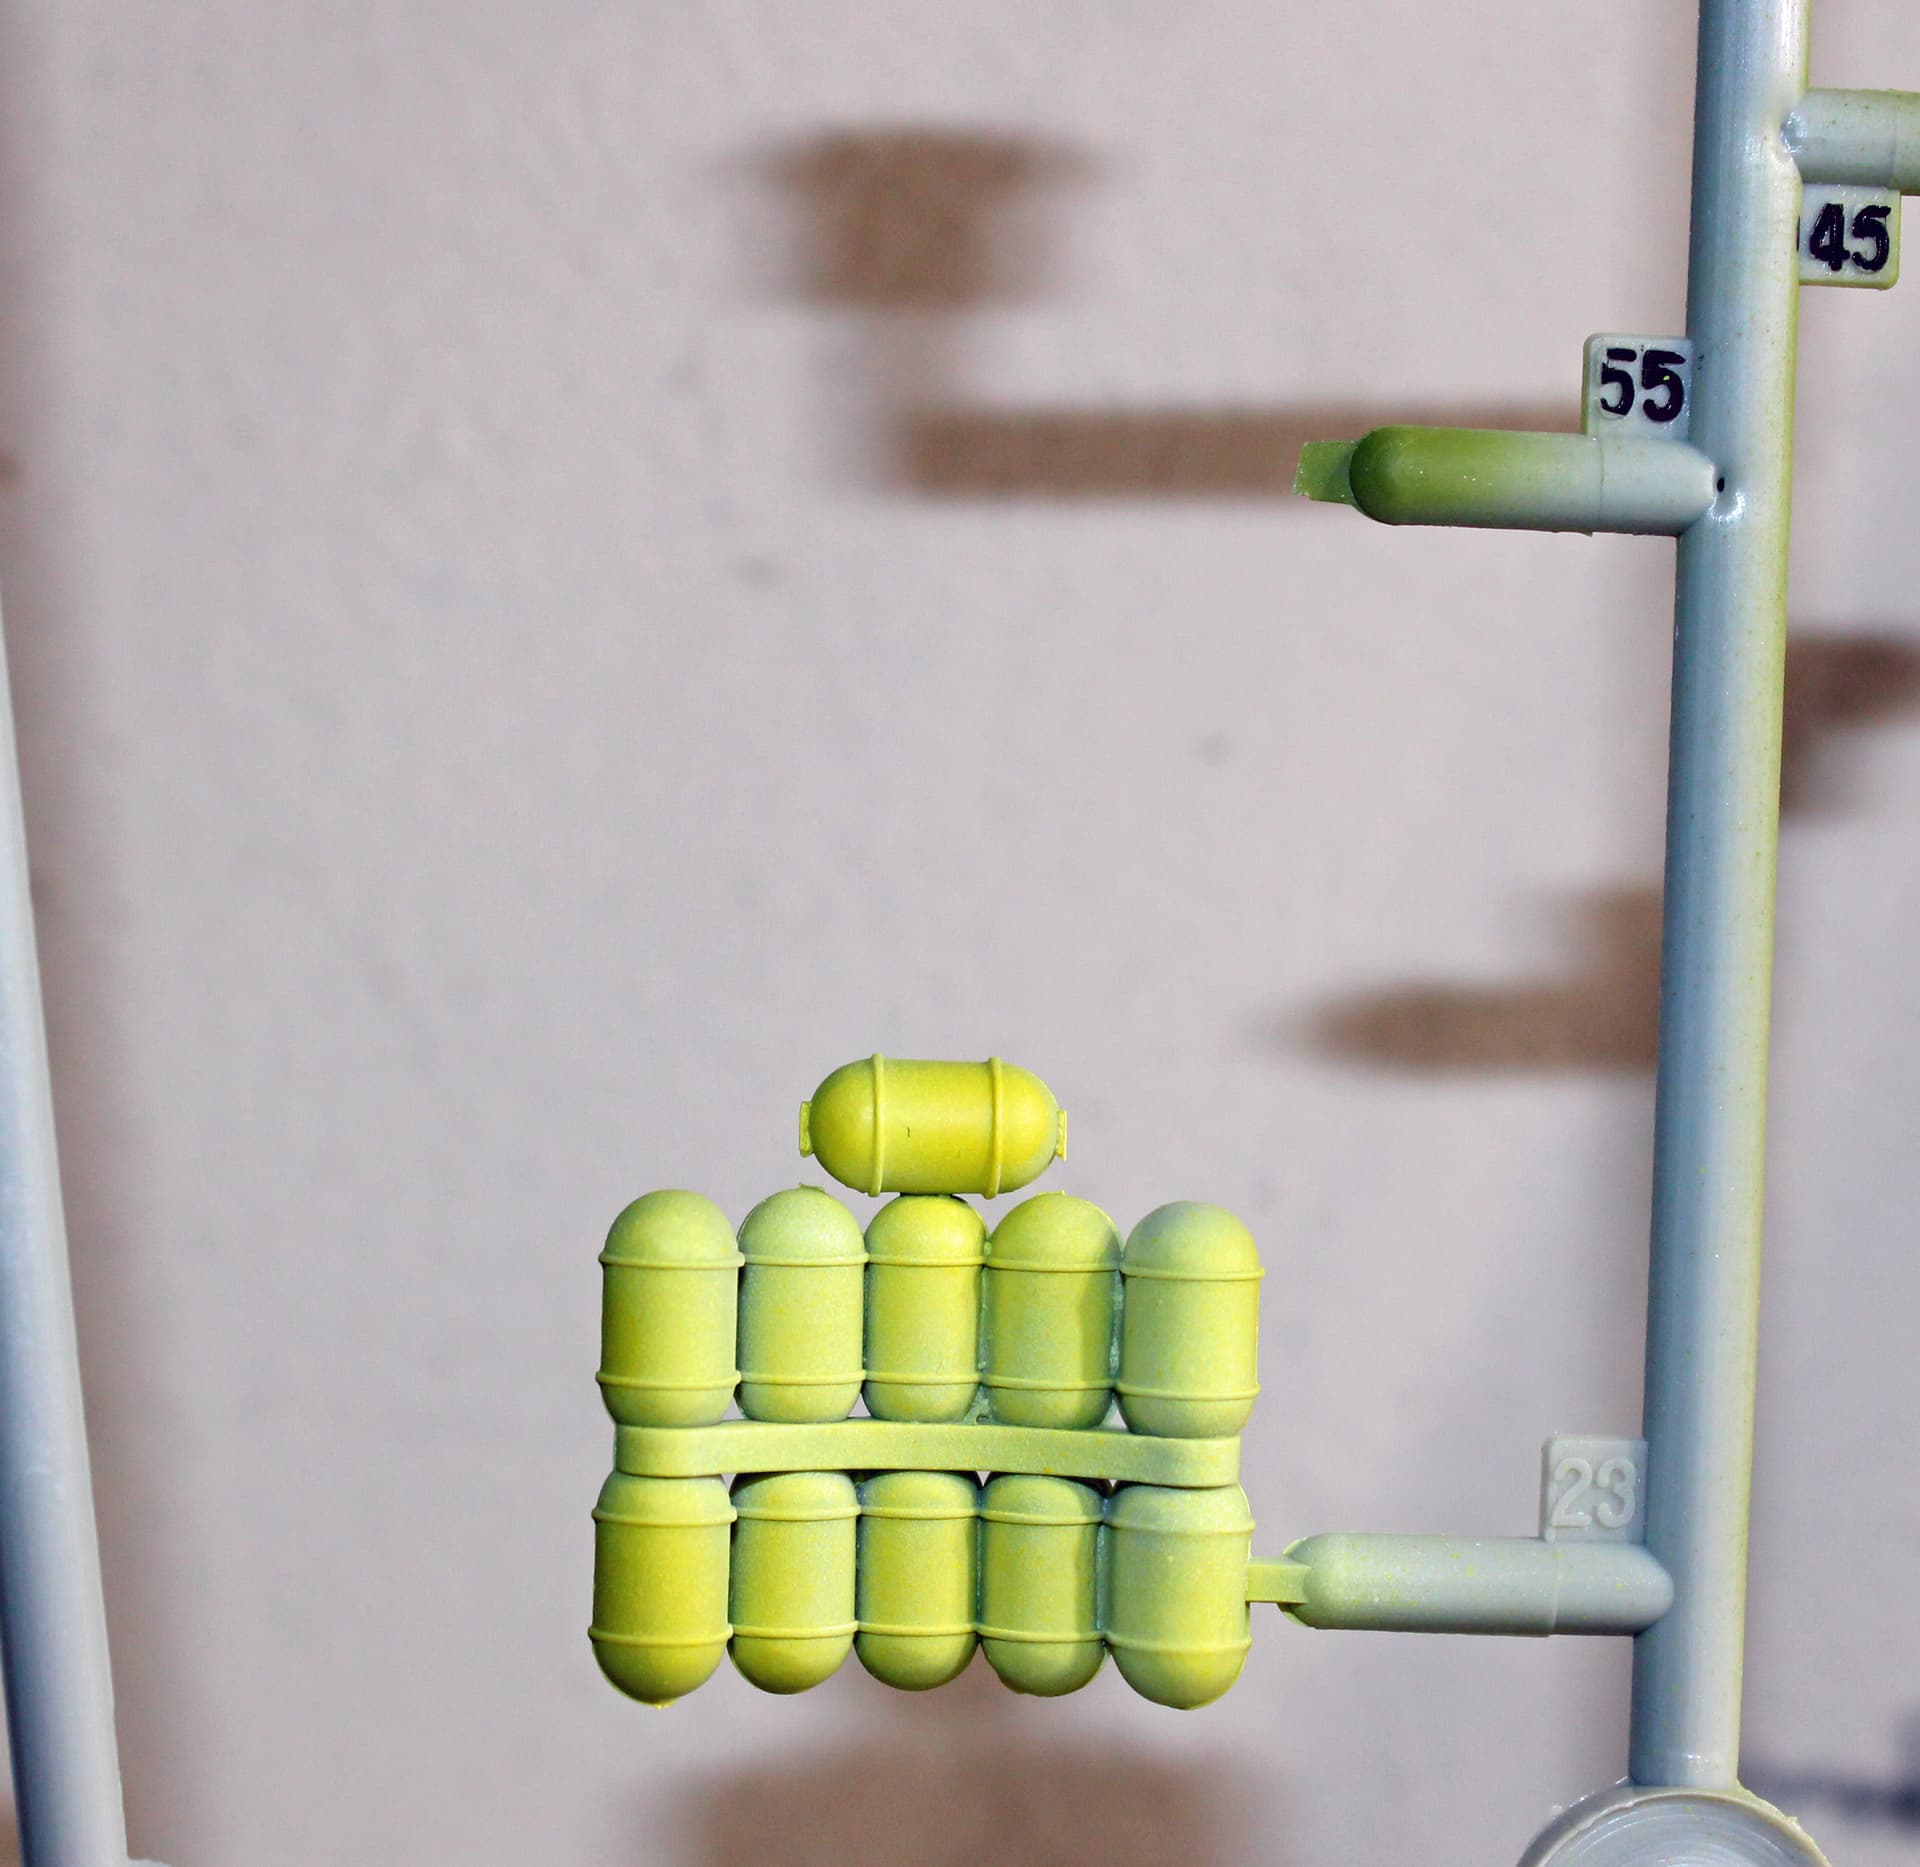
The paints were AK Interactive Xtreme Metal dark aluminum in the bomb bay, bomb bay components and inside of the bay doors, and the rear gunner’s compartment. AK Interactive Xtreme Metal jet exhaust for inside the cowlings and intakes. AK Interactive Xtreme Metal duraluminum for struts and actuators. AK Interactive Real Colors interior green for the engine bulkheads and the pressurized tunnel the crew could use to traverse the bomb bay. Tamiya lacquer flat yellow for the bombs and the tanks (not sure what those tanks contained, O2?) The bombs will later be masked for a yellow stripe and painted Tamiya acrylic olive drab. The prop tips got a coat of Mr. Hobby orange-yellow (which looks like straight orange in the bottle but sprays far closer to yellow).
Been working from my office this week until today, so was not able to get any significant bench time until now. I had finished painting the bombs earlier this week, with an additional paint session to go back over them to touch-up areas that didn’t cover the yellow overspray sufficiently.
Today, I spent my lunch break at the bench installing these bombs onto their racks. The small scale and my not-so-nimble fingers made this a difficult process. I got 31 installed properly, but the 32nd looks like it didn’t get into the right position seeing how it is not aligned the same as the surrounding bombs. But I can live with that; I doubt that mis-alignment will be noticeable once I close everything up and add the bomb bay doors.
I completed my lunch time work by installing the cockpit with the pressurized tube mounted between the two bulkheads.
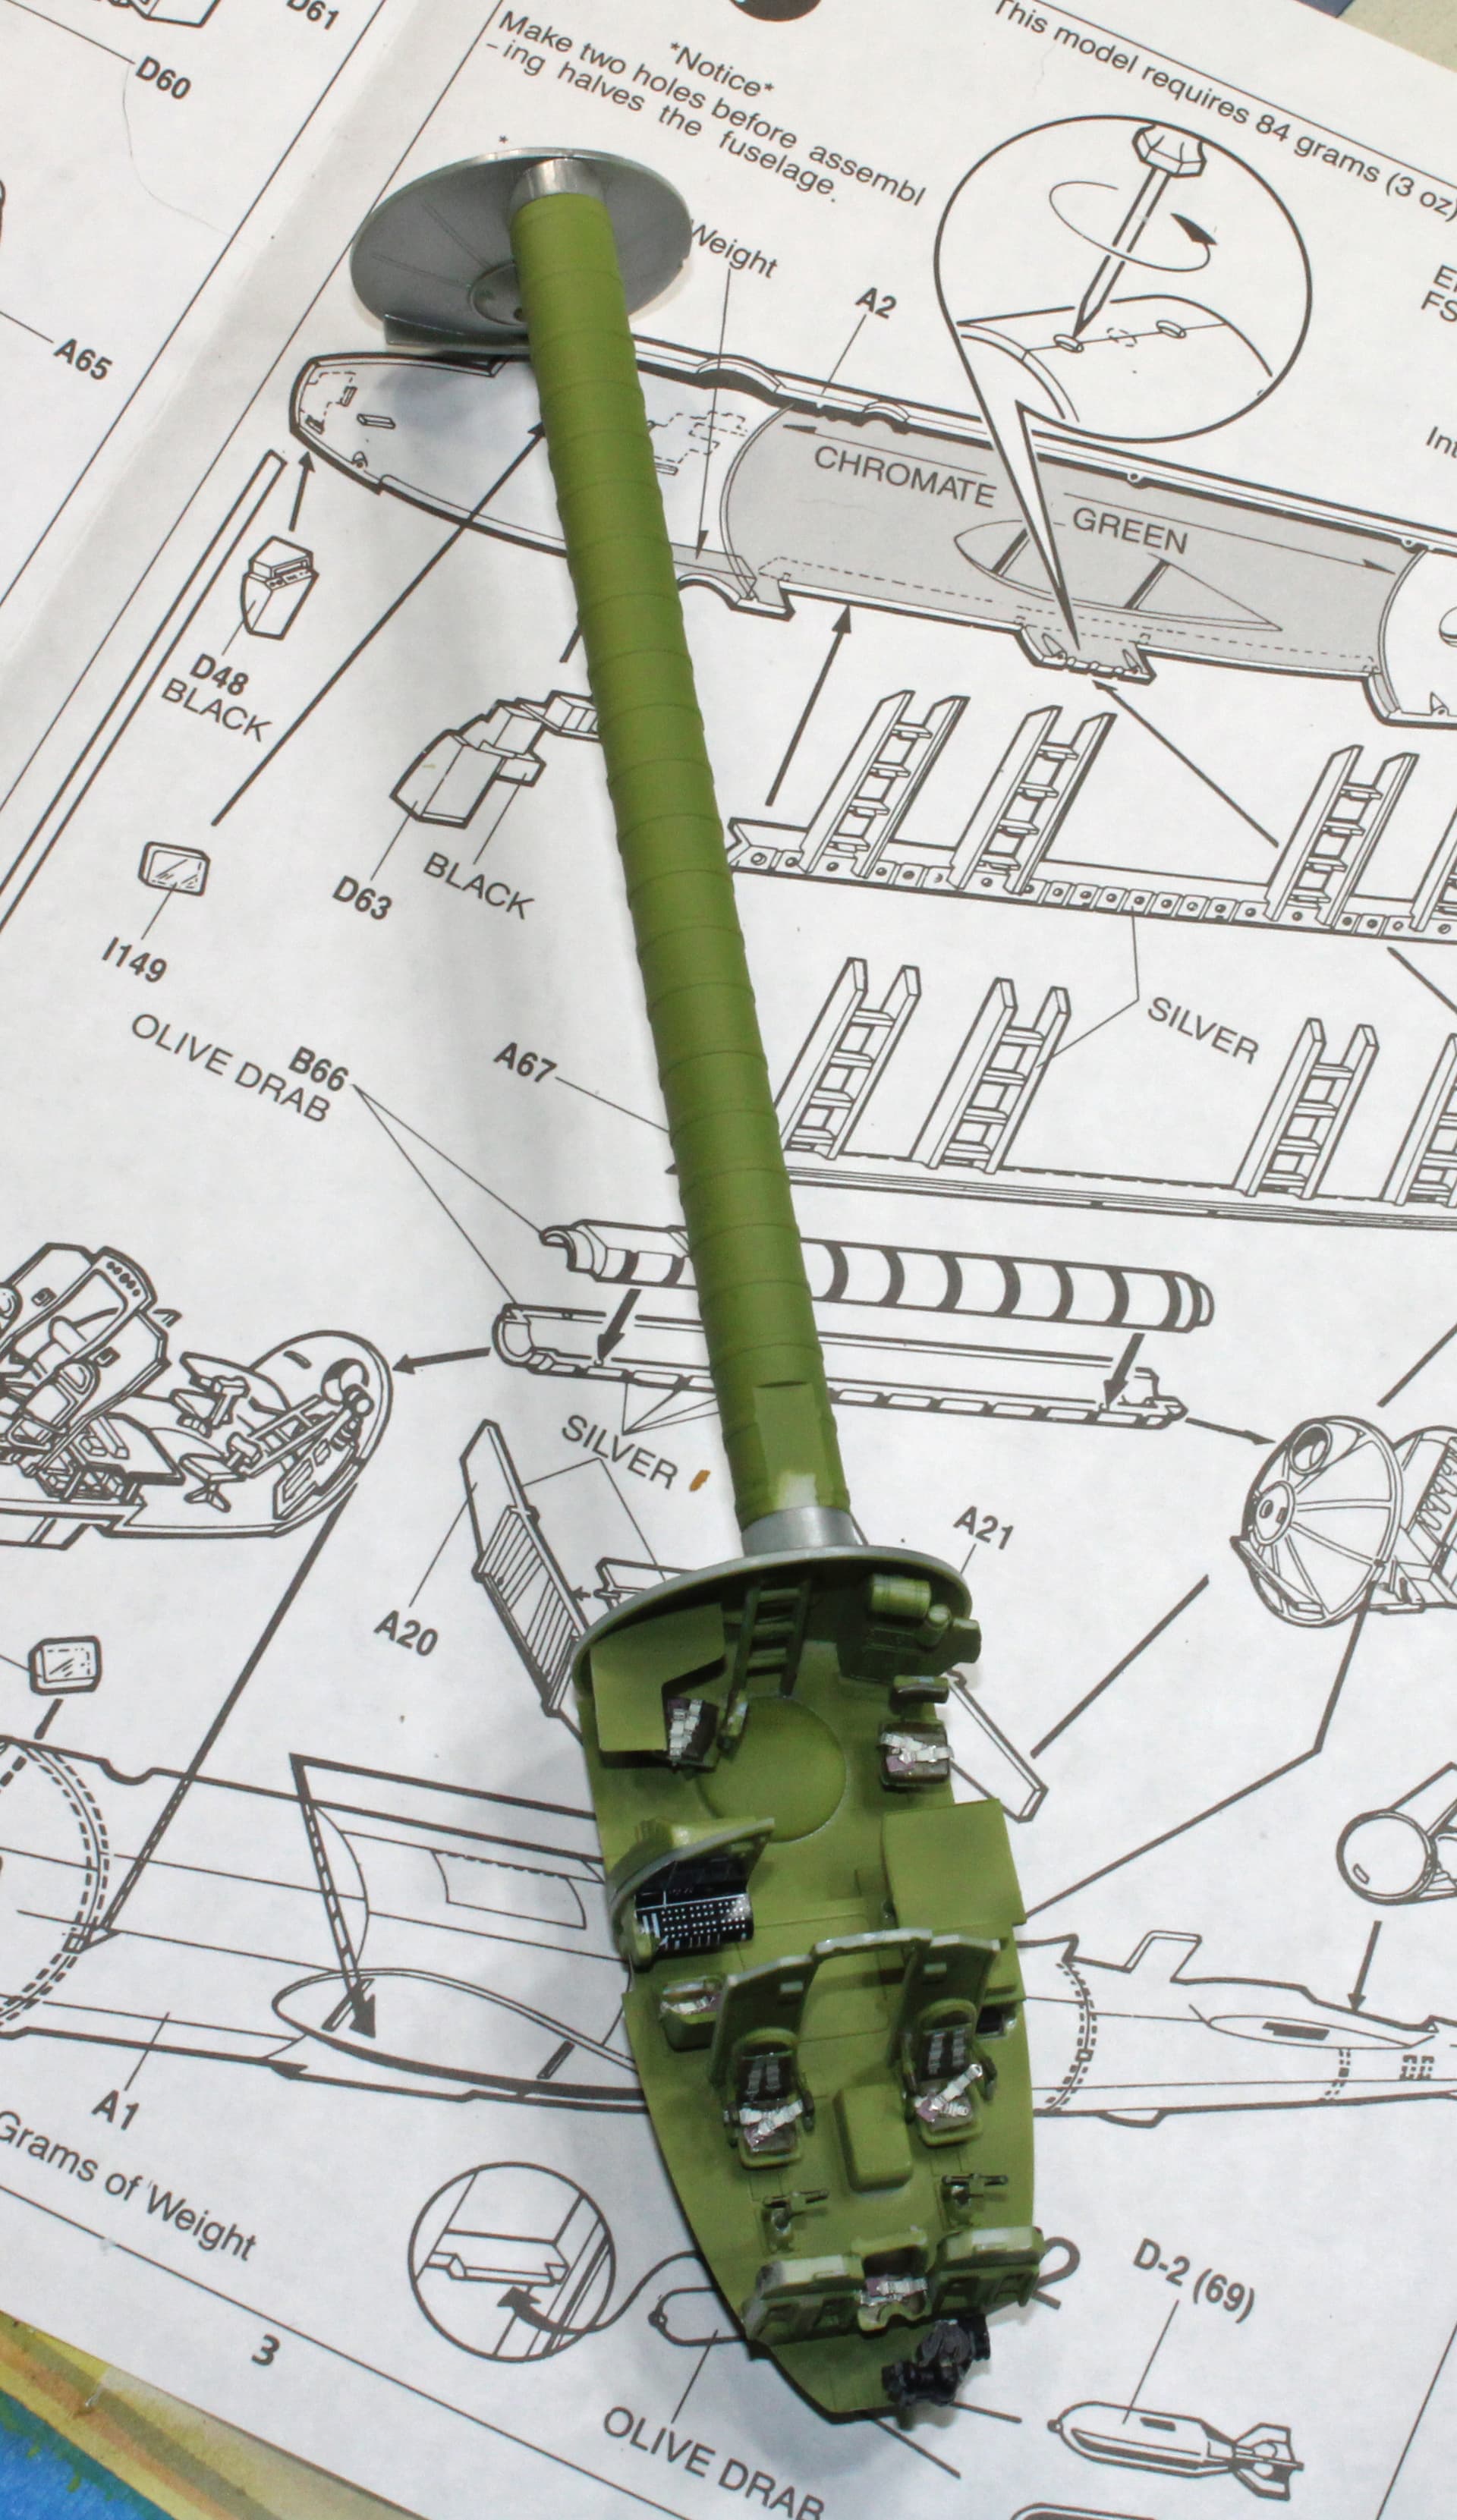
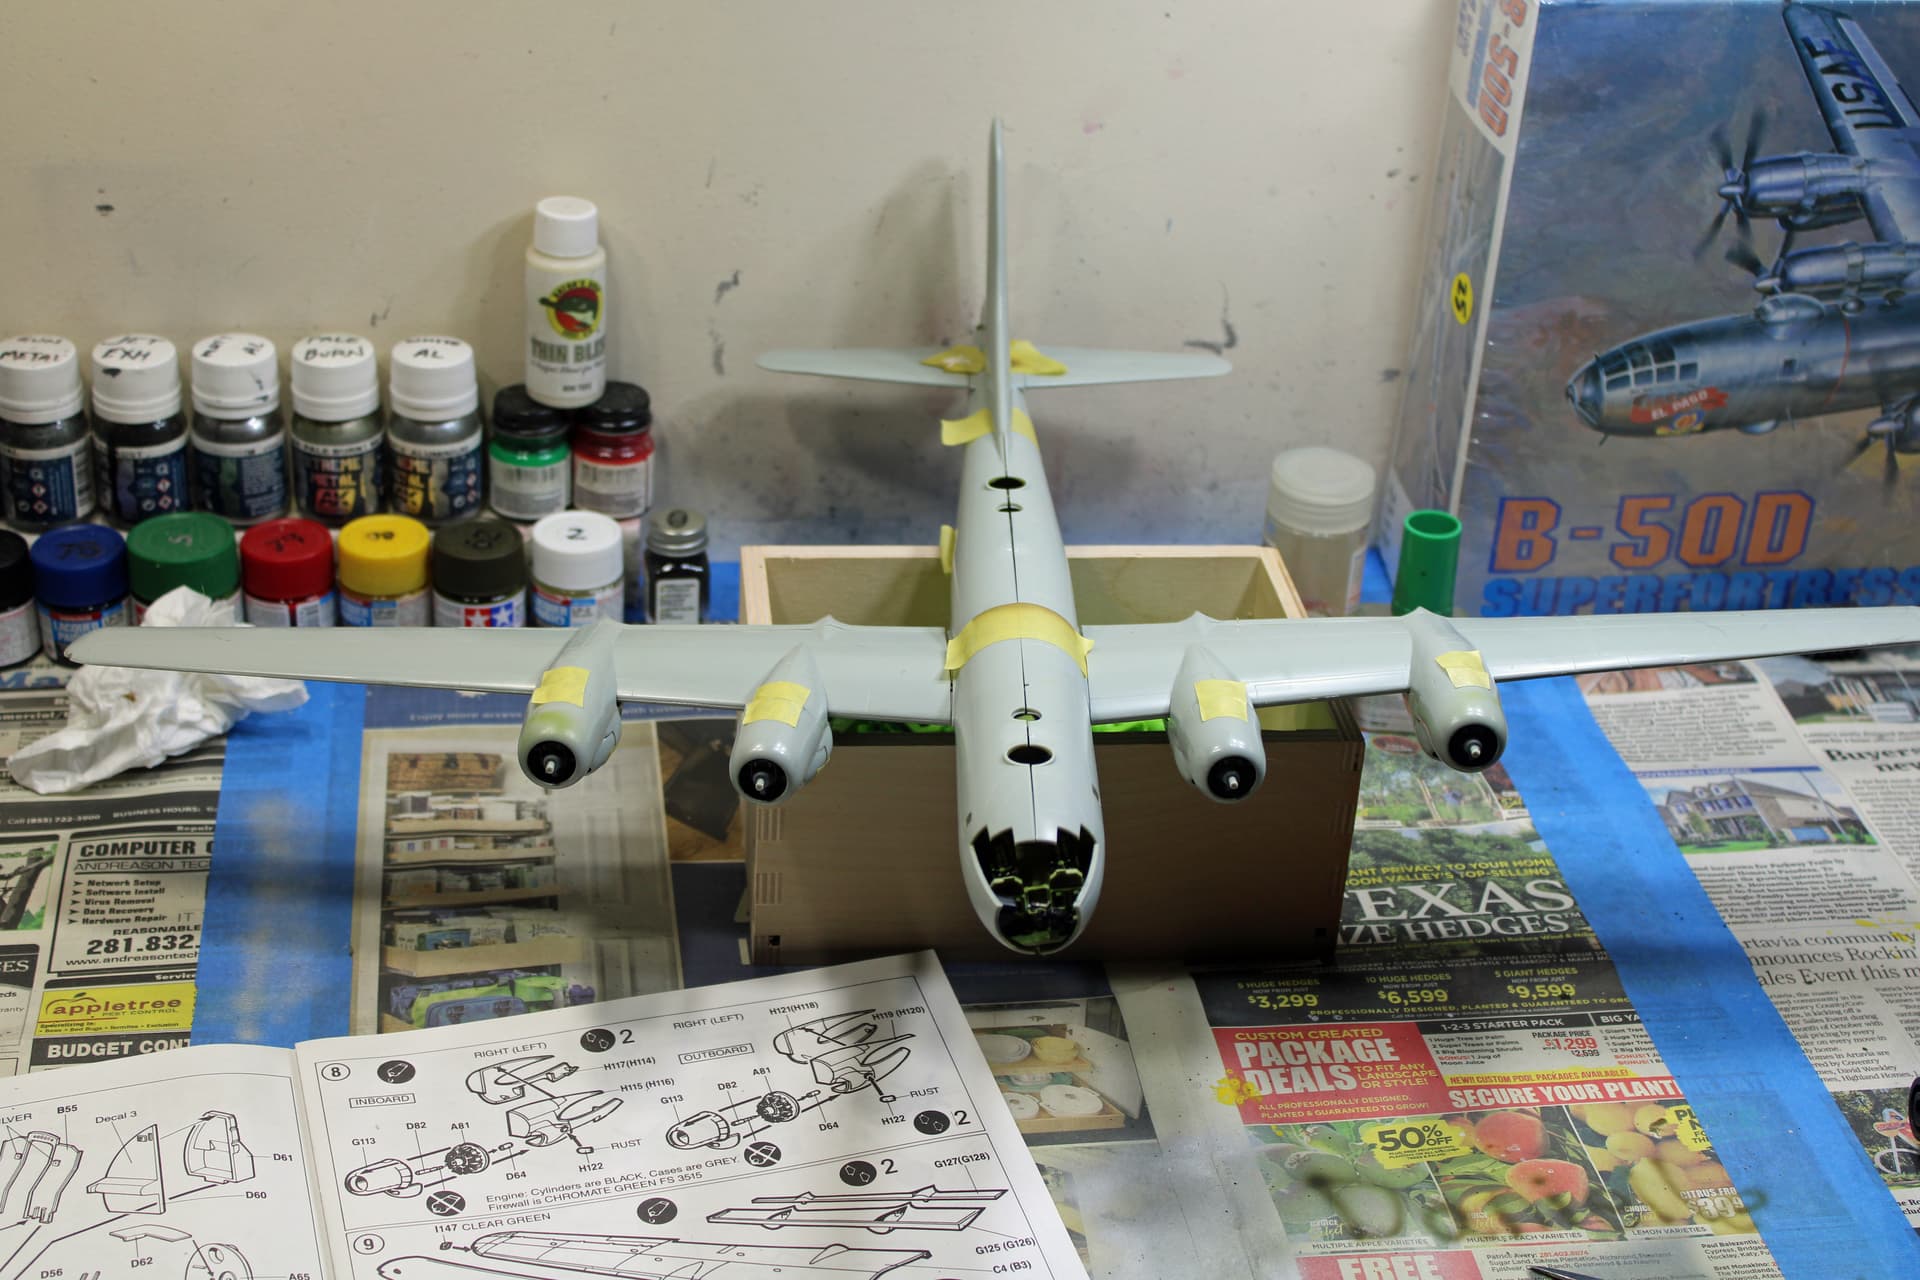
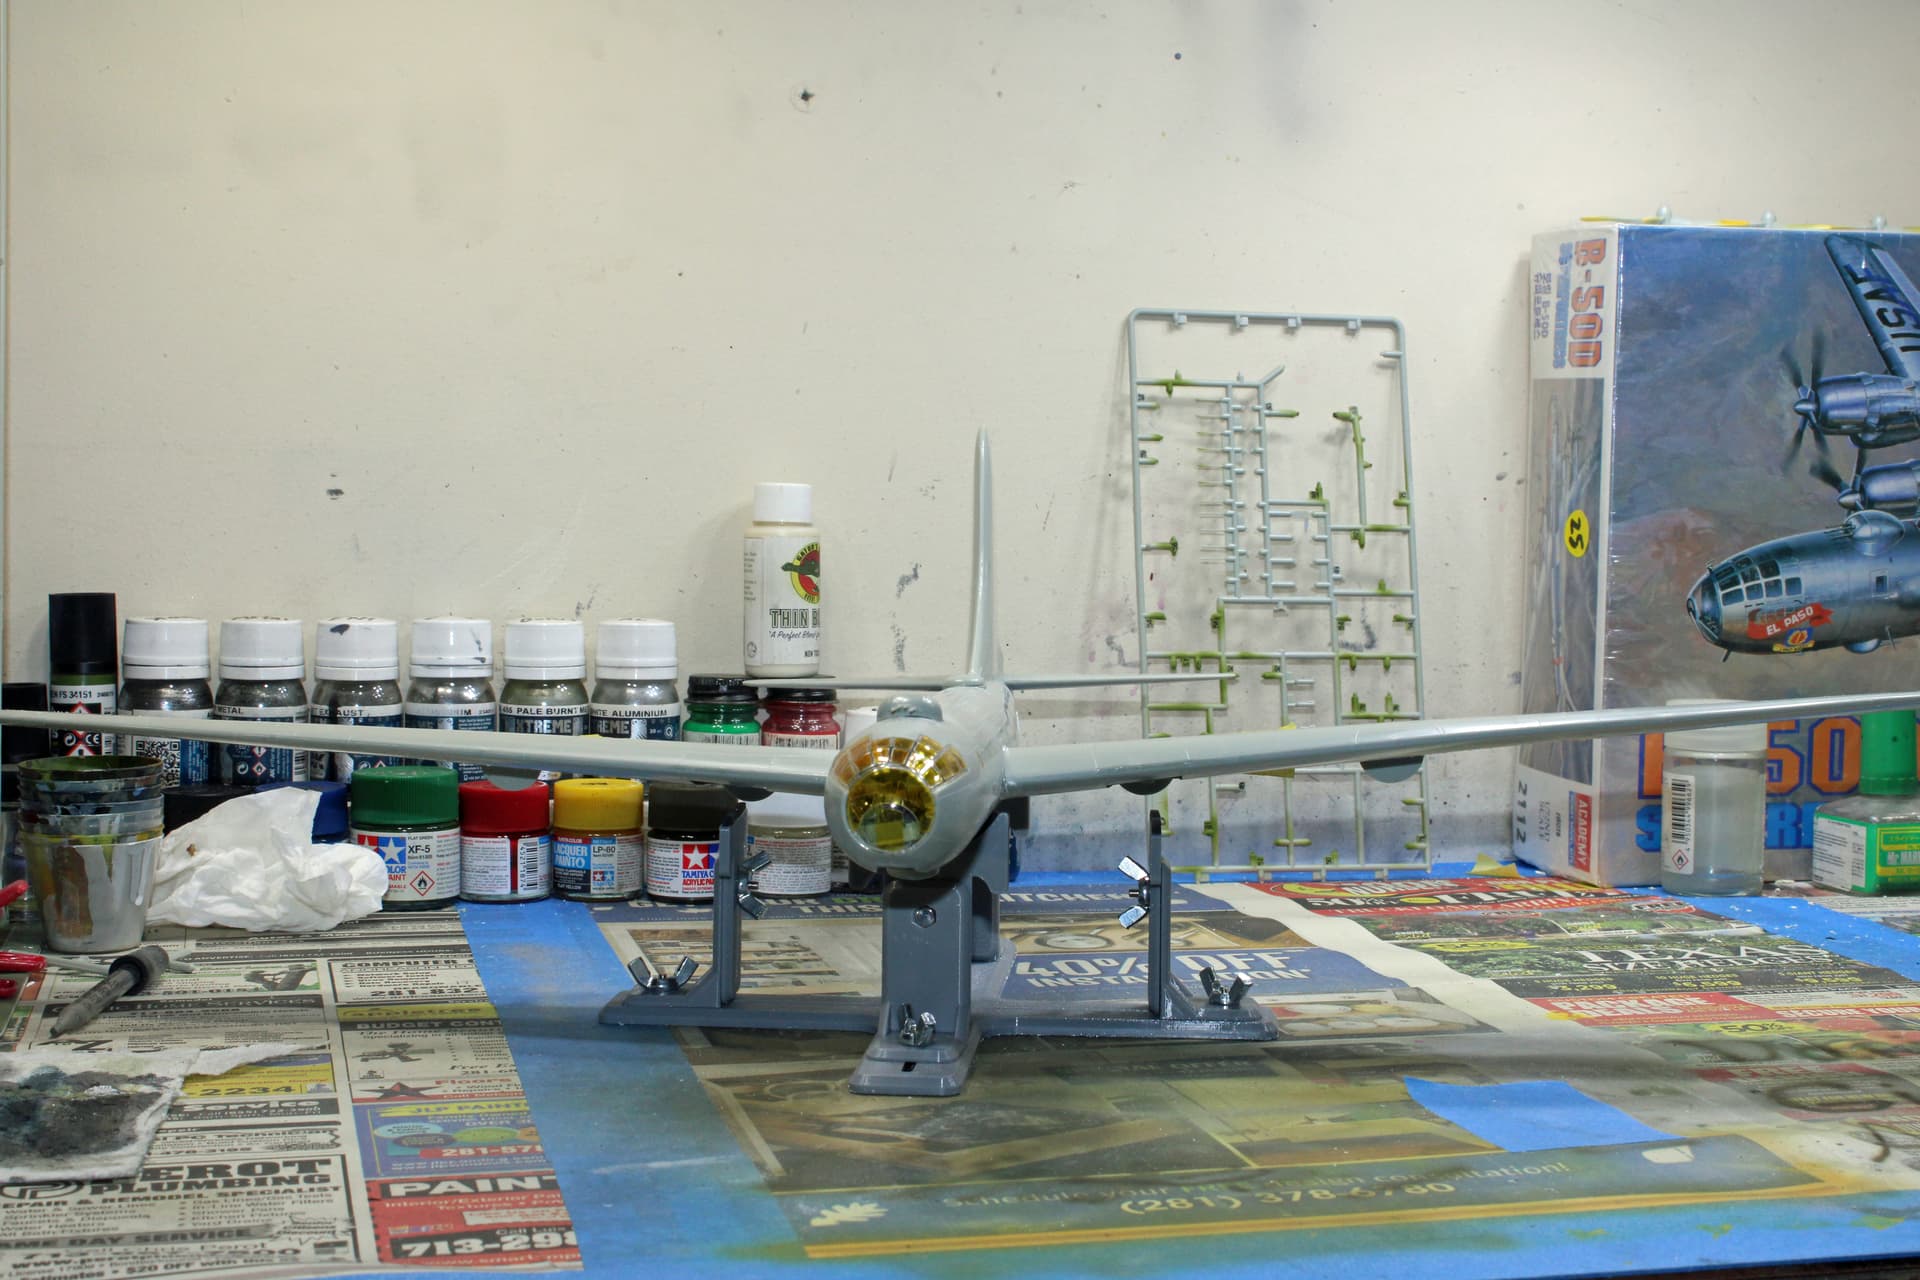
Being iced in today has given me ample time at the bench. I am beginning to see the B-50 come into proper shape here. My goal today was to determine where to put weight so that this big girl won’t be a tail sitter. The instructions call for 84g of weight with the suggestion to add that weight below the cockpit floor and above the location of the lower forward turret. That was not going to work for my available weight source (BBs). Plus, the fuselage is giving me fits just getting it together reasonably close along the seams.
But I noticed a cavern in the cowling behind the engine parts, so that’s where I started with the weight test. I taped the major components together and put everything into place, then added the BBs to each cowling and slid the cowlings onto the nacelles. I typically will do the weight test by holding the model atop two fingers - with a free hand ready to catch the model - and see which way the model tips. If it tips forward, then I have enough weight; if not, add more weight. In this case, the instructions were accurate - the B-50 tipped forward on my finger tips.
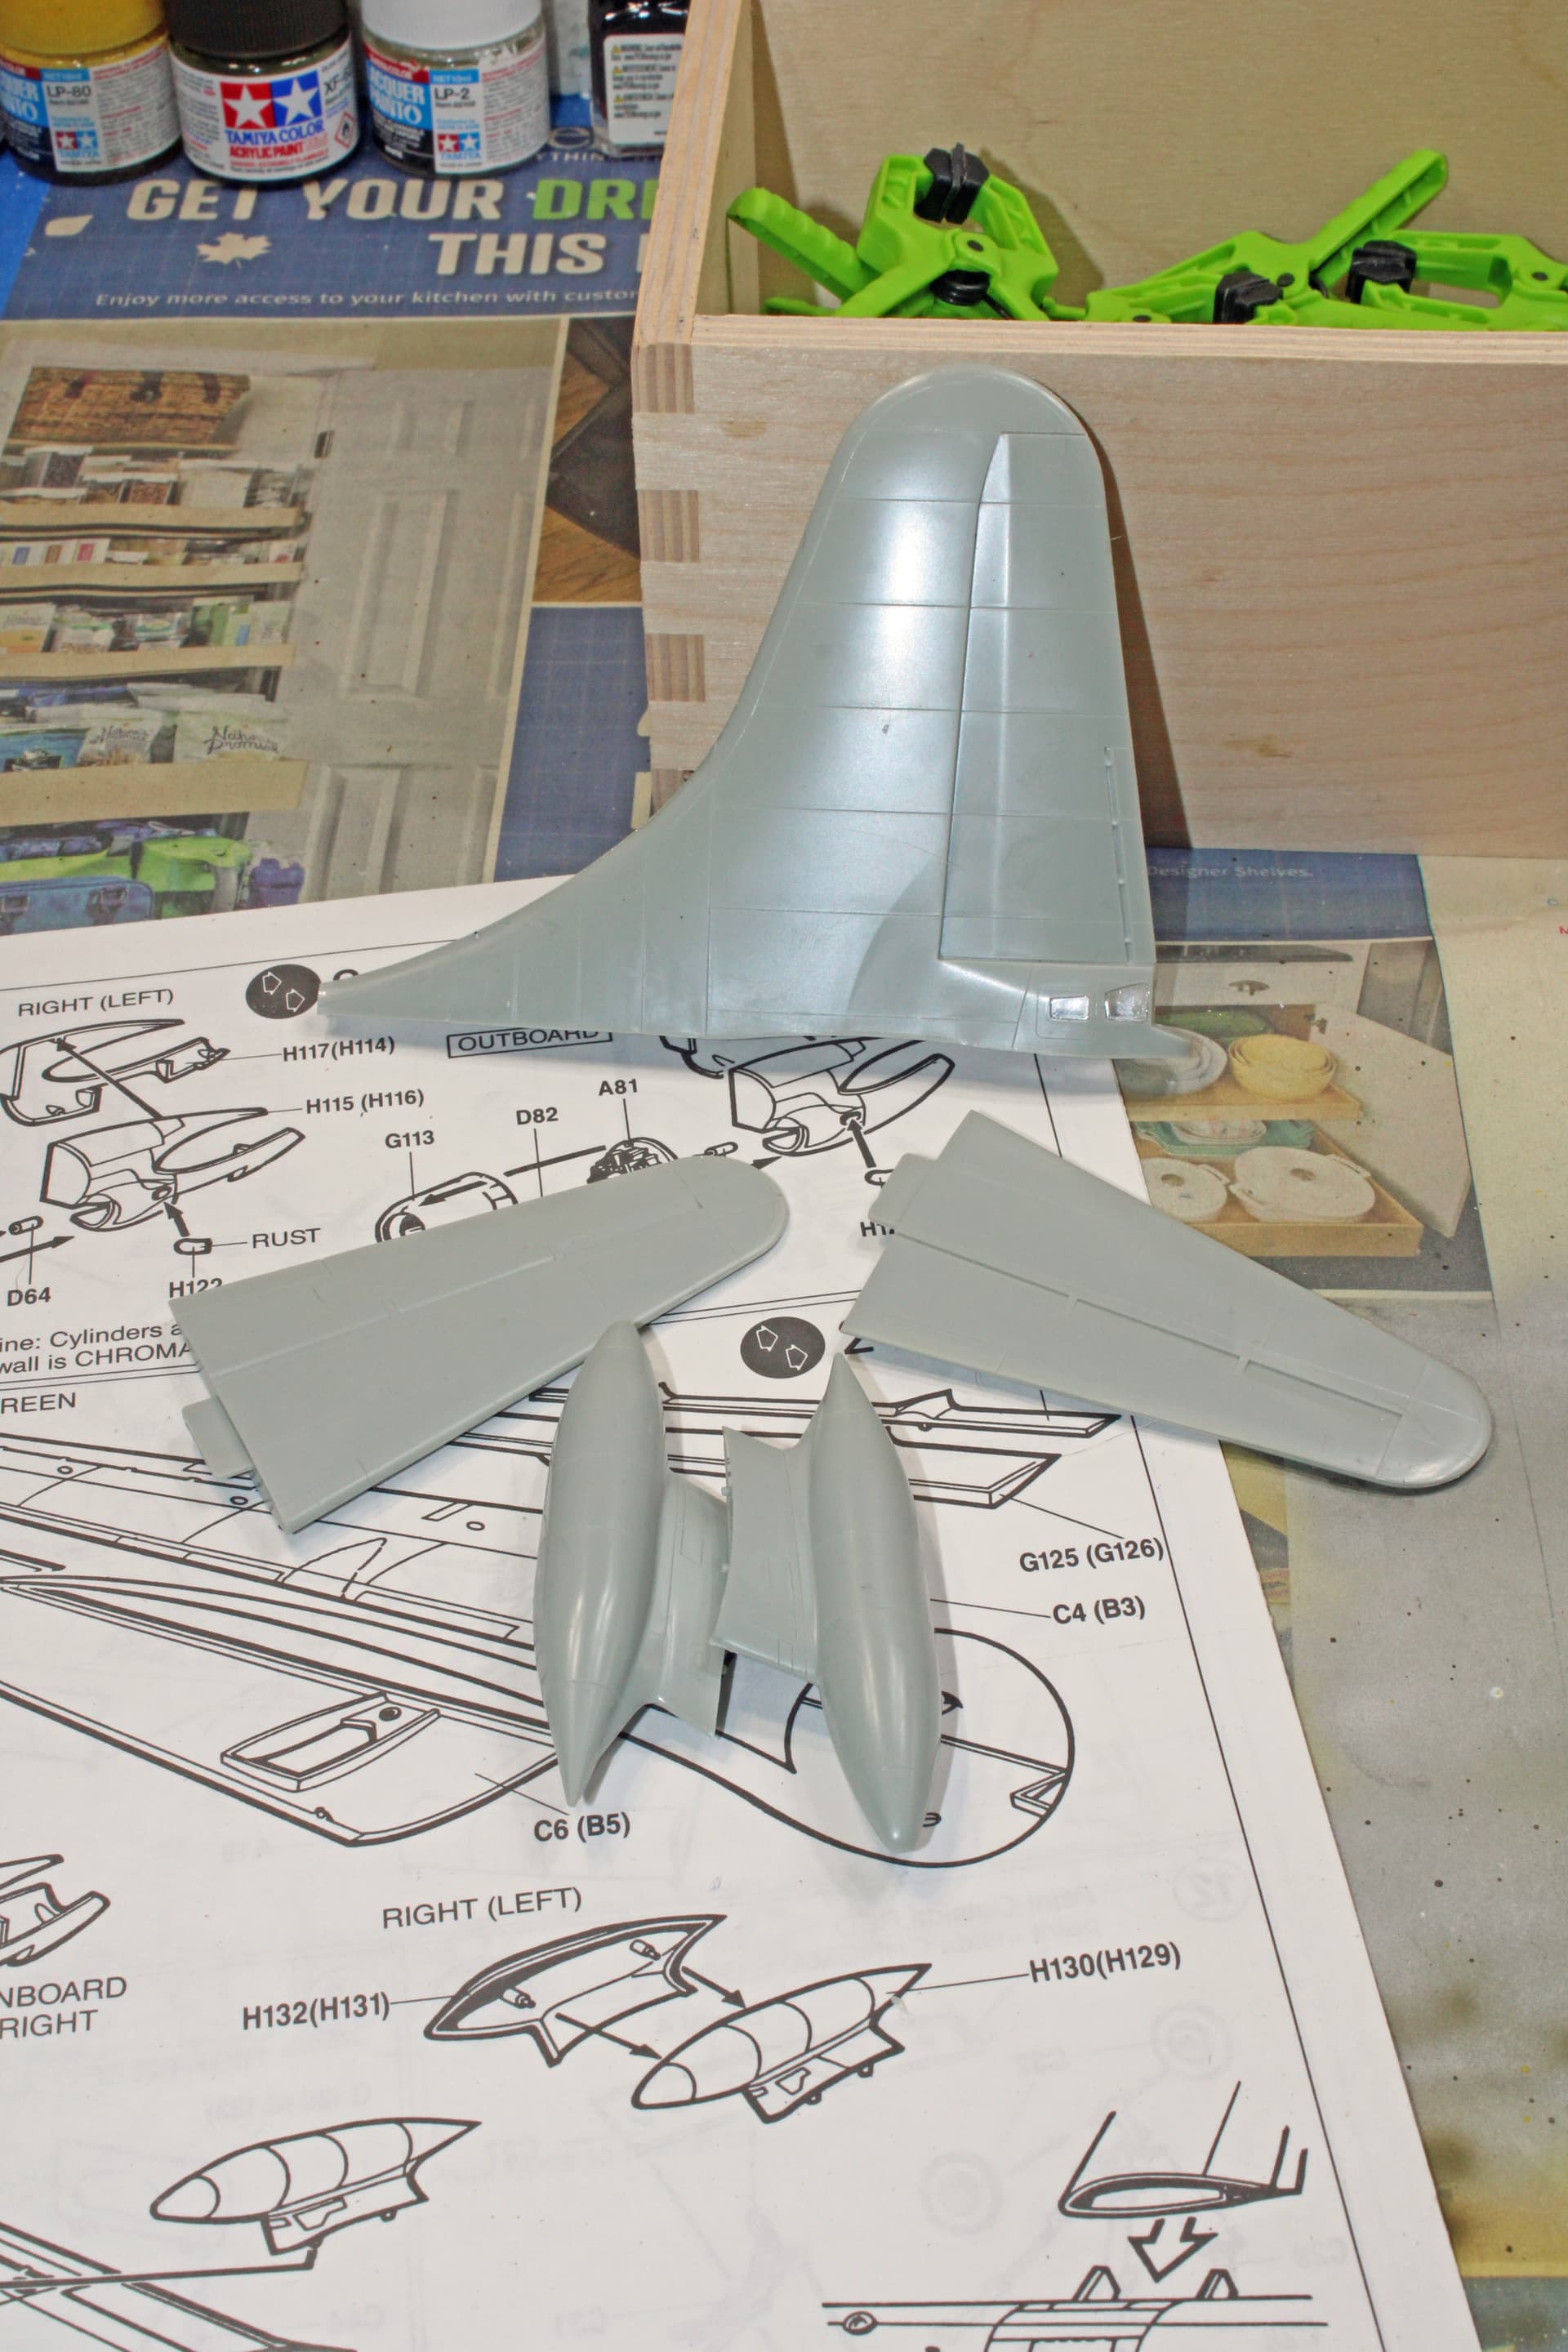
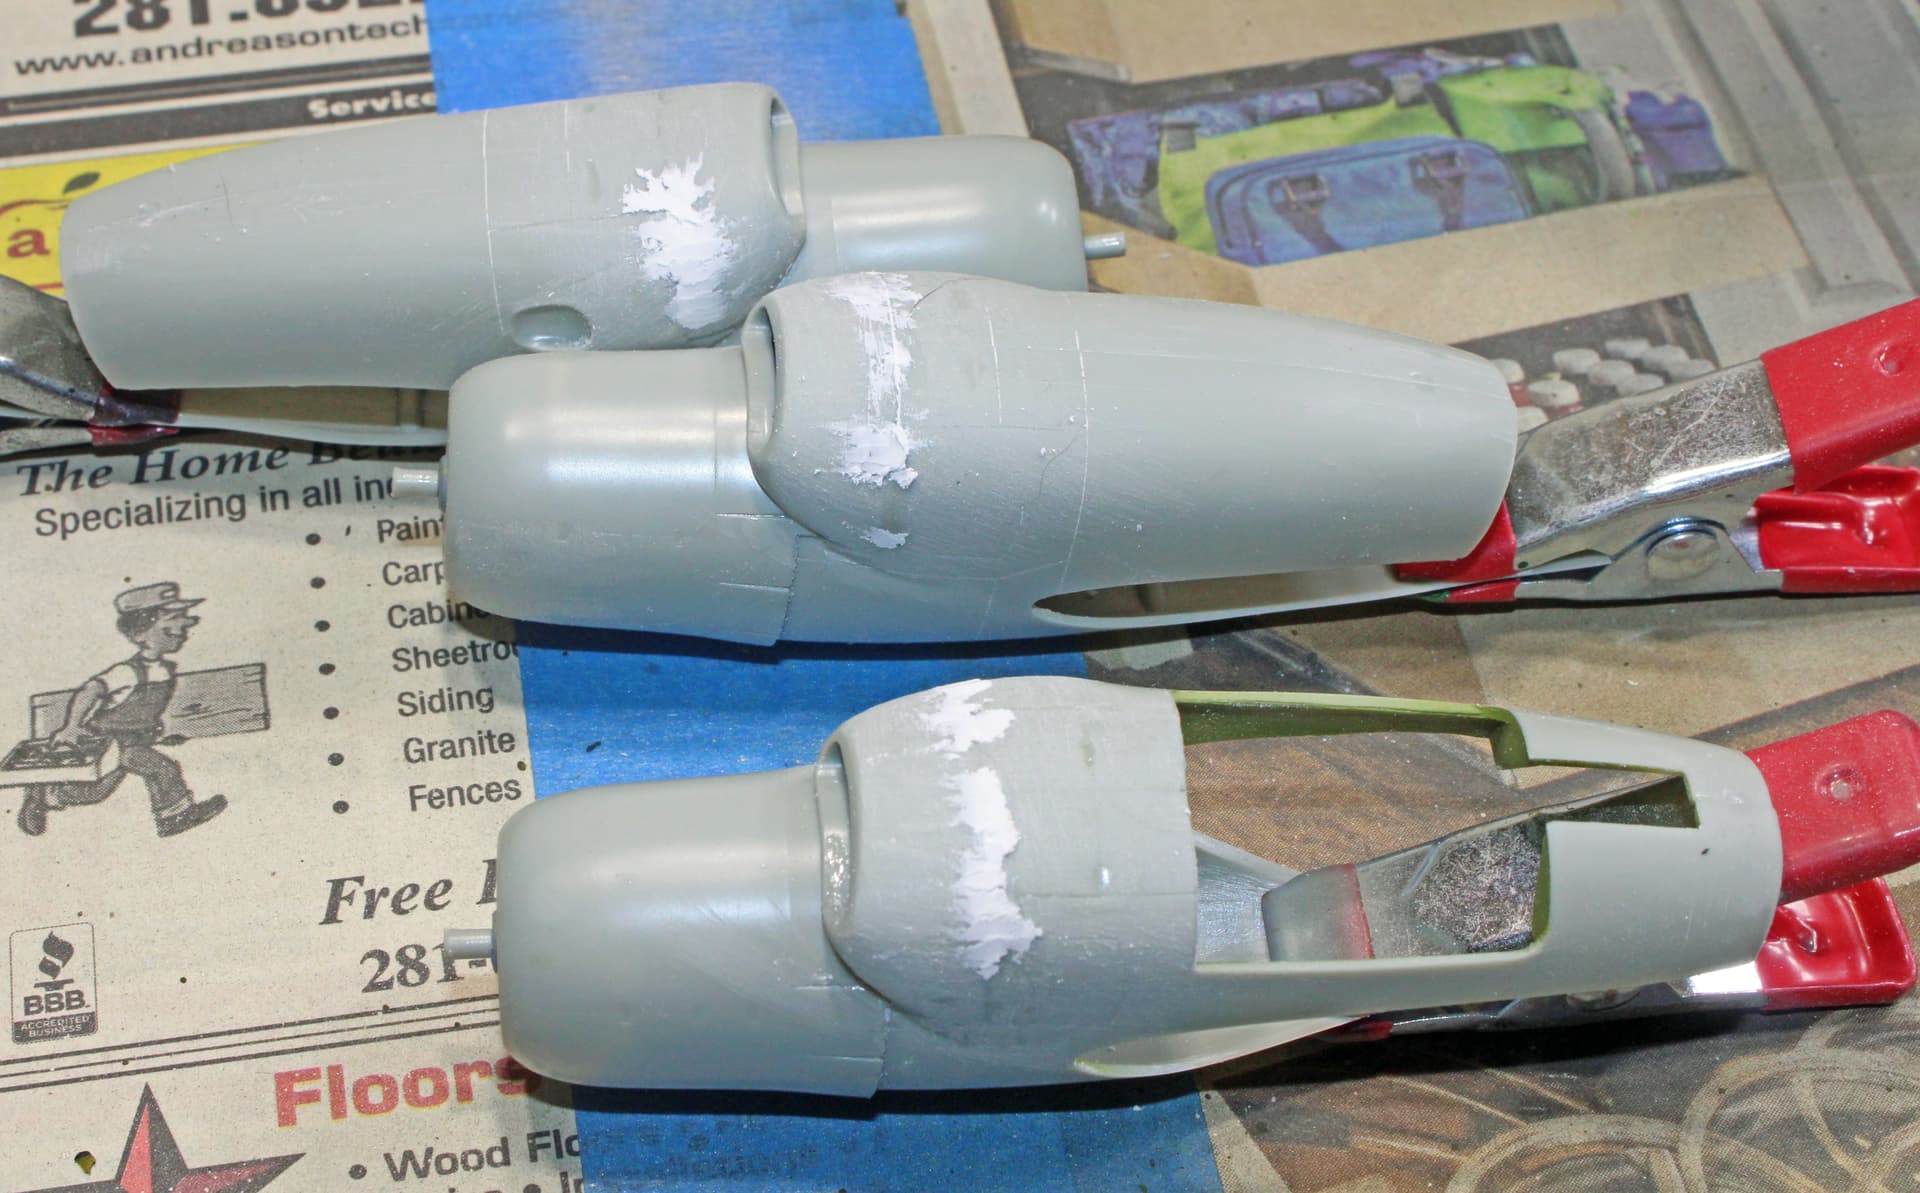
I proceeded to glue the wings, stabilizers, rudder, drop tanks, and gun turrets together. I added some CA to the mound of BBs behind each engine, then glued the cowlings to the nacelles. I am not going to mount the nacelles to the wings as yet, since they will have a different shade of aluminum and therefore be easier to mask and paint while separate from the wings.
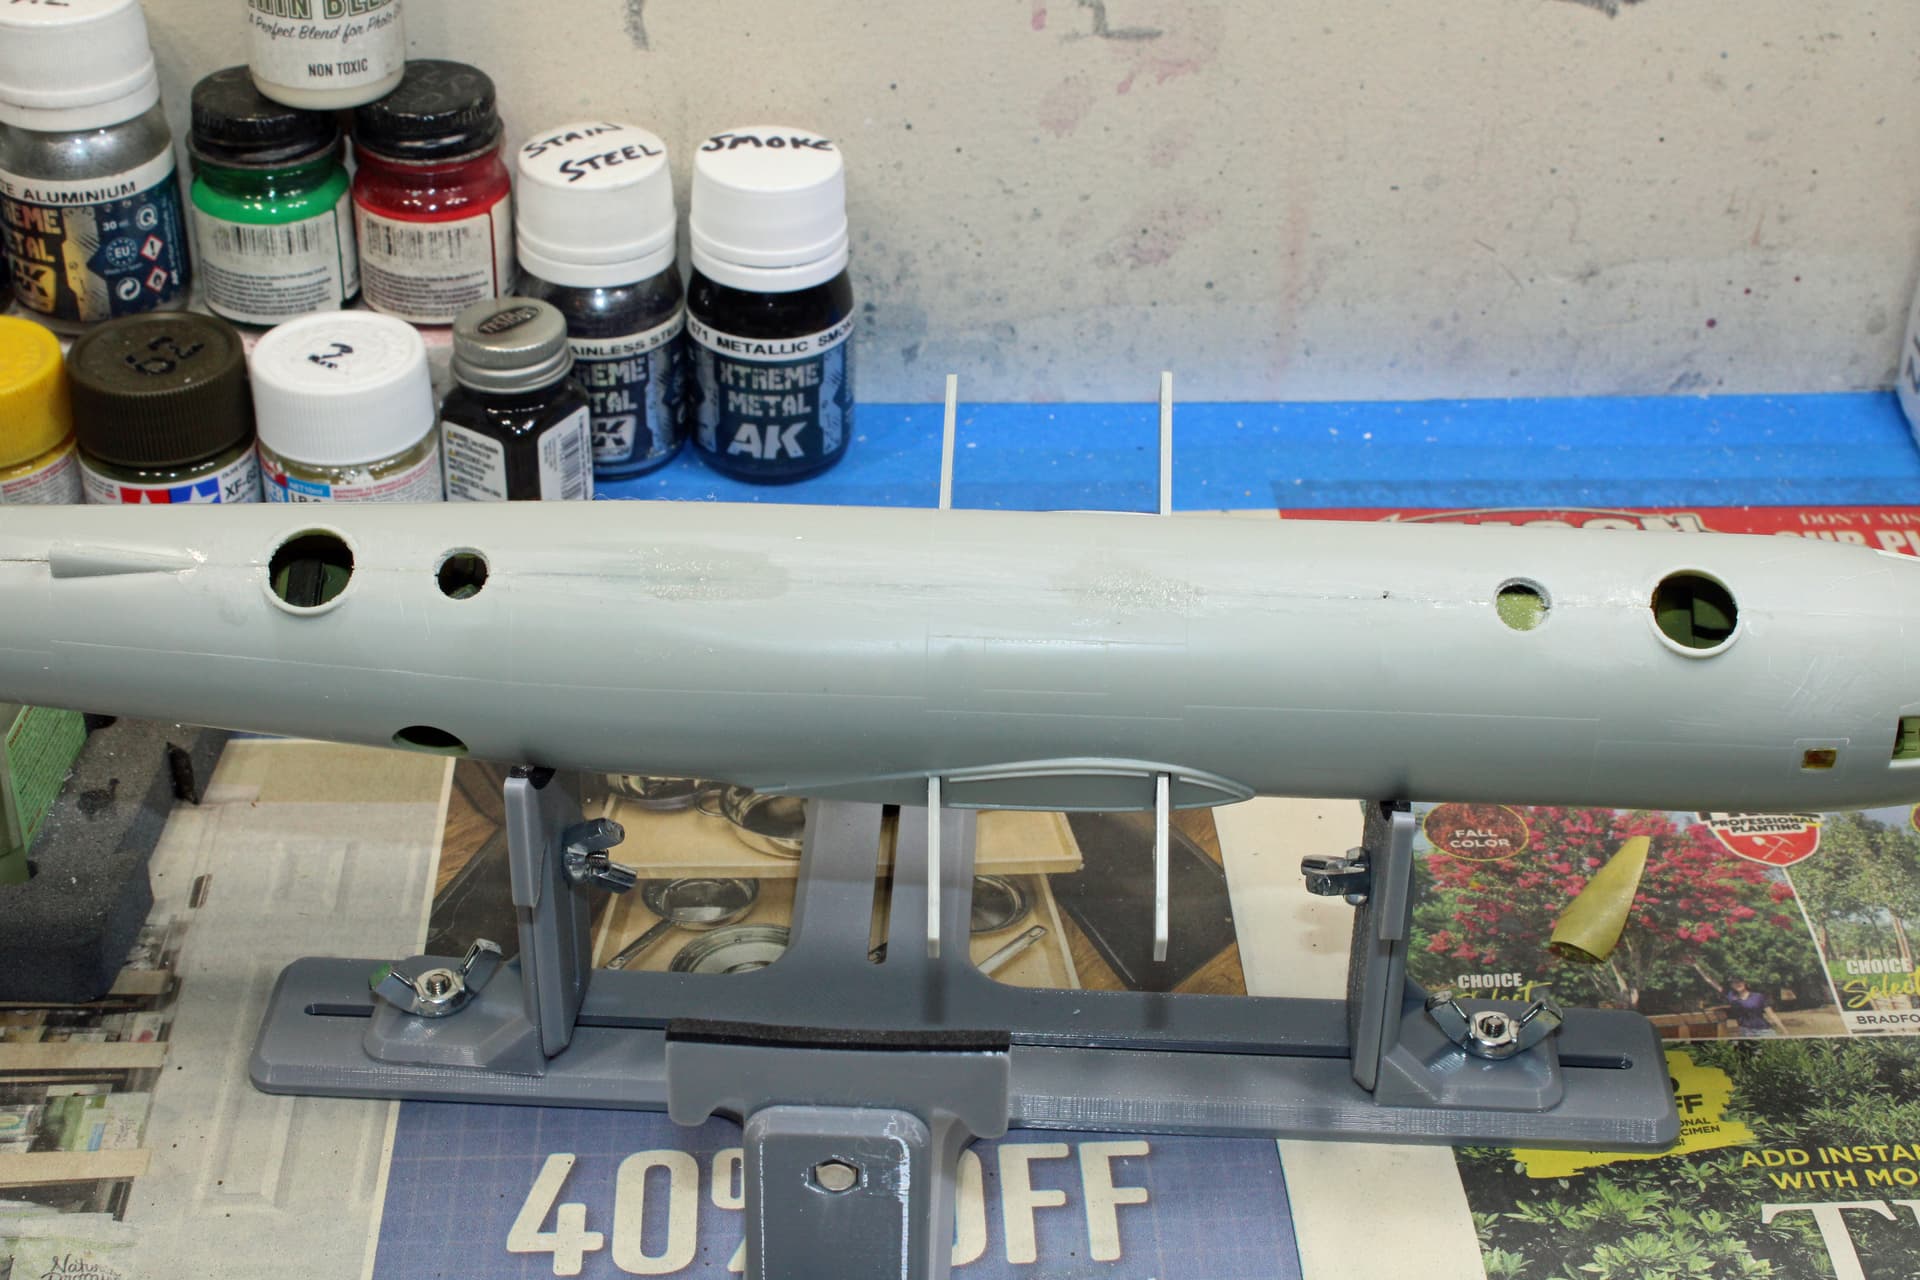
Finally, I began assembling the fuselage in a piecemeal fashion. The photograph shows the top 2/3 of the fuselage glued together and under clamp and tape.
I will try to get back out there later tonight to get some more fuselage glue work completed.
The underside seam of the fuselage is where I’m having a lot of difficulty bringing the two surfaces together. I think I am going to try a method I saw recently on another thread called “sprue sludge”, whereby you basically melt sprue in acetone and use that to fill gaps. Anyone know the technique? Did I describe it right, or did I miss anything/get some part wrong?
Concerning “sprue goo”, I heard that it was Tamiya Extra Thin Cement, although that is about equivalent (though it doesn’t say how much acetone is in it).
There’s a good amount of detail in this kit Steven and you’re bringing out the best in it all. I had to do a double take when the title said B-50 Superfortress. Never knew such a thing existed until now.
Thank God for being iced in for extra bench time eh?
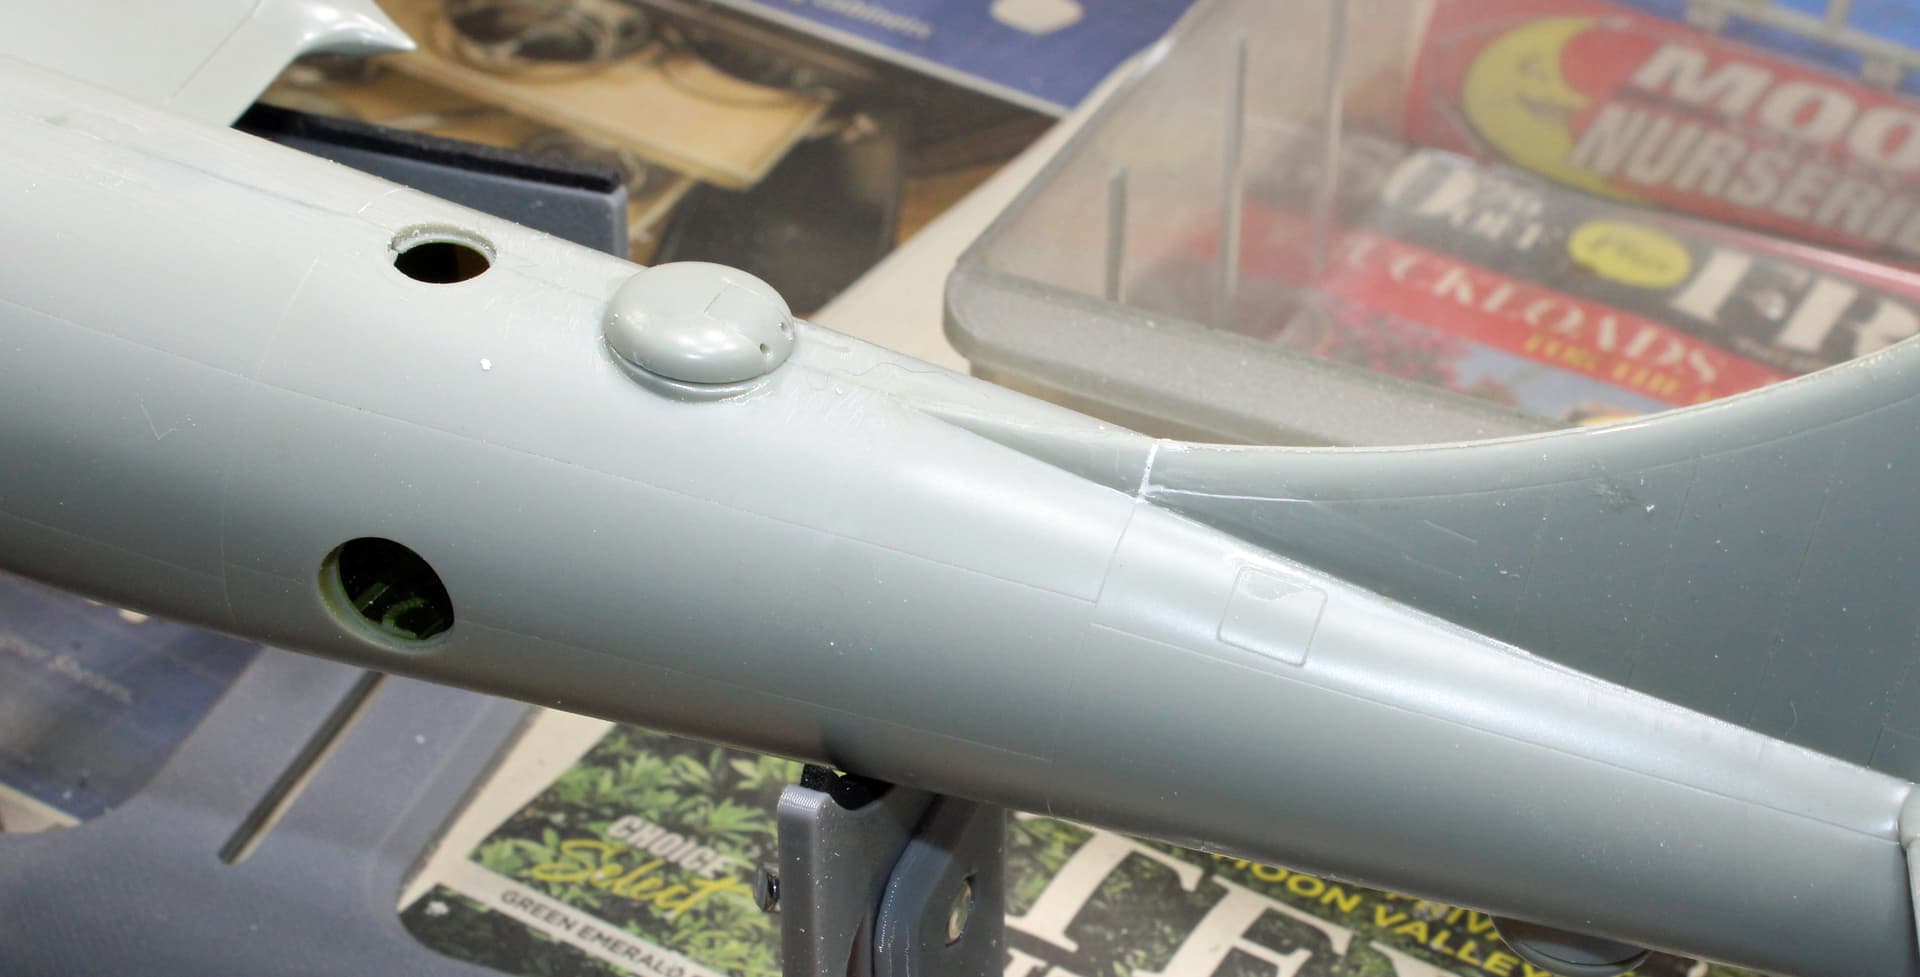
I think this aircraft was actually going to be designated a later variant of the B-29 (maybe the D) when they decided that there were enough significant changes to make an entirely new designation warranted. The engines and cowlings are one obvious difference. Maybe not quite so obvious is the rudder. The B-50 rudder is significantly larger than the B-29’s. But inside, it looks like a B-29.
The goo came from small pieces of sprue I cut from this kit and mixed in a metal jar lid with Tamiya Extra Thin cement. After that melted to a gooey consistency over the span of a couple of hours, I did a first application along all the seams that I had previously sanded and scraped at. I let that set over night so that this morning it was fully dried. I completed a second sanding session then did targeted application of goo to spots that looked a bit off. Now it’s drying up for a third sanding session tomorrow. I might have to do a third goo application, but sanding everything will determine that. Yes, I have lost some panel lines, but I’ll do what I can to re-scribe those.
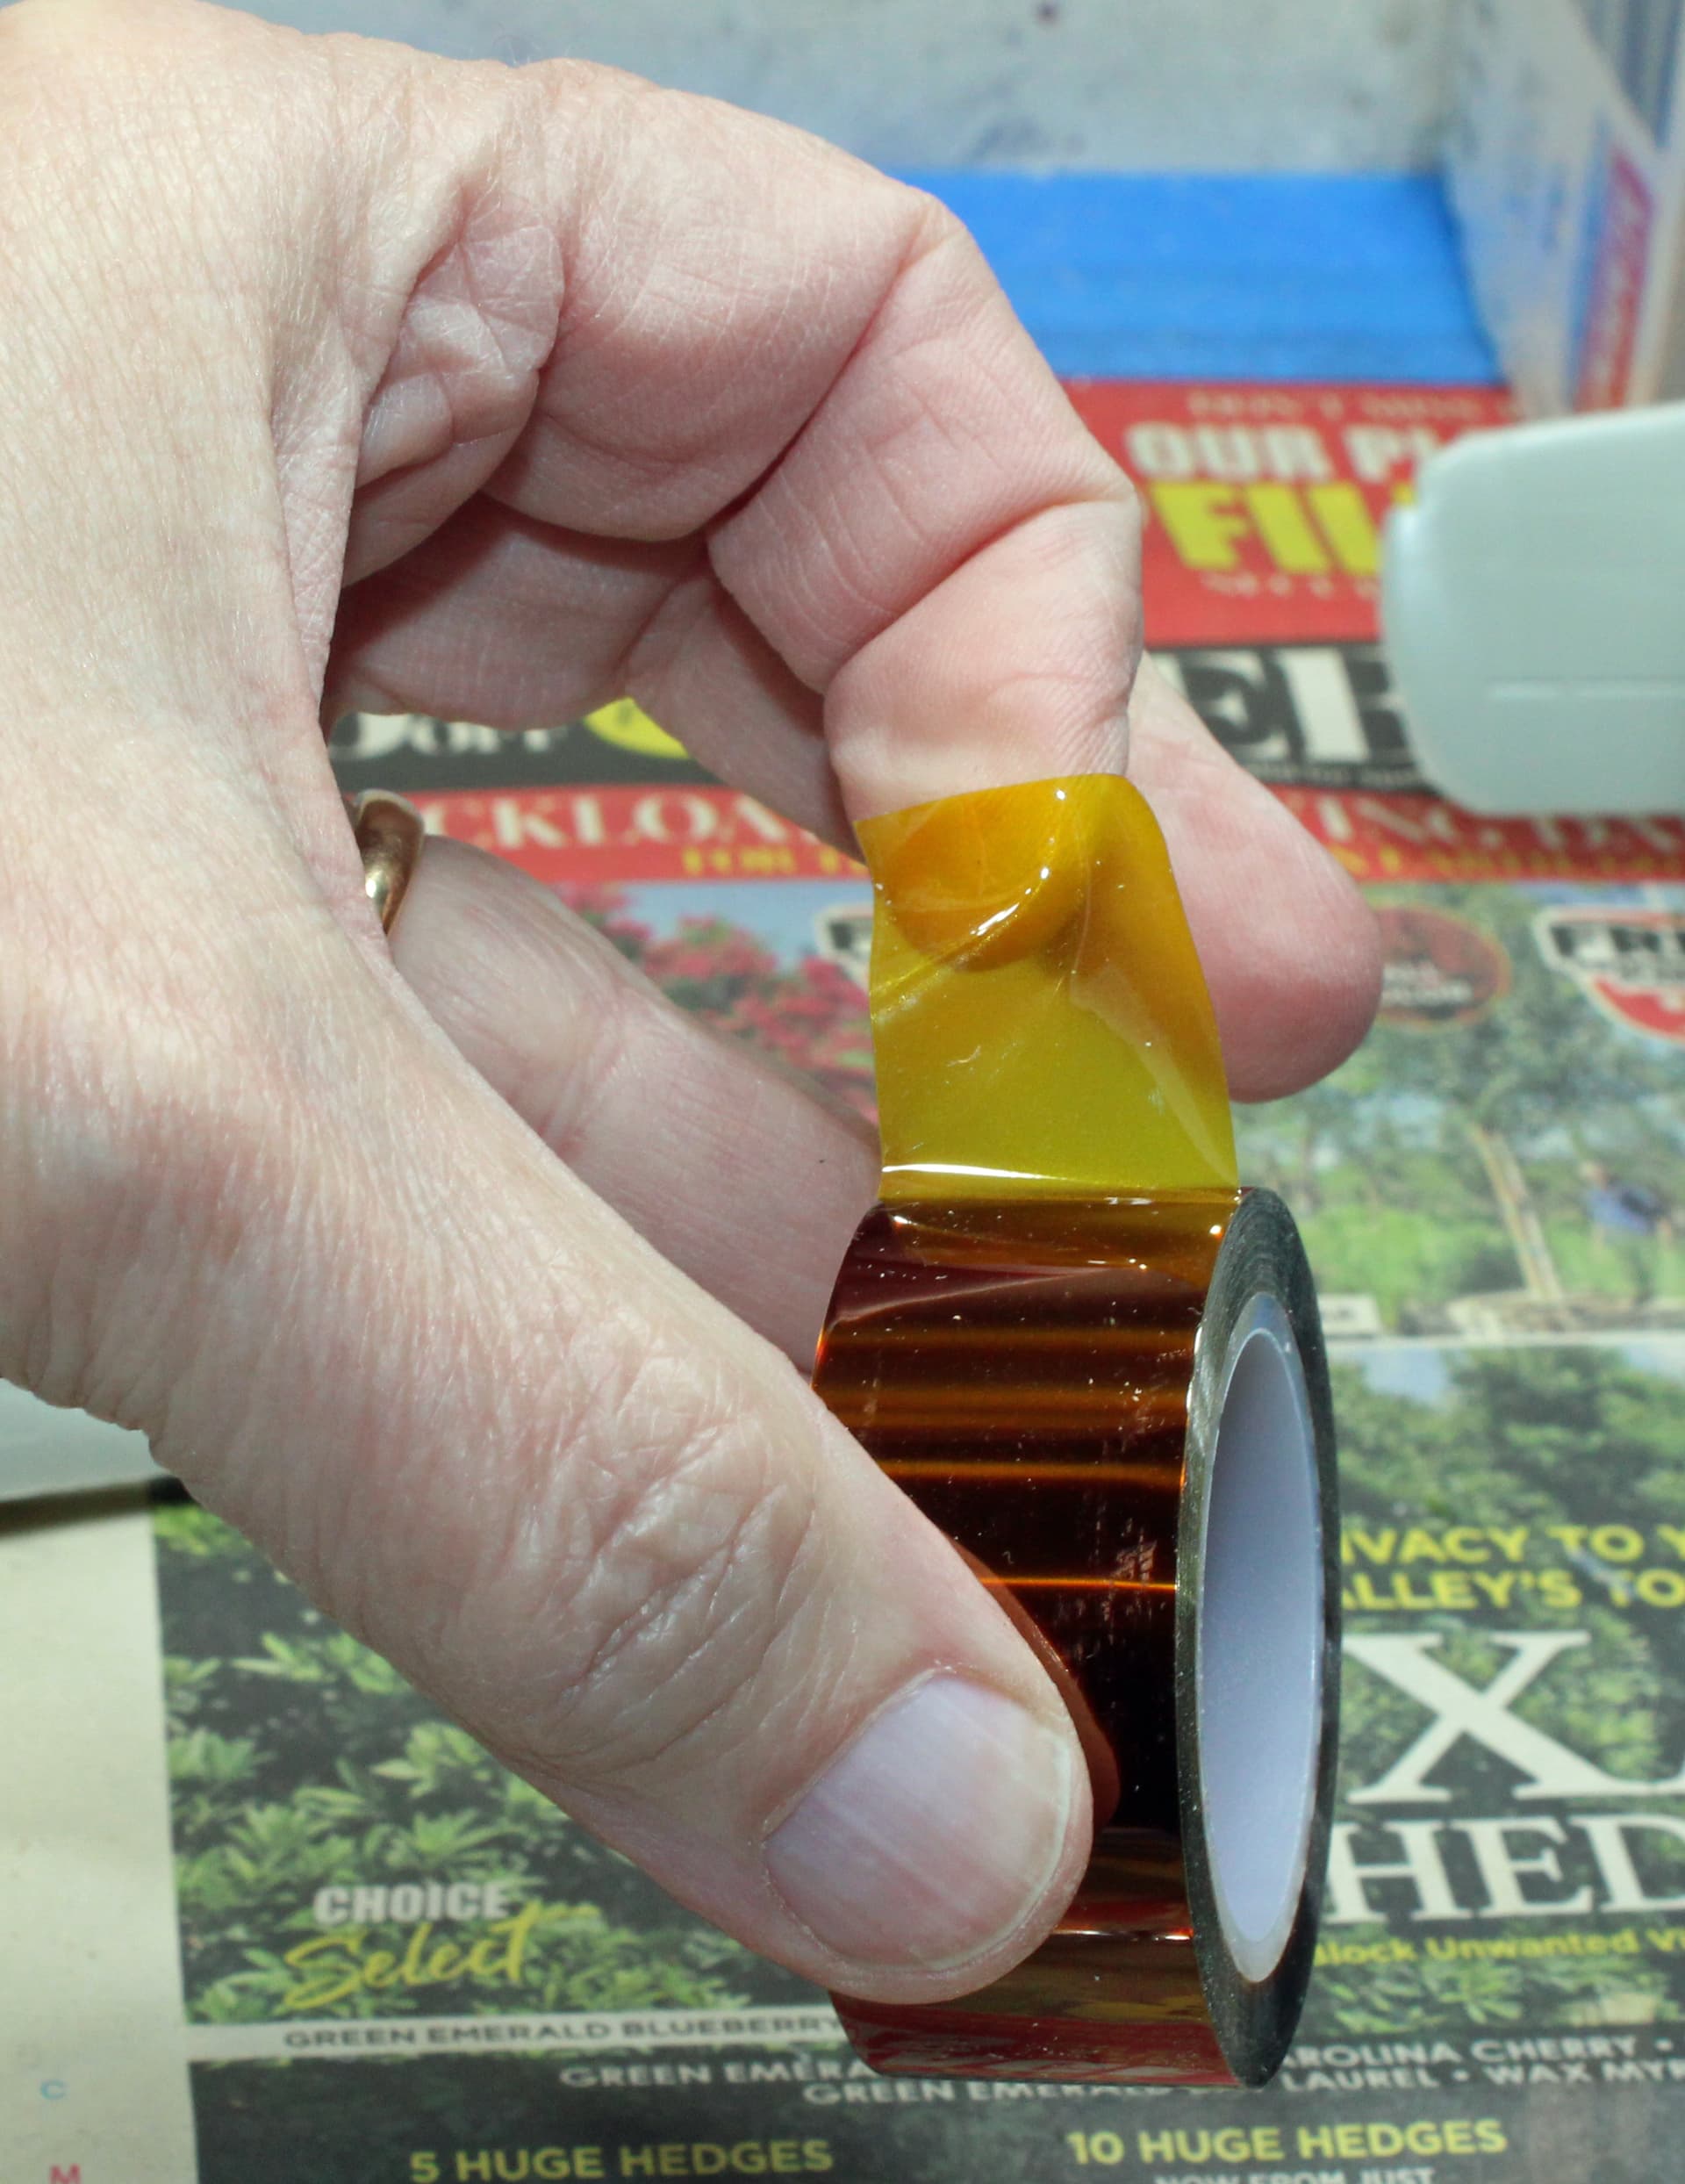
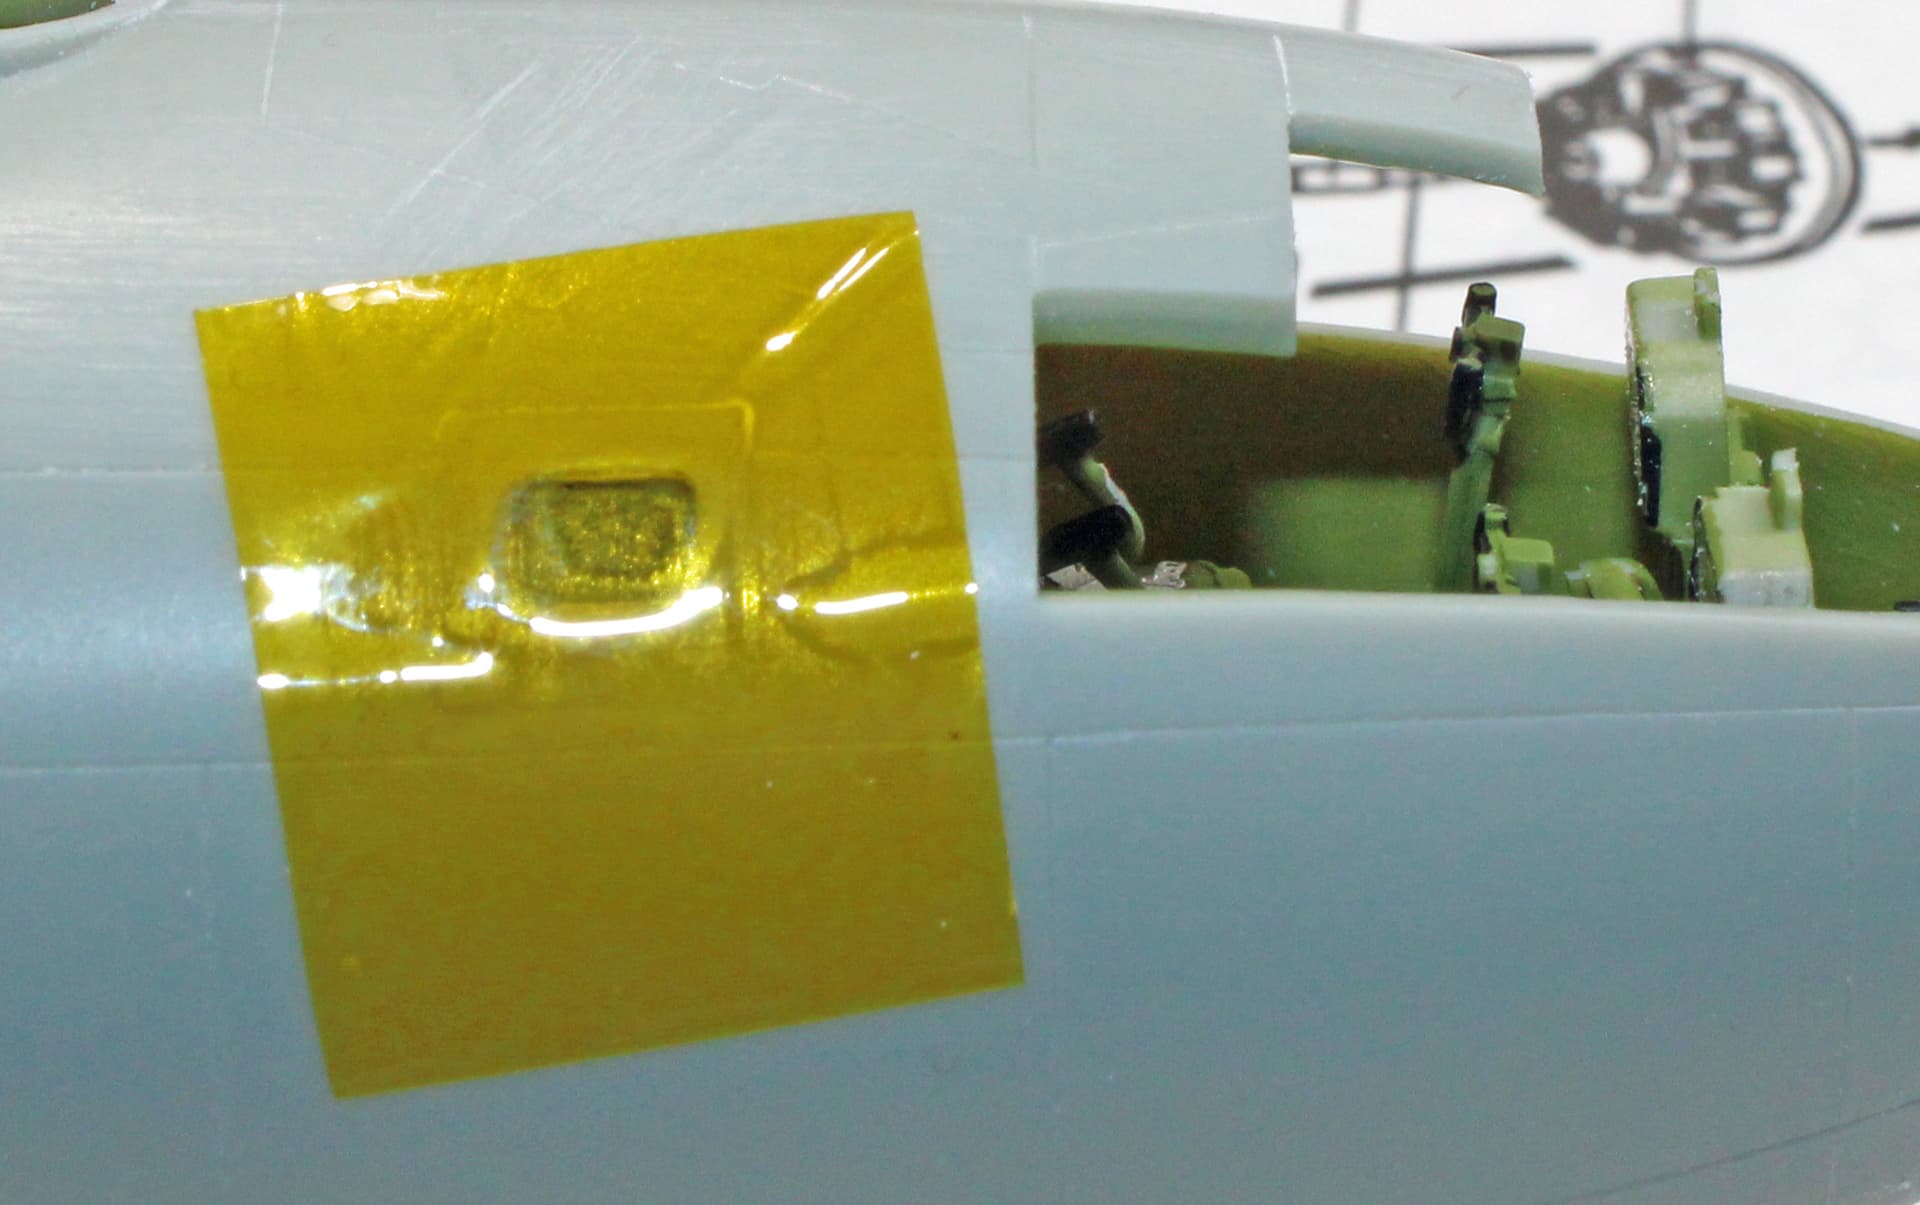
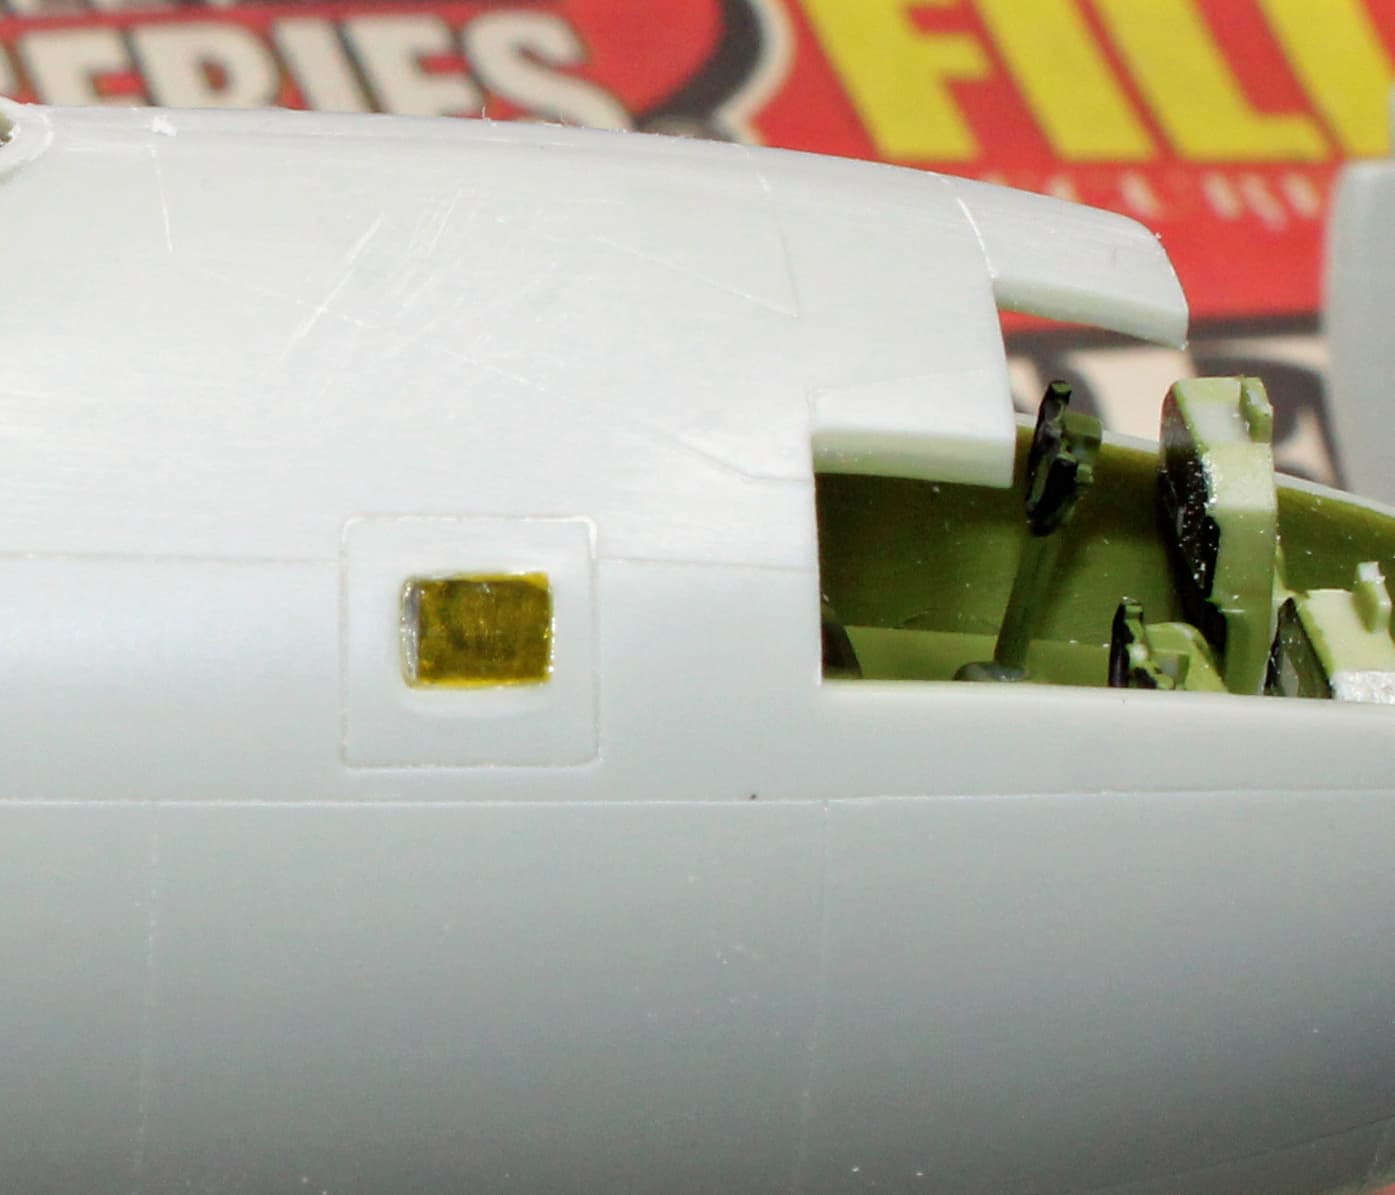
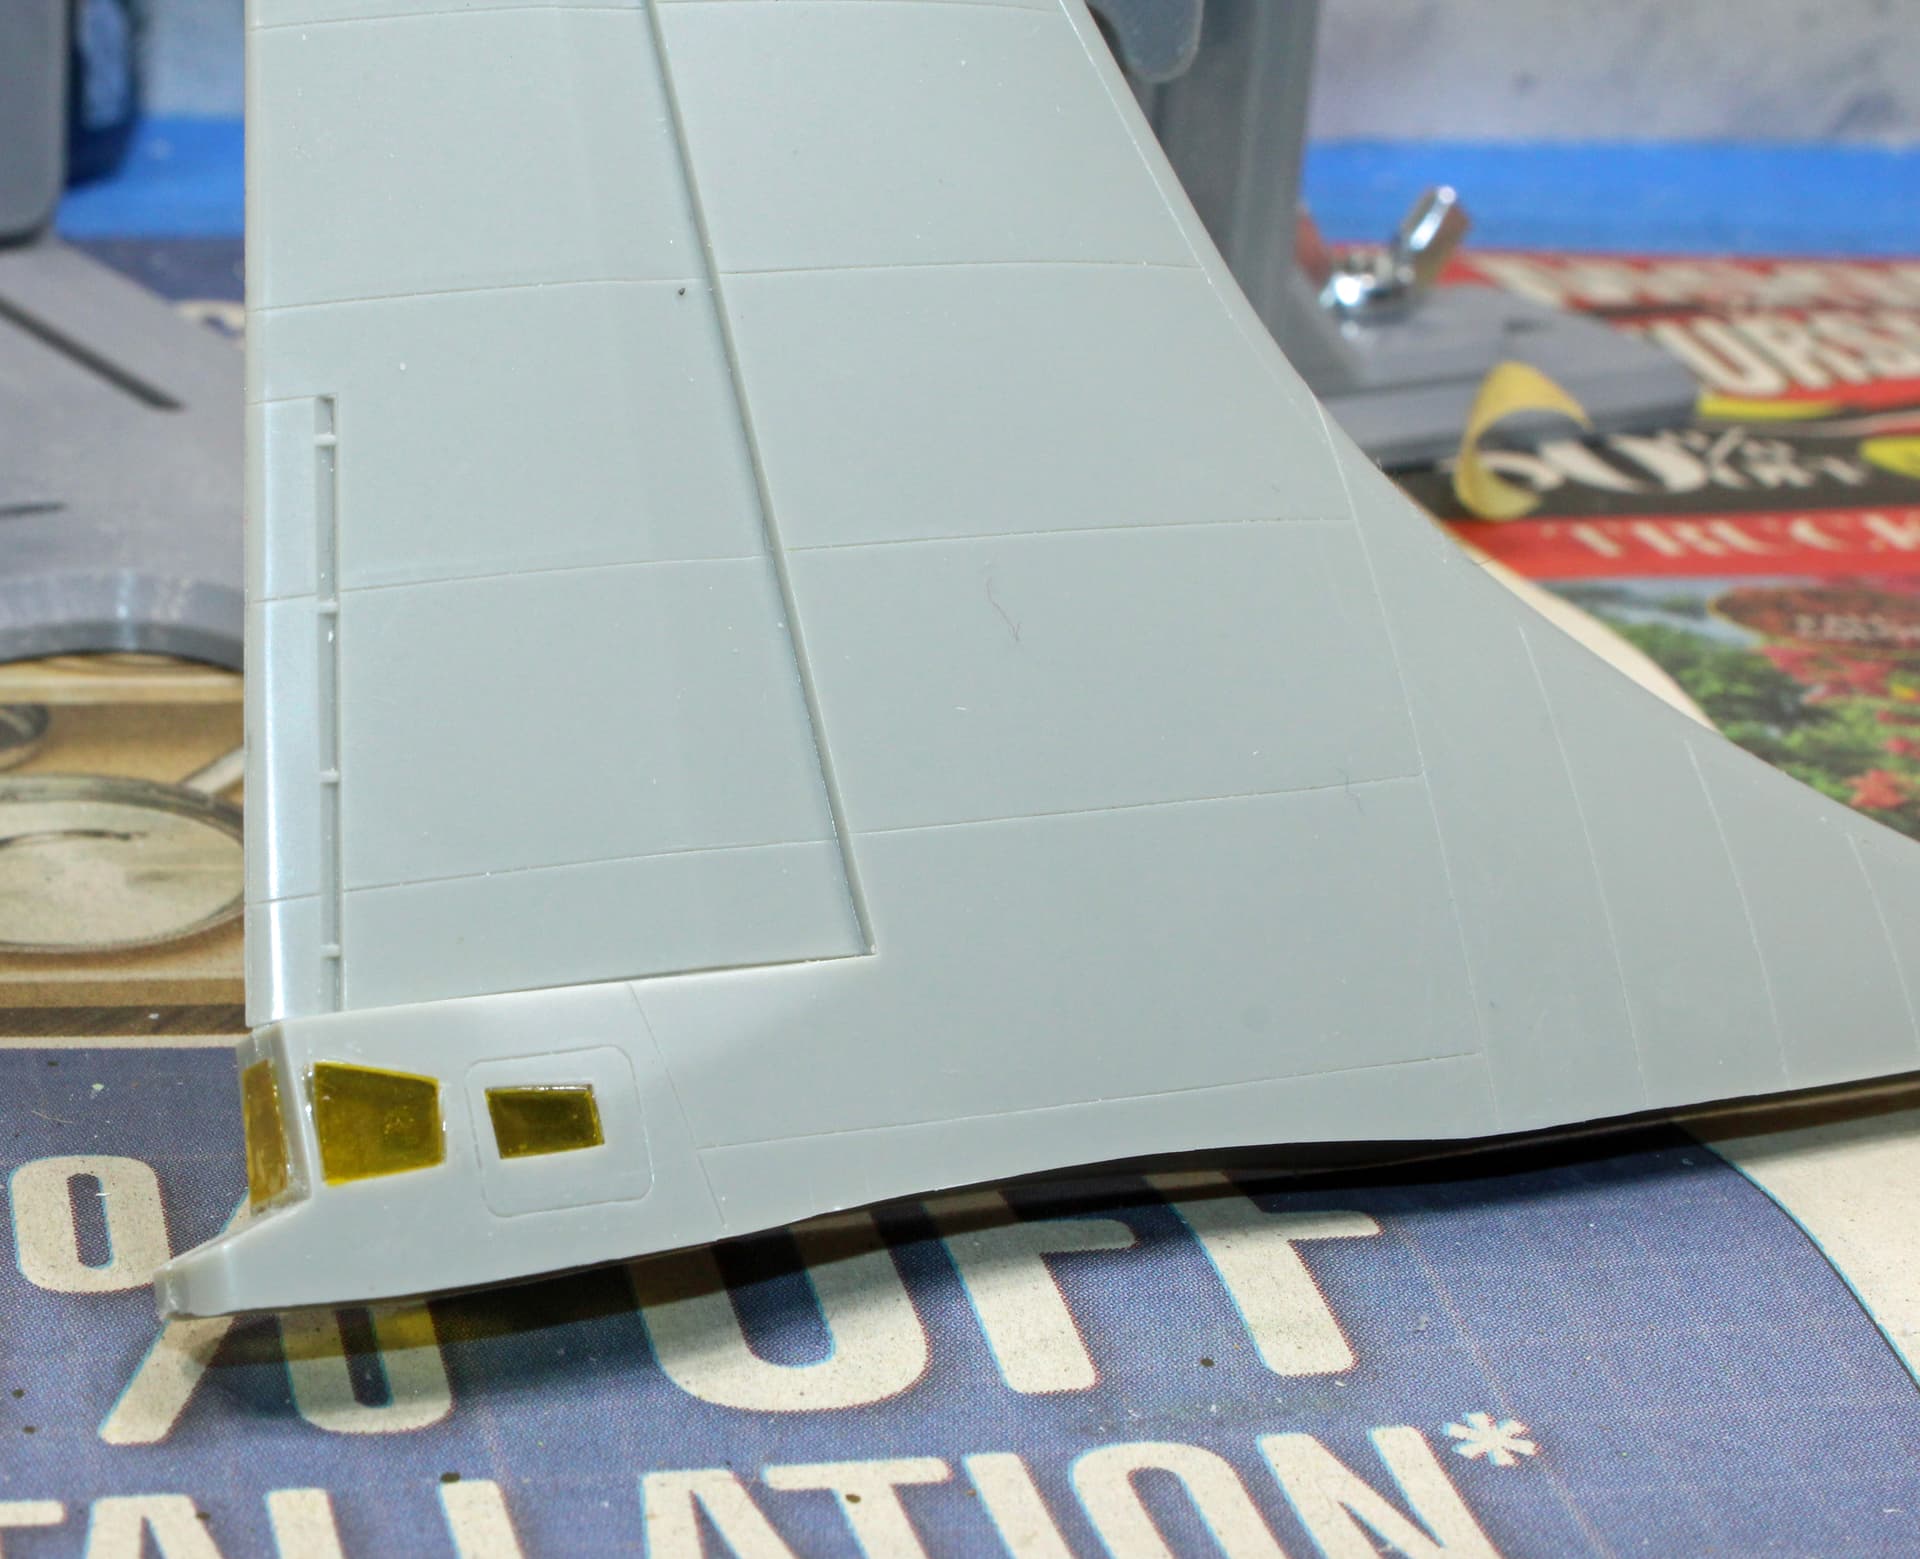
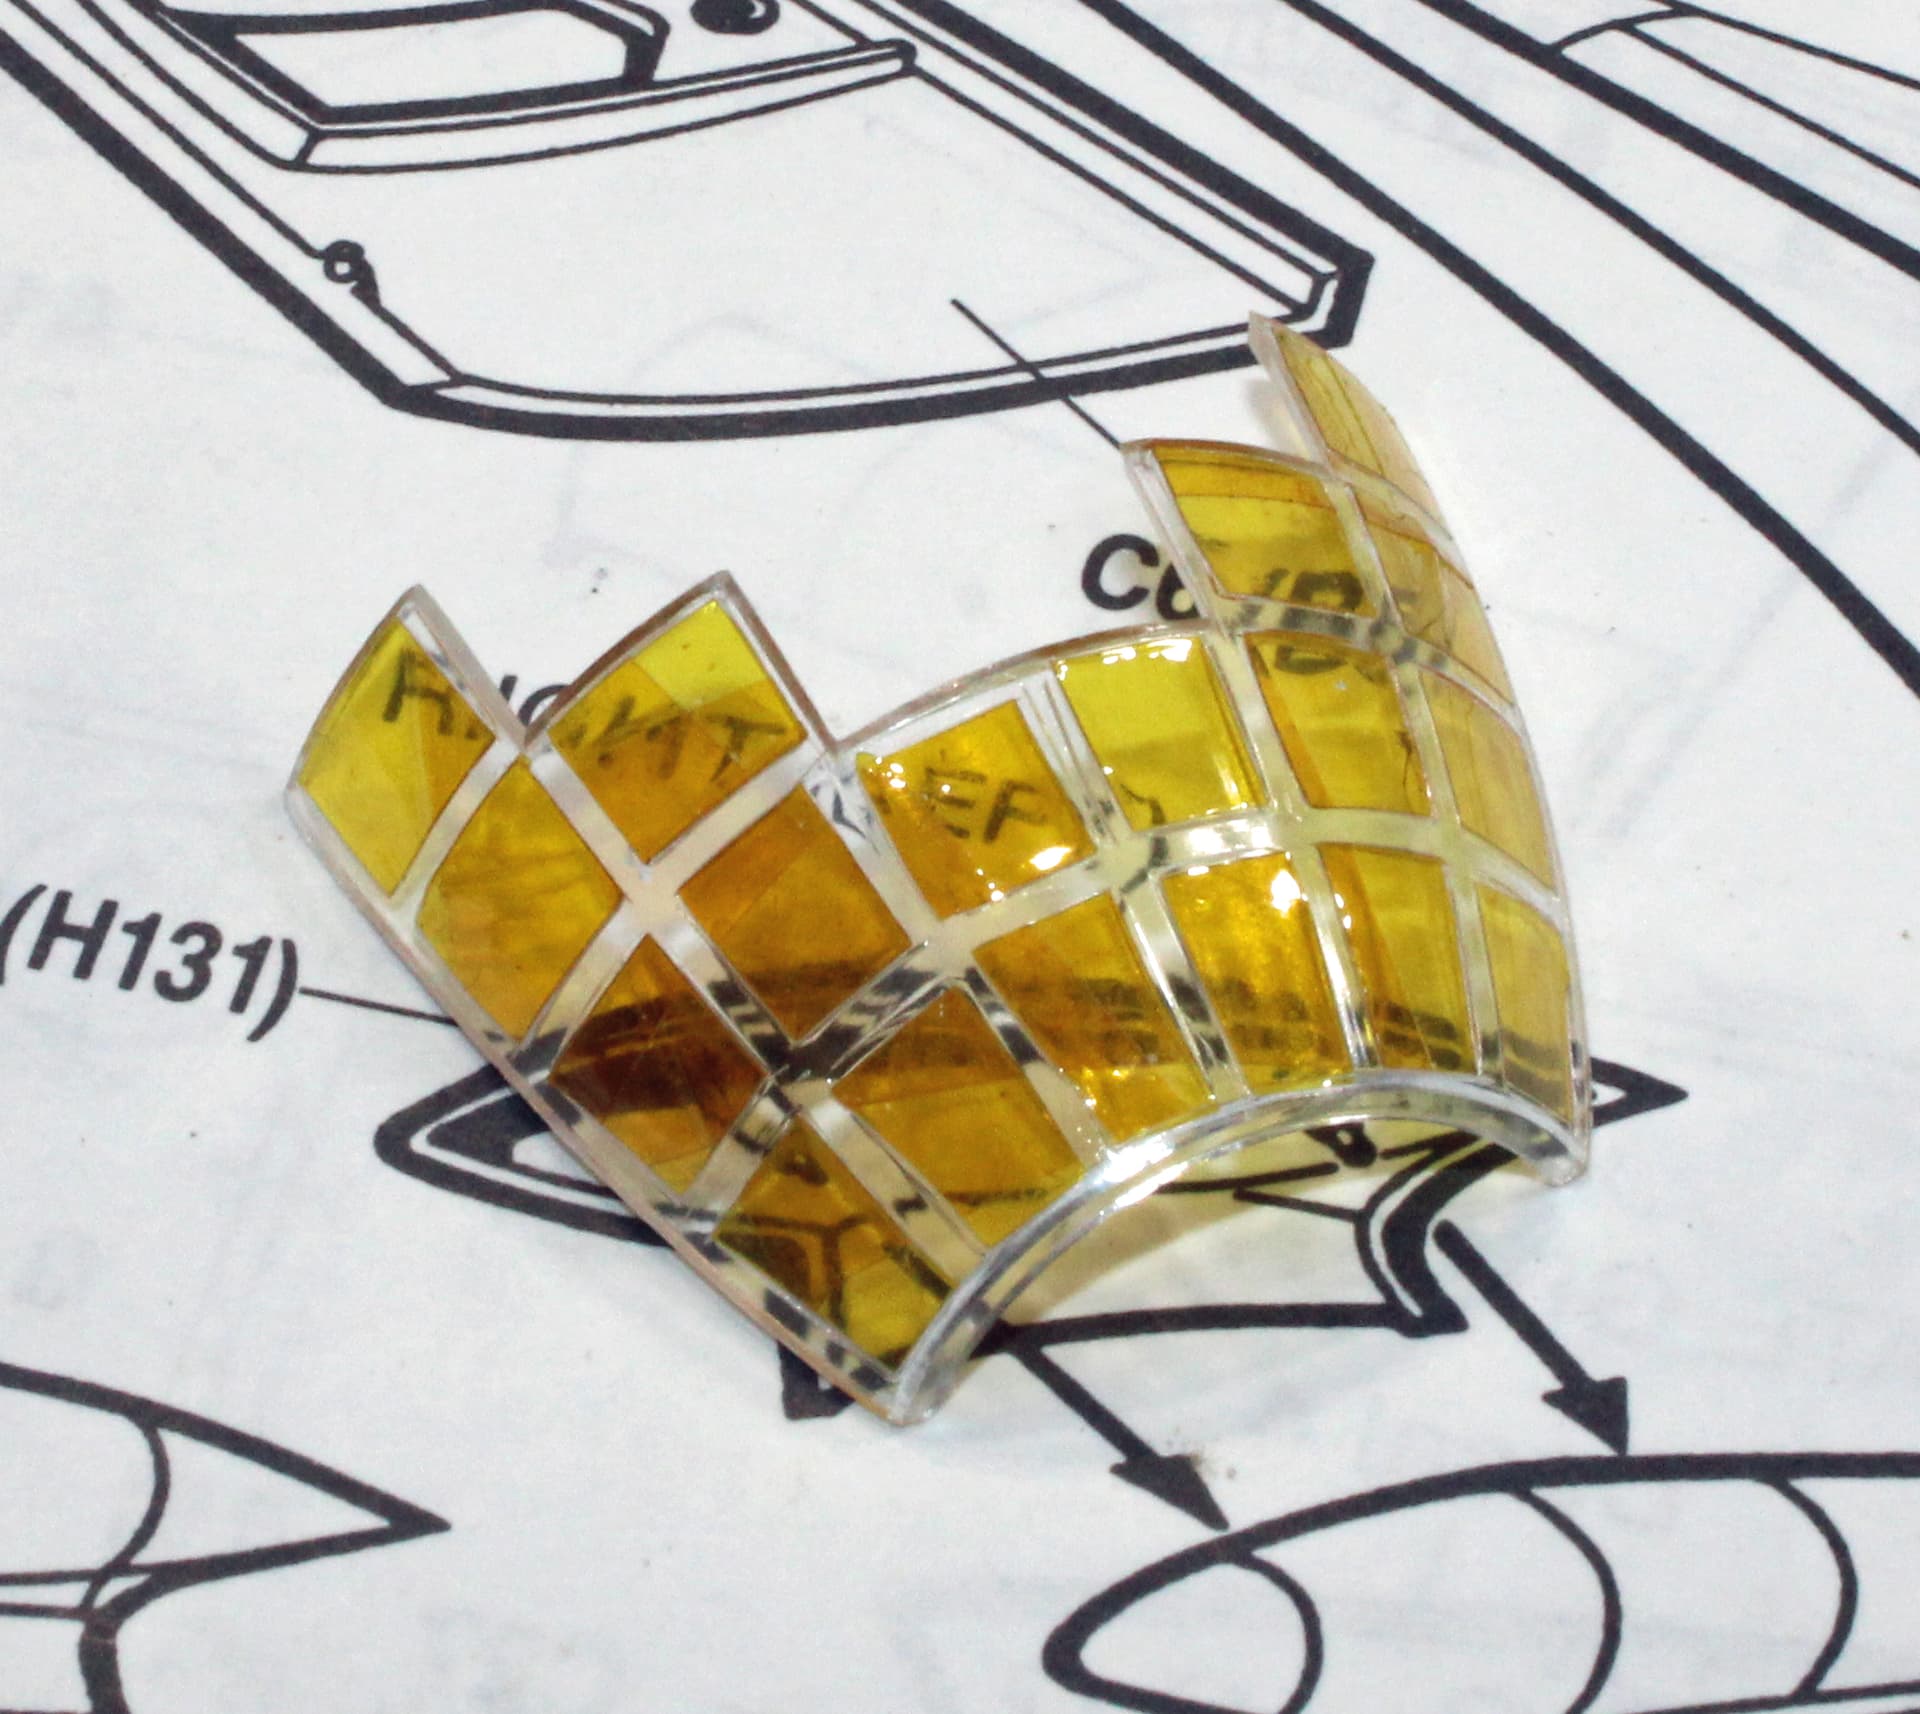
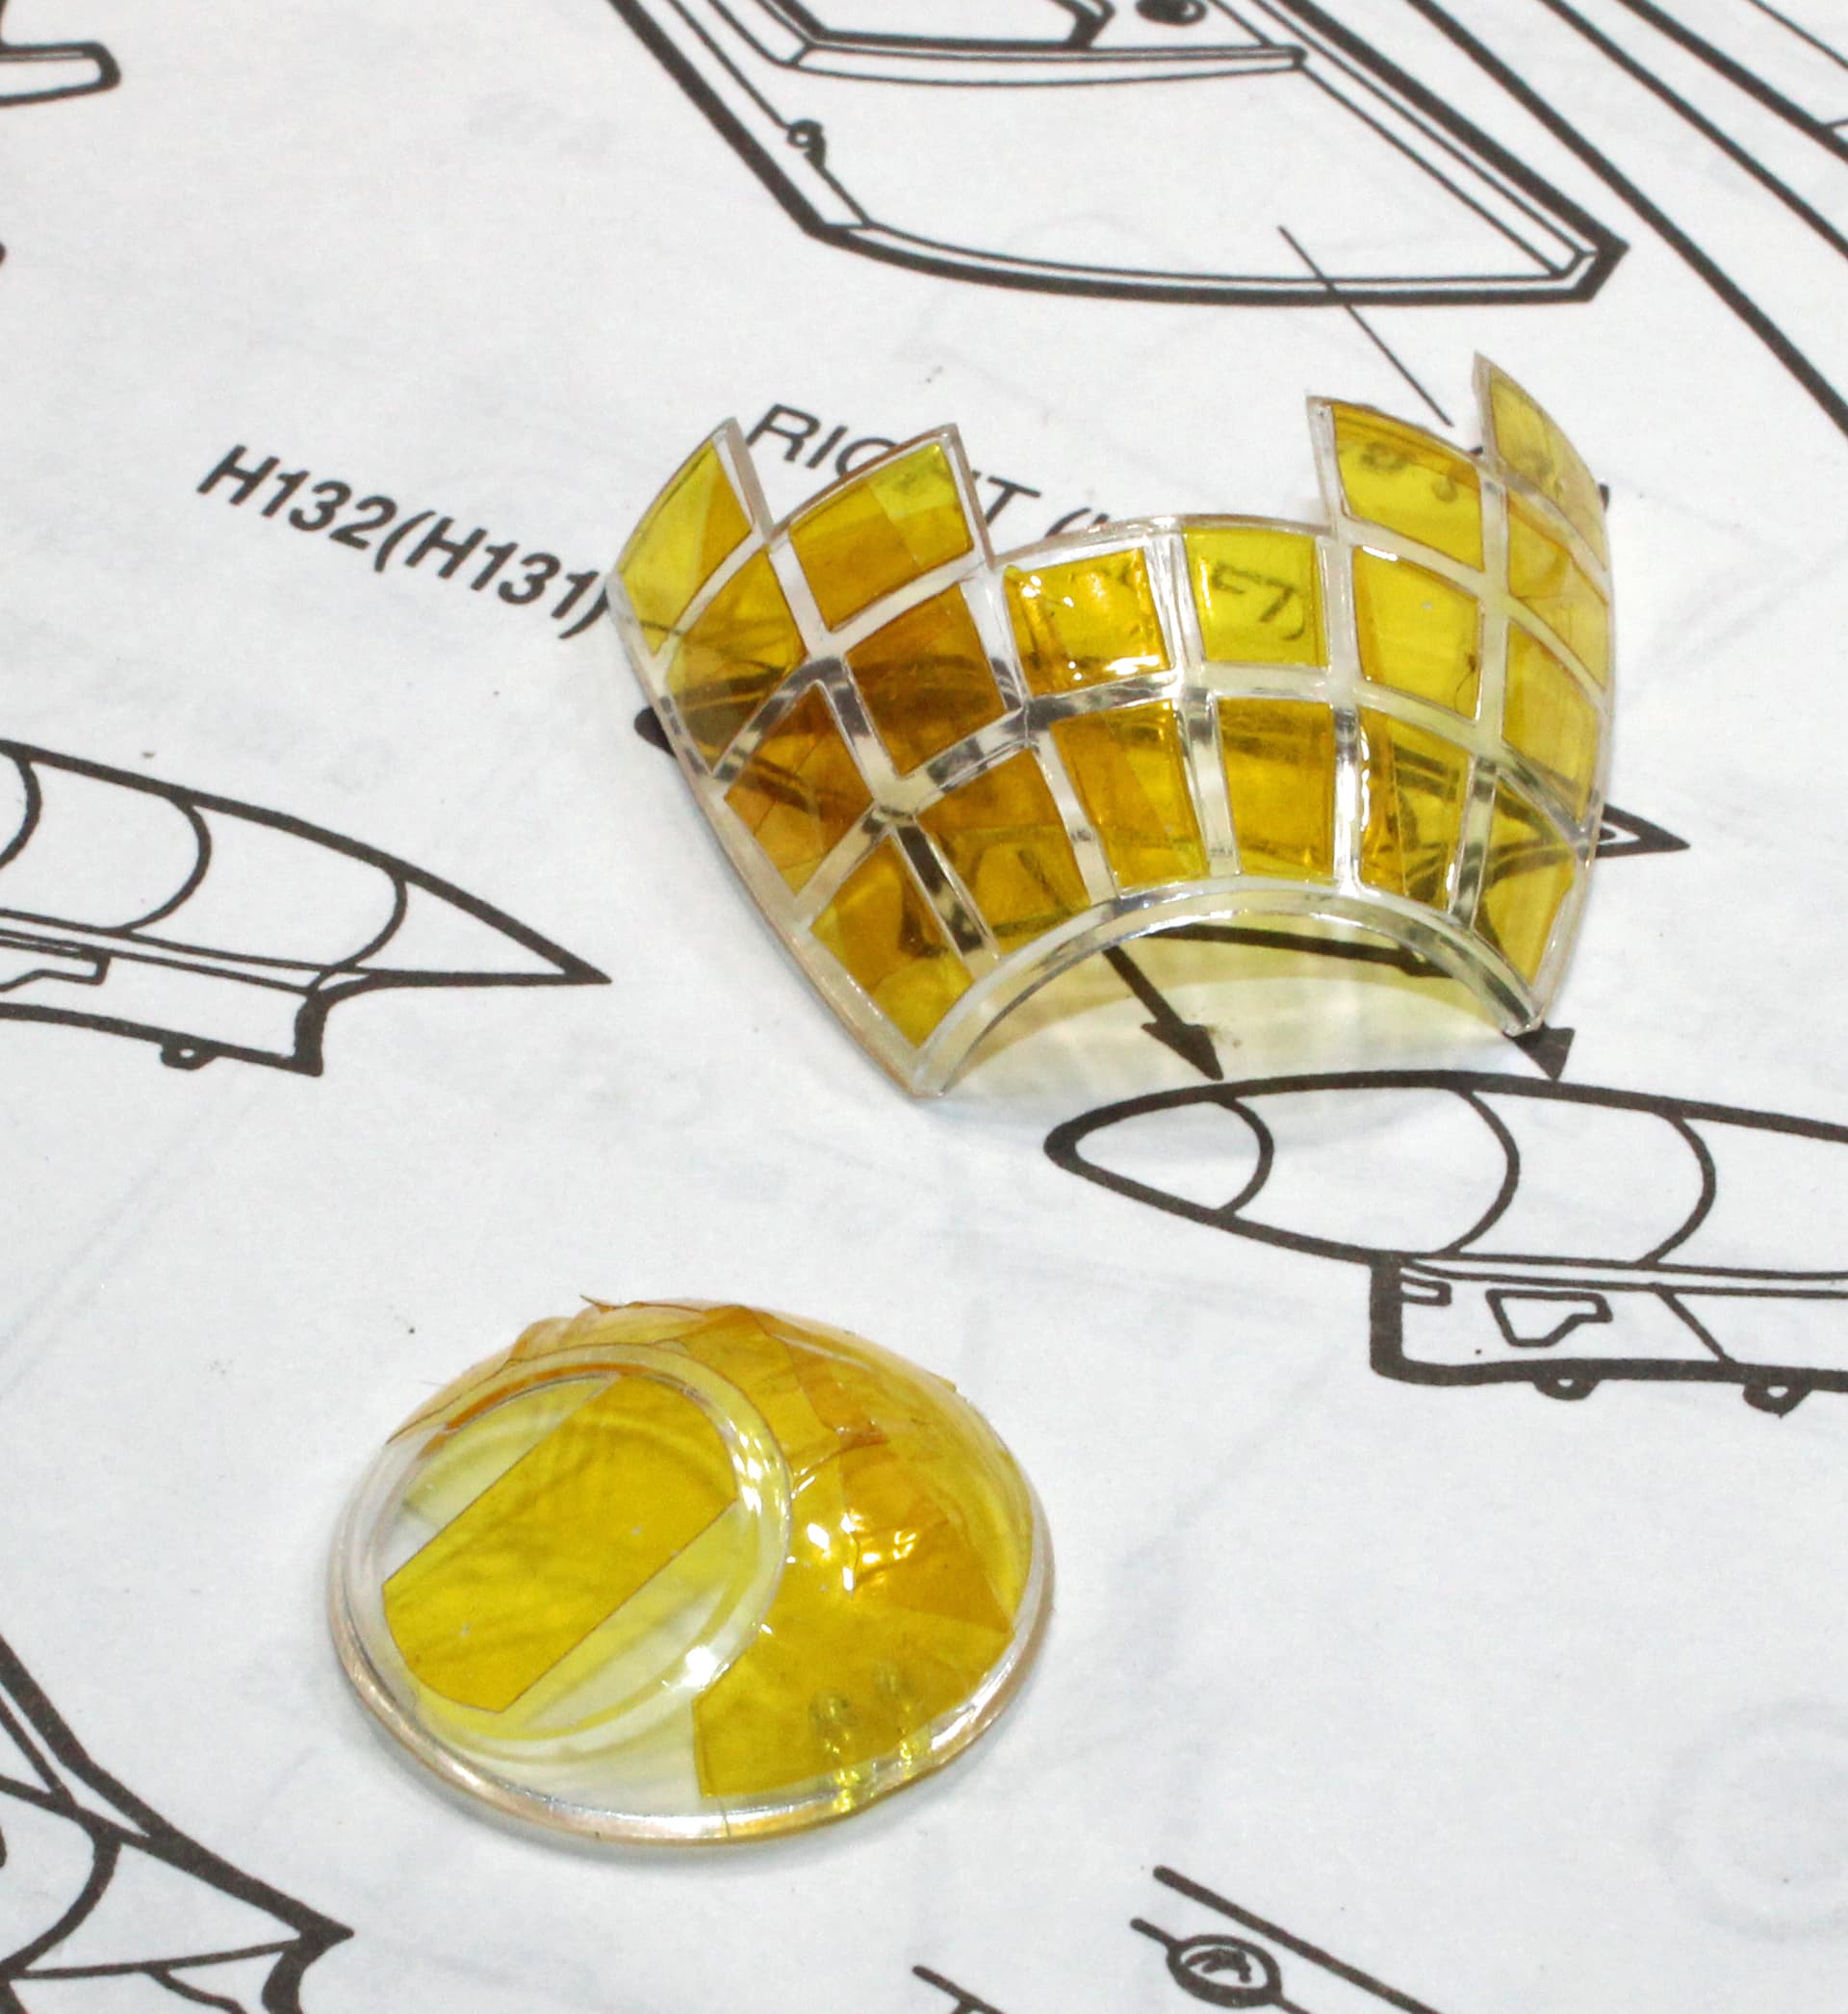
I found another post on FSM where the builder went through a tutorial of using this tape. I’ve lost that thread due to my computer rebooting itself one night or I’d link it here. But the selling points for this tape was its lack of residue left behind when removed from the subject, and that it is transparent enough to allow you to see the boundaries to cut at - unlike using Tamiya tape. The big caveat in using this tape is to use a new, sharp knife blade. My first attempt at cutting the tape over the rear gunner windows failed because my much more dull blade simply didn’t cut the tape.
The sprue goo worked, mostly. I spent an hour sanding everything down with progressively finer sanding sticks and pads. I note that the fuselage is smooth all around. One of the nacelles is decent, but the other three needed additional work. I put down some Perfect Plastic Putty to hopefully smooth out the remaining divots.
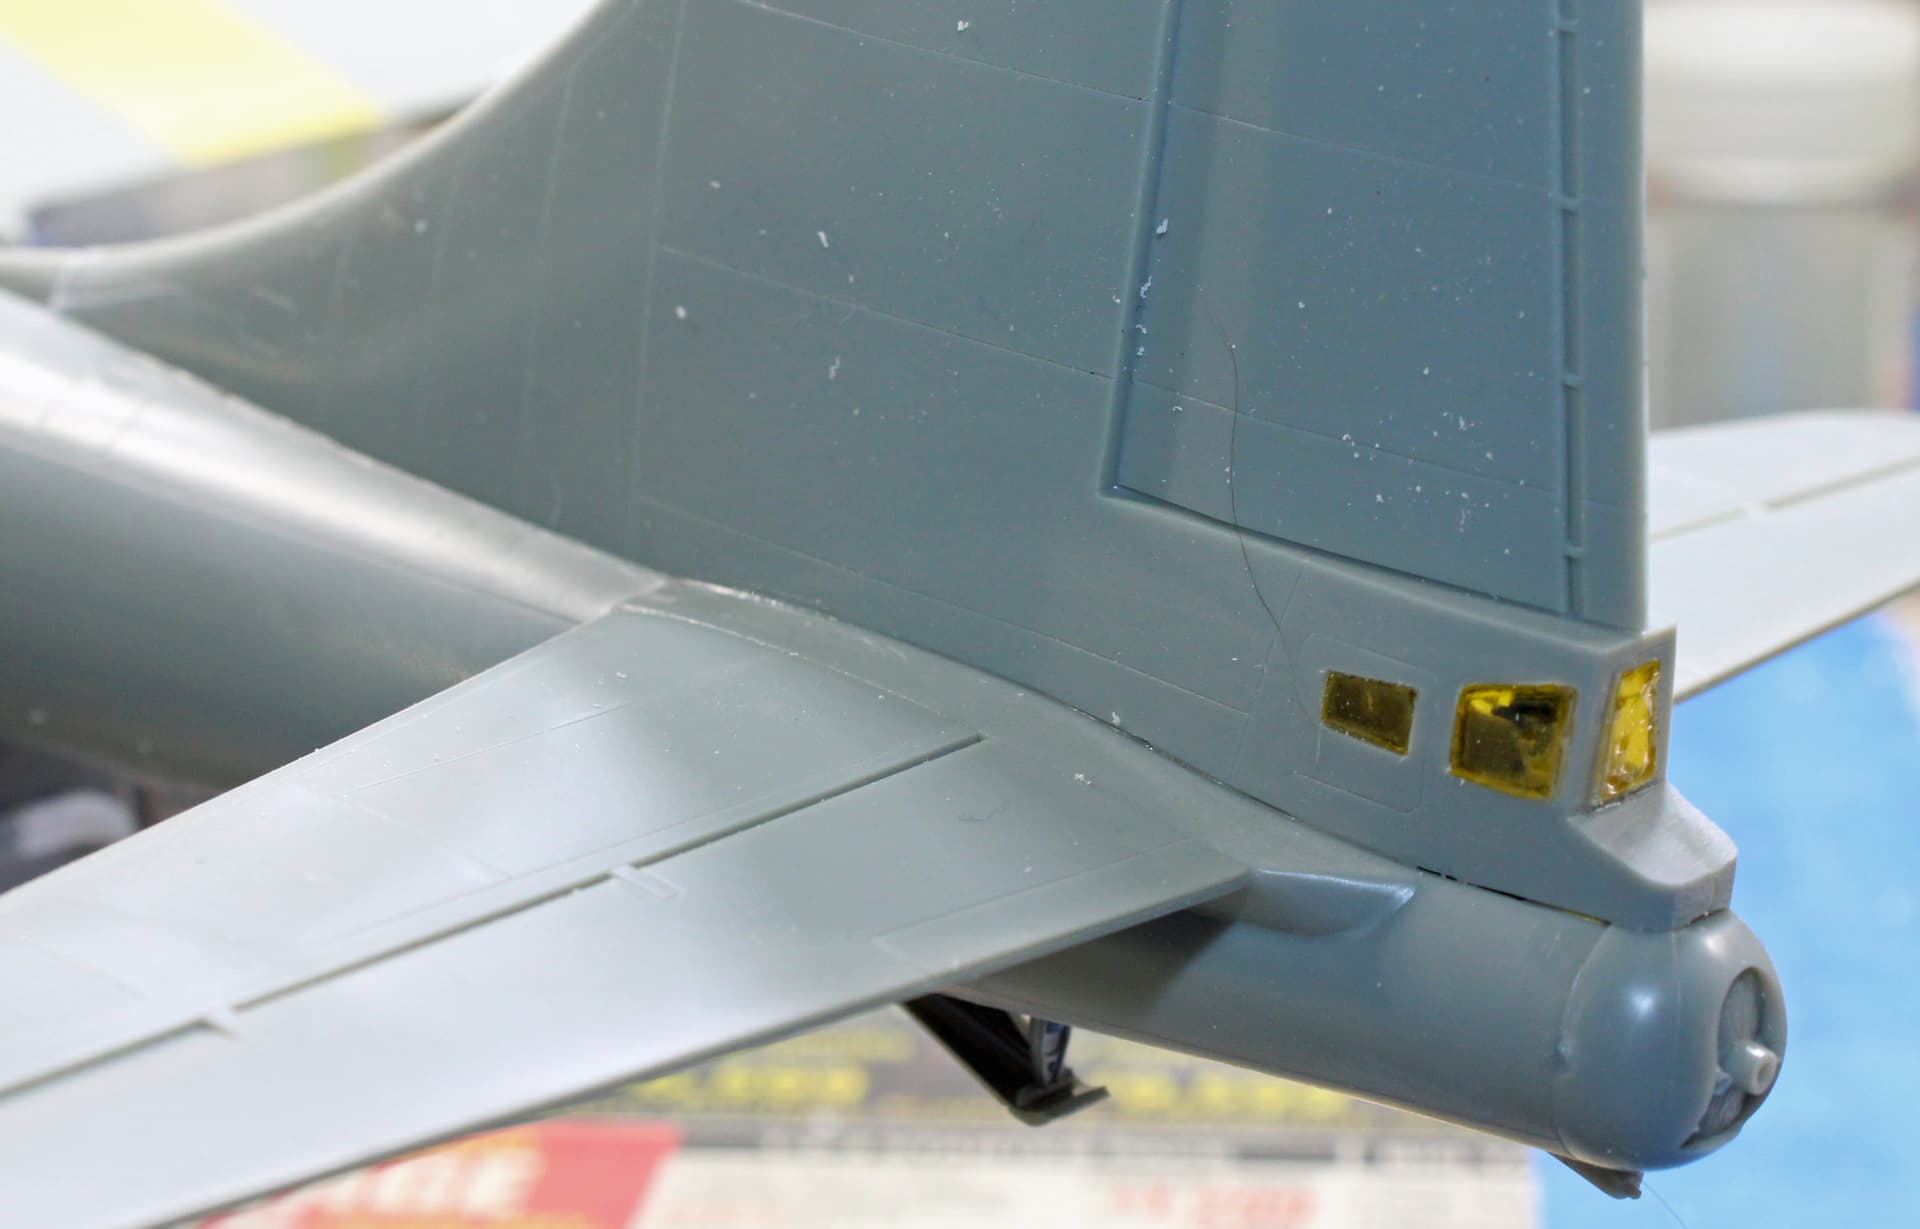
The big rudder and stabilizers were simple to install and get into proper alignment, although the photo of the rudder reveals a small gap I will need to fill with putty.
The wings didn’t fit that great. I spent about half an hour attaching them. I got them into place and applied a bit of Tamiya Extra Thin, then with the wing tip firmly on my workbench, I pushed down on the fuselage to effect a gapless join. This technique worked on the first wing for the top side only - there was a big gap along the underside join. The technique didn’t work at all for the other wing, with gaps along both underside and top side. Since my sprue goo is now gone, I opted to fill these gaps with putty.
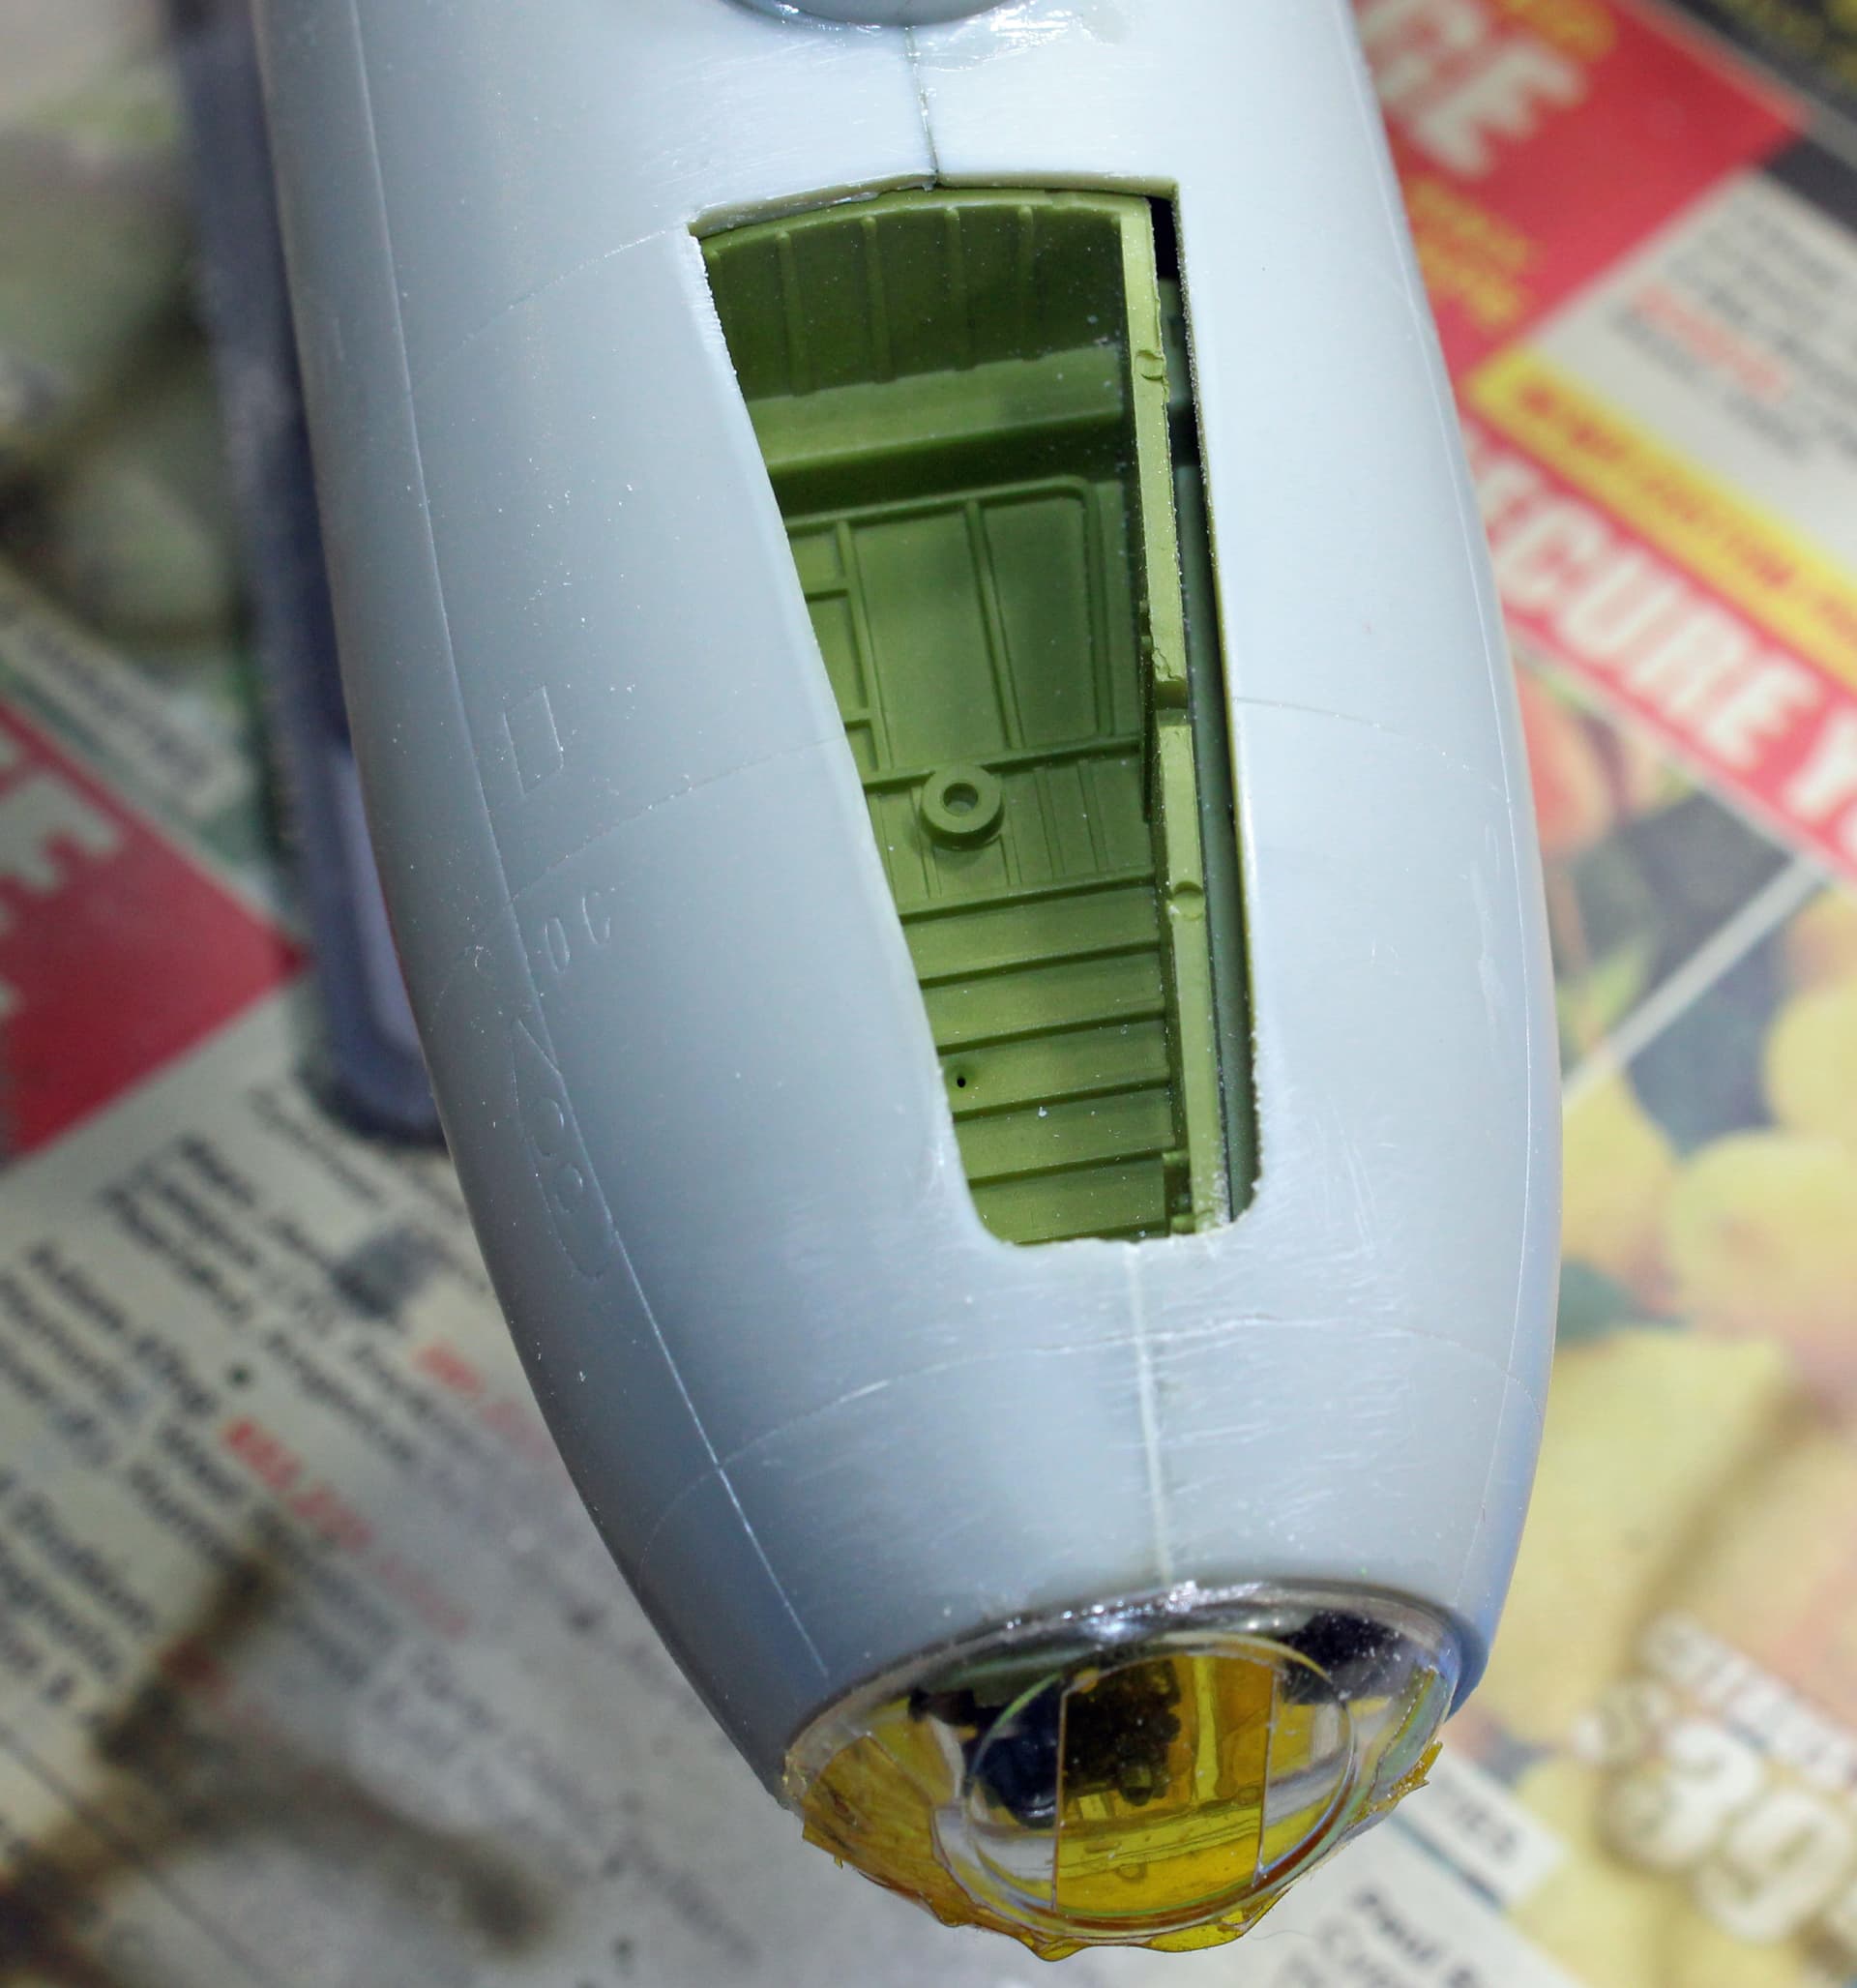
When I was installing the canopy parts, I noticed that the cockpit did not appear level with the nose piece installed between the mounting pins on the side of the part to the fuselage. When I took a look at the nose wheel well, I could see why. Not much I can do about this now short of breaking open the fuselage and re-doing the interior. I would rather willingly watch what anyone would claim to be the worst movie ever made multiple times in a row than break this thing apart.
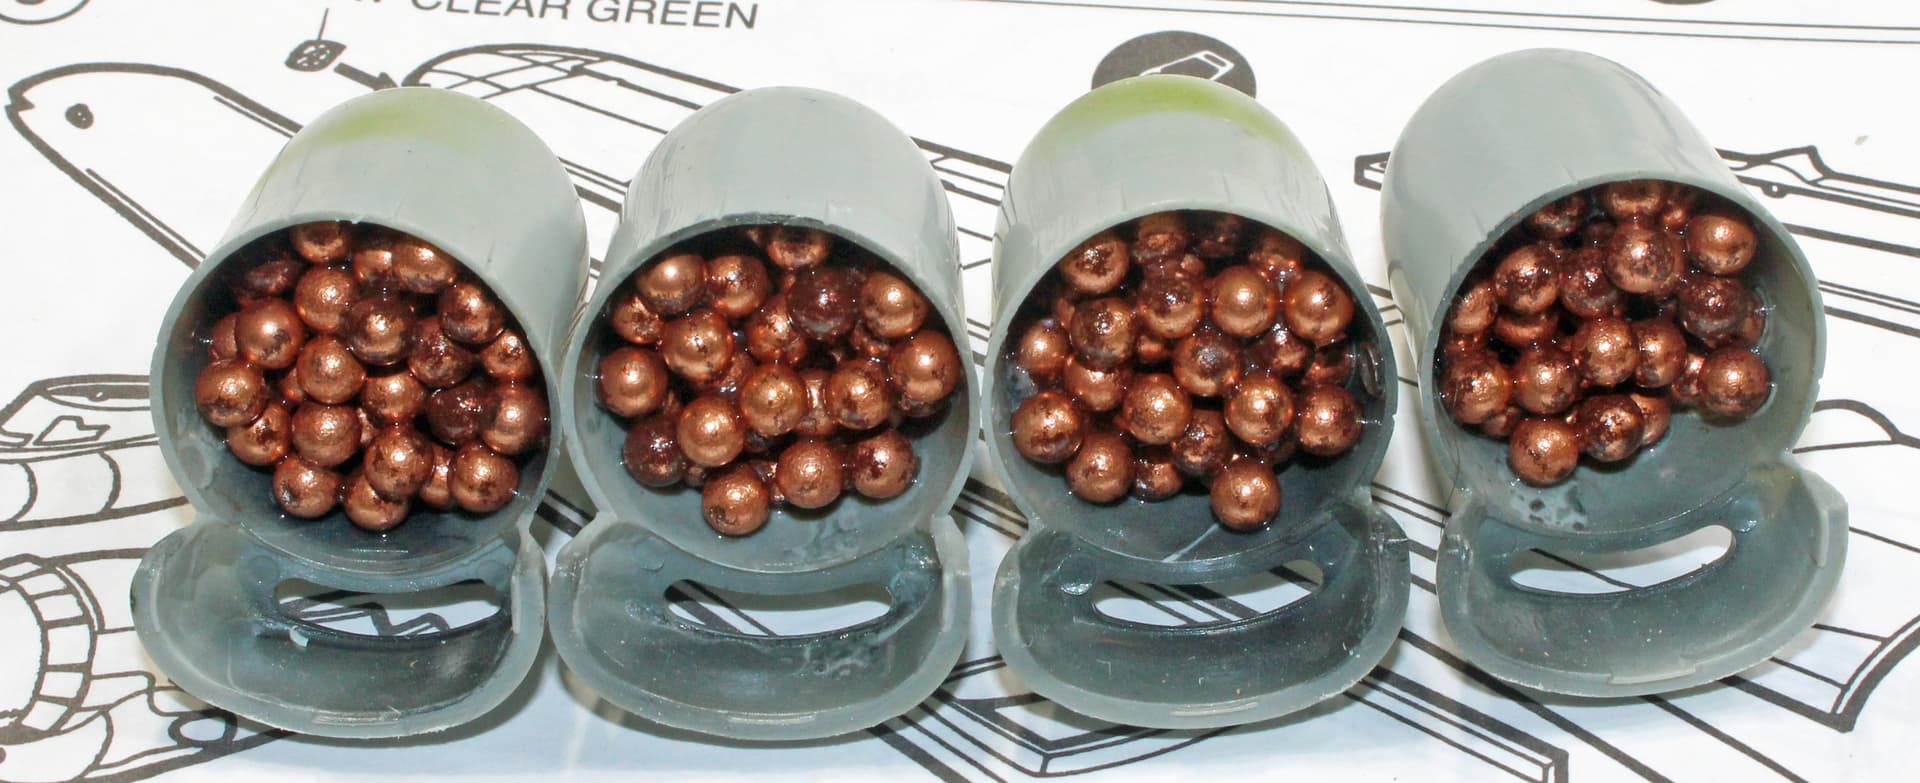
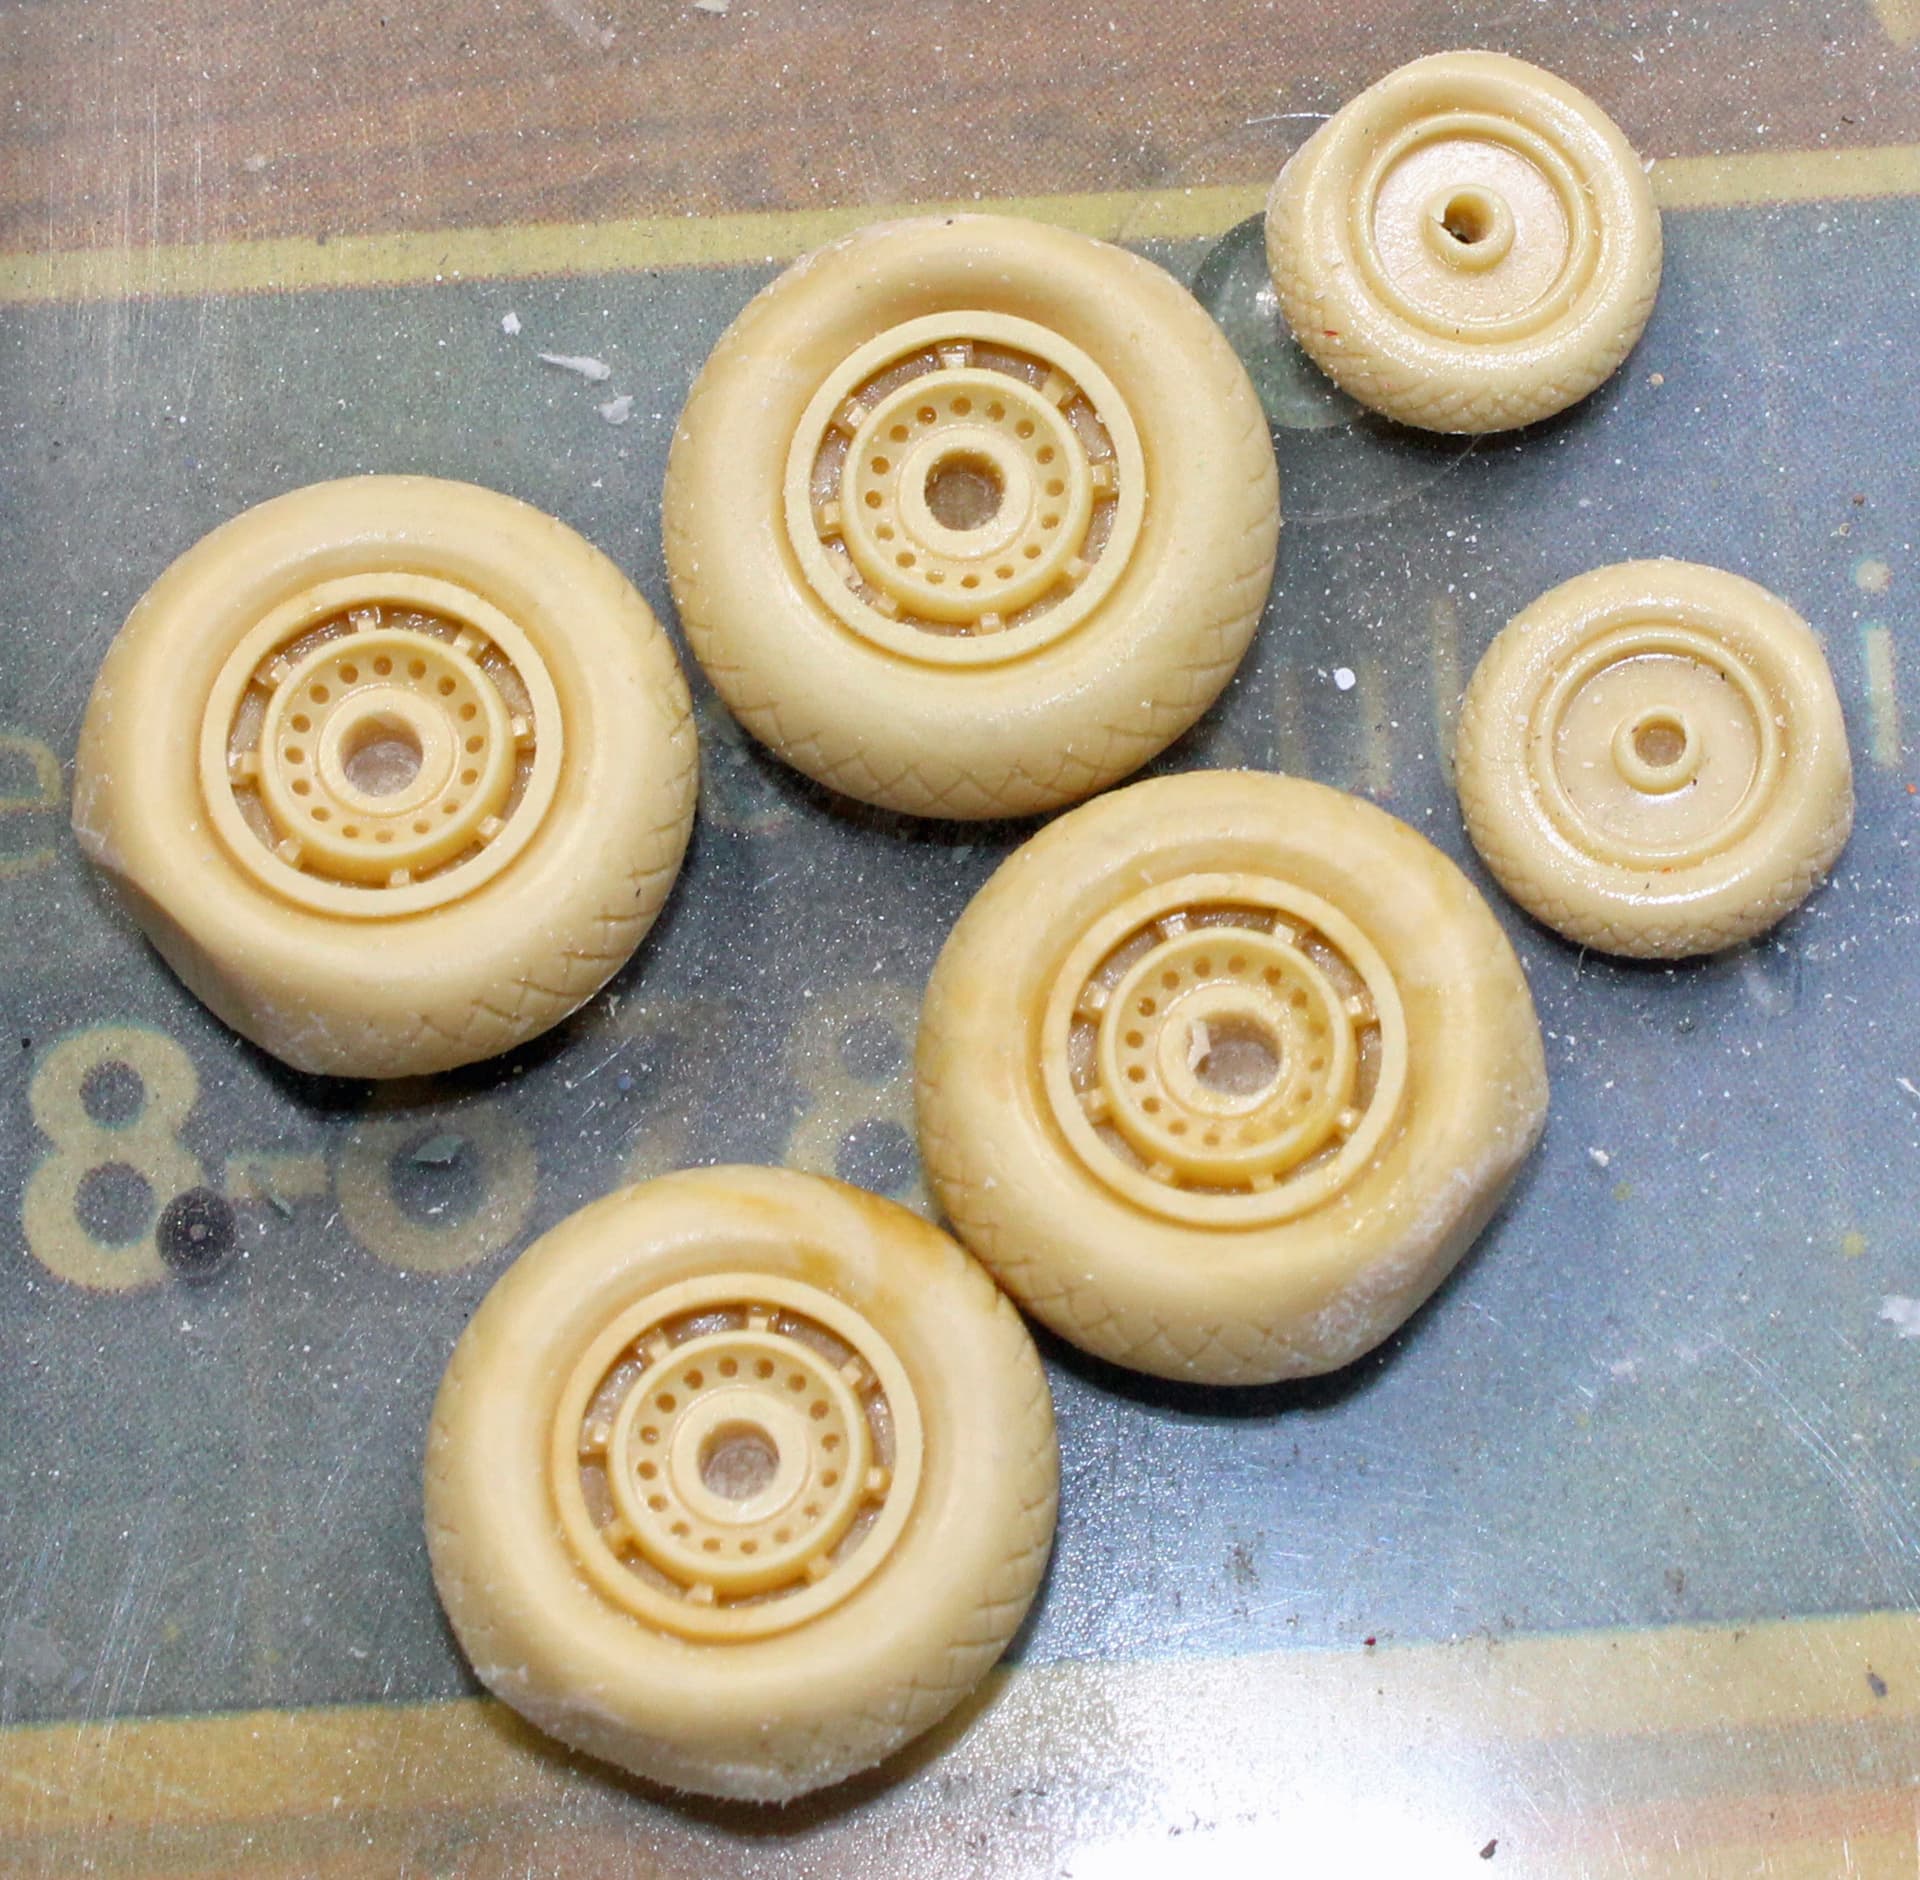
Finally, I took out the resin tire set and prepped them for painting. I had to drill out the mounting holes in each tire to fit the kit axles. And ooops, on one of the nose tires, I drilled all the way through, so I lost some pretty good detail that hopefully the axle will replace.
That nose wheel bay looks like some of my work! Hopefully the nose wheel won’t be crooked.
That reminds me. I met a fellow who flew in B-50s up in Tyler, Texas one year. He was a navigator doing air sampling during the Cold War testing for radiation from Soviet nuclear bomb tests. He said that he was never sure just how far from the coast they actually were, but they were never intercepted (thank goodness).