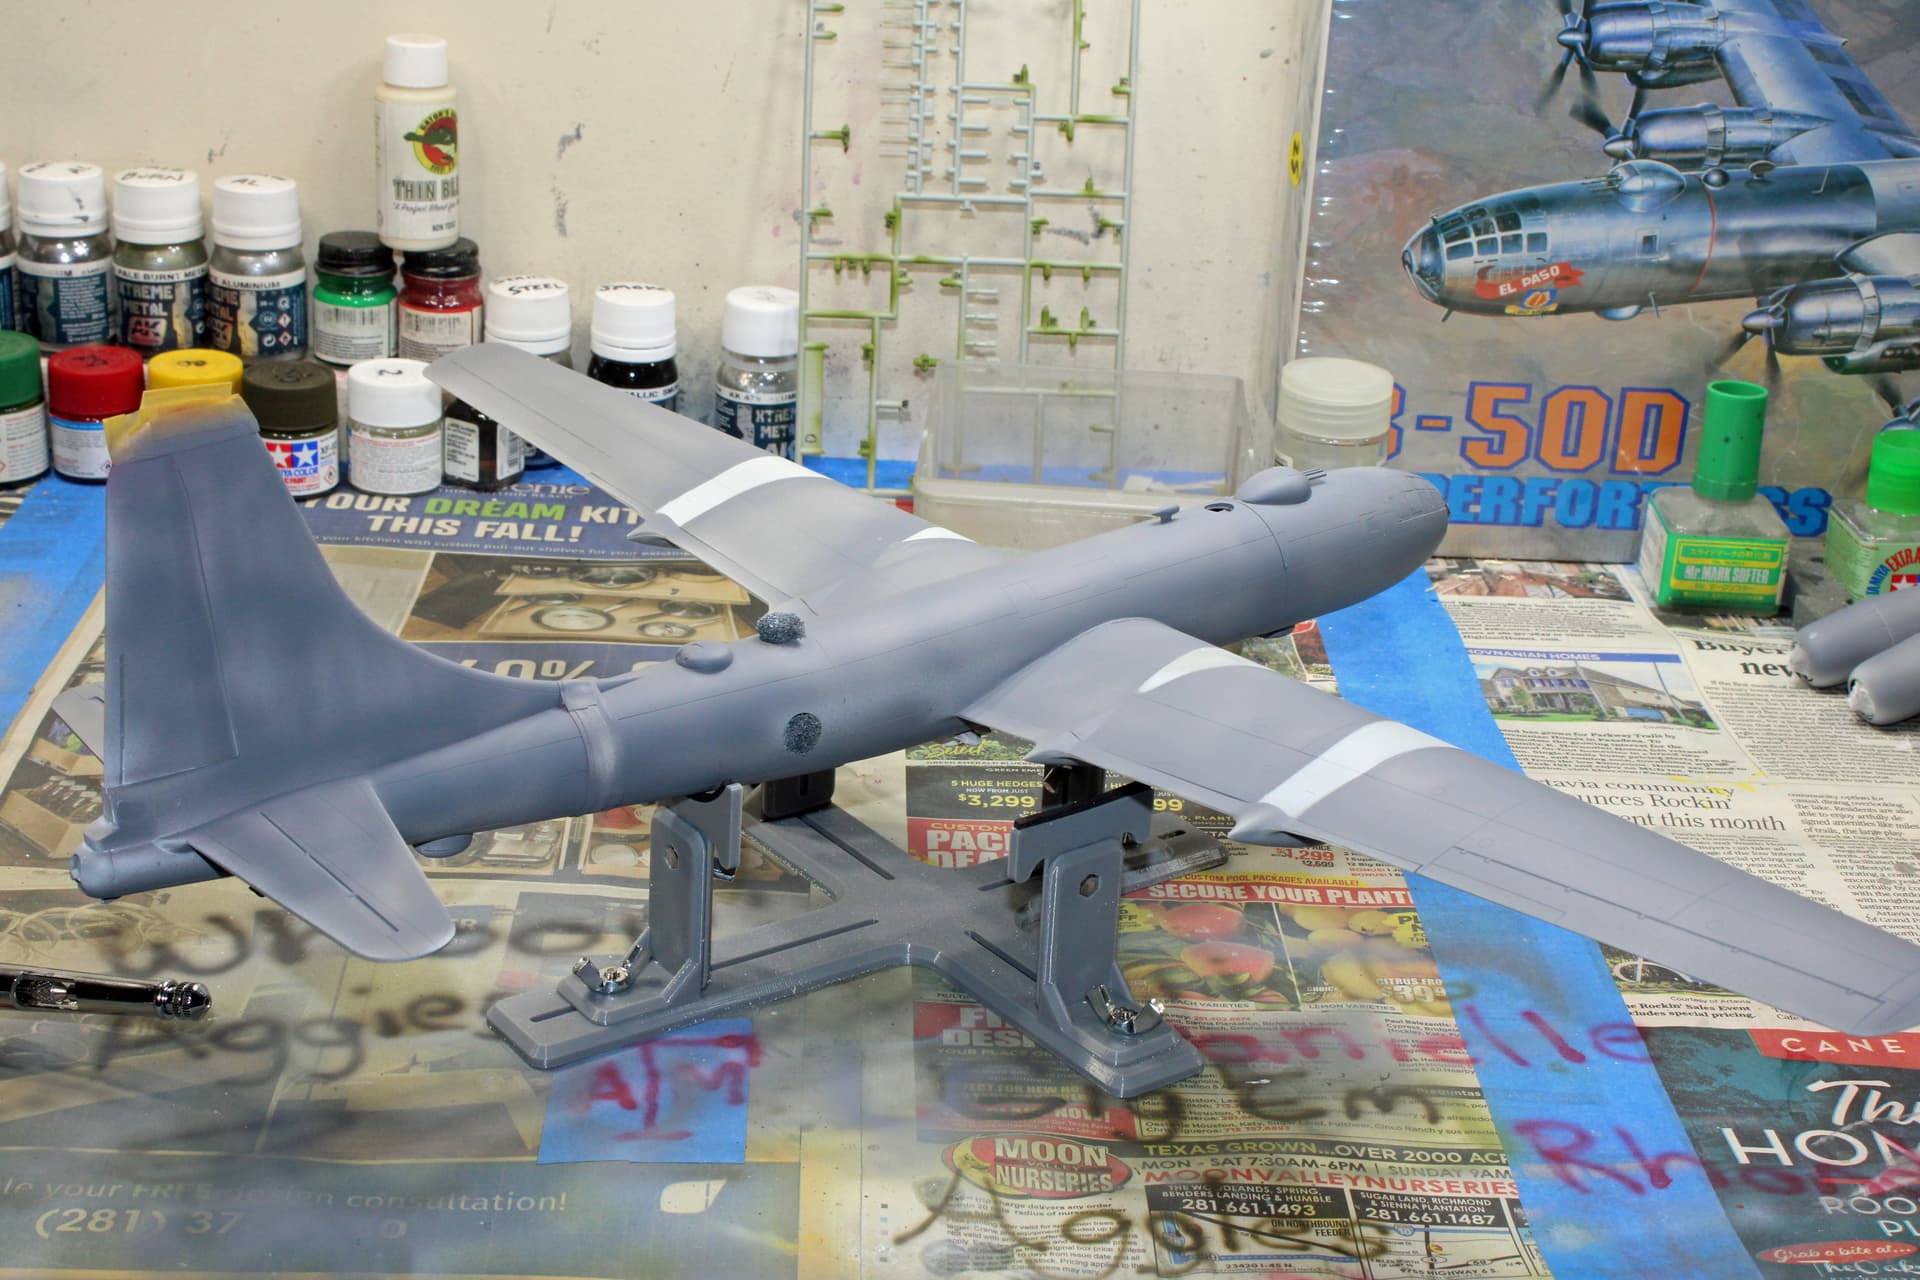
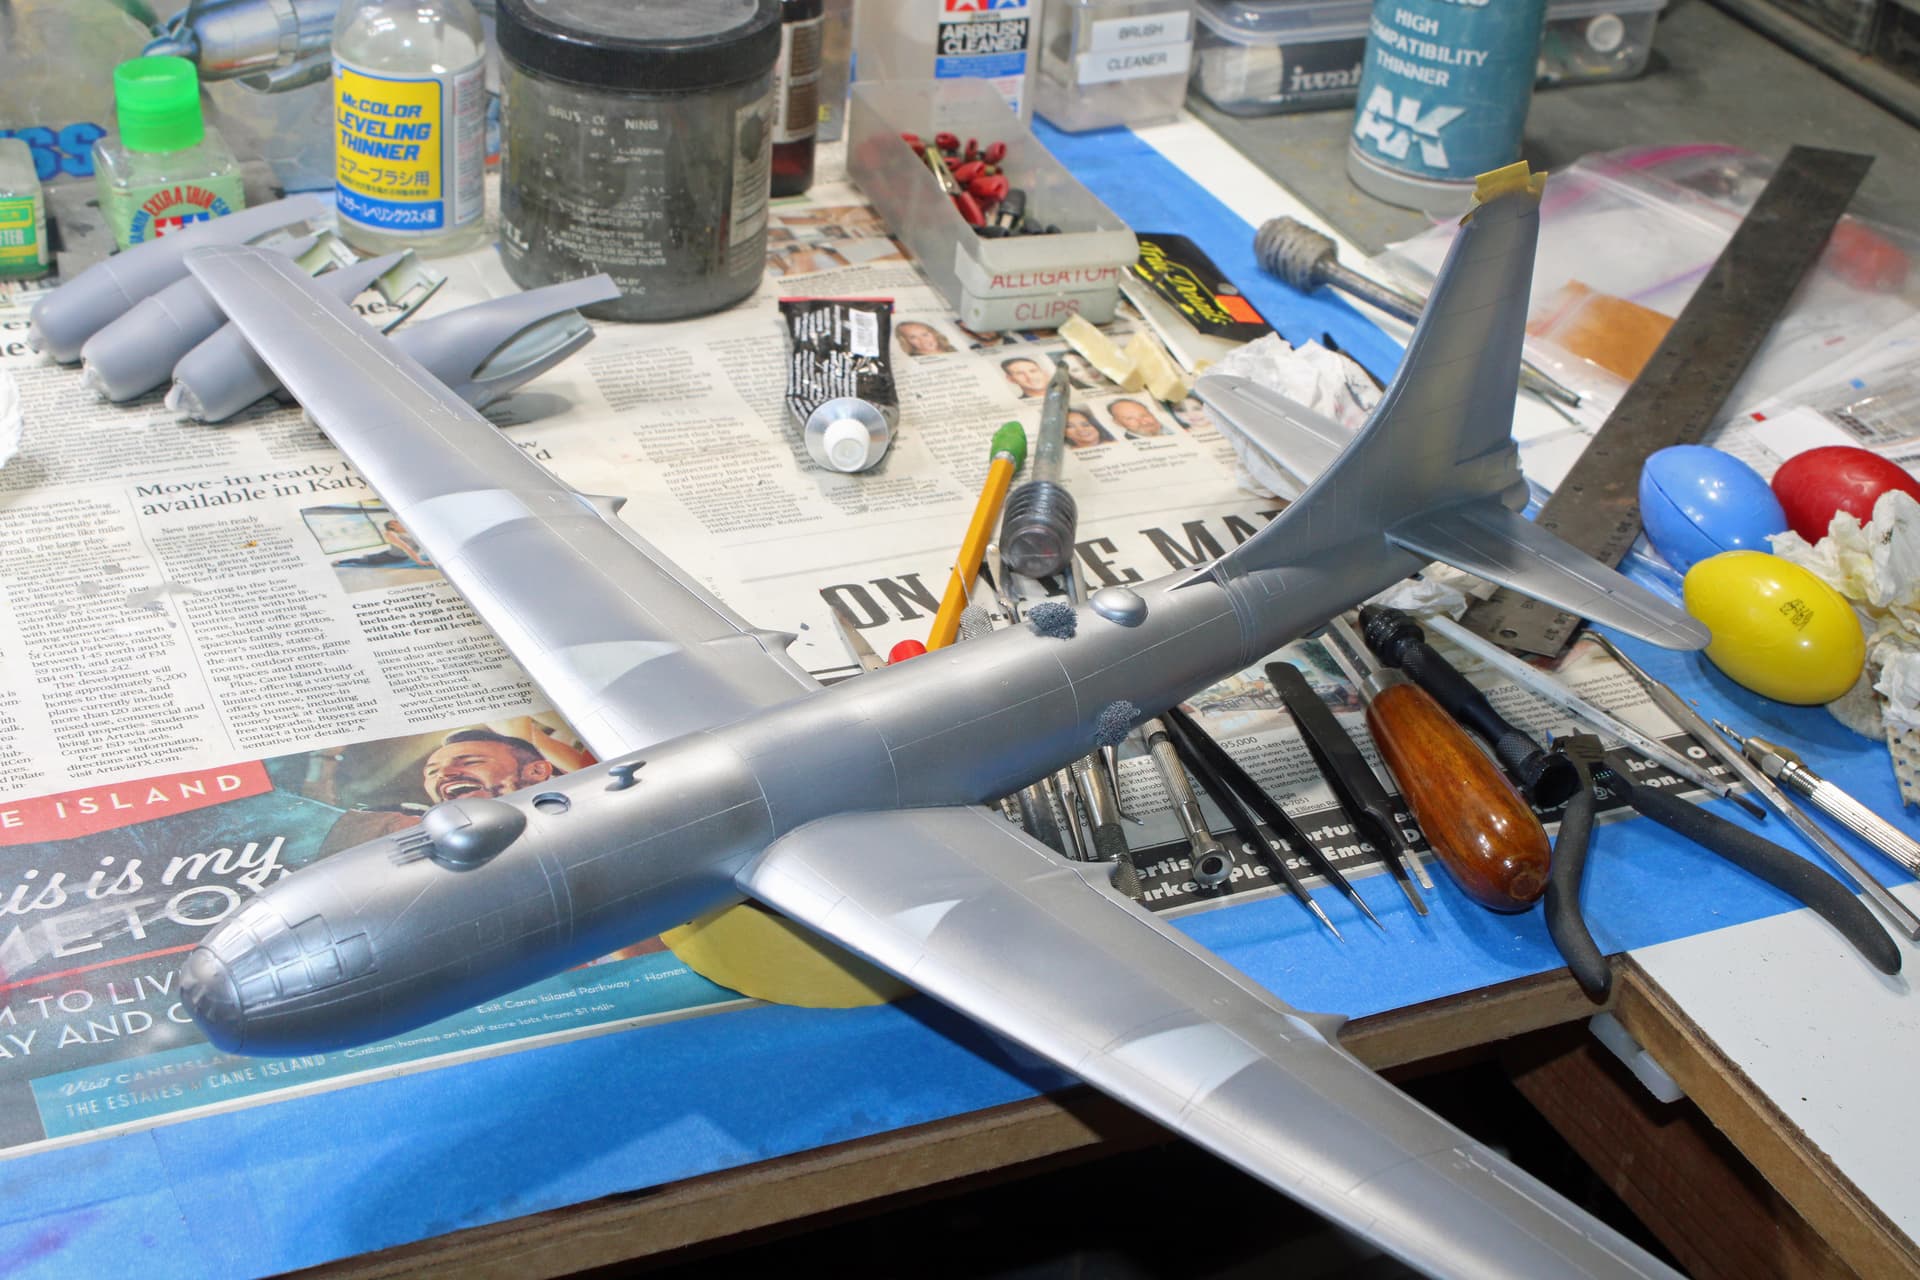
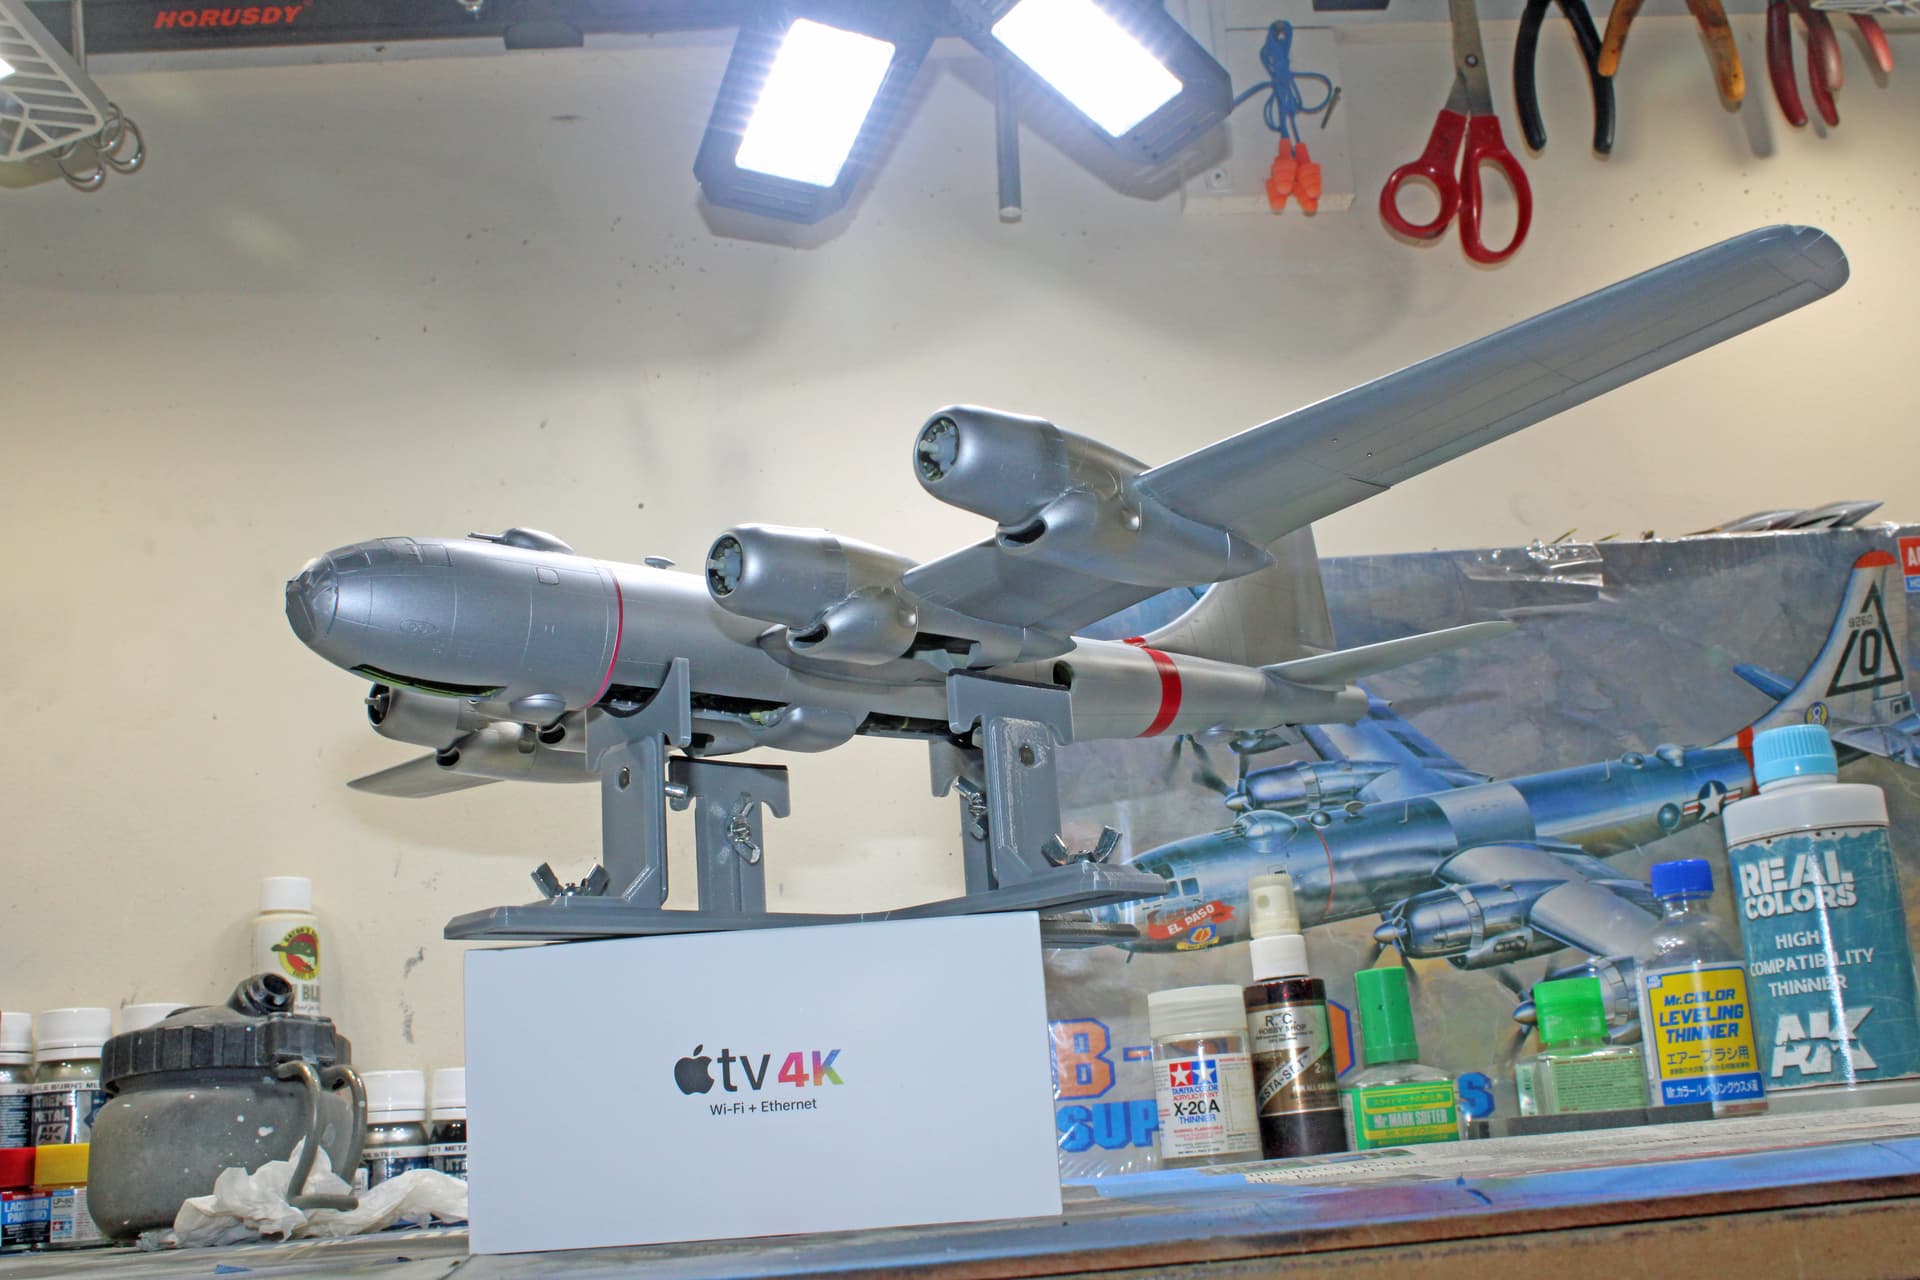
Right after work this evening, I got some time at the bench. I had done some paint work early this week - a coat of white primer followed by painting the red fuselage band, the red rudder tip, and the red prop warning stripe. I then masked all of that red and put down a coat of grey primer, with this intentional splotchy look.
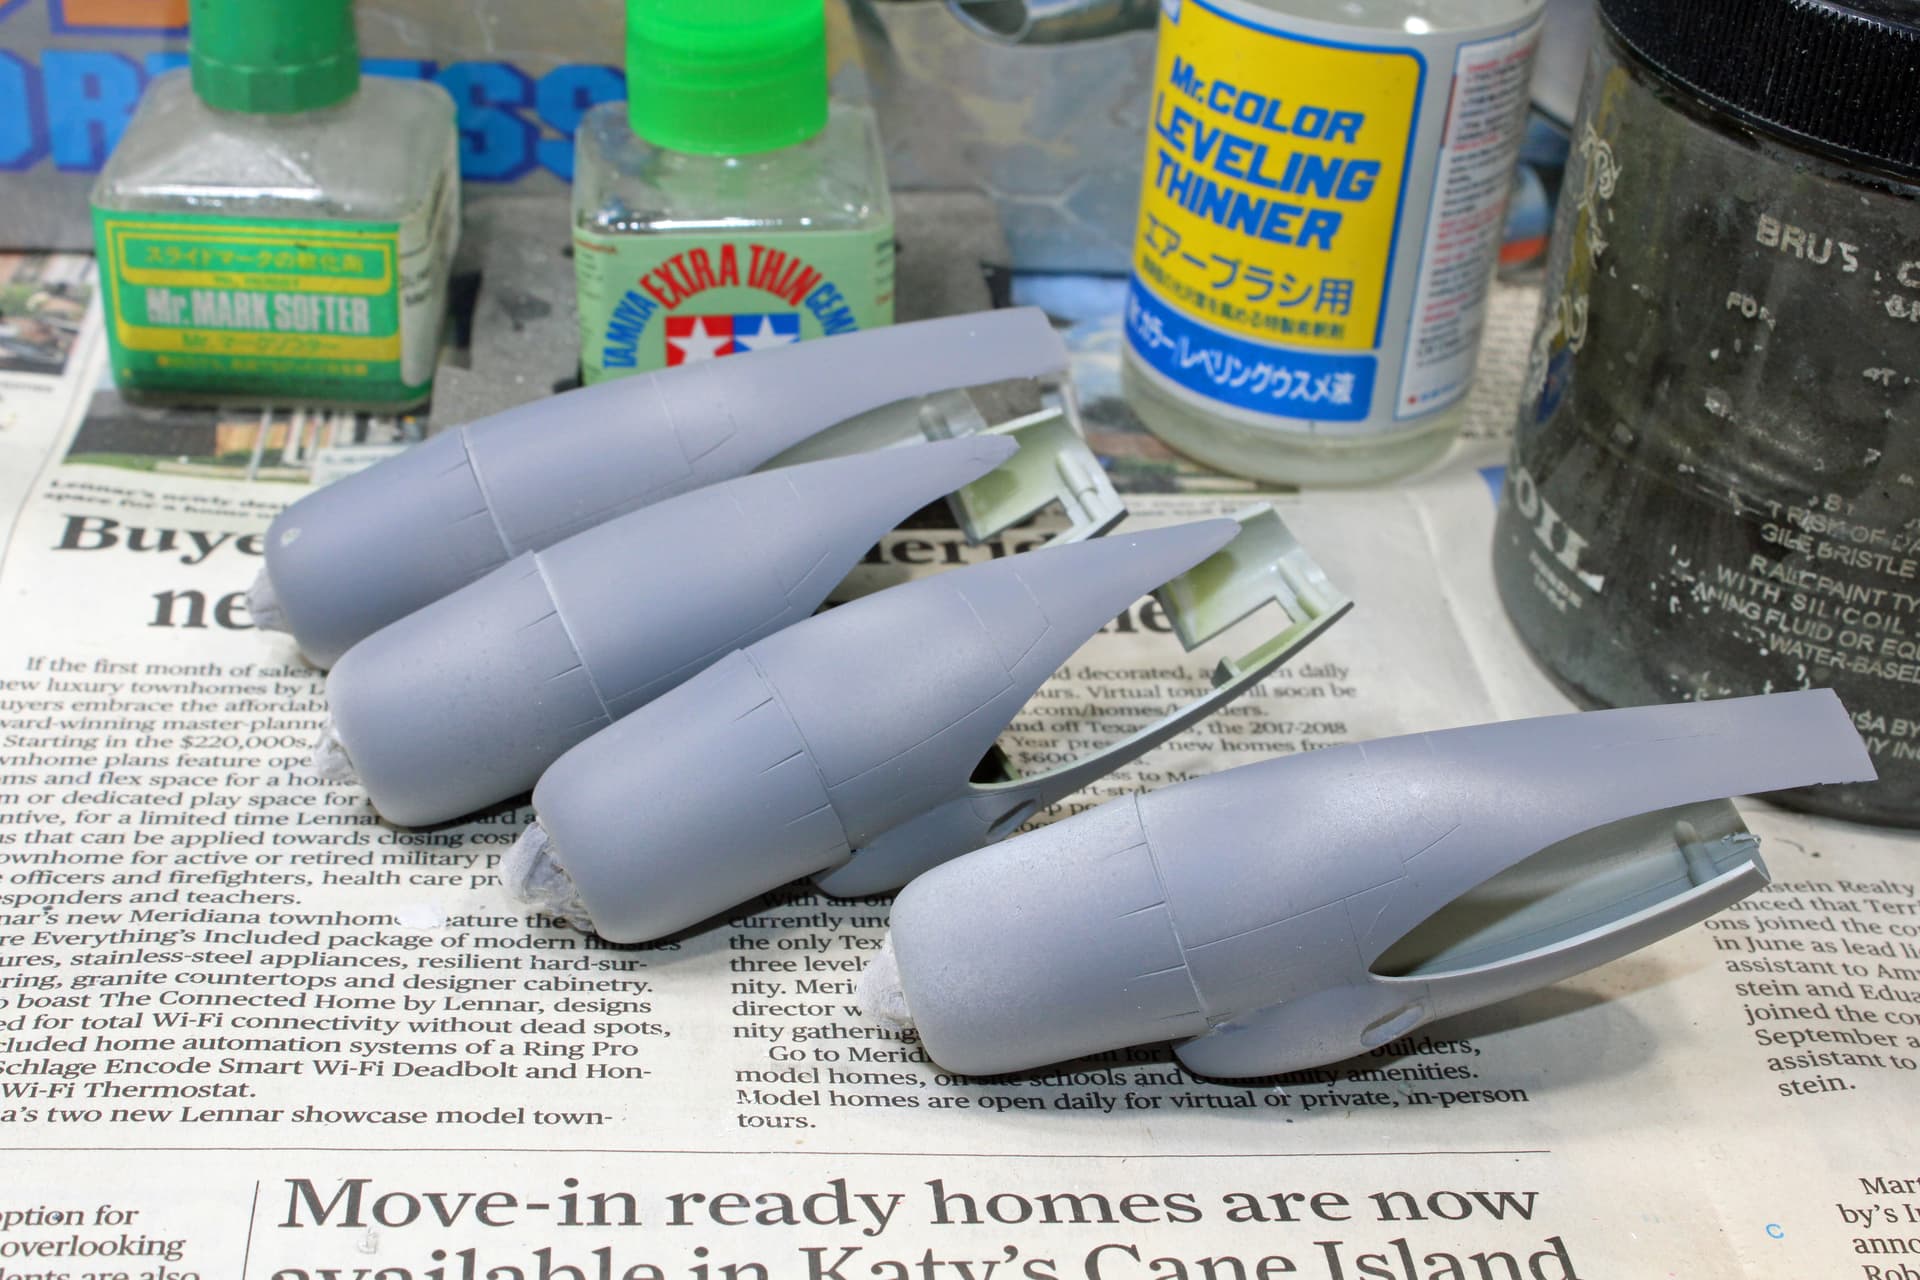
The notches on the wings are where I had temporarily mounted the nacelles to make those easier to paint. When I get time to actually paint the nacelles, I will do them individually and not attached to the wings.
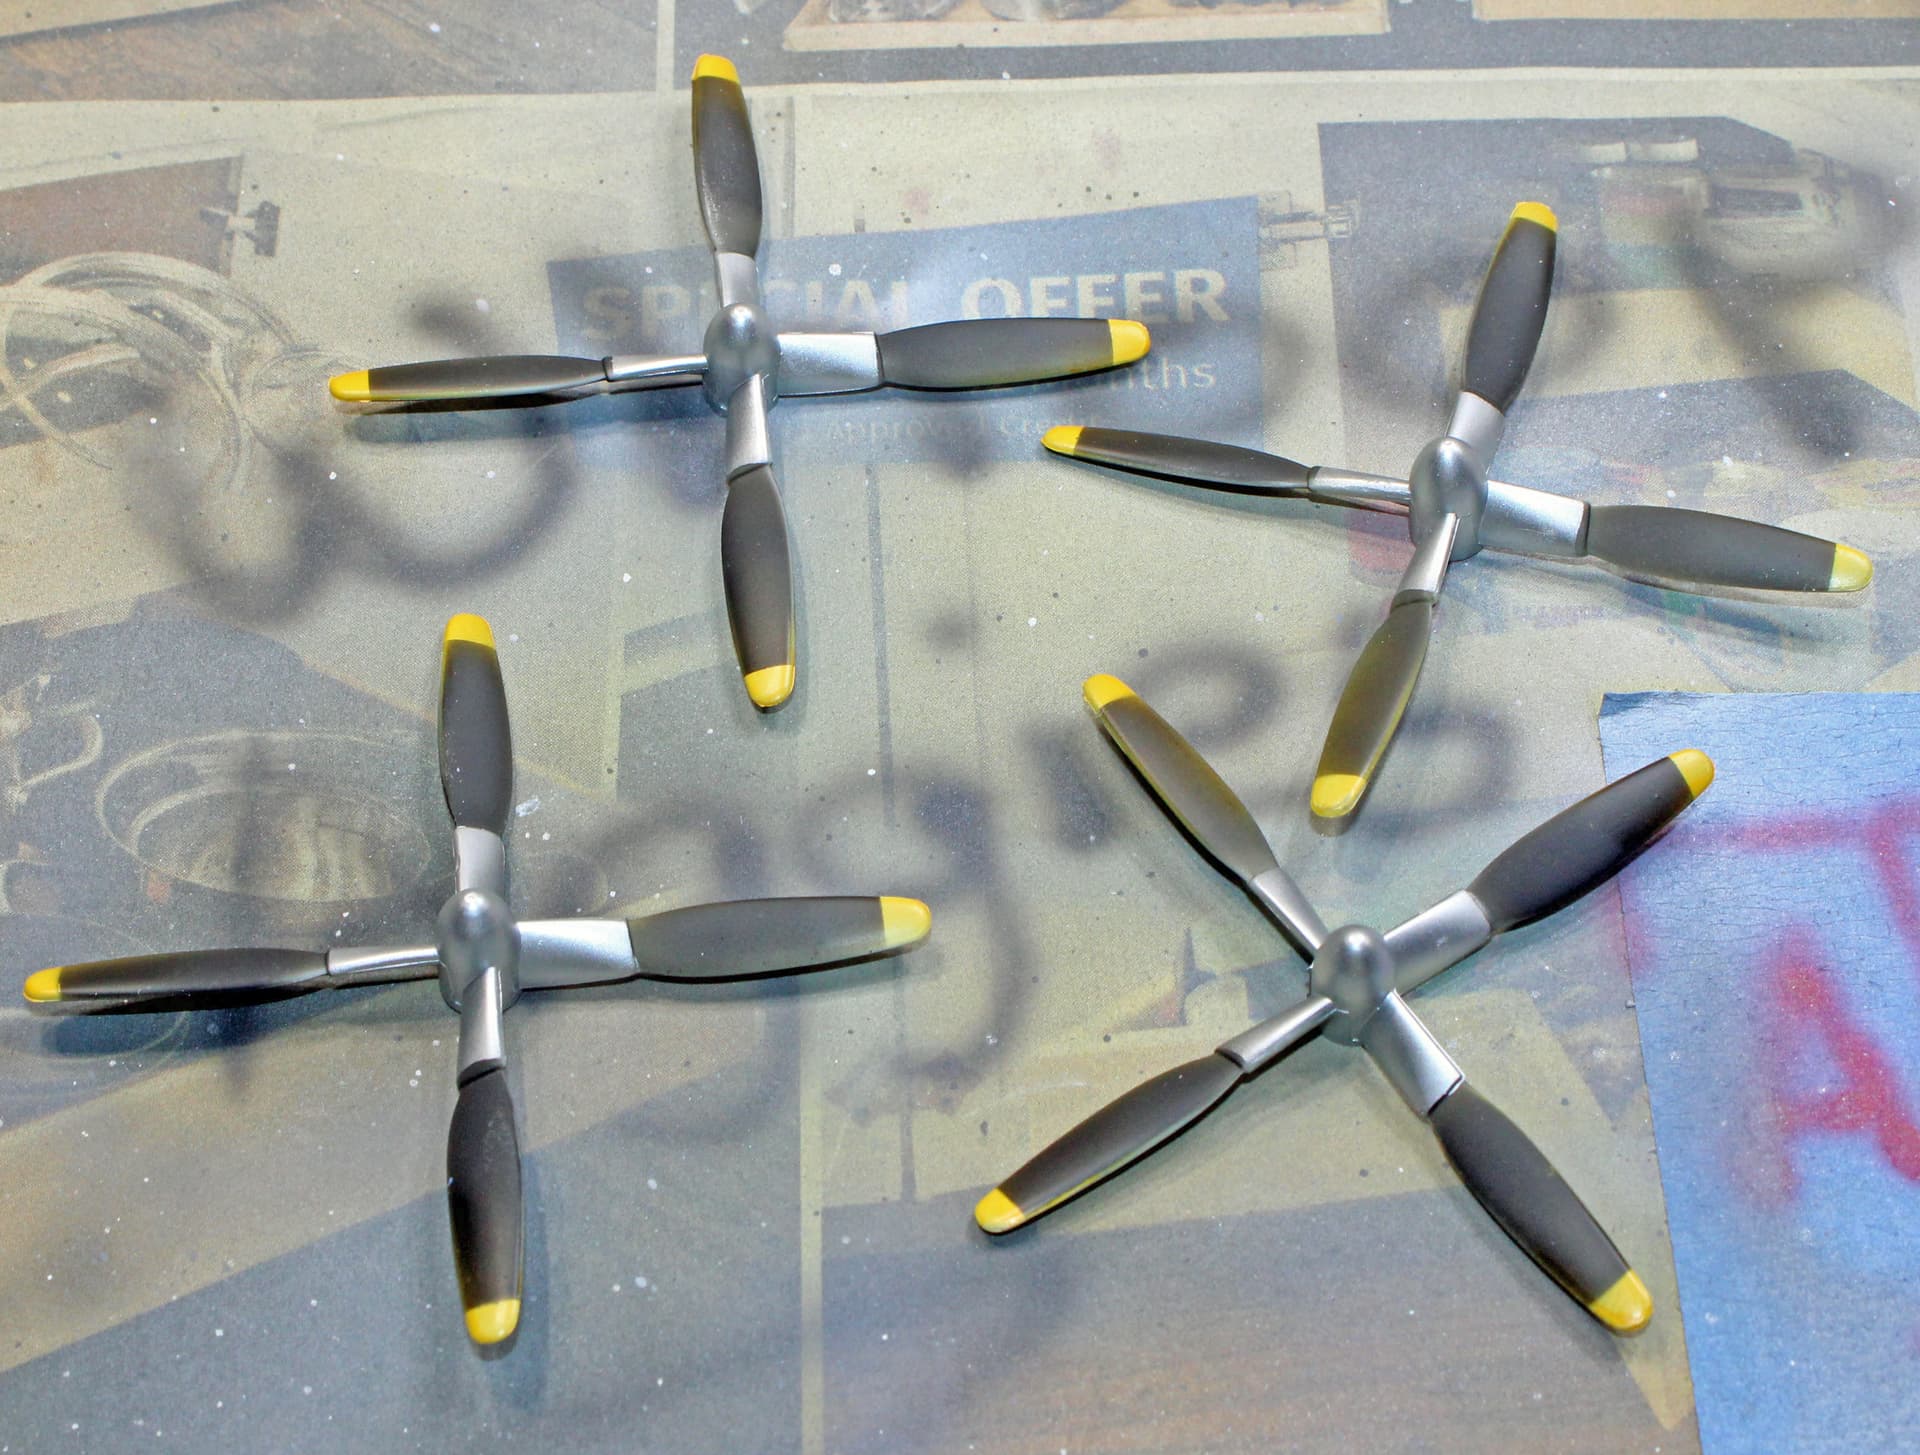
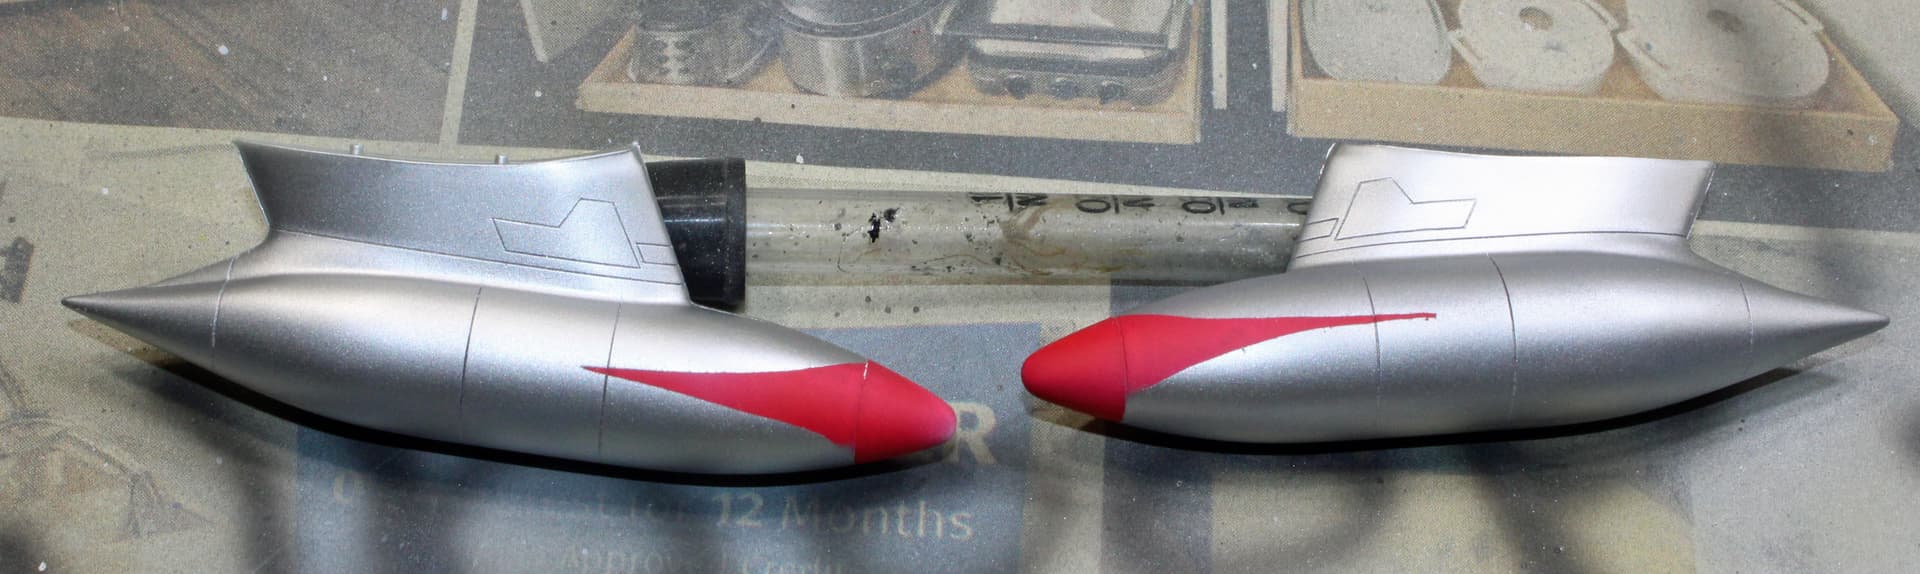
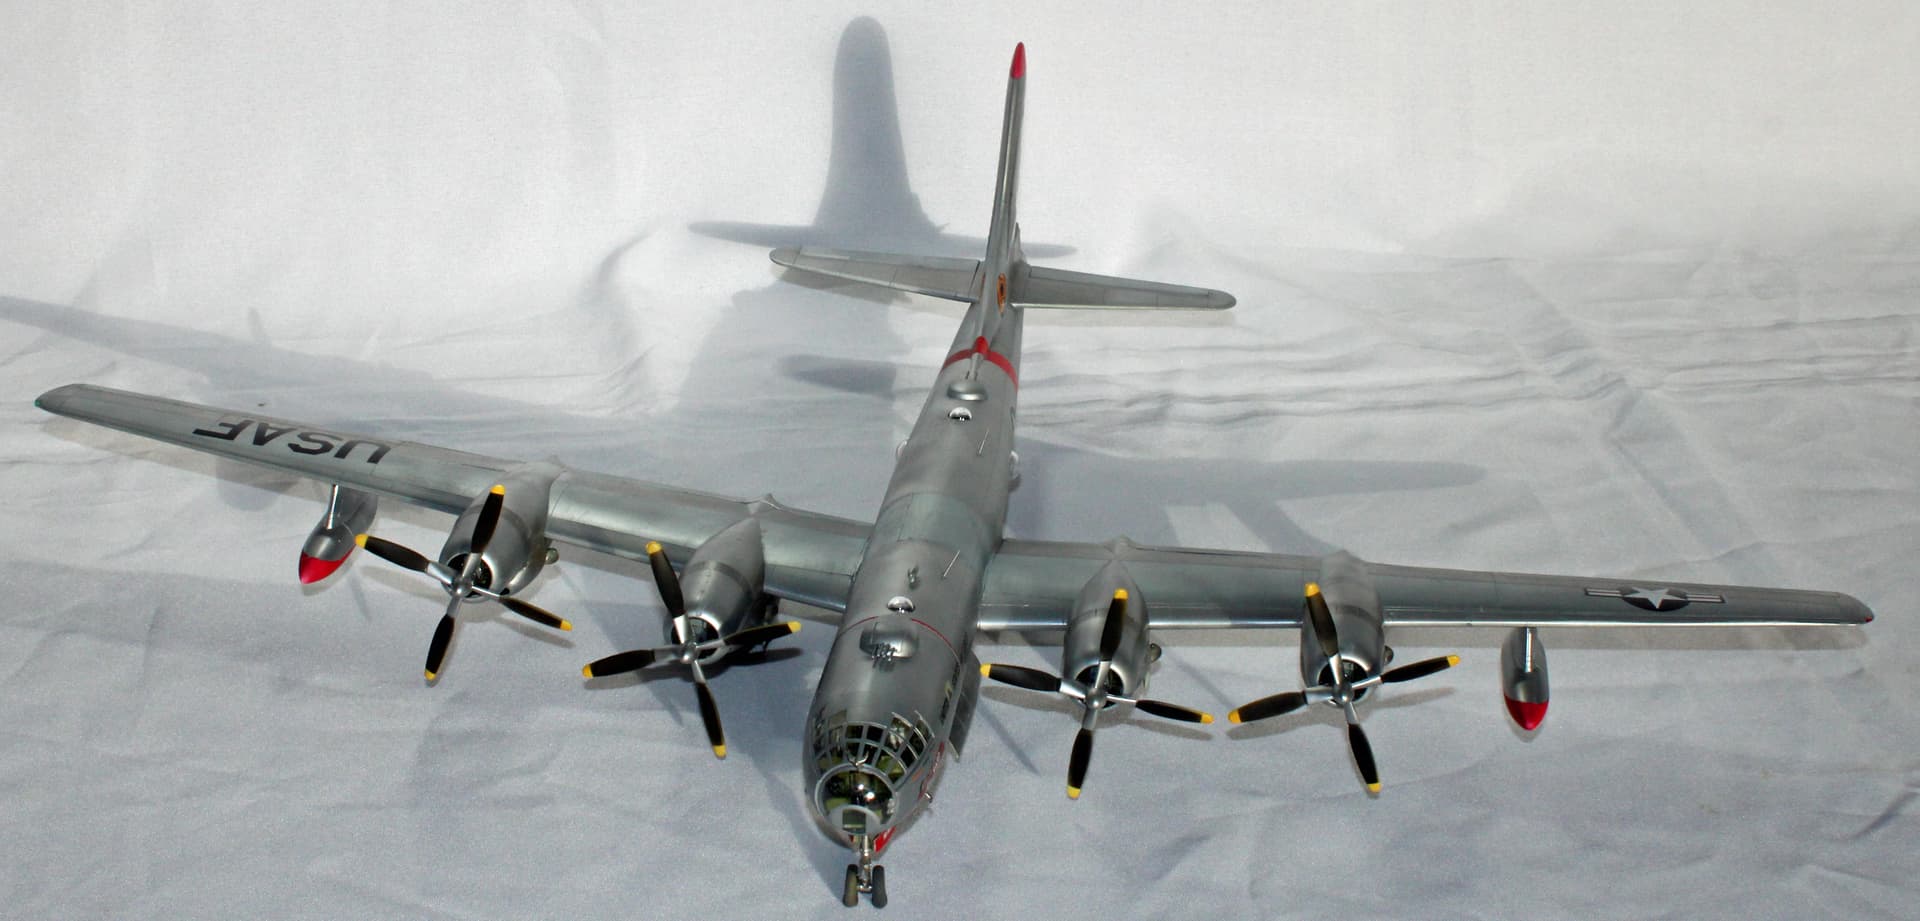
Here are the props and the drop tanks. I’ve read that these props are not very representative of the actual props on the B-50, but I do like those cuffs near the spinners. The box top art shows them with aluminum cuffs. I might need to do some additional paint work with the semi-gloss black as some of those blades appear a bit light. The drop tanks don’t match exactly, but I’m not concerned with it. The kit decal sheet includes the red stripes but no decal for the rounded tip of those tanks. Previous experience told me I would never match the red with any of the paint I have on hand to the decal, and many shots of this kit built that I found online bear that out. So I cut out one decal and used it as a guide to cut out paint templates from Tamiya tape. I was most certainly inconsistent in that act. Really thinking about a Silhouette machine for this kind of thing.
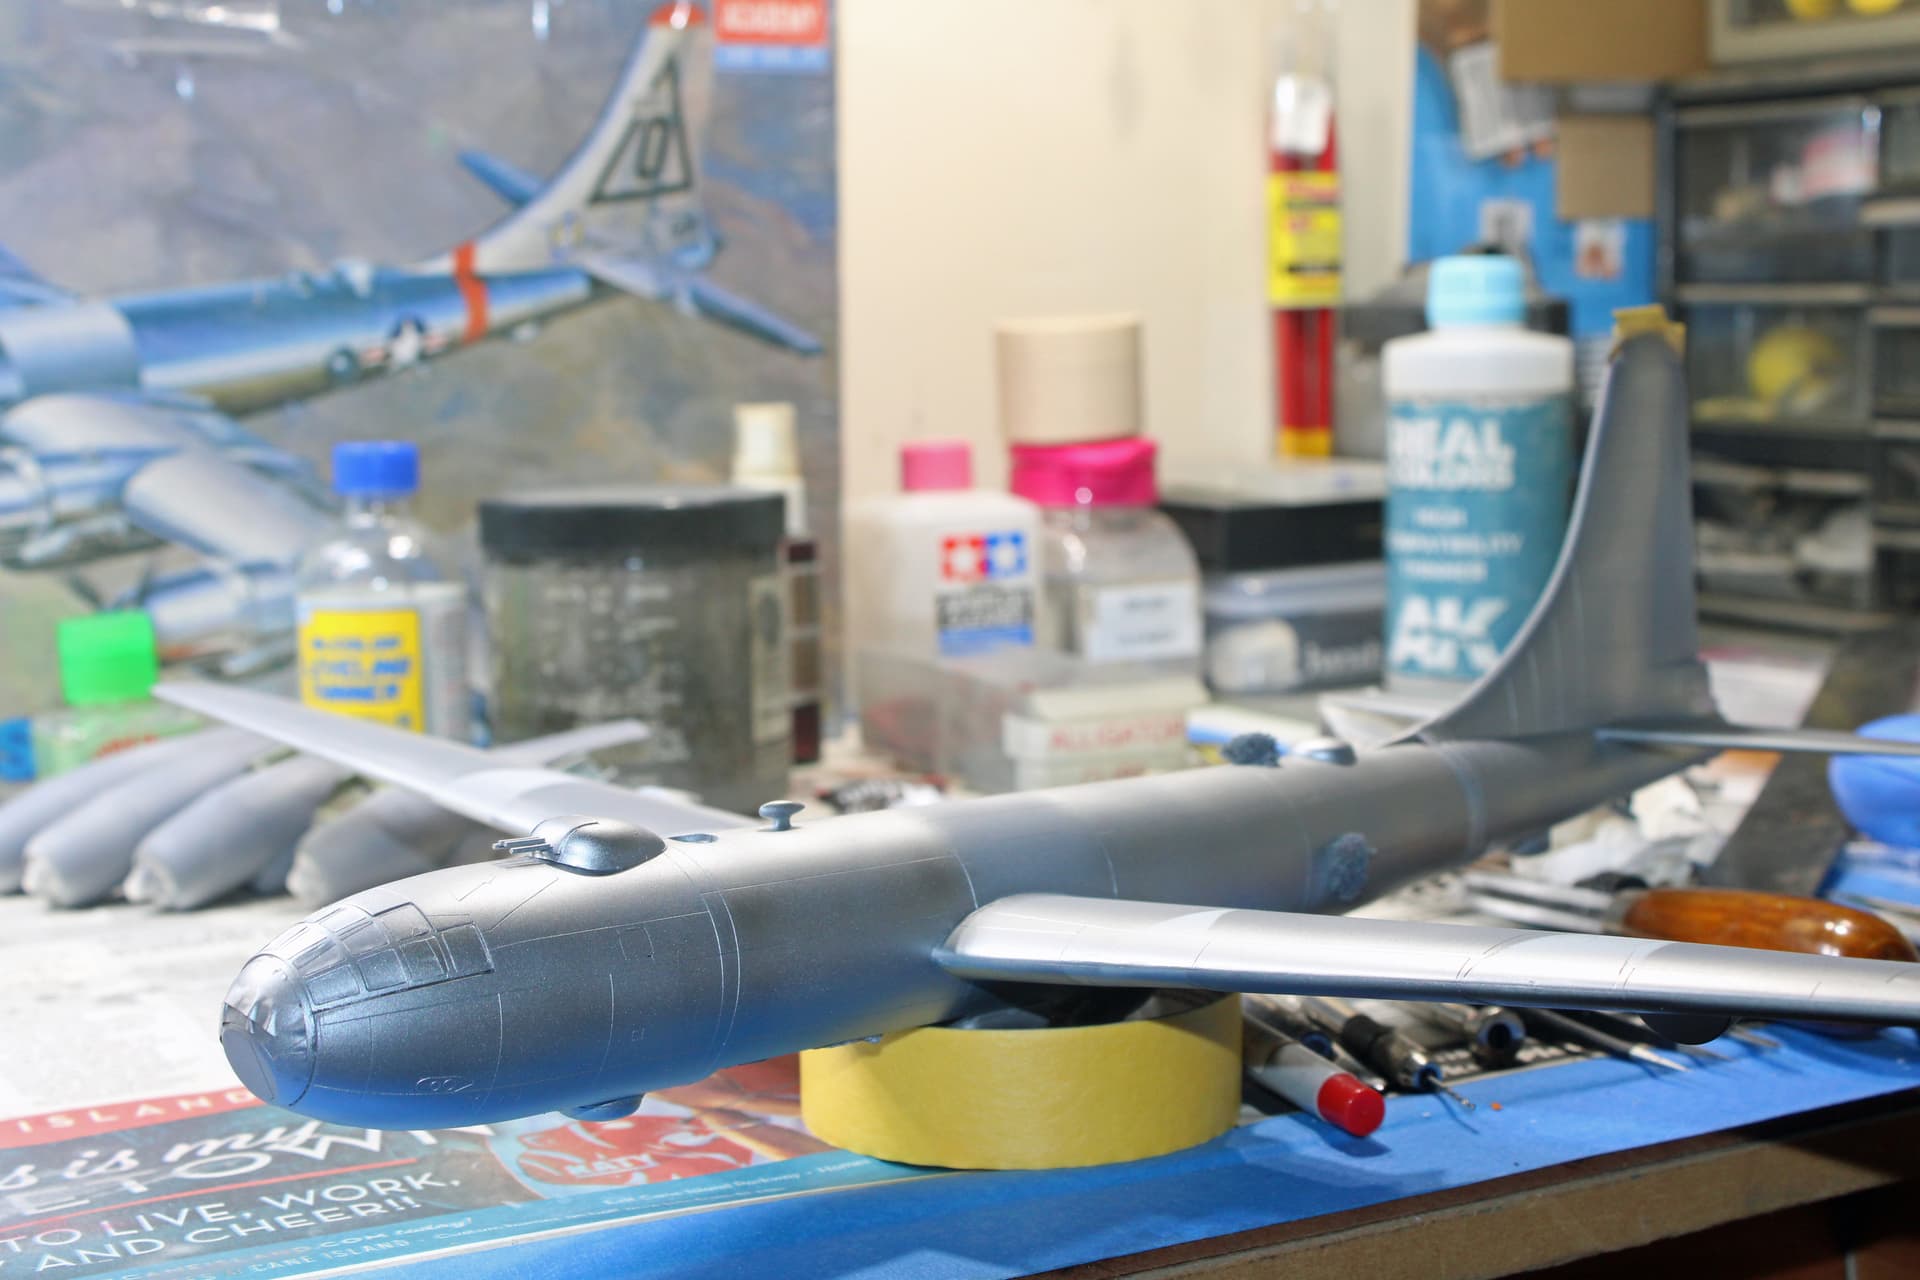
Here are a couple of shots of the first pass of paint for the airframe. It is AK Interactive Xtreme Metal matte aluminum. I did not paint the control surfaces, which will be AK Interactive Xtreme Metal white aluminum, or the center section of the wings/fuselage, which will be AK Interactive Xtreme Metal stainless steel.
It’s going to be a beautiful weekend here in SE Texas, with temperatures getting into the 80s - just one week after freezing weather (although we didn’t get the snow that many others got). I expect a good bit of bench time in the next couple of days.
5 Likes
Looking like it is coming along nicely, will be watching this one !!!
1 Like
That sir, is some top notch work. I’m excited to see the finished product. Thanks for the detailed process. By the way, I’ve had the same thing happen to me with the landing gear bay alignment. The last F-16, and the A-1 Skyraider.
Chris
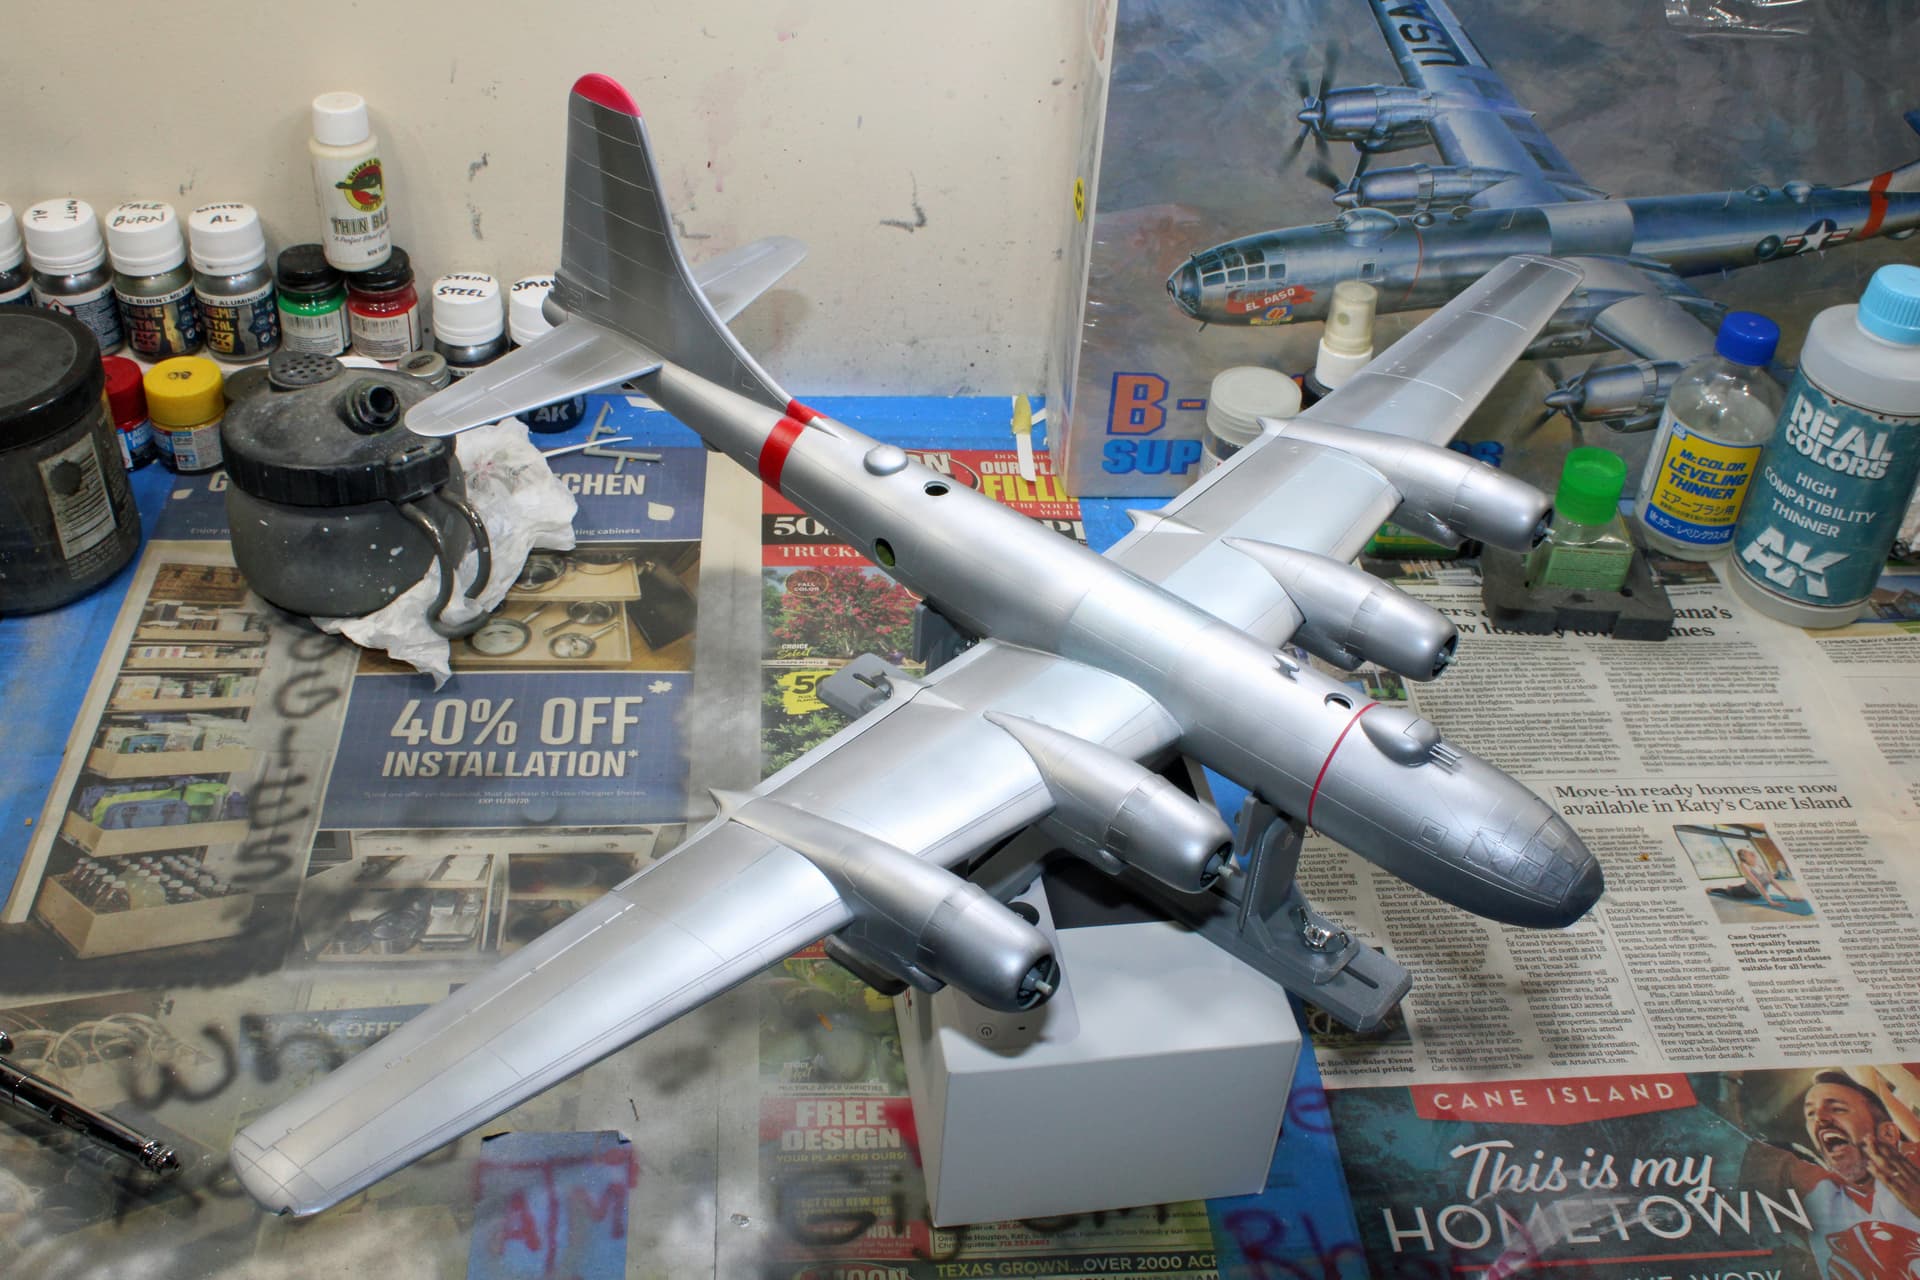
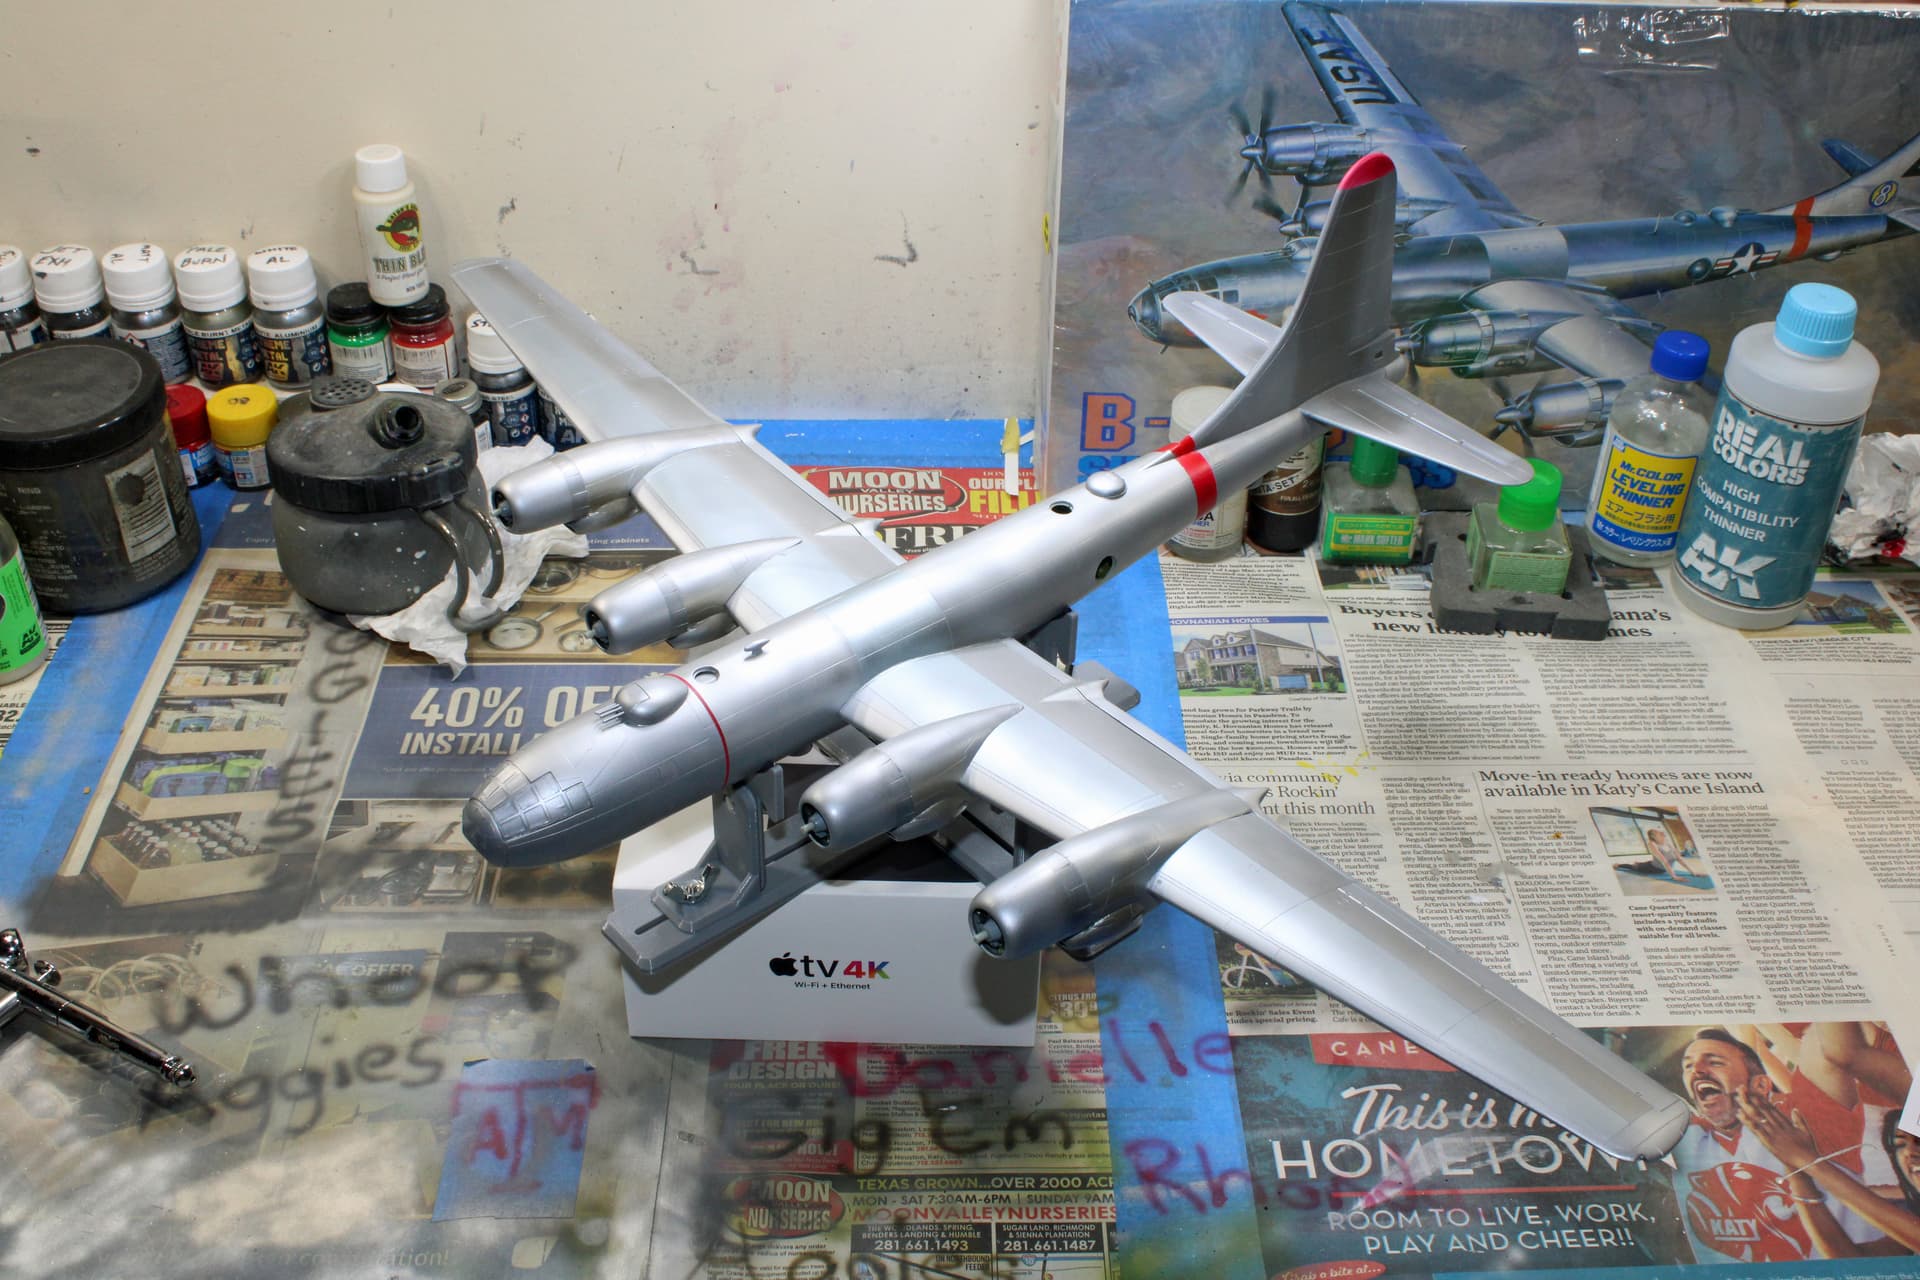
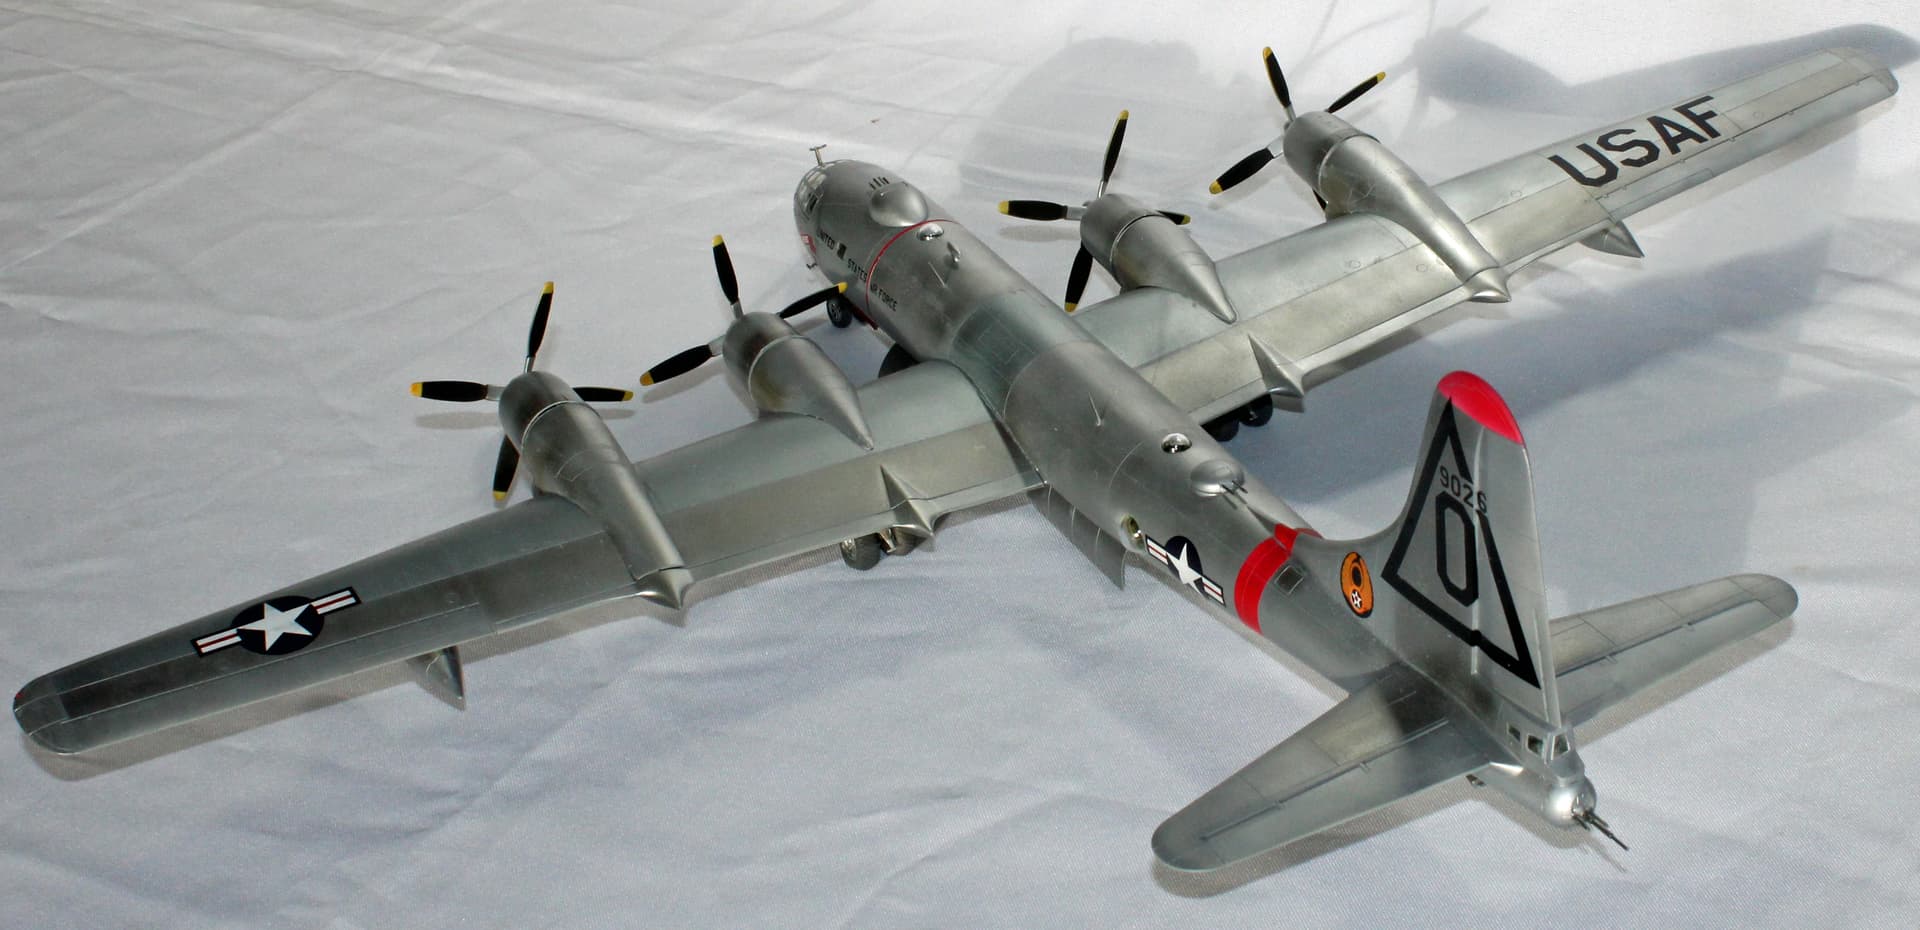
After a few hours at the bench today, I have the B-50 99% finished with paint work. This is a base coat of matte aluminum, with stainless steel, dark aluminum, white aluminum, and plain aluminum rounding out the NMF. I sprayed the exhaust stacks and the panels surrounding them pale burnt metal. Not seen in the photographs are the complete tires. I also painted the gun barrels gun metal but have yet to attach them (still have to hand-paint the forward upper turret guns, which were molded with the gun turret).
The photos show her right after an application of gloss clear coat. I will let that cure over several hours before moving on to the next step, application of decals. I figure I will complete this beast tomorrow.
3 Likes
The build is fantastic. Your paint work is impressive. Very realistic panels, in various shades of aluminum.
She’s a beauty. How did you mask that red on the tanks?
I used the kit decals as a template to cut them out of Tamiya tape. Not a one of them are exactly alike as a result.
1 Like
I just purchased a cricut cutter to resolve that issue, I’m hoping to set it all up tomorrow. I’m frankly procrastinating on it because the F-86 is otherwise finished and I’m so worried I’ll screw it up, but the decals were crap so painting is the better path.
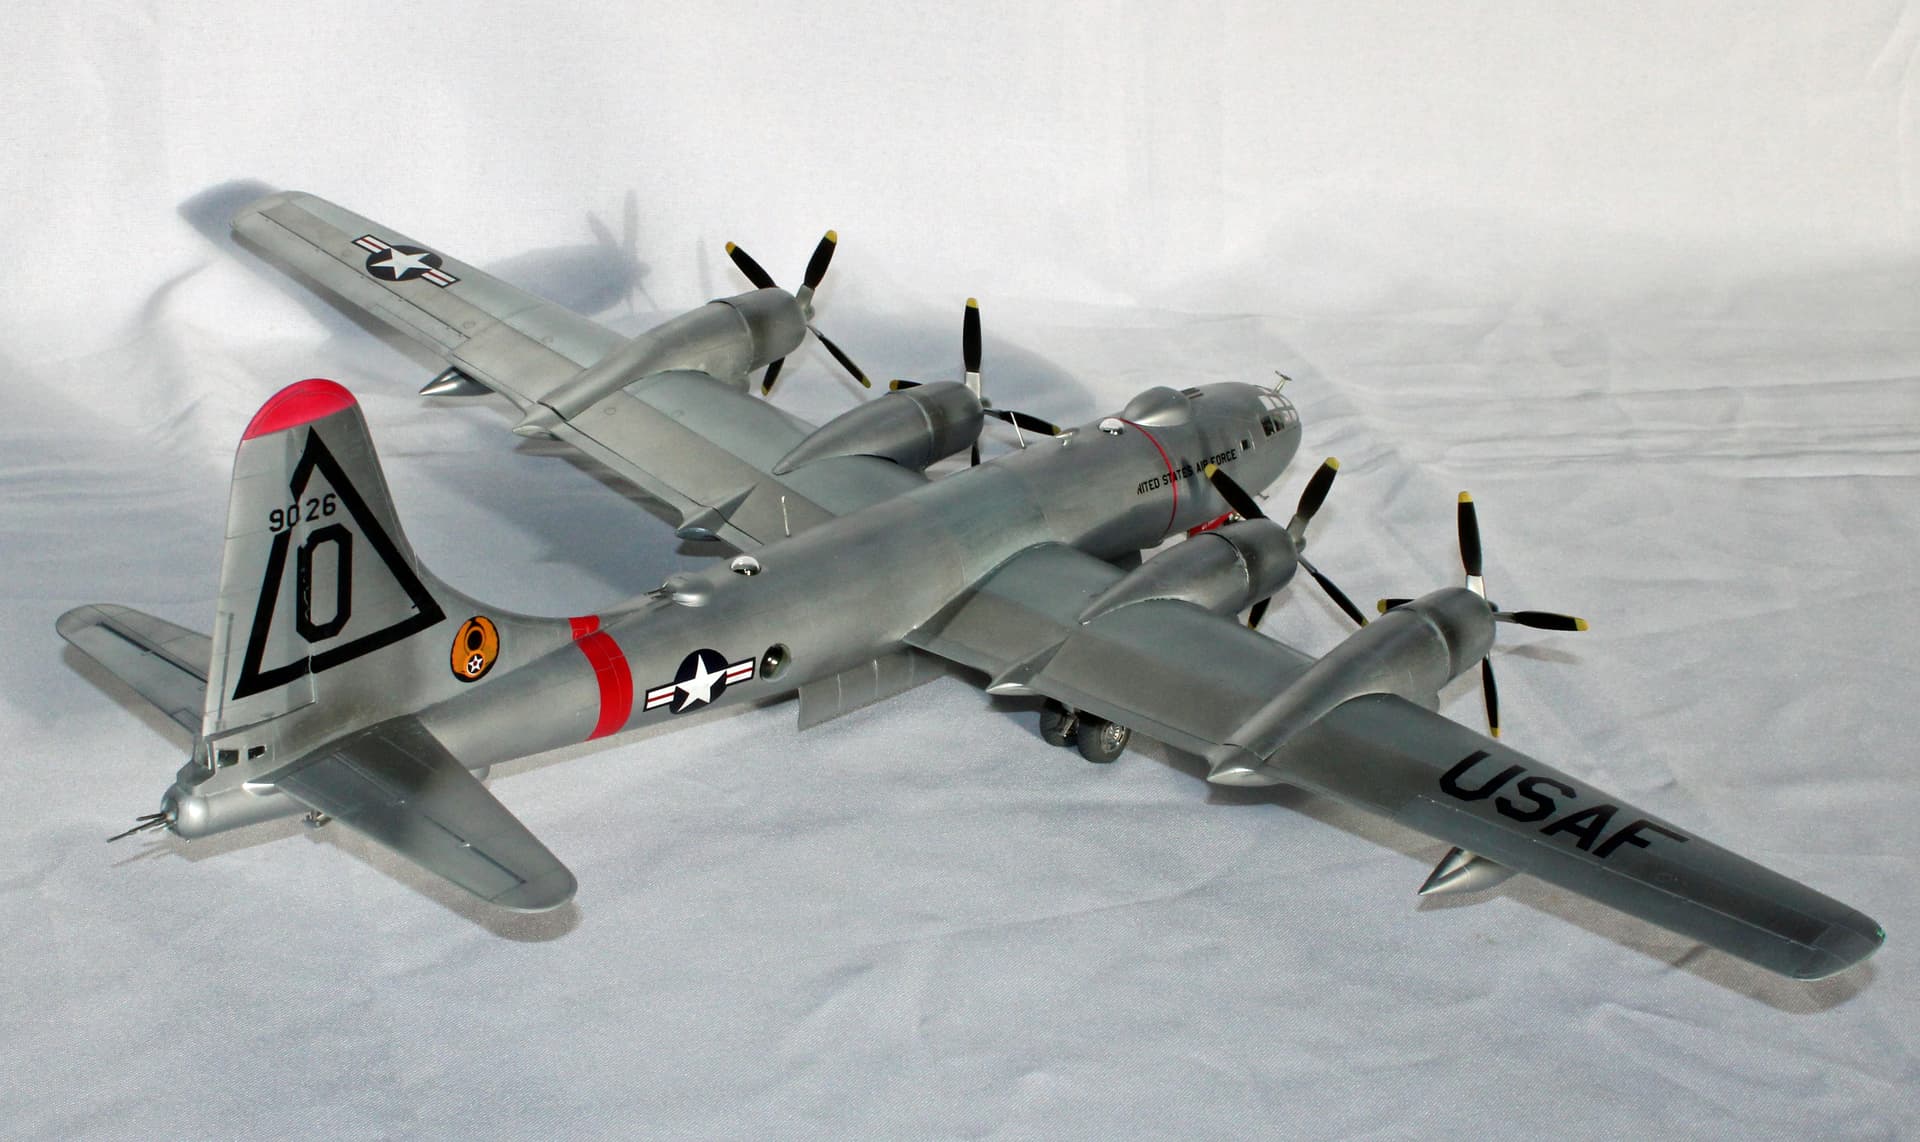
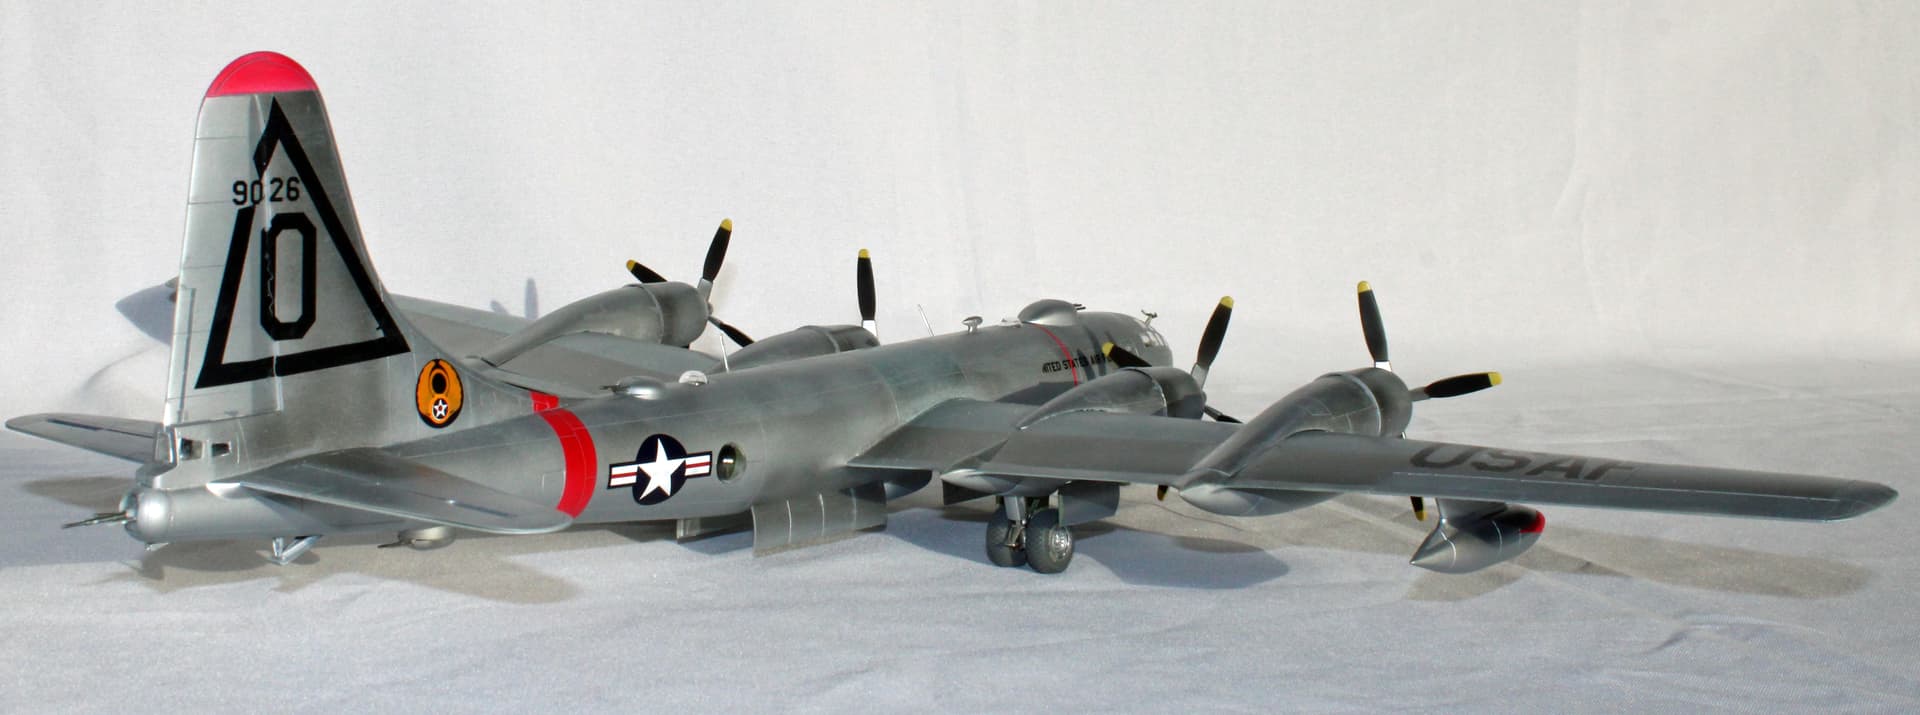
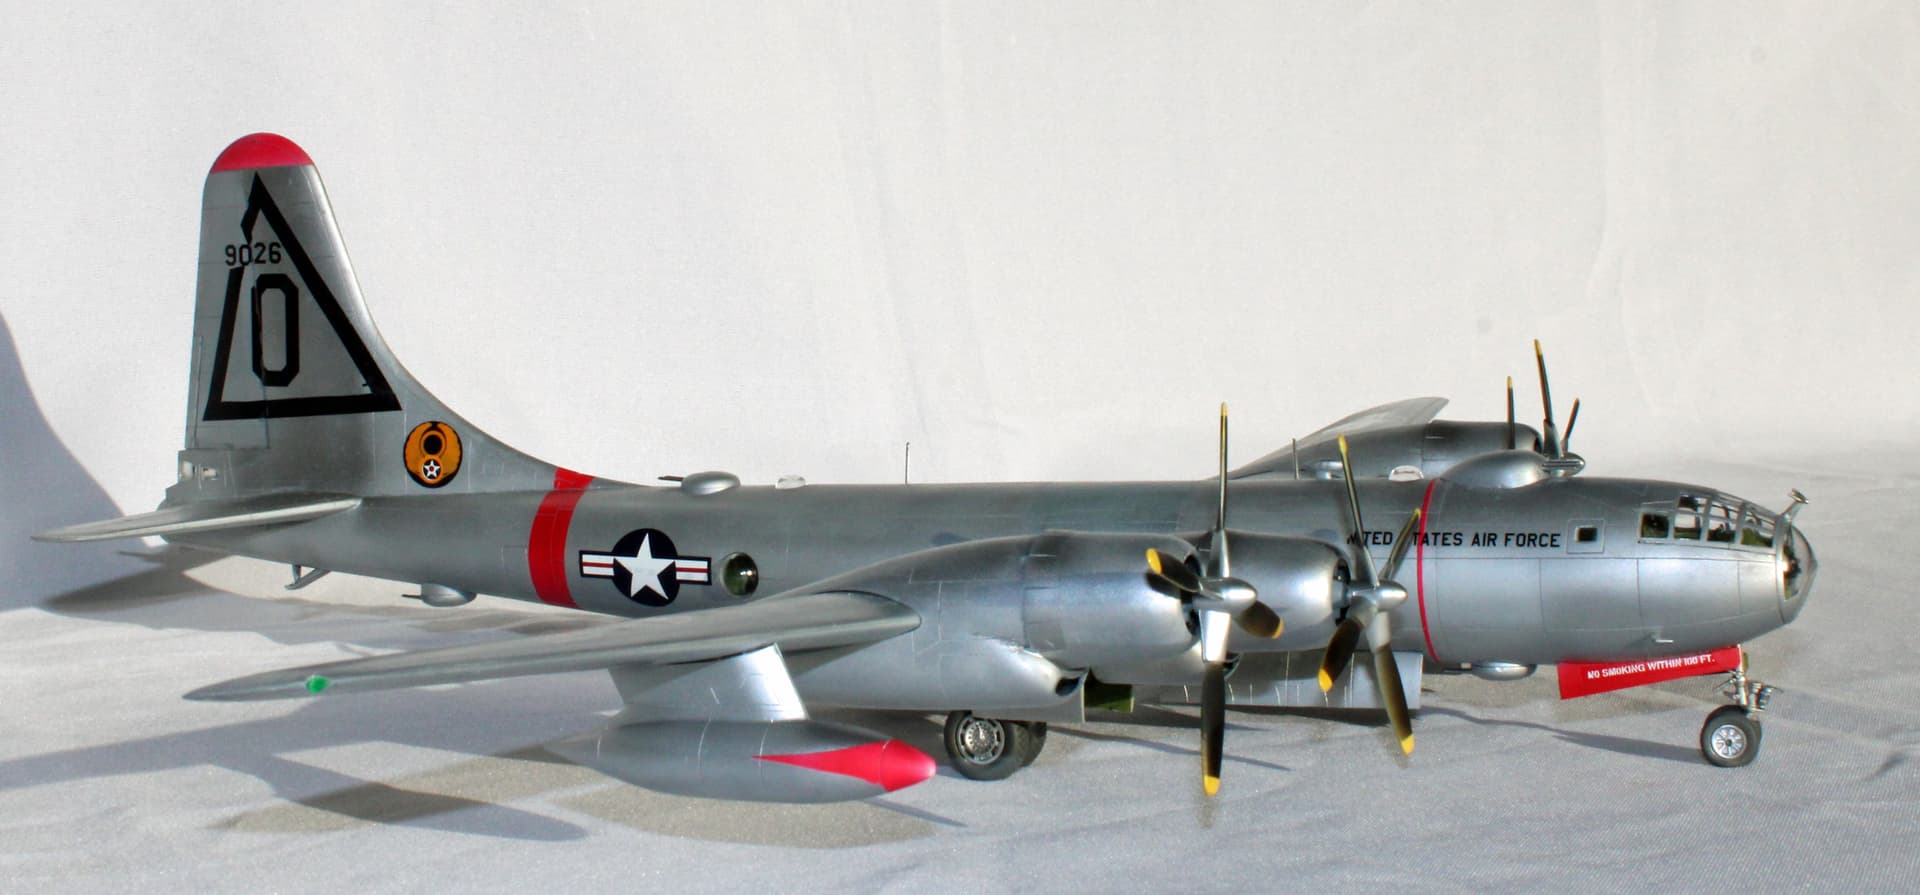
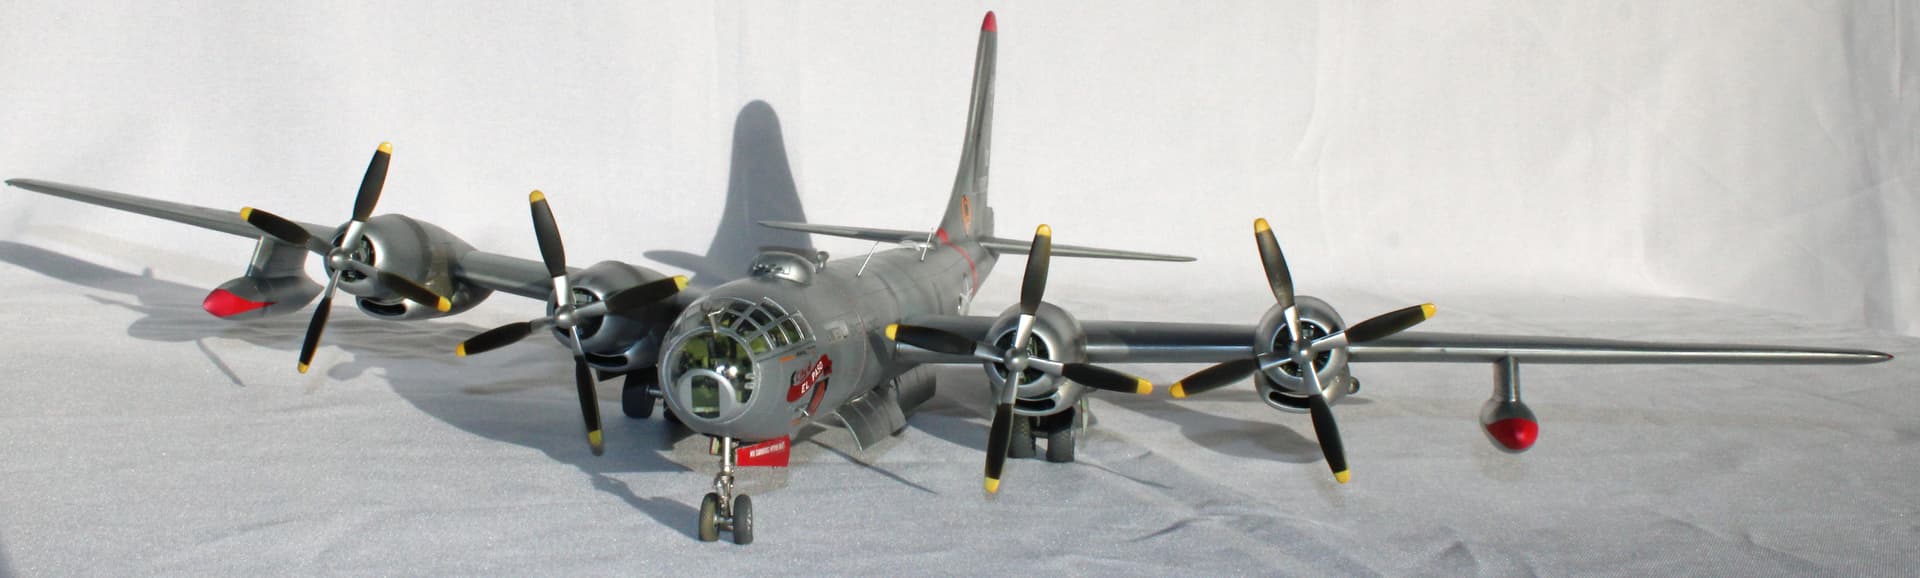
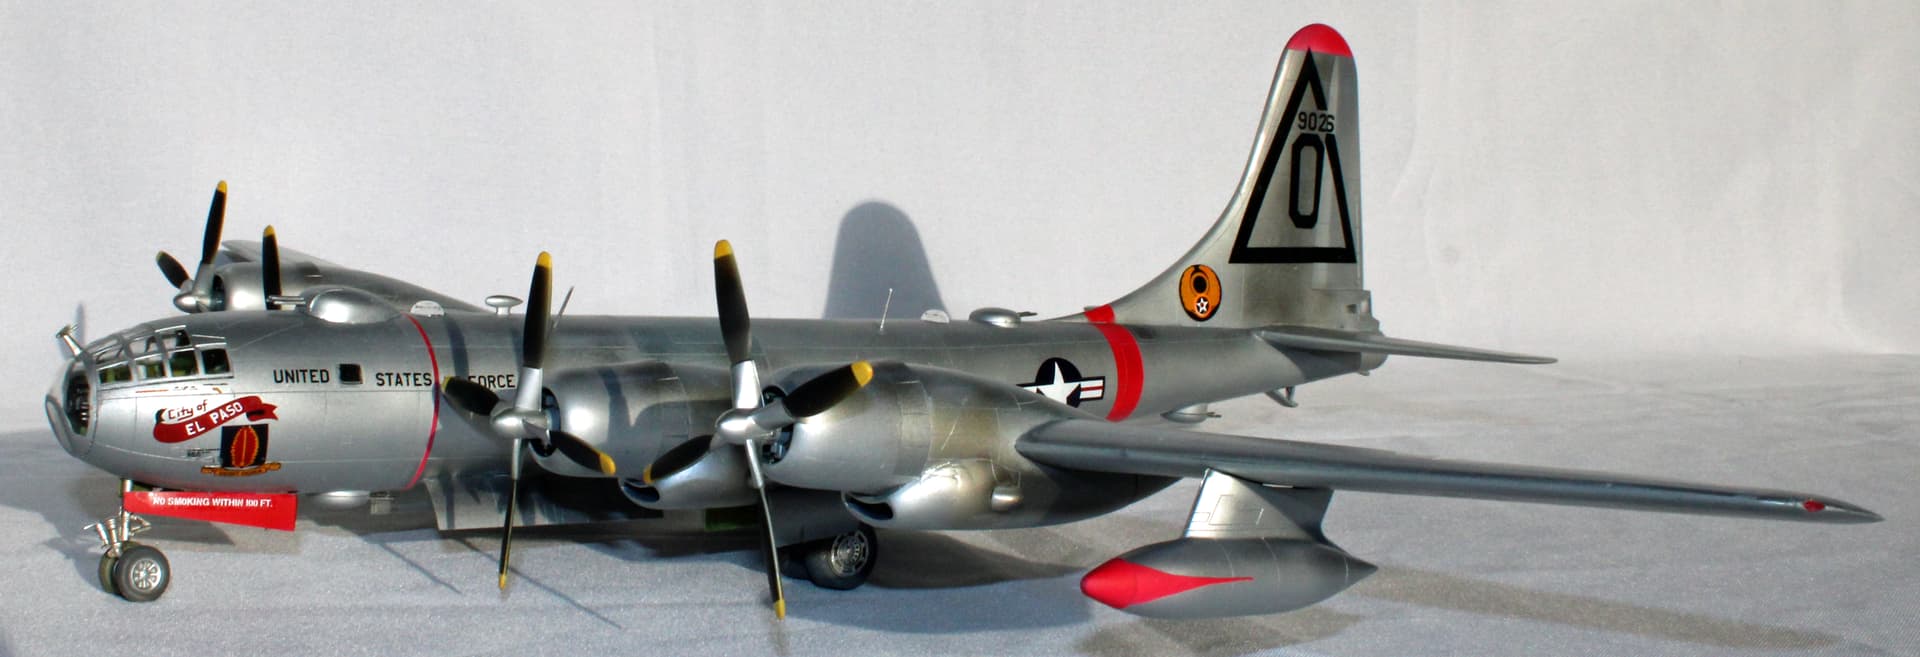
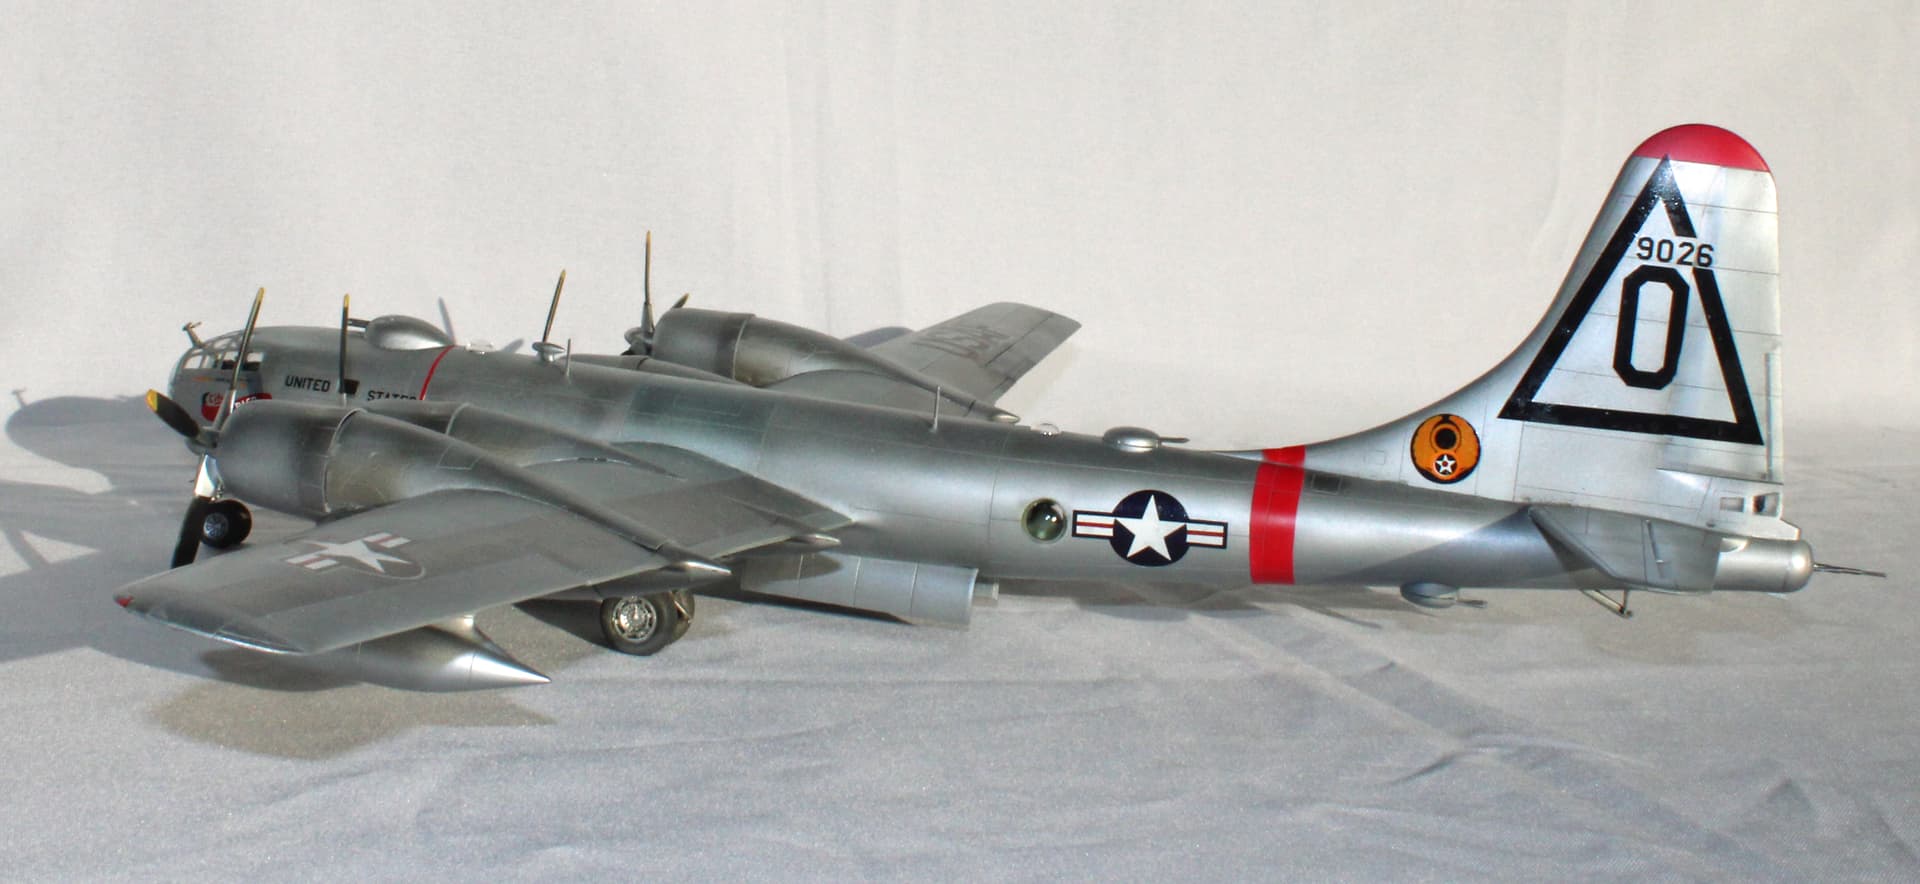
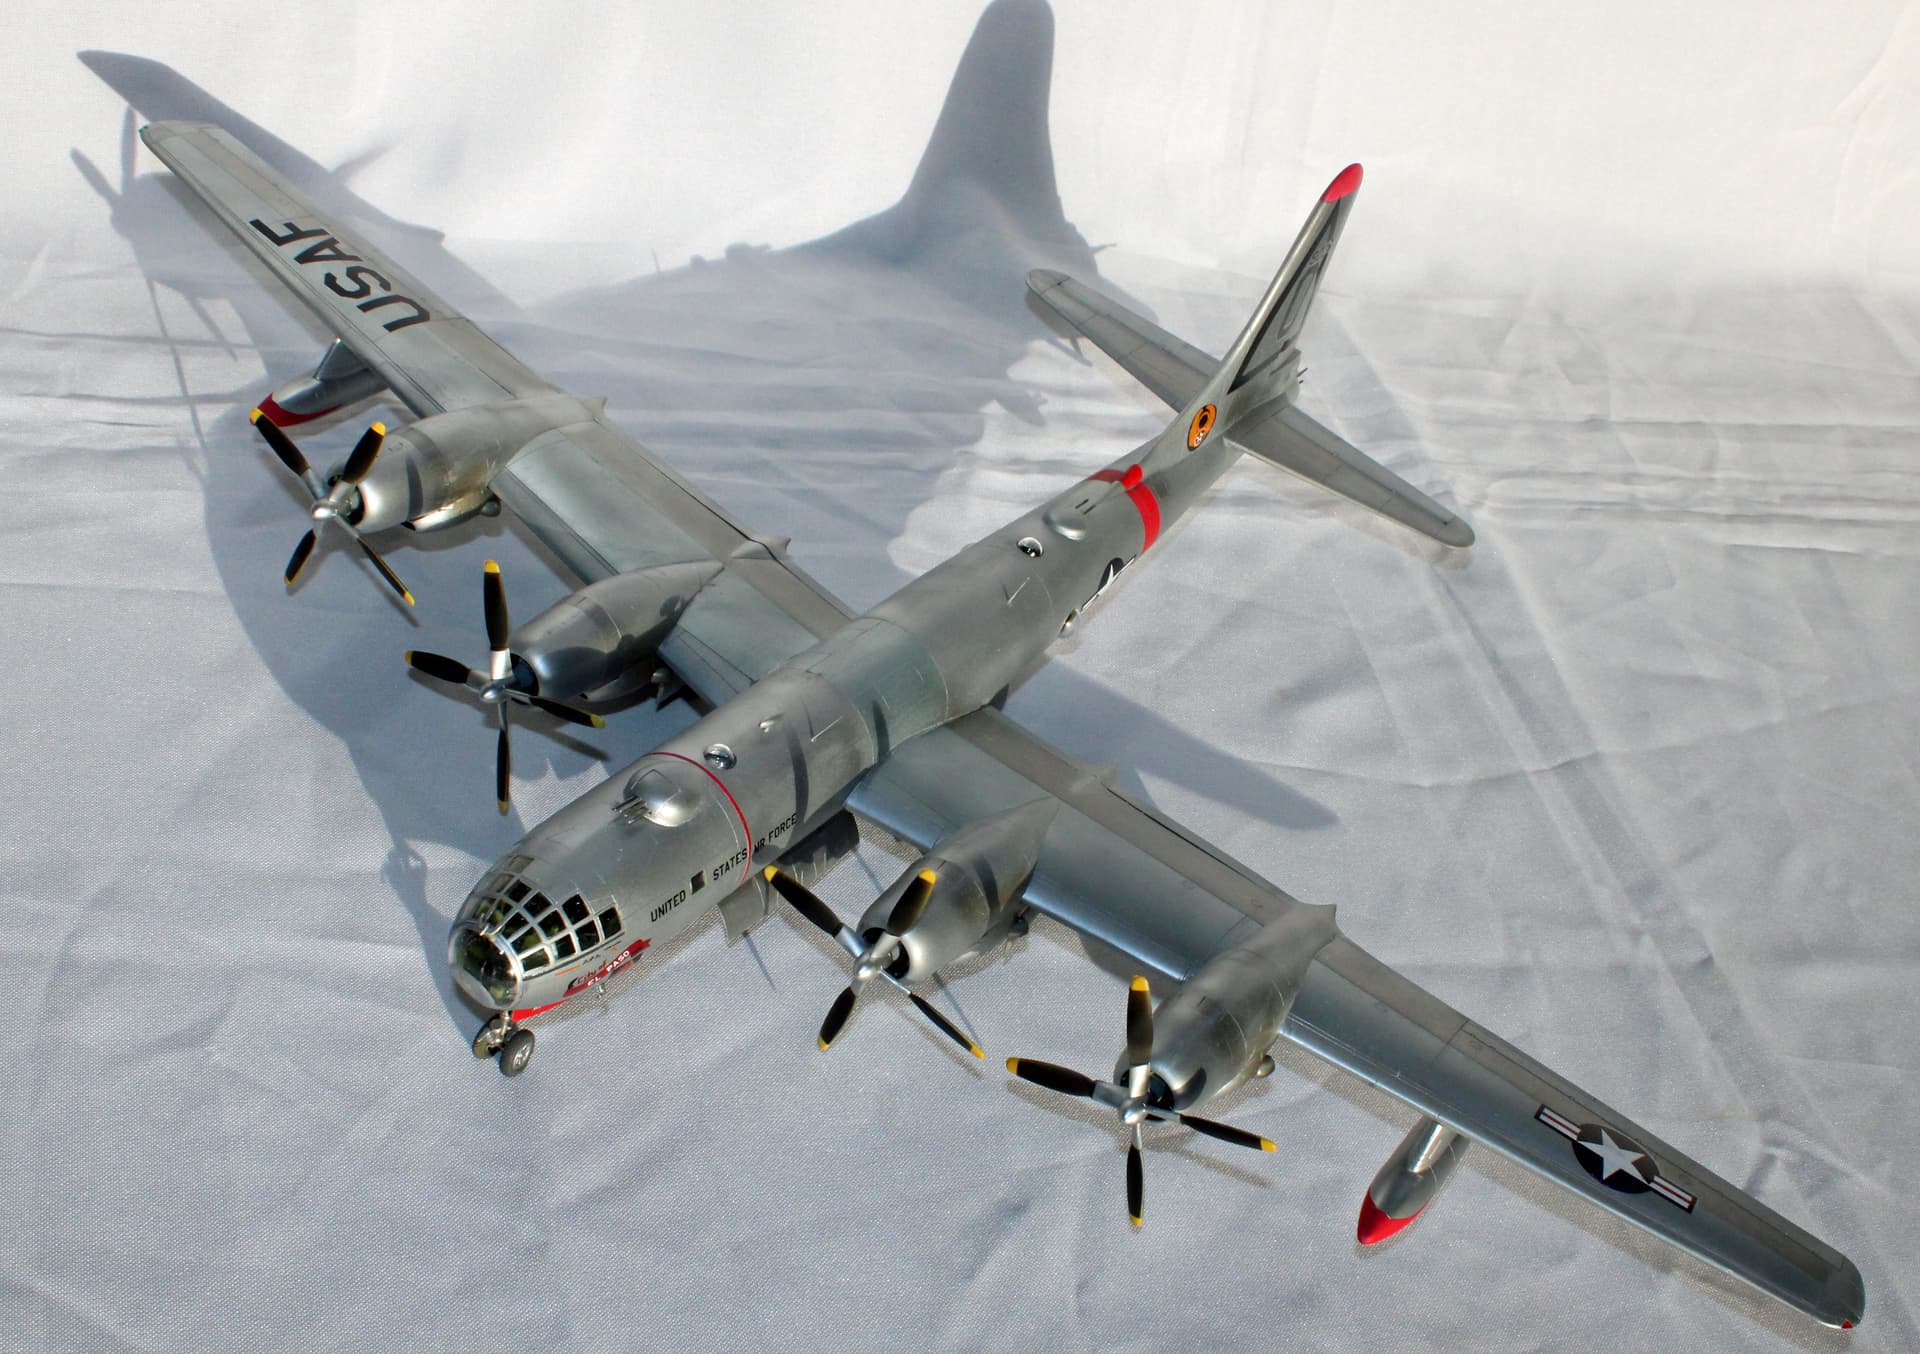
Calling this one done.
The decals were not of the best quality. I had some difficulty with a few of them, either by rolling onto themselves irrecoverably or by shredding while I tried to move them into position. For the latter, I used one of my new AK Interactive Real Colors paint markers to fix the issue. I am talking about the triangle on the starboard side rudder.
As it turns out, I did get just enough weight in this thing to keep it from automatically sitting on its tail. But a gust of wind would probably put this beast on its tail.
Weathering was kept fairly minimal, with only a few streaks of smoke paint for the exhaust and a Flory gray wash to bring out the panel lines.
I took these photos in my garage with the door open in a West-facing home, so all of these shadows are a result of the sun being in just the right position to shine directly into my garage. This also explains many of the angles that I took shots from, as I didn’t want my shadow over the model.
This won’t be my last NMF build for the year, but I’m stepping away from this work for the time being to do more camouflage schemes on a number of WWII aircraft I have in my to-build stash. Next up - Revell’s old 1/32 Mitsubishi A6M5 Zero.
7 Likes
Wow very nice build, I look forward to seeing the Zero !!!
1 Like
It’s a stellar build!. Thanks for taking us on the journey.
1 Like
I was looking at some conversion kits for the 1/48 B-29 to B-50 and for $110 im thinking I don’t want a B-50 that bad.
I’ve seen this one go for quite a bit on eBay. I happened to find this one at a vendor’s table at a model show in Stafford, TX last year for $25, so couldn’t pass it up.
1 Like
Excellent work! Looks great.