Hello, everyone. Been awhile since I’ve done a WIP so here goes. This will take awhile…the Aifix Spitfire Mk.IXc in 1/24 is a big beast.
The kit is very well detailed - not much needed to add. But of course, we ALWAYS add something, don’t we? Wait…right, we do don’t we?
I’m a big fan of fabric seat belts, especially in the bigger scales, so I’m adding in a set of HGW belts. And, since I’m inherently lazy, I’m using a set of resin exhaust stacks to avoid sanding awkward seams on the two-piece kit items (12 times…). I also dislike sanding seams on round things, so…yup - I “need” a set of cannons. And that’s all…except I will be painting all the markings and stencils. RAF Desert Camo anyone?..
And finally, here are the masks. The stencil masks from 1ManArmy are AMAZING. I hope I’m up to the challenge…but I think it’ll be fun! That’s all for now…more to come soon I hope!
This is going to be a great build. I haven’t seen a lot of these on the contest tables yet. The Spitfire is such a gorgeous plane. One of my favorite WWII war birds.
Hey all…a quick update. I decided to start work on the engine for the Spitfire, since I was busy with other builds and I figured that was a safe way to get some “bits and pieces” progress done. Airfix has a fully loaded Merlin included in the kit, so there’s a lot to cut out, clean up, and assemble. After awhile, an engine appears.
My build plan will be to keep the left hand cowling off to show off a decent amount of the engine, but keep the rest of the cowlings in place to not impact he lovely lines of the Spitfire. The kit really is designed for all cowlings on - and they have you build a “core” of an engine to mount parts - or all cowlings off. We’ll see how well my plan survives
I’ve been looking at pictures online, both restored and wartime engines, and it seems there were a number of ways a Merlin could be painted…so, I can relax and have fun, right? I plan to stick with basic black with highlights. But I’ll start with a dark grey and mess it up with washes etc. from there. Should be fun. One constant seems to be the red “Rolls Royce” titling on the covers.
The engine mount was executed very well by Airfix. They suggest using the engine as a jig to assemble the mount, and it works perfectly. While working on the engine, I also cleaned up and prepared the cowlings. Unfortunately, they have some ejector pin marks that must be filled in if you wish to have the panels off. I added the internal framework to the left engine cowl, as it may be seen in the engine bay through the other side.
Here’s what the prepped cowls and fully assembled, unpainted engine looks like (with an ubiquitous #11 blade for scale):
Wow. I can’t believe it’s been THIS long since I posted this build. Yikes! Sorry everyone.
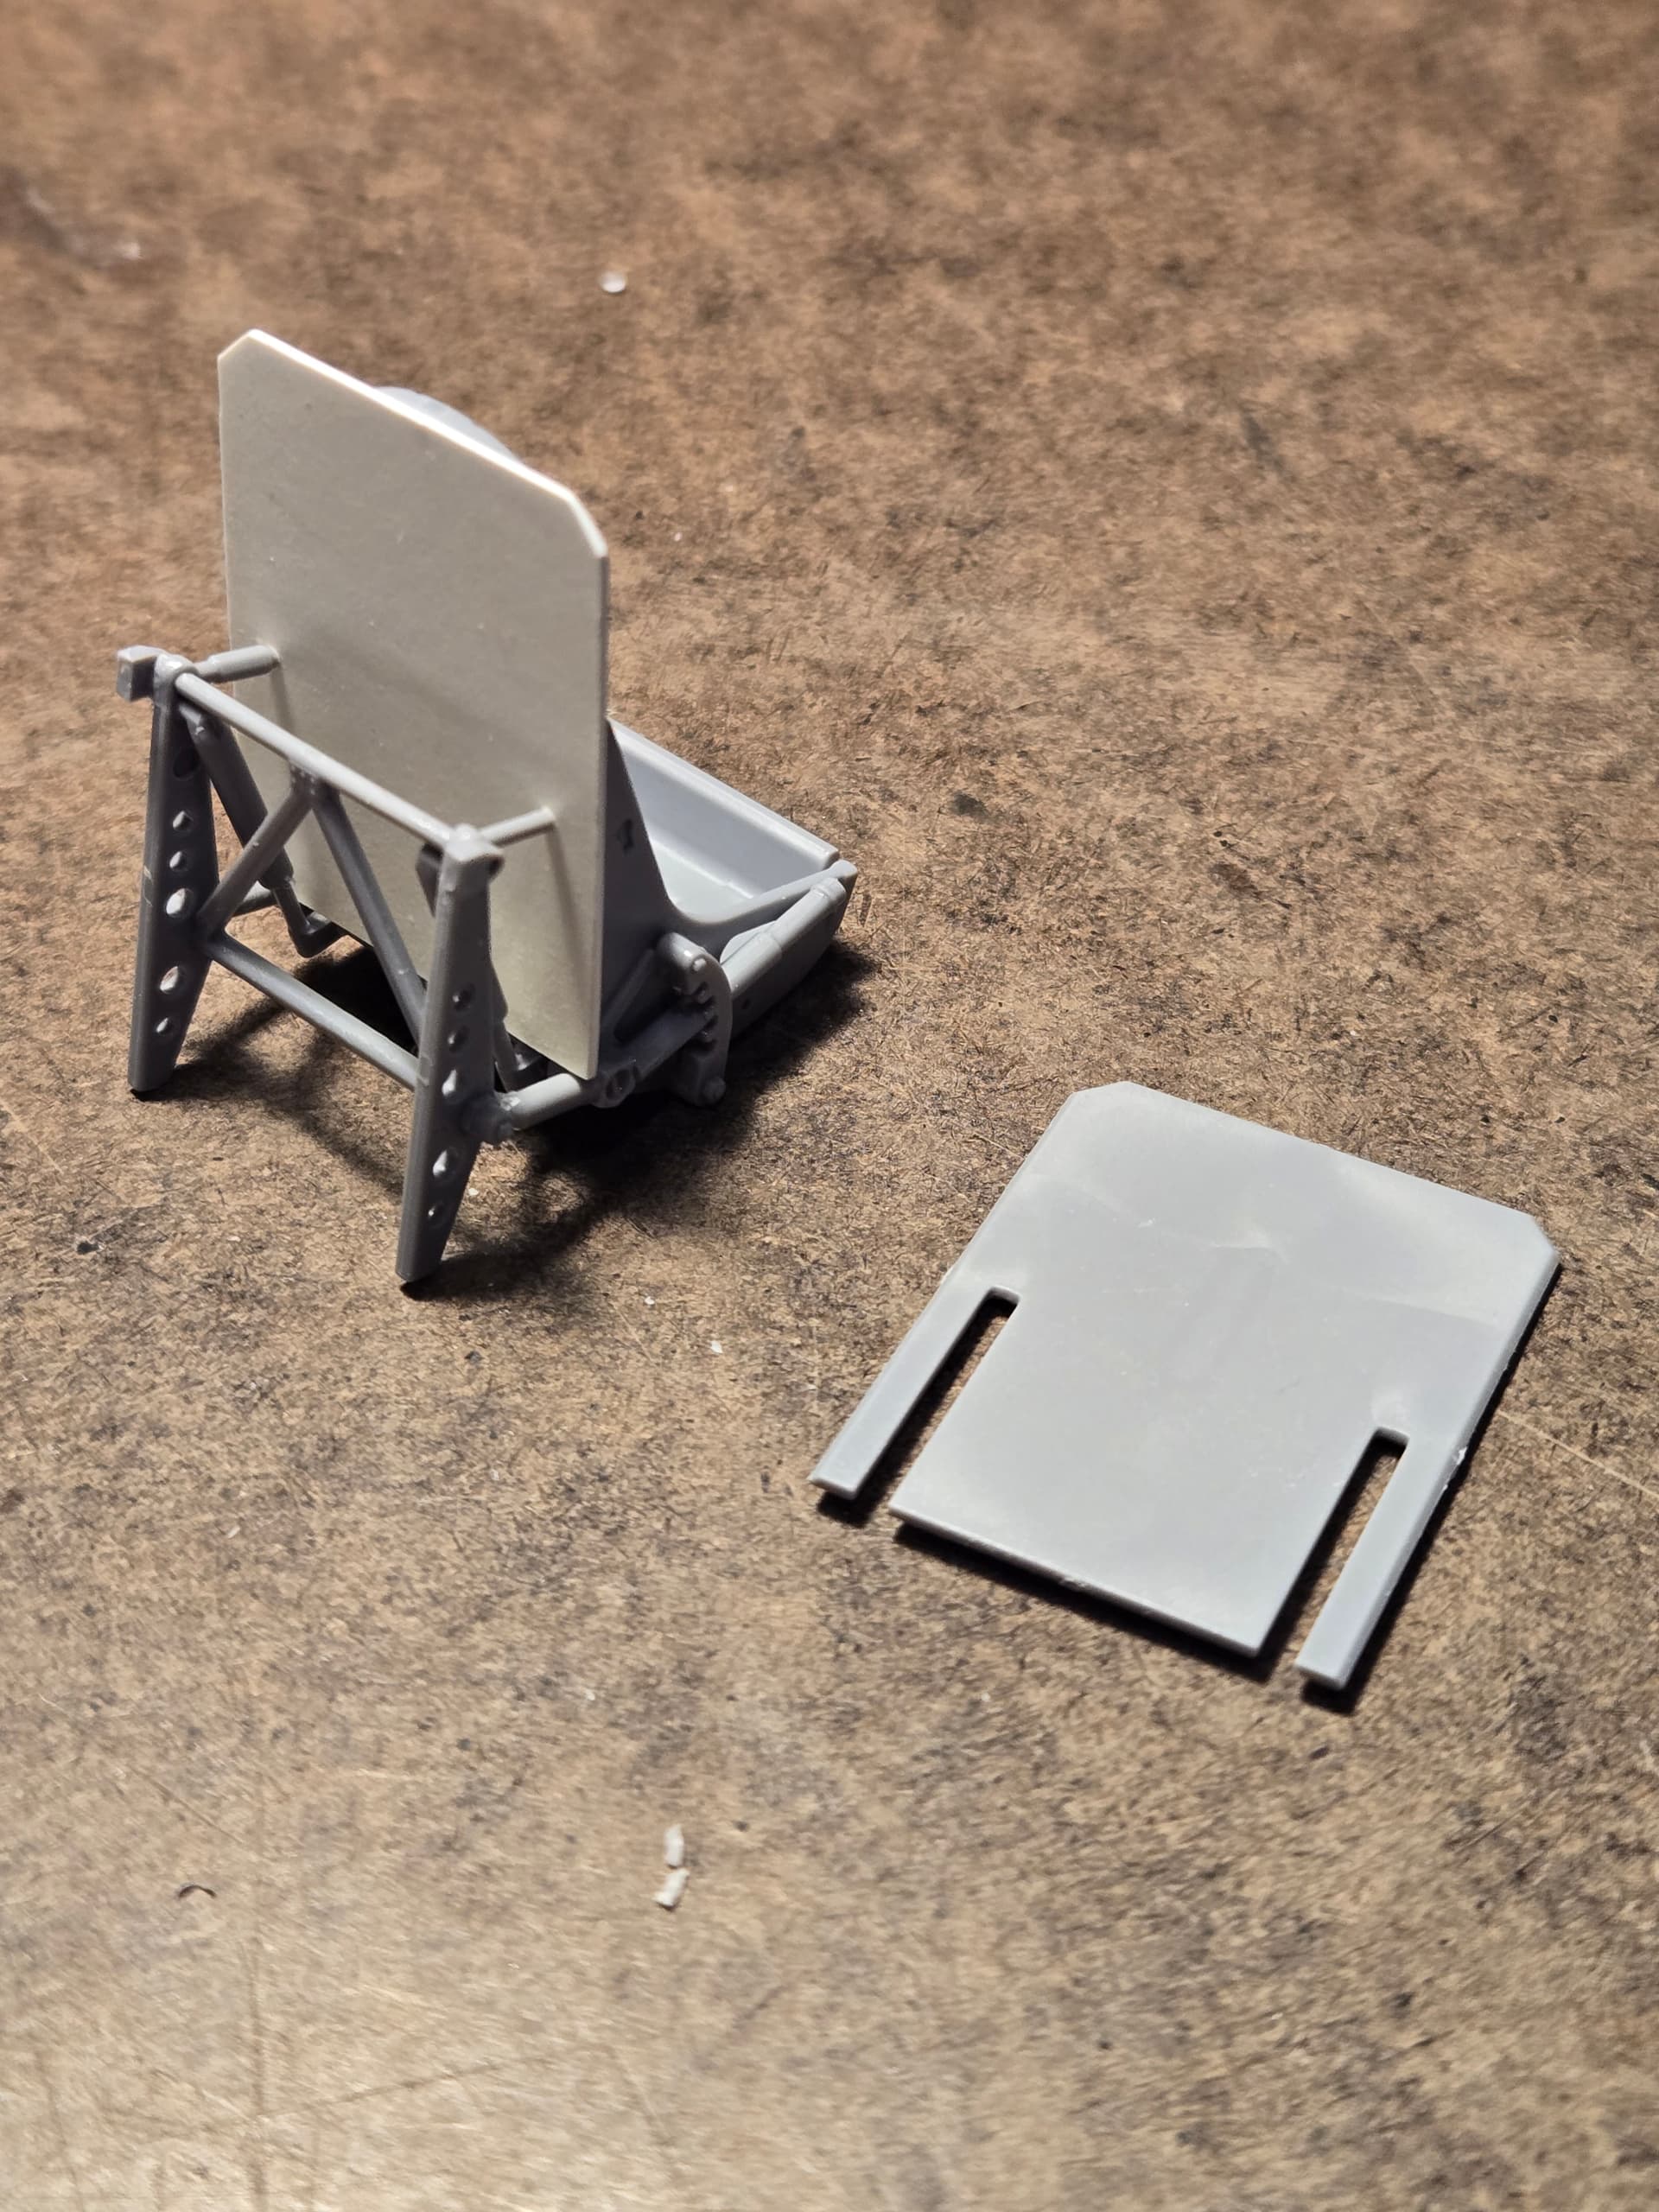
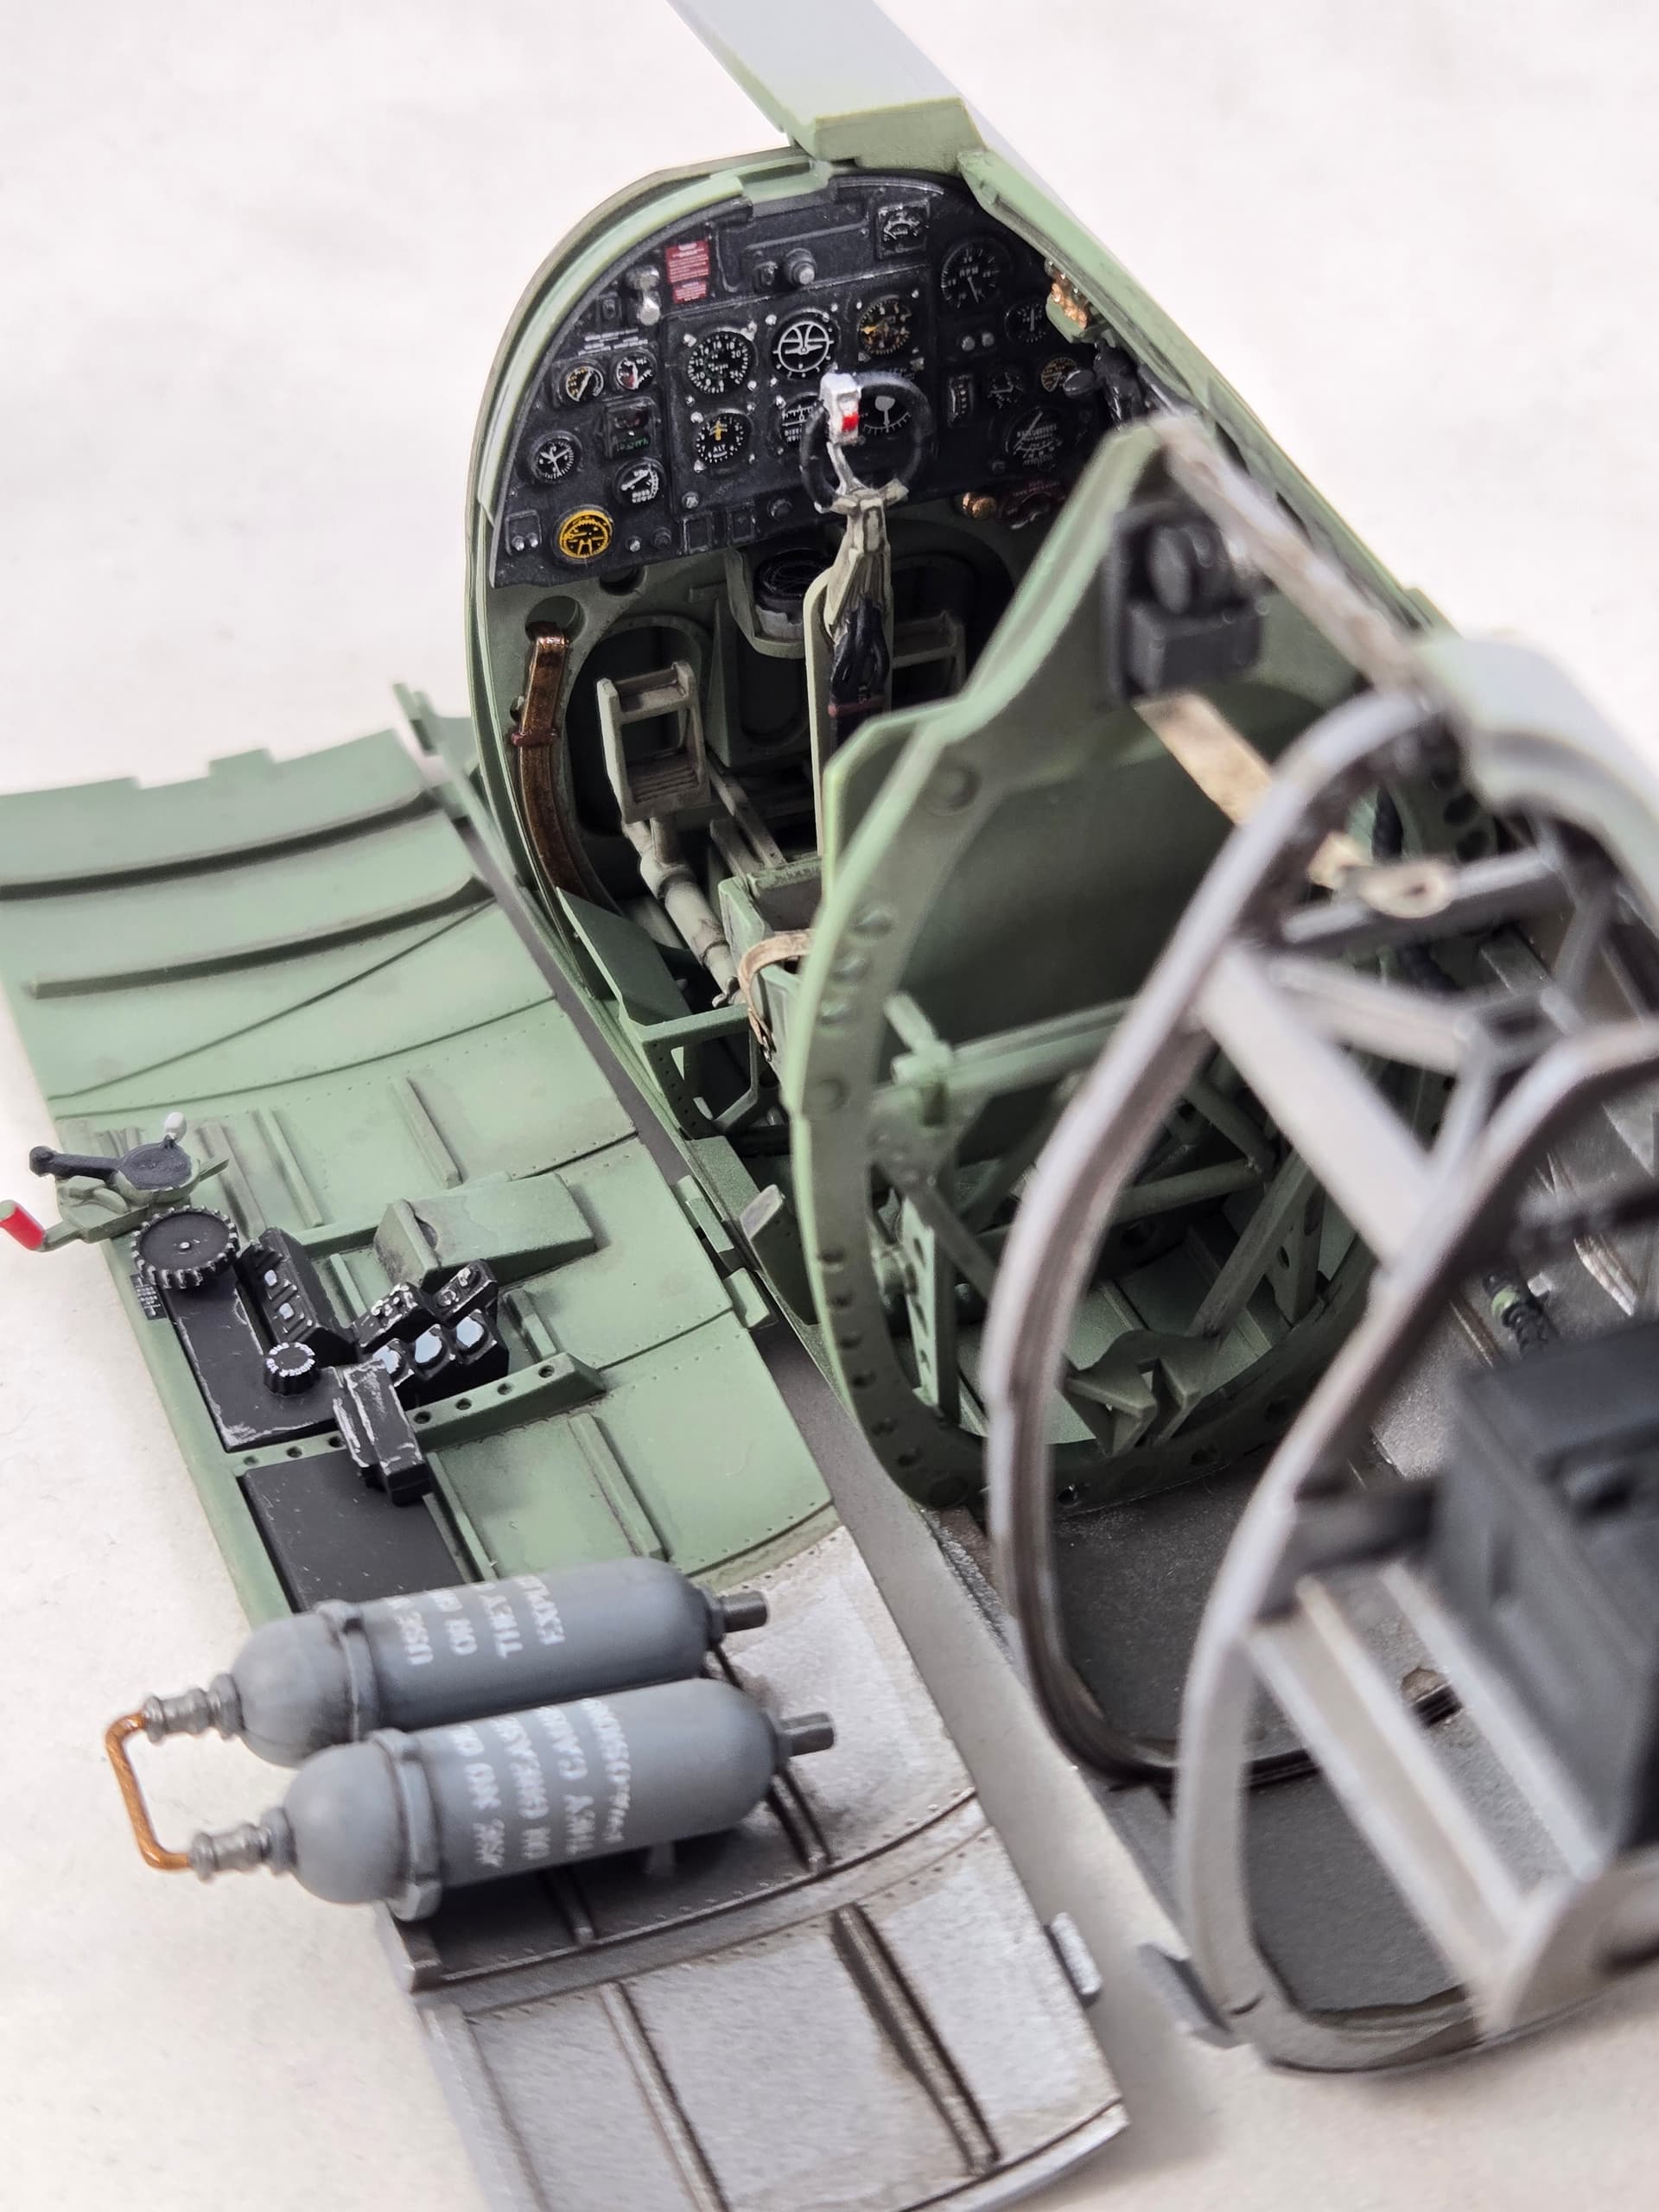
Anyway, I have actually made progress on this big kit. Having built the Airfix Tiffie and Hellcat, I have to say this Spitfire seems a bit…less? I was not impressed with the gun bay details, so I have closed those up. And the fit is not as crisp as either of the previous builds in my opinion. BUT - it’s still a fun kit, and has plenty of other detail. The cockpit is done. I started with modifying the seat armor - it didn’t actually have slots in it
I made a new slab of armor and cut slots in the seat mount to allow it to pass thru
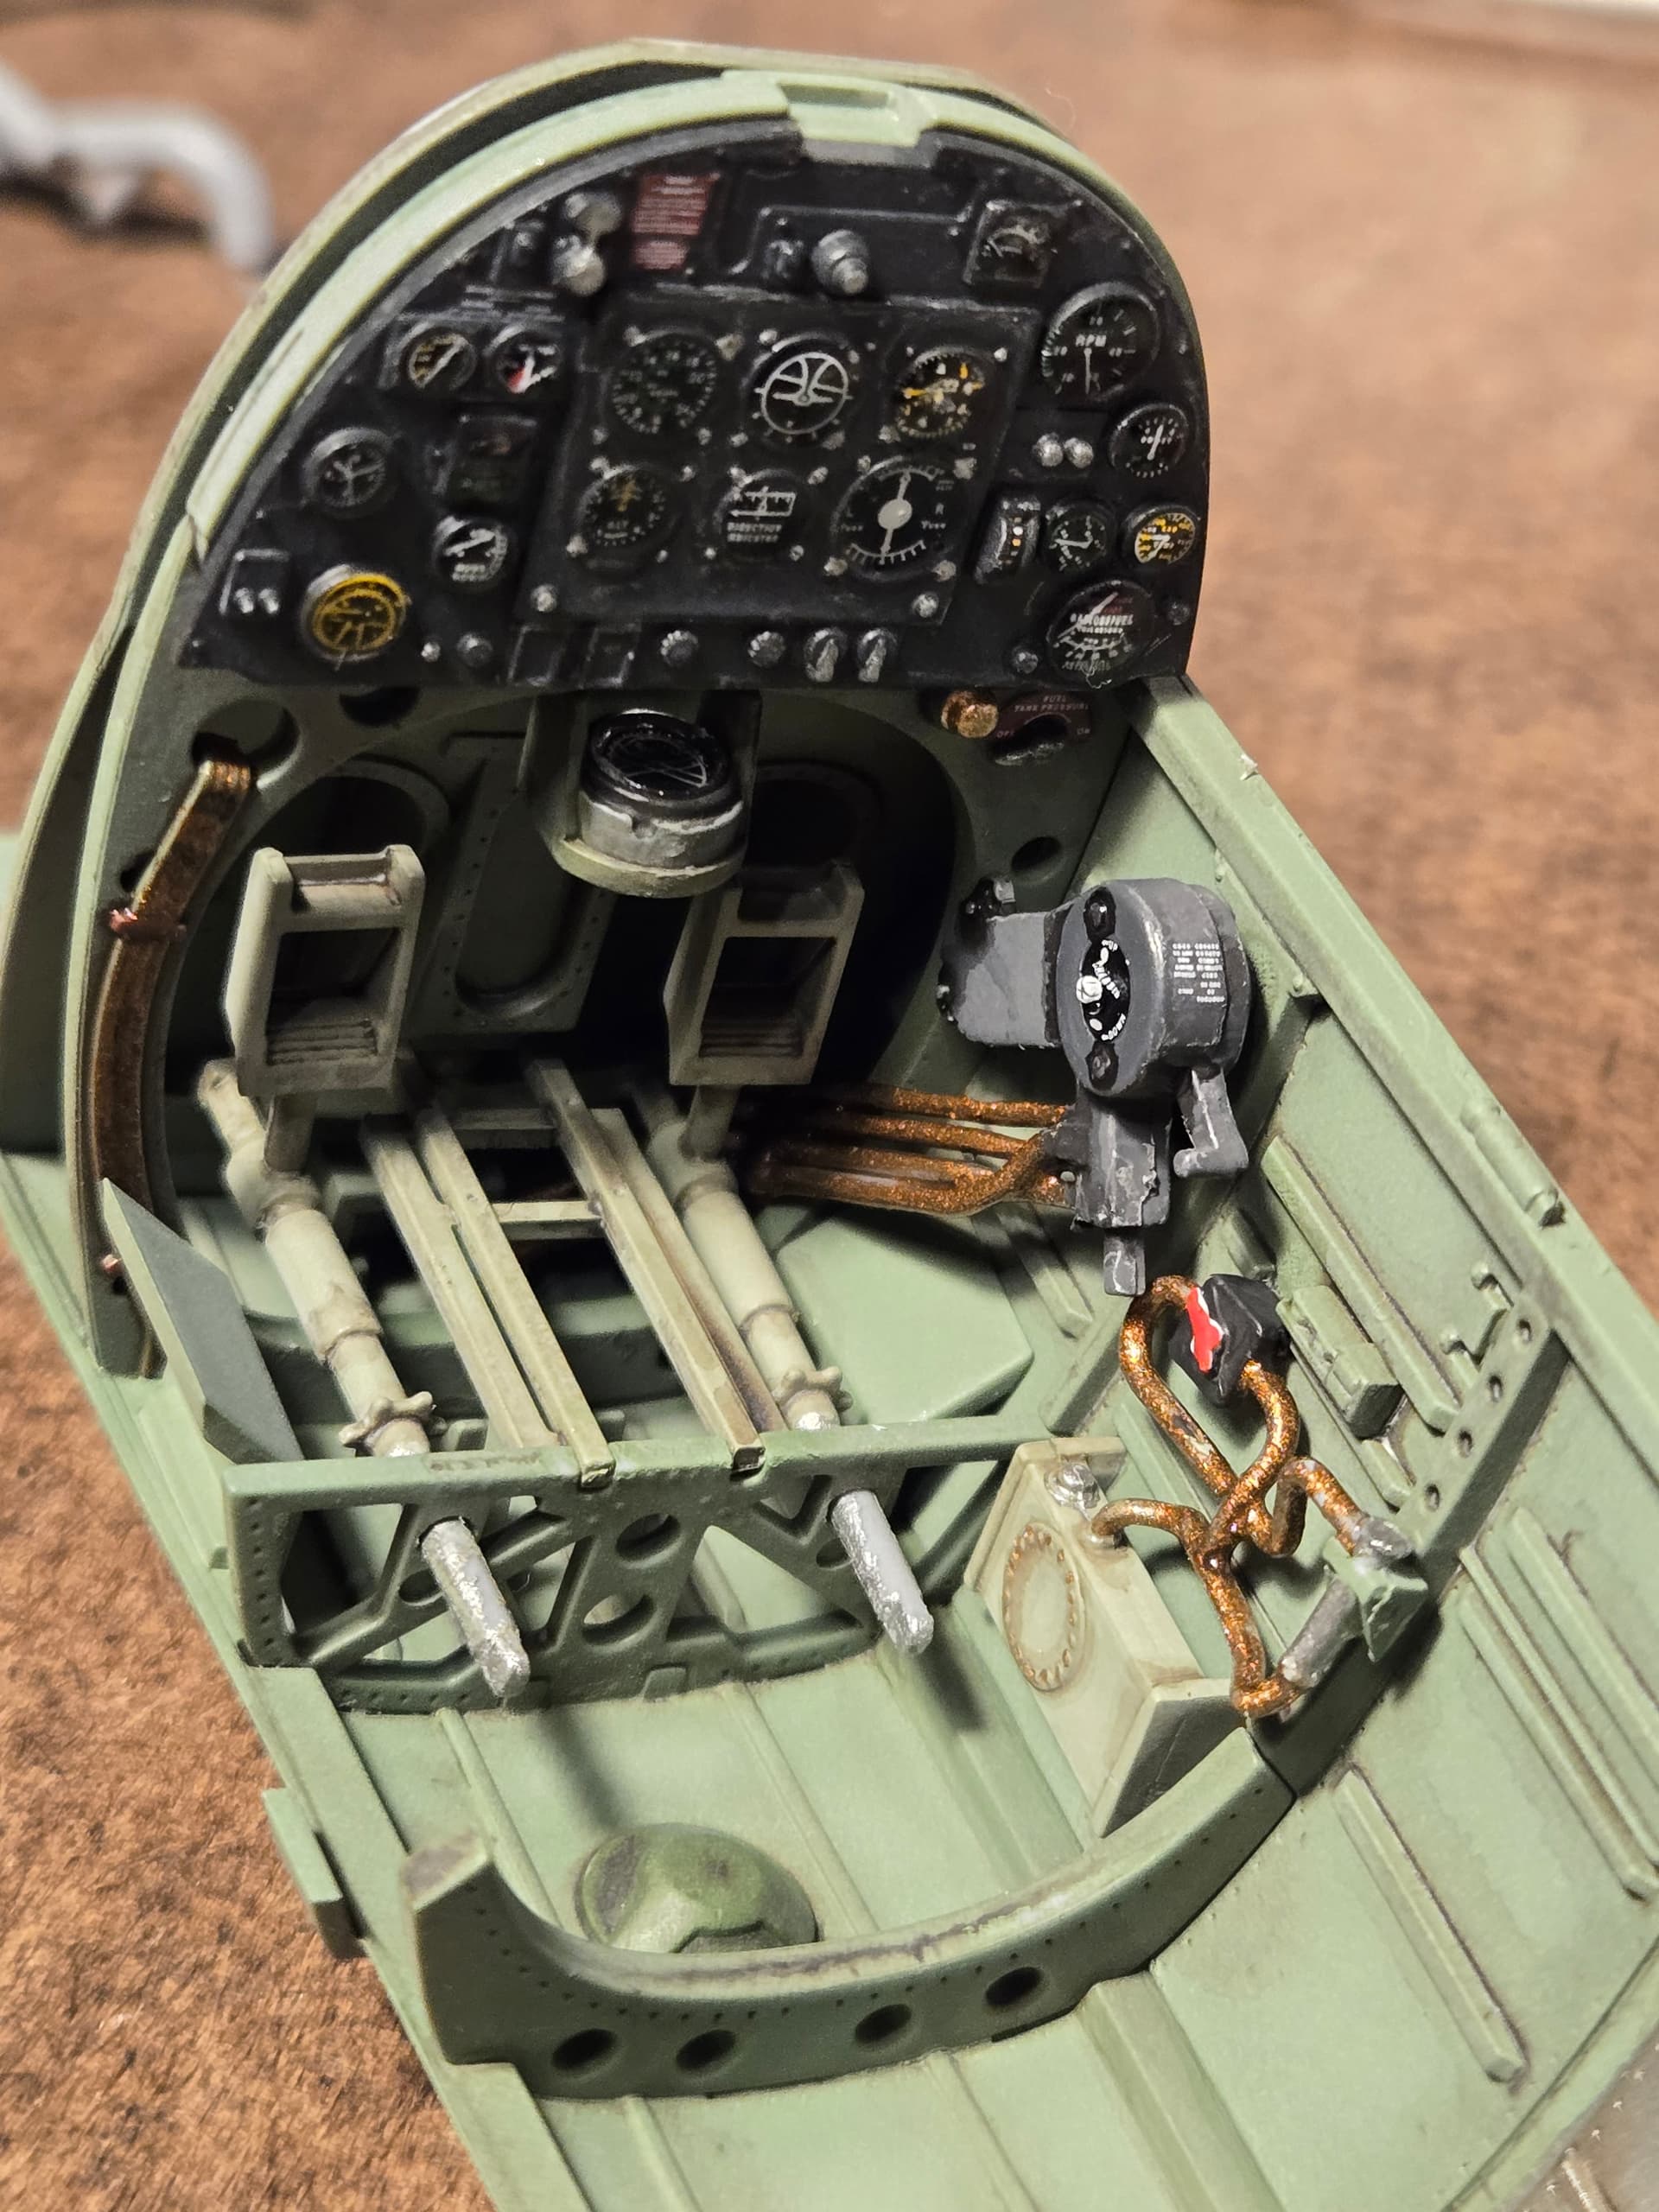
And here’s the finished cockpit, ready to close up the fuselage. I know when last we met I was working on the Merlin…but I didn’t like how the painting was progressing. So - I built the cockpit instead
Your Spitfire cockpit looks great. This is the newer release they just put out, right? Not the old 70s mold? I’ve built the Mossie, Tiffie, and Hellcat in this scale. Those were all long-running builds that took a lot out of me, and I’m not sure I am up for another such build, but there is a part of me that wants to grab this one right now.
Yes, this is the “new” big Spitfire. It’s surprising how long it’s been out, though. Then again I am NOT the fastest builder on the block. Like you say, they can take a lot out of you…
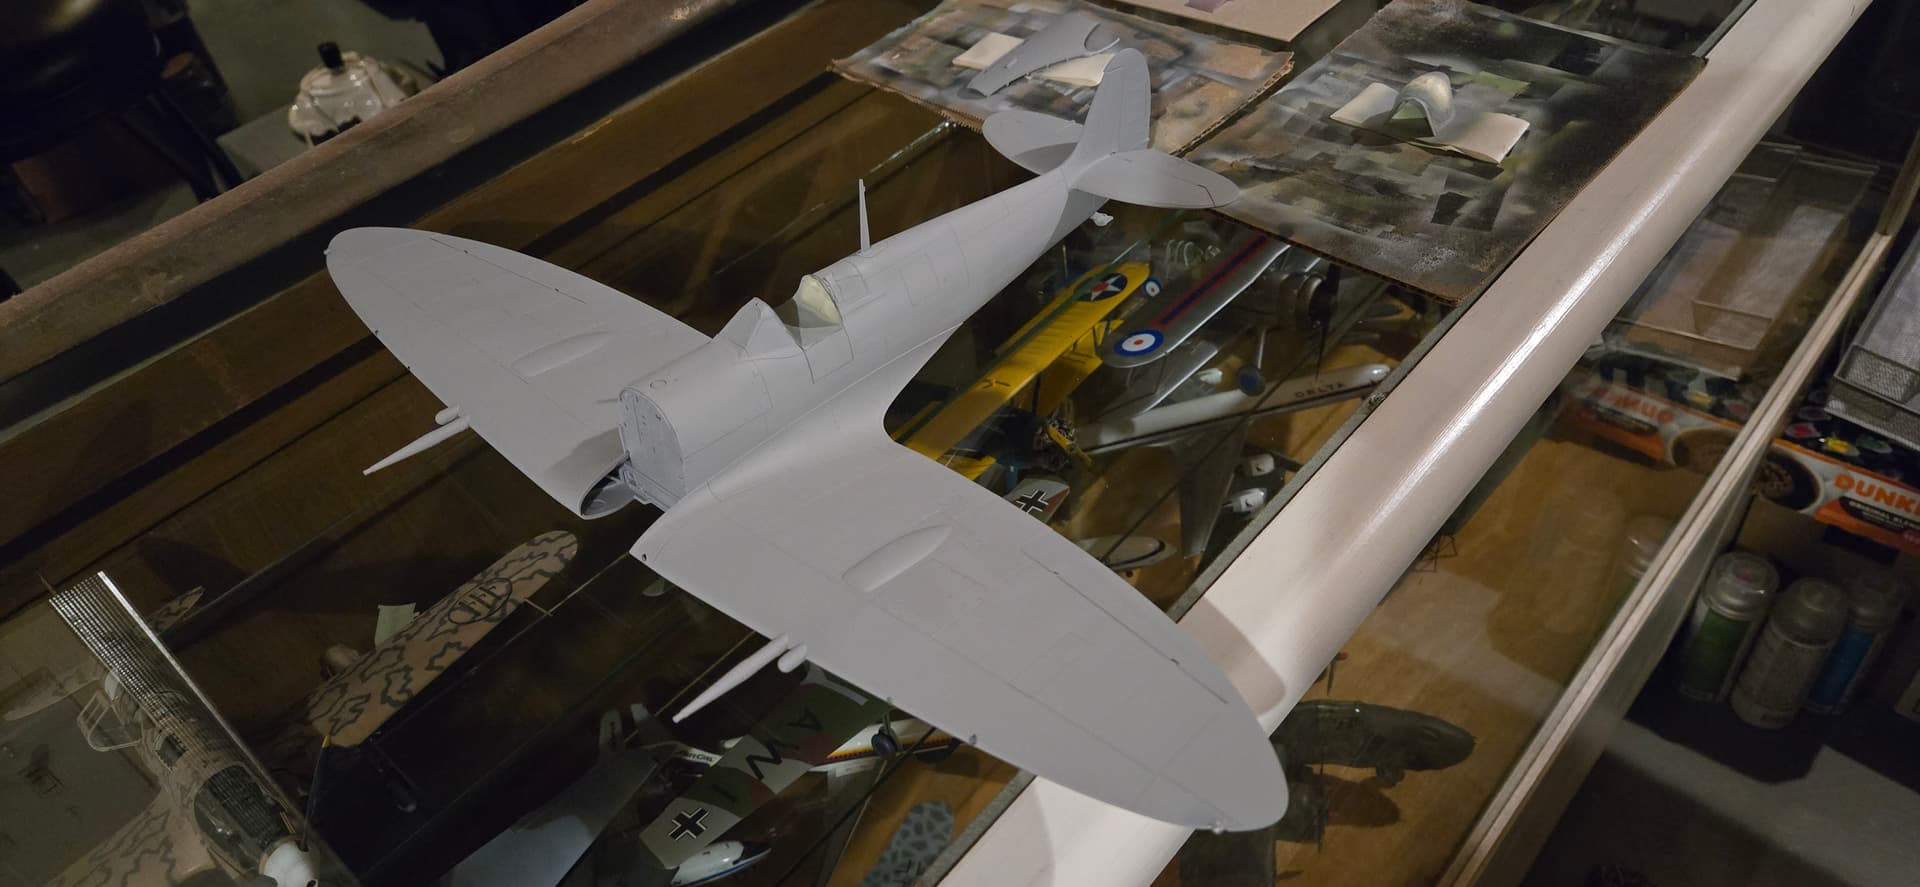
So, after dealing with the cockpit - and effectively ignoring the engine - the construction of the Spitfire has progressed substantially.
As I had said previously, I’m leaving the engine off for now. The intent is to have the right hand cowling off to show the detail. I’ve worked out a method (I hope) for the engine to be finished after everything else is done.
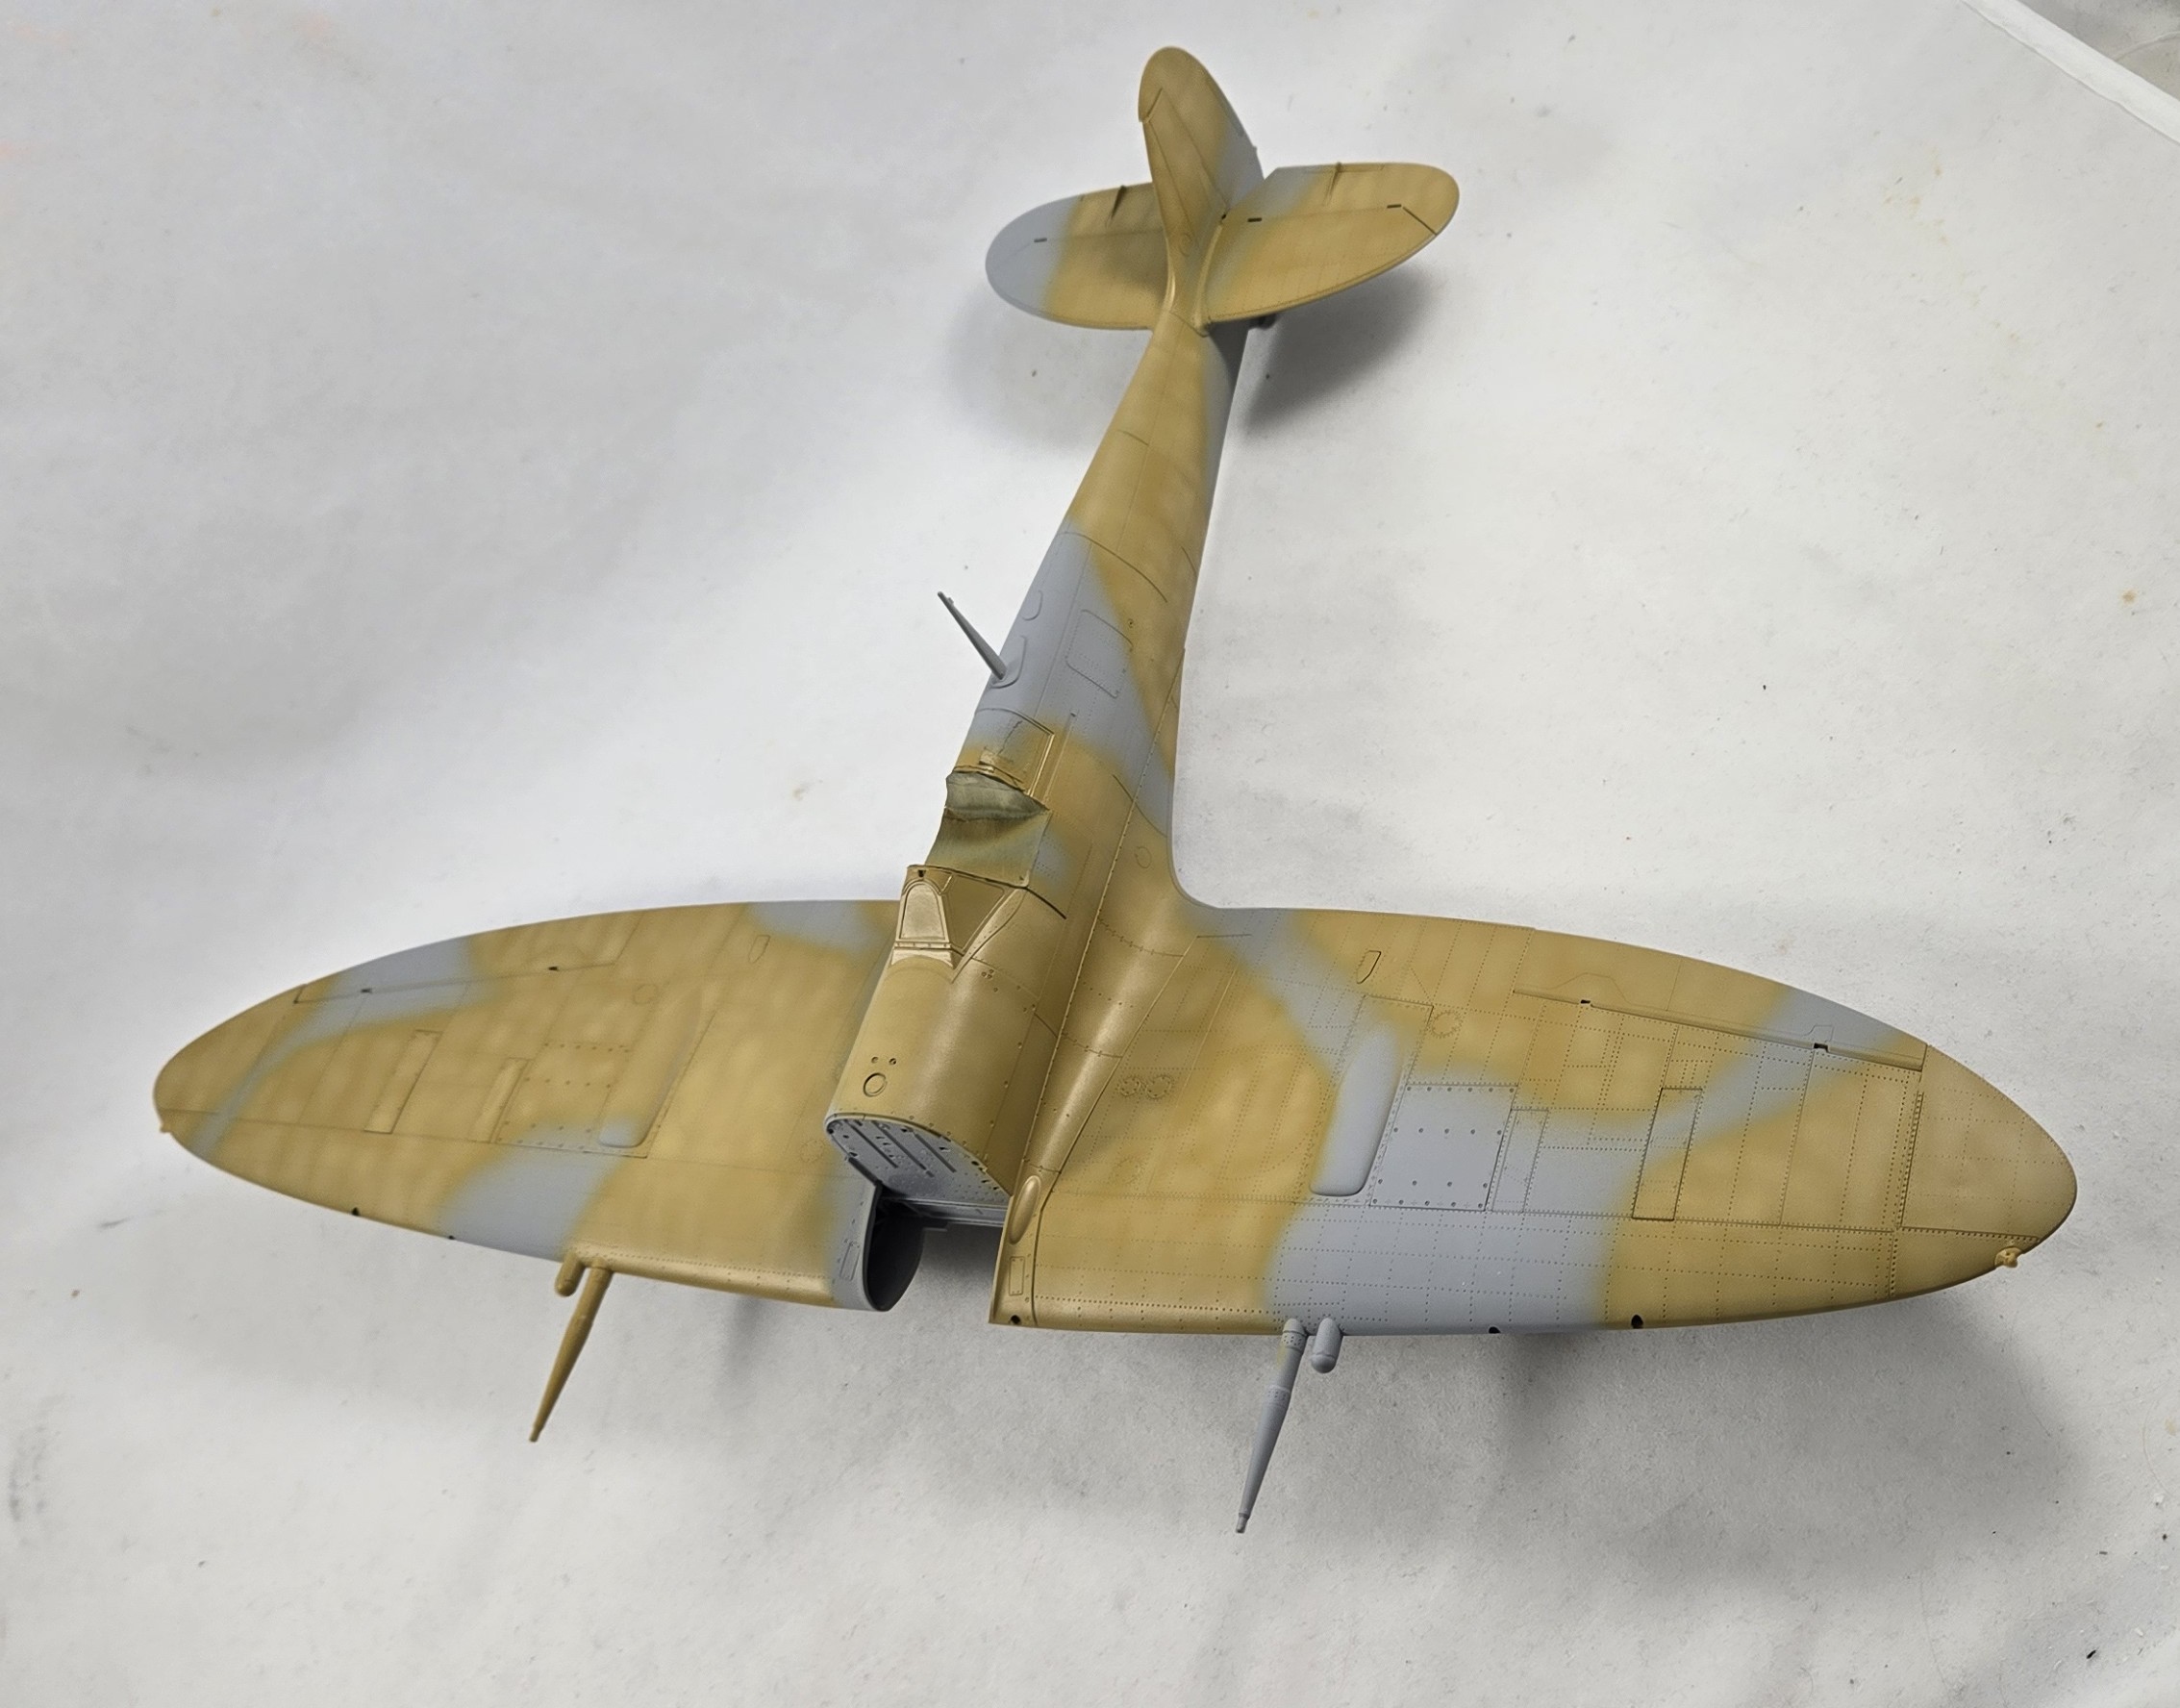
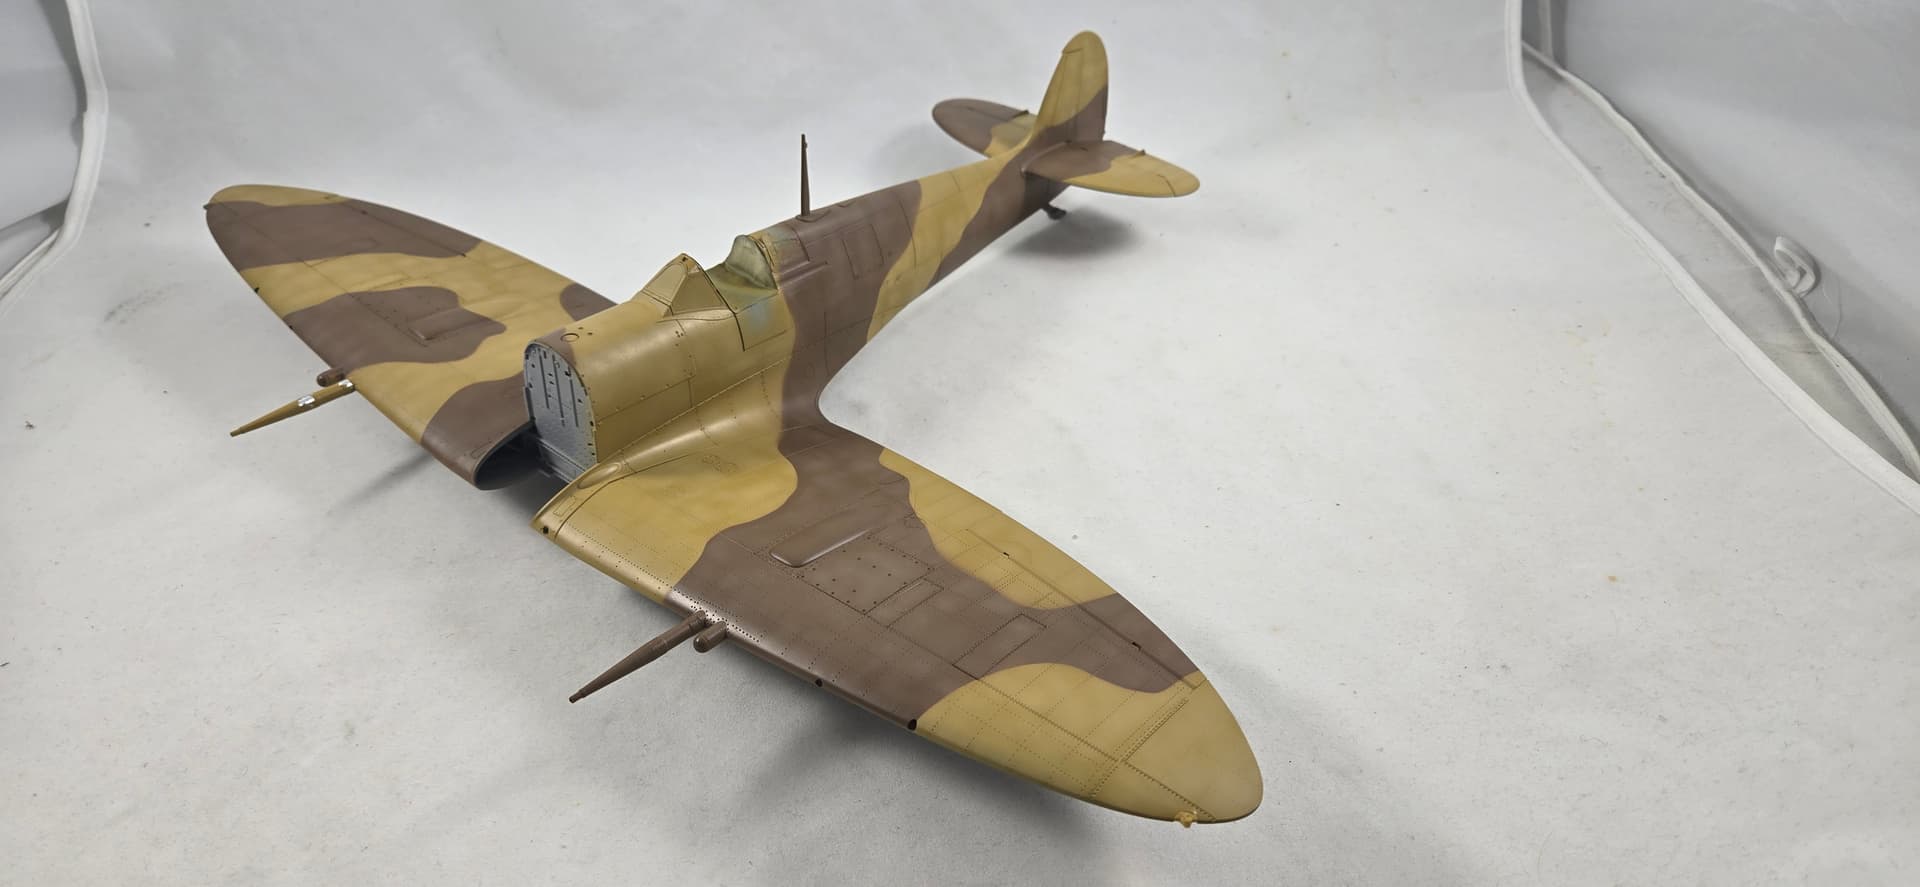
First step in painting for this bird is a good coat of primer. I used Tamiya Sky Grey to get a neutral base. This was followed with AK Real Color Middlestone. Fading was done randomly by adding Real Color Insignia White and a lot of thinner. I typically spray everything at 20 psi, but for fading I drop the pressure down to ~10 - 12 psi.
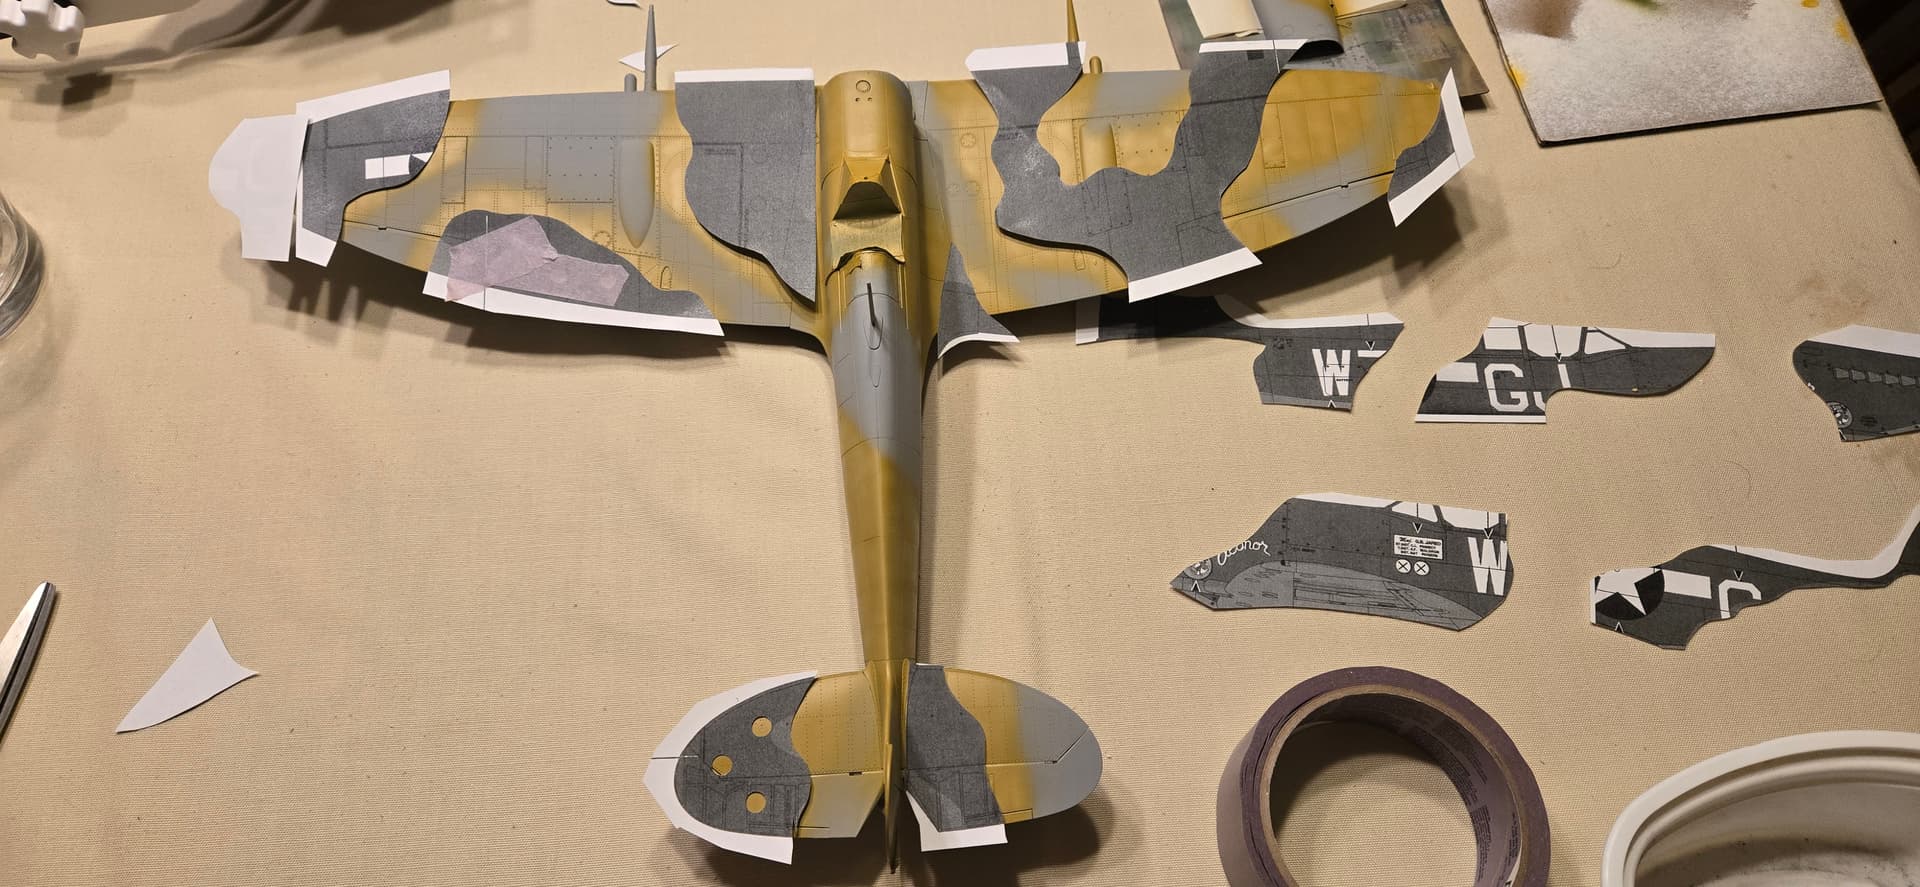
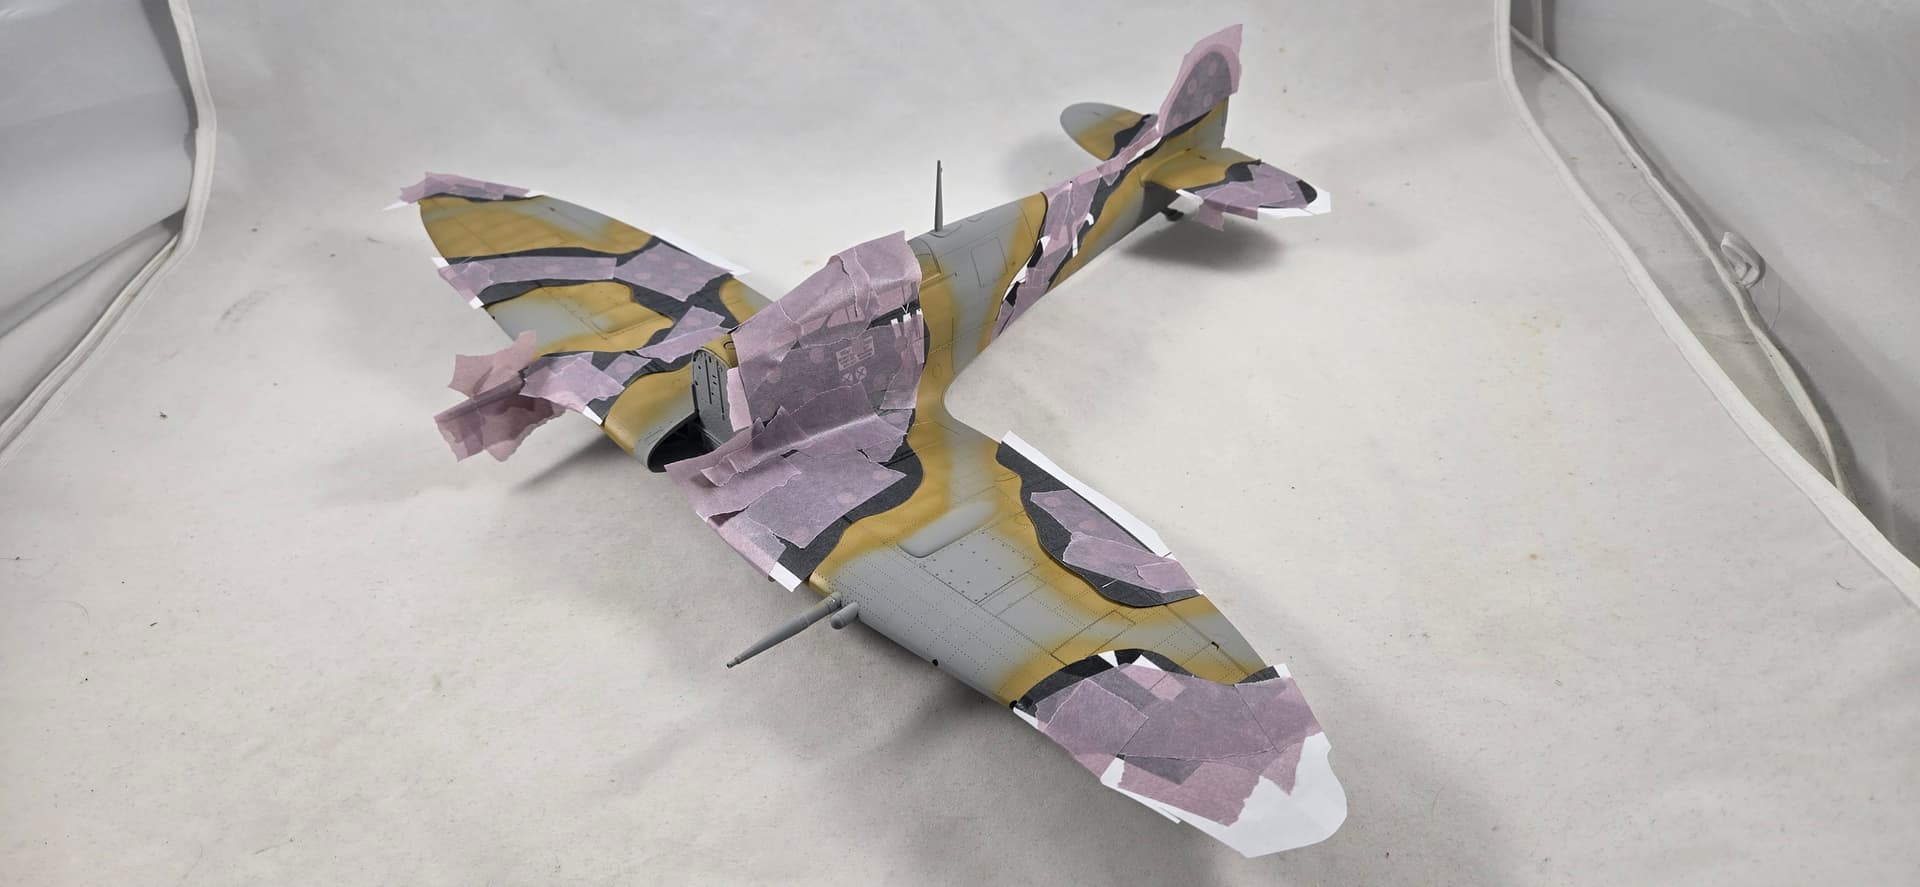
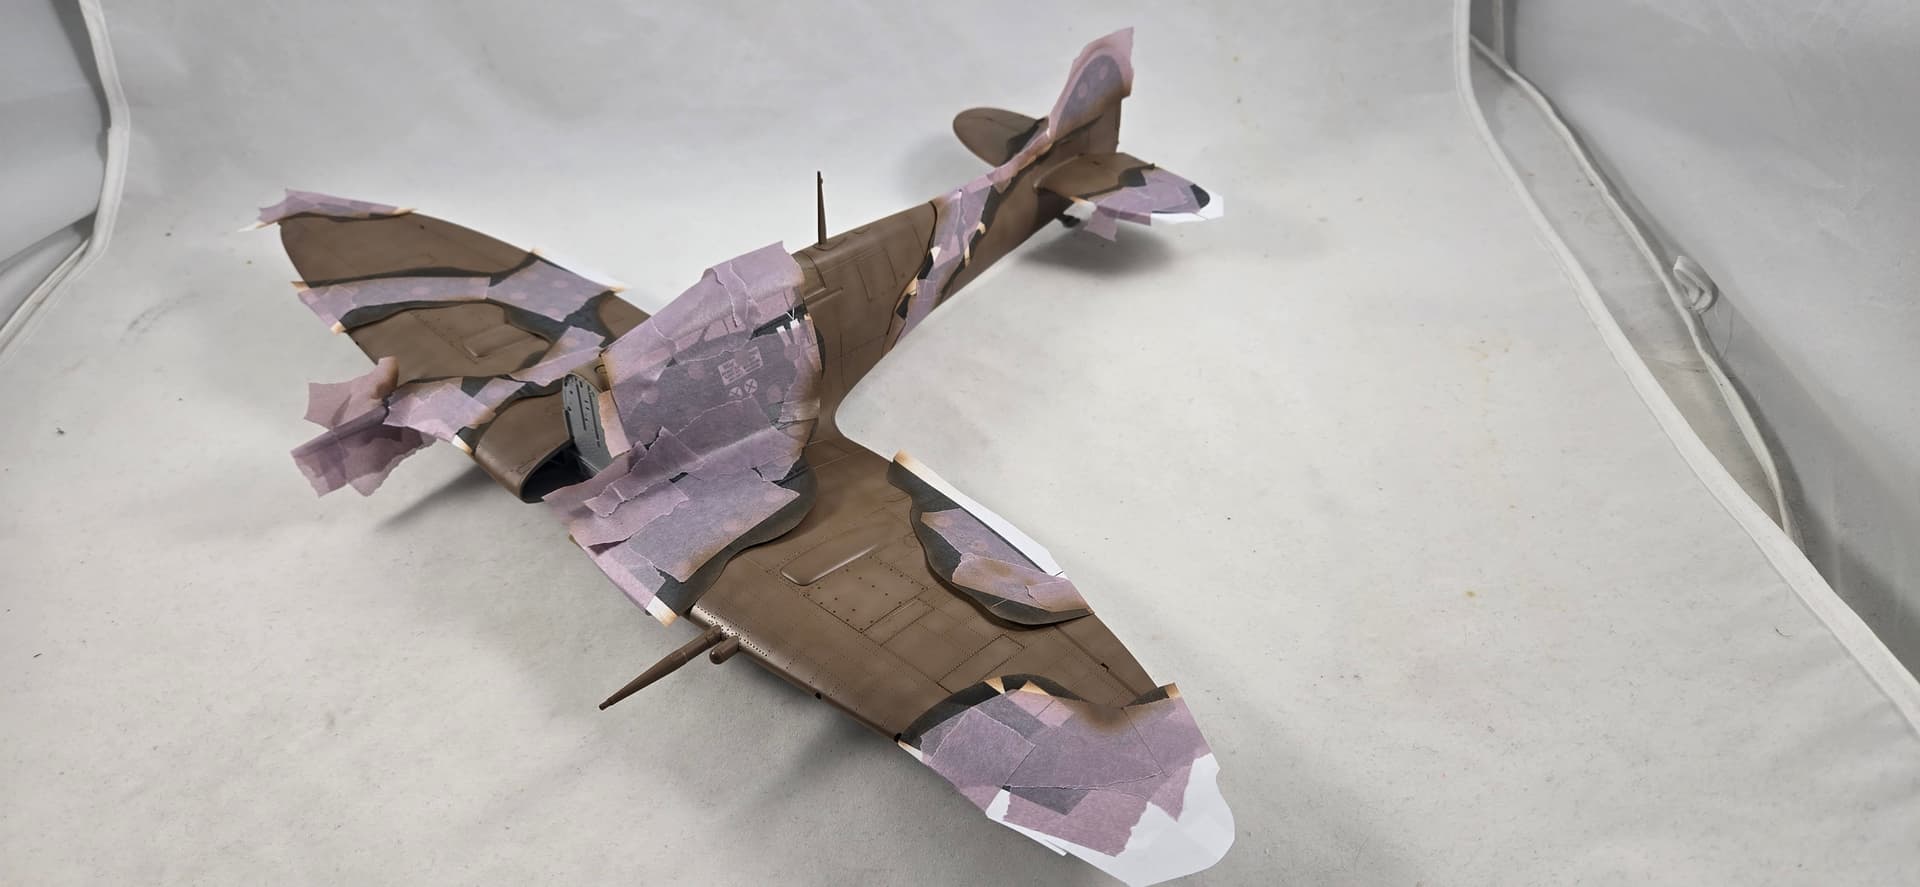
After the Middlestone had dried for a couple of days, I started masking. Modern copiers make this easy since most will do custom enlargements. A hole punch is used to provide openings to tack the paper to the surface of the model. An hour later, I sprayed on AK Real Color Dark Earth, again faded with white. I’ll be letting this sit for another day, then I’ll mask off the lower surface in preparation for the blue.
Eagle-eyed among you may notice the masking around the right hand 20mm barrel was a bit too…aggressive . Ah well…most of my paint jobs end up requiring some type of re-sprays. No worries.