UPDATE 8 – 12/13/2013
Good Morning Everybody!
First, yesterday was a milestone day. My committee signed off on my prospectus. YEEEAAAHHHH!
There is light at the end of the tunnel.
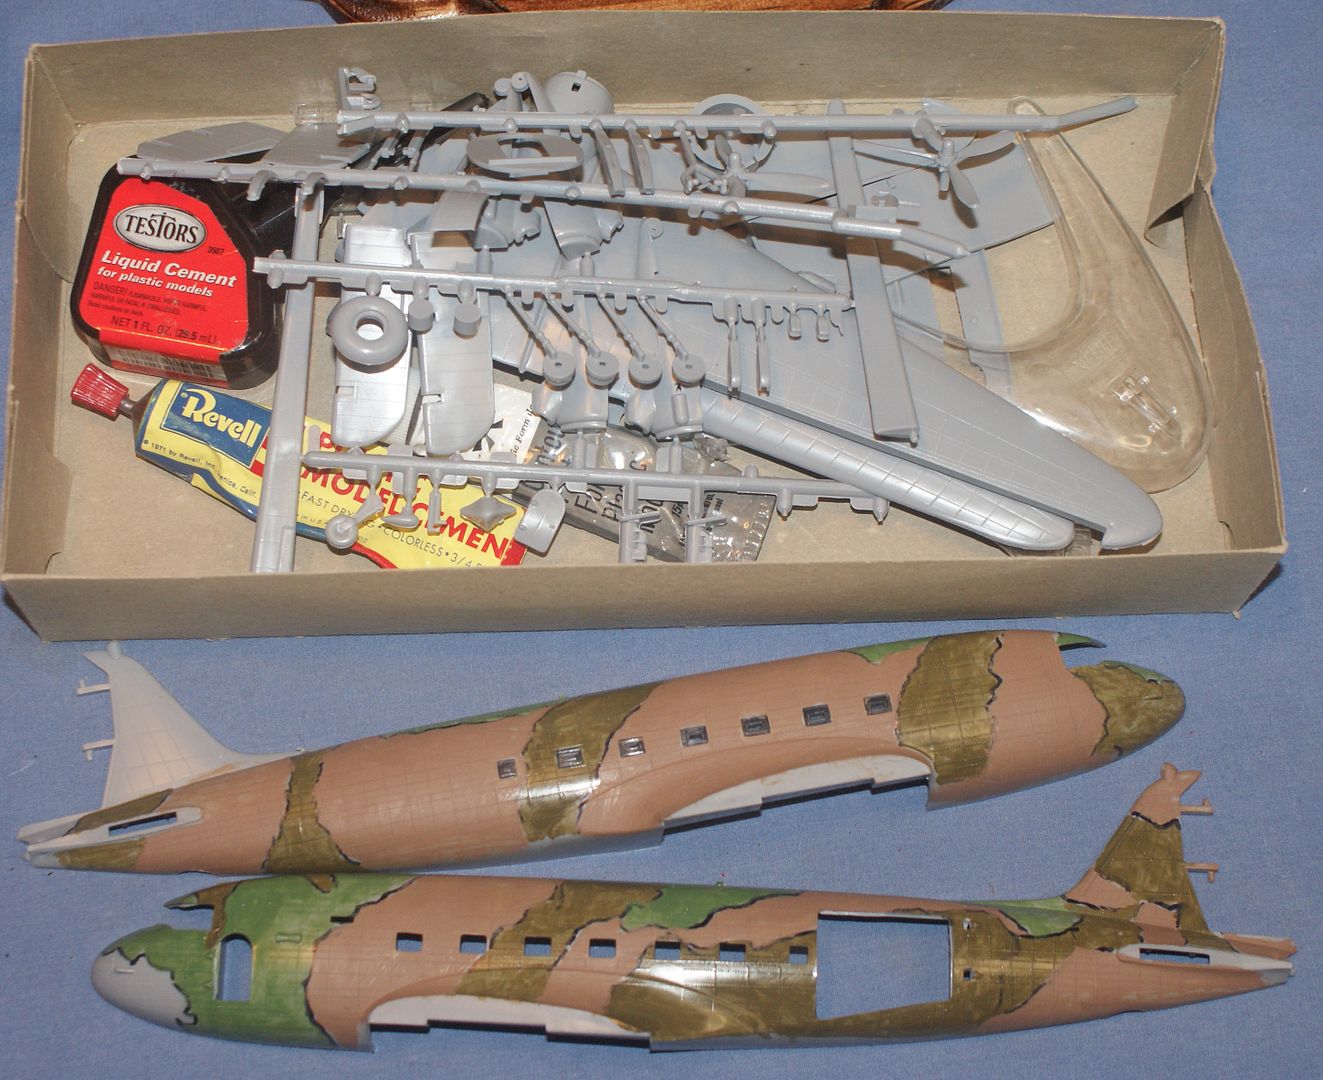
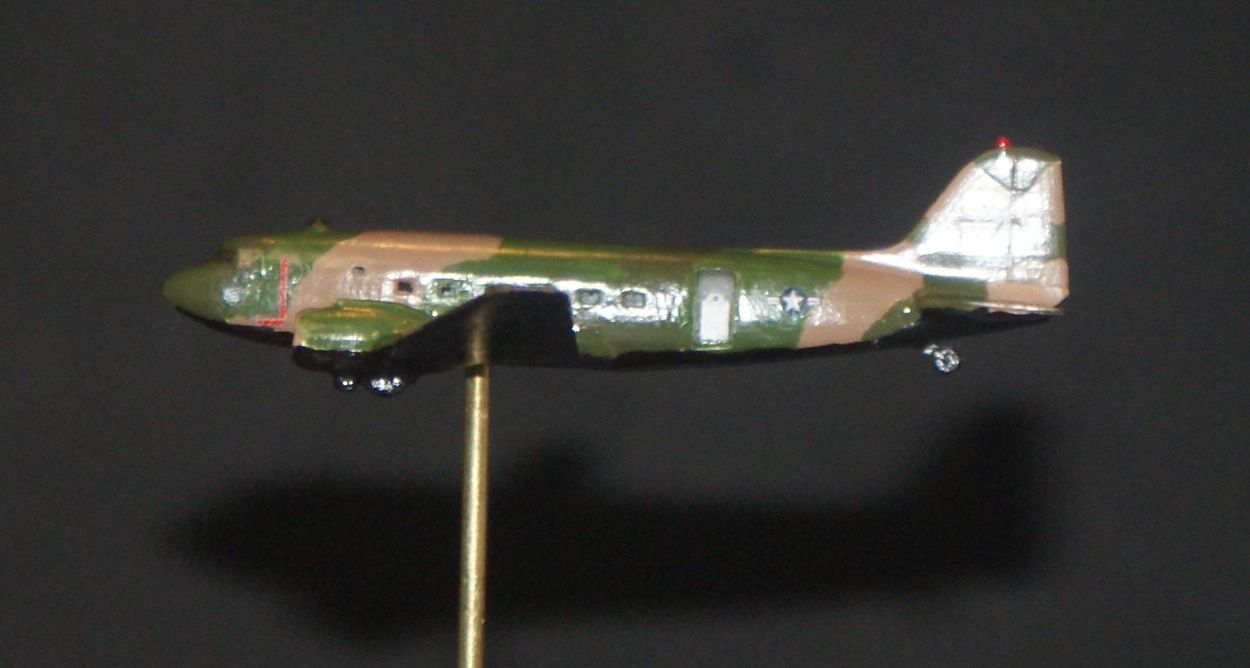
It was also a milestone day for dad’s display, as I finished painting the models. After another trip to Hobbytown where I bought some Model Masters Dark Green Acrylic (FS 34079), I pondered the paint scheme one final time. I decided that the scale effect was more applicable to what Griffith calls the “weathered style” than what he calls the “pristine and clean style”, and that the “pristine and clean style” was more appropriate to my display. Not that my modeling abilities will allow me to make them pristine and clean, but that is the goal and the style I opted to use.
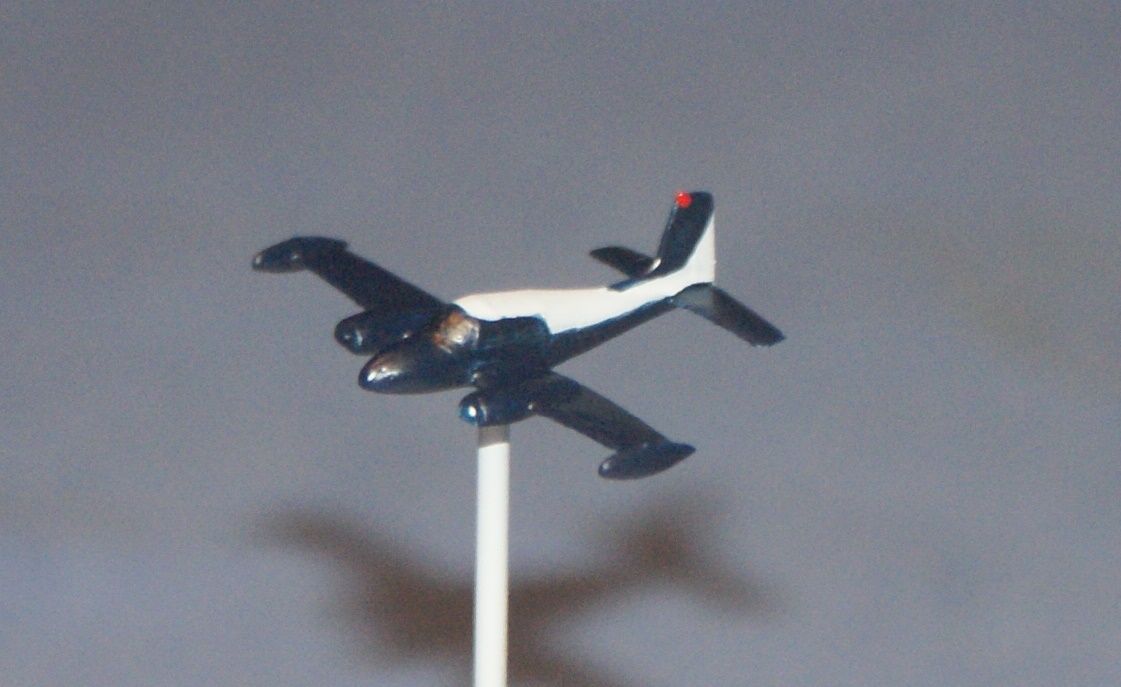
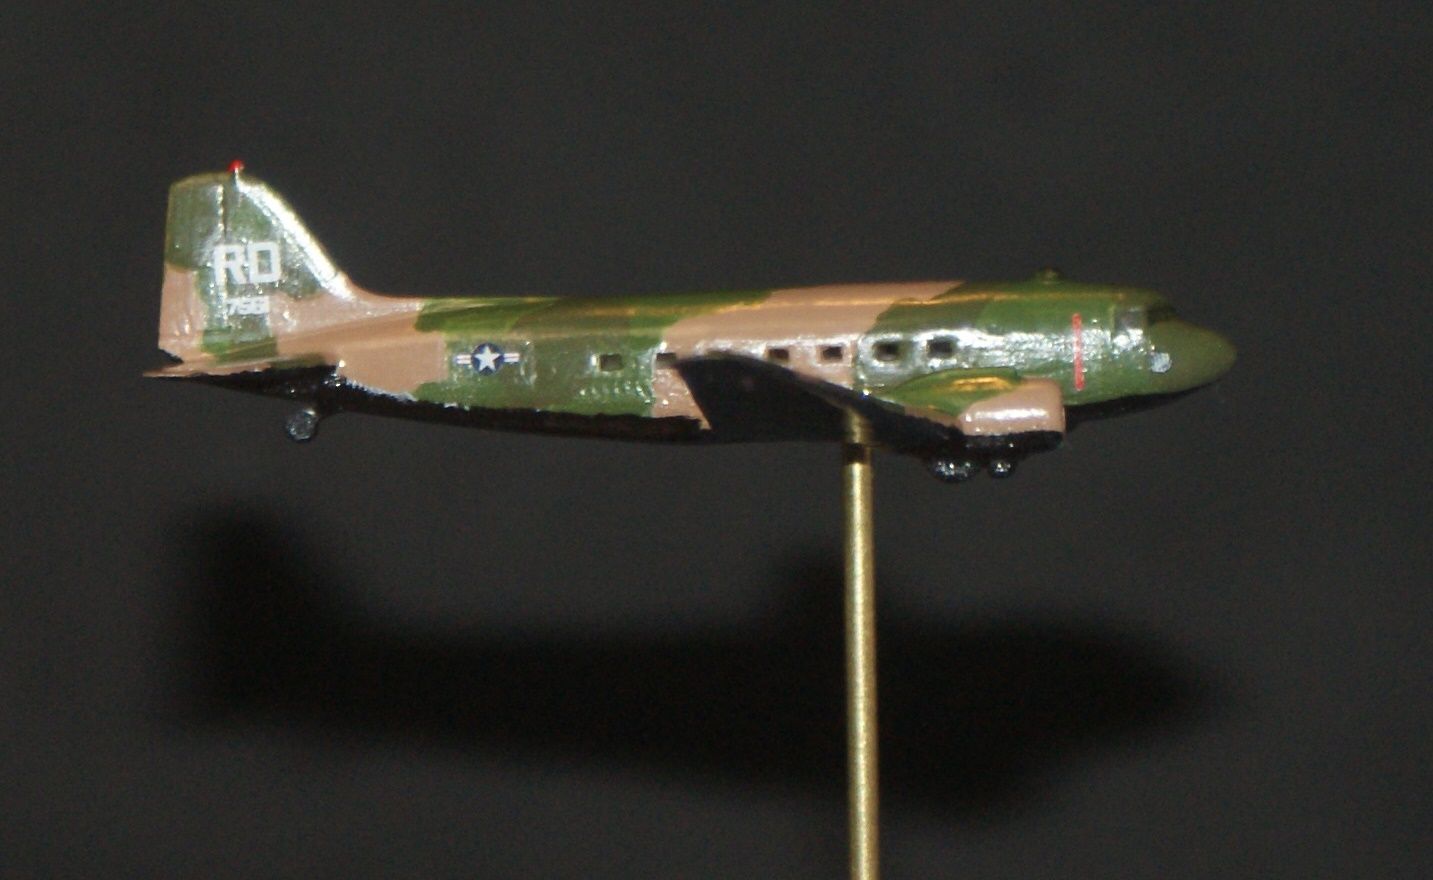
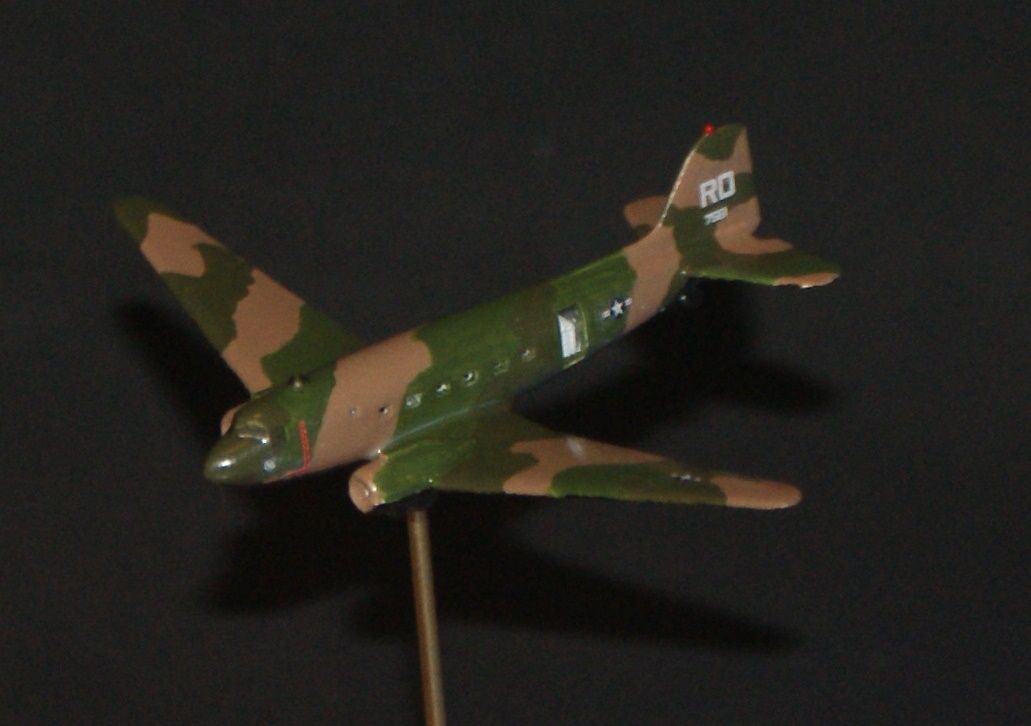
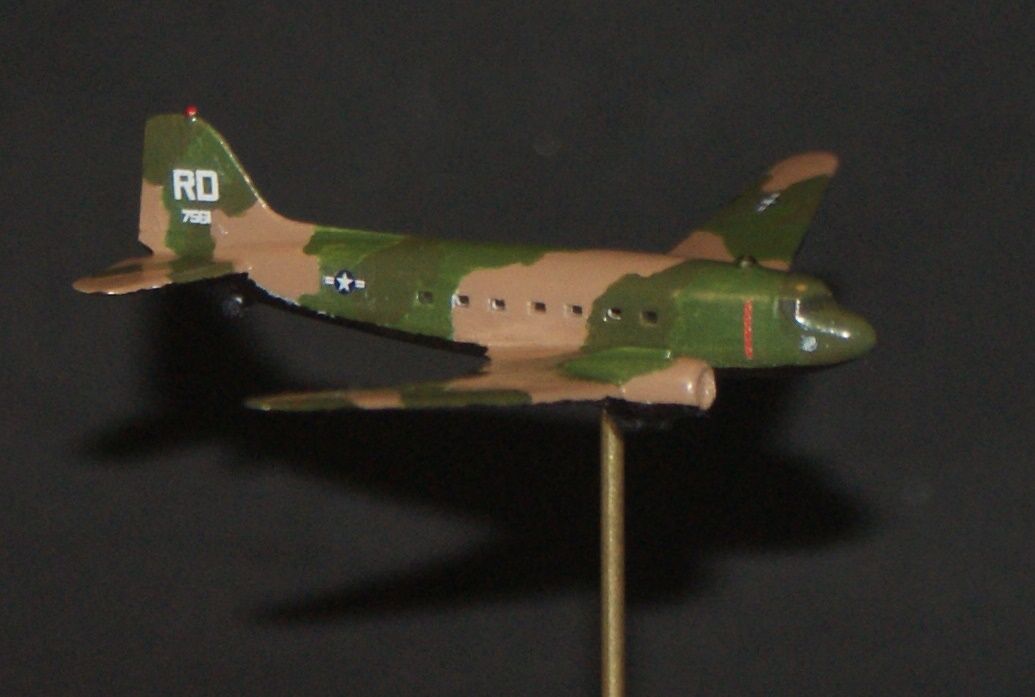
The top of the AC-47 is now completely painted with Model Master’s paint matching the FS numbers of the tan, light green and dark green. I think it looks better. Thanks Pawel. I probably would have left it as it was if you hadn’t point it out. I also gave the windshield, windows and the half dome on top the pencil treatment, and added a spot of red (Testor’s enamel) to the tail light.
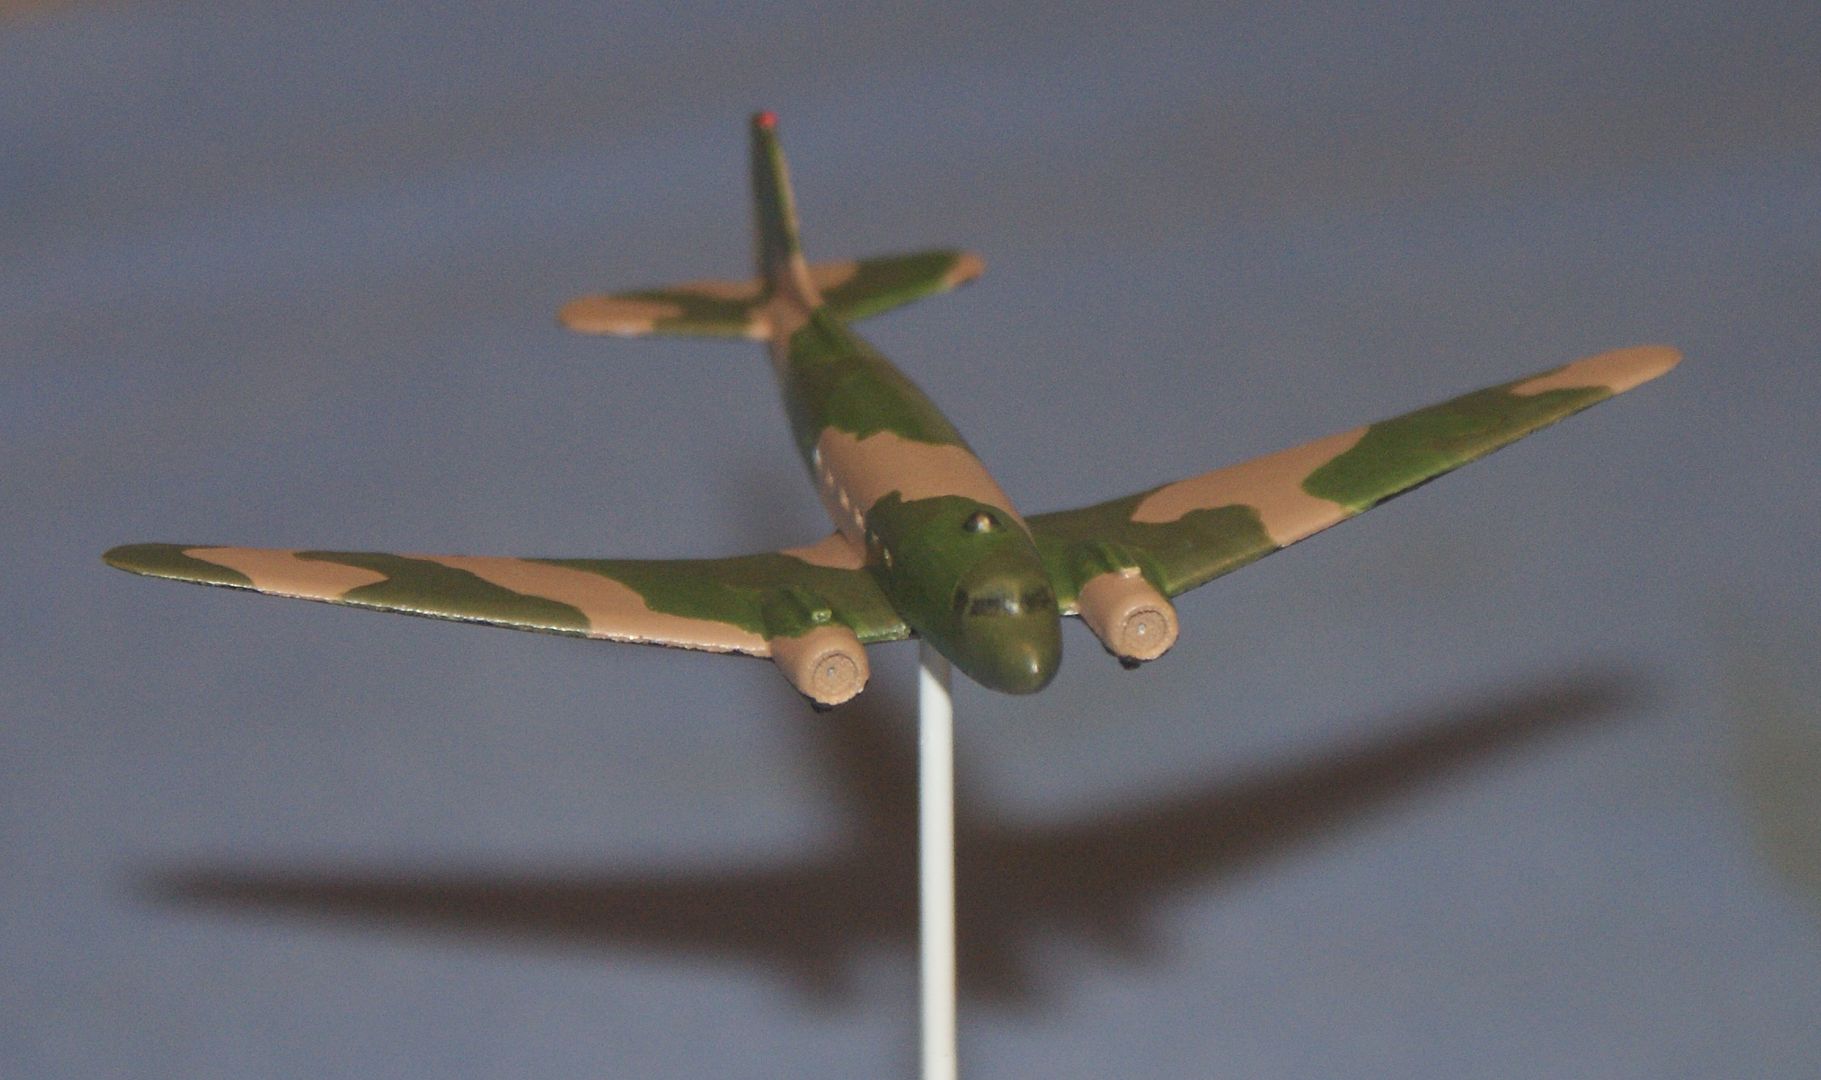
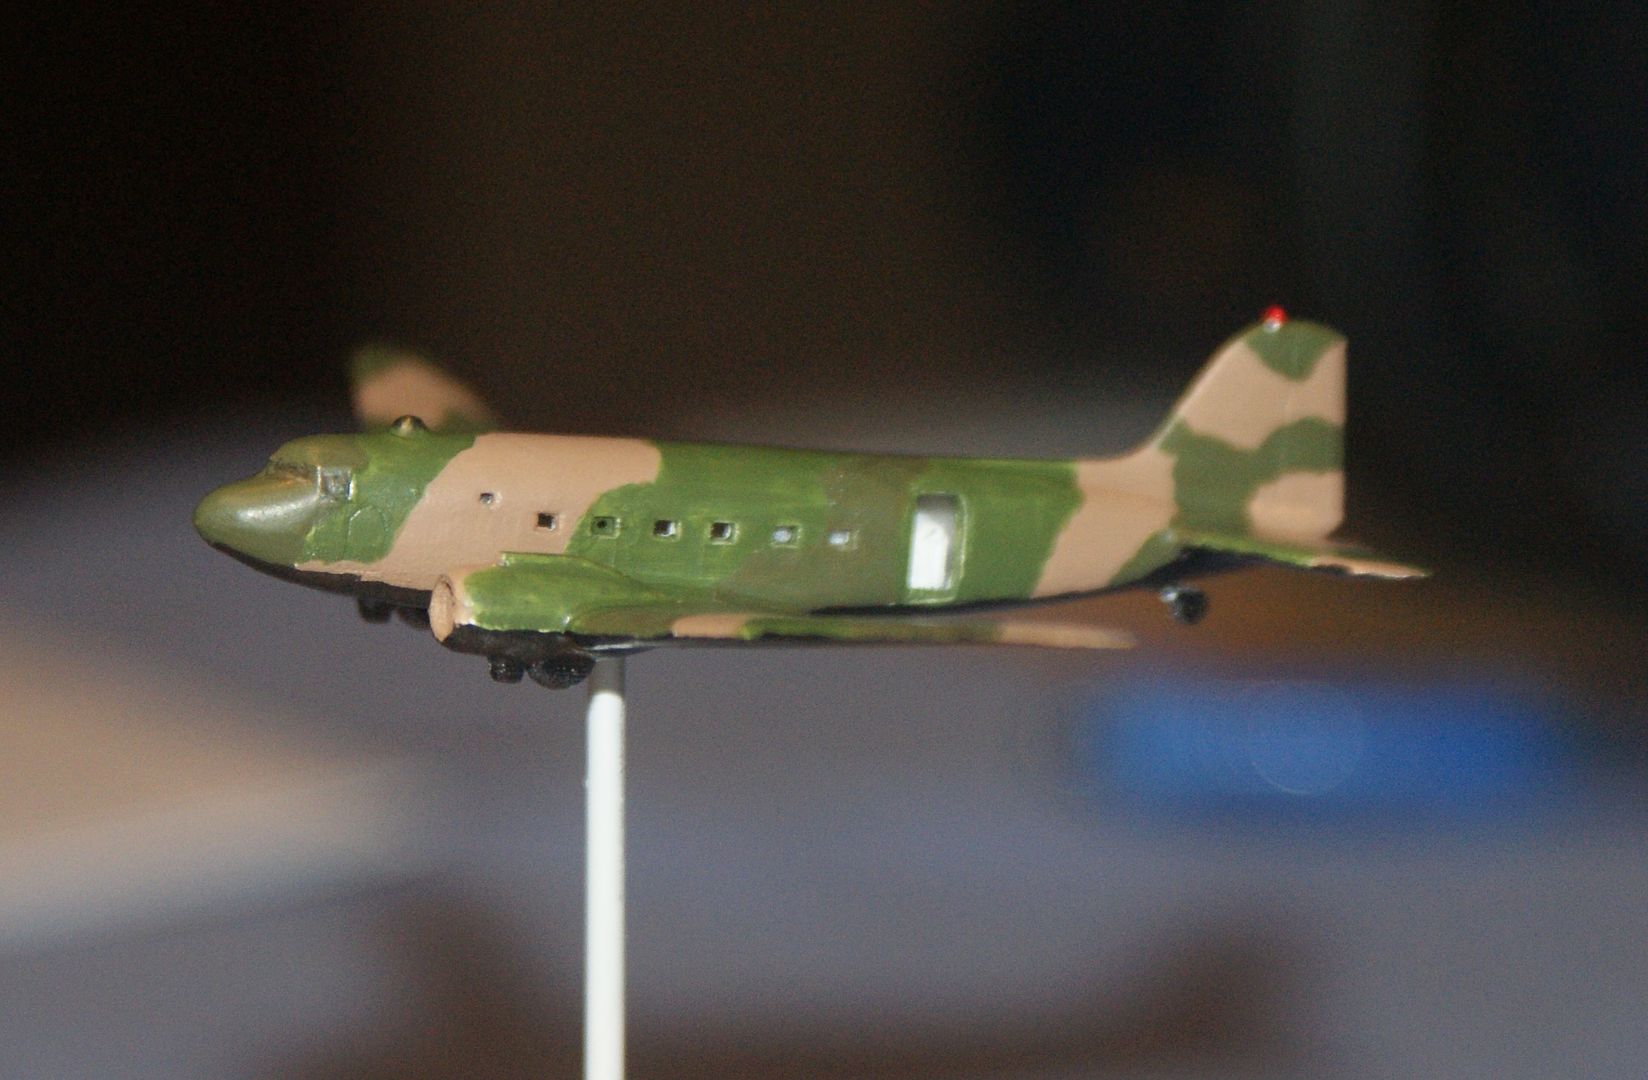
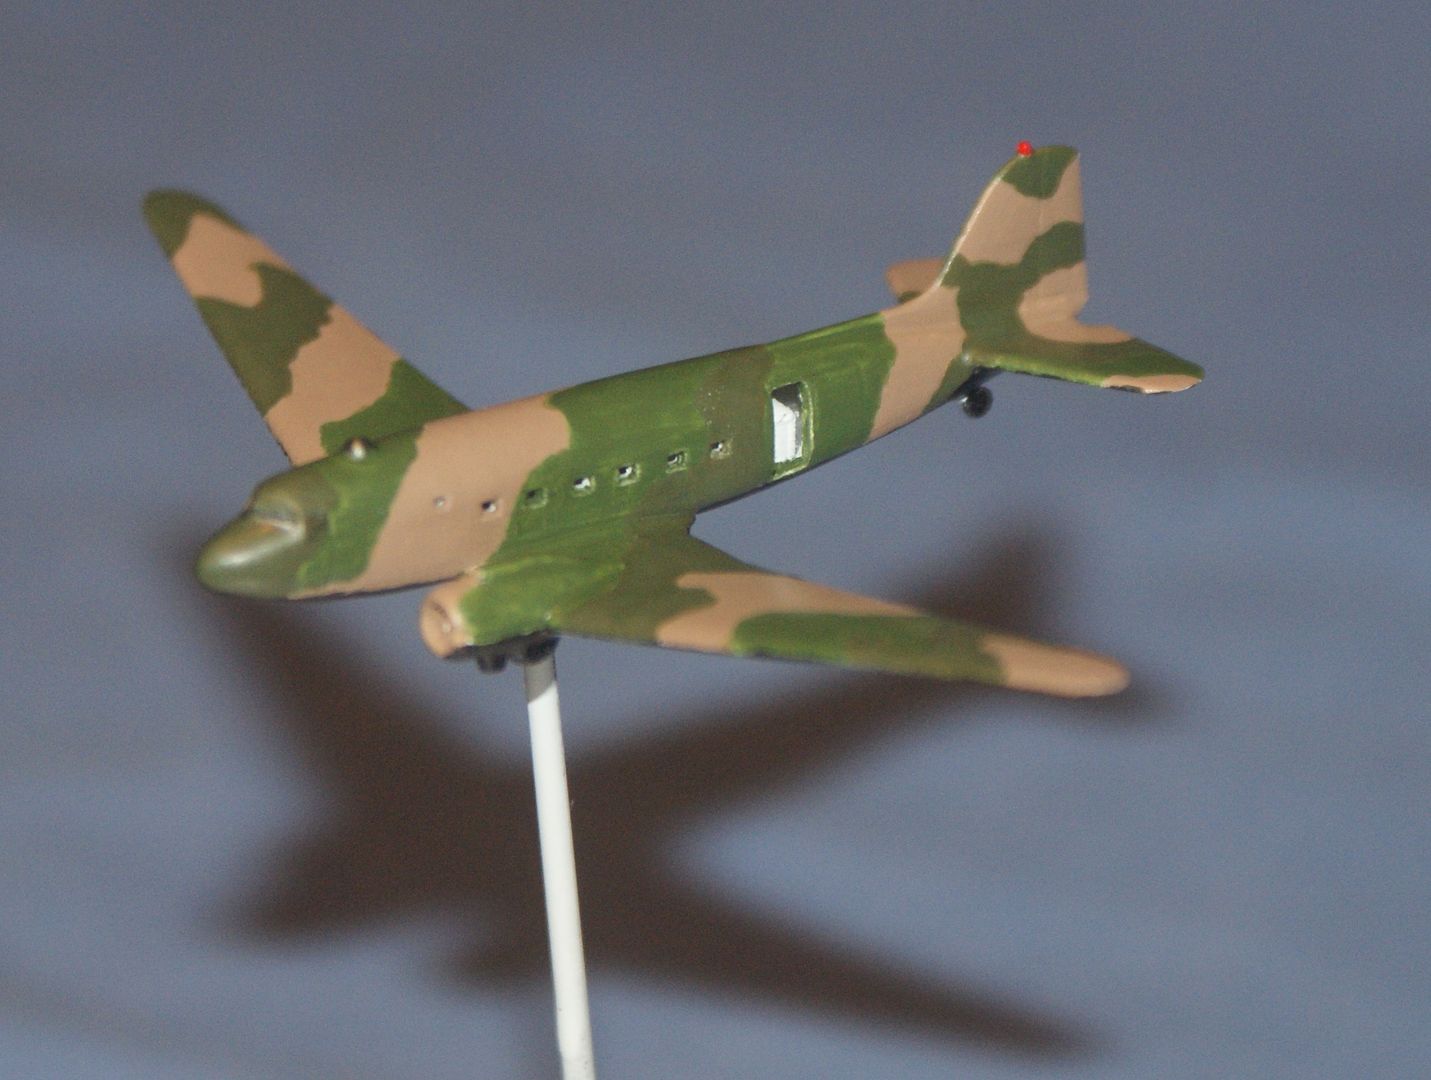
I say that the painting is completed, but it may not be. Even though pictures I have of the mini-guns show them to be white, I’m thinking of painting mine a light gray to dull it down a little.
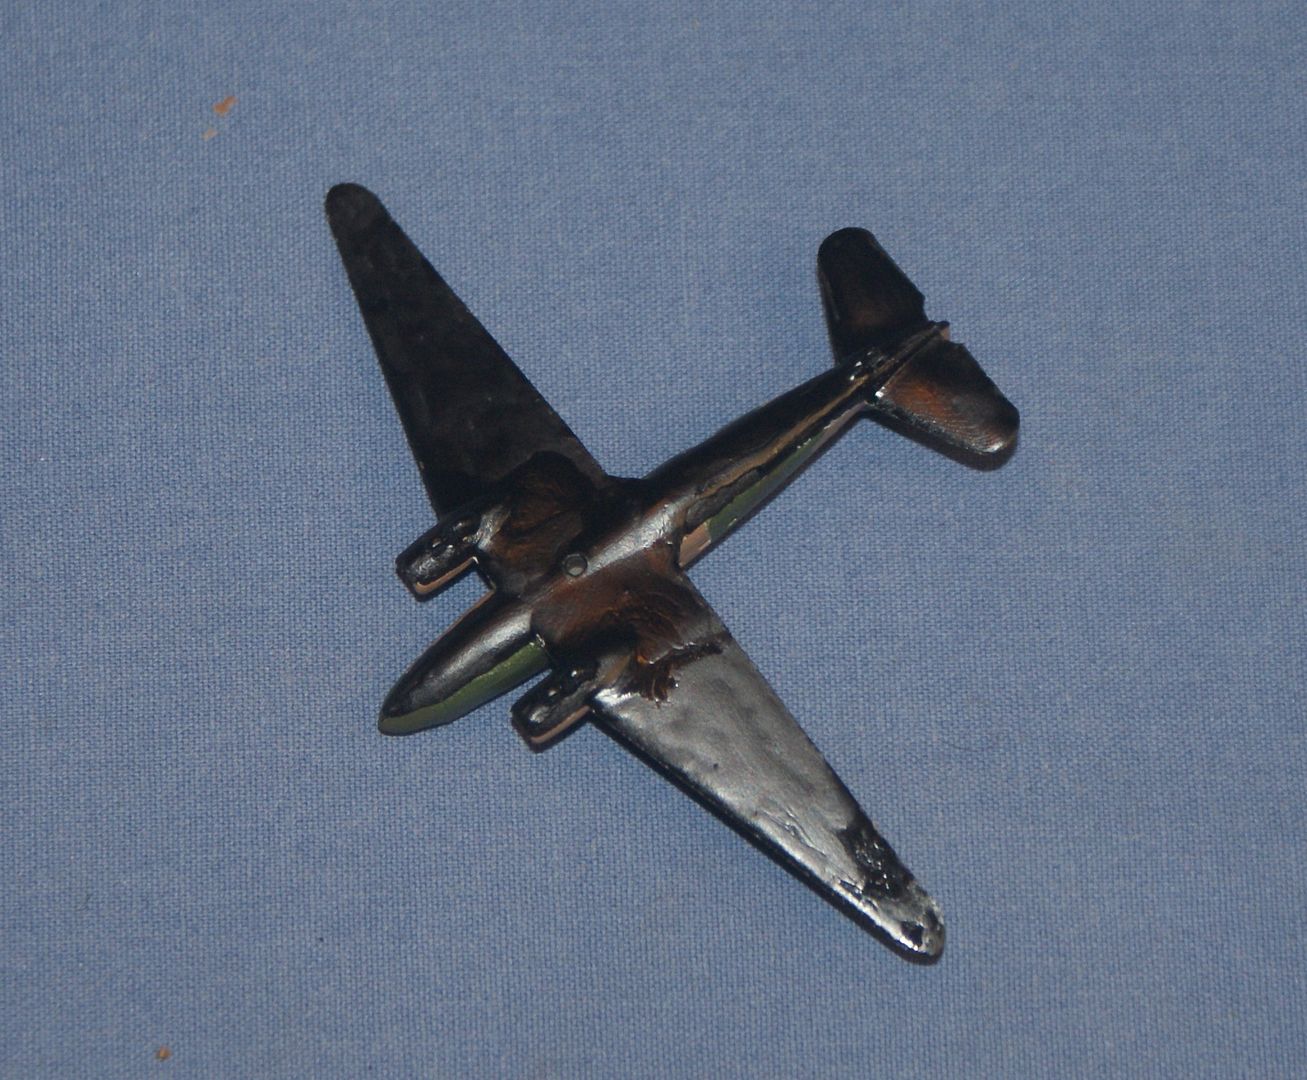
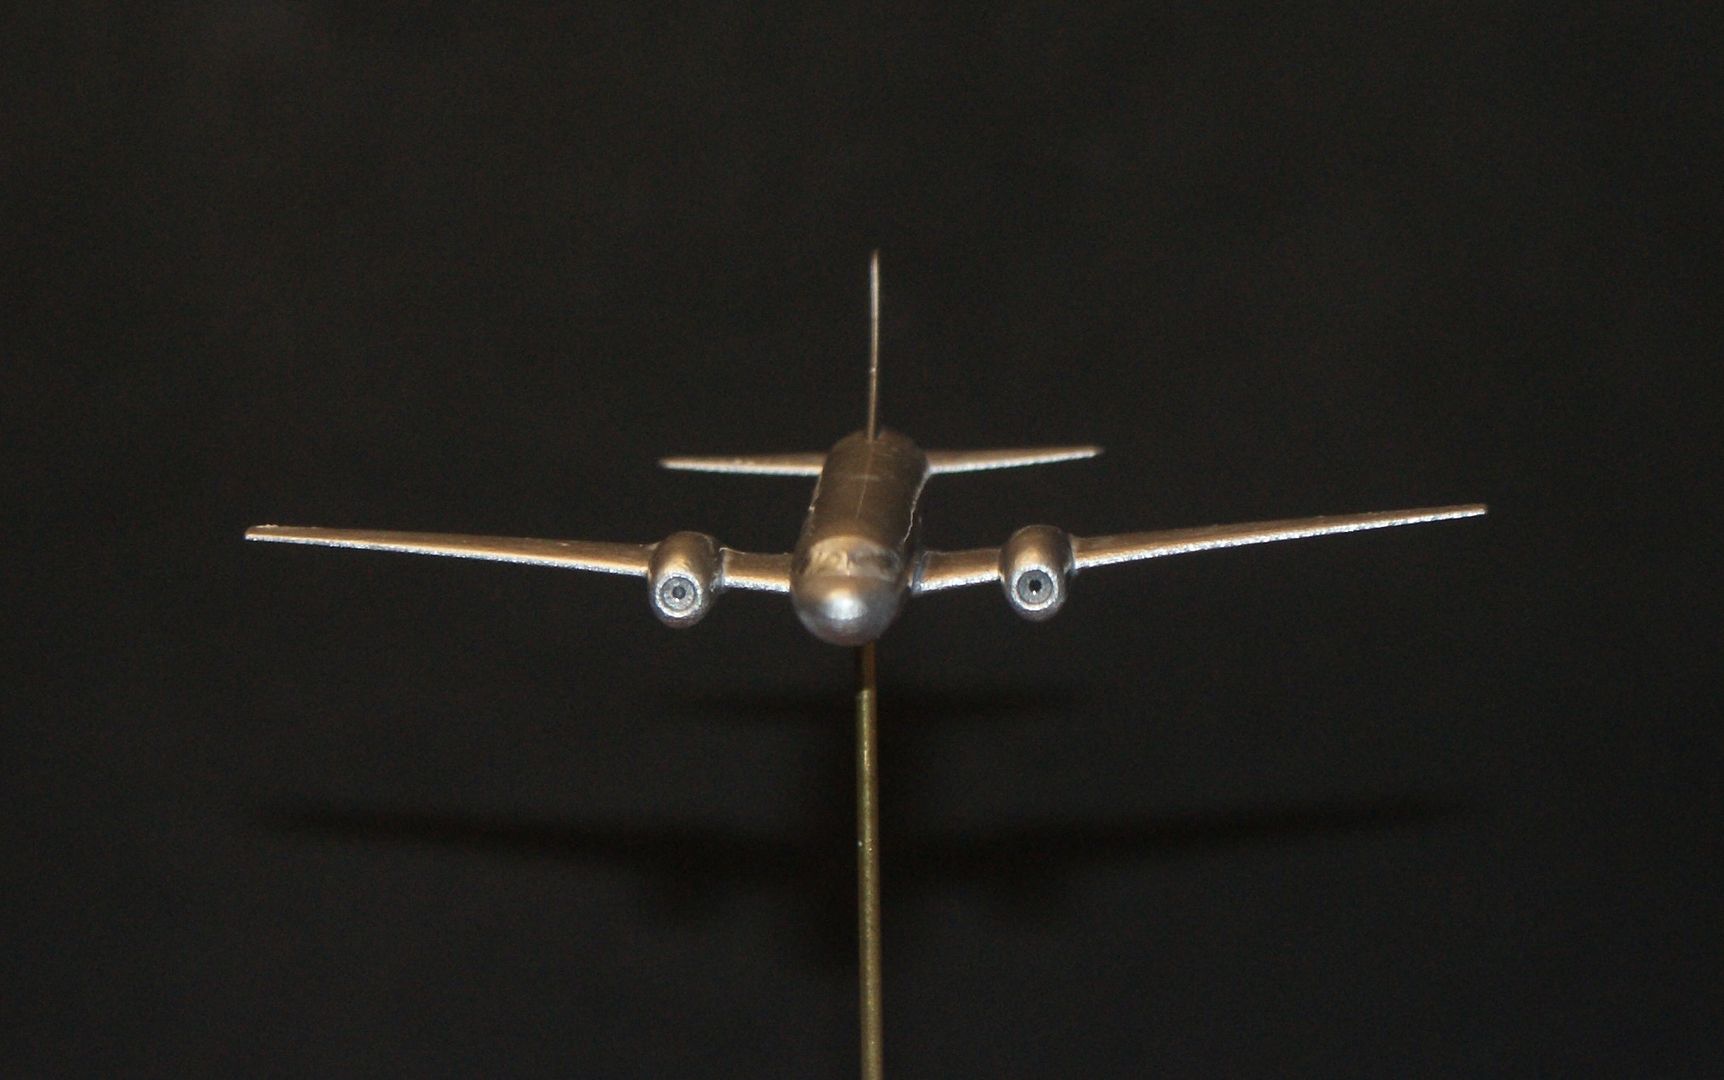
The bottom of the AC-47 was painted with some old Model Master’s Enamel Flat Black. It was more a thick syrup than paint, and I thought about adding some mineral spirits to it, but didn’t know how it would react with the Model Master’s enamel. Since it was going to be on the bottom, and would rarely, if ever, be seen, I decided to use the paint as it was. It worked OK for the bottom although I would not be happy with it if it was going to be visible in the display. The reddish tint in the image below is a photographic light effect. It is black as black in person, even under a magnifying glass. The wheels were painted with Testor’s Enamel Gloss Black, in perhaps an unnecessary effort to distinguish them from the bottom. I’m considering painting the aft landing gear and forward wheel wells with a spot of light gray when I do the mini-gun, but man they are tiny.
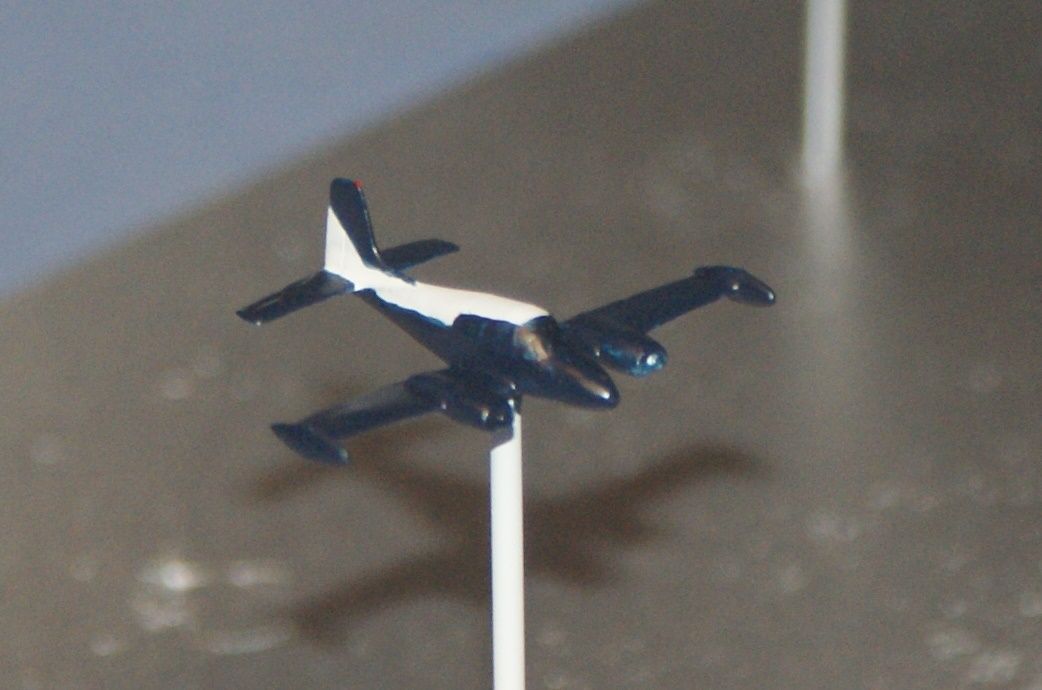
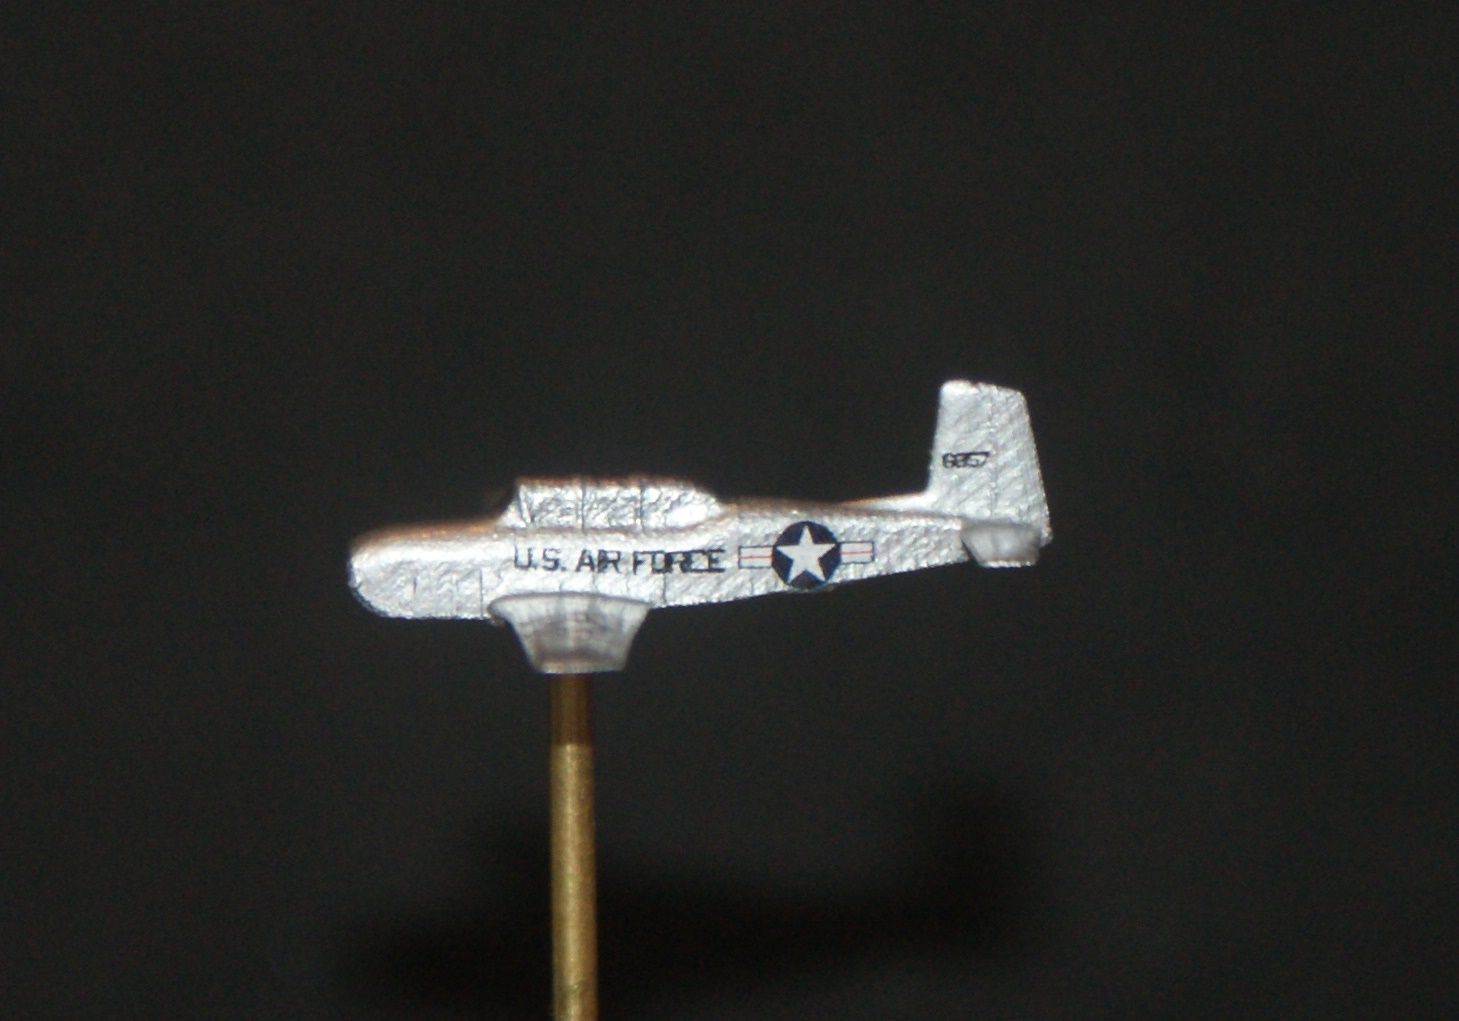
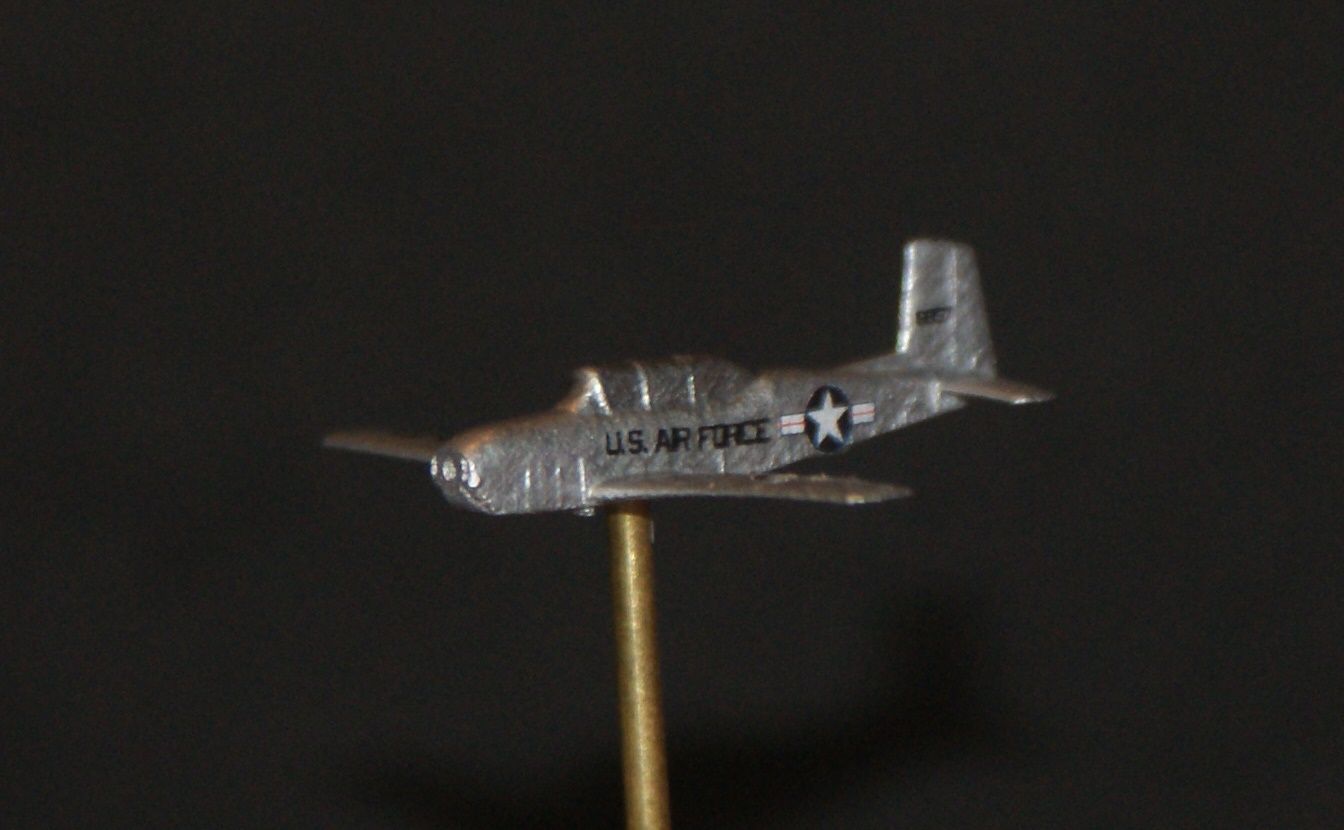
I also touched up the U-3A, used thepencil trick on the windshield and windows and added a spot of red to the tail light. The left side looks better than the right. I’m thinking I might spray some of the white primer in a saucer like Gamera recommended for the aluminum, and see if I can’t straighten out the line a little bit on the right side. Then again, I might be better off to leave well enough alone. We’ll see.
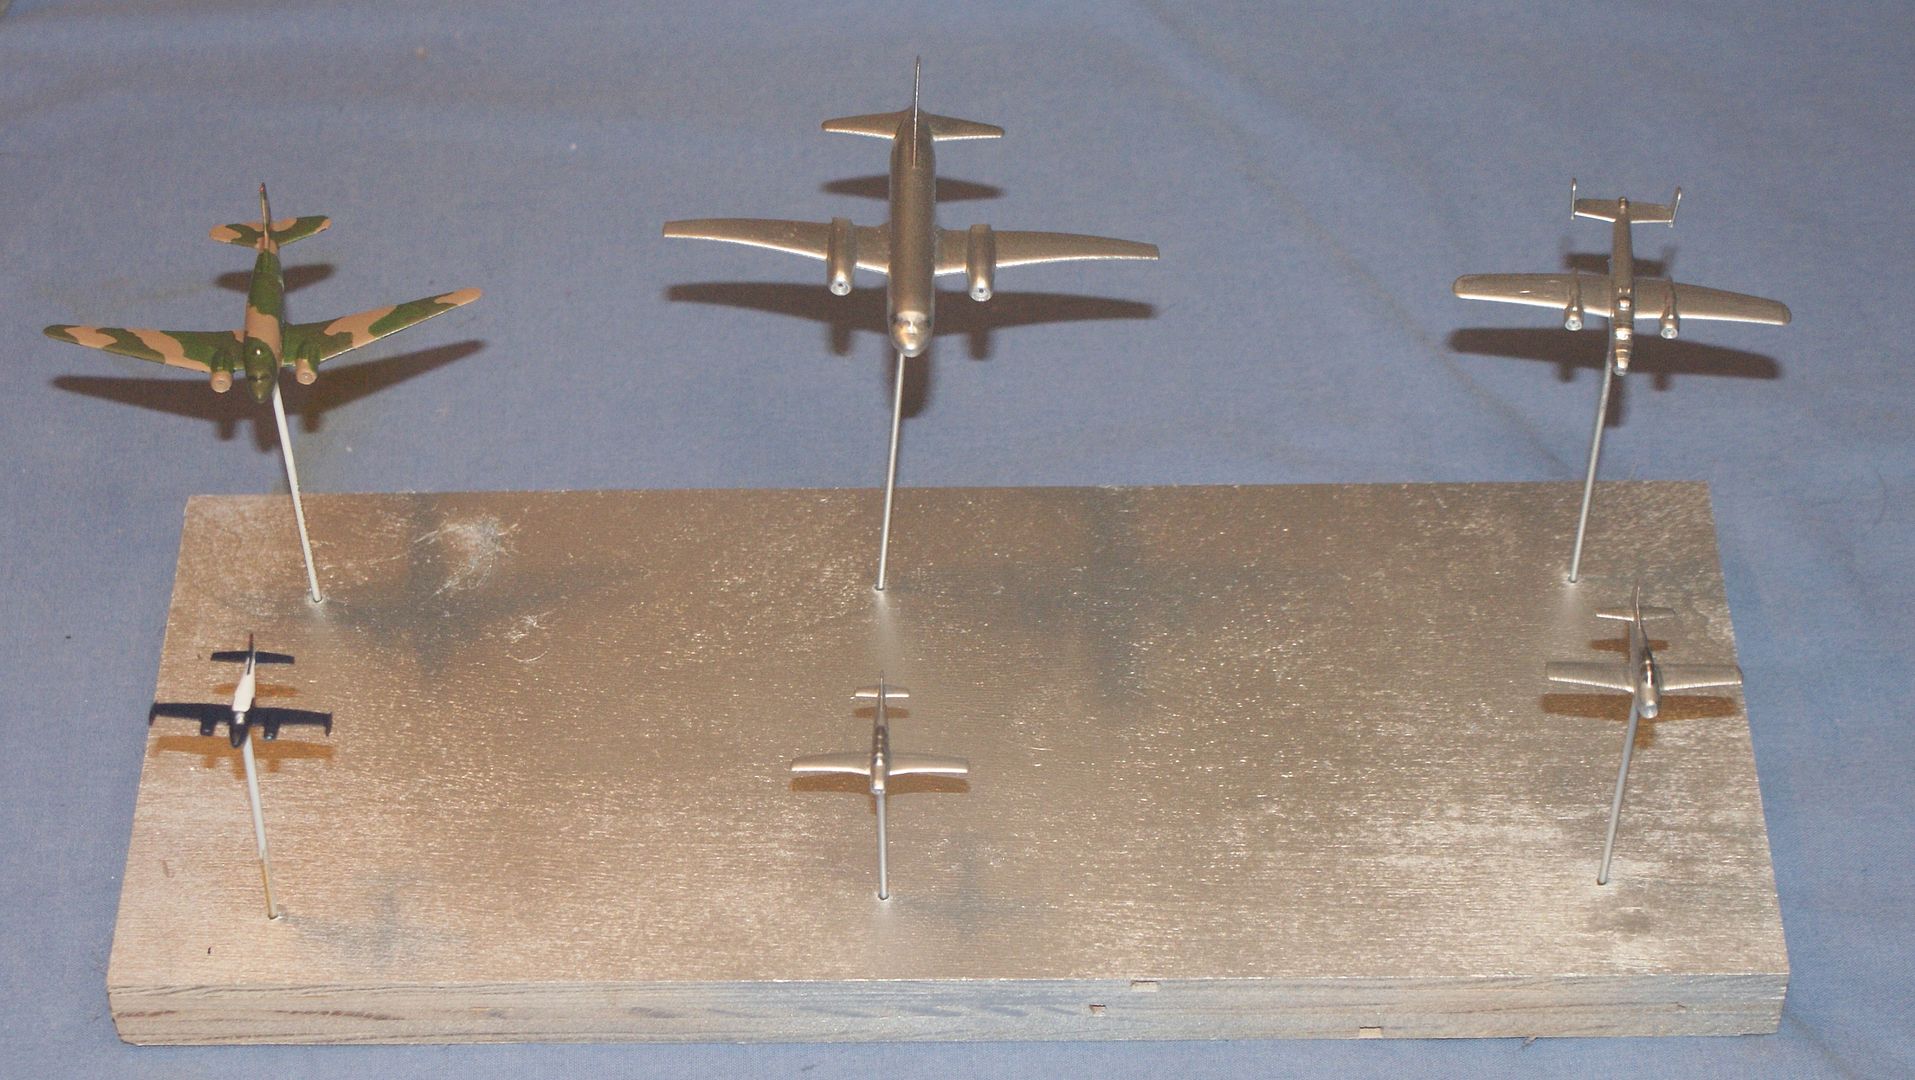
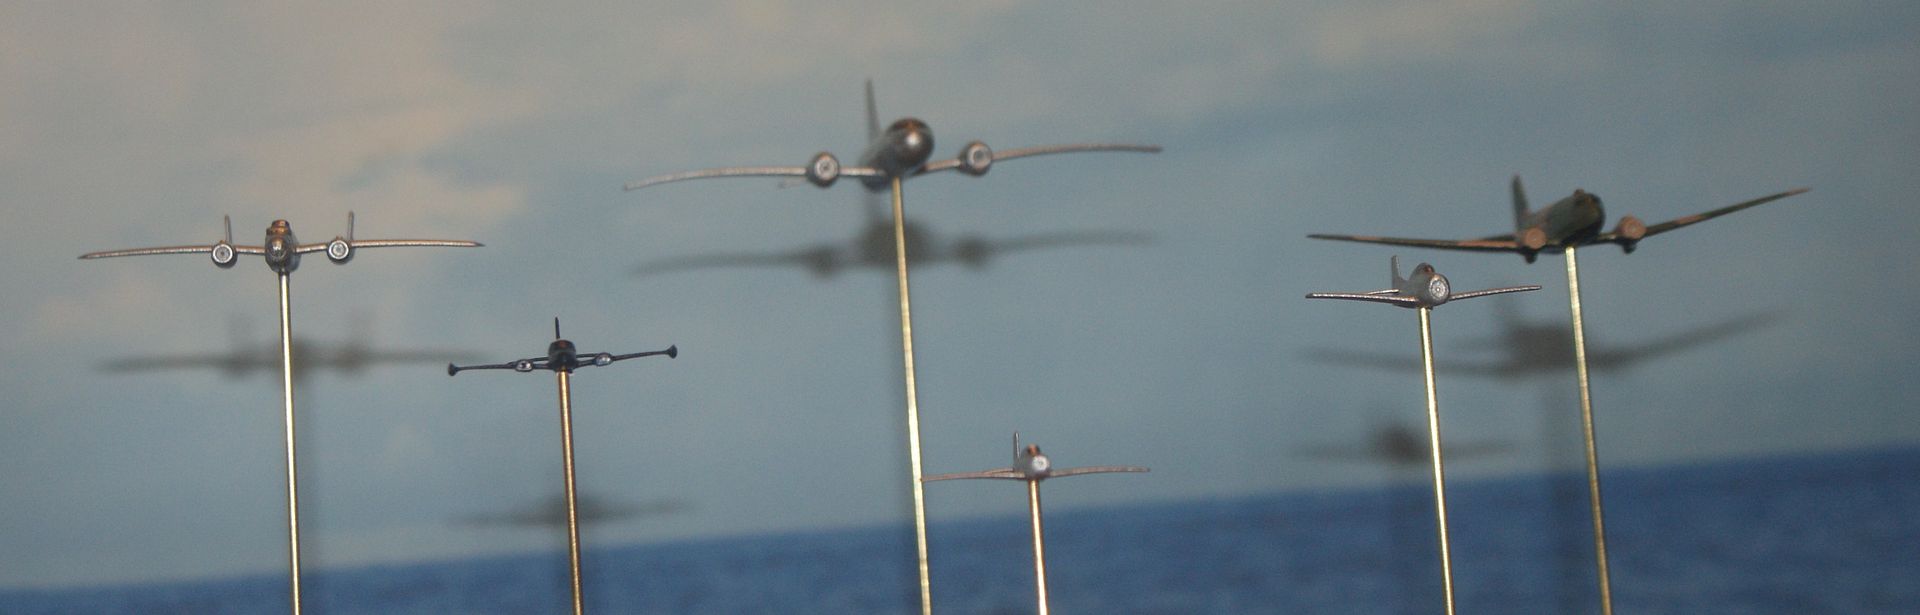
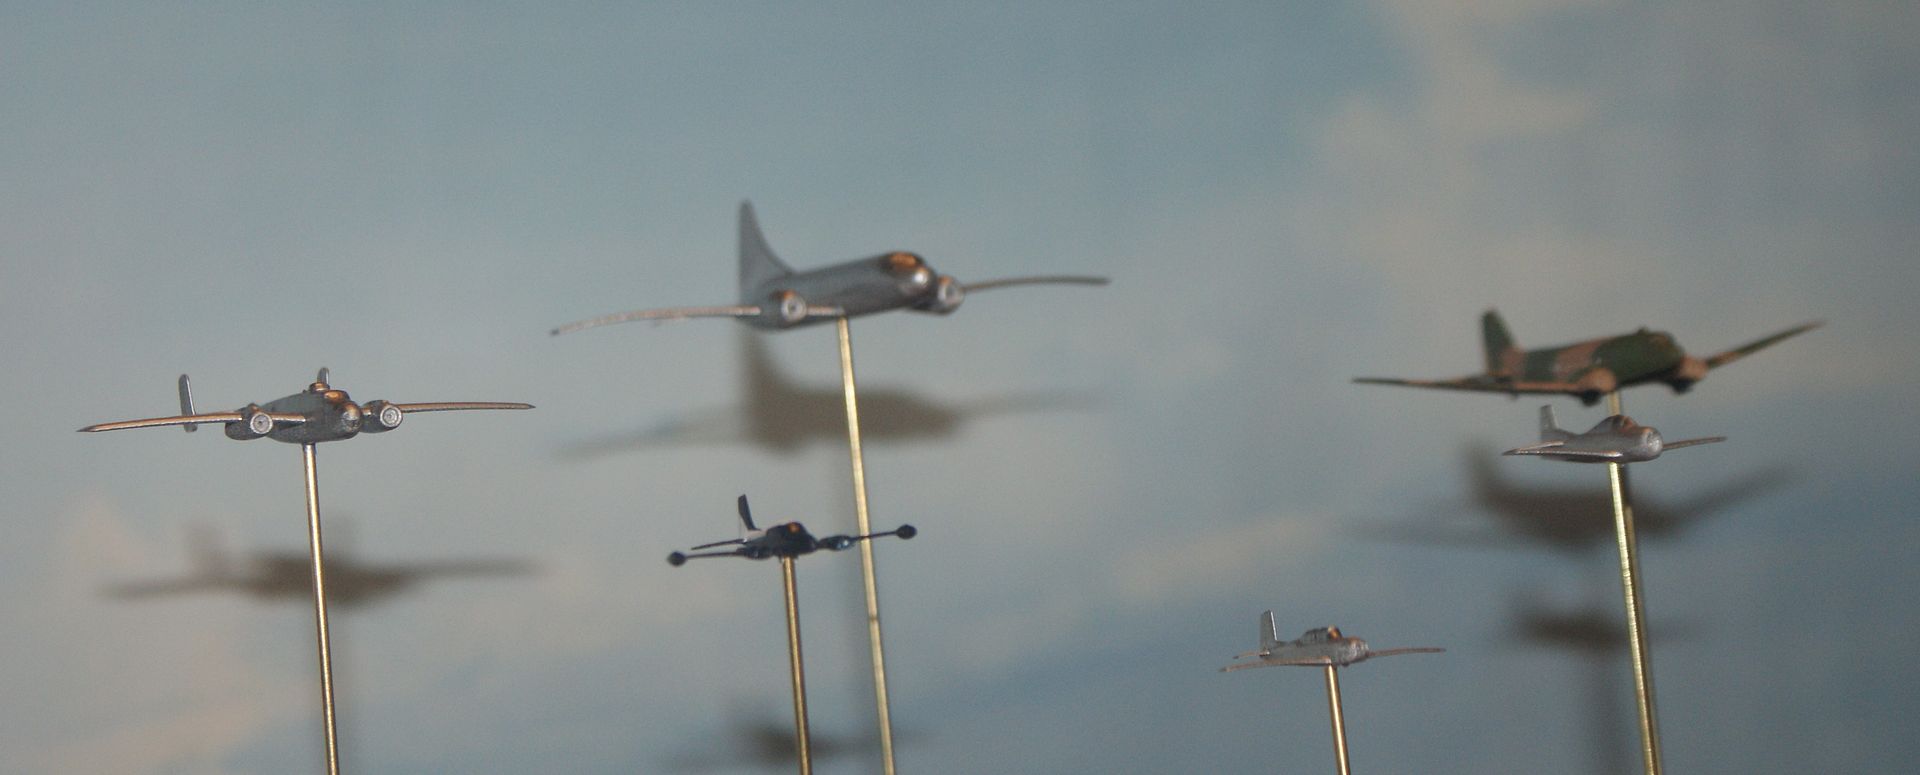
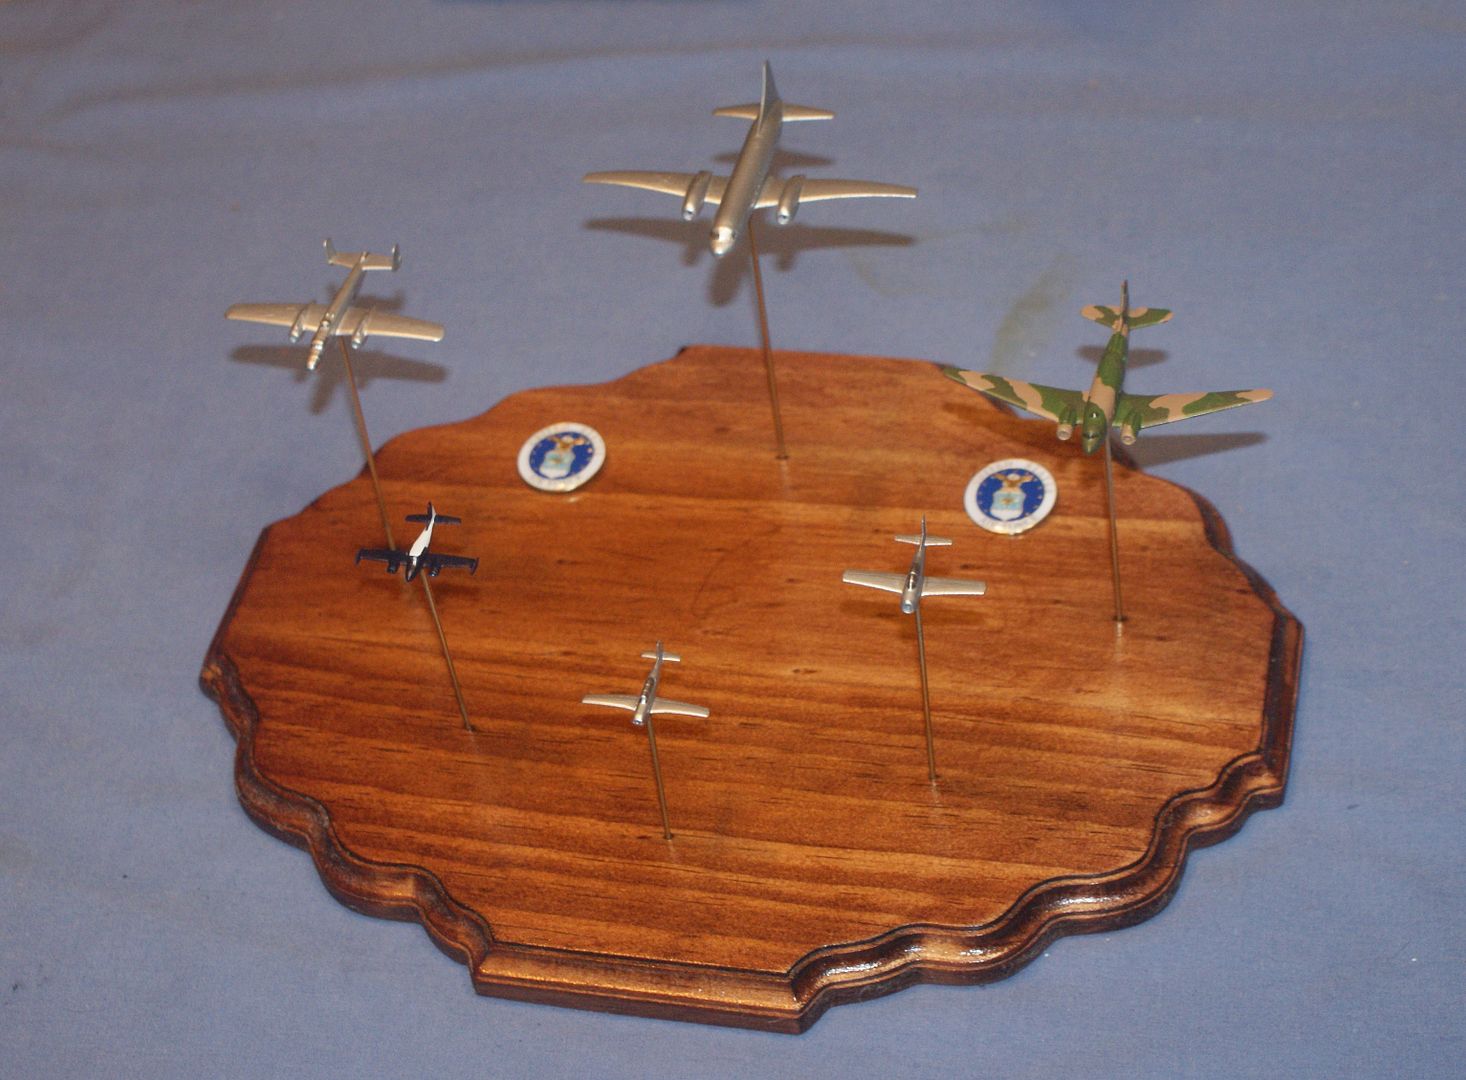
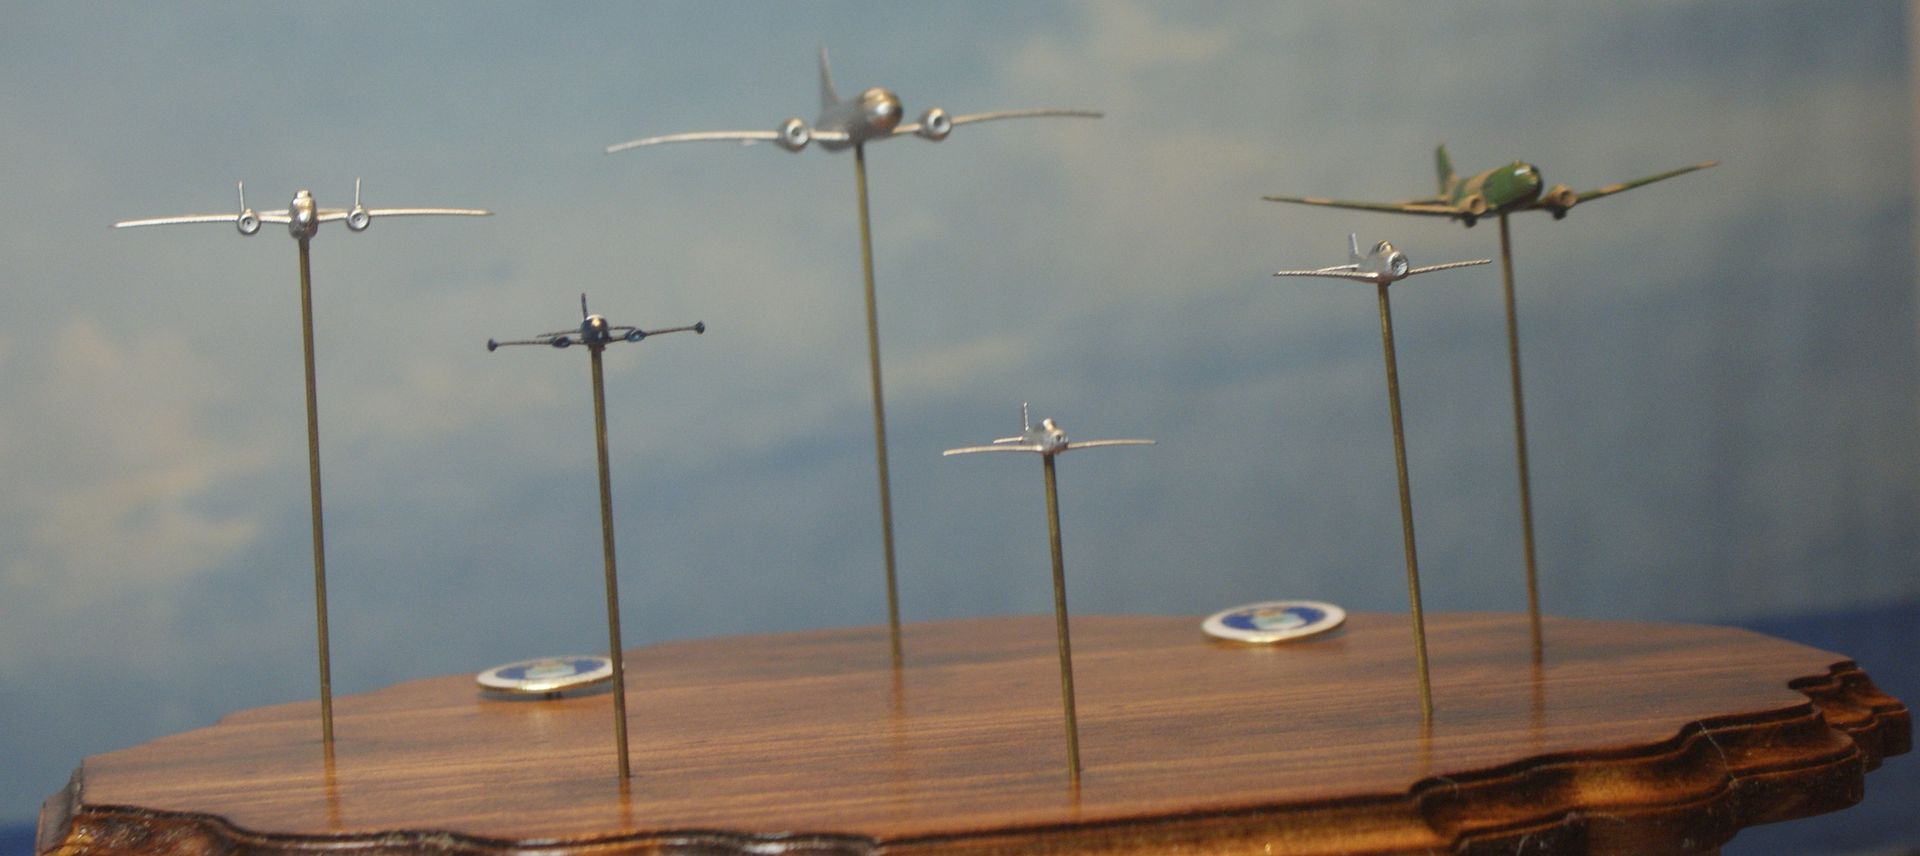
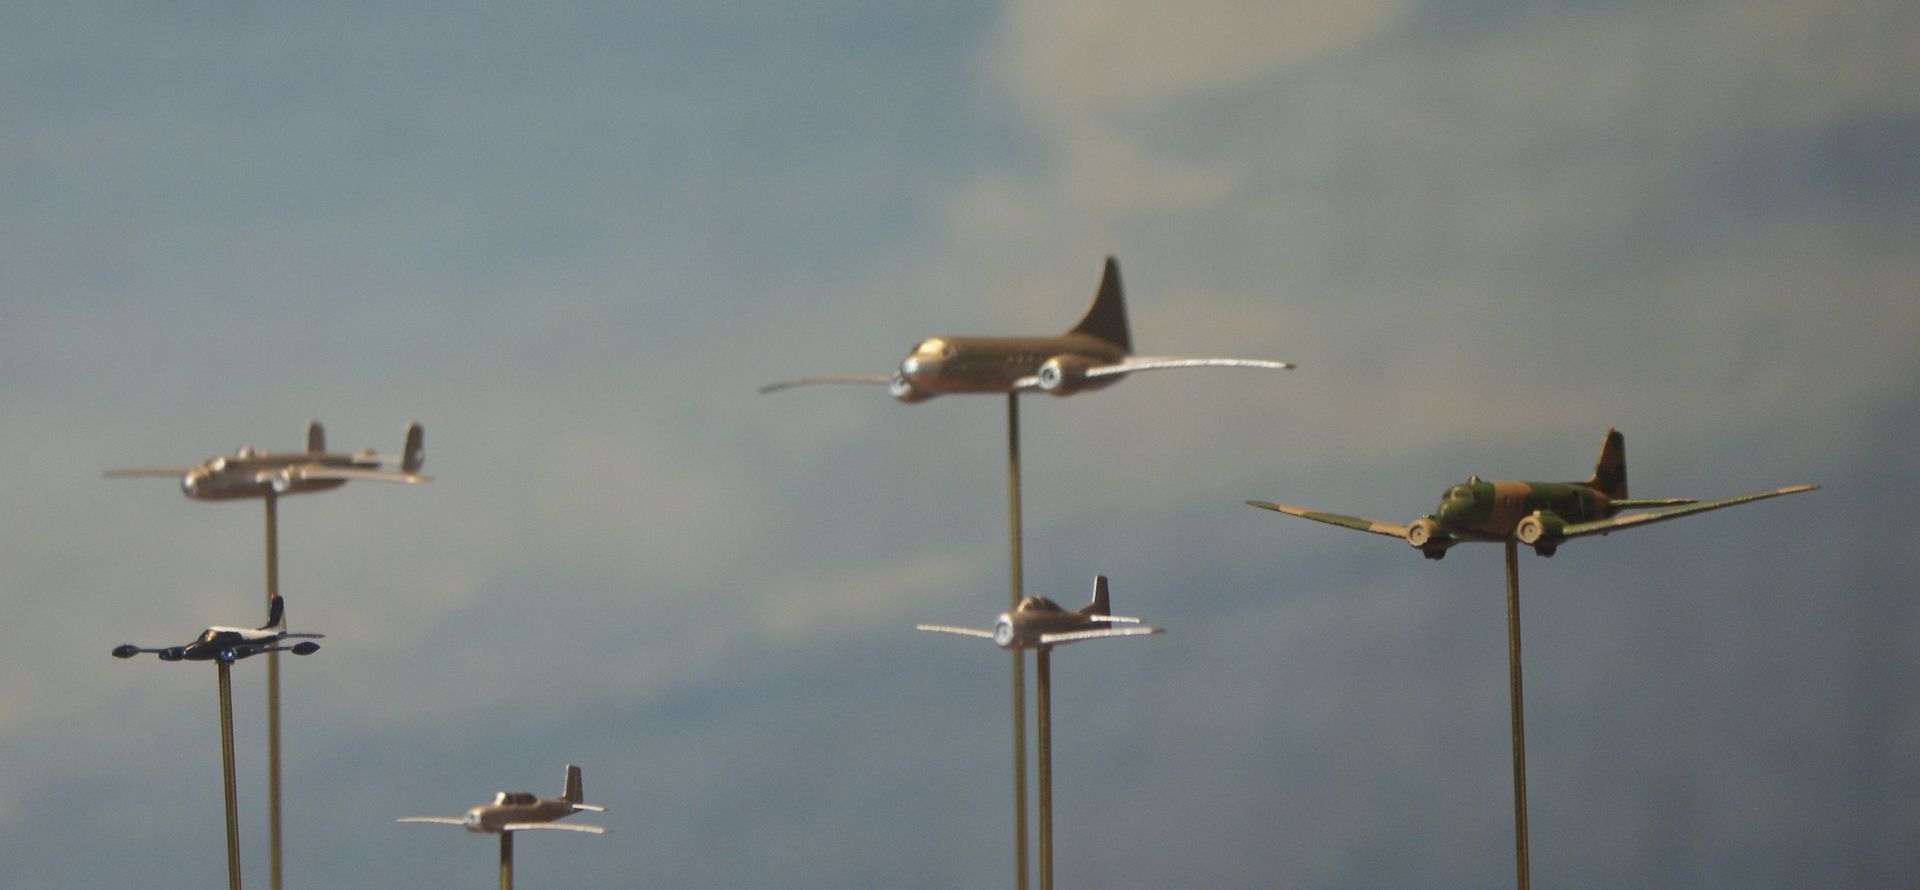
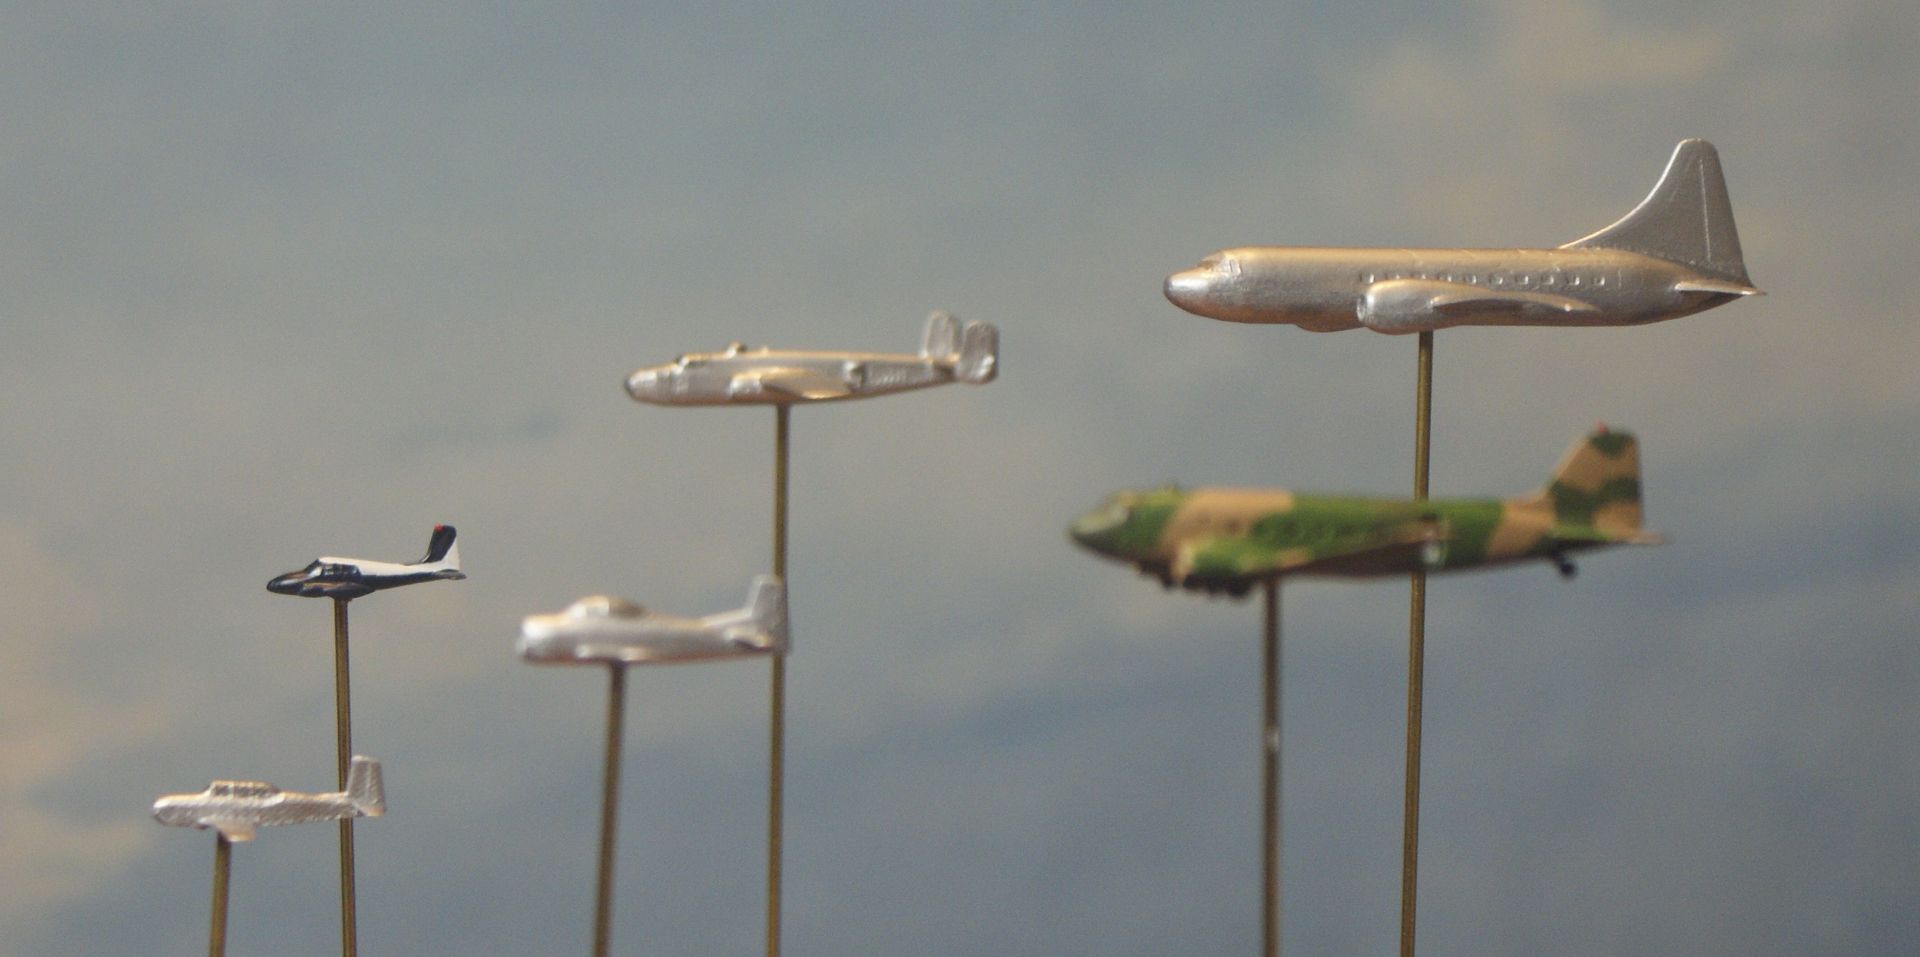
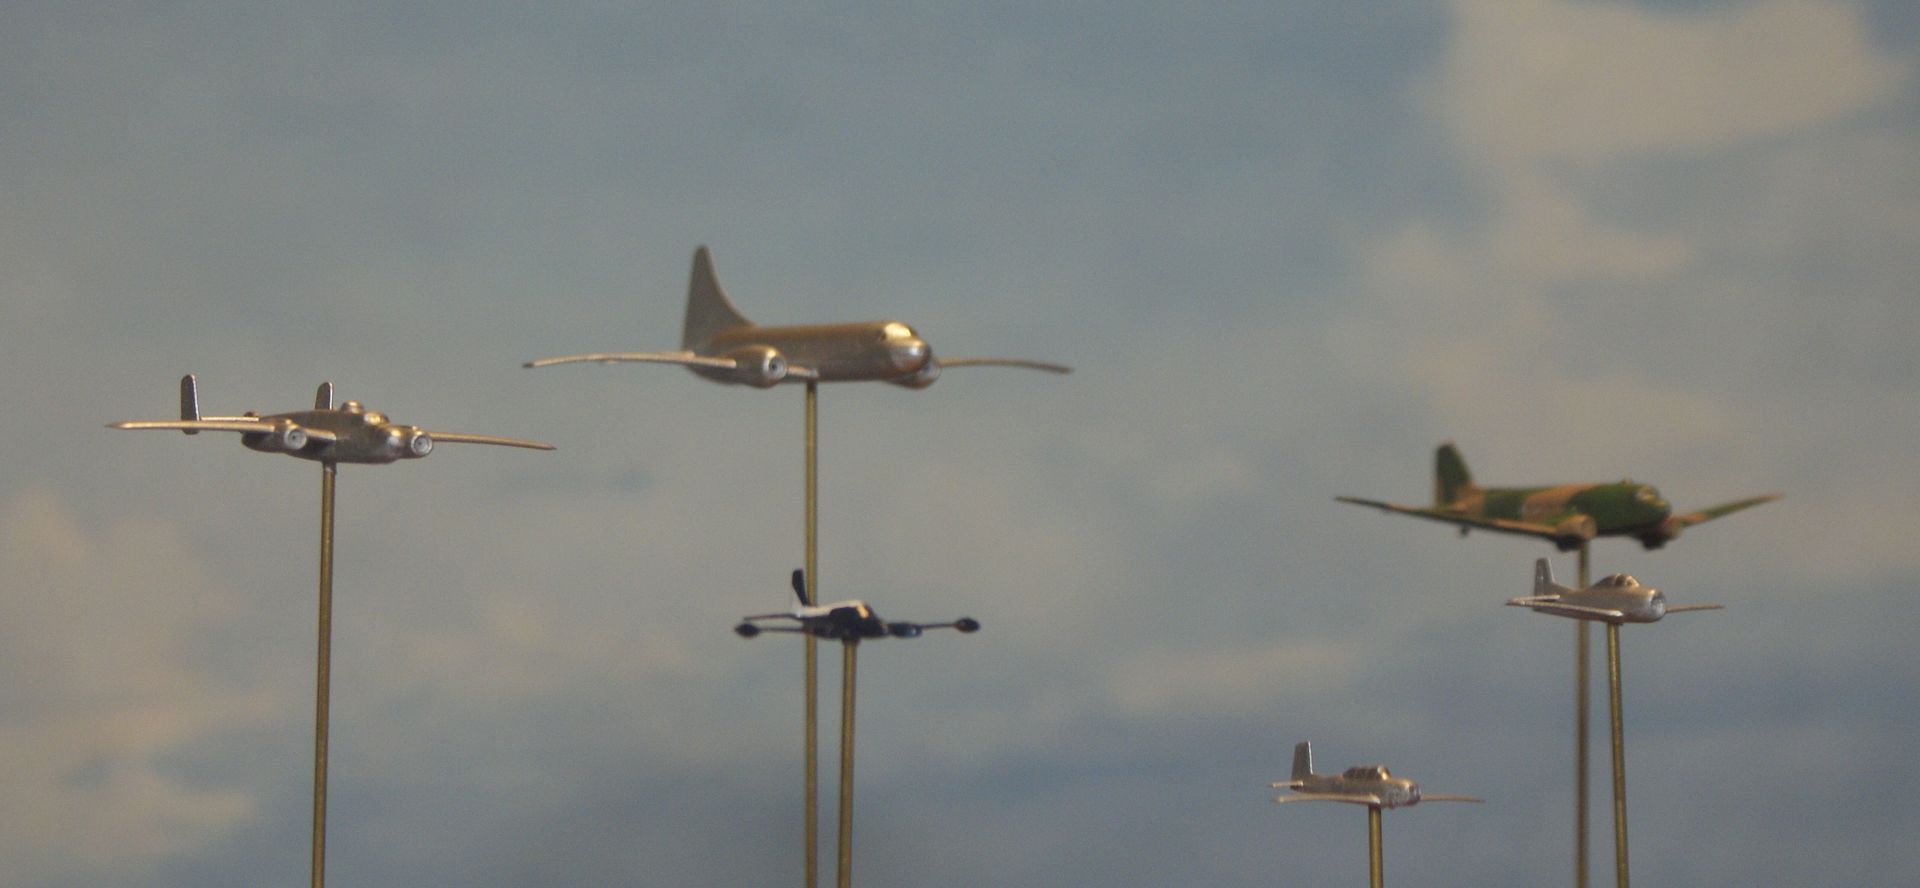
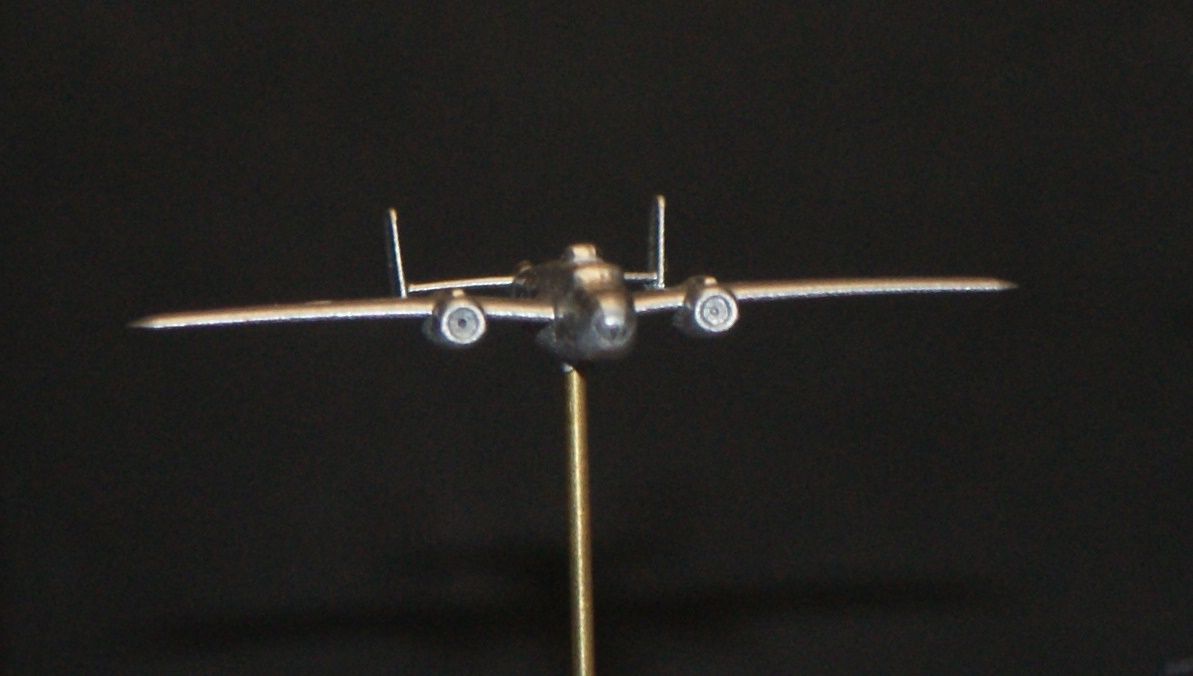
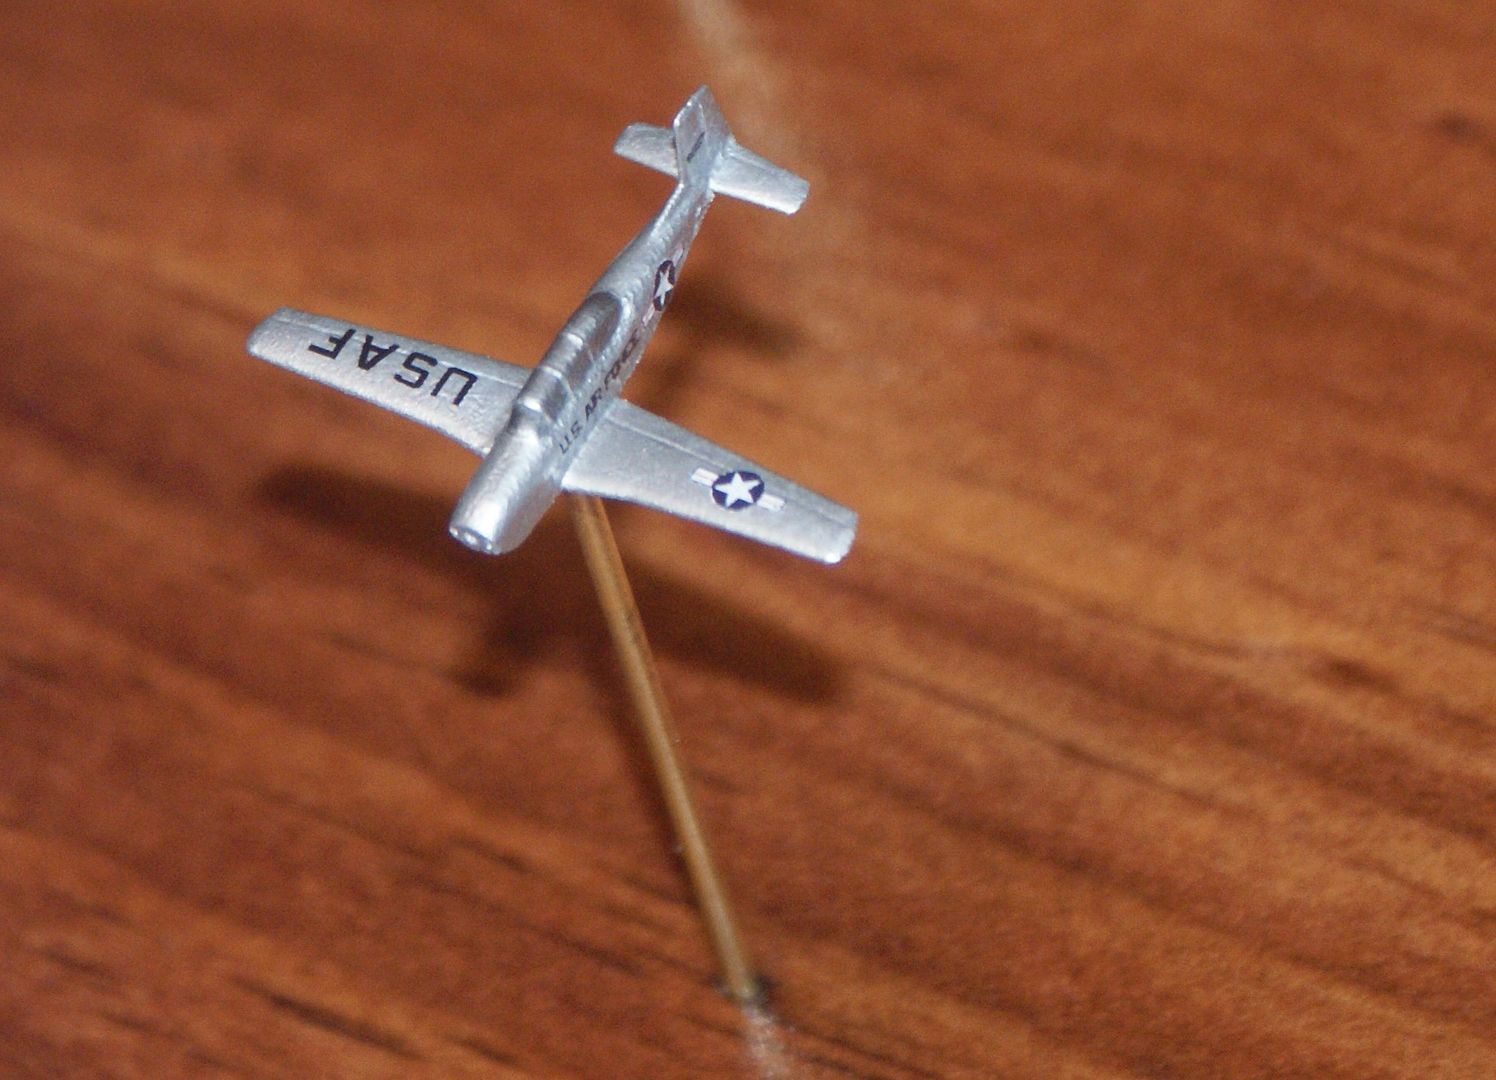
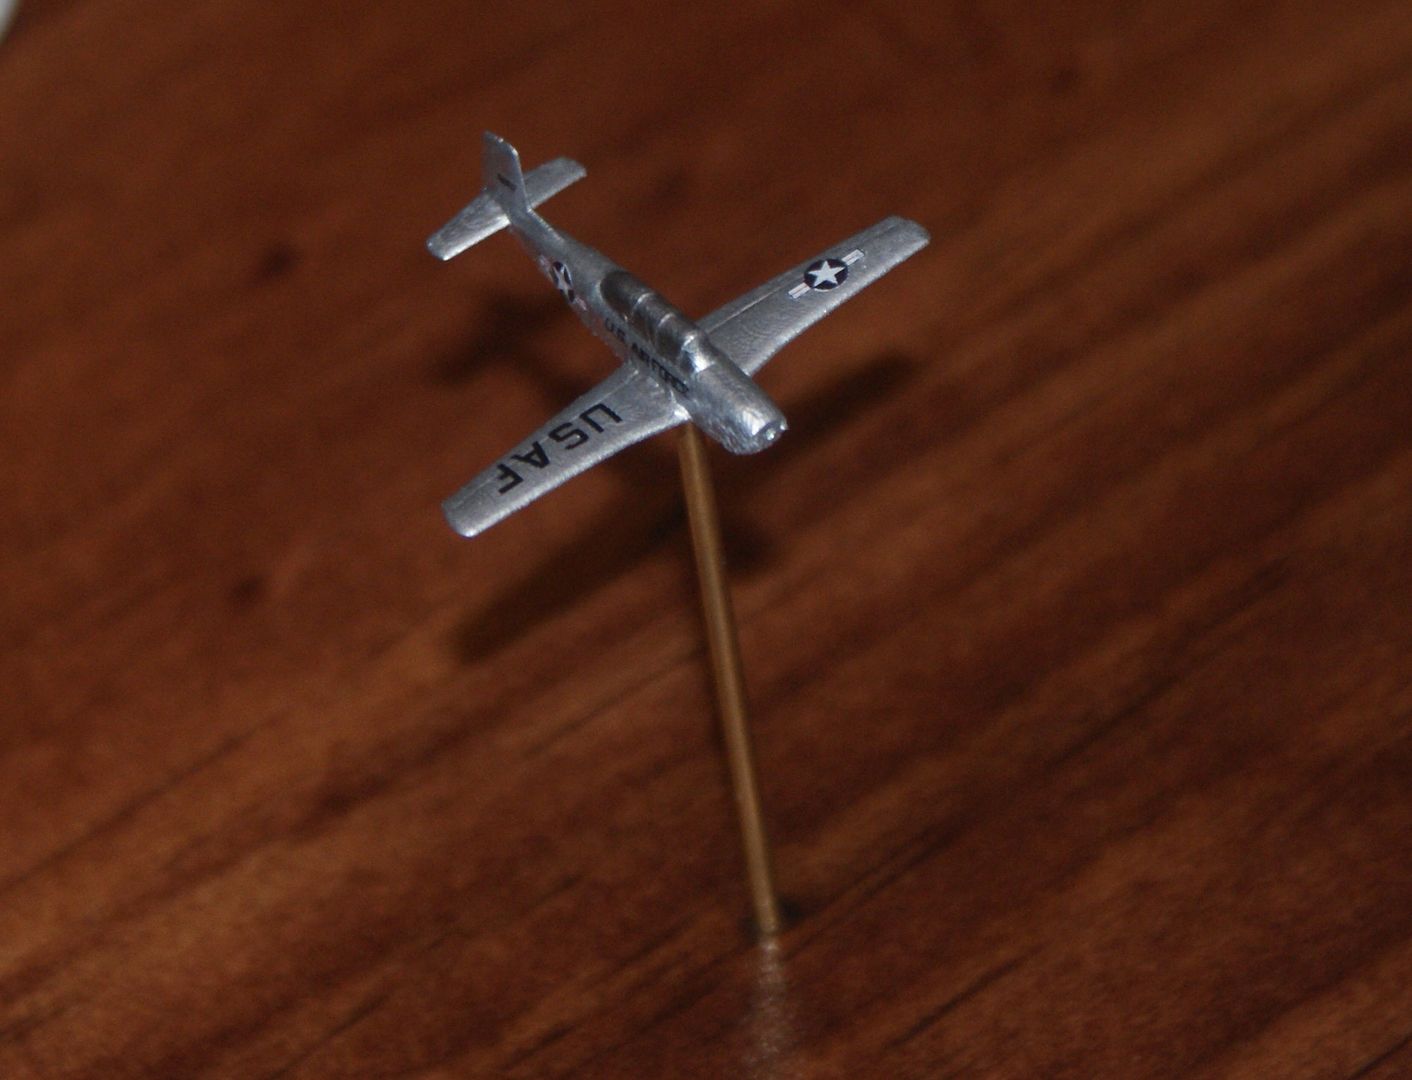
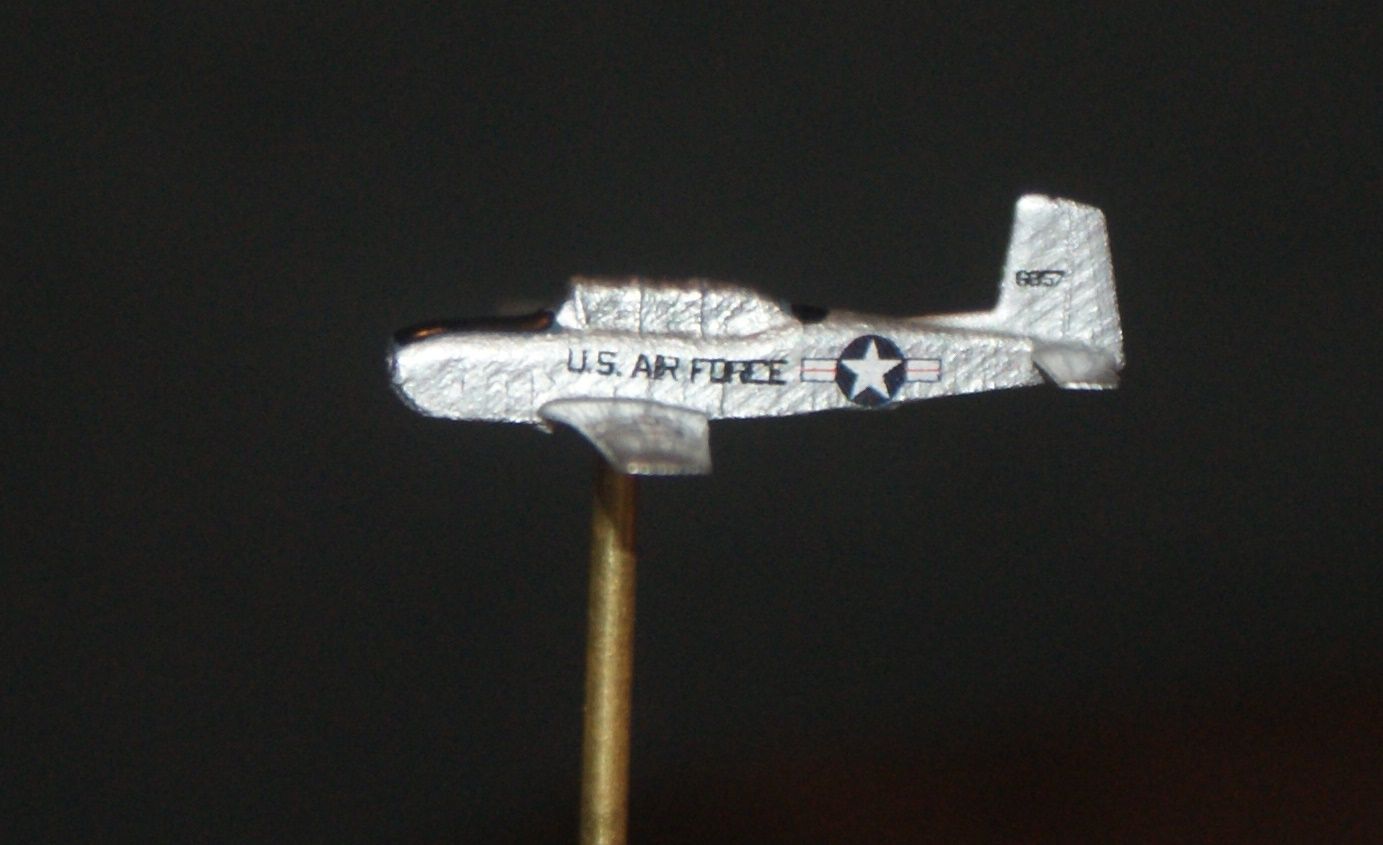
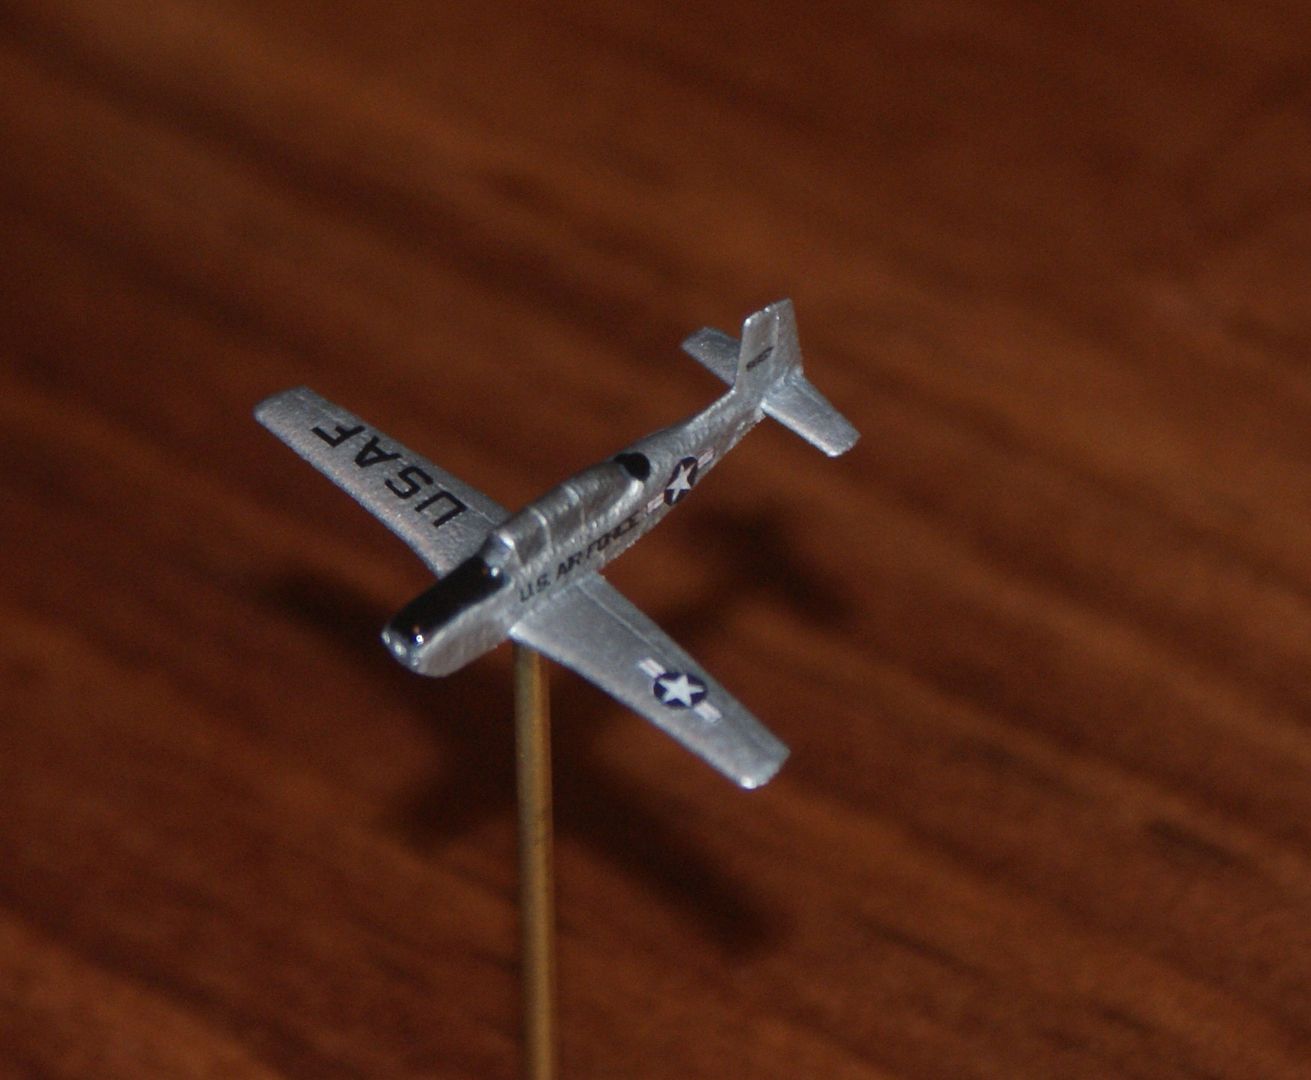
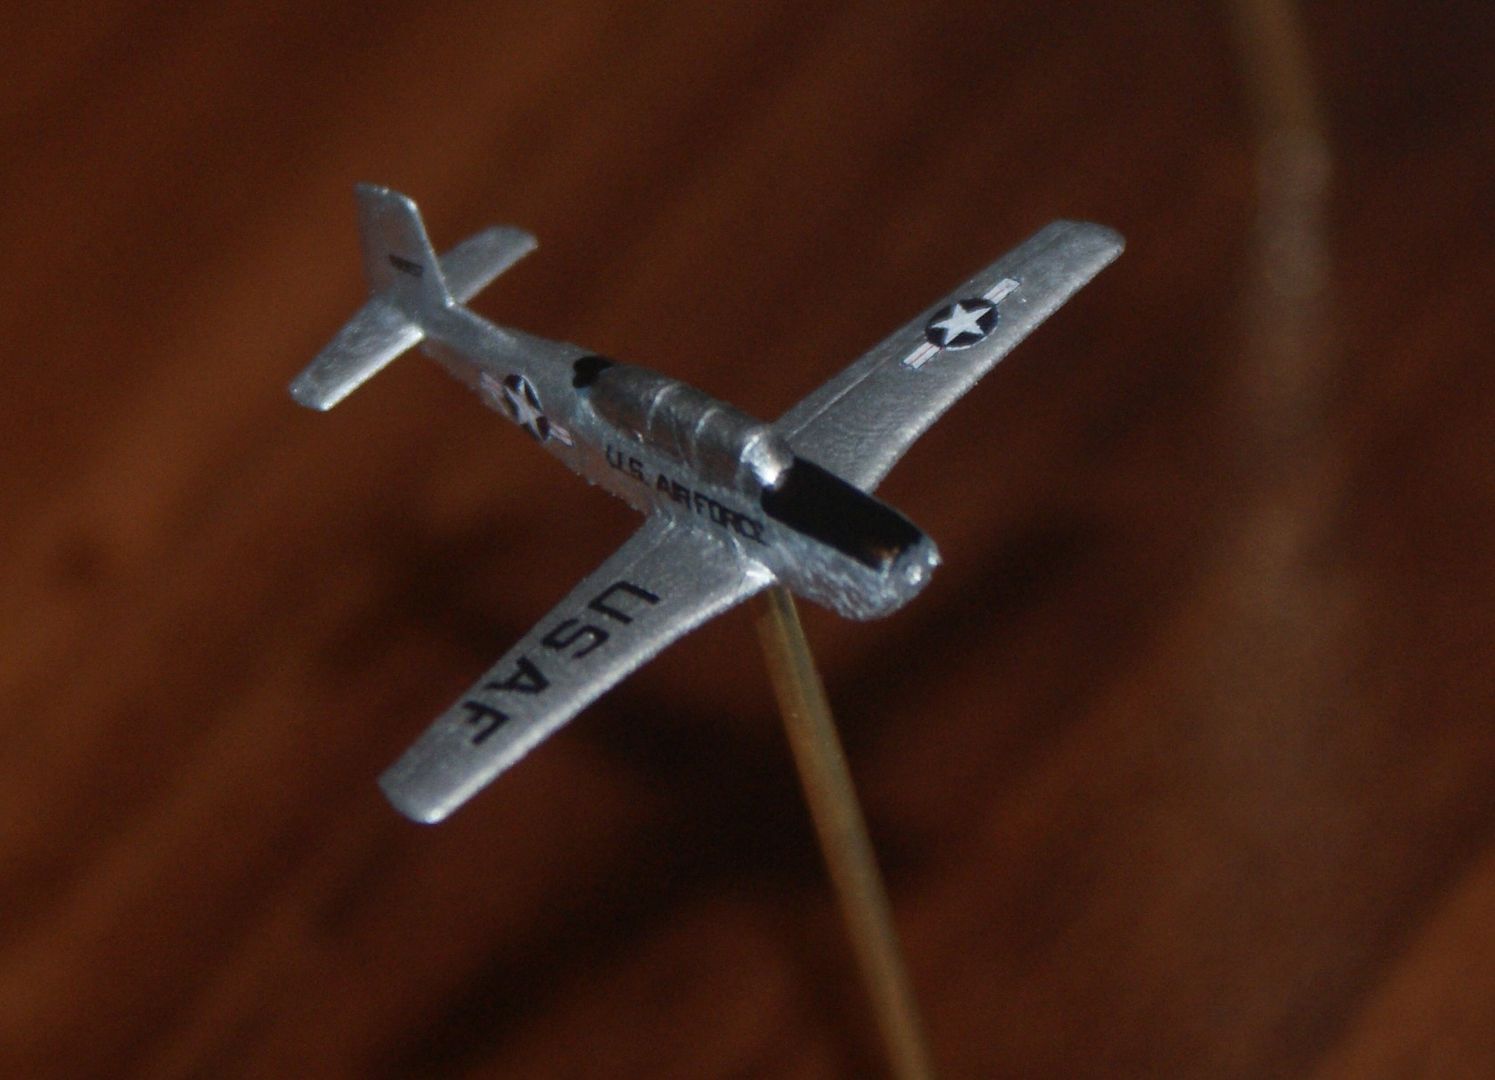
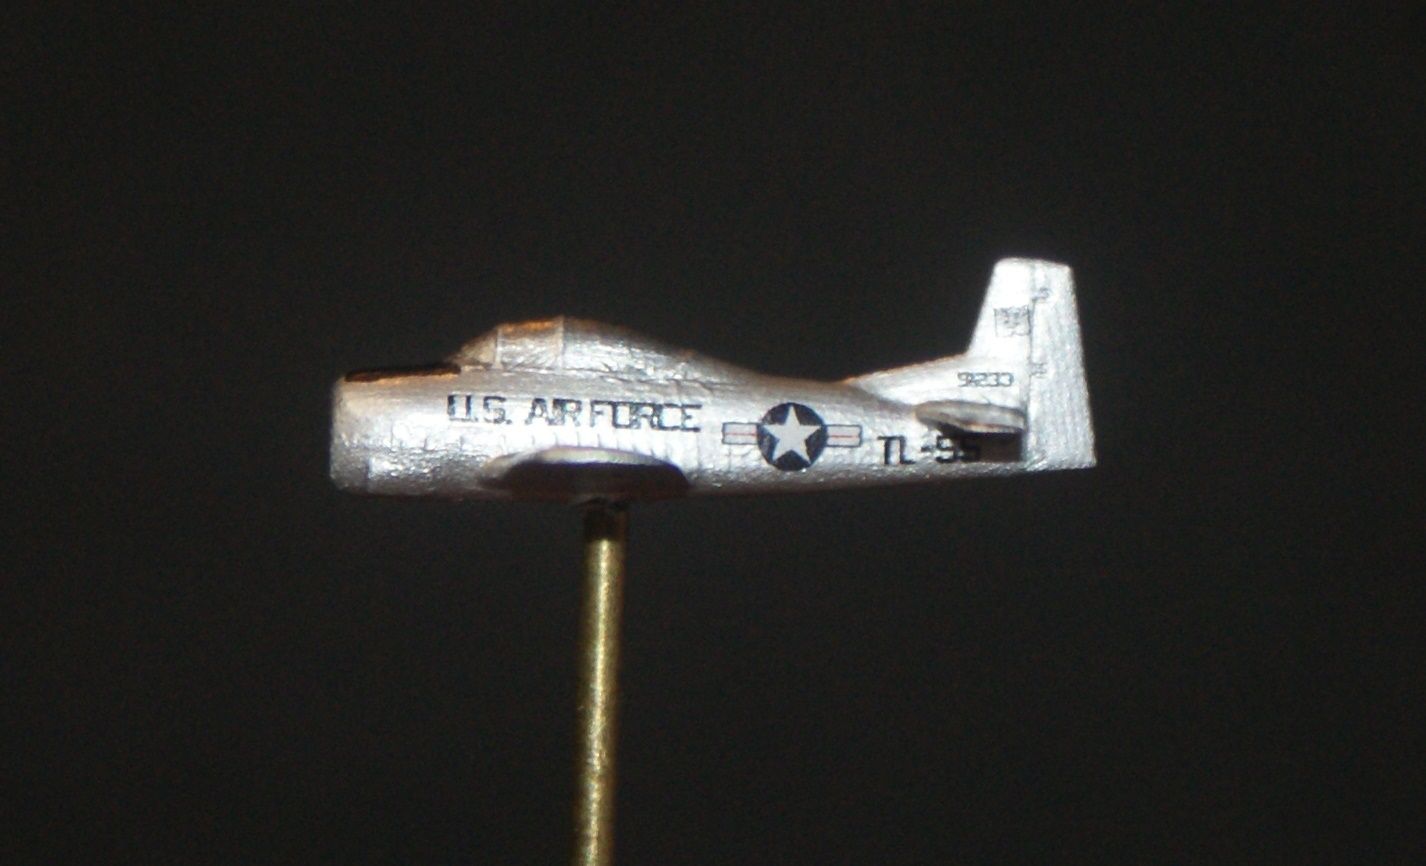
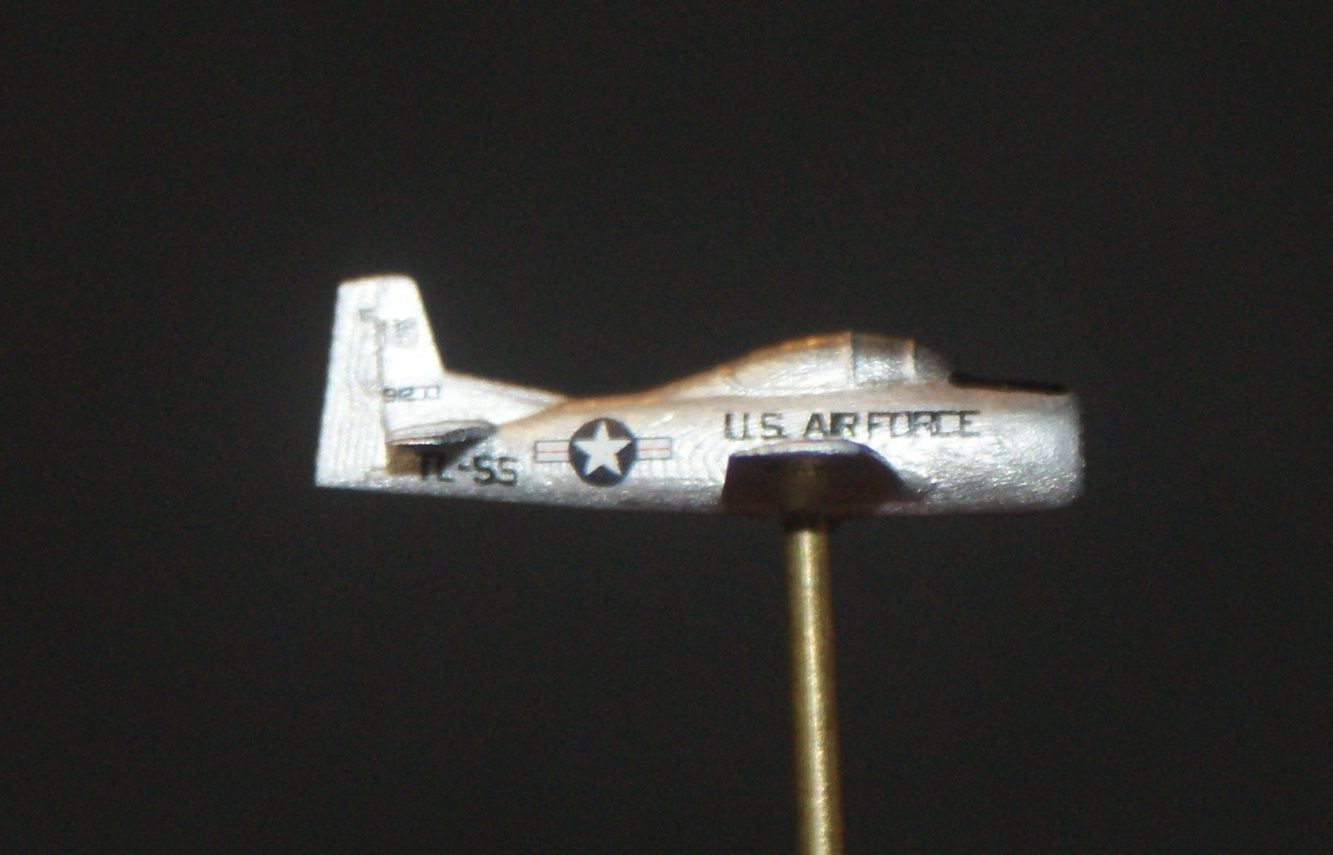
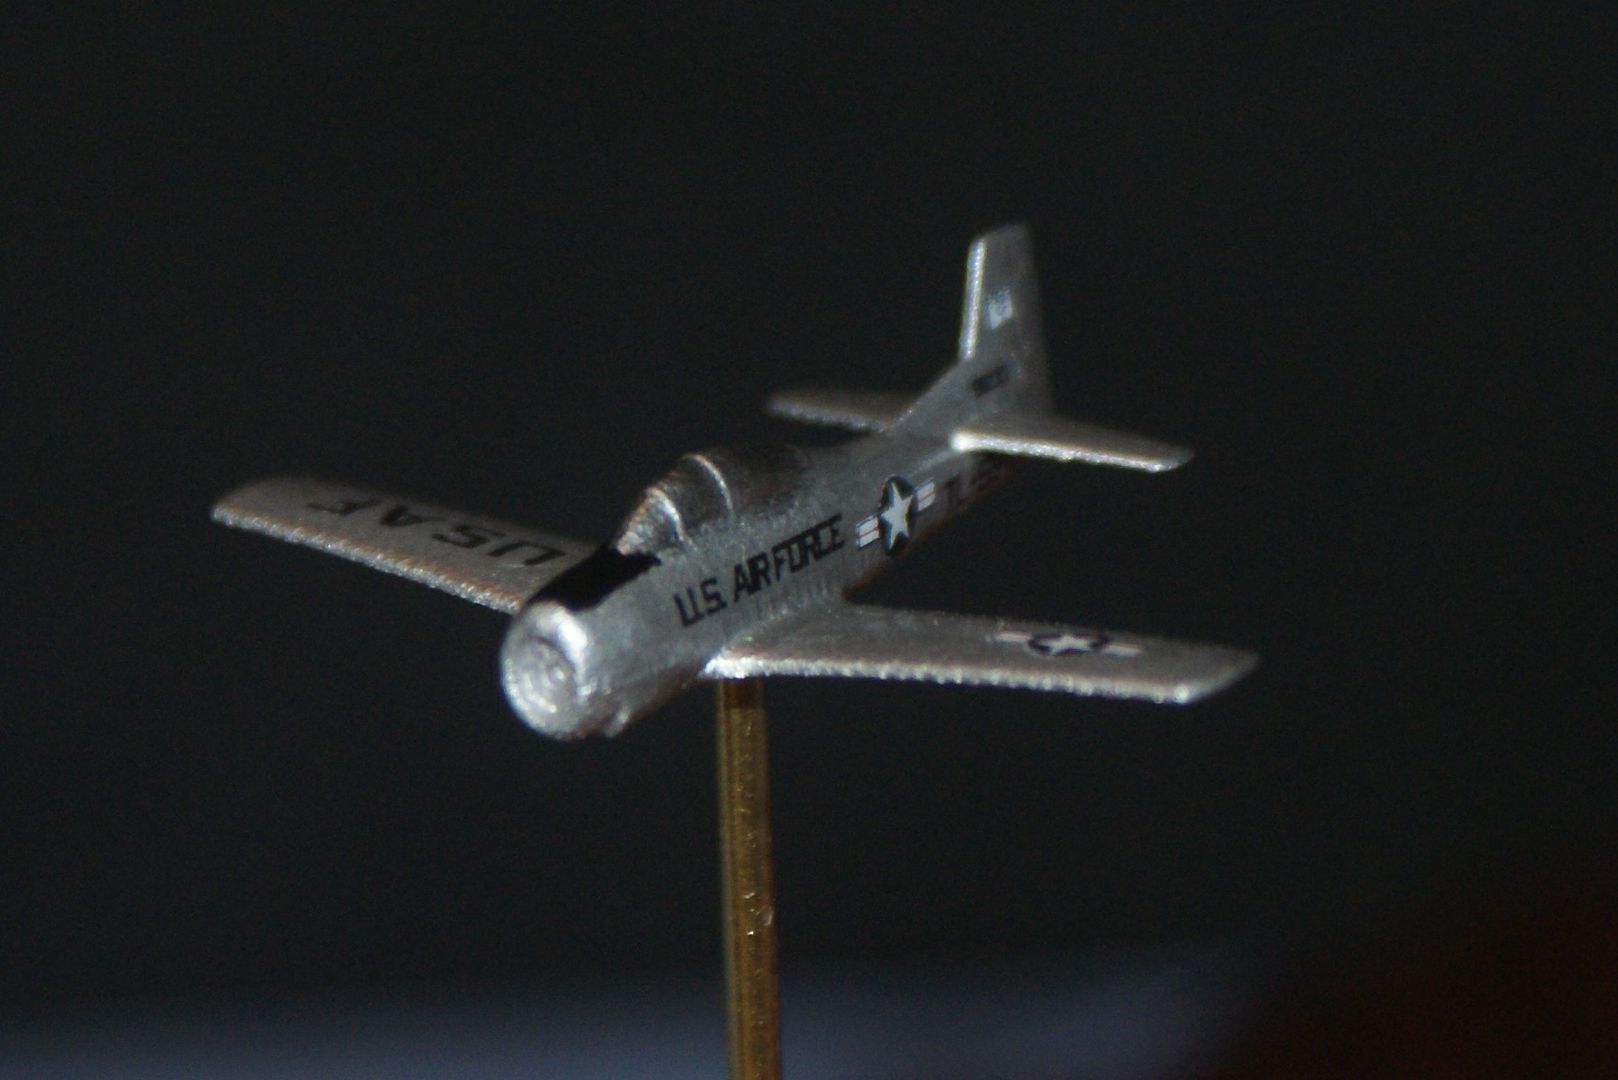
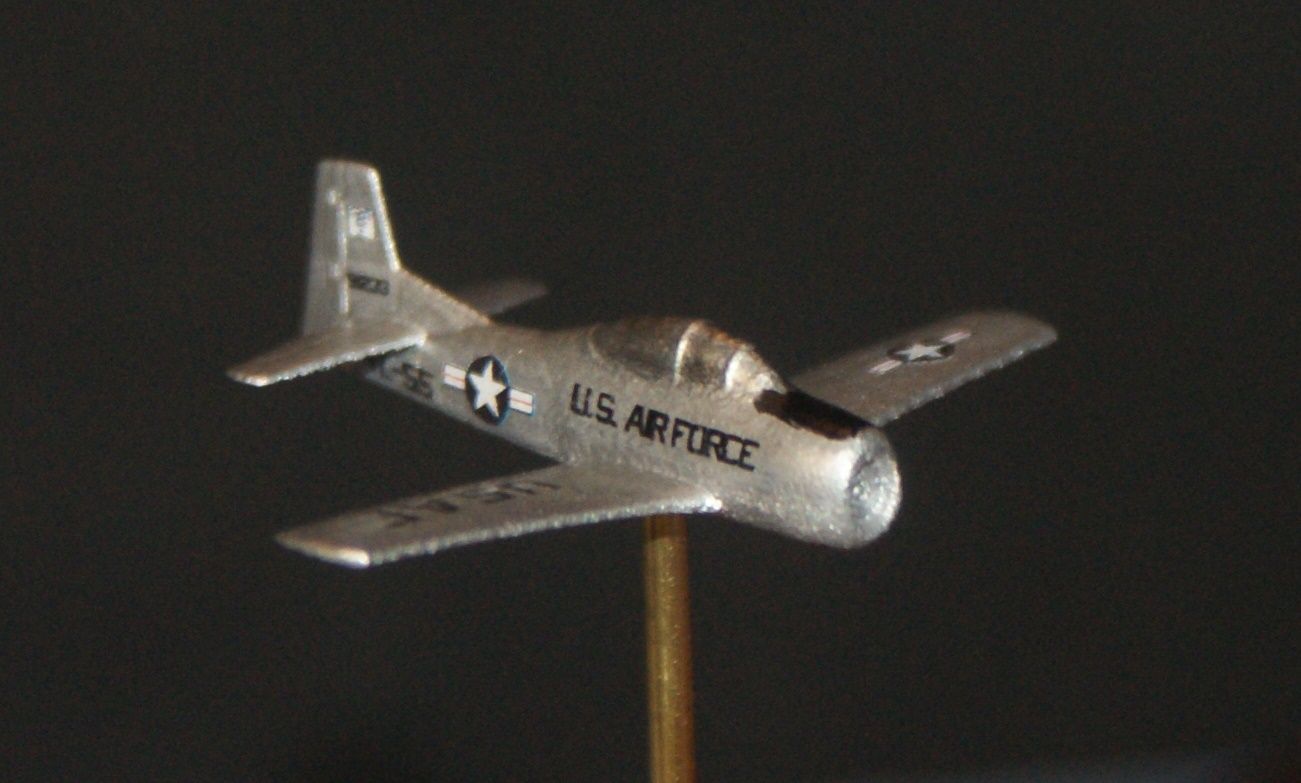
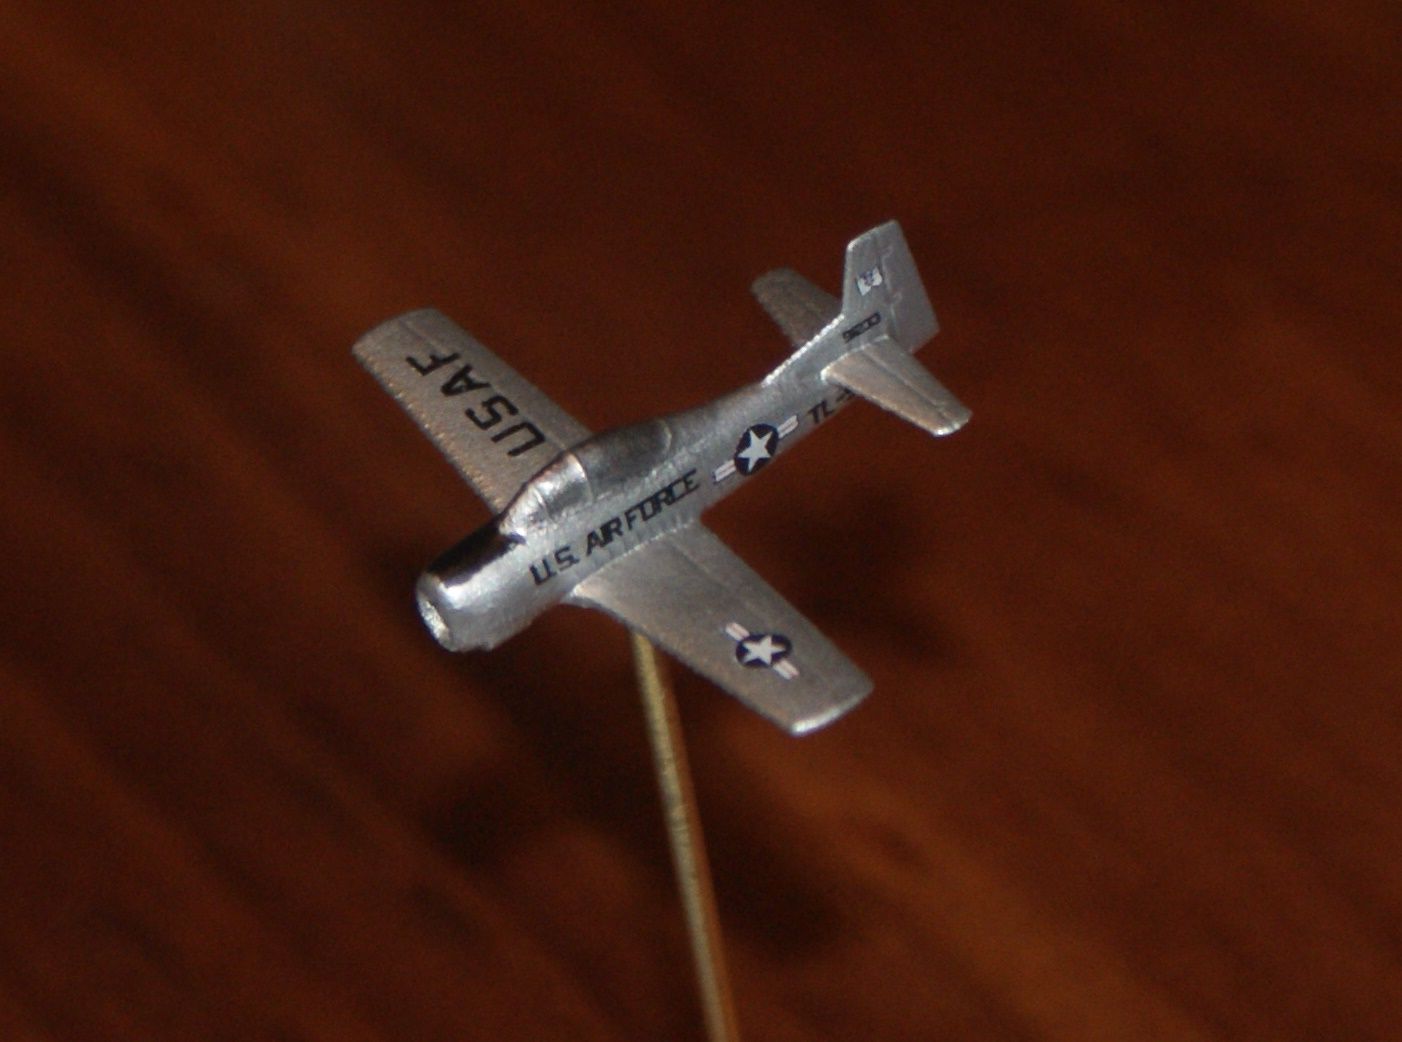
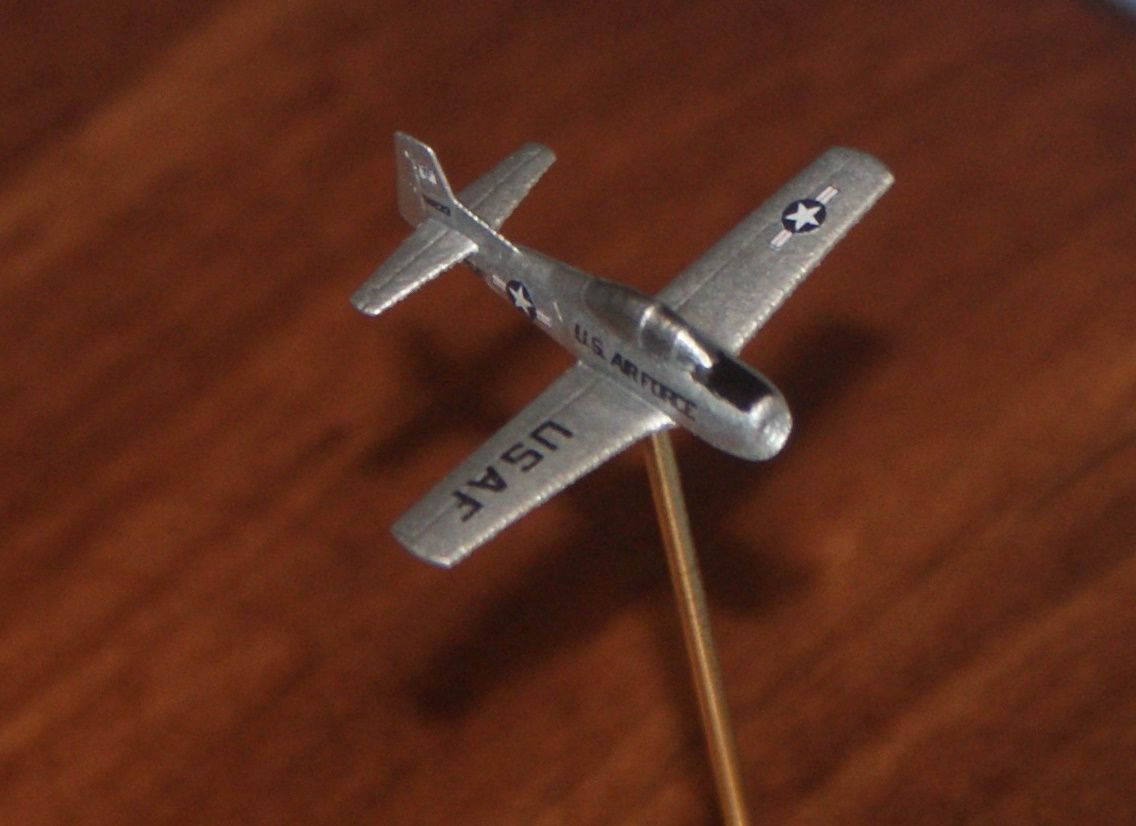
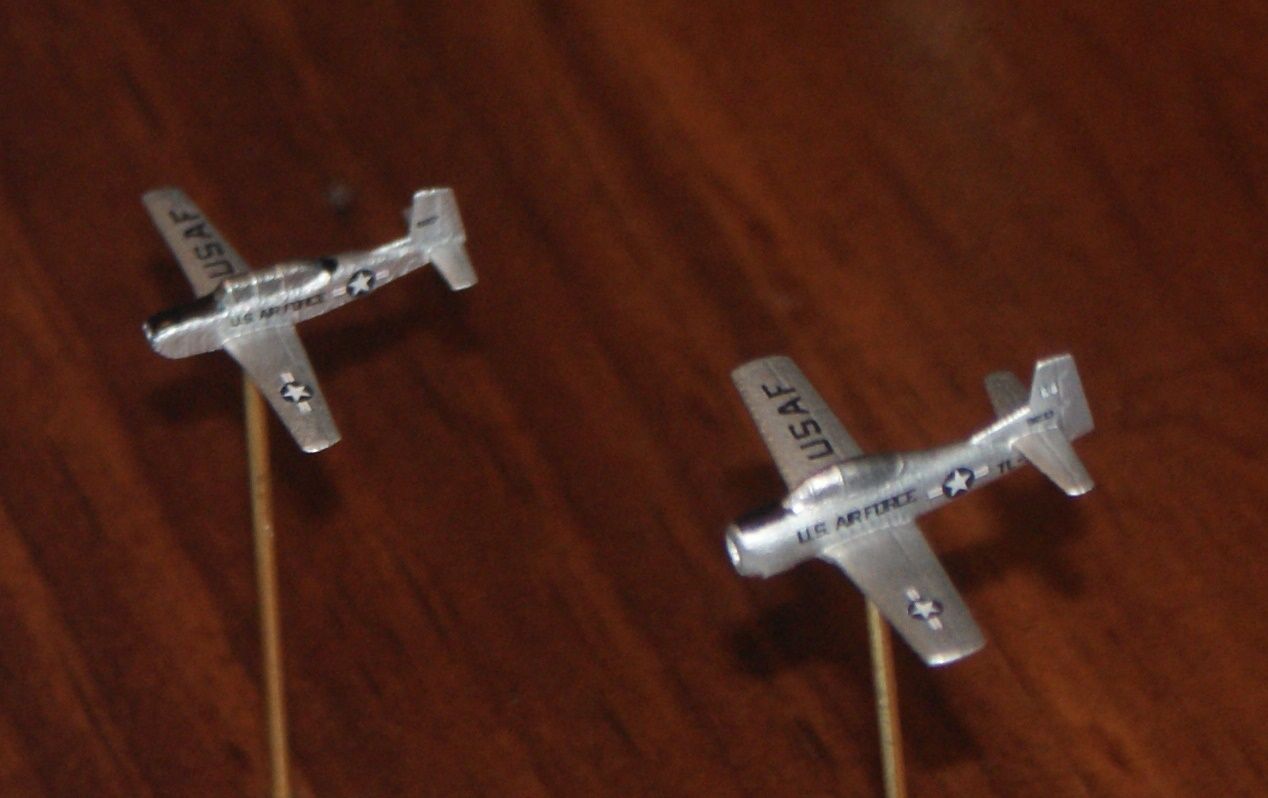
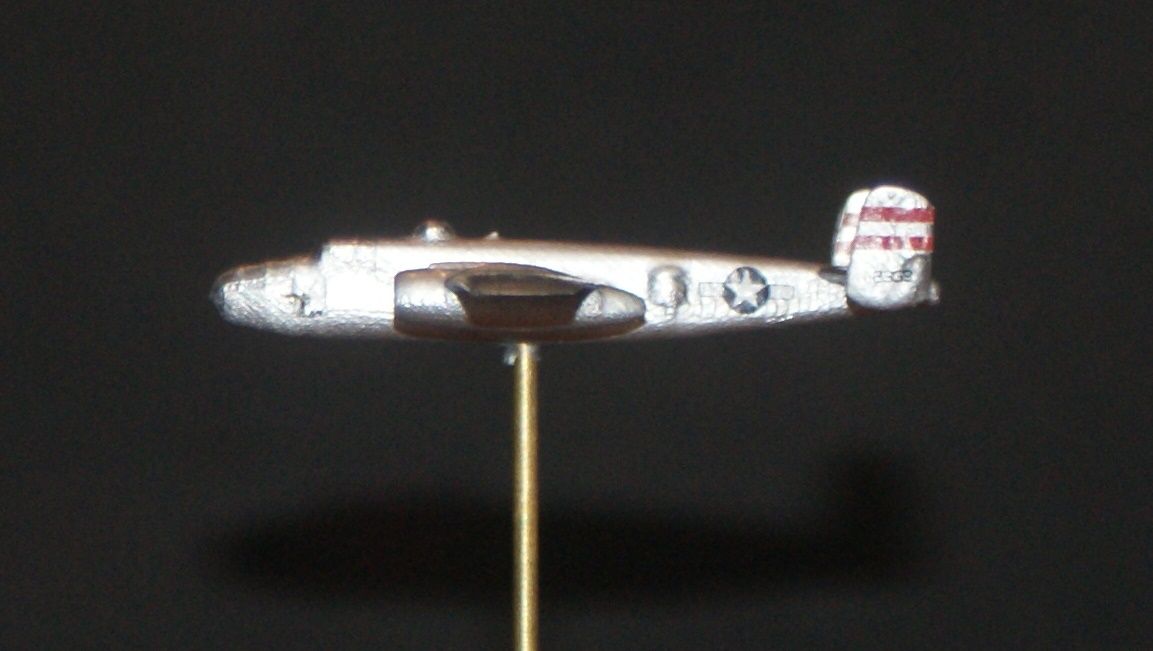
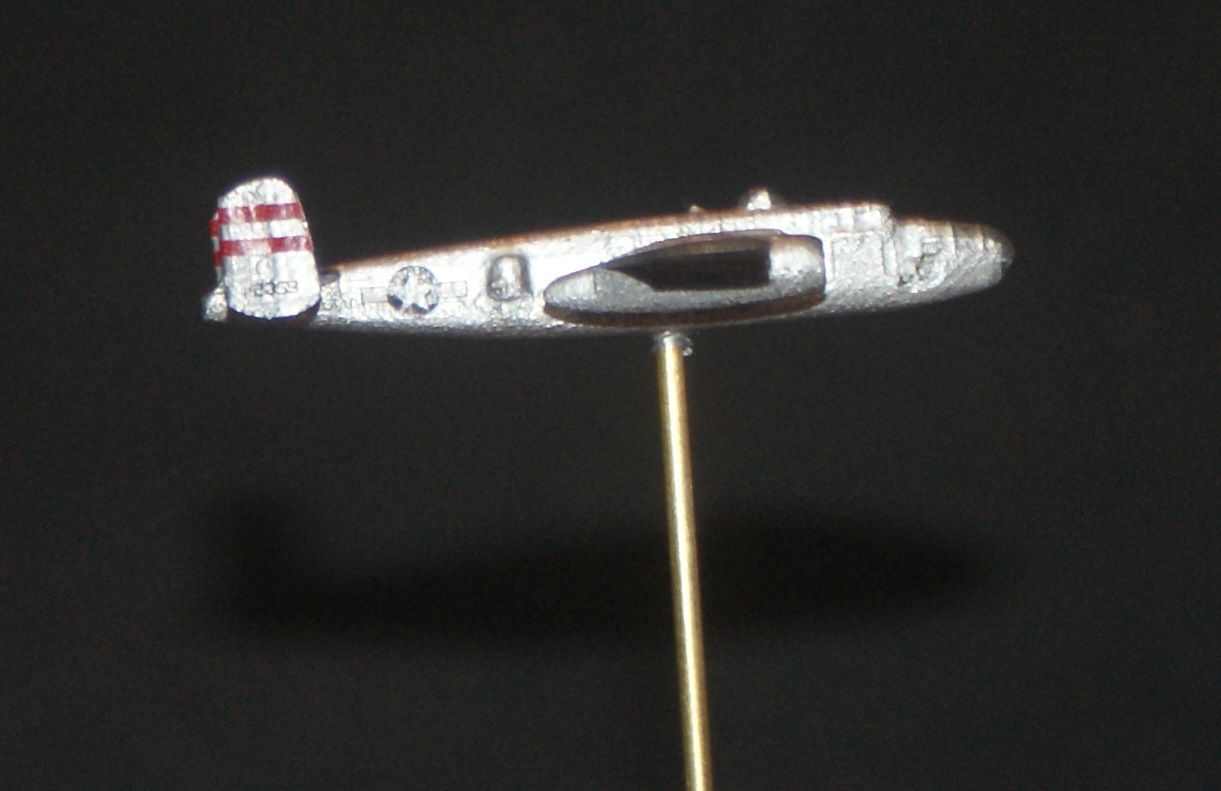
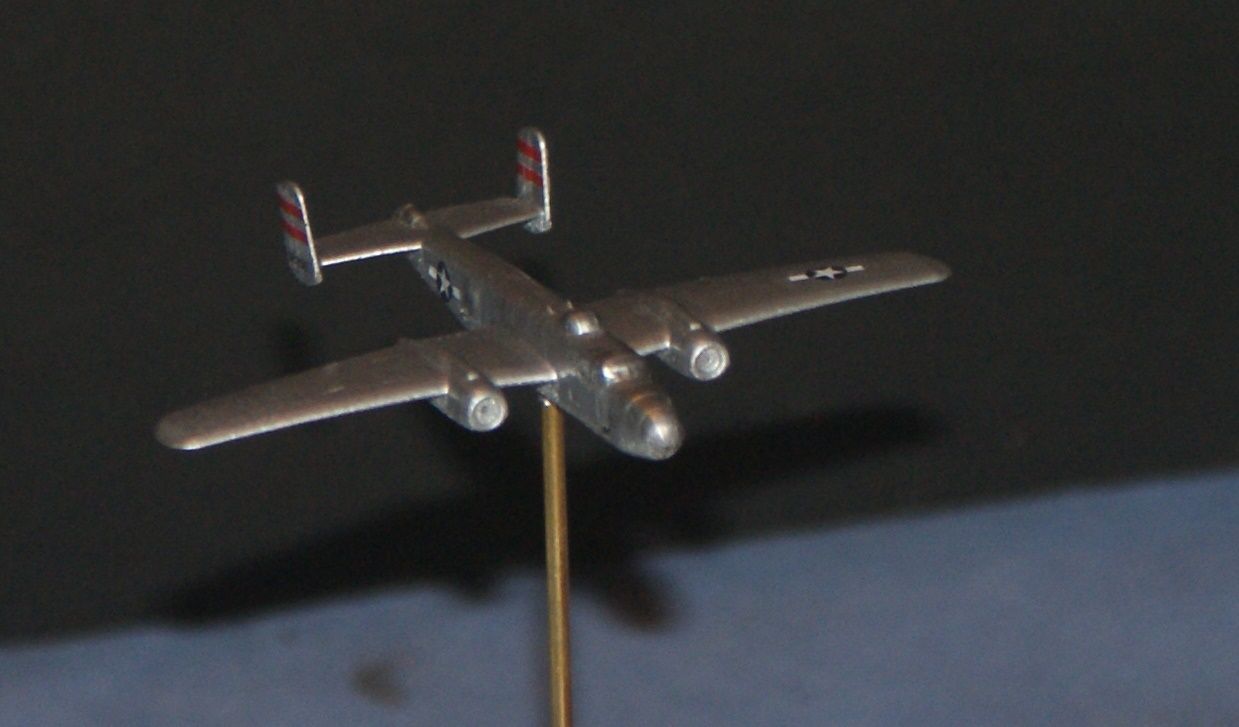
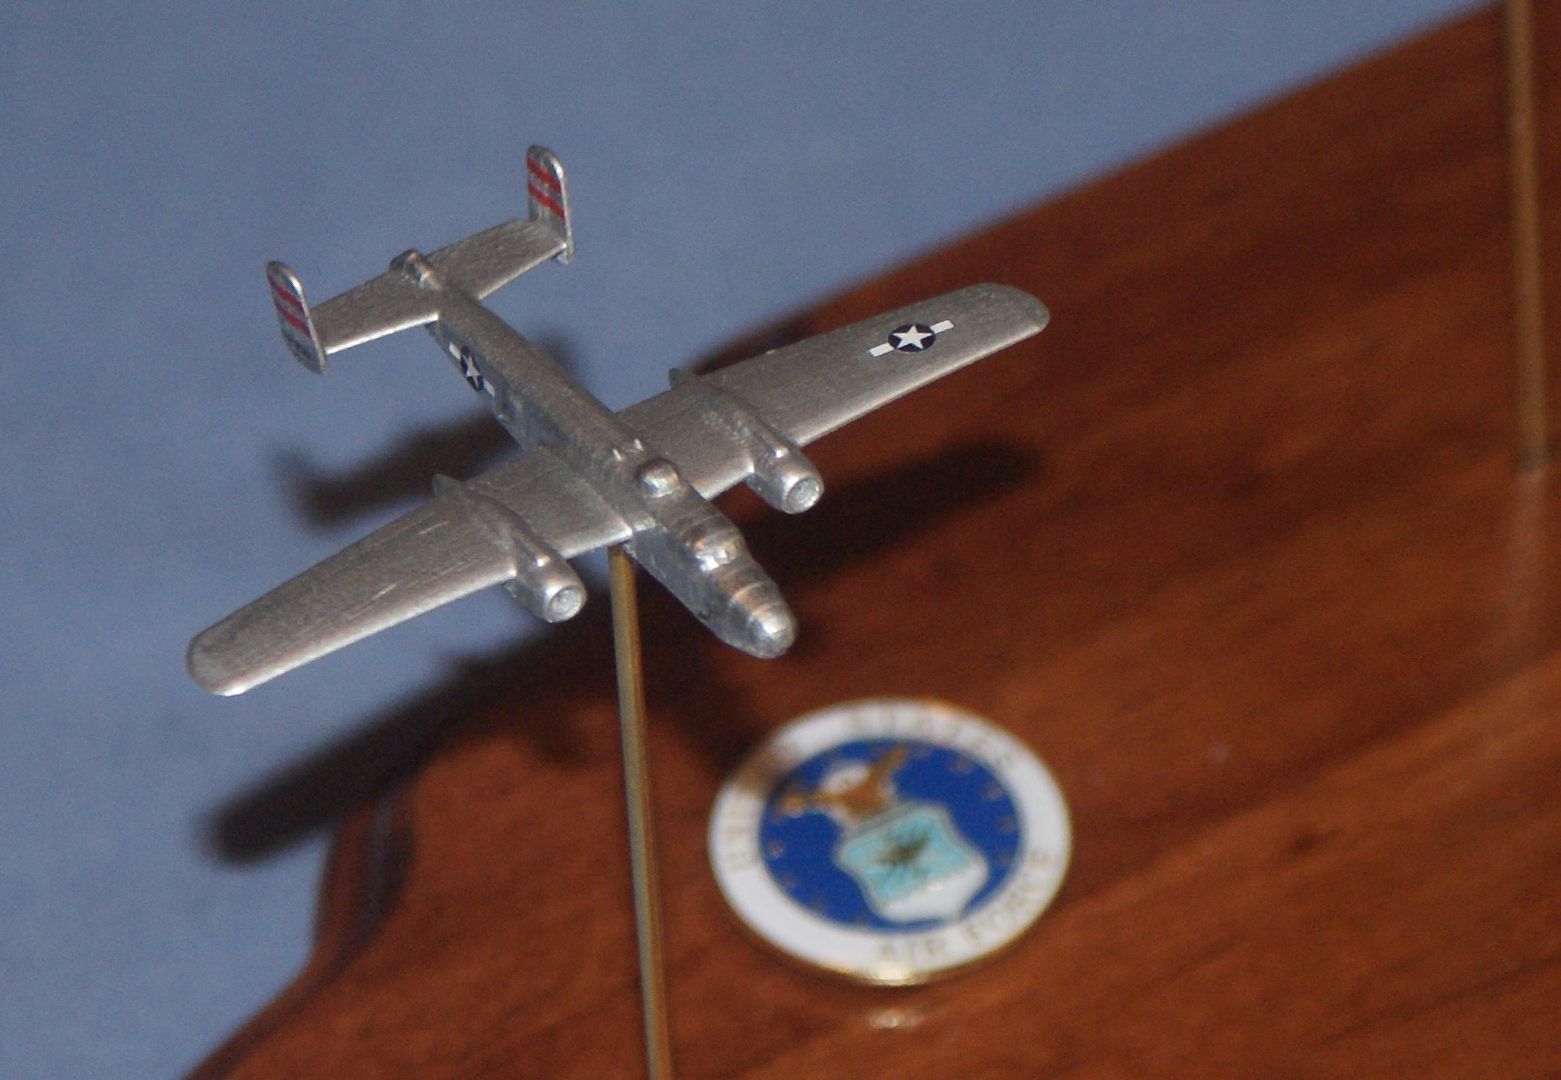
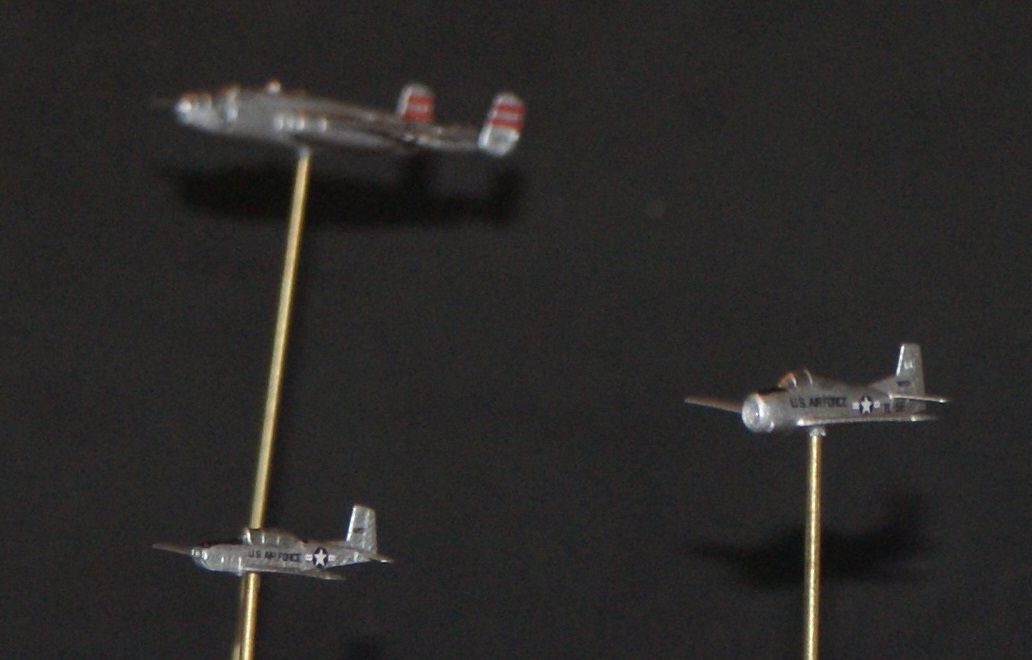
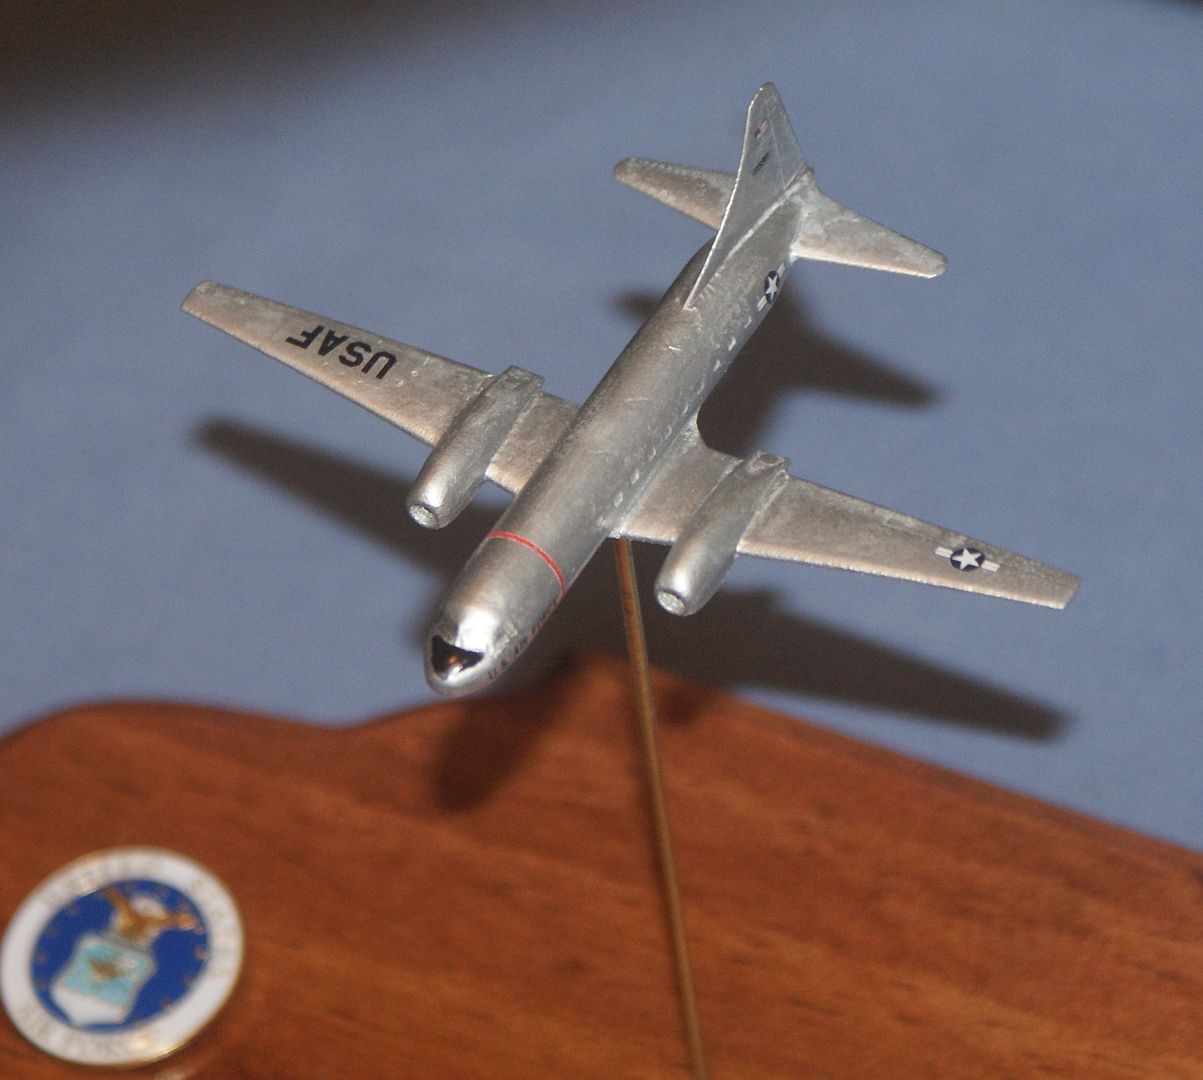
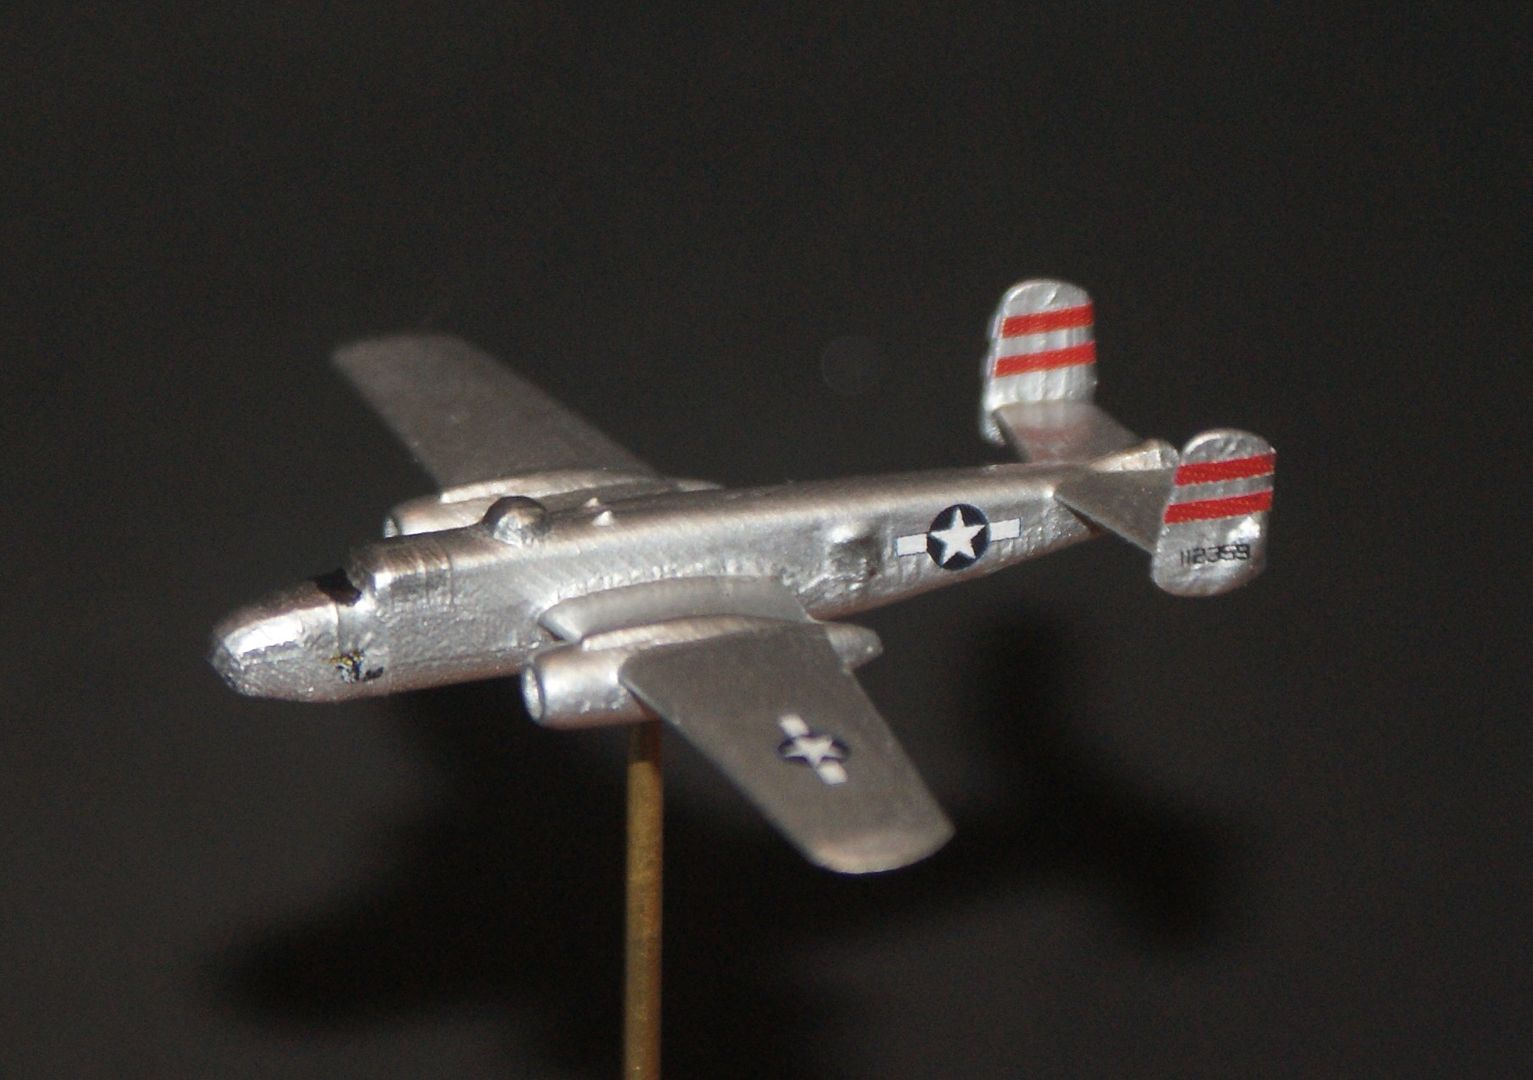
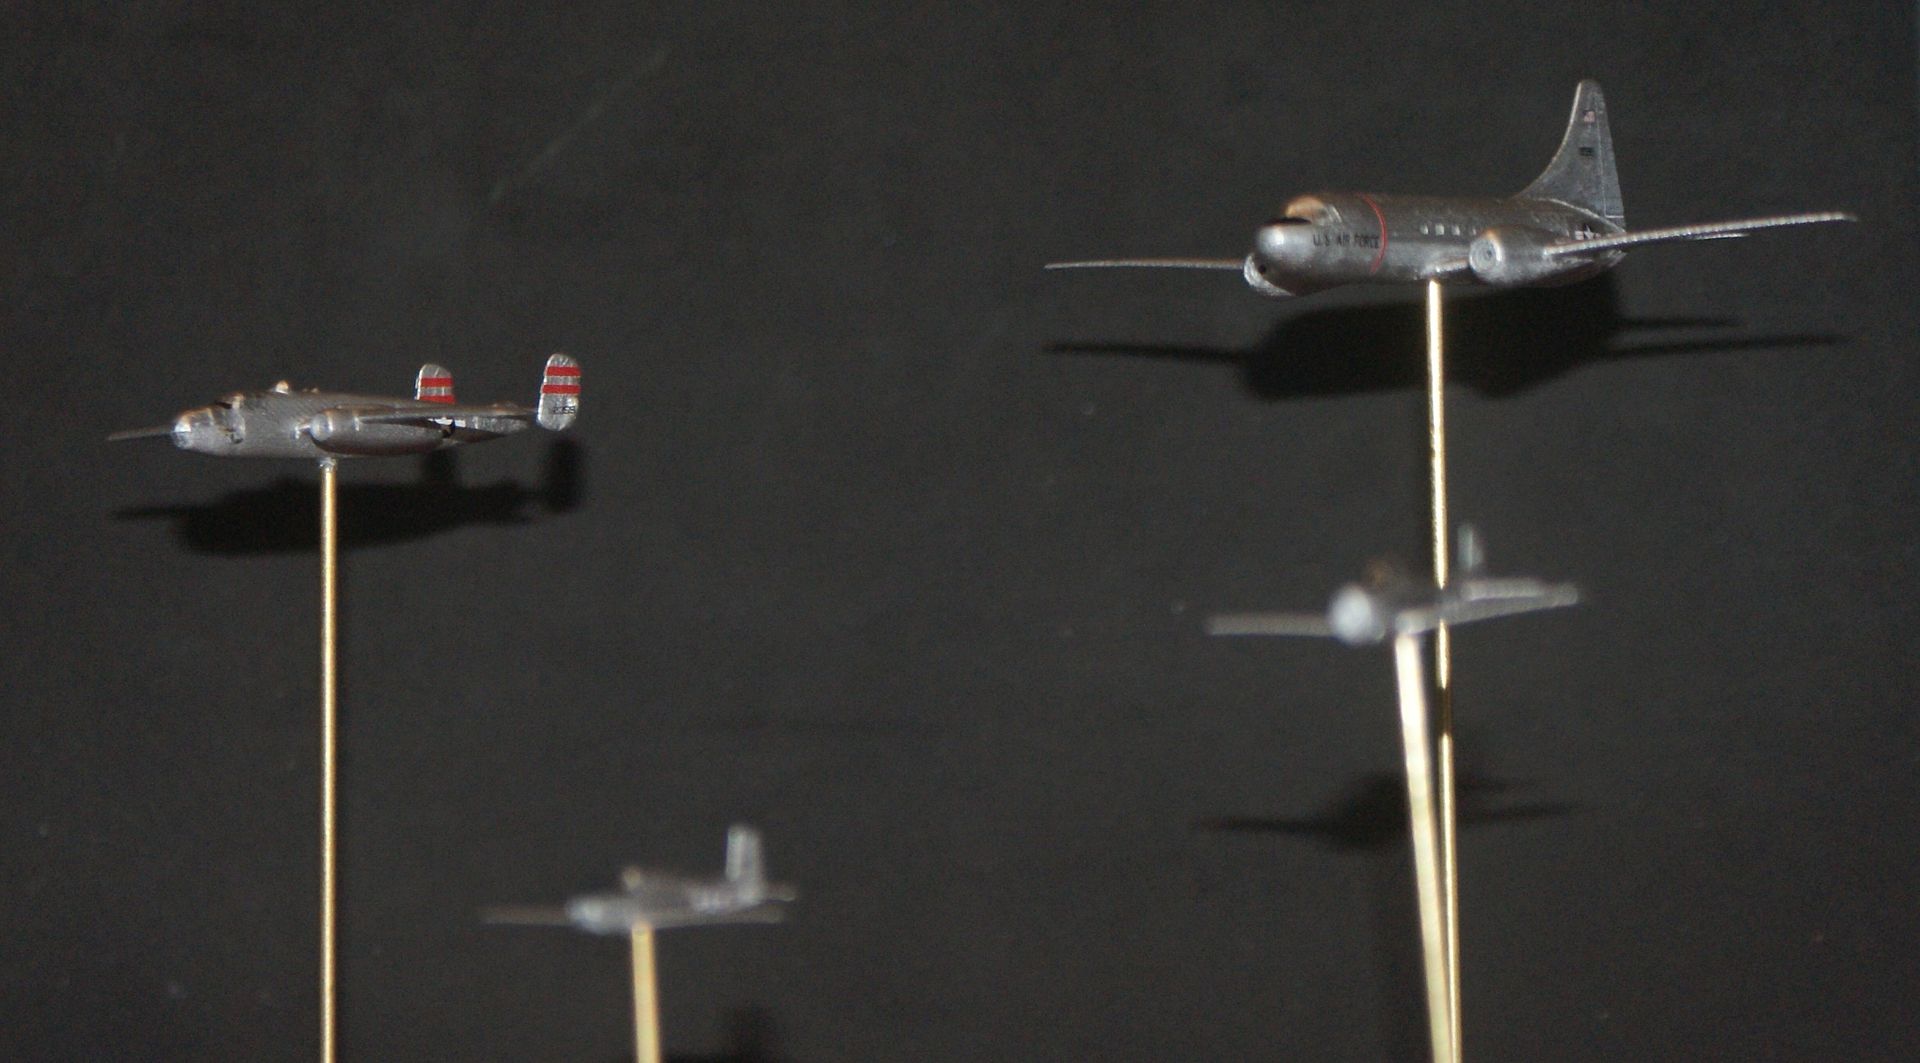
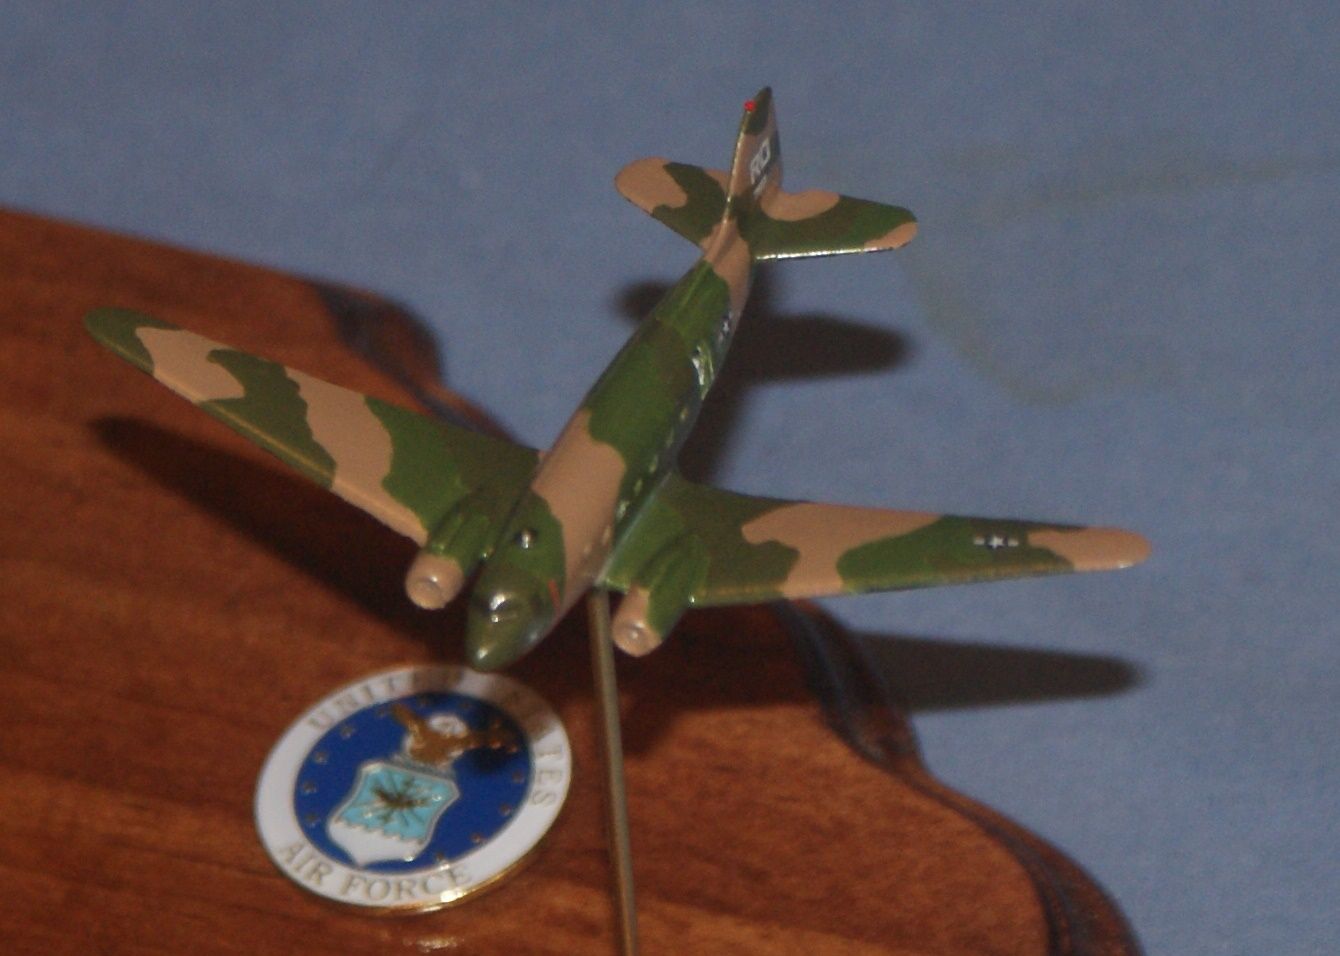
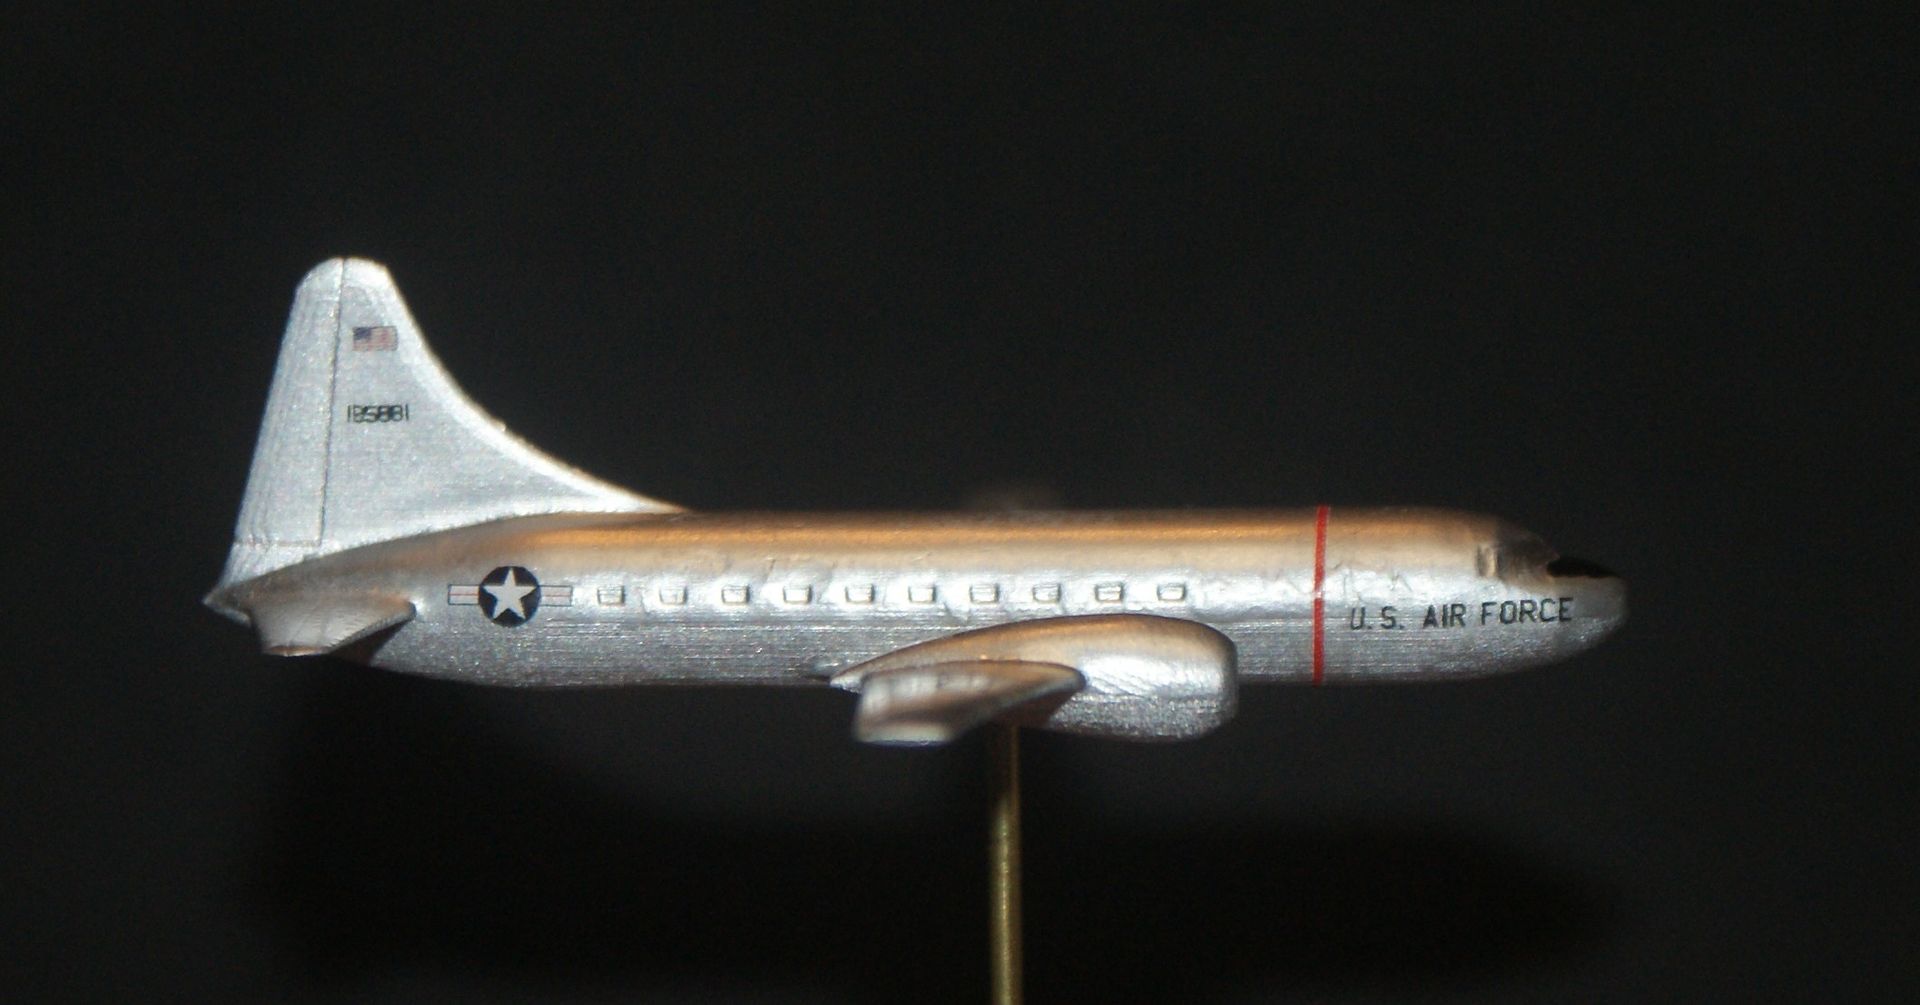
Here are all of the planes again.
Lessons learned so far…
-
I should have read the “Working With 3D Printed Parts” guide that Click2Detail (C2D) has on their website. I noticed the link some time ago but didn’t really read it and forgot all about it when the planes arrived. Their recommendation is to wet-sand after priming, then add a coat of Future, before priming again and painting. This makes for a smooth even surface.
-
Don’t paint in the cold.
-
Don’t paint in the cold.
-
I’m beginning to think that you are best to use new paints for every project. I hate being wasteful, but overly thick paint such as the Ensign Blue I used on the U-3A and the Flat Black I used on the bottom of the AC-47, makes it harder to get a nice paint job. The other option, I guess, is to learn how to effectively thin thick paint.
-
I’m not crazy about the pencil treatment on the glass. It looks OK on some of the models, but not on others. Perhaps I can add another layer of lead after I spray the Future. Any thought?
-
Did I say, don’t paint in the cold? If not, don’t paint in the cold.
The next step, I guess, is to spray a thin layer of Future on the models in preparation for decals. Originally, I was going to spray all of the models at the same time, but I just looked to see what kind of drying times people recommended between the last application of paint and spraying the Future, and the consensus seems to be 24-48 hours. The NMF planes are ready for Future now. The U-3A and AC-47 won’t be ready until at least tomorrow. To keep the progress going, I think I will spray the NMF’s today. It is recommended that I wait another 24-48 hours after spraying the Future before applying the decals, which means that the soonest I could start applying decals will be Saturday or Sunday.
Have a great day!
CHEERS!!!


