Wow, your chrome is outstanding.
Thanks Bob. [Y]
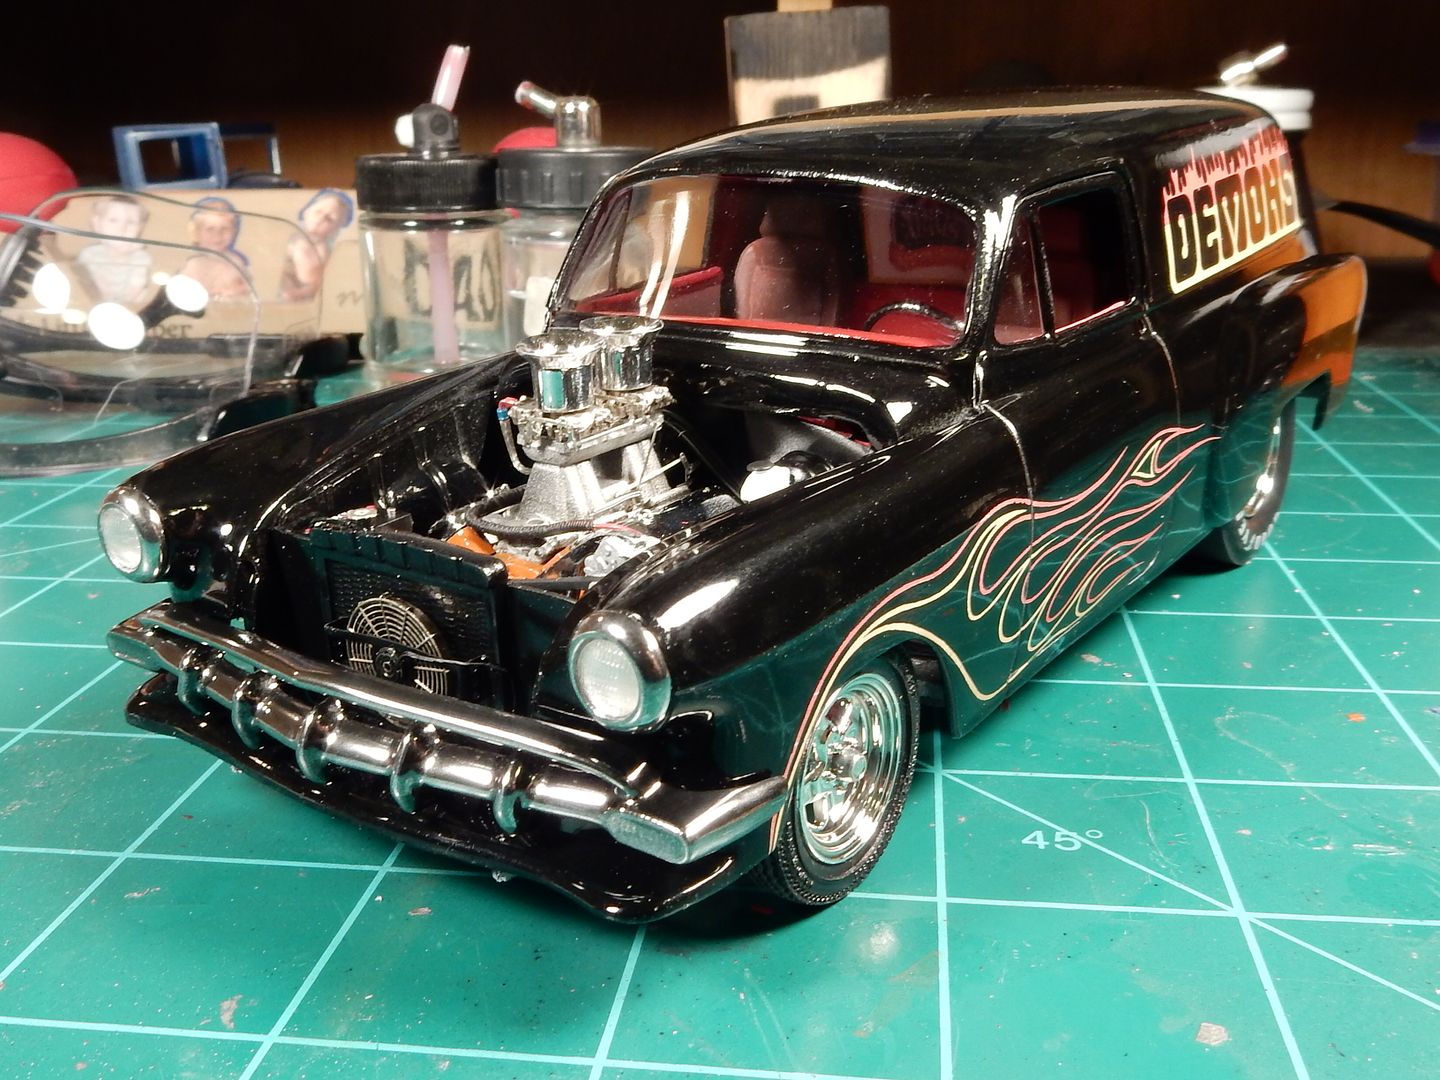
Ok. I’ve got the headlamps installed and am now working on the grille. I really like the custom one that is shown on the box top but it needs a lot of clean up which means…well…stripping all the chrome off, cleaning up the mess and …you know…applying Alclad in place of the kit chrome. The stock grille doesn’t look as good in my opinion but doesn’t require even half of the work. Looks like I’d better get the Easy Off oven cleaner ready for the chrome stripping process…
With the stock grille (Just too much of a “granny grocery getter” look.[:|])
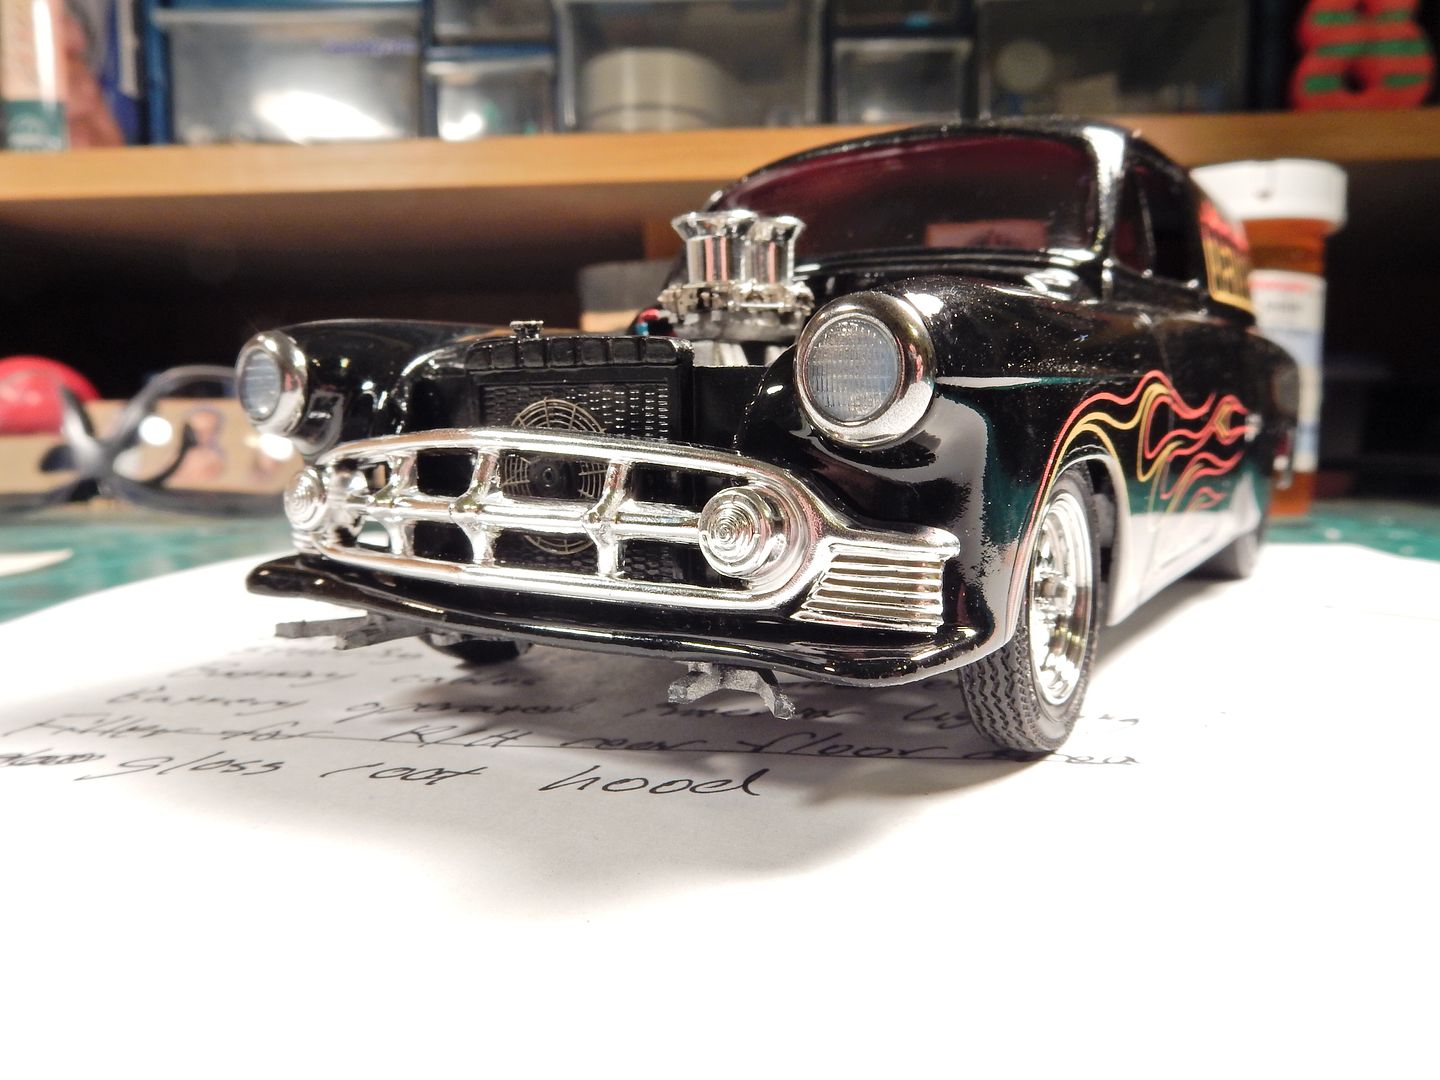
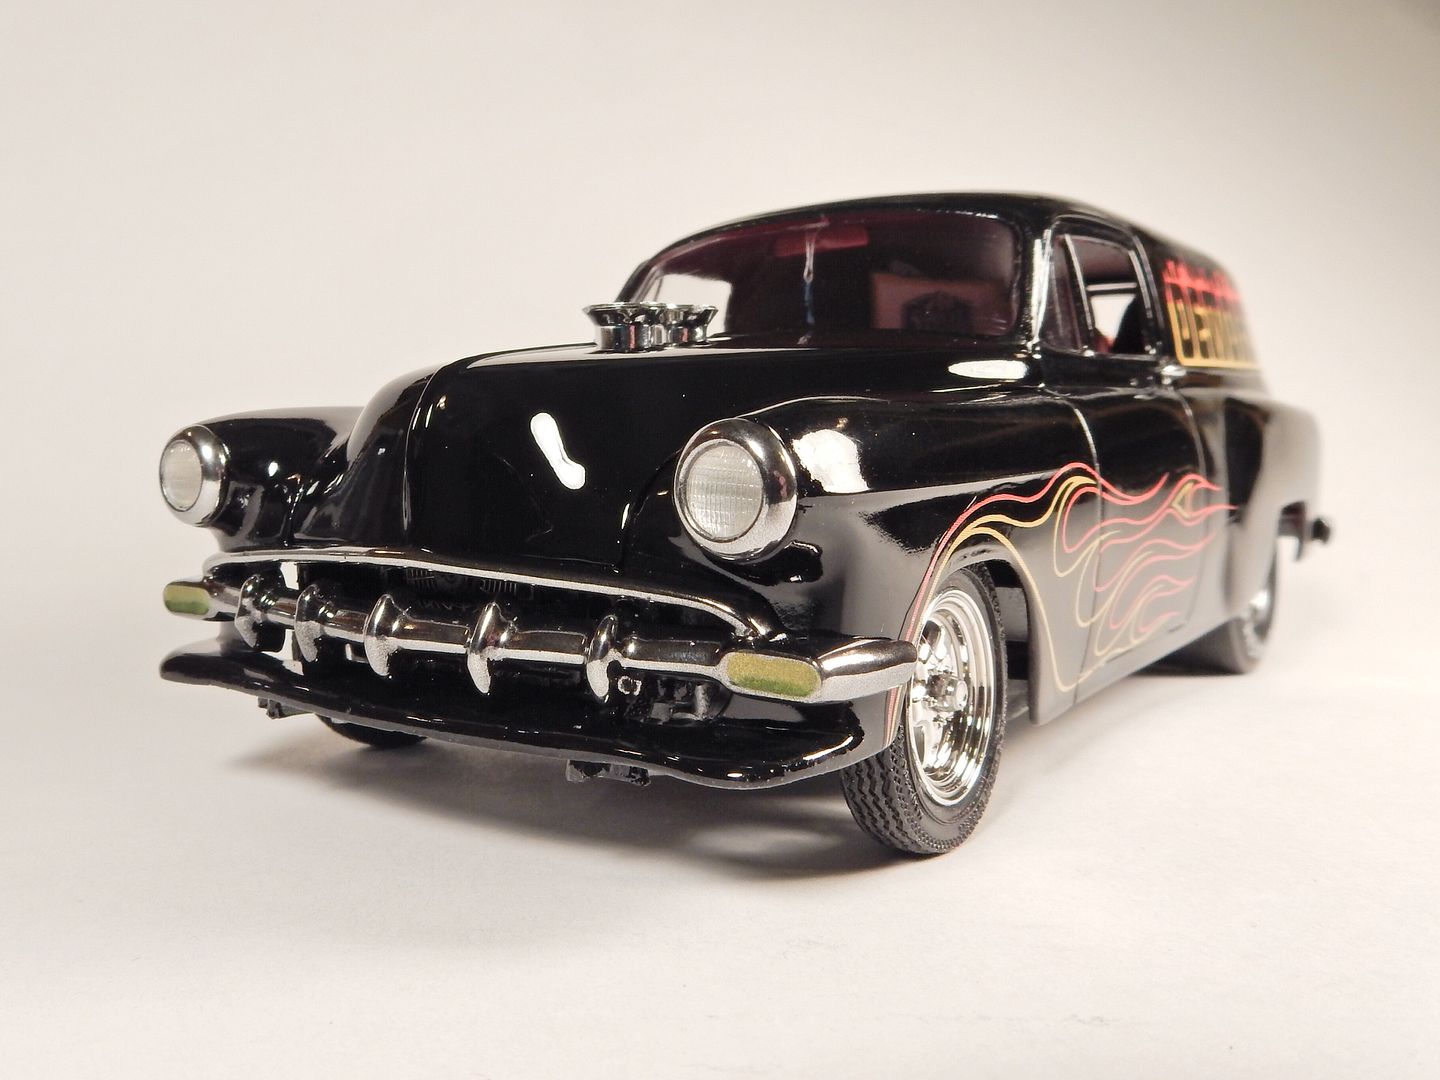
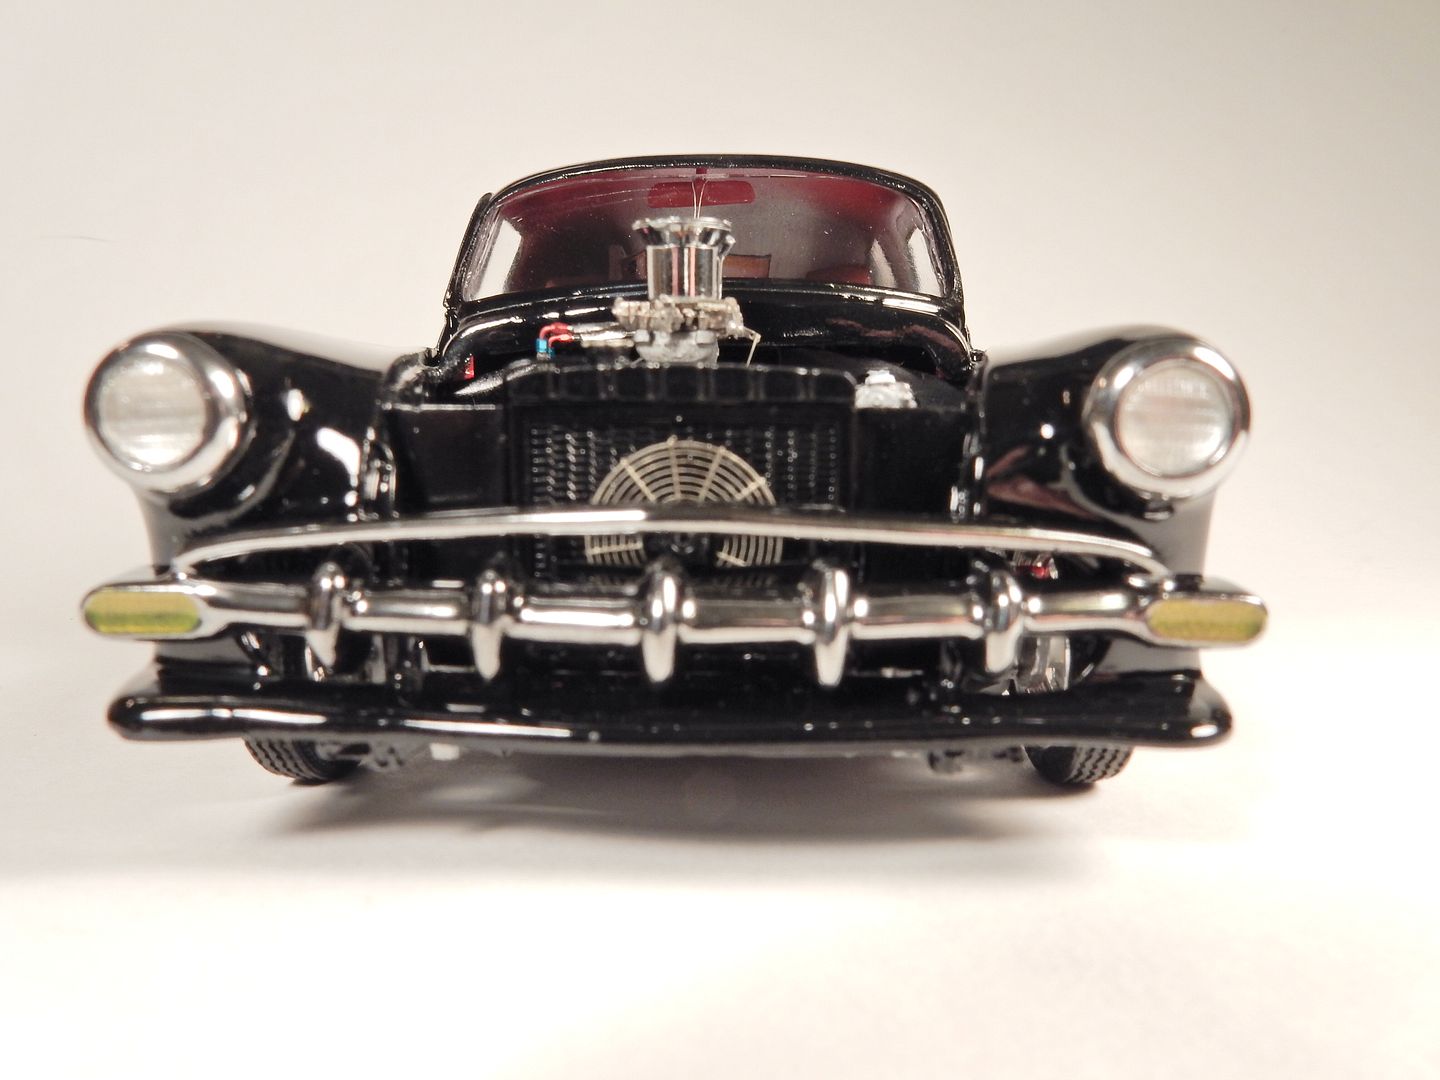
and with the custom grille: (Yeah…we’ll go with this one!)

I’d wondered when you’d get around to stripping chrome and Alclad. [8-|]
Like the custom grill. “Granny getting groceries look”, that’s a new one. [cwby]
The wagon is looking superb and every bit the bad A… part. Yup, ya gotta go with the custom grill. It’ll definitely look sharp when you’ve got it done up all nice and purty.
Thanks Greg and Joe. Yeah there was just too much work to do on the grille and rear bumper to leave the kit chrome on.
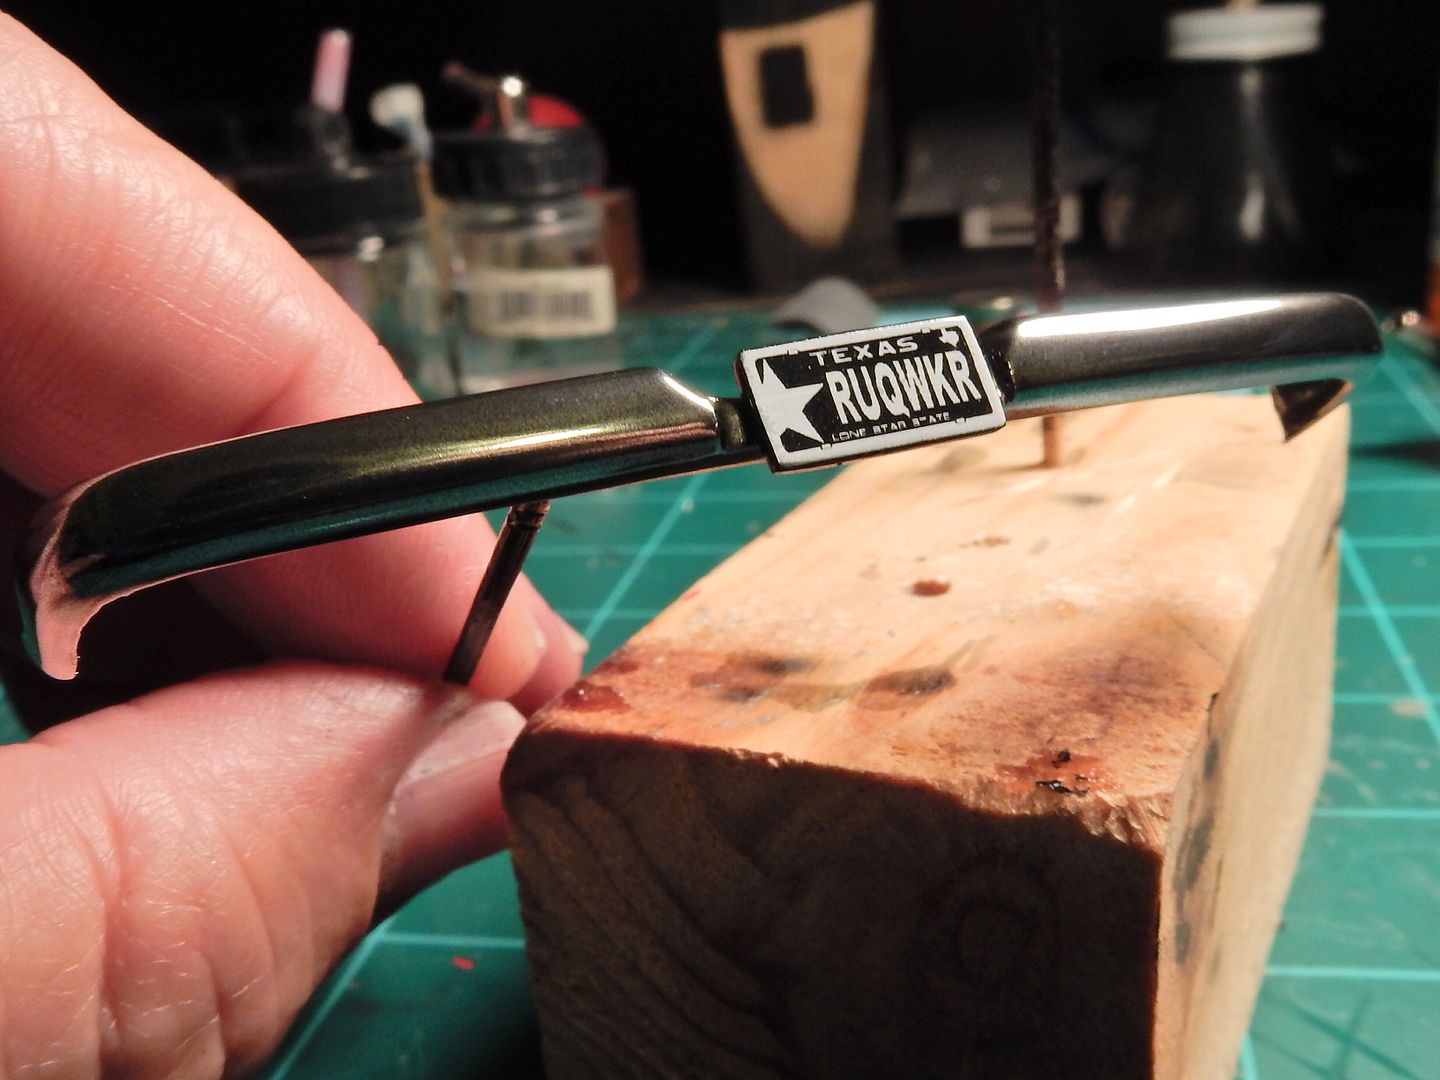
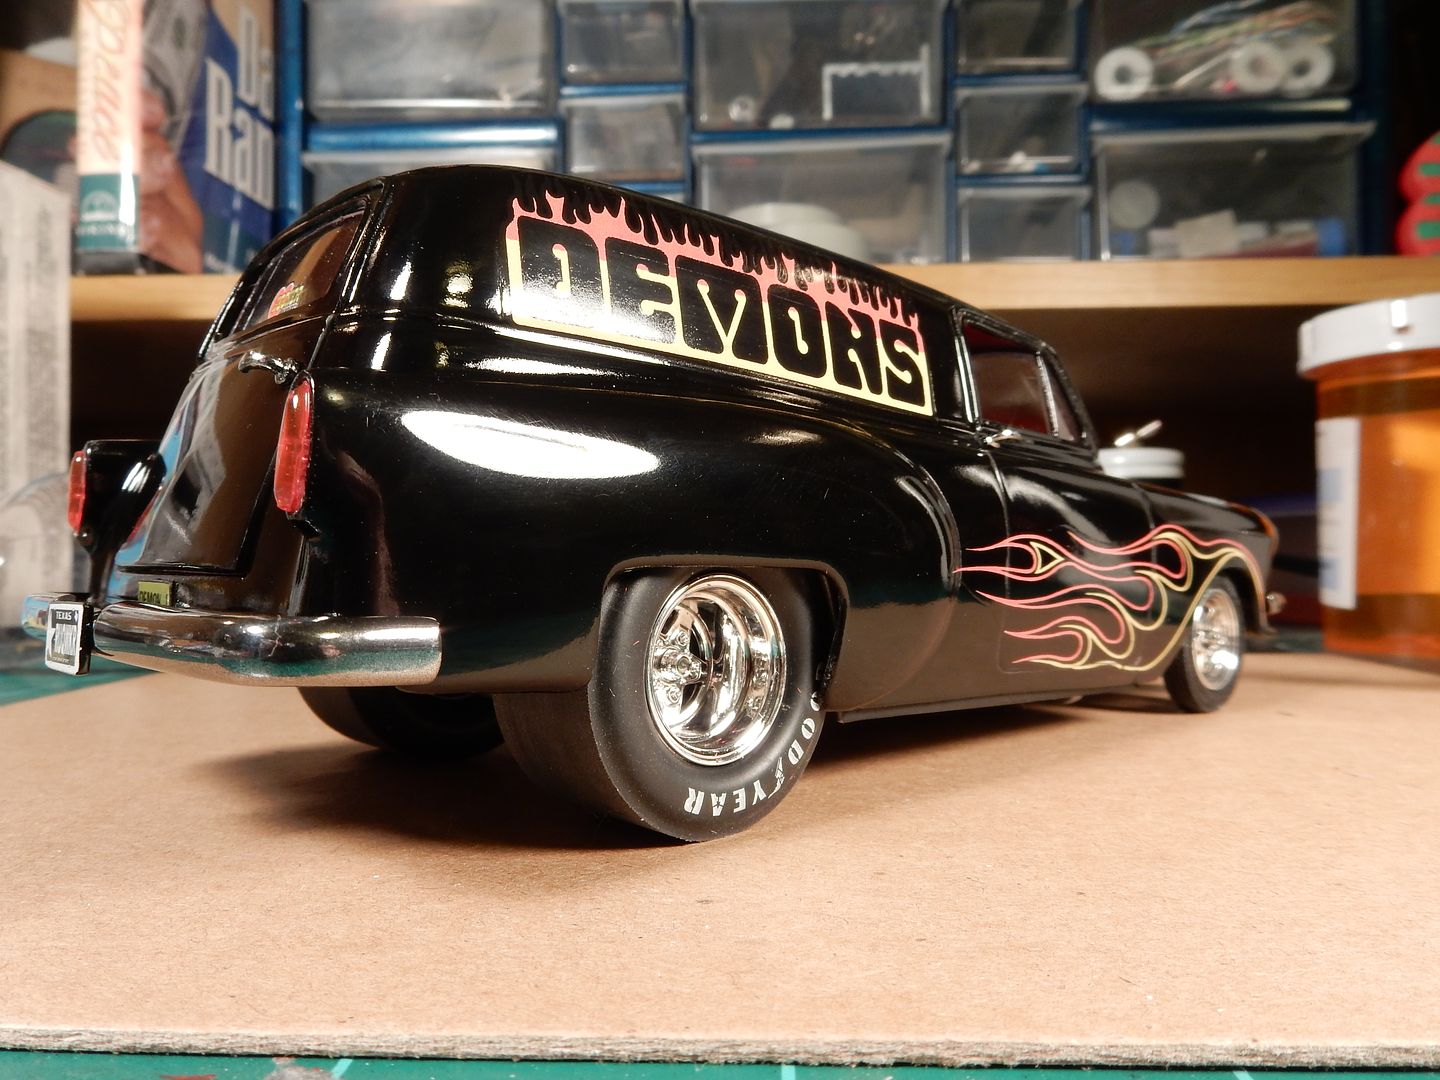
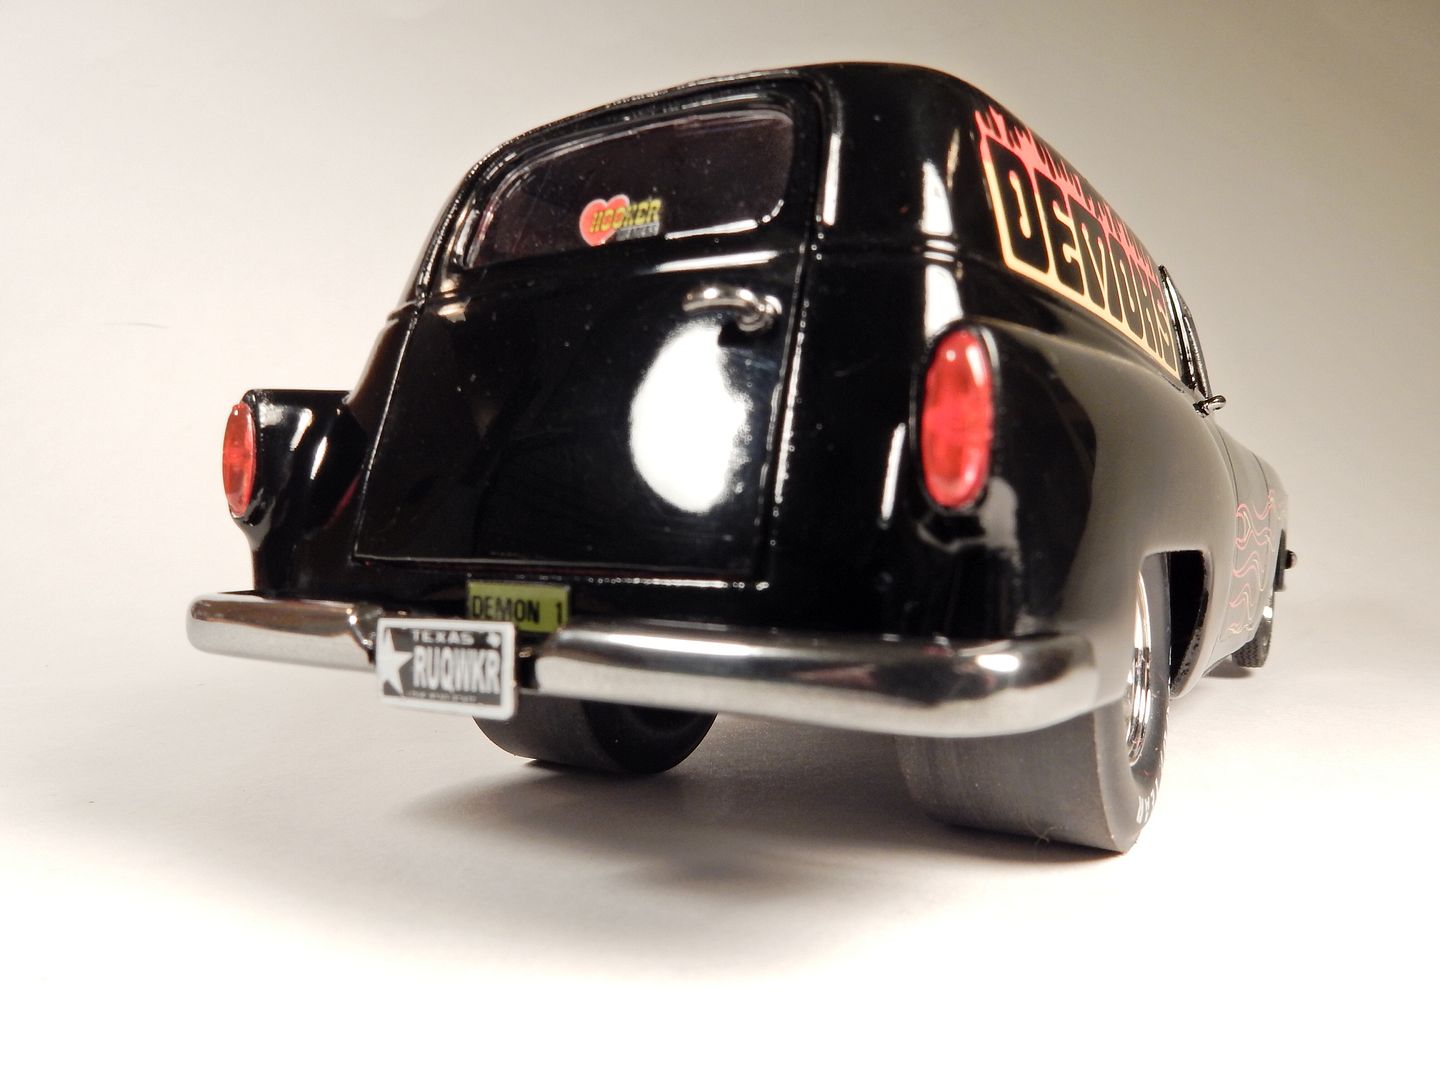
A shot of the rear bumper with the license plate installed. I’ll be attaching a couple of PE mounting screw heads to this now that I’m looking at it in photos to add a little more “flavor” to the plate.
and here’s a shot of the front bumper after Alclad application. Still gotta fill in the park lamps with amber but I’m happy with the results so far. I also got the windshield, vent windows and steering wheel installed.
An overall progress shot:
Really looking sweet there Joe.
Oh Yeah! Your bumpers and grill look tremendous Joe. You’re certainly knocking out your punch list to the point where it can’t look too daunting now. You’ve gotta be close. Right?
yes, the front grille provides a much different attitude.
Oh yeah .
Thank you Lee, Joe, Bob and Nick.
There are some areas that I need to touch up on this thing as far as the body goes but I’m at the point to where some of it I’m almost afraid to do anything with. At this stage things can get very unforgiving for me and it’s either don’t do anything about it or take the chance to correct it and risk starting all over again with the body. After what I’ve been through with this thing, starting over with the body would result in at least a 2 month set back and another set of decals that I’d have to get printed and shipped to me.
Anyways here’s what’s left out of that list I had a couple of pages back. I’m almost there…
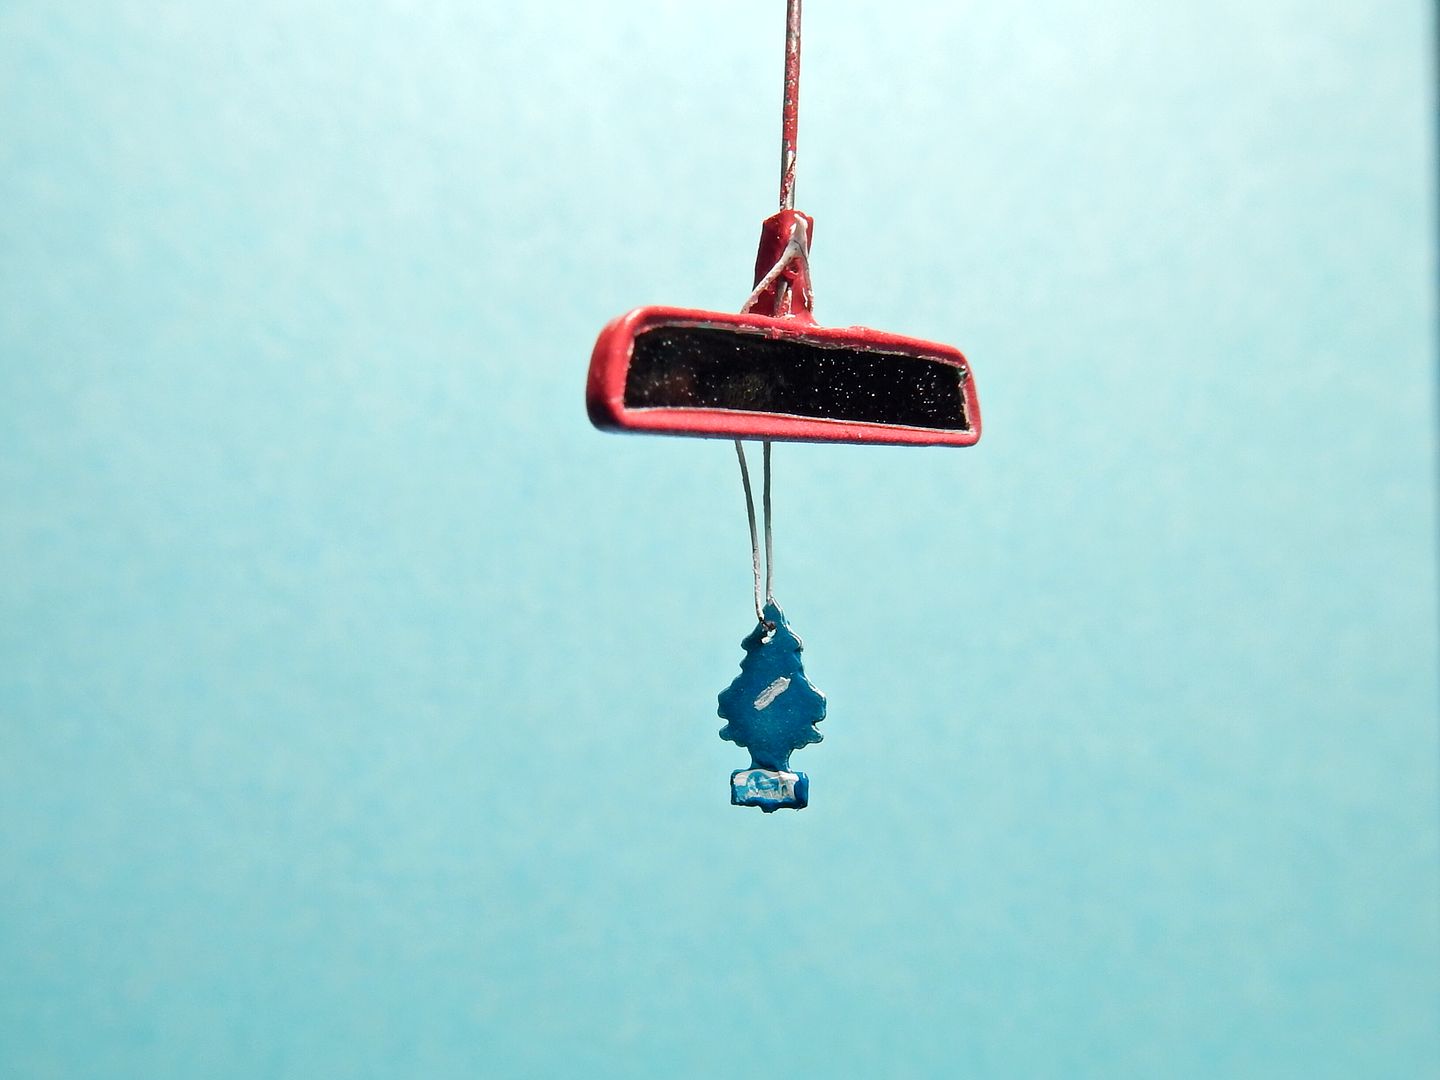
- Rearview Mirror and “Tree”
- Install Rear Bumper
- Install Radiator Hoses and clamps
- Install Body Onto Chassis
- Install Door Handles
- Gloss Coat Hood Assembly
- Install filler placard for area below rear door
I’ve now got everything done but the radiator hoses and clamps and the hood glossed. I’m going to save the progress on the body till the “glamour/finishing” shots but will share the “Little Tree” air freshener hanging from the mirror here.
This is like really teeny so I had to zoom in a little. The boo-boos will NOT be visible to the naked eye.
Now that there is choice. I love it.
You have GOT to be kidding me.
How in the world did you fabricate that? Let alone, paint it???
Whatever the case, it’s awesome, even if it’s a shake-n-bake tree of some sort.
It is a photo etched part. I’ve used them myself. Good one Joe.
Thanks Joe , Greg and Lee.
Greg: Yes sir it’s a PE part. Had a blast researching color and emblem placement on it and then making it all come to life.
Folks I’ve only got the radiator hose and the gloss on the hood left and this one will be “Under Glass”. The next photos posted will be glamour shots in a few days.
Is it one of those 2-sided PE pcs that need to be “folded” together? (I dread those, btw)
If so, it must be tiny. If not, it must be tiny. [:)]
Hmmm;
I don’t remember if I’ve said anything . I have been following this and have to say .Dayumned fyne werk ! T.B.
Greg: Thanks and it’s only a single piece…thankfully.
T.B.: Thank you for your comments as well.
I had to do a little trimming to the back of the grille to get the hood to fit into place ok this morning. With that done, the only thing left to do right now is to wait another couple of days for the hood to fully cure out so I can wet sand and polish it out.
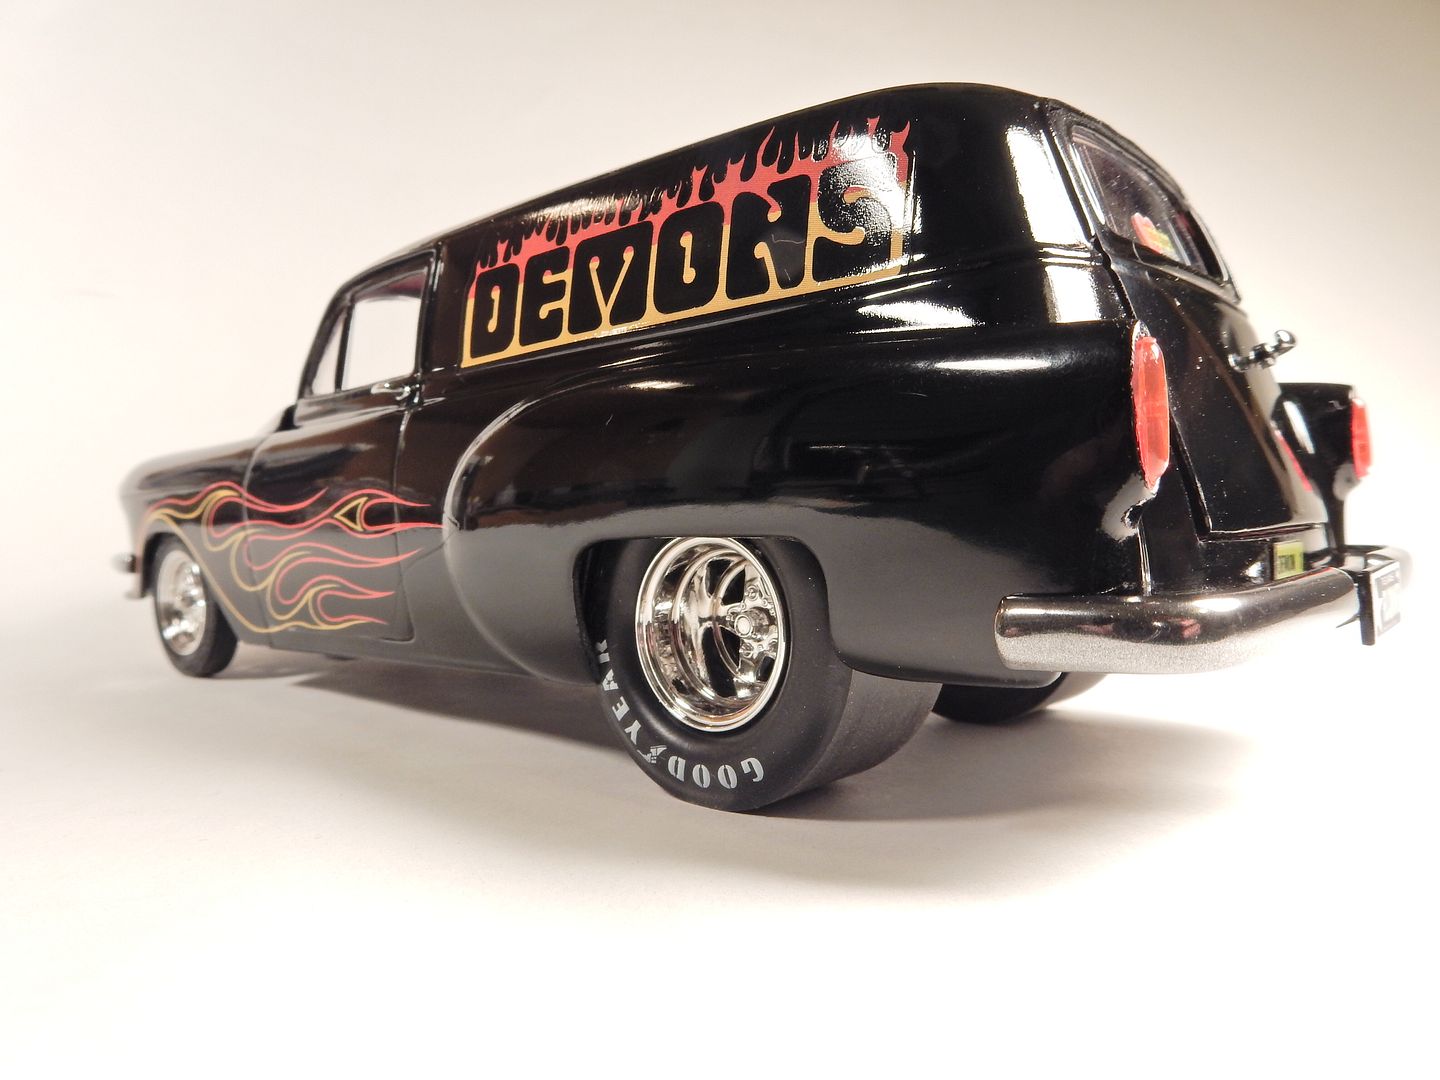
Pre-glamour shot from the back…
Superb Joe!
Thanks Joe. [Y]
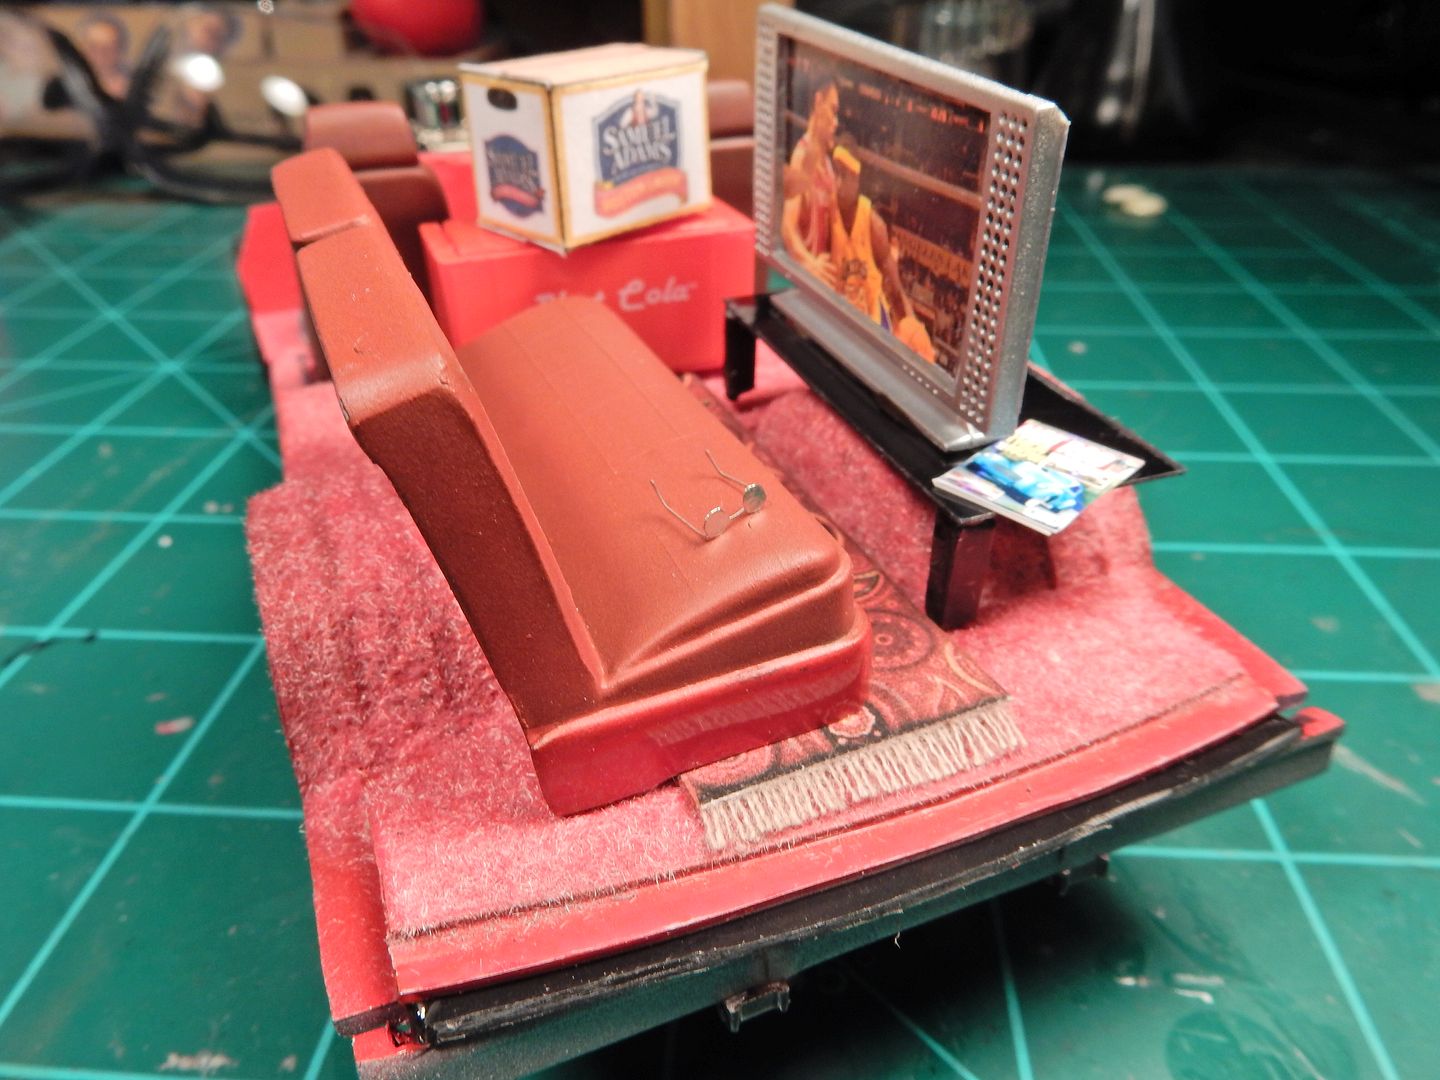
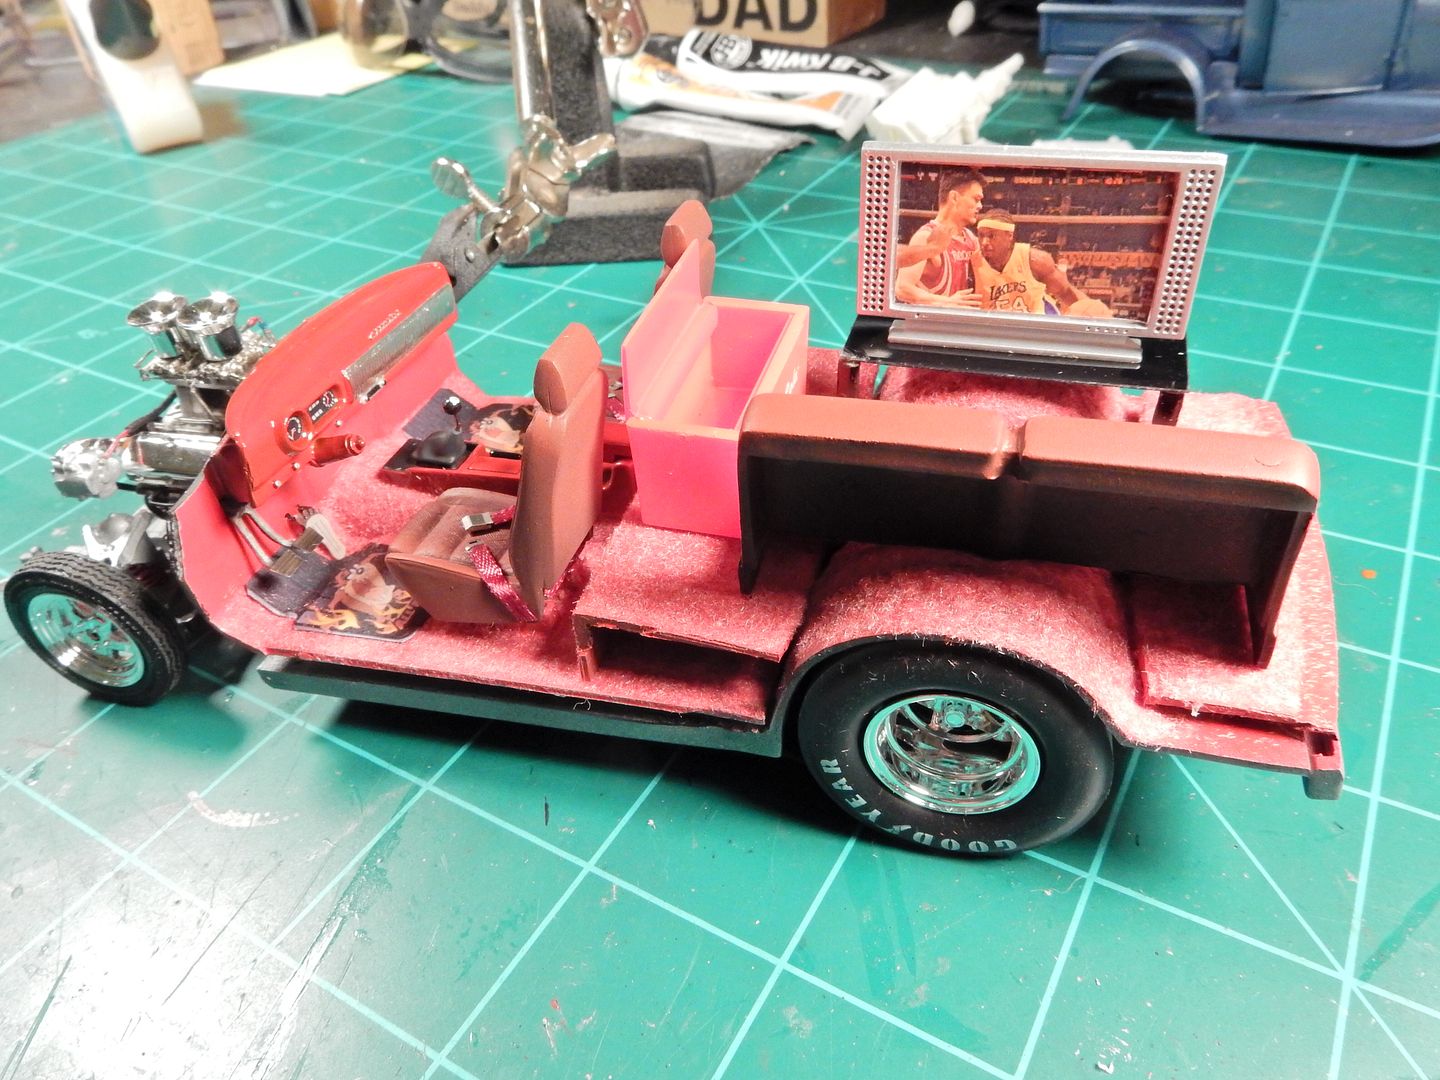
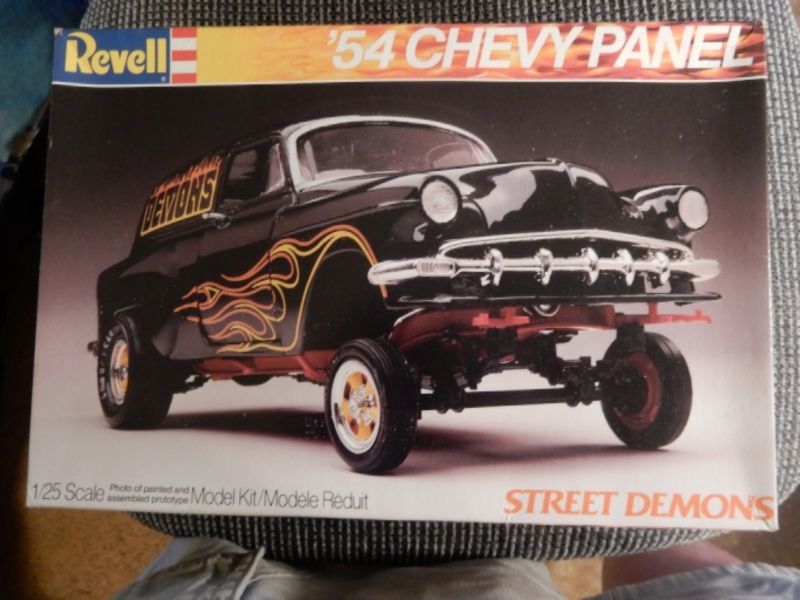
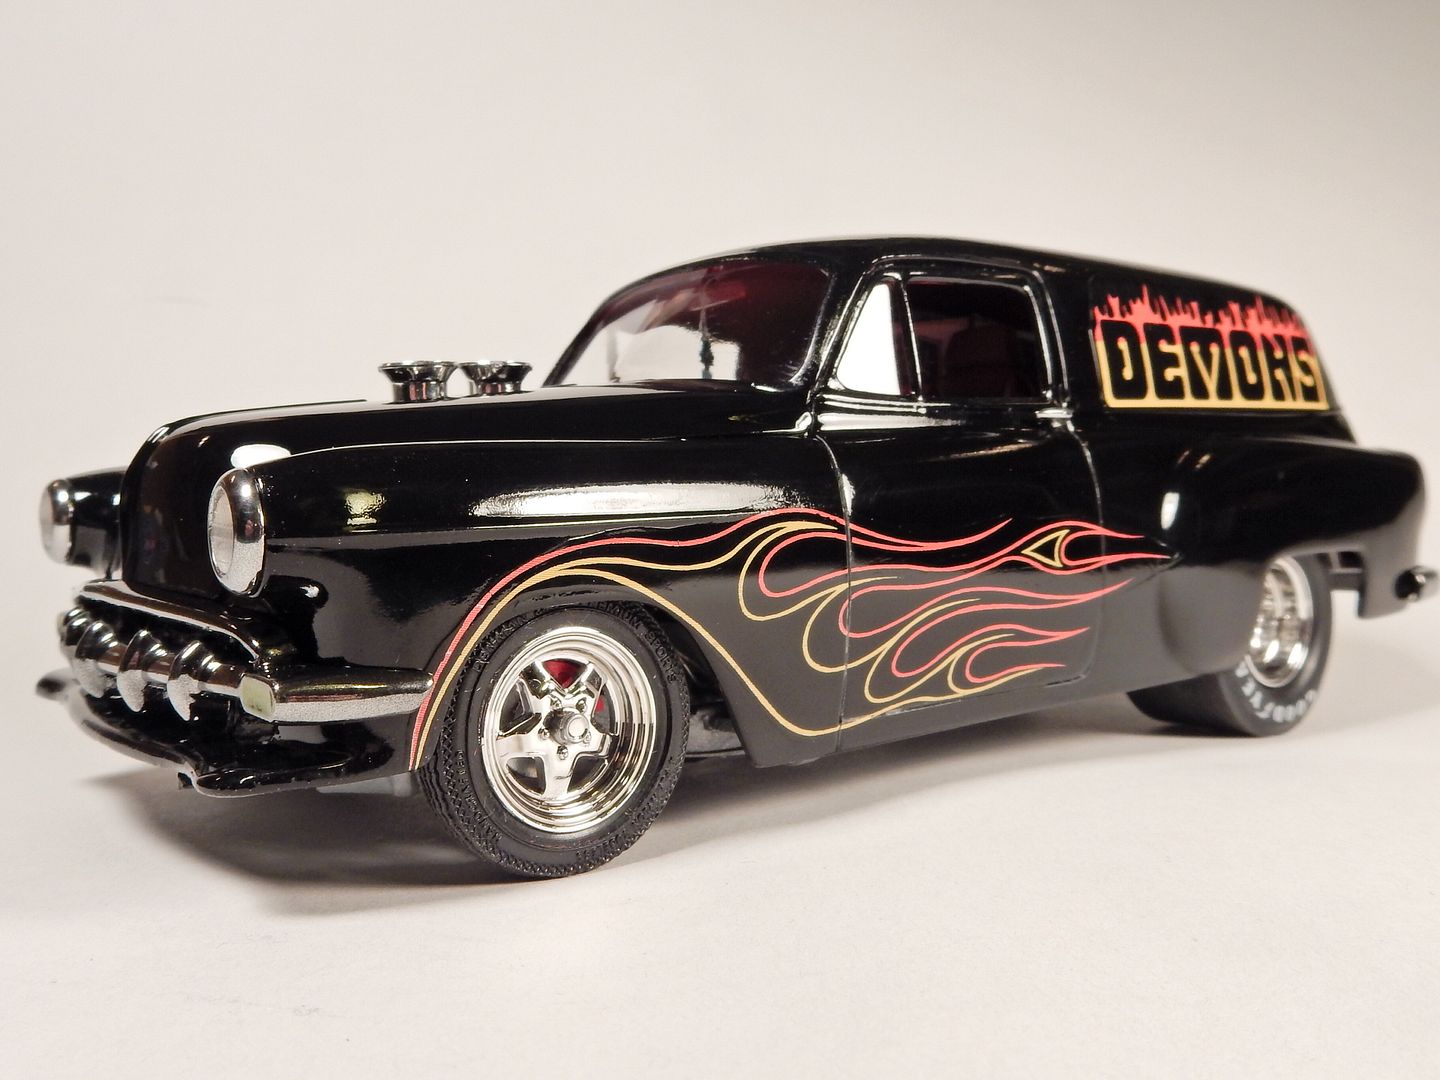
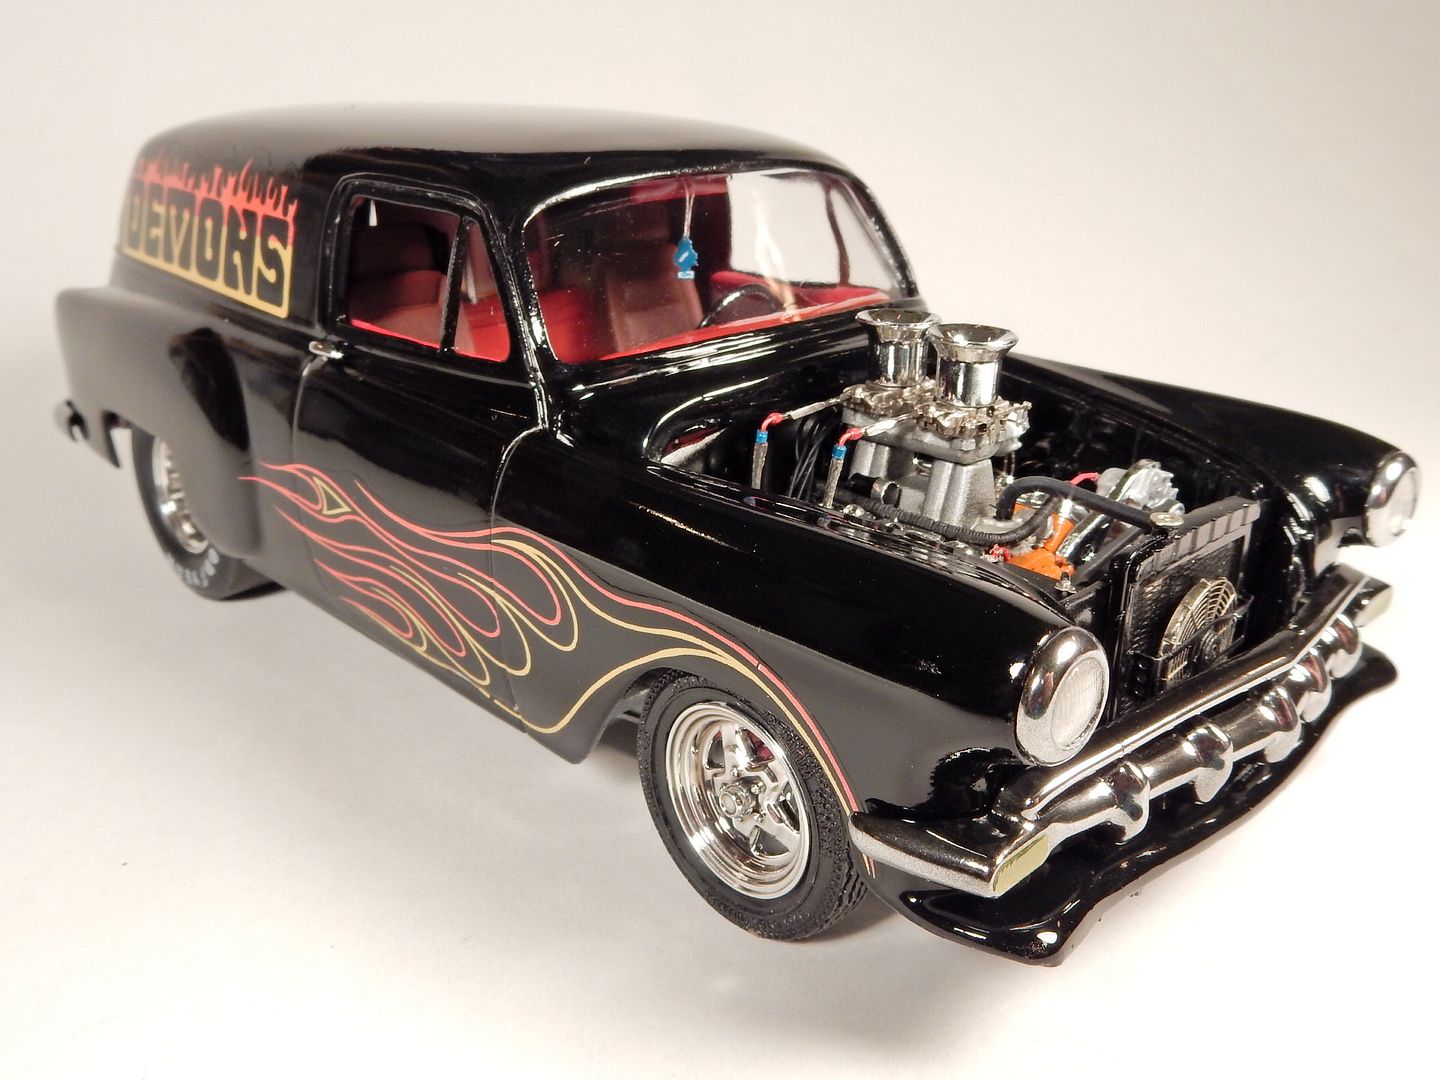
When I was a kid I was drawn to the Revell Street Demons line-up and ended up buying them all. I only built three of them back then and this was one of them. It’s funny how when the hobby follows us into adulthood we see how much we either overlooked or just how bad the kits were back then. But hey, we were having fun back then right? lol . I took this project on in January of this year and although this kit does suck, I’ve had a great amount of fun with it and learning opportunities left and right over the course of the last 8-1/2 months. Although I was drawn to this car as a kid (and still am), as an adult I didn’t care for the gasser stance for a “street” car and wanted something a little more jazzed up and to have some fun with it. Sooooooo, I created a dropped down party mobile. I mean …with all that room in the back the possibilities were endless. I started out with my eyes being a lot bigger than 1.) my ability and 2.) what there was room for back there. Over the course of the build while my vision/ goal was always the same, I had to modify the ideas somewhat and my abilities got a tune up but I’m very happy with the end result.
I won’t go over every detail of the build but I will say that there were 7 different kits and a lot of aftermarket involved in its making. What really blew me away was the fact that there weren’t any headlight bezels/ buckets (and there still aren’t to this day with the latest release of this kit!!!  ) and the hood hinge cut outs at the back of the engine compartment just make you want to slap the original kit engineers.
I’d like to thank all of those who followed along and commented/ encouraged me throughout this creation. You guys are da bomb. ![]()
The kit:
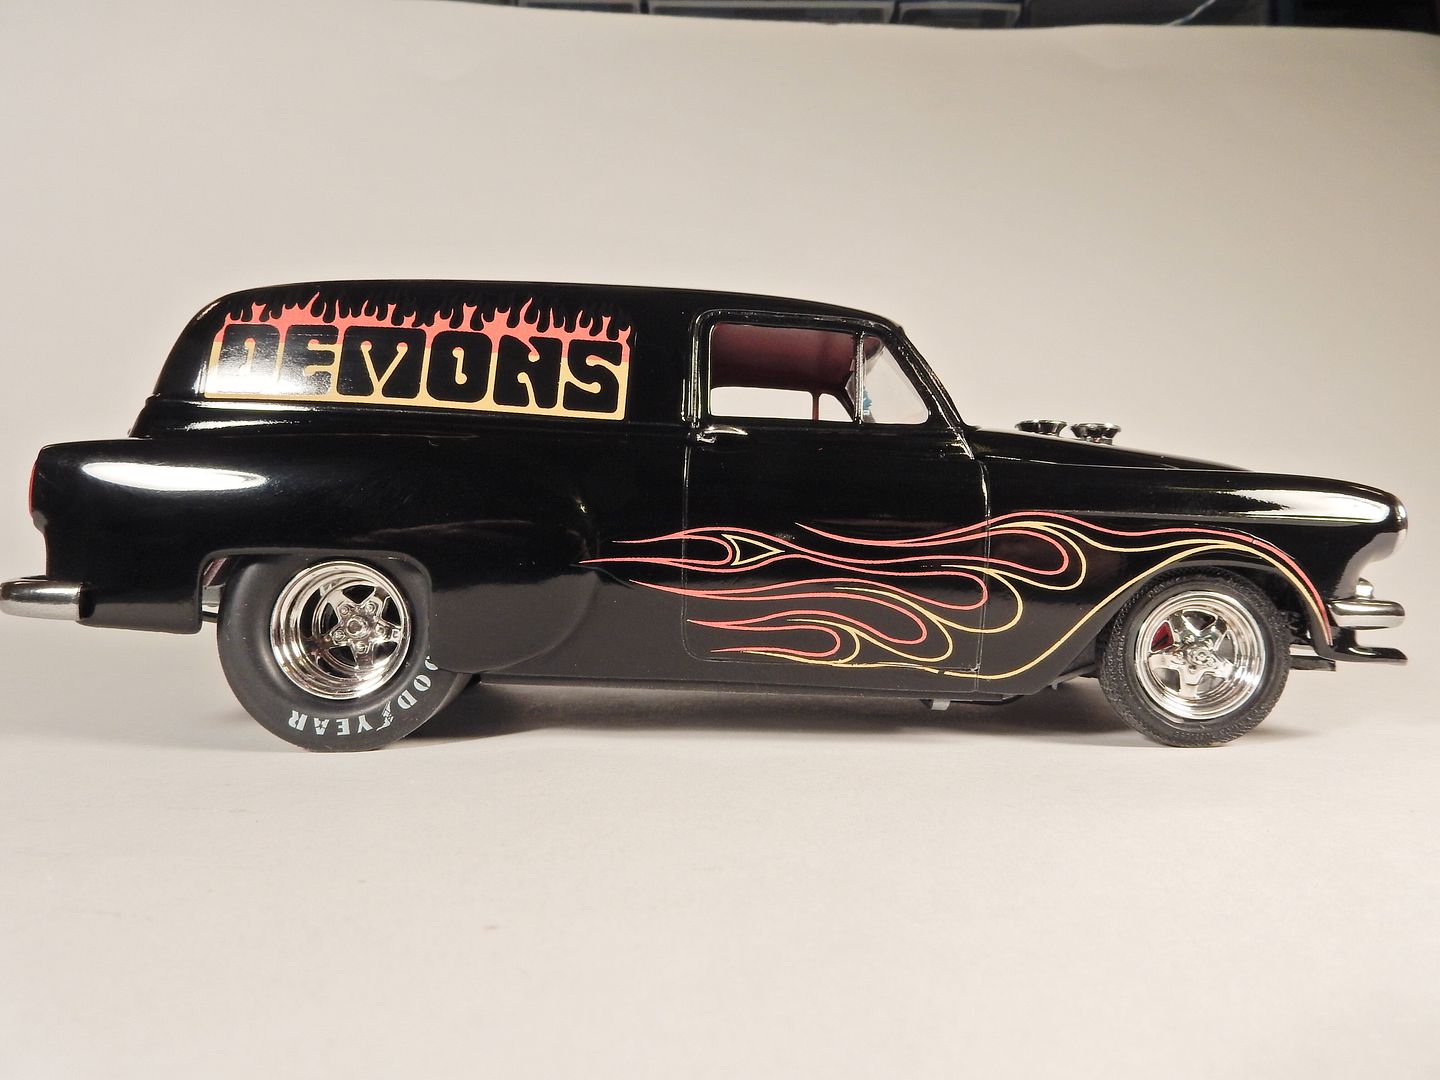
Glamour shots:


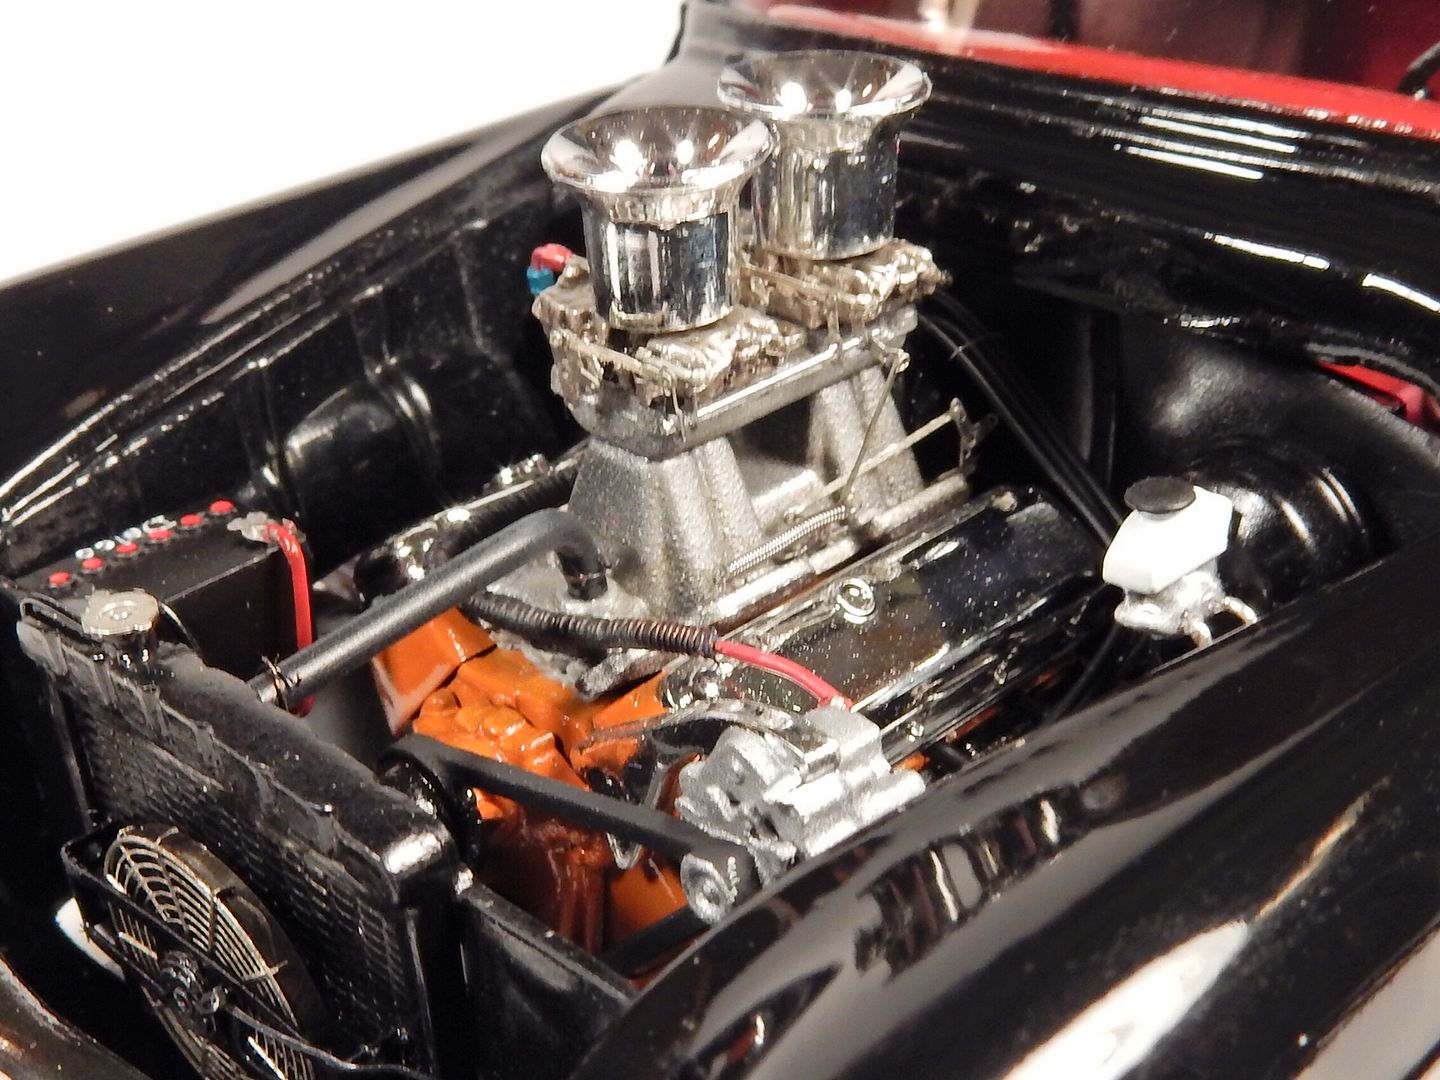
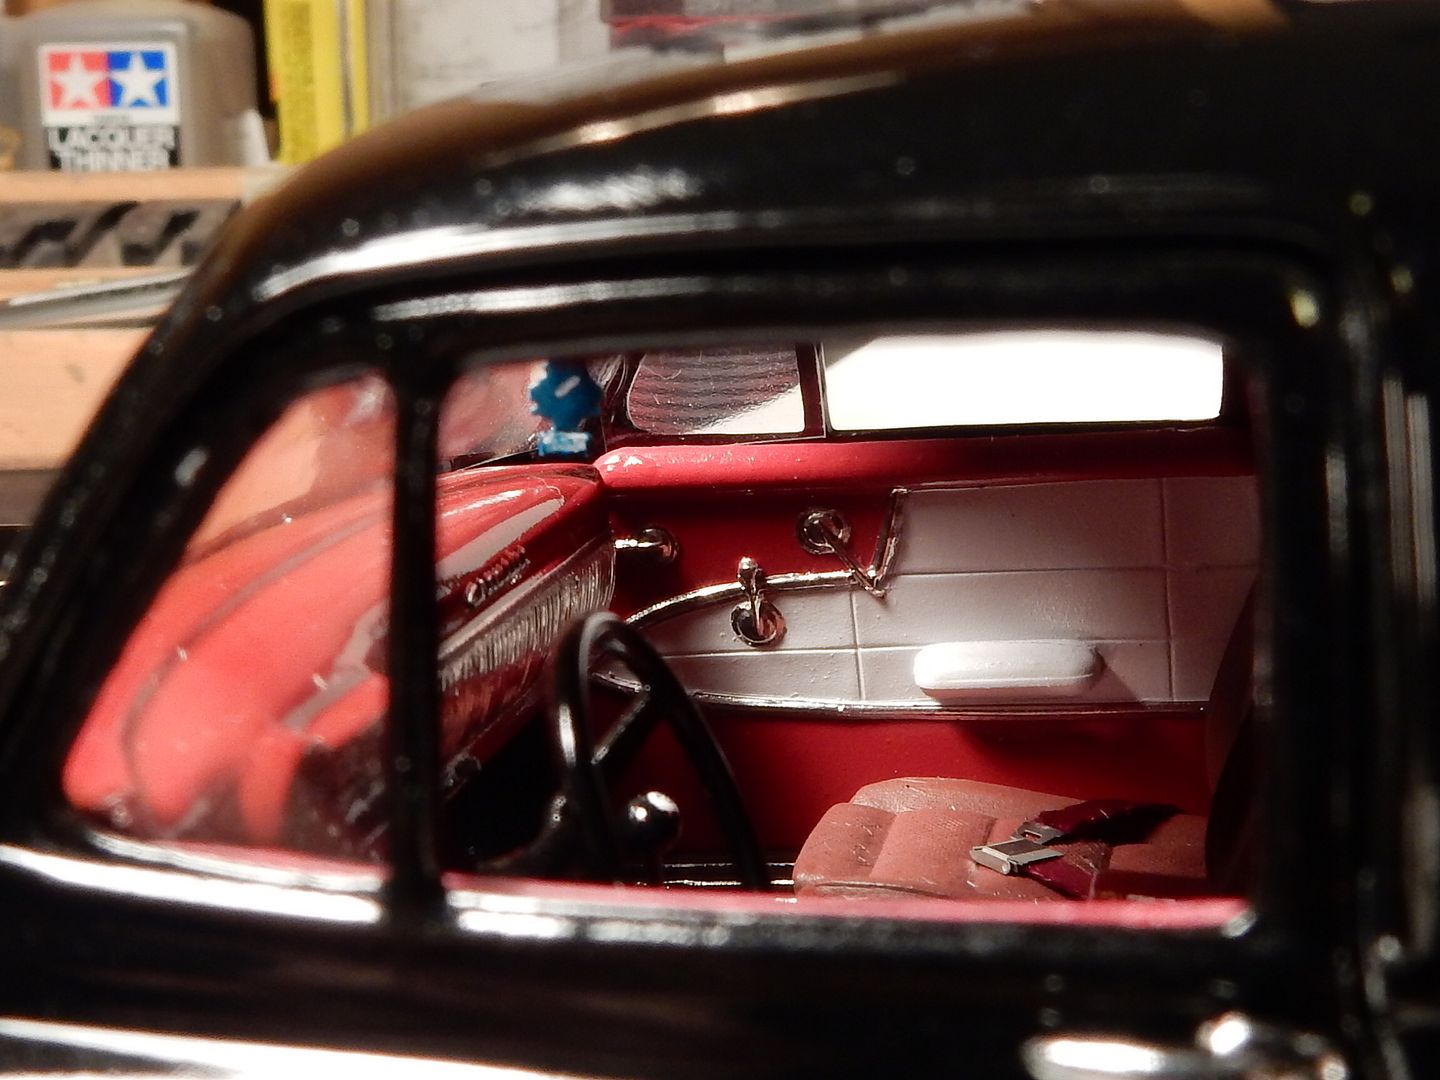
and then there’s what’s inside: