Eric: Thanks pal. Yeah I’ll end up going into some detail with it. Jeez I don’t know if it’ll be on the scale that the truck was but then again…we’ll see.
Very nice work indeed Mustang 1989-how about some details on what you had to do to get the lowered stance-I have several old gasser kits in the stash that sit just a bit too high.
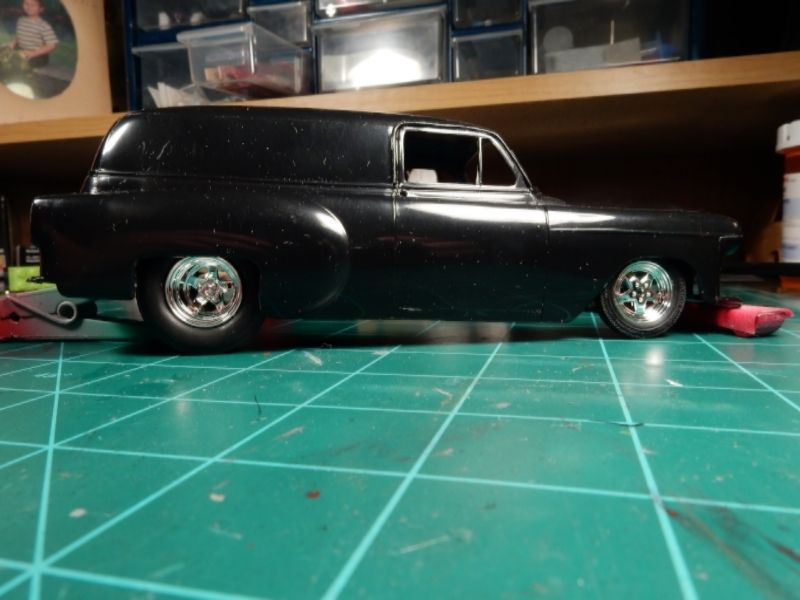
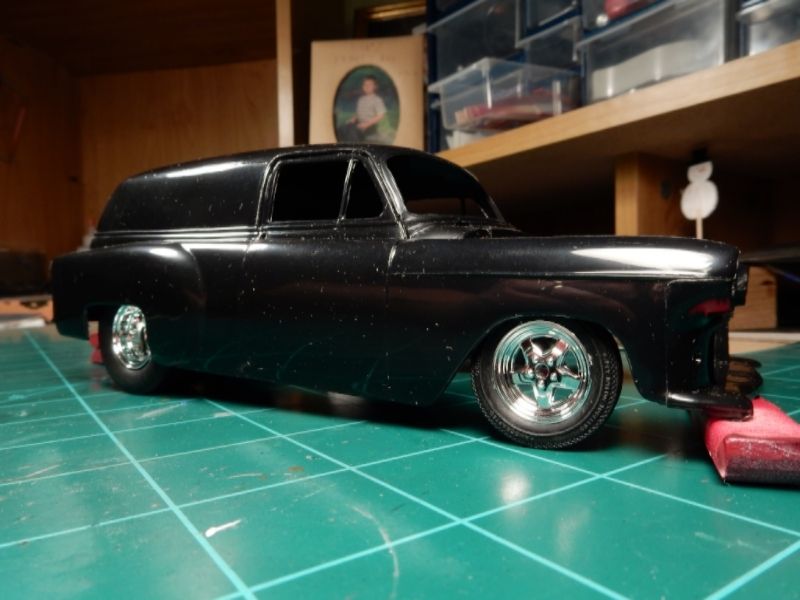
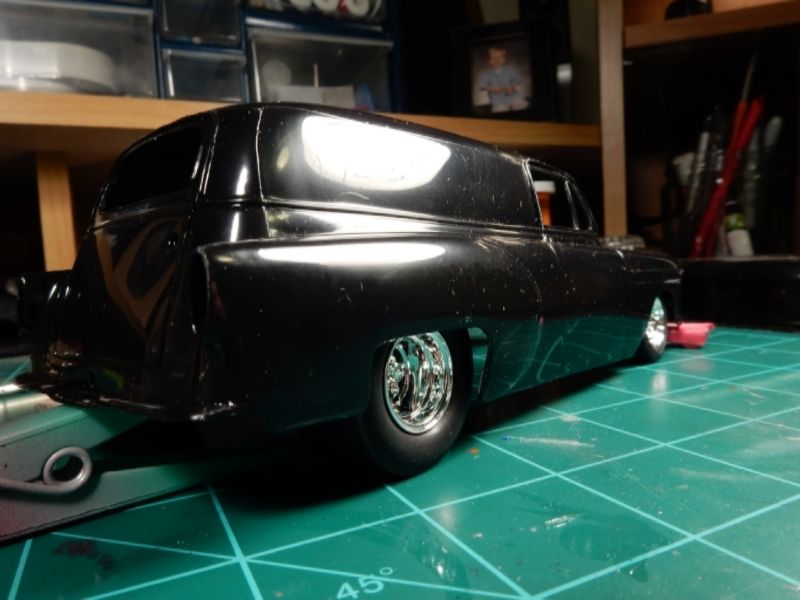
Bob: Thank you sir! Right now it’s just a mock up but what I’m in the process of doing is using a different chassis.
The OOB frame just aint going to get it as it will leave the vehicle sitting too high.
So I’ll be using the frame and suspension components from this rascal right here to correct that…
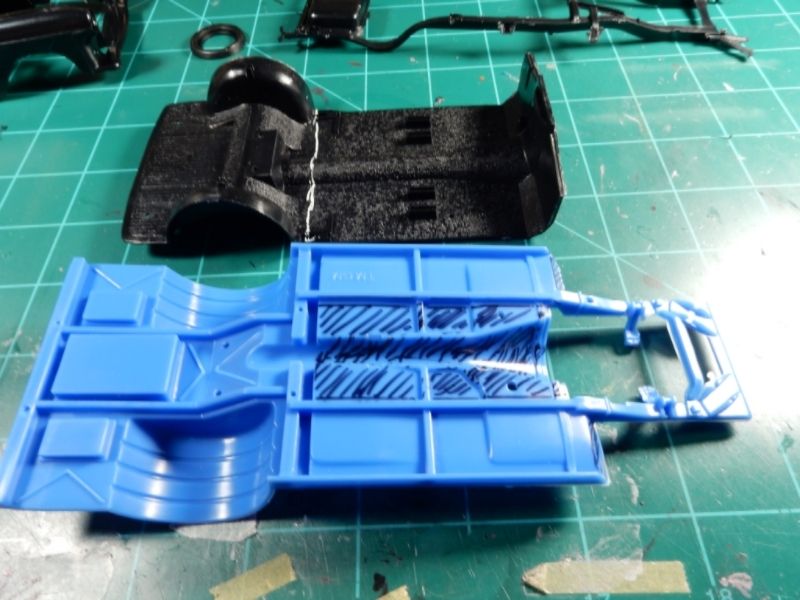
As it looks right now I’ll have to cut the center of the Nova chassis out as noted by the areas shaded in black and then cut the '54 flooring at the demarcation line drawn in white. I’m going to have to lengthen the Nova frame by about a 1/4" in the front and shave off about 1/8" at the rear to make all of this work.
Yeah, that’s MUCH cooler than the goofy looking “gasser” look. I know those cars were purpose-built, but man, they look silly!
Thank you, thank you, THANK YOU for not putting those grotesque “Donks” style low-profile/big rim tires on it. They almost make me nauseous on anything I see them on!
LOL. I kind of like the gasser look for some of the 30’s and 40’s rods but not so much for the 50’s and newer. One of the most disgusting sights I ever saw was a 69 Mustang gasser. Yeesh! “Donks” …lolololol. There aint gonna be no dang black rubber band stretched around a big wheel from me. I don’t like that look either. [:O]
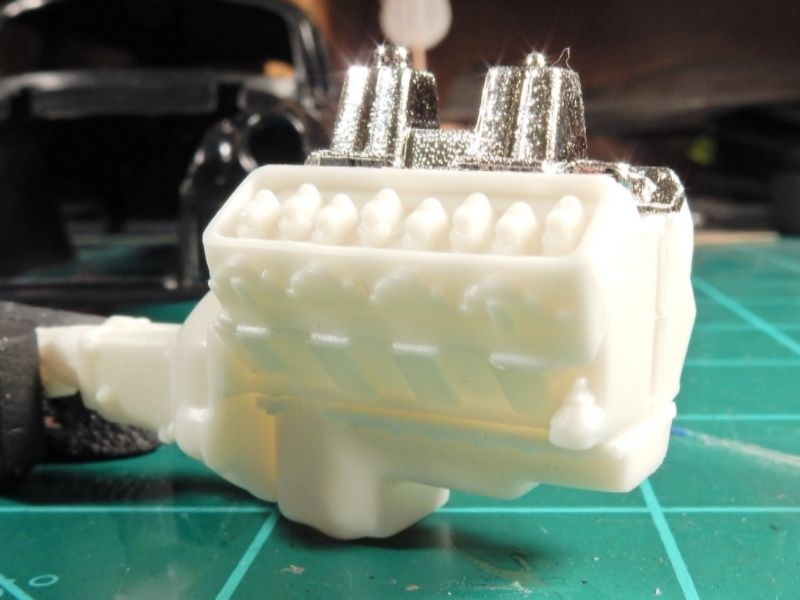
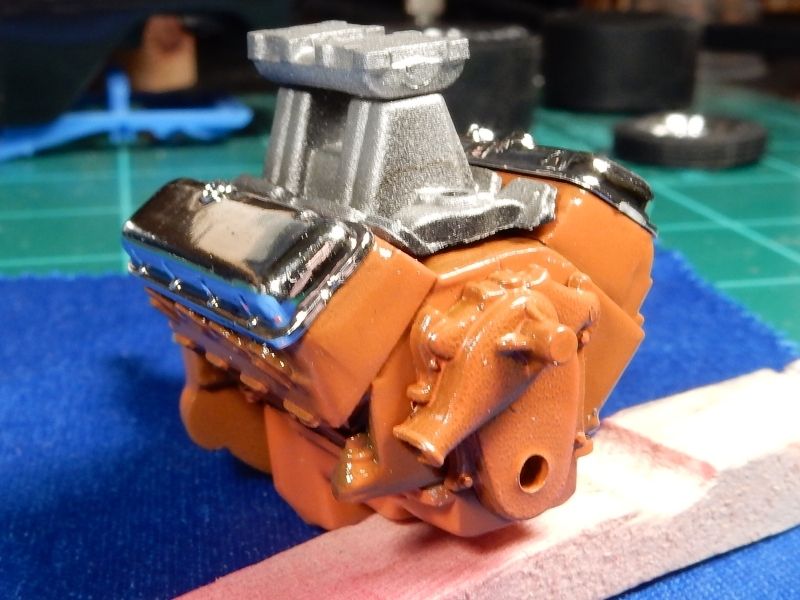
I started out with the engine build like I always do on an automotive build. I primed with black on this one and shot the coat of paint like always but this time instead of adding a light wash I shot it with a gloss coat. To compliment the shiny paint job I thought I’d depart from the norm again and dress this one up with some chrome. I’m giving thought to dunking the chrome rocker covers in a dip of future and Tamiya smoke mixed together to give it that extra shine as well as to preserve the chrome. It’s a big block and doesn’t say which one it is so I’ll assume this is a 396.
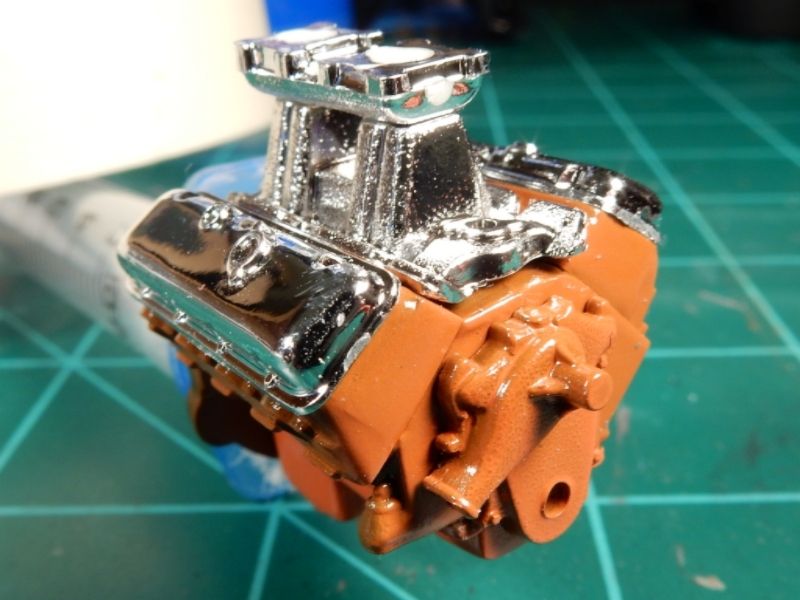
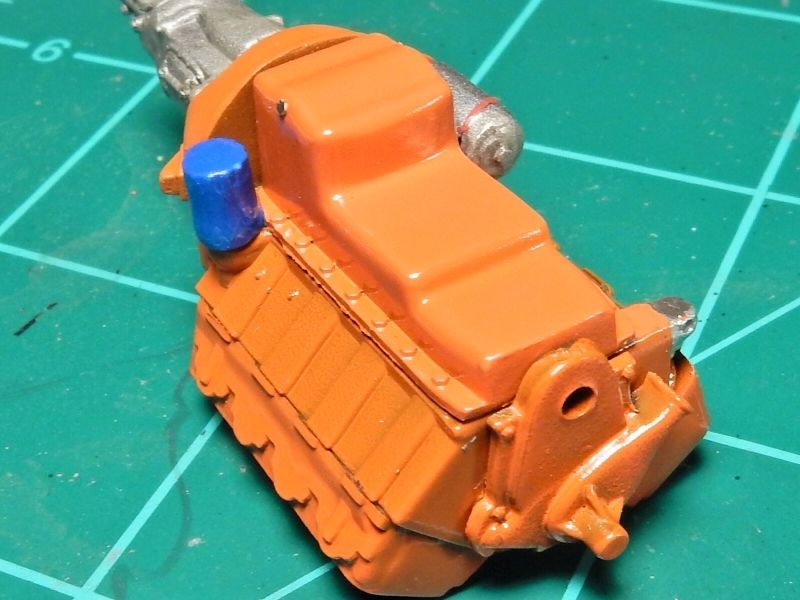
Ok folks. I didn’t end up liking the chrome intake and plenum as it was just too much chrome and to me too much chrome just looks cheap. I stripped the chrome from the intake and plenum using Easy Off. You gotta soak this stuff for around 30-45 minutes but it works. Then I washed it in warm soapy water, dried and primed it in black. After that I shot a coat of aluminum on it and after that I applied a light coat of dark wash on it to add a little more convincing finish. Additionally the oil fill cap is supposed to go on the drivers side. Oops! Here’s the results:
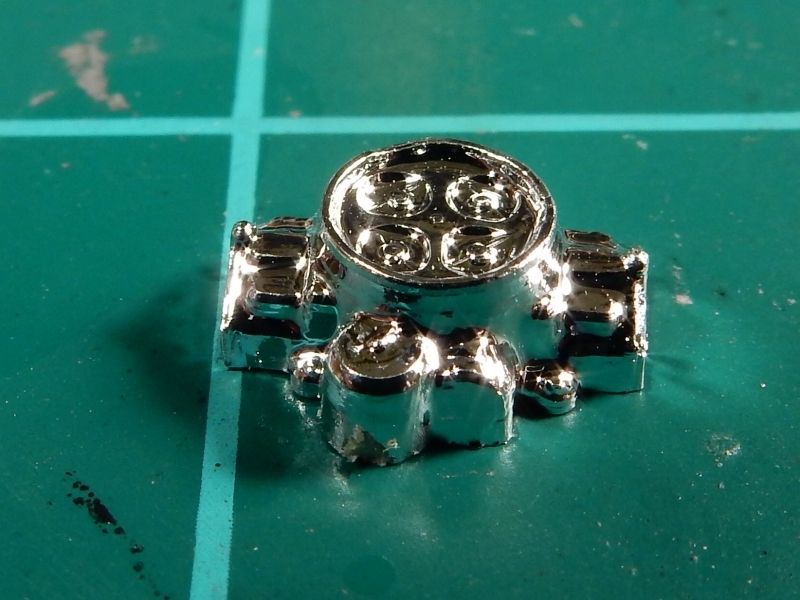
Well I can tell you for dang sure that I sure as Hell aint gonna use the OOB carbs that came with the 427. I don’t know what these are but they are anything but a well represented carb.
I thought about using some Dominator carburetors that came with my Motorcraft Thunderbird but in real life it would be too much for a street engine…
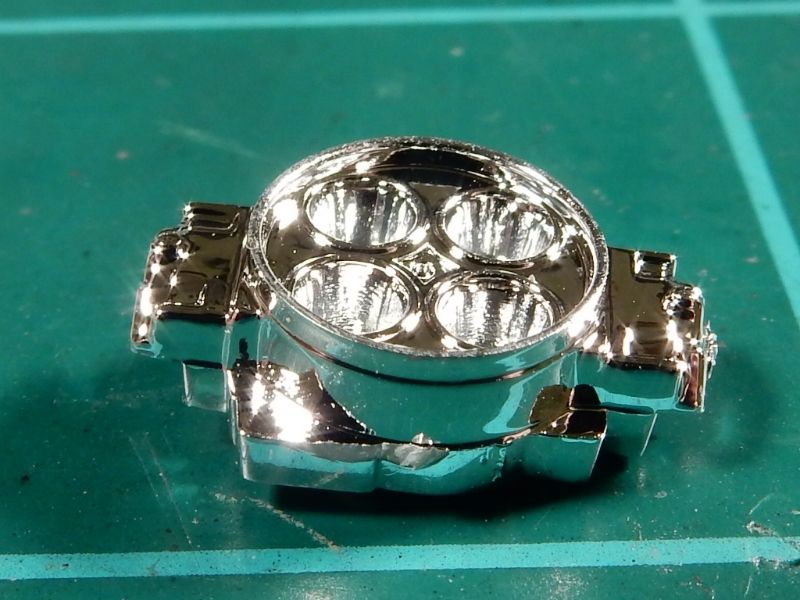
that leads me to my third option which is probably the best all around from the Revell 1970 Boss 429 kit. I haven’t found an OOB Holley 4150 series carburetor that’s been more well represented than these in terms of detail and accuracy. Only the AM stuff has them beat but I aint payin’ $12 for two carburetors so we’ll stick with the OOB offerings from Revell:
This is where I’m at so far on the bottom side. Oil filter was painted and installed yesterday and I just finished up installing the starter today. I’ve got the fuel pump painted up and the inlet and outlet holes already drilled in it for the fuel lines. And of course …the PE oil pan drain plug.
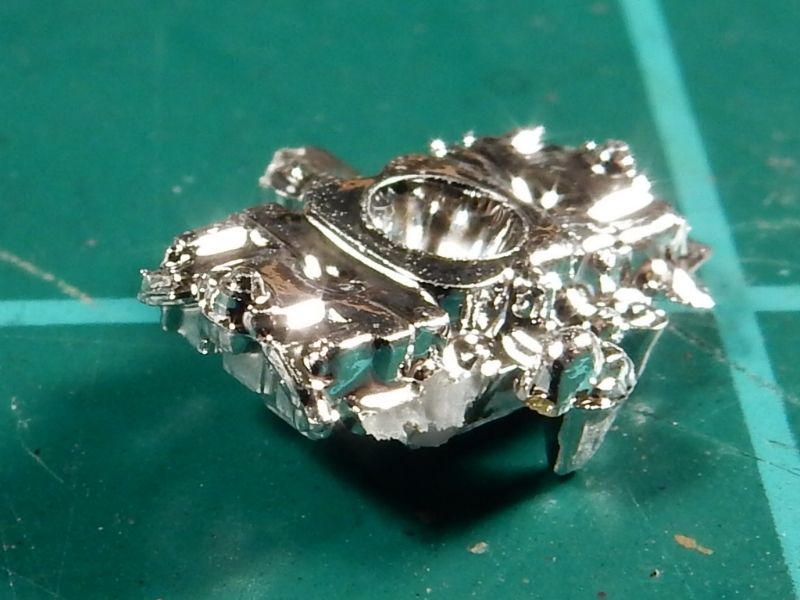
Carburetors are now in a bath of Easy Off to strip the chrome off. This morning I drilled out all holes for the spark plug wires into the cylinder heads and for all the heater and bypass hoses in the intake manifold and water pump. I also managed to order my next little addition to this build a couple of days ago. No belt driven fan for this one. Check it out:

 OK, I’m ready, let the show begin.
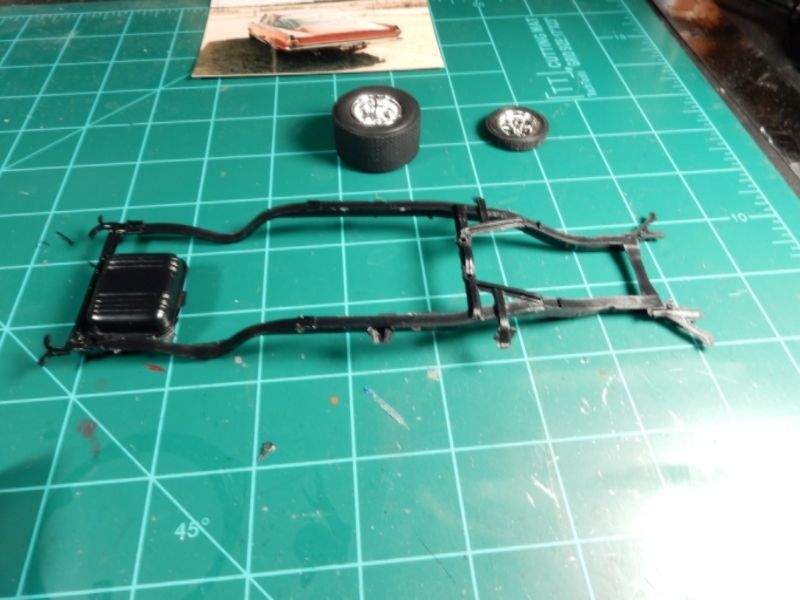


 should do the trick