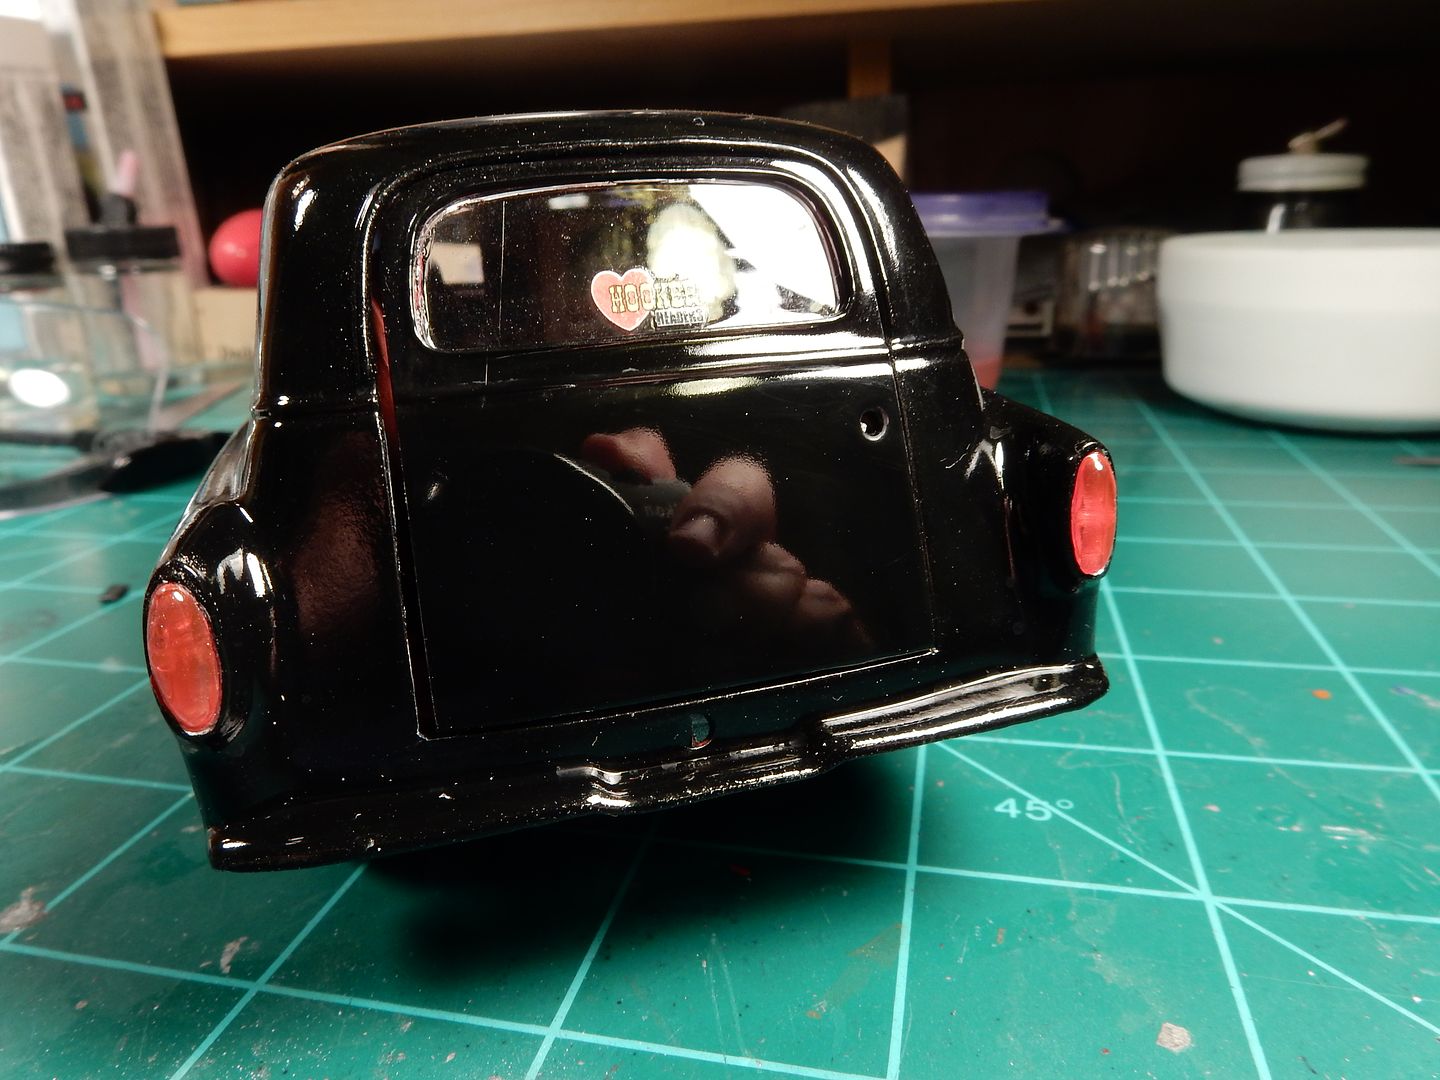
Thanks again for the comments fellas. These days I’ll take any encouragement / eggin’ on with this thing that I can get. I had the door / hinge all set into the body yesterday. First off , my initial attempt on opening the door was frustrating because I forgot to allow proper spacing from the edge of the door to the door opening on the hinge side so there was interference there. I was able to remove the door and hinge assy and sand the edge of the door to allow for proper opening and closing with no interference. Secondly, once I fixed that and installed the door/ hinge for a second time I ran into the body not sitting down on the frame all the way in the back because… I forgot about how low the hinge was positioned on the door. The hinge made contact with the floor before the body could be set all the way down on the frame. So off comes the hinge again…only this time I created a noticeable vertical crease line on the exterior finish on the rear door. So I ended up separating the interior trim panel from the door skin, removing the door hinge rod from the interior panel and dunking it in brake fluid again. I was able to save the exterior finish on the door skin with wet sanding and polishing…thankfully.
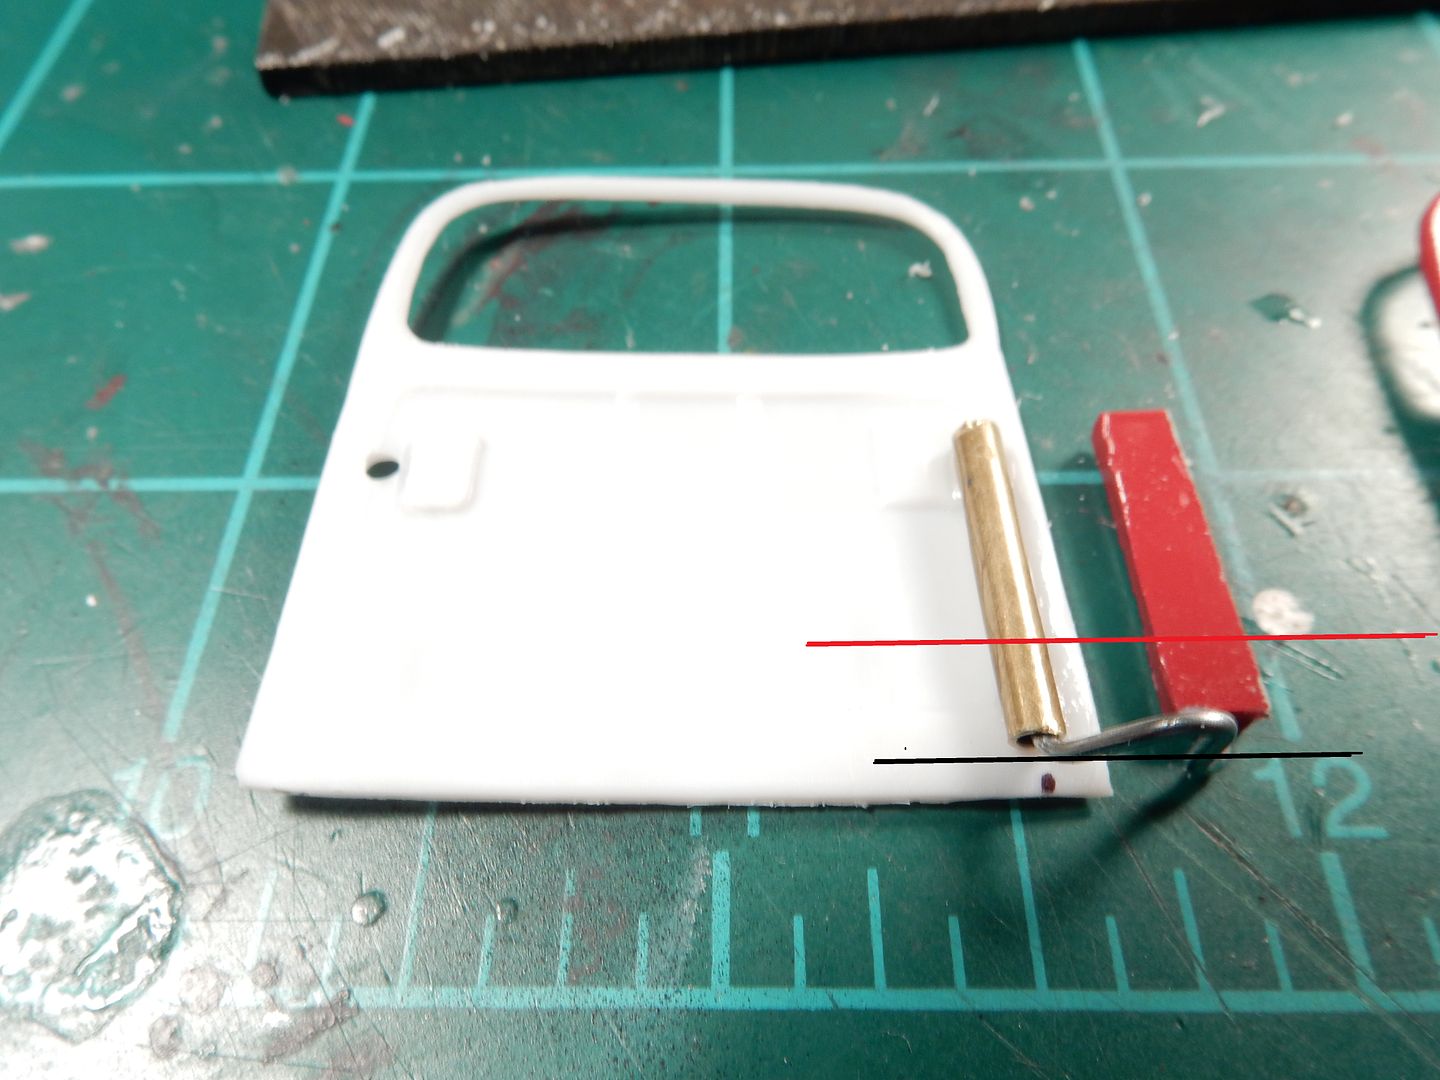
I cut another door hinge rod to a shorter length and shortened the hinge mount to the frame and will position the door hinge further up on the door panel. Here’s an illustration that I modified to show what I did and what needs to be done here:
The short black line is where the floor is making contact with the hinge. I need to position it up well out of the way to allow some room so the lower part of the hinge needs to be where the red line is. A bit of overkill on the higher up position but it’ll definitely be out of the way.
I’d like to refer to this as…backwards progress to remain positive about all this.
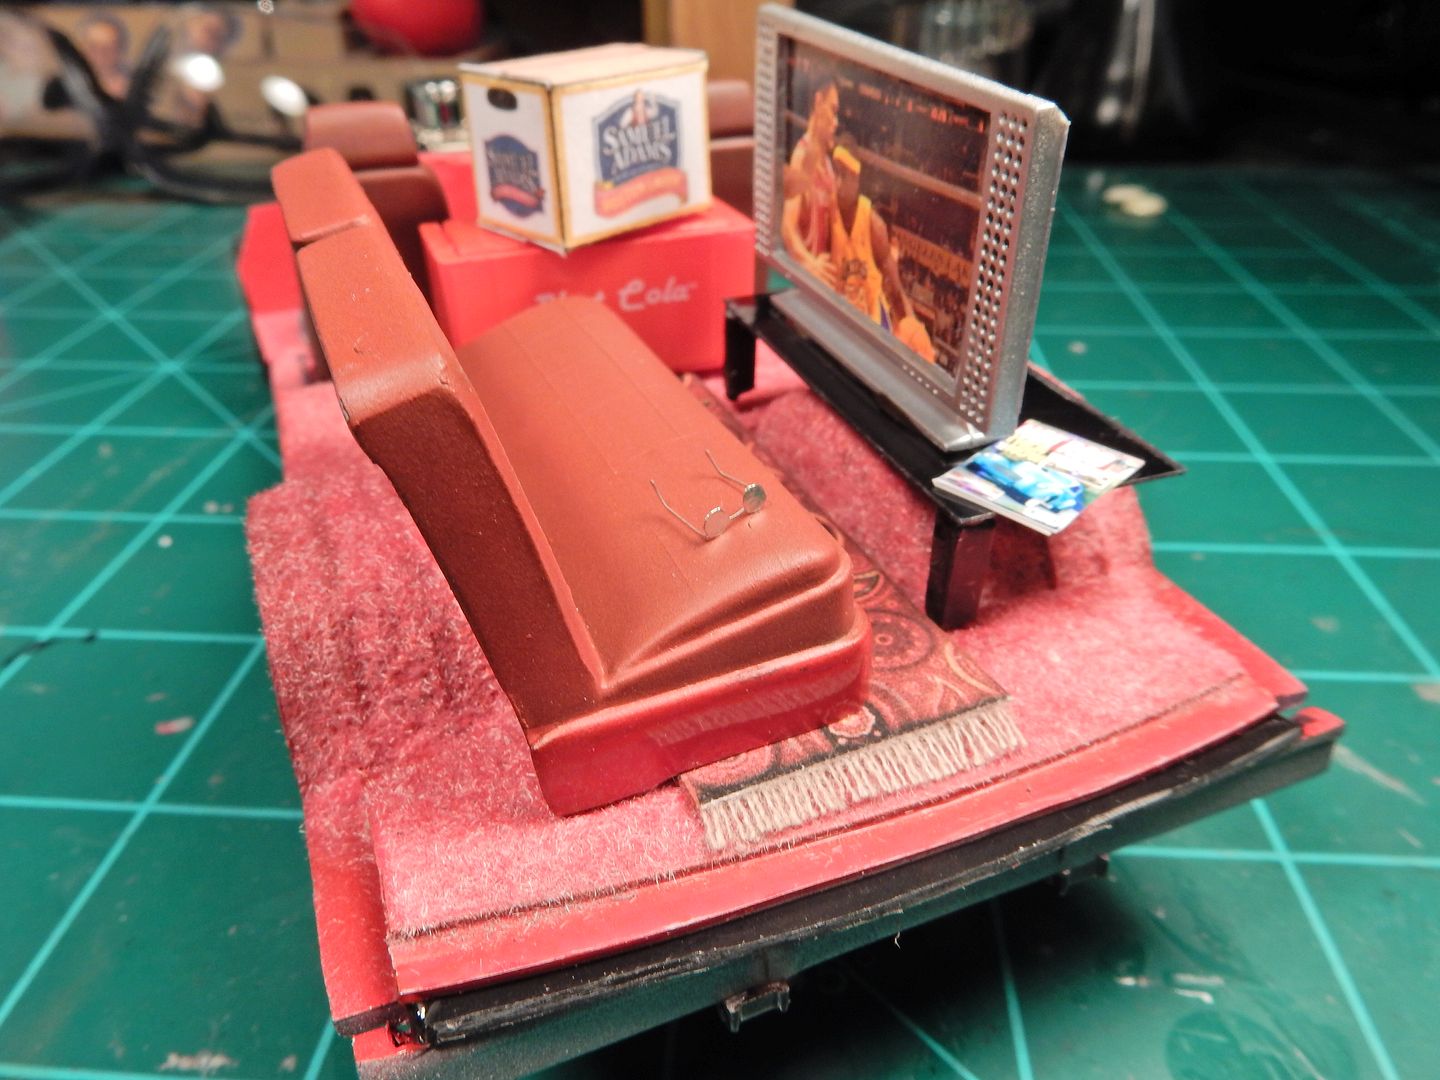
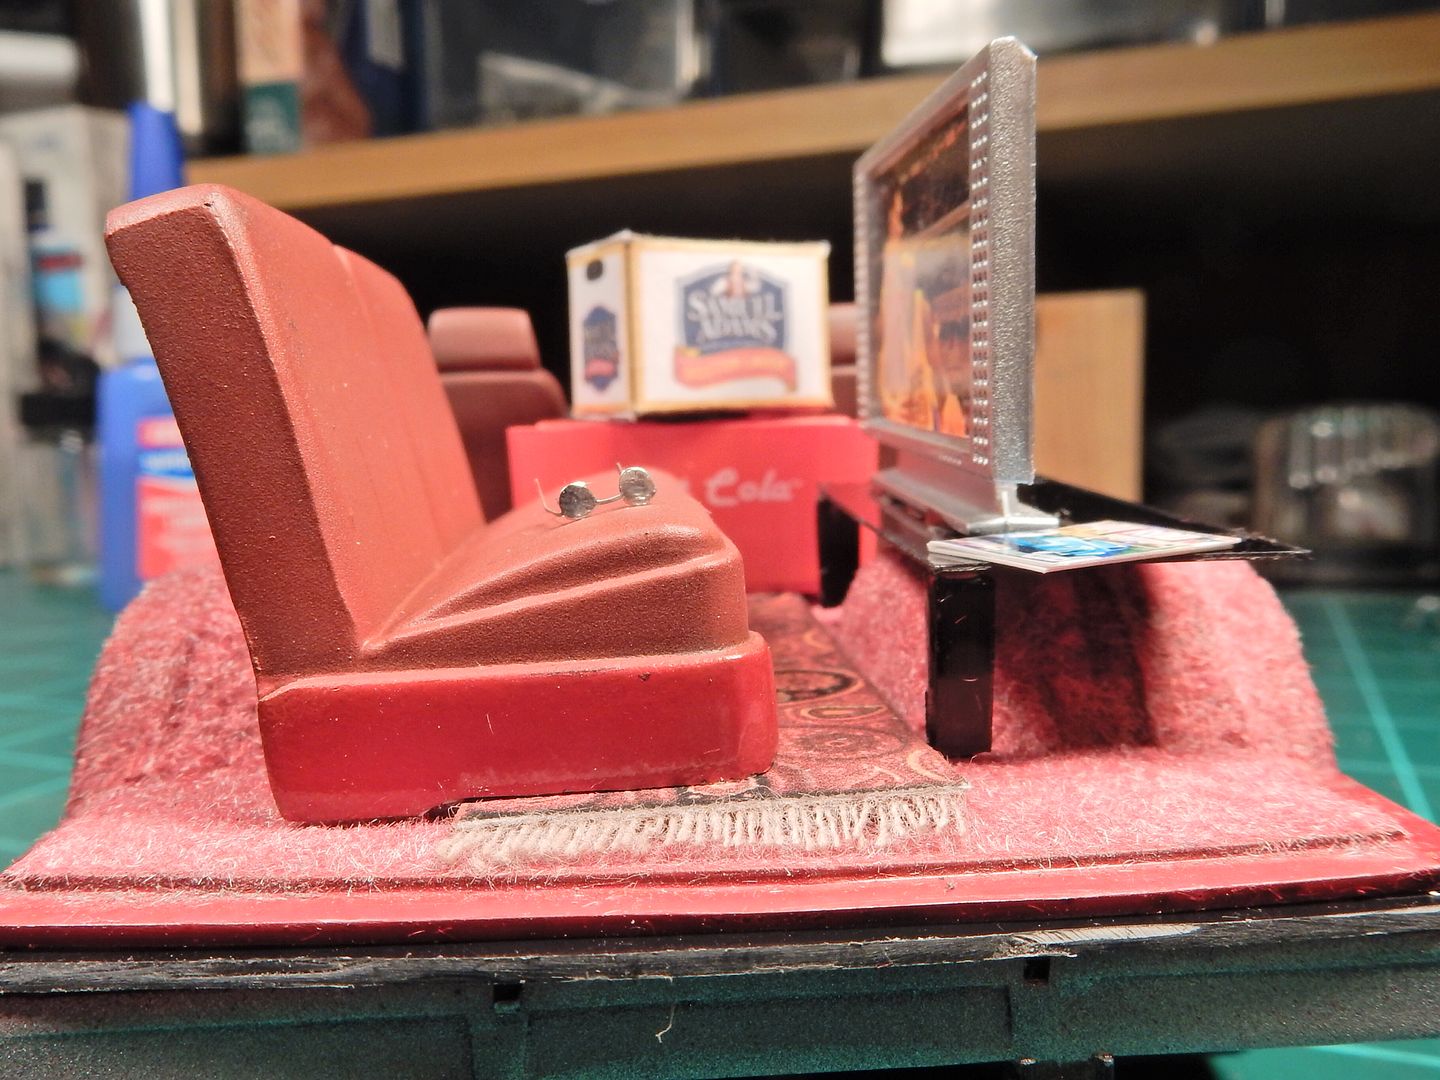
I’m moving past the last obstacle. I’ve stripped the paint job, replaced and relocated the hinge on the door and have primed and repainted the door trim panel. I’ve also added a filler/ seal strip at the rear of the flooring so that you can’t see through the floor at the body/ floor joint at the end of the flooring. Additions to the interior include an issue of Hot Rod magazine on the coffee/ TV table and a pair of John Lennon sunglasses that I applied chrome BMF to the lenses on. Sorry…you just can’t be too cool when you’re builin’ a street rod.
Good to see that you’re whooping that rear door into shape. Nice touches to the interior. I like it. Man, you’re almost there to the finish. Knock it out.
As far as the finish line goes, I’m just taking my sweet time with it. I’m still plugging away on this one and am down to the last stages so I had to do what I normally do and put it all down on paper so I could do things in the proper order. It may not seem like a whole lot but it is. Here’s what’s left to do:
Install Rear door hinging assembly
Install Windshield, Rear View Mirror and “Tree” Hanging from the Mirror
Steering Wheel-Choose, Paint and Install
Dash installation
Install Filler for R/H floor area (to hide glaring daylight caused by gap at R/H rear well and flooring)
Interior Door Trim Panel Installation
Headlight Bucket Alclad Application
Headlight lenses and Headlight Bucket Installation
Install Rear Bumper Mounts
Install Rear Bumper
Install Rear License Plate Assembly
Install Radiator Core Support Assembly
Install Front Grille to Include Painting Park / Turn Signal Lamps
Build and Complete Battery Cable Installation
Research Battery Operated Interior Lighting-(This one I’m not sure about how will turn out)
Install Body Onto Chassis
Install Front Bumper
Install Door Handles
Gloss Coat Hood Assembly
Hopefully I’ll be able to post some updates in the near future that will show some progress.
LOL! That’s how it’s getting done with this one alright.
The results of relocating the hinge, sanding the left hand edge of the door to allow for proper opening and closing and installing a door stop
Closed: (wouldn’t you know there’d be a stupid dog hair in the middle of the door-no worries-it’ll get dusted off)
I still have to shave some off of the floor at the door hinge area to allow for the body to sit low on the frame and for the door to open fully but here it is anyway with the body a slight bit off of the frame. Don’t worry, the outer door edge at the R/H side of the door will be painted the proper body color. I’ll get to it shortly
Open:
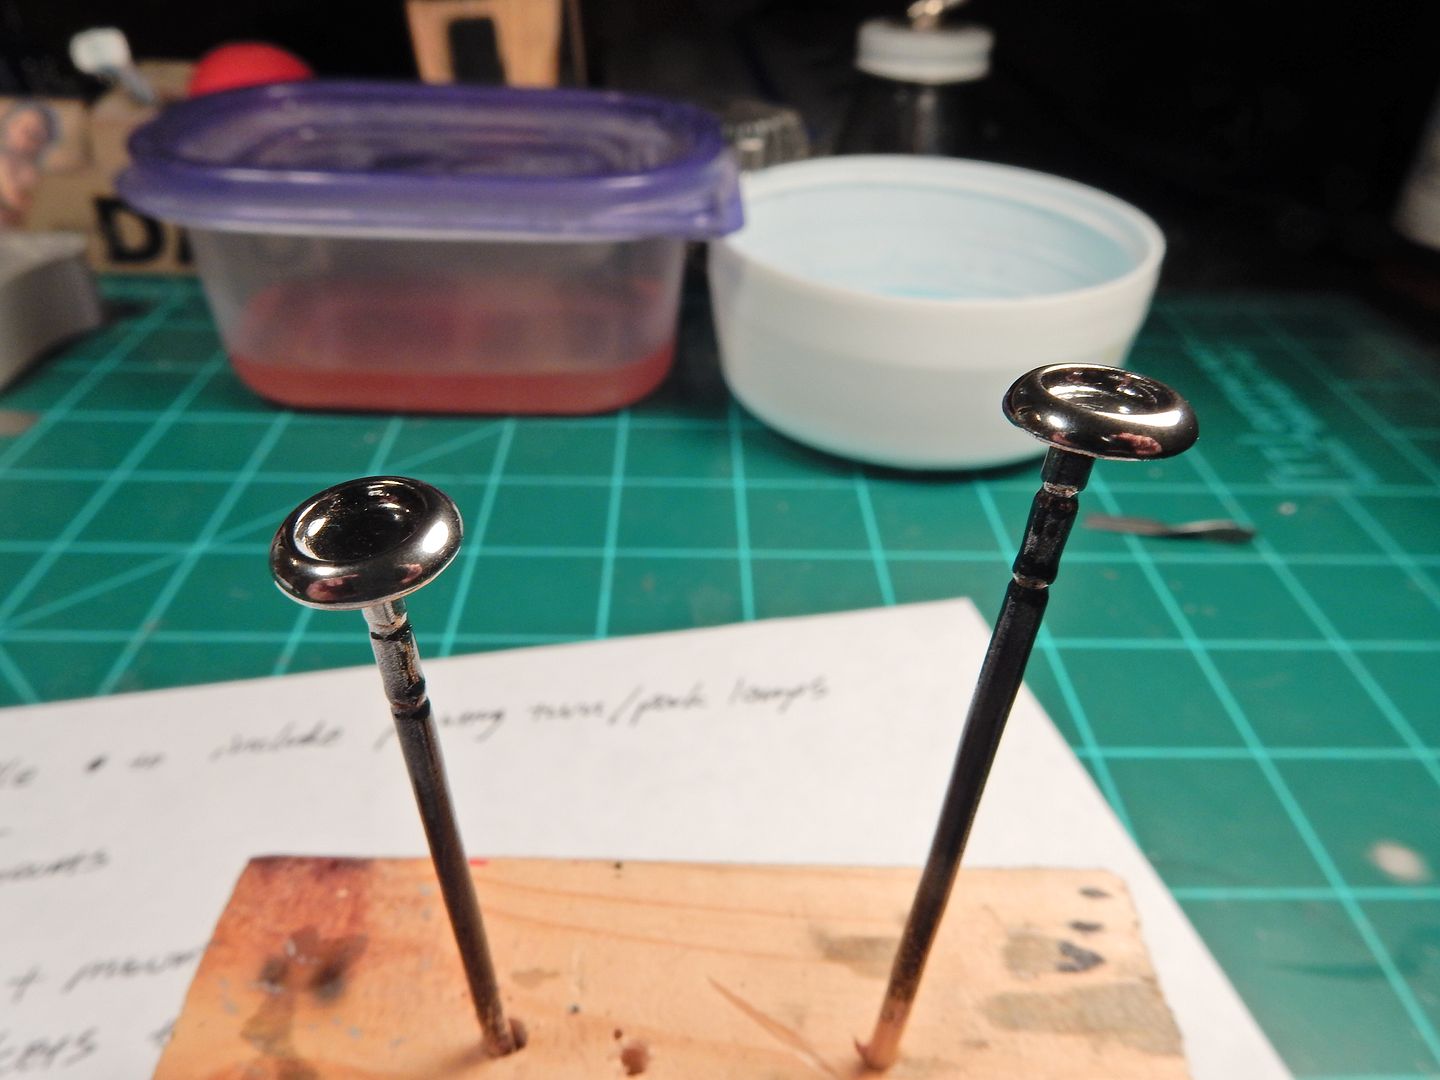
Oh and before I forget. I’ve been working on the headlight bezels. I had to strip the chrome on from them and try my luck with the Alclad II Chrome. I’m getting a lot more comfortable with my results.
Here the both of them are after polishing:
Let’s zoom in a lot closer (the boo-boo will be on the bottom and therefore be unseen) to define that reflection of my hand a little better:
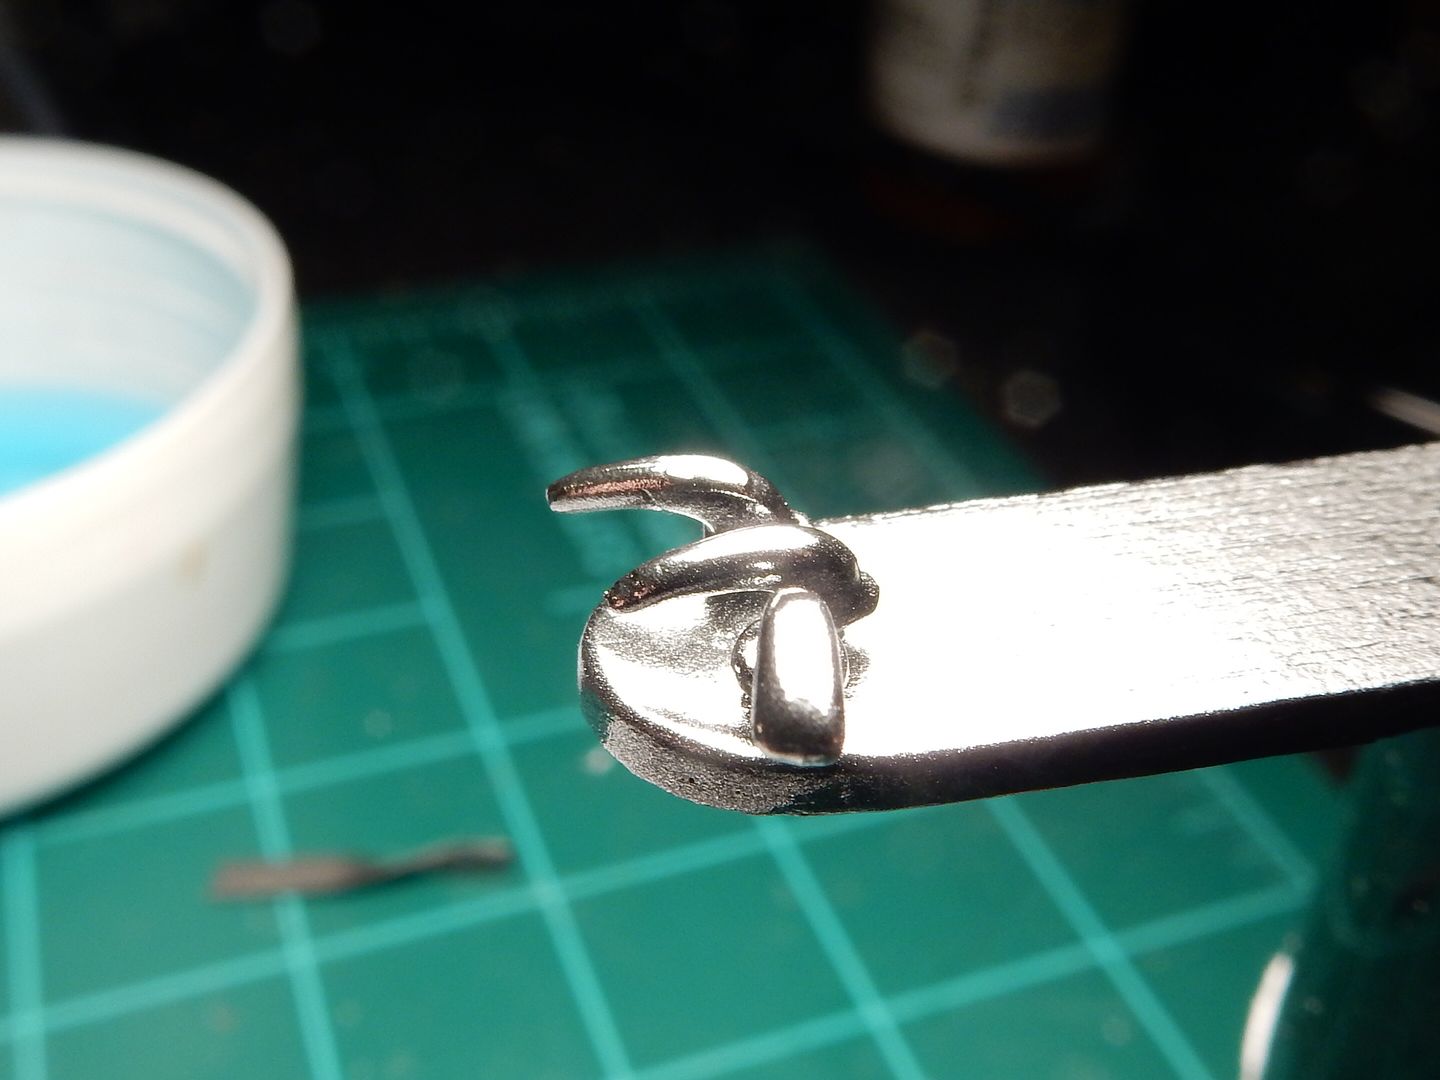
and the Alclad door handles are ready for installation as well:
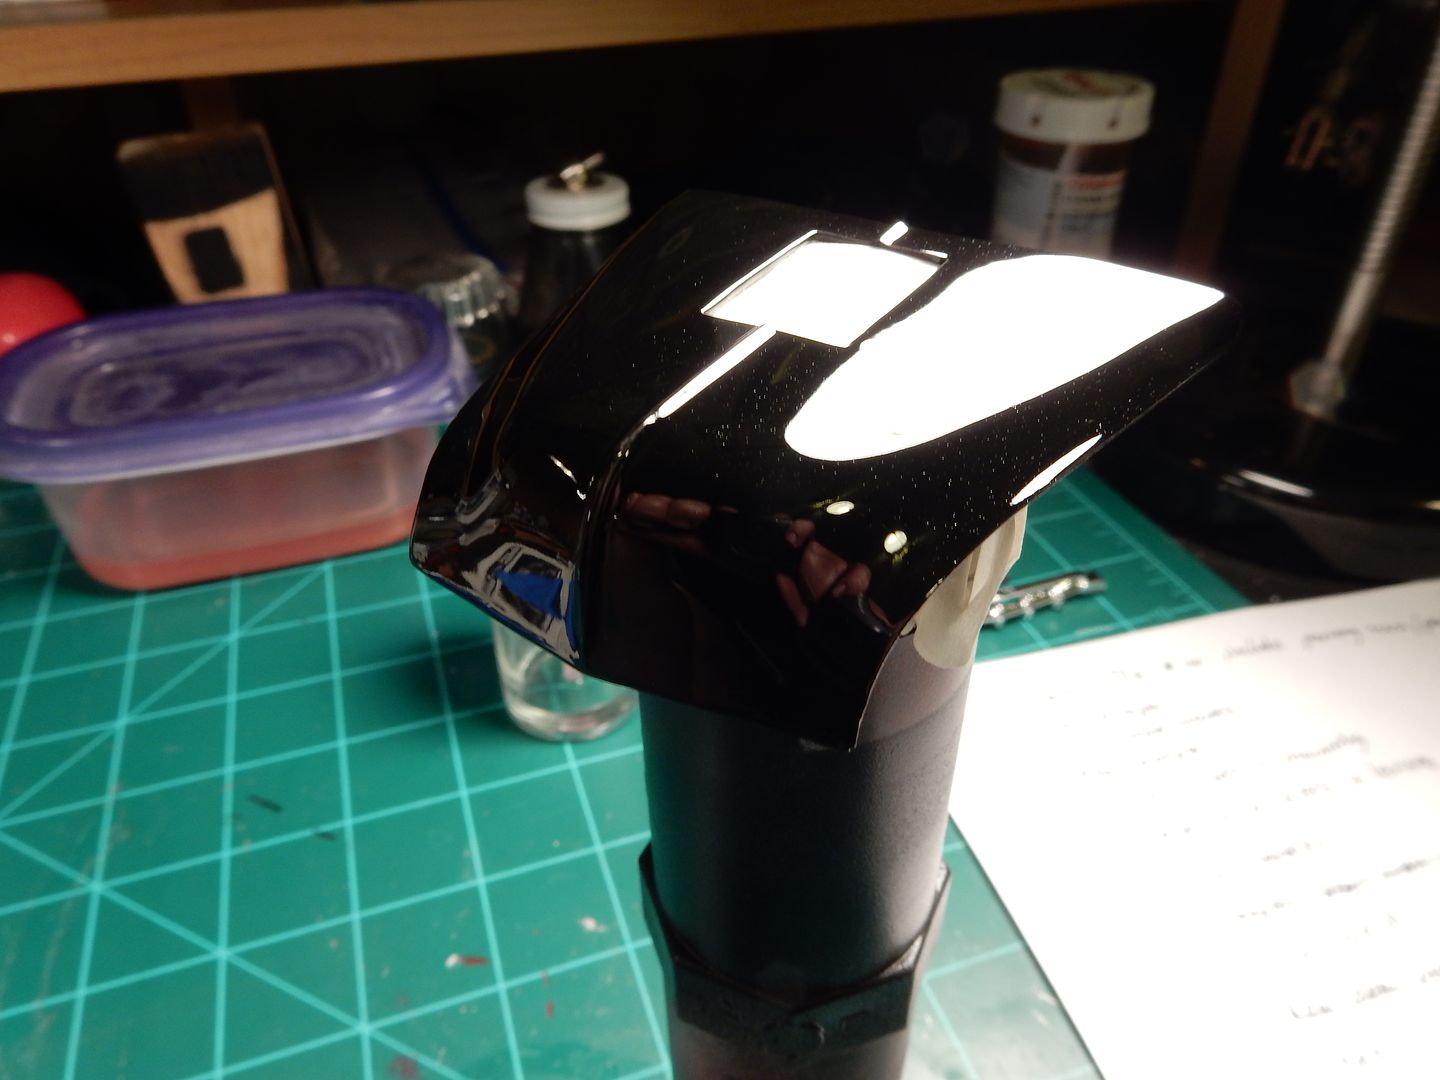
Well…I had success with the gloss coat on the hood today and I discovered something by accident. I decanted my aerosol MM “Wet Look” Lacquer into a paint bottle and shot it through an airbrush and it turned out REALLY good. The problem is that I have two airbrushes and only thought I’d run enough thinner through the airbrush to rid all of the Alclad from it. I will say that it’s a bittersweet mistake in the fact that if I ever want a slight glitter in my gloss that I know what to do now. What I’ll do from here is shoot another coat of black followed up with another coat of decanted “Wet Look” without the glitter in it as opposed to dunking the whole thing in brake fluid again.
The glitter seems to show up well in photos as does the gloss:
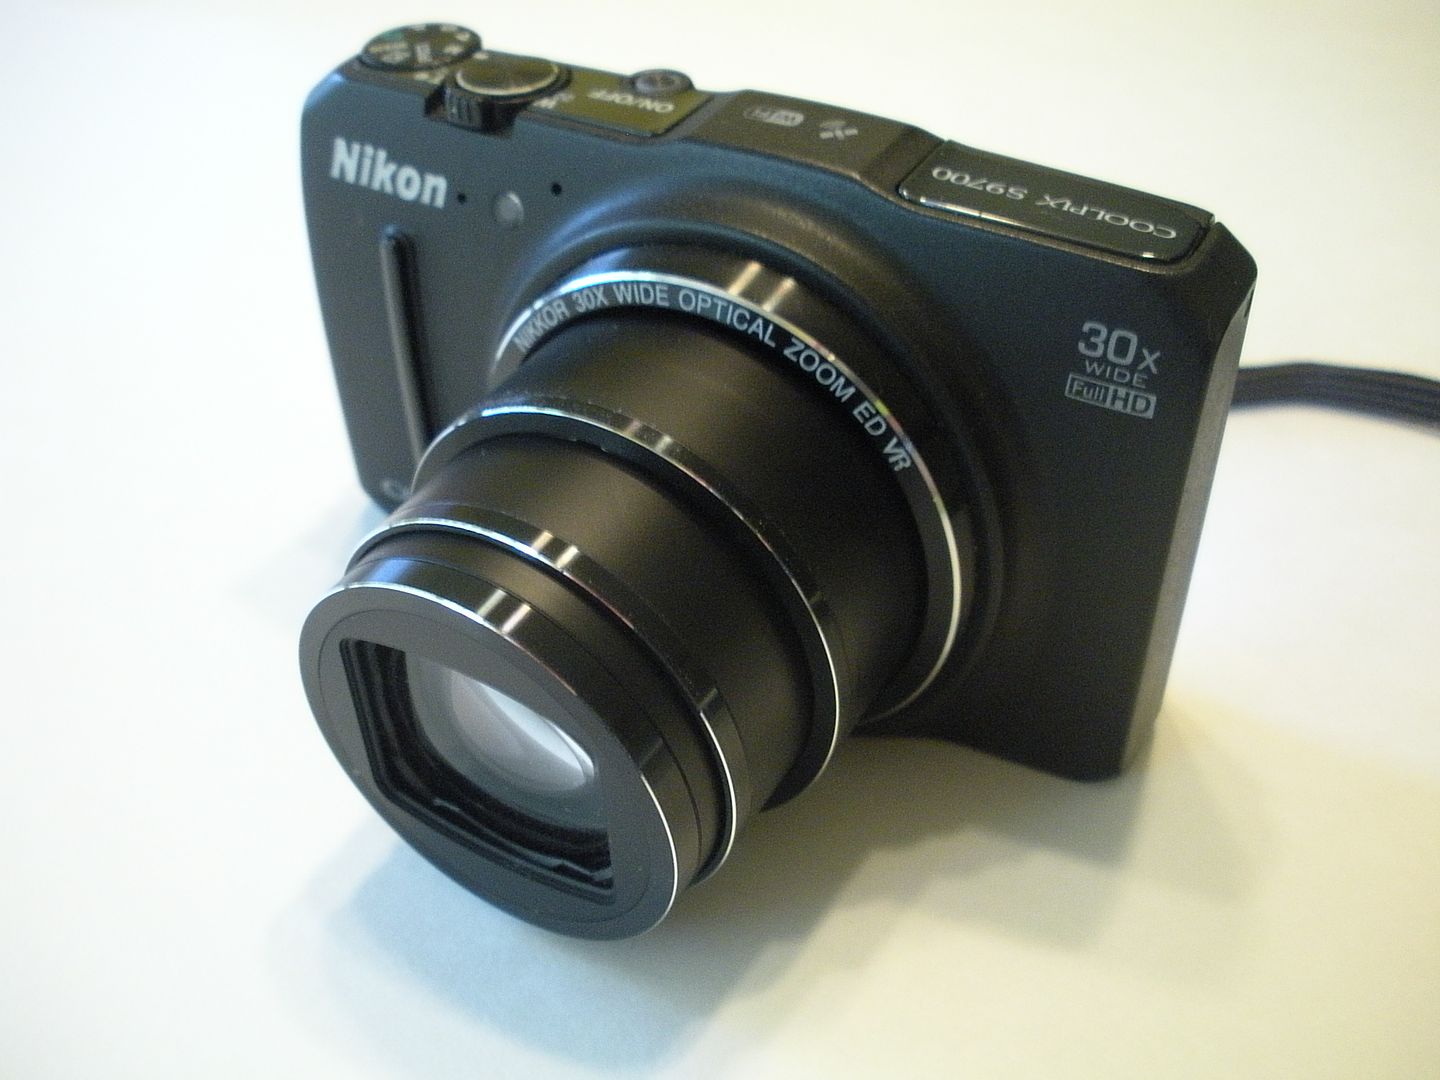
Lee: I’m using a Nikon 9700 and absolutely love the camera for all of my modeling needs. I still have quite the time trying to learn how to use it for other things like family pics and outdoors stuff but it’s perfect for the bench.
Joe: I do like the outcome and will be using it on future builds I’ve gotta keep this one uniform. I’ve already shot the black coat on and will be waiting a day or so and shooting another coat of Wet Look on
I haven’t seen an option for either one yet to tell you the truth but I learn something new about the camera every day it seems like. It was originally a $400 camera but I got it from Best Buy last year sometime for $300 on sale. It’s been worth every dollar I can tell you that. When close up photos are taken it’ll make even the slightest mistake clearly visible.
With your skill at the shiny black and the glossie gloss, I’m not surprised it looks so good.
As to the camera showing off mistakes, I solved the problem (No, not by not taking any pictures [:(]) but by only taking pictures from 27.3 feet away on the “micron setting”. Works great- no faults to be seen [A]
crown: Thank you as well for the encouraging words.
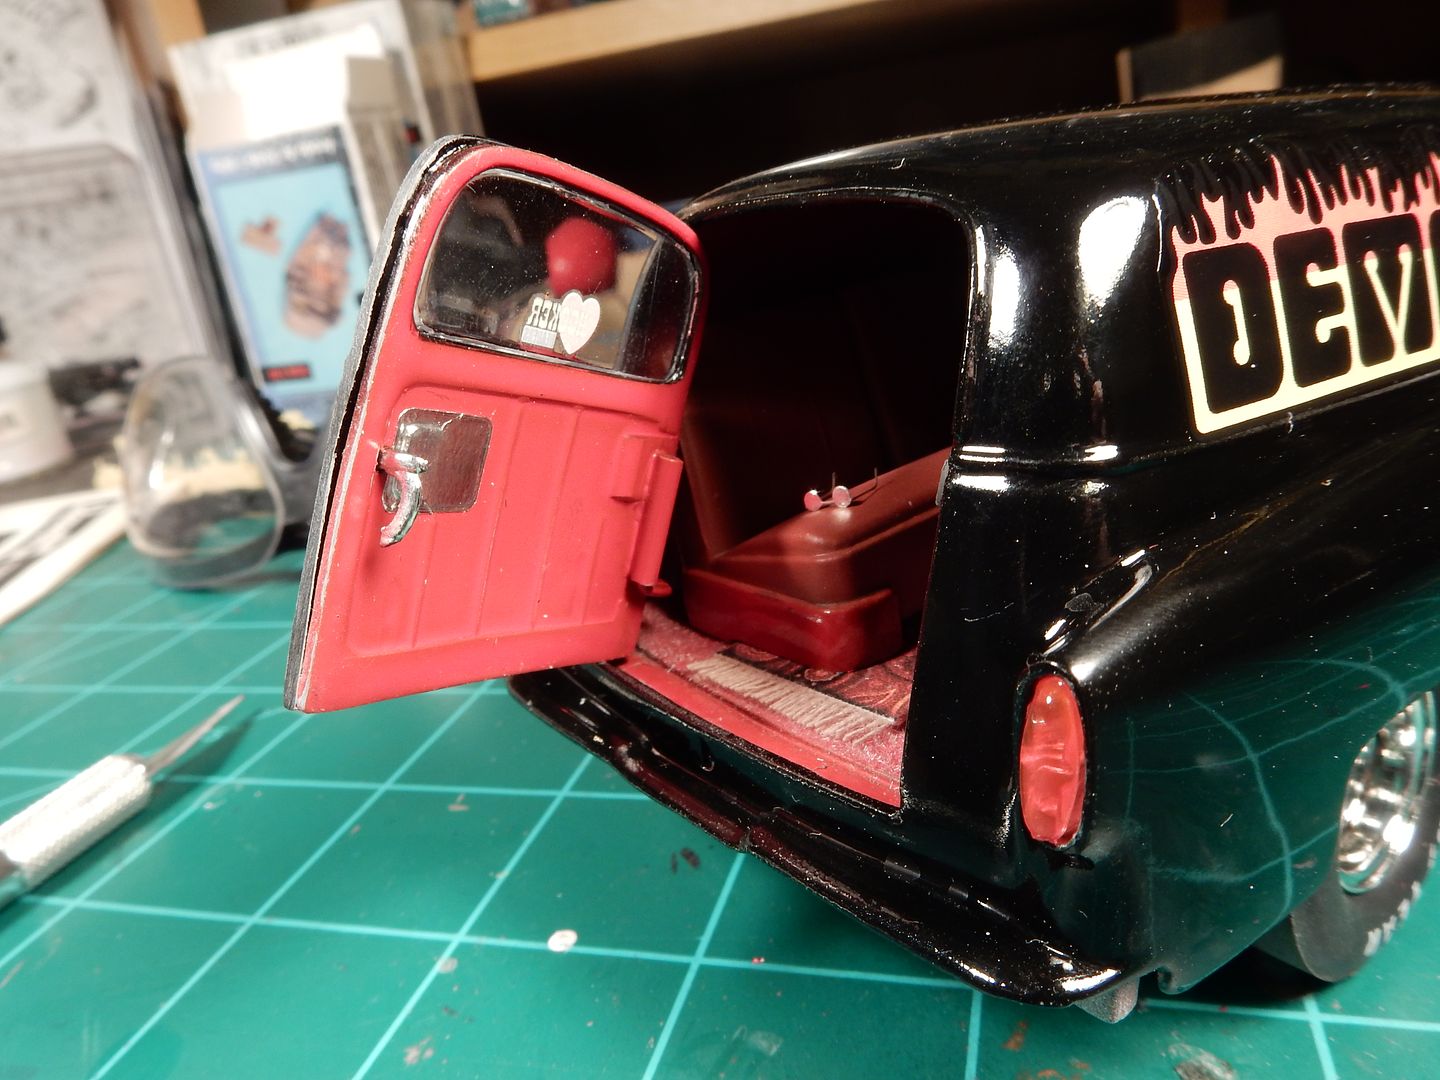
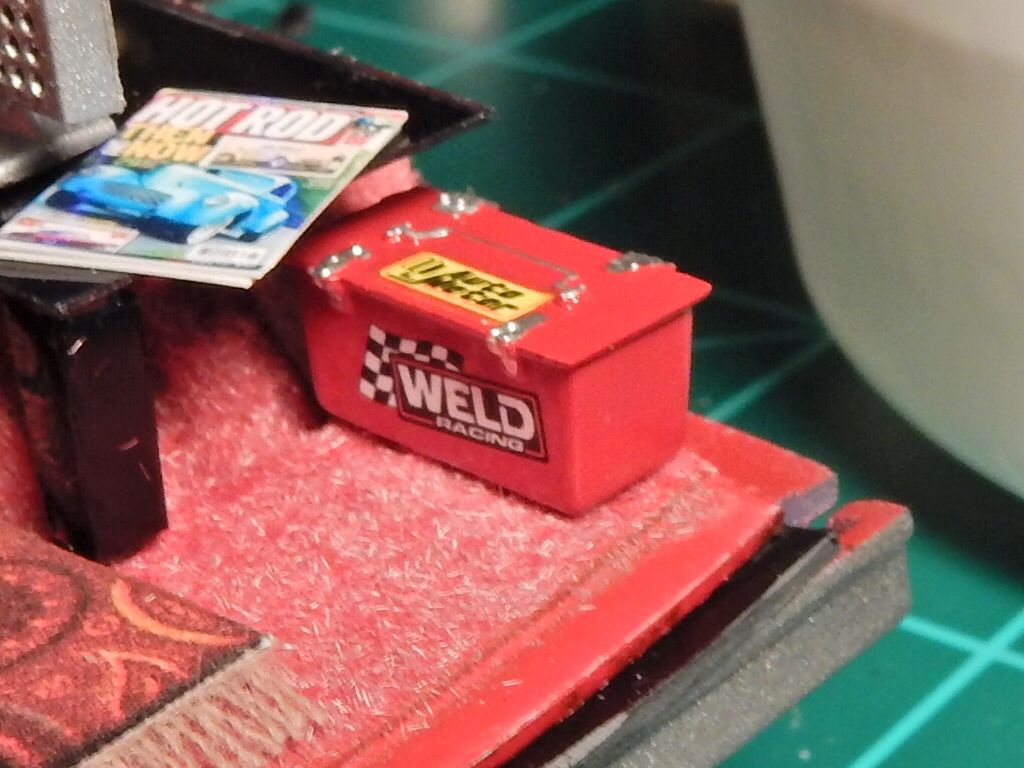
This morning I worked on a couple more interior items. I was looking for something to put at the R/H rear corner of the flooring to hide the light that can be seen between the R/H rear wheel opening and the floor and my eyes cast upon a 1/43rd scale Great Garages kit that I’ve got in my stash. There’s a tool box in there that in 43rd scale is supposed to be a parts trunk but in 25th scale it works perfectly as an “on-the-go” toolbox. I primed it and painted it yesterday and detailed the handle and hinges. This morning I applied a couple of decals to give it a more “true mechanics toolbox” look and installed it on the floor.
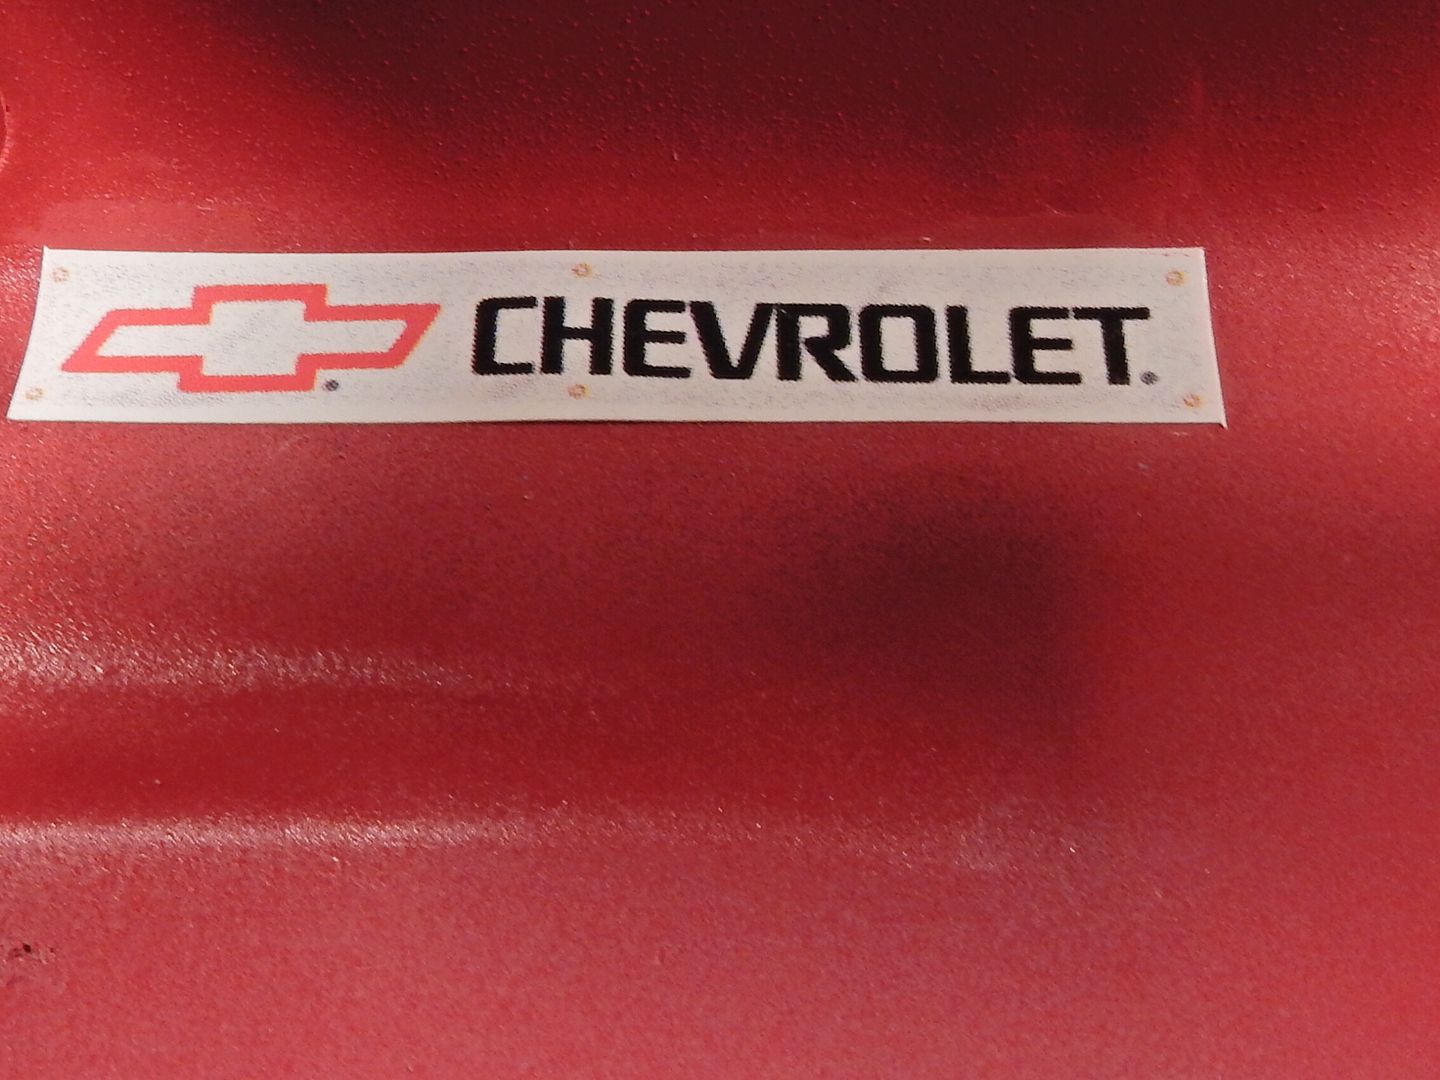
then I applied a “Chevrolet/ Bowtie” banner on the wall just behind the couch.
 I was able to remove the door and hinge assy and sand the edge of the door to allow for proper opening and closing with no interference. Secondly, once I fixed that and installed the door/ hinge for a second time I ran into the body not sitting down on the frame all the way in the back because… I forgot about how low the hinge was positioned on the door.