I didn’t get a whole lot done on the motor this week because I wanted to ensure the “do-ability” of this build since I’m using more than one kit to build this one. Given past experience I realize that all the detailing in the world doesn’t mean crap if the kit won’t “work” or fit right. I’ve taken steps this week to ensure the “do-ability” of this build so that I’ll be trouble free on down the road from mistakes that one should catch in the beginning phases of a build like this one.
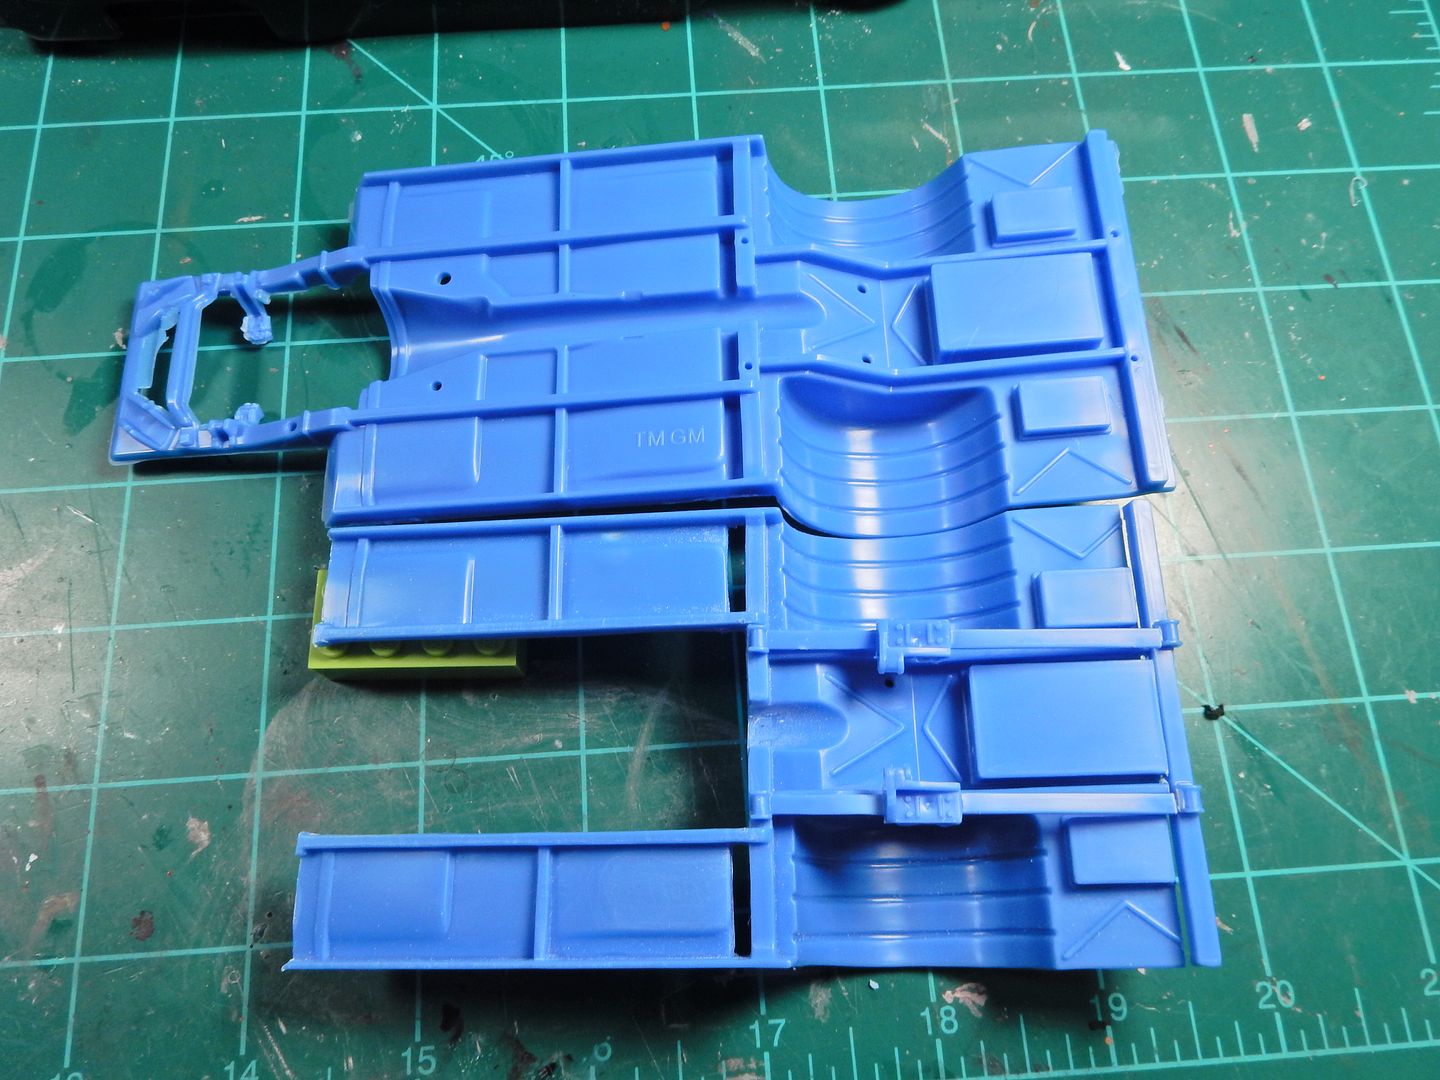
I modified the Nova frame by shortening the frame in the back and shortening the leaf springs. Up front I cut the forward part of the frame completely off and cut out the center section. You can see the differences here…
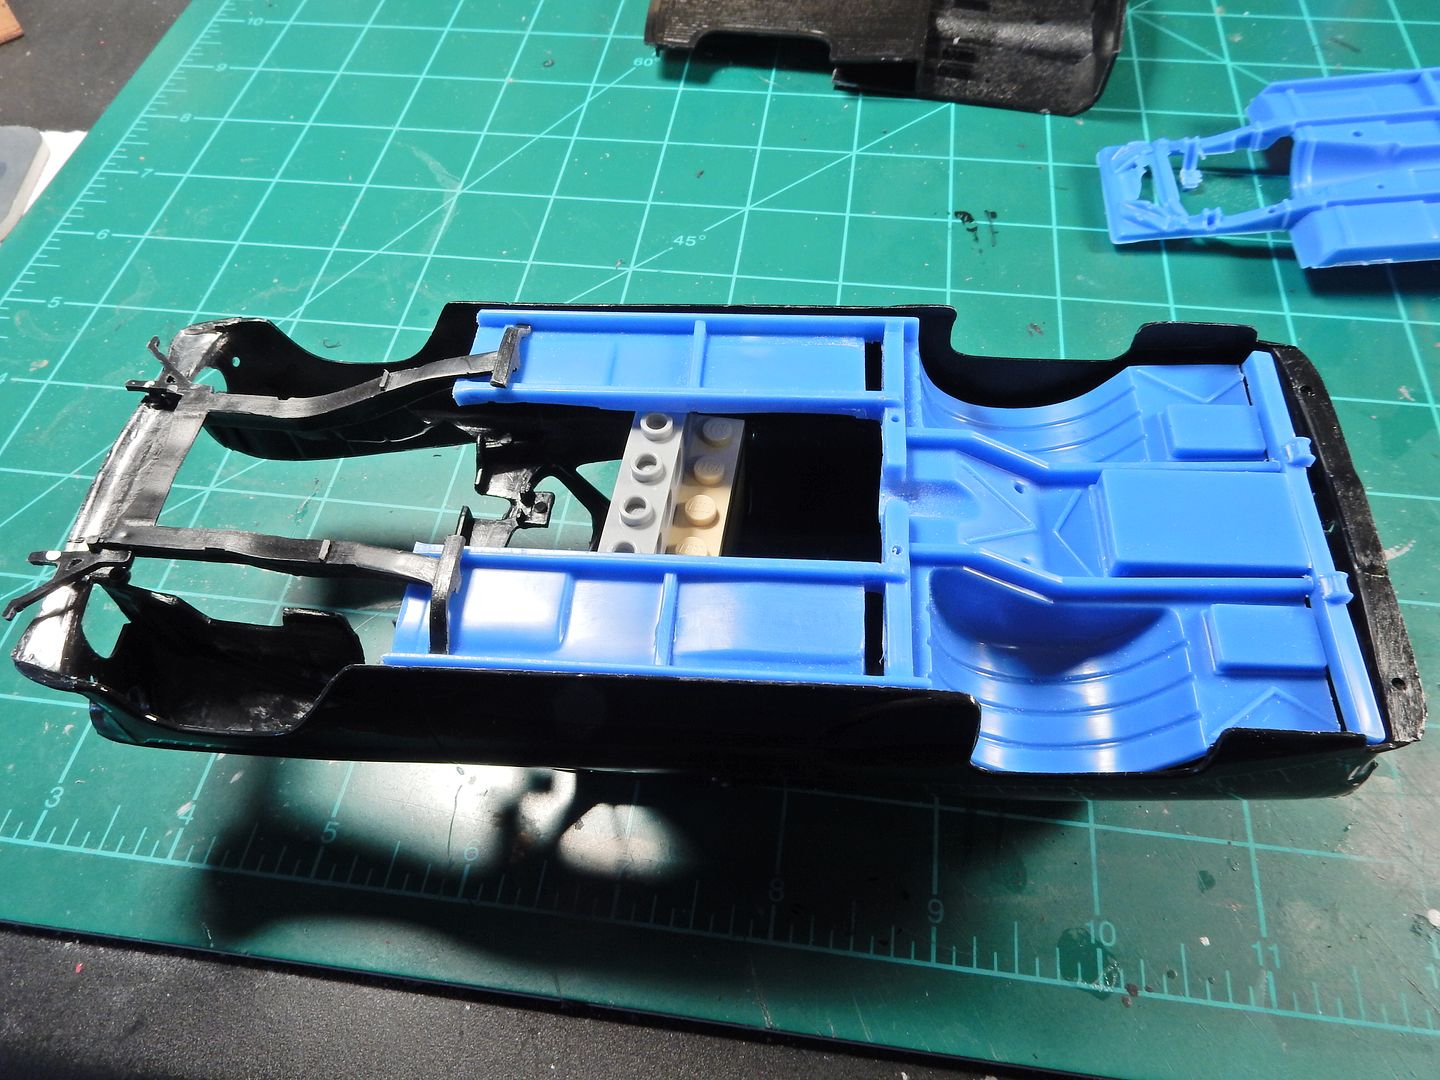
After that I cut the front part of the '54 frame off and graphed that in. I still need a couple more bolt heads to make this more legit looking but I took all the measurements and this…is gonna work.
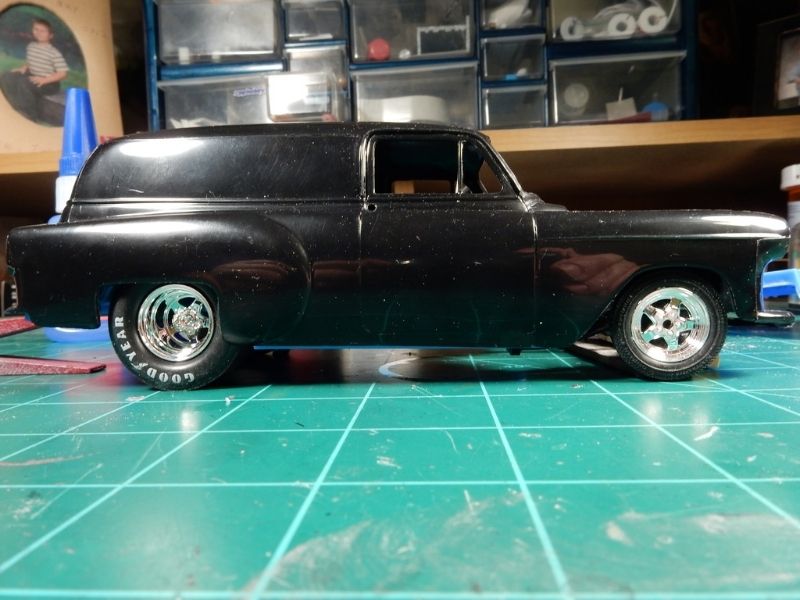
I cut into the forward part of the frame about 3/16" where the front crossmember and front suspension mounts up in order to lower the car in the front another 3/16". Repositioning the front spindles up another 1/16" along with notching out the frame should round out to lowering the front of the car a total of 1/4" to get the look I was looking for in the first place. This is how the car is going to sit without the 1/16" spindle location. The rear of the rear suspension is exactly where it’s supposed to be as well. Like I said , it’s gonna work. It was even a little easier than I thought it was going to be.
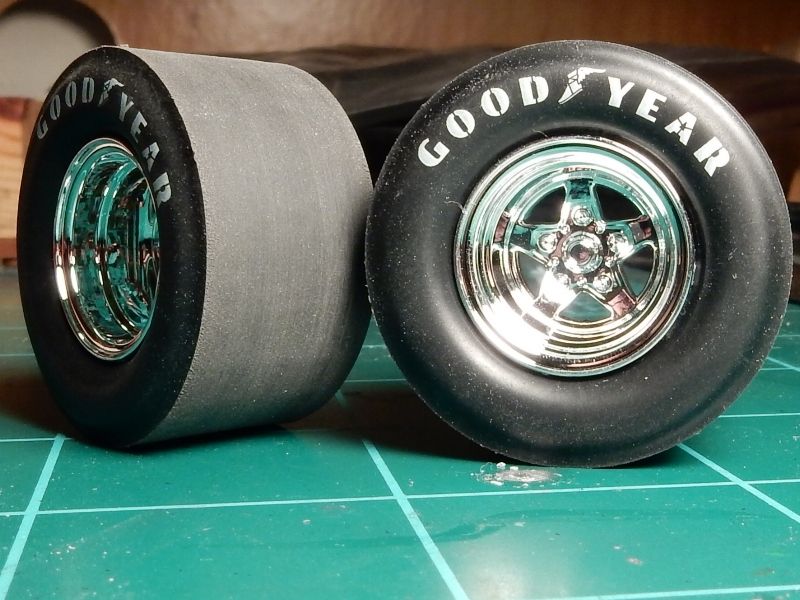
I even found some pre-printed slicks for the back so I don’t have to worry about that either this time 'round.
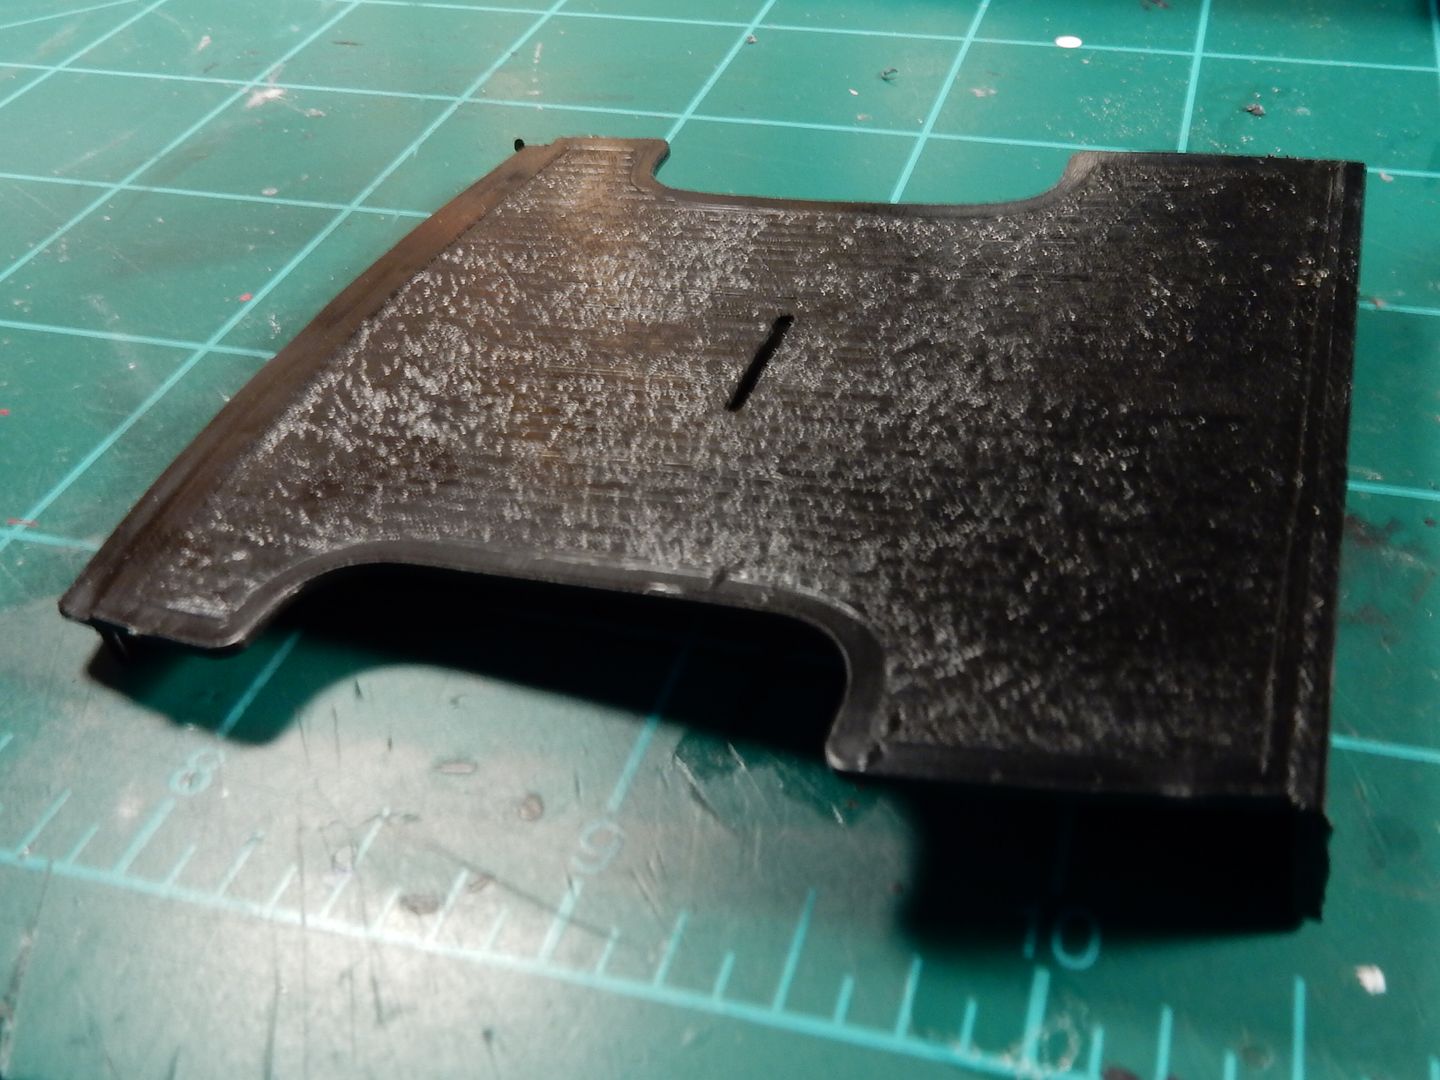
About this time the ideas started soaring around in my head after I studied the back of the vehicle interior some. I still need to notch out where the wheel tubs are going to fit on the floor here but I’ve got some decent plans for this. First off here is the rear floor…
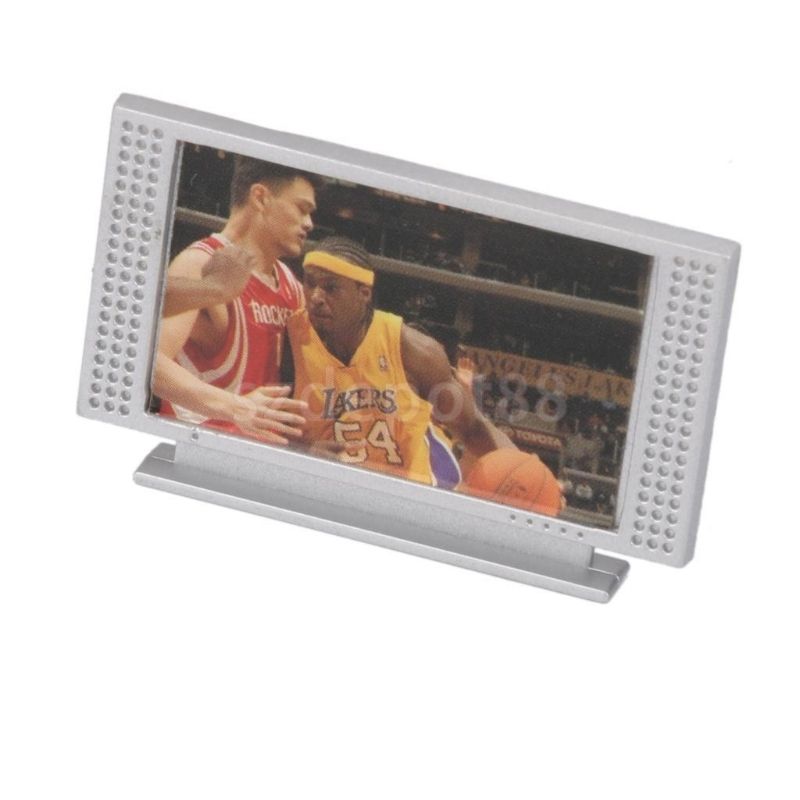
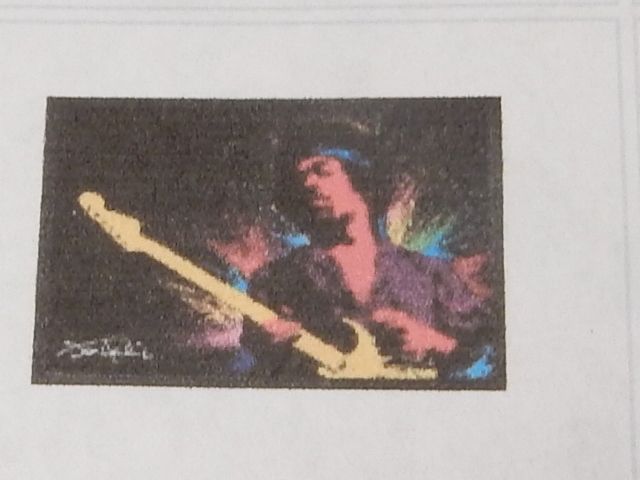
Now I thought to myself, “What can I do back here to make this interesting?” Soooo. I found a 1/24 scale flat screen TV on ebay
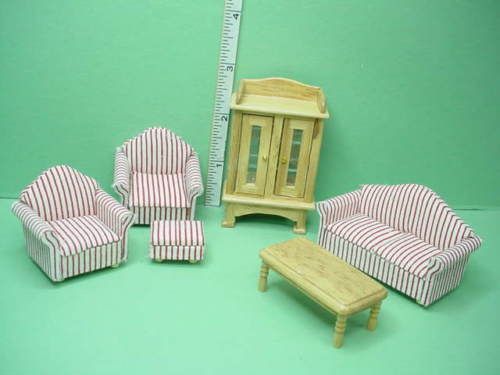
Well I’ve gotta have something to sit this on and somewhere to sit so how about using a coffee table and couch from a 1:24 scale dollhouse set? Again…found these on ebay. Hey …what tha hell…ya know?
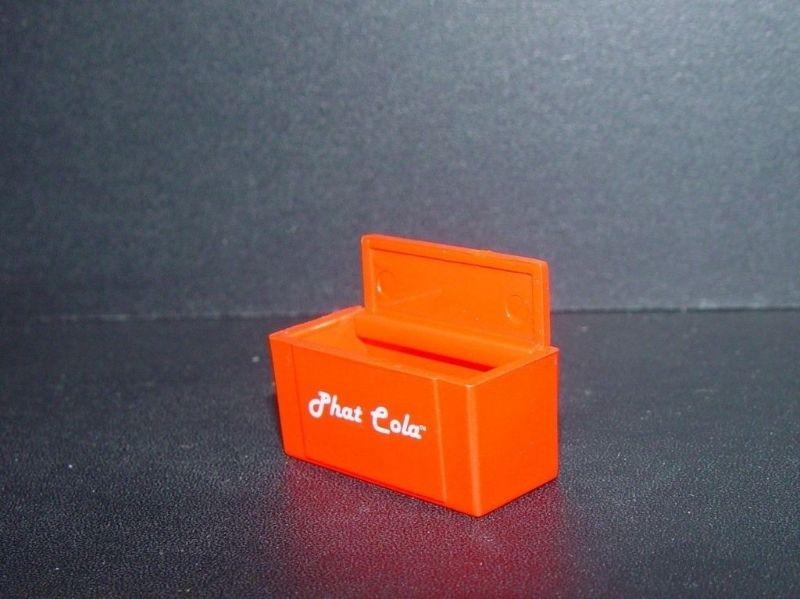
Gotta have somewhere to store the cold ones too so I found a 1:24 scale cooler with an opening lid to put those in…
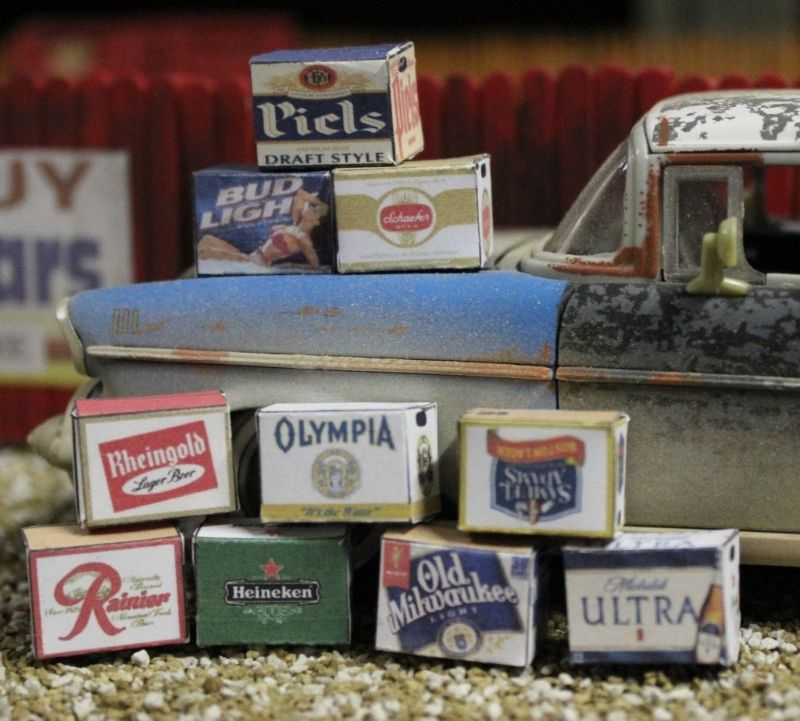
and speakin’ of cold ones…I found some 1:24 scale cases of those too! A case of these’ll go on top of the cooler…probably Bud or Heineken
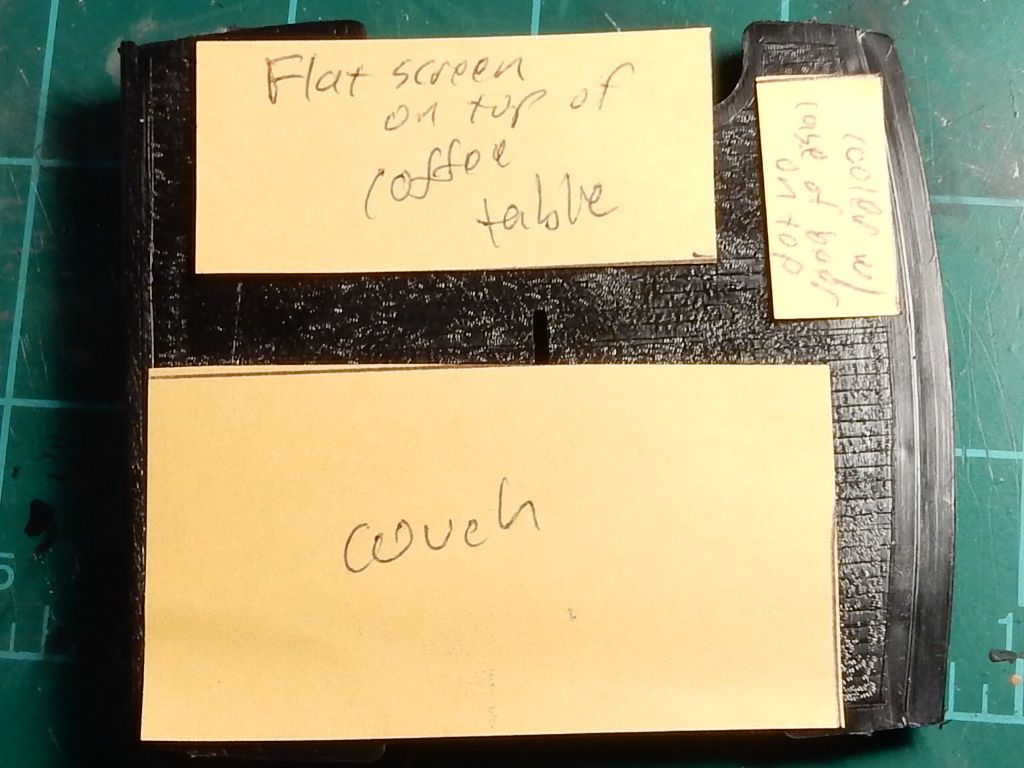
I took measurements and plotted everything out on the floor using cut up post it notes to see if everything was gonna fit…
Looks like it’s gonna make it. I may throw another Hot Rod Magazine and scratch build a remote for the TV to put on the edge of the coffee table/ TV stand. Looks like I might need to run an air line and an airbag to the L/H side of the rear suspension to even things out back there for the weight on one side factor.
Fantastic stuff yor are doing with the panel wagon Joe. Love the concept and all the choice goodies you got to make it happen. The chassis that you have fashioned is very nicely done. I’m following along and I’m going to enjoy every minute of it. Great work.
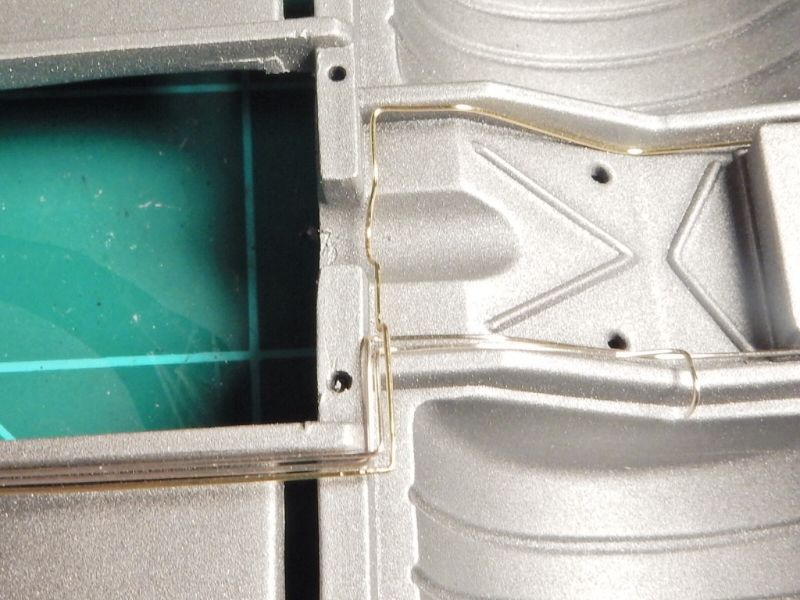
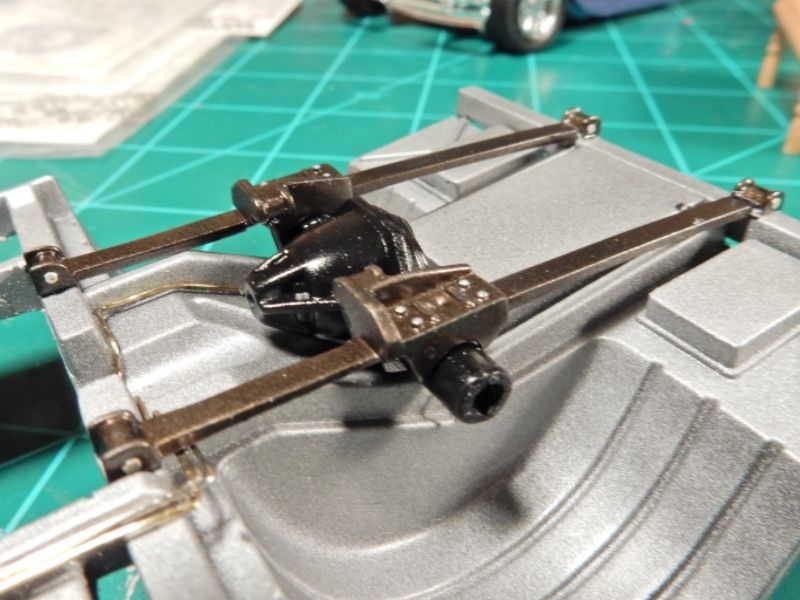
Well I made a little extra progress on the chassis this morning. I got all the rear brake lines and fuel line formed and installed, got the differential and rear springs all painted up and glossed and started fitting the rear shocks. The chassis has been painted all aluminum with a gloss coat over it and the fuel cell and other two boxes in the back have been darkened slightly with a coat of Tamiya Smoke for a bit of contrast. Here’s what I’ve got so far with that:
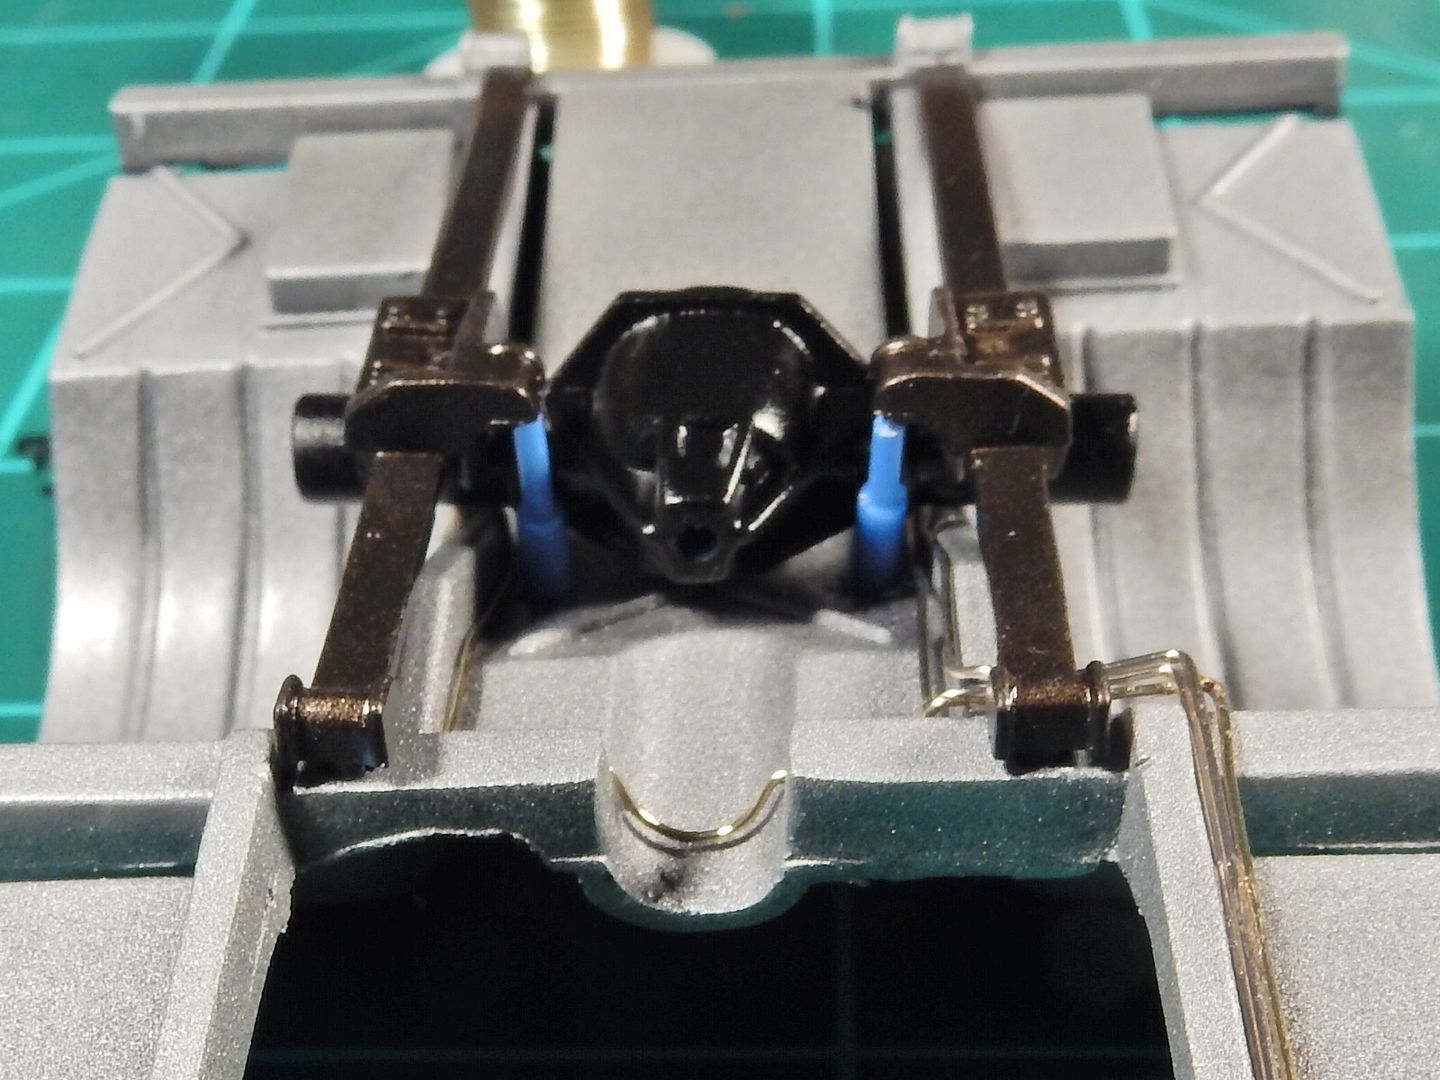
I finished up with the rear suspension this morning by painting the shocks , the rear mount points on the springs, painting the spring mount bolts at the axle and adding PE bolt & nut heads to either side of the leaf spring mount eyelets at the spring ends. Shocks and rear axle/ suspension are now part of the chassis. I also added PE bolt heads to the front subframe to main chassis for a bit more realism. I ended up using a spare drill bit for an axle so that everything would tie up nicely between the wheel/ axle fit.
Suspension progress with all shocks, plumbing and PE hardware installed:
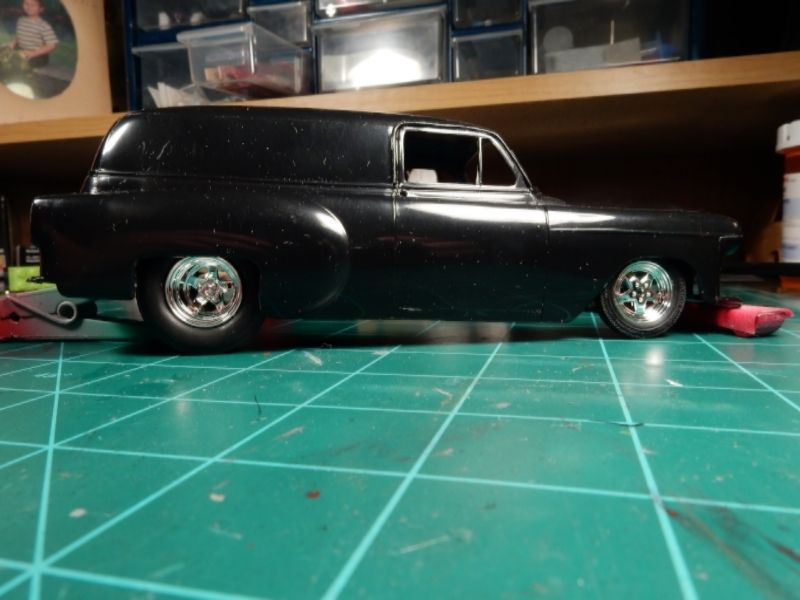
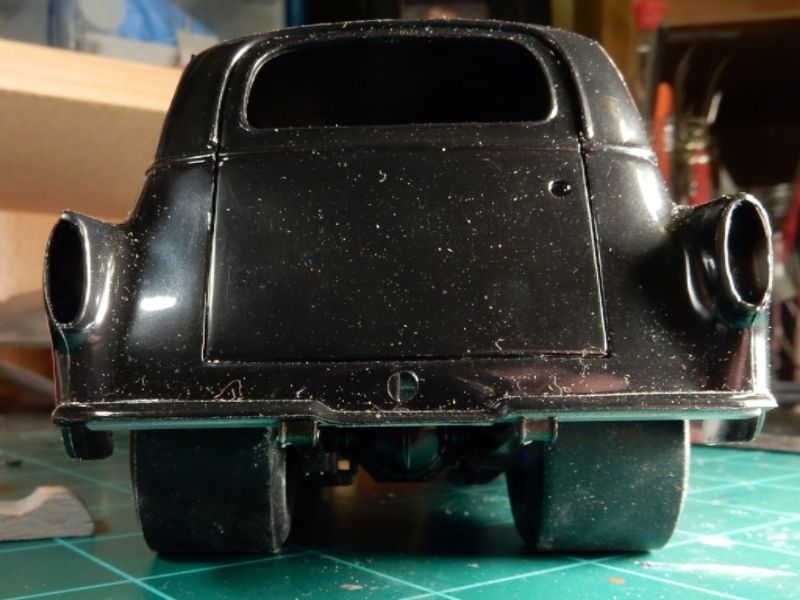
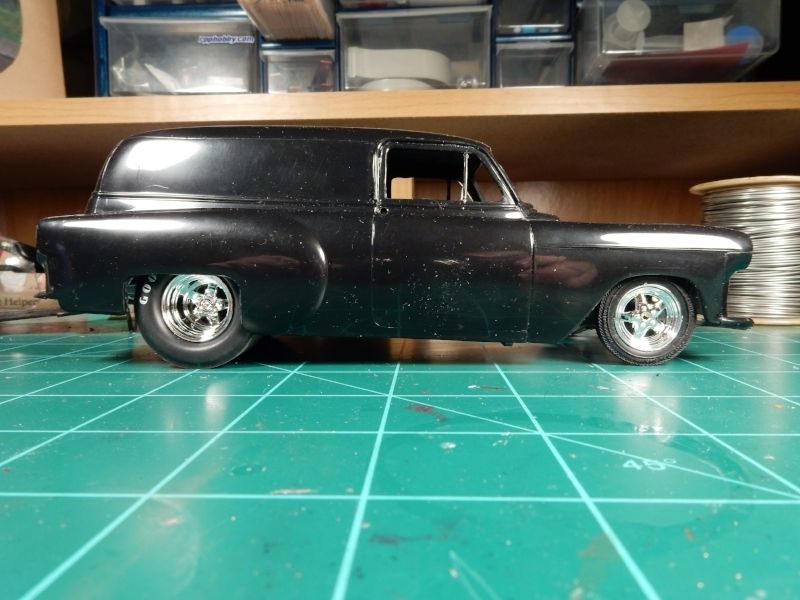
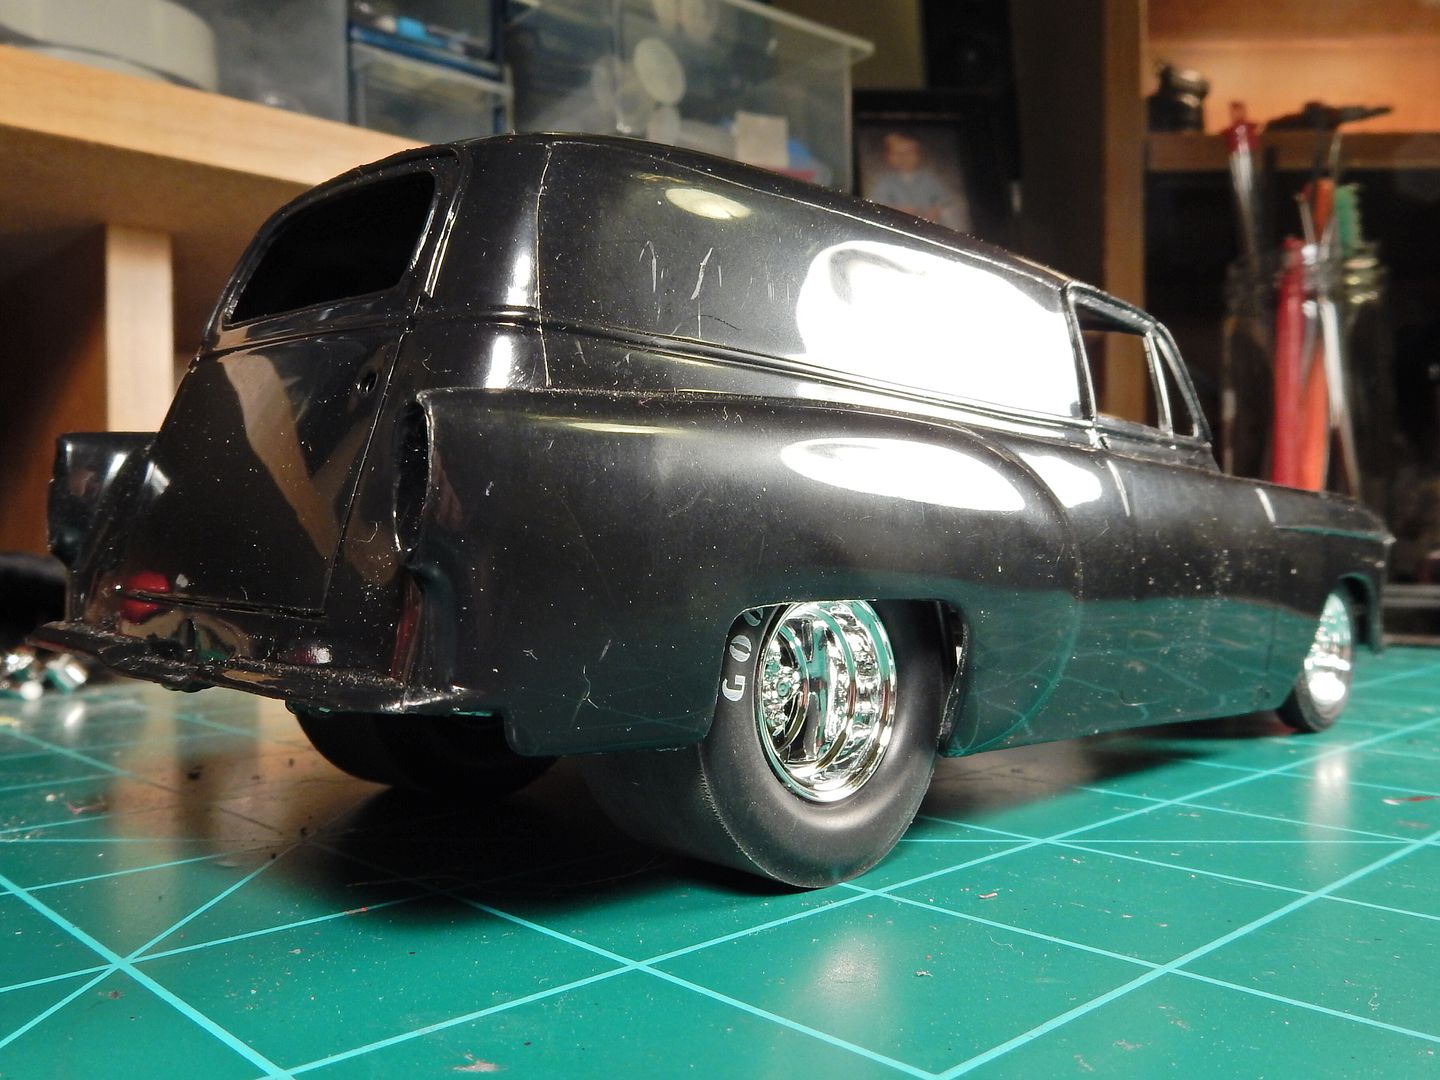
Here’s the ride height I was looking for in the original mock up with attention directed towards the rear wheel/ tire in relation to the wheel opening.
and here is where I’m at right now with the axle installed displaying assembled ride height as it is right now:
Man those “meats” just look purdy underneath there don’t they?
Dang! Thanks Lee ! I did build my 1970 Dodge Challenger T/A you know. [;)]
Allan: 'Preciate it buddy!
Over the course of the last few days I’ve been working on wheels and tires and the stance I want out of this thing. First off I got the wheels to fit better in the tires and then scuffed the road surface part of the tire up using a 1/2" socket on a drill. I’ll wait on the finishing touches to the sidewalls till later on in the build. Still handling the tires too much right now.
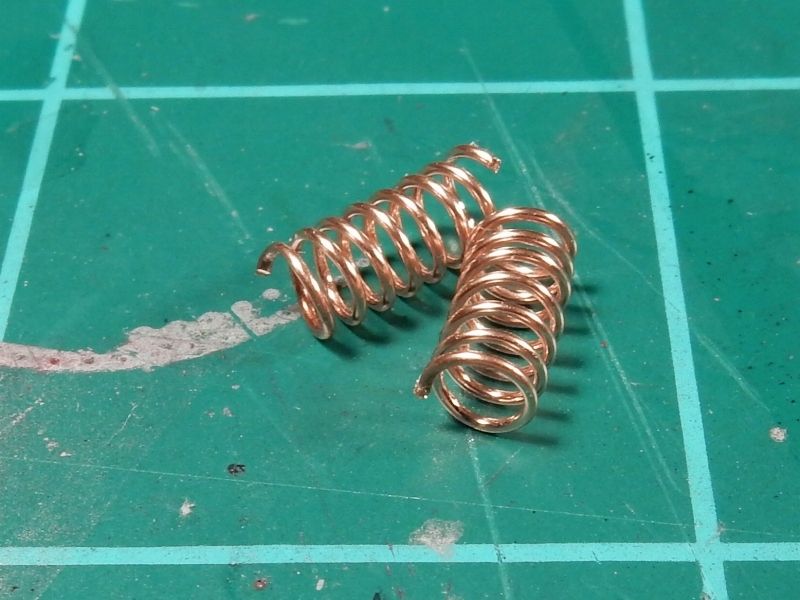
Then I went to work on manufacturing a set of springs for the front. The OOB ones were atrocious !!!
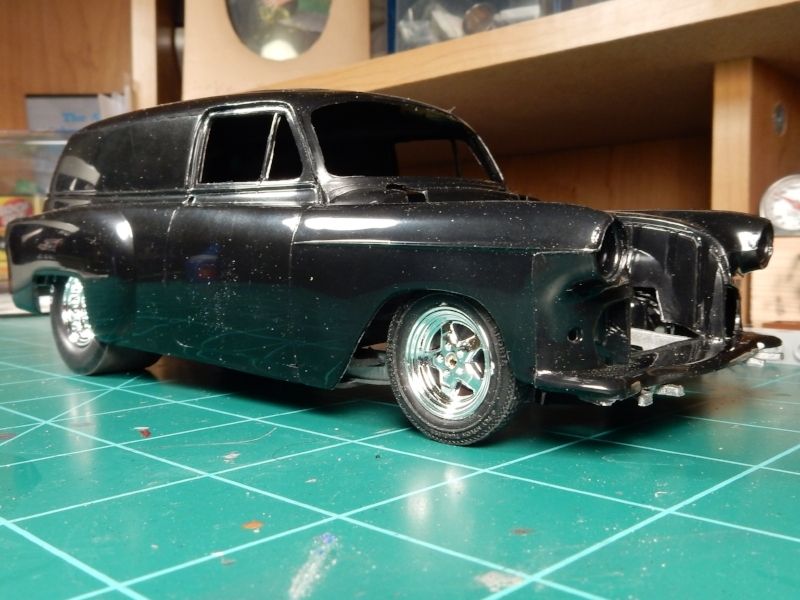
Then I did some more work in the front in regards to wheel to spindle mounting and dropping the front end where I wanted it.
Everything is mounted up as it will be with the finished product and now the stance is dead on with the exact look I was after.

 ----------

 I’ve got the same thing going on. Thanks pal.