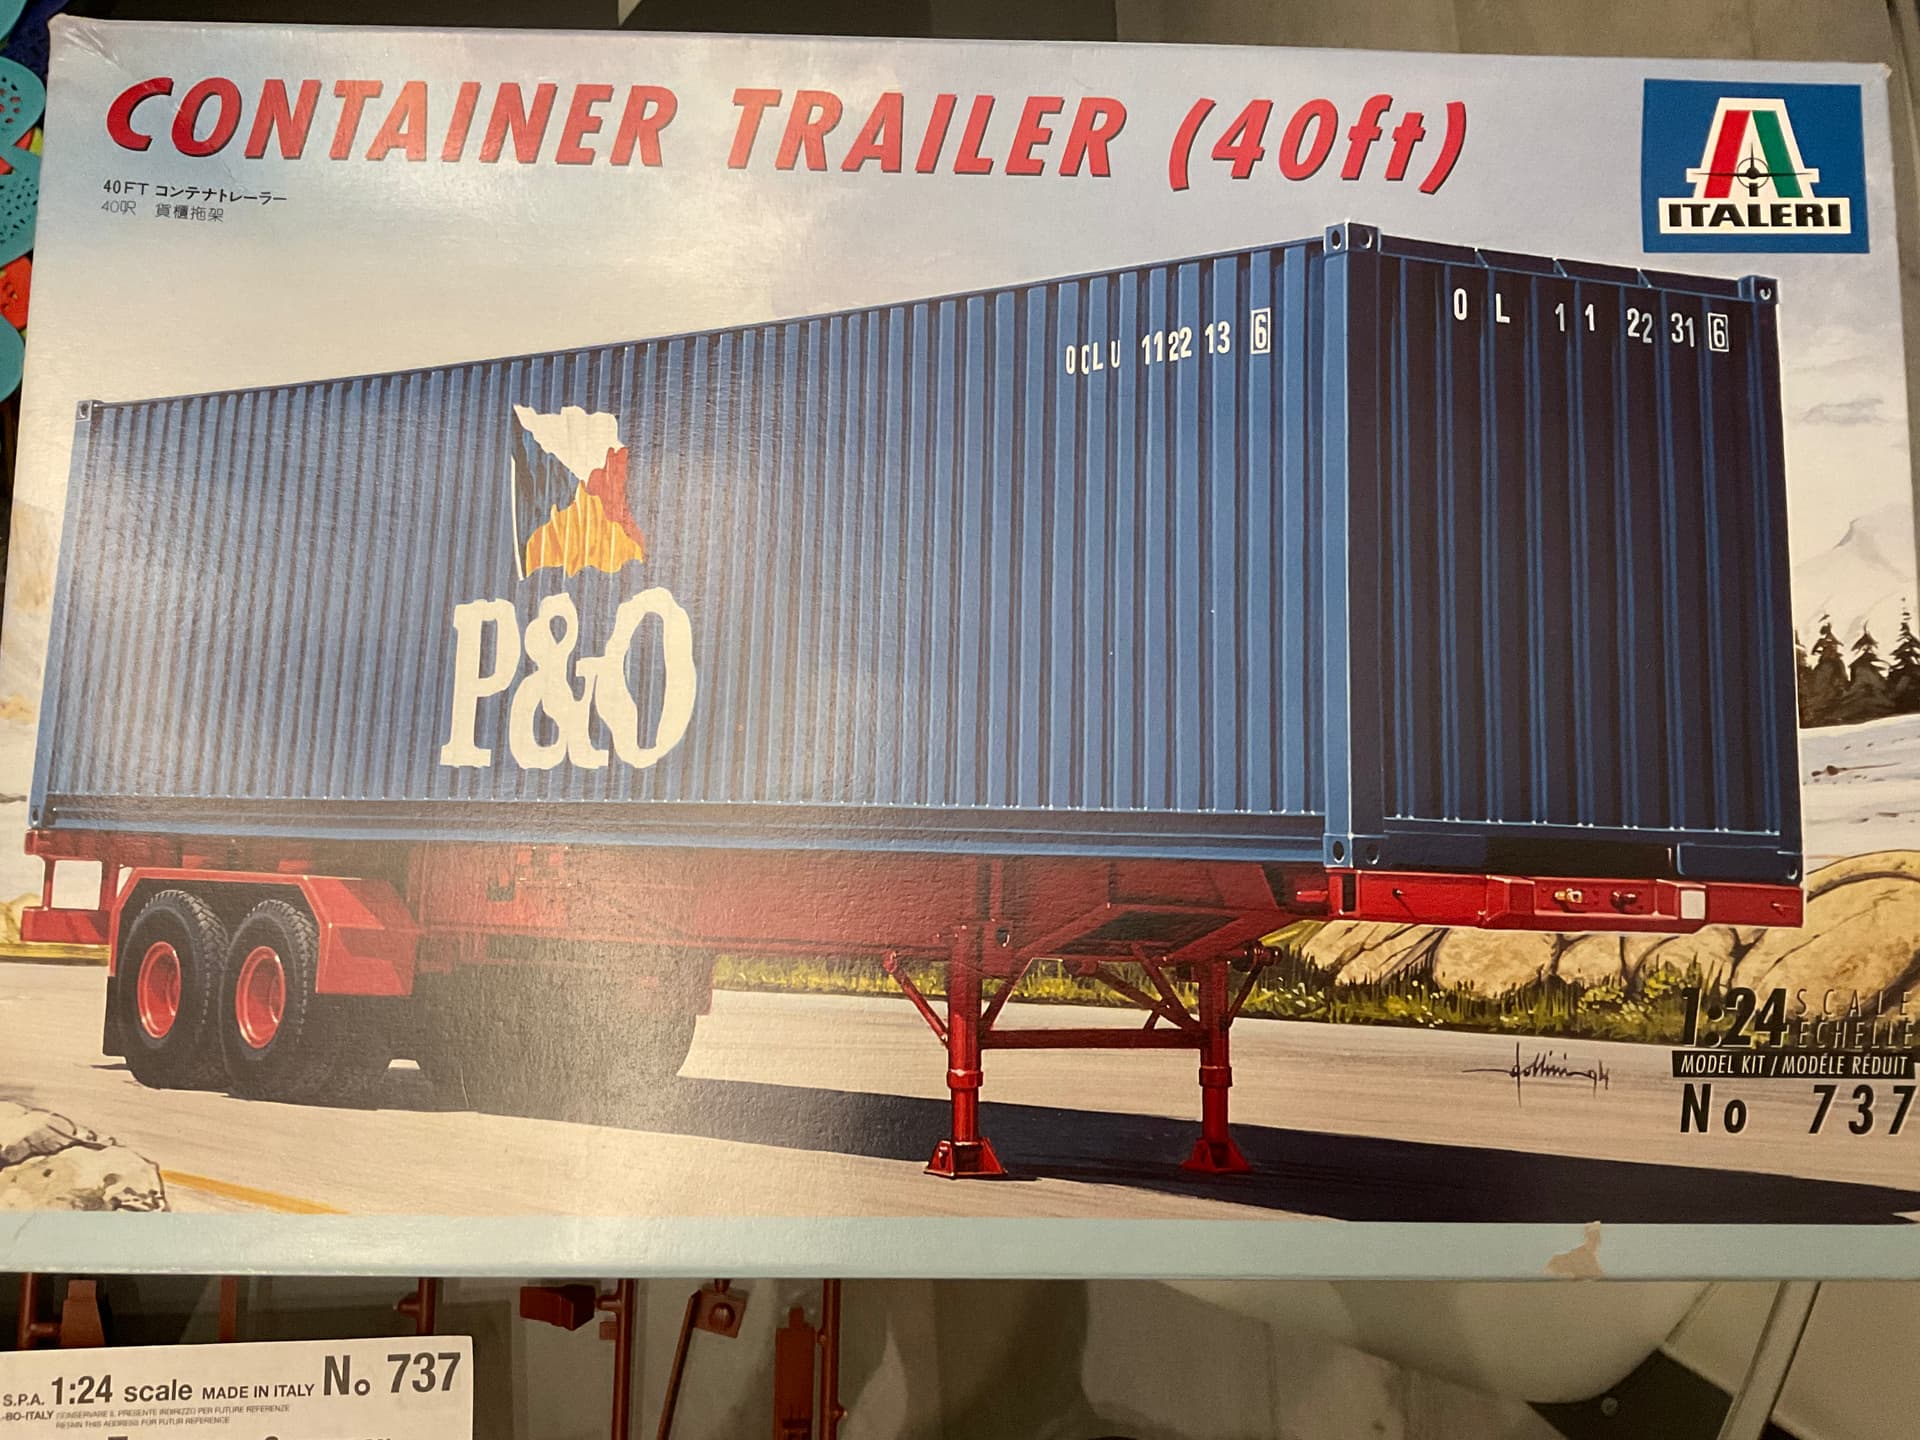
Public school teachers strike is entering its second week here. The kids are home all day now. I broke into a new project in hopes that it would be a quicky build.
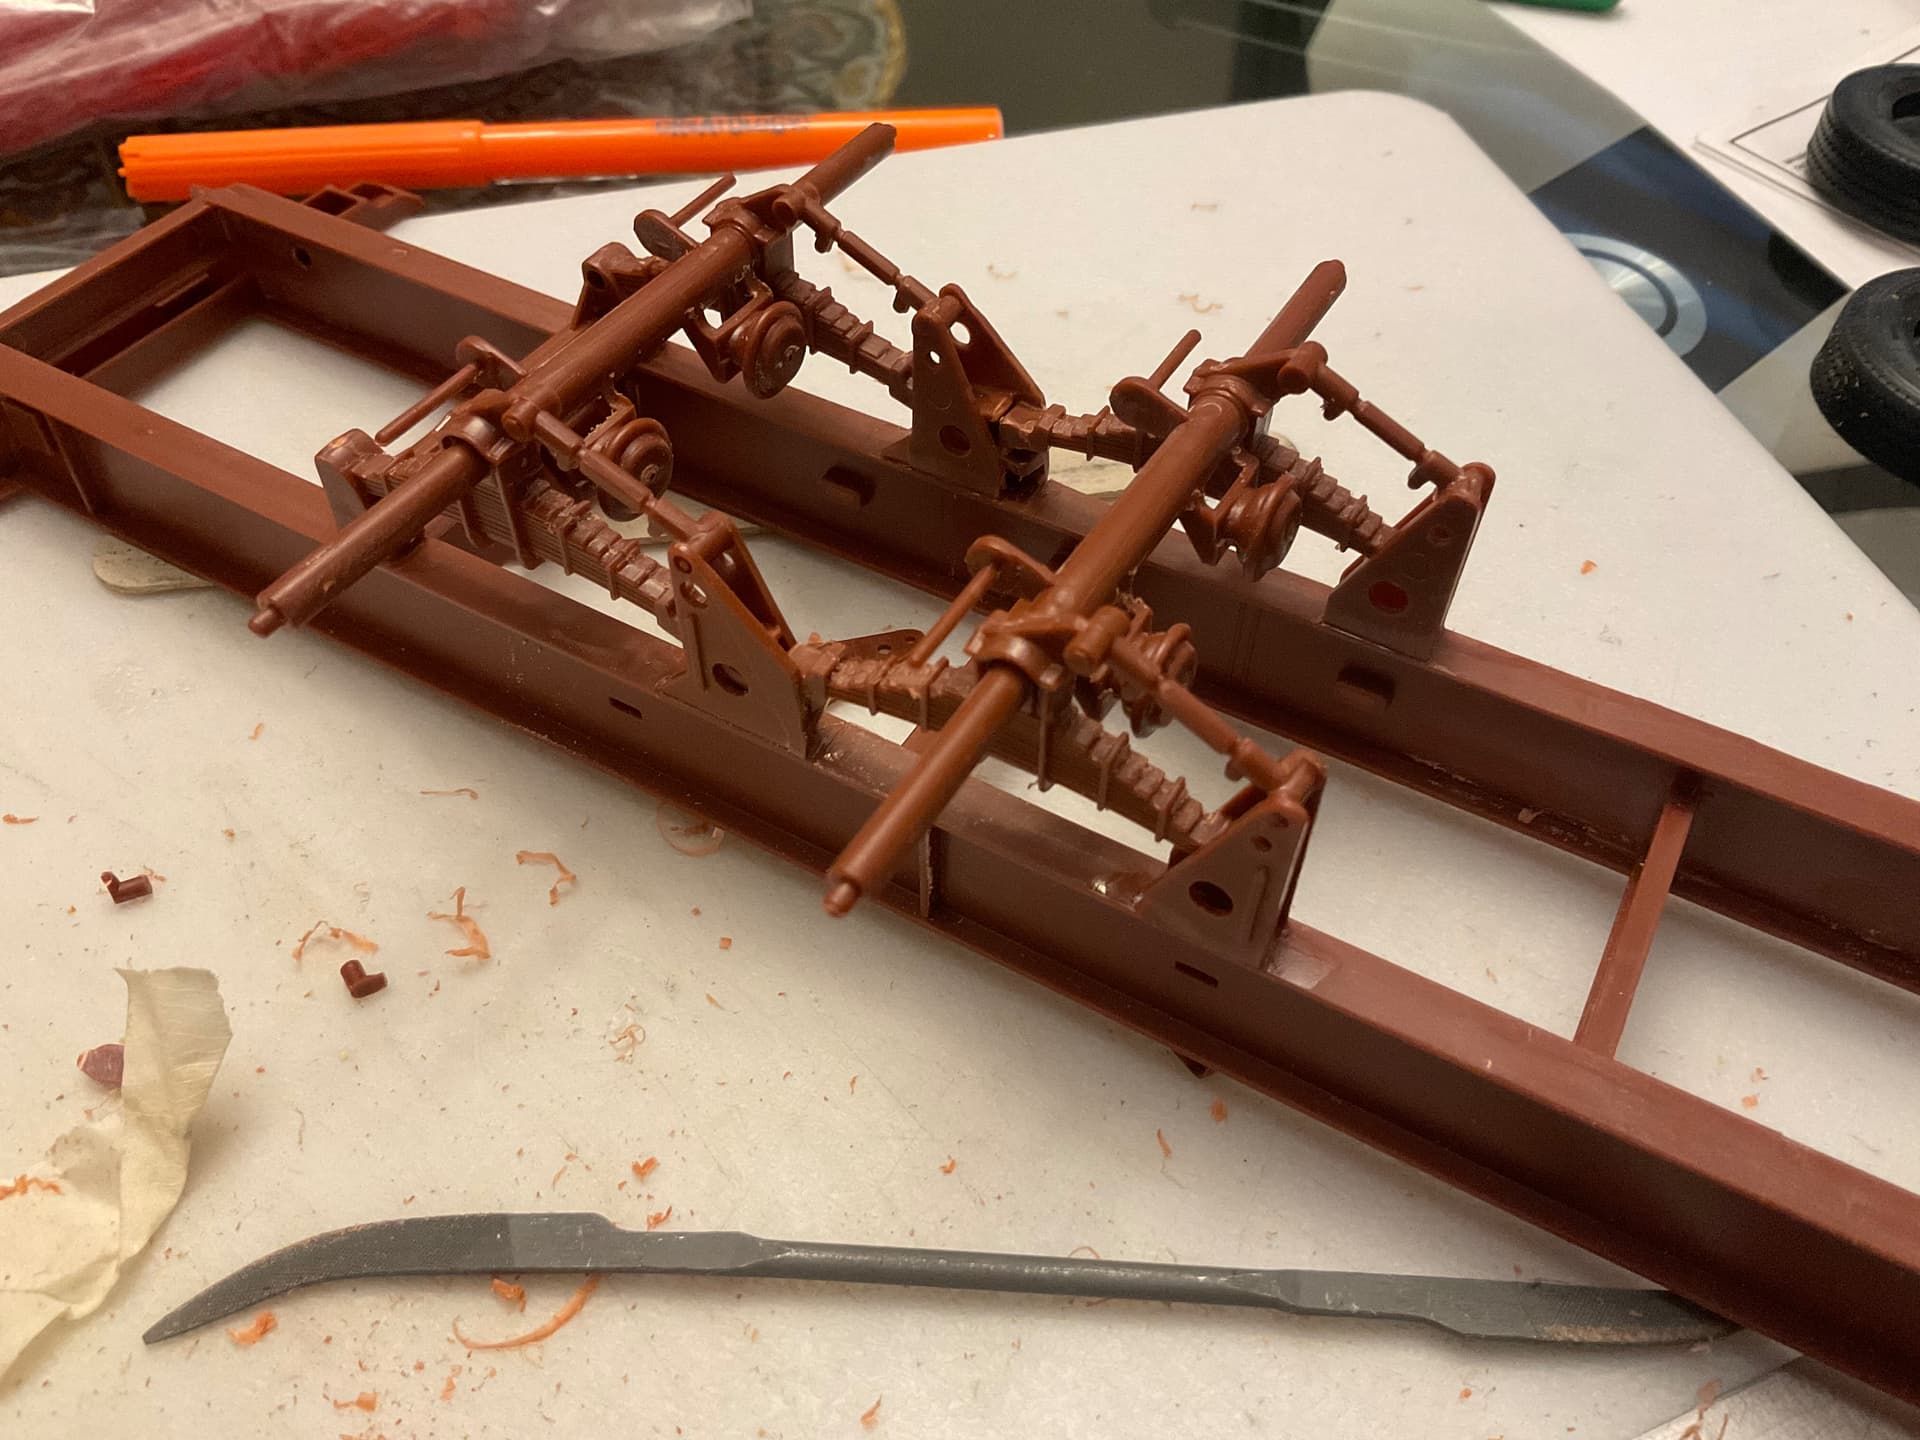
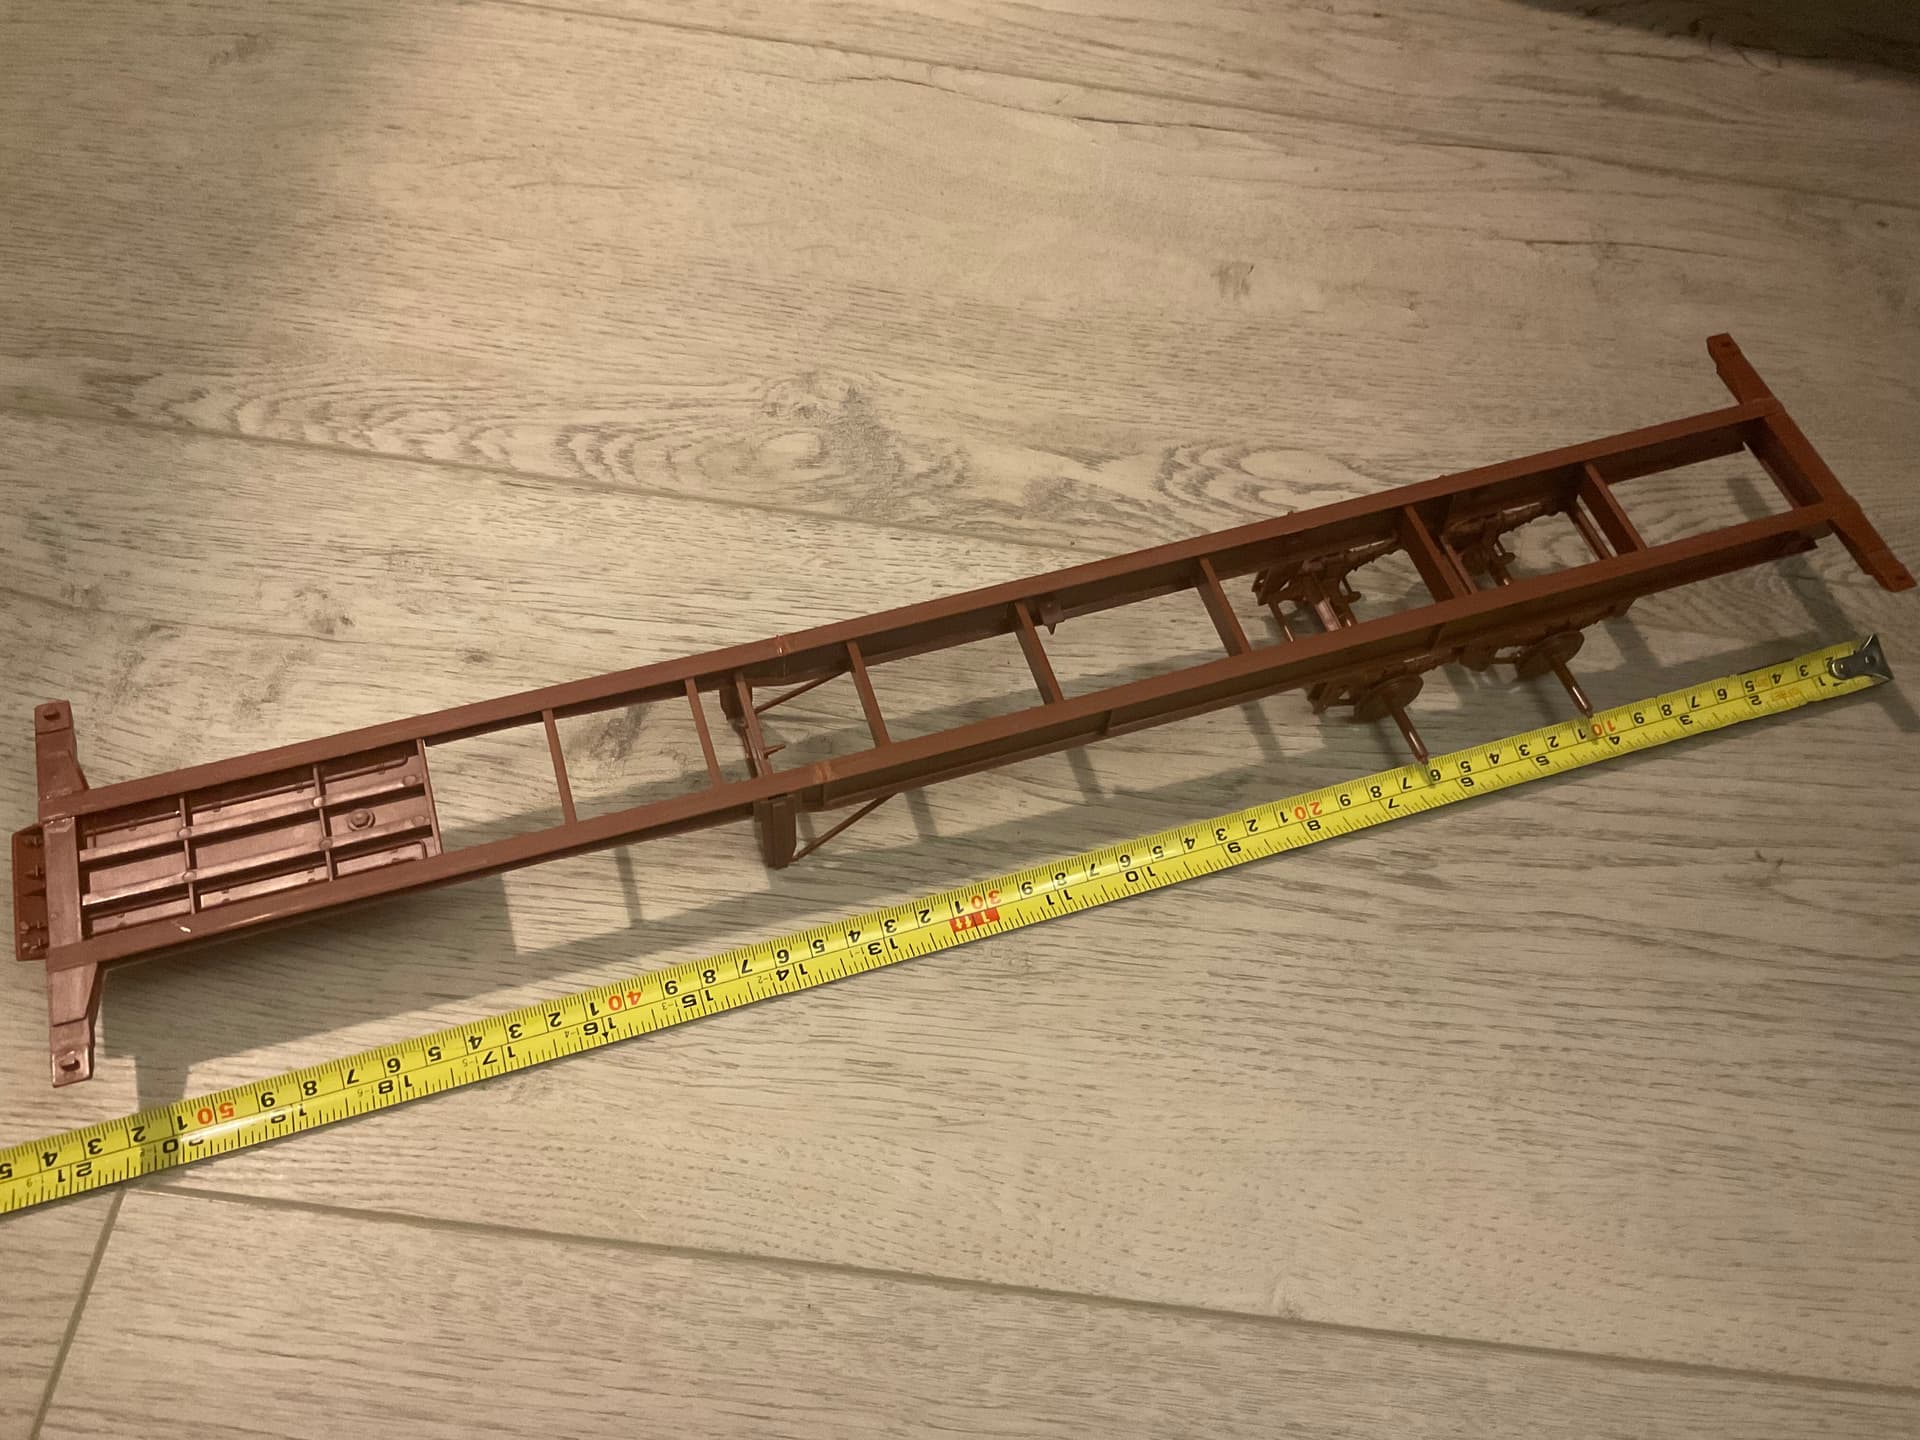
Unfortunately the kit is not as advertised. It is a European version with wide axle spacing. I can deal with the European type rims, but the spacing just didn’t look right for my purposes.
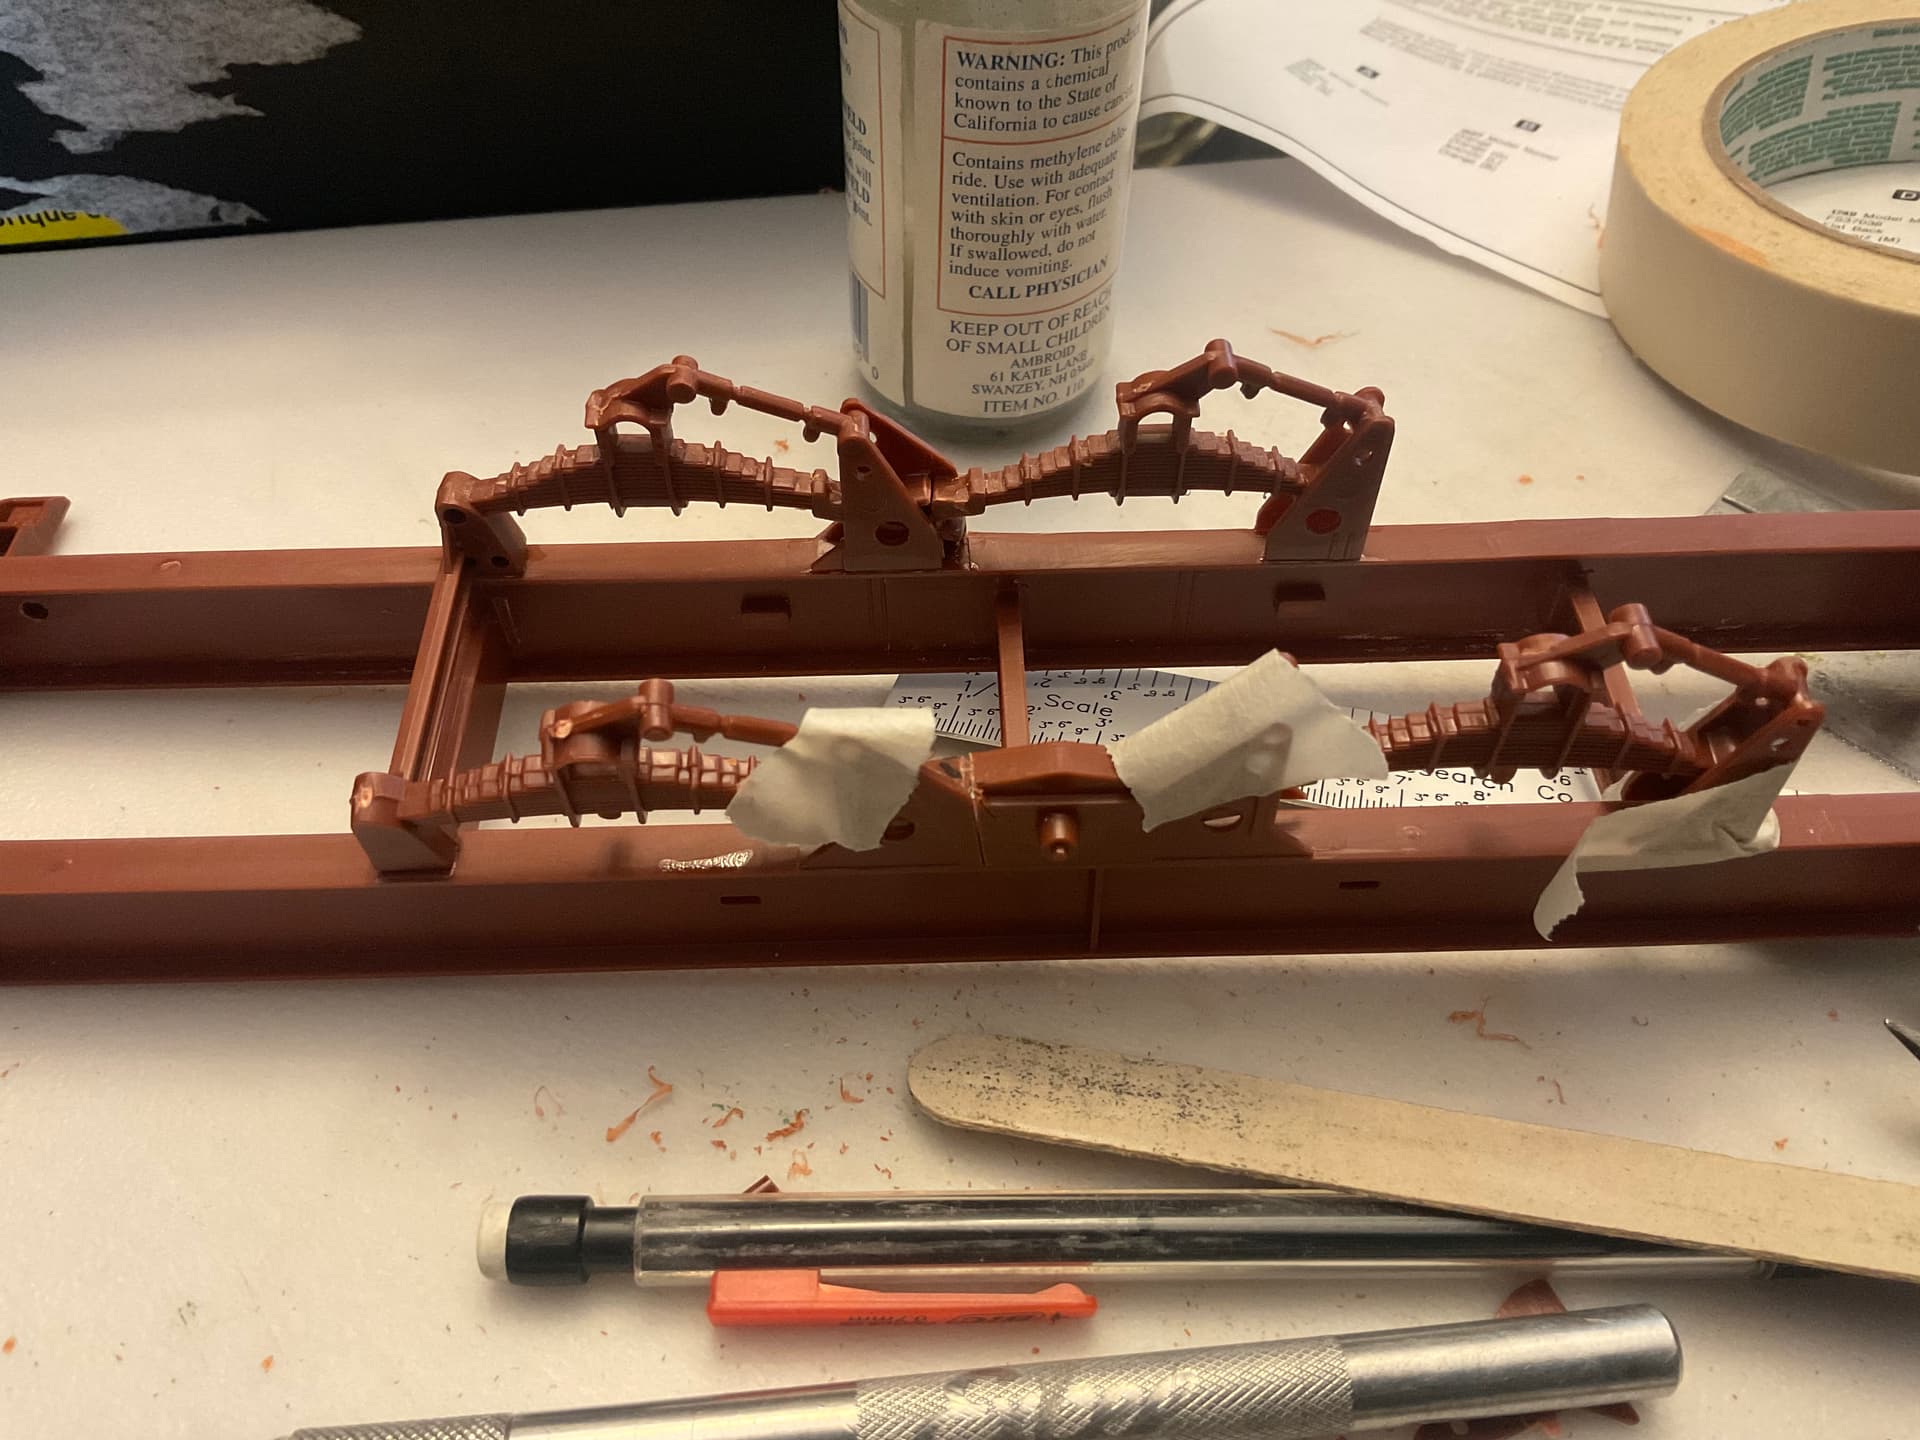
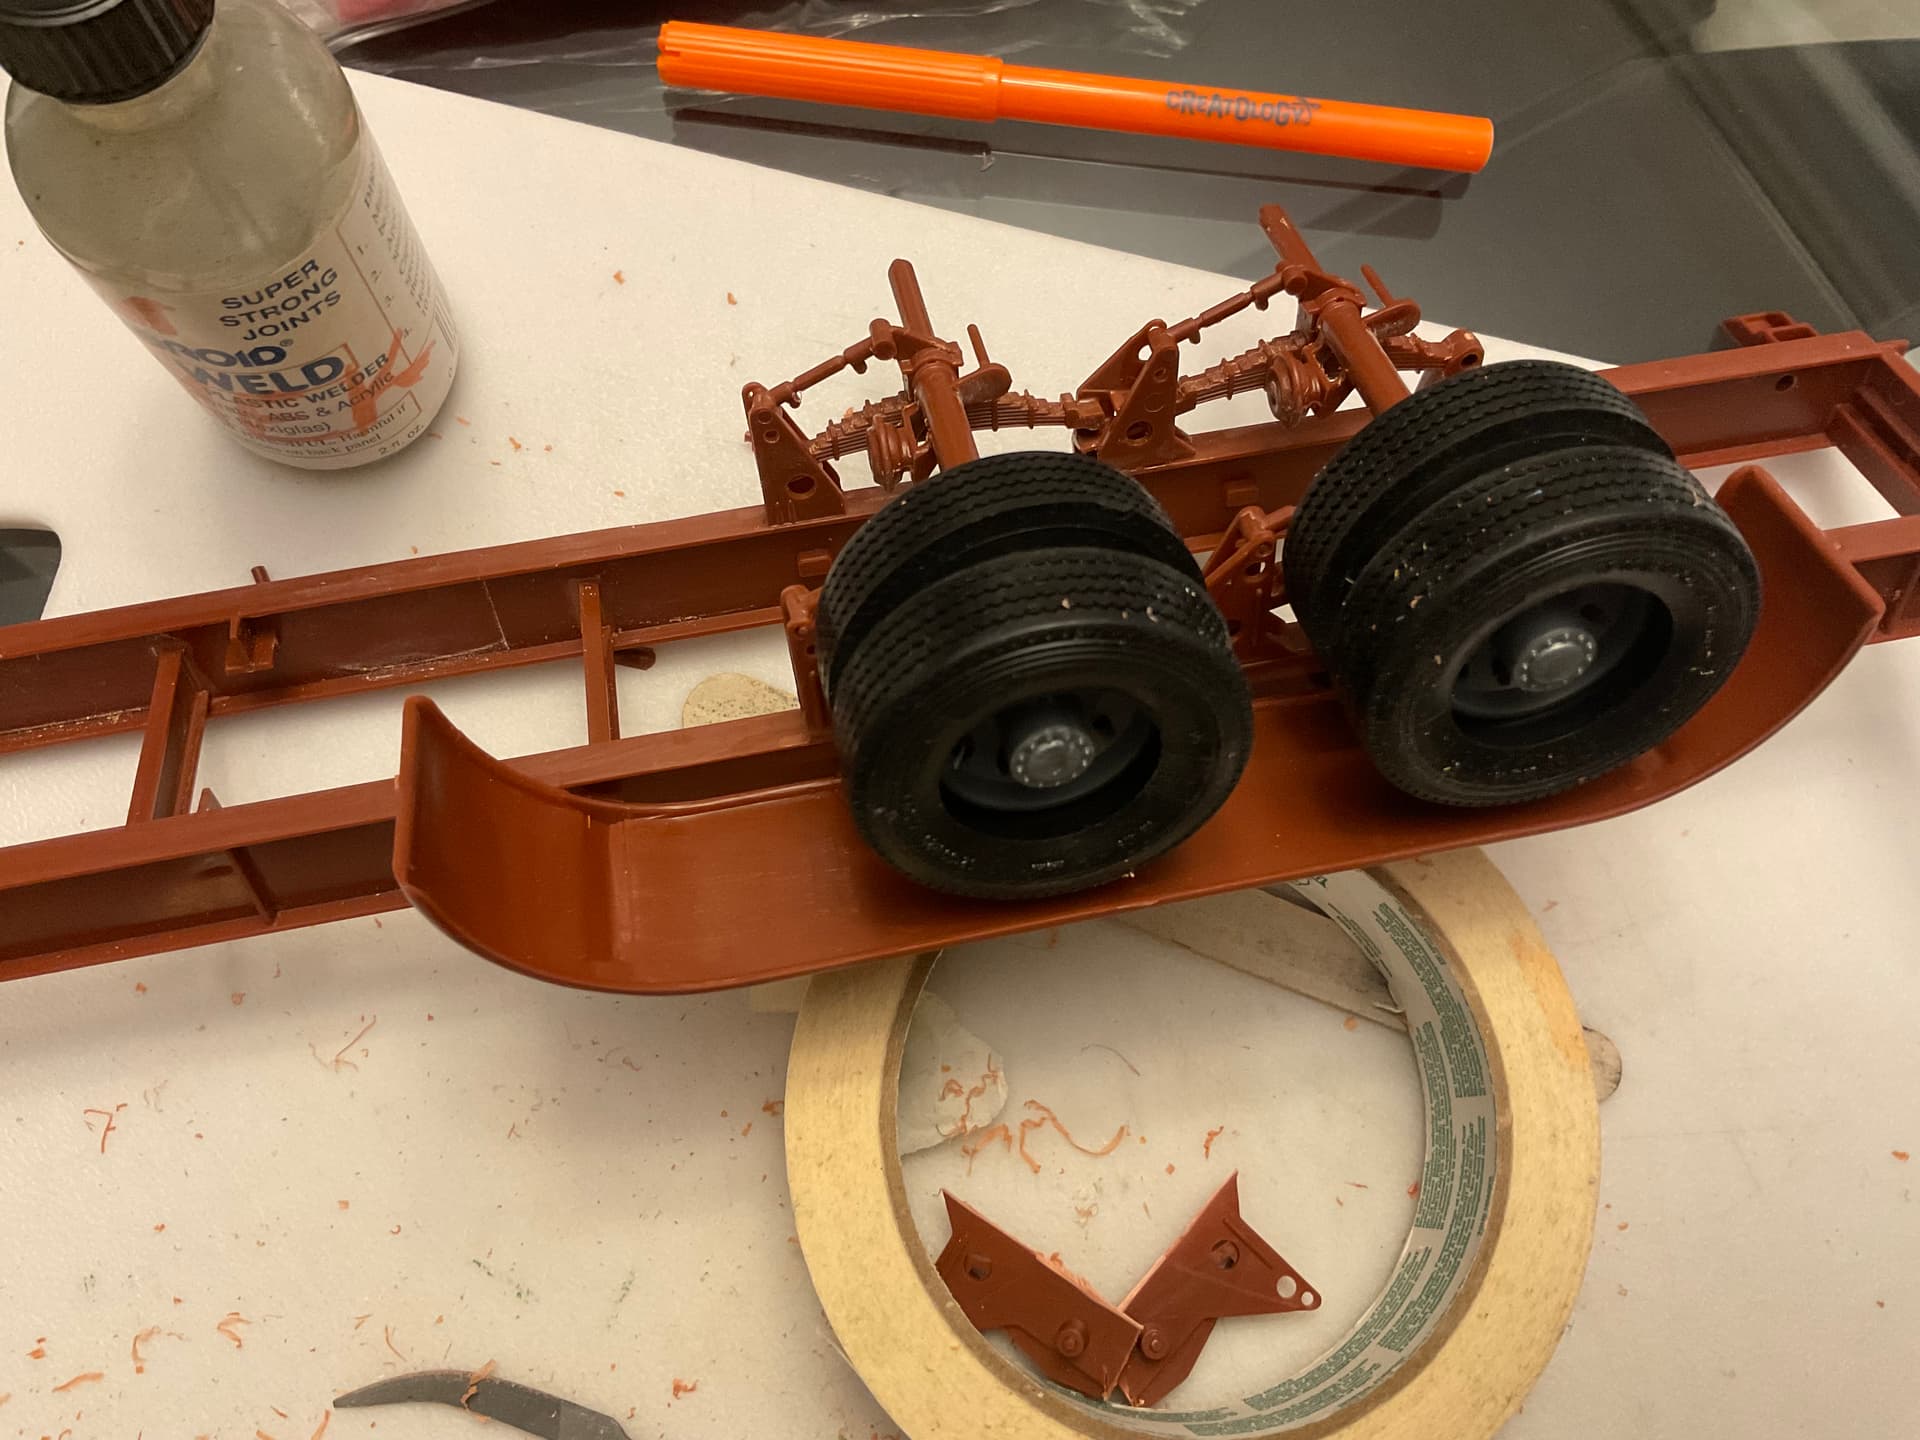
All the rest of the frame and running gear is adequate, so let’s break out the razor saw and see what kind of damage we can make….
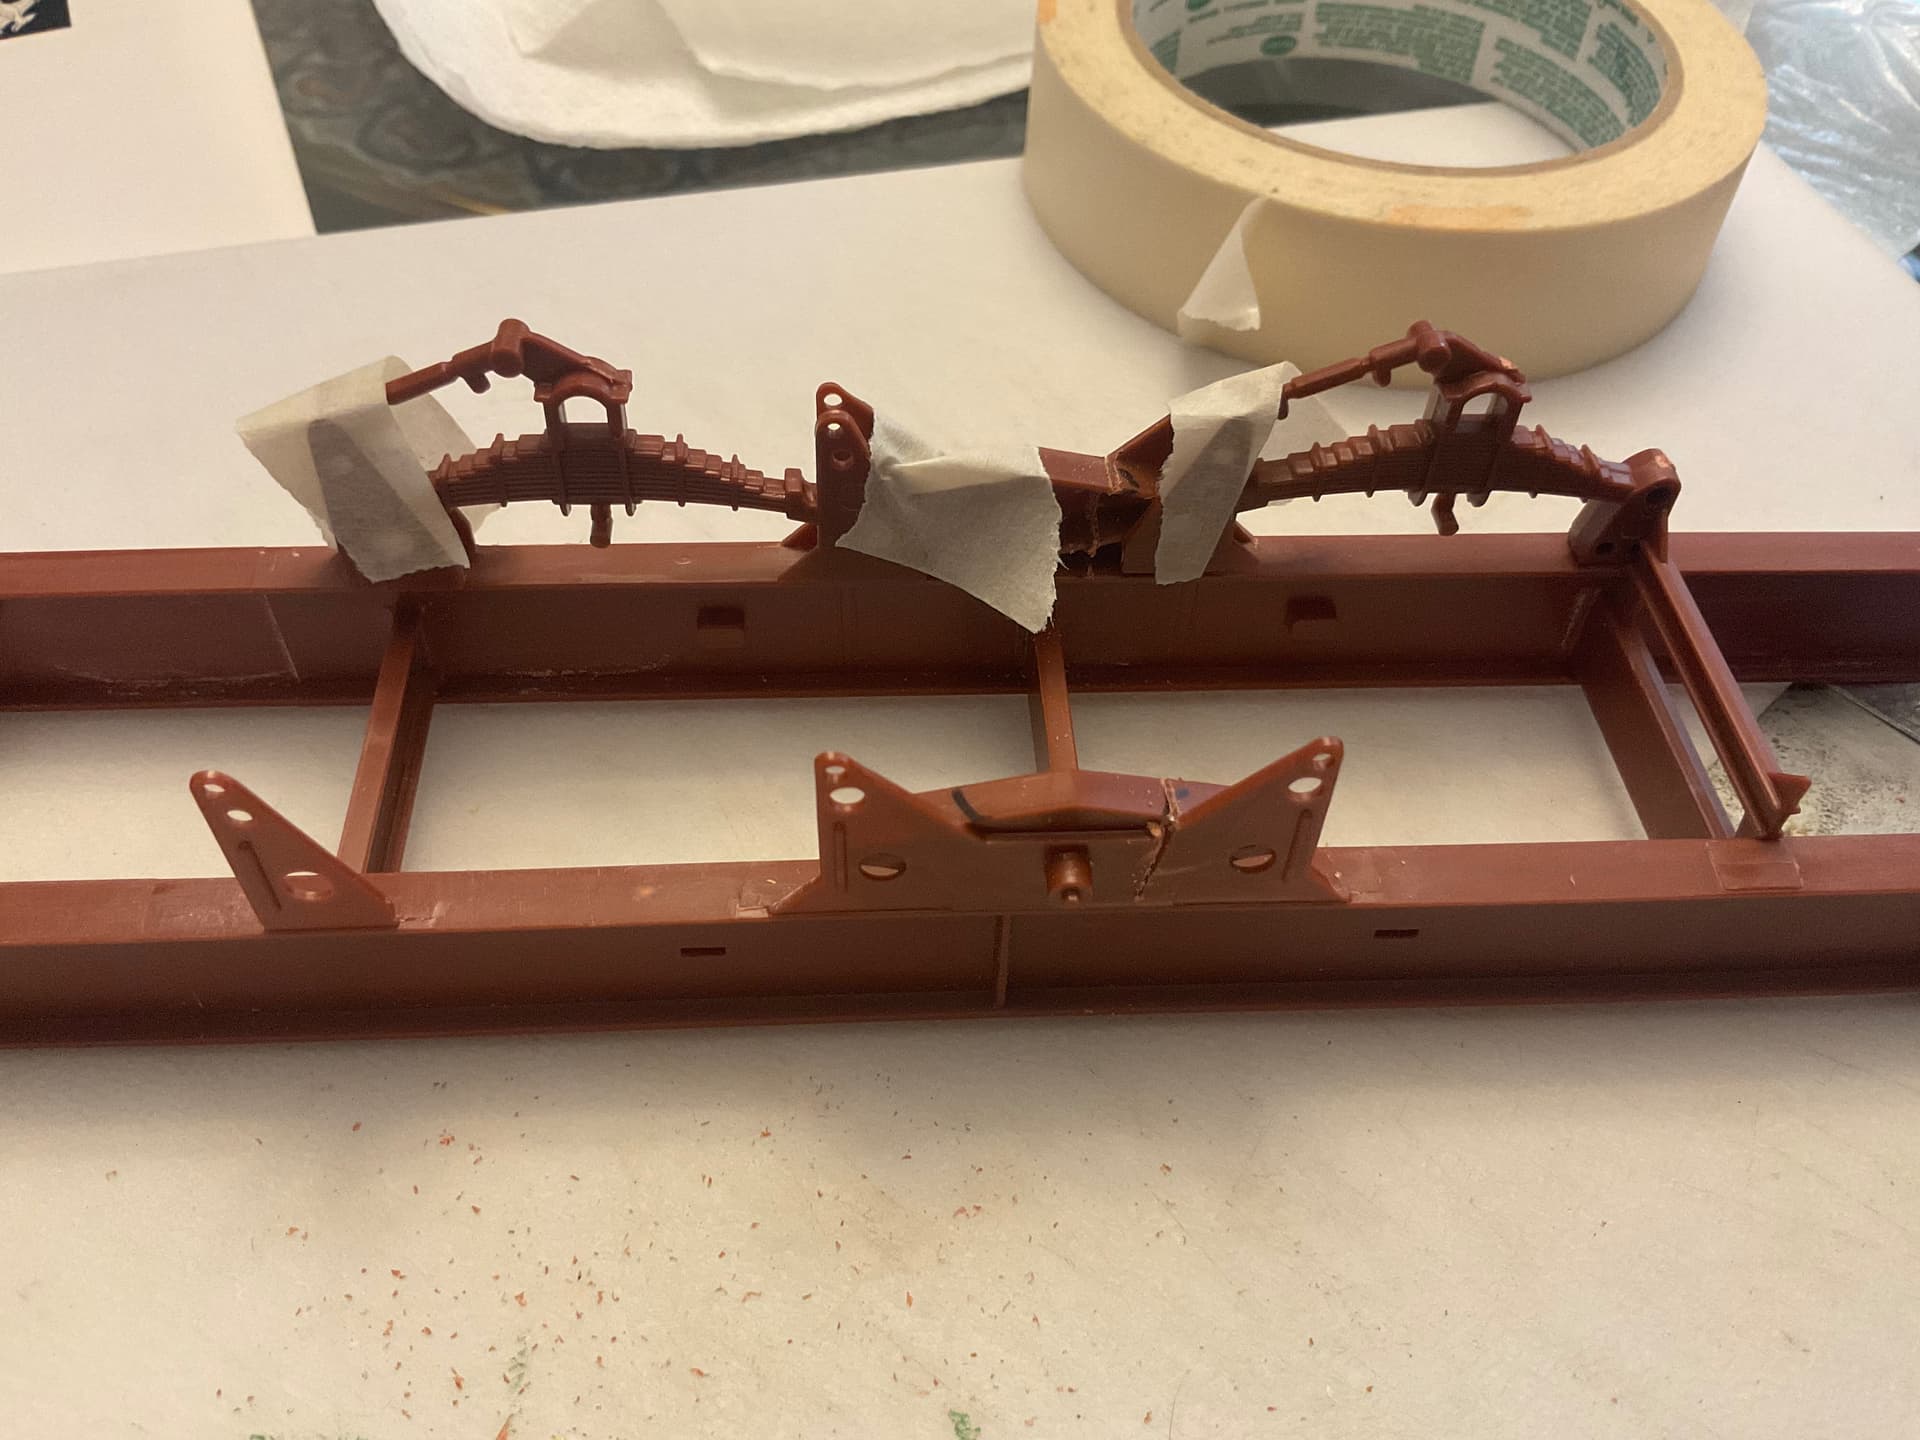
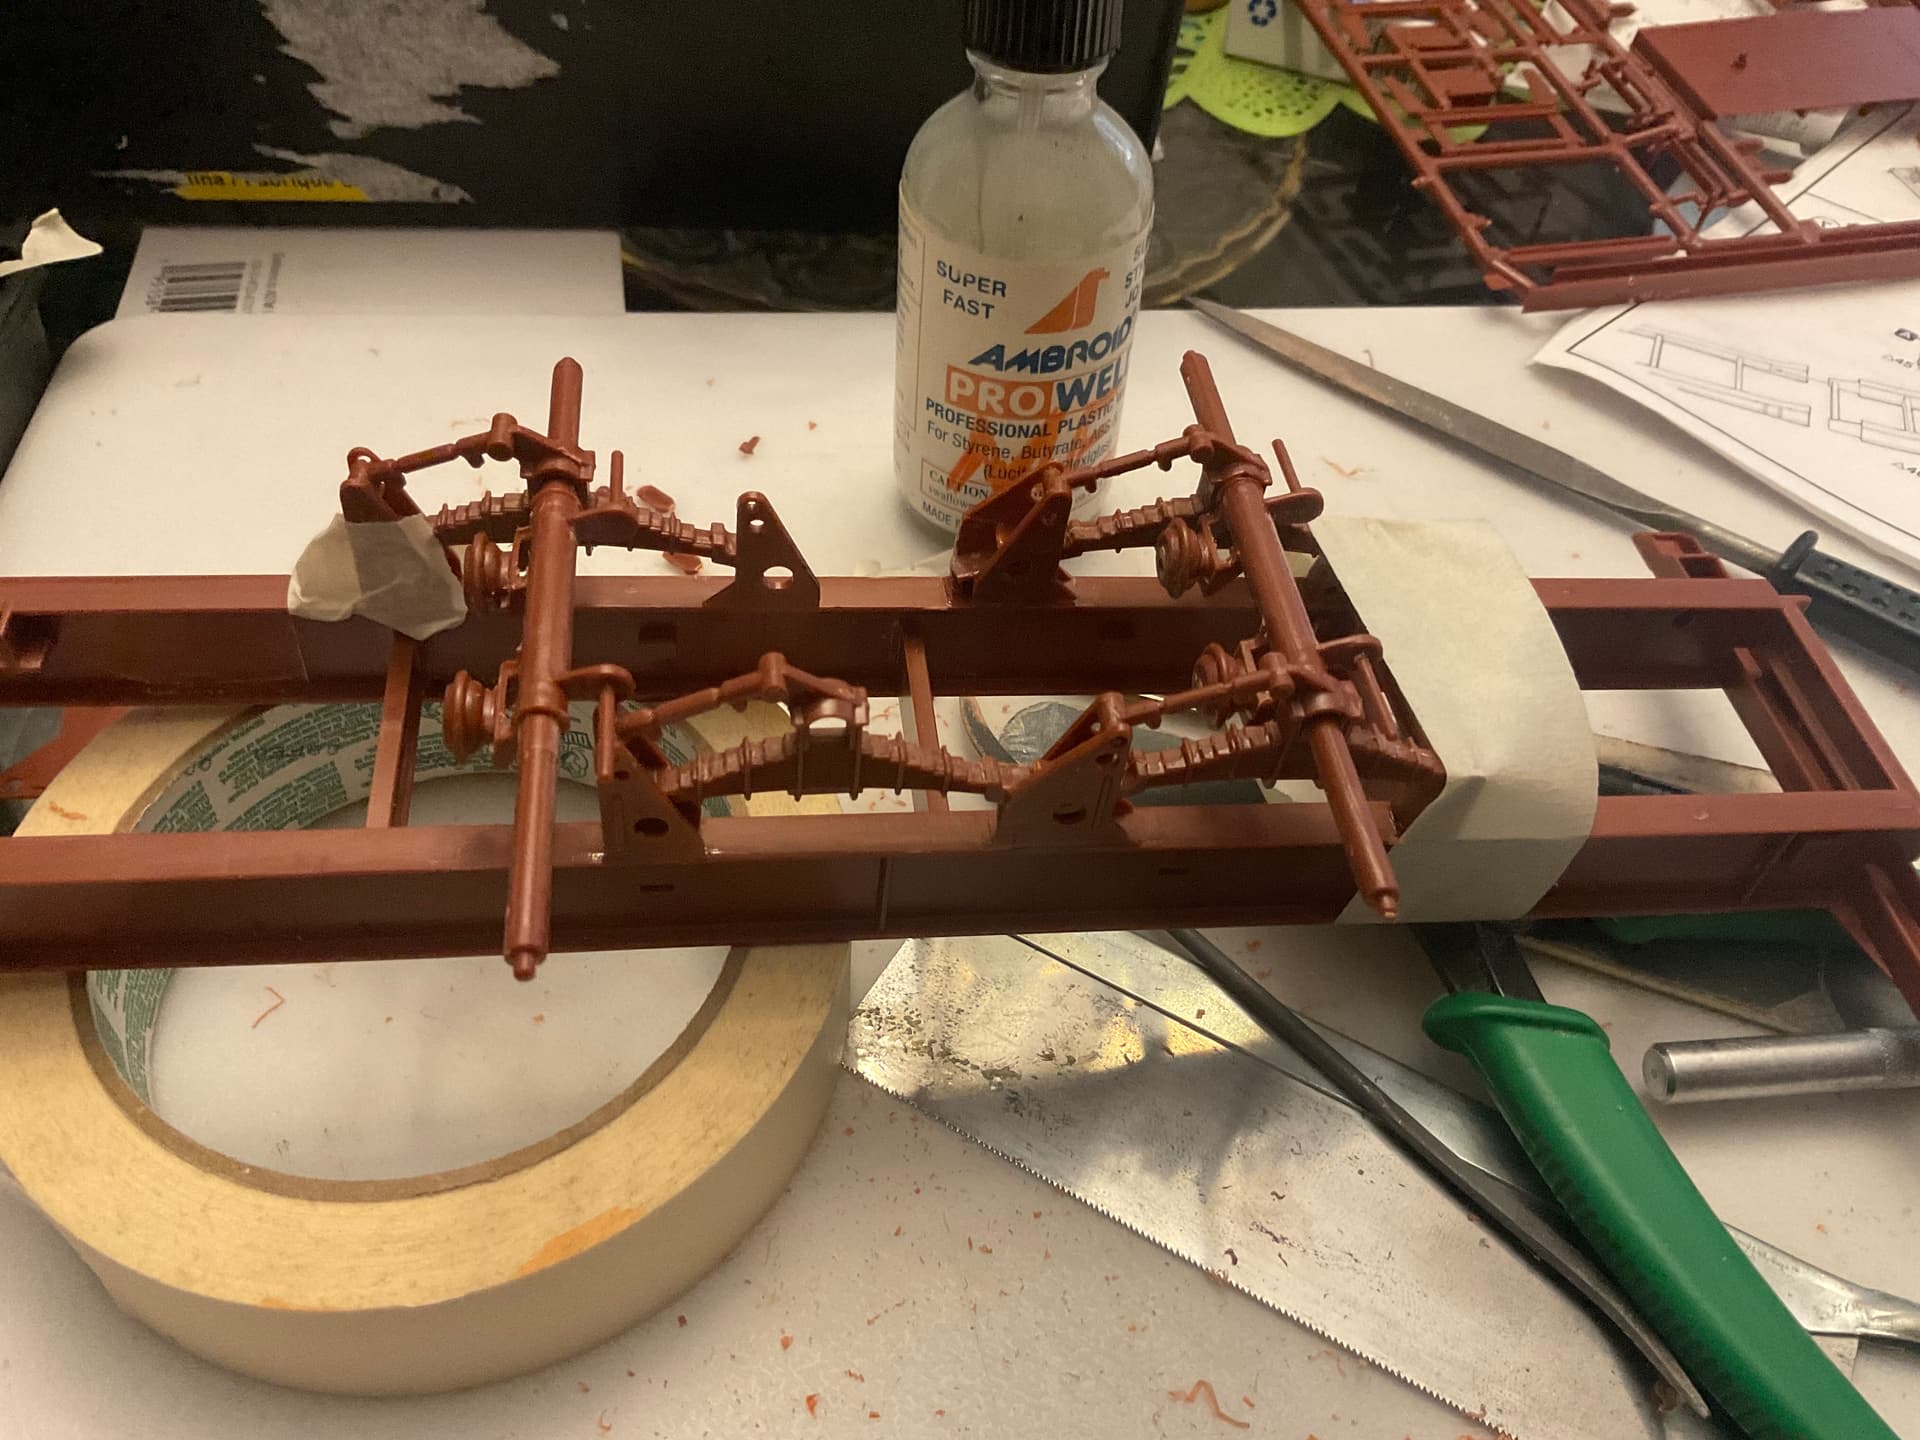
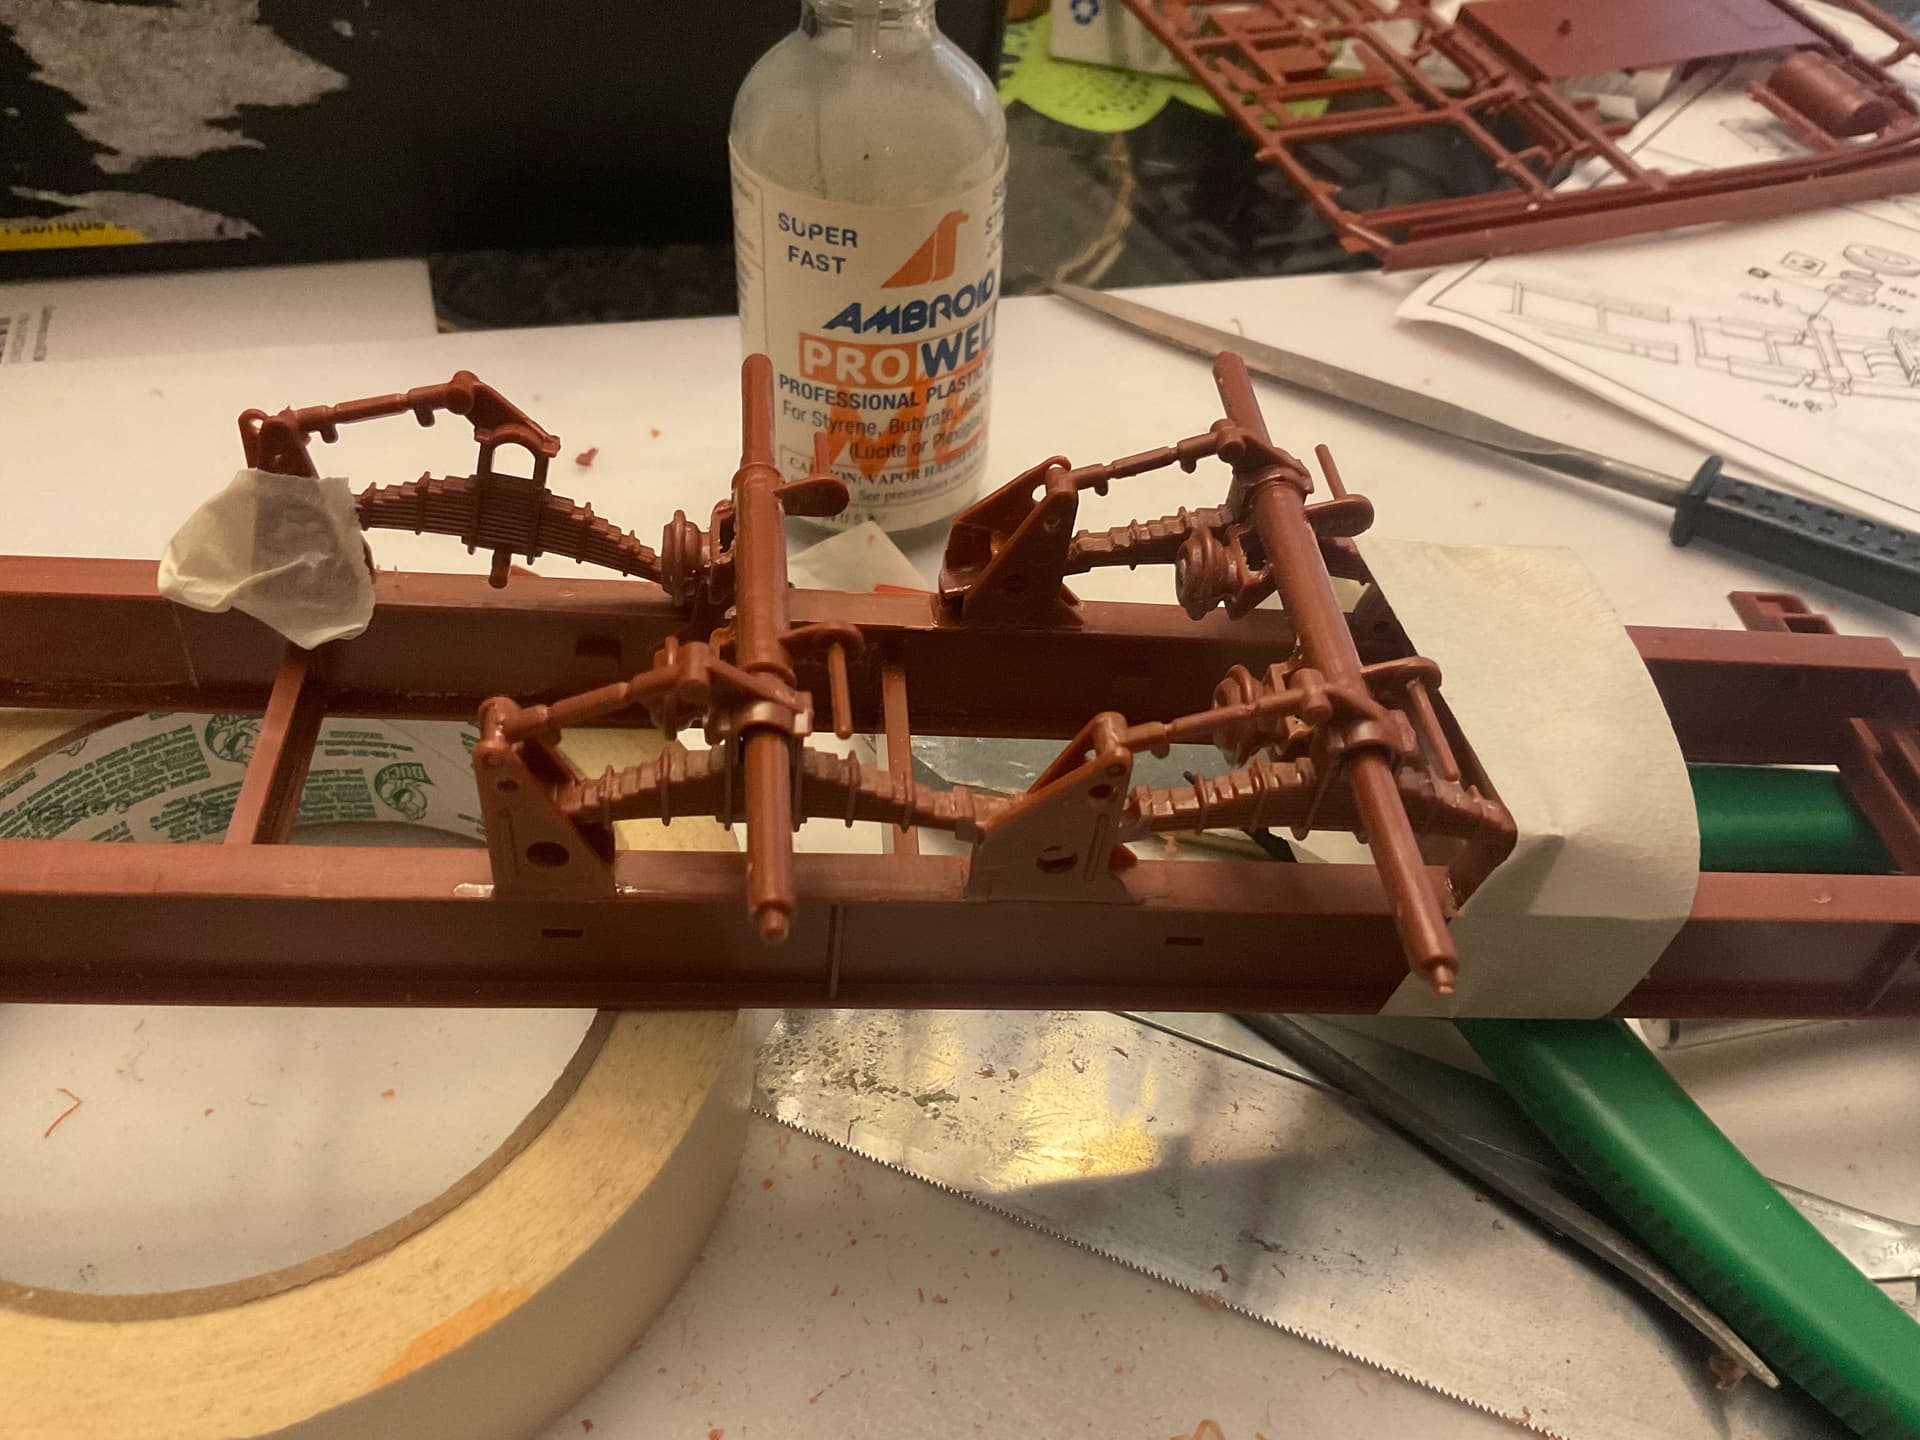
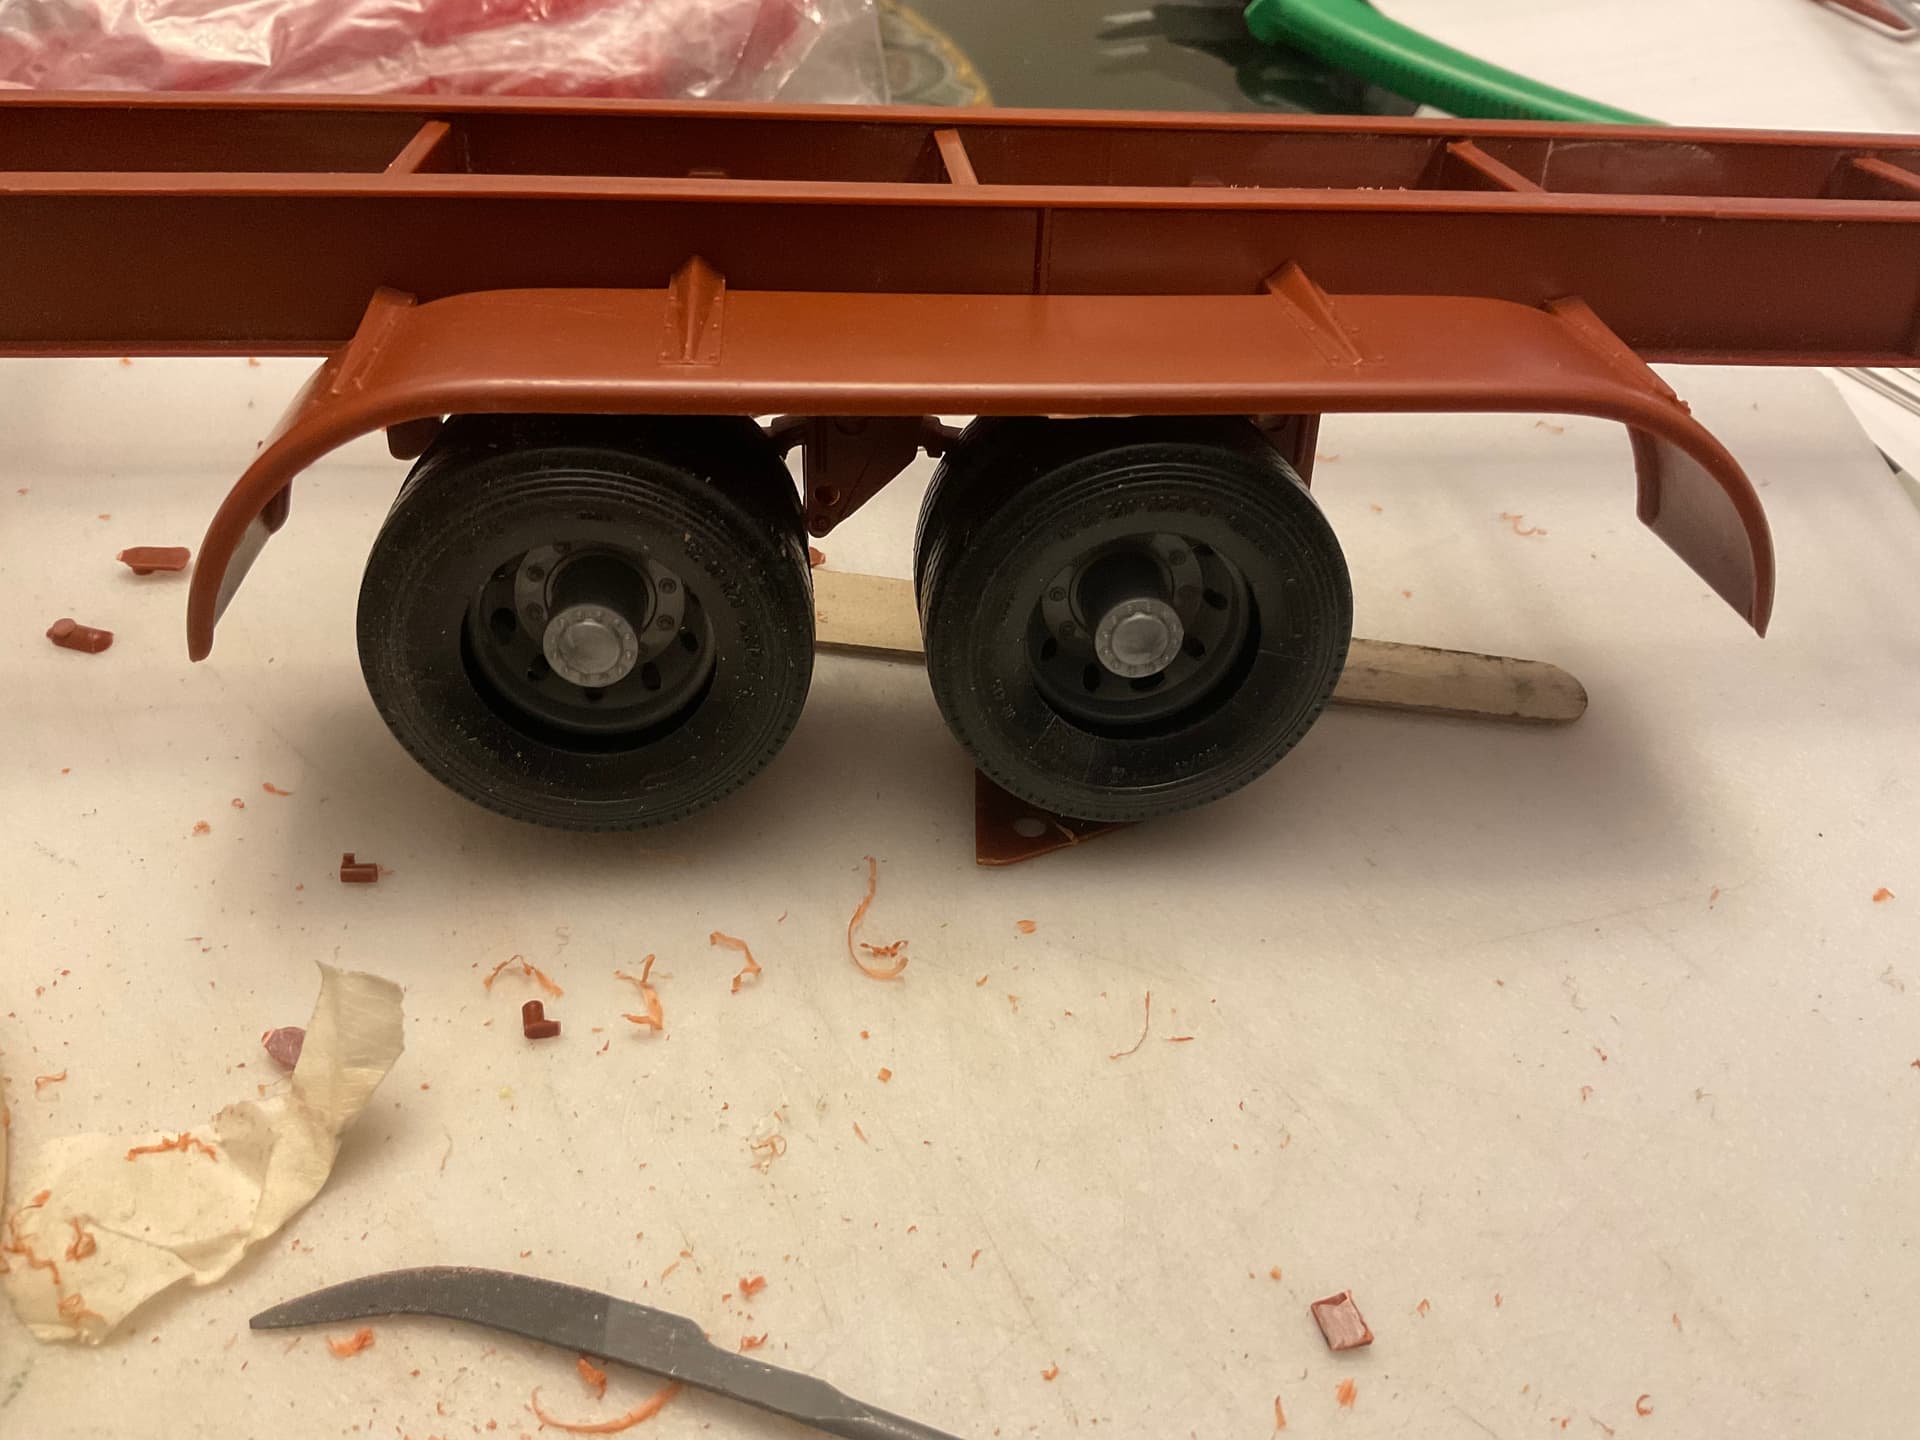
Here’s the initial layout,
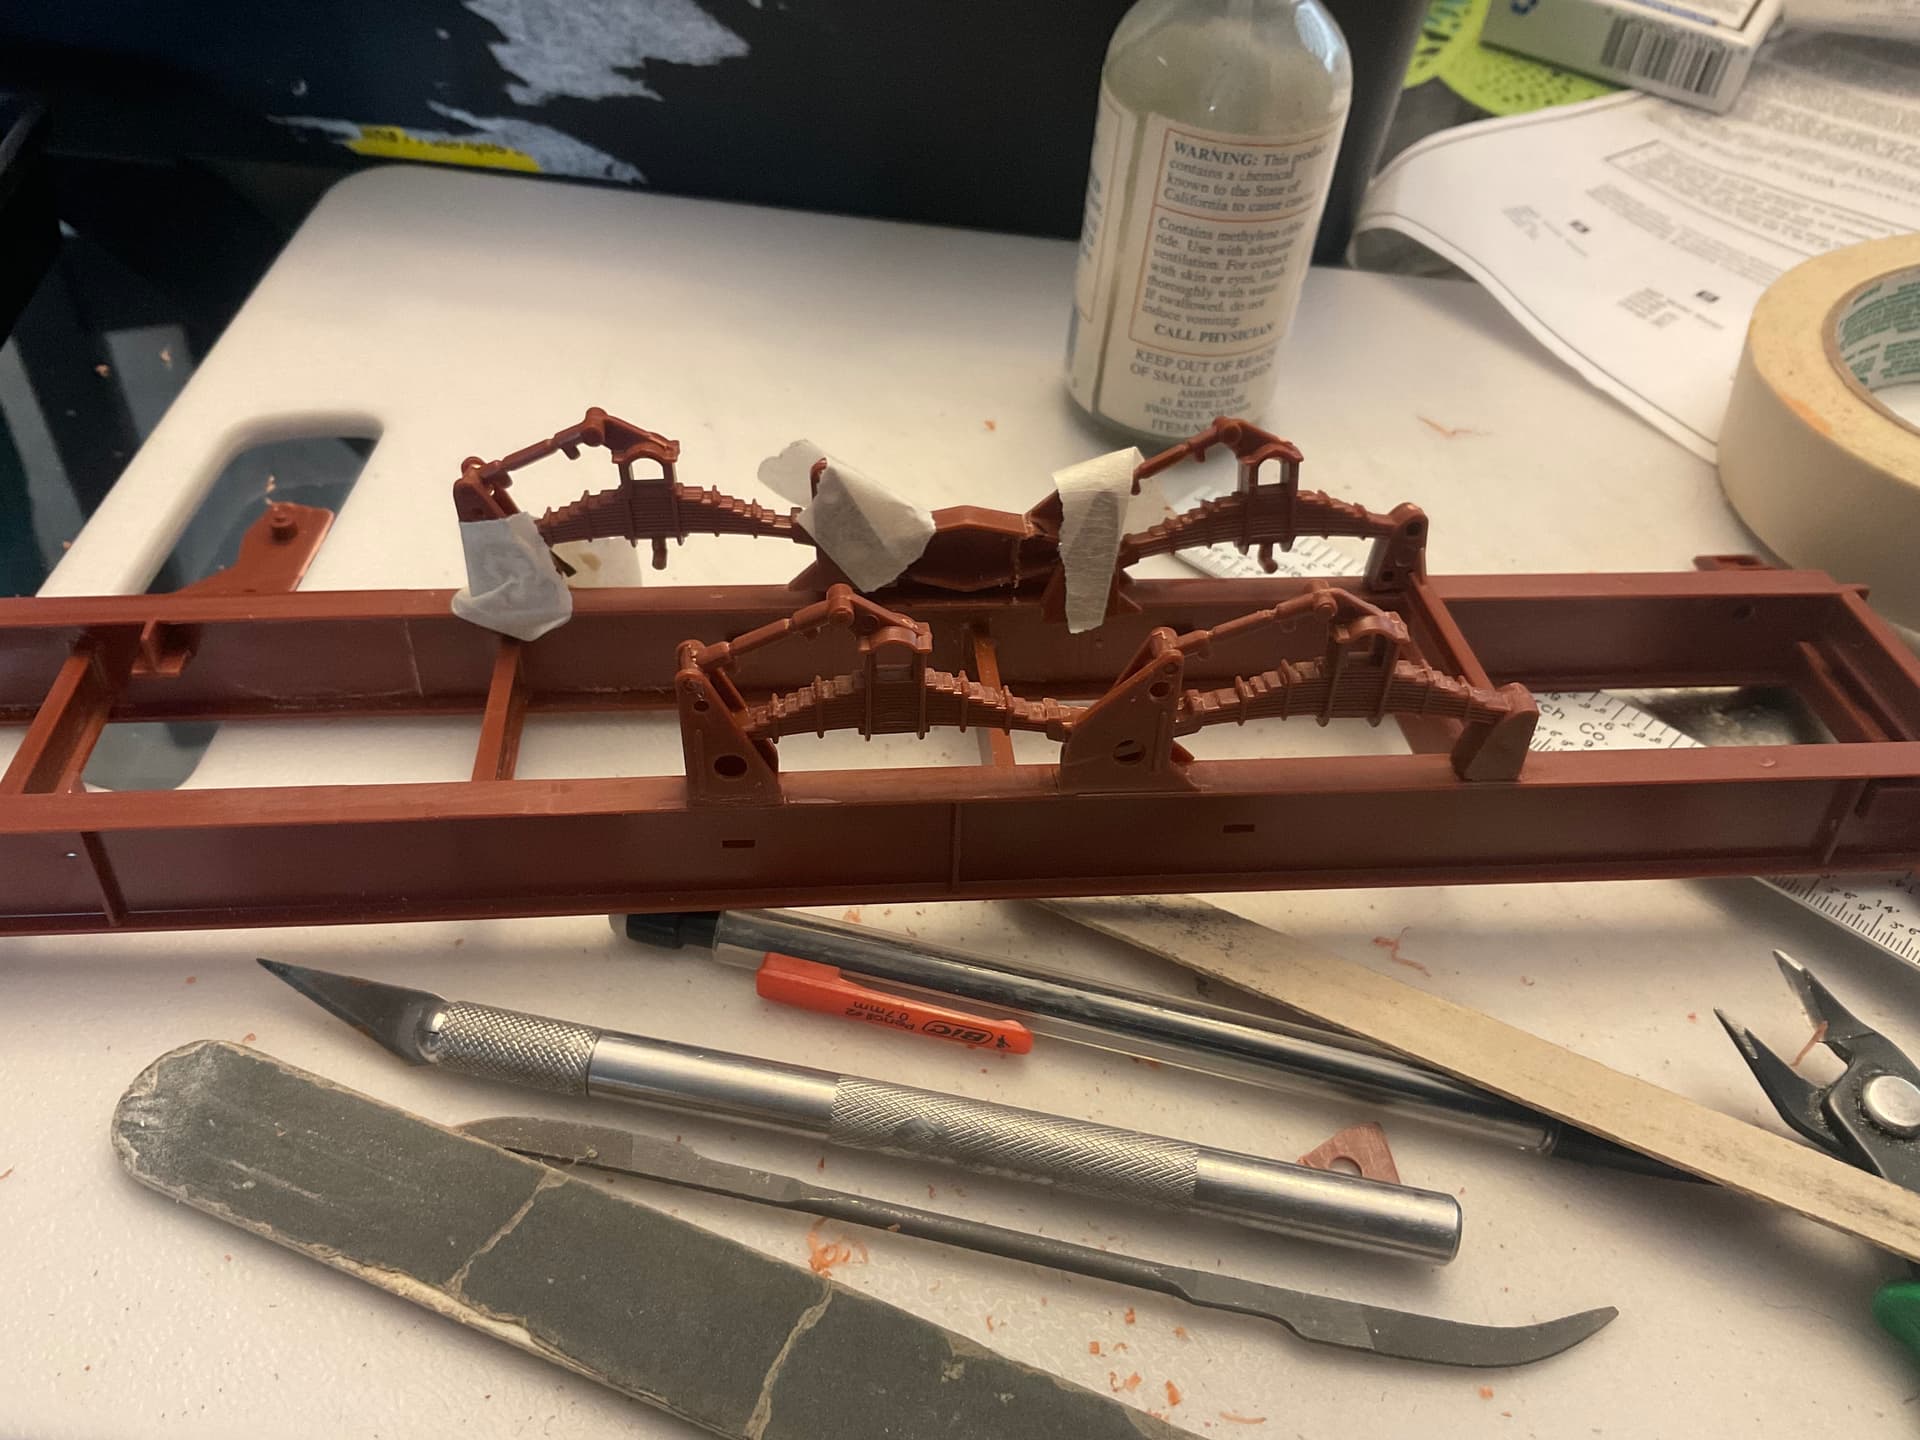
Finally with the wheels put in place to see finished product. You can see by the fenders how much farther back I moved the front axle. I’m not sure about using the fenders anyway as most container trailers in Canada don’t use fenders at all.
Lots of work to go yet with the wiring, air lines, etc. I’m thinking of building some additional parts to make it a little more like the North American style of trailer. There will most likely be a fair amount of white styrene added before paint.
And speaking of paint, I might have to make a trip to Home Depot for this one.
Going to do a little wear and tear with dents and such before paint. Then I’ll try my hand at some rust effects, paint streaking, fading etc. The kit came with nice decals but I think they are more regularly seen in Europe.
Great project and it’s looking great. I hope that the strike ends soon(parent/teacher?) Any plans to do some winter weathering on it? My first “real” job in high school was at a truck stop refueling the rigs and cars when they came in. This was during the “Gas Shortage” in the 70’s.
Not sure about winter weathering this time, probably just go with what’s below.
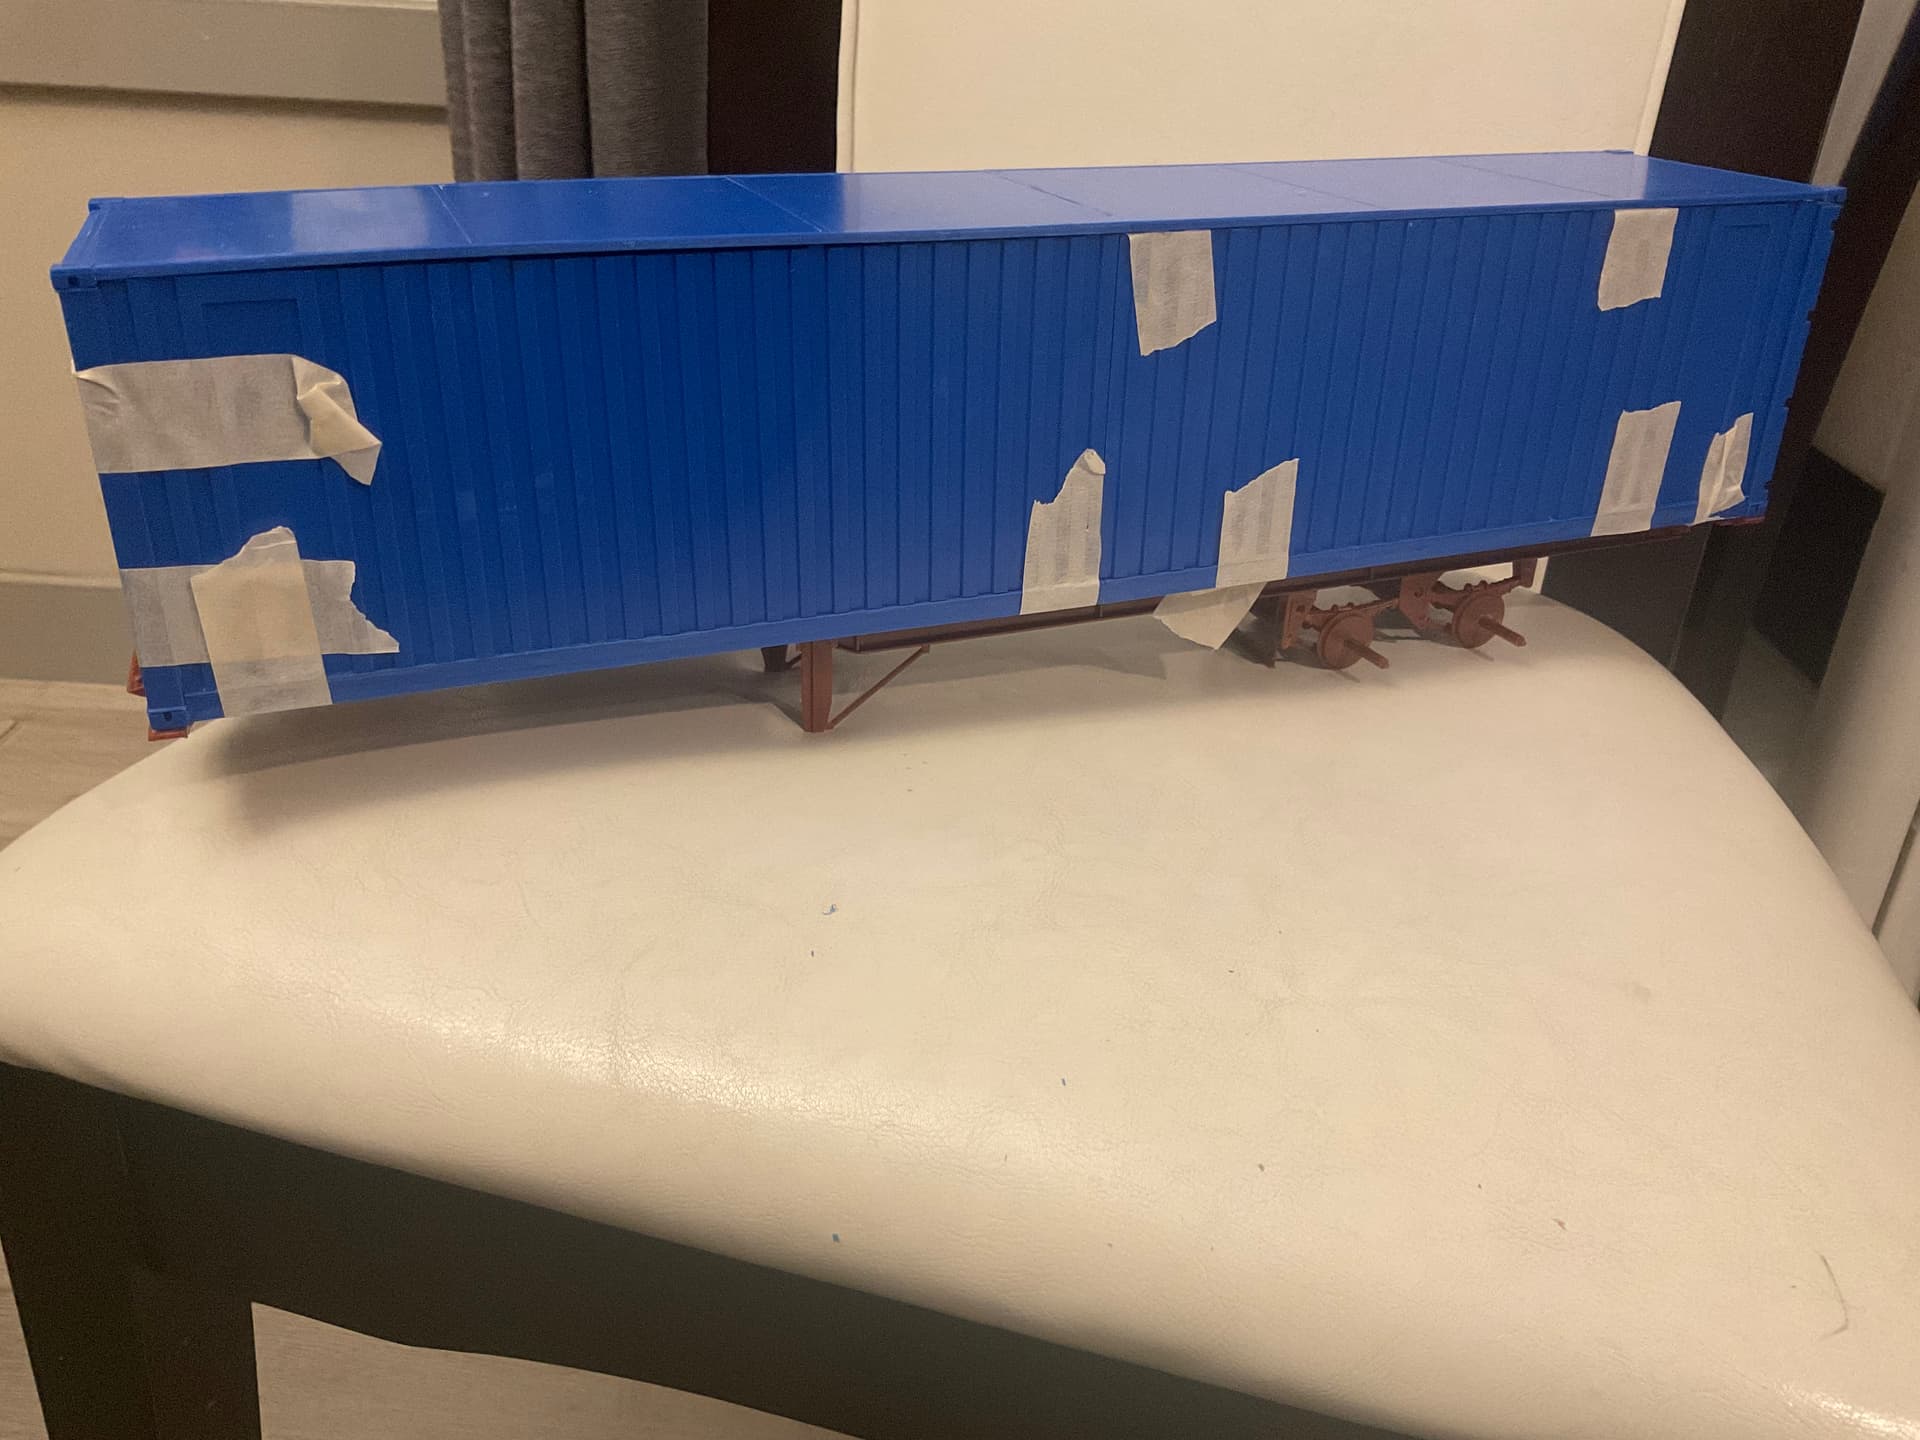
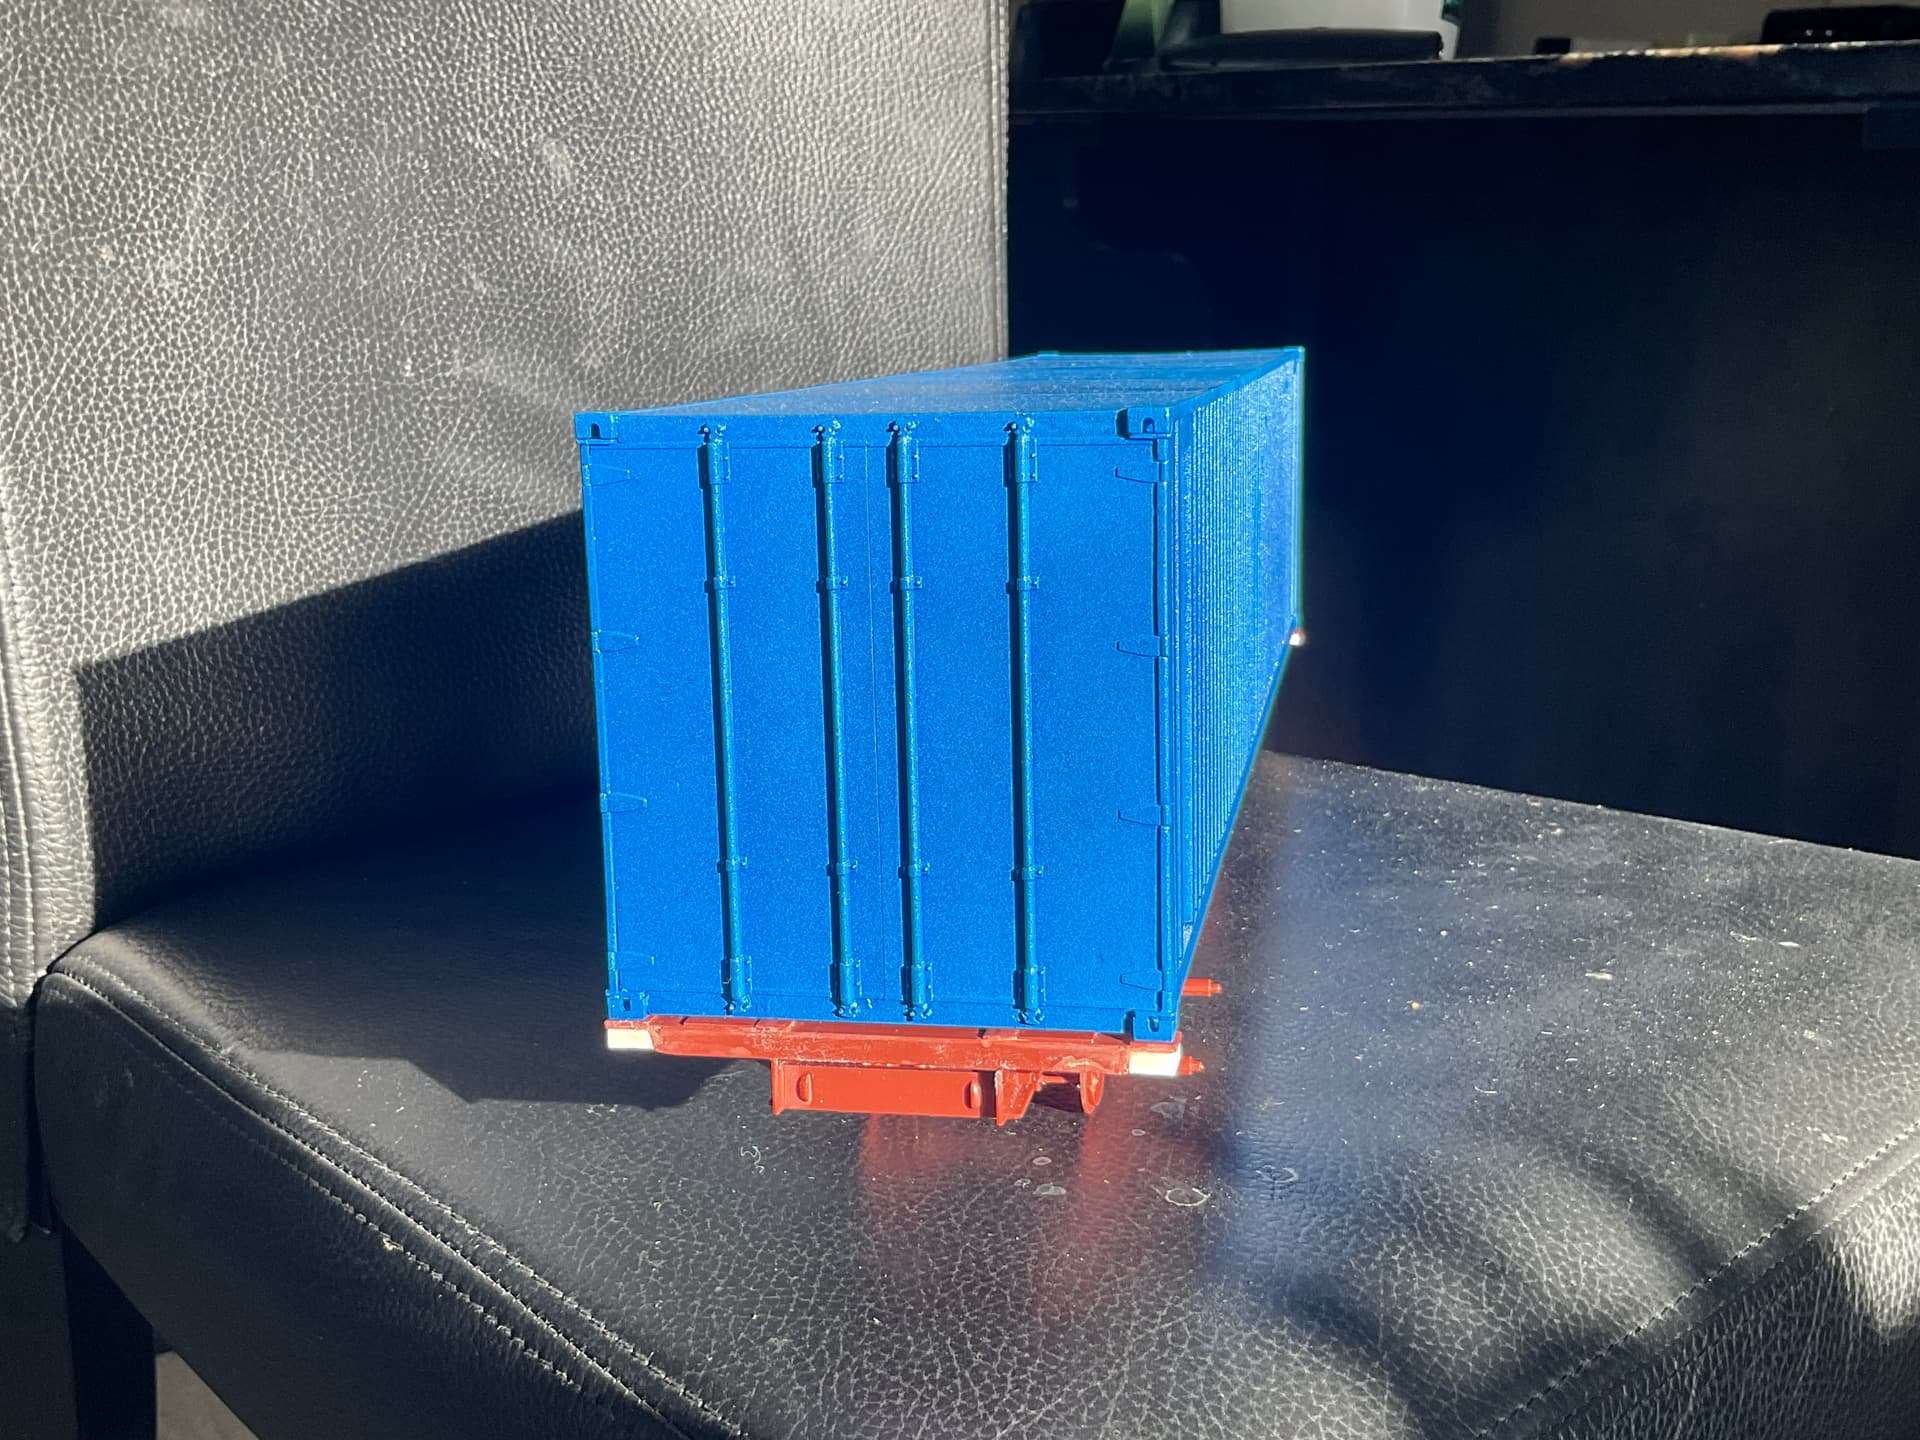
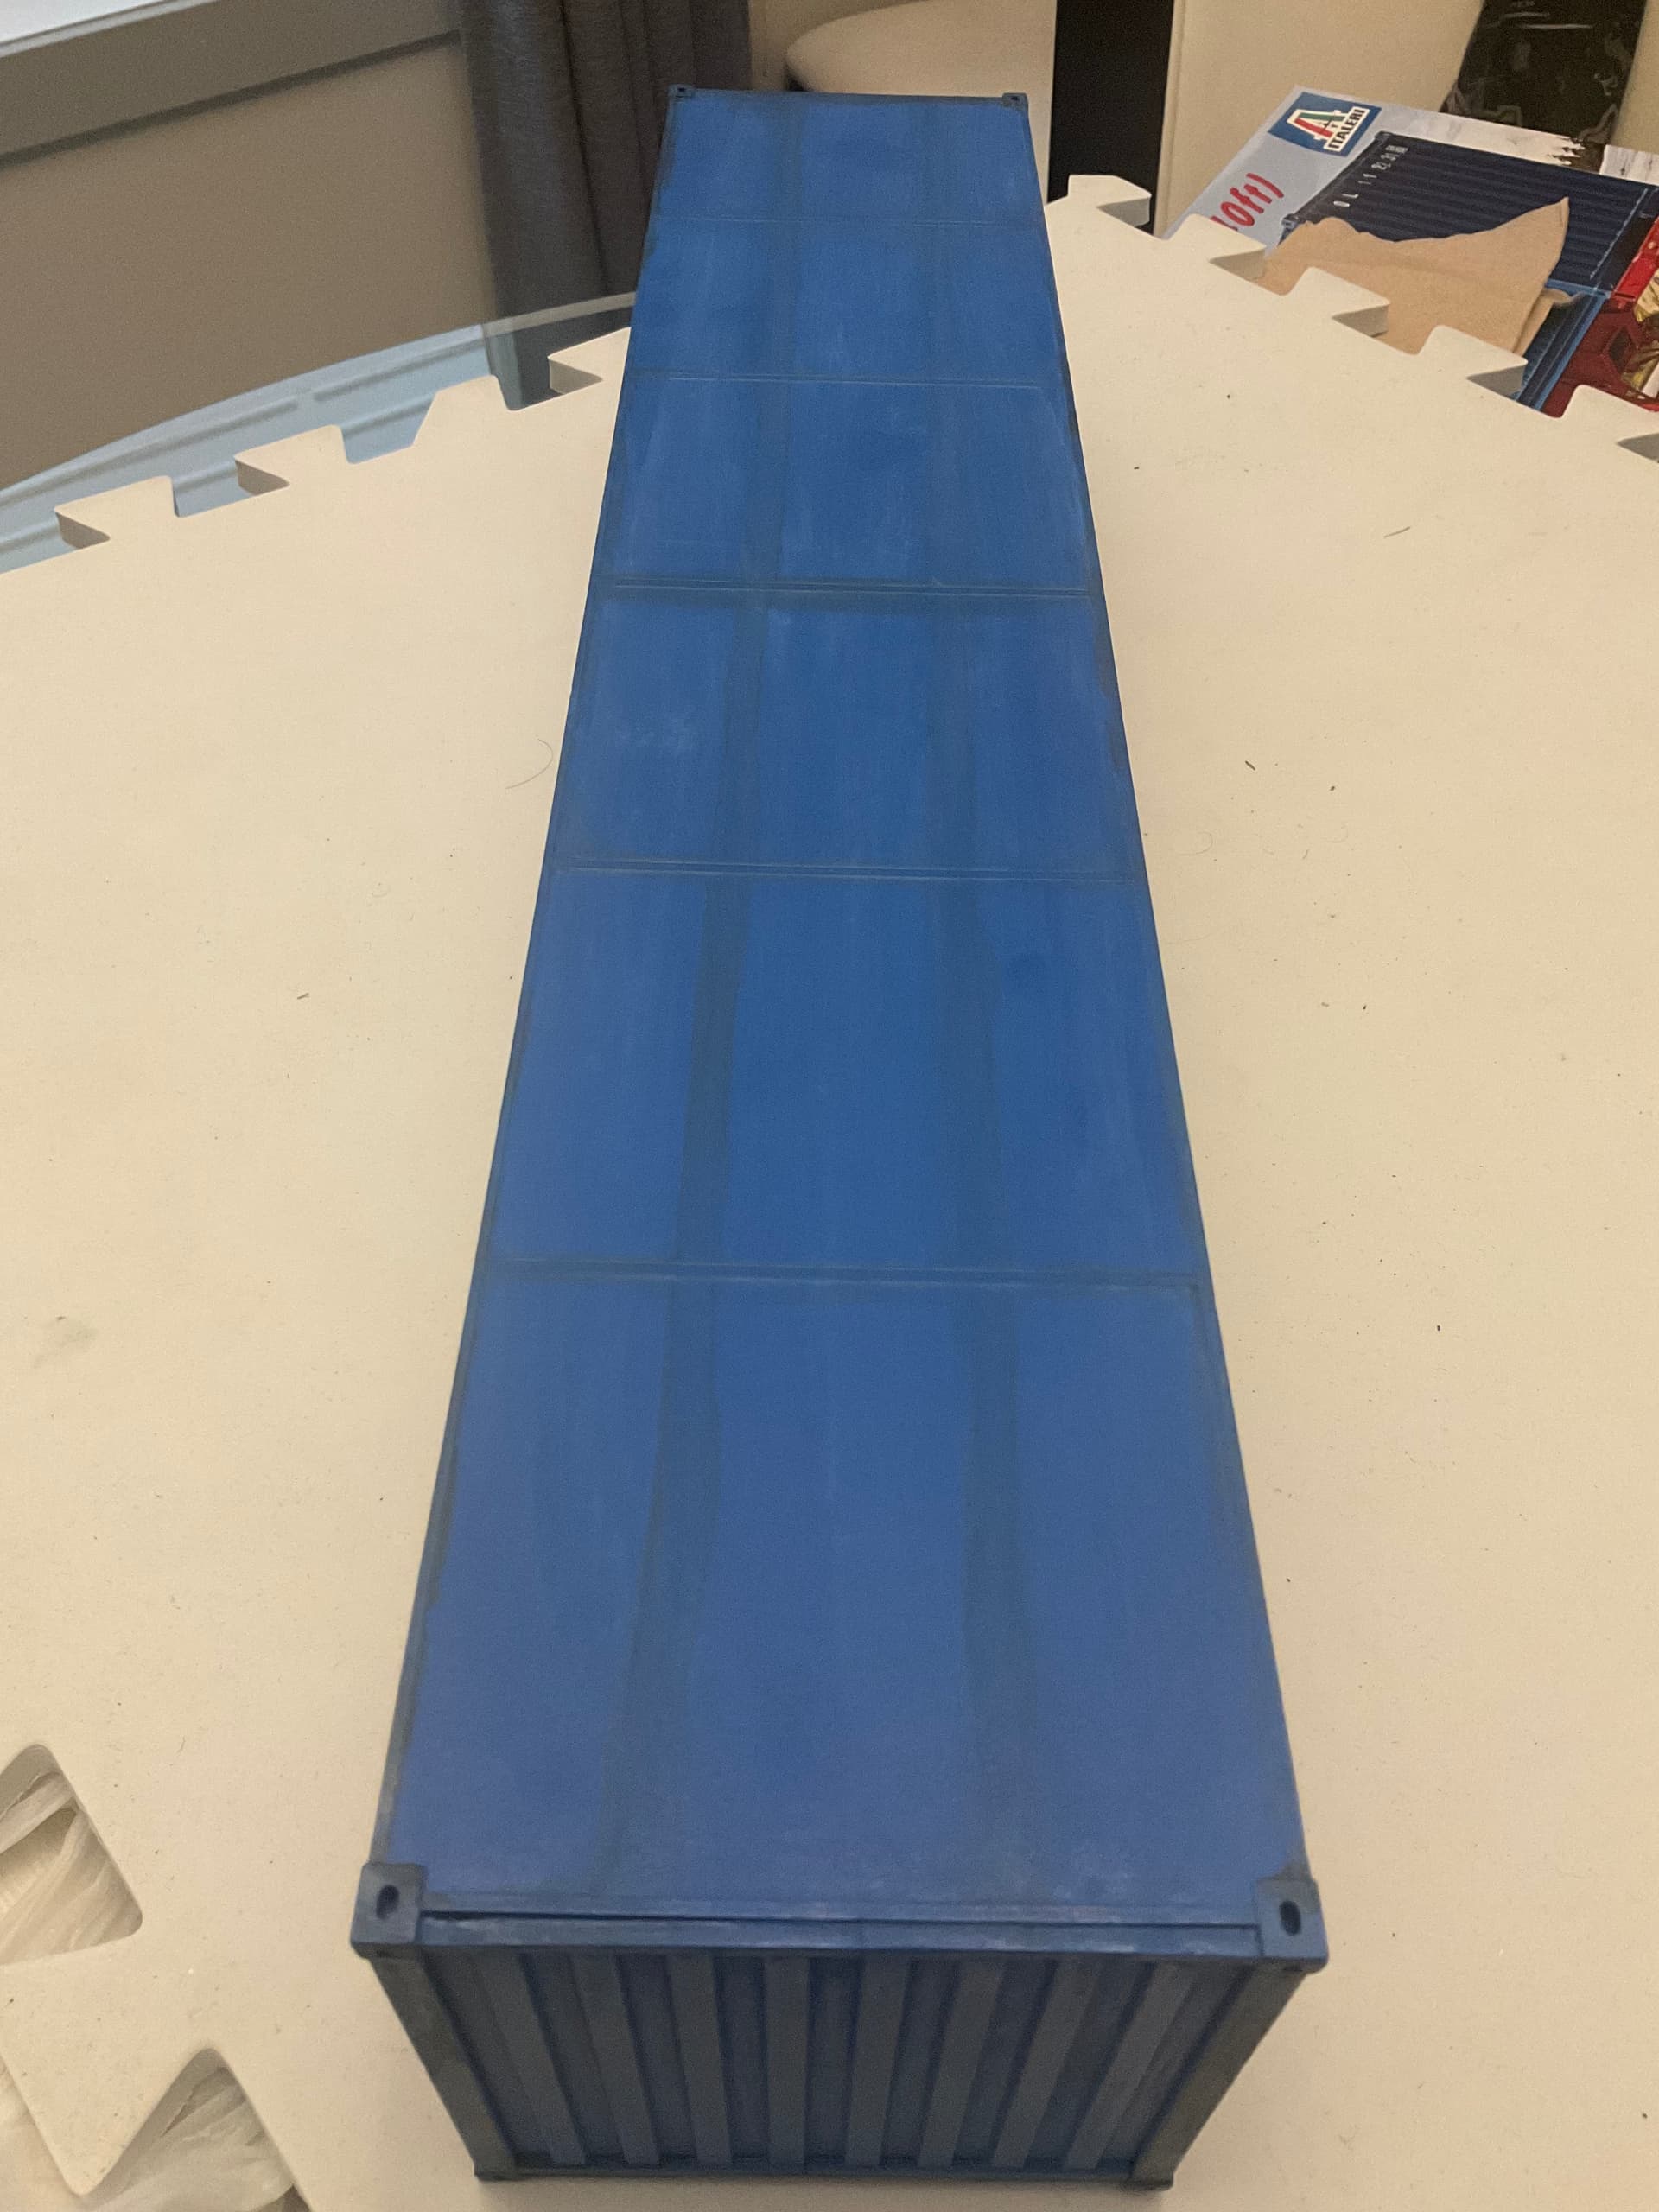
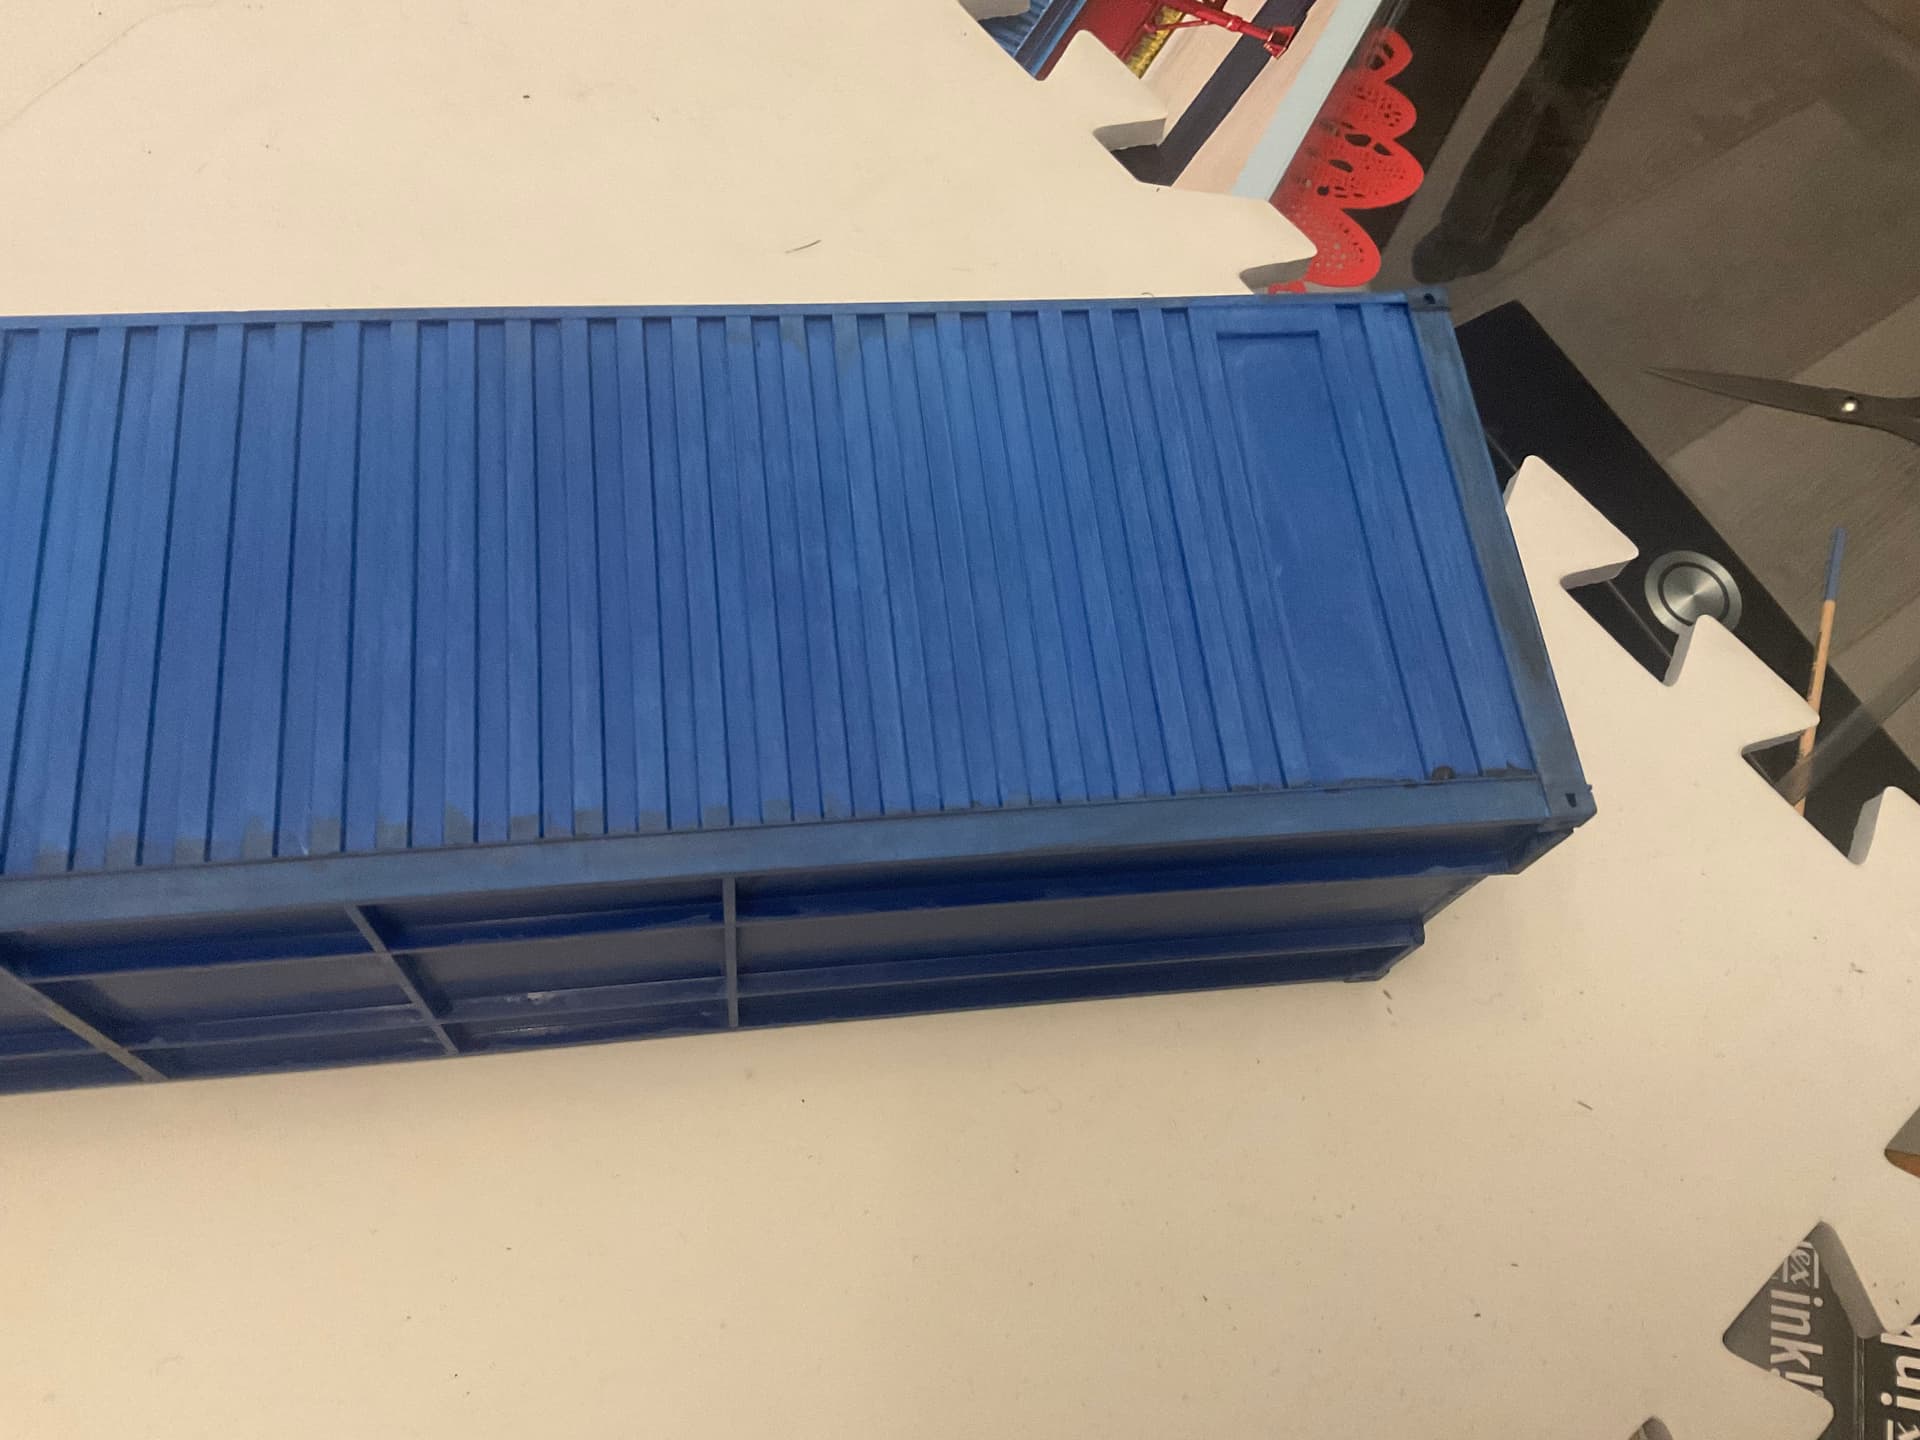
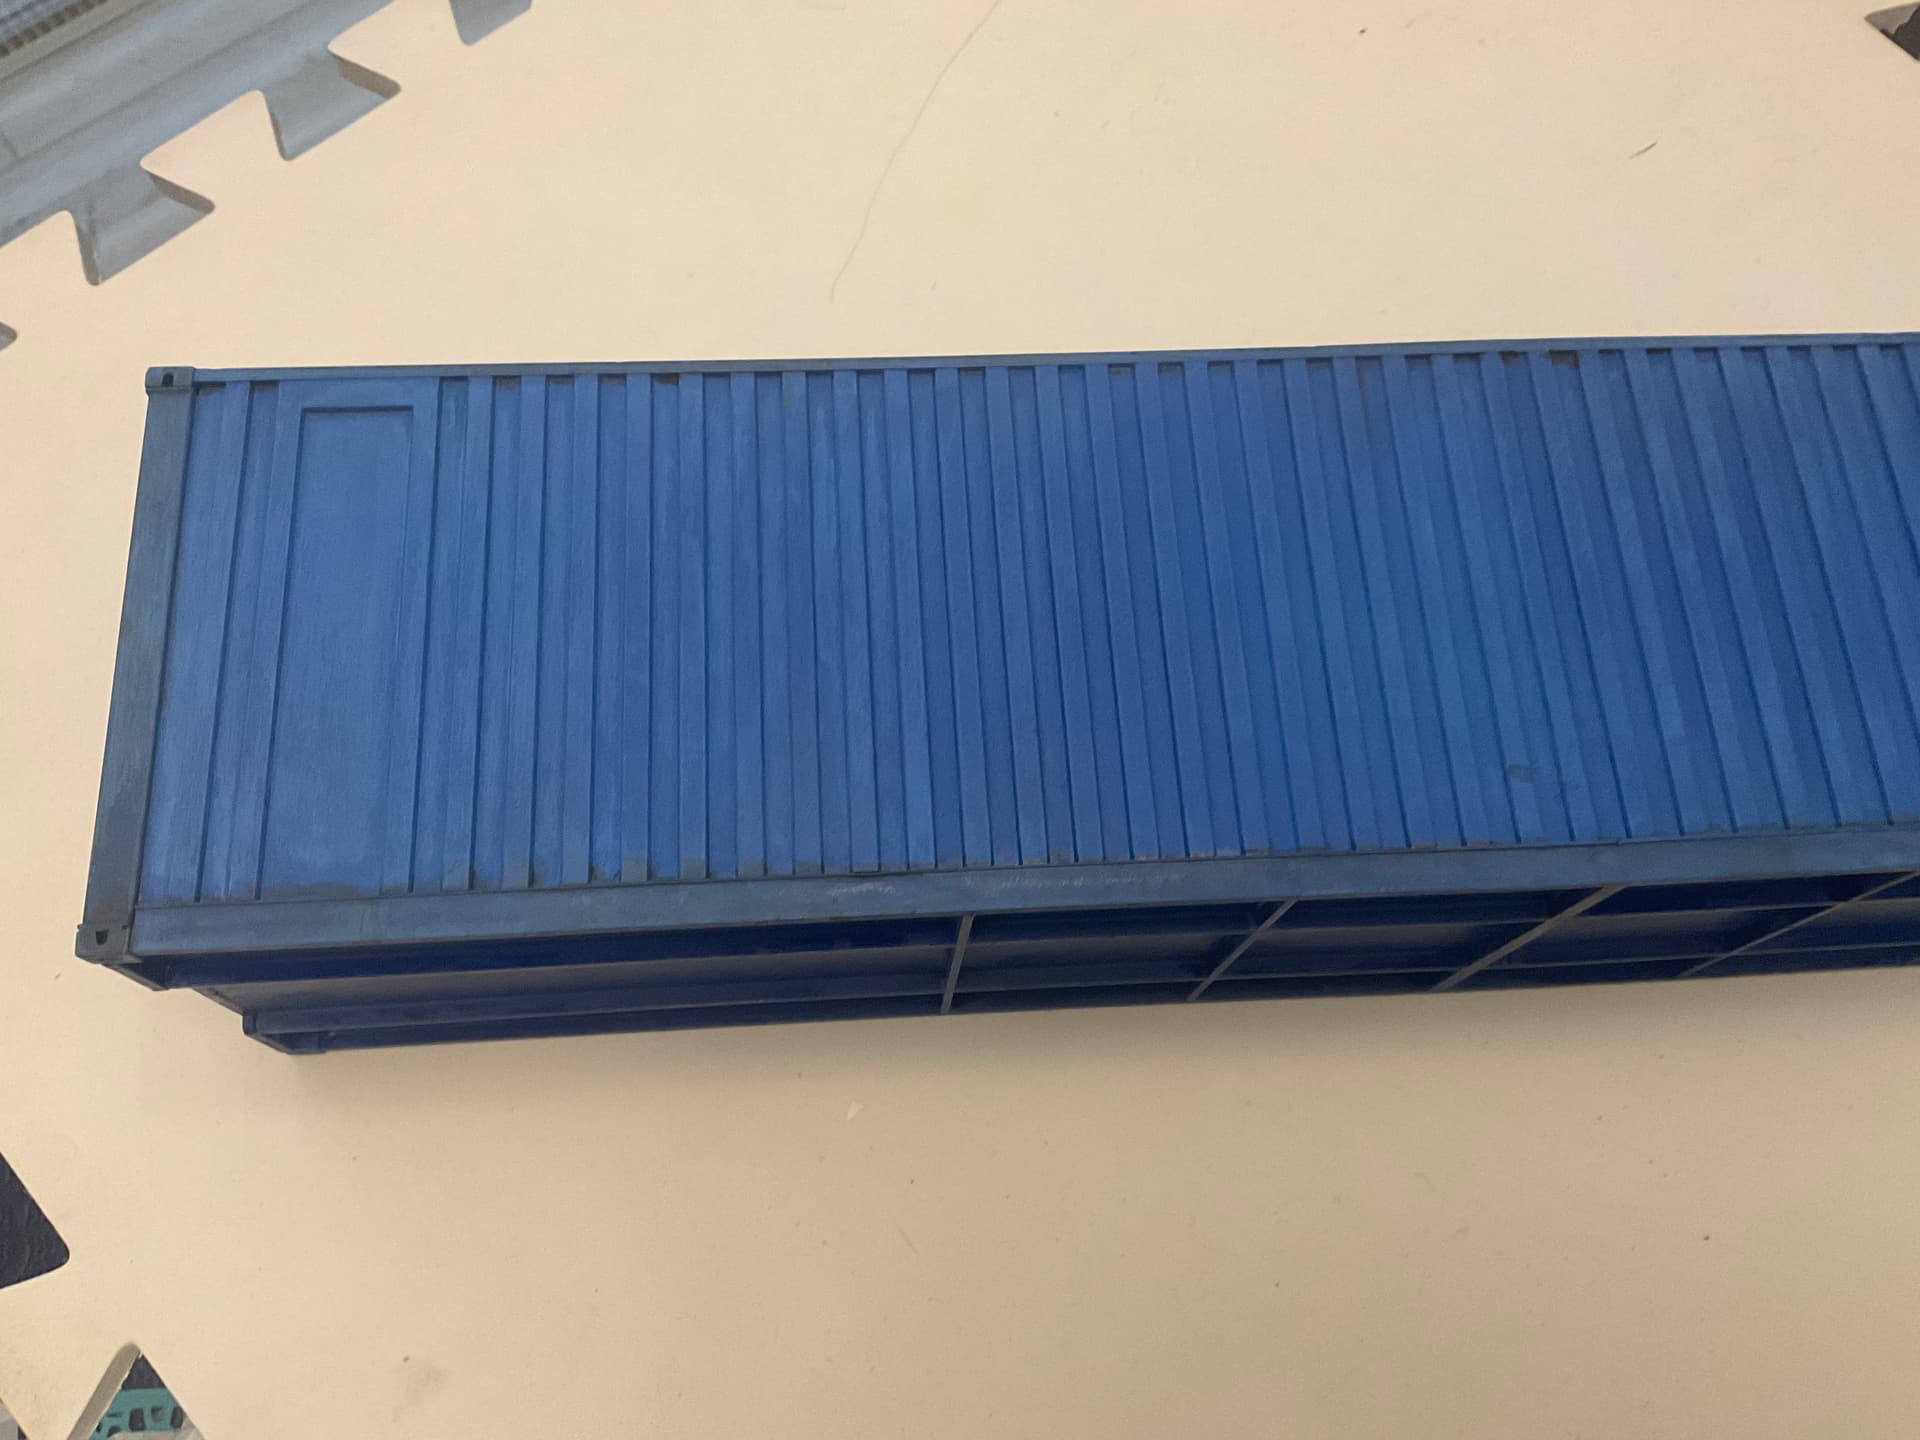
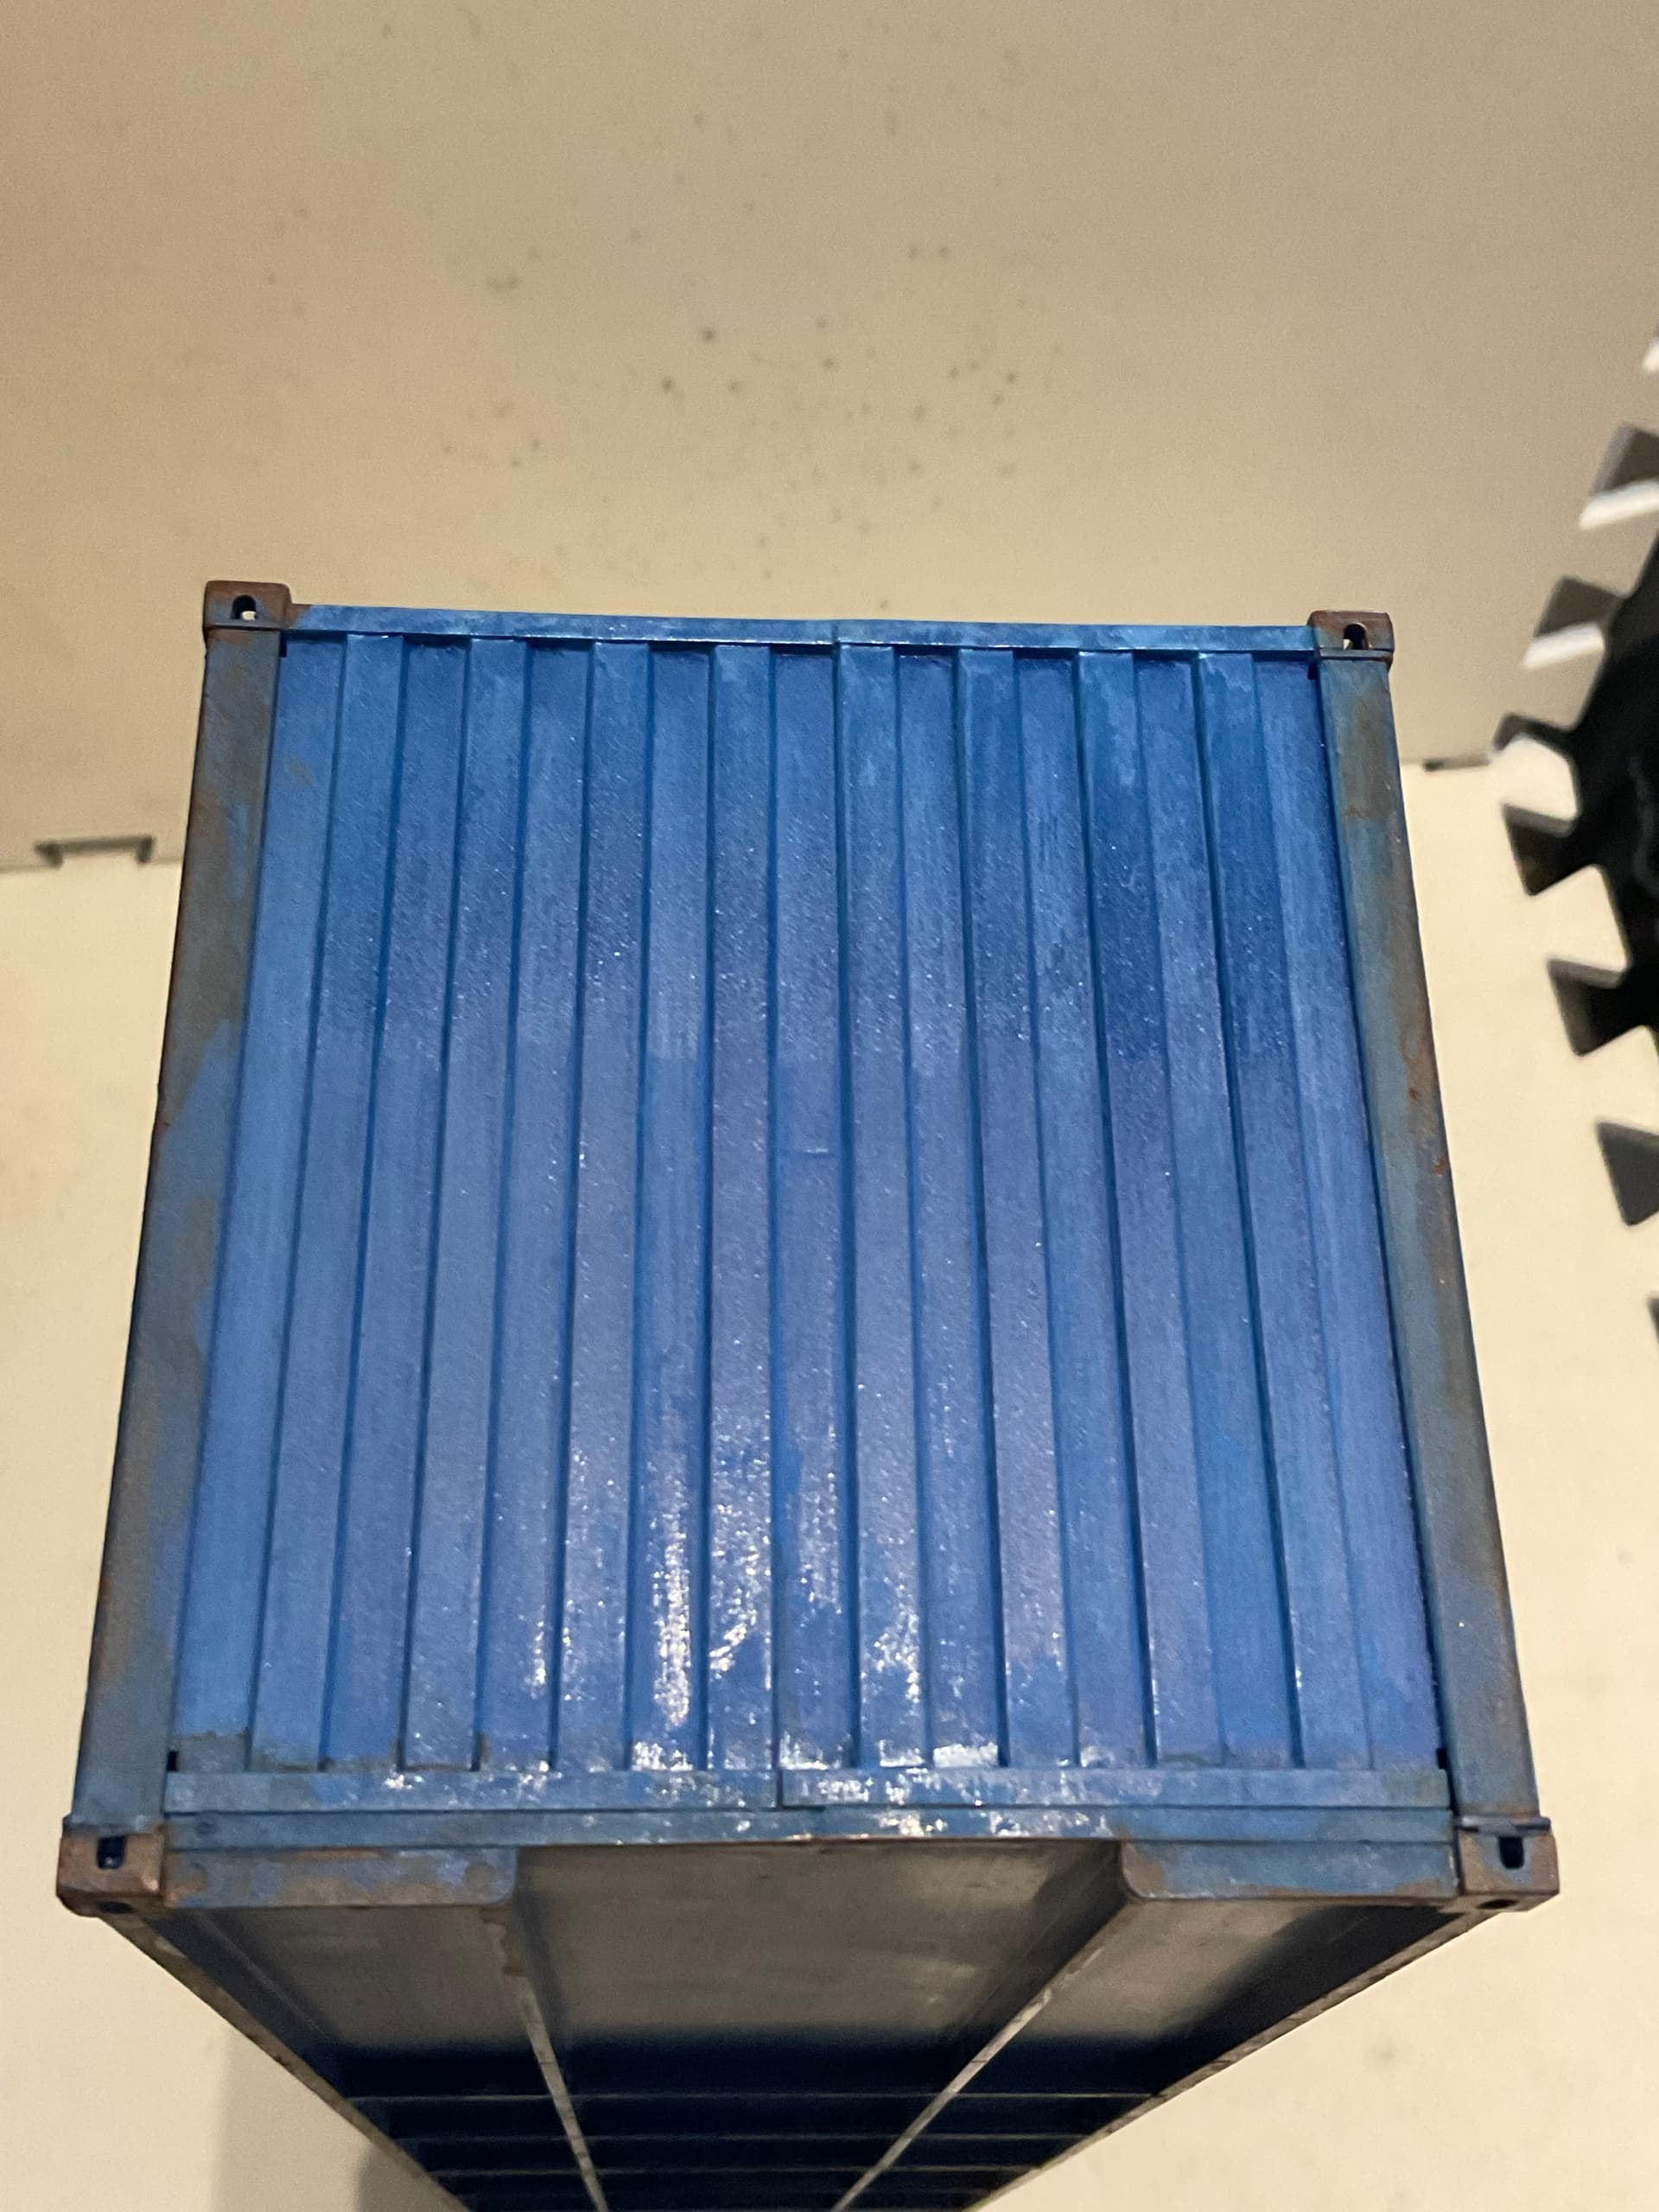
You would imagine that building a simple box would be easy - not so much. Something was slightly out of square by the time I was done. Considering each side, top and bottom was two pieces each I guess there was a chance of that. Anyway, got some styrene shims into a couple areas, a good clamping and more glue - should be better now.
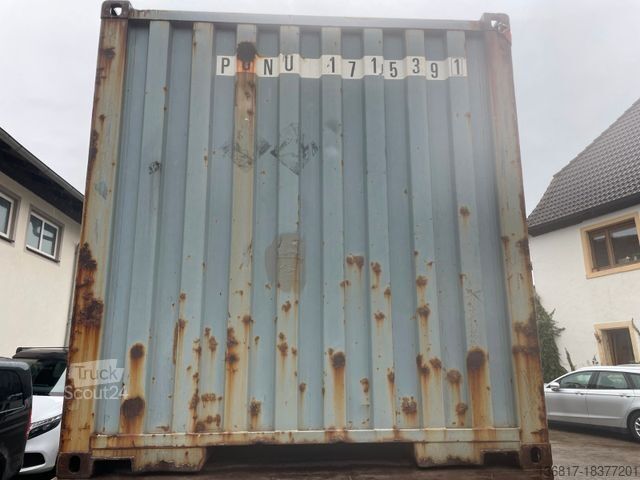
Here are a couple pictures of my thoughts for paint and weathering.
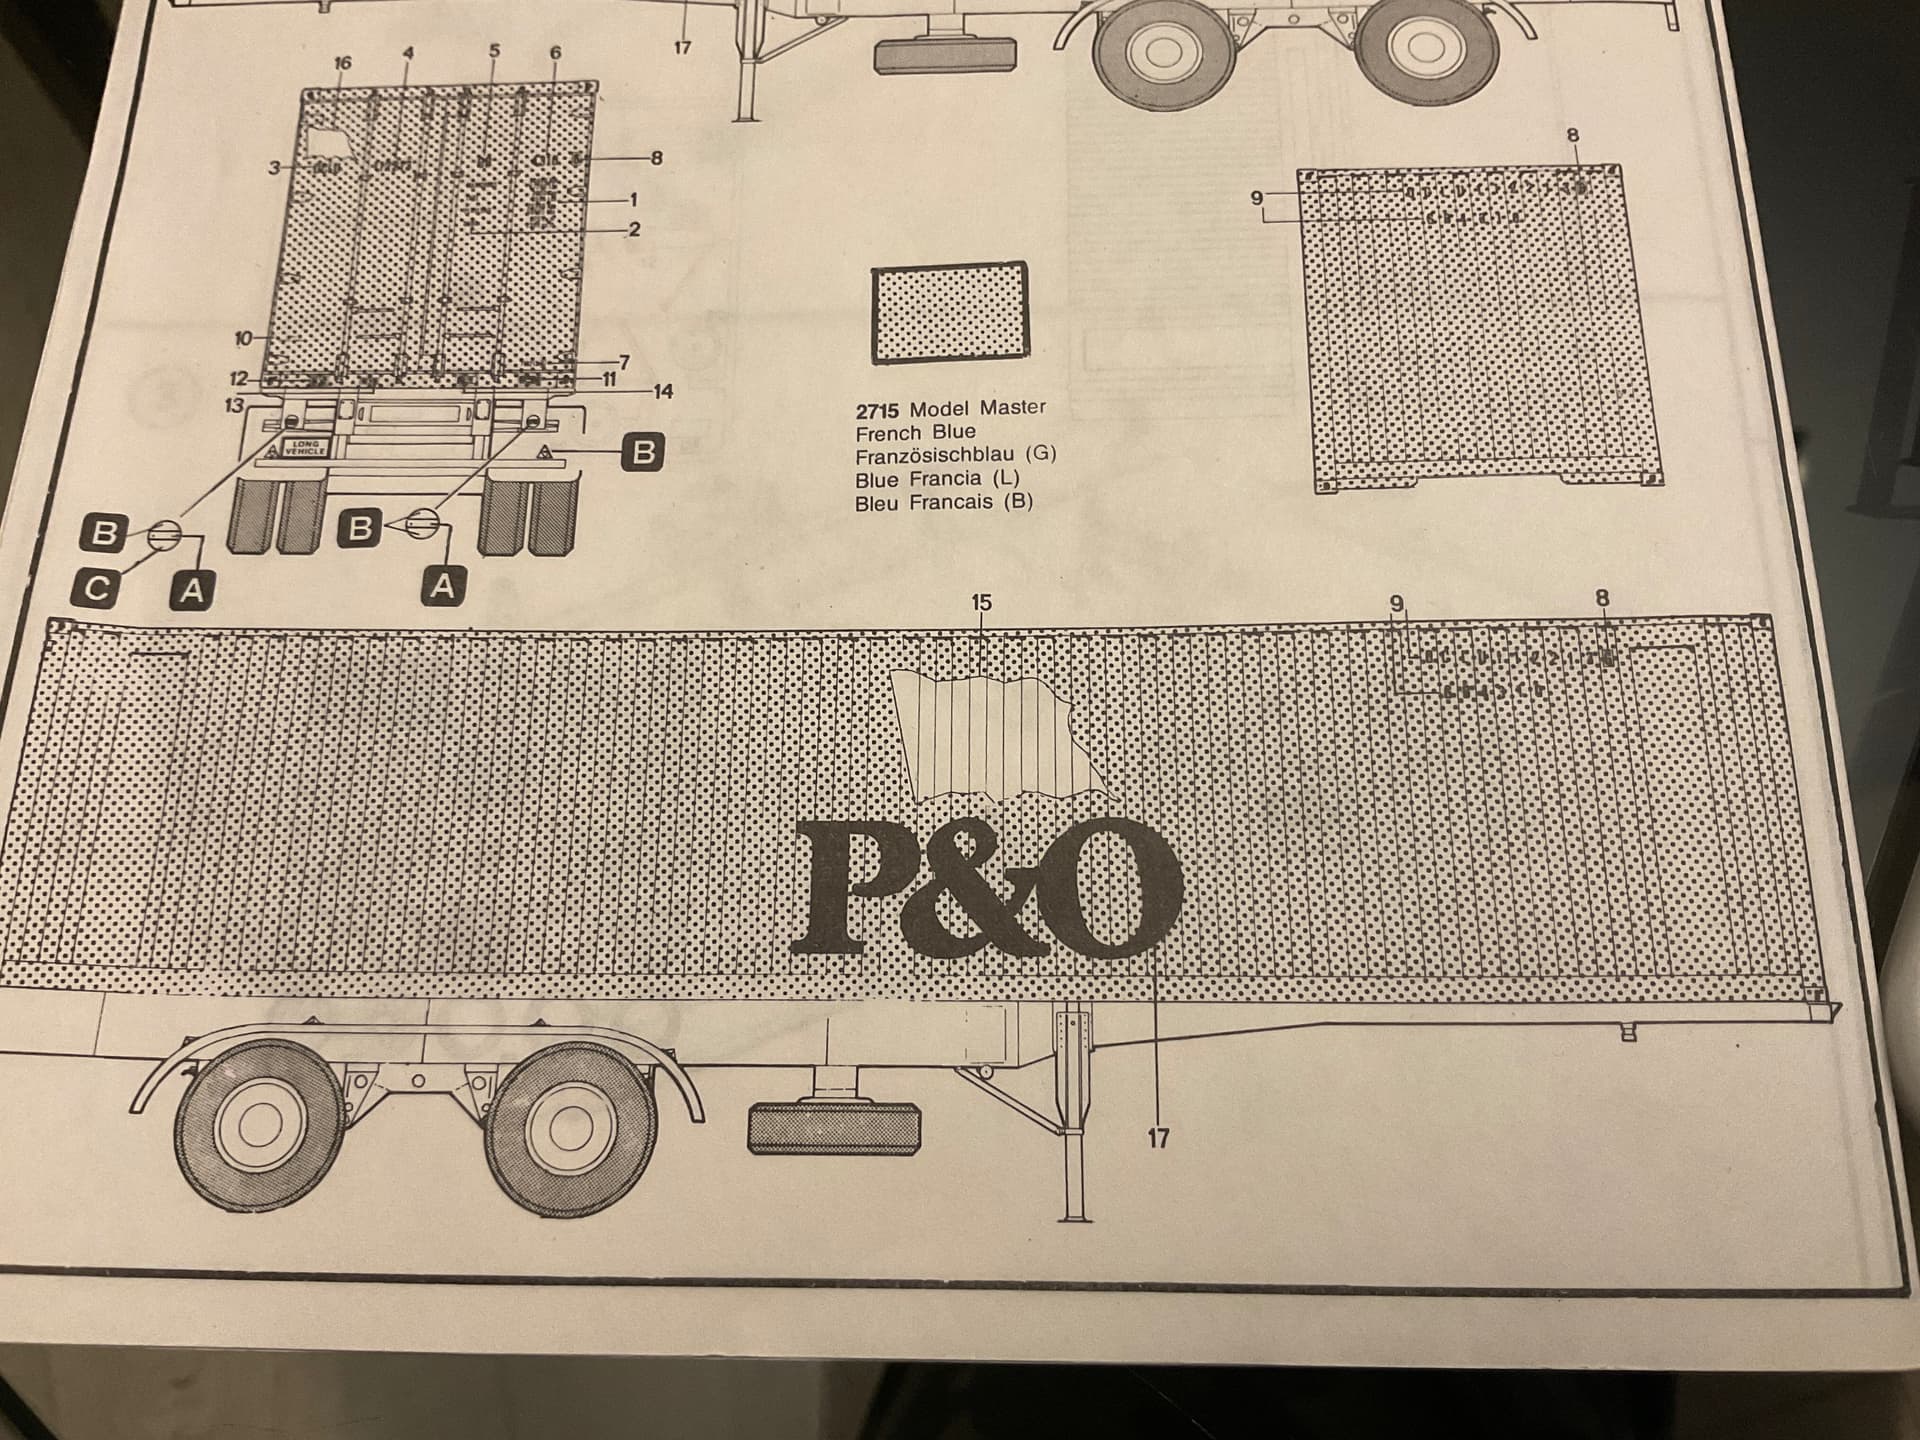
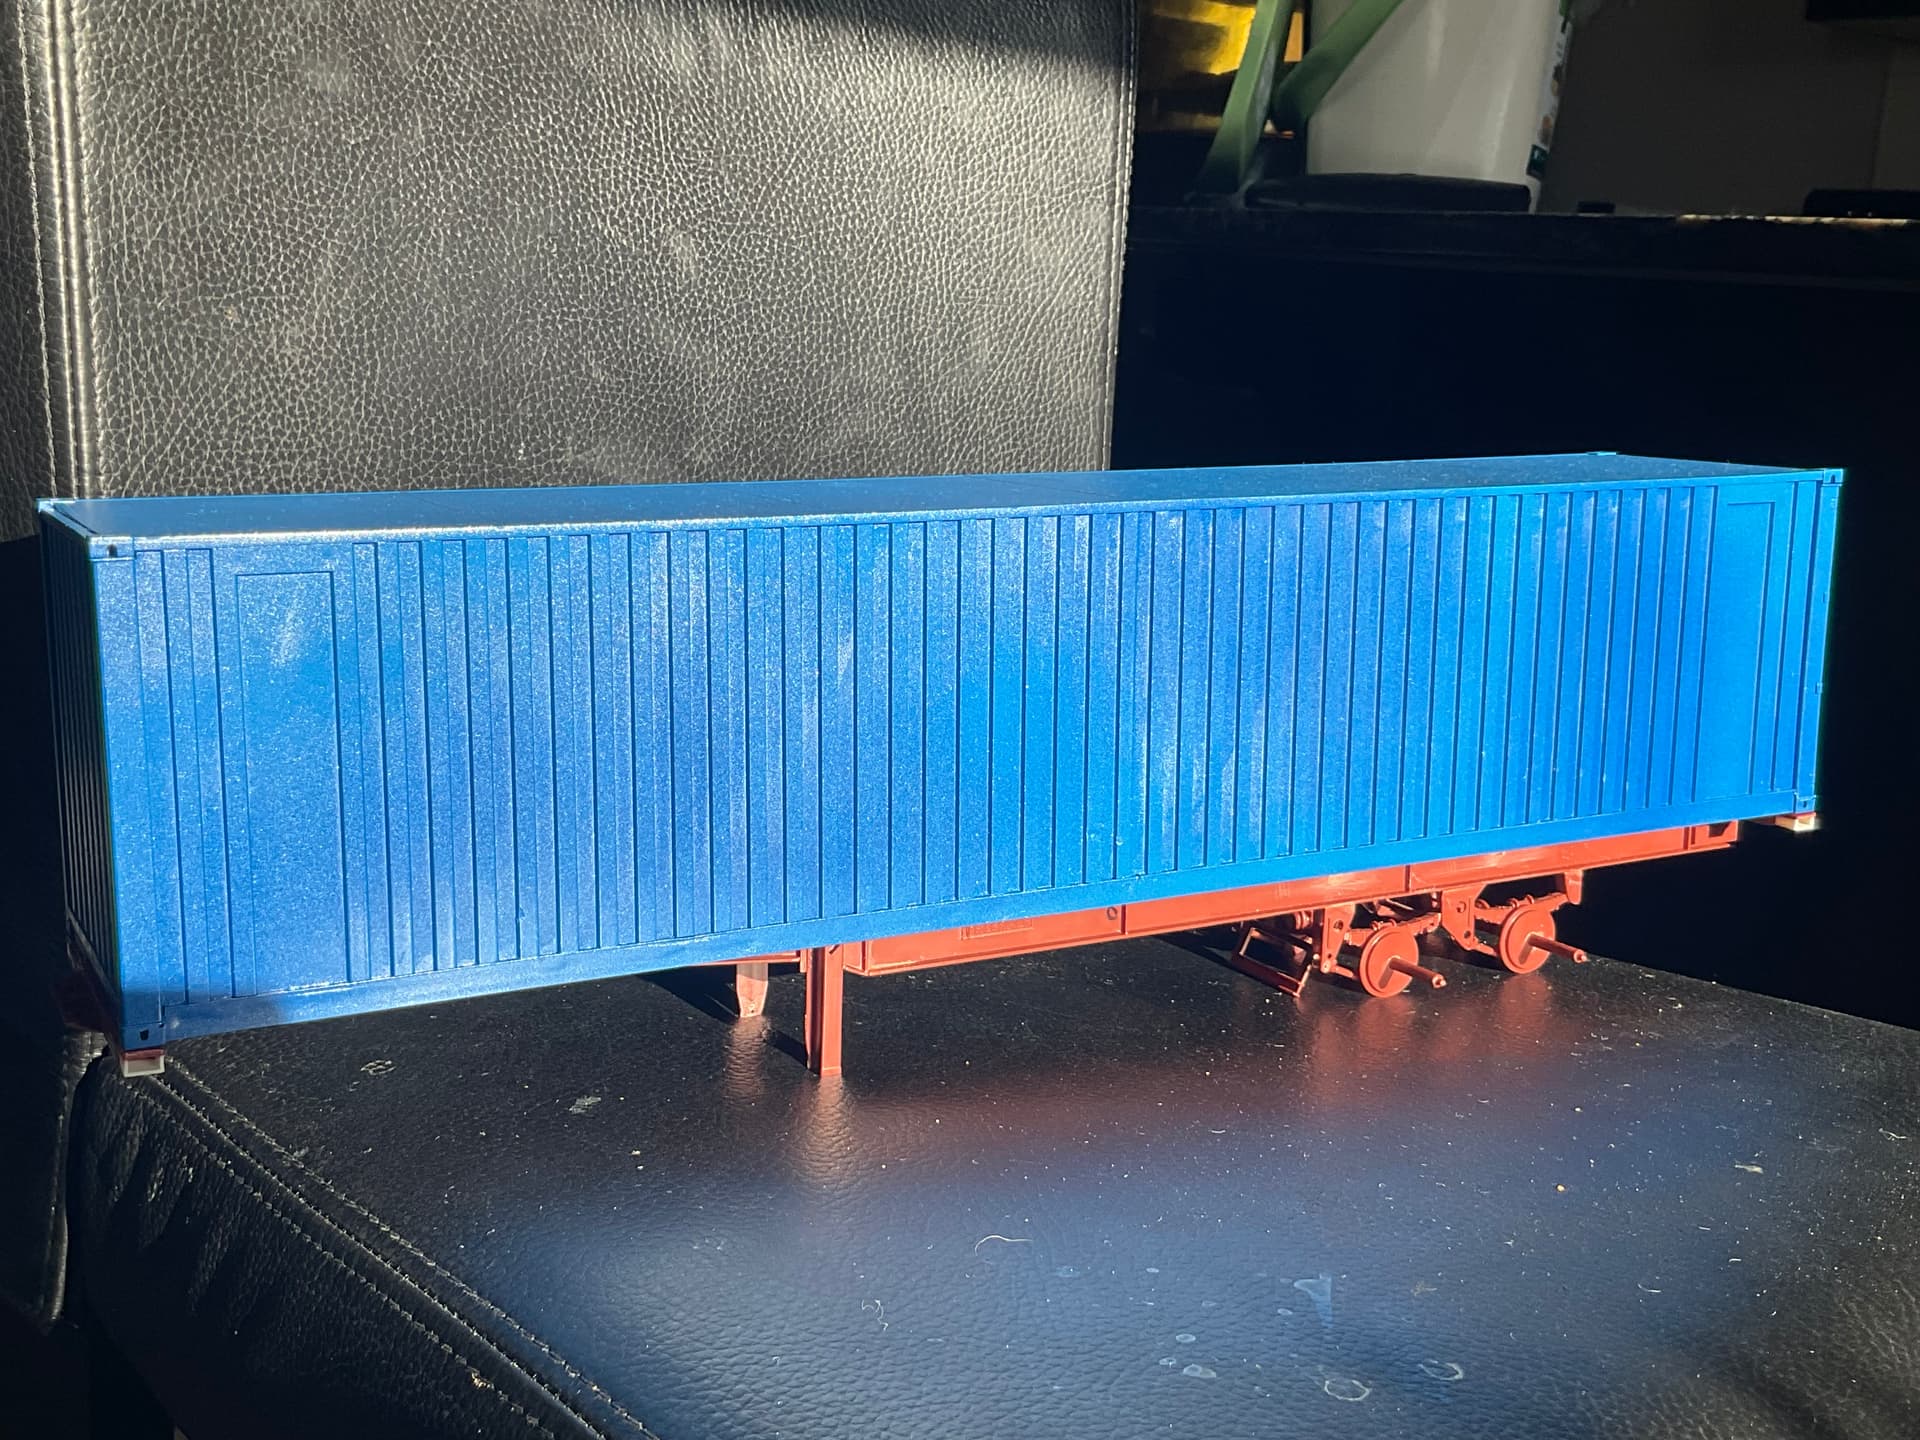
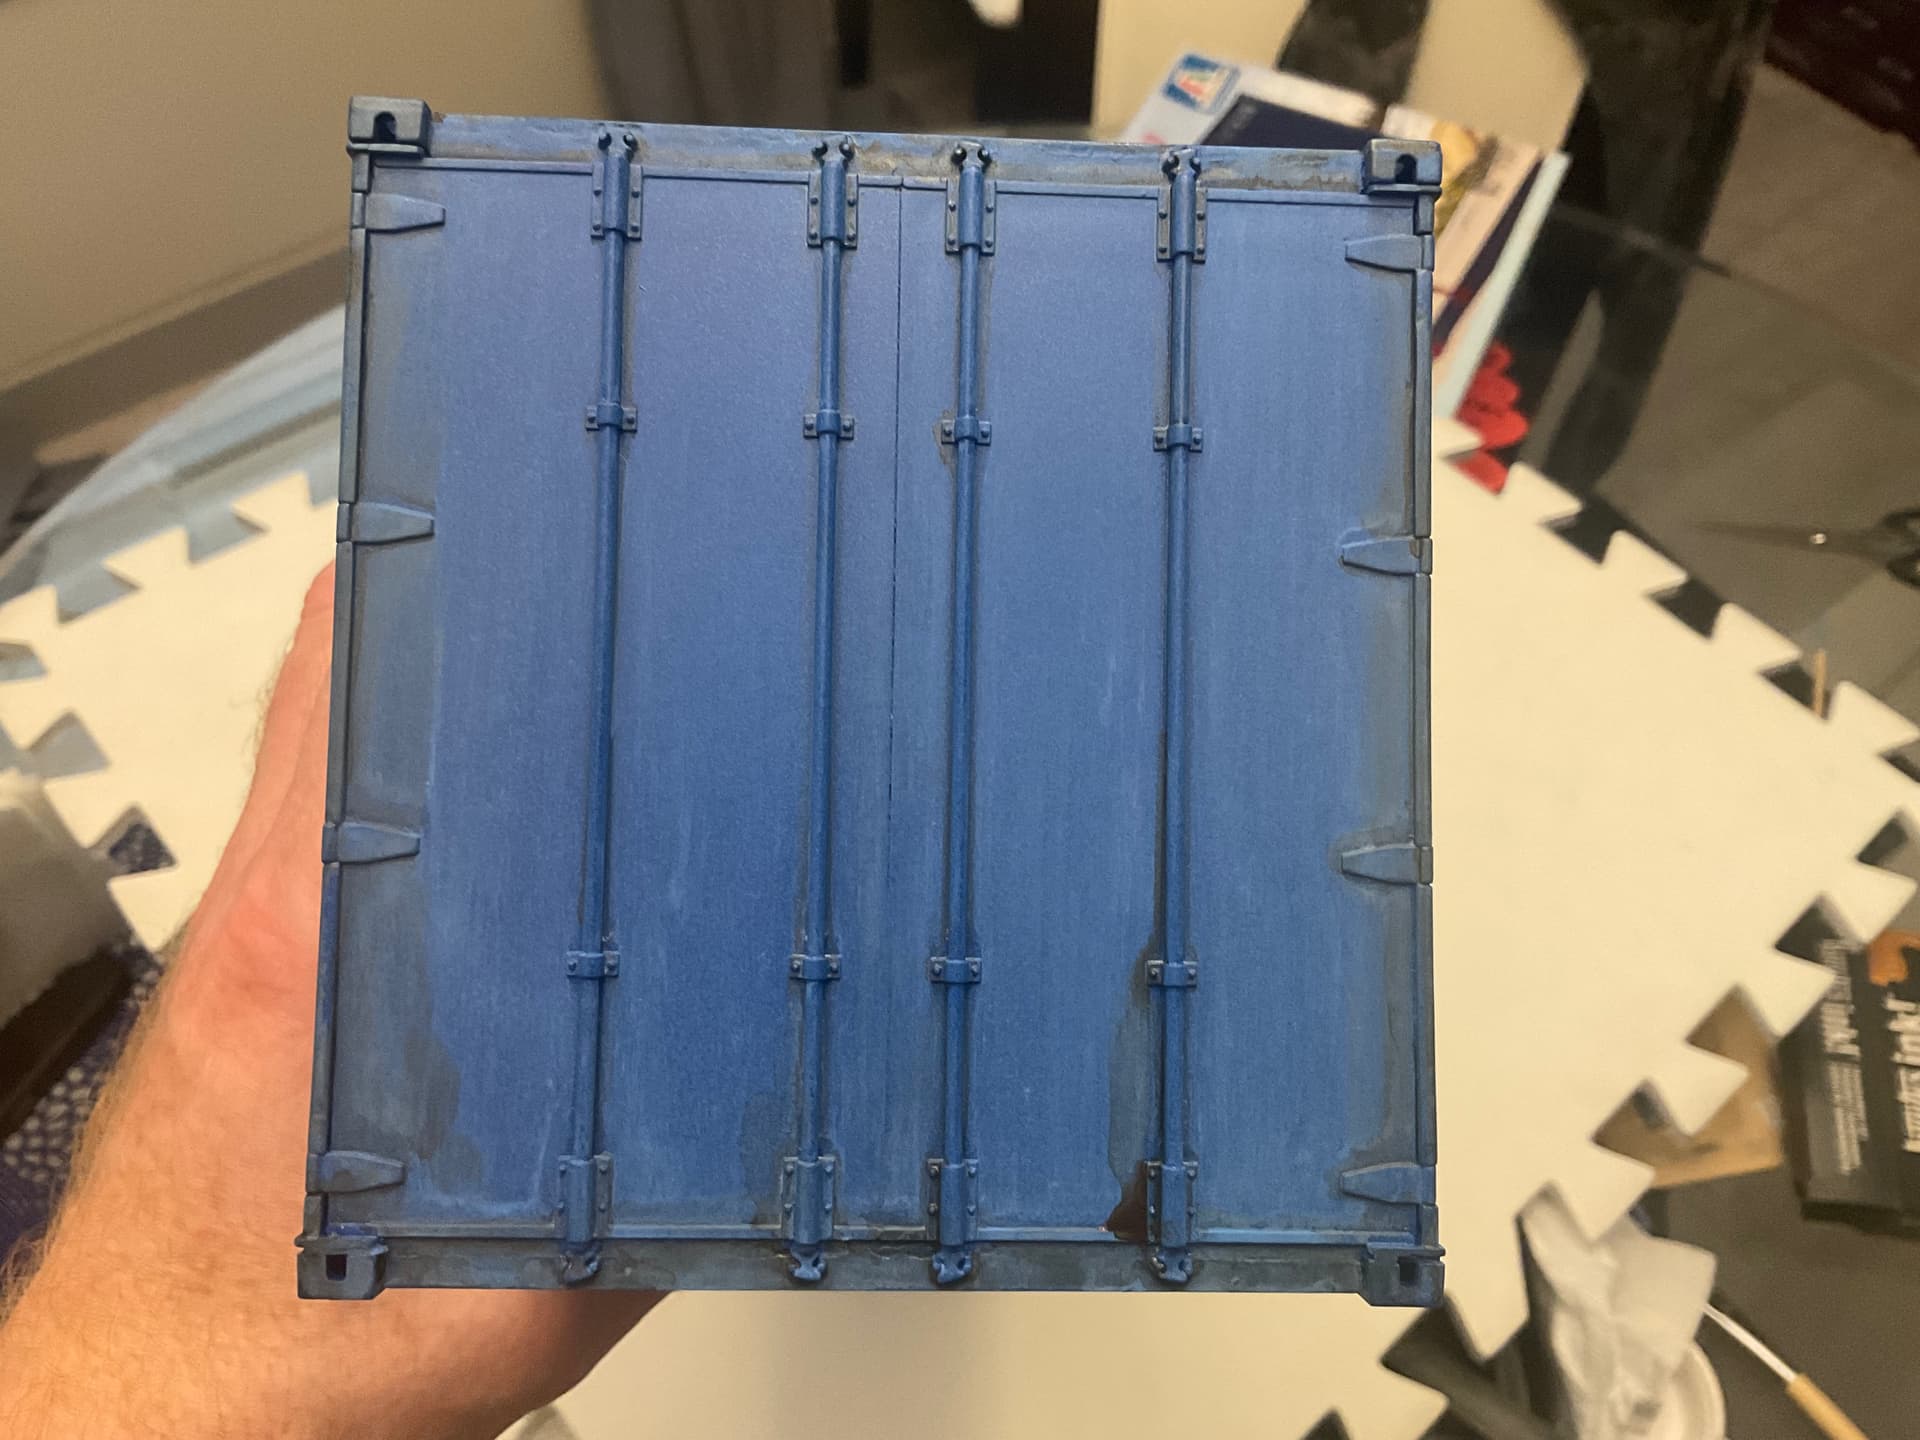
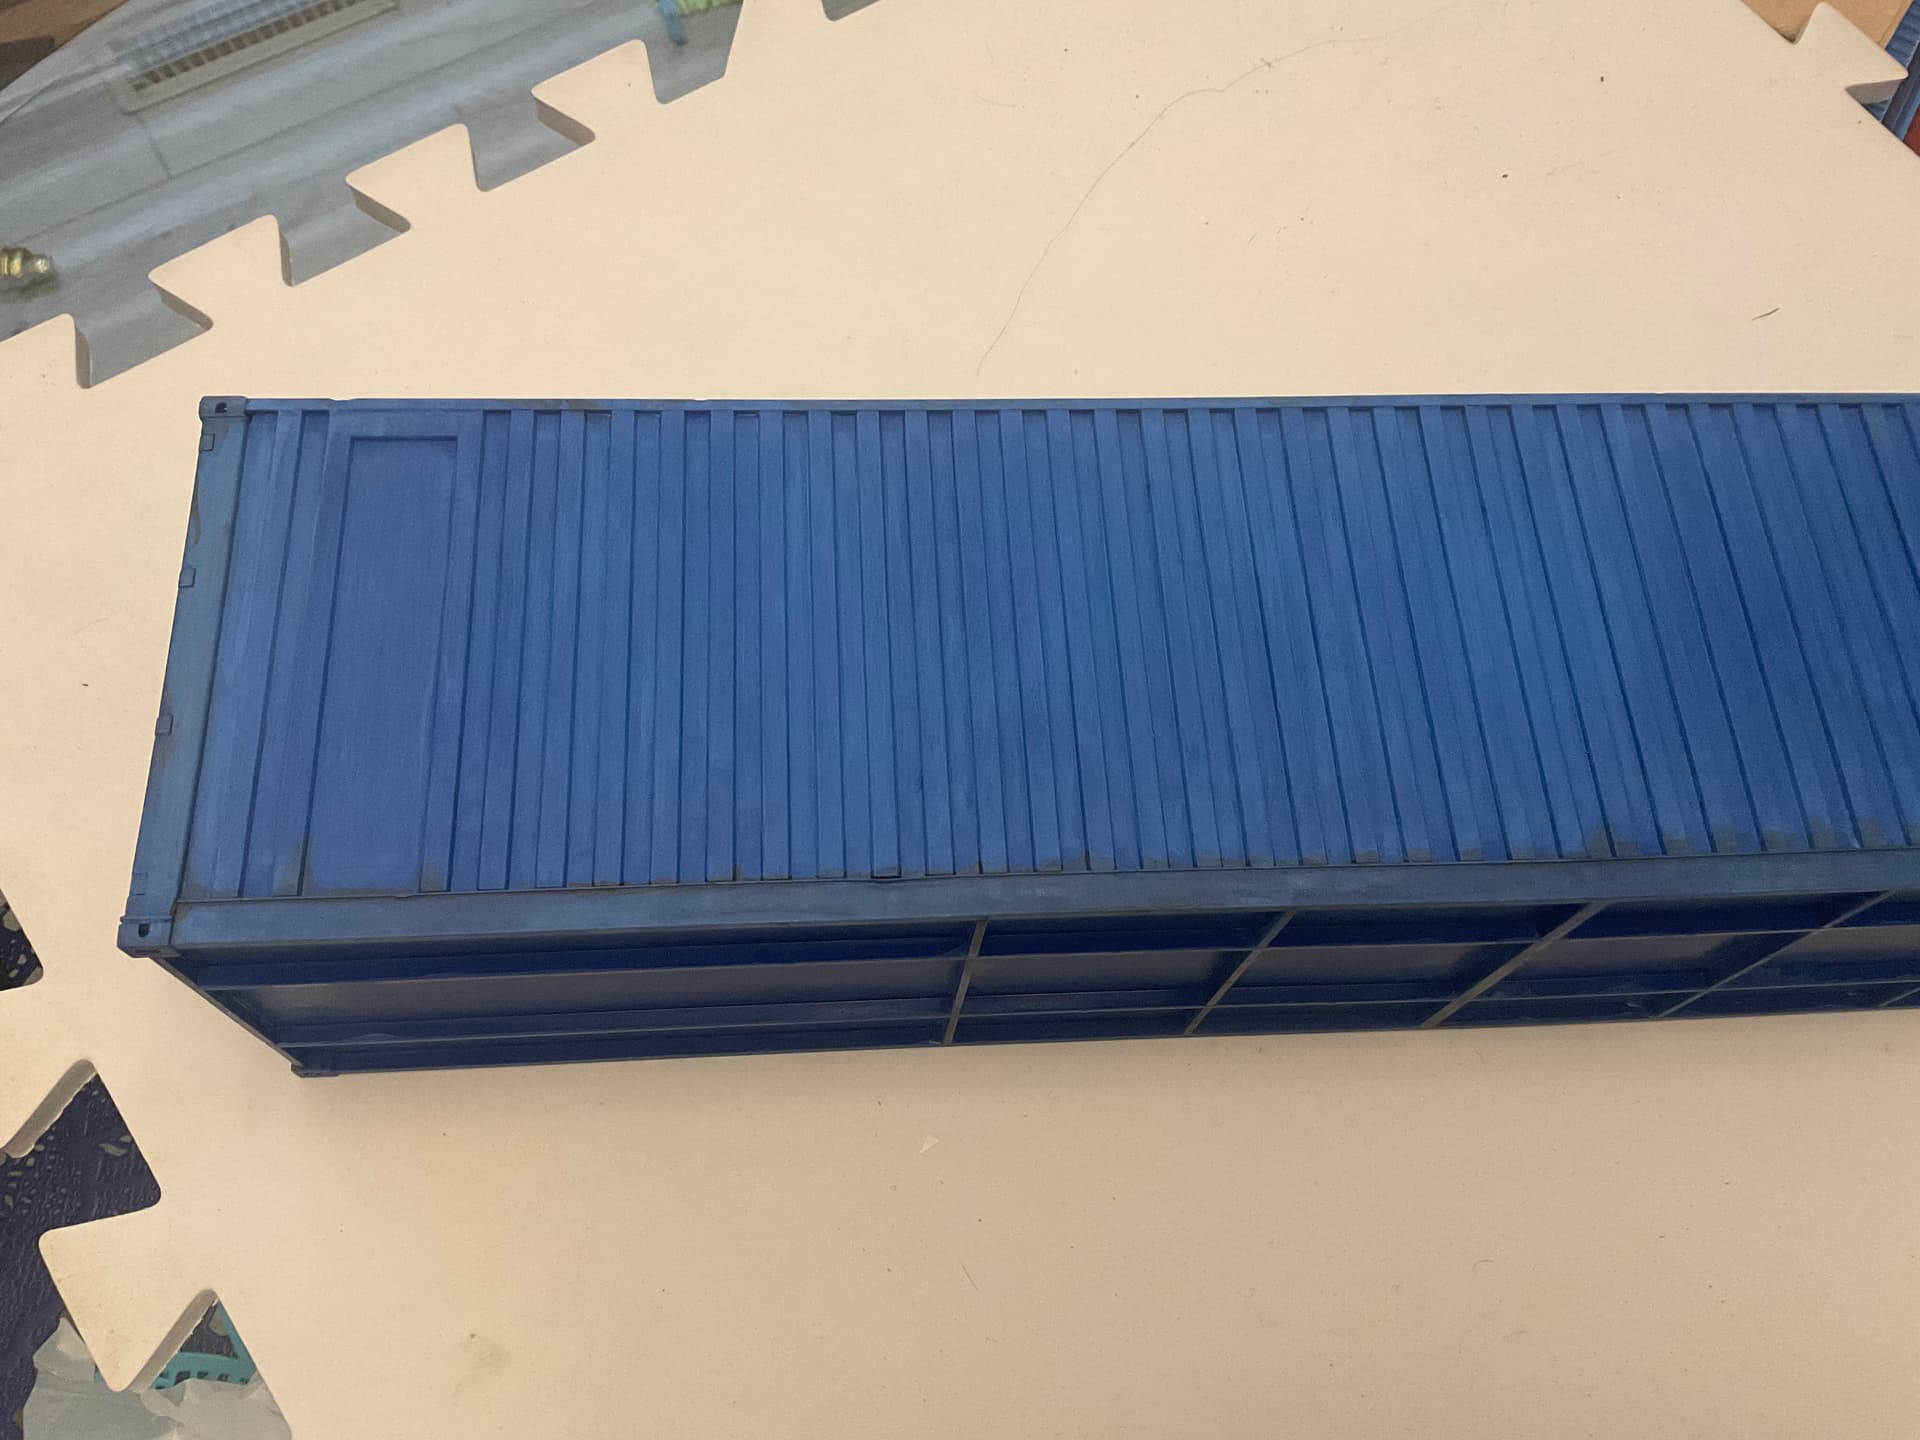
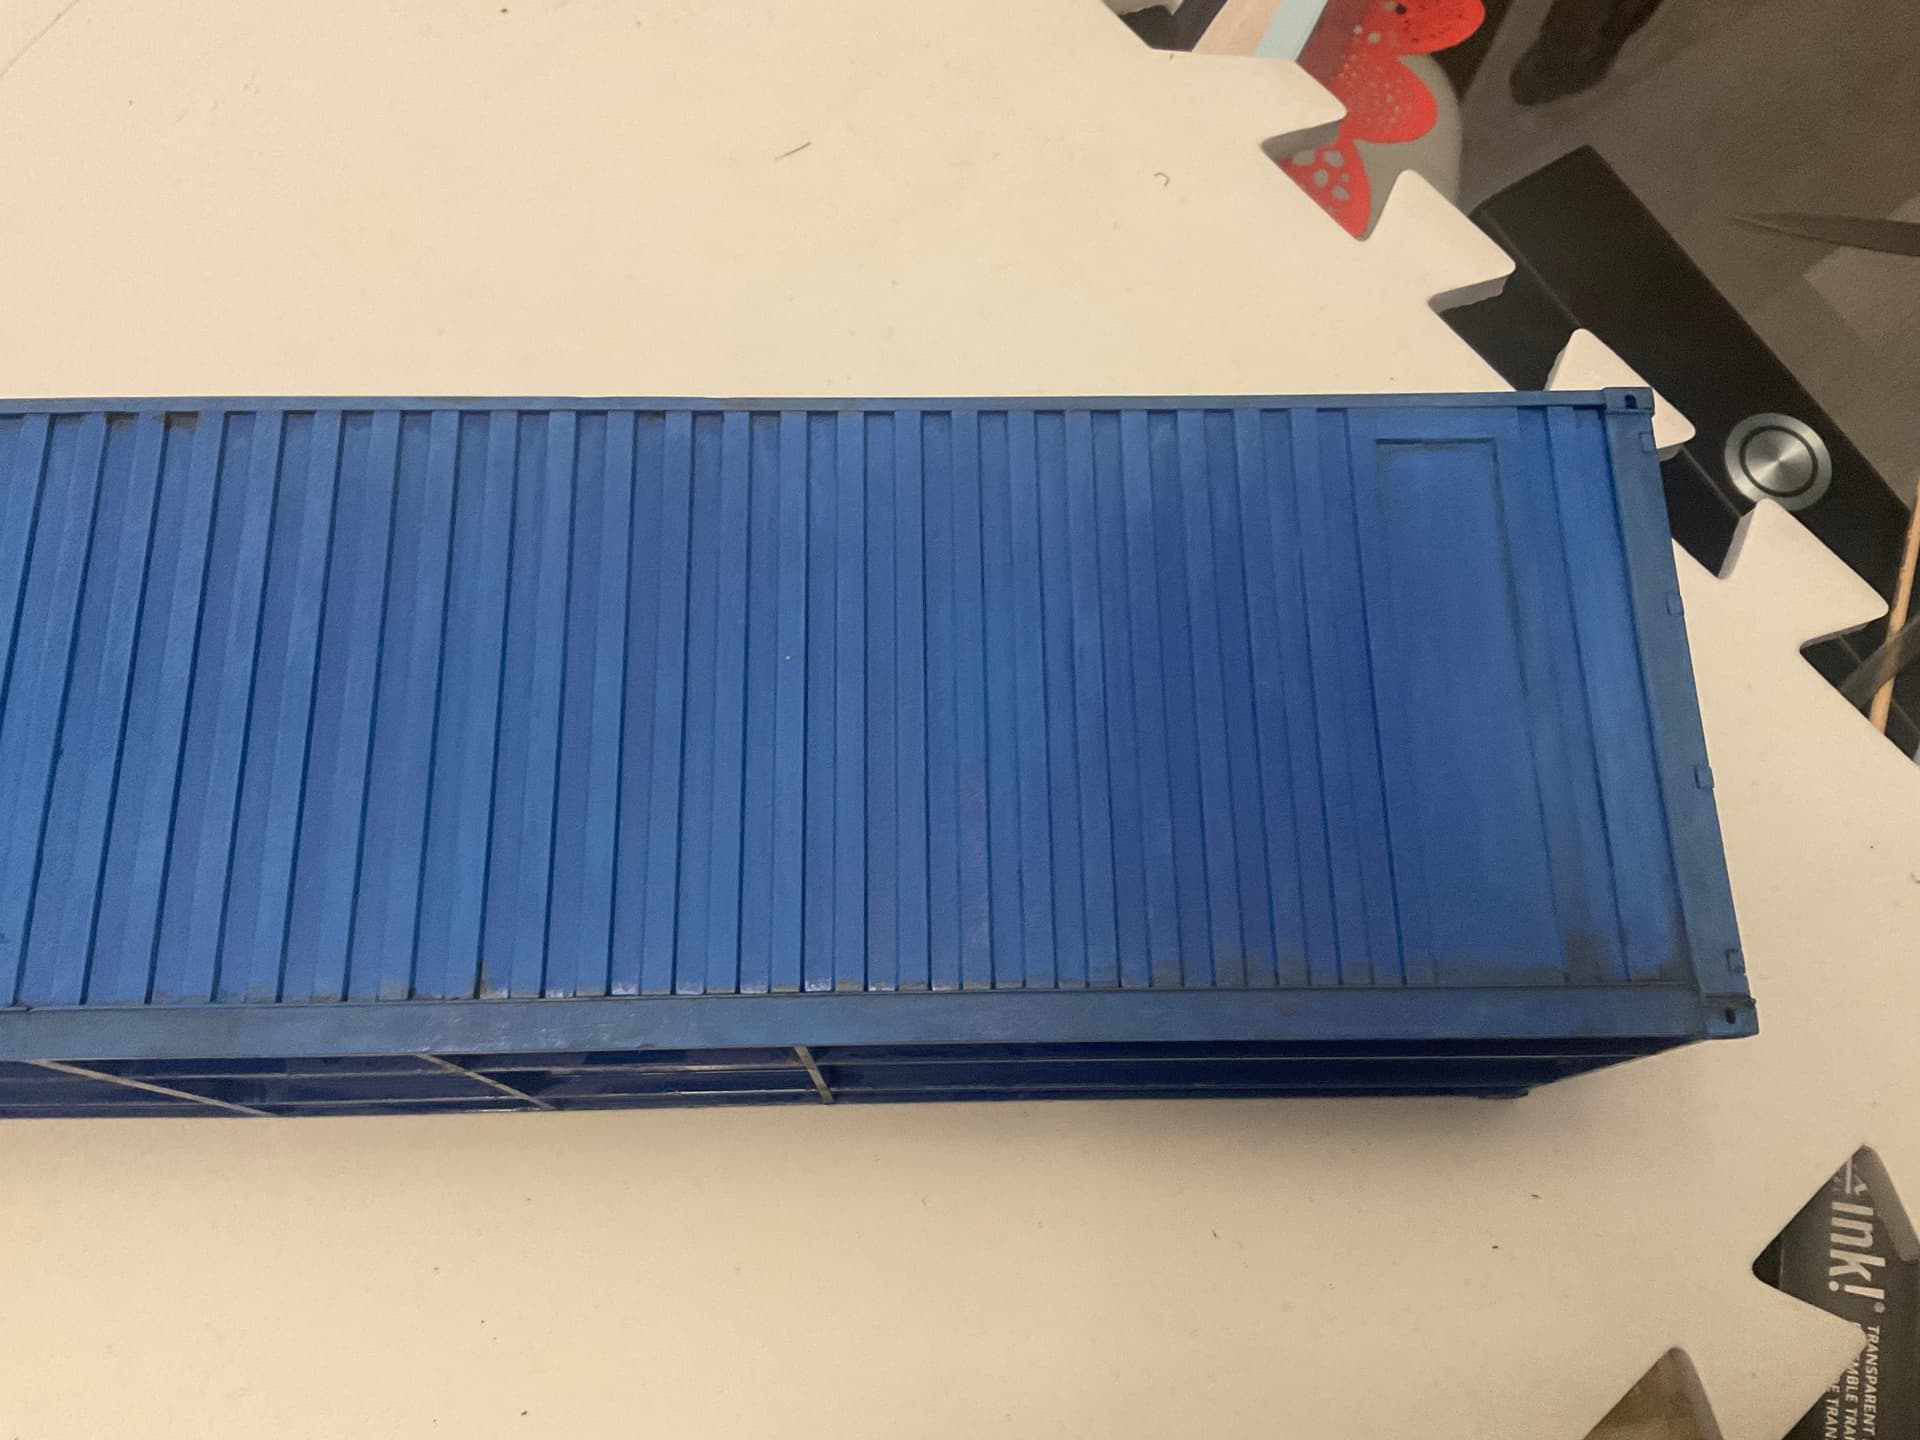
I’ve done the base coat of blues on the container. First was two overall coats of Rustoleum Deep Blue followed by a misted, cloudy application of their Brilliant Blue. I tried to keep more of the Brilliant Blue on the top and front of the container with patchiness on sides and rear, just the darker blue underneath.
Just before that I used my dremel selectively to make some dents and dings. I kept it light so it wouldn’t look overdone, but after paint I think I could have gone further. Next up is decals on the can then the rust and other weathering.
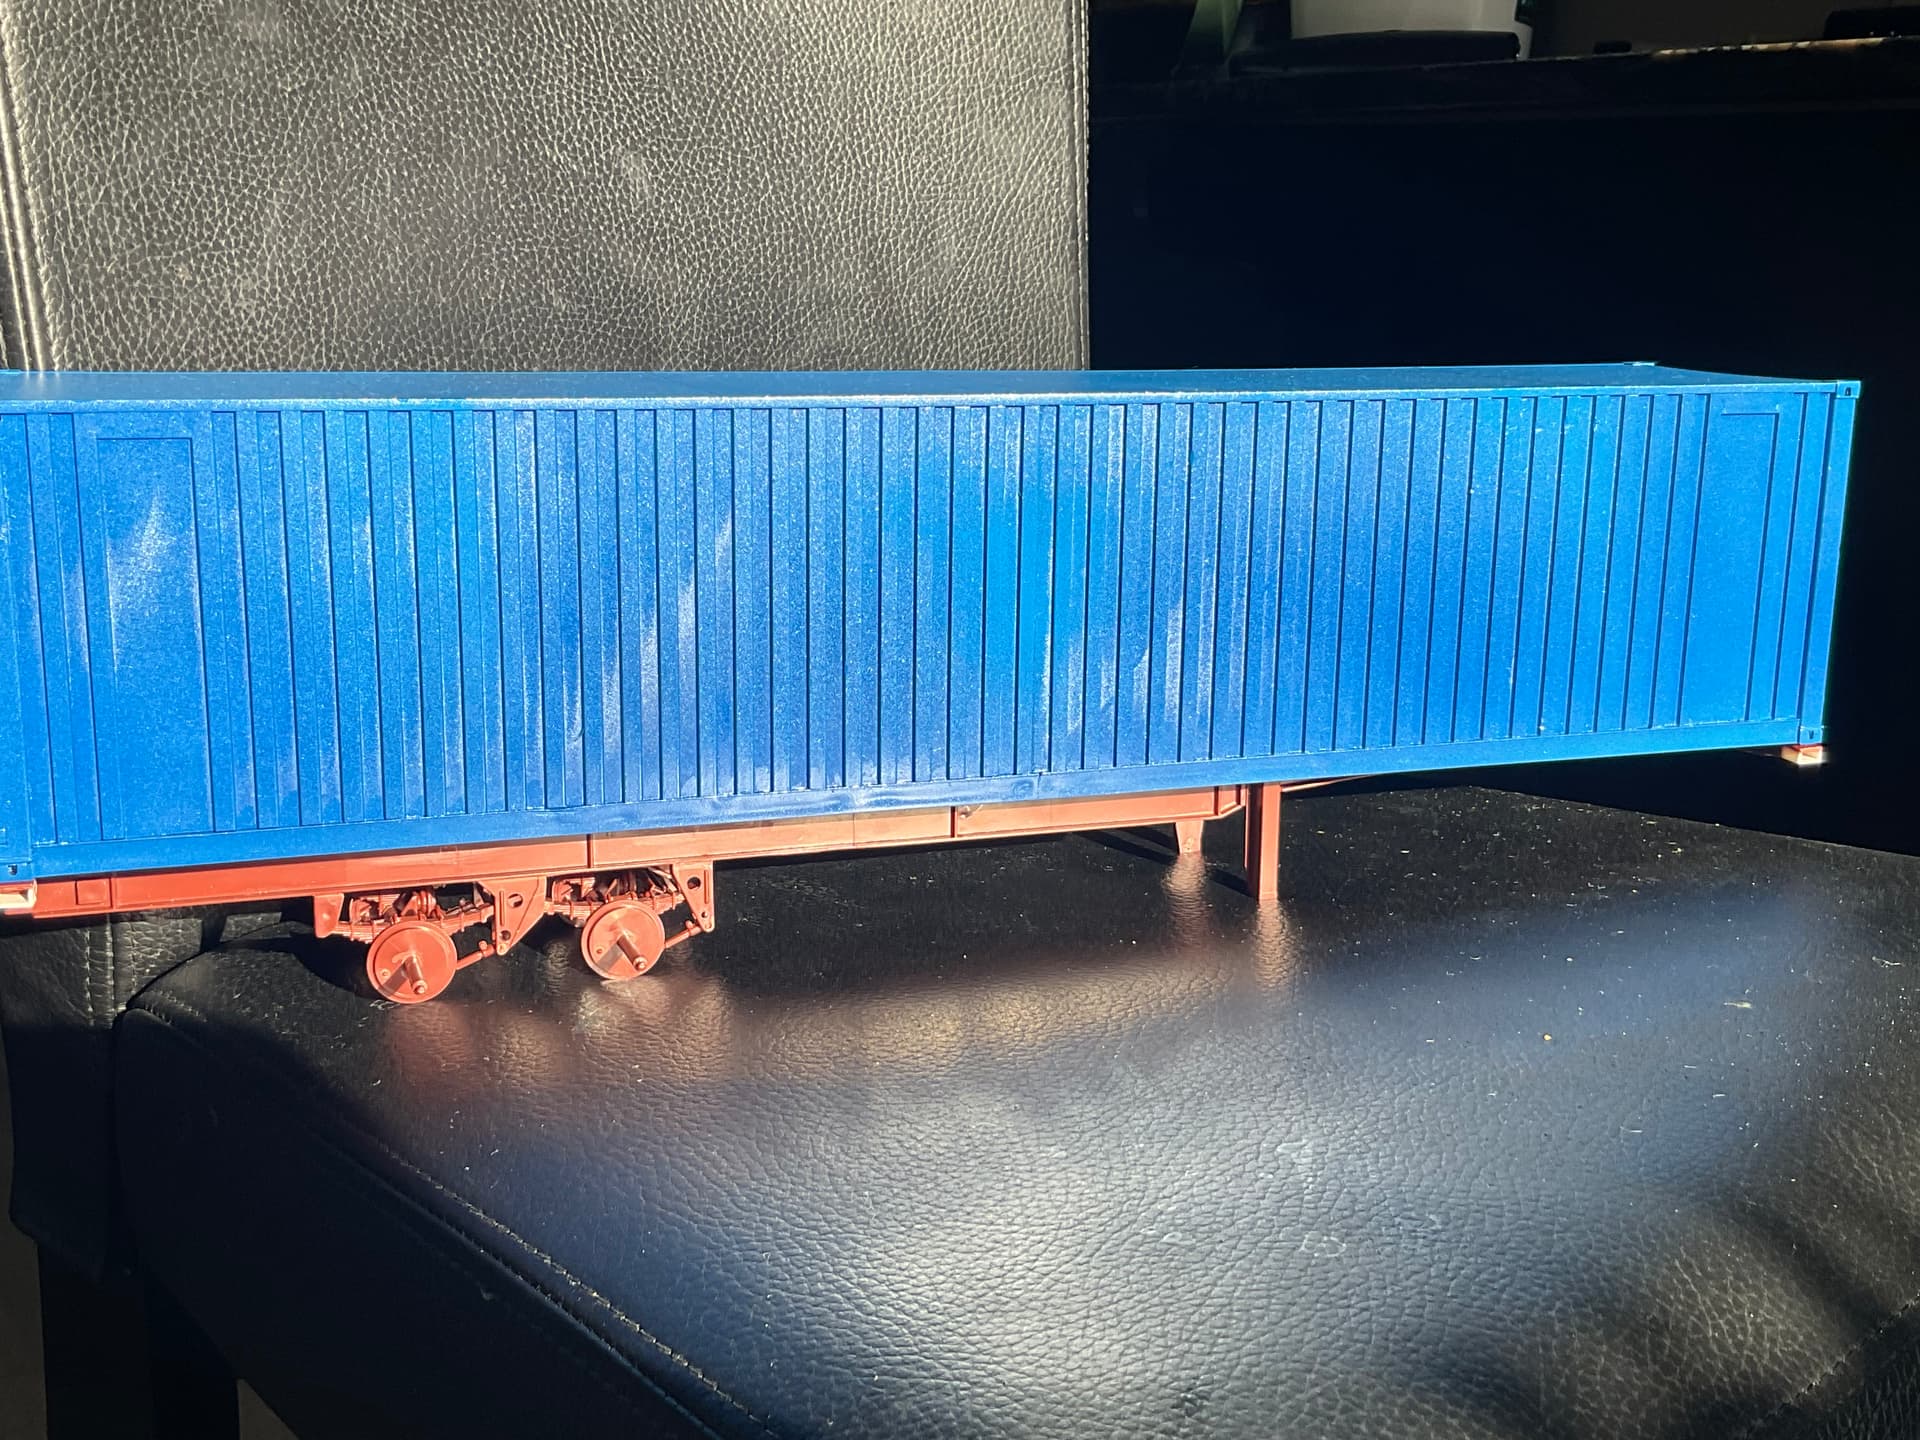
As for the chassis, I’ve carved off some structural elements with the plan to rebuild it to look a bit more like the North American style instead of European. You might notice the white styrene at the corners boxing them in to start the look. Next will be rebuilding the dolly support structure, then plumbing airlines.
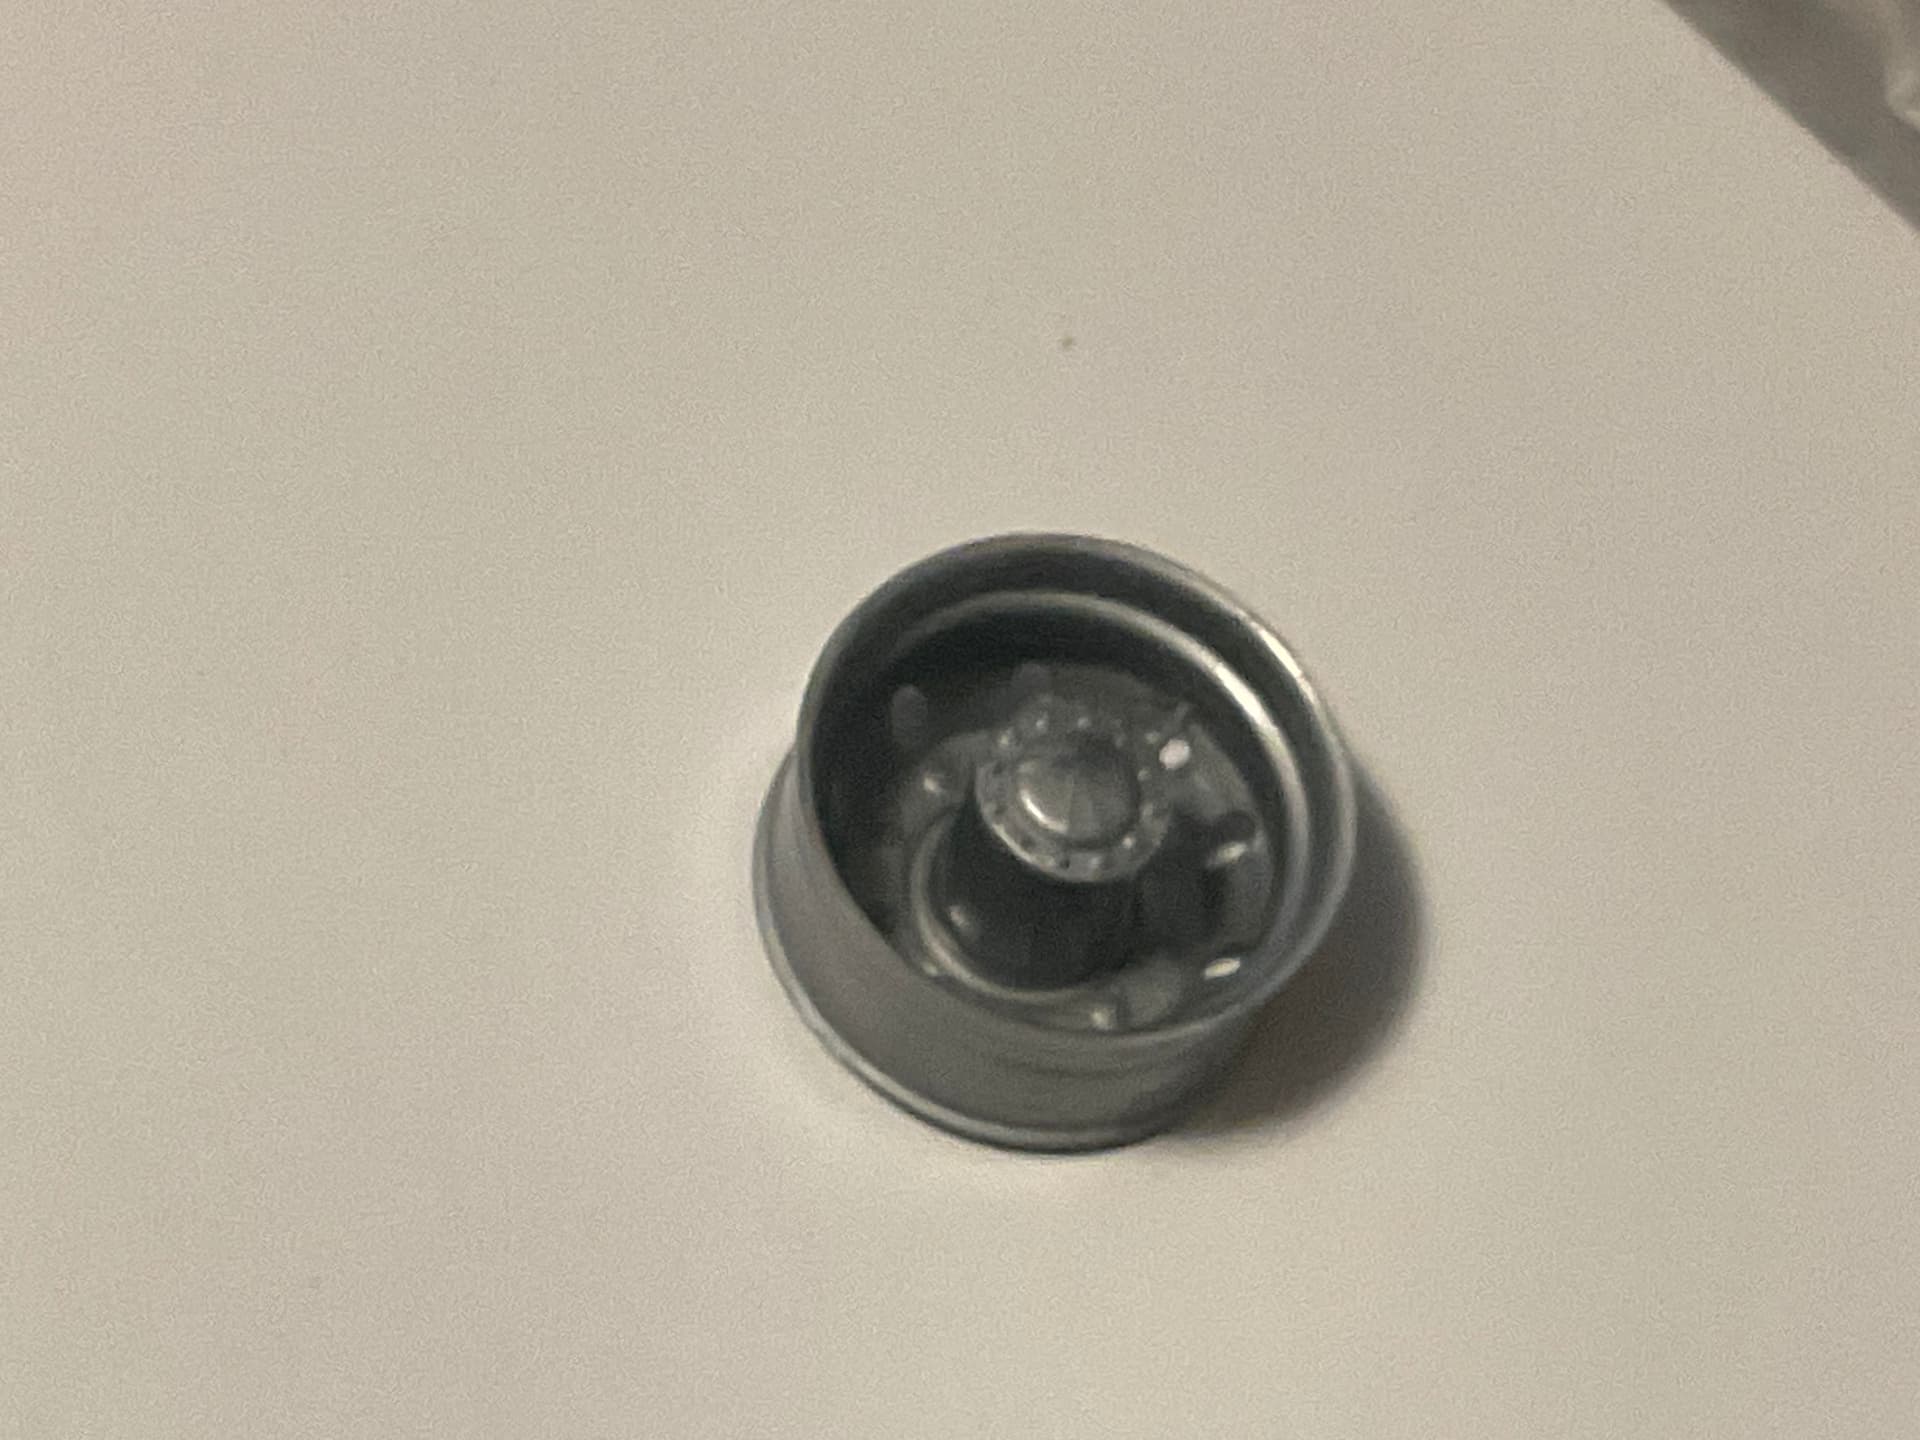
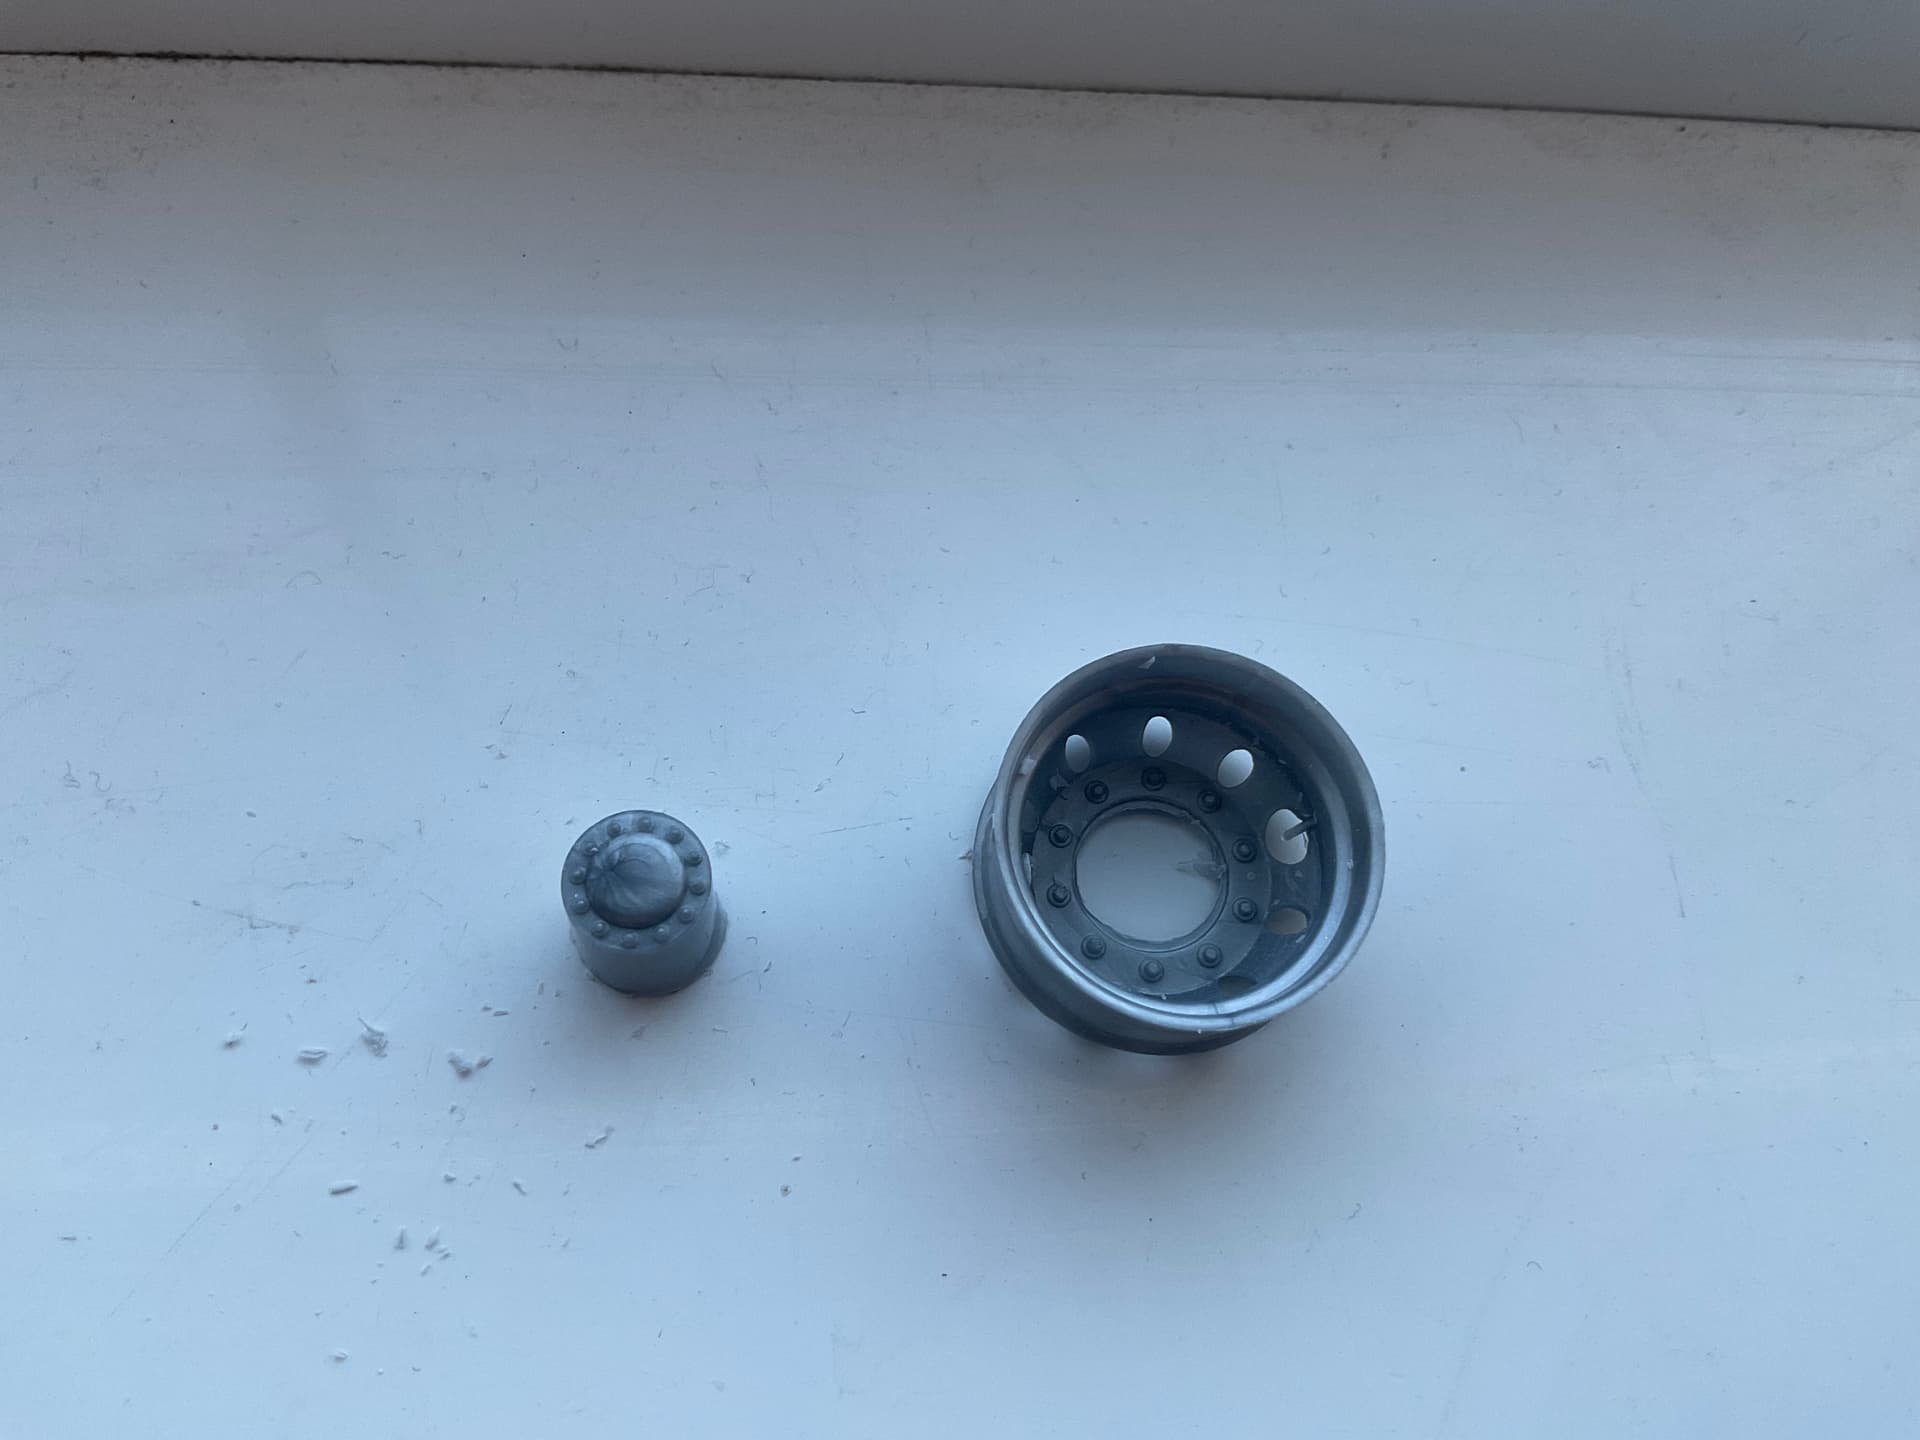
The wheels are ready for paint, but the more I look at them, the more I want to change them. After my recent trip to London, I noticed that the wheels provided in this kit represent drive wheels on trucks more than free wheels on trailers and poorly at best. The problem isn’t the wheels themselves, but the axle end moulded into them.
The idea of carving to center out and modifying the hub is rattling around inside my head, but I’m not too sure how I would go about it in order to have a perfectly round hole left in the wheel and still have the hub to work with.
Just a little over two hours since the last post and the wheel issue wouldn’t leave my brain. So I took the plunge and got out the power tools.
At first I figured I could drill out the back side just larger than the hub, but as I went through my bits I found that I don’t have and normal bits larger than 11/32”. Not big enough, I needed 3/8” or even 13/32”. Doesn’t sound like much of a difference, but it was enough. My spade bits in those sizes weren’t able to center on the wheel and they were too long in the point - would have destroyed the hub completely.
I dug out a grinding bit from my dremel tool, chucked it in the drill and reamed out the back side a bit allowing me to pop the hub out of the wheel while still leaving a bit of clean up for the rim. Relatively encouraged by the result.
Not sure exactly how I will tackle the hub yet, three options seem doable.
1 - I could just shorten the existing hubs to inset them further into the rim as is
2 - I will shorten them and also add additional detail, slightly reshaping them to be a bit more authentic
3 - Completely scratchbuild 4 “identical” hubs that are as close to realistic as possible
I think I’ll take a bit of time thinking about it while cleaning up the new hub-less wheels and mull the possibilities. This does however mean I will now have to do some additional surgery on the axles already installed as they will be too long with the shortened hubs.
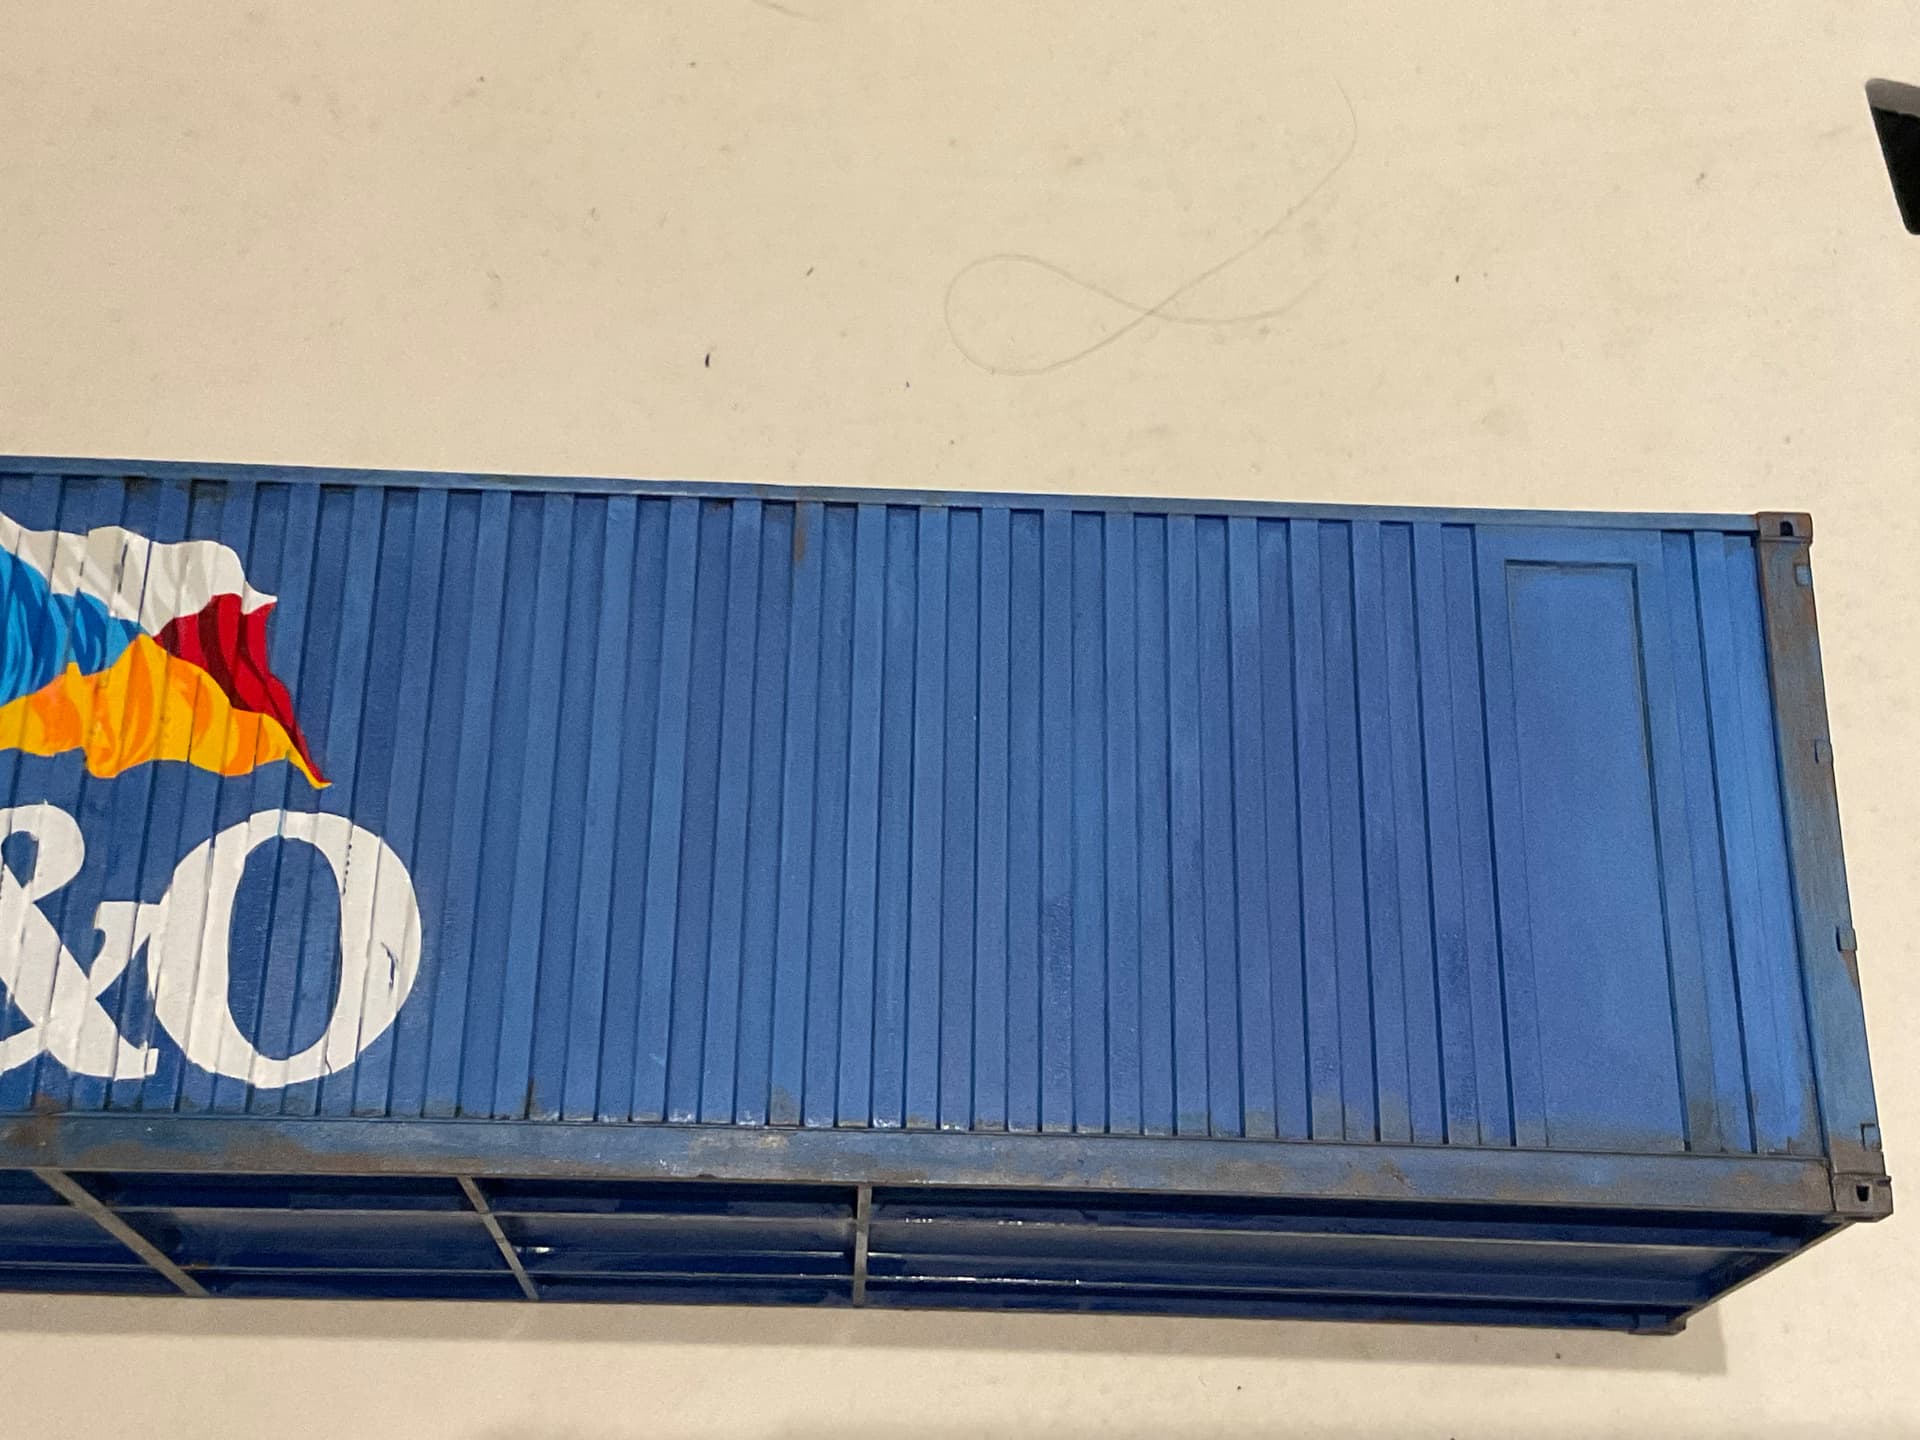
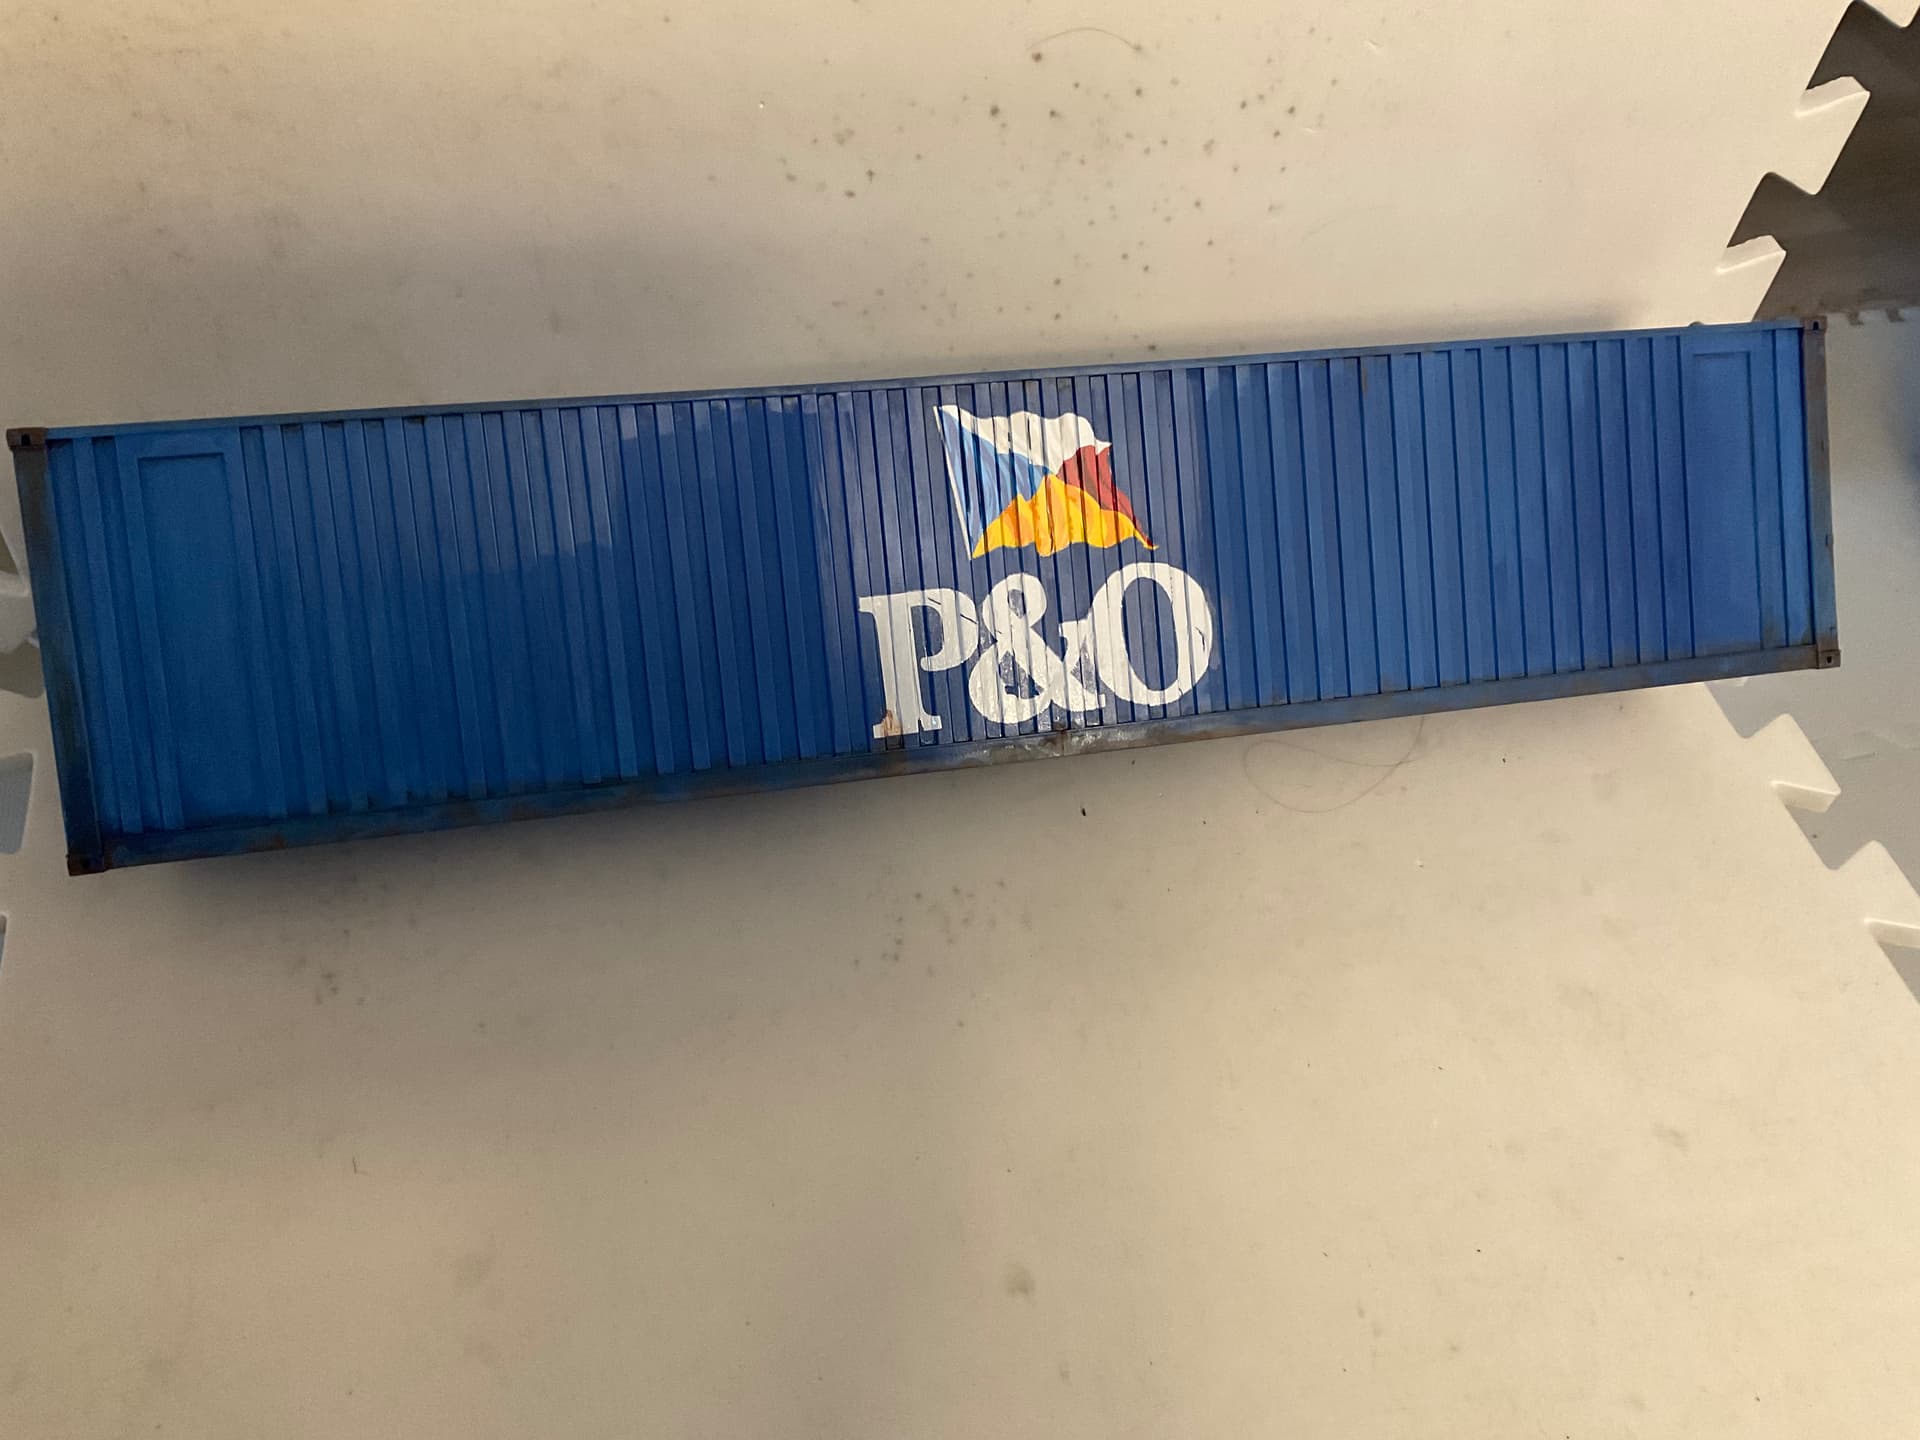
Well @NucMedTech you got me moving on this one again. Spent the morning doing some more faded paintwork then started on the initial weathering. Here are the results after 3 additional blue tones added and the first (darkest) rust/dirt application.
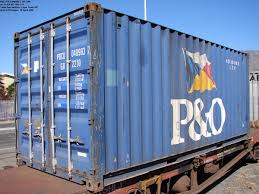
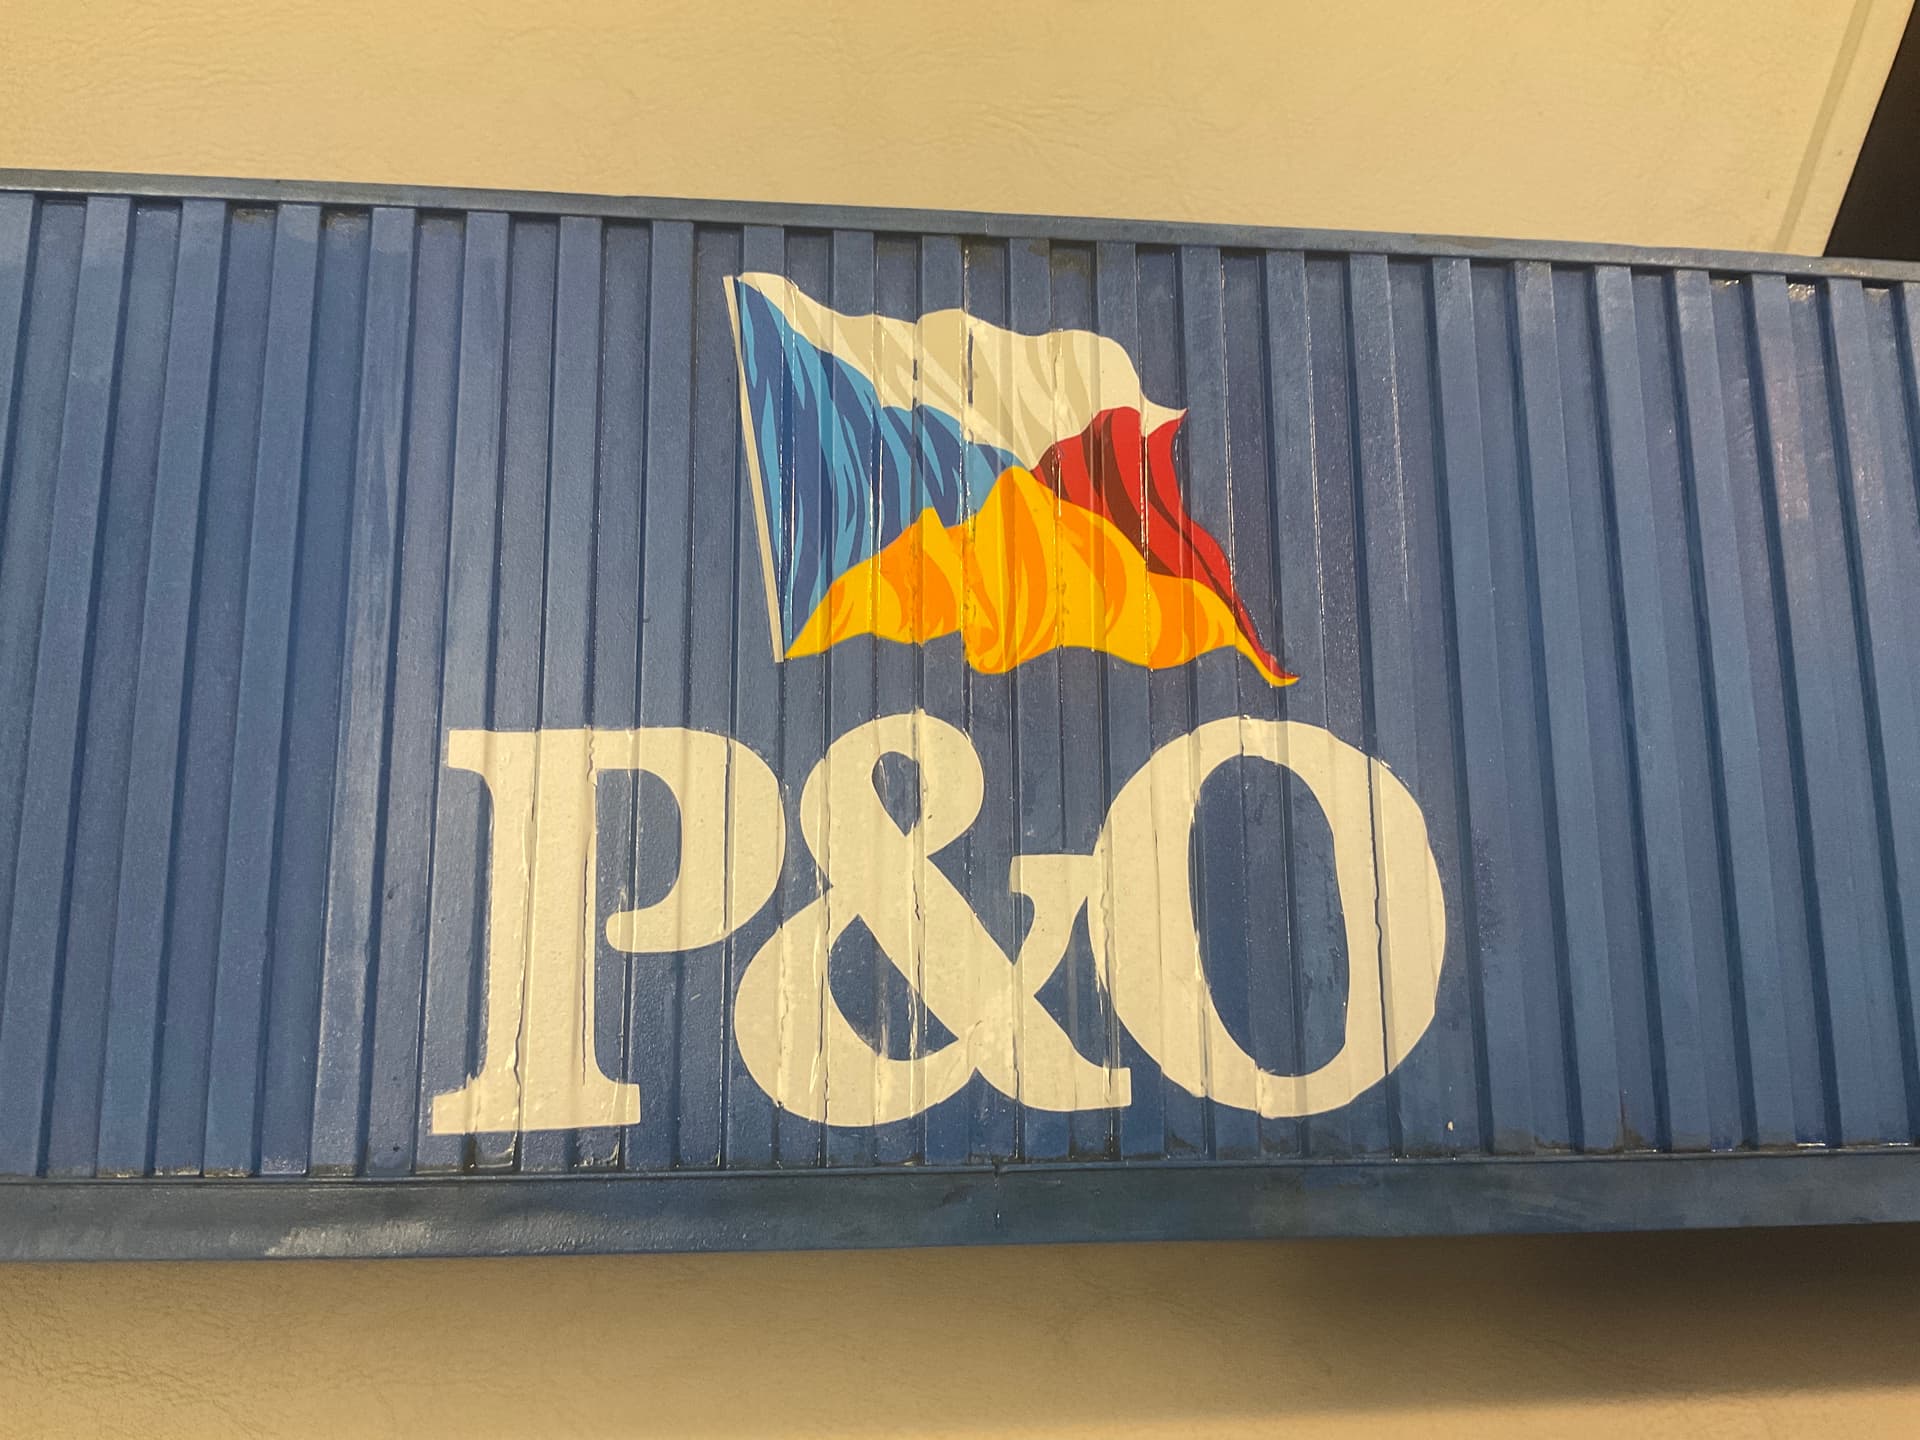
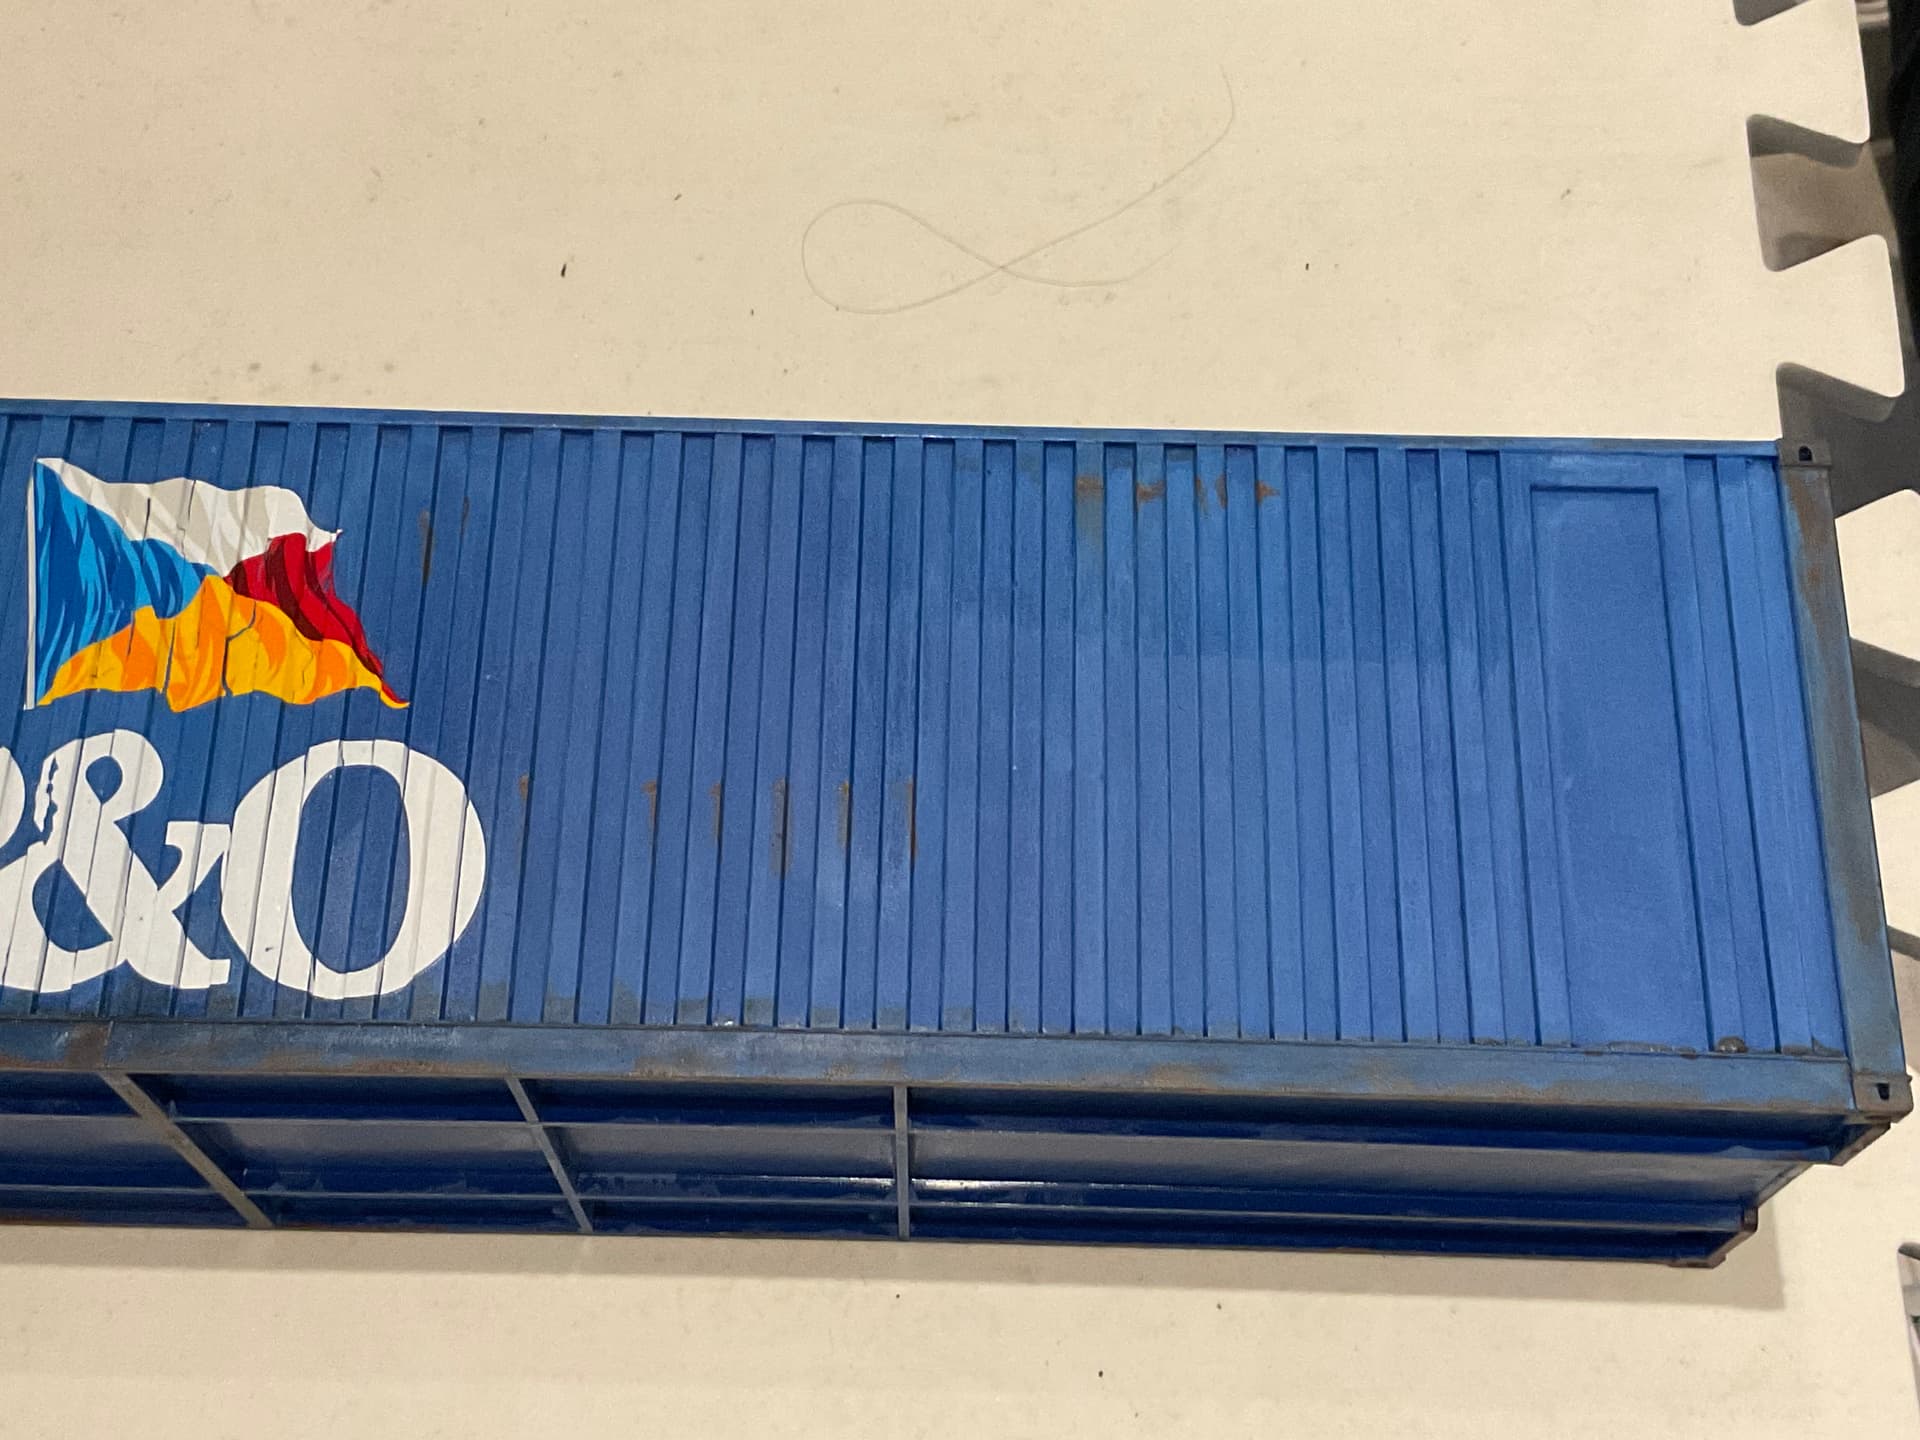
Got some Future on the sea-can where the decals are to go. Decals were thick and unwieldy, not wanting to conform to the ribbing at all. The P&O ripped into four pieces while trying to lay it down into the grooves.
MicroSet was used with very limited success. Also tried MicroSol to get them down, it did seem to soften them a bit, but due to the original thickness and not settling, it left some gaps under the decal. Afterward I had to slice a few spots and reapply the solvent. Hopefully it will look ok with the rest of the weathering in place.
Impressive results, and to be frank, as someone who knows exactly nothing about trailers, I would have never noticed that the wheels were wrong. That is really high quality work there, both on the research side and the production side.
I’m not really sure what it is about this project that has really grabbed my modelling attention, but I’m really enjoying this build and all that goes with it. I only hope that I can get finished before that wears off and it goes back into the box….well it won’t fit in the box anymore, so I guess that’s out of the question.
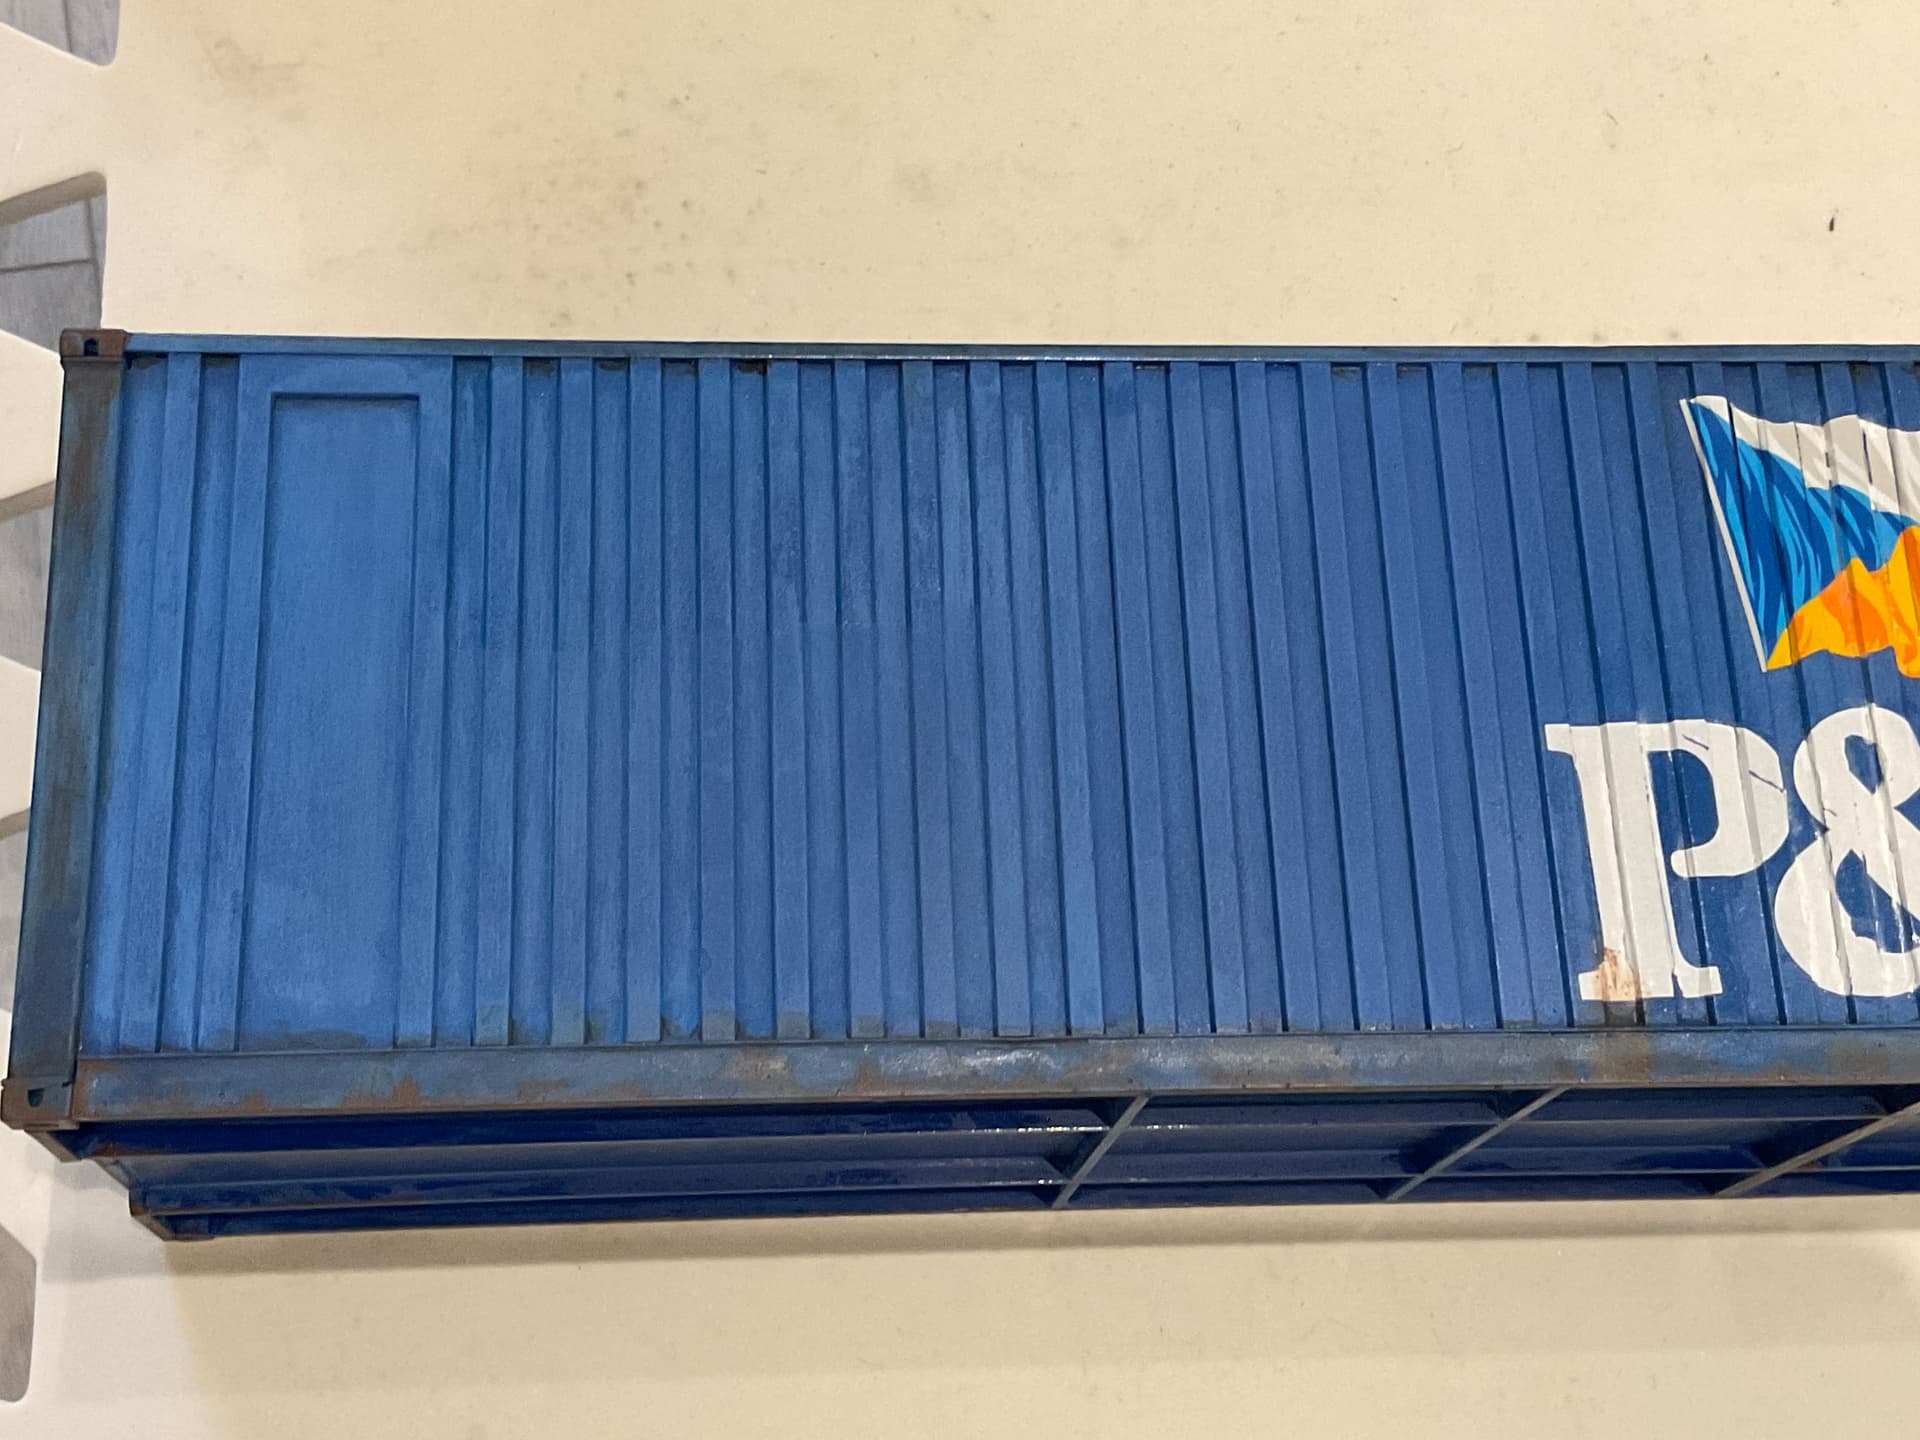
Started on the base coats of rust today. Focused on the lower edges and corners that would get the most contact between cranes, trucks and other containers. Also roughed in the back doors and a few of the dents I put in with the dremel before paint.
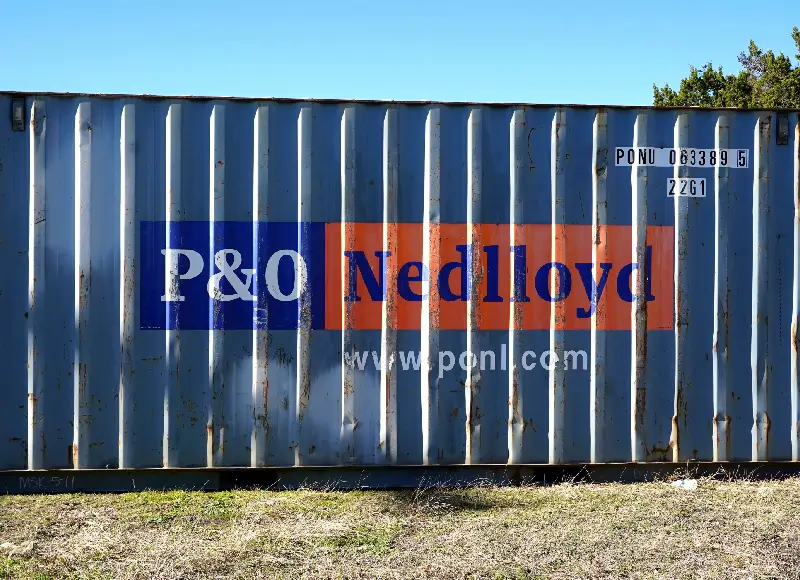
Still fighting with the decals on the sides. I have them mostly laid down properly now, although I had to do a lot of slicing to get them smoothish, especially on the flags. I will have to do some paint matching and touch up there before I distress them a bit. Still some additional container ID numbers to go on the sides and front, once those are done I can continue with the blue fading and adding general grubiness to the can.
Thanks guys, they were probably the thickest decals I’ve ever applied. At times I thought they would be completely unusable on the can and was mulling my options.