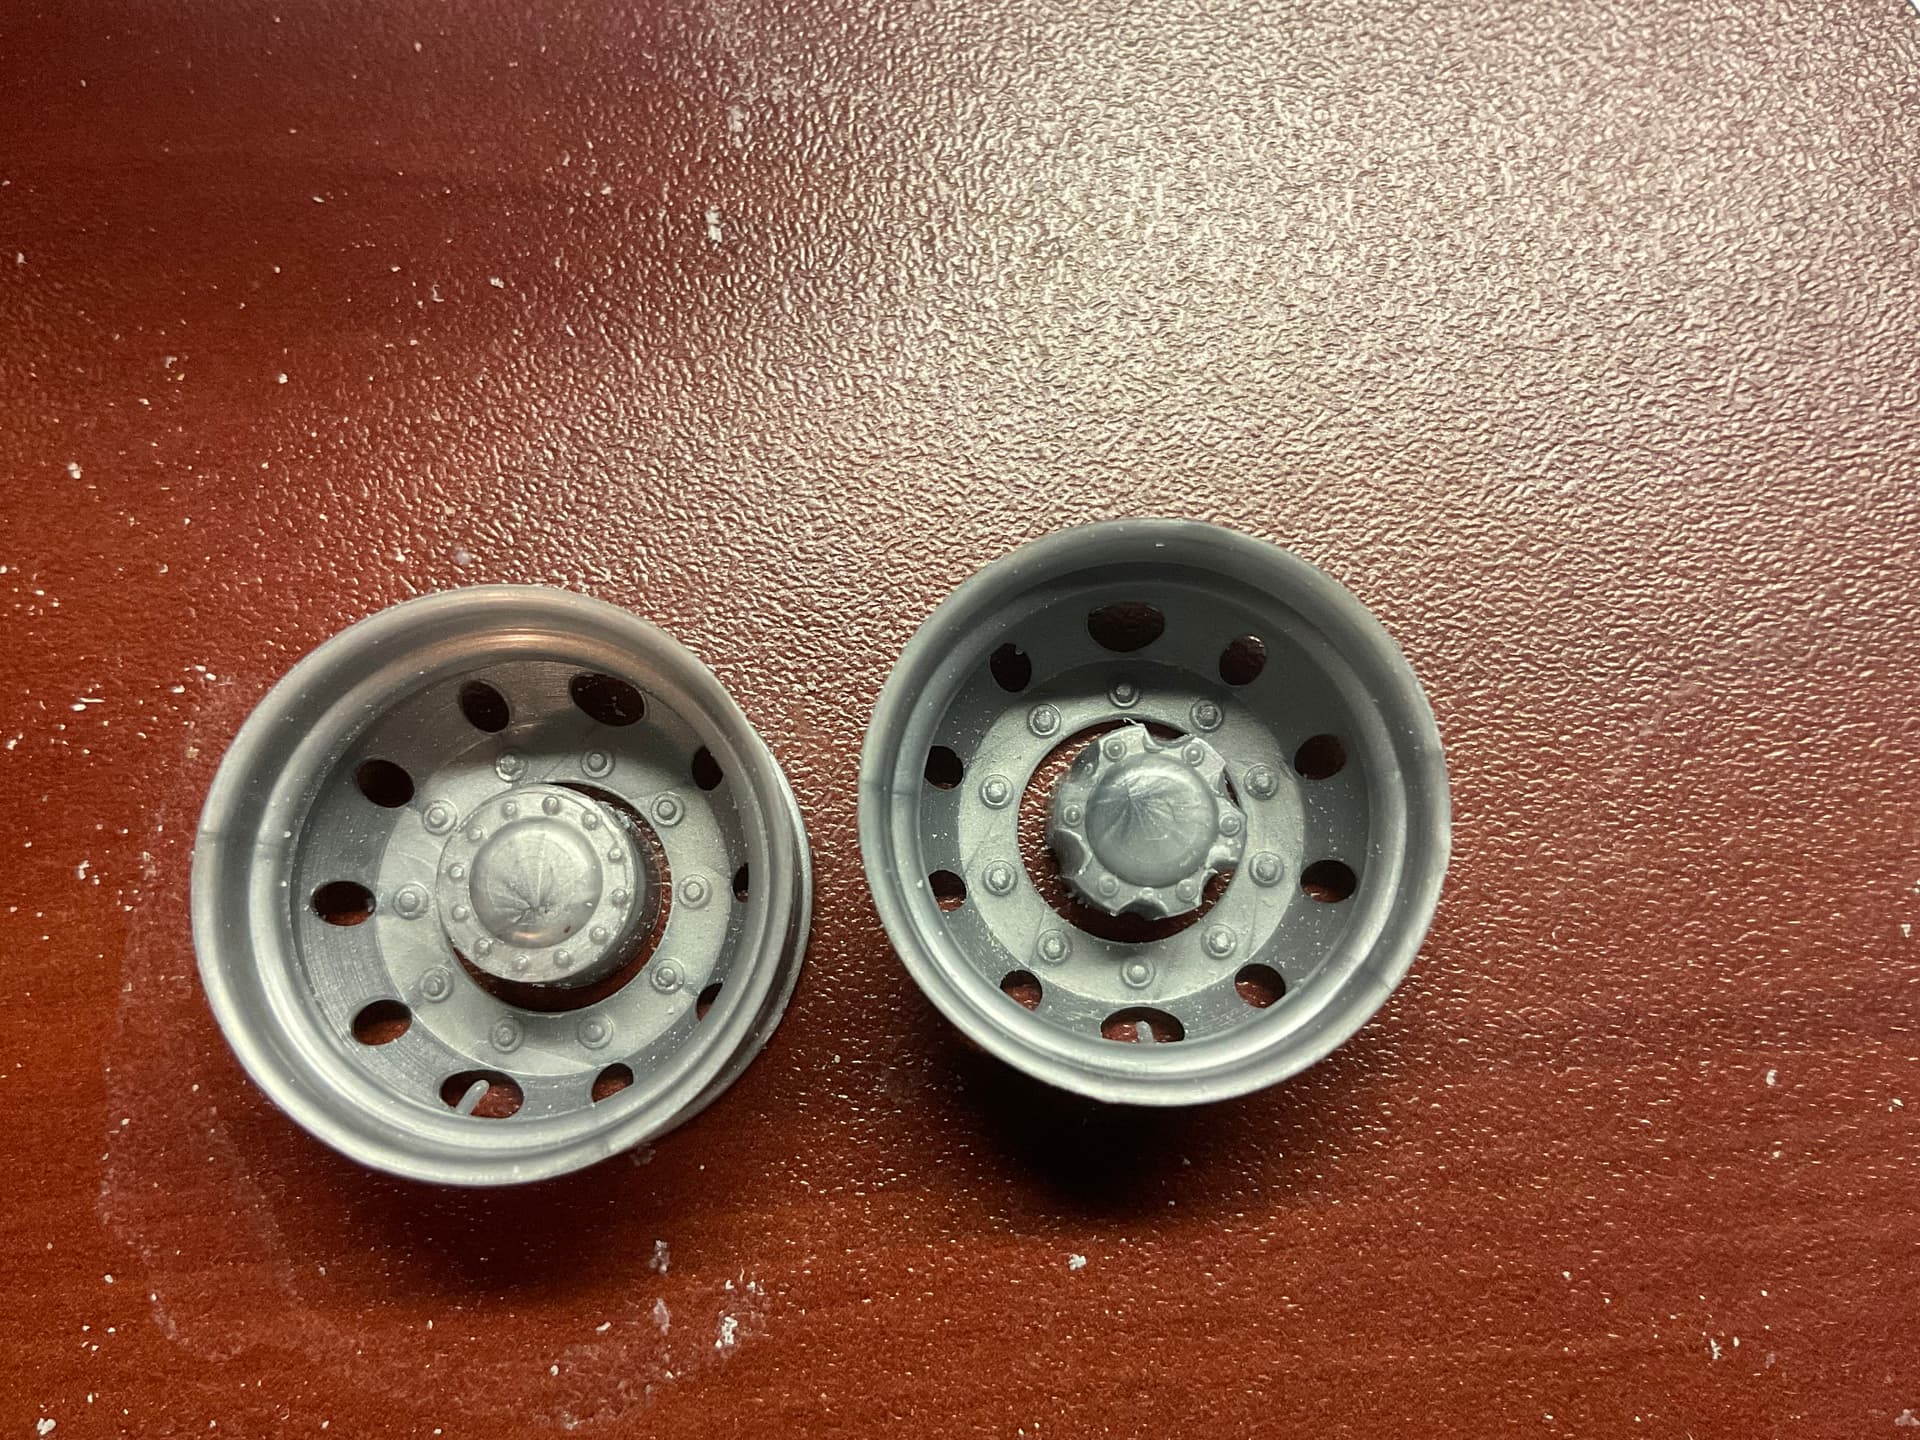
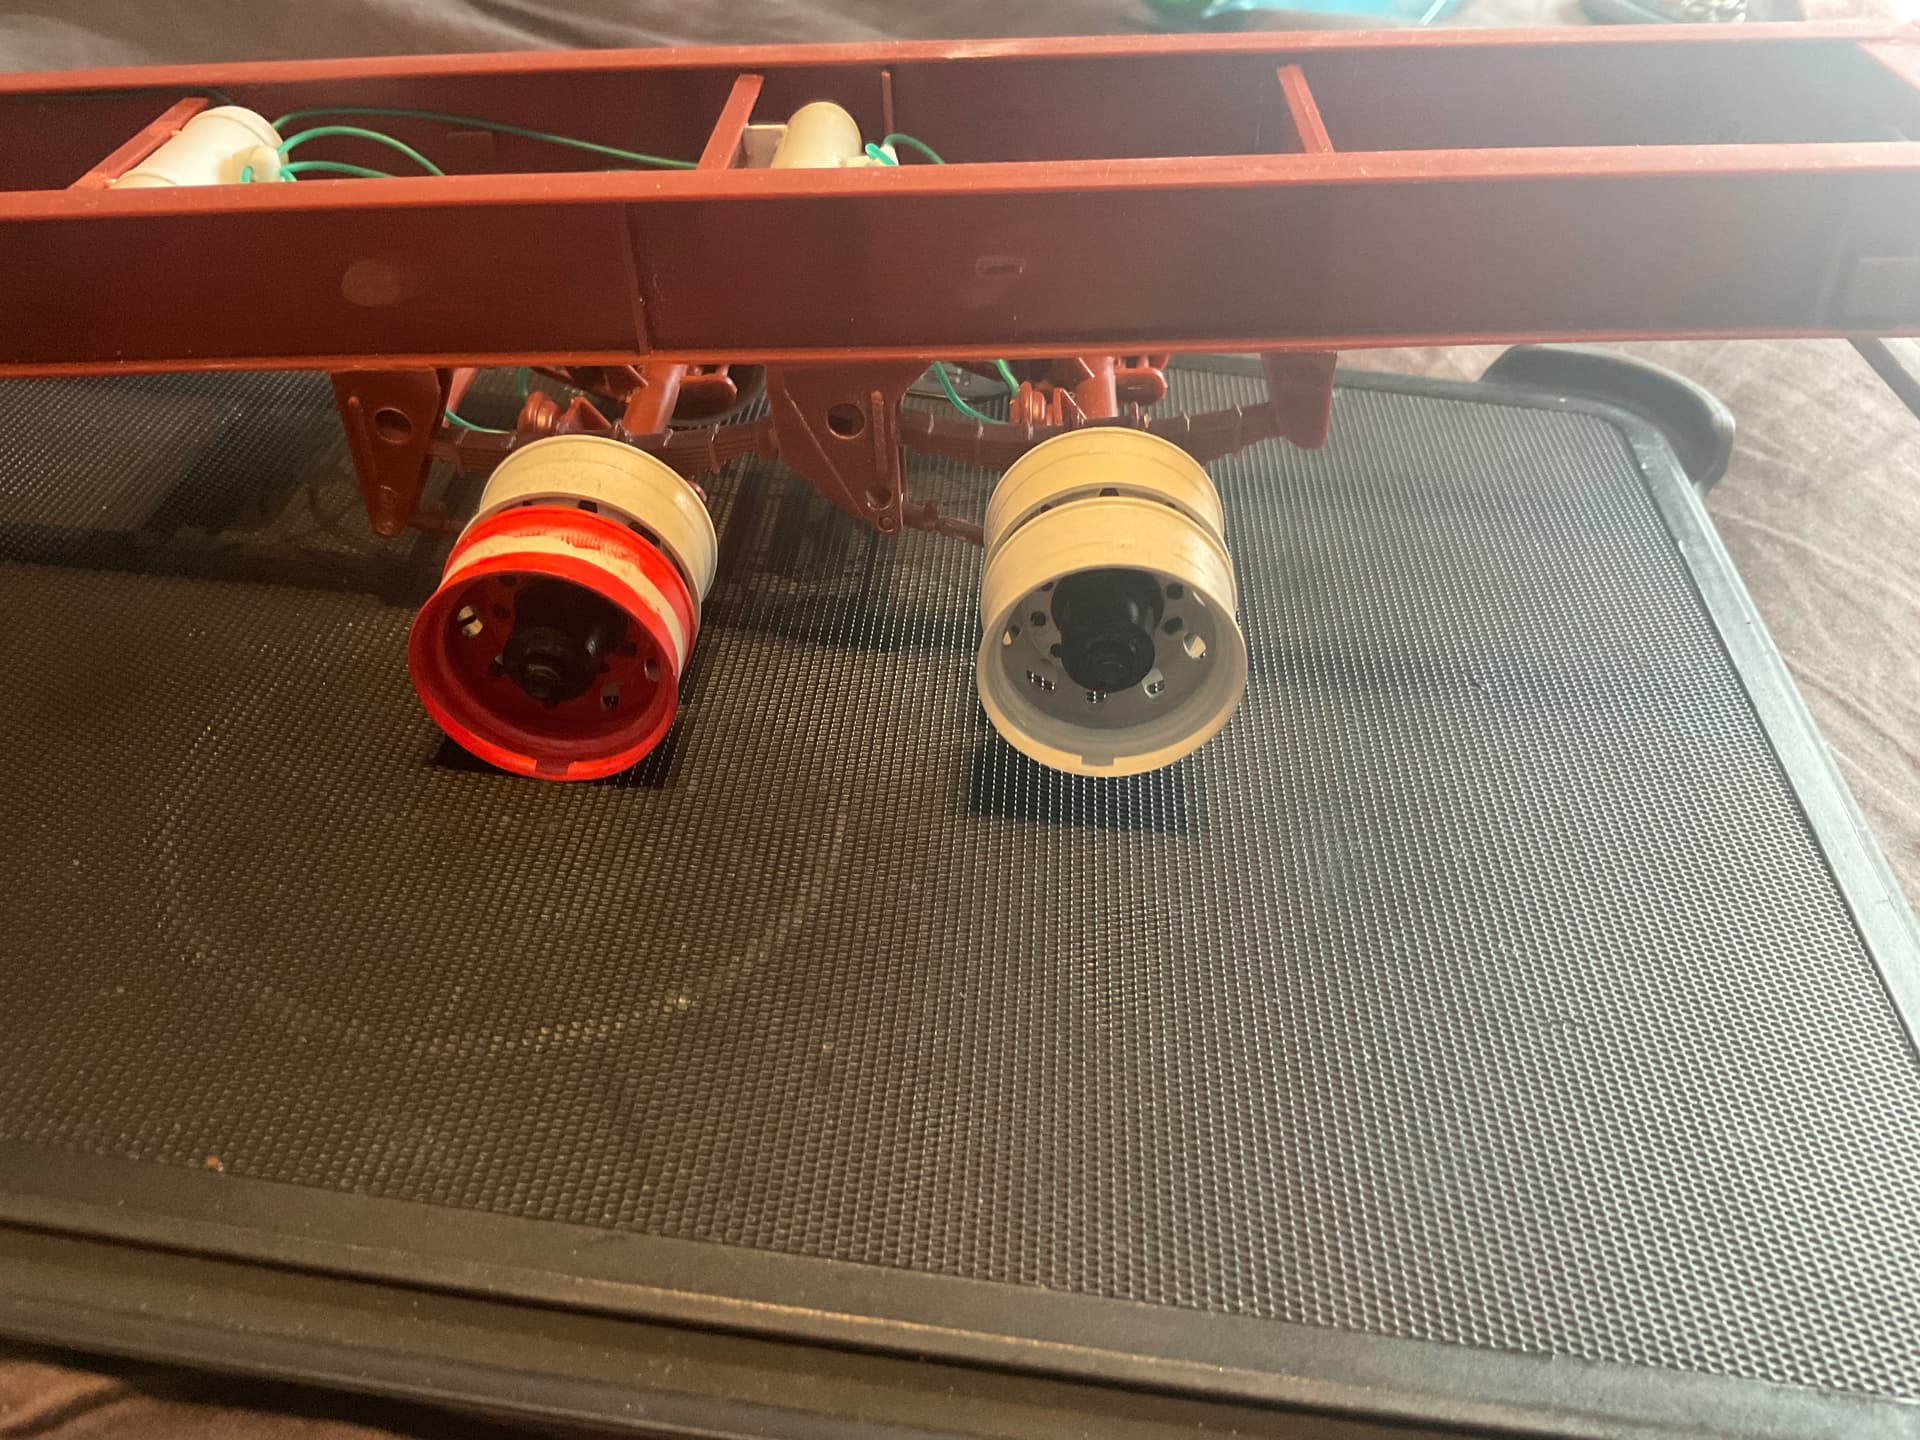
Earlier this week I committed to changing the hubs on the trailer. Got out a couple different files and went all in. Original on the left, modified on the right.
The more I looked at it, the more I felt that I had just made them look even more like drive axle hubs instead of trailer hubs. So out came the styrene tubes, rod and strips for the repair and subsequent modifications (again).
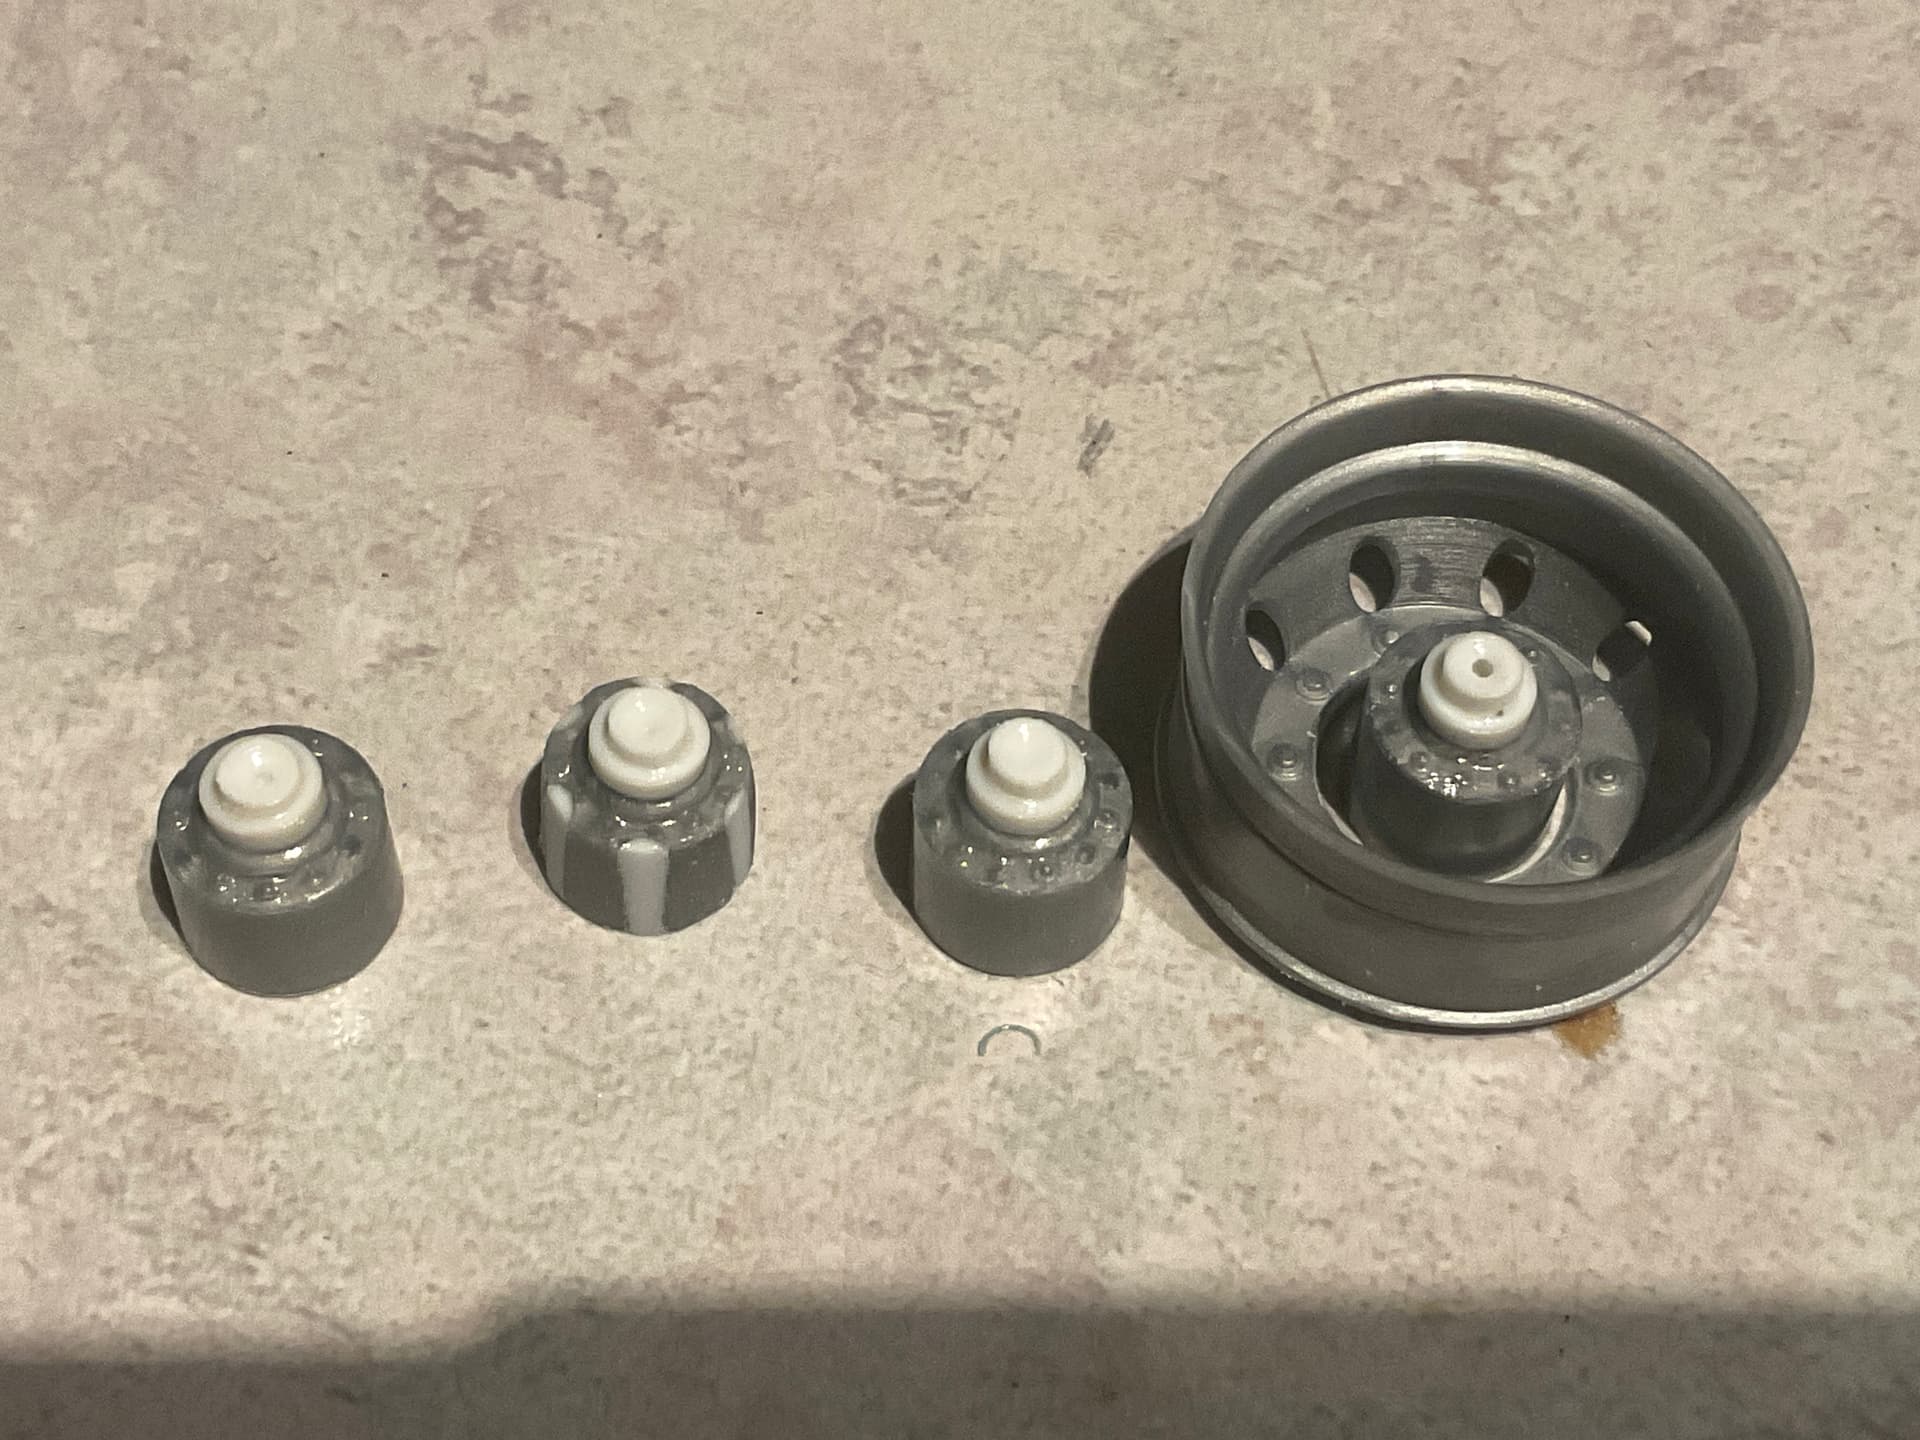
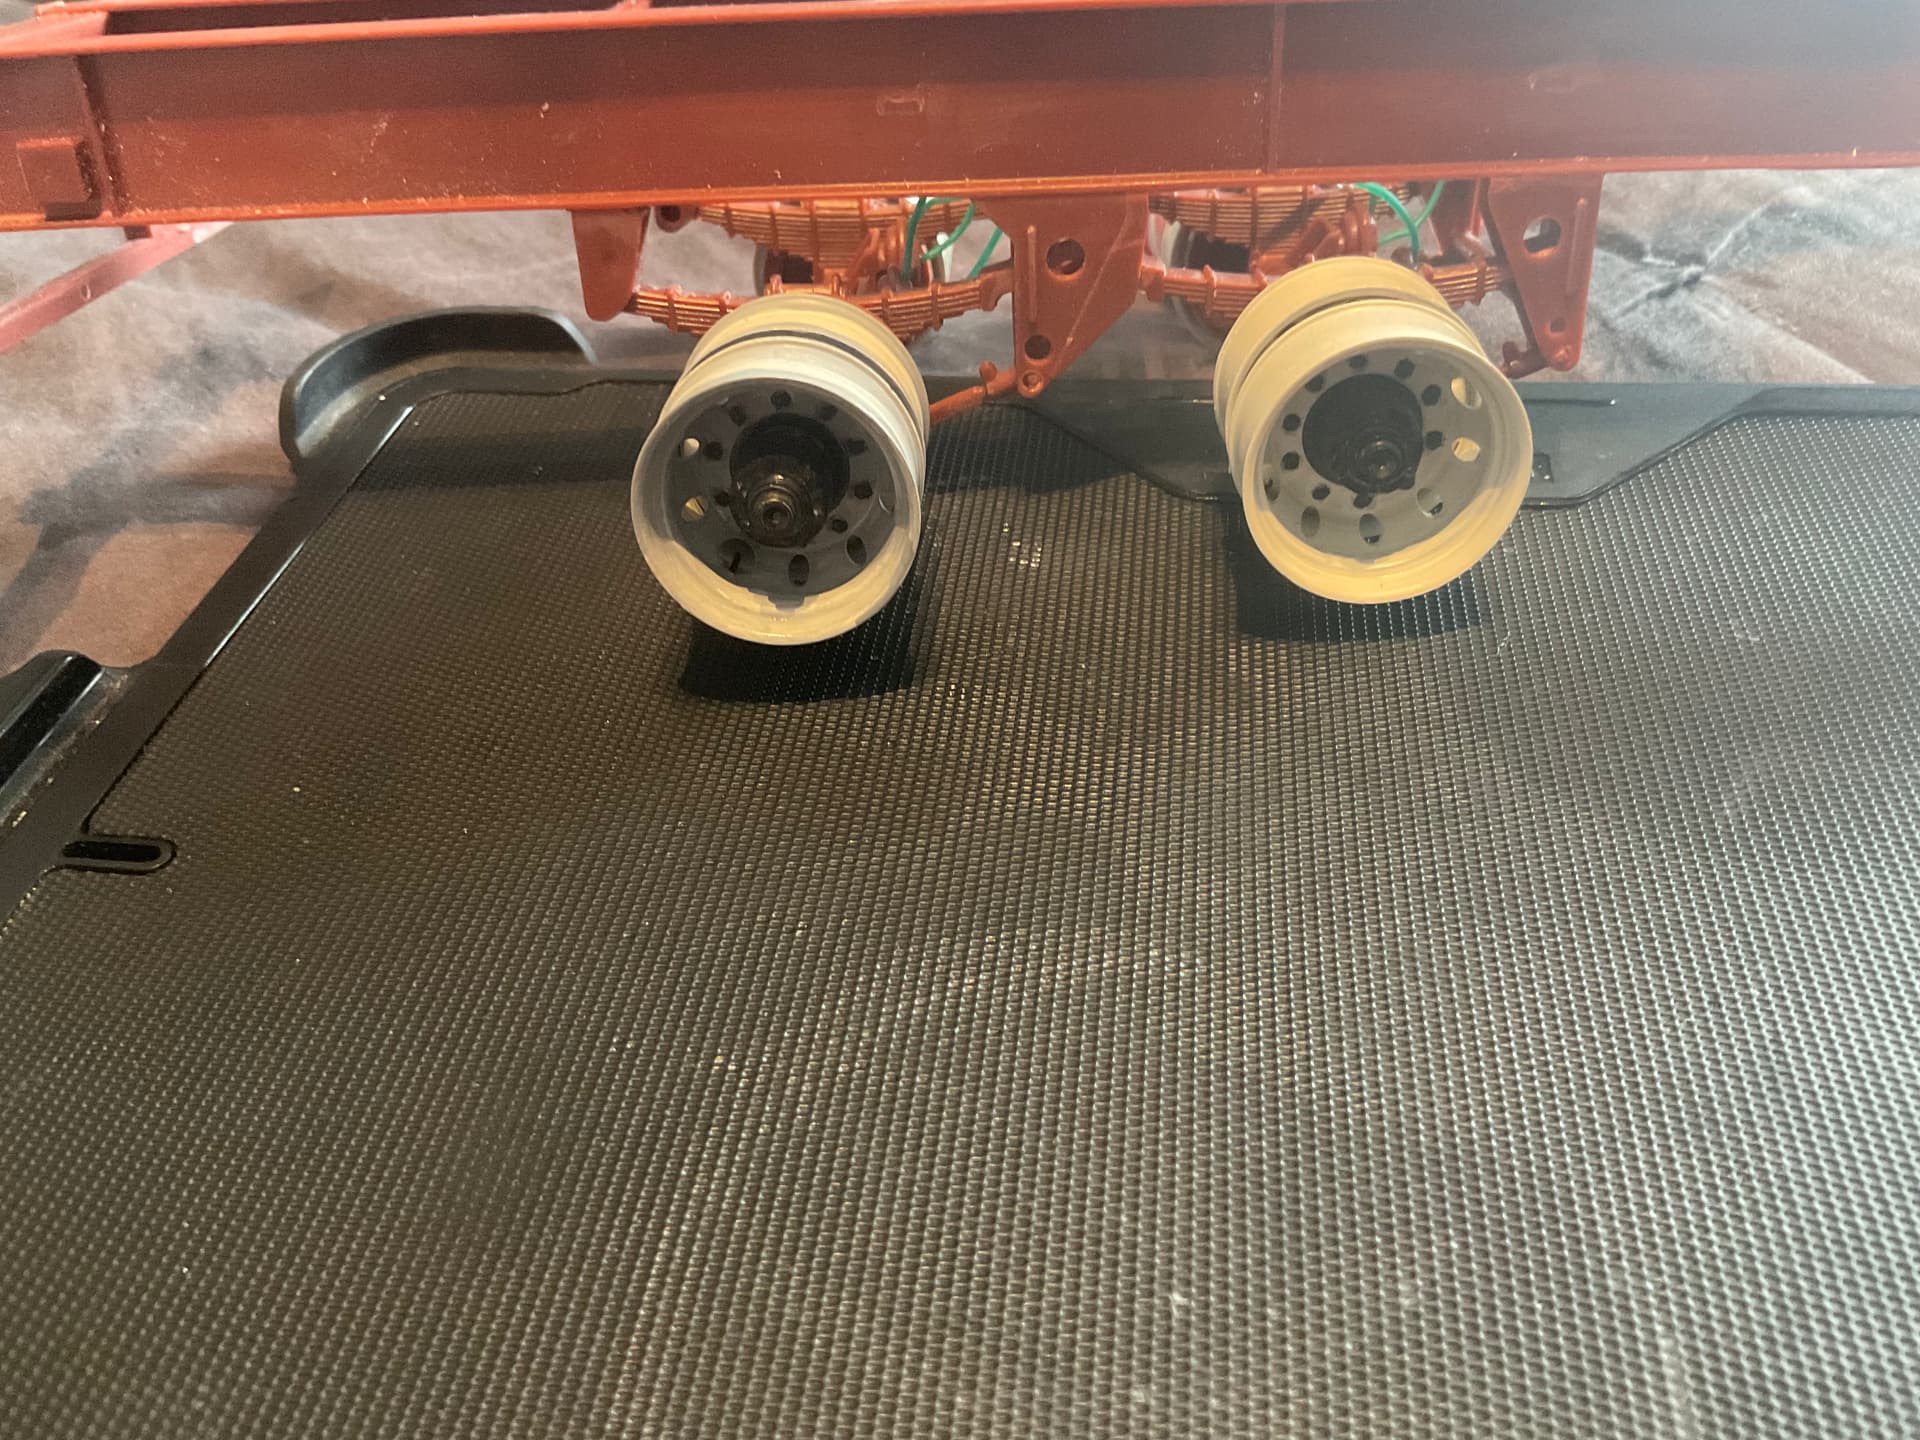
This is what I’ve ended up with. I removed every second bolt, down to six per hub from 12. Also extended the center section to more closely resemble a free wheel hub. Under some paint, it should work out ok. Now I just need to expand the base of each hub a bit to be able to center the wheels on the dual mount.
I would love to see the final product! I actually work for a logistics company that owns these chassis, so its interesting to see a production scale kit of it.
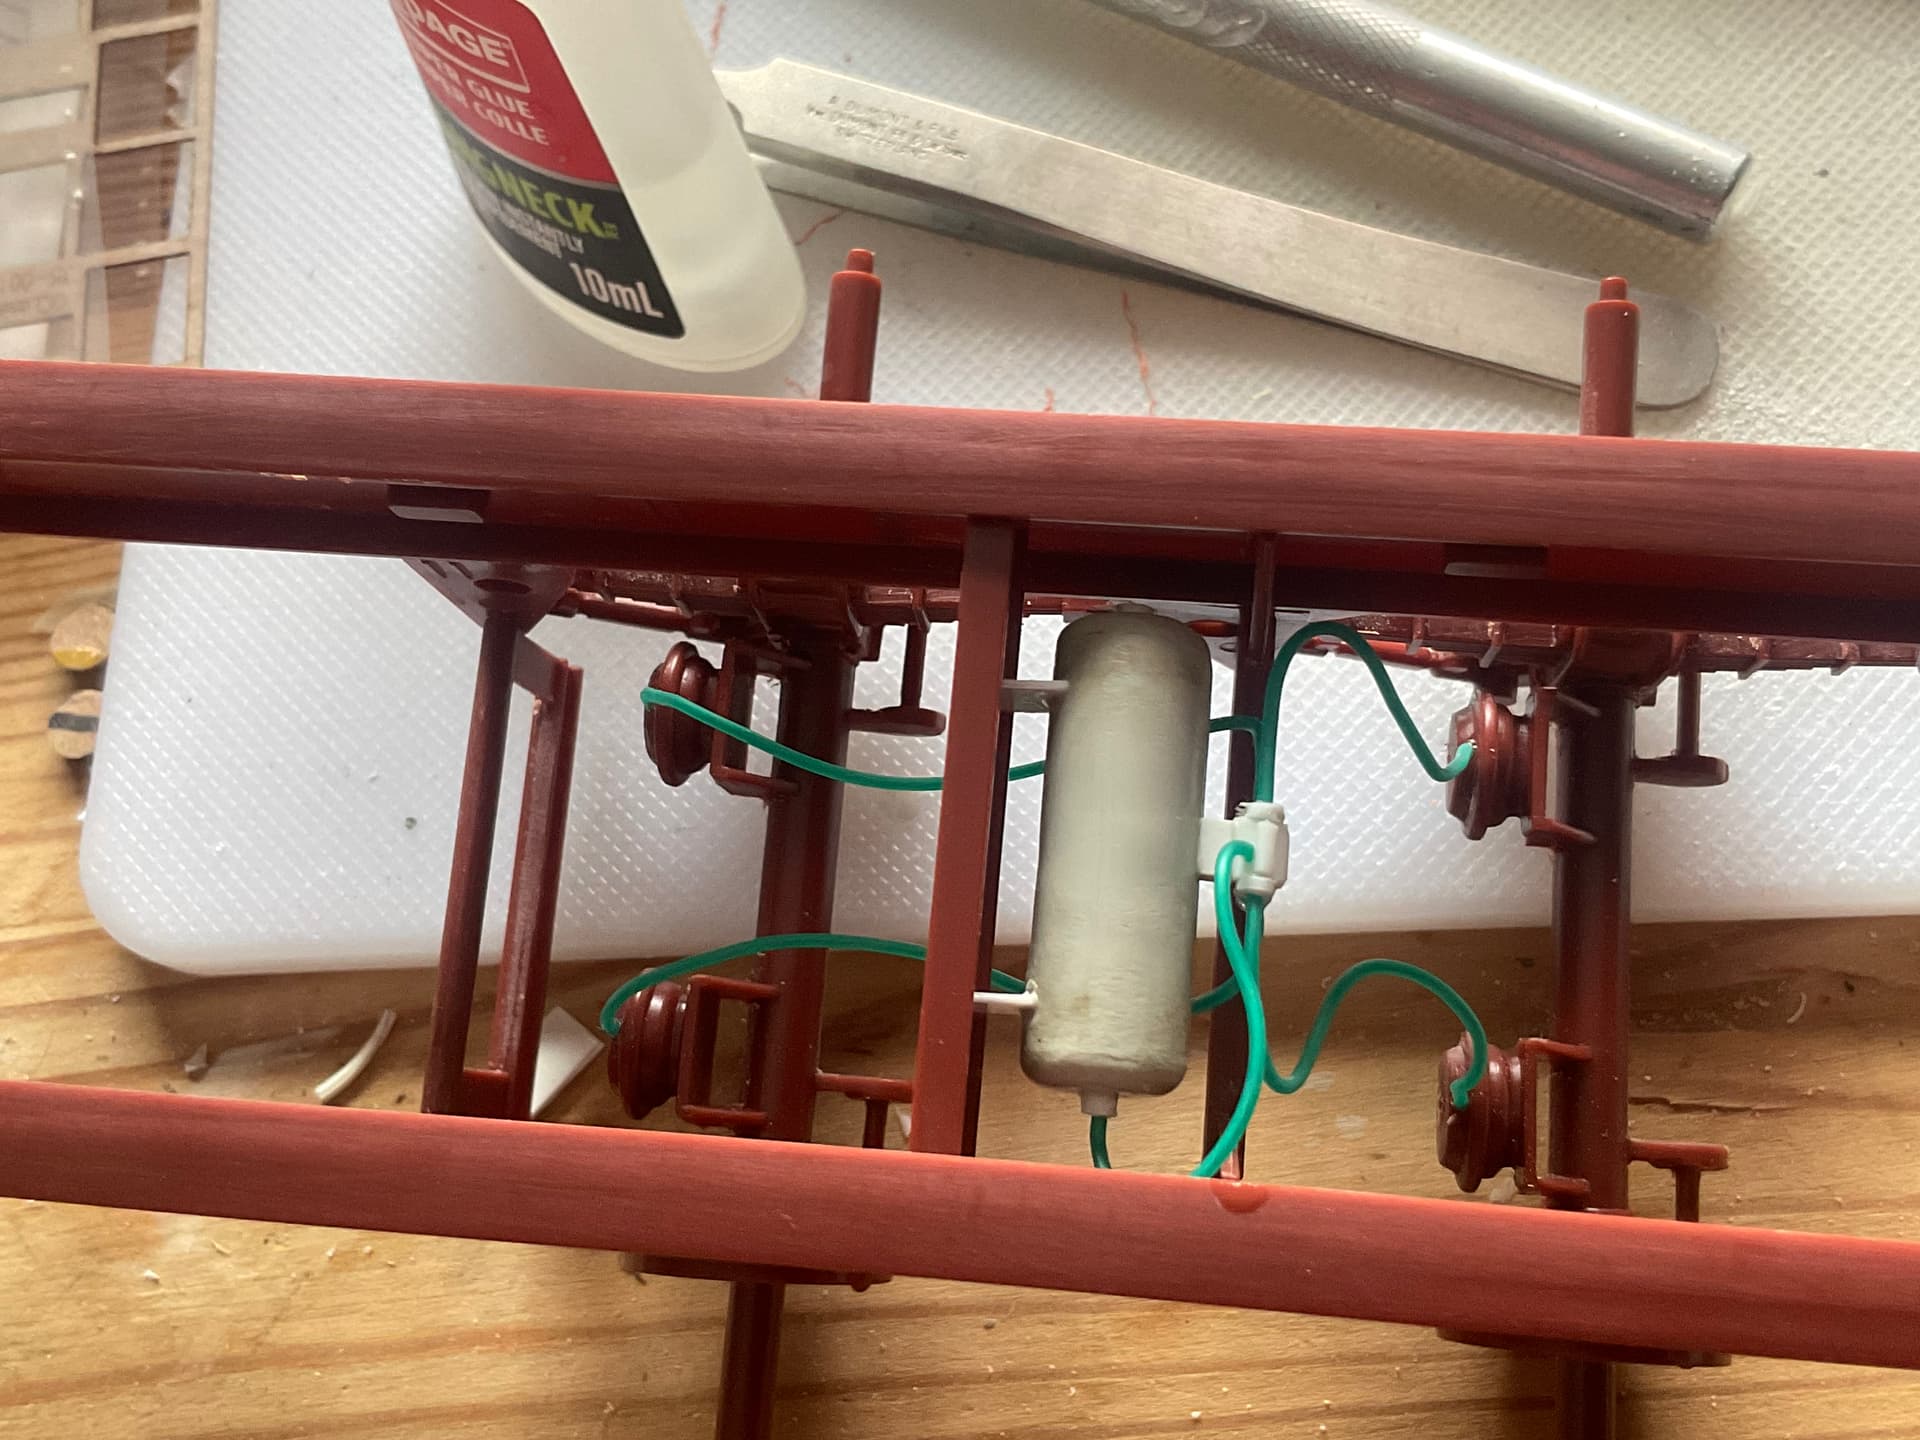
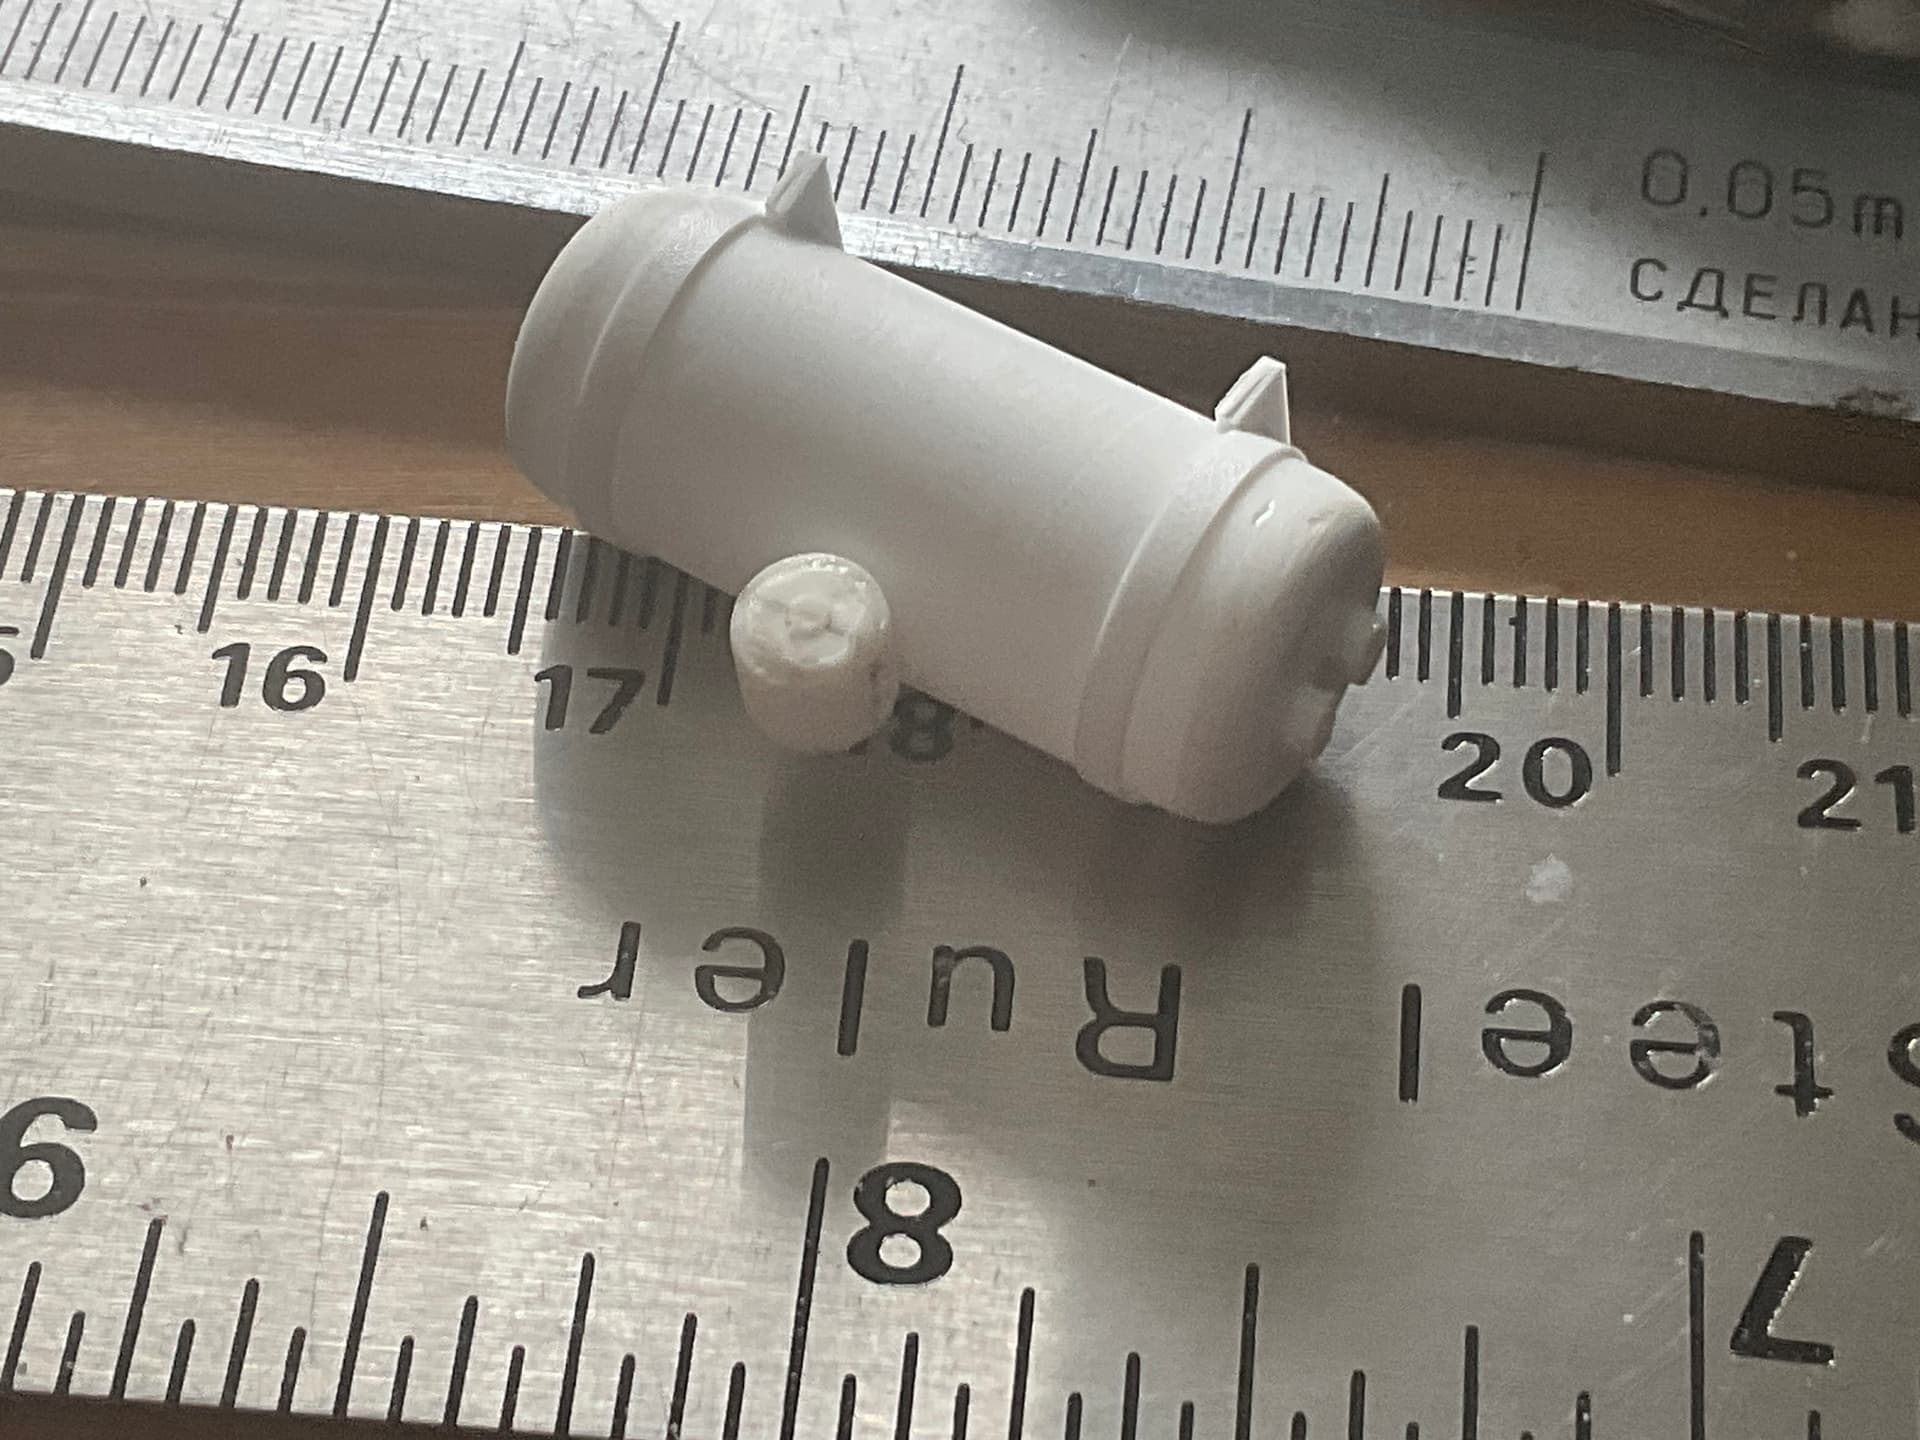
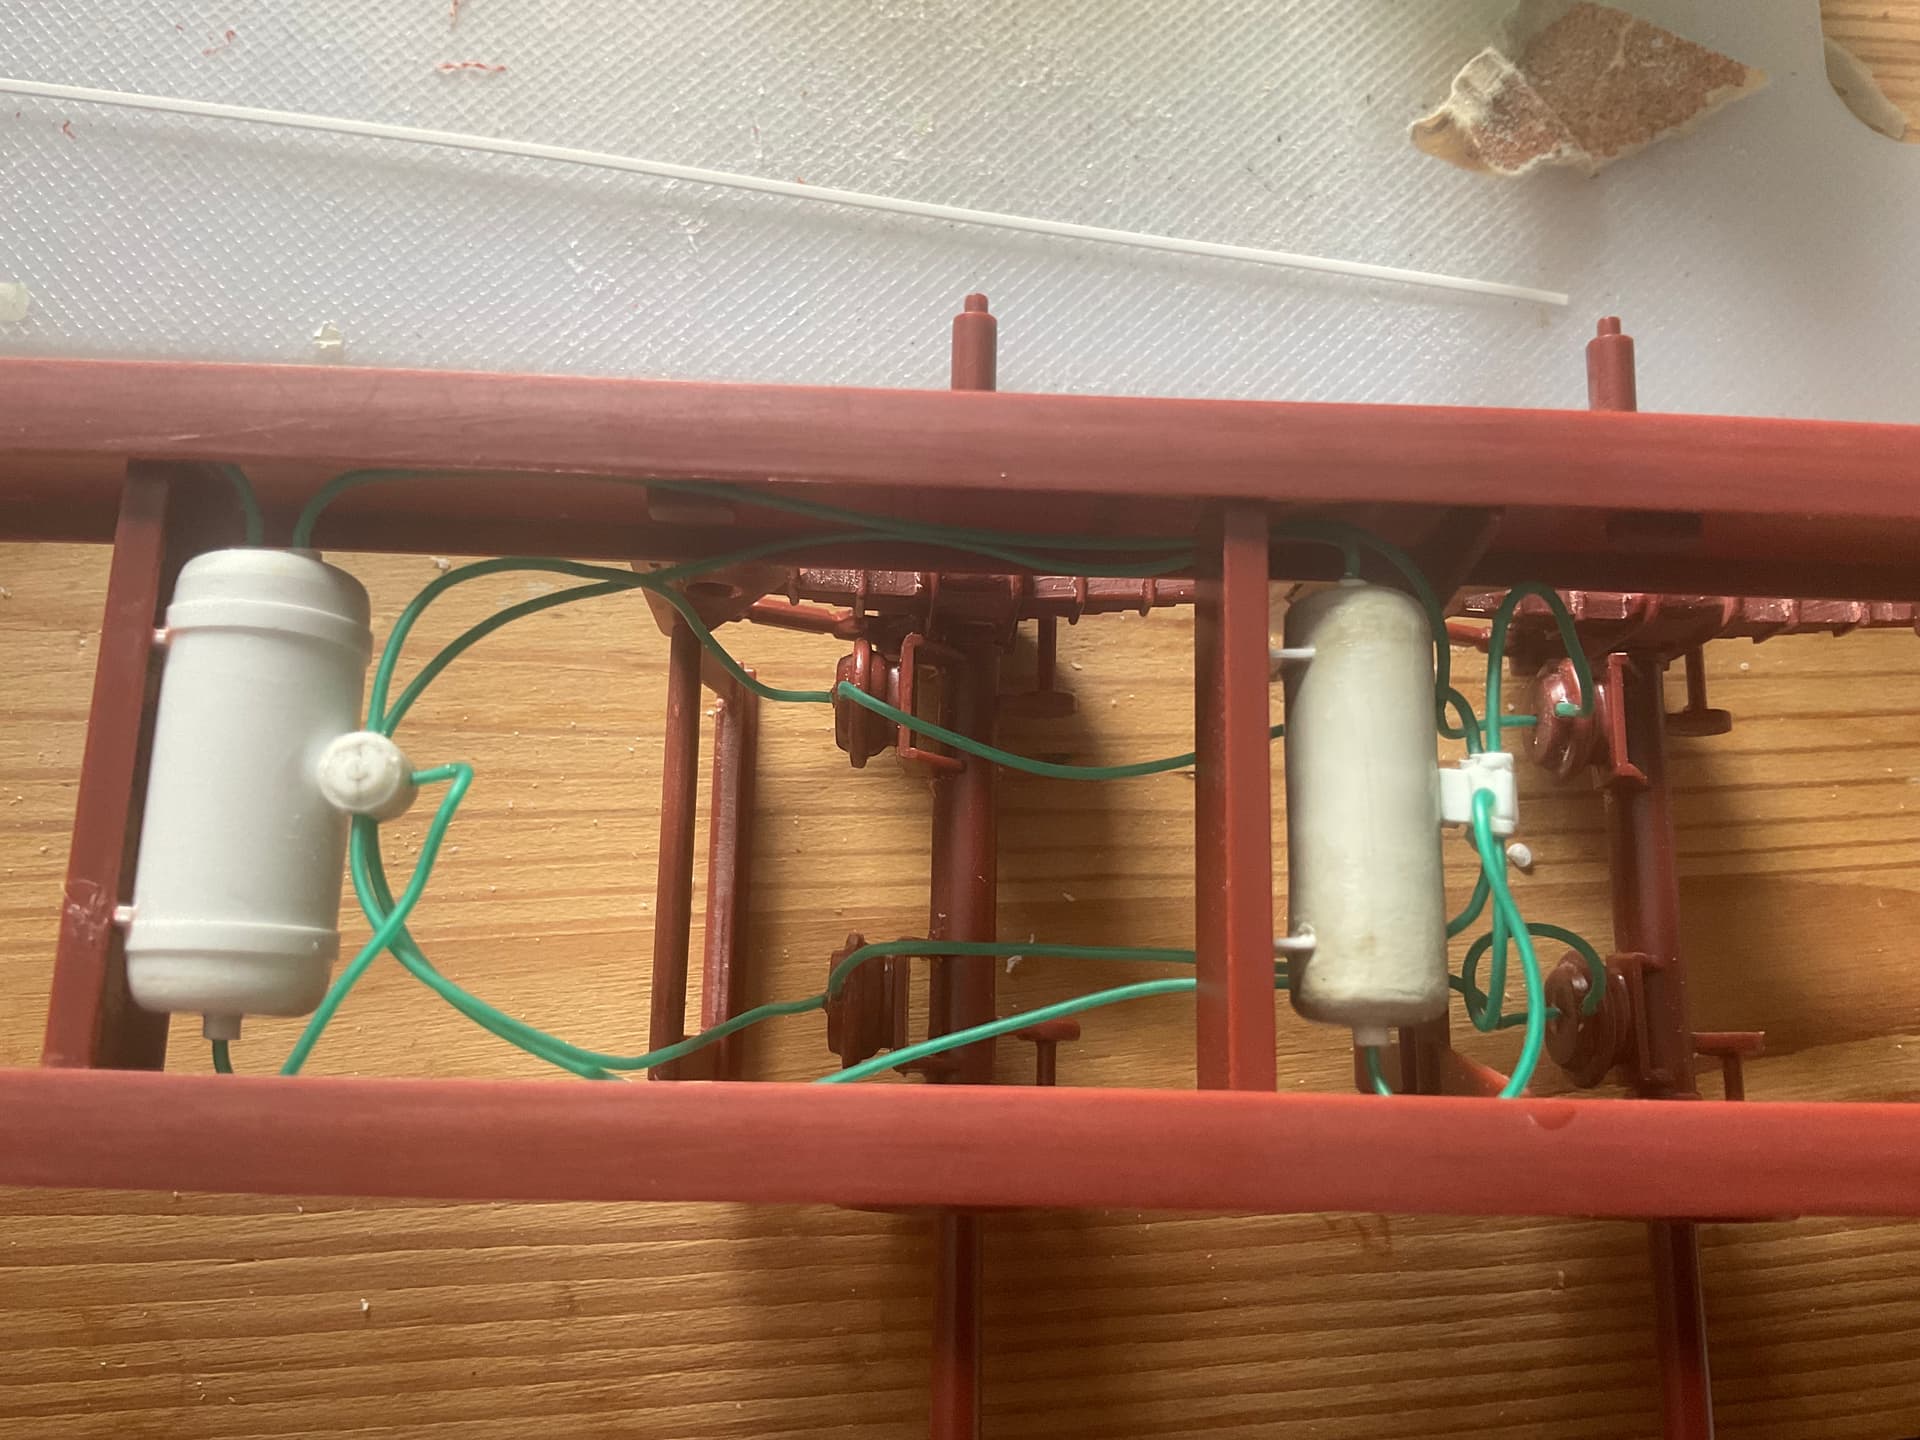
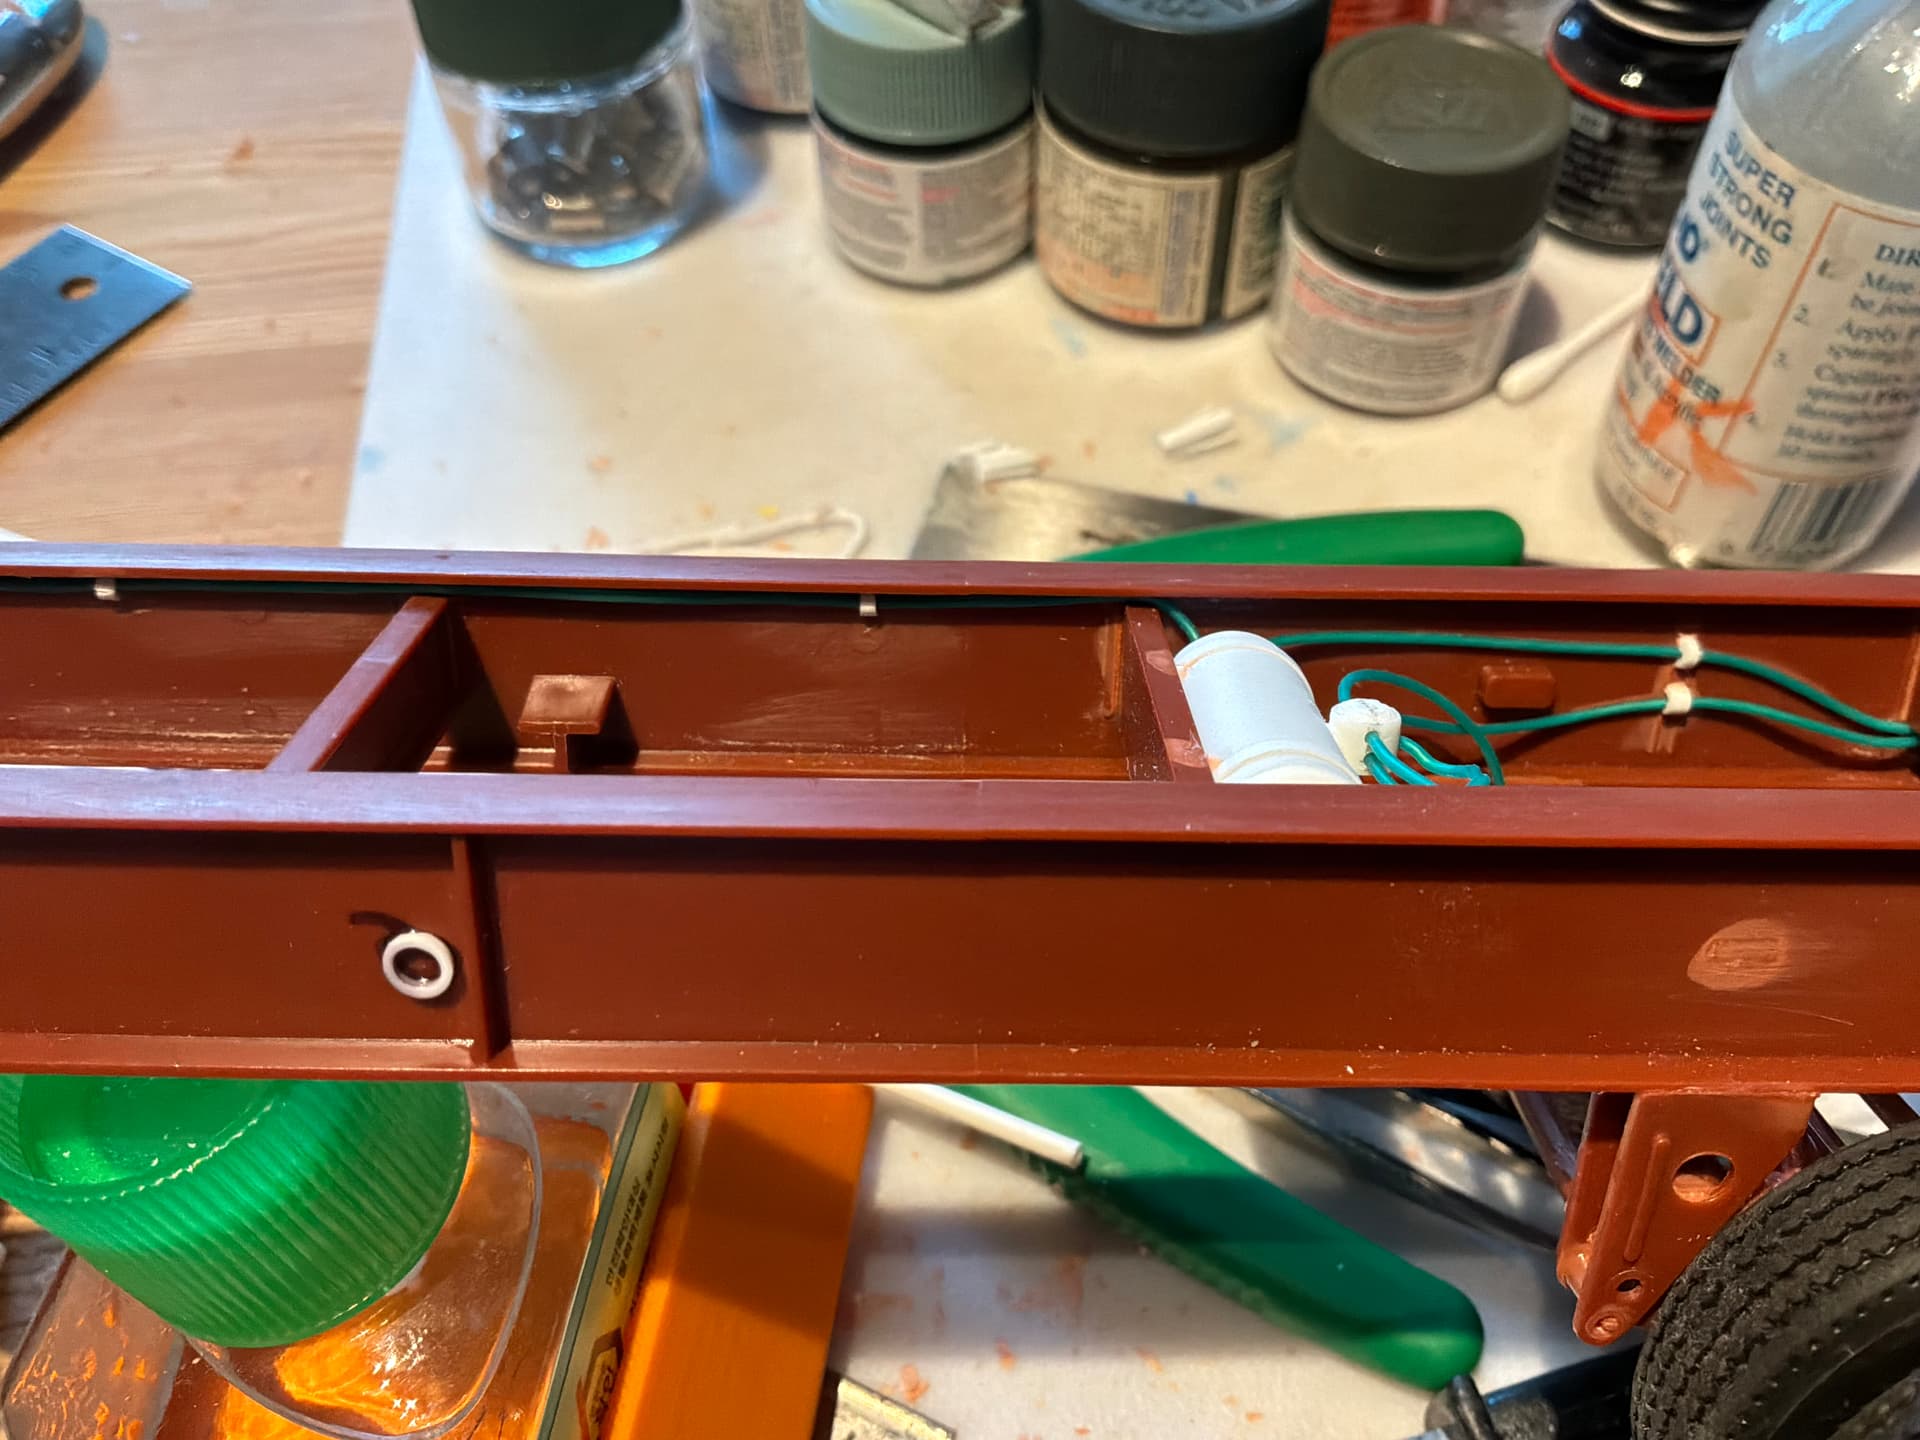
Got a bit of time to drill a few holes and add some plumbing for the parking brake reservoir system. I heat formed some styrene around an exacto handle for the air tank. For the ends, I drilled a hole slightly larger than the handle diameter and heated more styrene sheet, pressing it into the hole with the handle end. Turned out ok I think.
Next will be the larger tank for the regular trailer brakes. The kit has this tank, but I’ve misplaced it after gluing and sanding it all smooth. May have to make a new one using an old 1/32 scale drop tank.
I used some 30 AWG insulated electronics wire. I ordered some 38 AWG (for spark plug wiring) wire on Amazon and this was shipped instead. I wasn’t sure that I would find a use for it, but it works very well for this. I just hope it takes paint well.
The 1/32 drop tank I had was way too large in diameter for the tank I needed. I suspect that a 1/48 Phantom tank would work, but don’t have that in the parts bin.
So…fifteen pieces of evergreen tube and strip resulted in this. Should be able to get it all plumbed in later today.
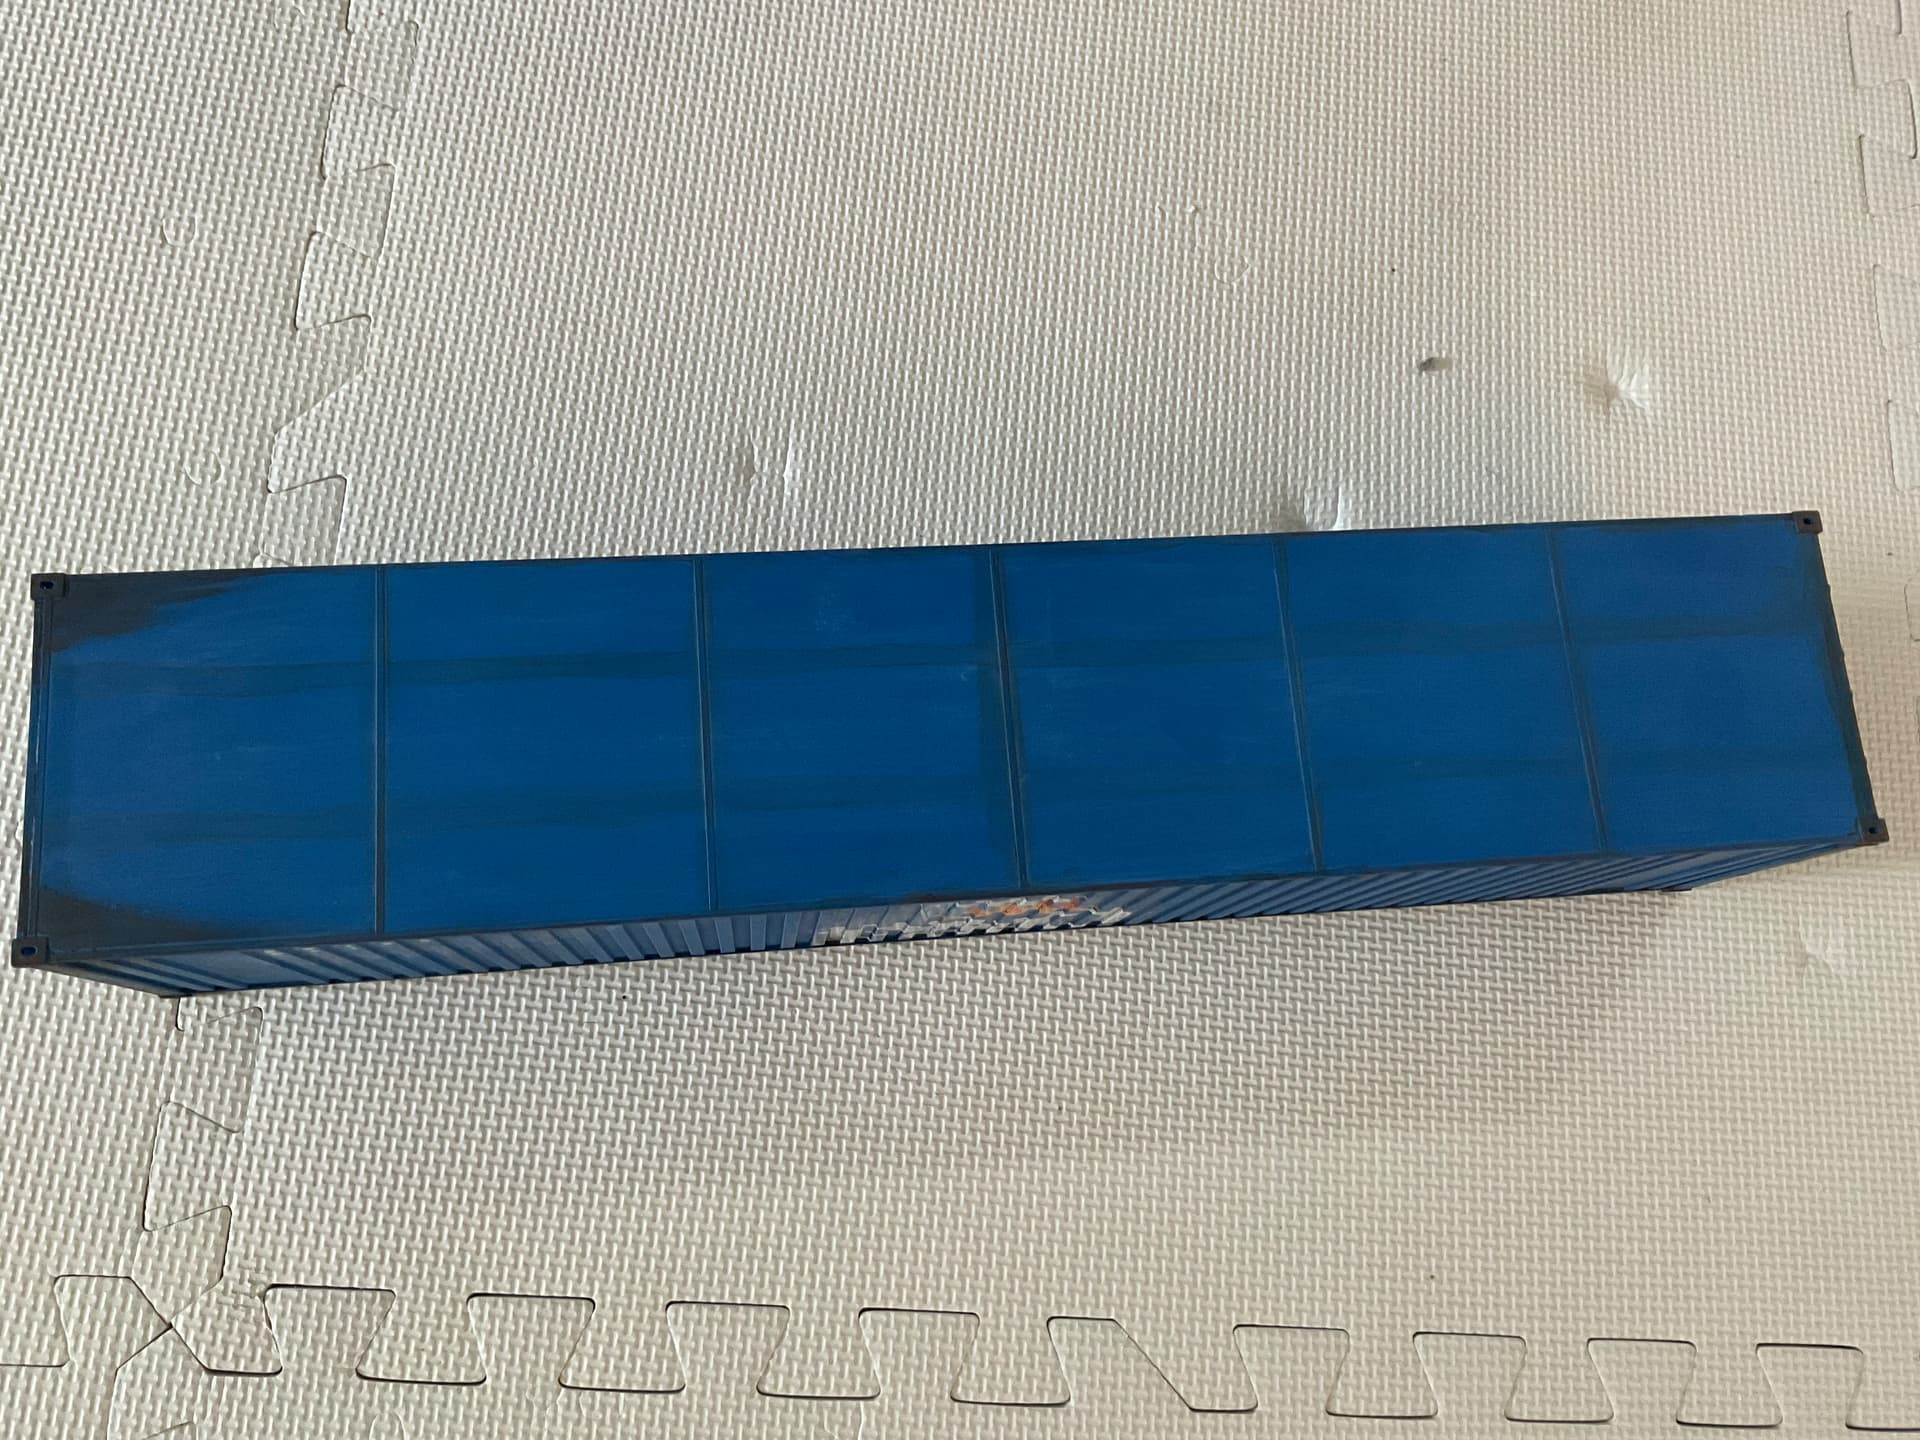
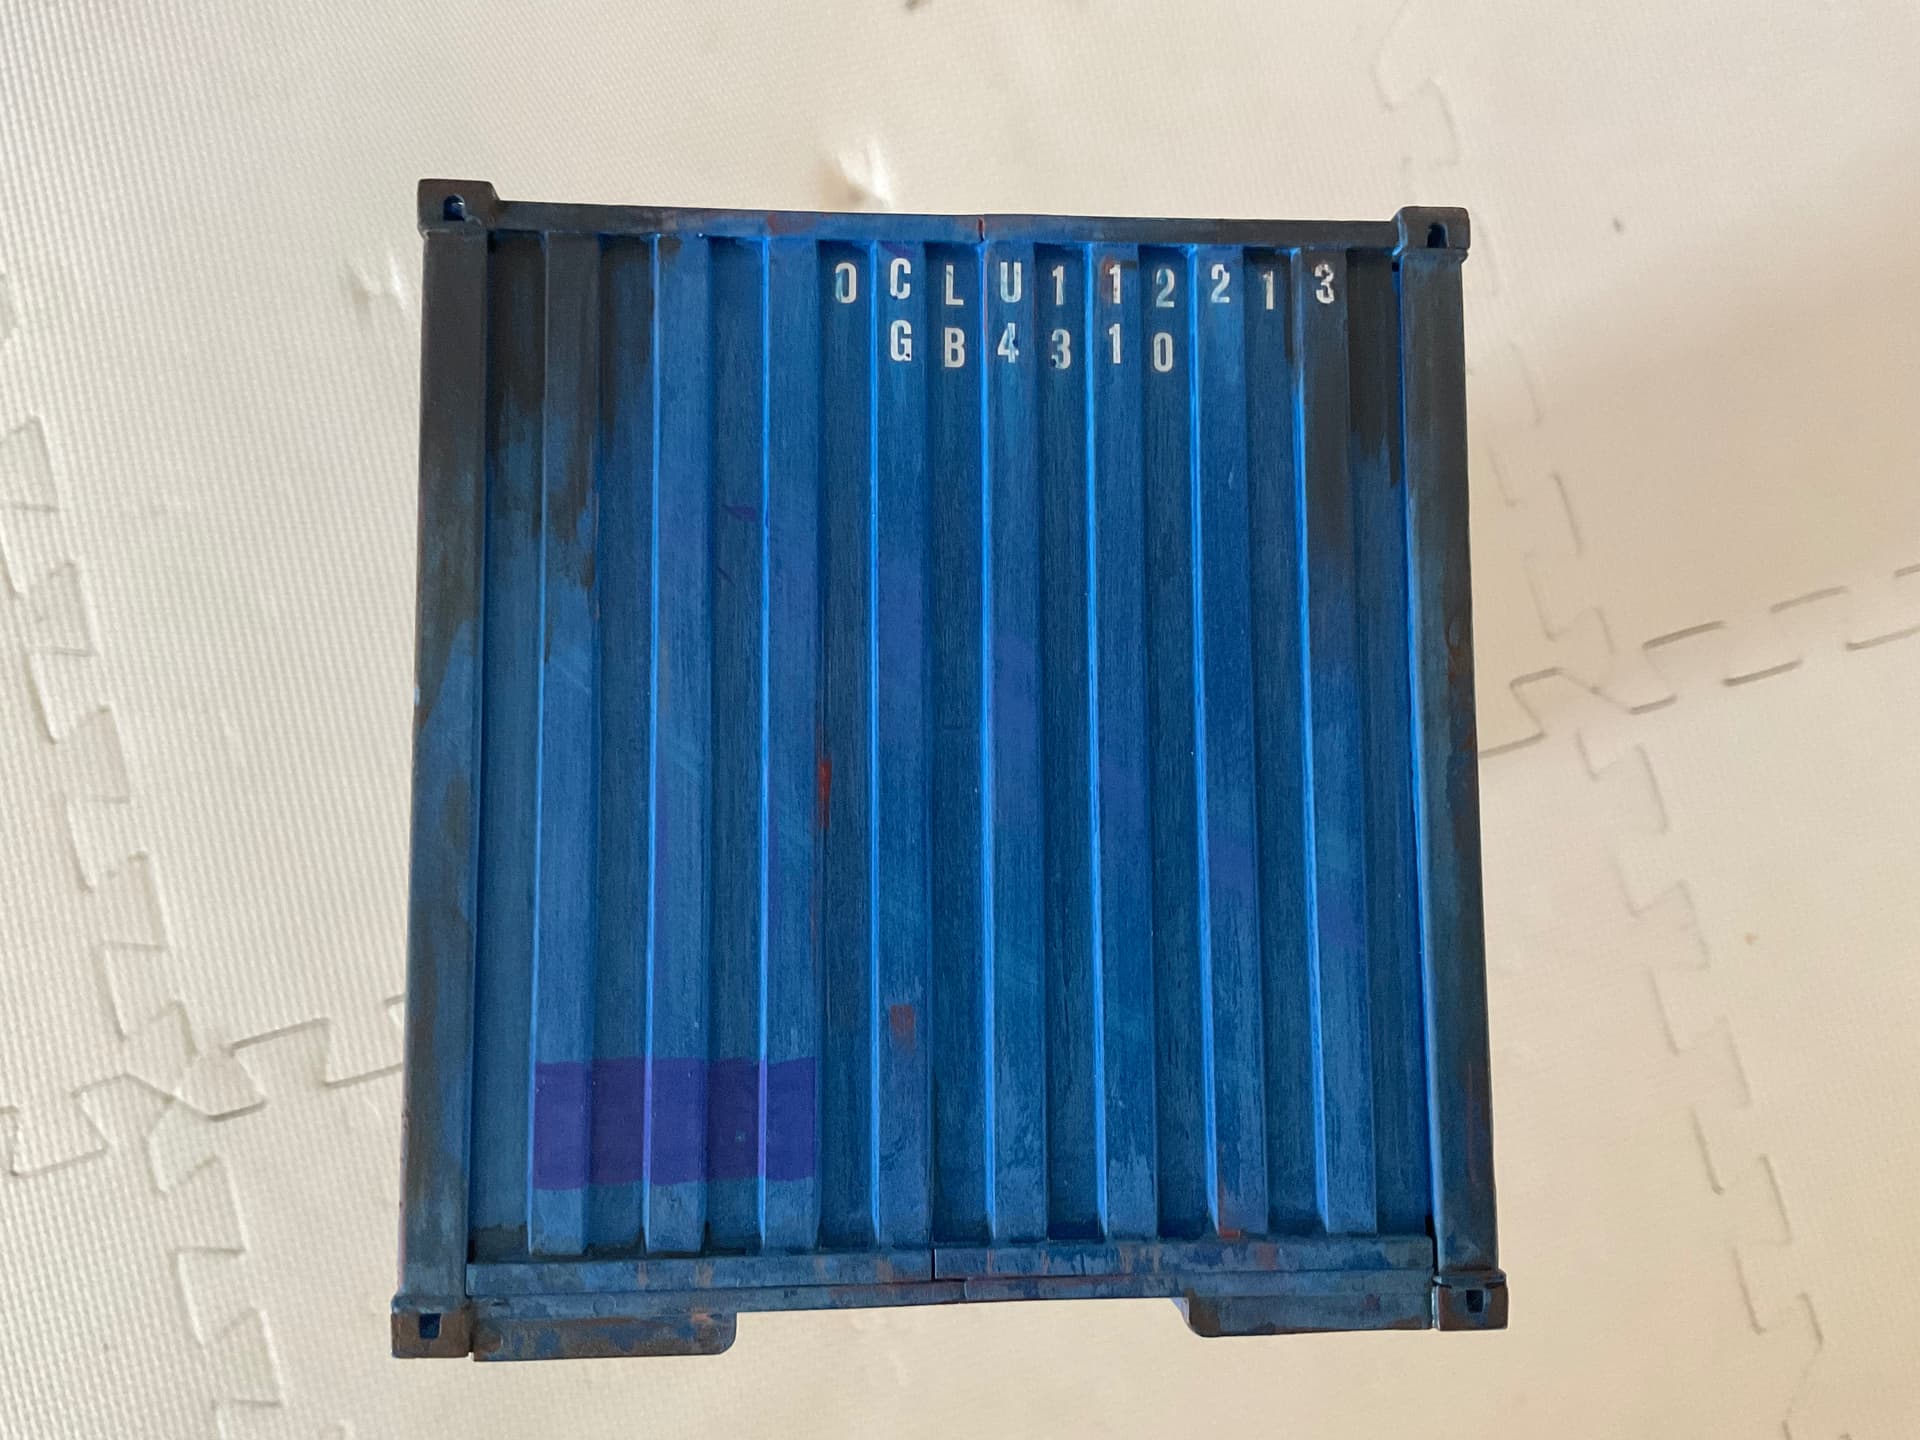
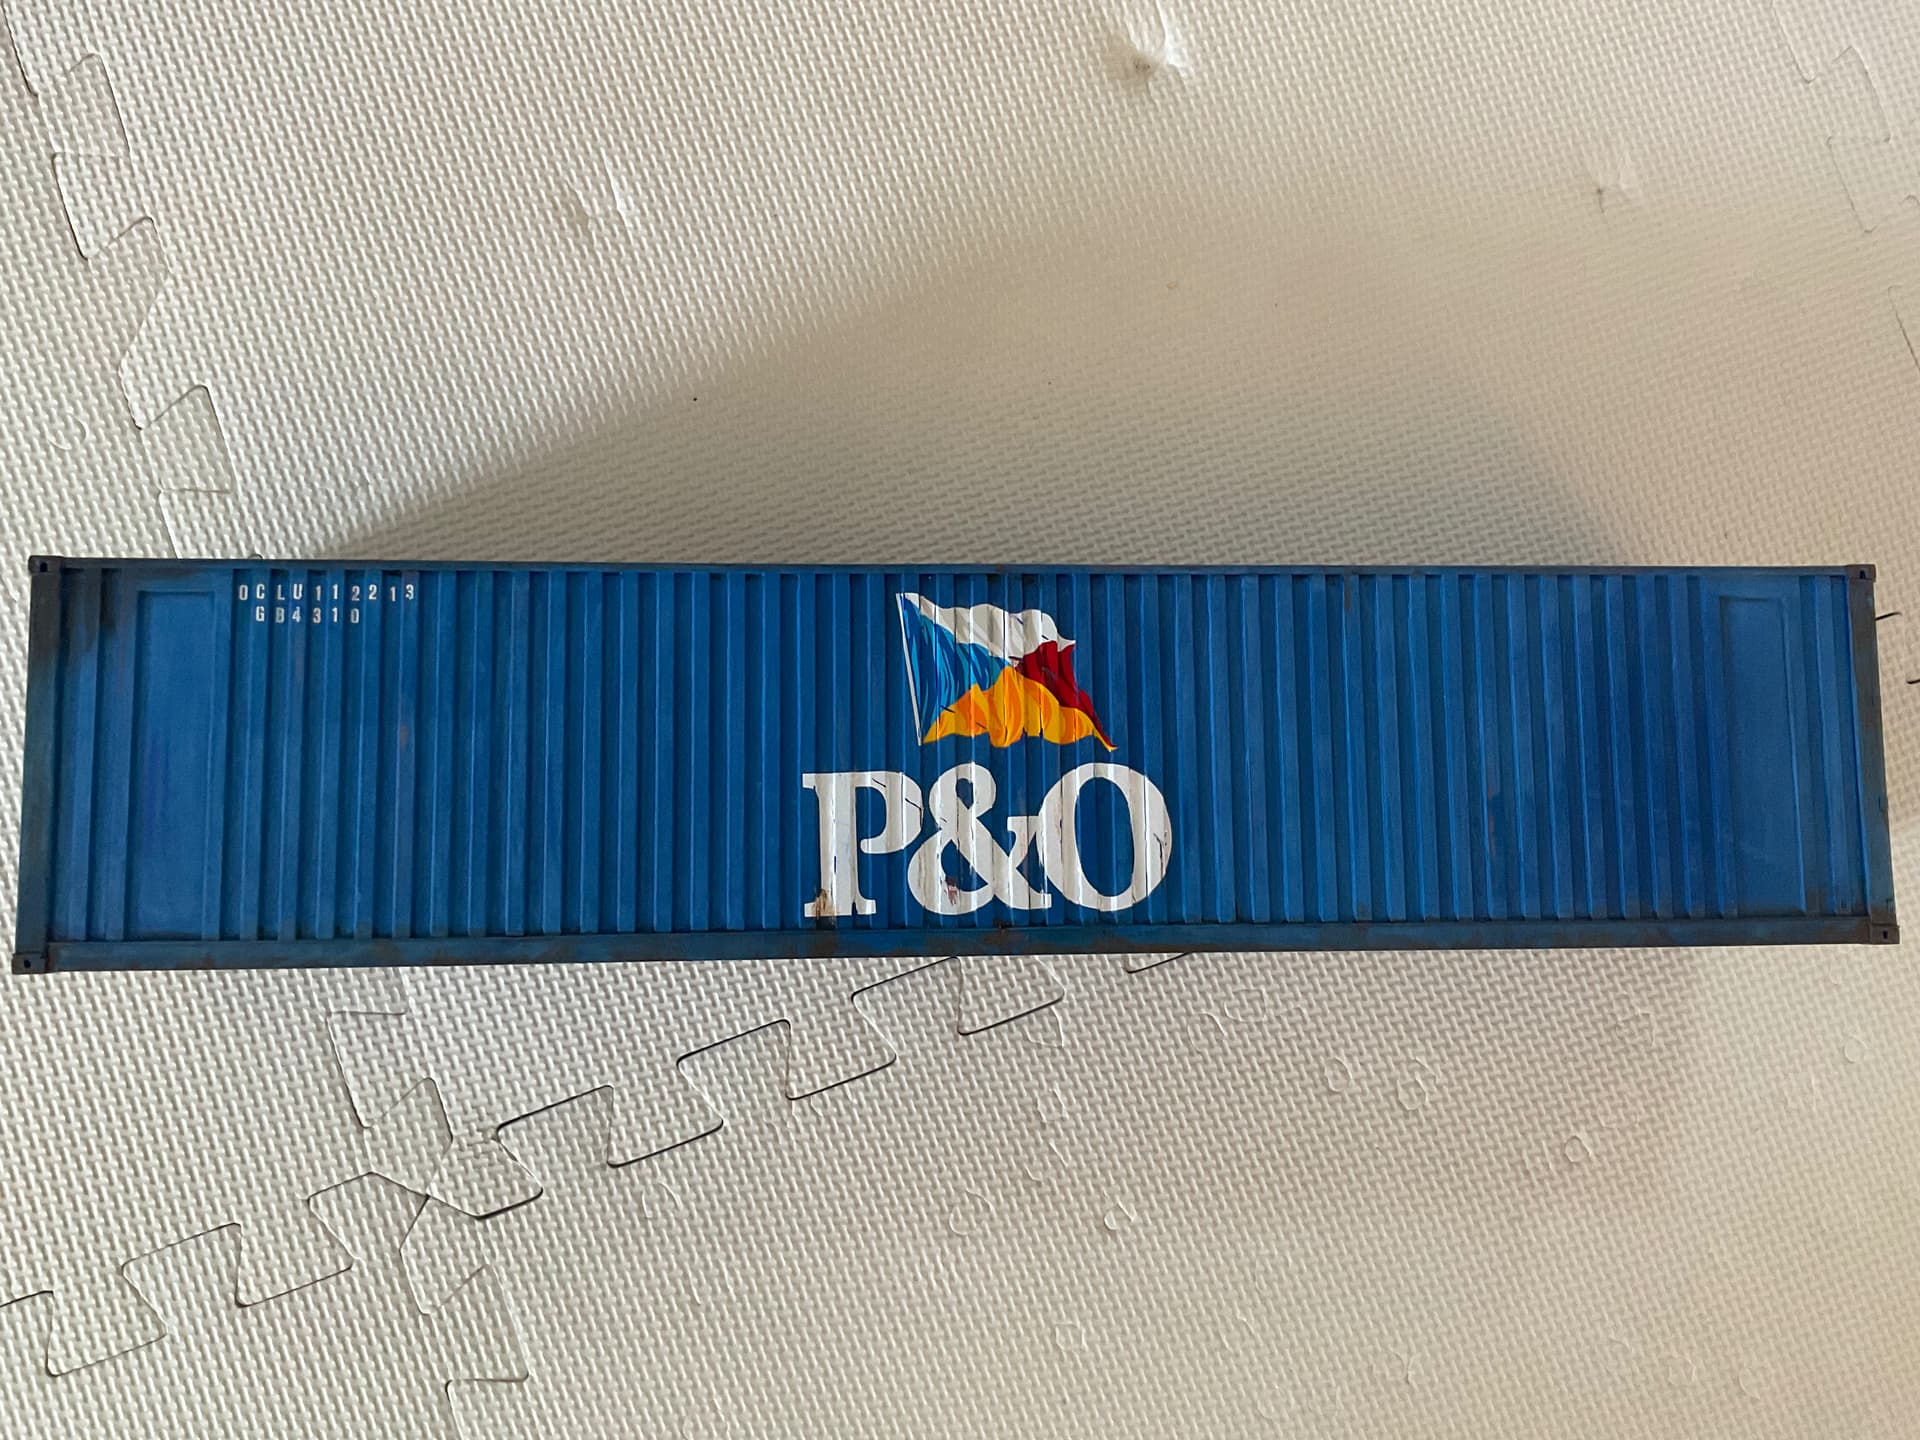
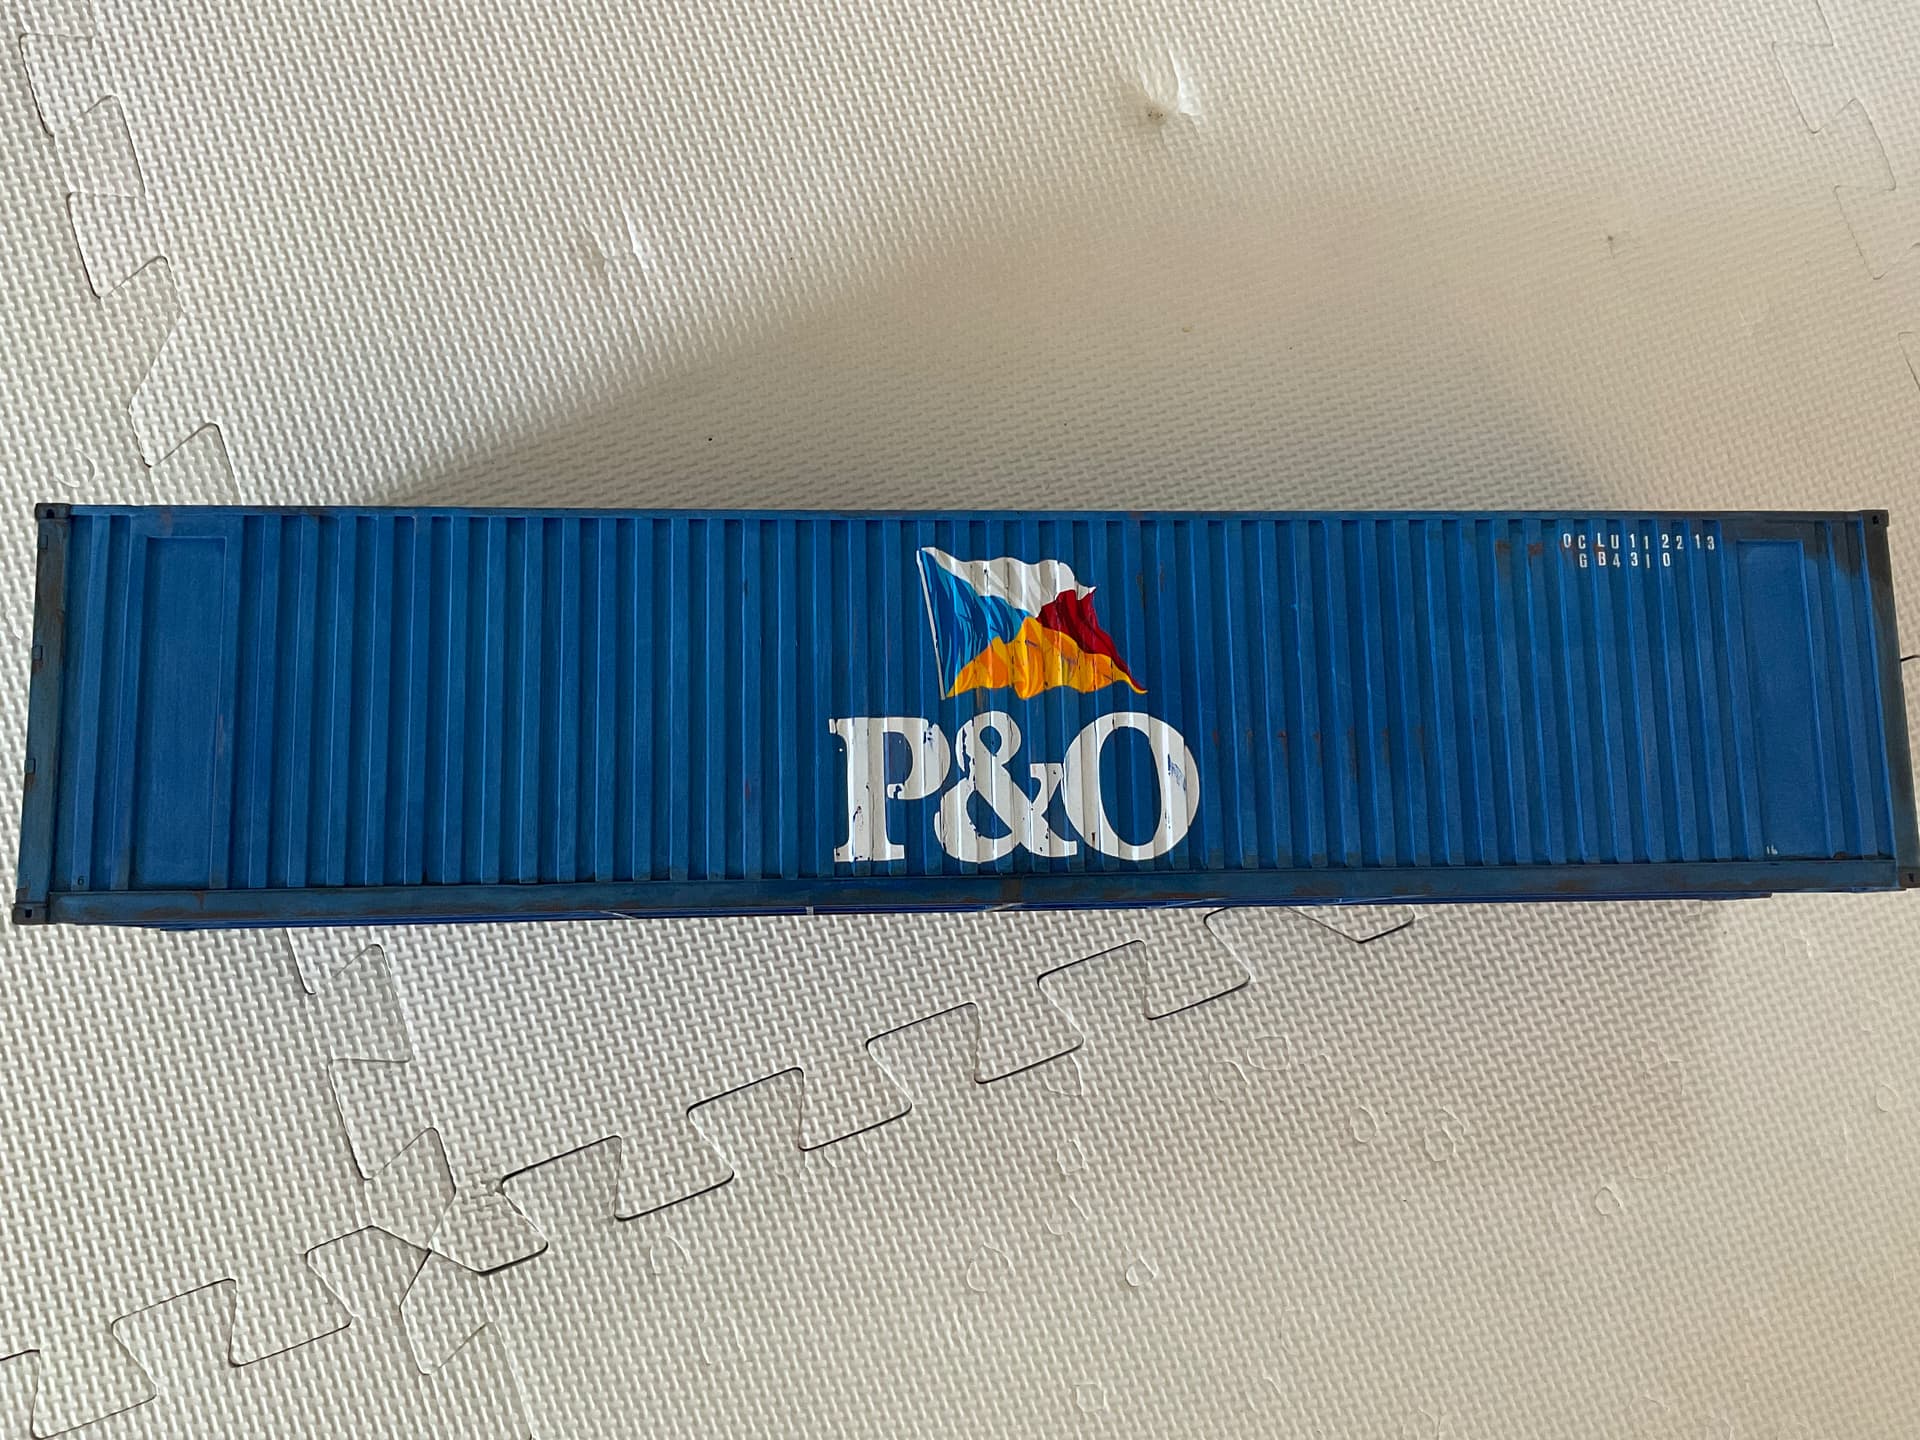
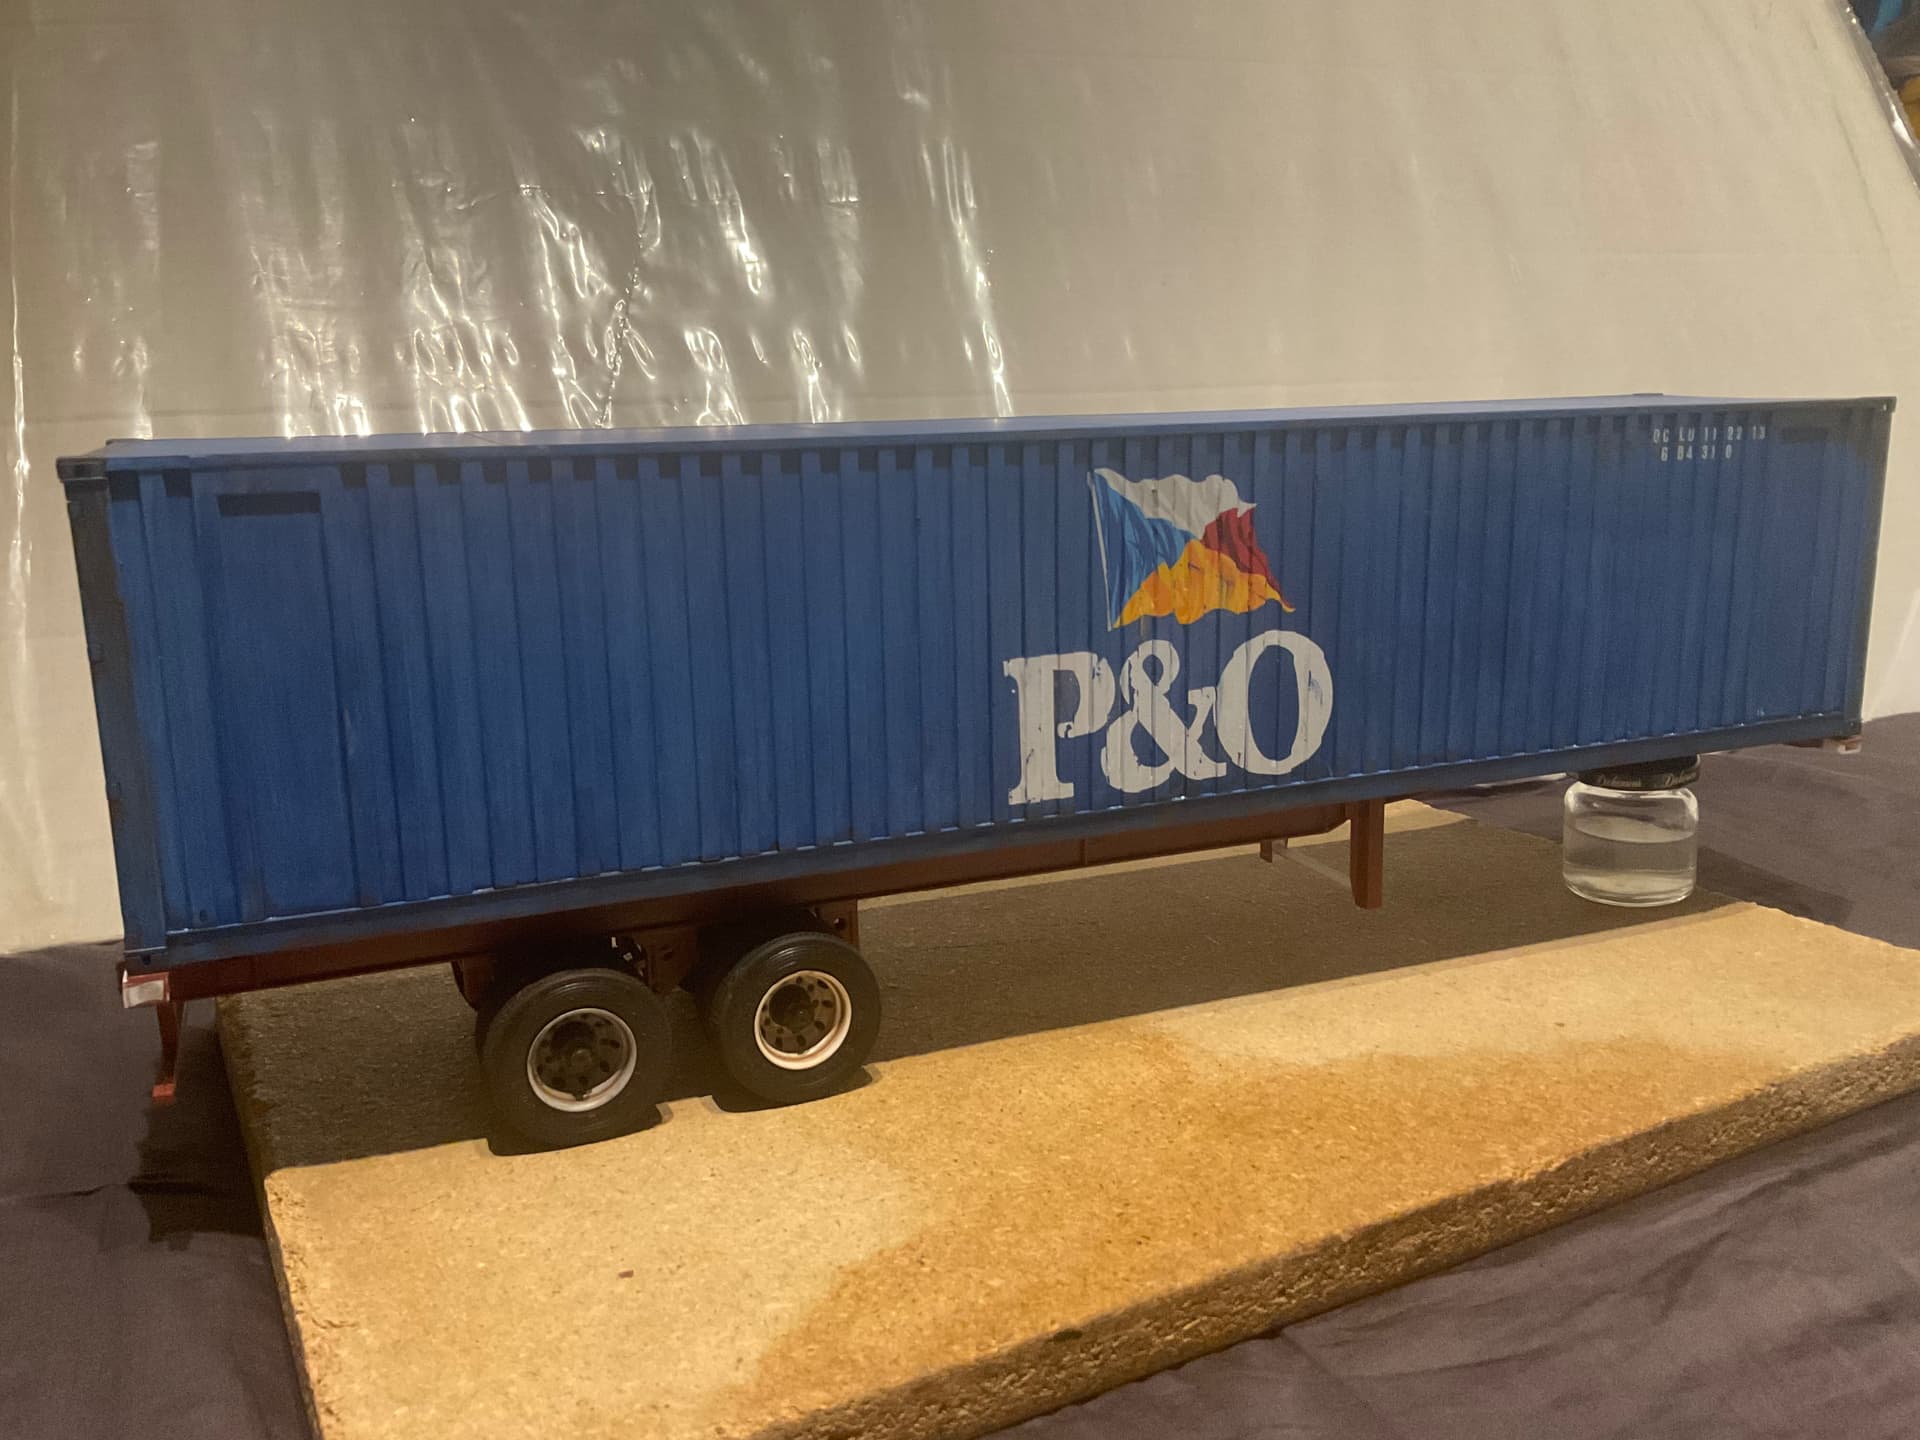
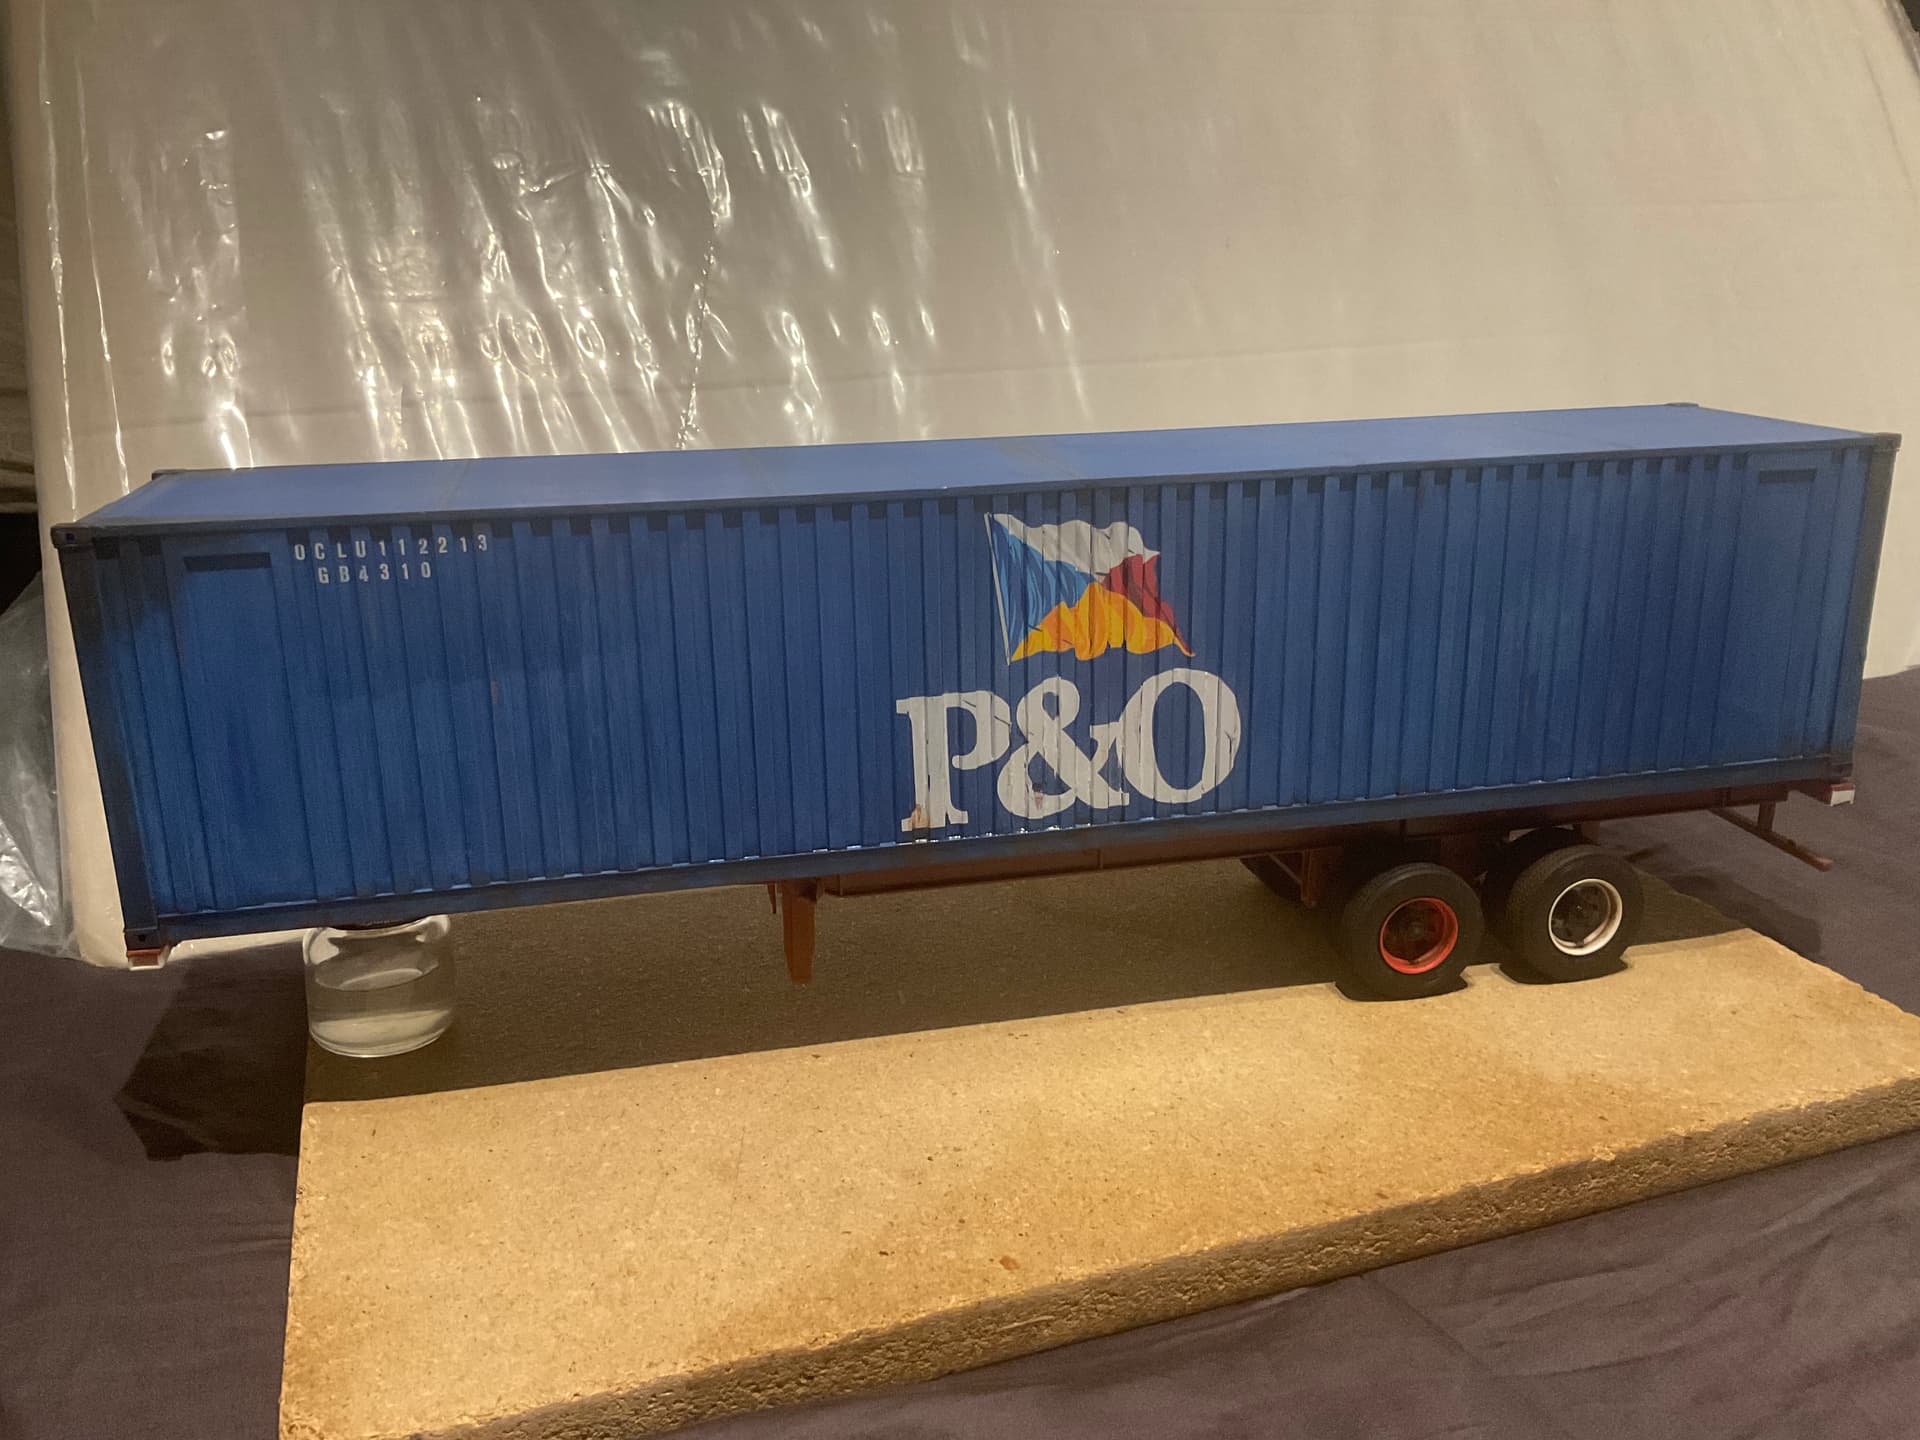
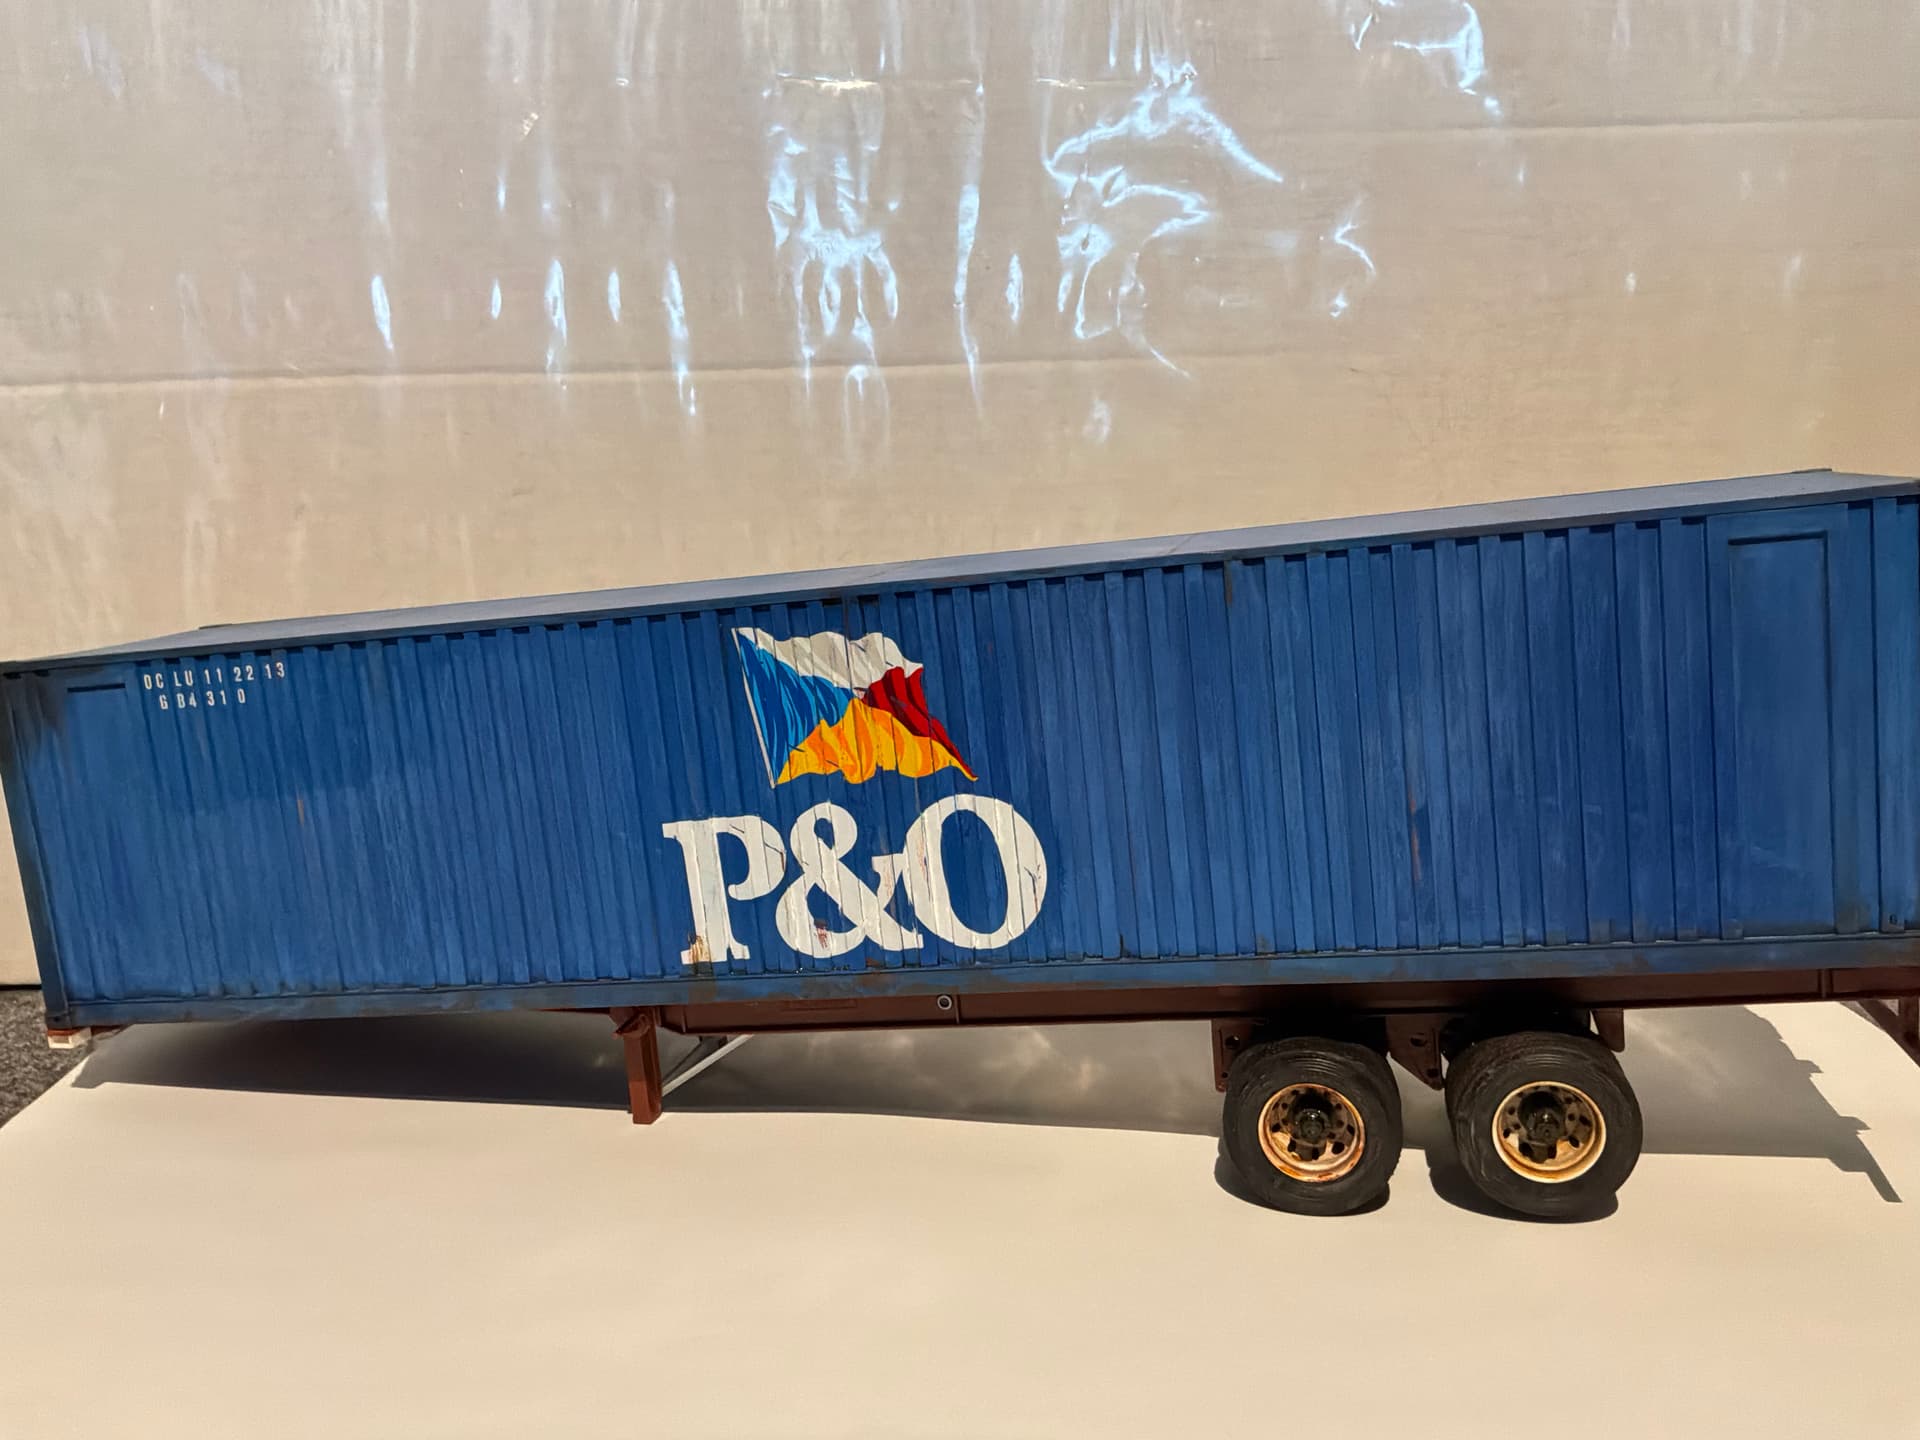
Got a bit more time today to finish decals on the container. A few spots on the bigger decals have lifted from the corrugations along the sides. I’ll have to work some of those back down somehow.
Added a bit more weathering as well. Will finish it up with a bit more work with some inks, then should be able to call this part done.
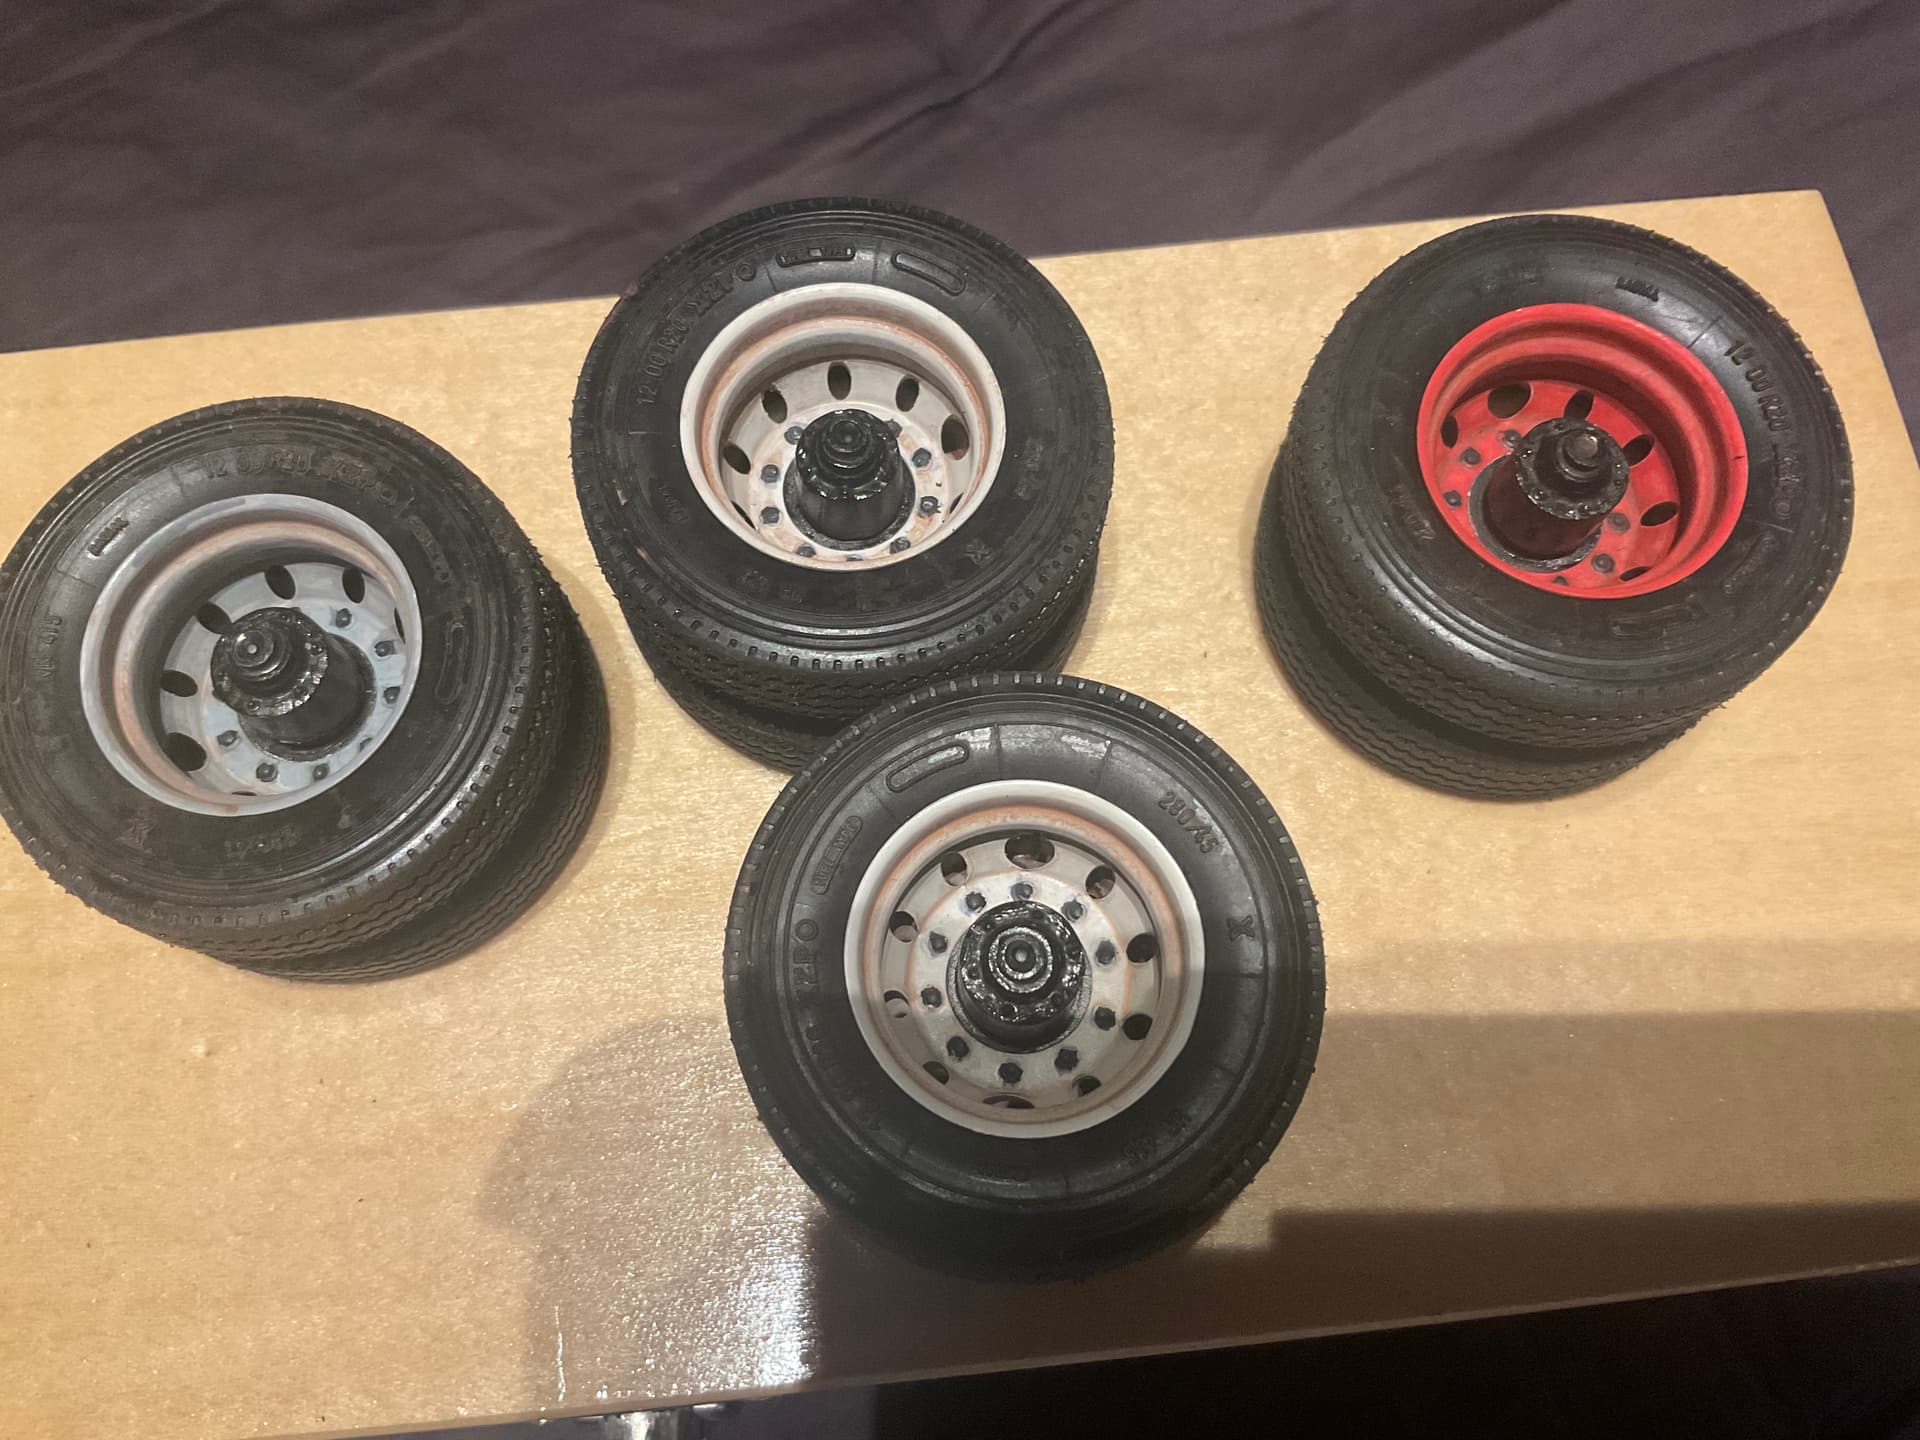
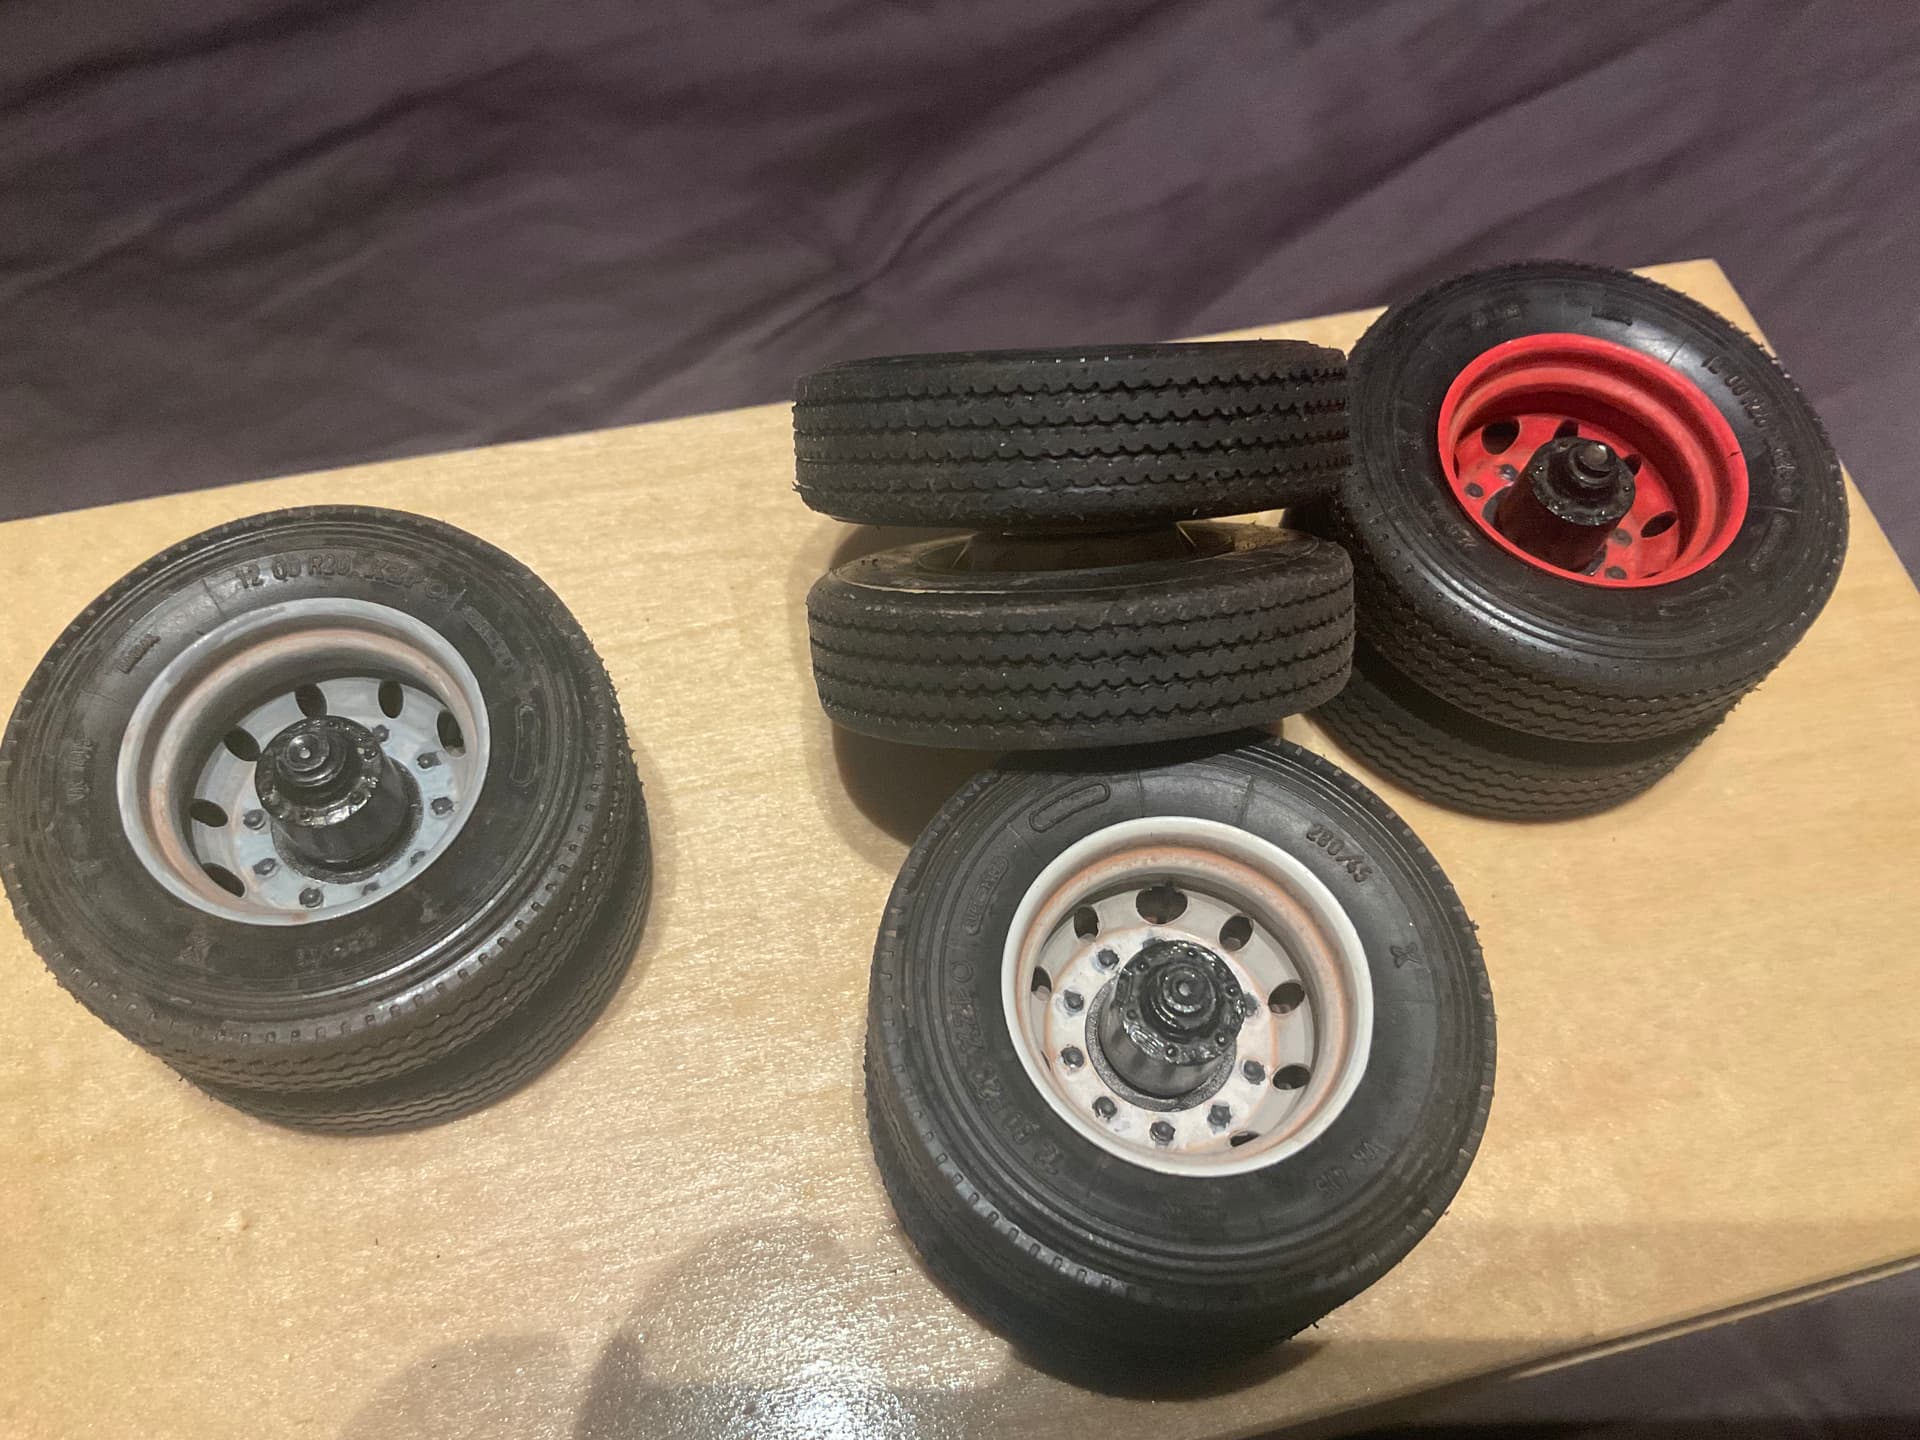
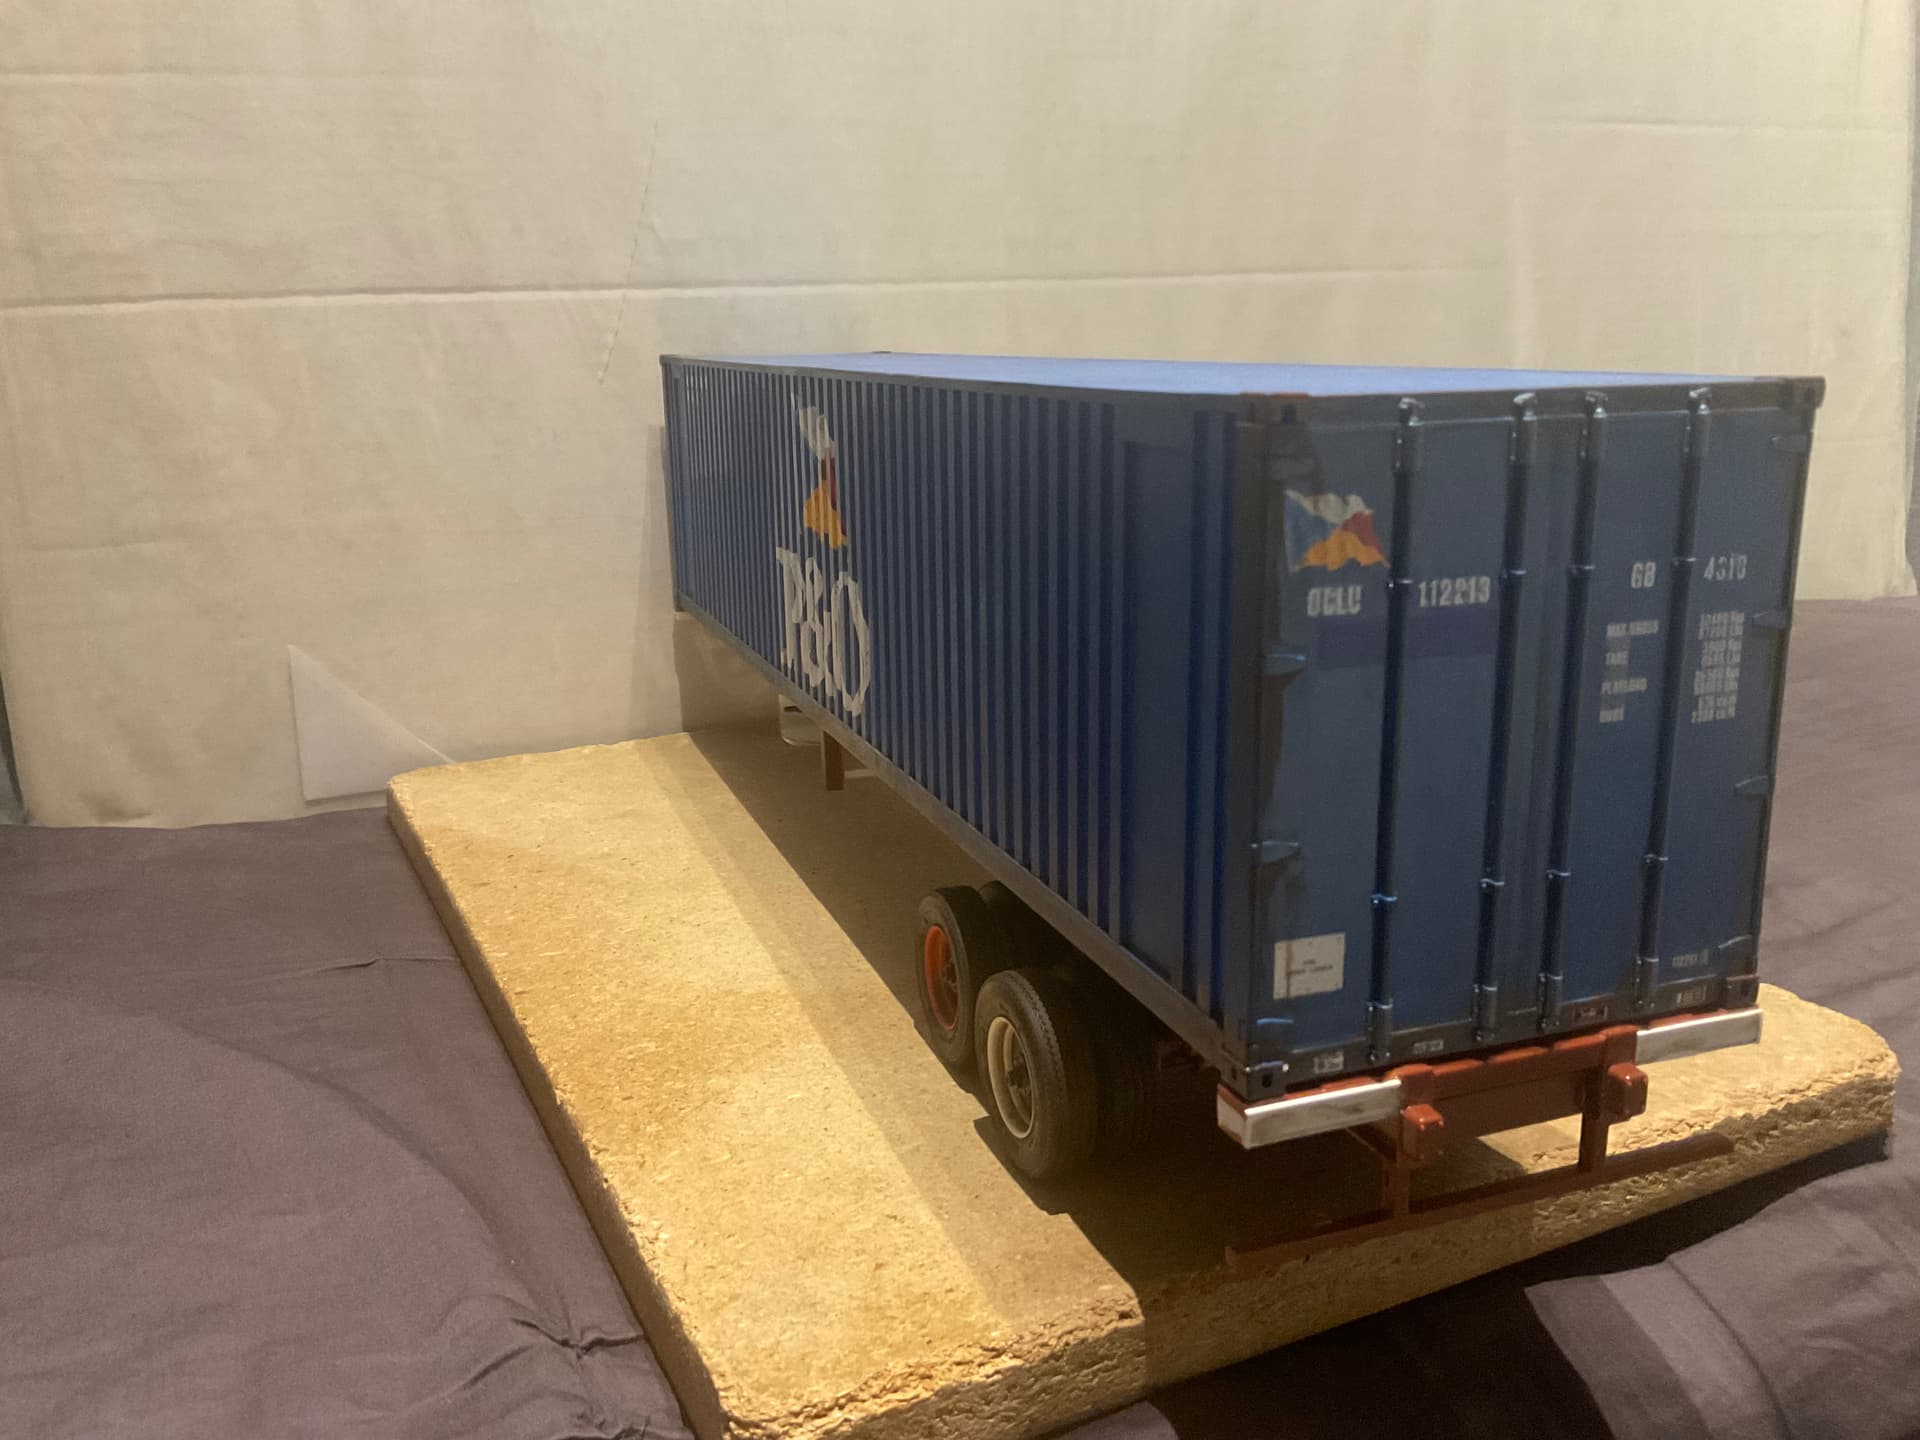
Thanks. My family and work schedule take more time than I usually have in a day, so it’s nice to even get a little bit if time to muck about. Here’s the latest, an initial coat of Testors flat white, some “replacement” wheels painted grey and red, Future clear coat and then initial weathering with craft paints.
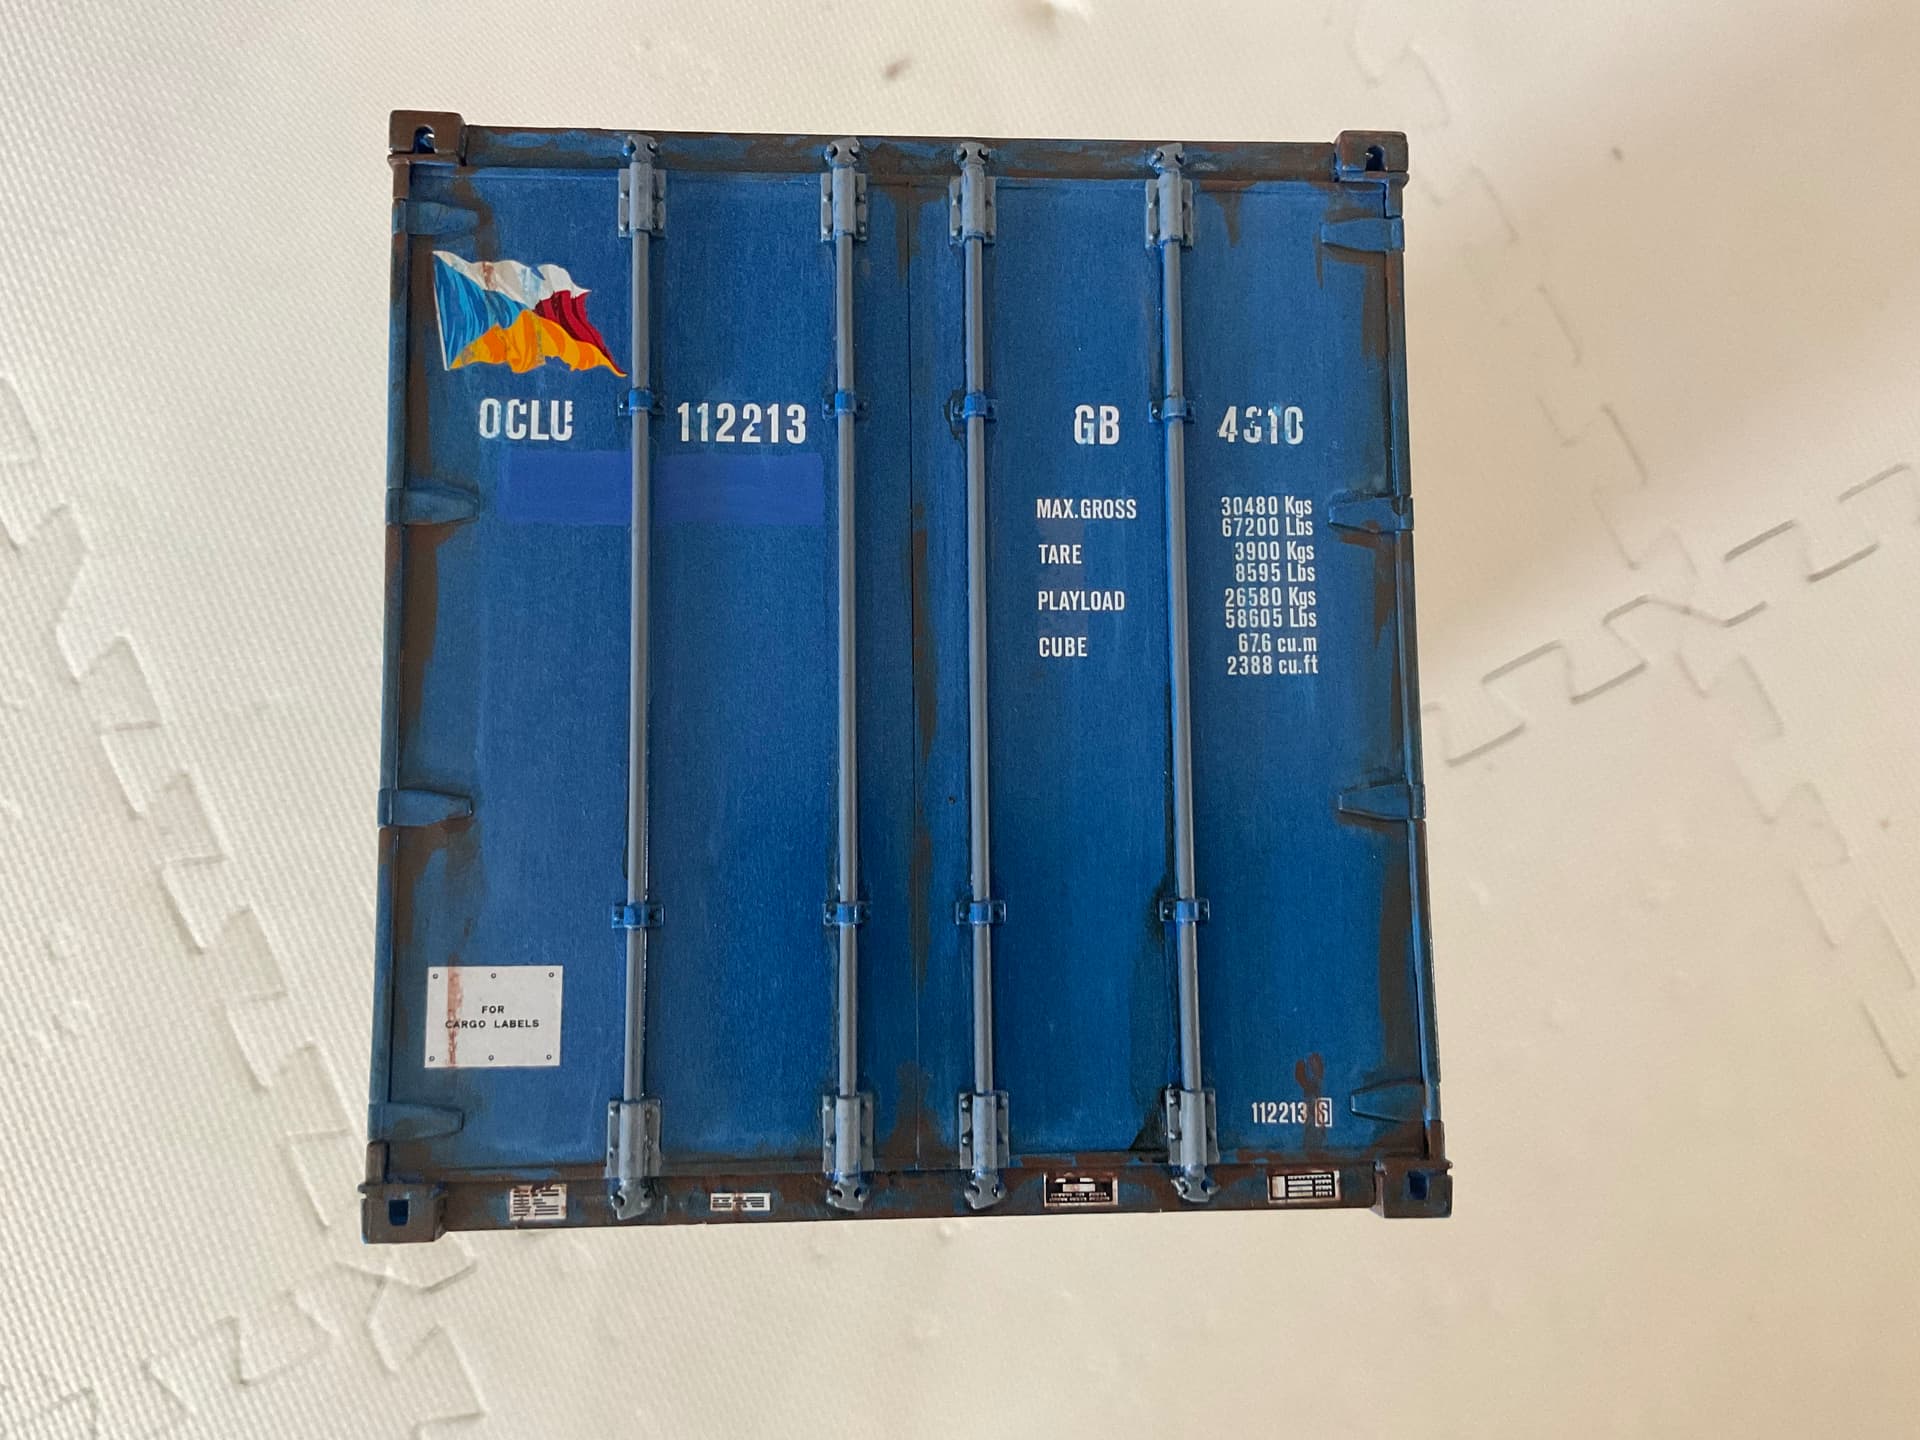
Container is just missing the handles for the rear door locking mechanisms. Those will be painted and added soon. Then it’s ready for a flat coat and done.
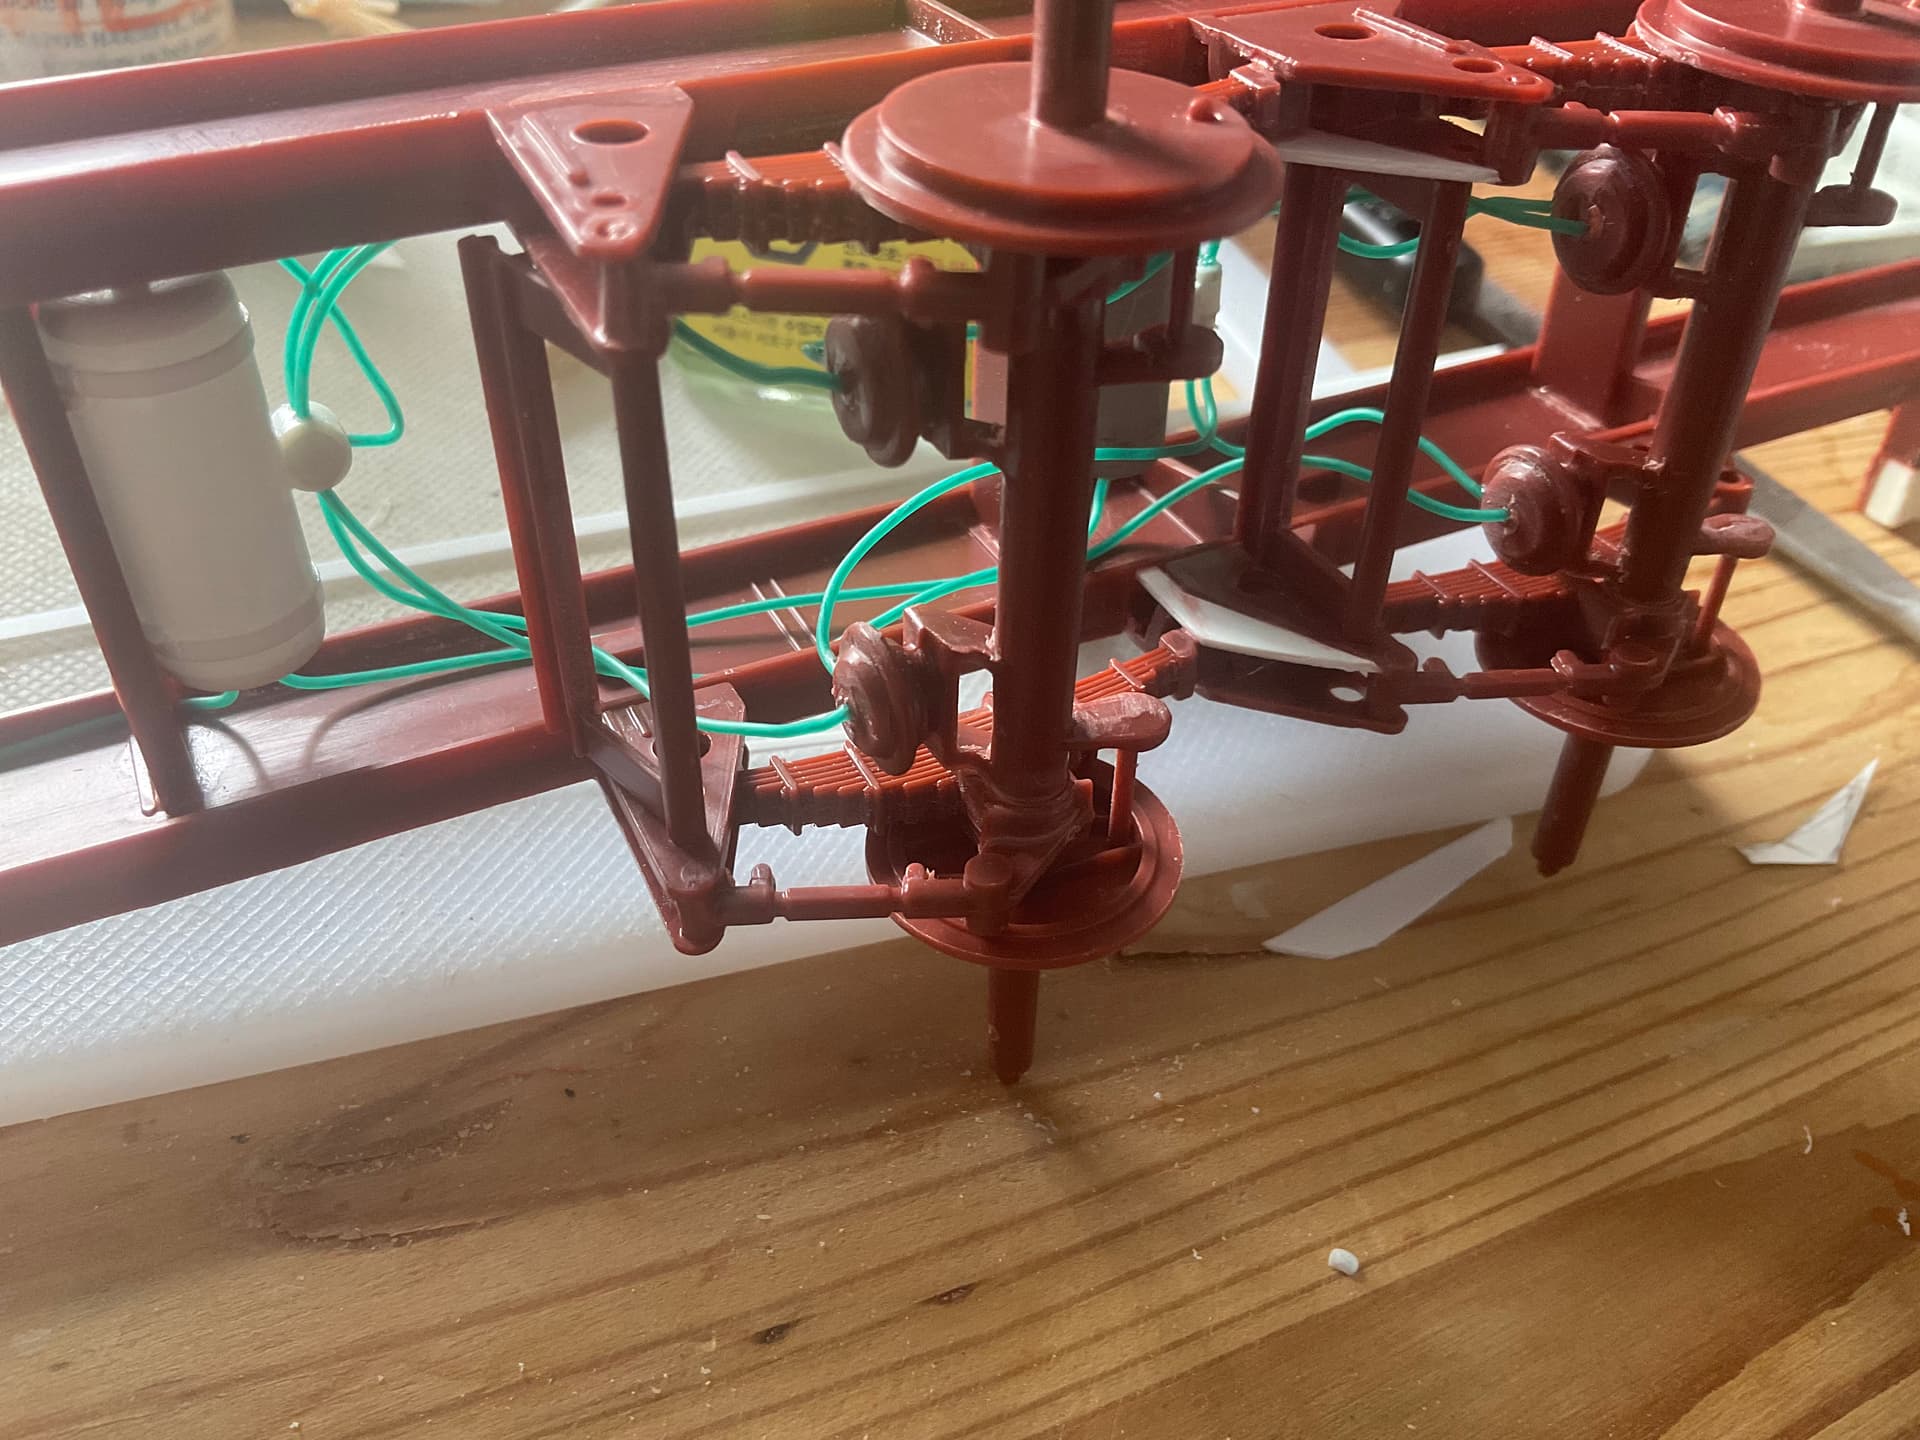
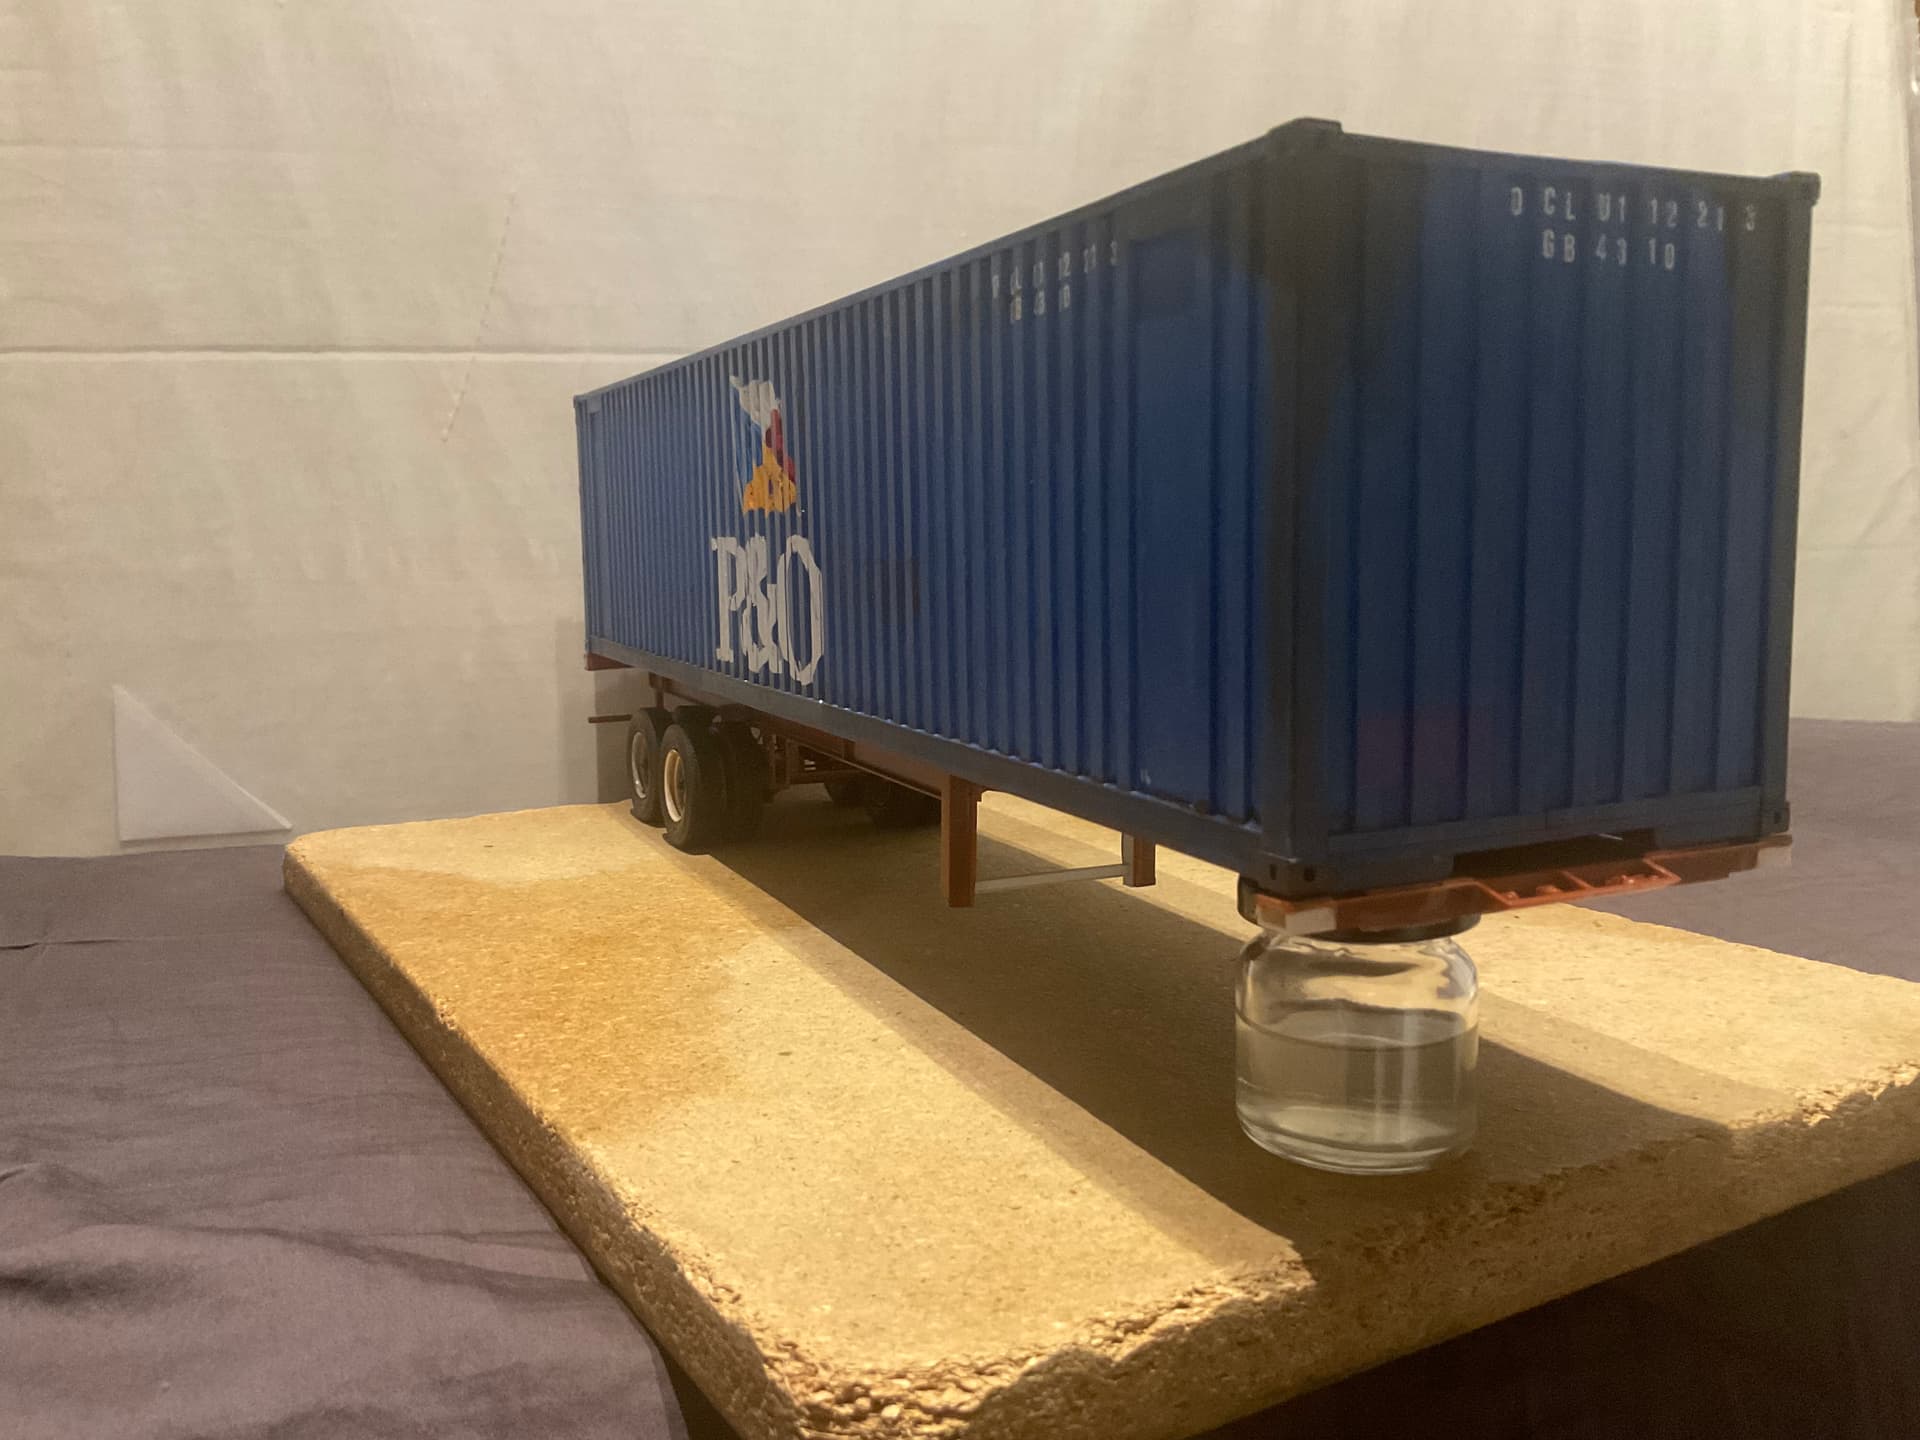
Suspension is pretty much complete now. Work is progressing on the rear of the frame, about ready to drill out for some tail lights. Still need to source some mud-flaps as well. Rebuilding of the dolly structure at the front of the trailer has begun (making it beefier), including repositioning the crank mechanism from the right (European) to the left side of the trailer (North American).
Looking at these pictures while posting, I noticed that there is a bit of a gap on the lower front right corner between the frame and box. Will have to do something about that as well.
Thanks all. It’s been a real exercise in patience for the decals especially, the rest has been mostly enjoyable, deciding what to change and what to leave as is.
Nice work on the air system! I have the AMT GMC Astro truck that I’m swapping in the GMT404 turbine engine into and the air system is sorely missing a lot of detail. Luckily, that’s mostly tubing/solder and styrene tubes with end caps on them for those added details.
I thought I would get way more bench time, but after one month now with a broken bone in my foot, today was the first chance to sit and tinker.
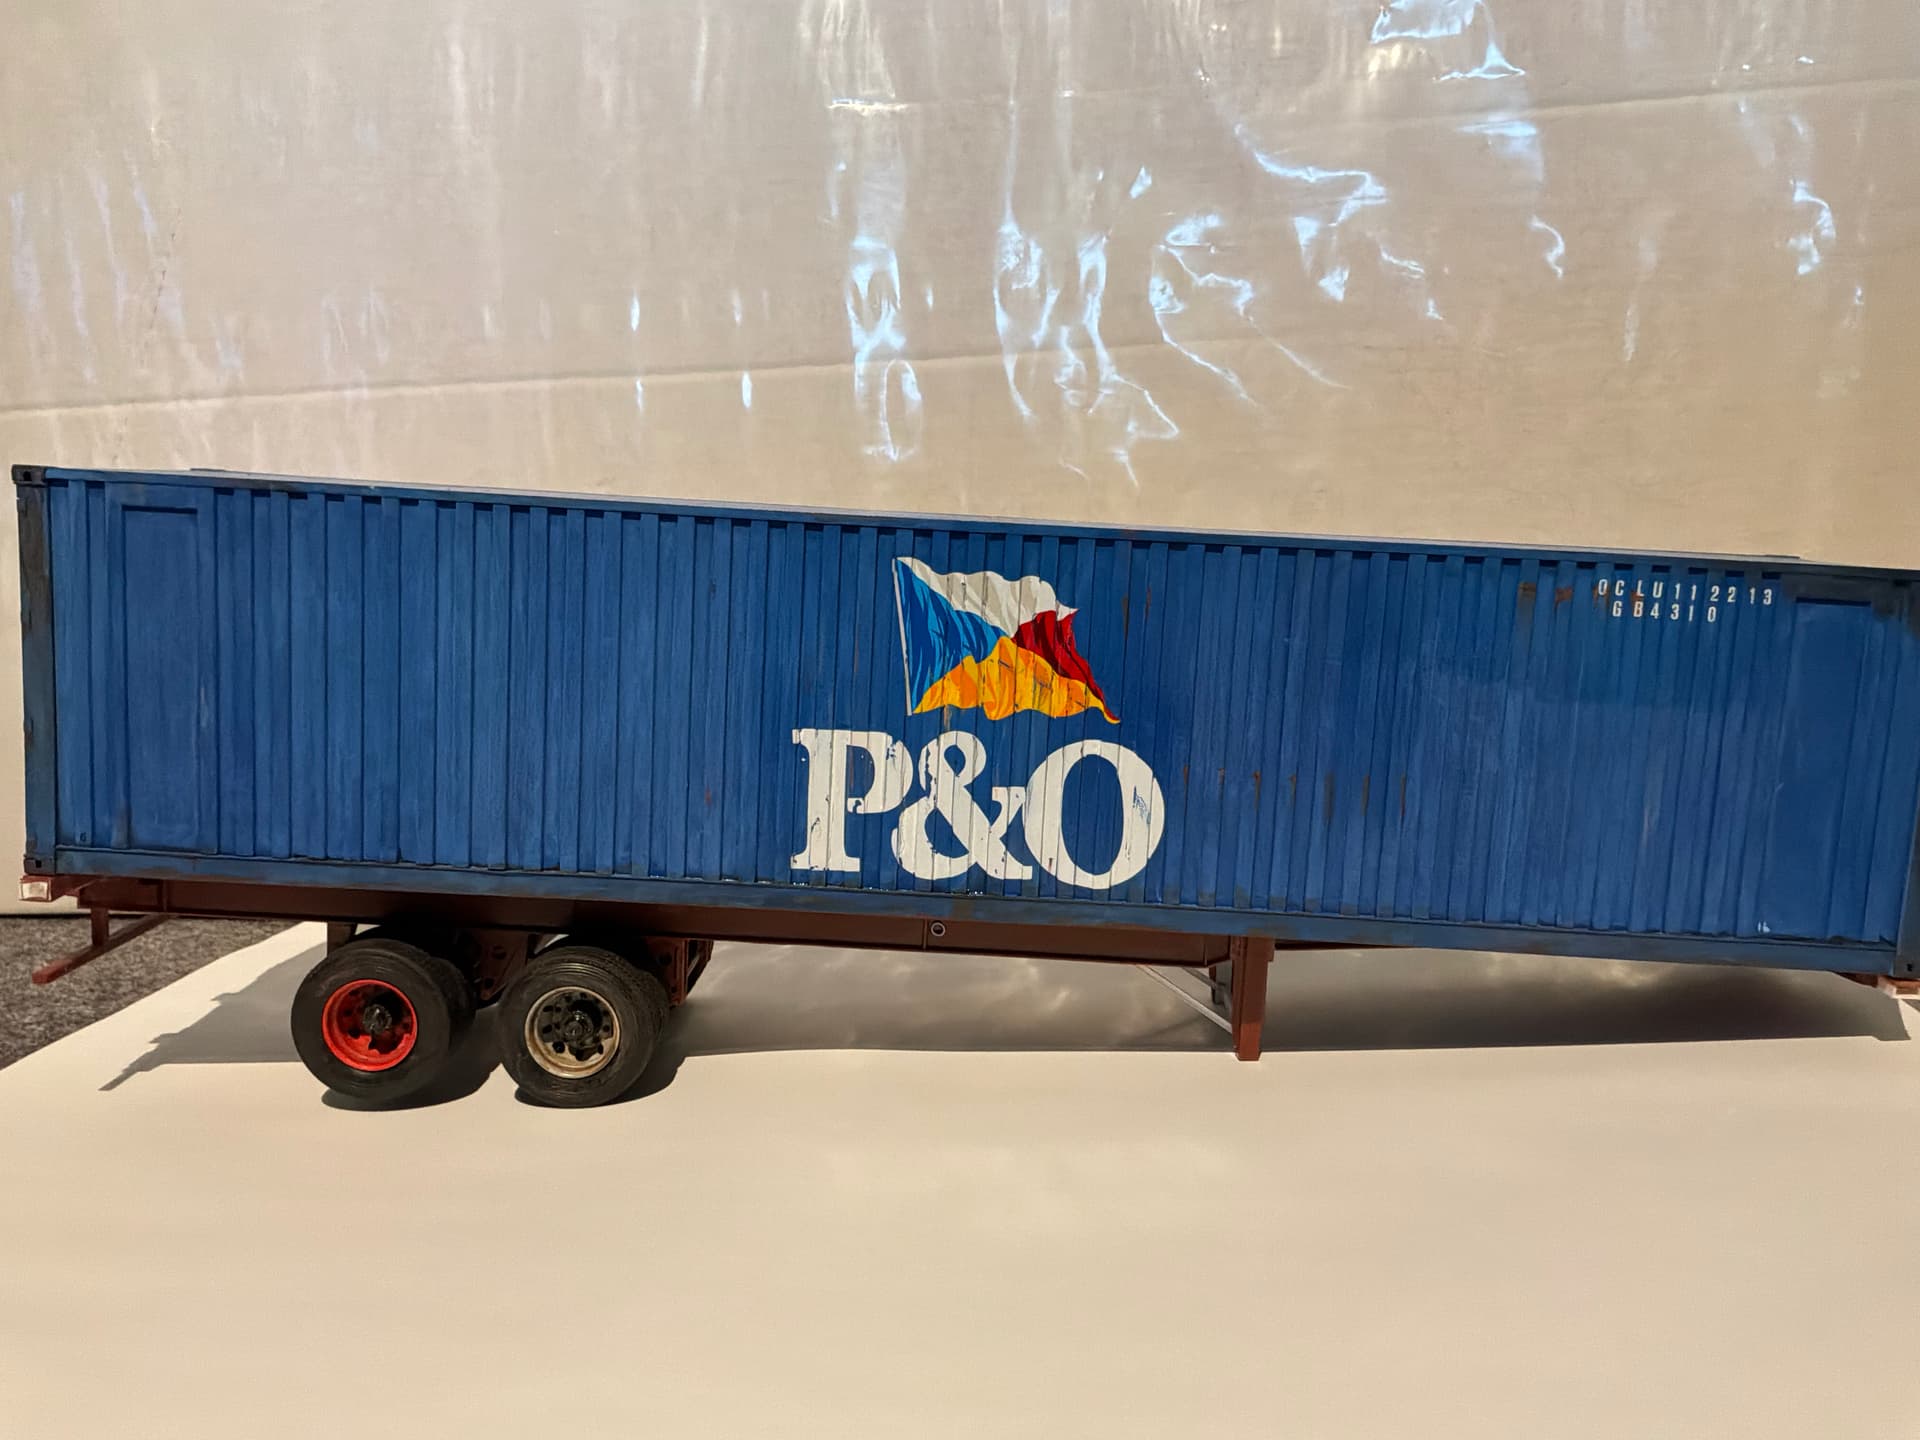
I did a bit more weathering on the wheels, I’ve seen some pretty rusted wheels on these container trailers. Also a bit more paint work on the door locking mechanisms.
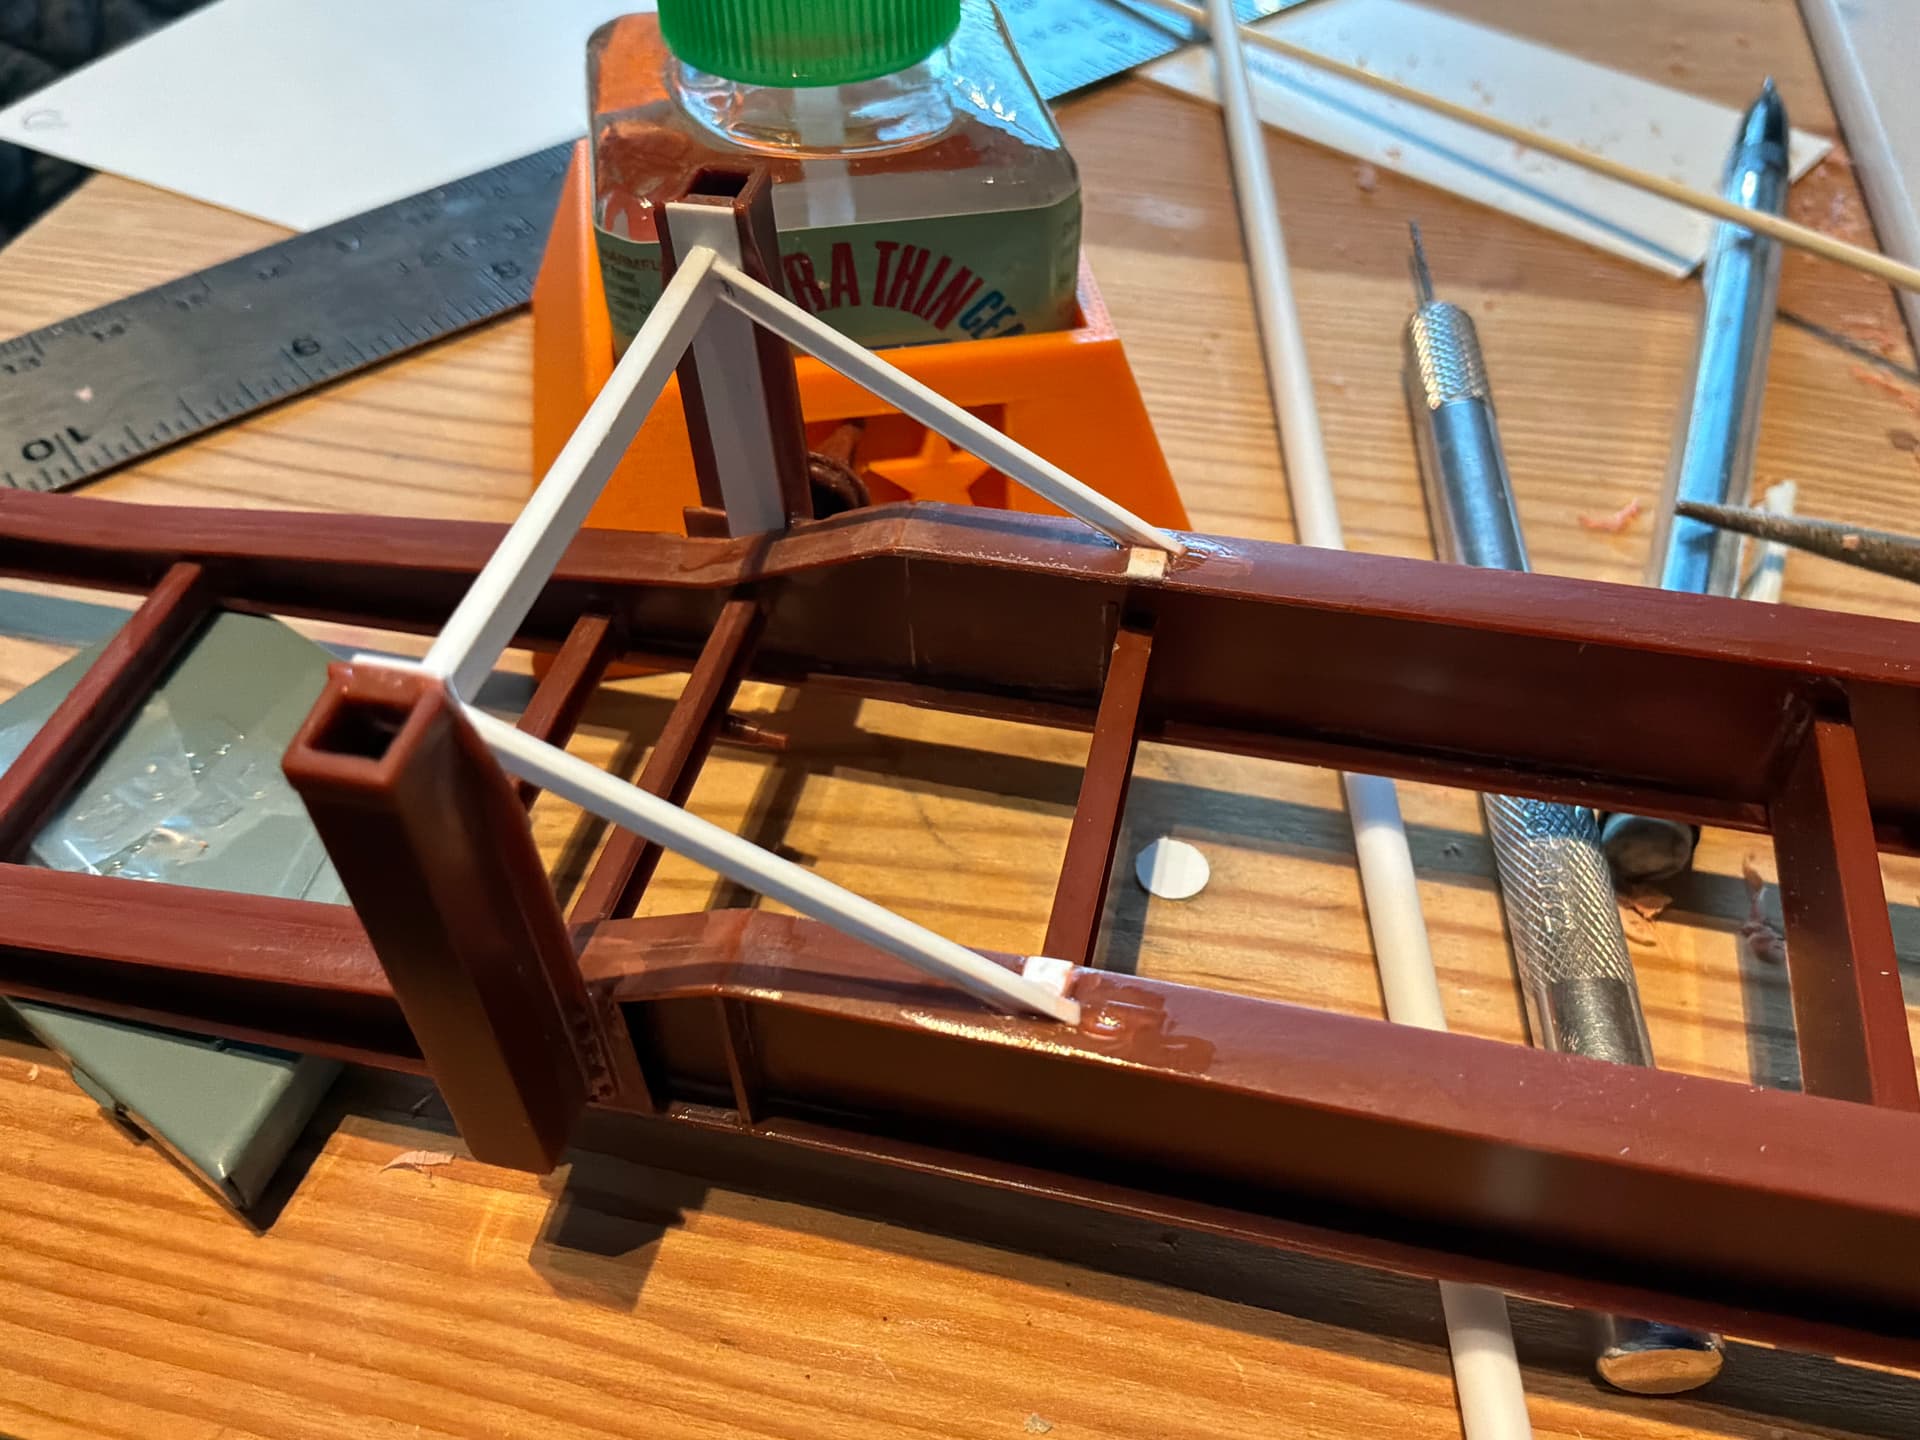
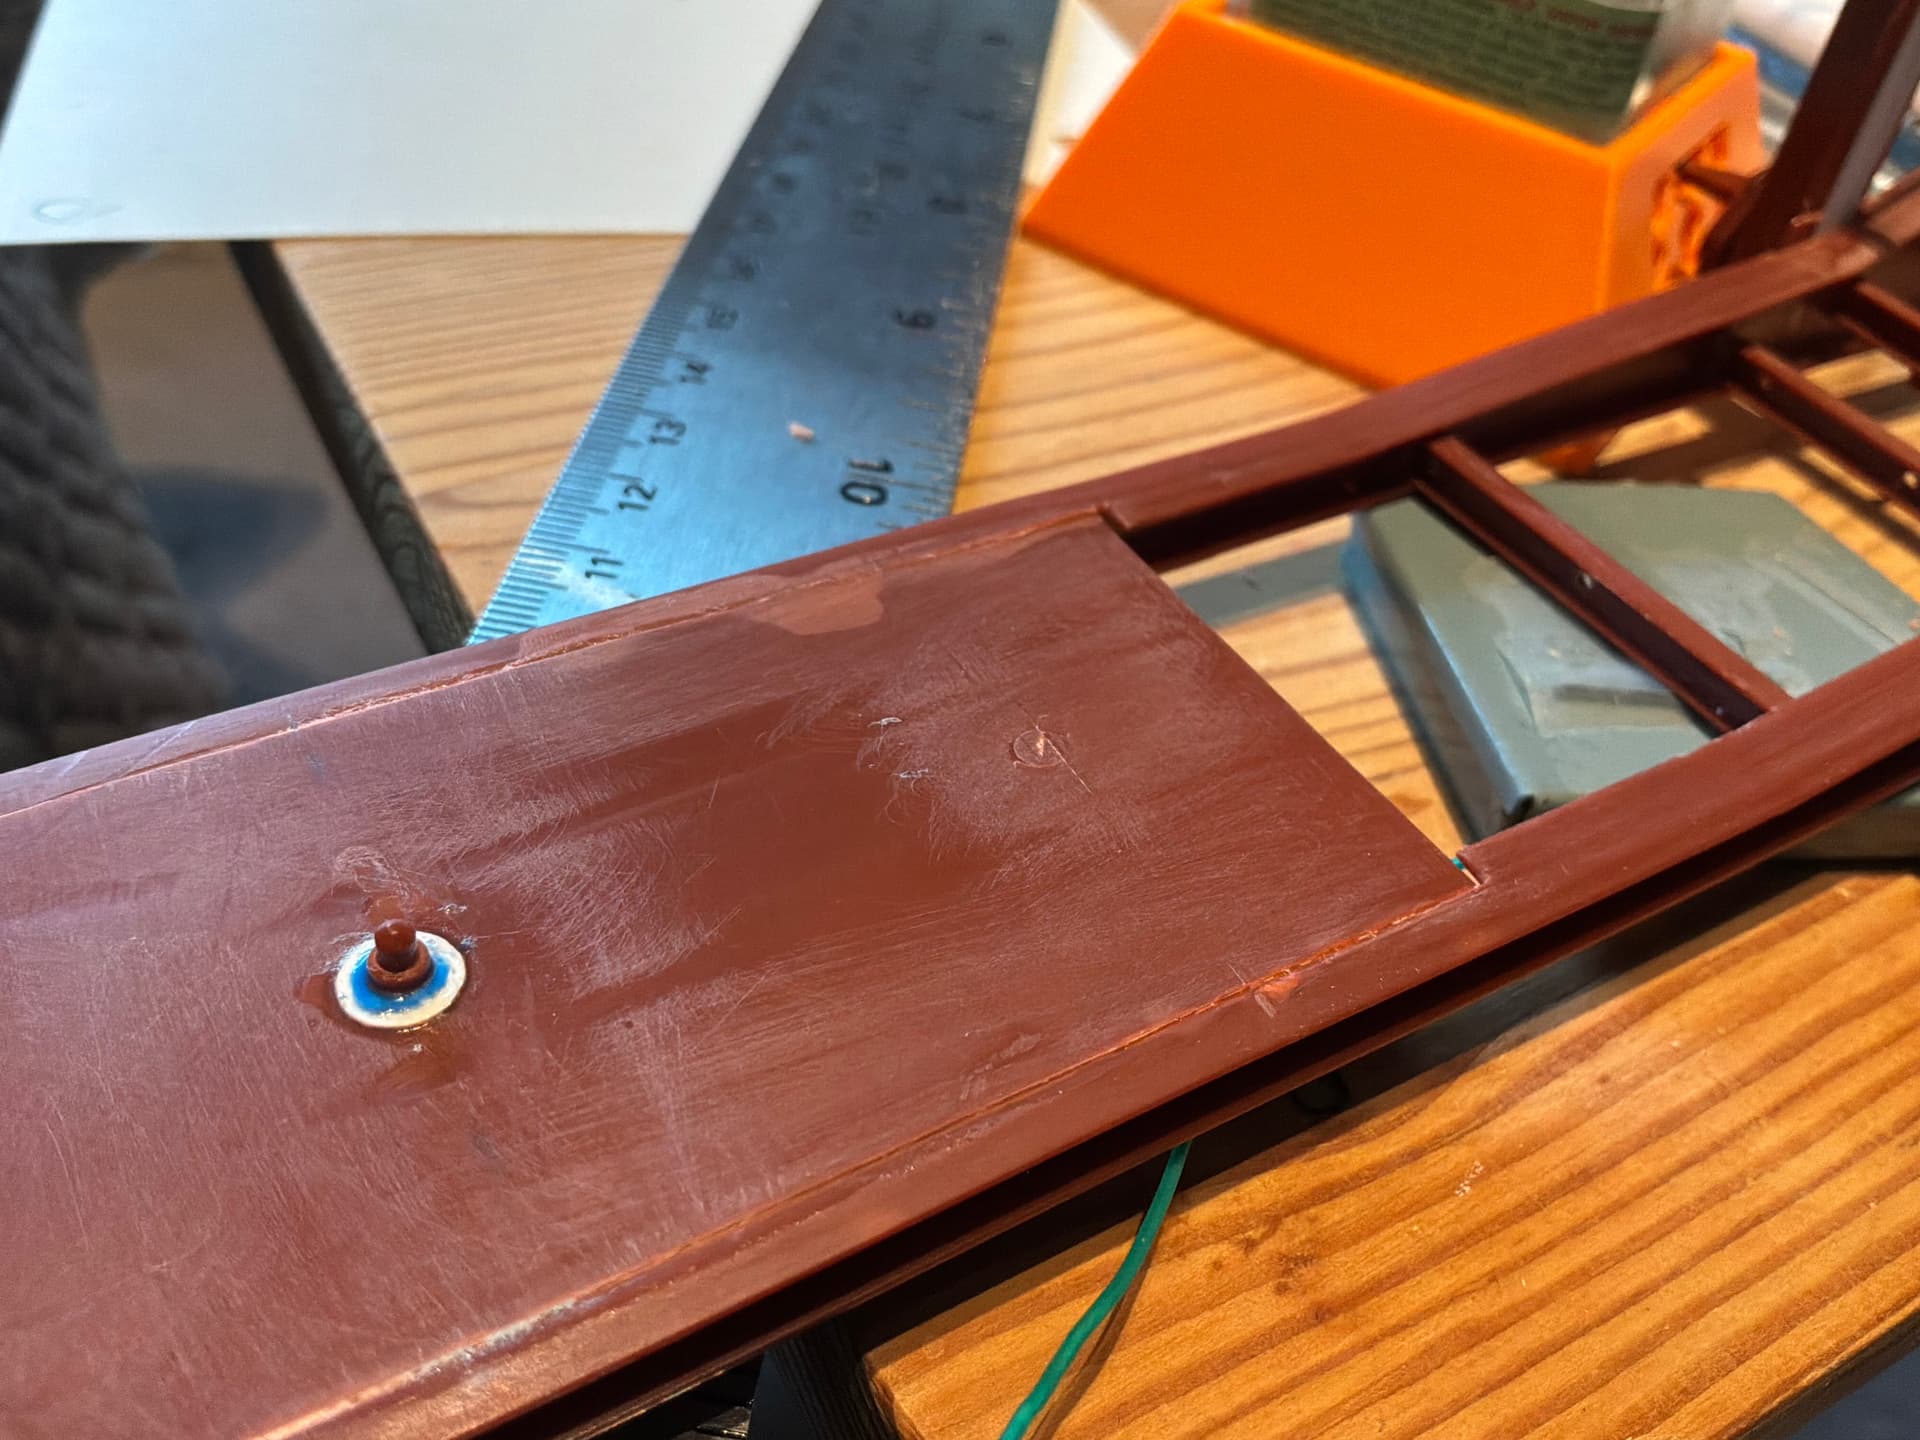
I built up some brackets for the airlines running through the chassis. Additional work involved adding protective rings for the tail lights and side running lights. Angled supports added to the landing gear frame as well. As the original kit was modelled on European style trailers, I also had to reposition the kingpin as it was too far aft. The best I could figure is that I needed to move it about 1 1/2” forward to have the proper amount of overhang on the truck when the trailer was attached.
I think the only things missing now are the mudflaps and license plate holder. Hoping to get some paint on the frame soon, either going with a black/dark grey or a primer red type colour. Anyway, enjoy the pictures.
I never thought I would see this amount of skilled modeling going into a trailer but man…you’ve done a brilliant job of bringing this whole thing to life @Frozin. Incredible attention to detail and wear & tear applied to this project.