I’m new to the forum and I want to share with you my newest oldest project.
Why newest? Because I took it up again.
Why oldest? Because it is a project I started at age 17 and was waiting for me to continue it for 16 years! Yes! I moved out to go to university, then got married, etc, etc, you know.
Now I can allow myself to continue with this great project.
Here you’ll see an AMT-ERTL 57 Chevy convertible 1/12 kit.
This is one of the worst kits I ever had. Details are almost as bad as in a 1/64 Matchbox.
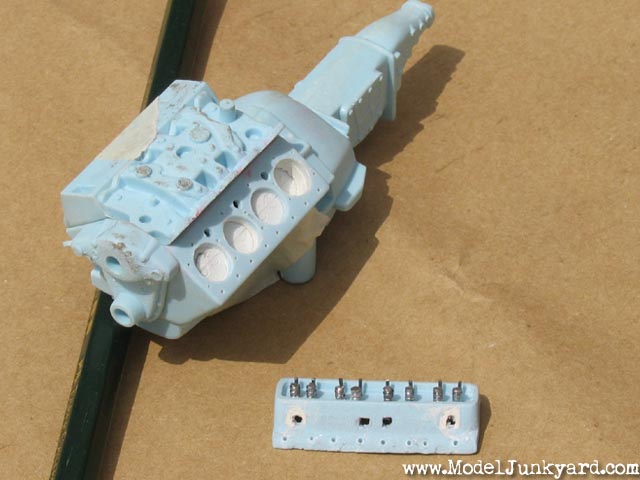
Here you have some pictures of the project. As the engine will be partly disassembled there were some details to be done as well as the interior door panel. (Sorry for the quality of the pictures! Better pictures will be coming soon!)
Later, I will also make a small diorama including a (junk) gas pump to go with the car.
I’ll keep you posted.
This weekend I had finally time to continue with my Chevy project. We were working on our website the last weeks. It was a lot of work but it looks great now.
So, here a few better pictures taken with great sunshine from last weekend:
I hope you can see the details of the engine better in this picture:
Pay attention, the window of the right door works. It goes up and down.
I still have to build that door again as it is not as good as the left door.
Here the work form last Weekend:
Trunk with rust holes:
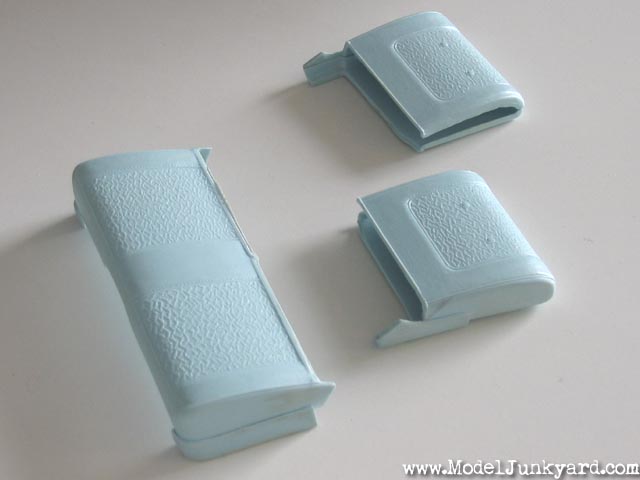
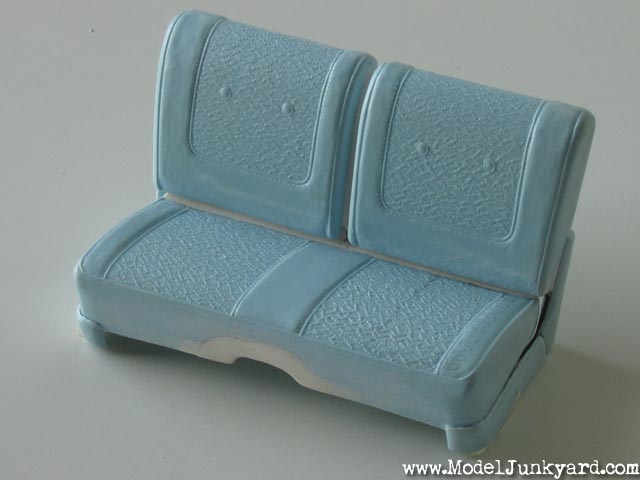
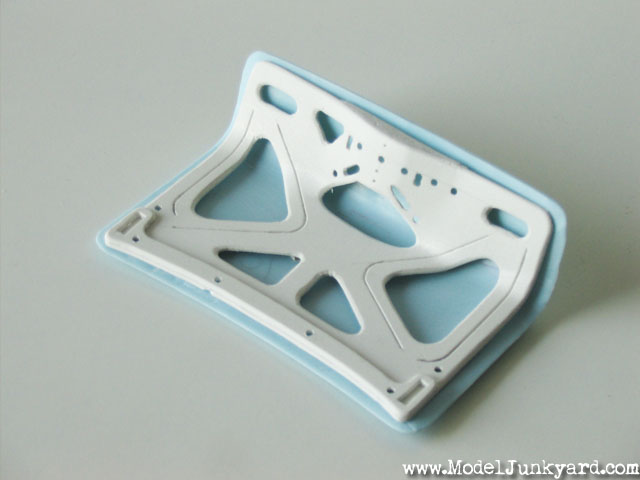
Here you see the front seat. The original seat is made out of two pieces (20 & 21). An awful thing for this huge scale.
So I glued the two pieces together and cut them again in the real parts as it should be.
Yes, I agree, but sometimes it pays off to see the finished product before it’s “finished product” state, so you can appretiate the work put in.
Like here, I find it just as interesting to watch how the car is being built as well as thinking about what the final product looks like. It’s like a science experiment. You make a hypothesis on what you think the finished model will look like, and revise it as it get’s closer to completion.