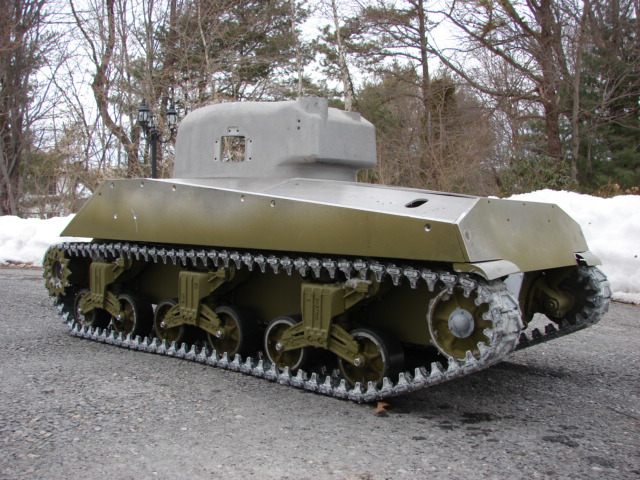
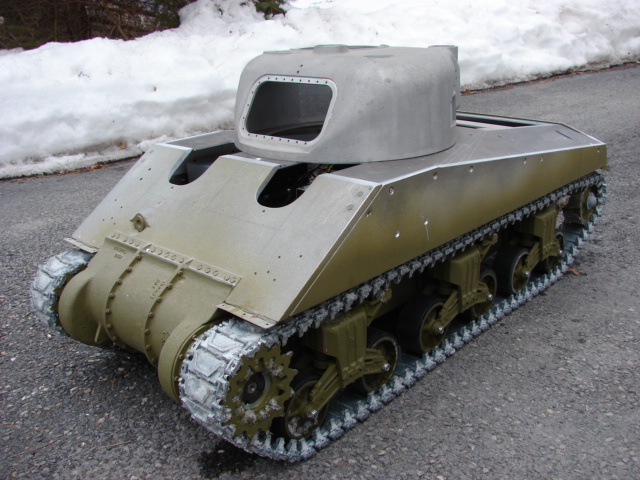
Hi guys, After building a series of german tanks I decided to go back and build some more allied. With just about everyone cranking out 1/6th DML M4A3s these days I decided to spice things up a bit by building a lesser appreciated Sherman variant, the M4A4.
For the base model I will be using the Armortek RC Firefly VC kit.
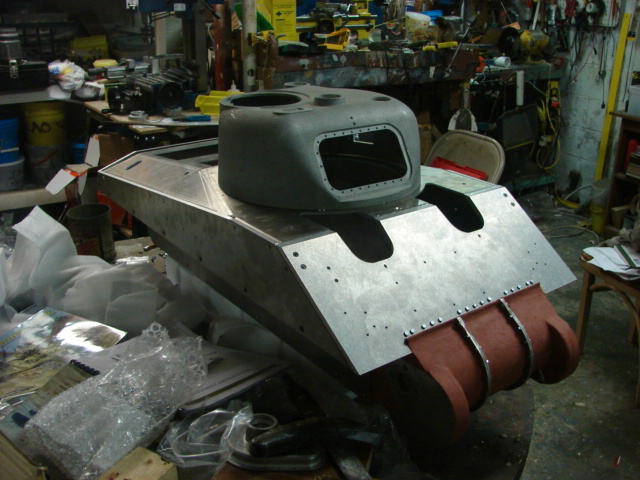
When I purchased the kit two years ago I requested that they trade out the turret / gun for the firefly with the single hatch low bustle turret and 75mm gun and M34 mantlet from their first early production M4A3 sherman release from 2005. With the simple swap out of the turret backdating the firefly to M4A4 became very simple.
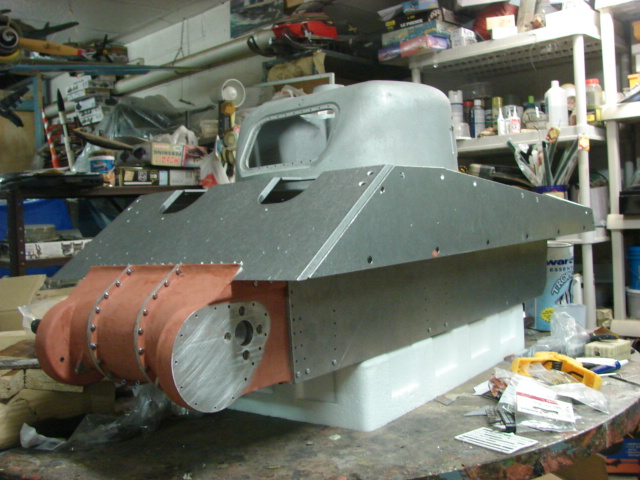
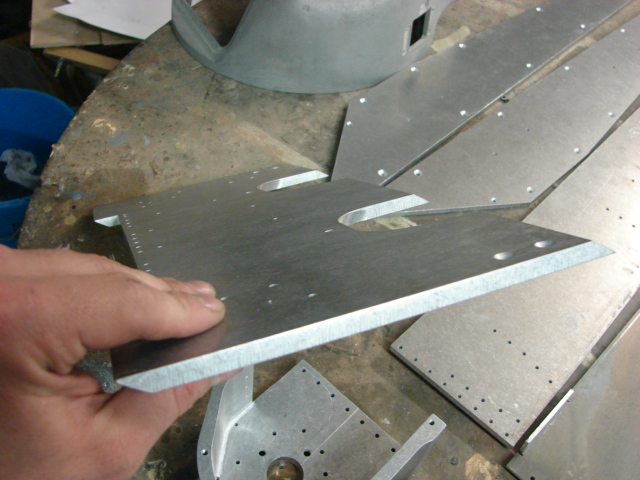
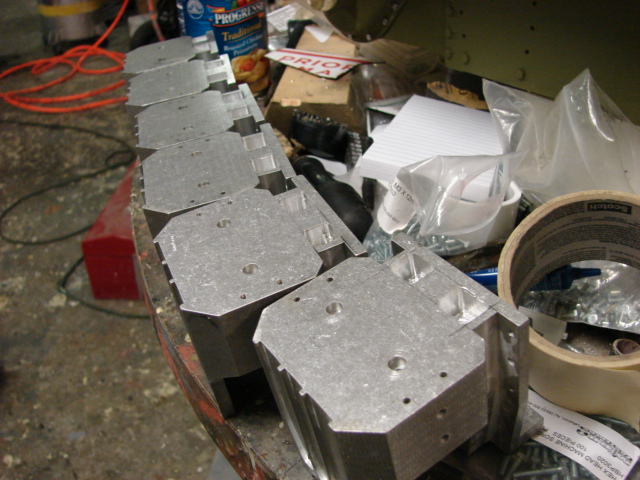
Like with all armortek kits the model’s hull plates are to scale thickness, and are all bolt together construction.
Another thing that is interesting about this build is that armortek produced only 25 of these firefly kits, of those this will be the only one to be built as an American M4A4. Also I believe that this is the first 75mm M4A4 represented in 1/6th scale.
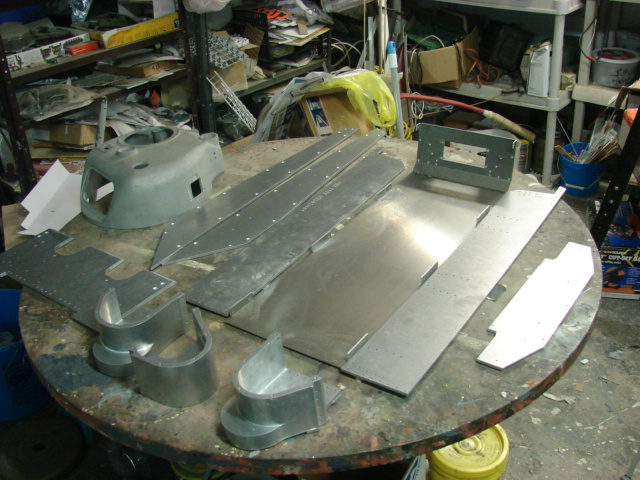
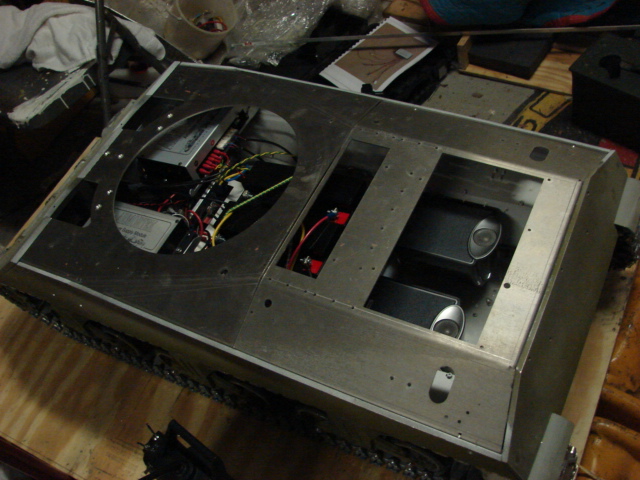
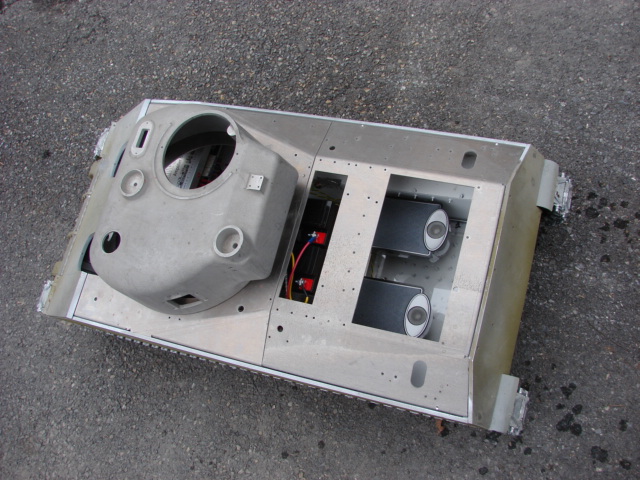
When sorting out all the panels, I noticed that the models hull components are all made out of aluminum plate. On their first sherman release the top deck, sponsons, and lower hull plate were made out of steel, this change in material will make the model lighter.
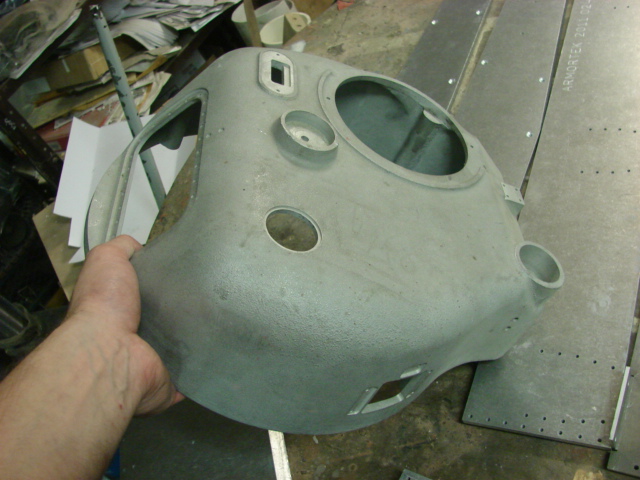
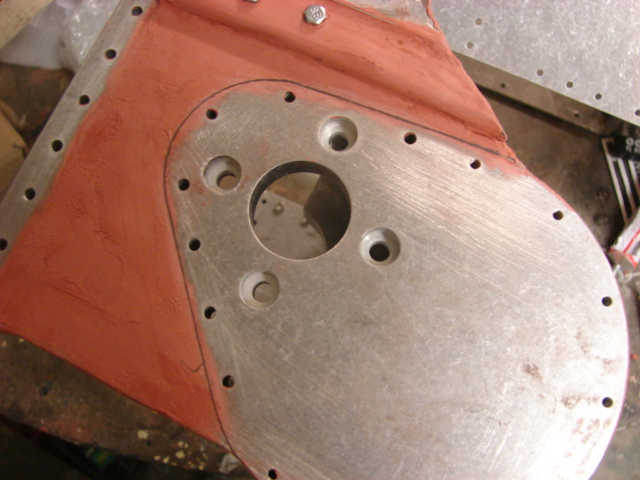
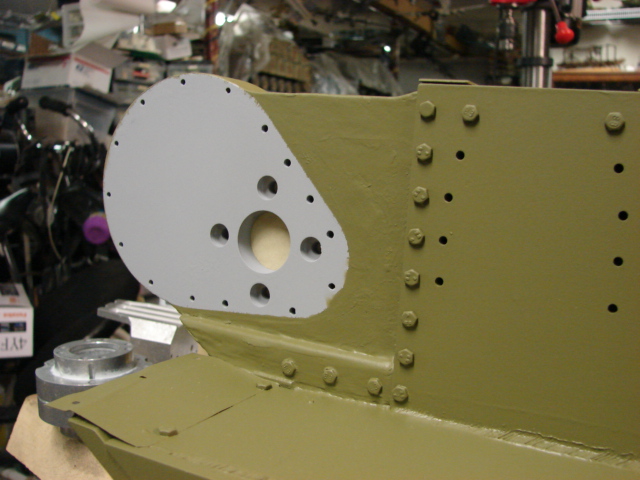
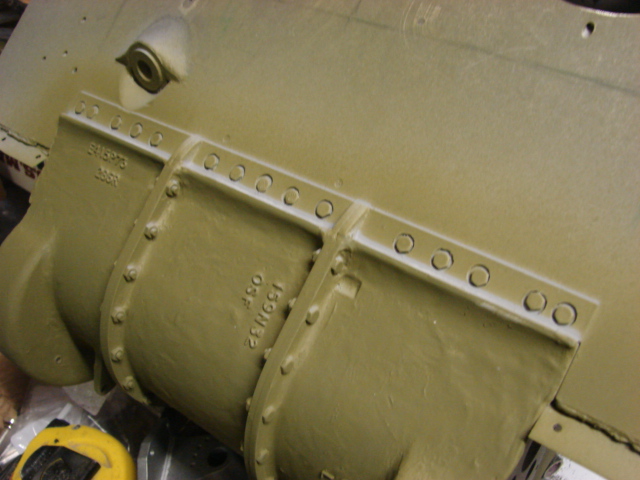
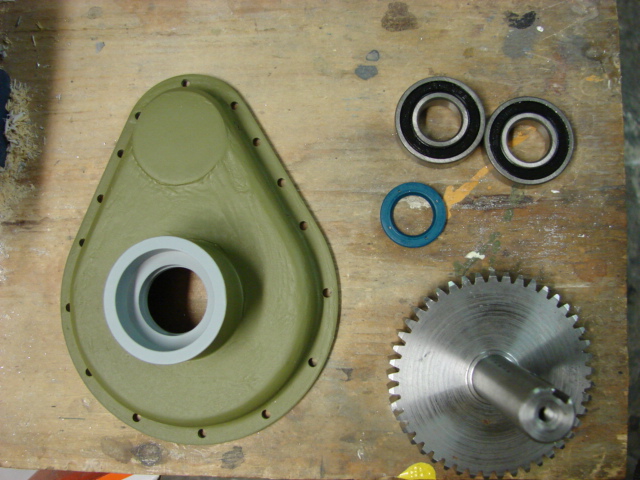
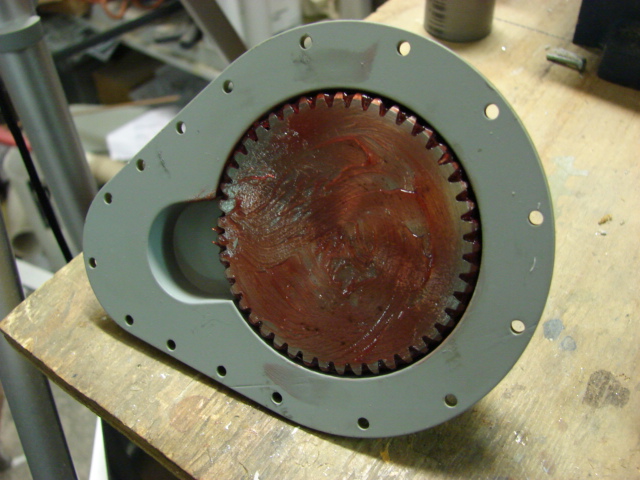
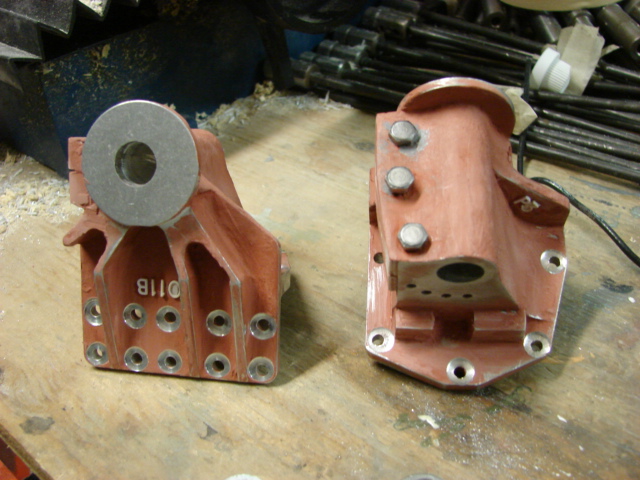
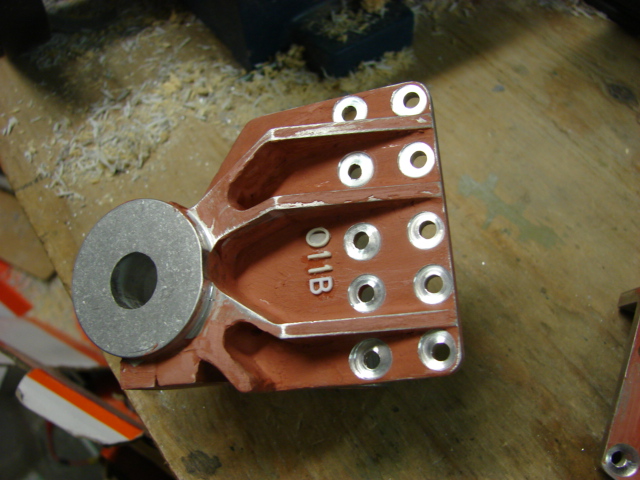
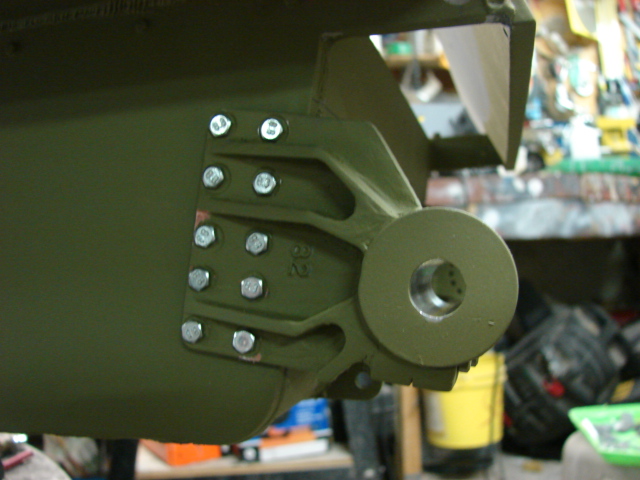
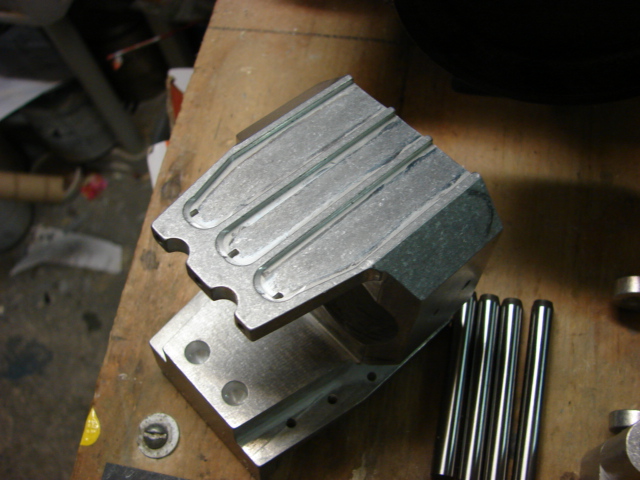
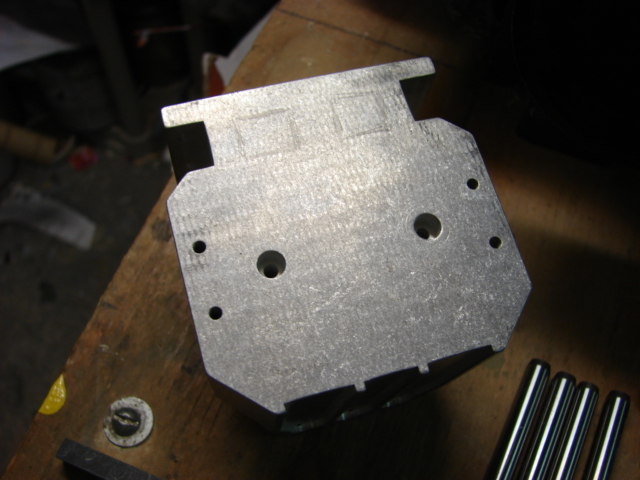
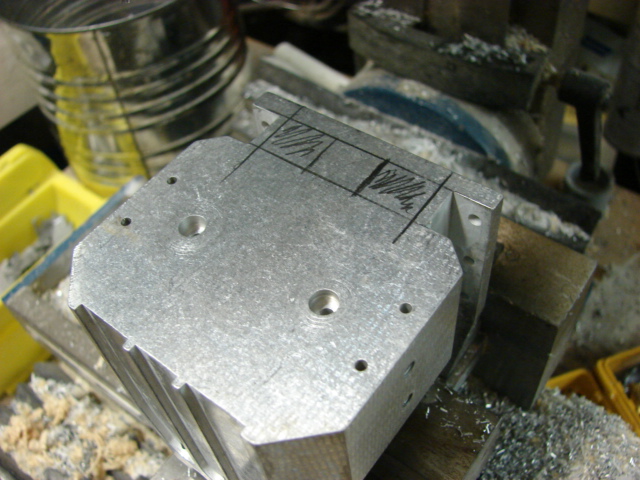
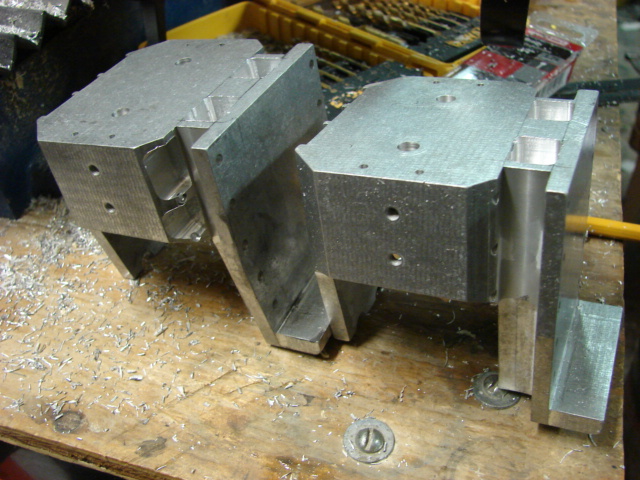
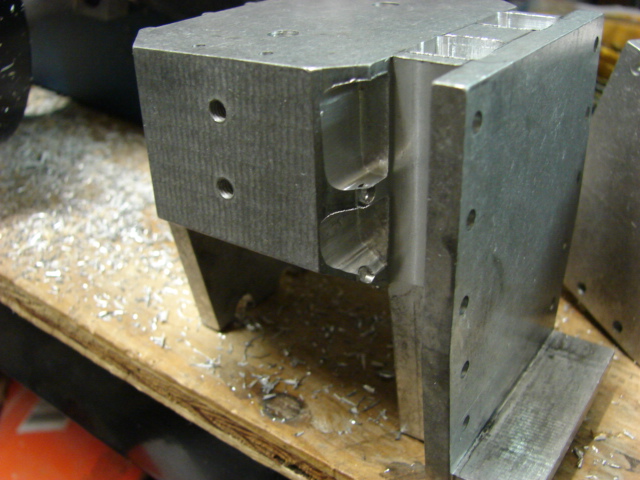
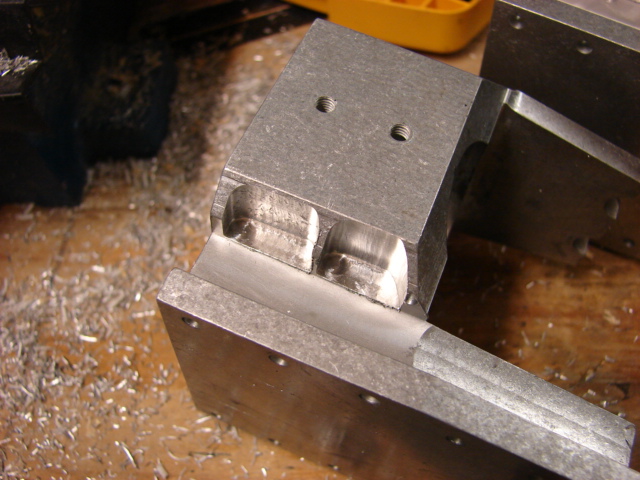
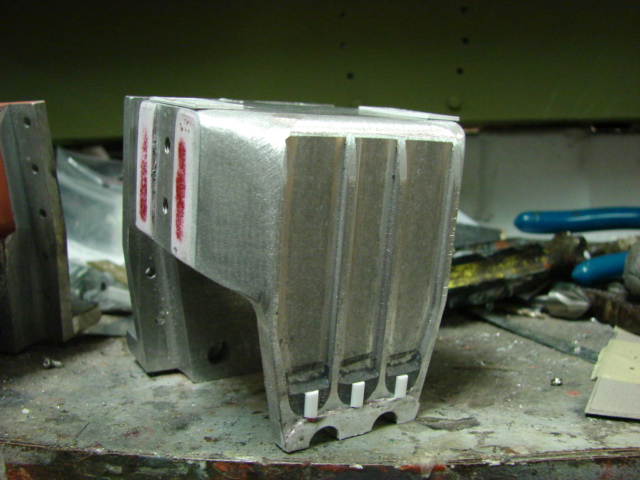
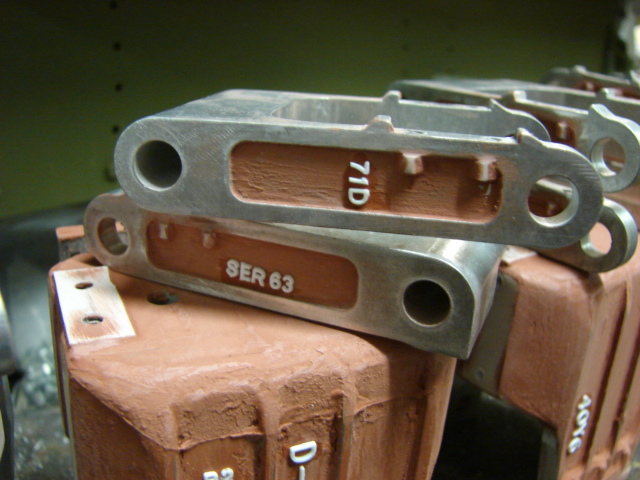
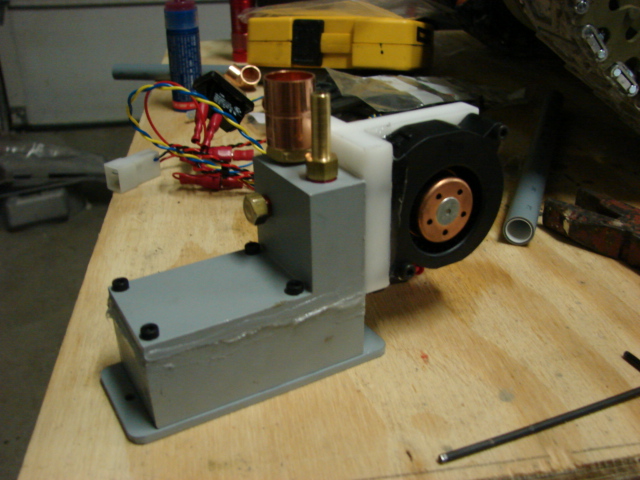
On this build the whole tank pretty much builds on the front transmission cover, so this part of the model must be started first. For the transmission cover the model uses the early production 3 piece flange cover. One unique feature of the kit is that the transmission cover is in three sections and must be bolted together like the real unit.
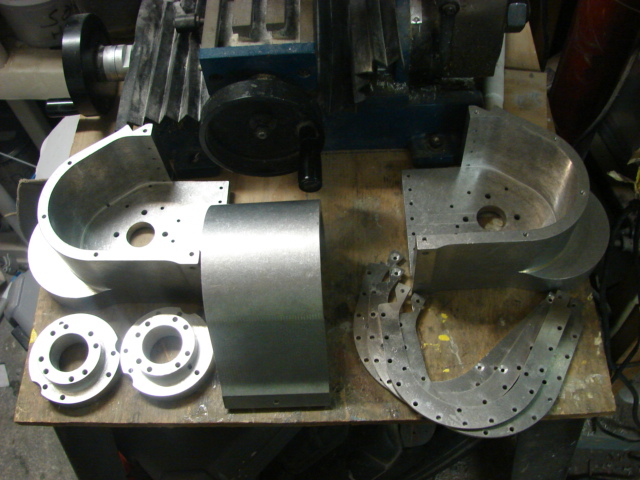
The kit transmission cover is all fabricated out of solid CNCed aluminium, and CNCed aluminum flange plates…which get bolted to the covers via counter sunk fasteners.
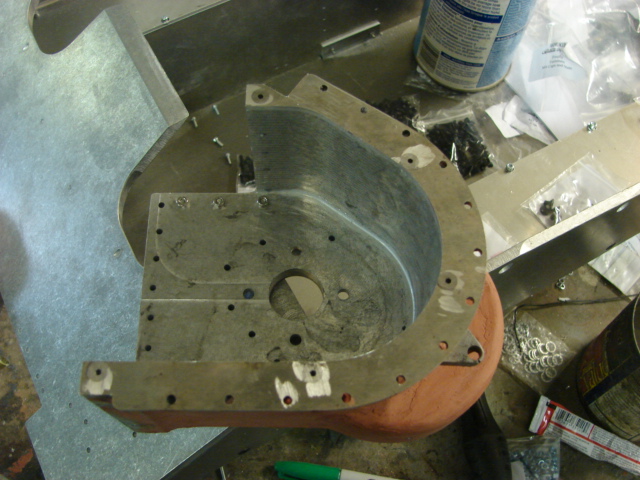
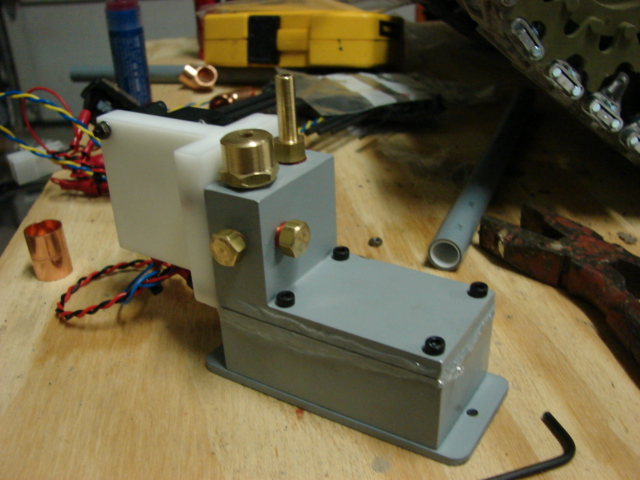
Even though the the bolts are countersunk, the heads still protrude slightly over the cover, this can cause fit issues because the cover flanges need to be flush. To remove these protruding heads I simply ground off the extra material with a bench top grinder.
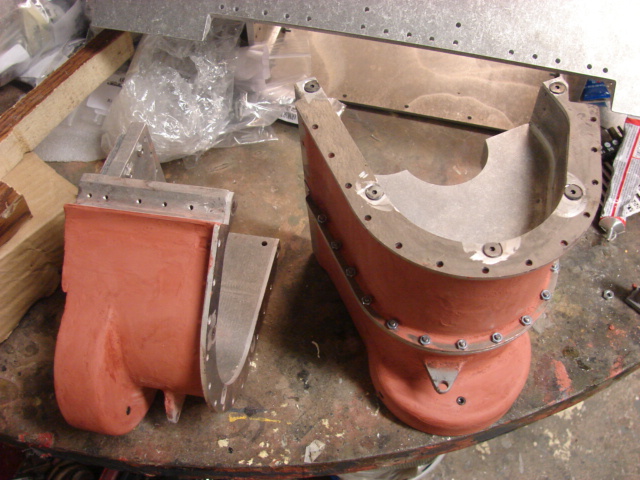
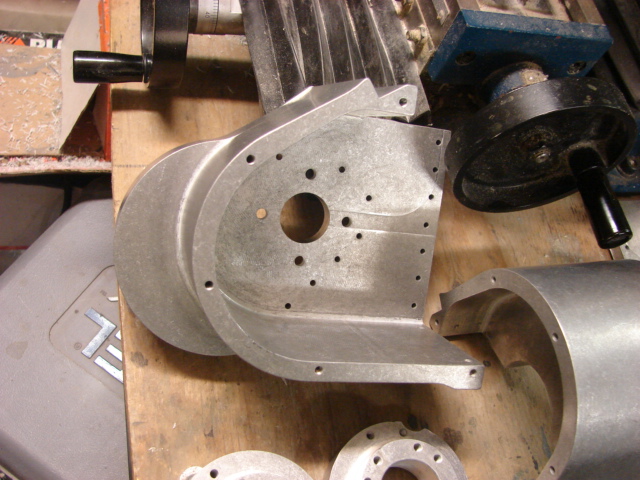
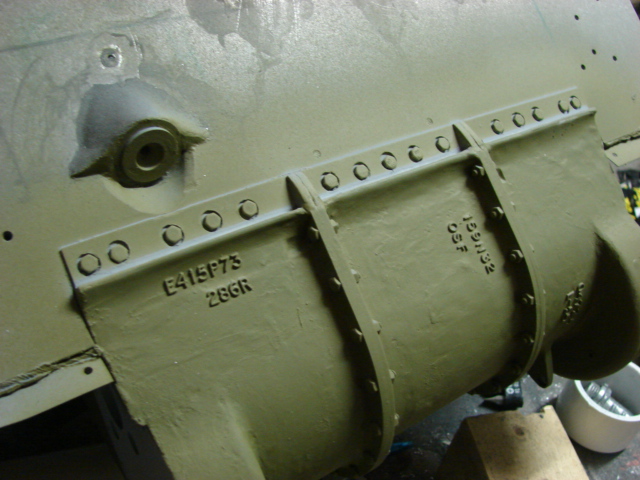
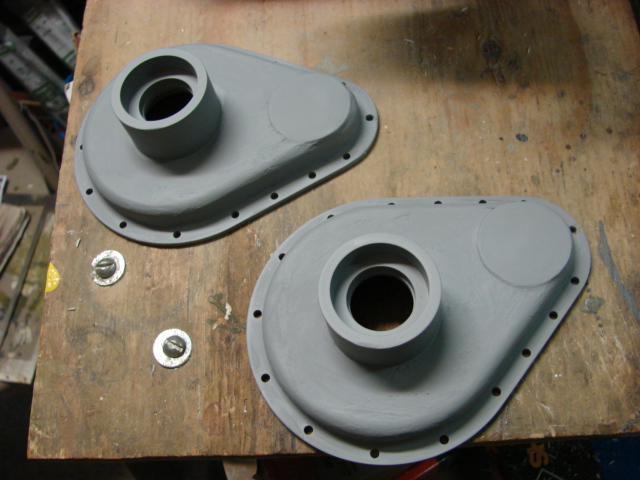
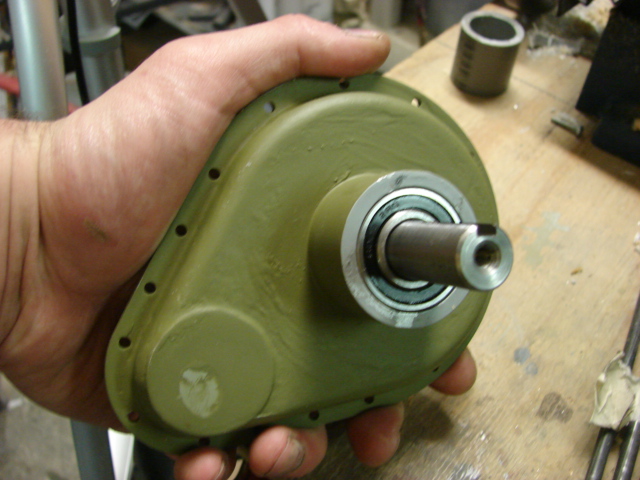
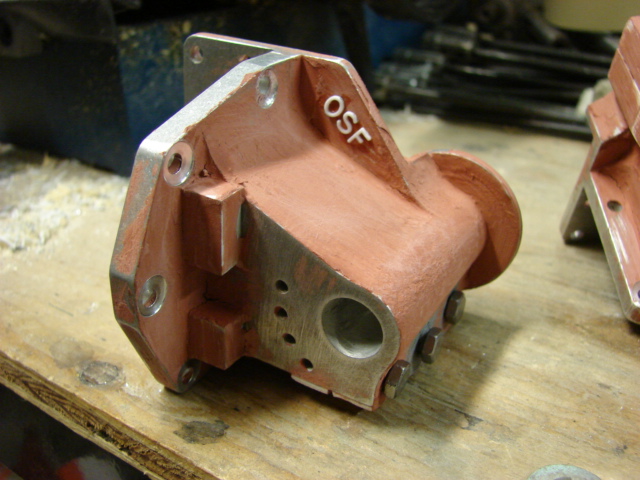
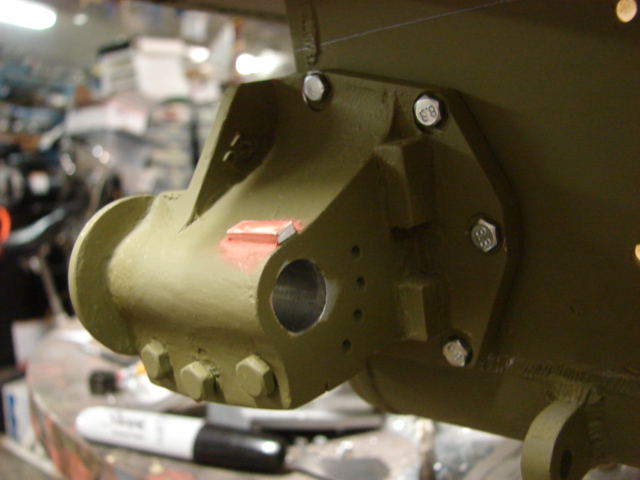
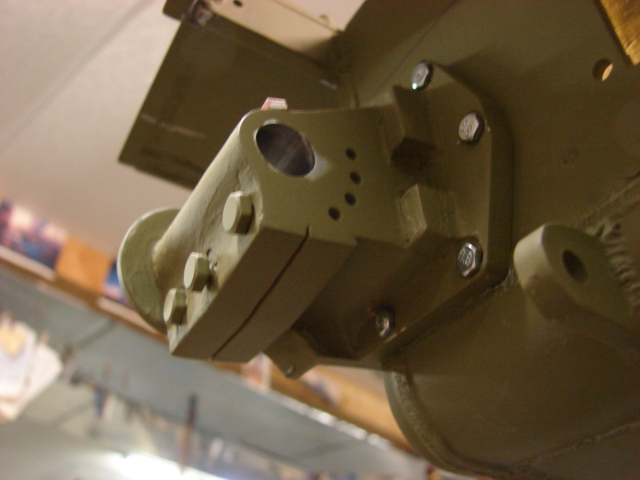
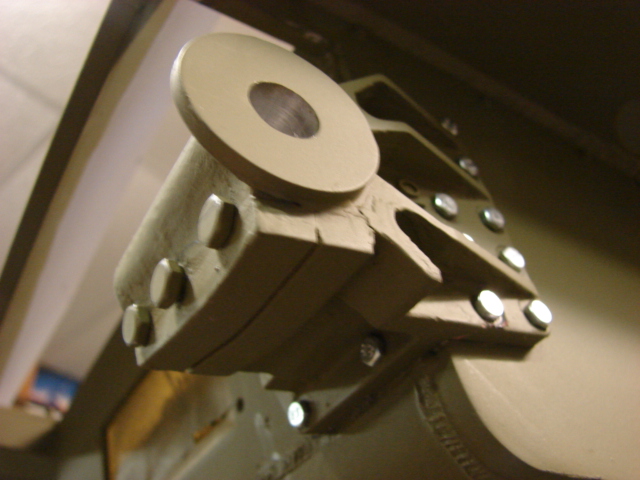
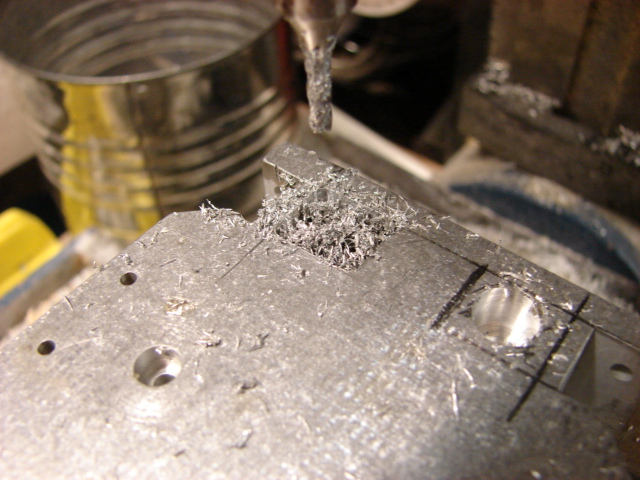
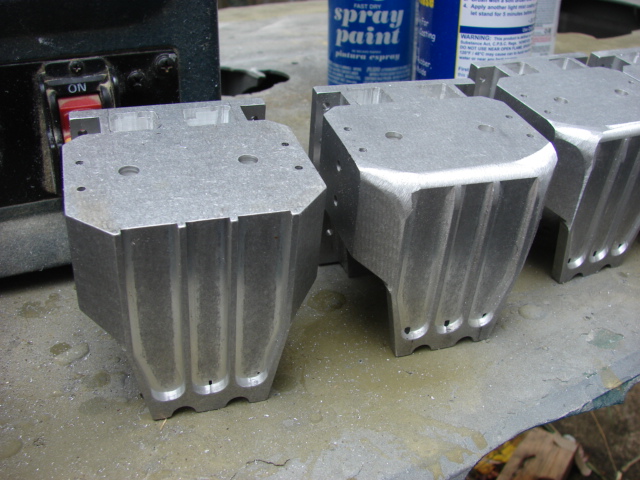
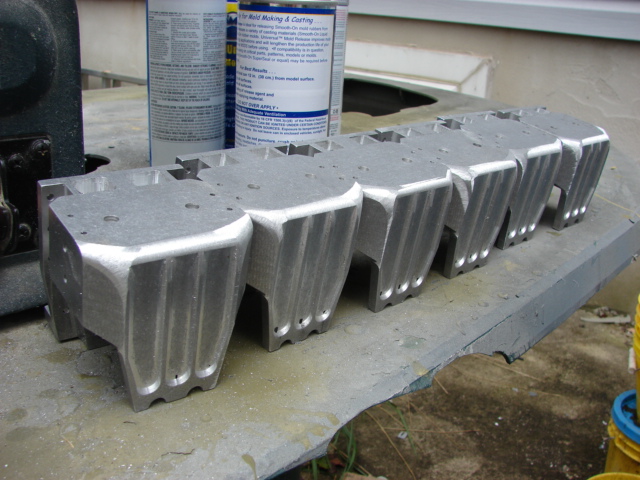
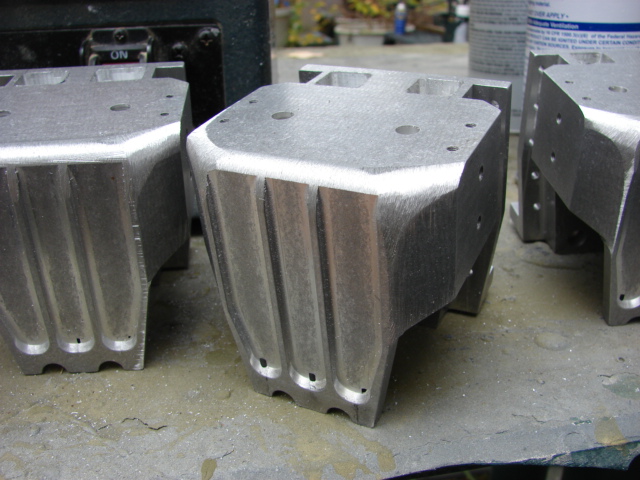
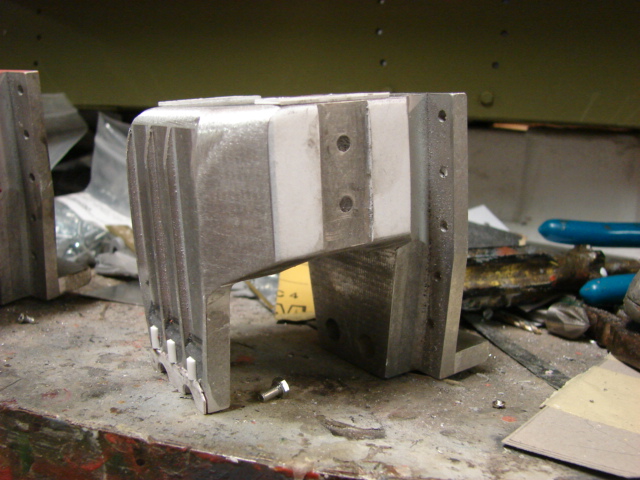
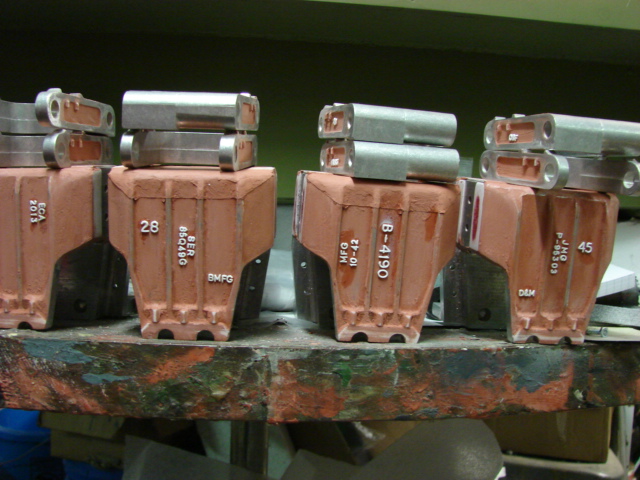
The real tank utilized cast parts for the cover, while the kit’s supplied parts are CNCed machined. To replicate the cast texture I added the texture with the bodywork.
After the texture was added I needed to remove the texture around the areas of the mount that are for mounting the final drives, and for fitting to the hull. To get the perfect amount of material removed I placed the final drive over the housing, and with a pencil I traced where the final drive sits.
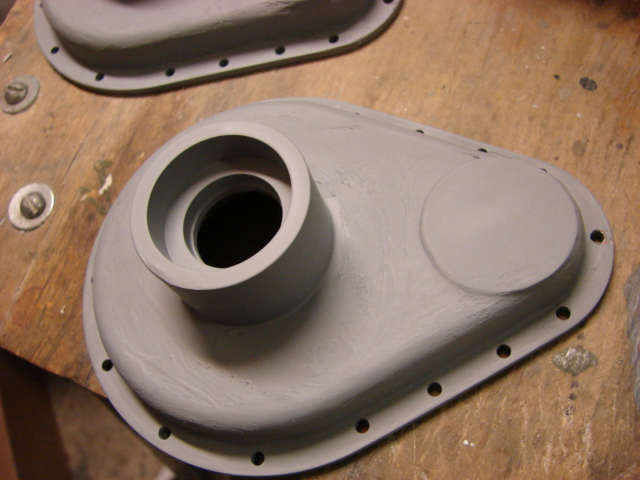
Once the drive is removed I now have an outline of where the drive sits on the mount.
With some sandpaper I can now remove the material that is in the way of the mount, while keeping the texture on the places where it still can be seen.
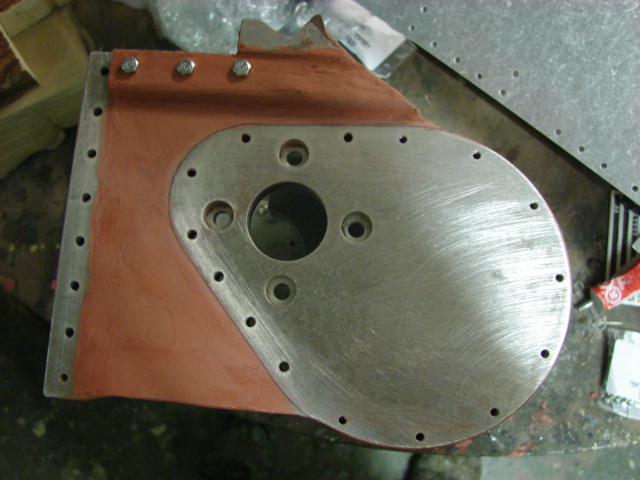
In addition to adding the cast texture I also added the trans fluid drainage bolts, tow eyes, and the Side mounting blister that was missing on the kit housing. For the two eyes, I used the set that I have on the ECA catalog, and blended it into the trans casing.
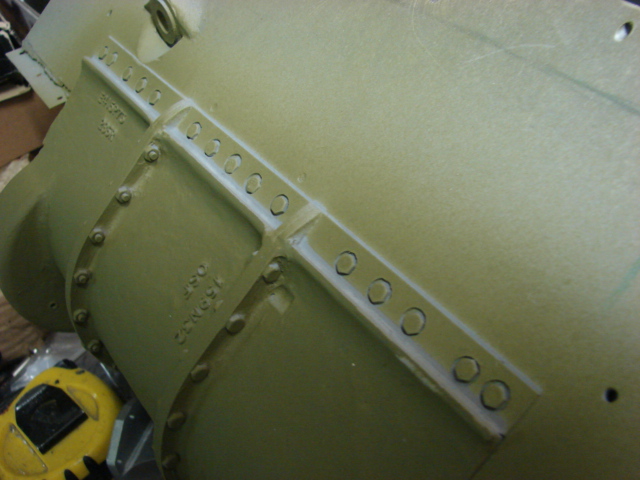
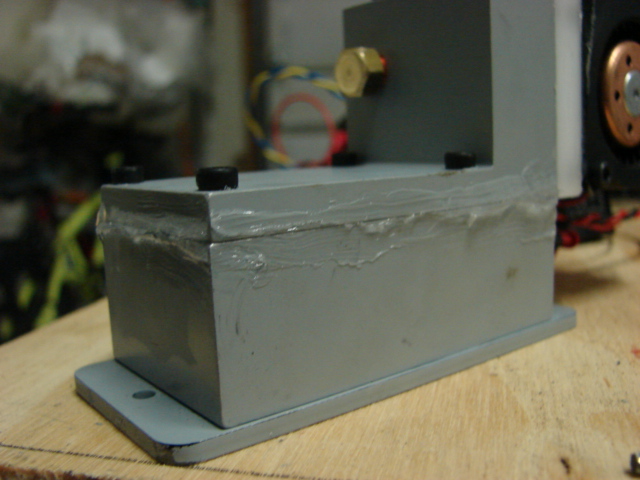
The curve of the cover’s top portion was also improved, as the kit mount’s curve was not curved enough. The curve was built up with plastic and body work.
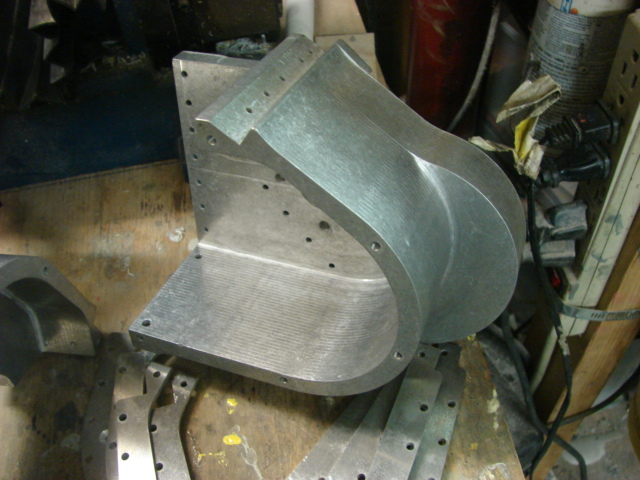
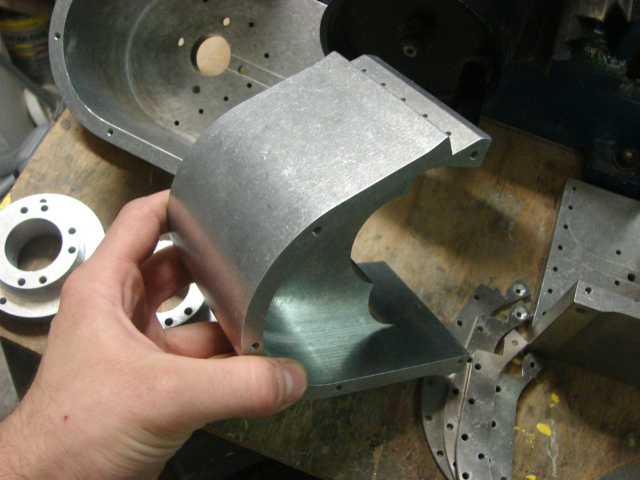
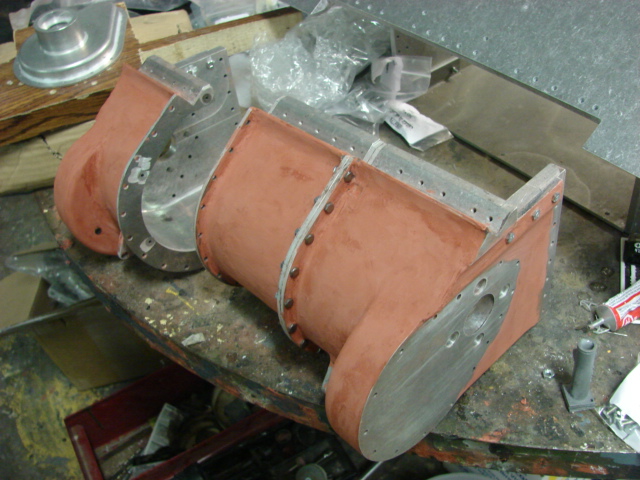
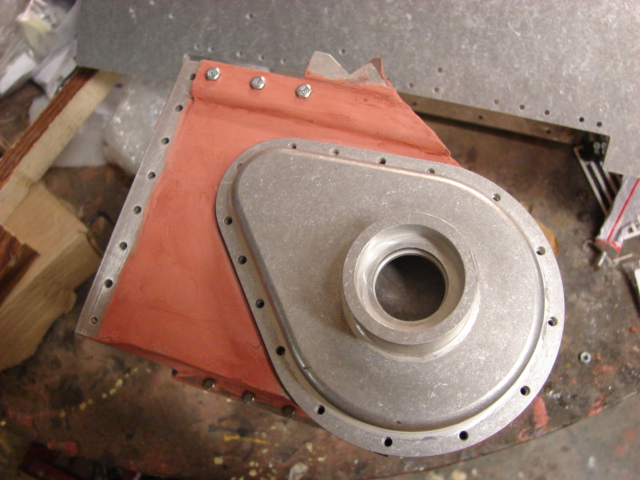
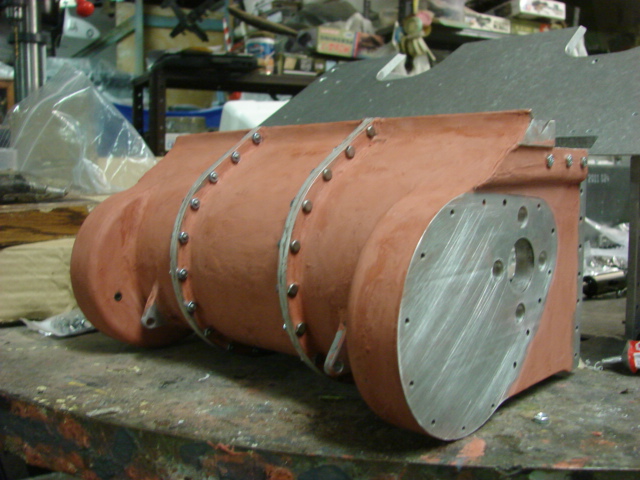
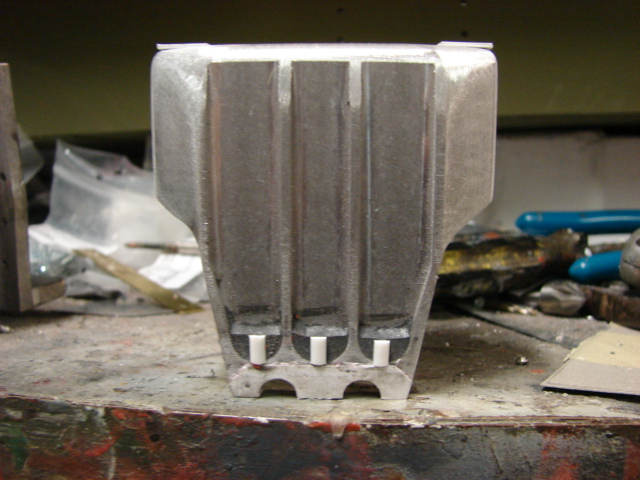
After the revisions were made the mount was installed to the tank’s hull. Now all the remains will be the addition of the casting and foundry marks / numbers which will be added soon.
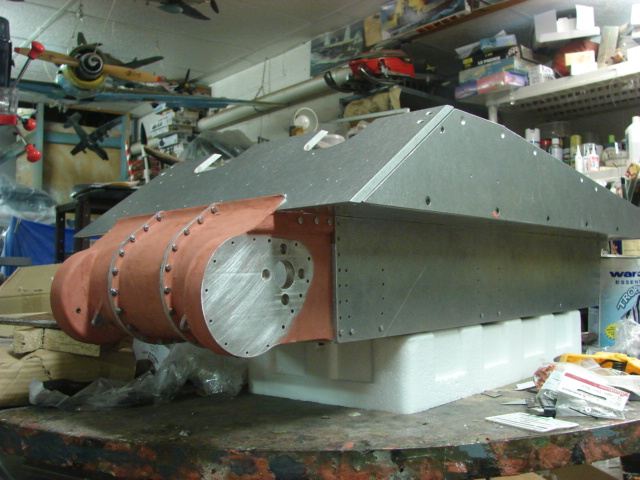
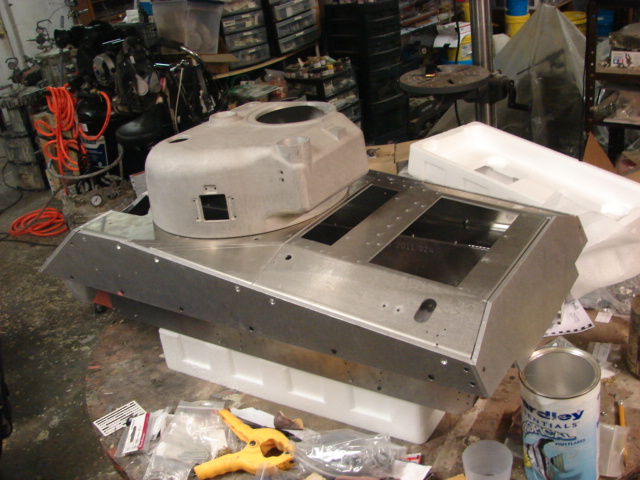
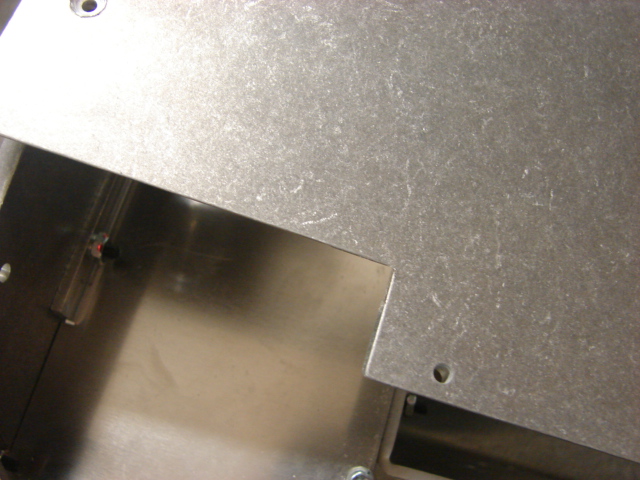
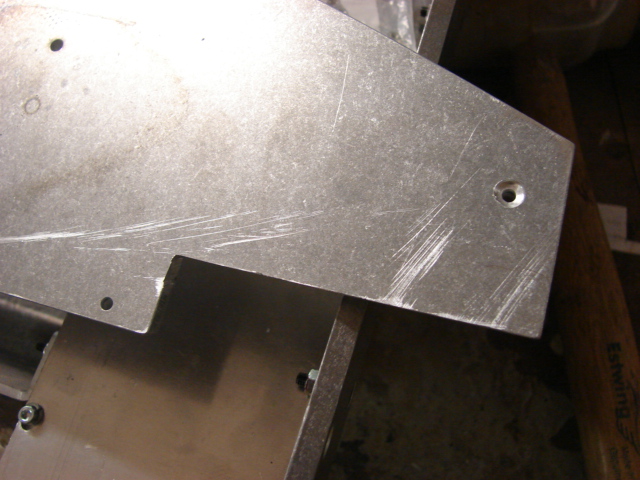
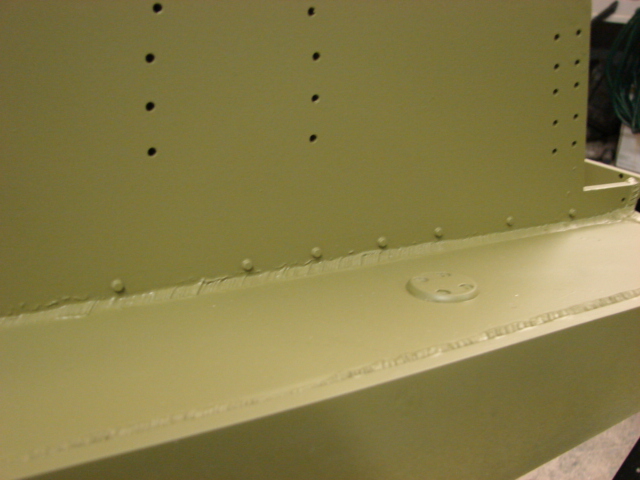
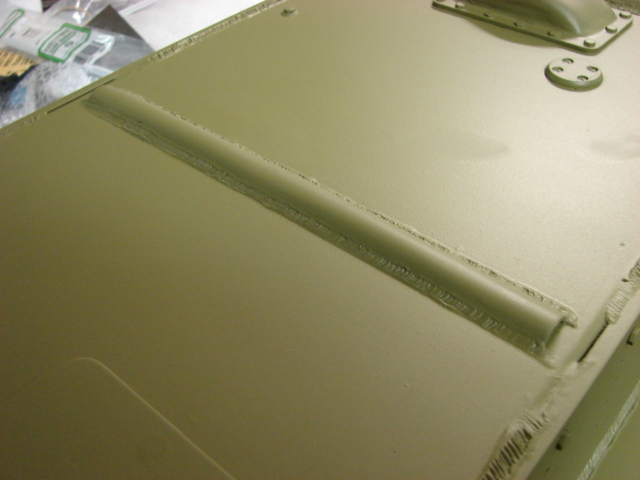
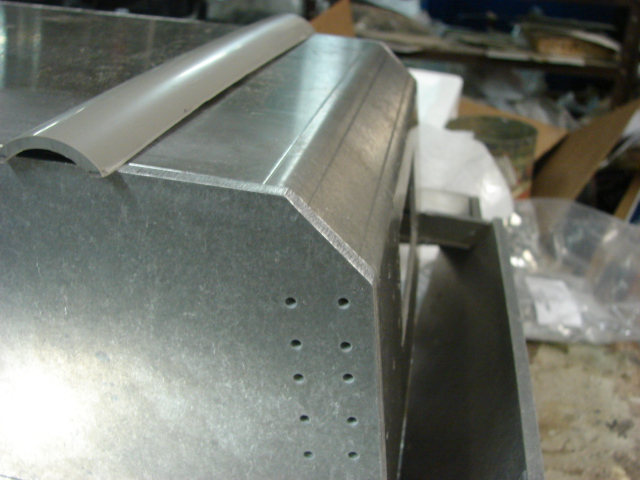
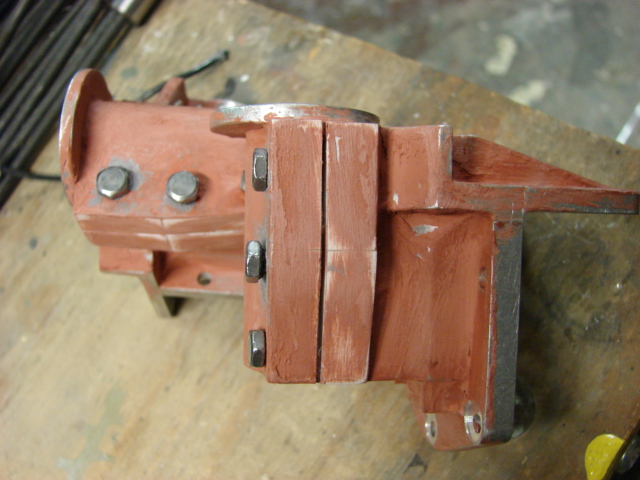
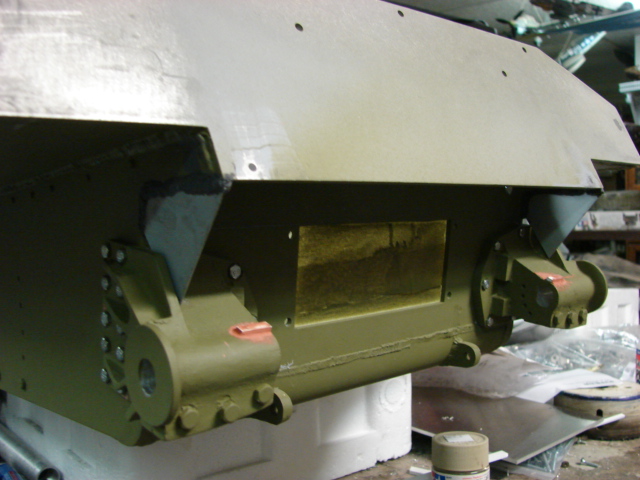
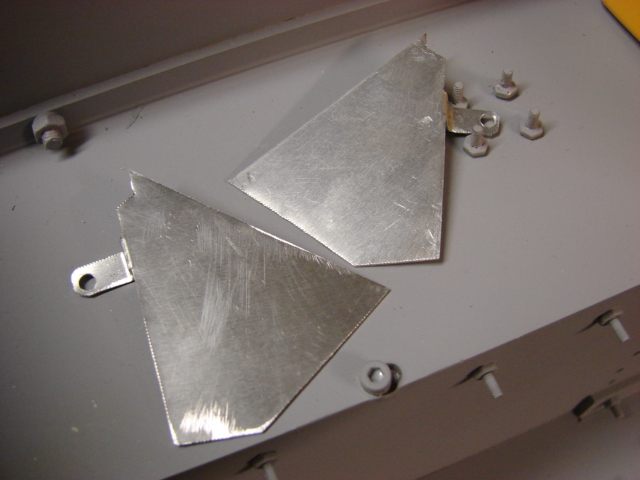
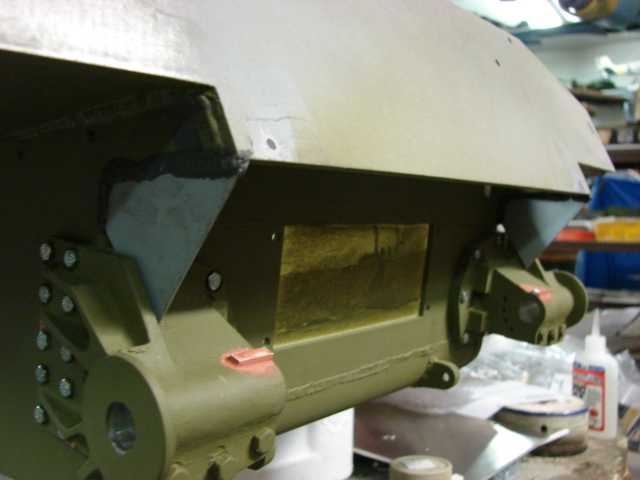
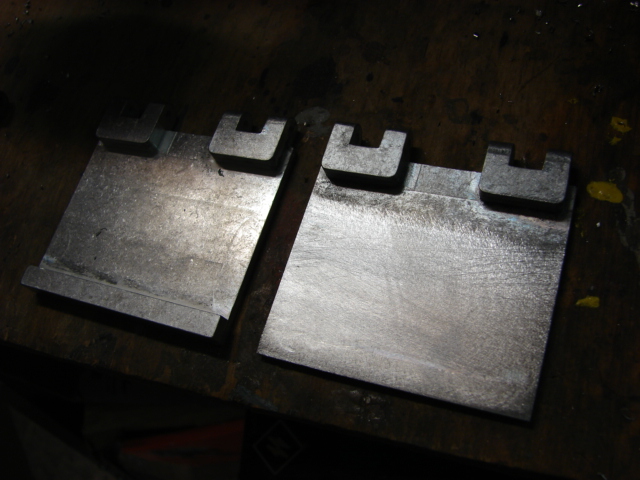
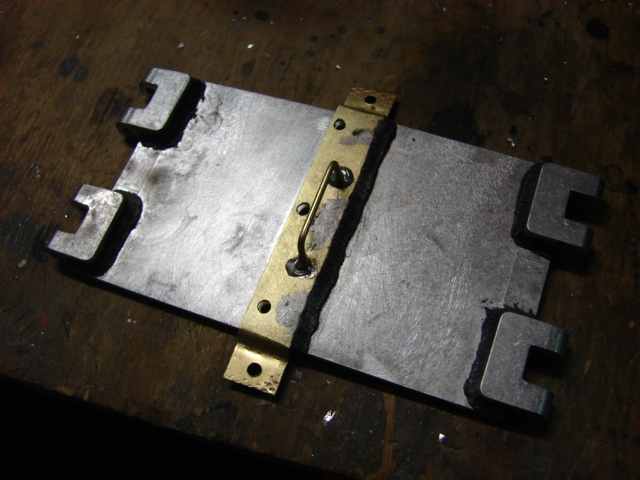
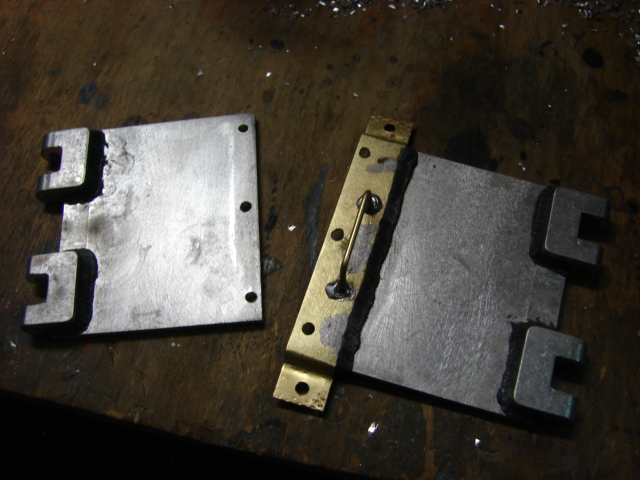
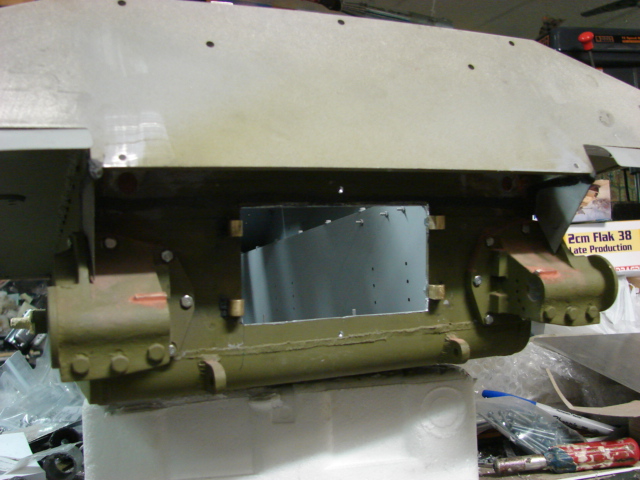
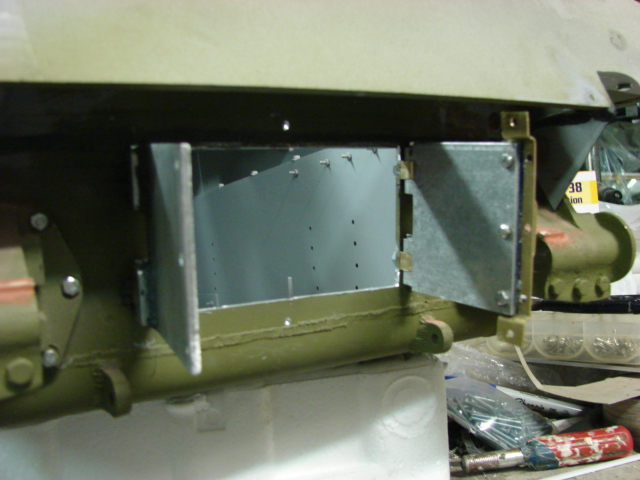
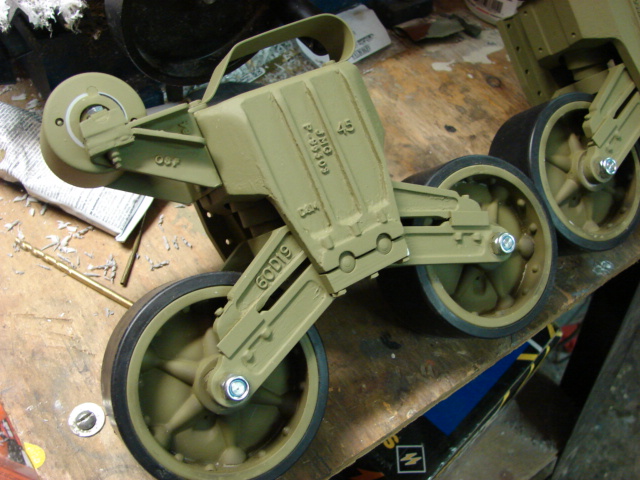
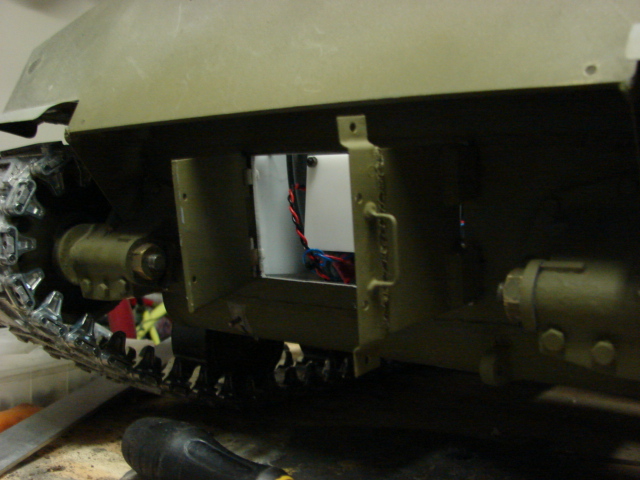
While assembling the hull, on the rear plate a few mods were needed. Due to the cnc process the sponson sections of the rear plate were not squared off.
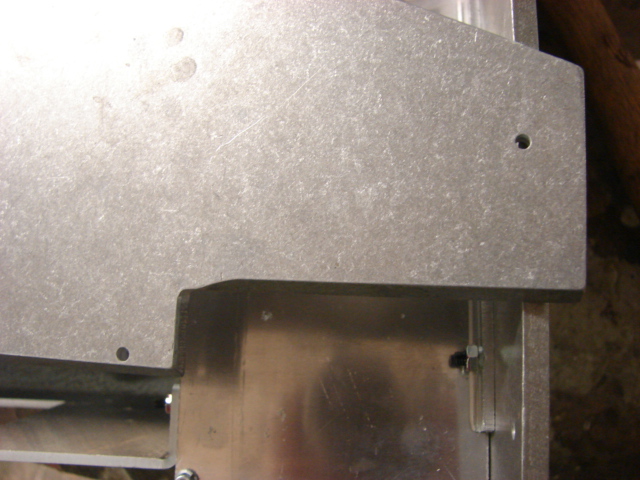
This was a simple fix with a file.
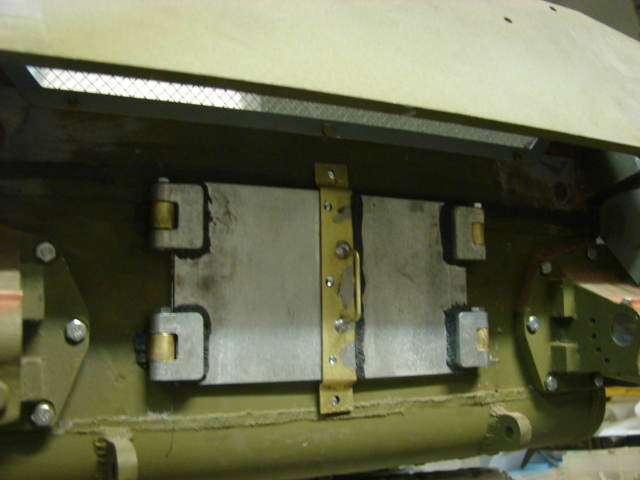
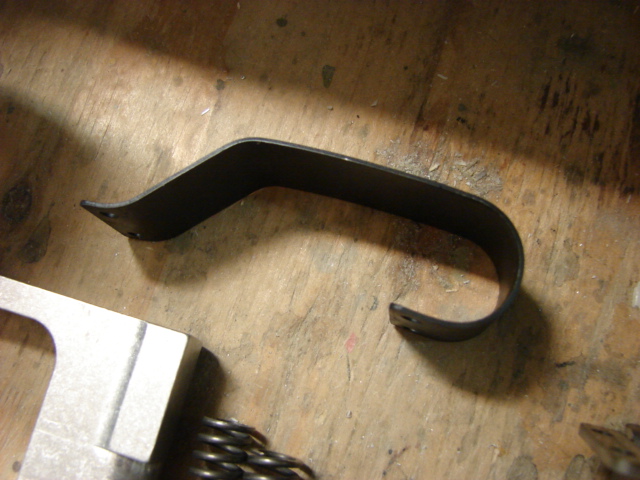
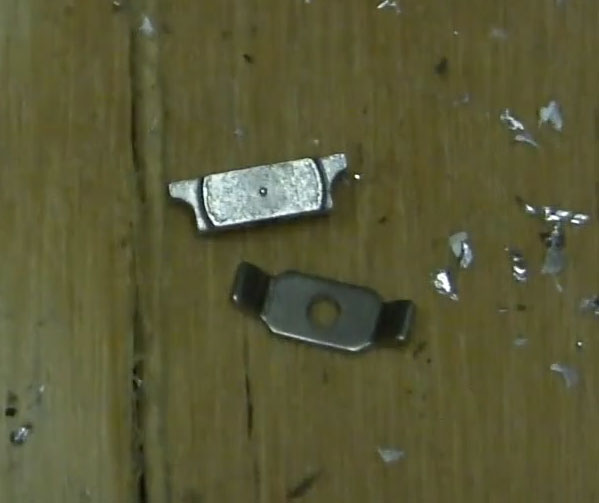
Another mod that was made to the rear was for the mounting fastener. The kit is designed so that an exposed hex bolt is used to hold the plates together.
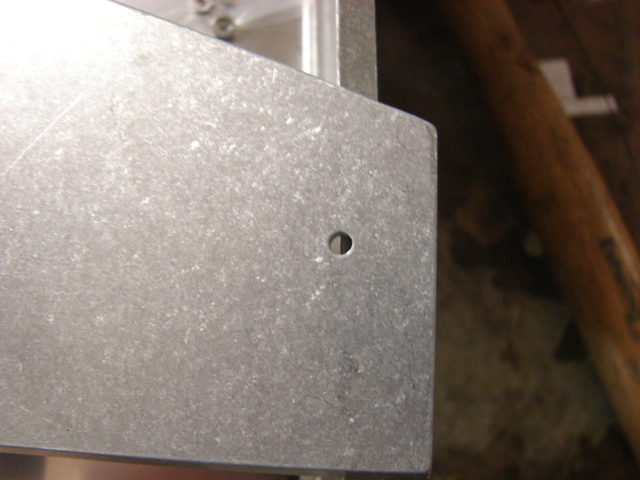
The real tank had no exposed fasteners on the rear hull I replaced the exposed bolt with a counter sunk one. To add the countsink bolt I drilled a countersink well into the plate making for a flush appearance.
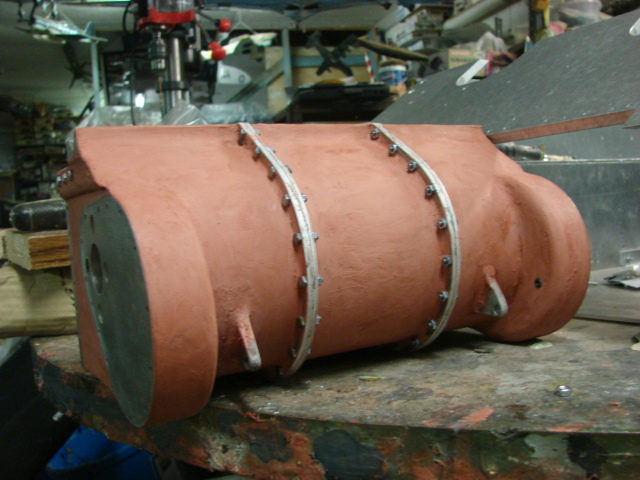
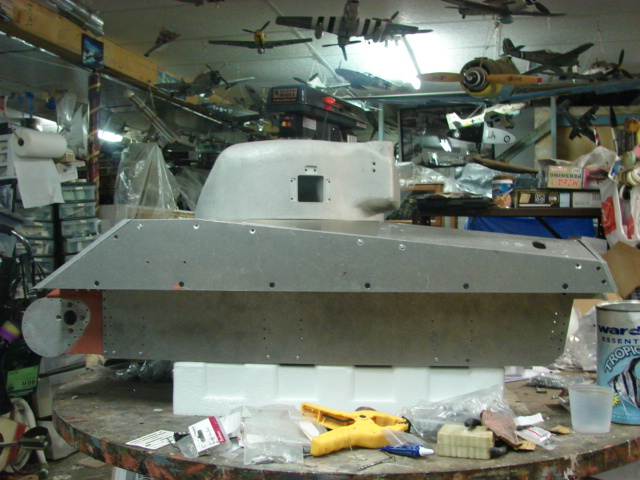
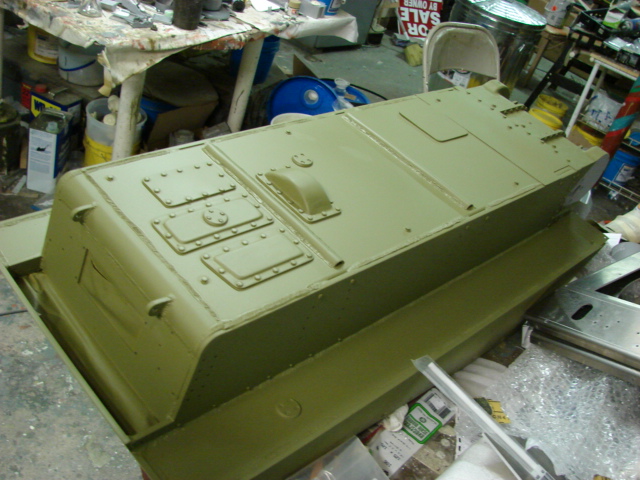
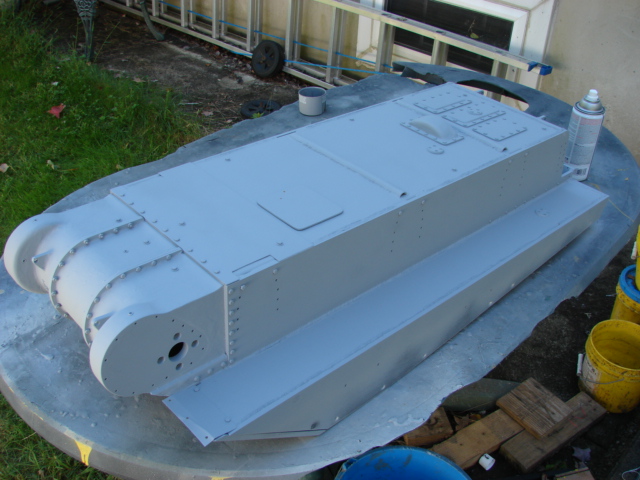
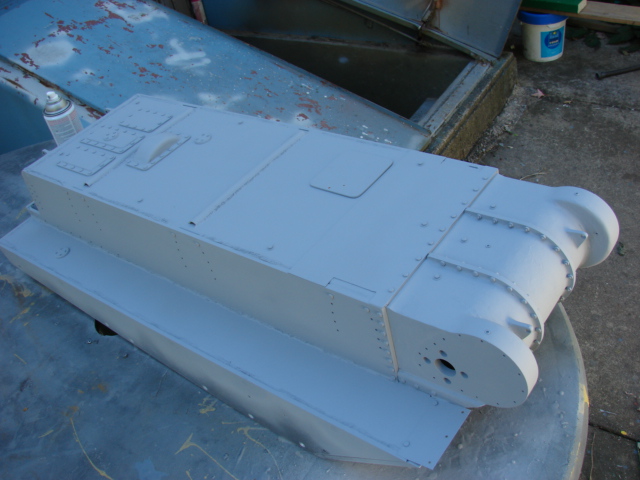
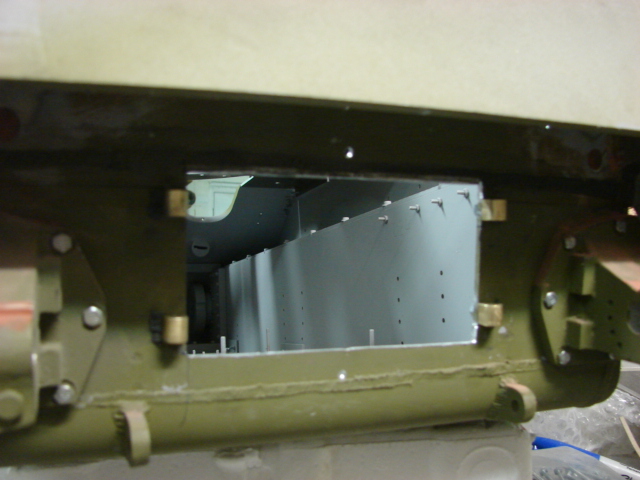
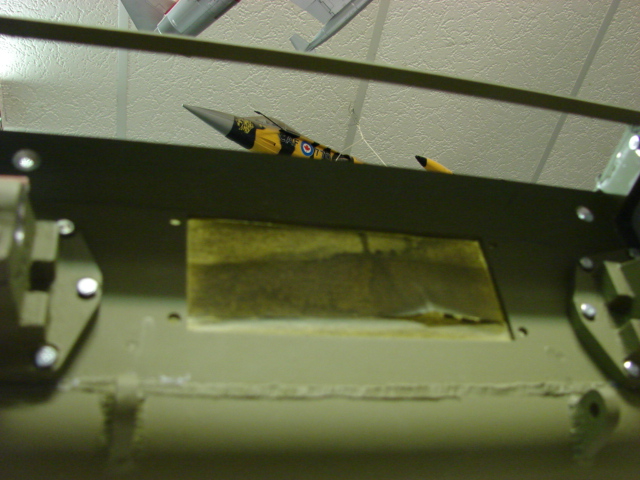
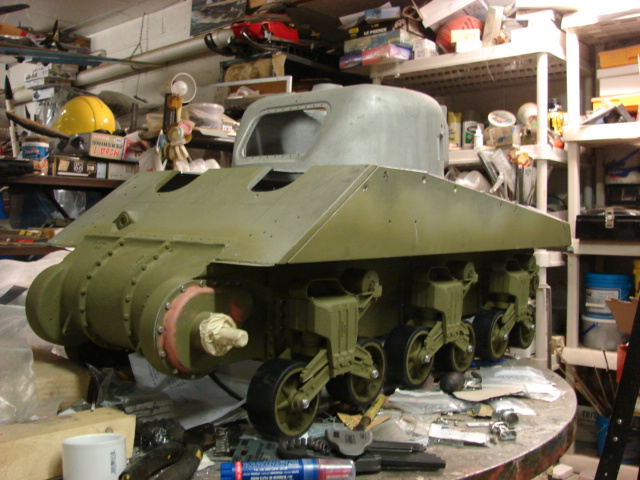
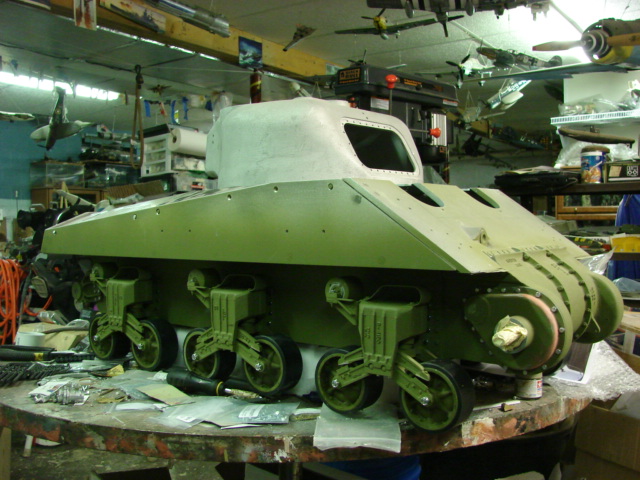
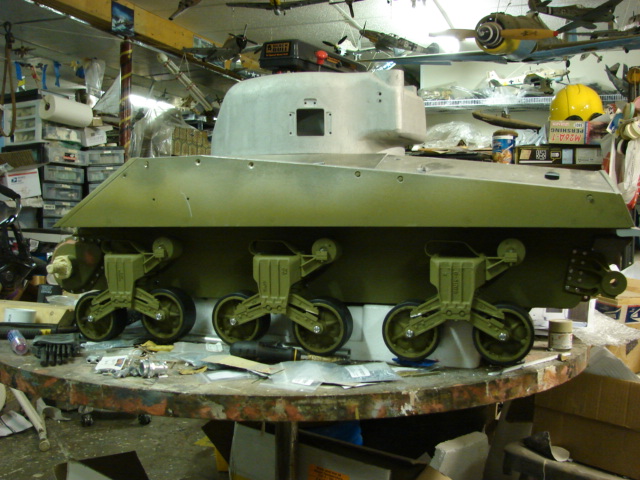
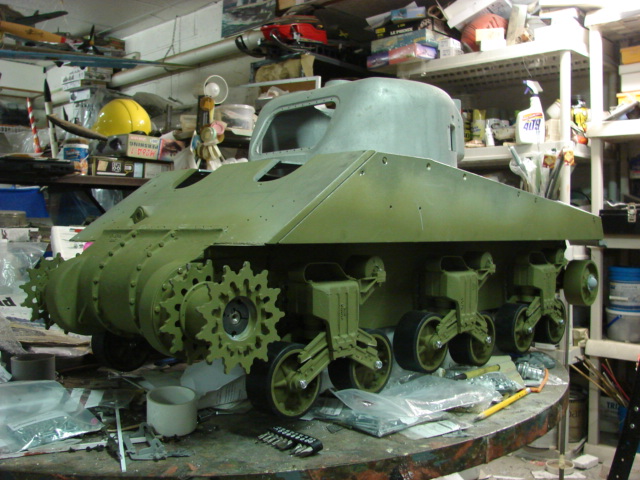
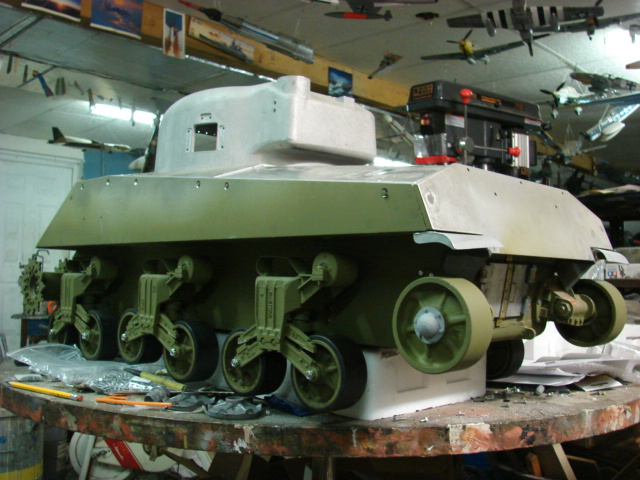
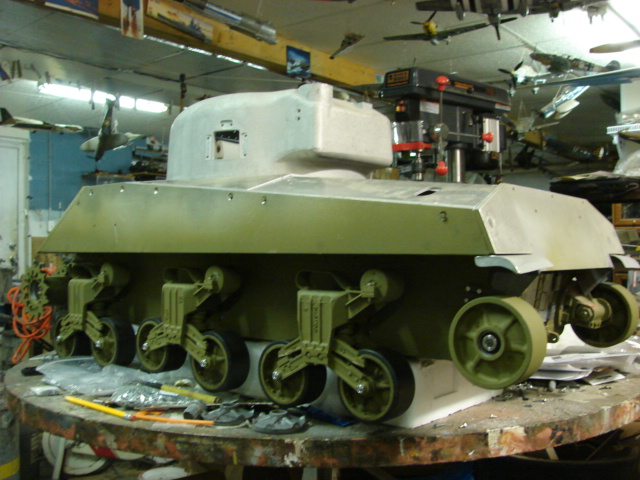
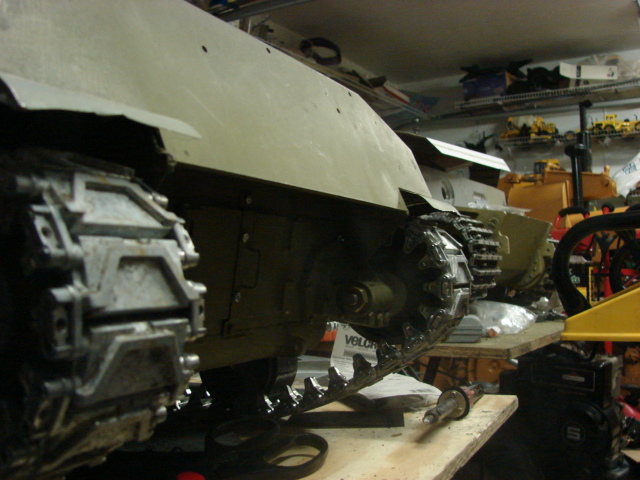
With the hull now together you can get to see just how much longer the long hulled M4A4 is compared to an A3

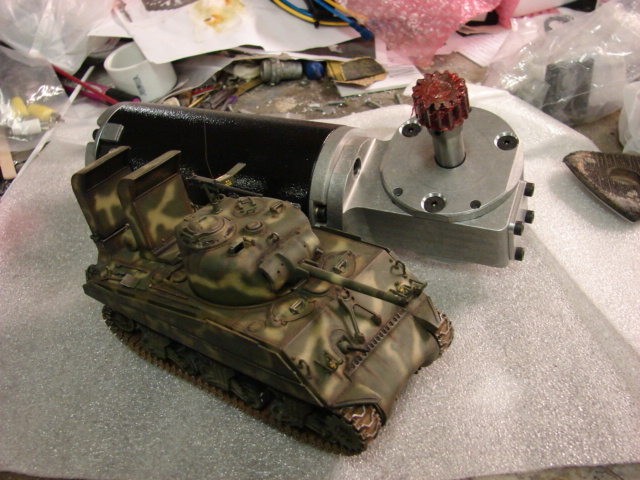
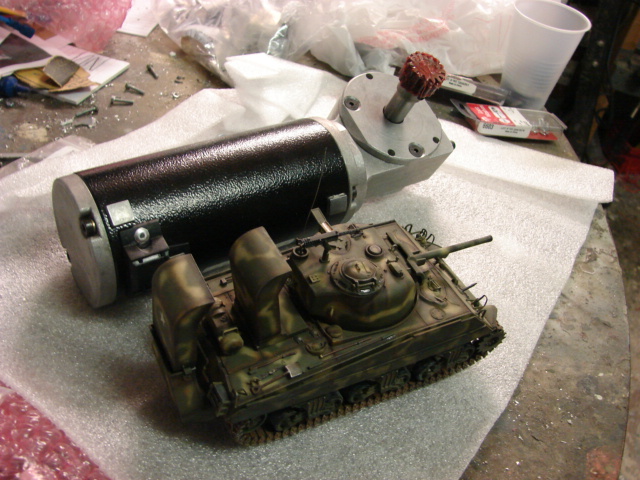
Two project update videos were created and were posted on youtube.
Also more pics were posted on the facebook page, http://www.facebook.com/EastCoastArmory
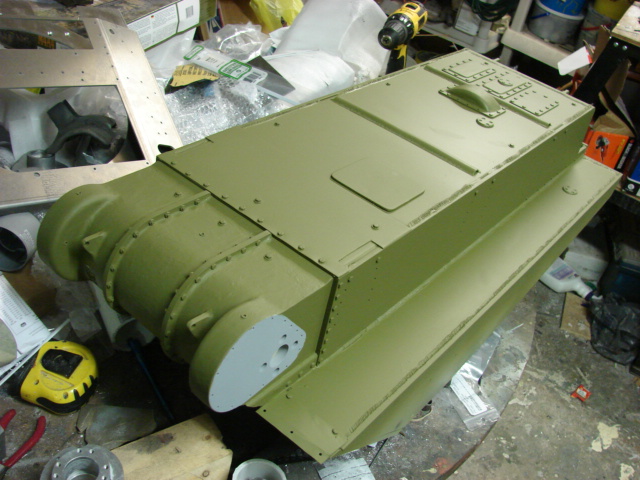
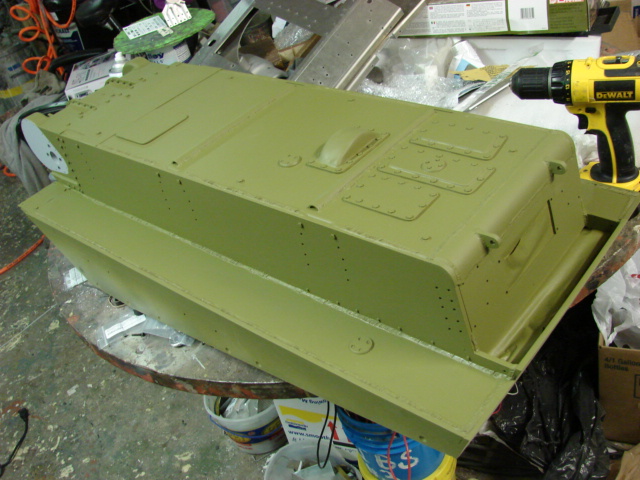
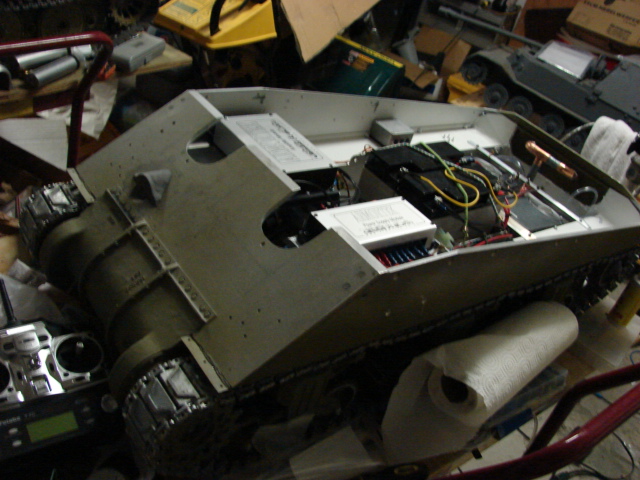
I will now be turning my attention to the model’s suspension…more to come!!


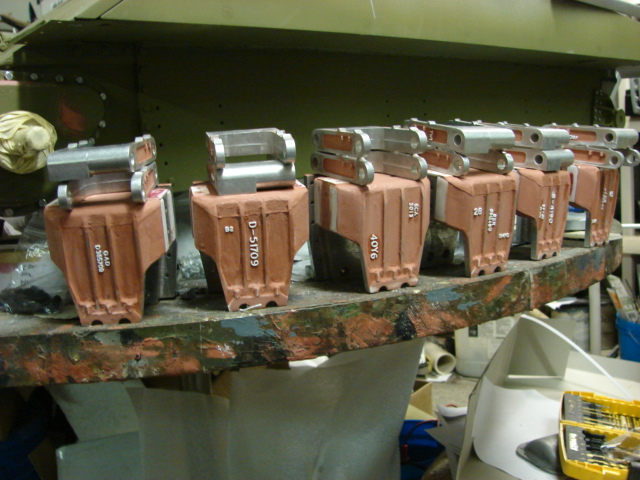
 On the tank’s front hull I
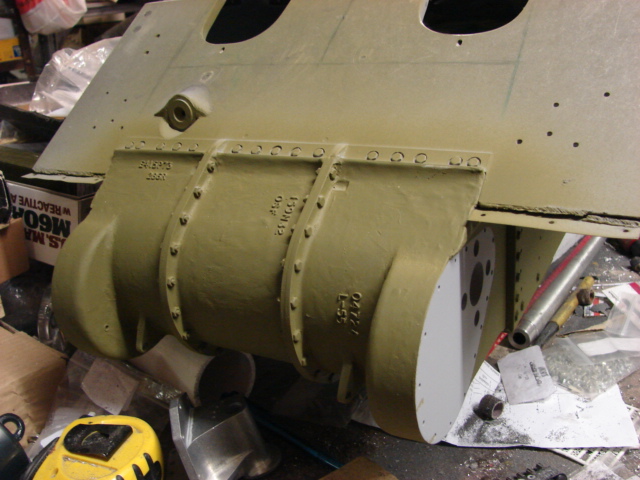
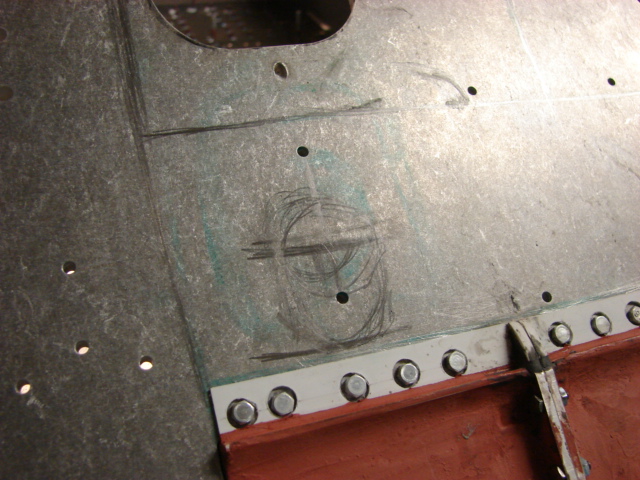
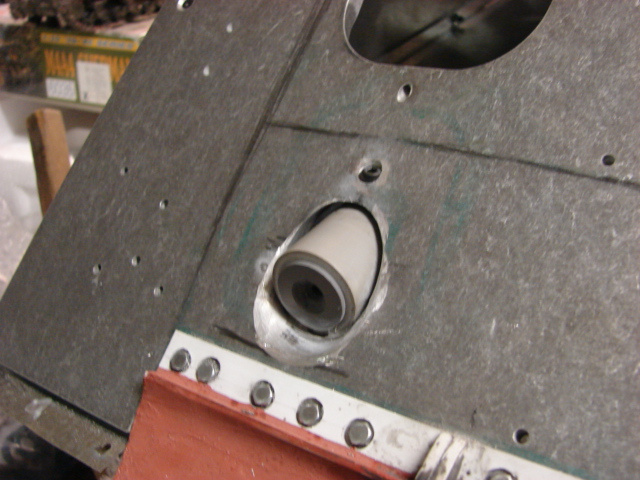
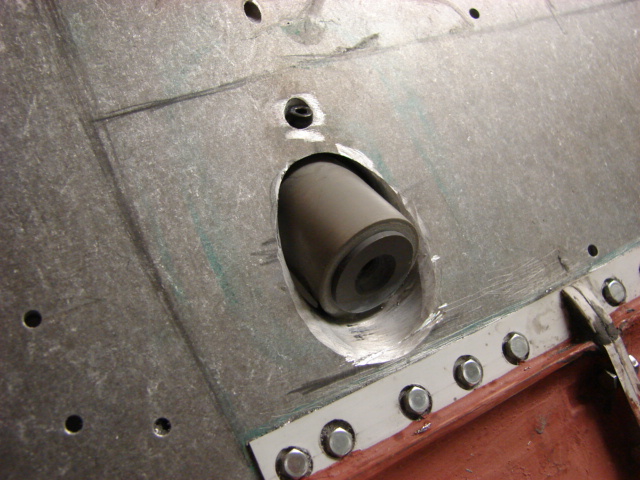
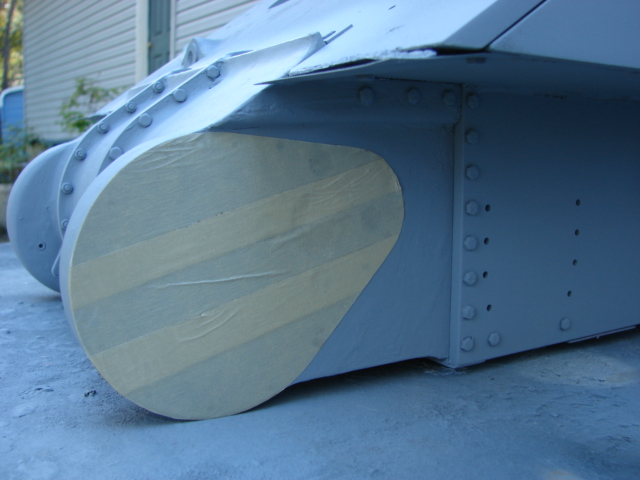
 Before I added the base
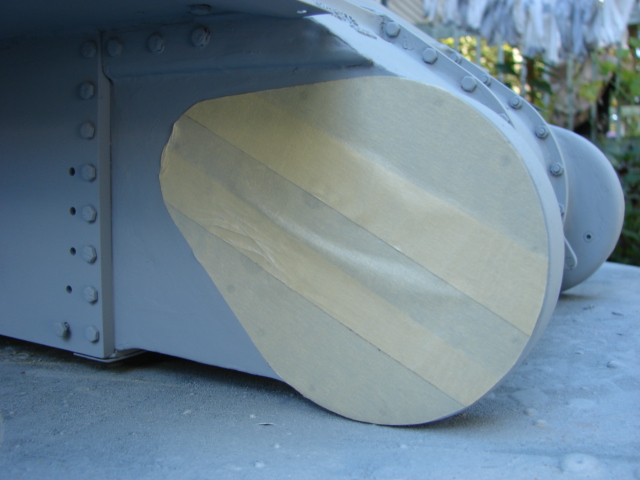

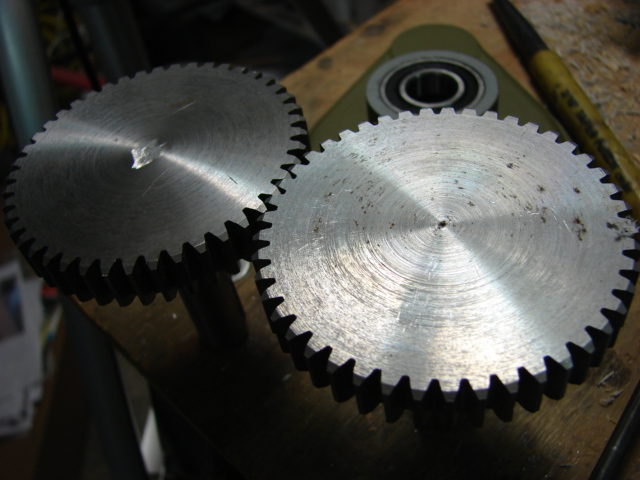
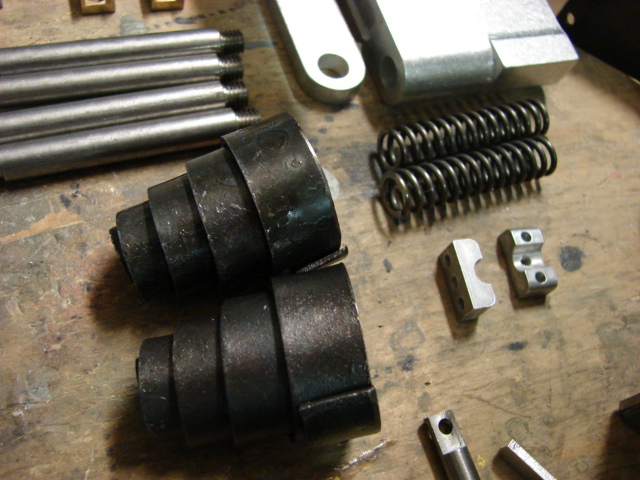


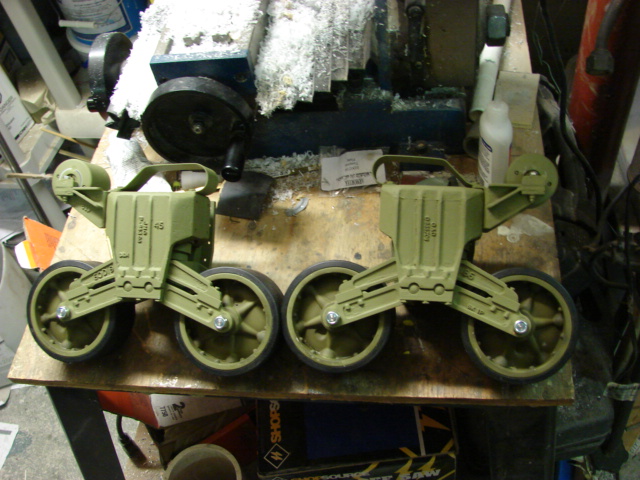


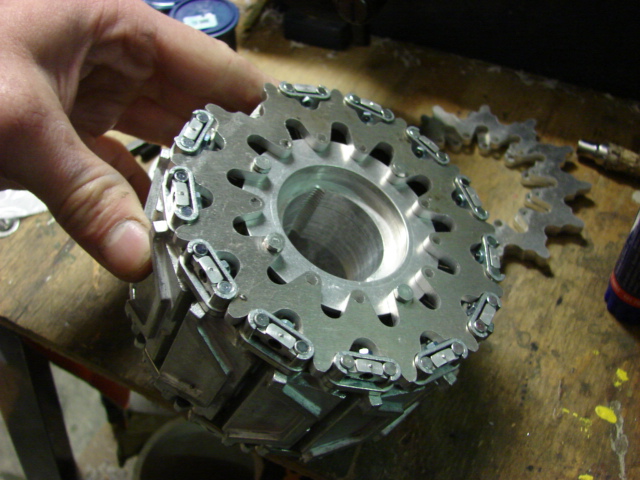
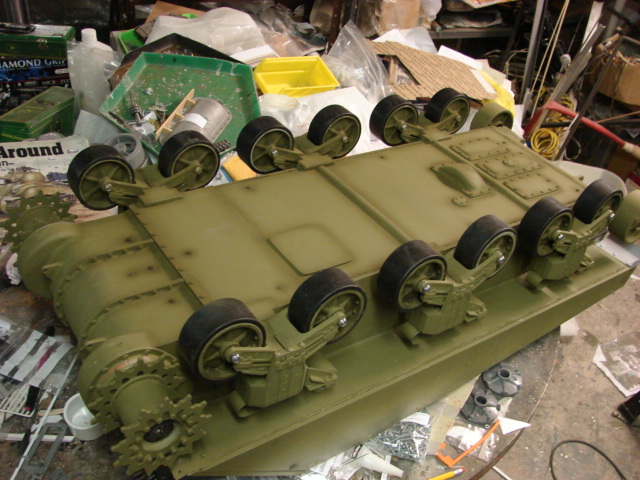
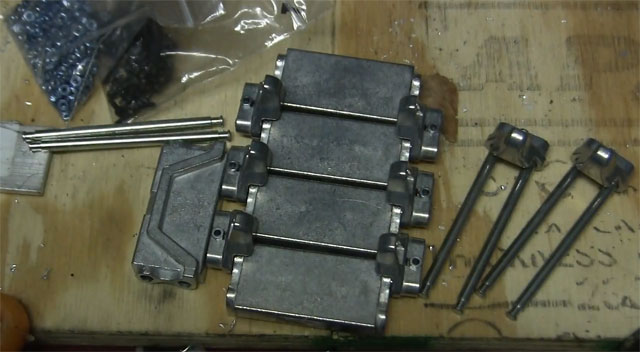
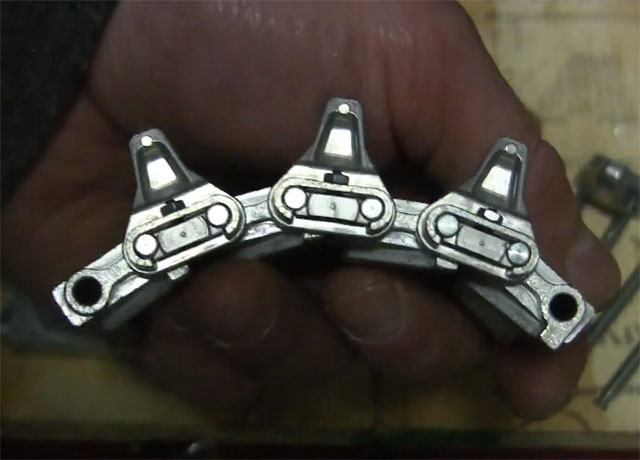
 The model’s sprockets are almost identical to the sprockets on the first sherman release. The only difference between the two releases is that the teeth ring on the firefly release is made out of Aluminum while the first release was made out of steel.
 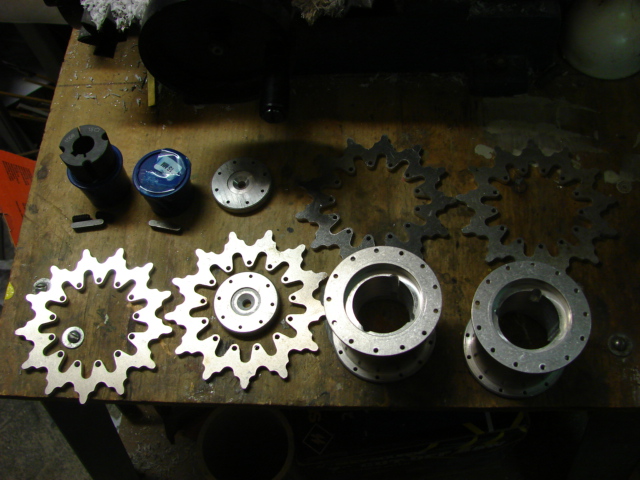 The sprockets are all bolt together assembly, and are very durable. To aid in the assembly of the sprockets I assemble a small length of track and use it as a timing guide. While the track is threaded onto the sprocket the track aligns the teeth perfectly. Once the bolts are tightened the track is removed and the sprocket is complete.
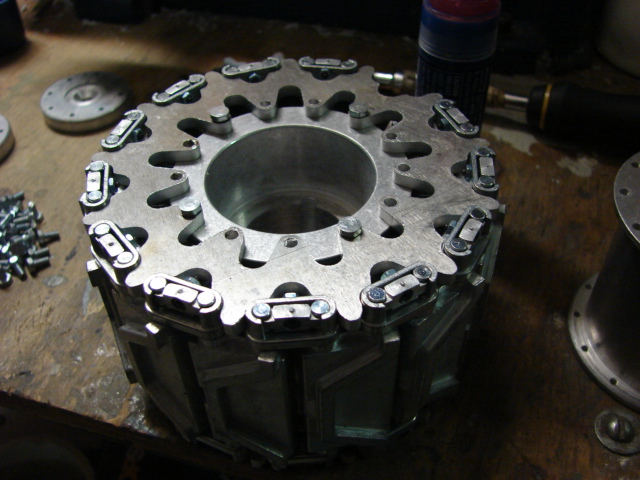
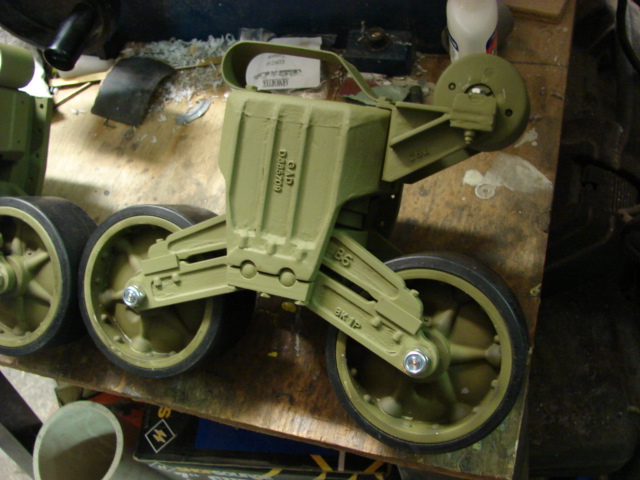
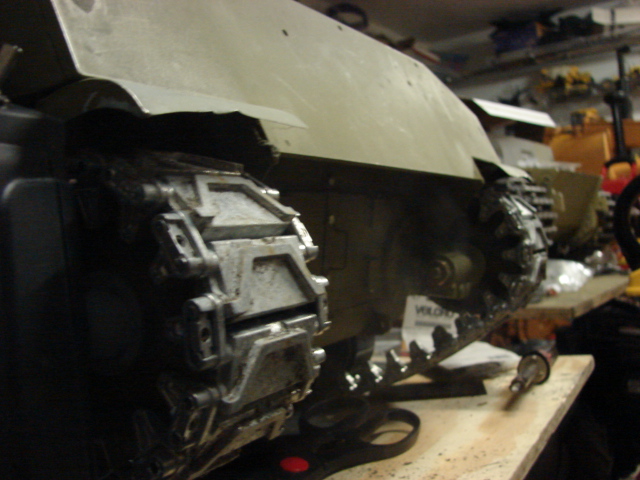
 After the sprockets are primed / painted they are mounted to the tank via the taper brush lock. The sprocket mounts on very smoothly and no mods are needed.
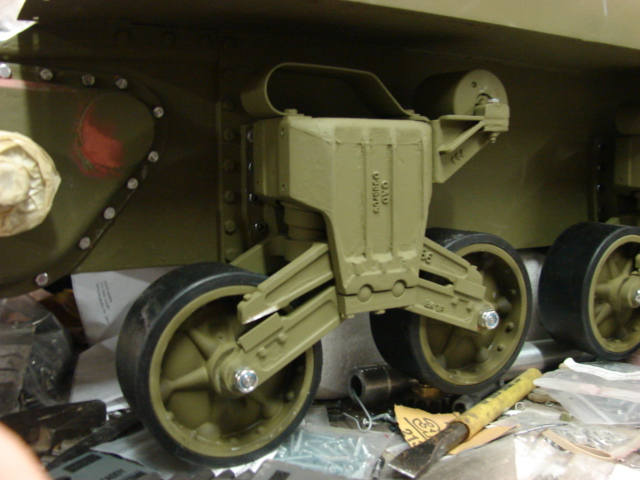
 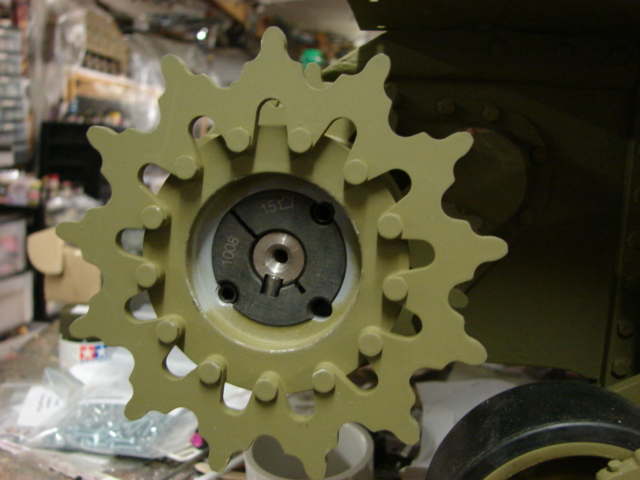 The model’s idlers were also mounted with few mods added. Like the Idler mounts on the tiger the adjustable rear idler mount is made out of Steel. They are strong and no mods are needed for this part. They were simply primed, painted, and weathered.
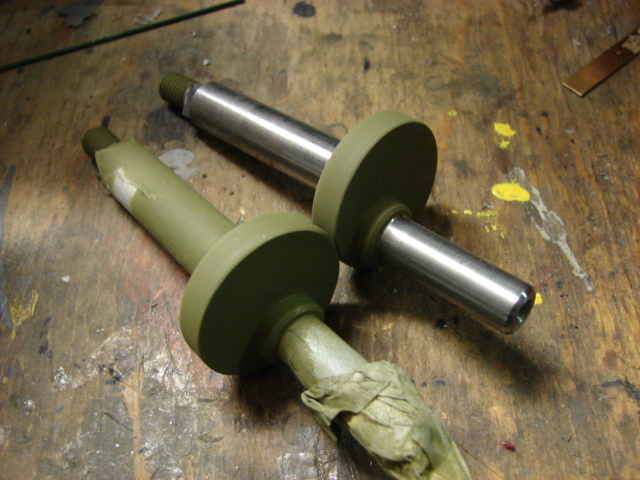
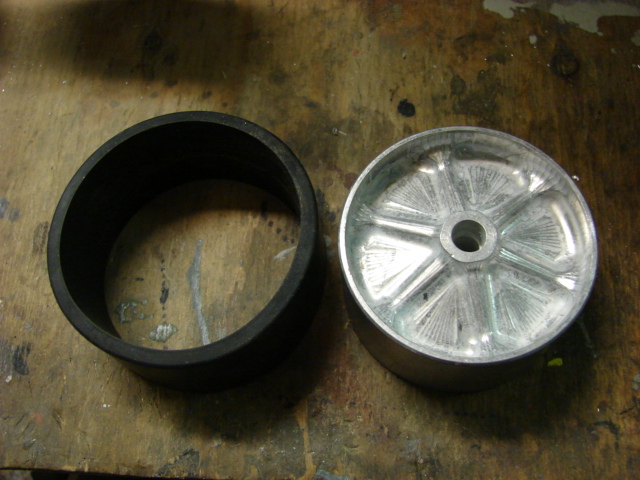
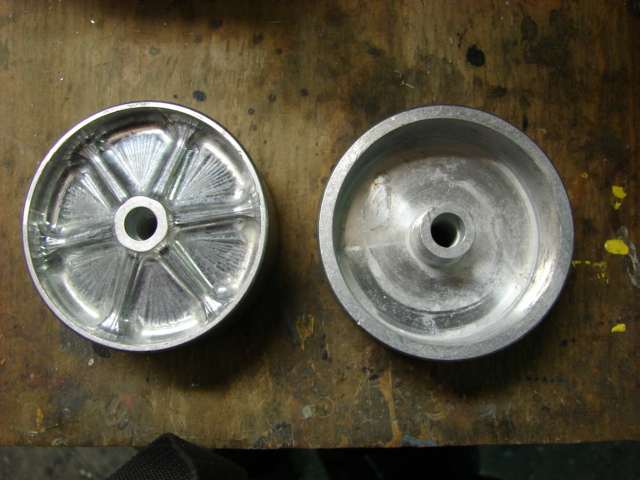
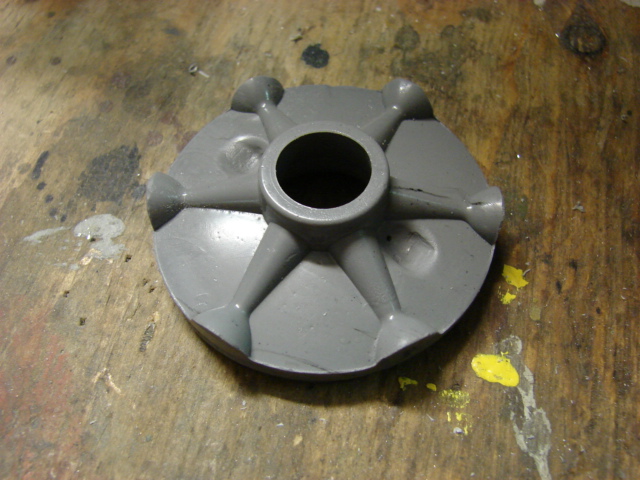
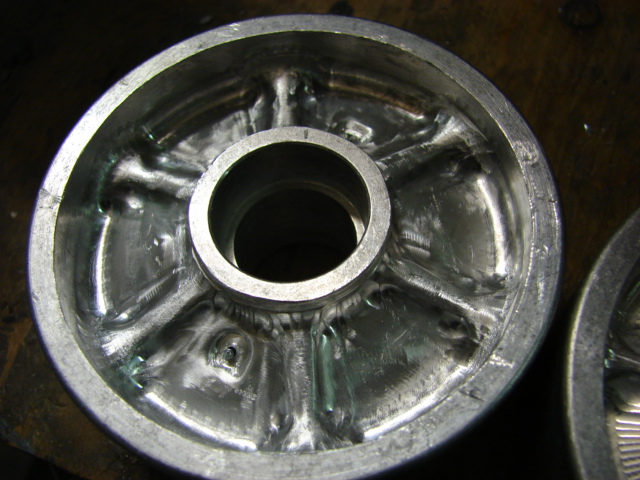
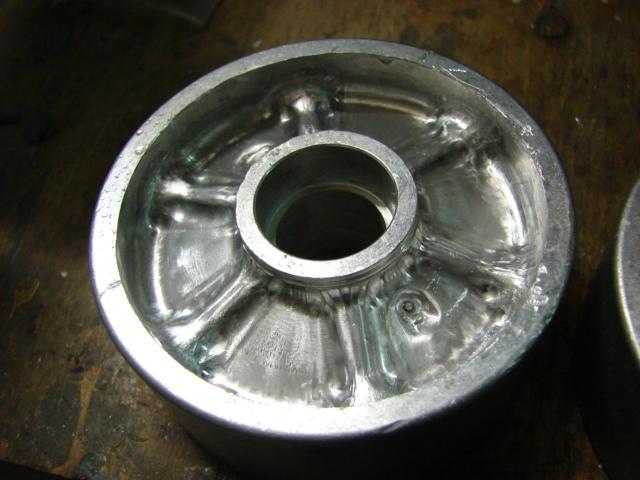
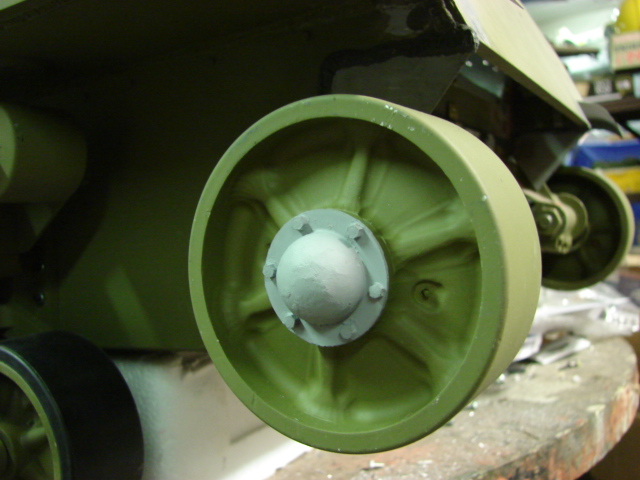
 Like the road wheels the Idler wheels are made out of CNCed Aluminum. They represent the stamped pattern idler wheel. The wheels feature both back and face details and basic zerk fitting wells. Like the road wheels the idlers have some tooling marks on them.
 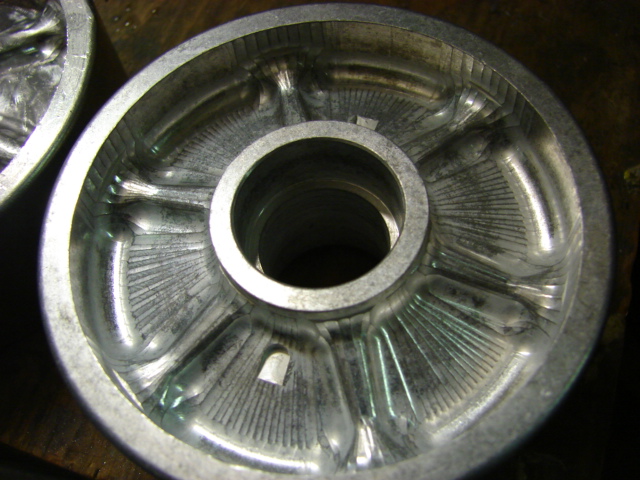 The tooling marks were removed, and the zerk fitting wells were enlarged. To buff away the marks I utilized a dremel with a sandpaper cutting disc, and a Mill to enlarge the wells. Zerk fittings were also added.
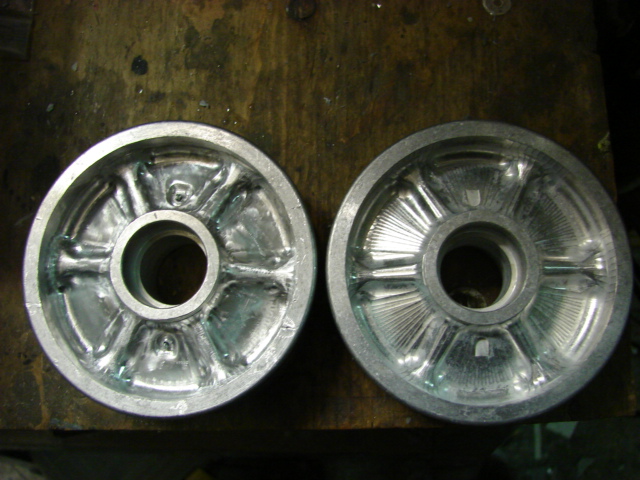
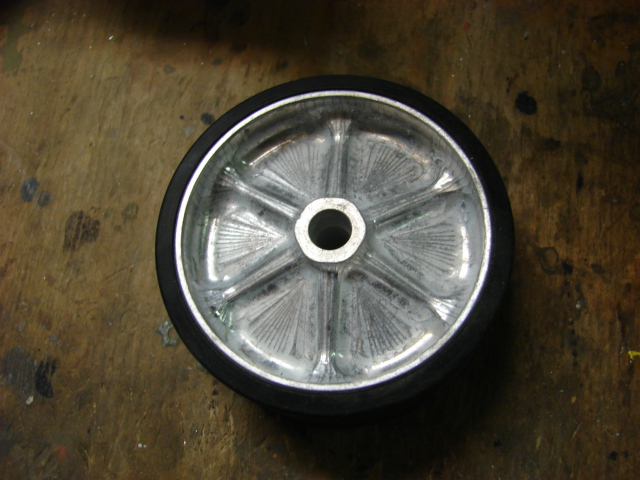
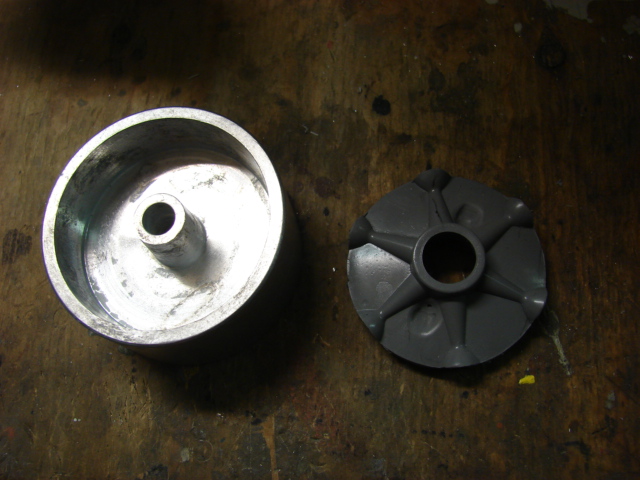
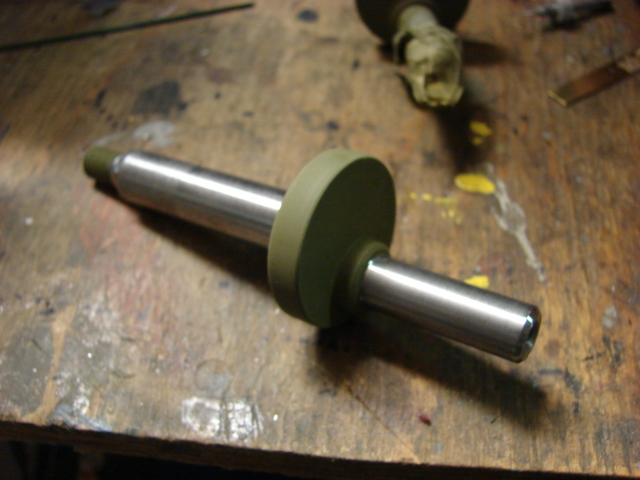
 Before installation I added the weathering to the rear portions of the idler wheels as they will not be accessible when mounted to the tank. As of note, after installation I was doing some research and found out that there are no zerk fittings and wells on the rear portion of the idler. I will leave the wheel as is as the wheel rear detailing is not noticeable when the track is on and at proper tension.
 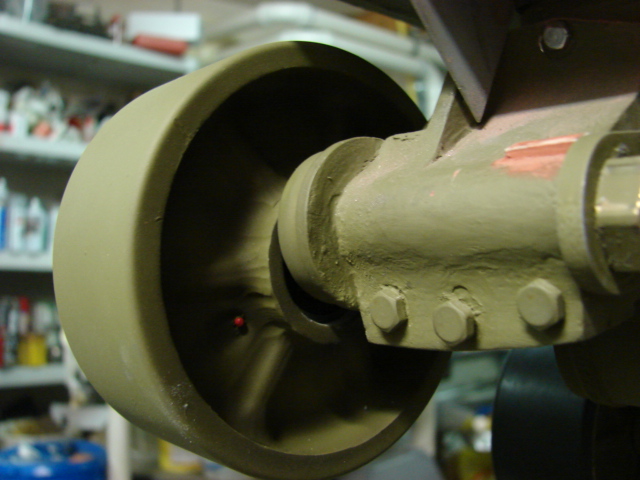 The wheels mount to the tank via a single bolt and disc. A small smear of thread lock and the idler is mounted.
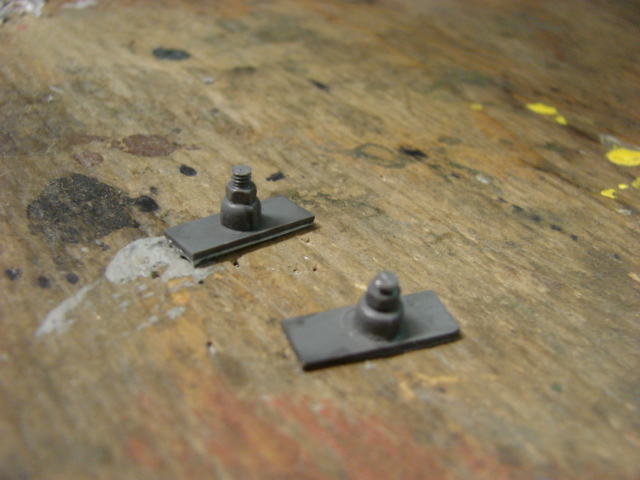
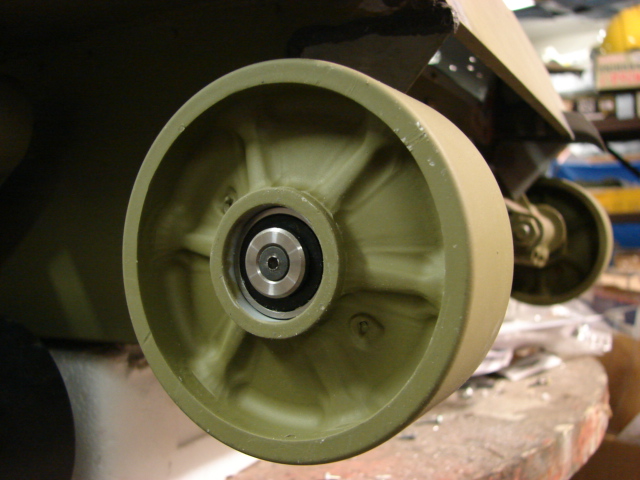
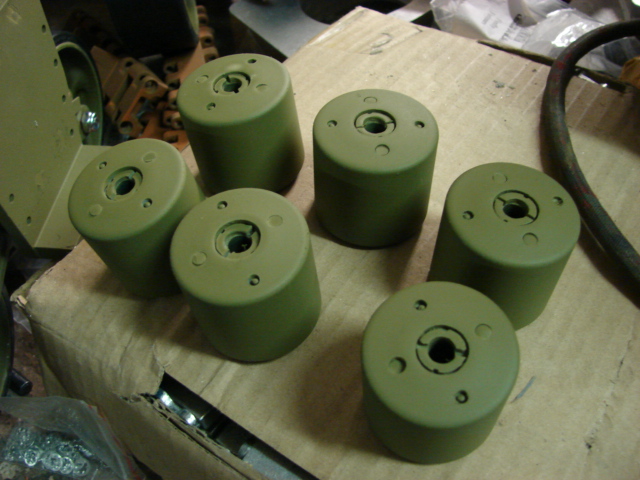
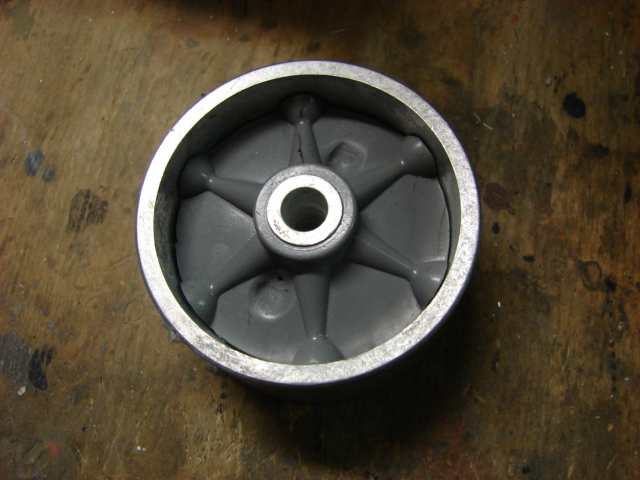
 The kit also supplies you with a basic aluminum hubcap. In it’s place I will be using one of my resin sherman hub caps.
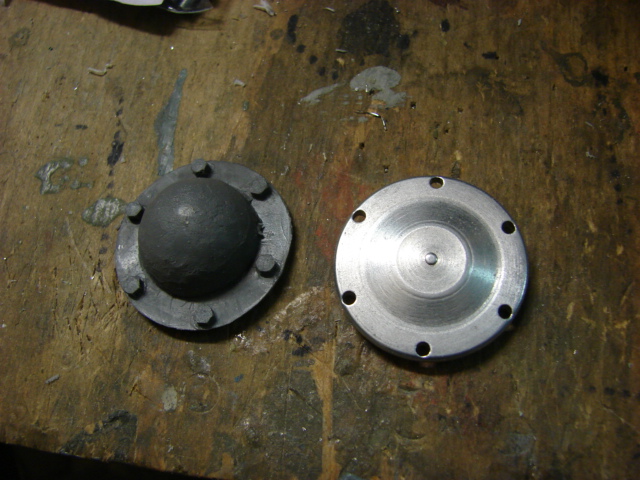
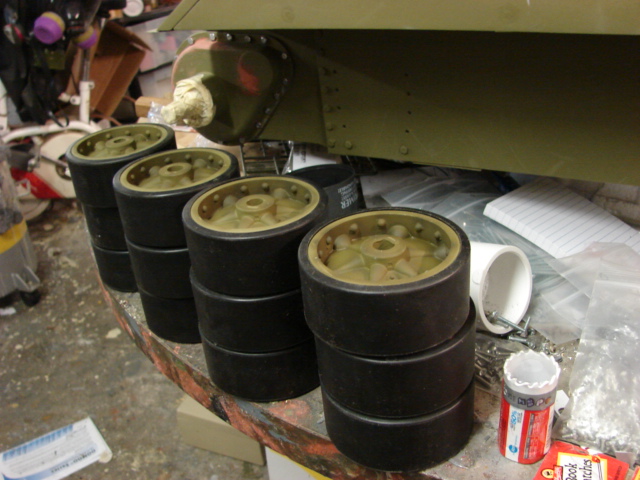
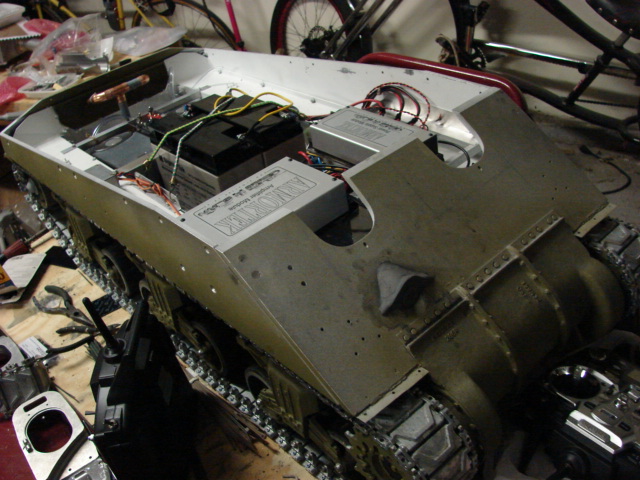
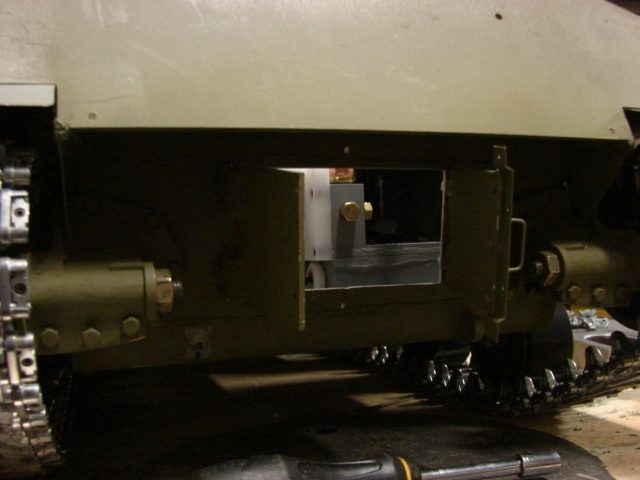
 I also was able to rotate the hull to get access to weather the lower hull. Once the model progresses from this stage it will be very impracticable to get to this location on the model.
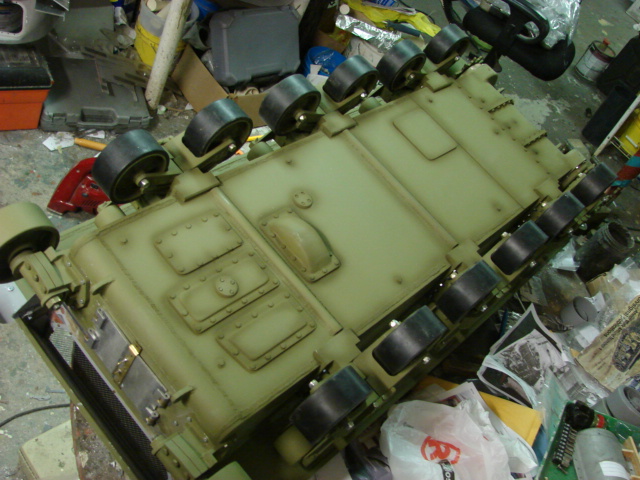
 A youtube update video was made for the project.
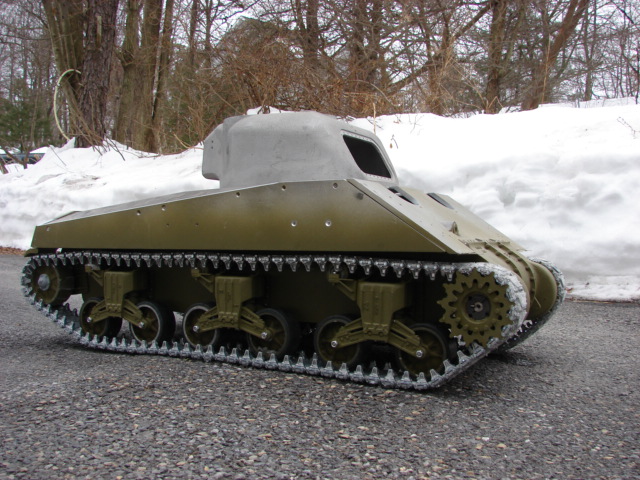

![http://eastcoastarmory.com/forumpic/m4a4/back/DSC00945.JPG[/img]](http://eastcoastarmory.com/forumpic/m4a4/back/DSC00945.JPG%5B/img%5D)