1/6 Fantasy Warrior Jin-Si *WIP*

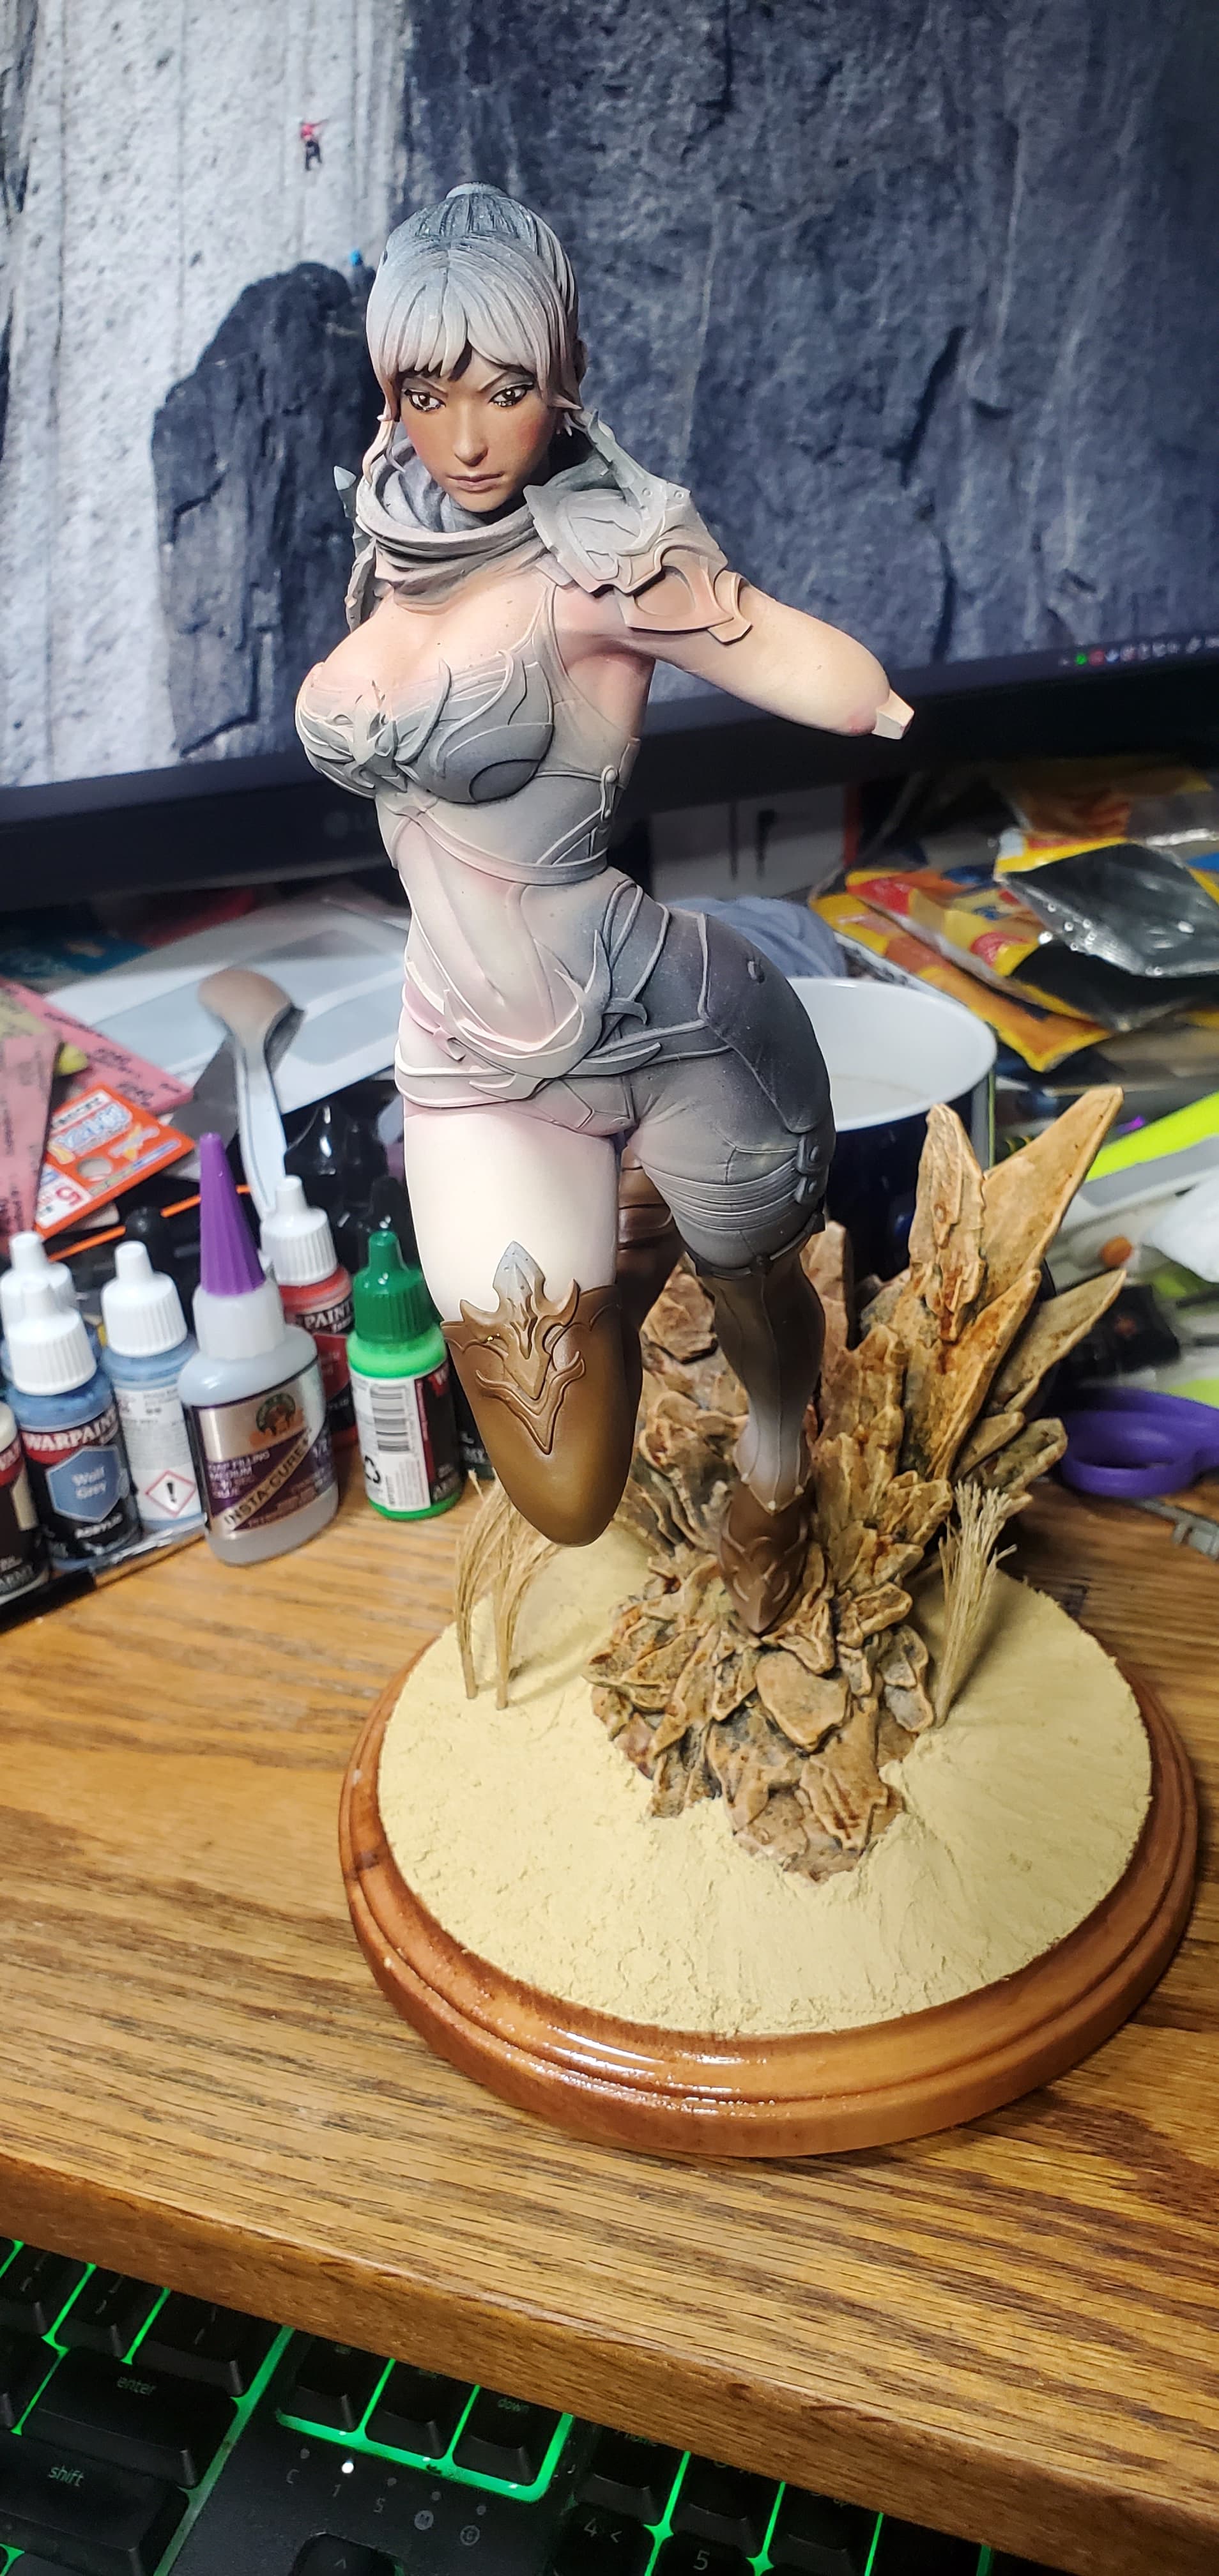
So starting another figure project, this time another sculpt by LDM and part of their Fantasy Figure line.


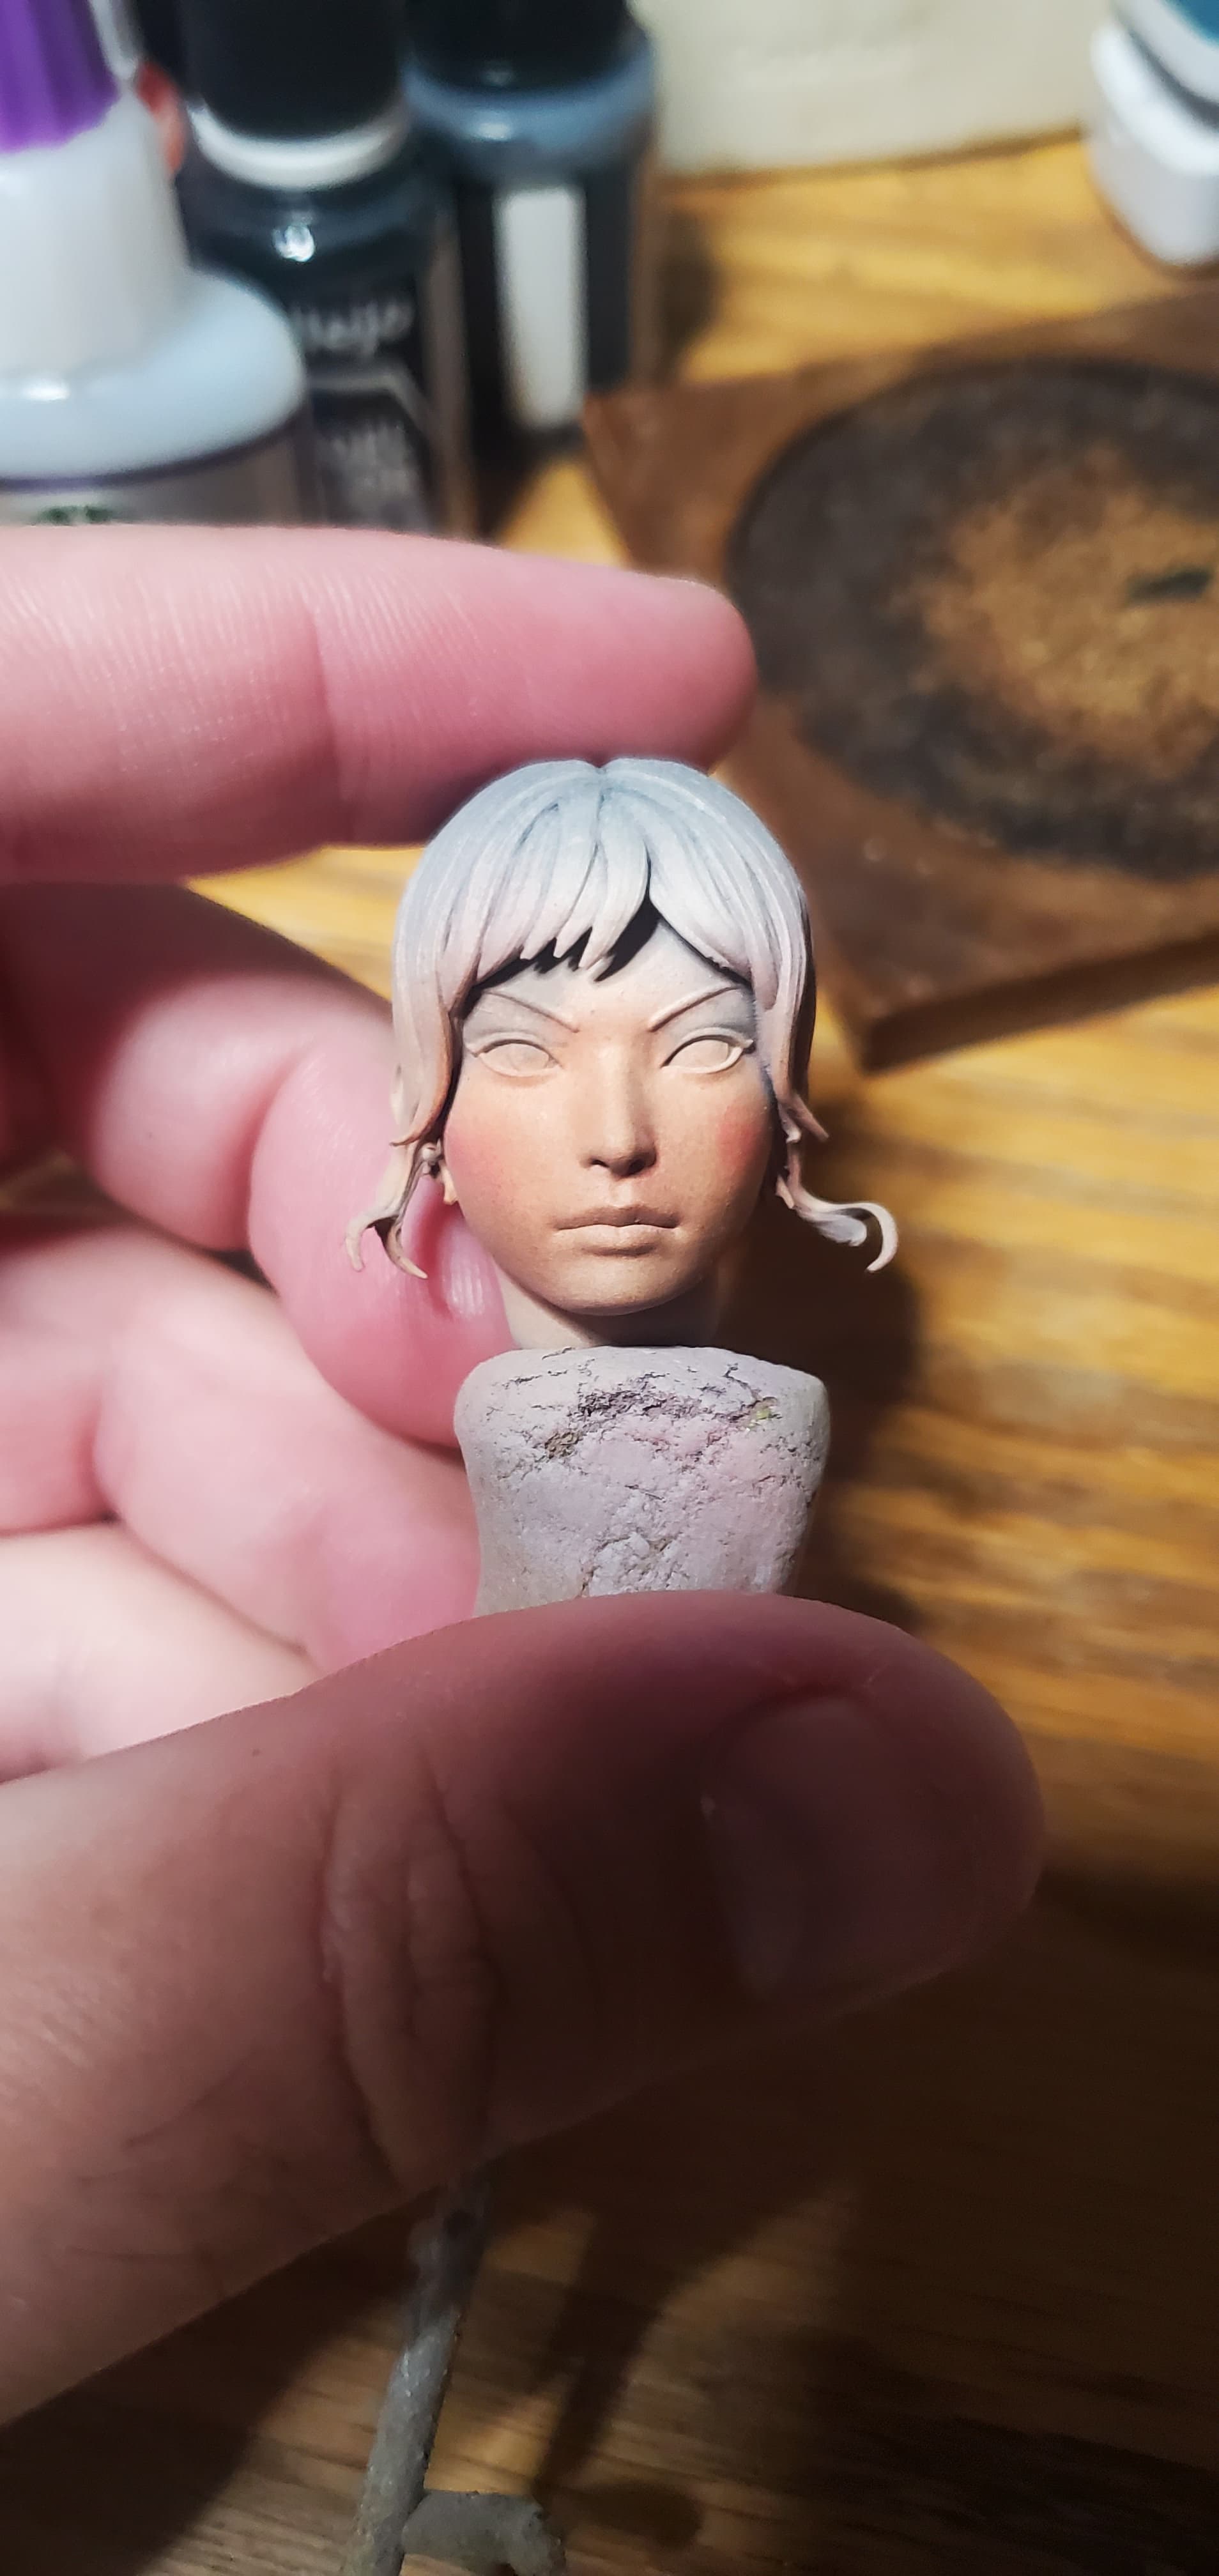
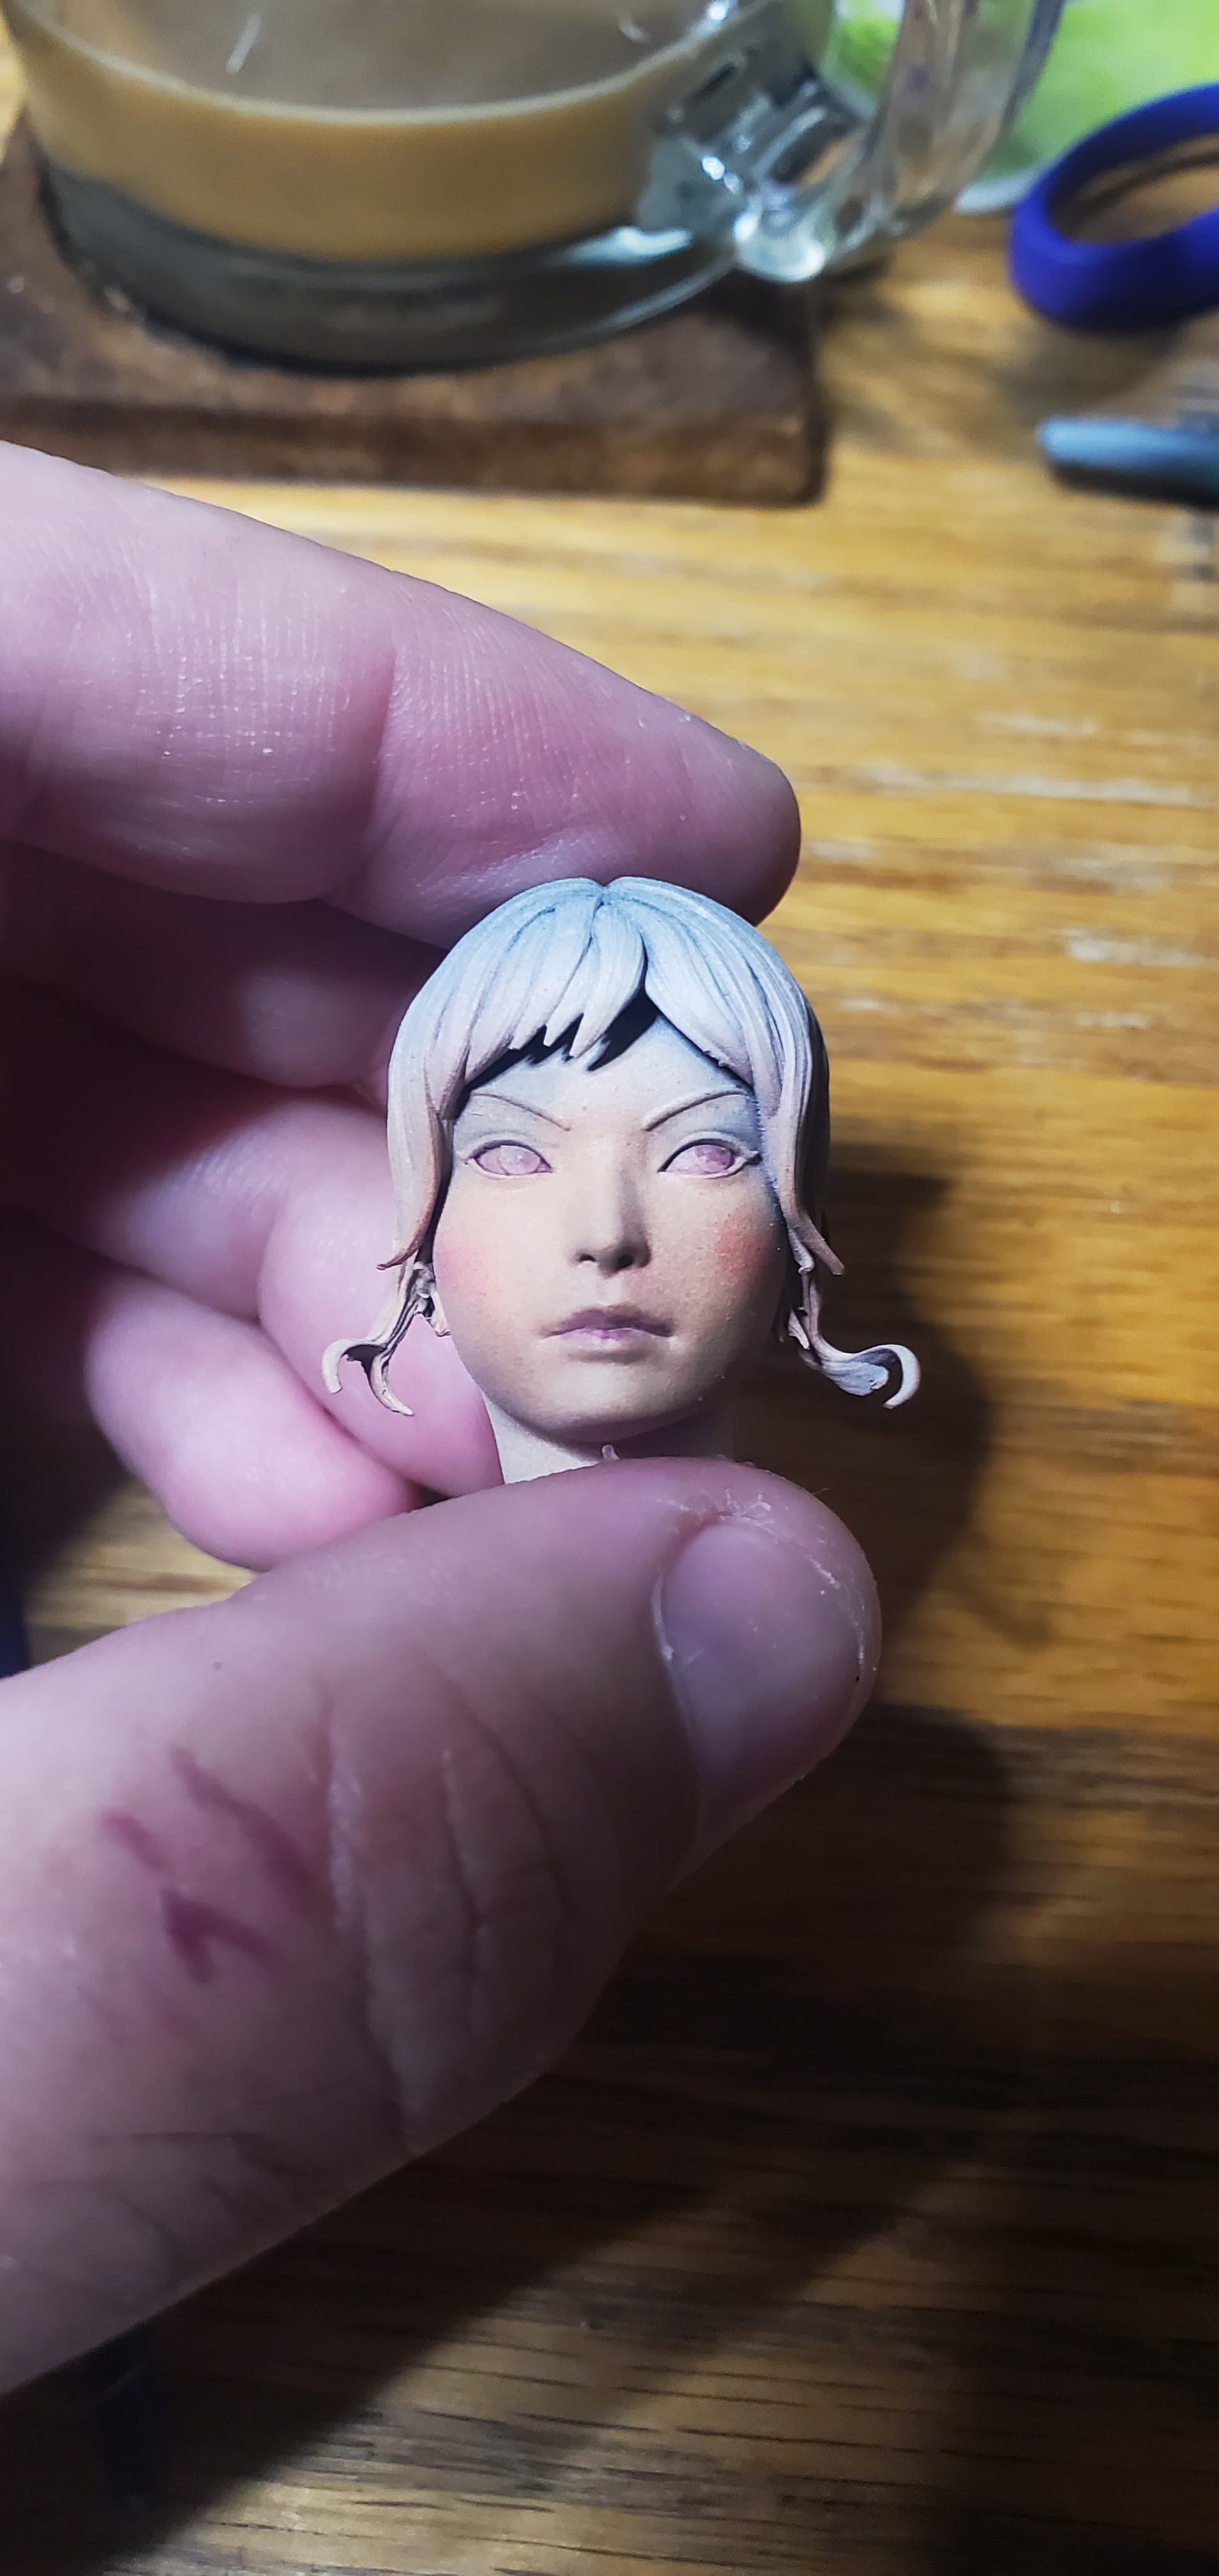
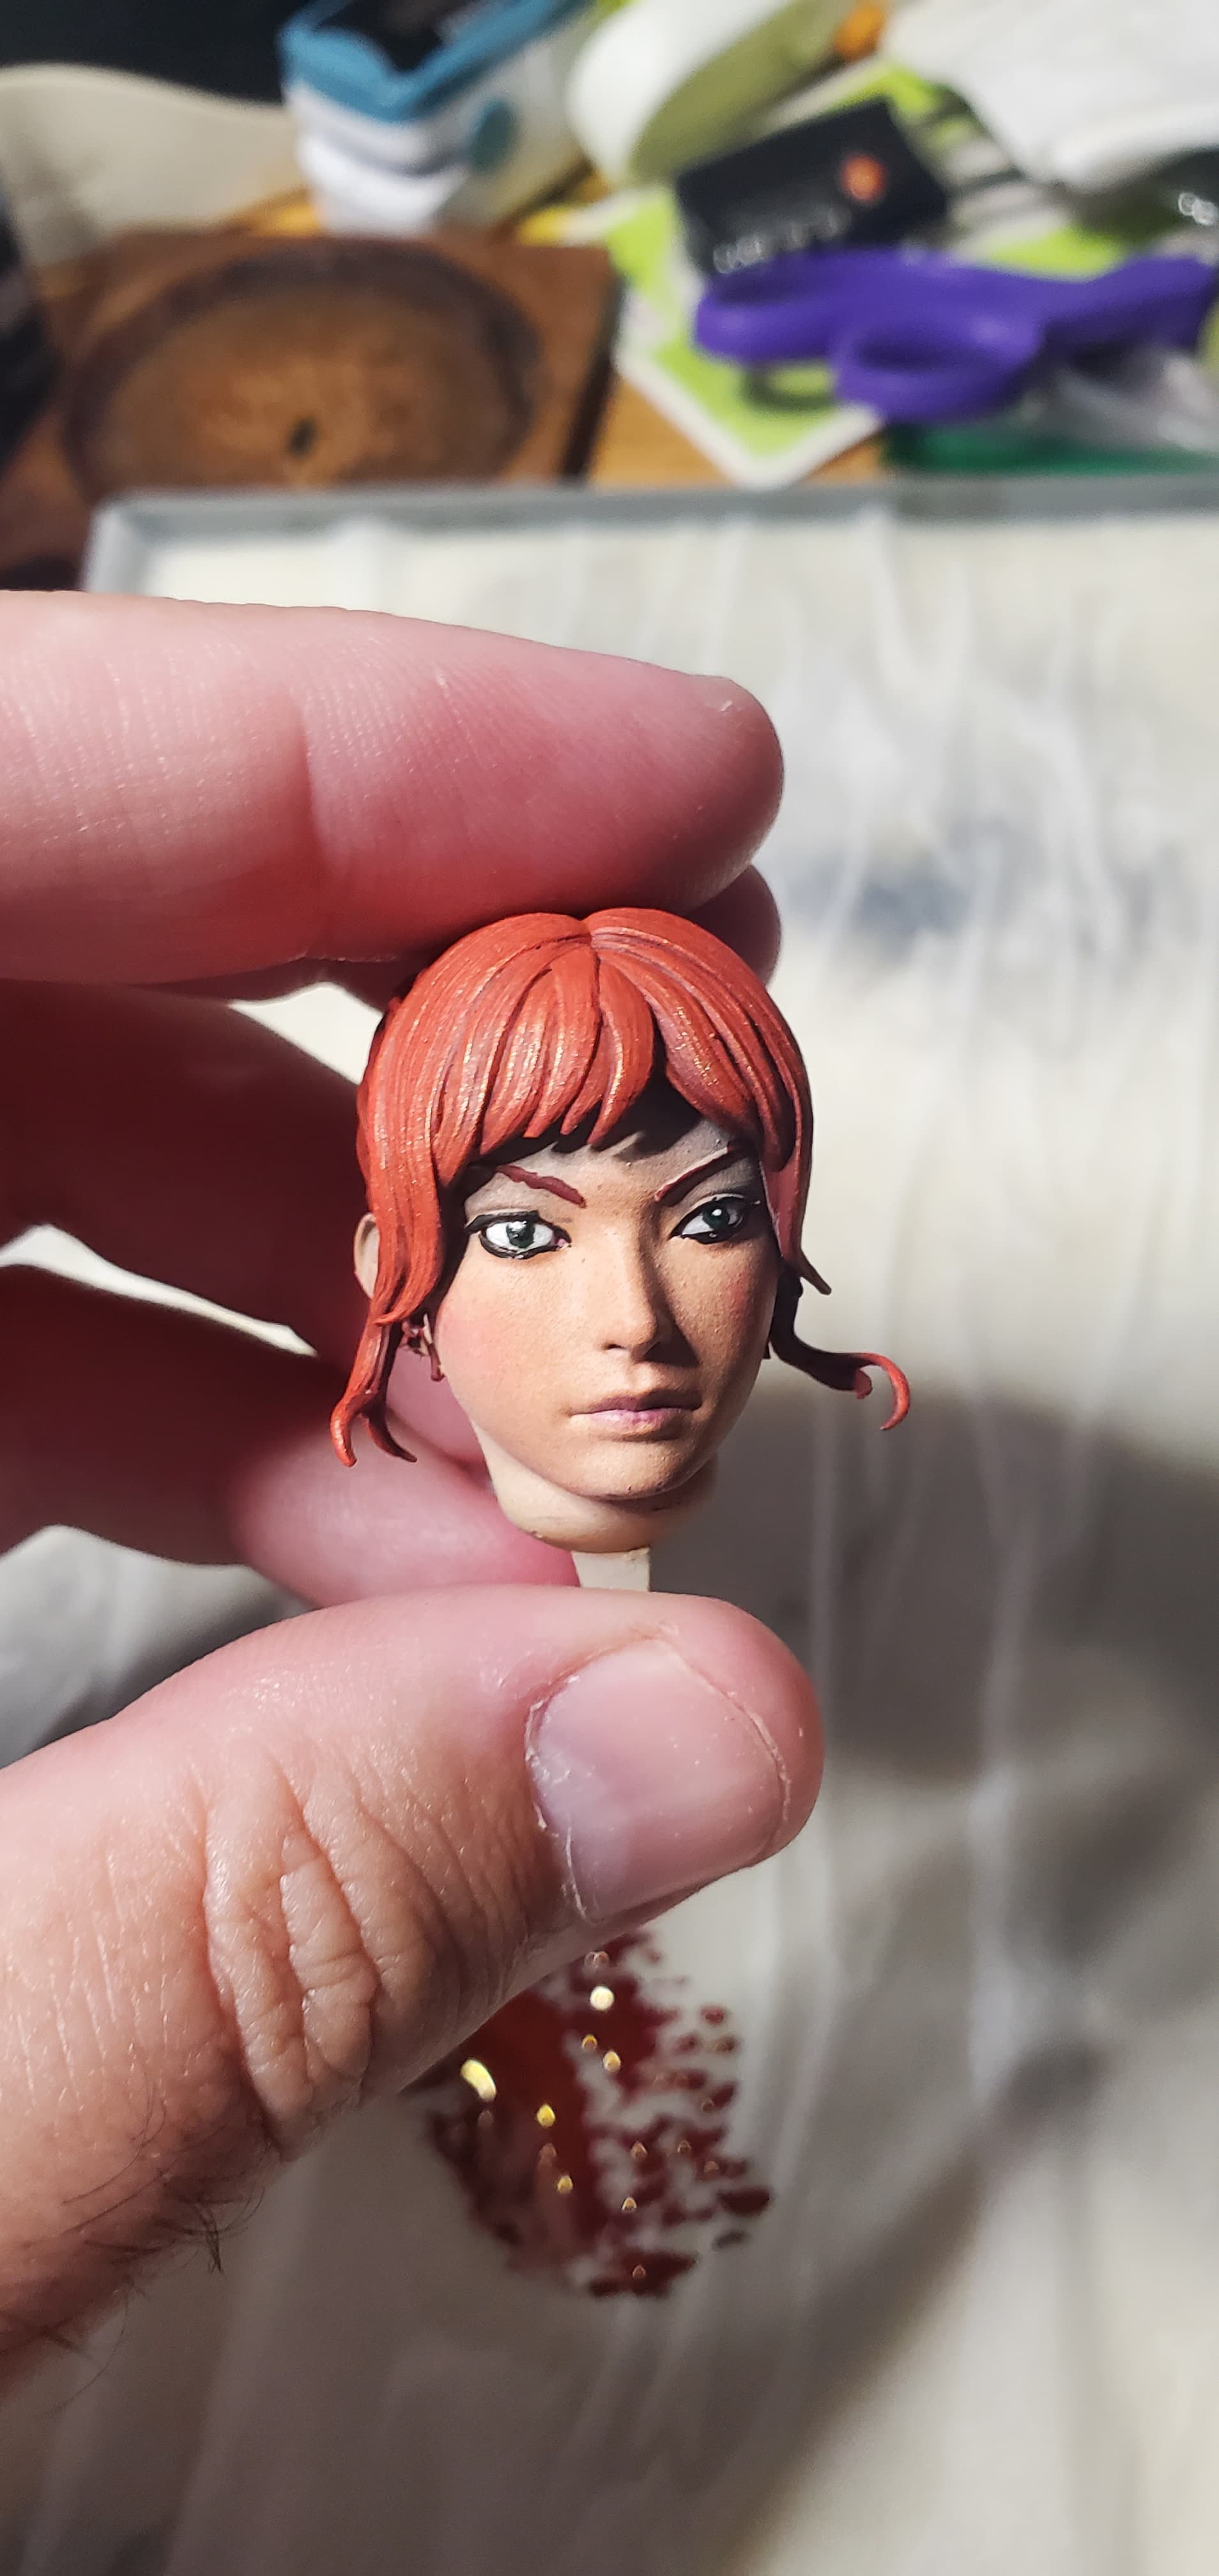
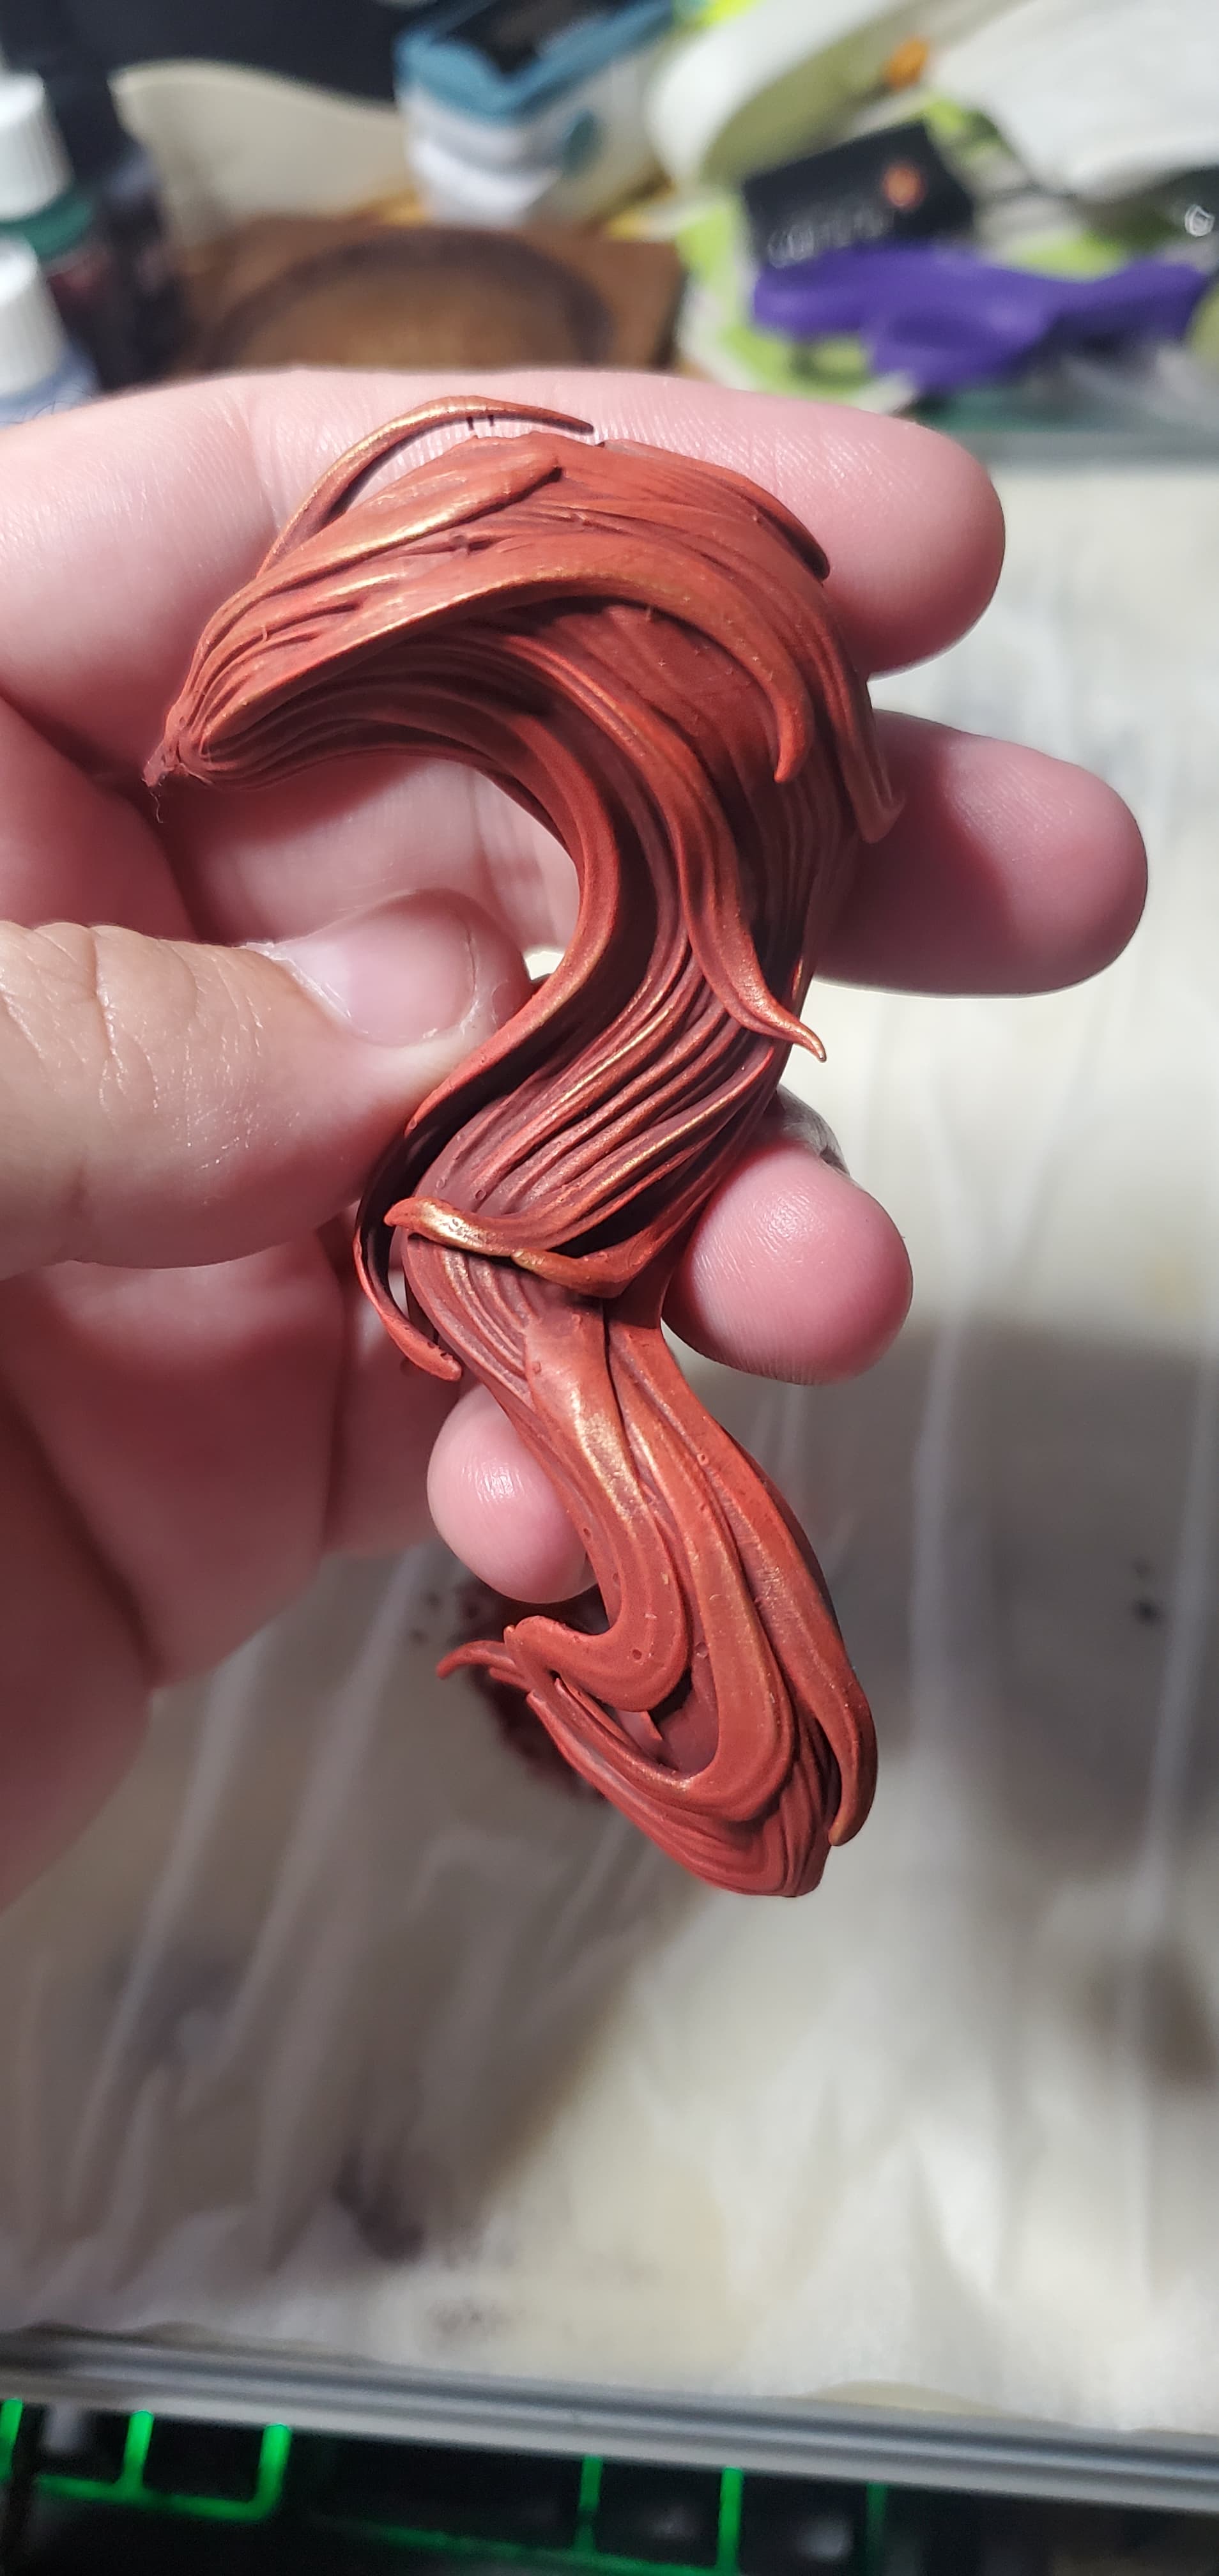
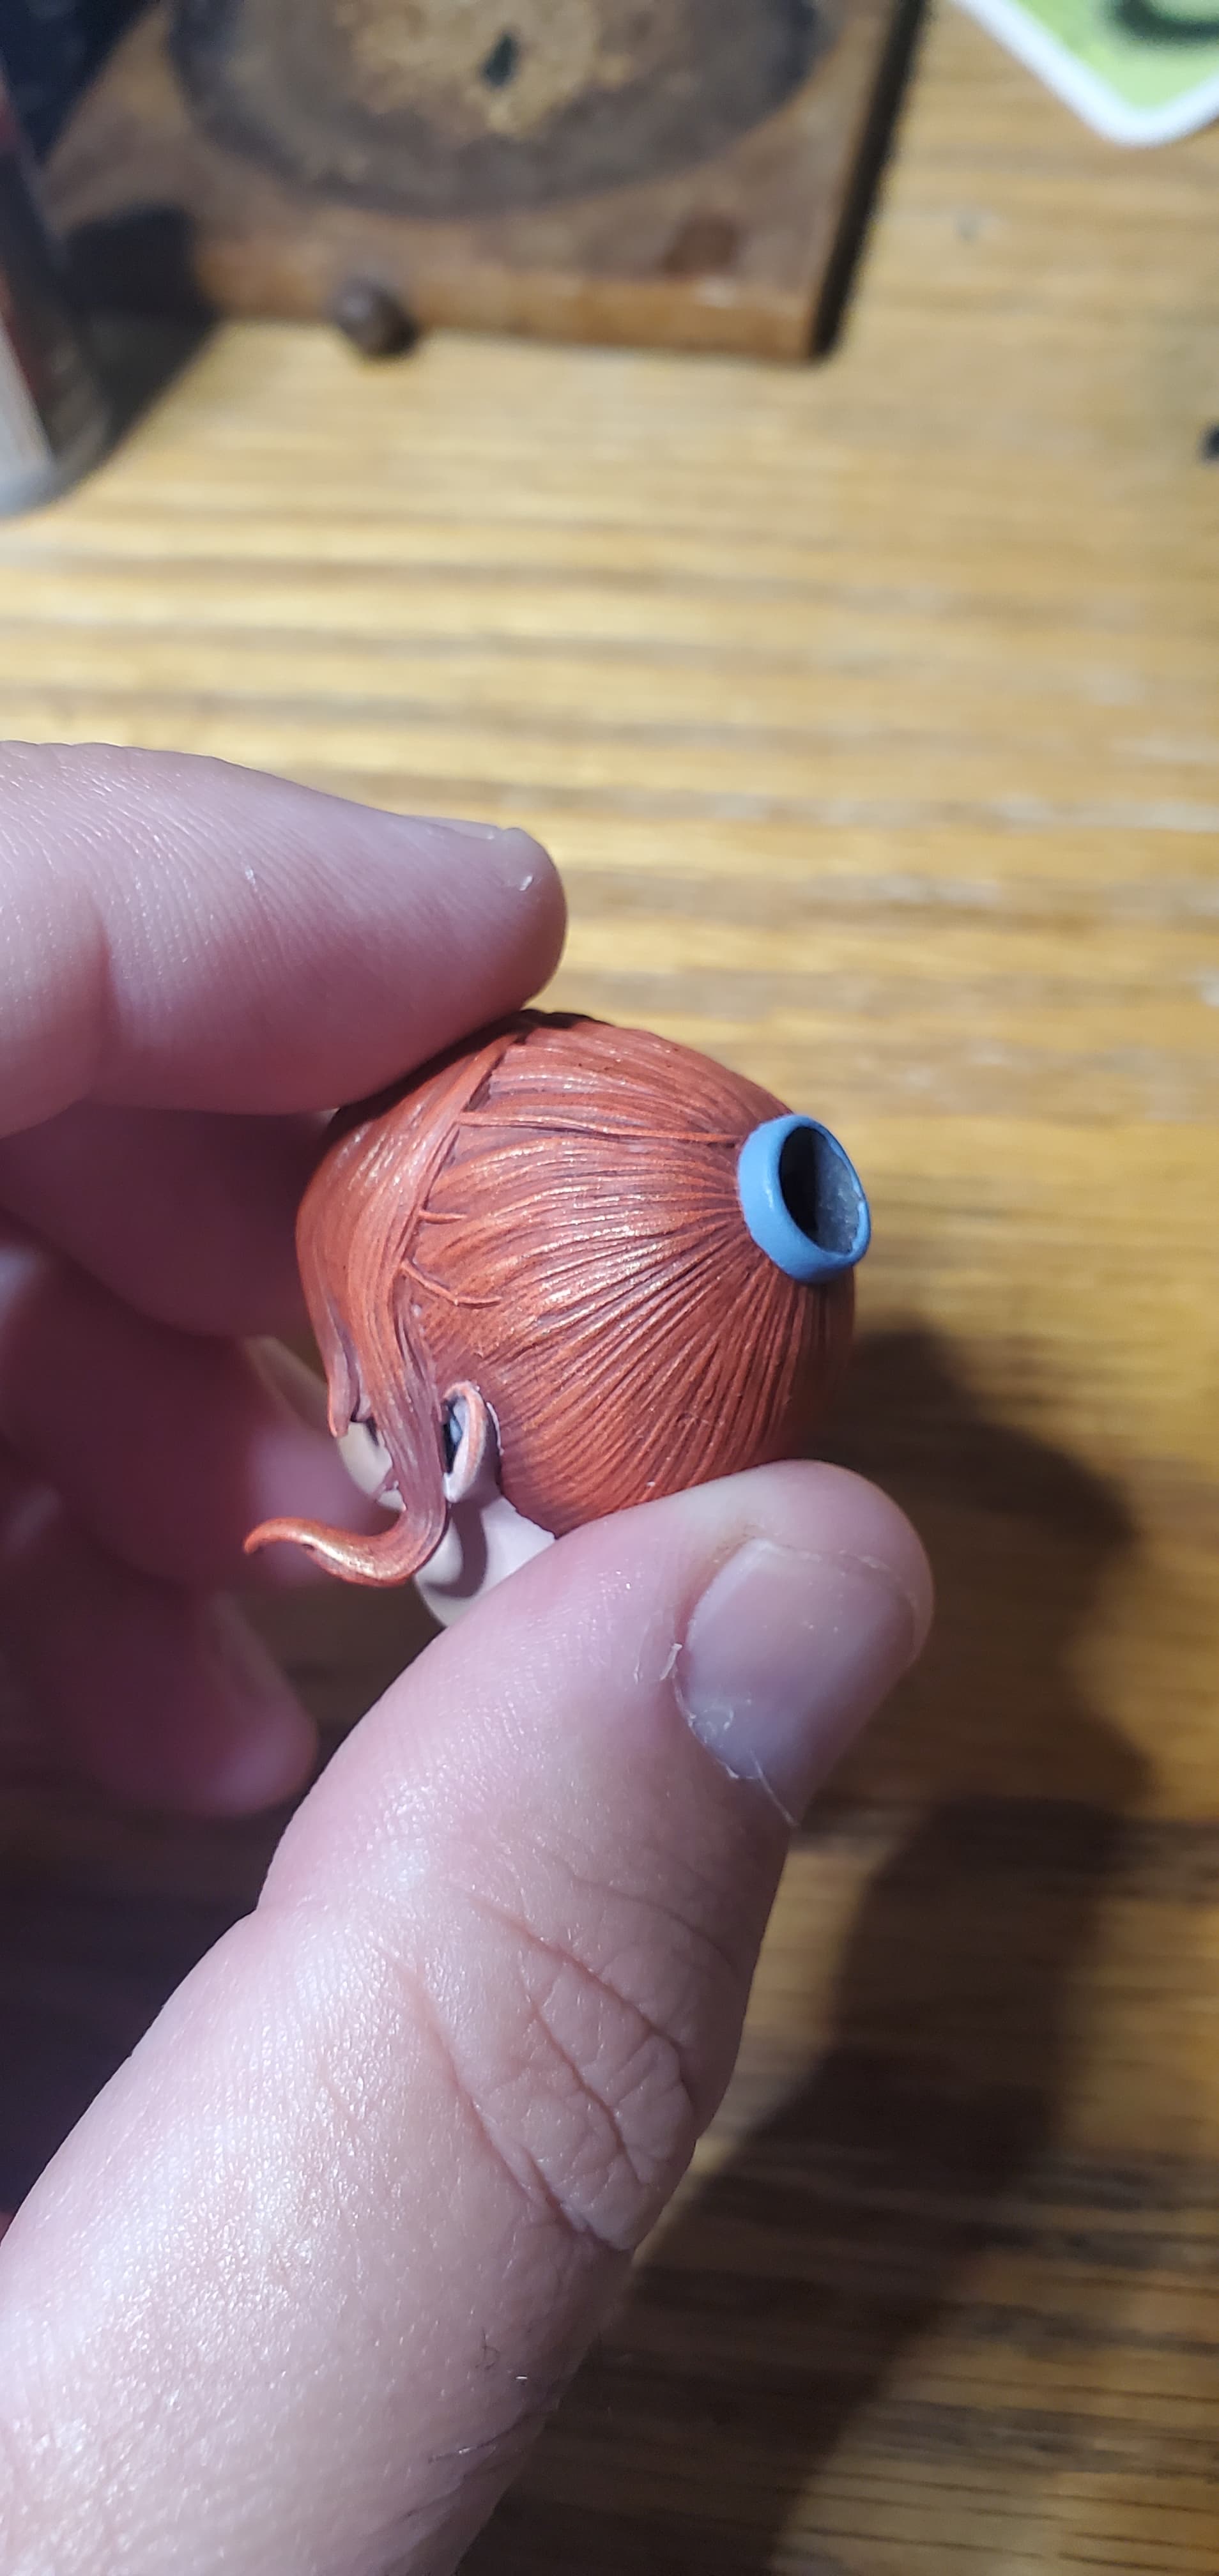
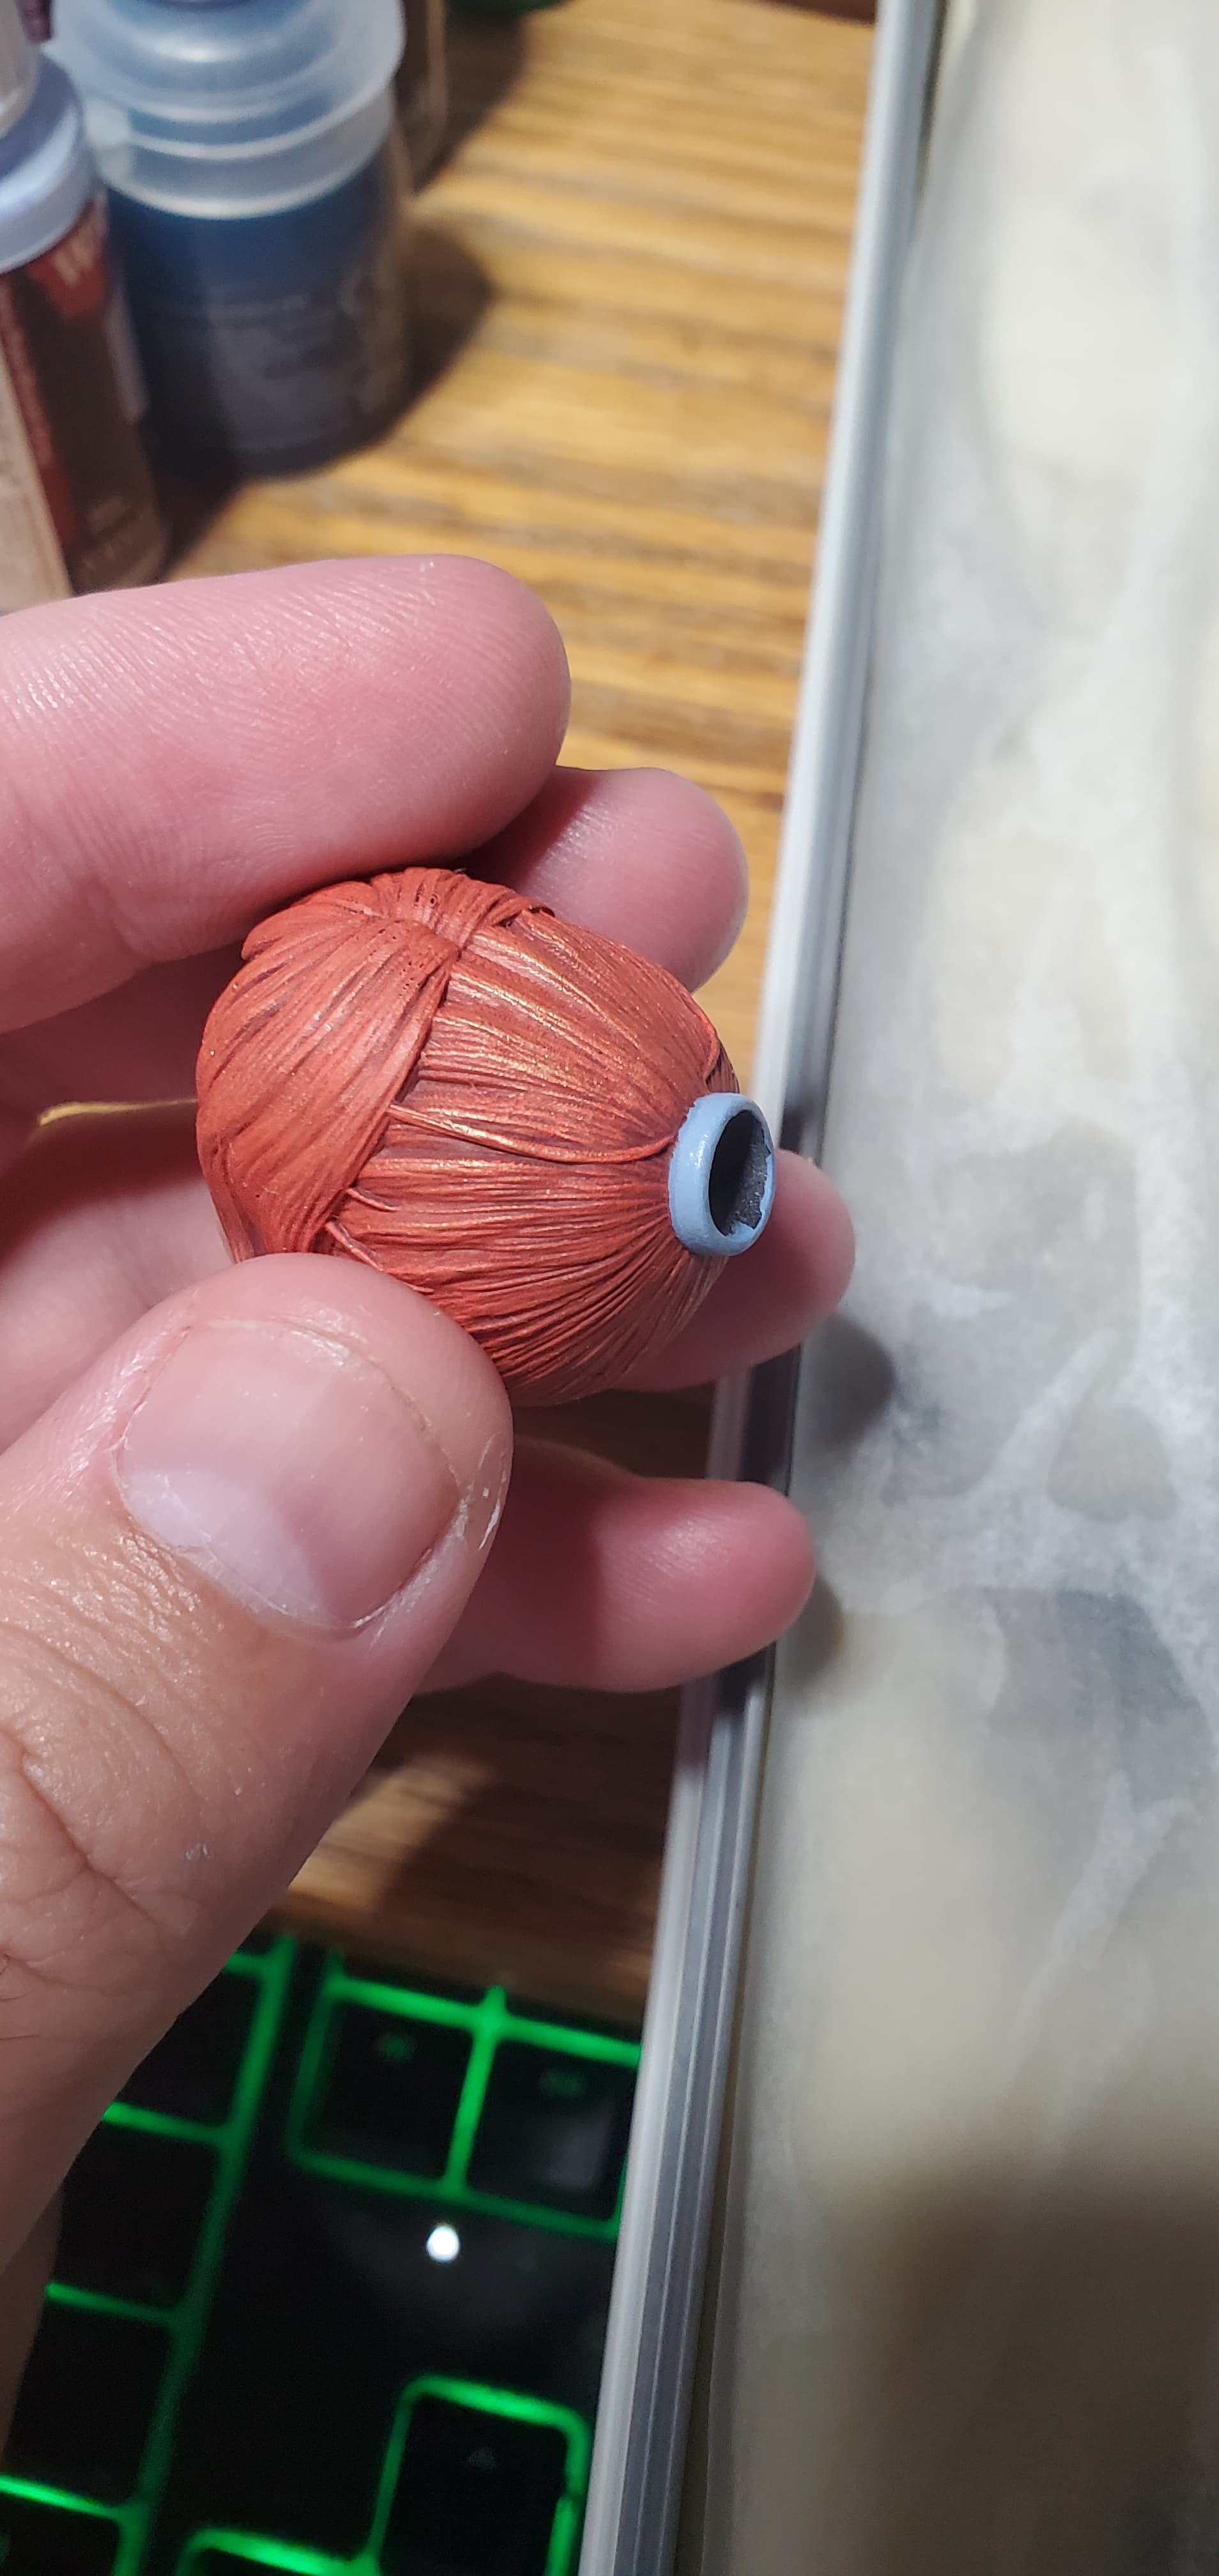
The supplied render for reference of the figure’s design. One thing I am right out of the gate doing is going with my own choices for colors. For her scarf I am going with a light blue gray color, for her hair a bold red, and for her skin a pale complexion. I am also going with a sandstone for the base, and adding in some desert sand terrain elements to it. The other colors I am still refining in my head.


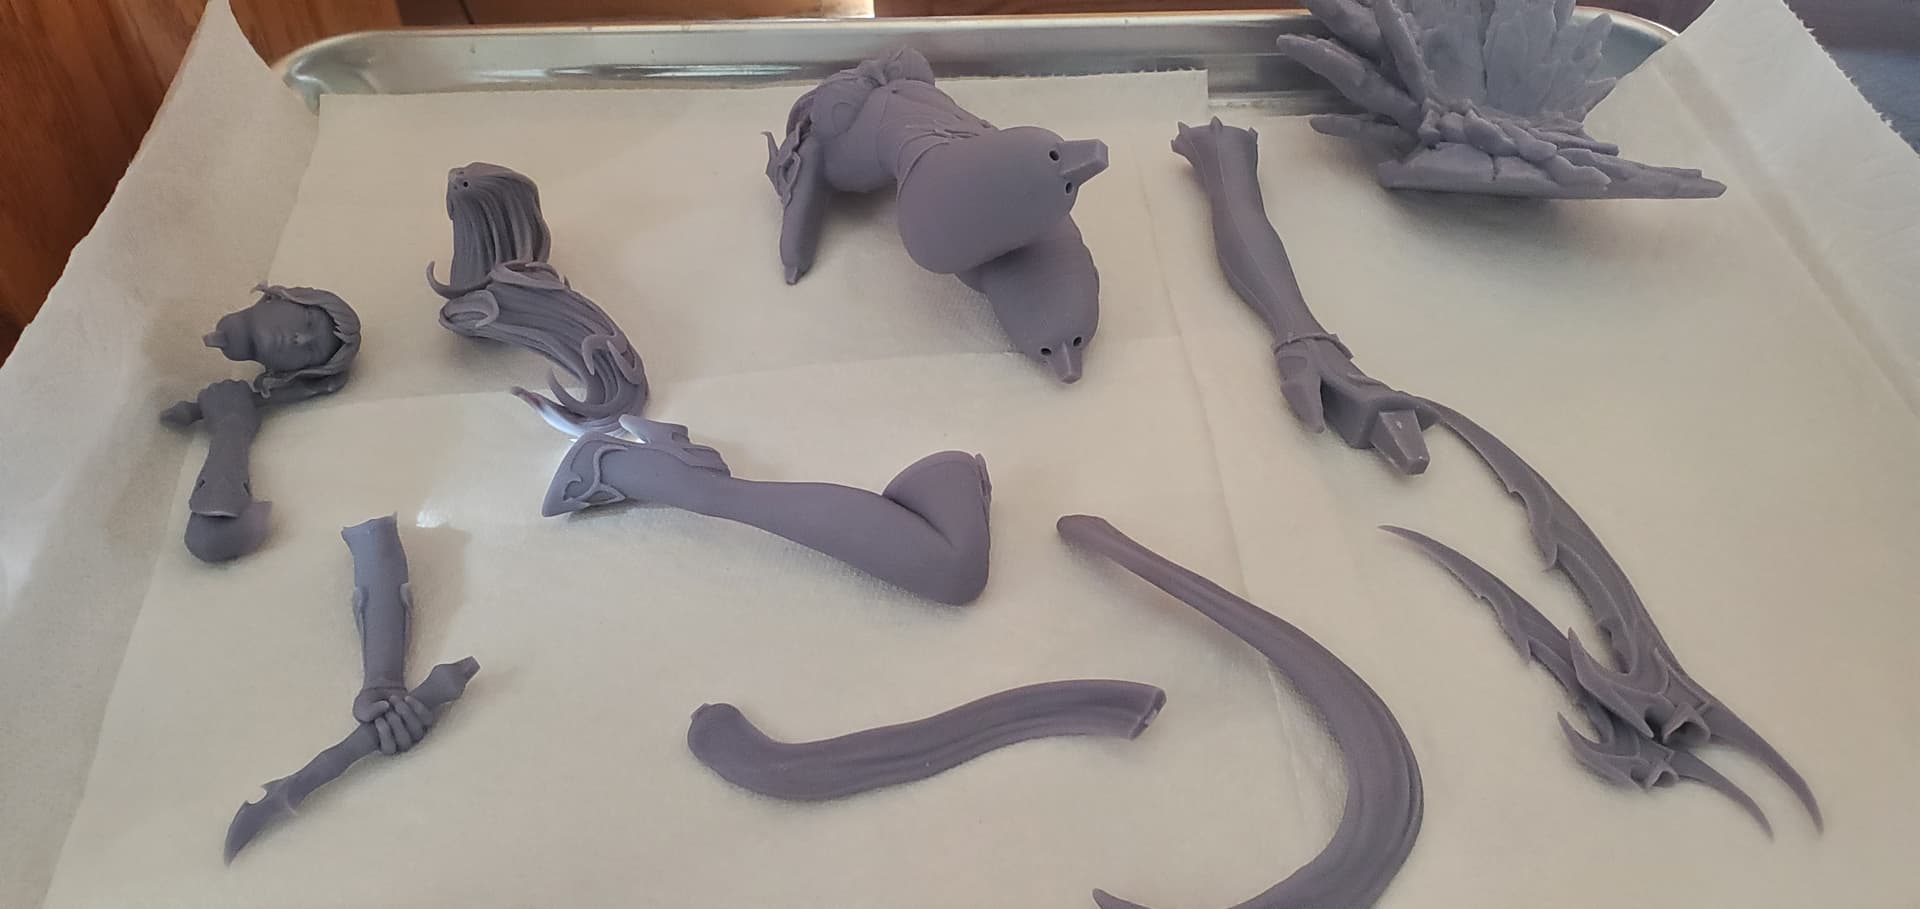
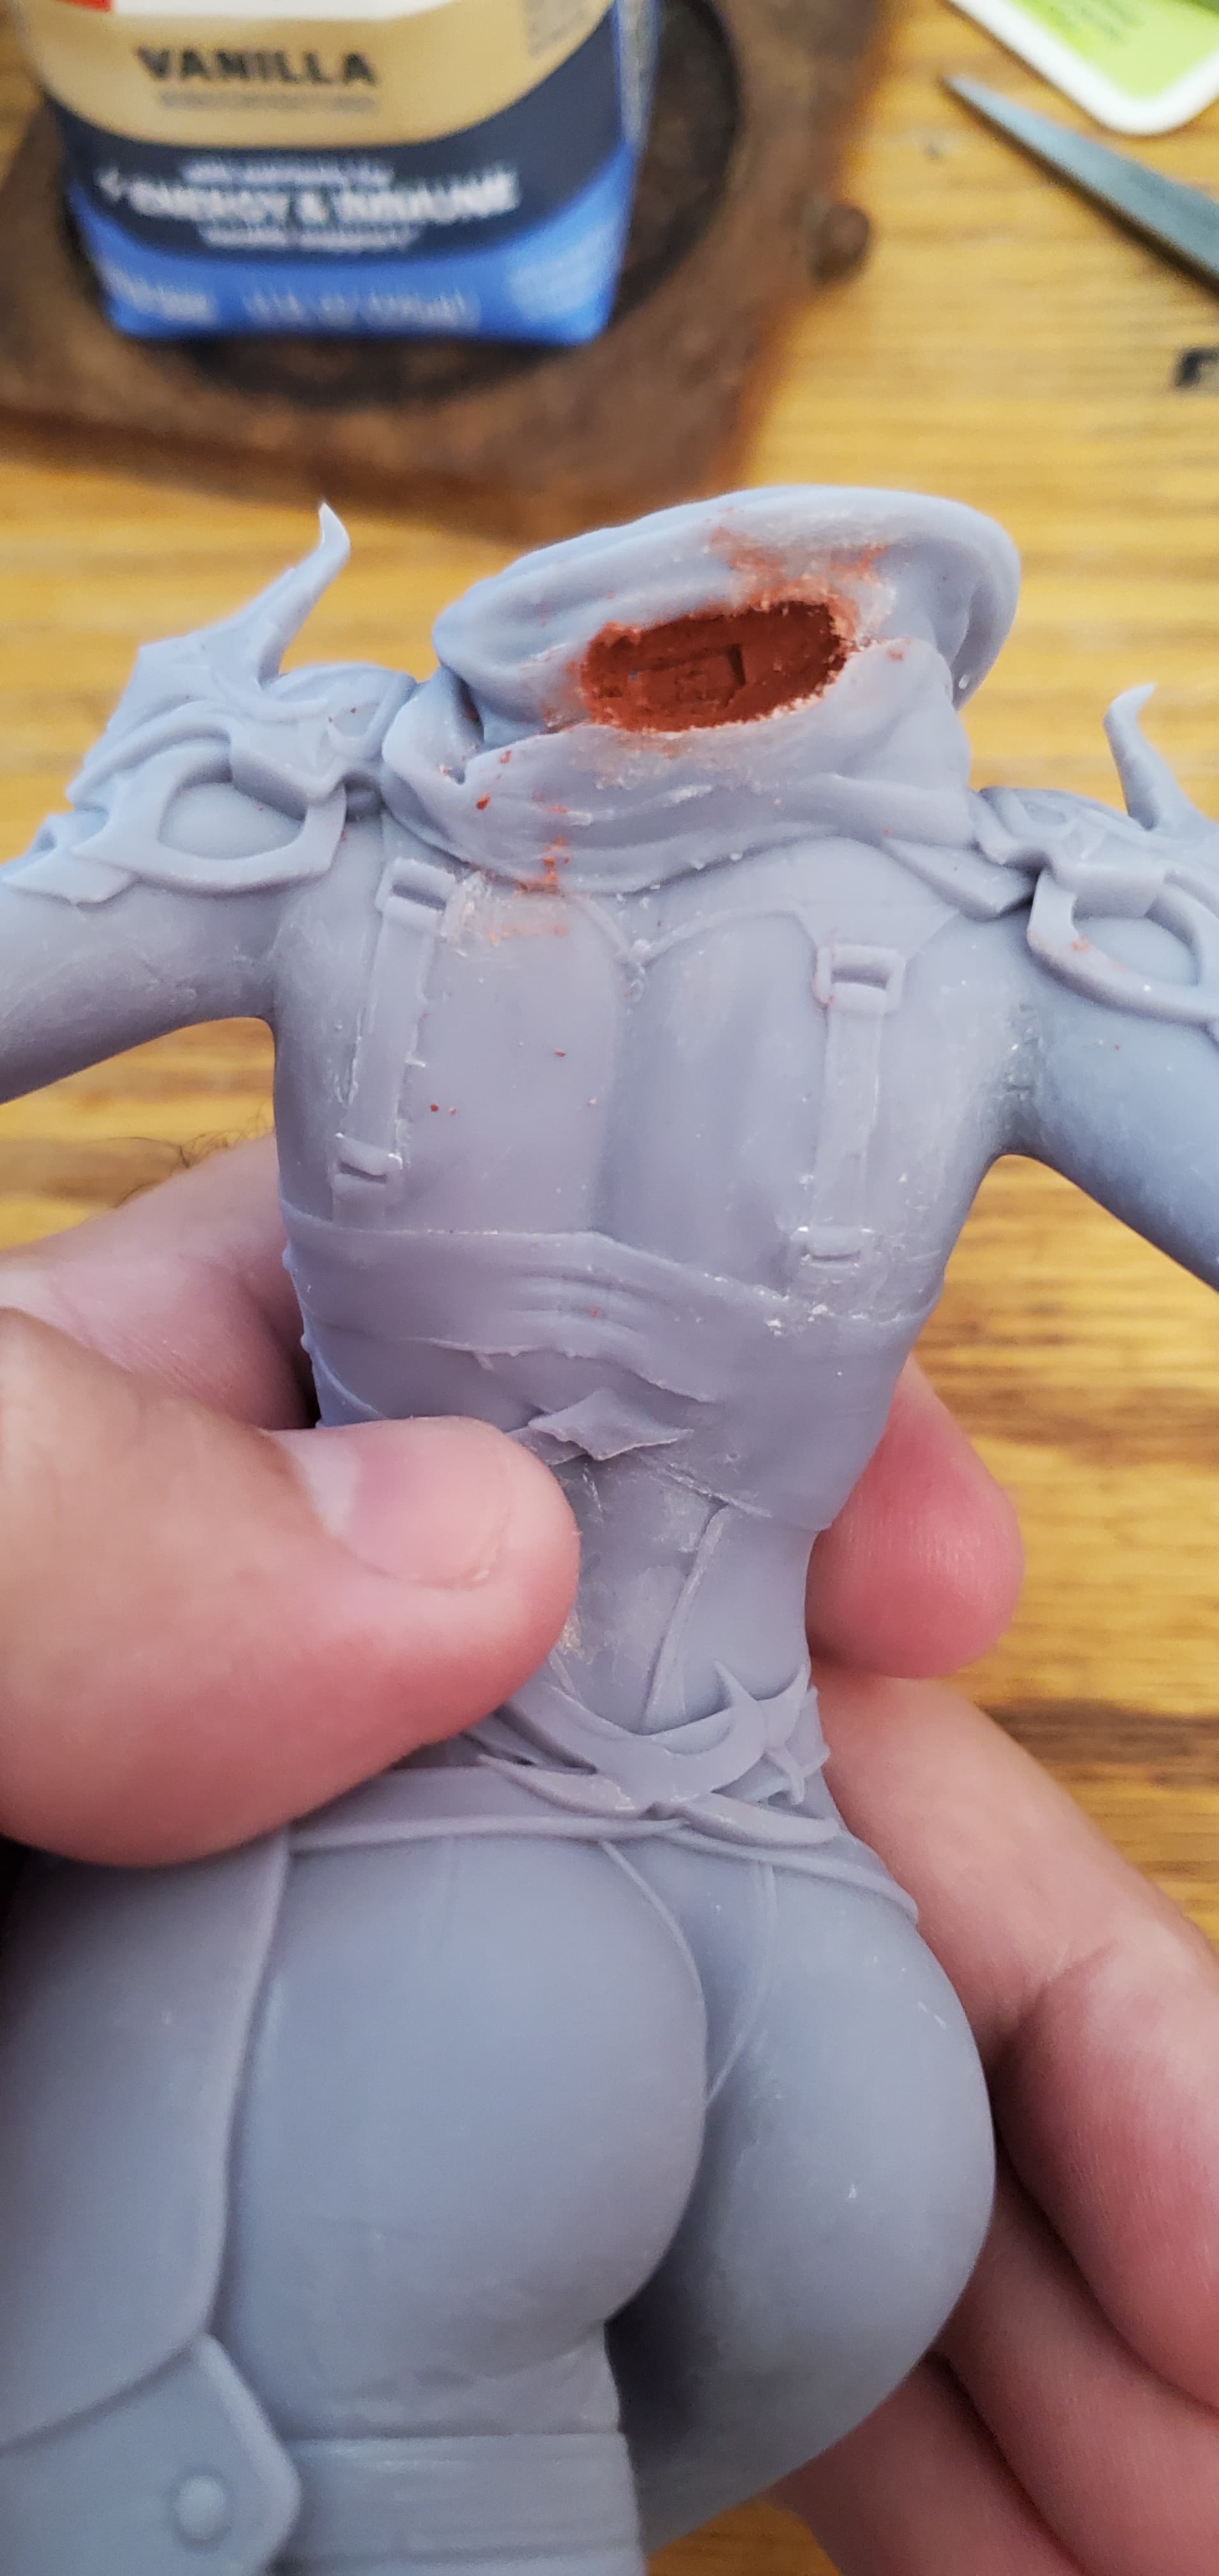
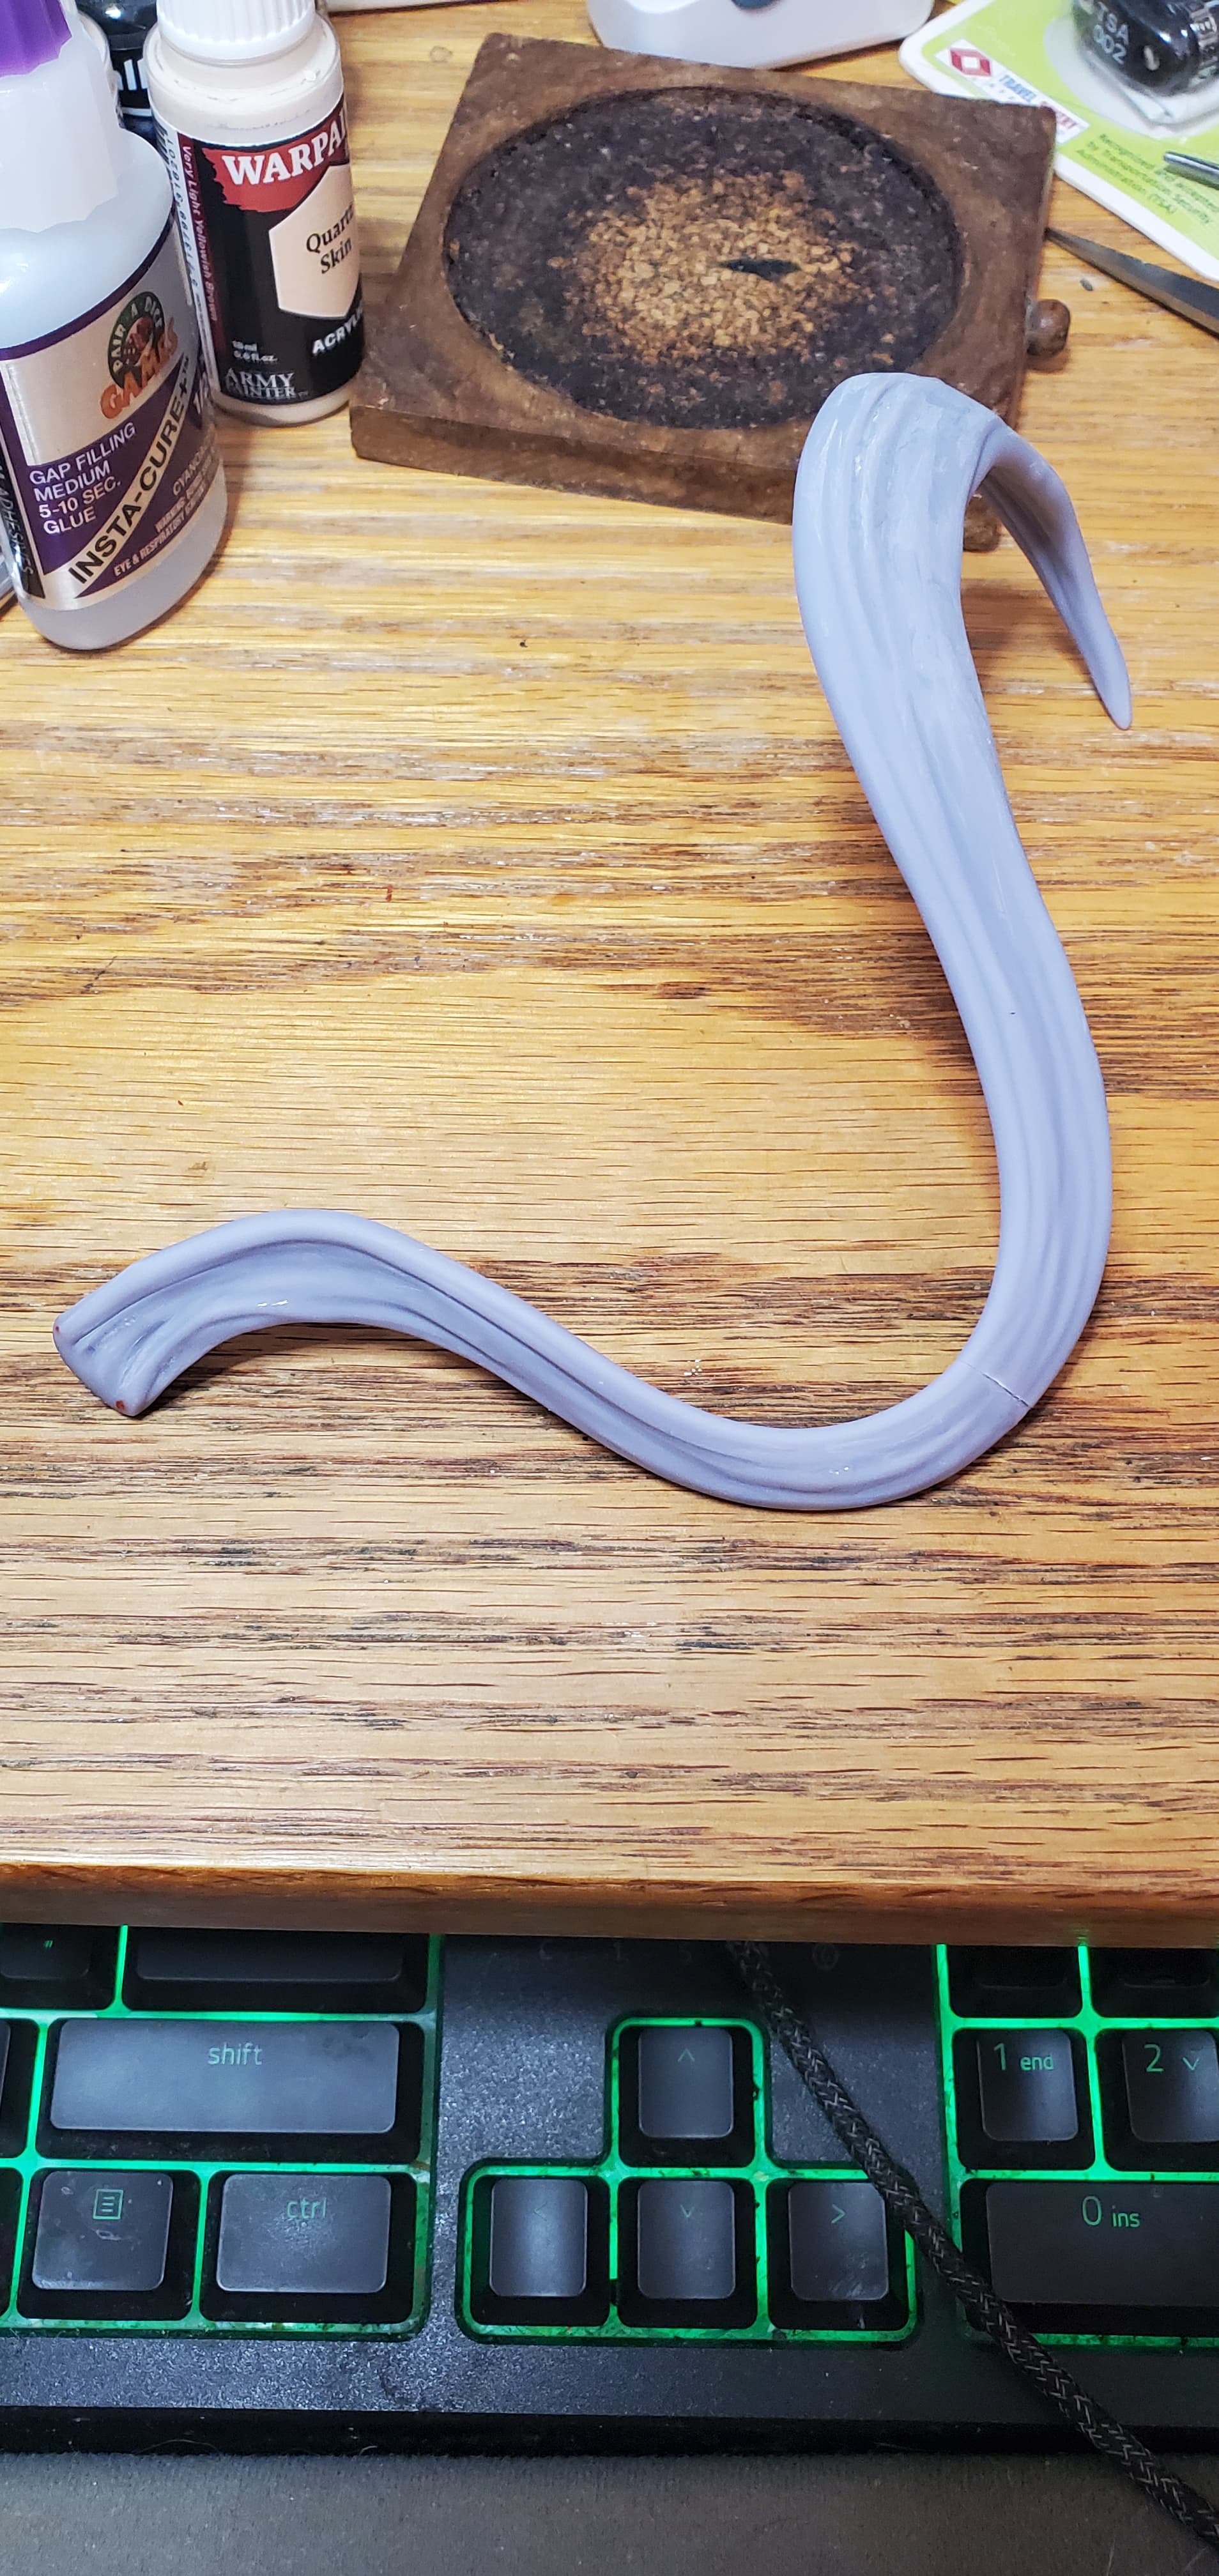
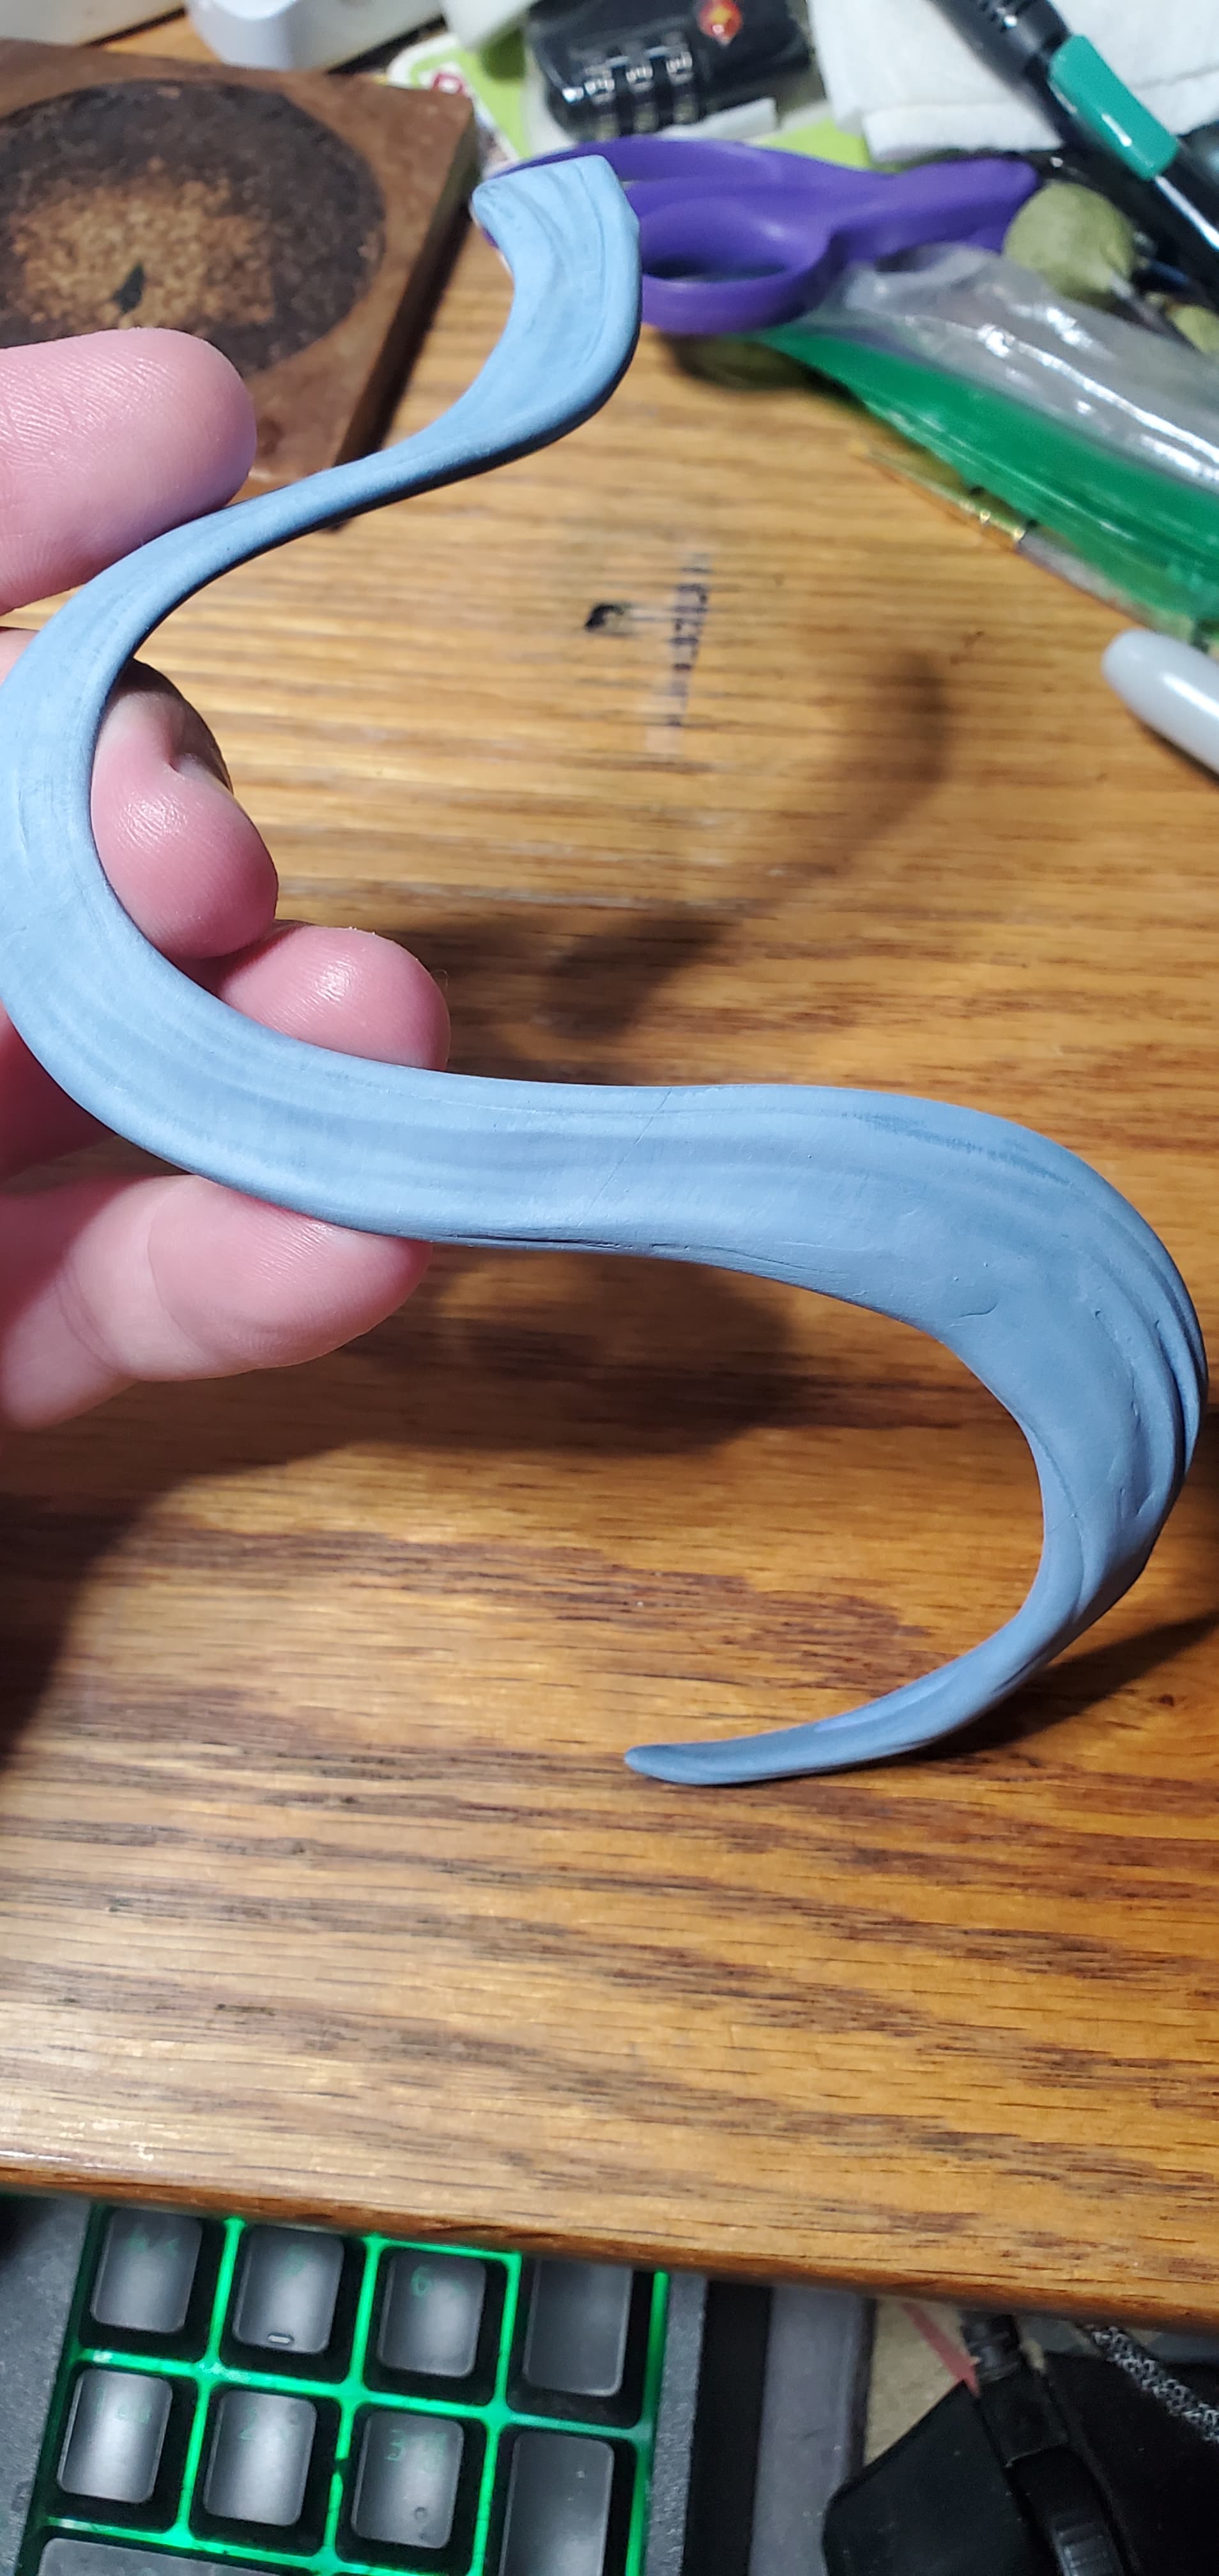
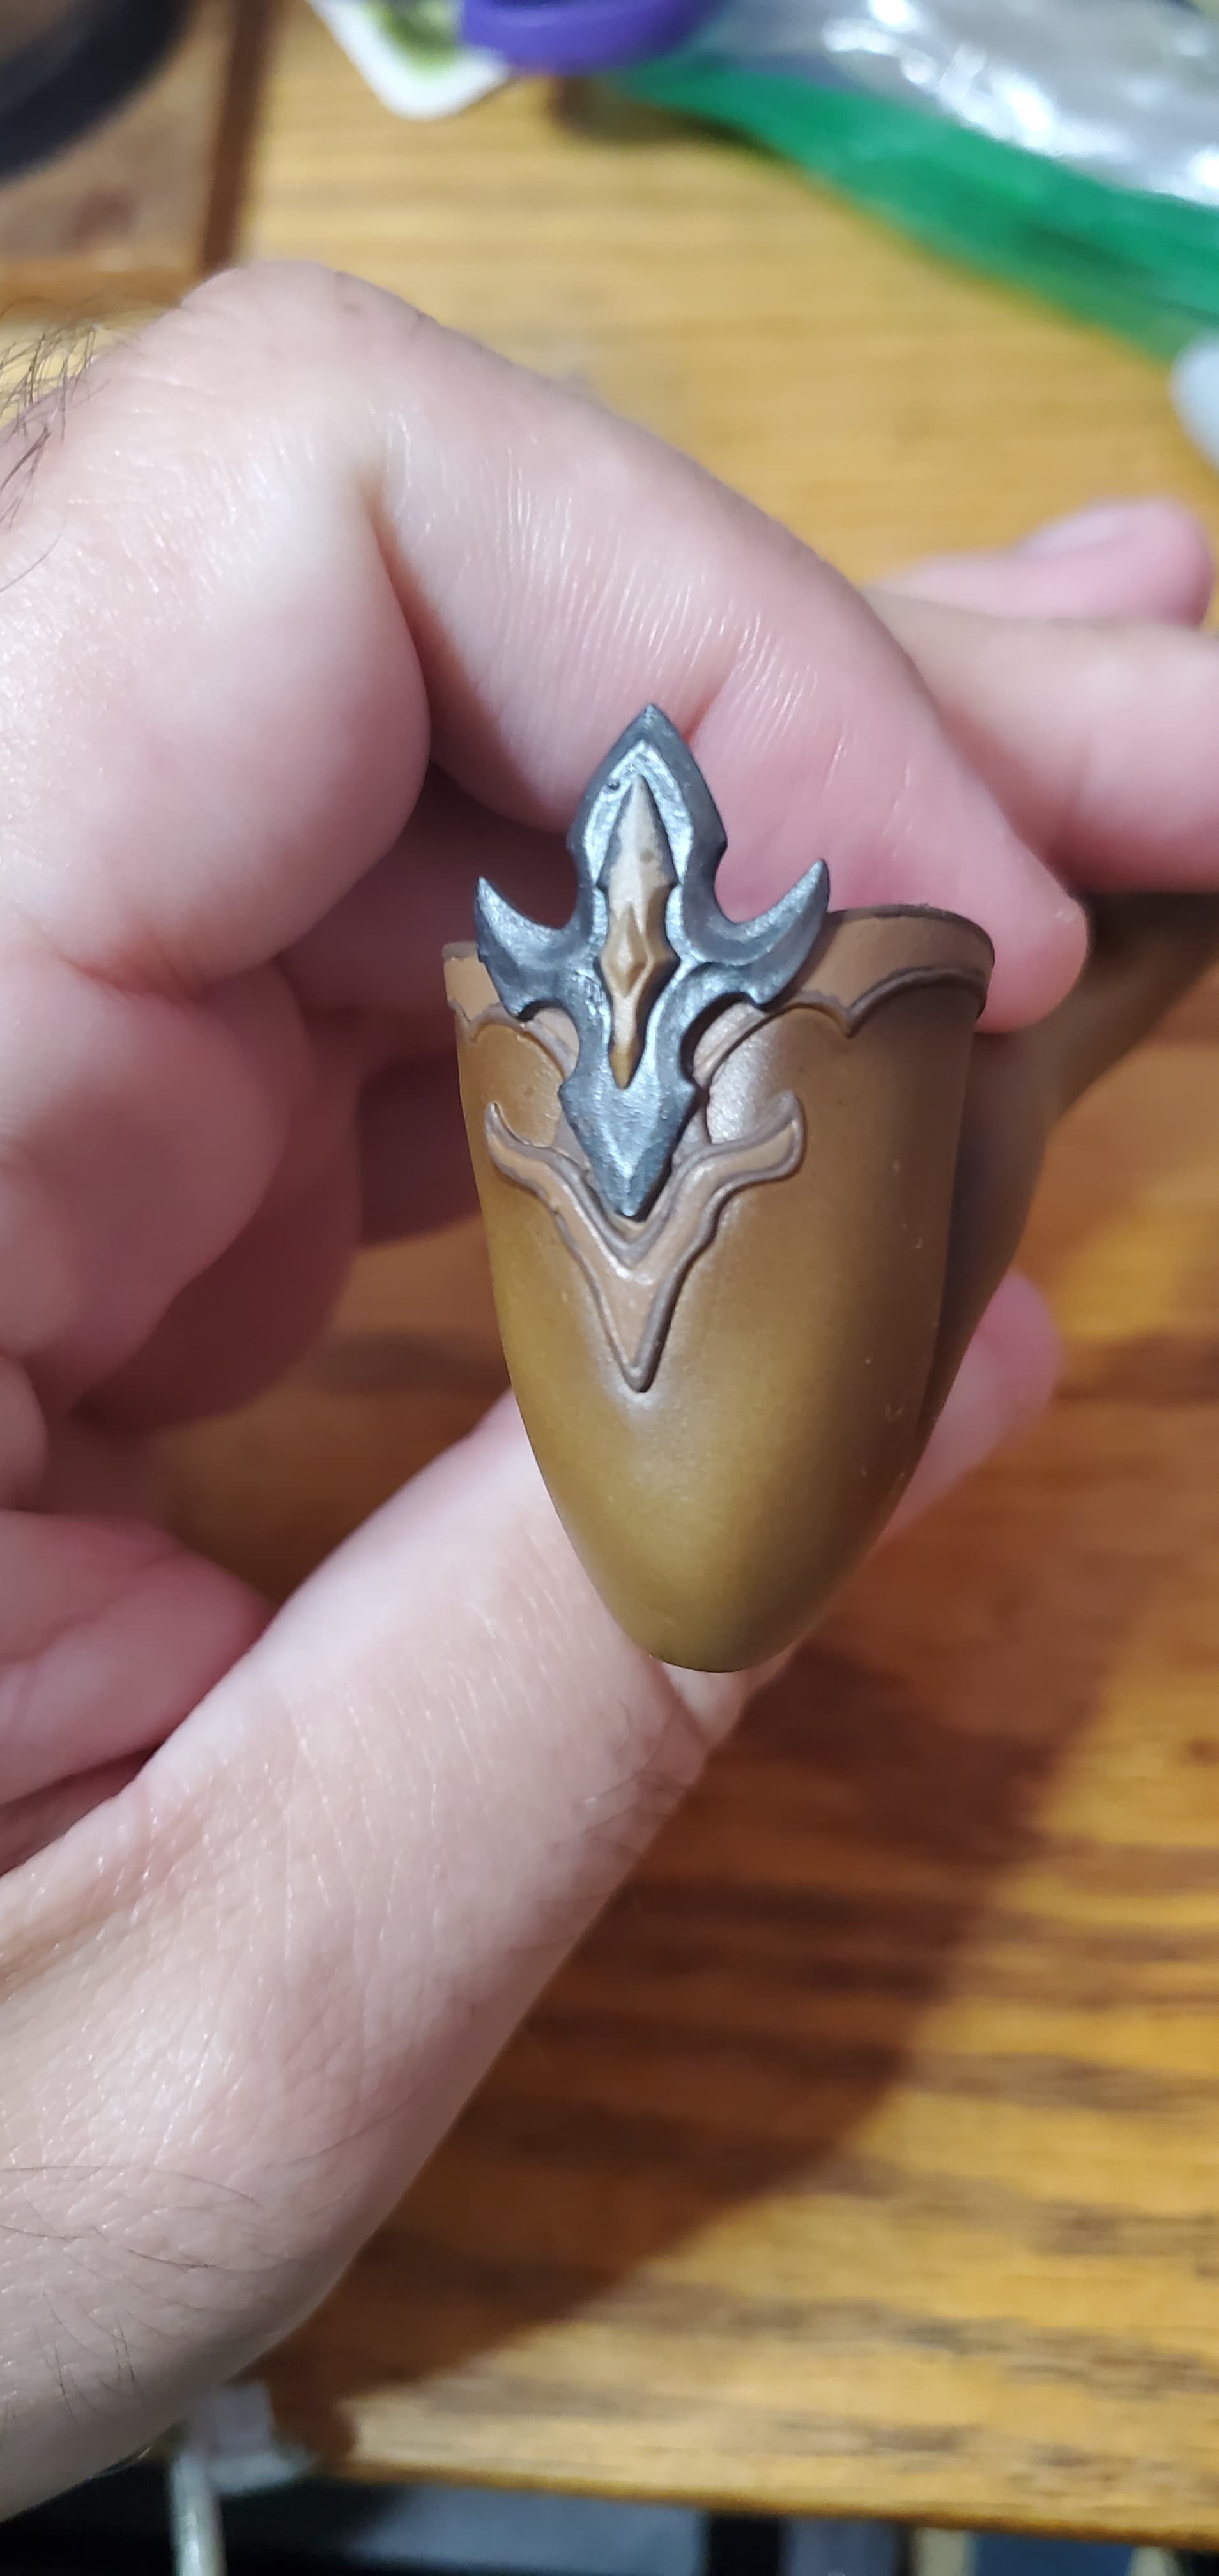
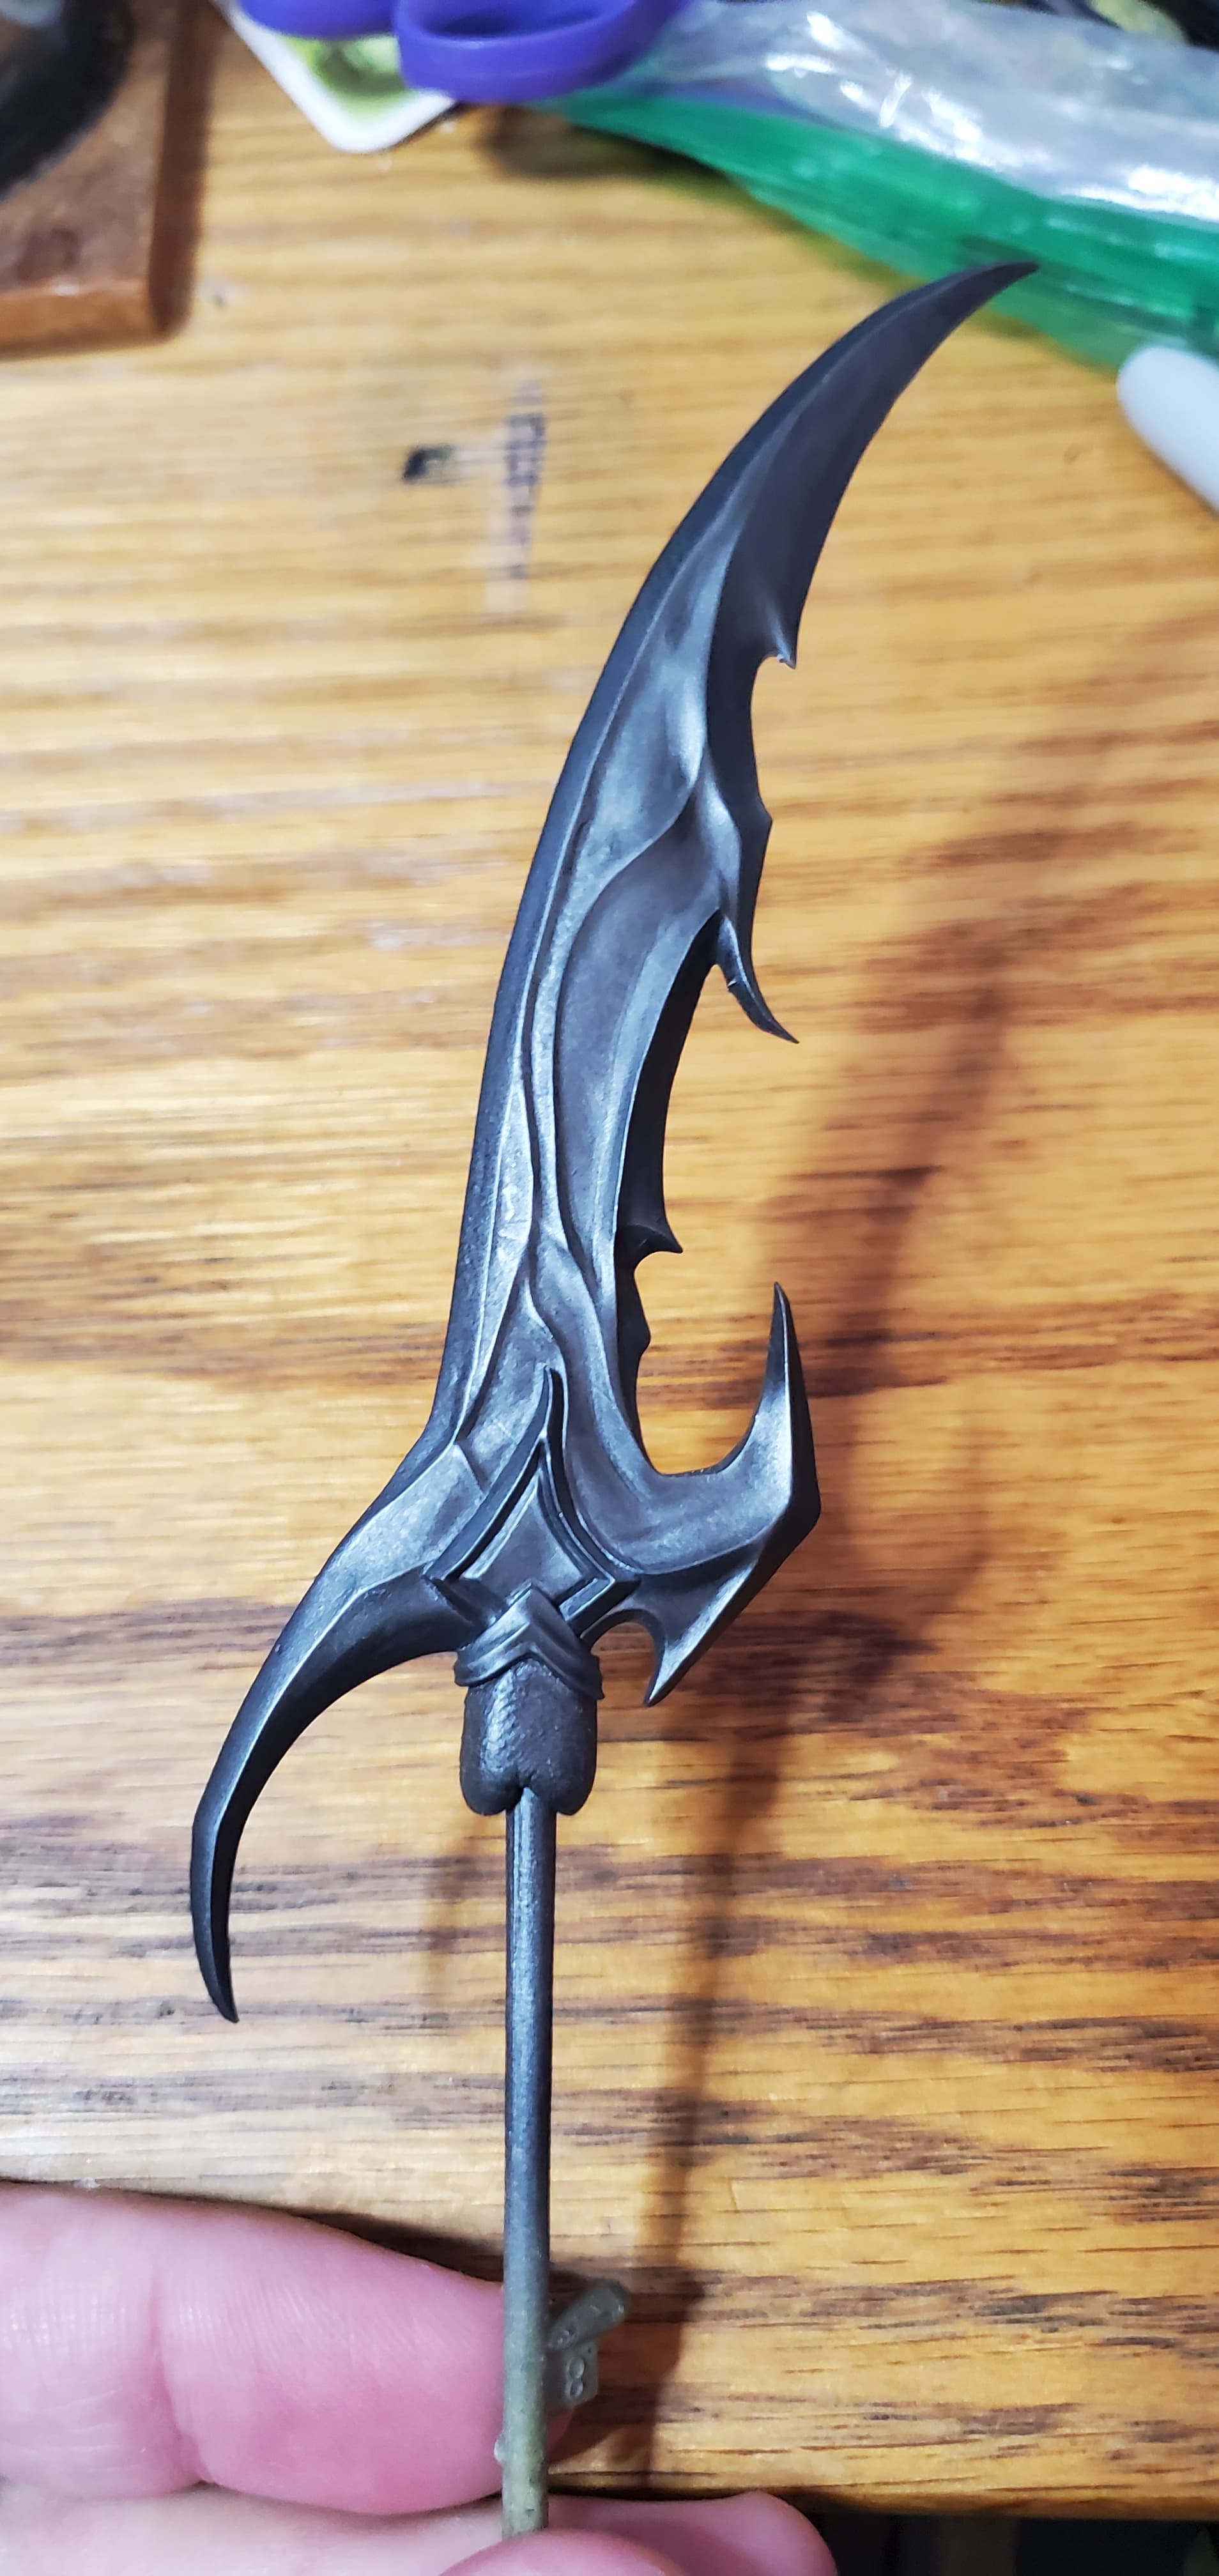
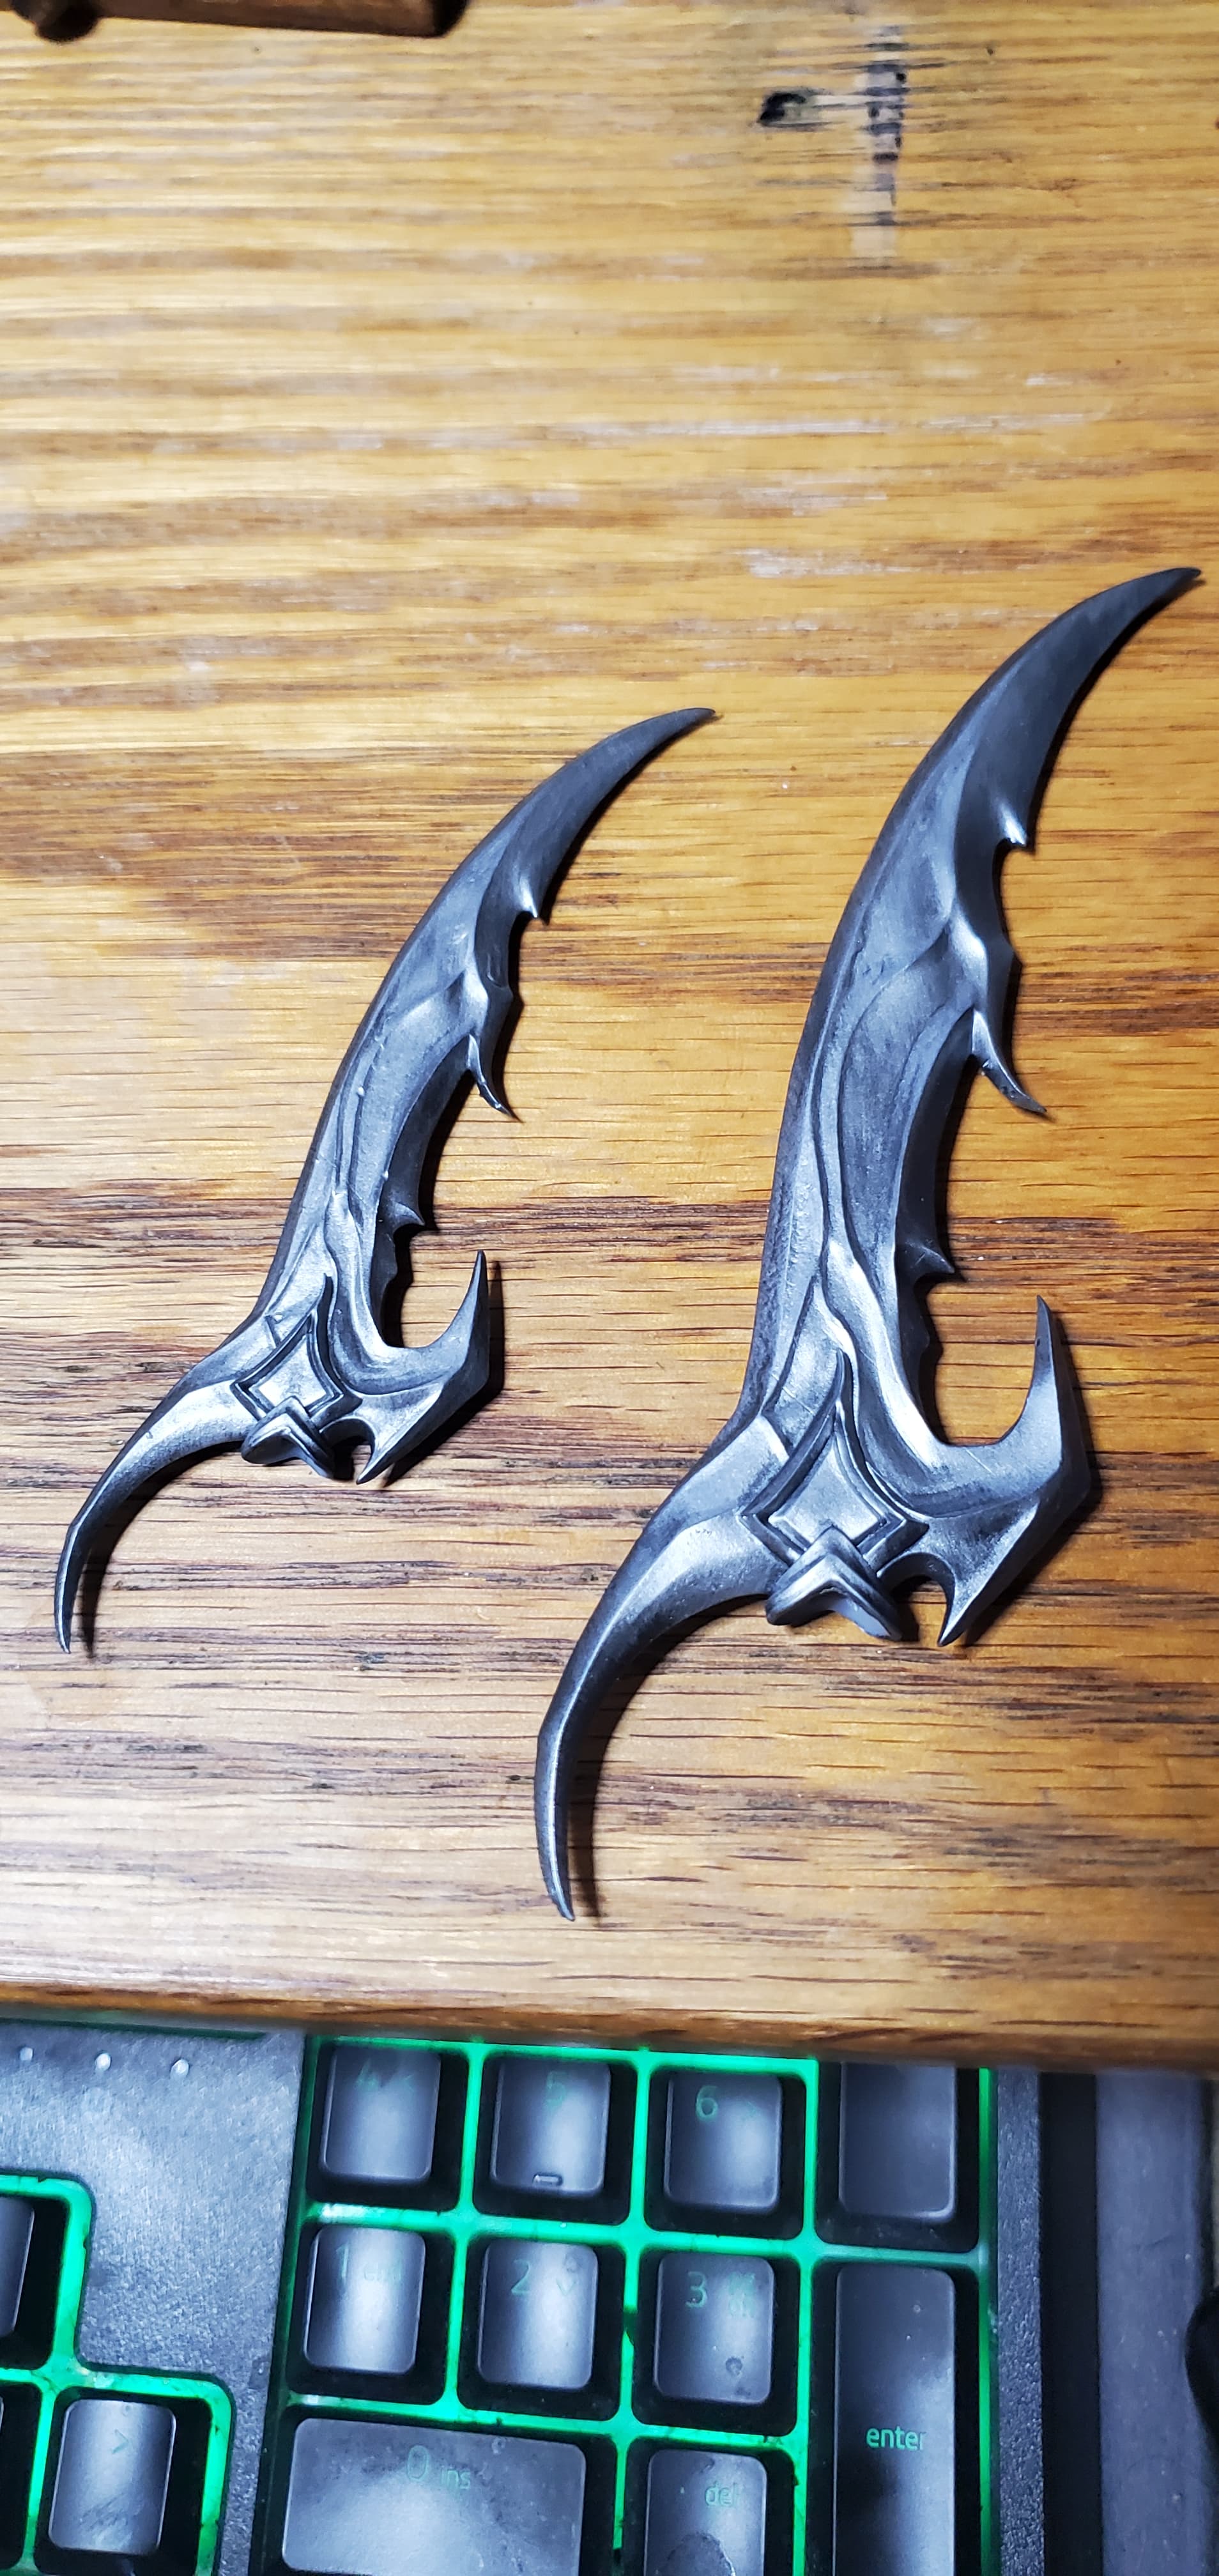
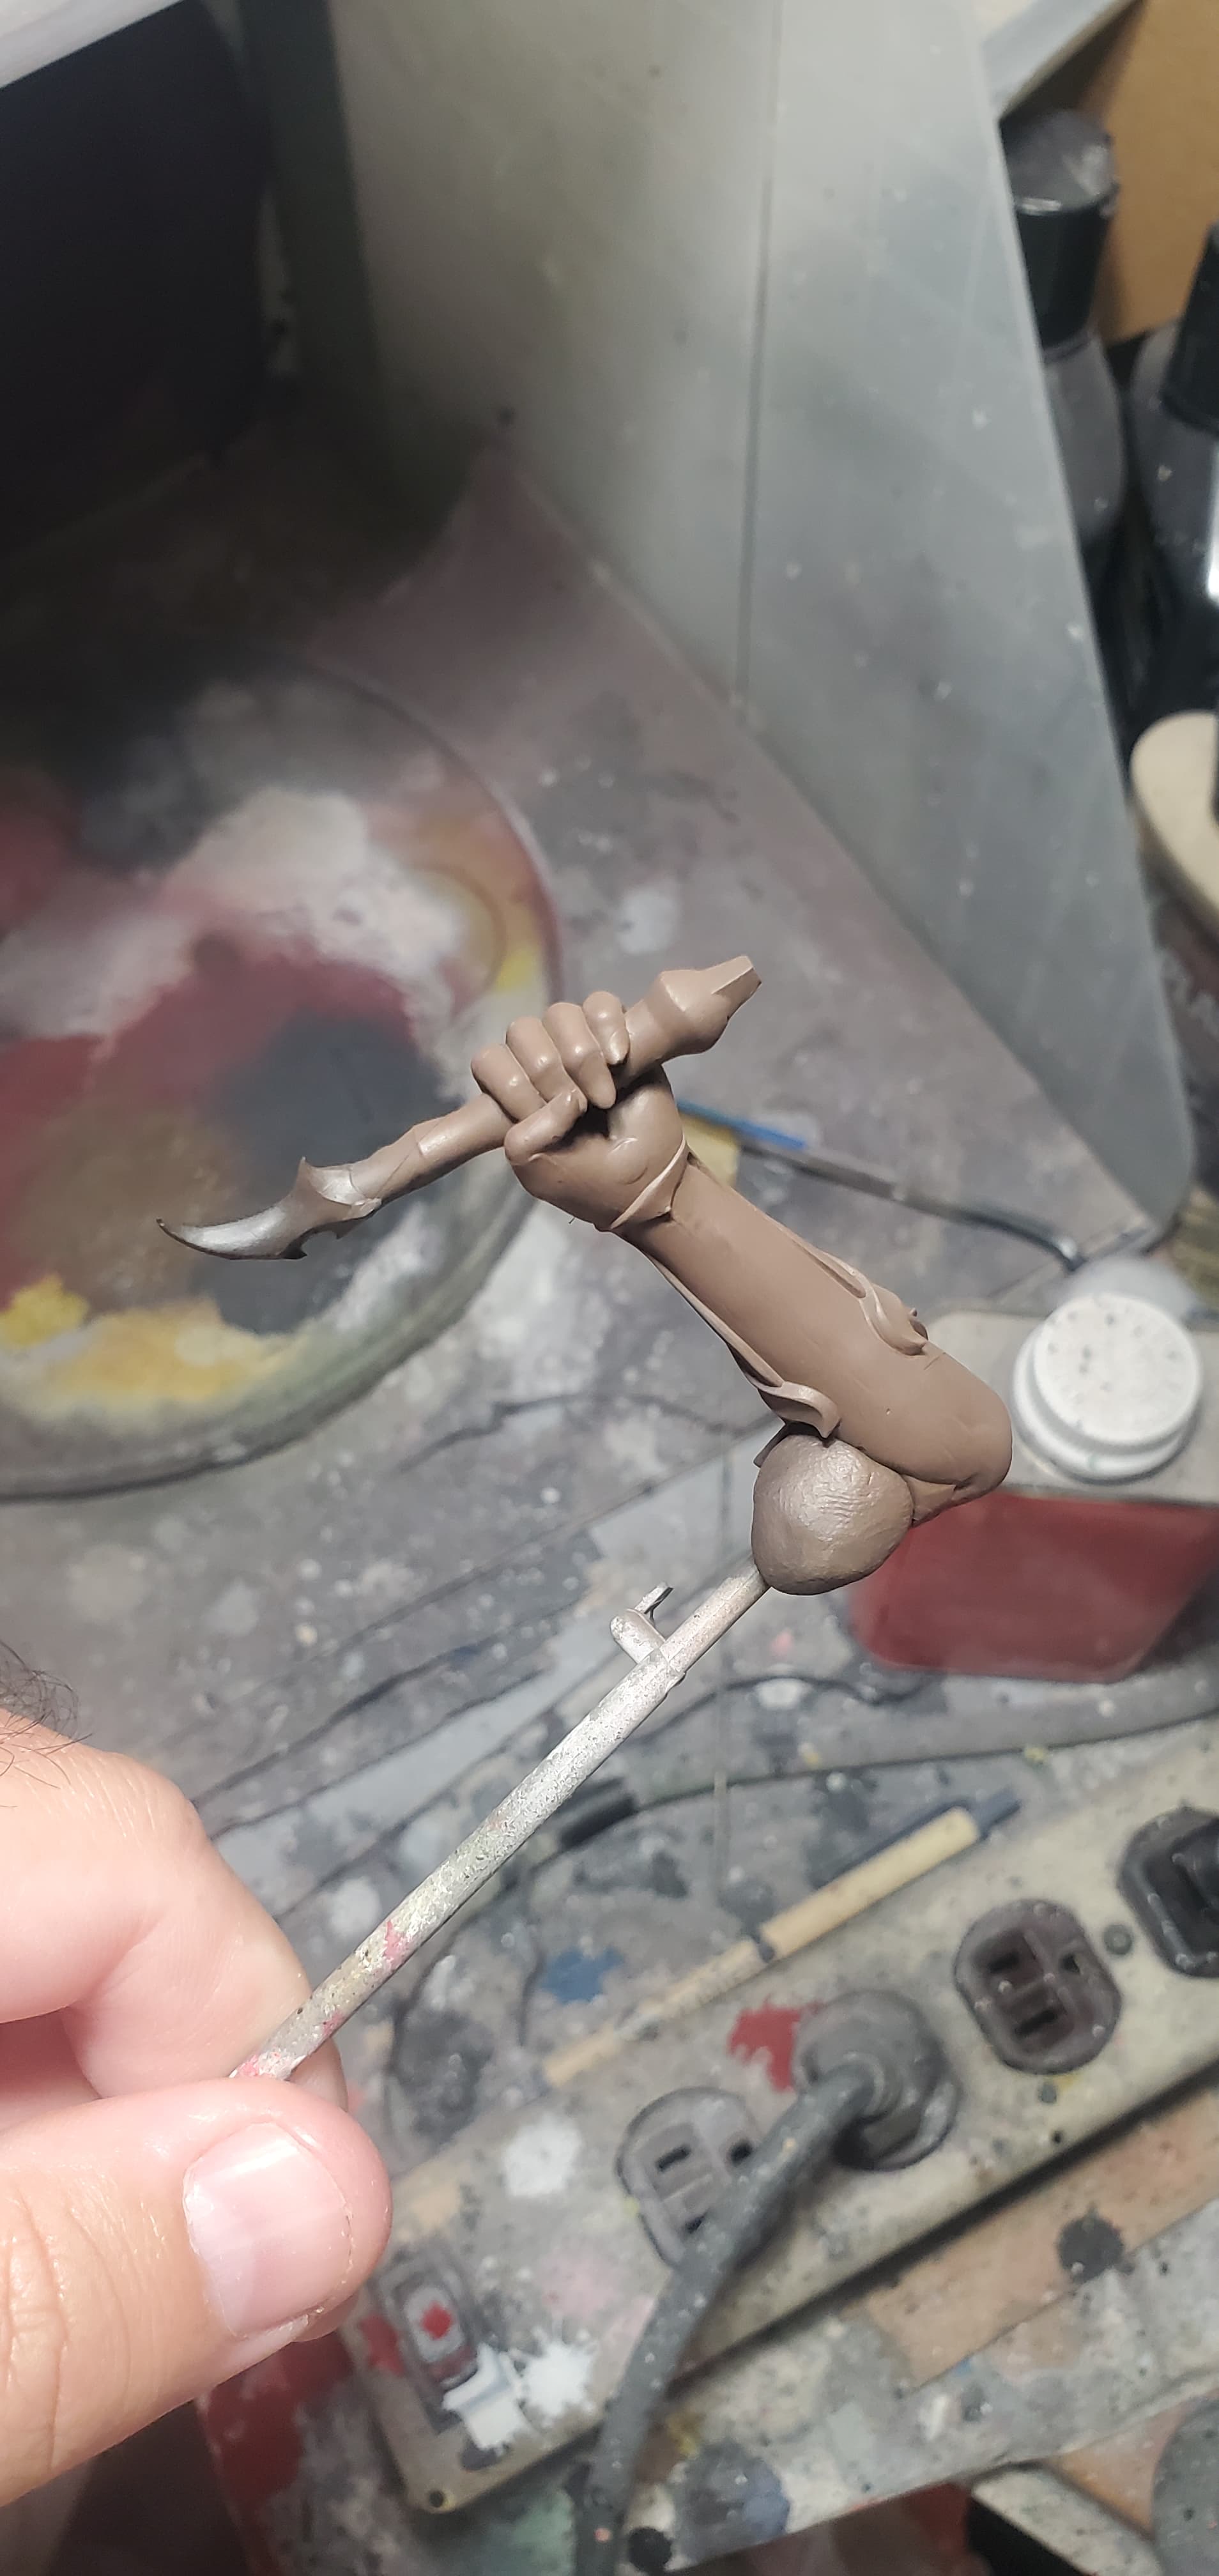
Here are the parts fresh from their first bath following printing.


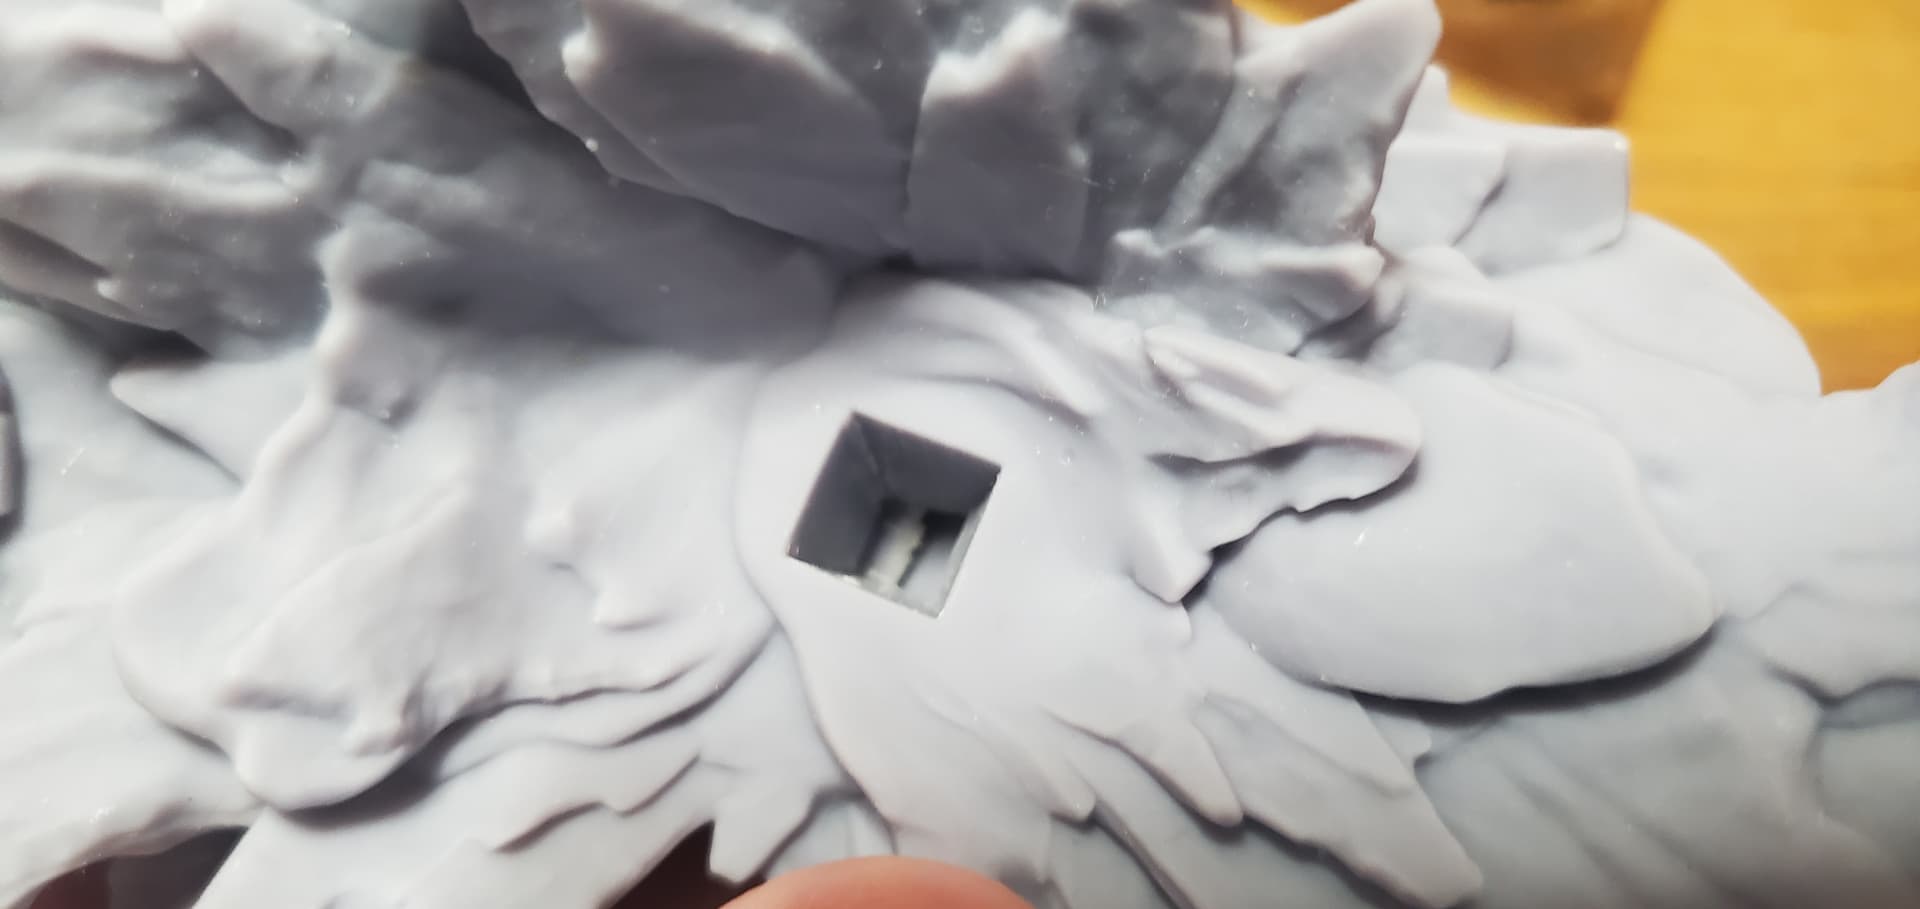
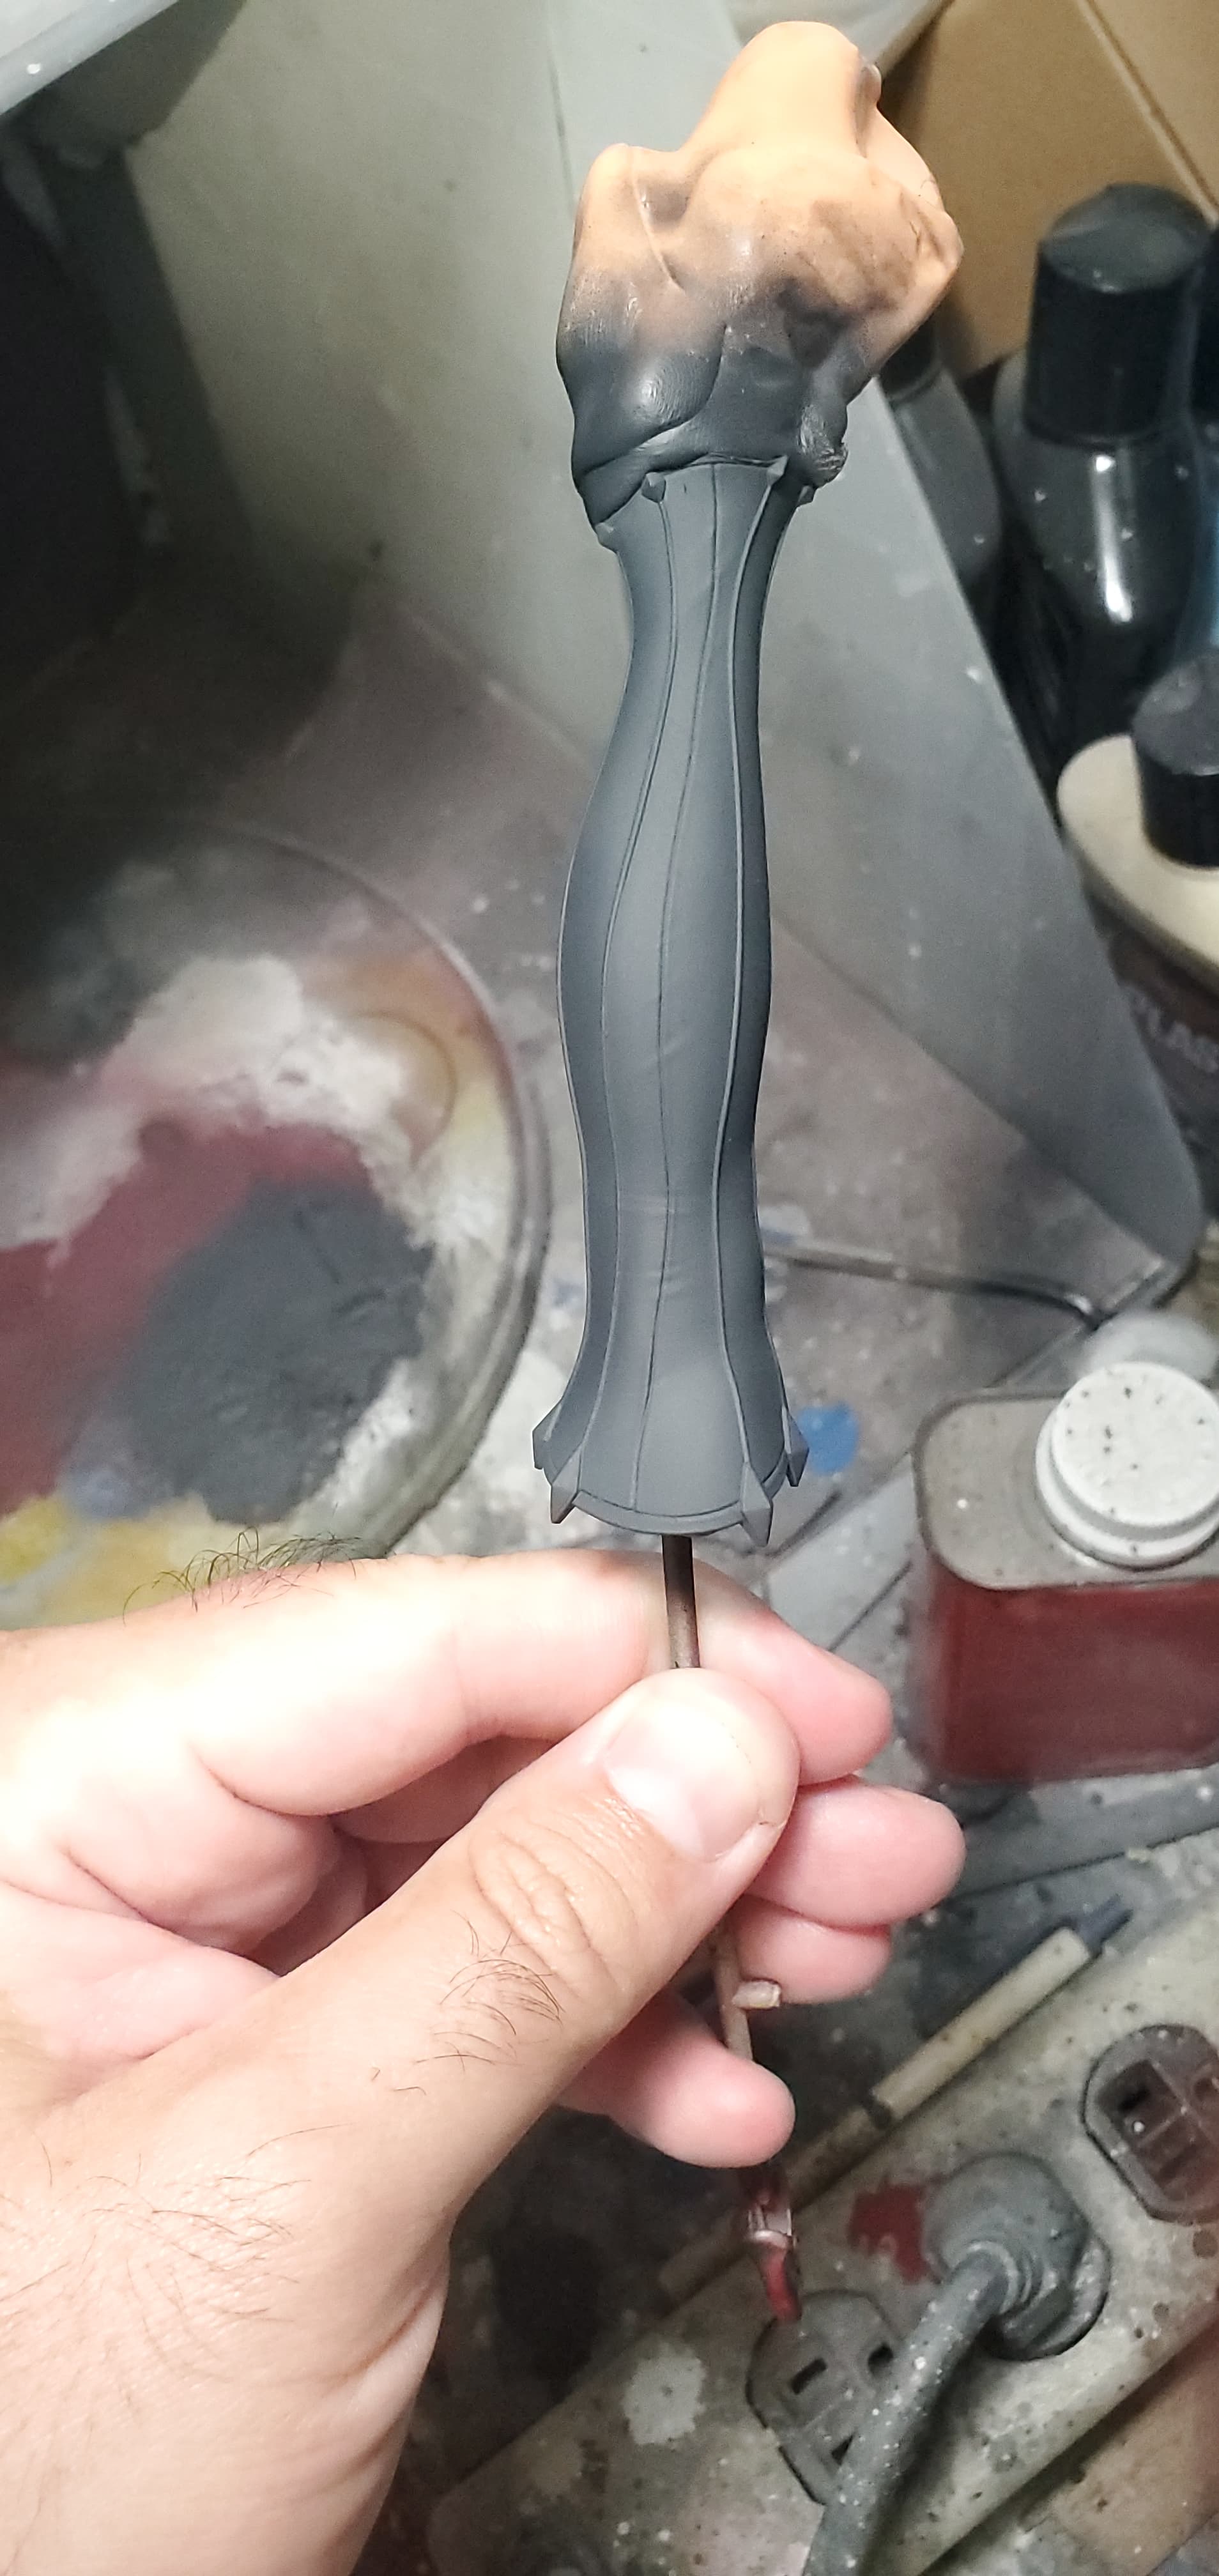
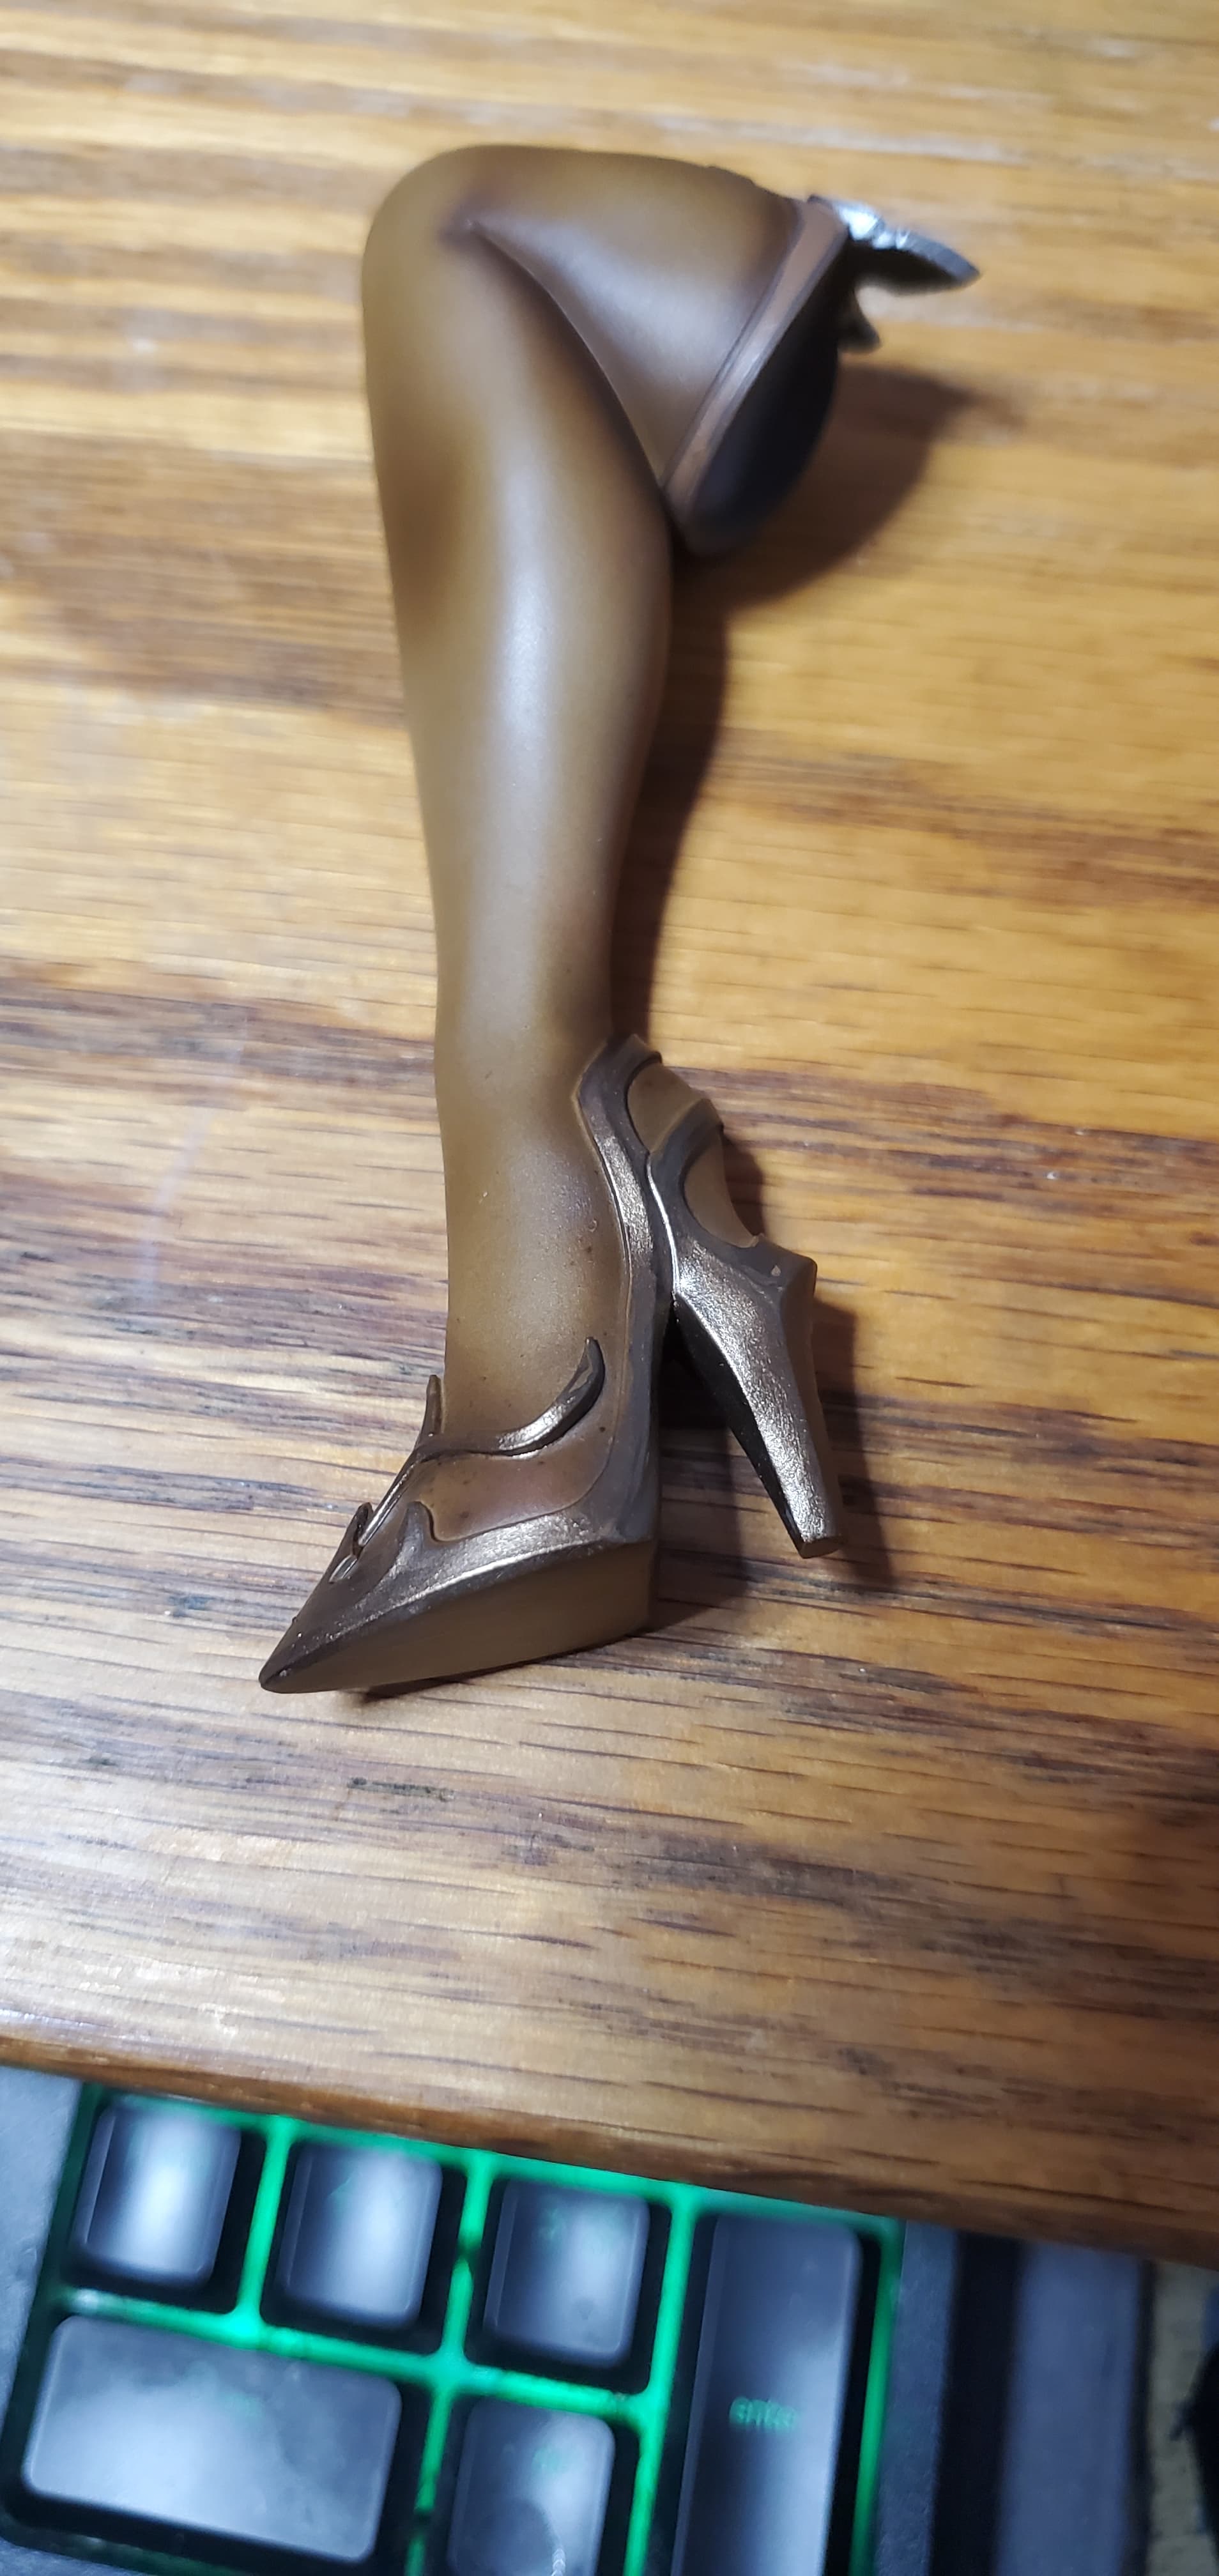
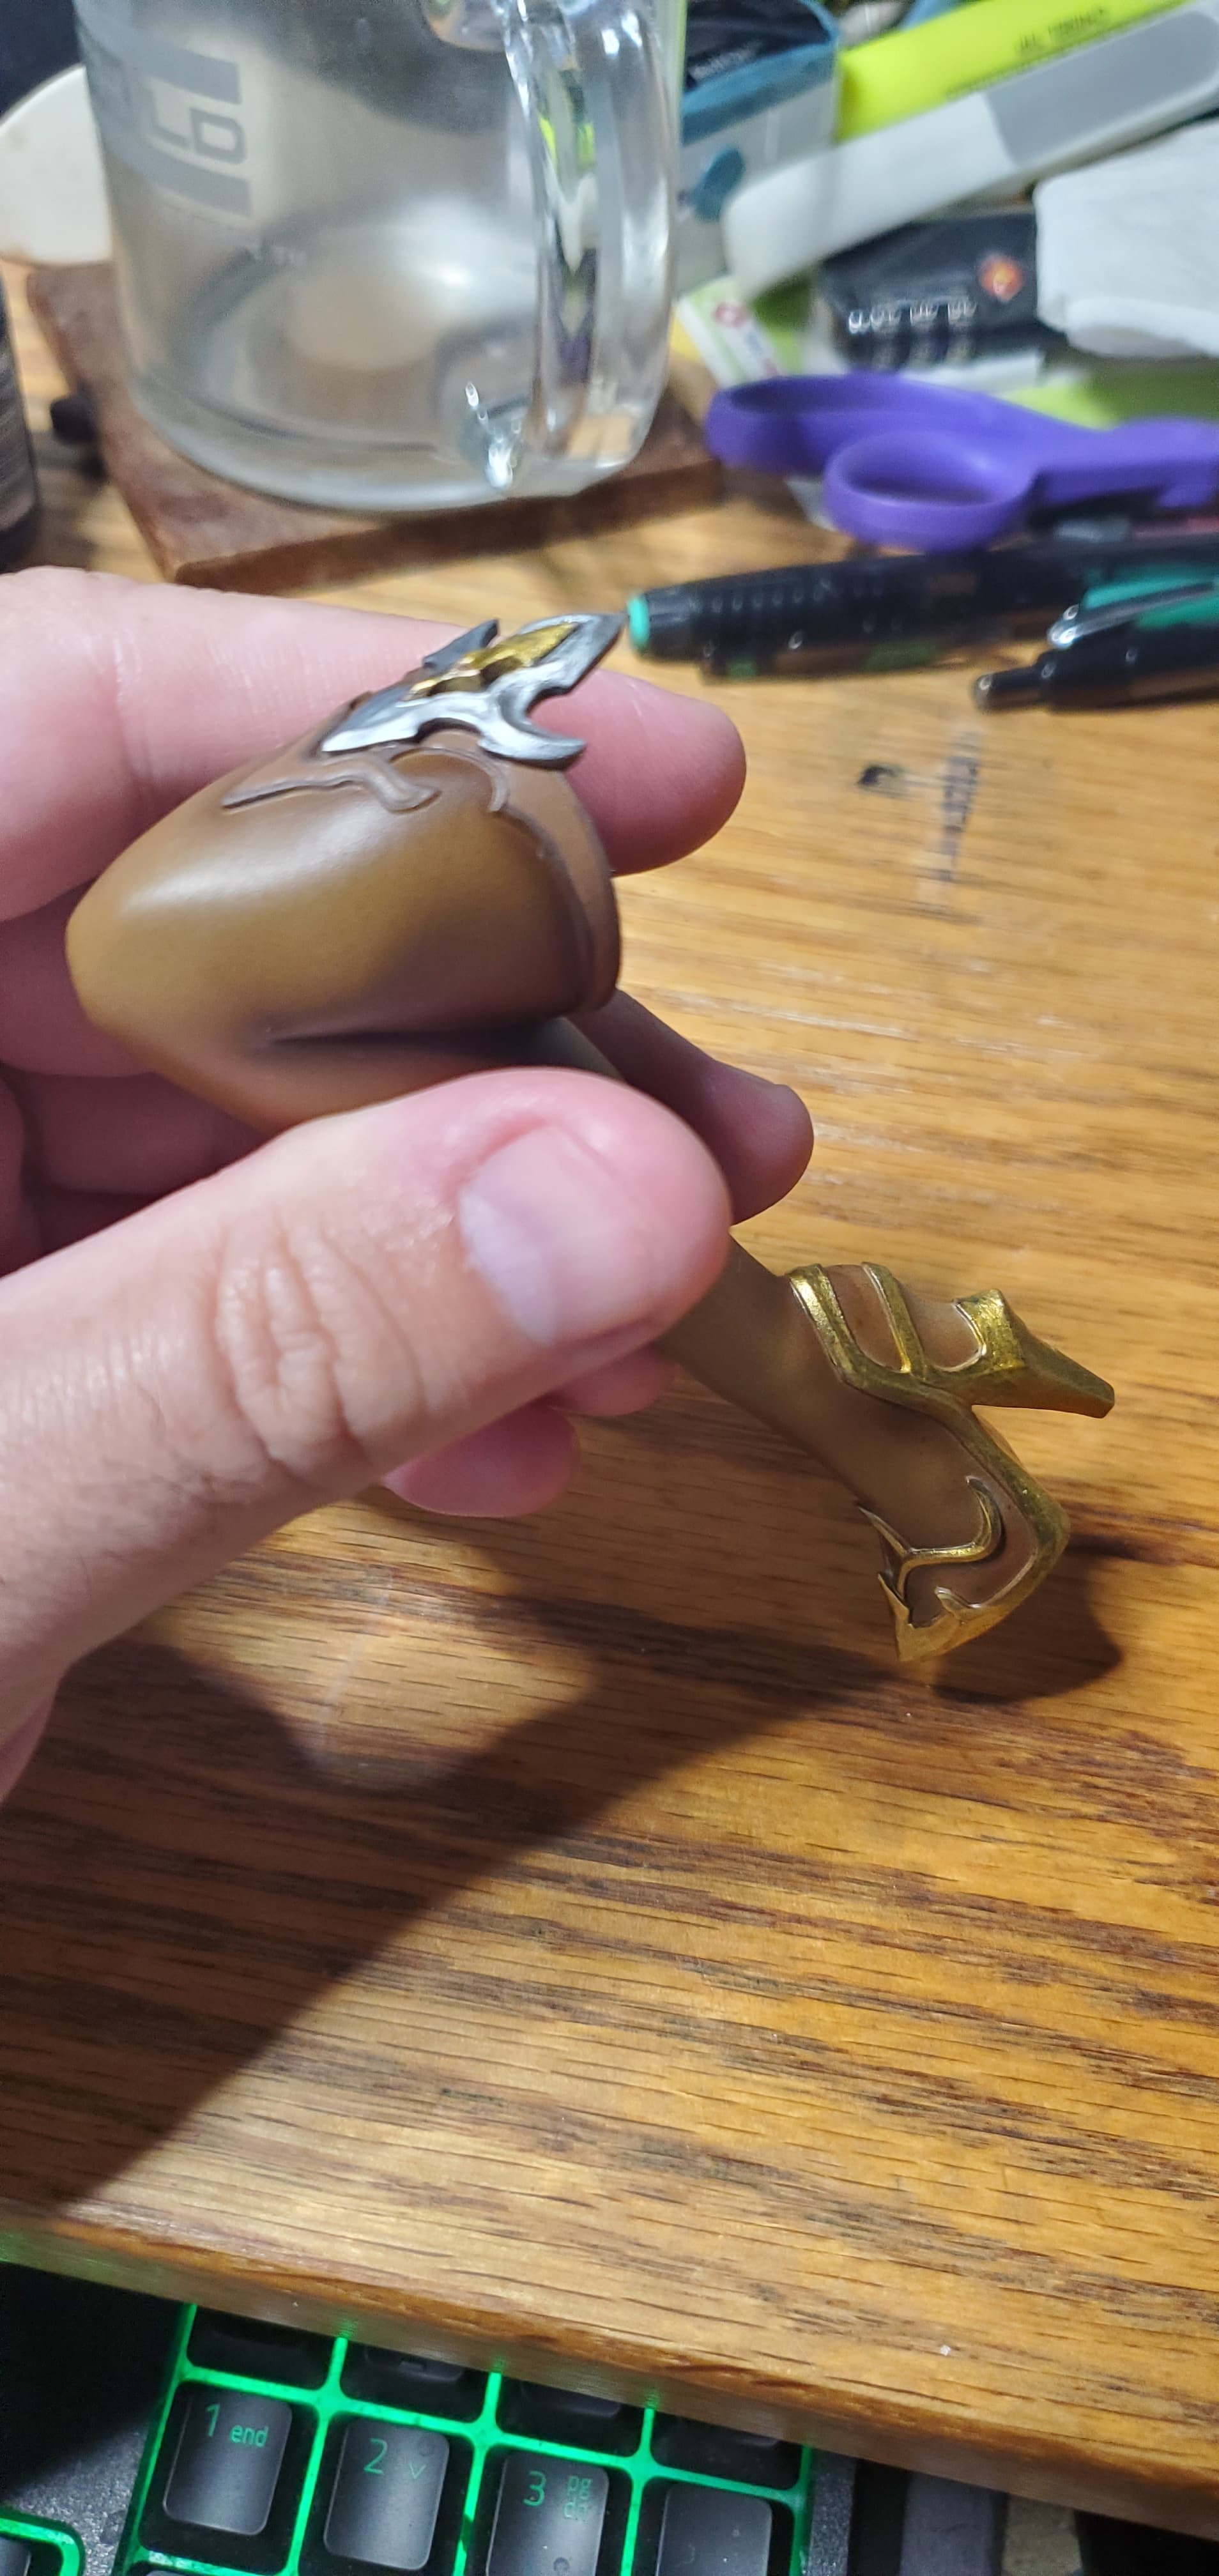
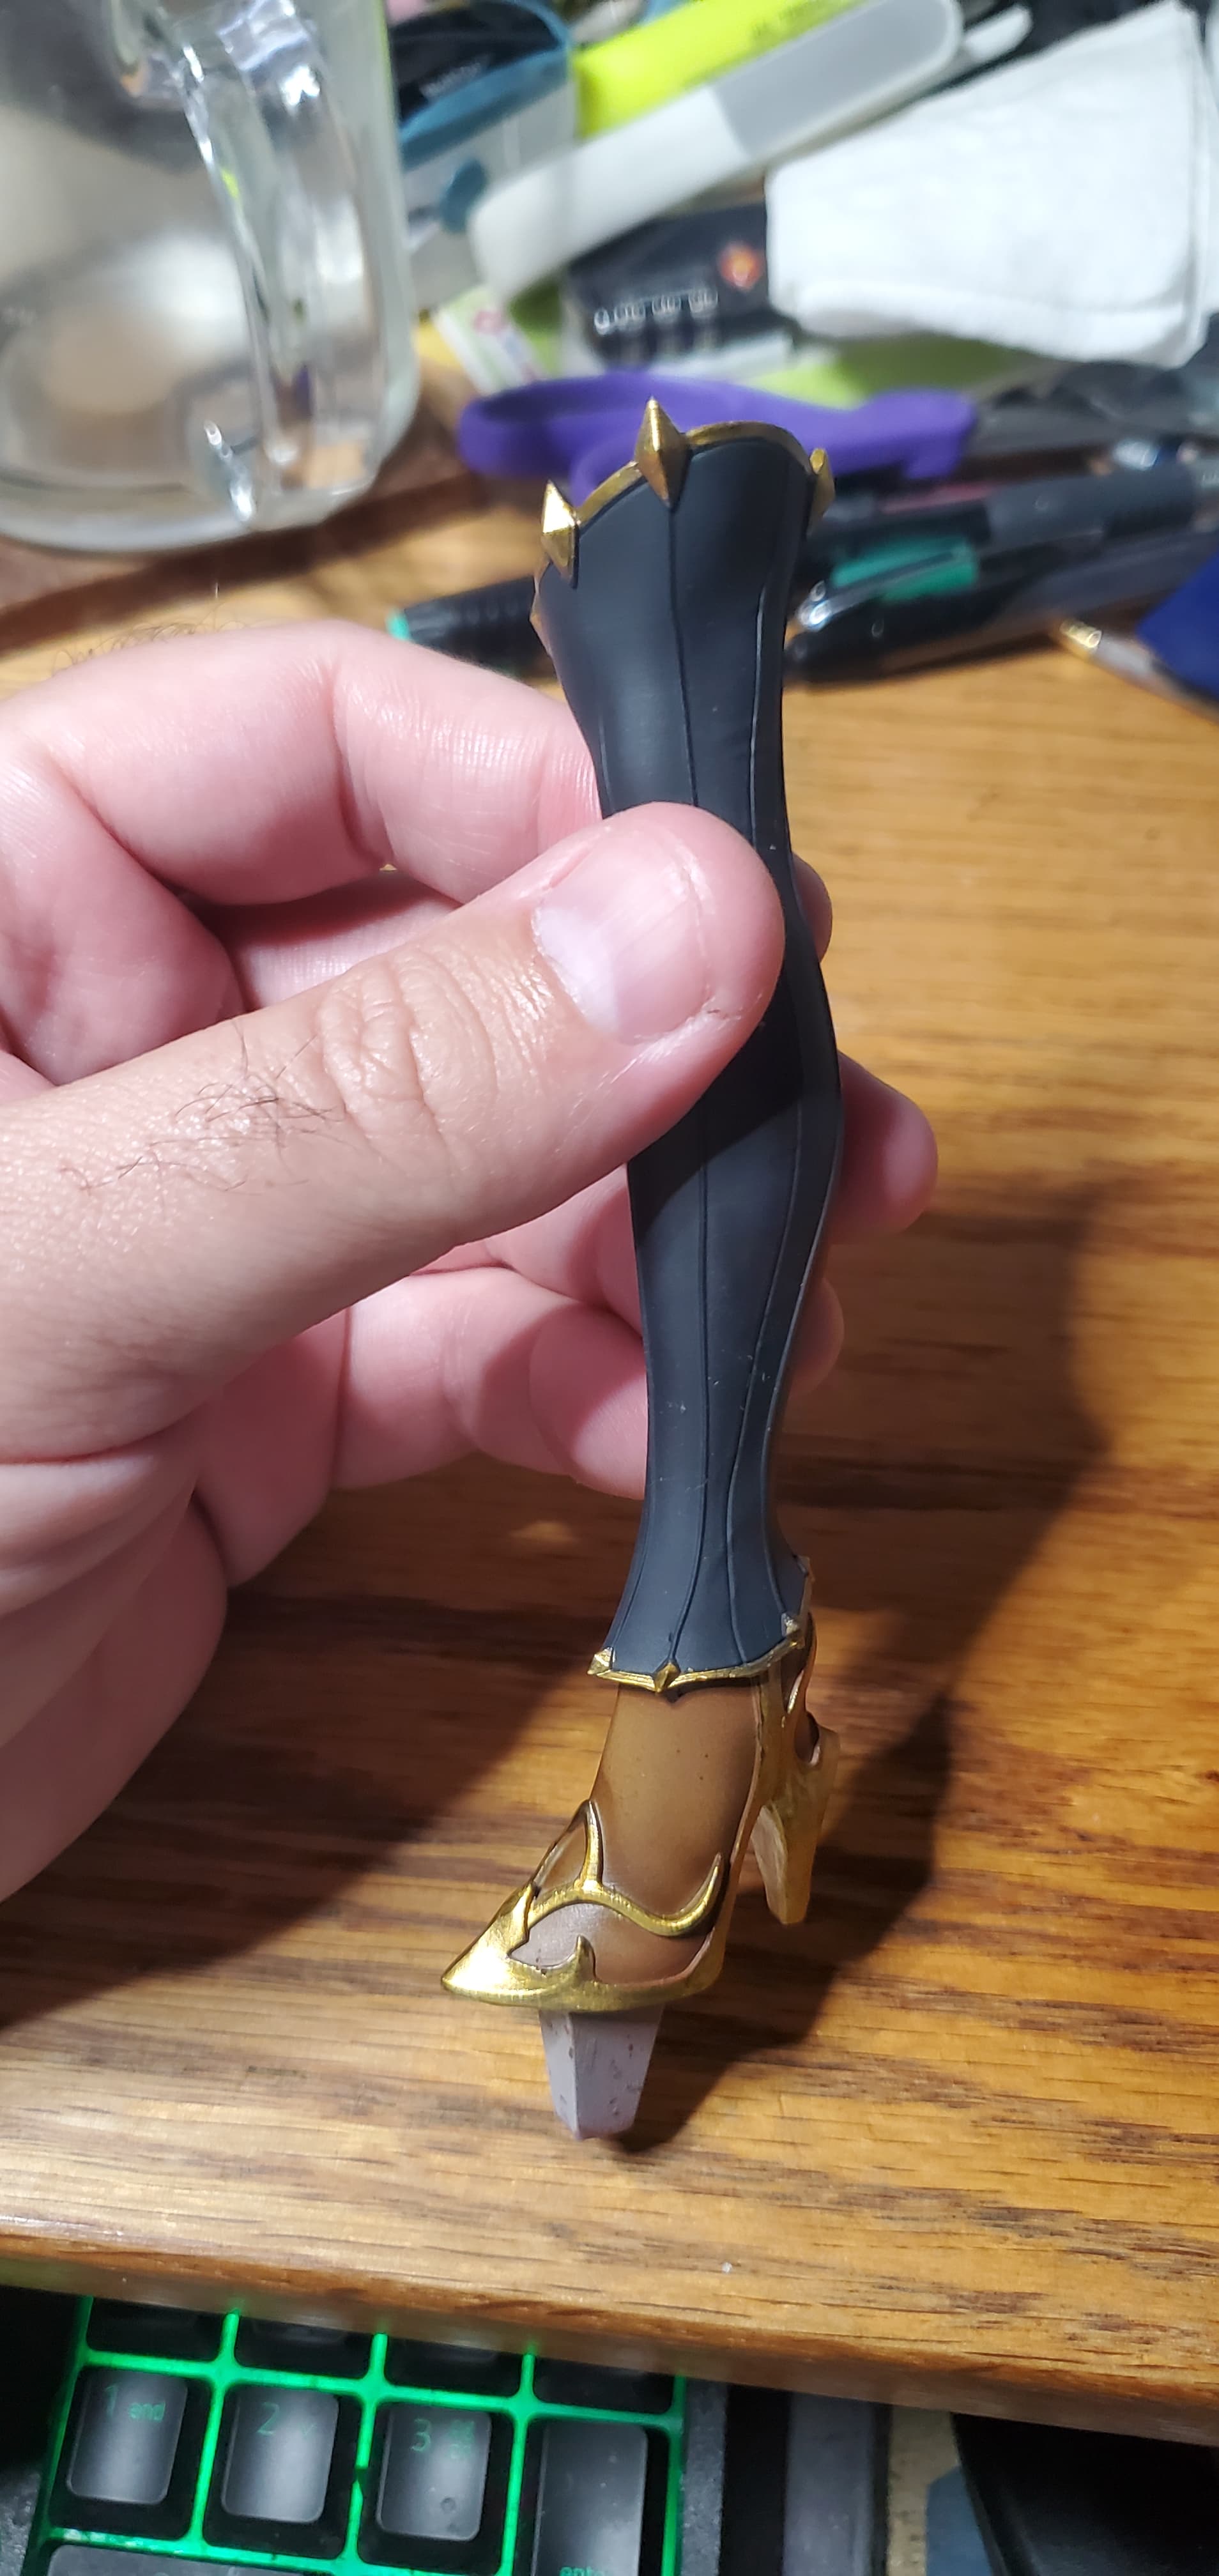
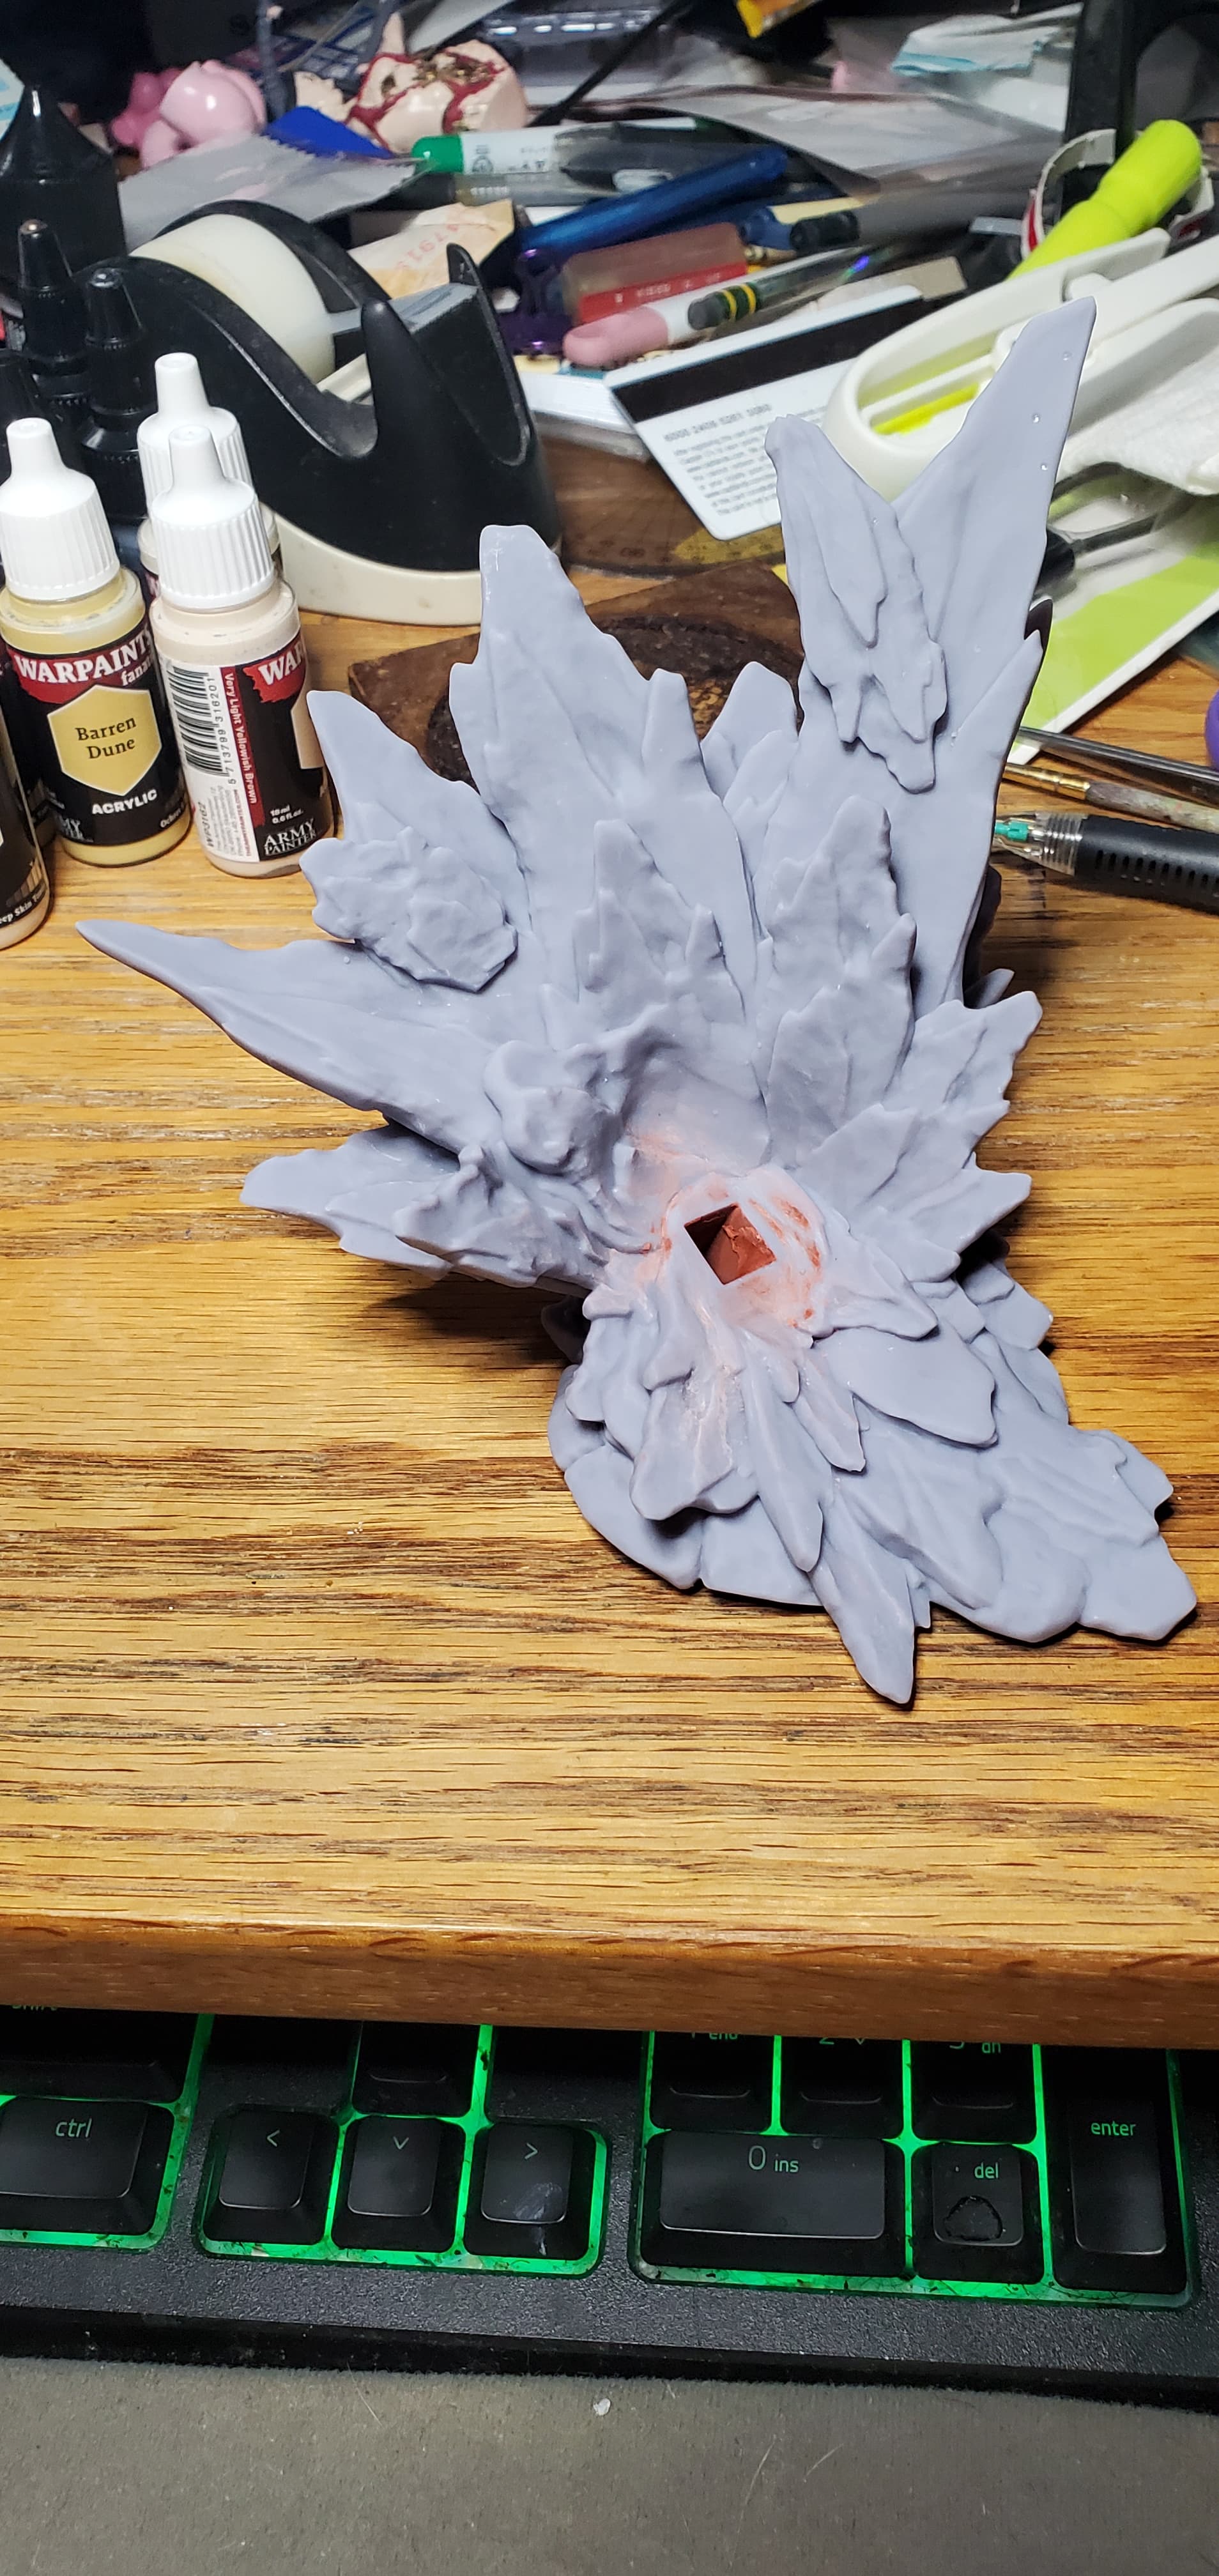
Now one issue that I immediately faced was the key hole for the leg. This was a goof on my part as I did not add enough support for it and that part of the print failed. Lesson here is always double check you are supporting key holes from below when you hollow out a part for printing.


Here you can see the added effect that this misprint has caused, a slight gap where the leg connects to the base. Have an idea that will work for fixing the gap, but that will come much latter. In the mean time I used some bondo filler to fix the shape of the key hole and seal that part of the base so I can fill the rest of the part with my preferred filler. All the other hollowed parts, save for the hair as it is weight bering, were also filled at this time.


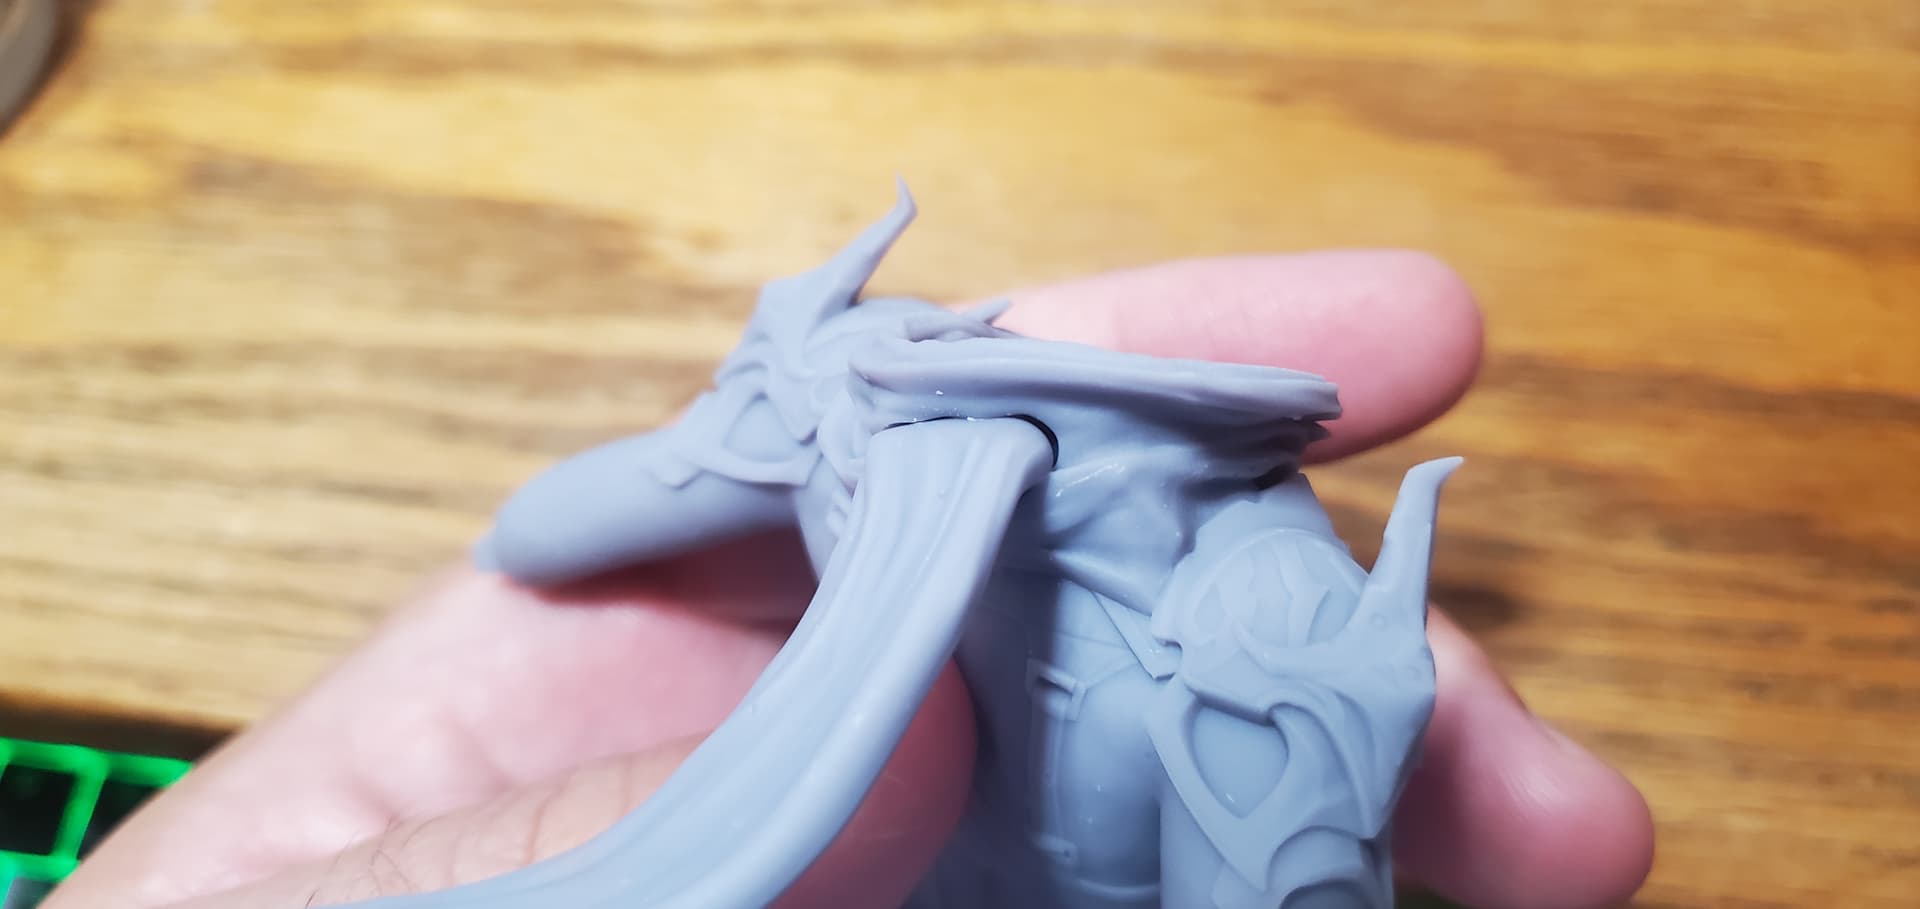
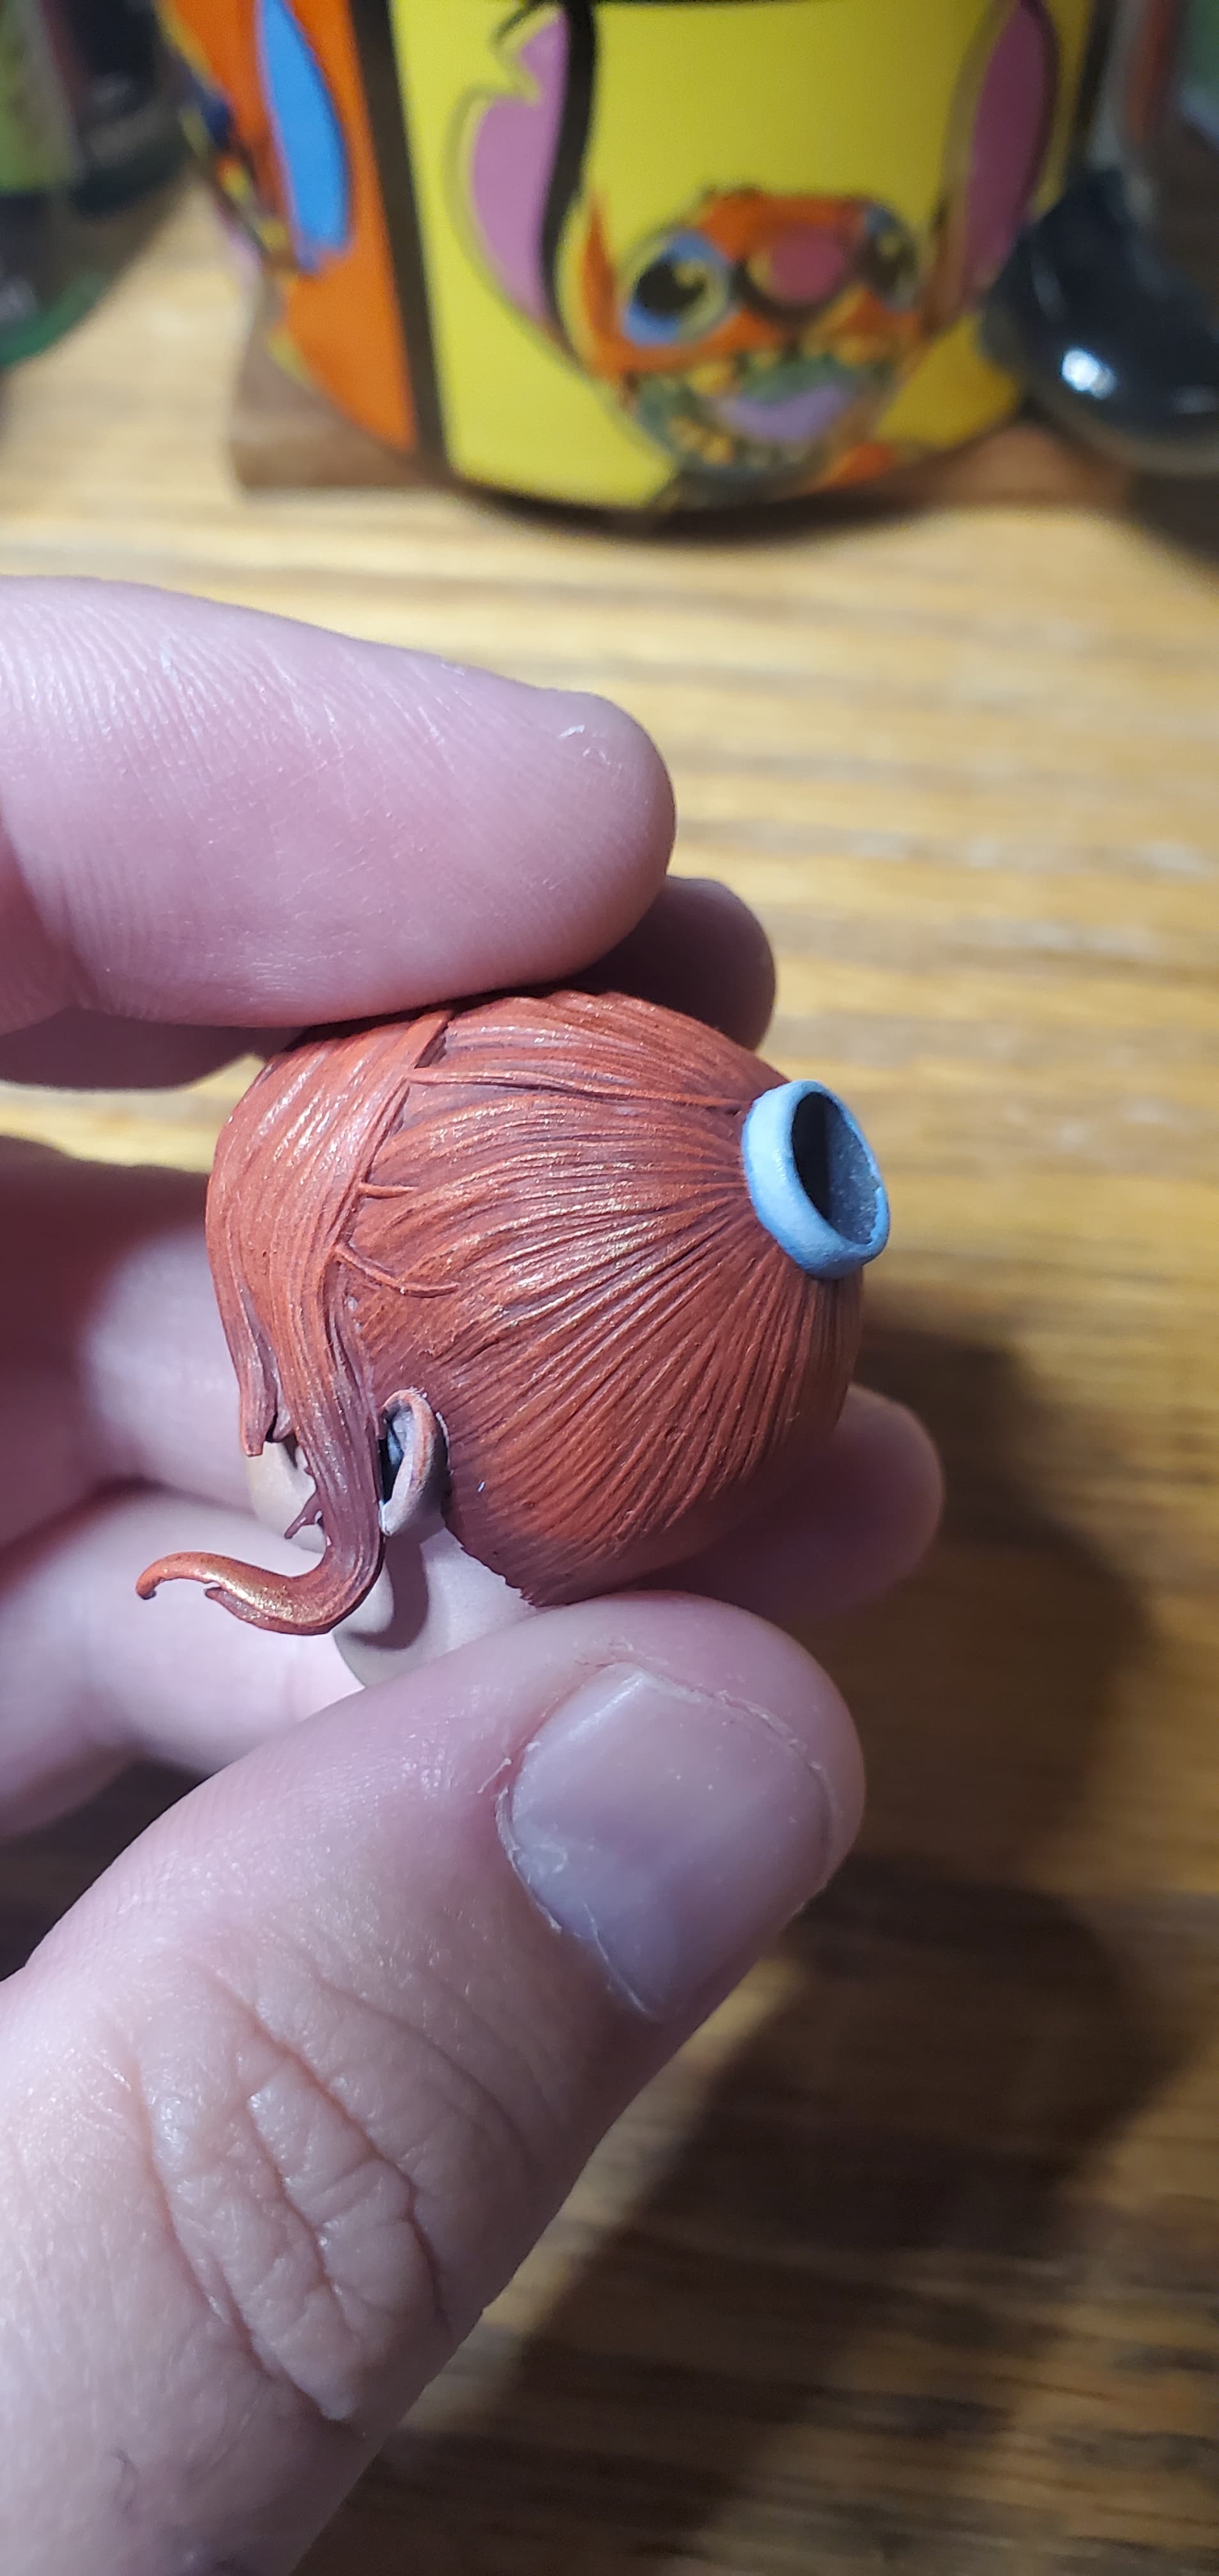
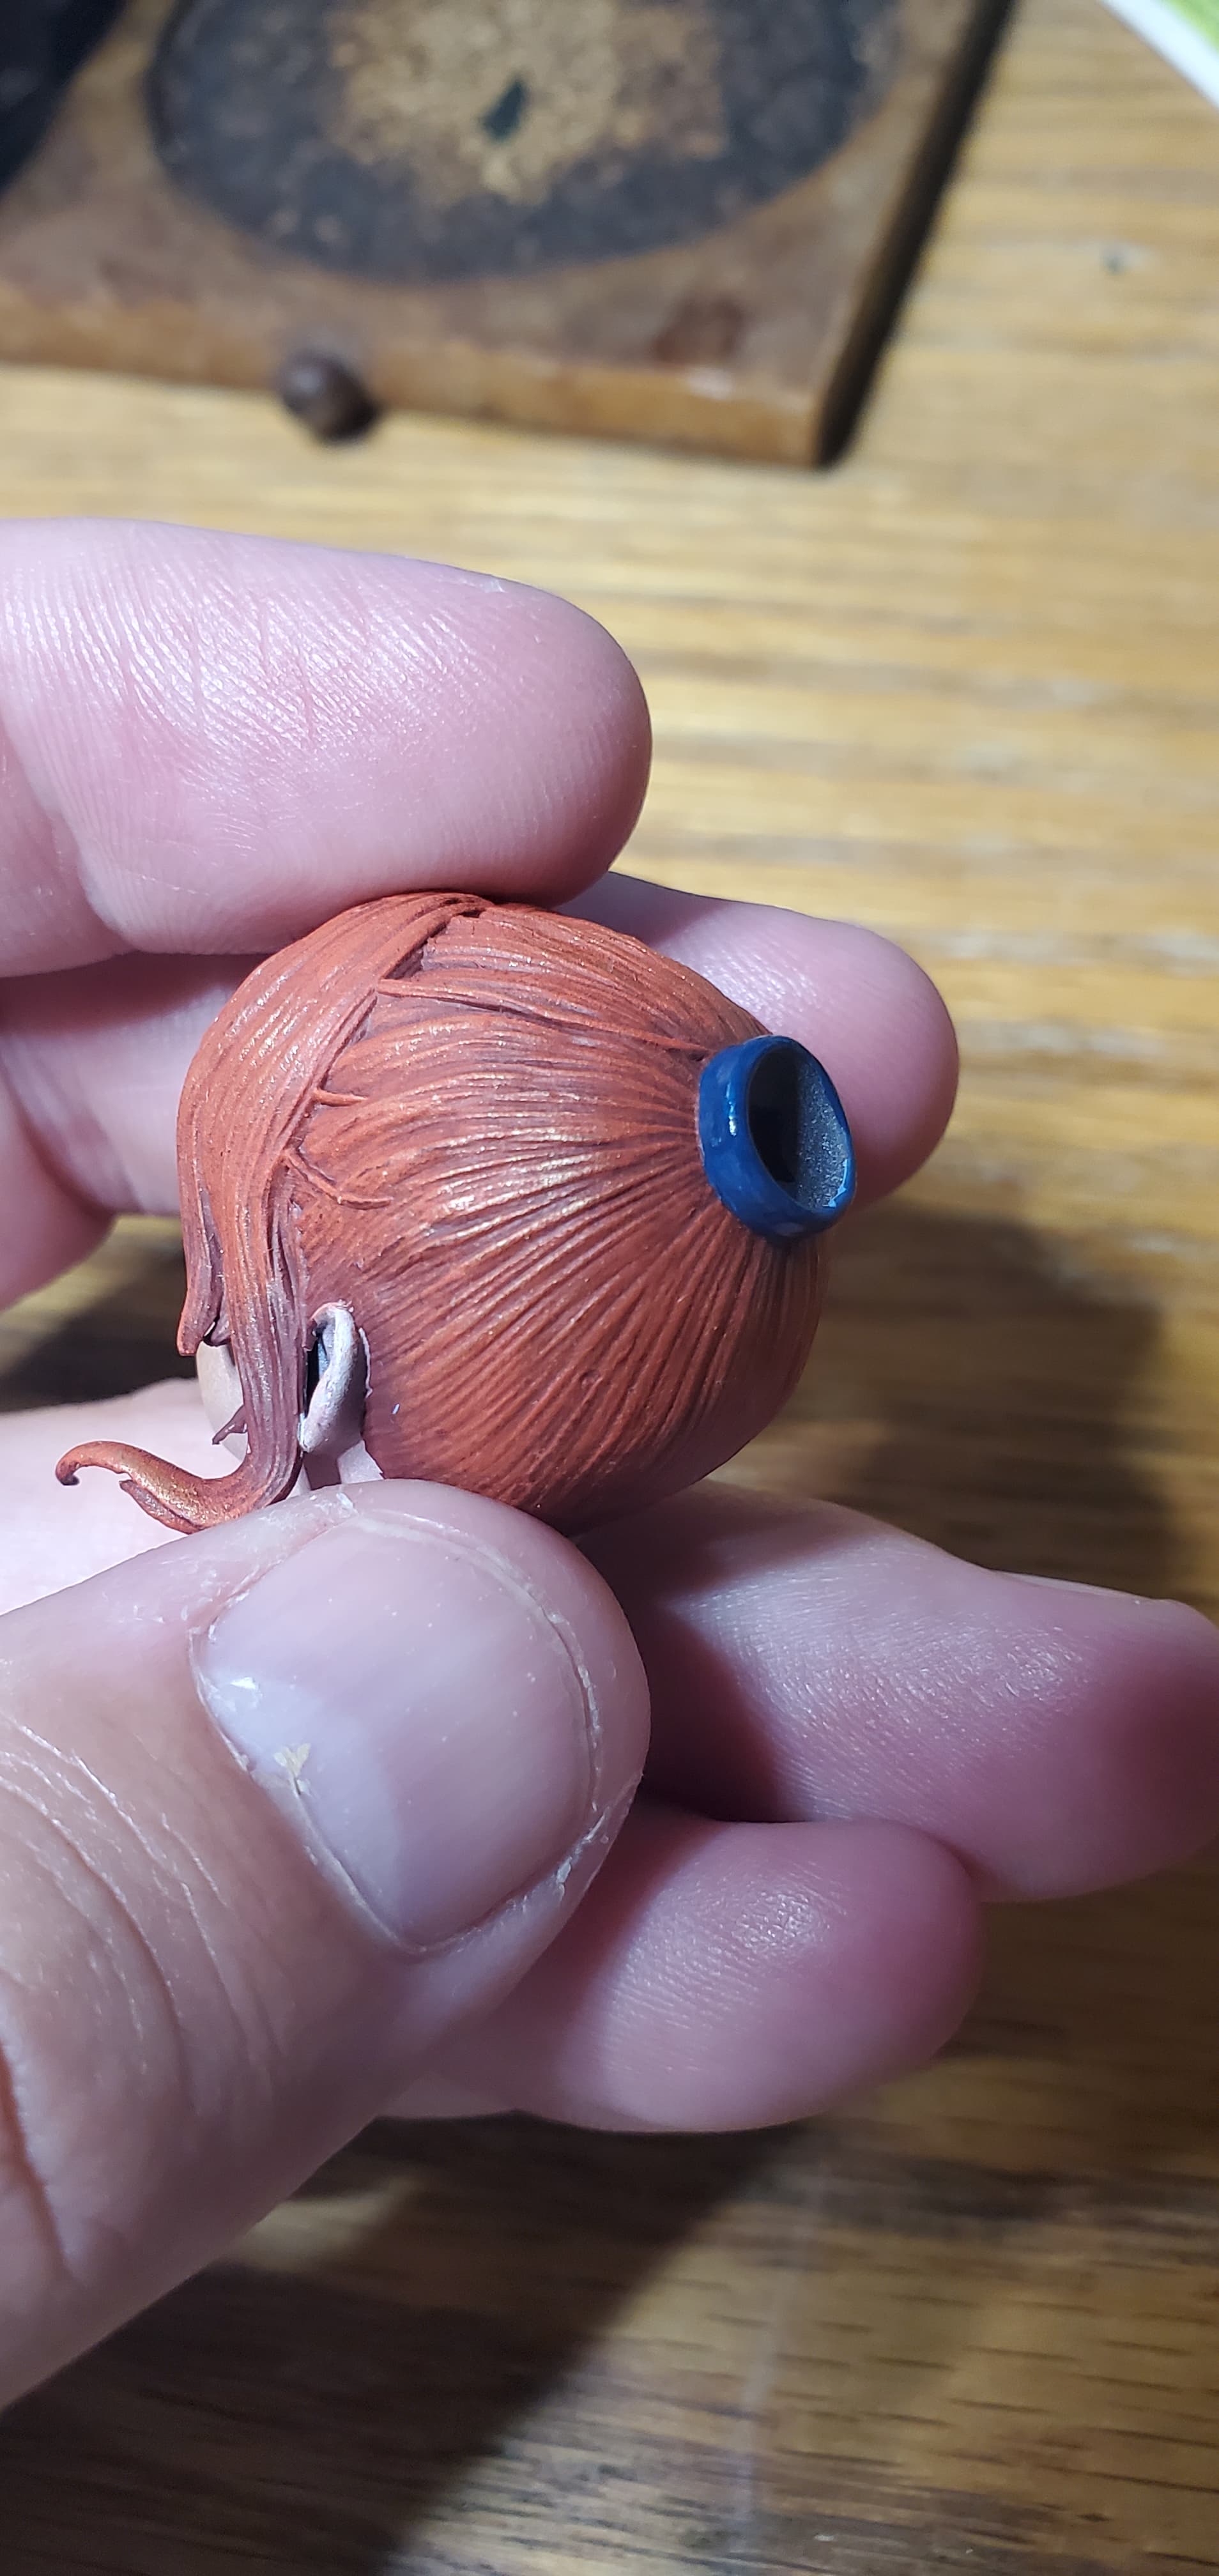
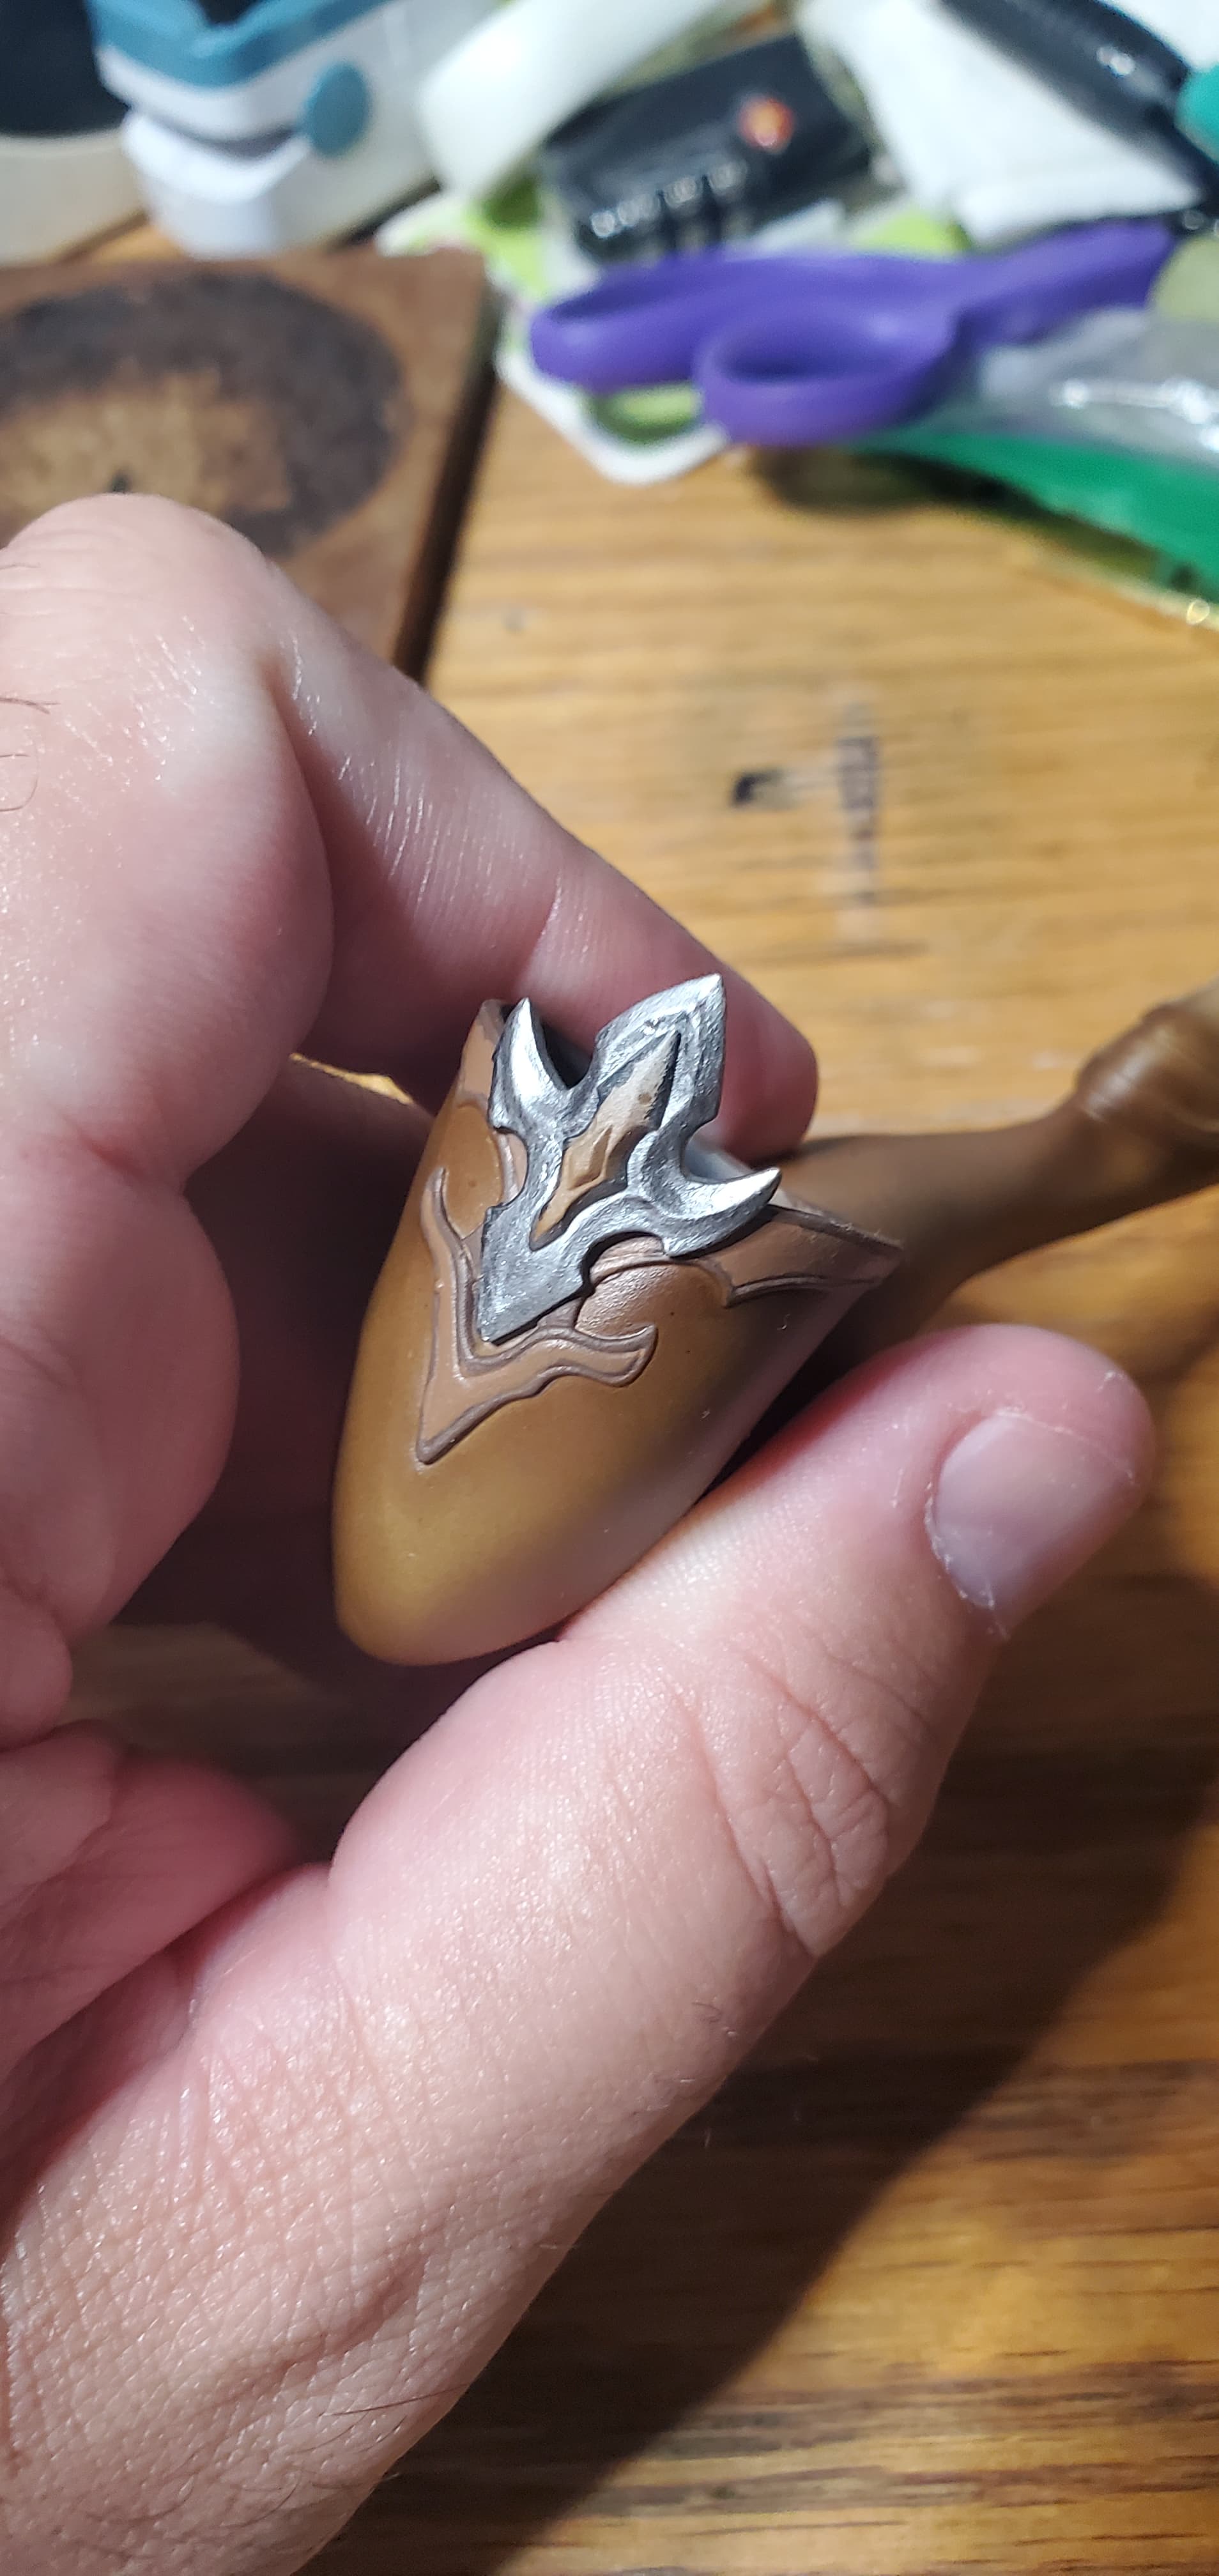
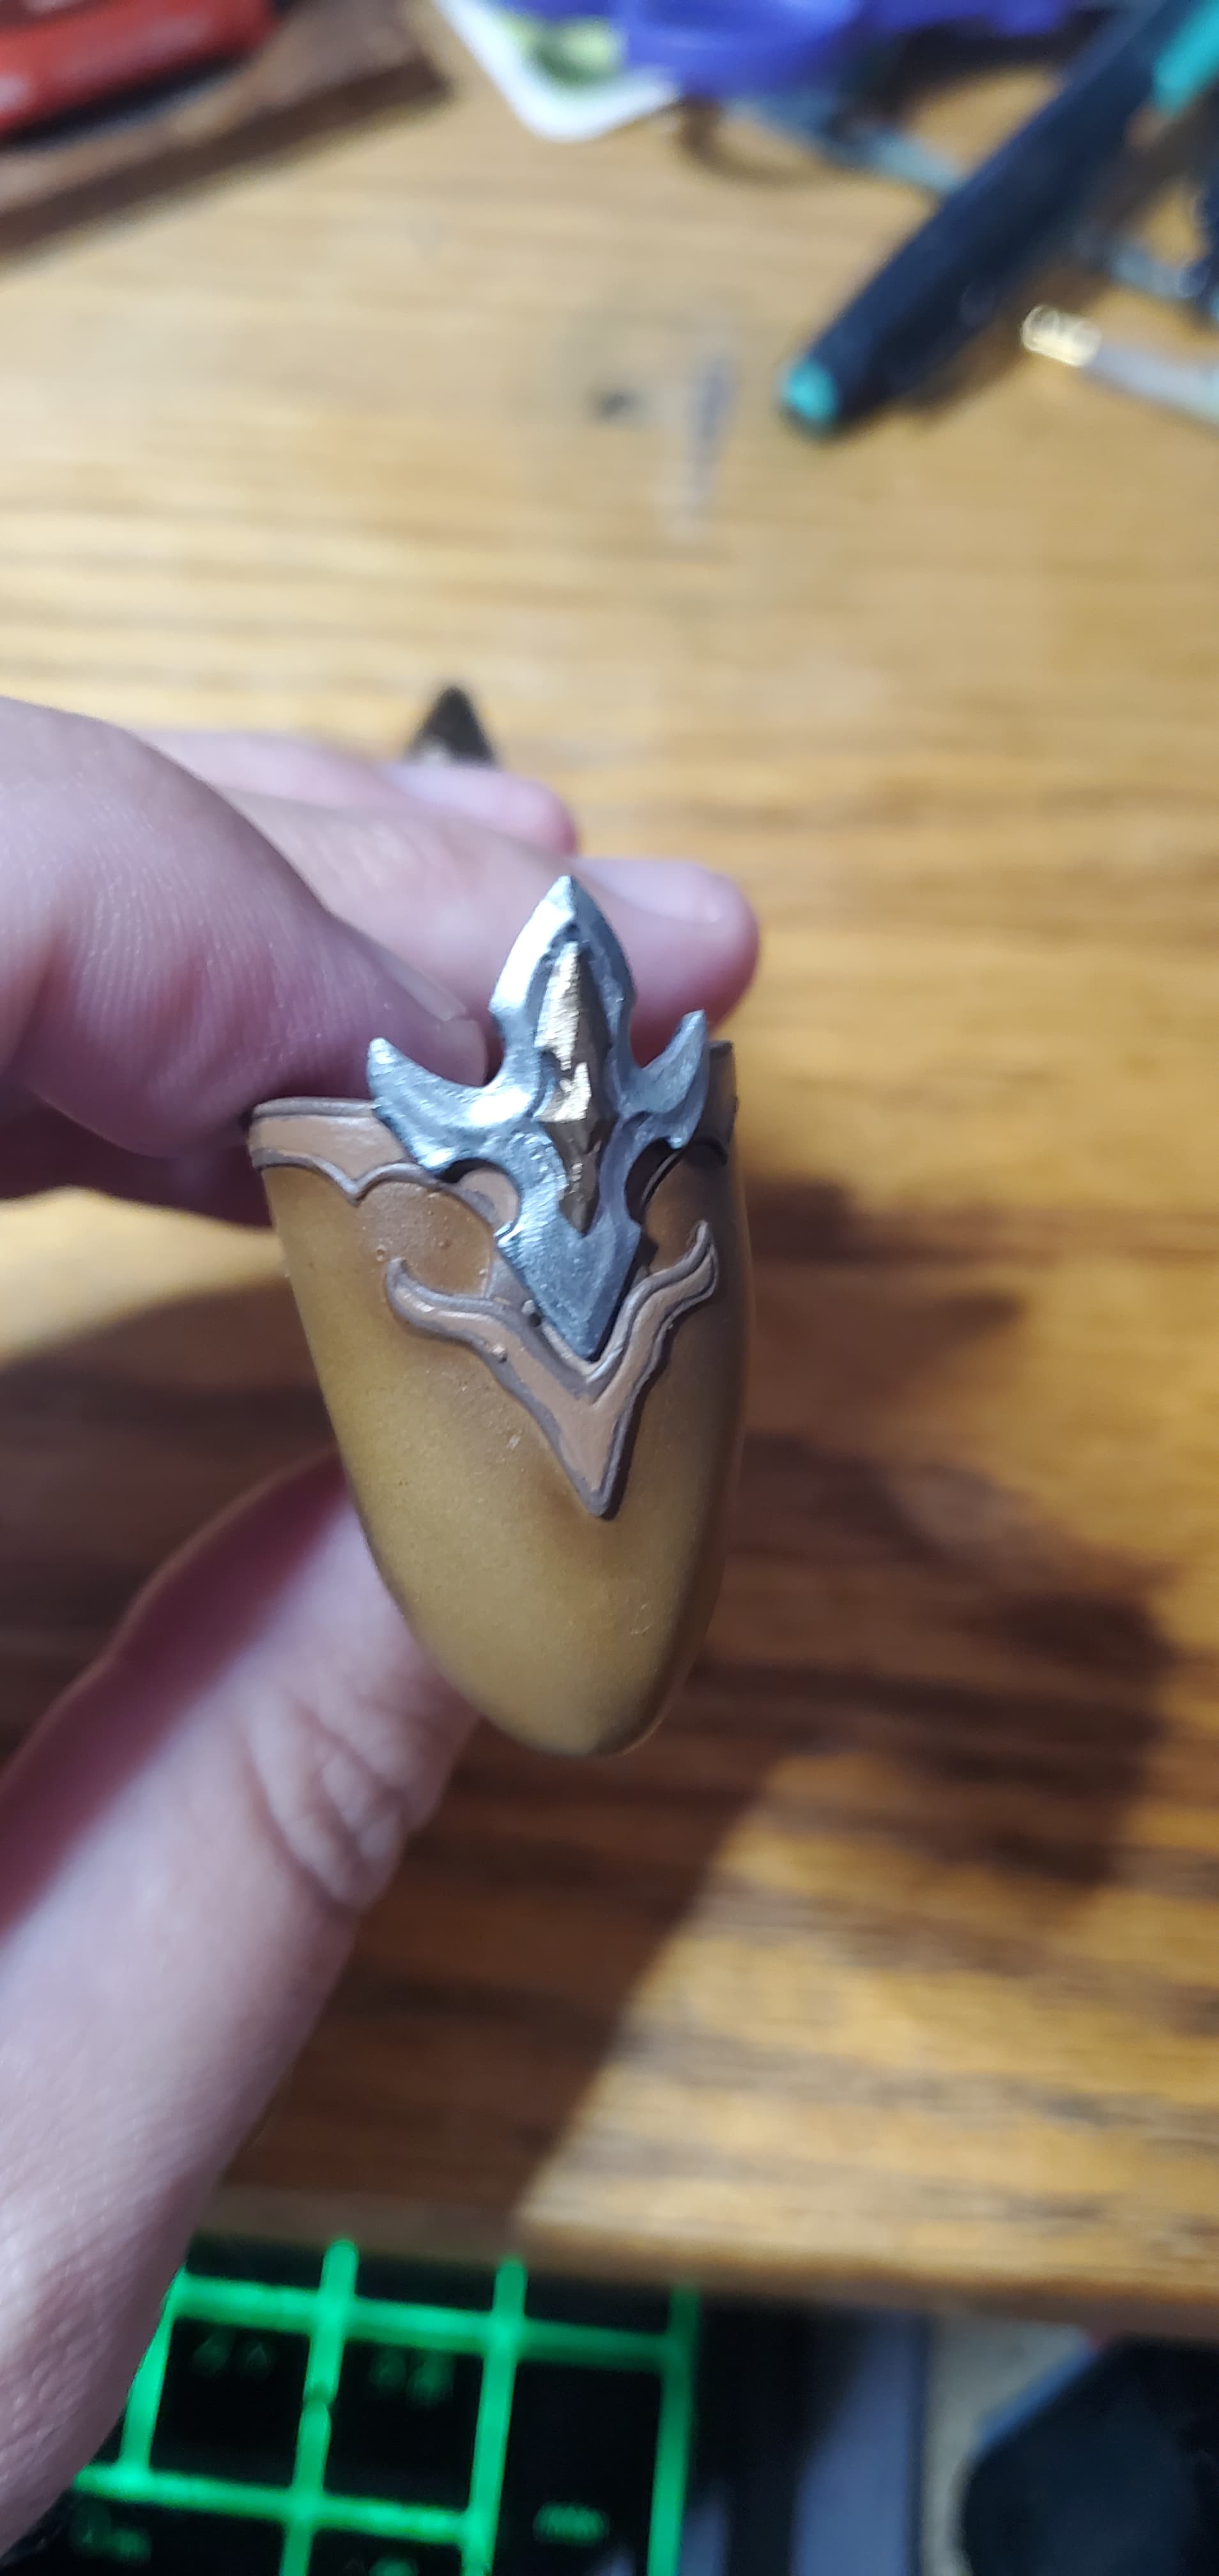
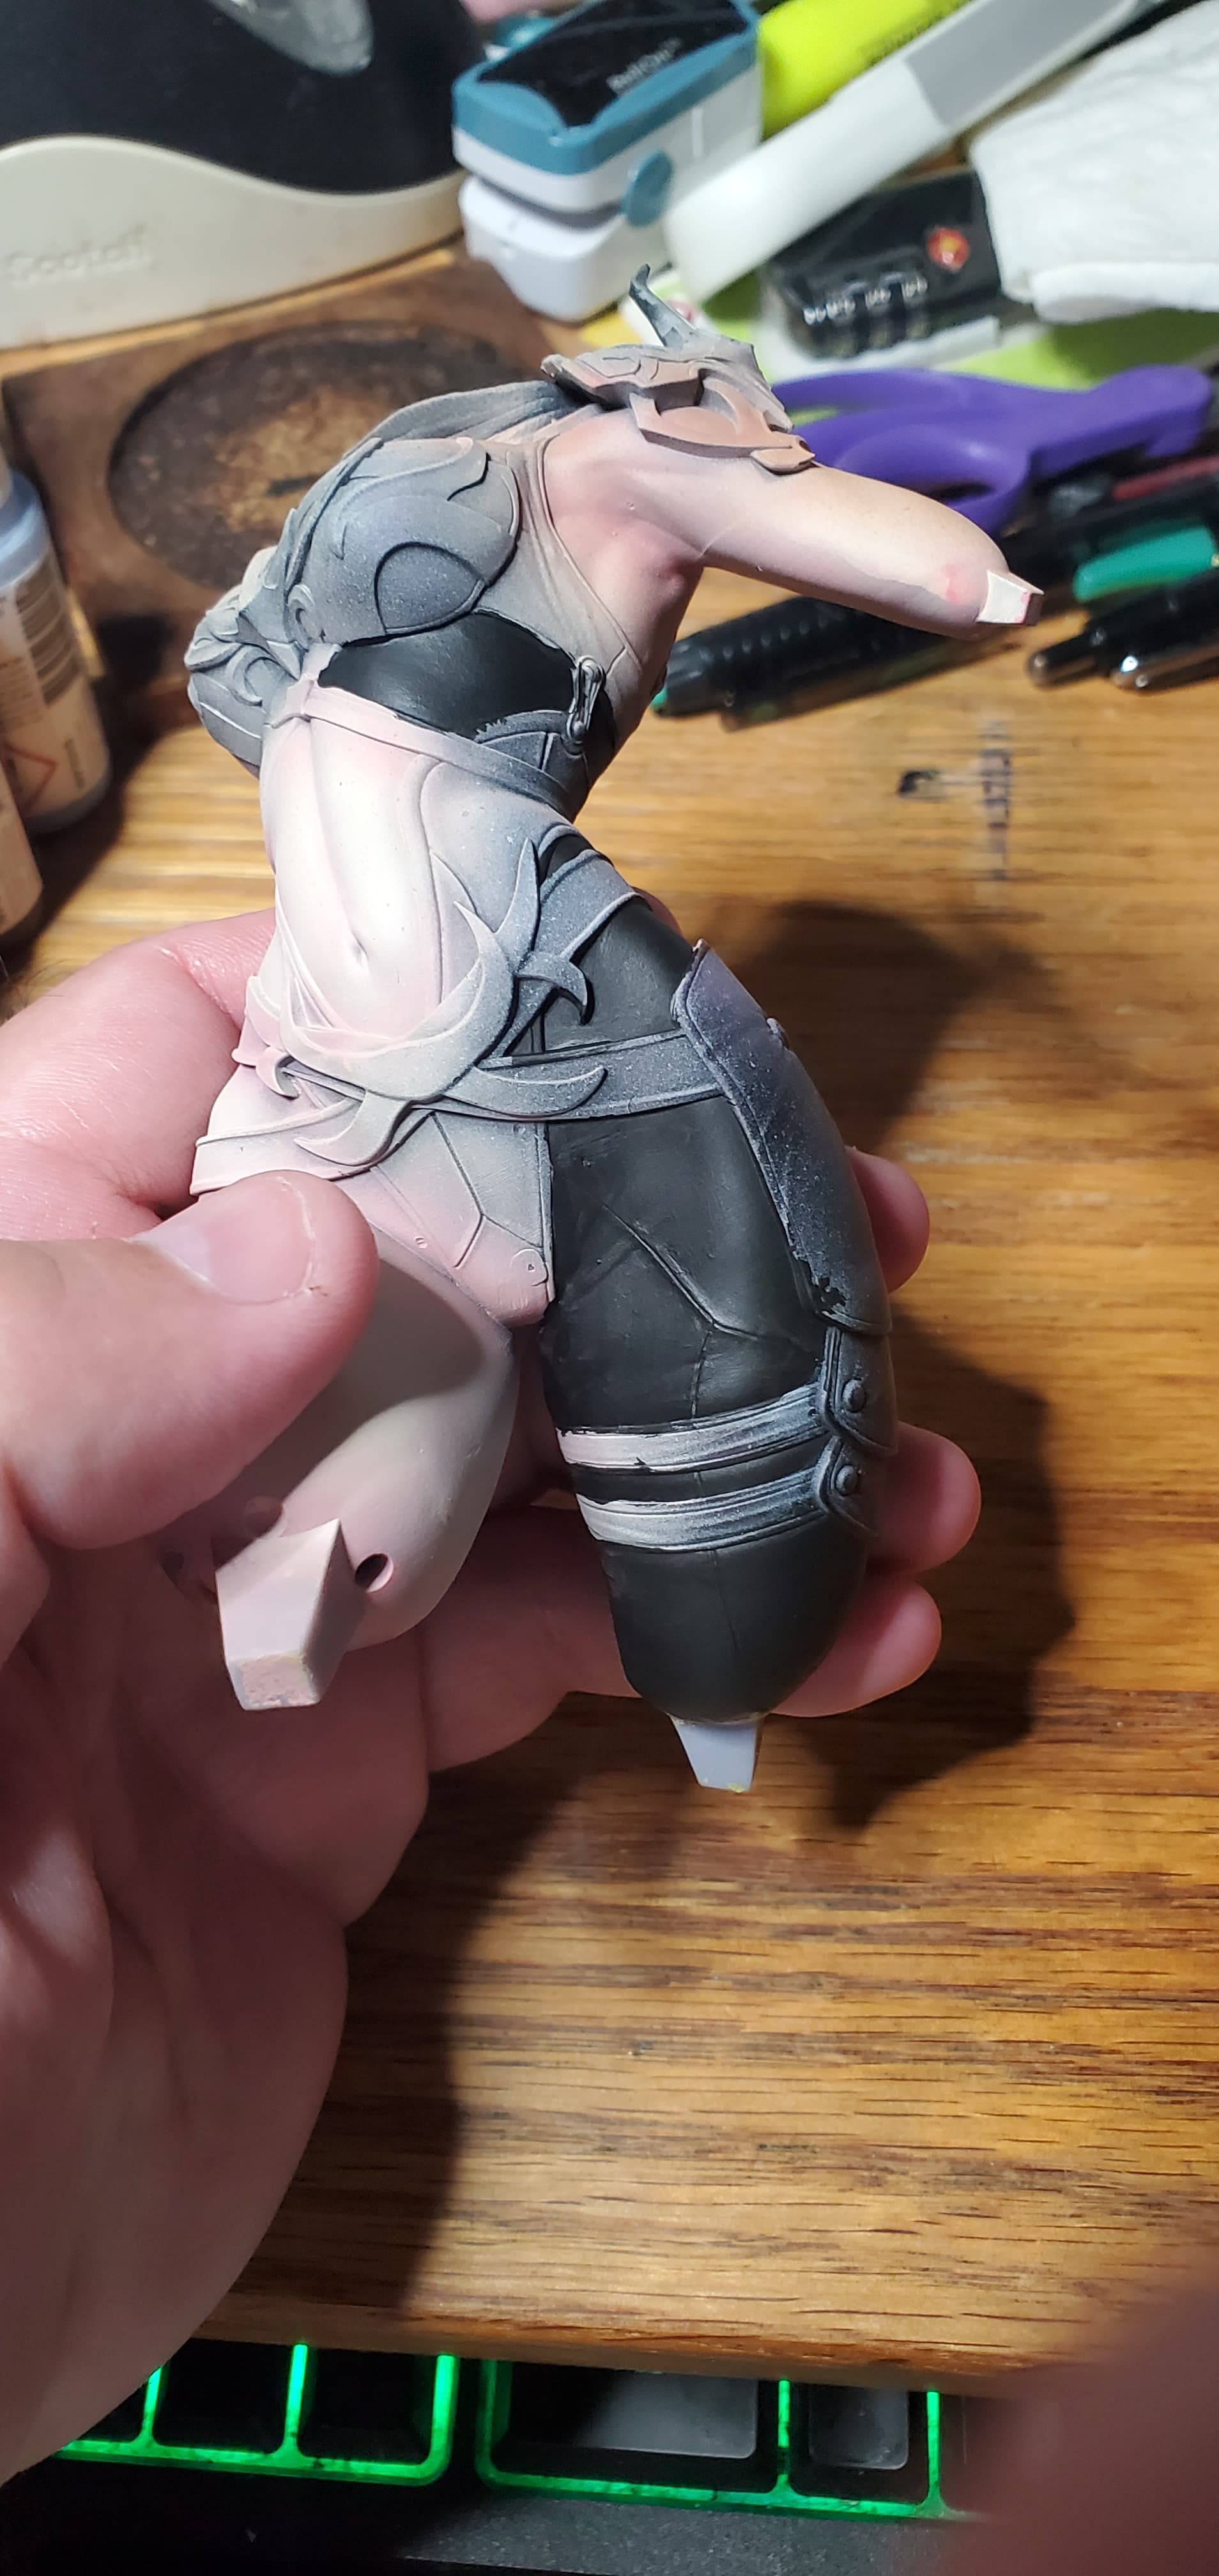
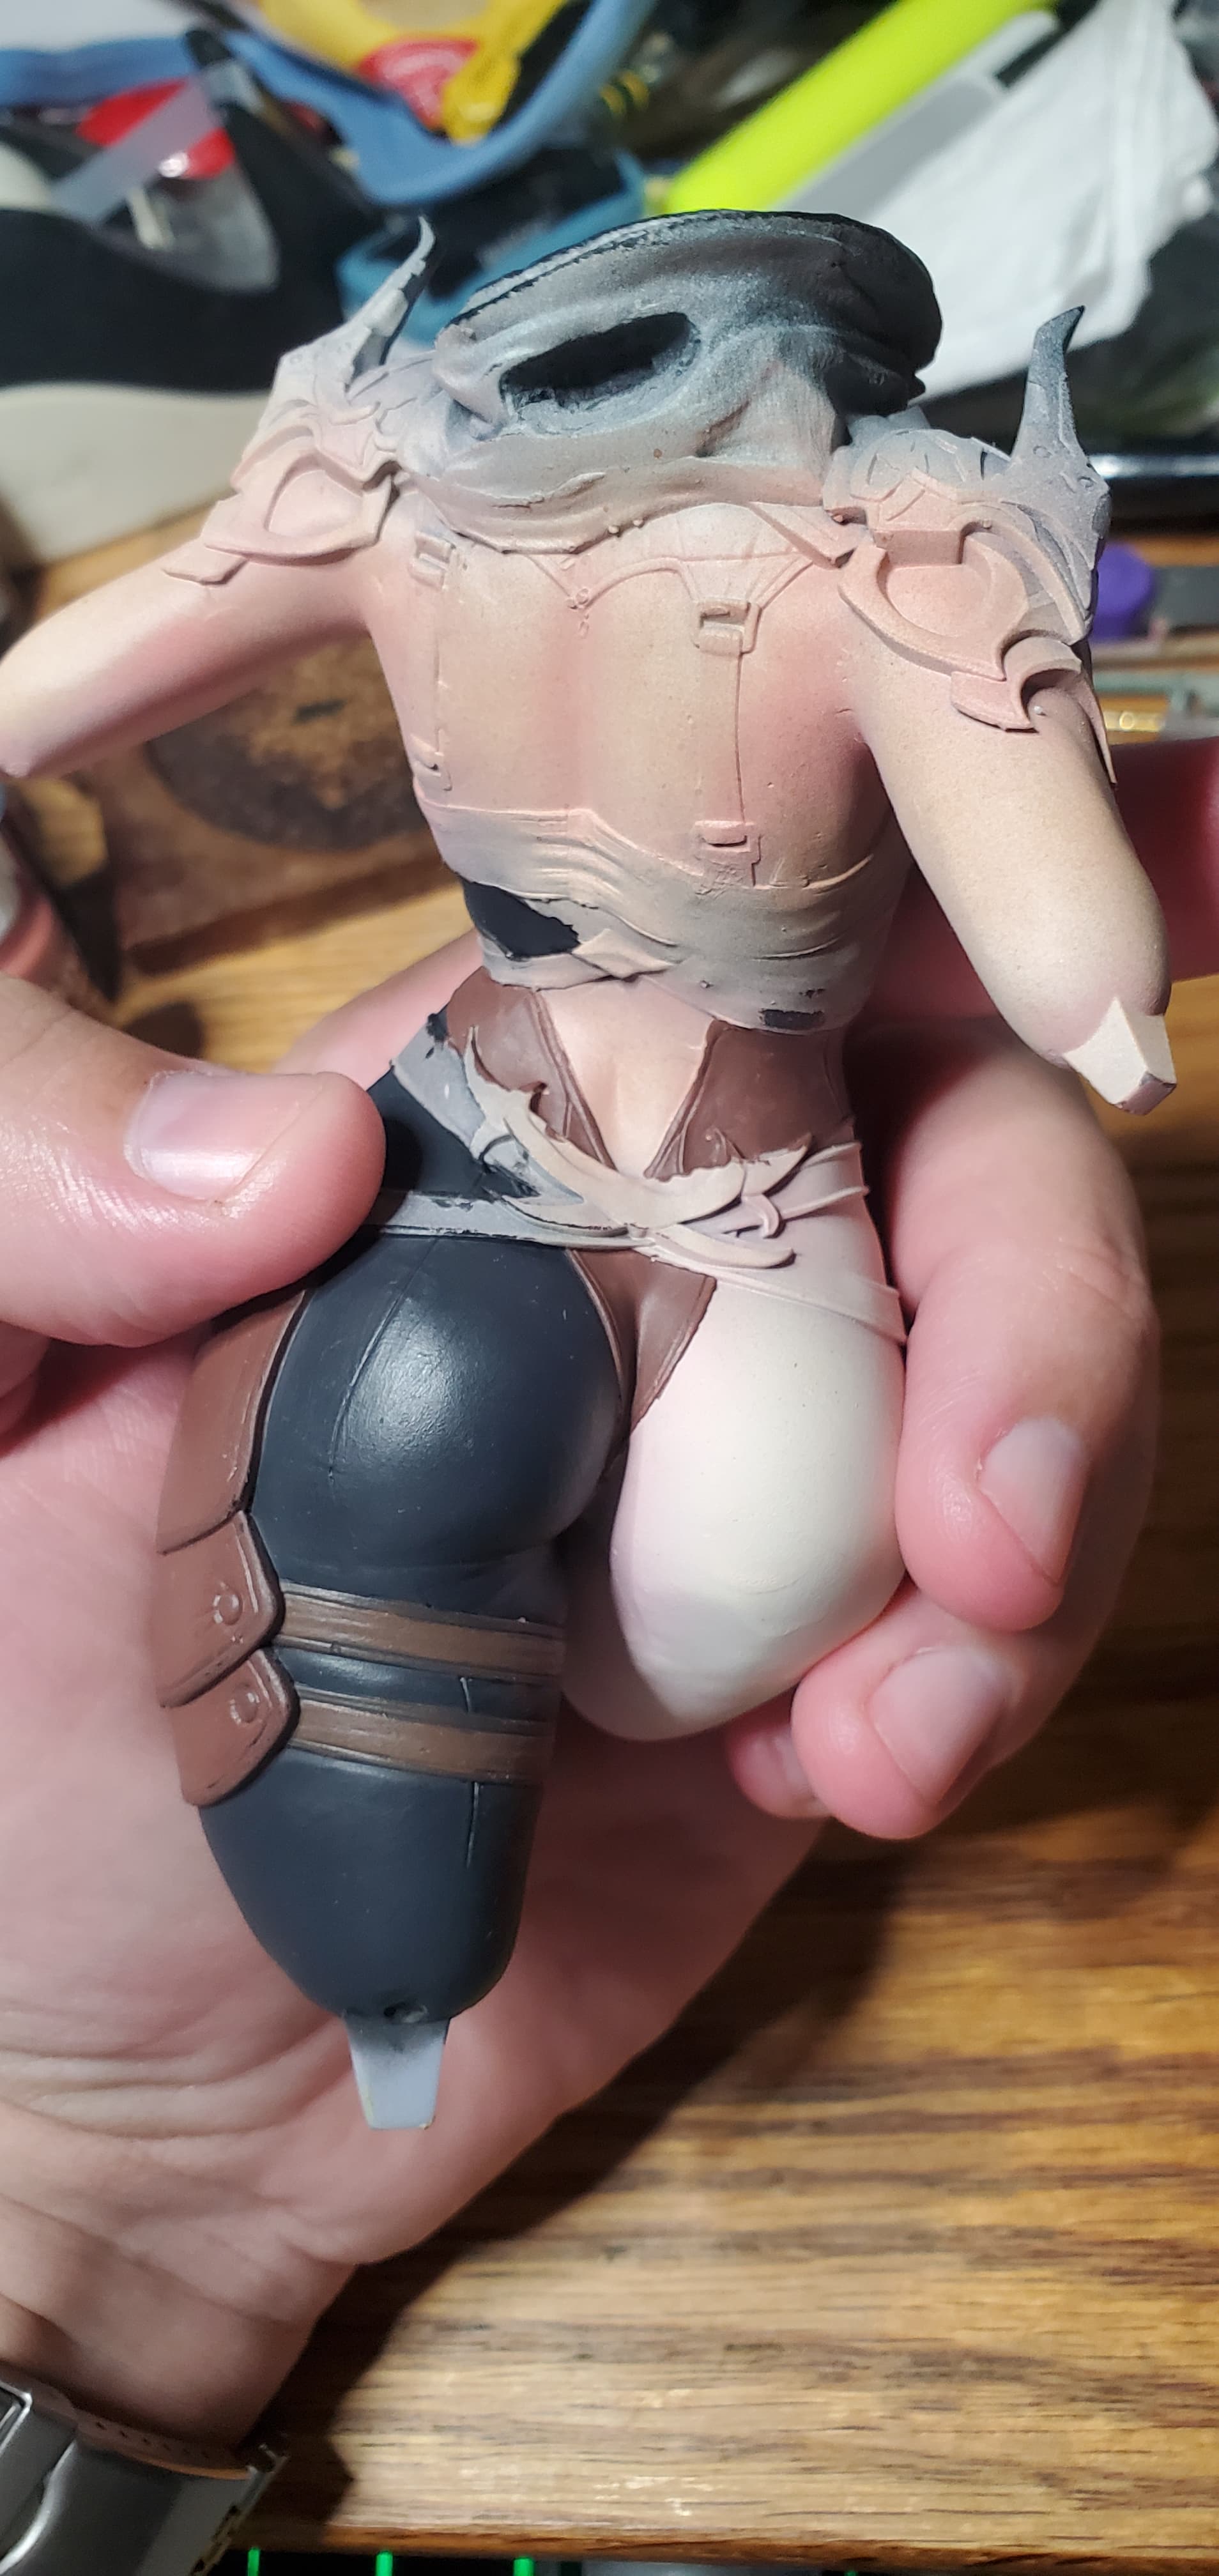
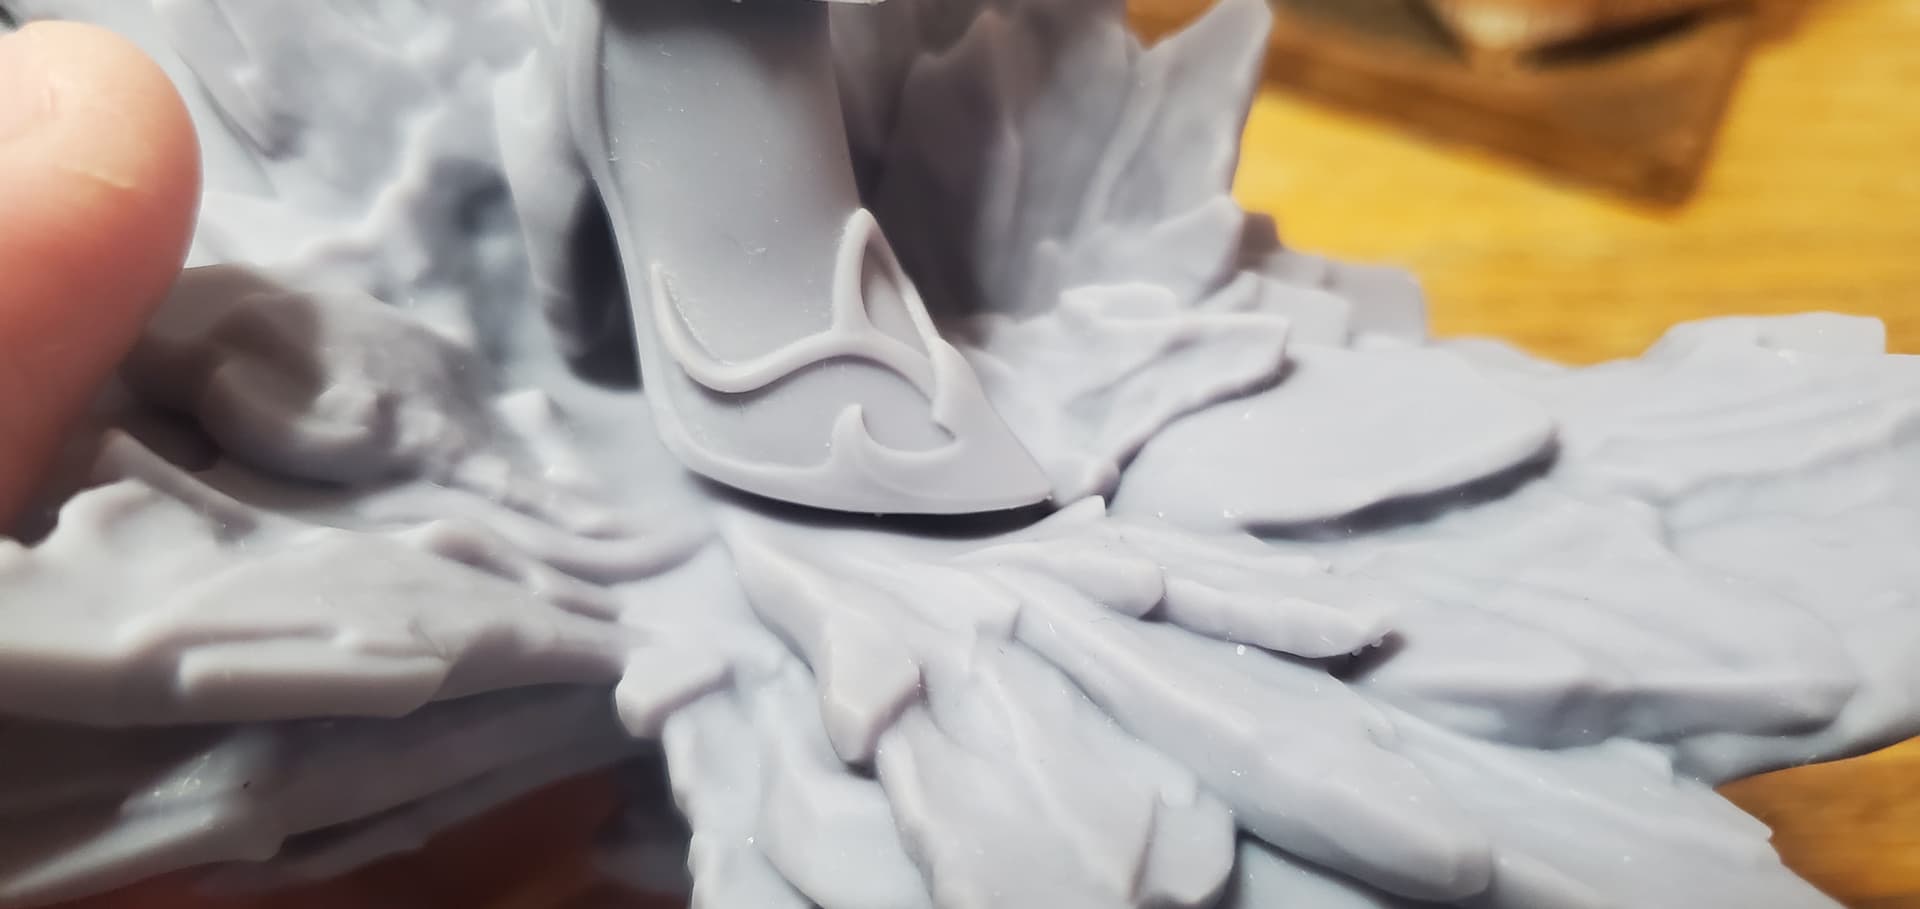
Prior to that however I also noticed an issue with the connection point between the tail of the scarf and the torso portion. I don’t know if it was miss cut, or the tail had some issue printing but the thing does not want to fit in. So I will also need to do some work here as well to touch up the key hole as well.


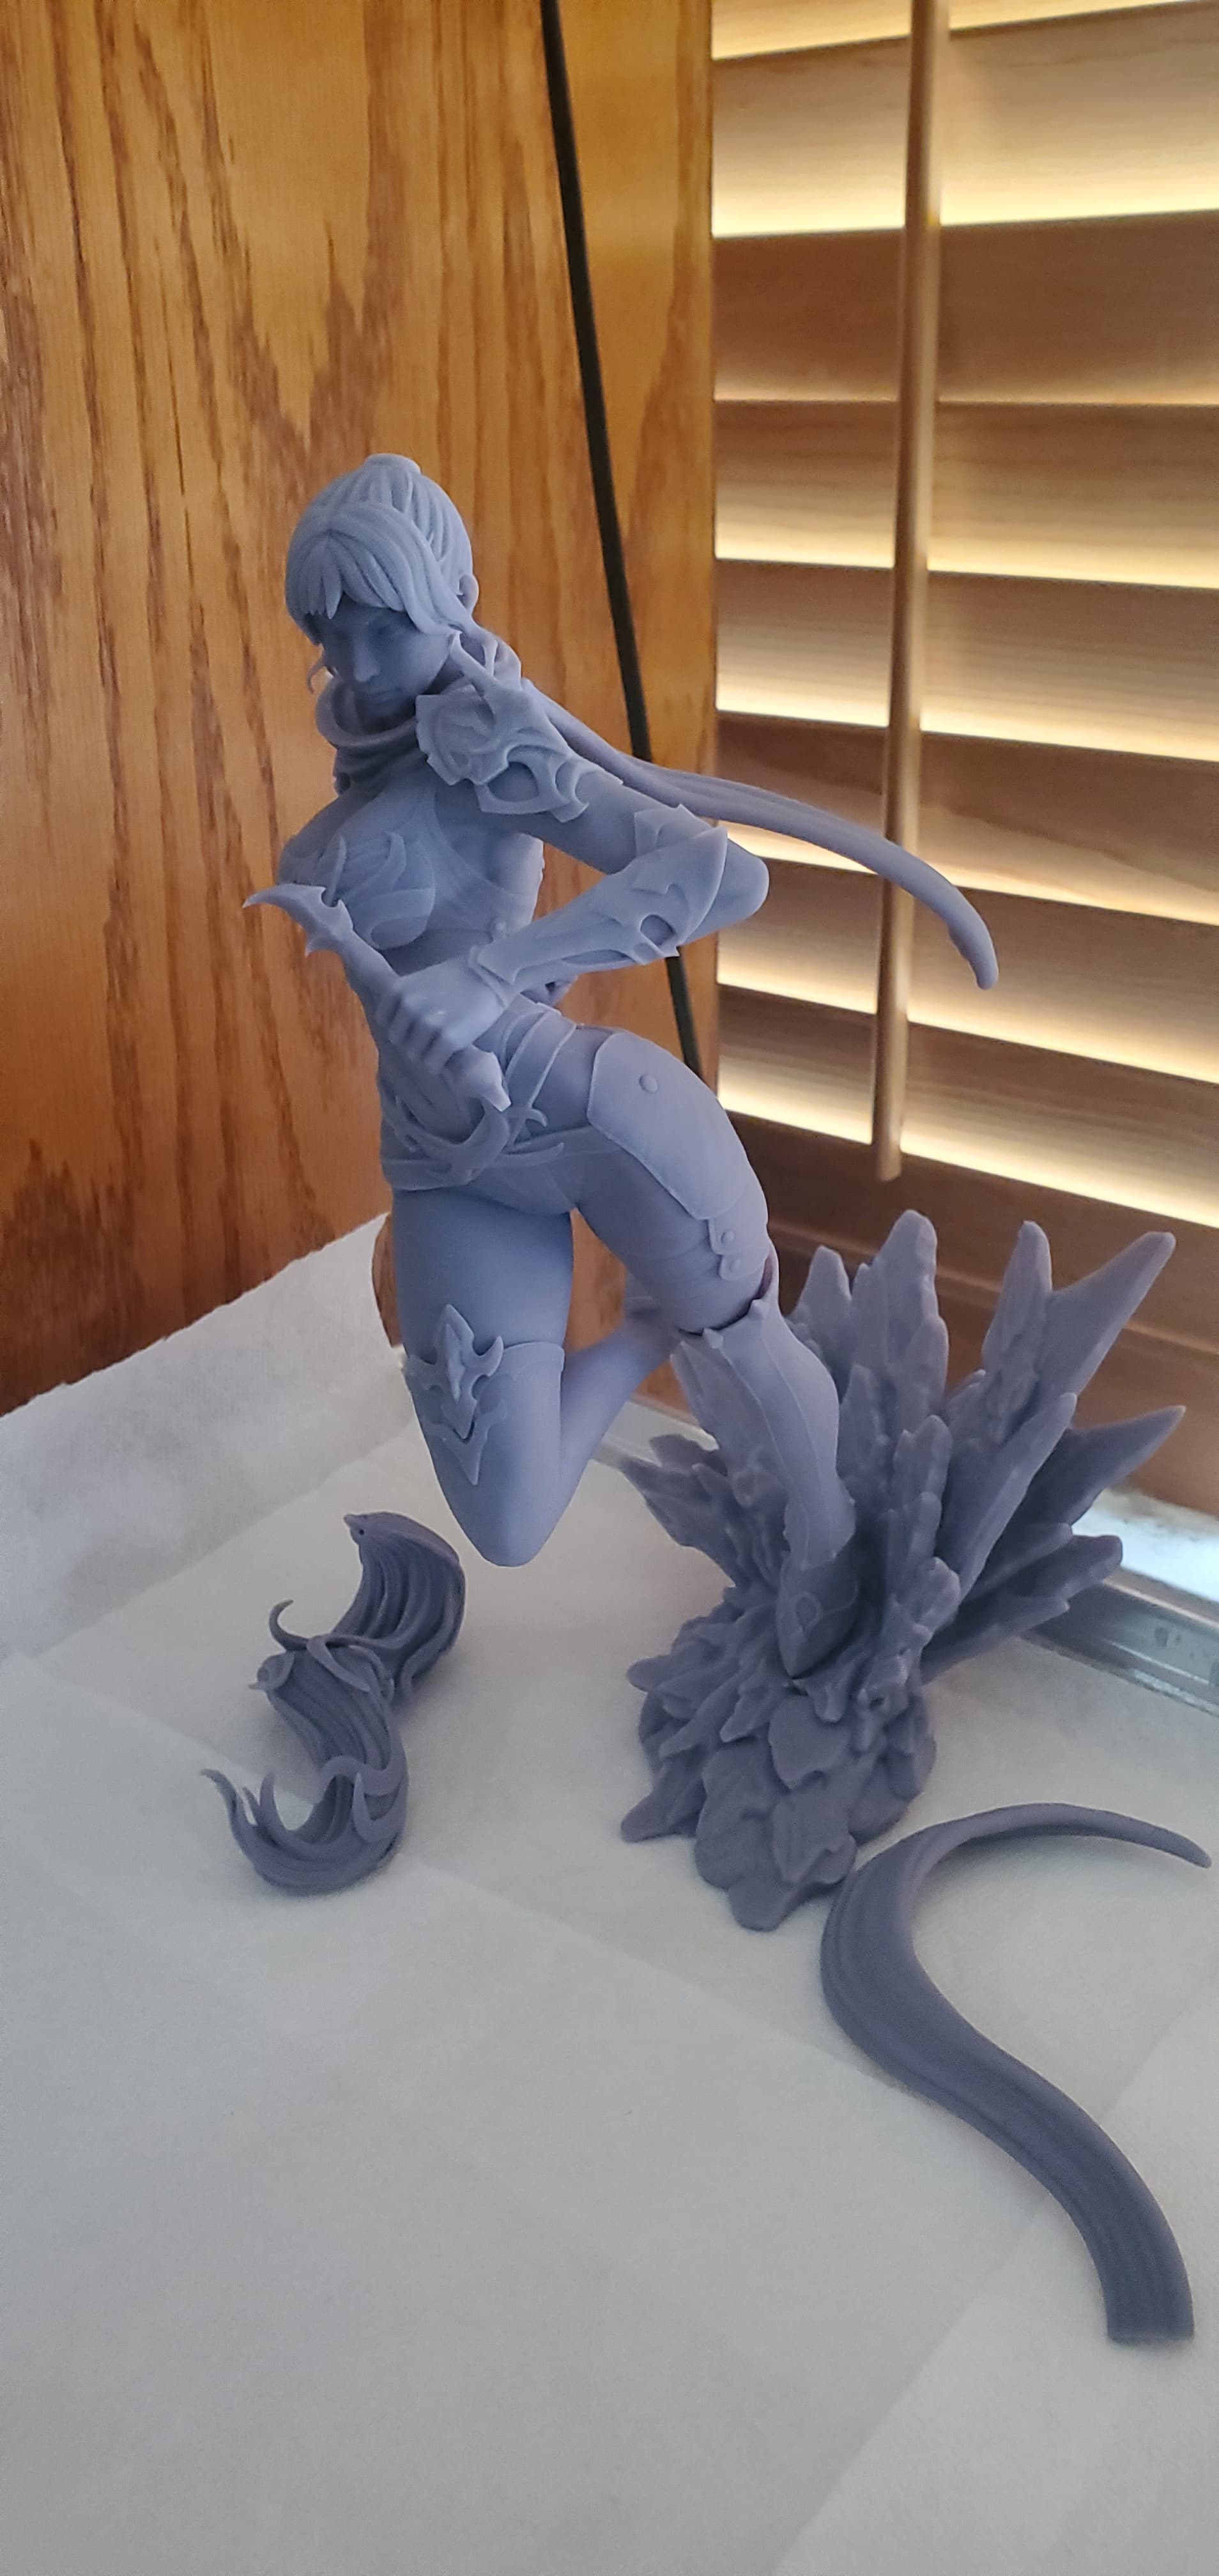
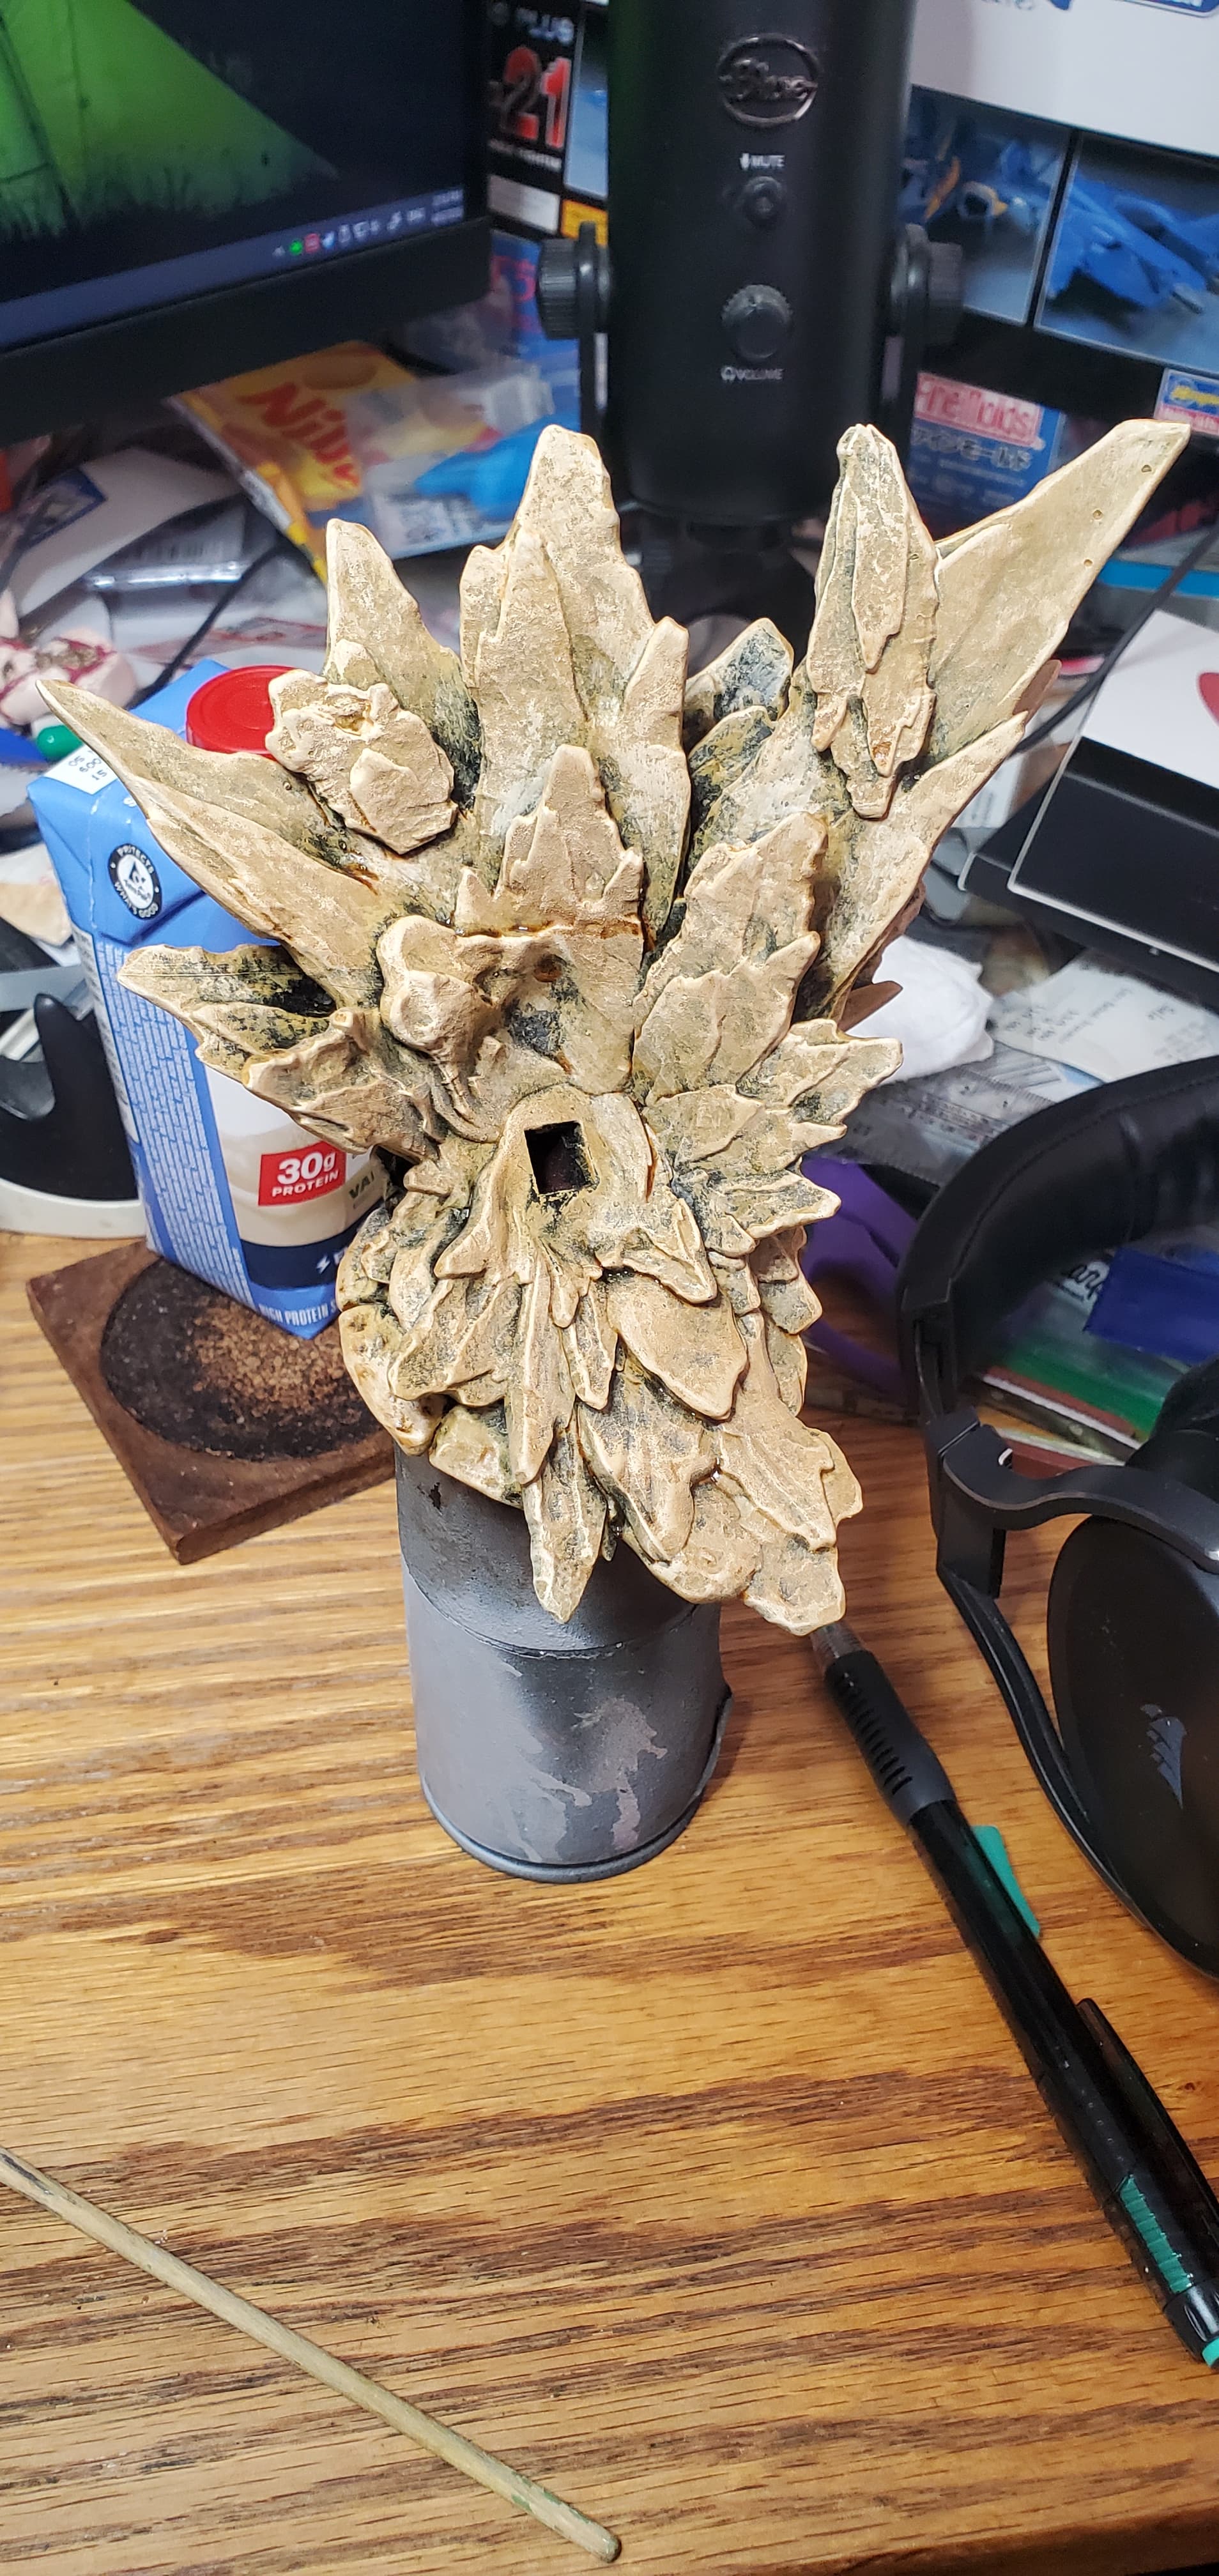
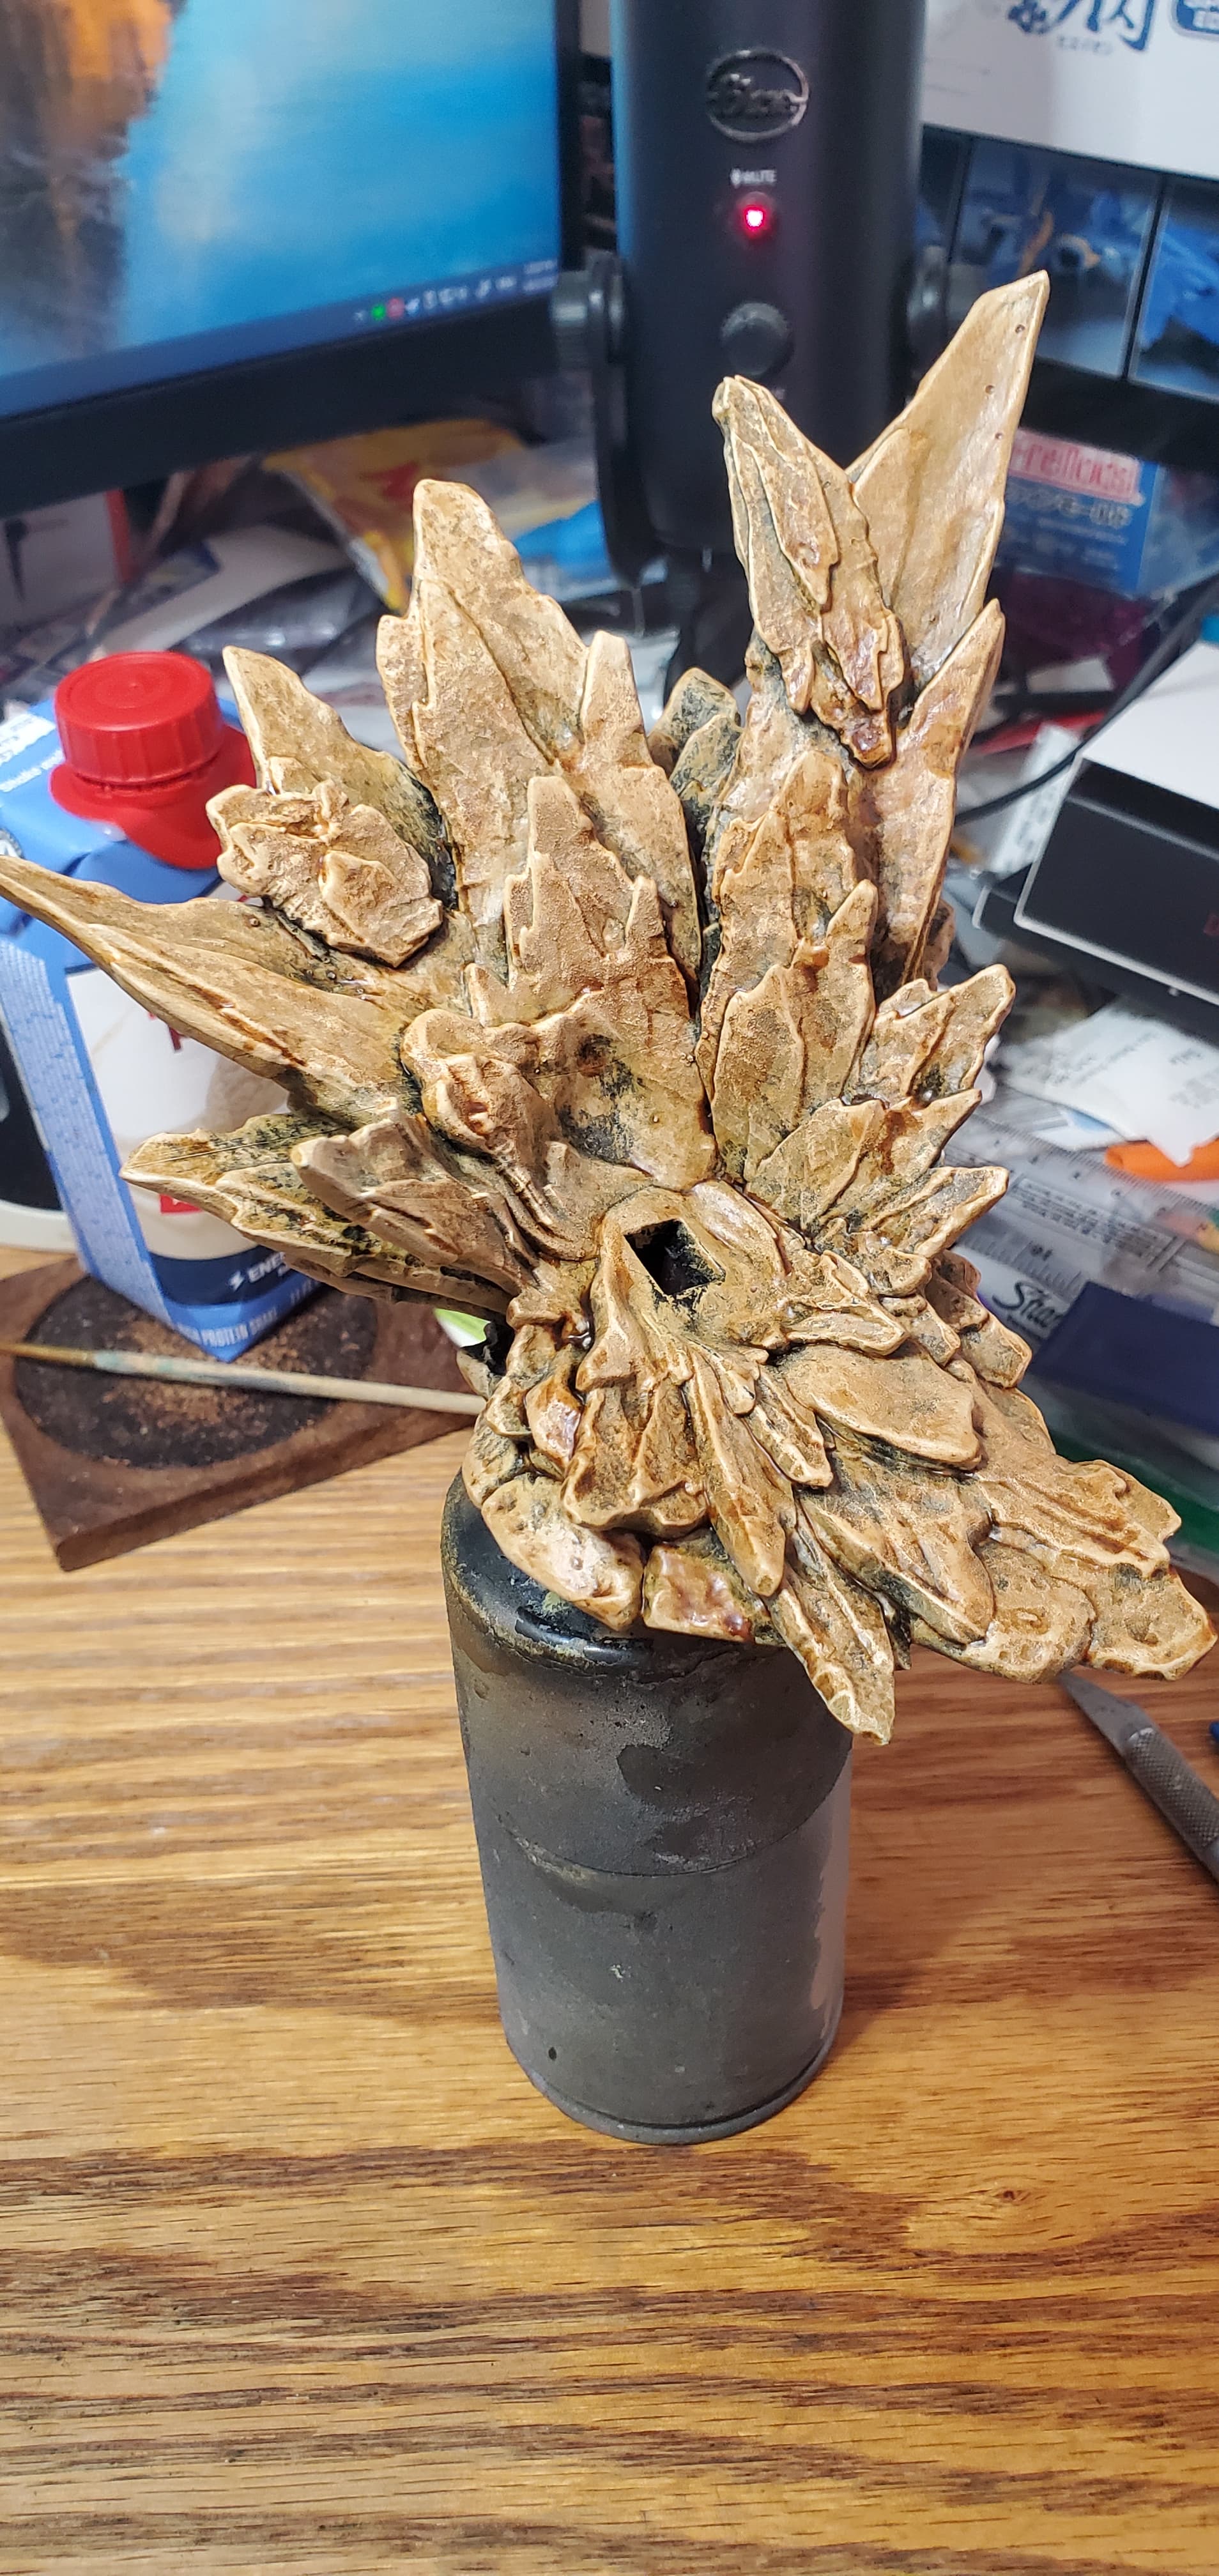
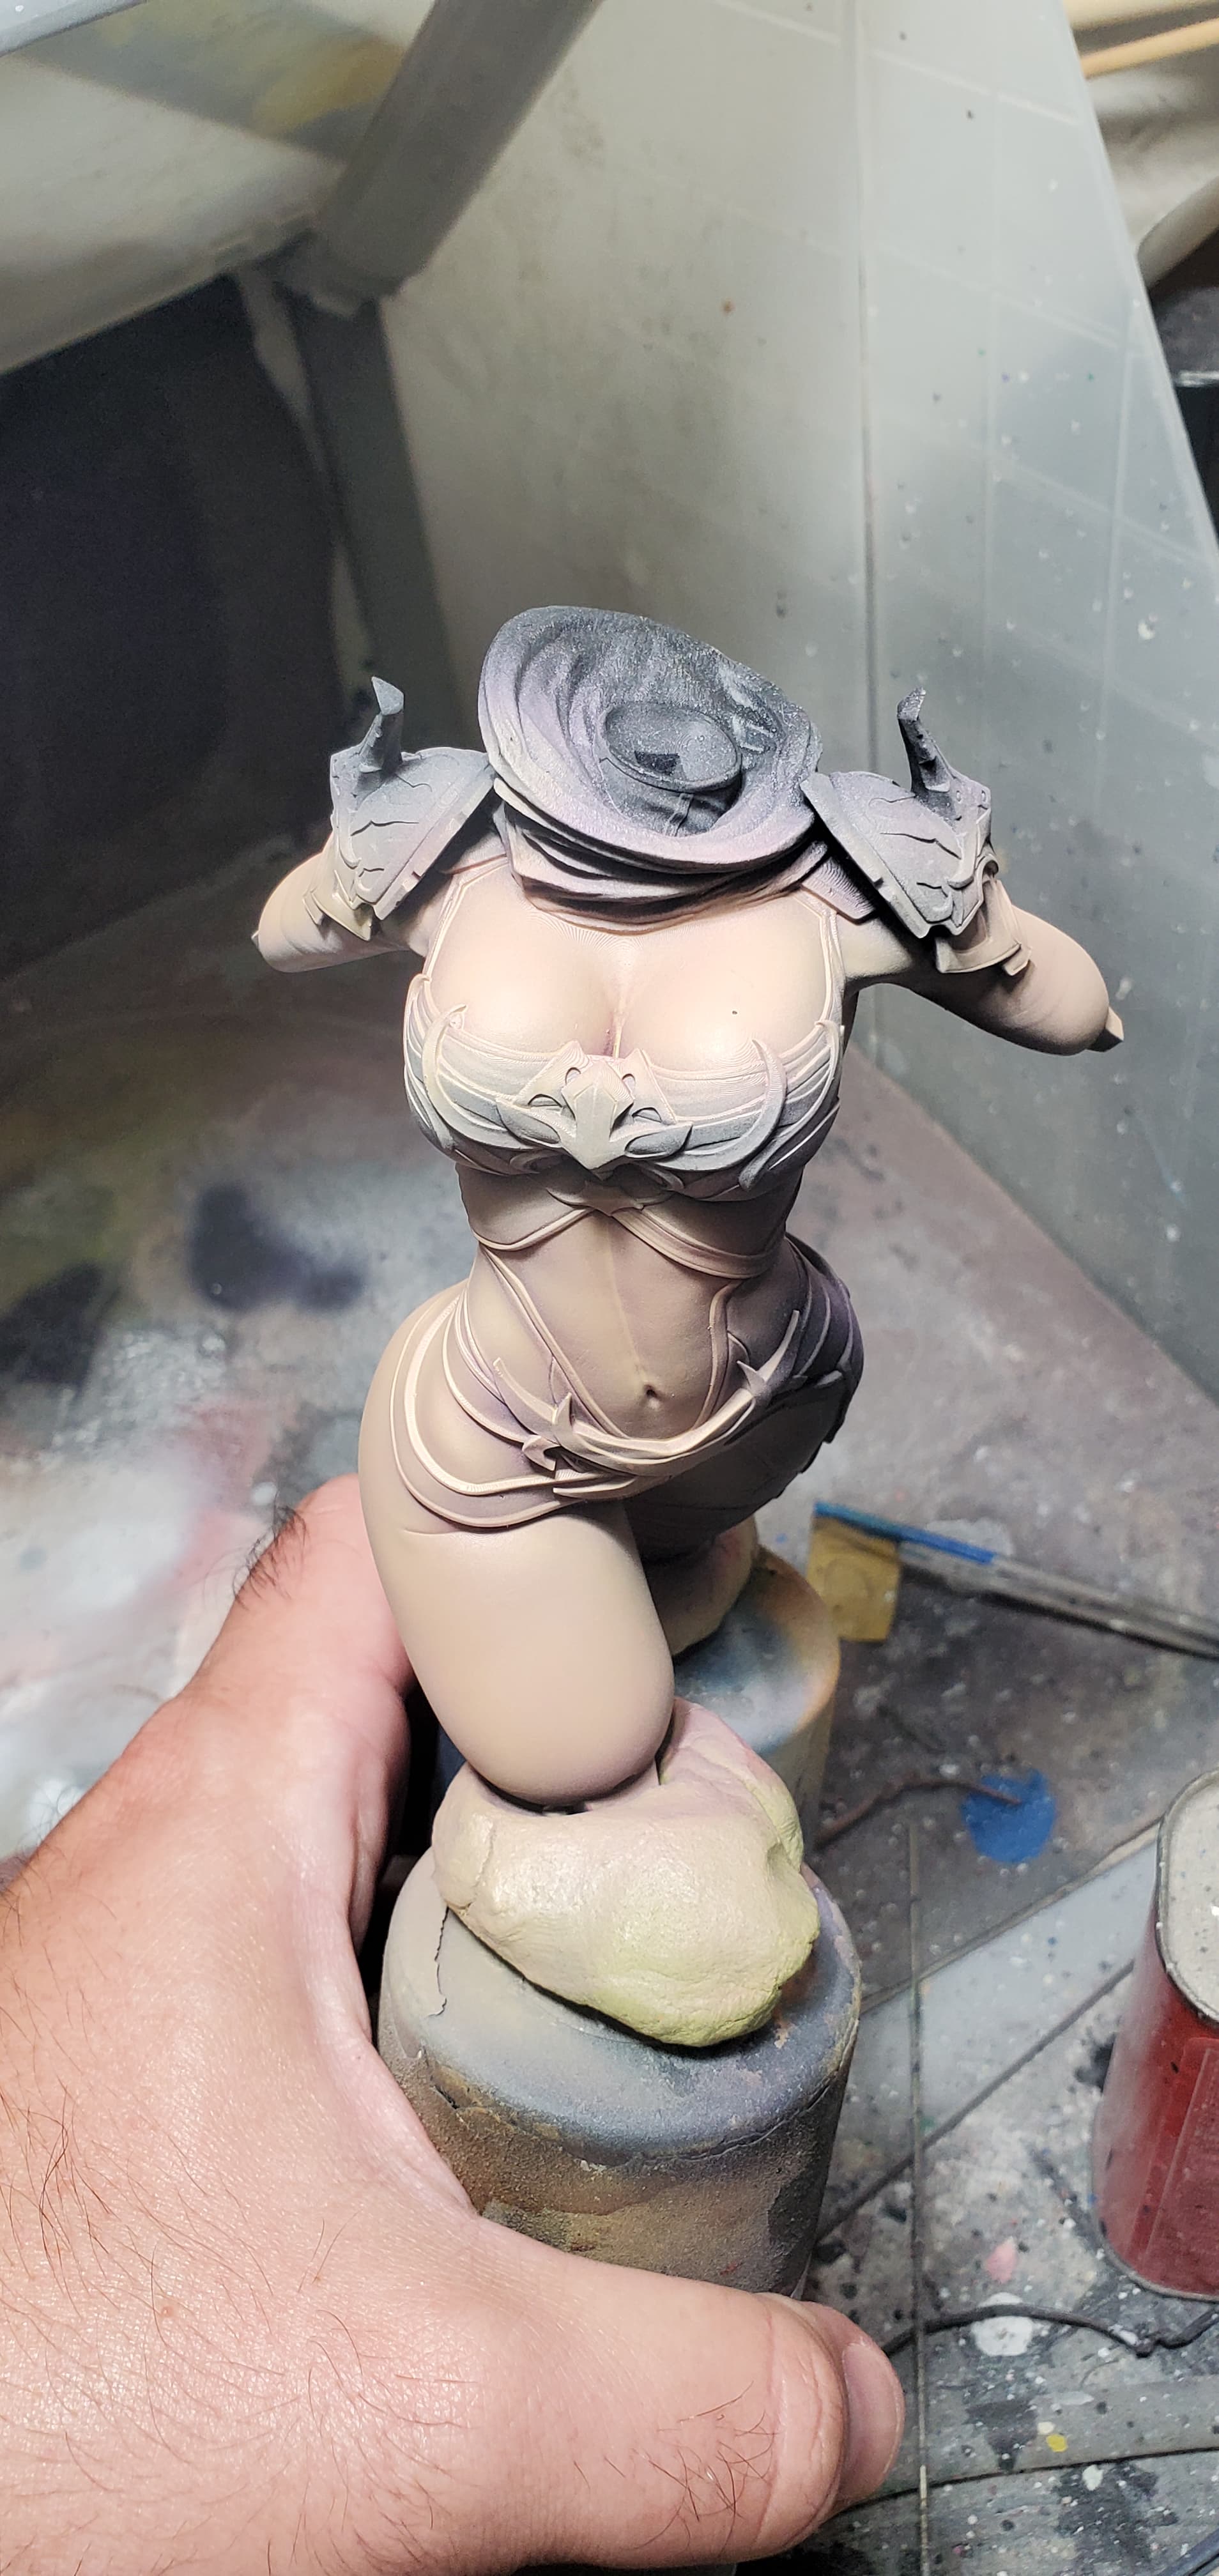
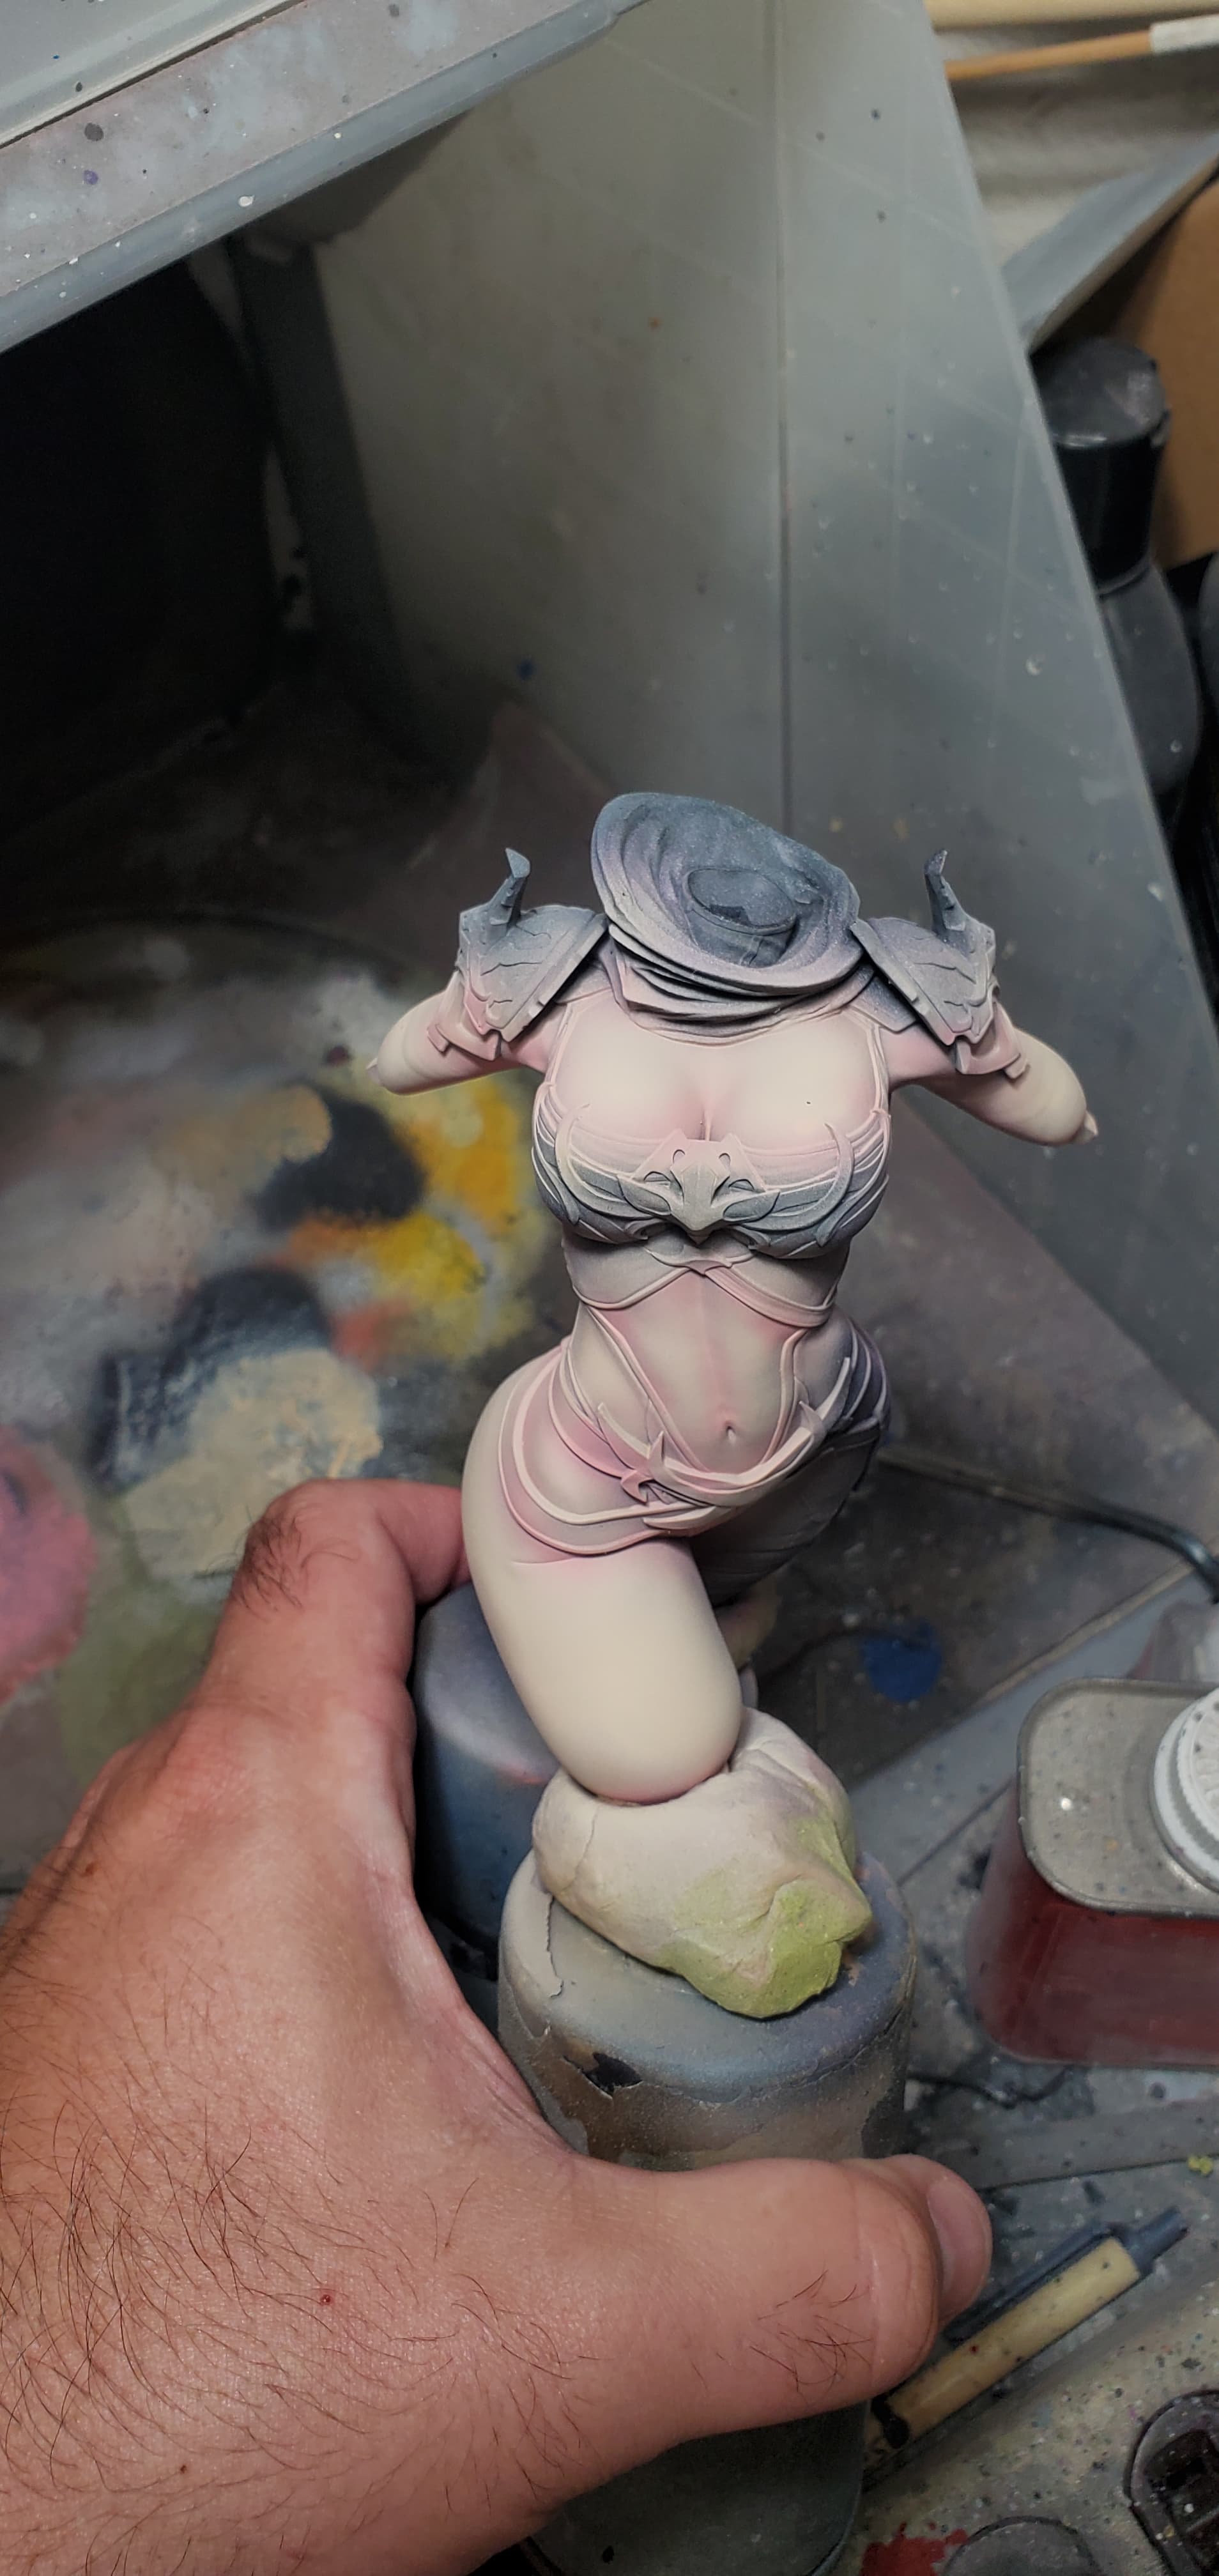
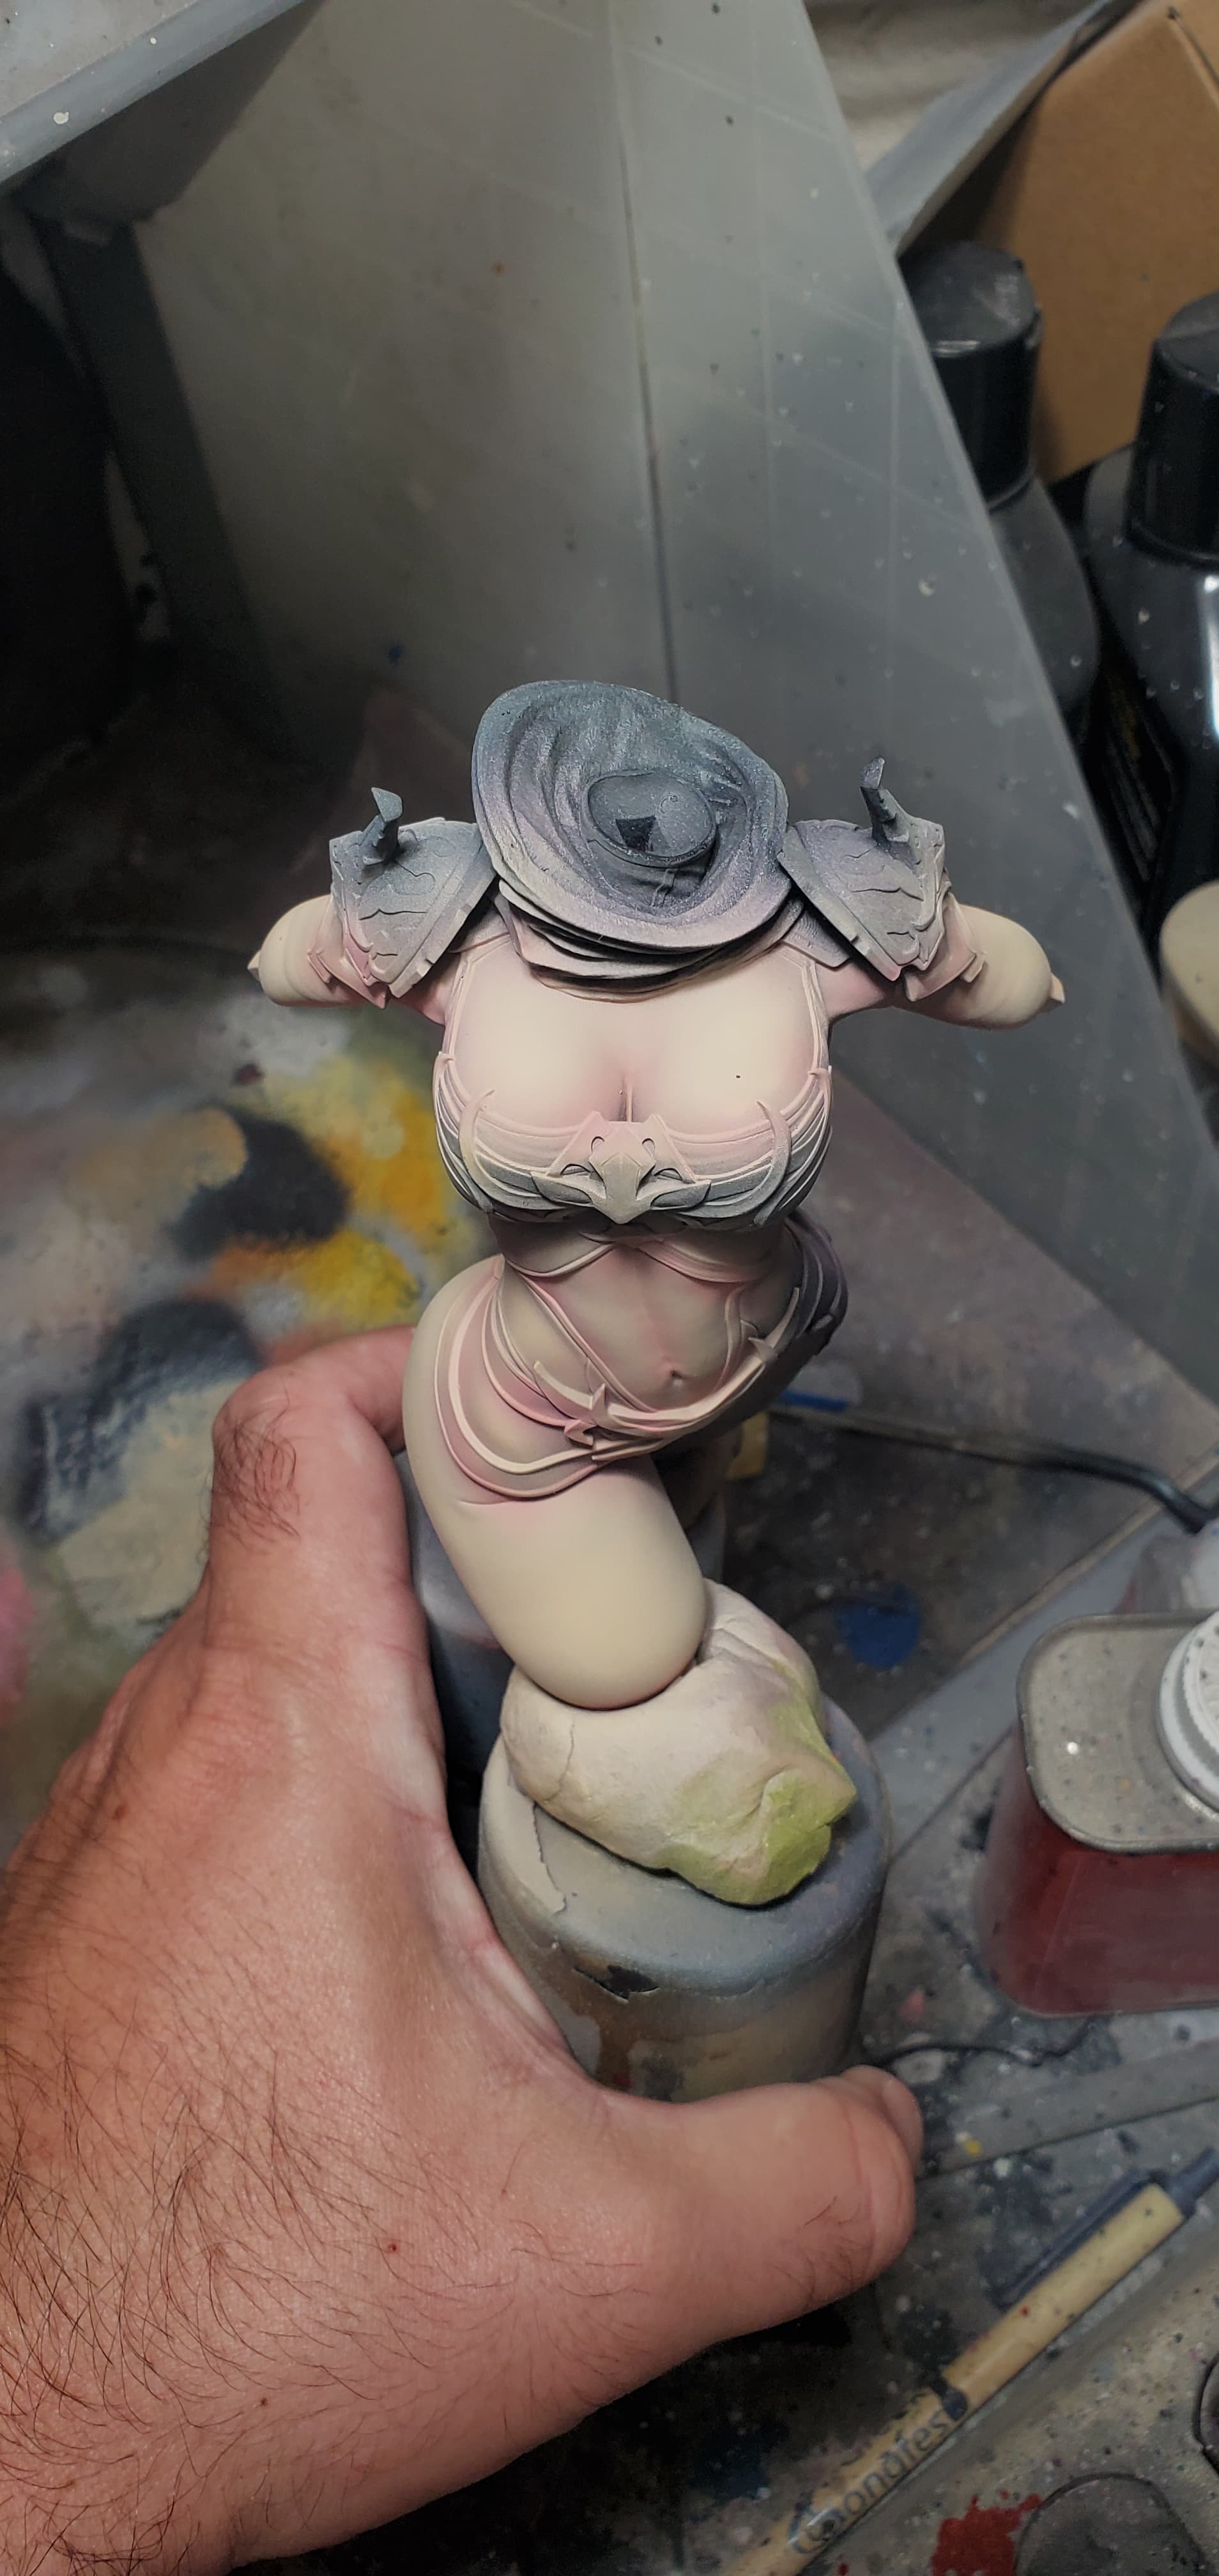
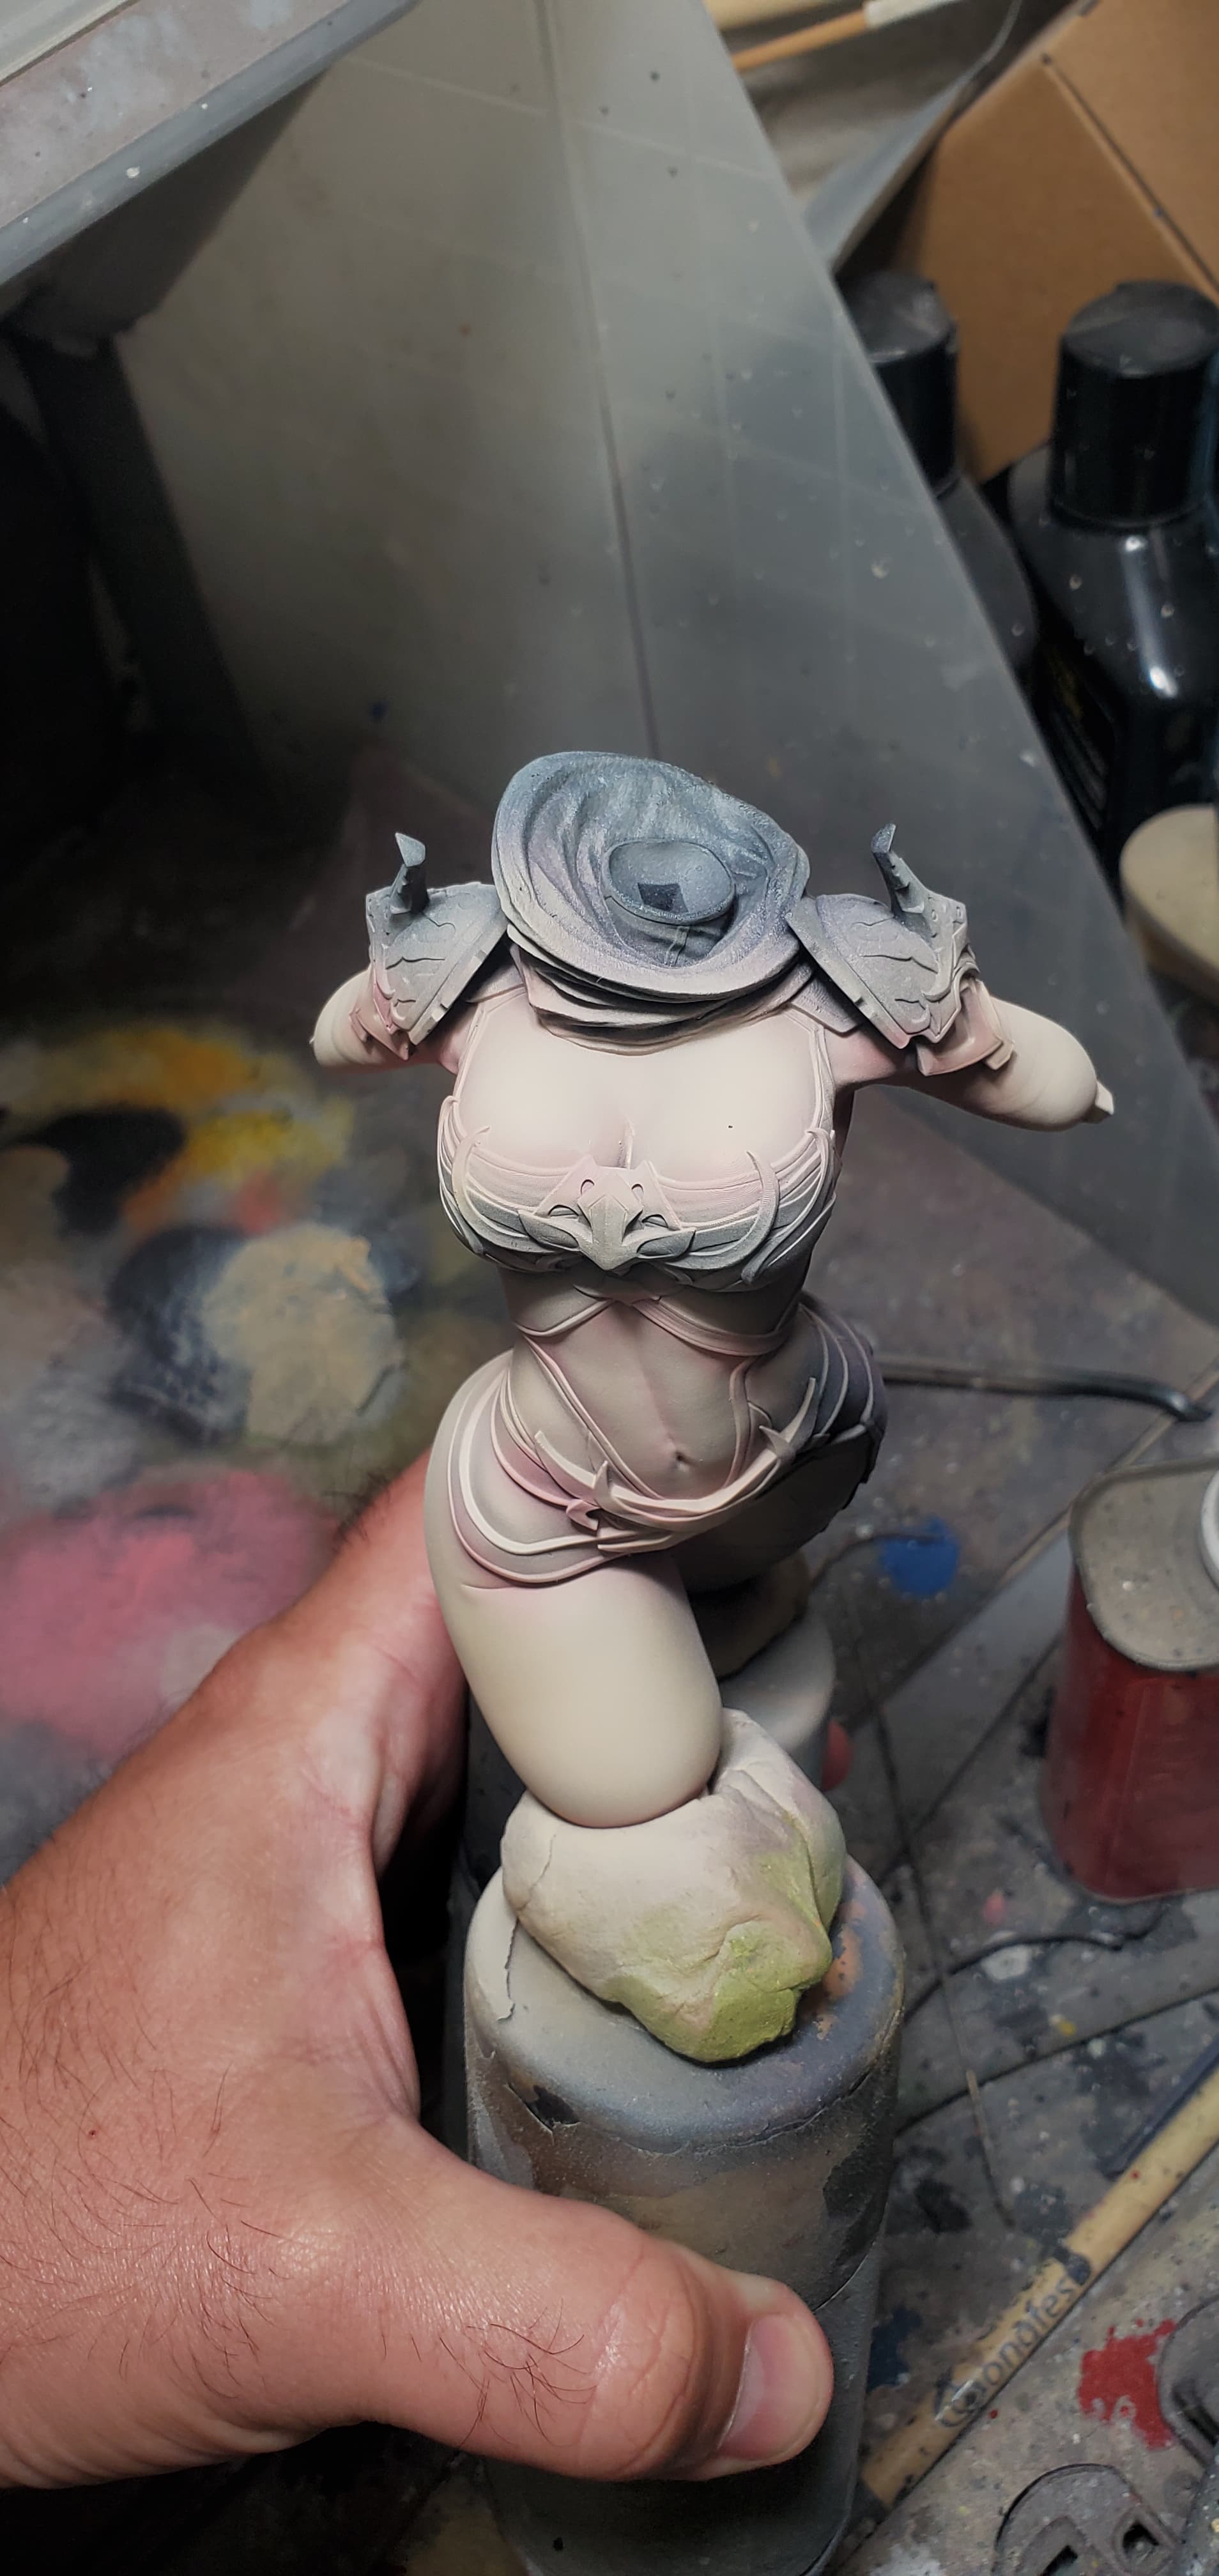
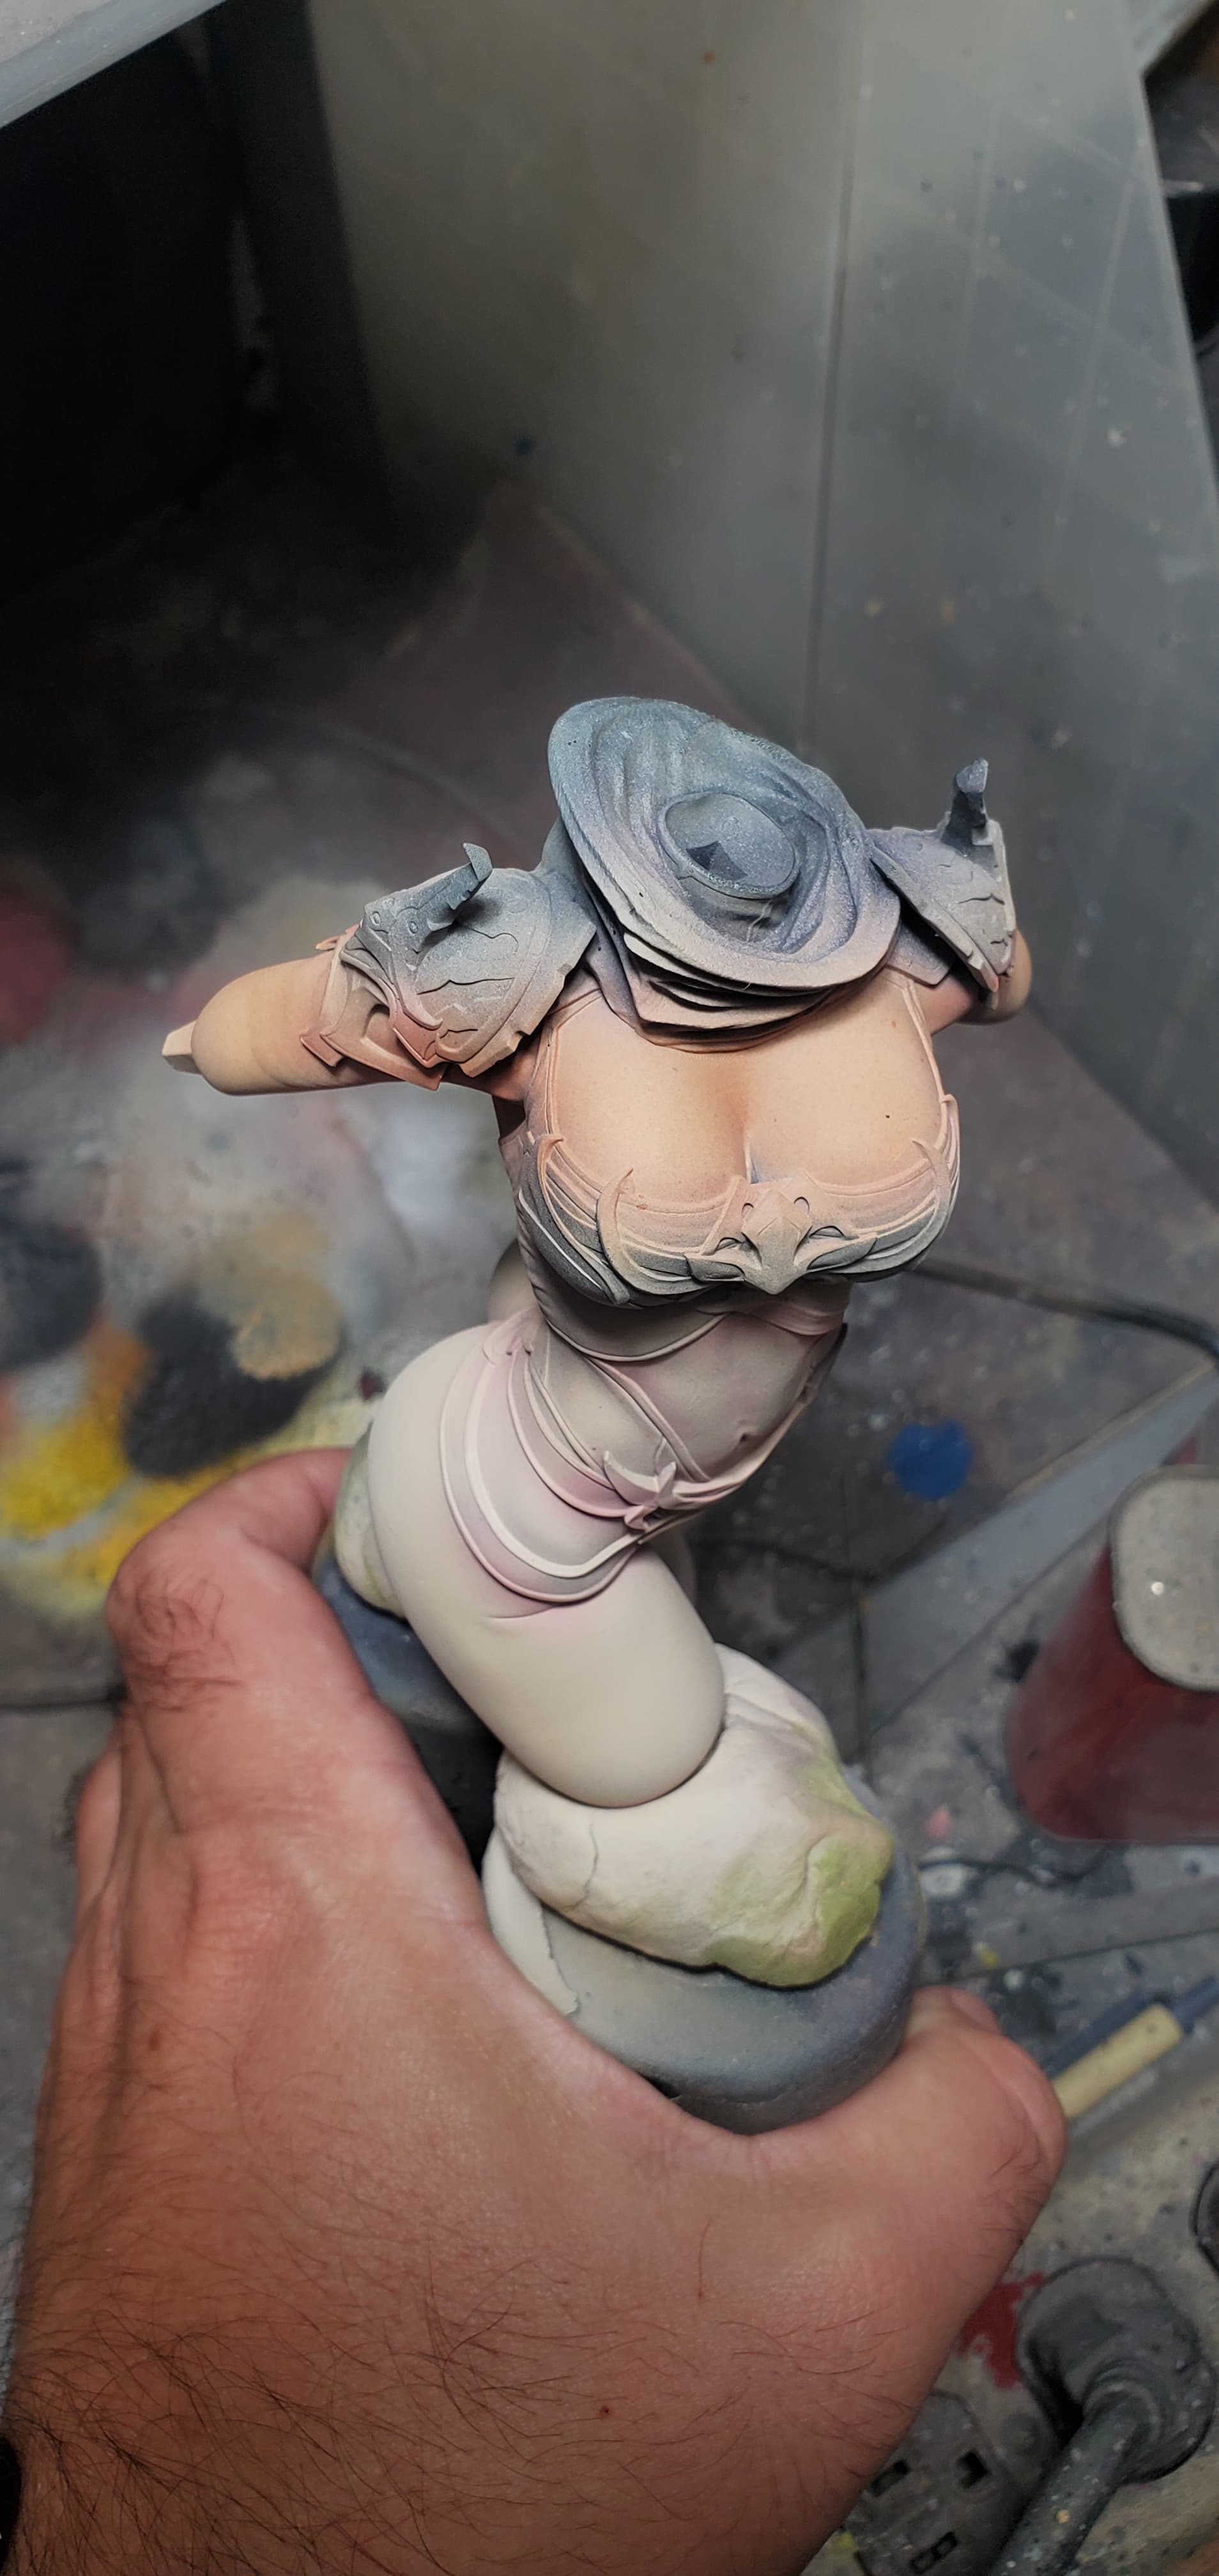
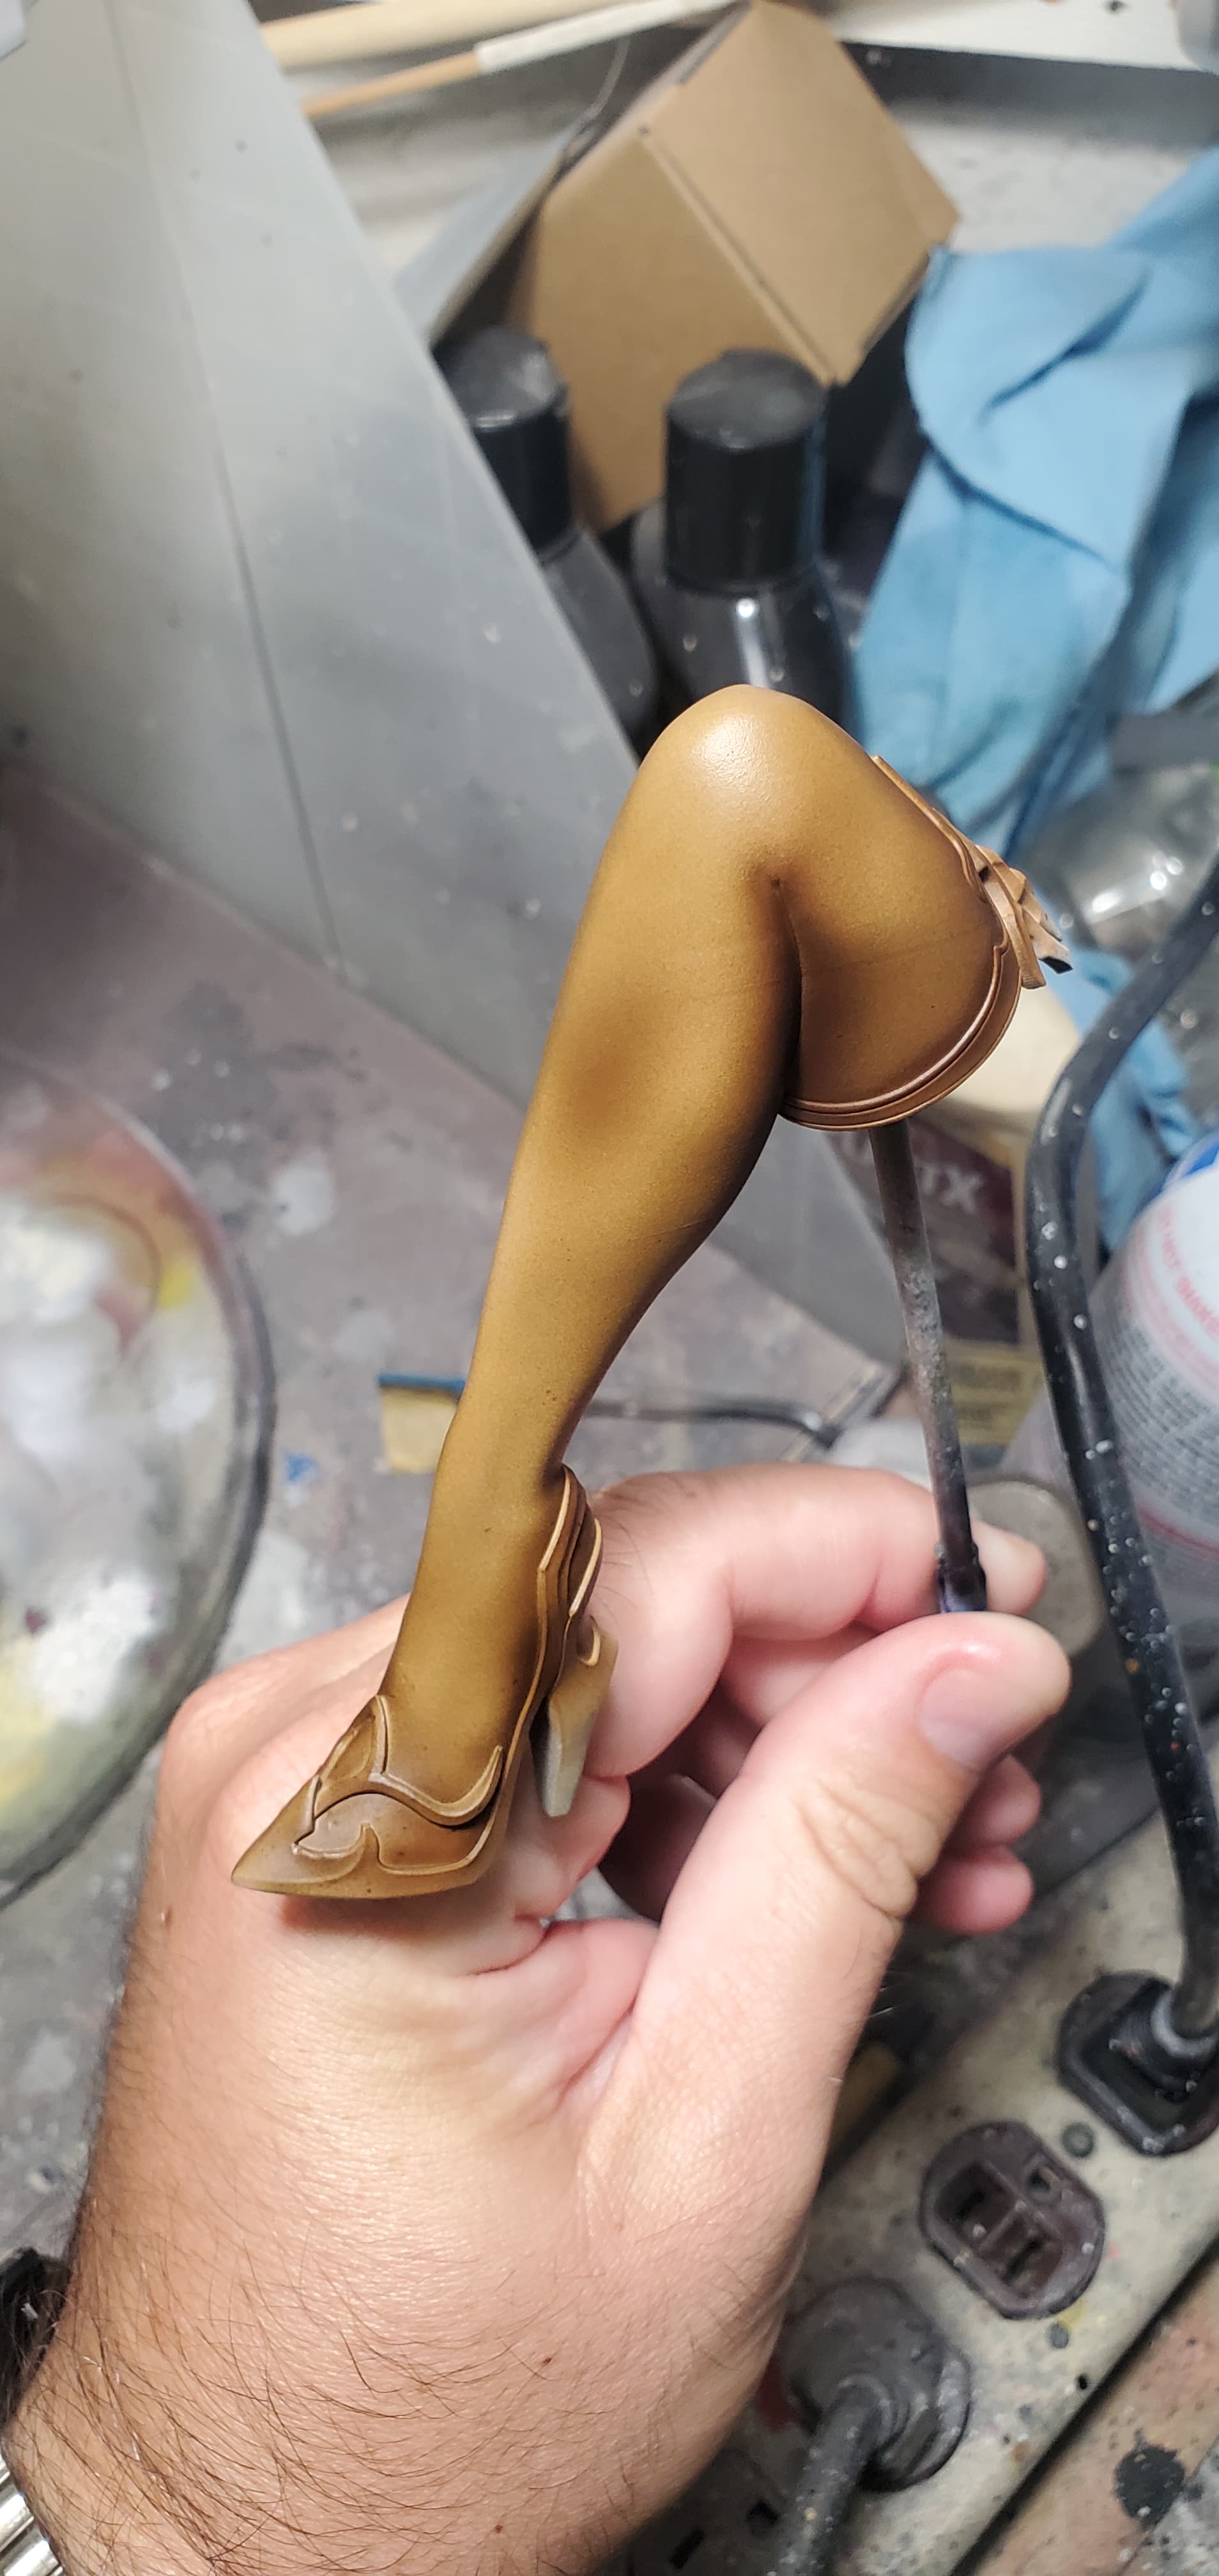
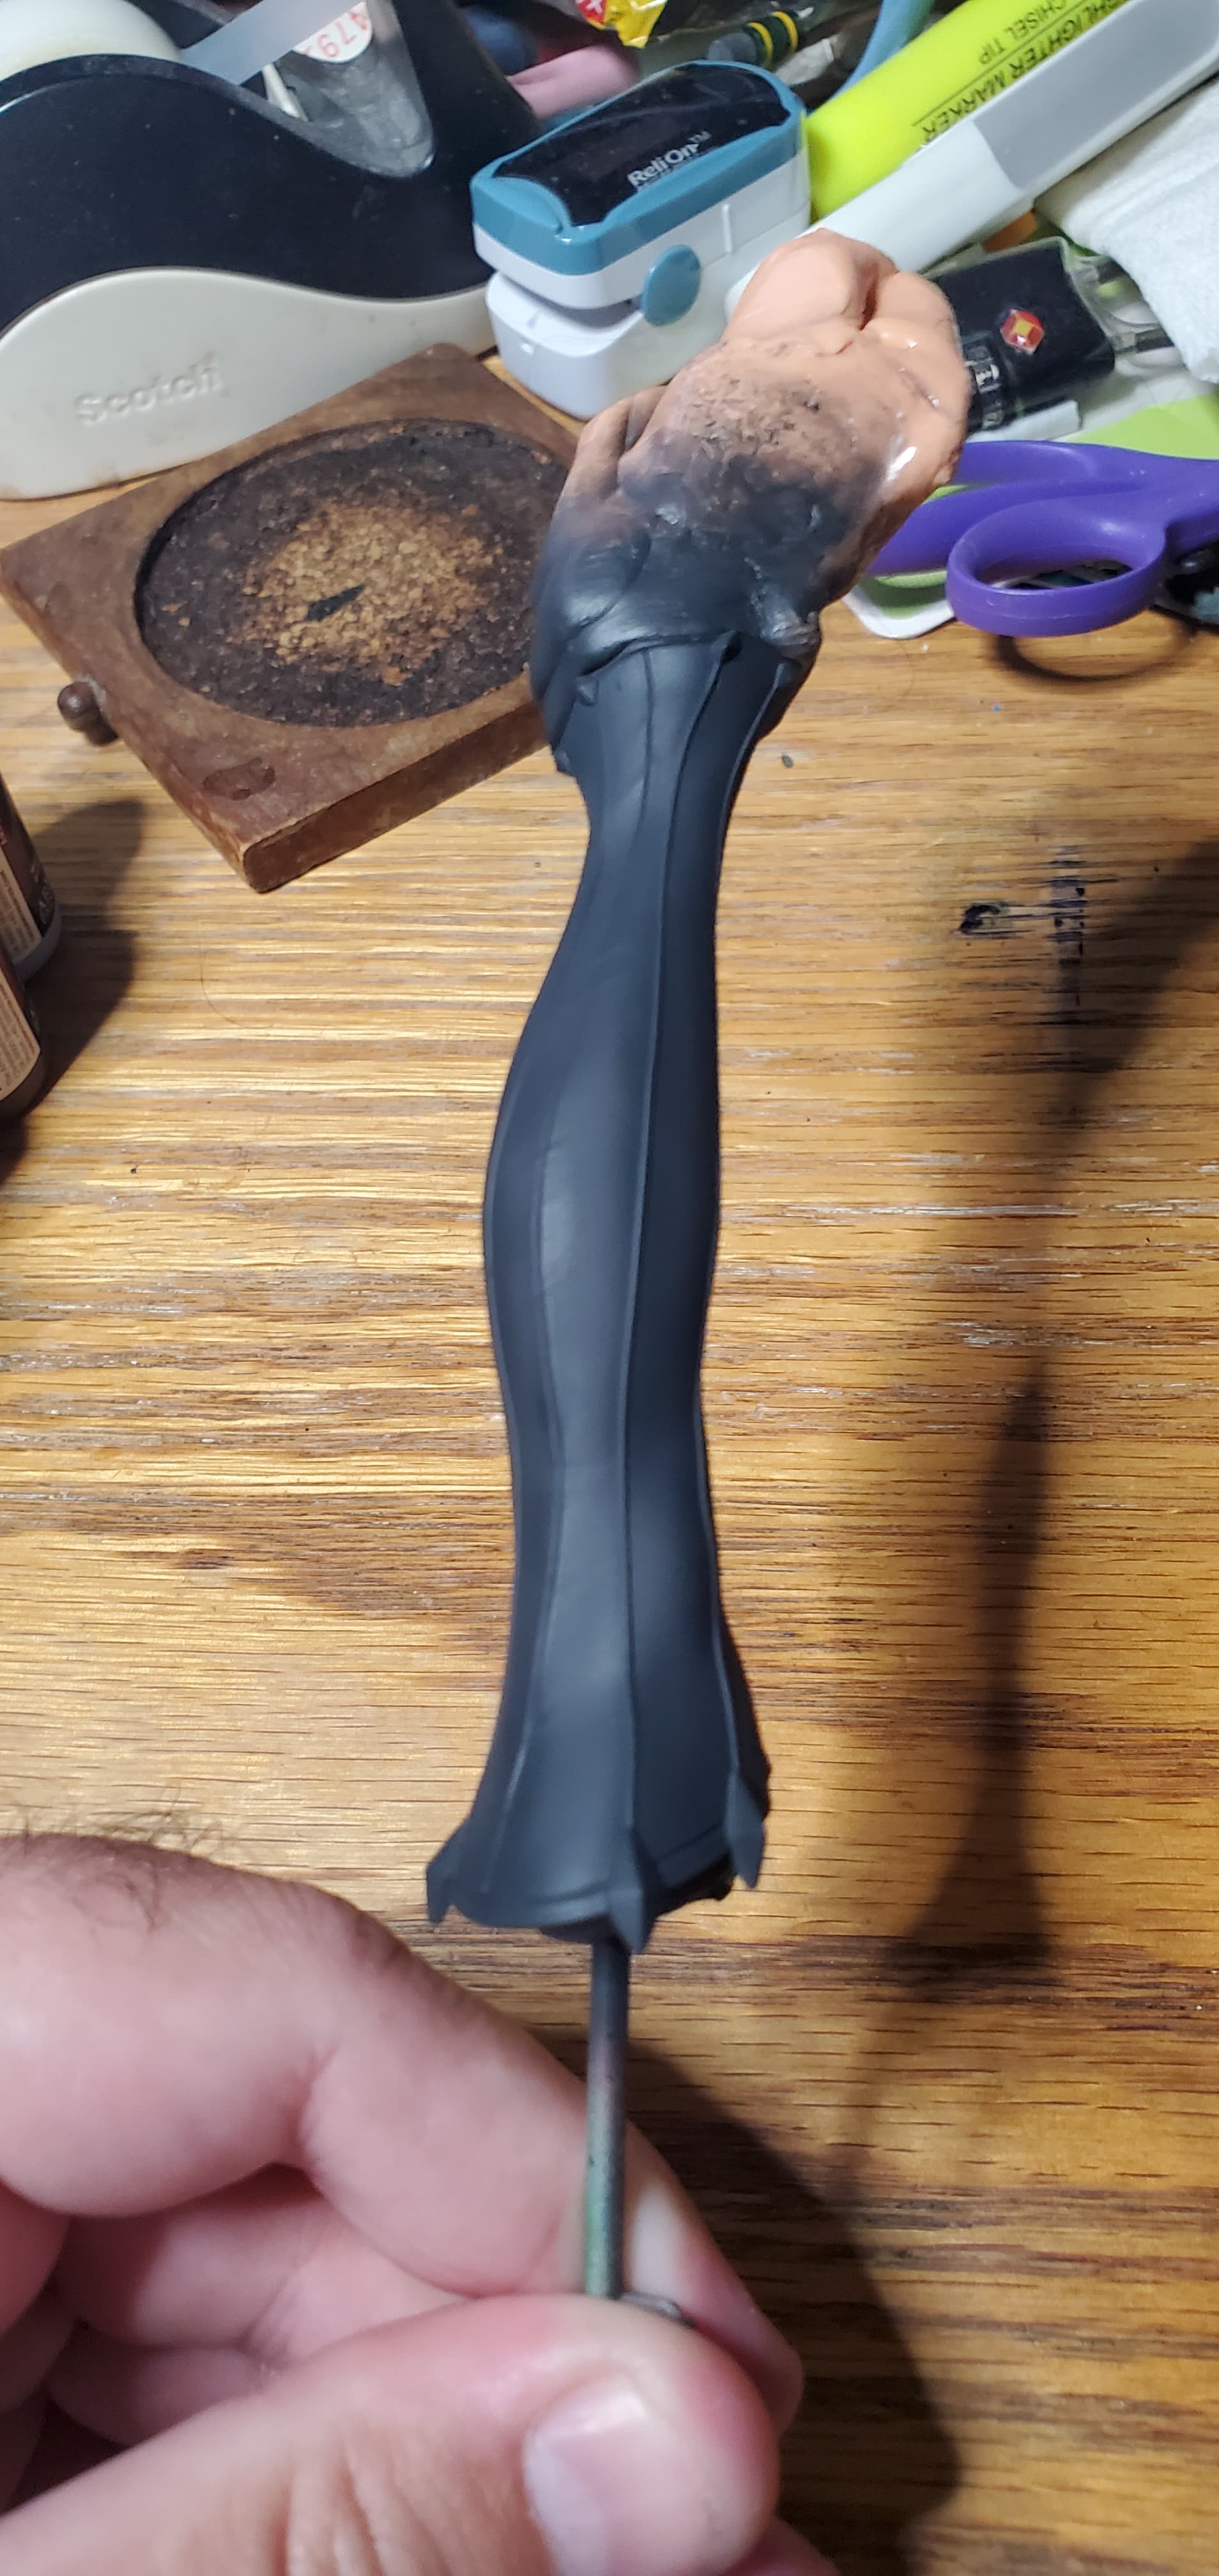
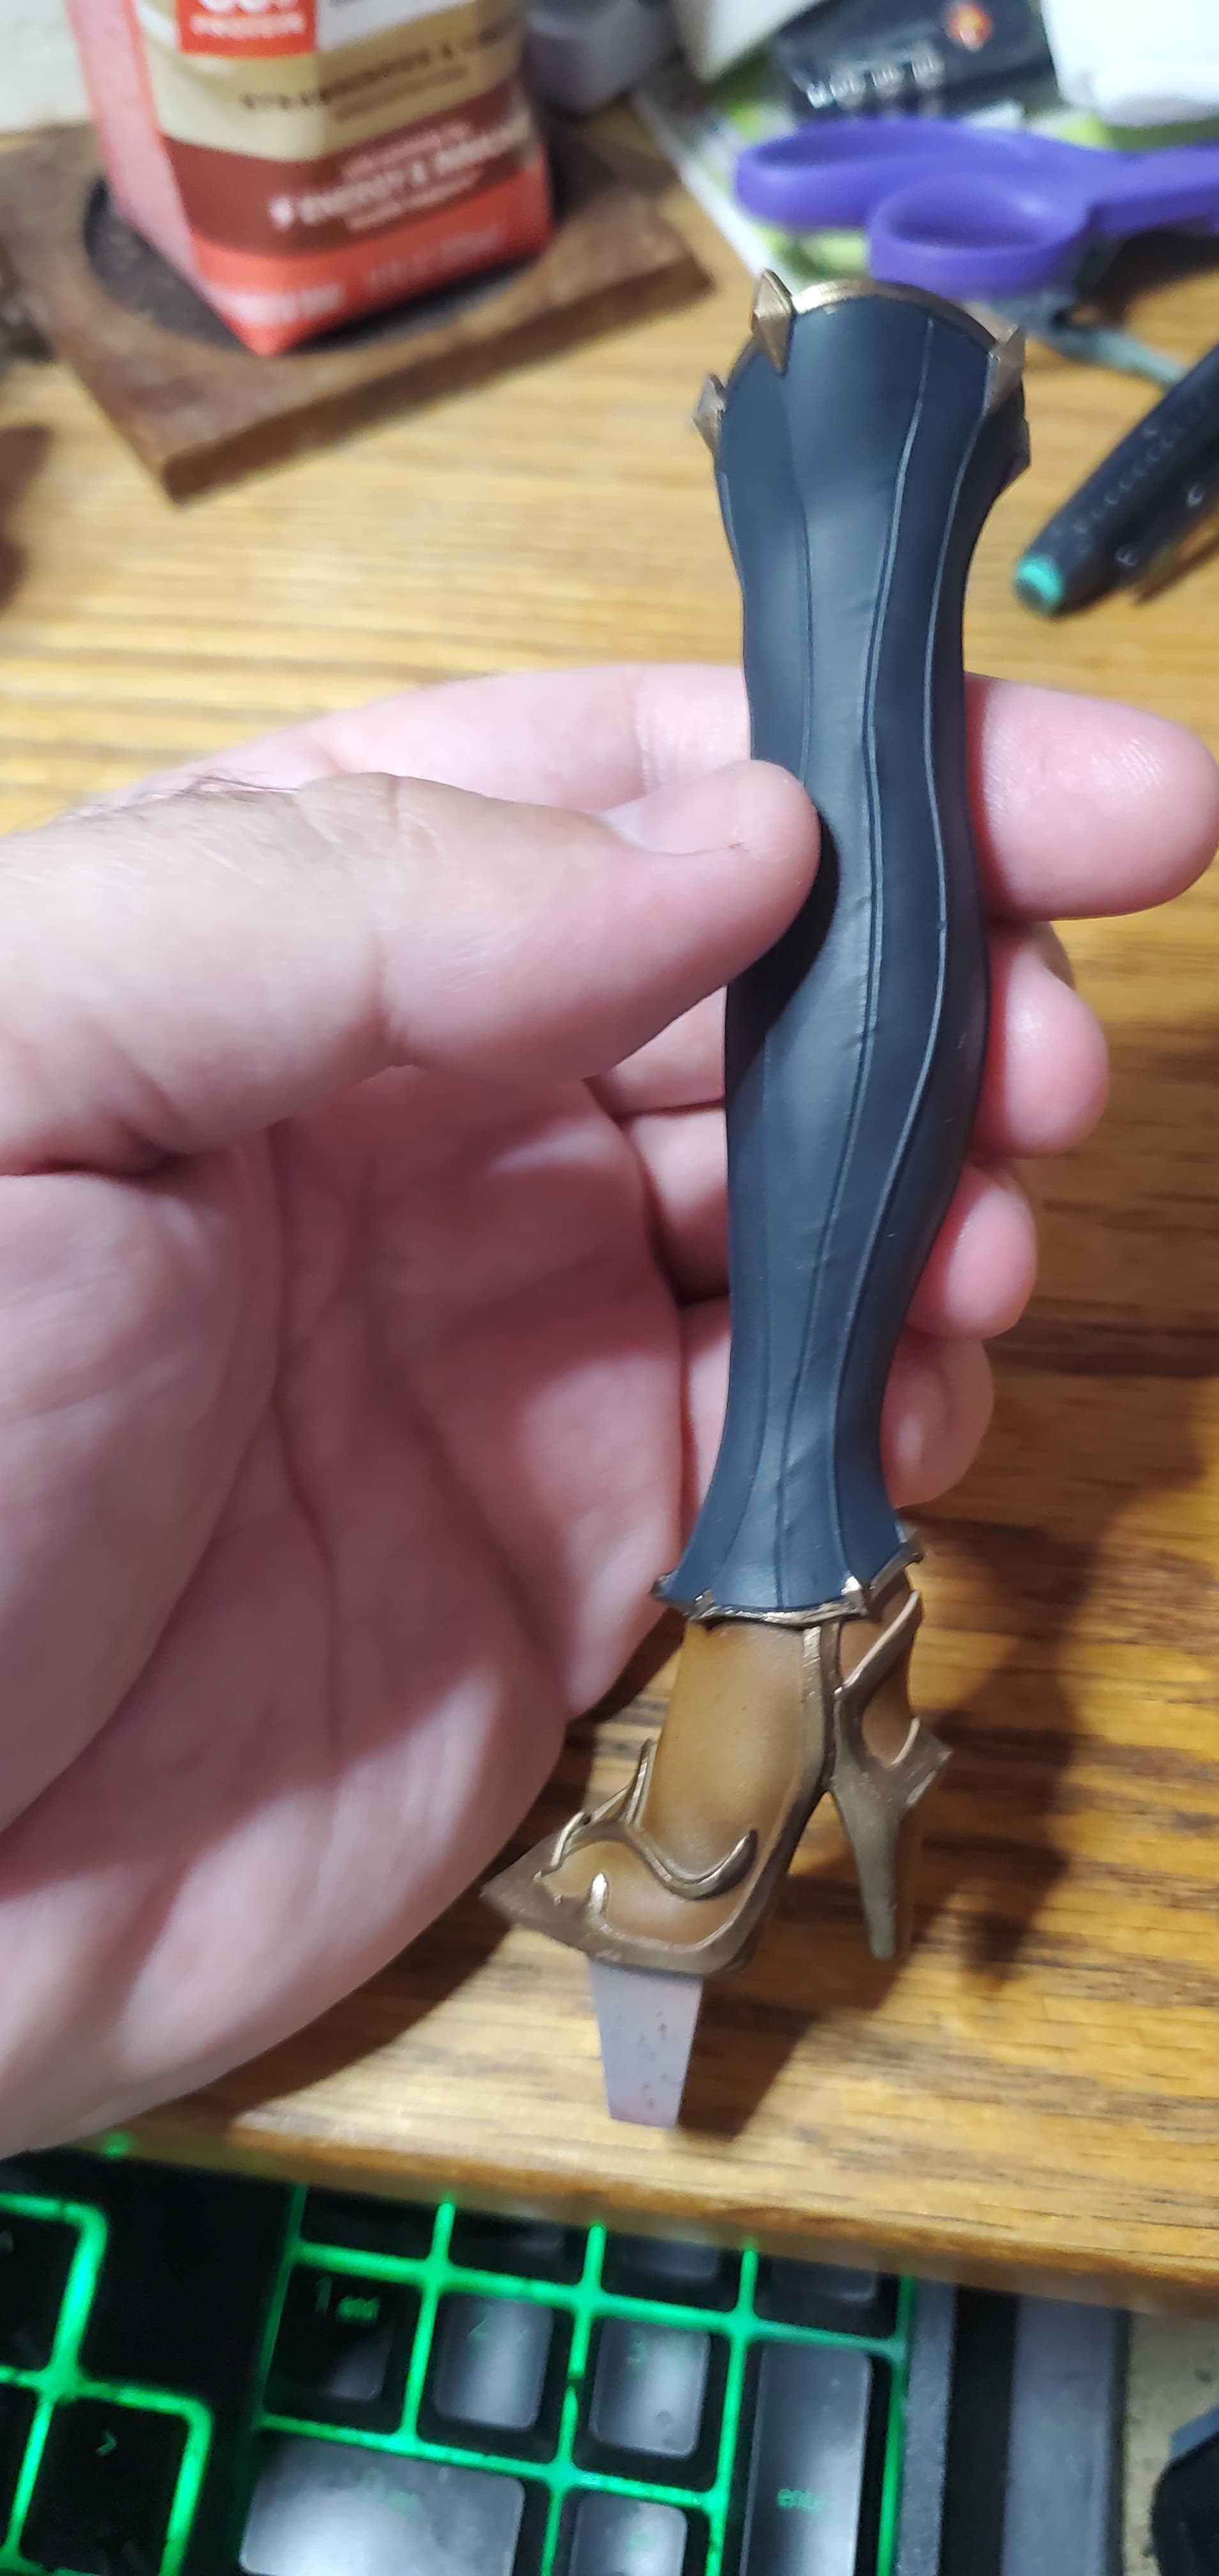
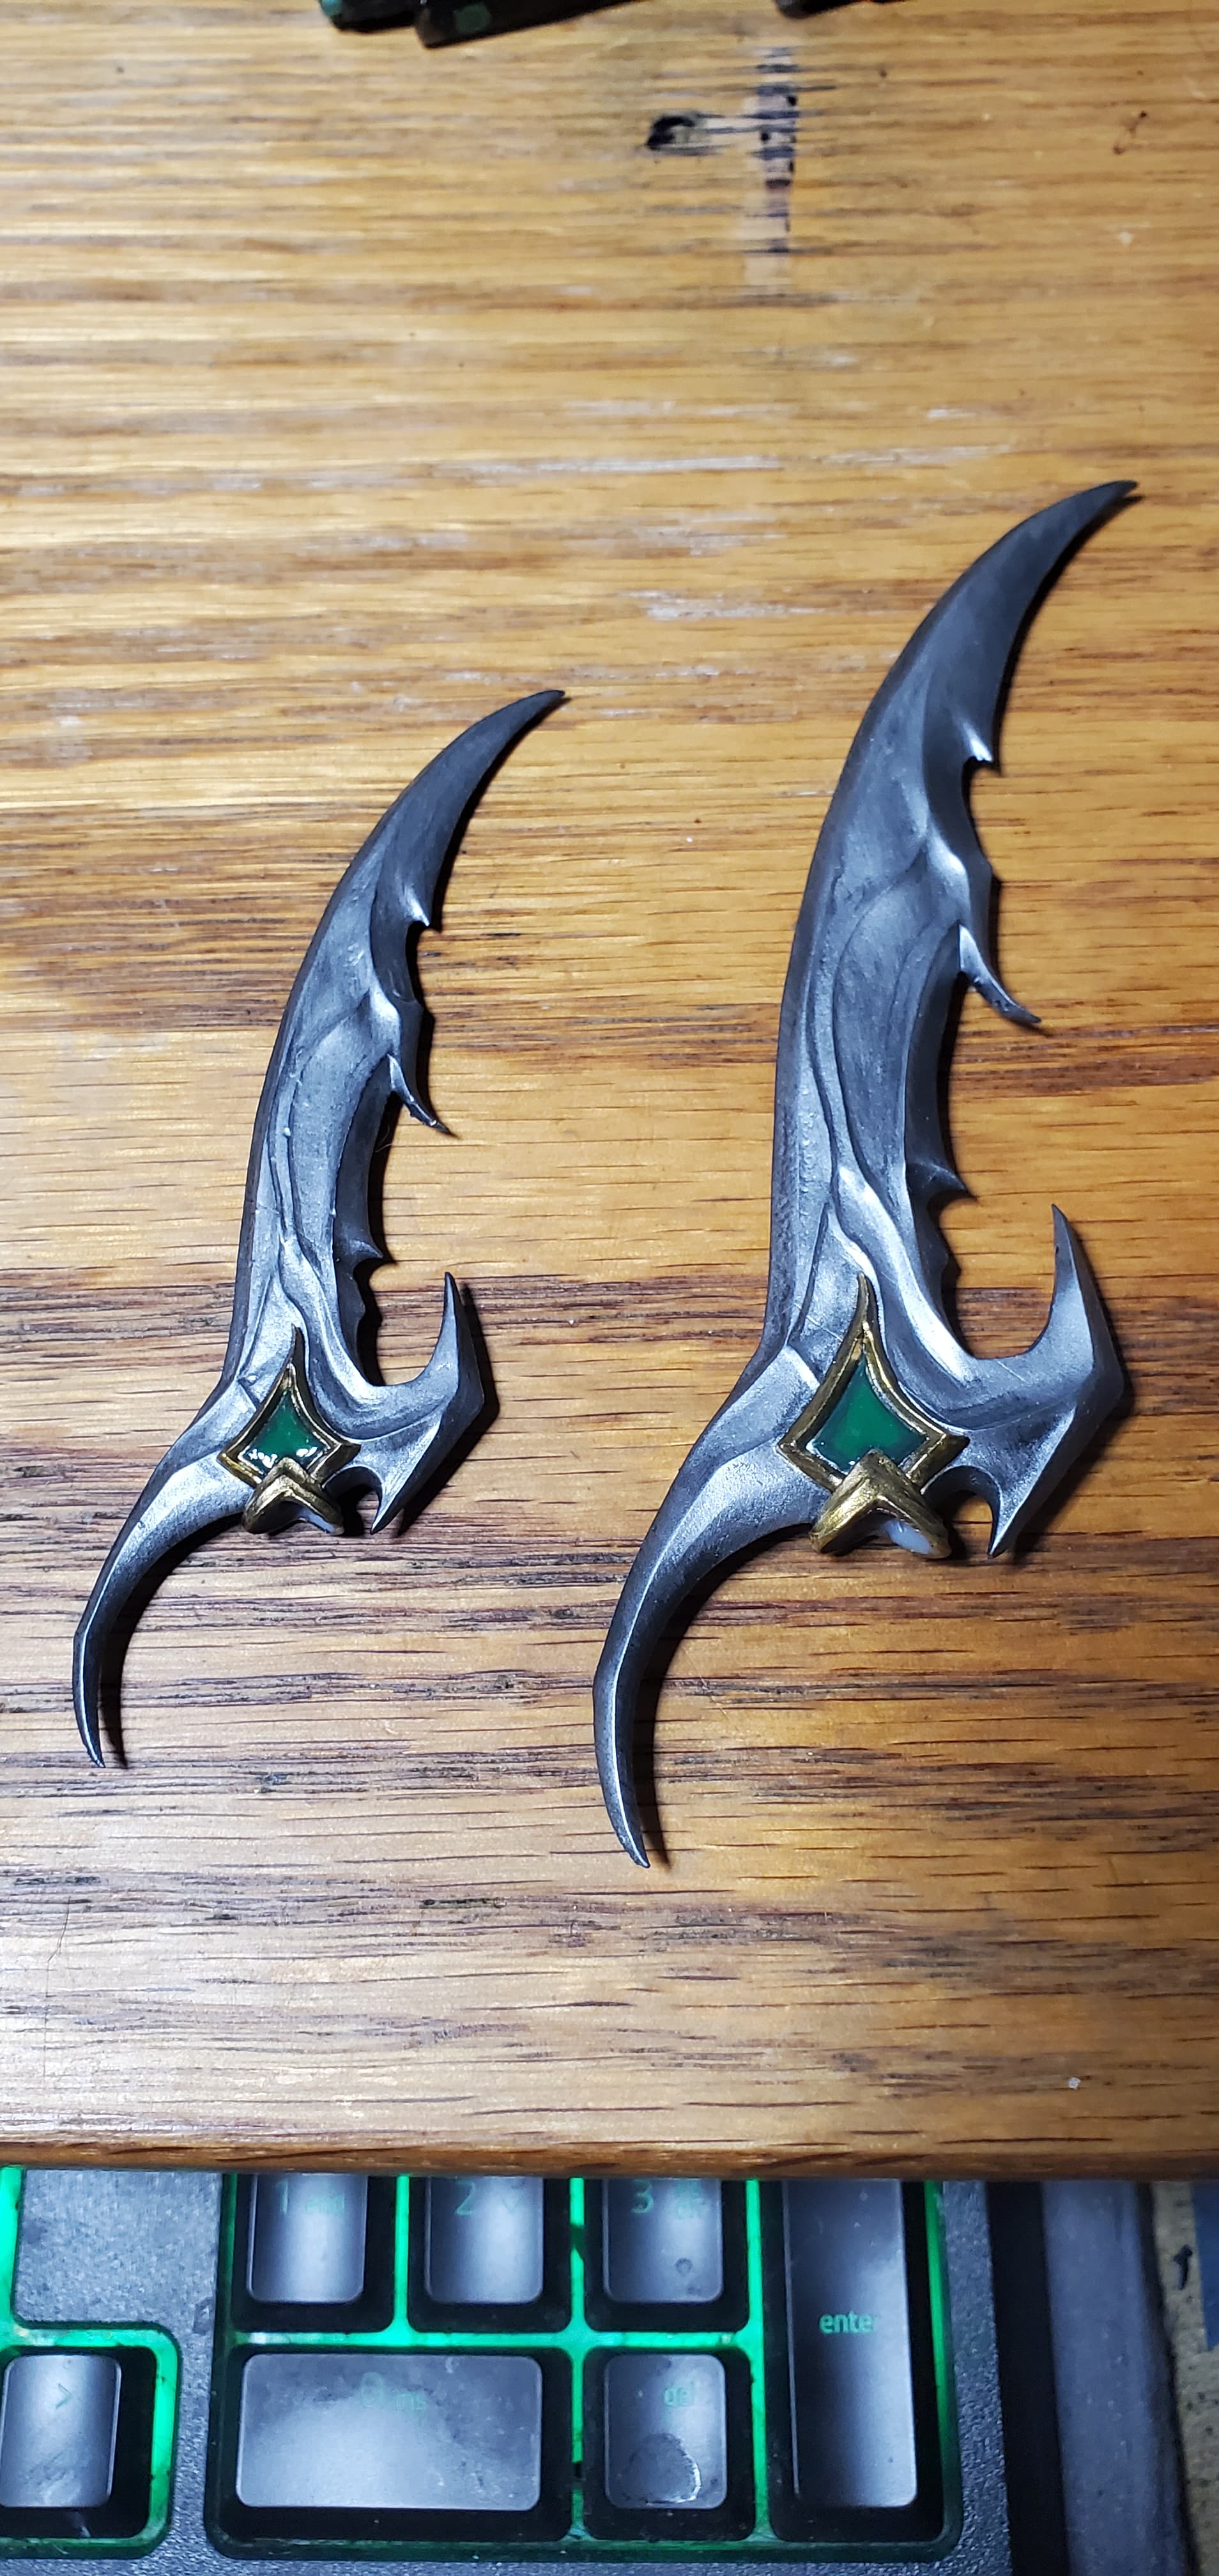
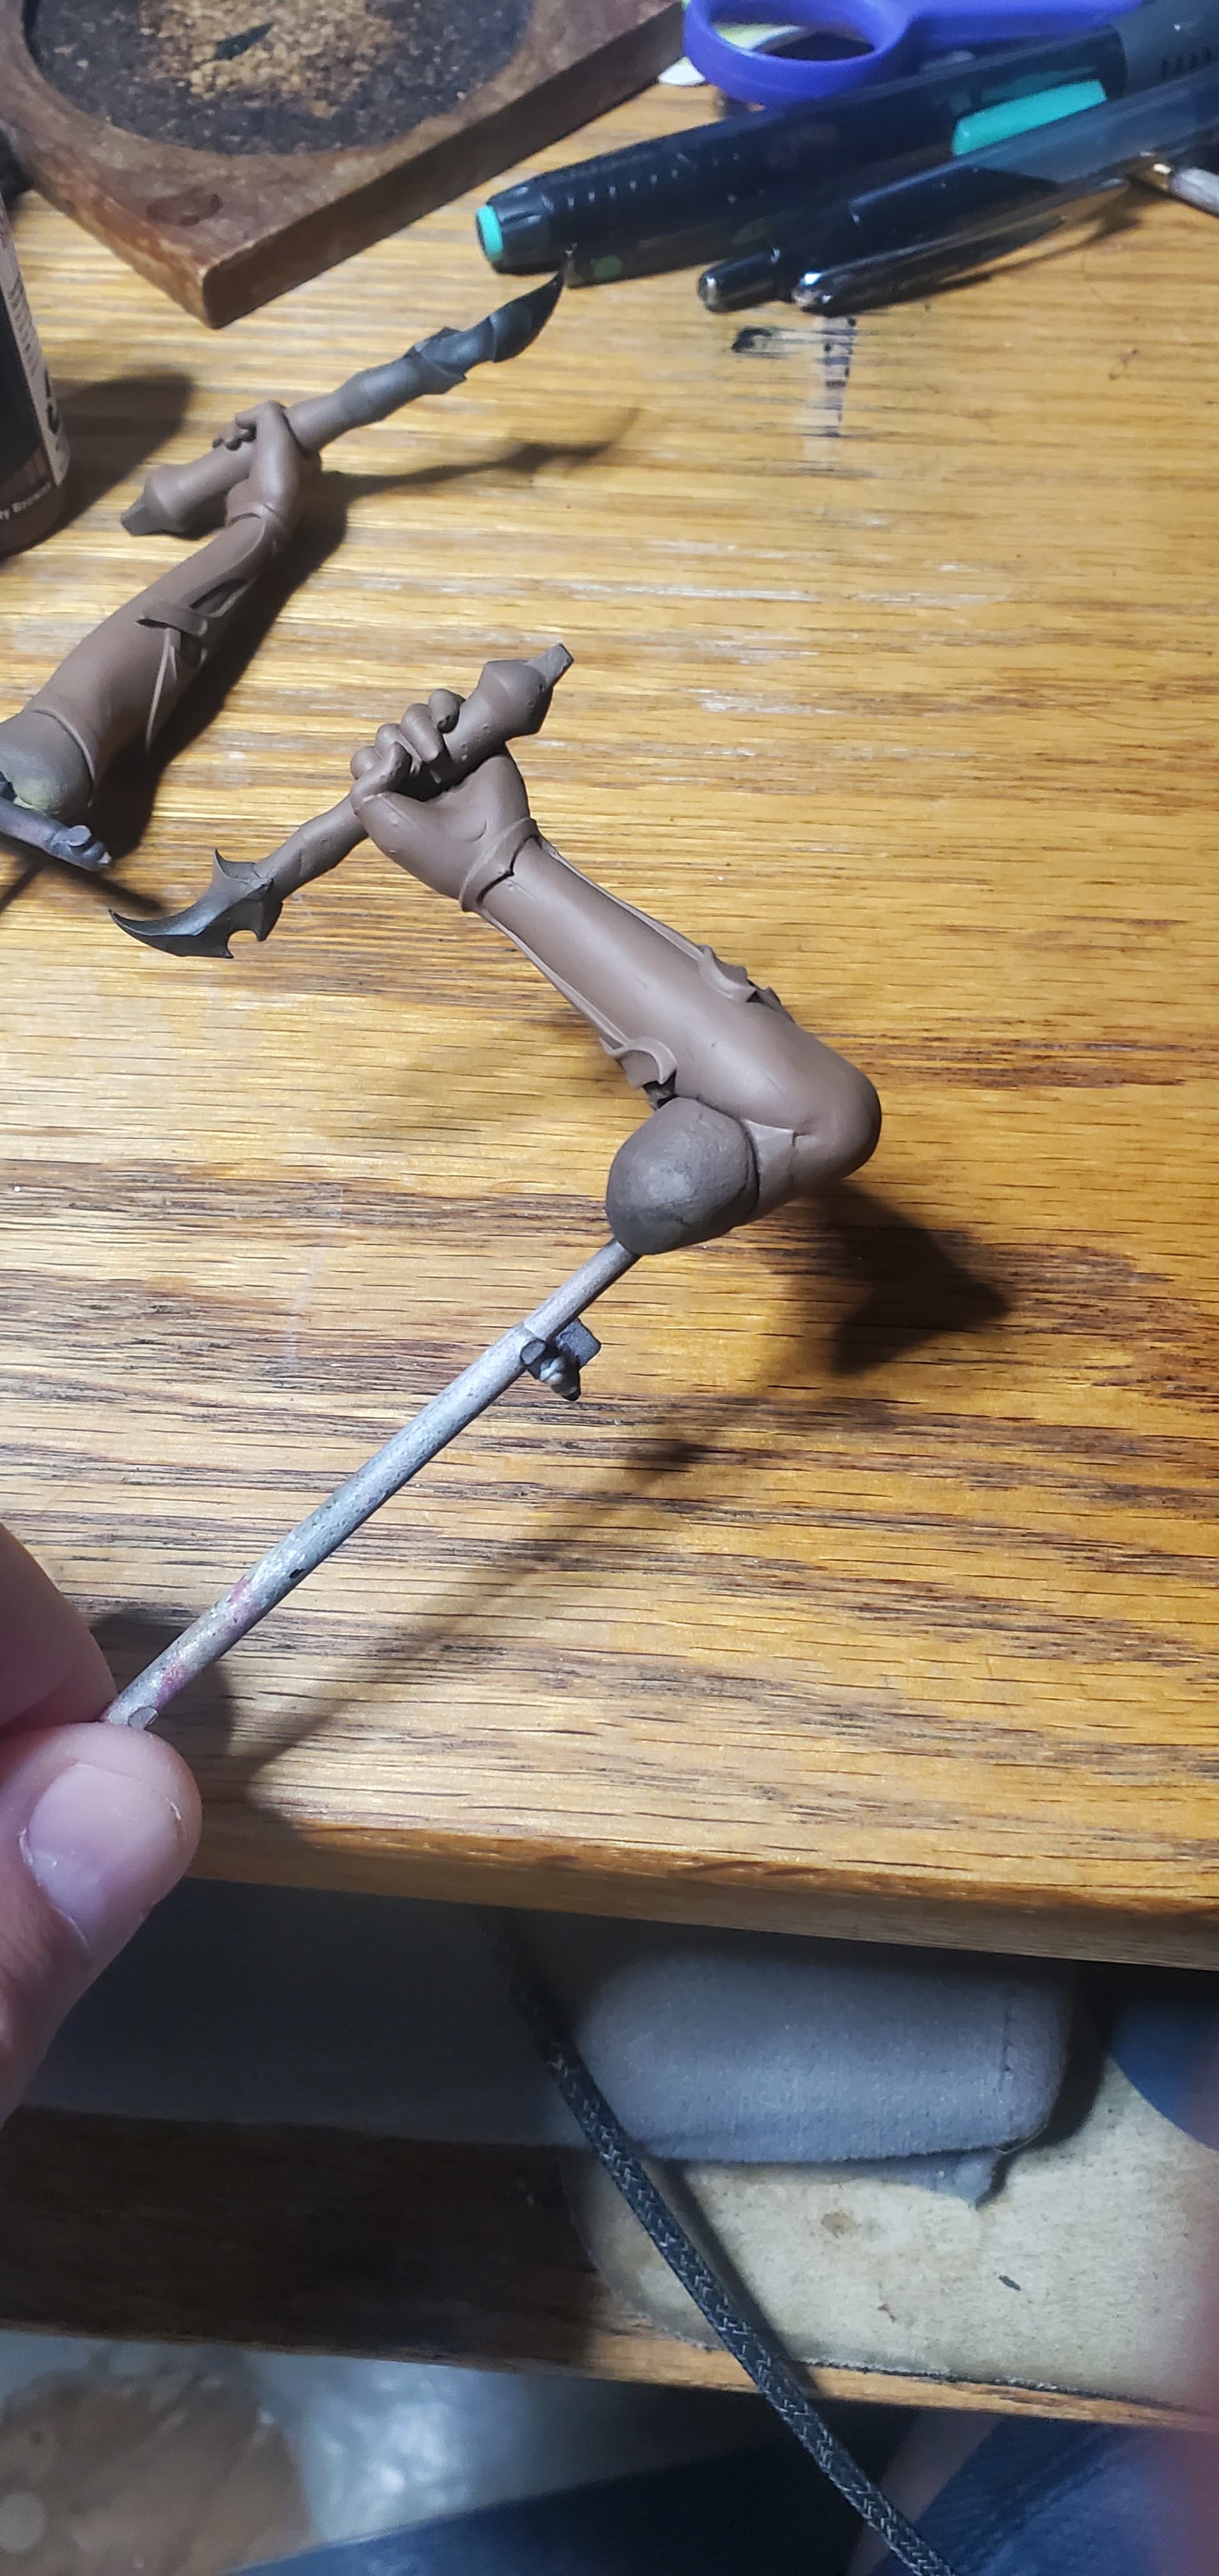
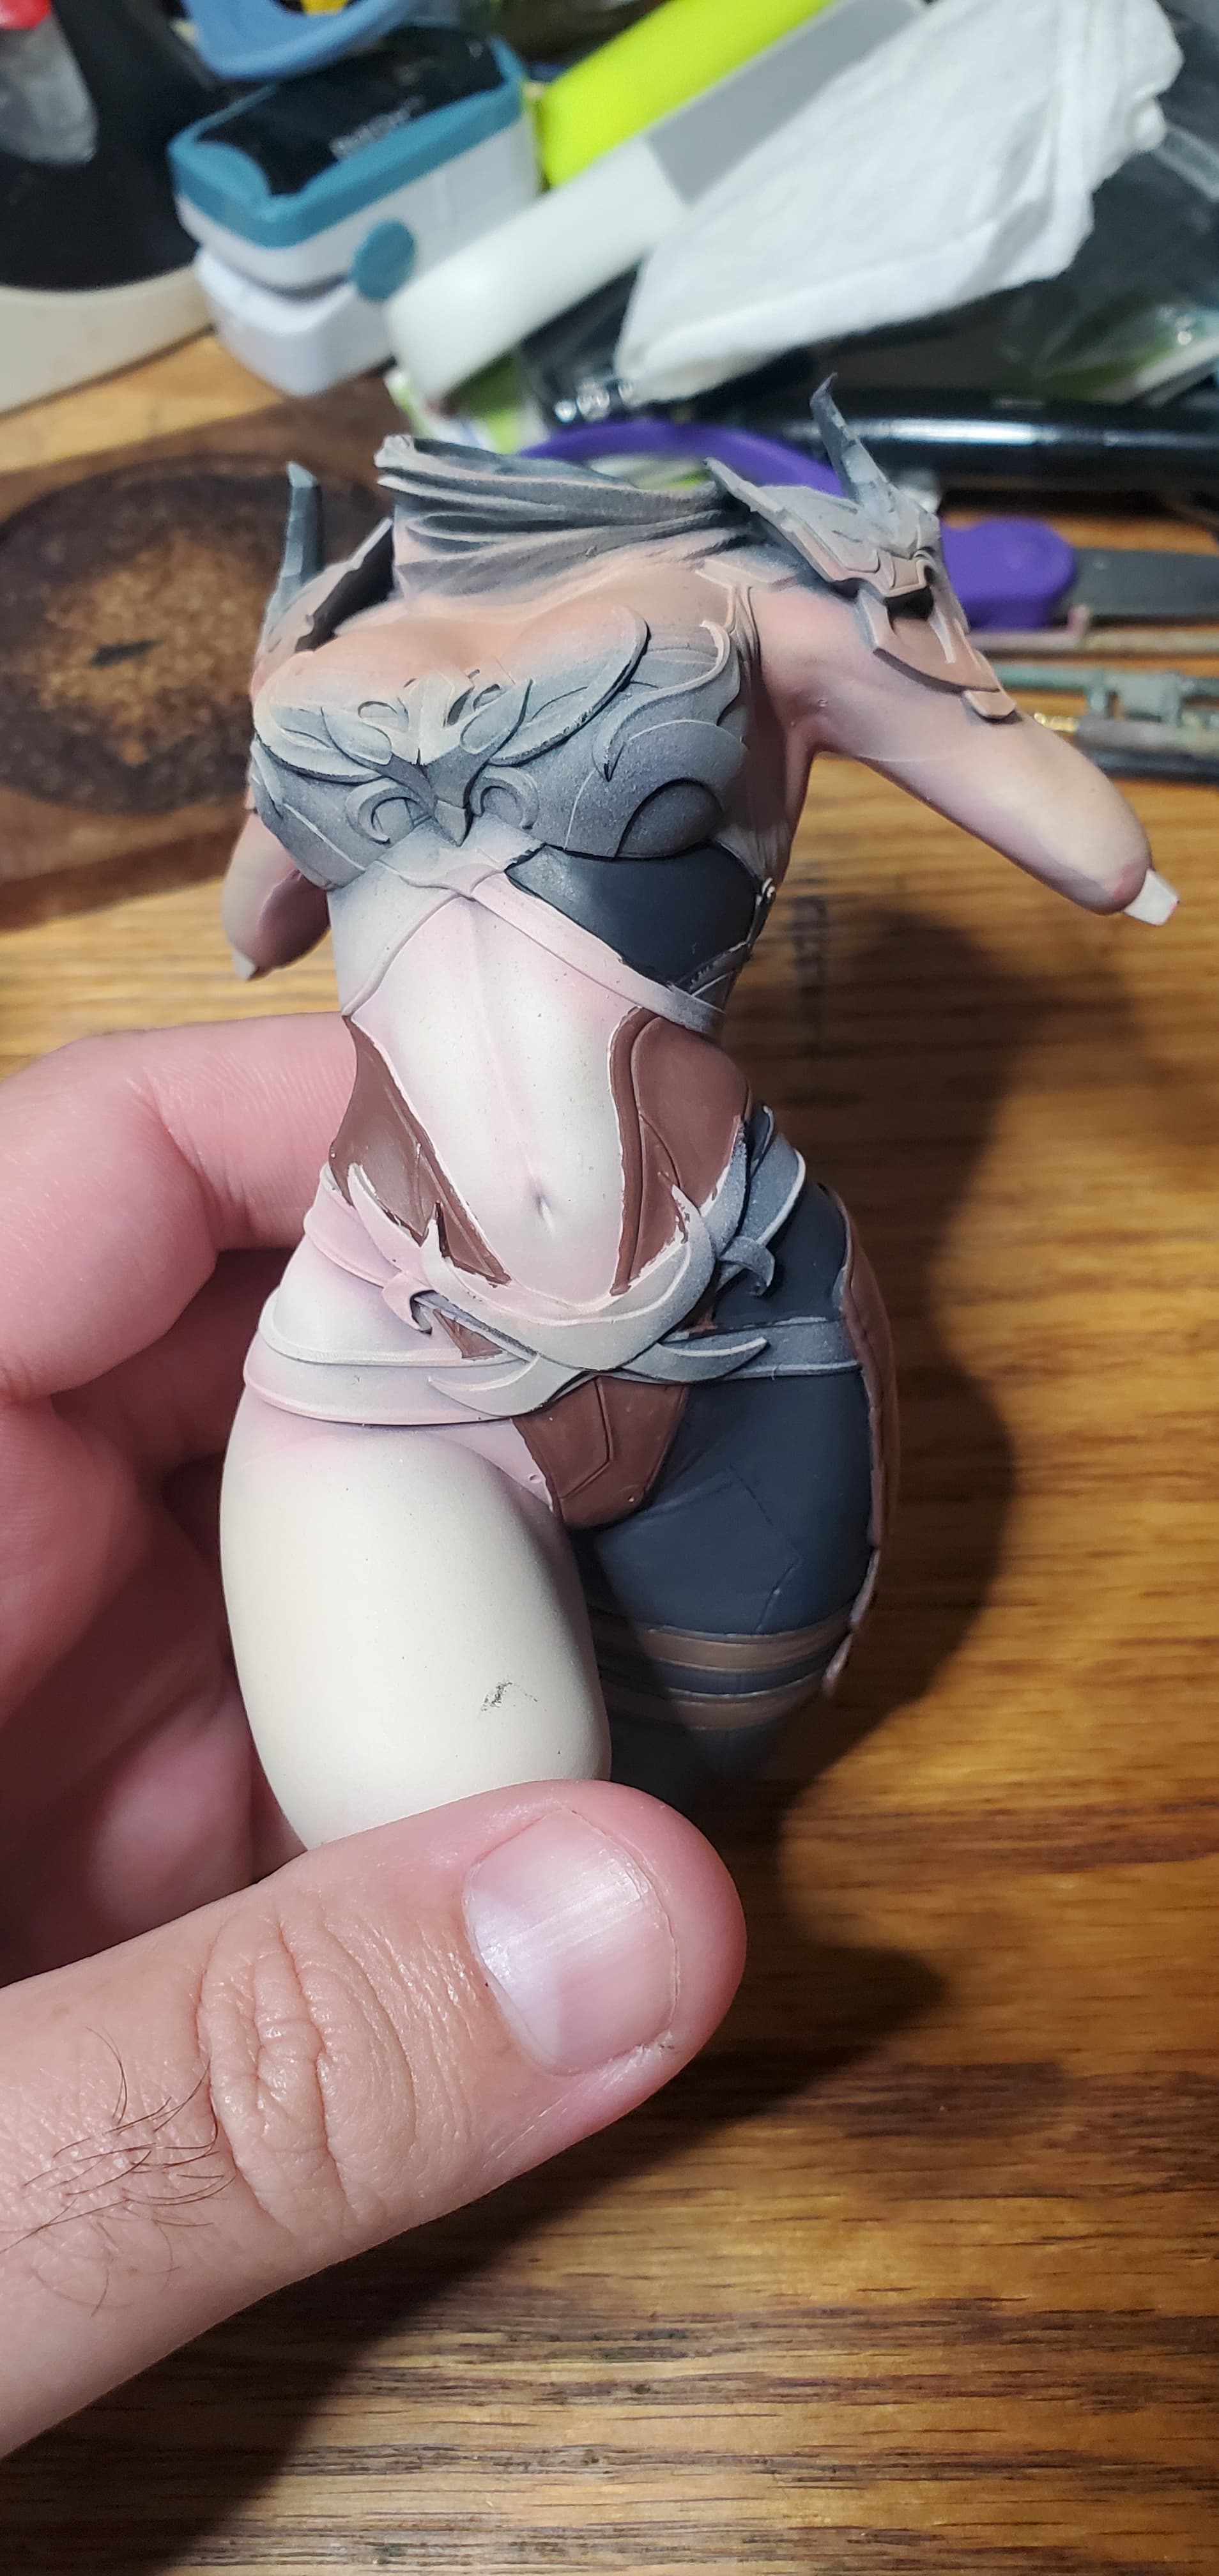
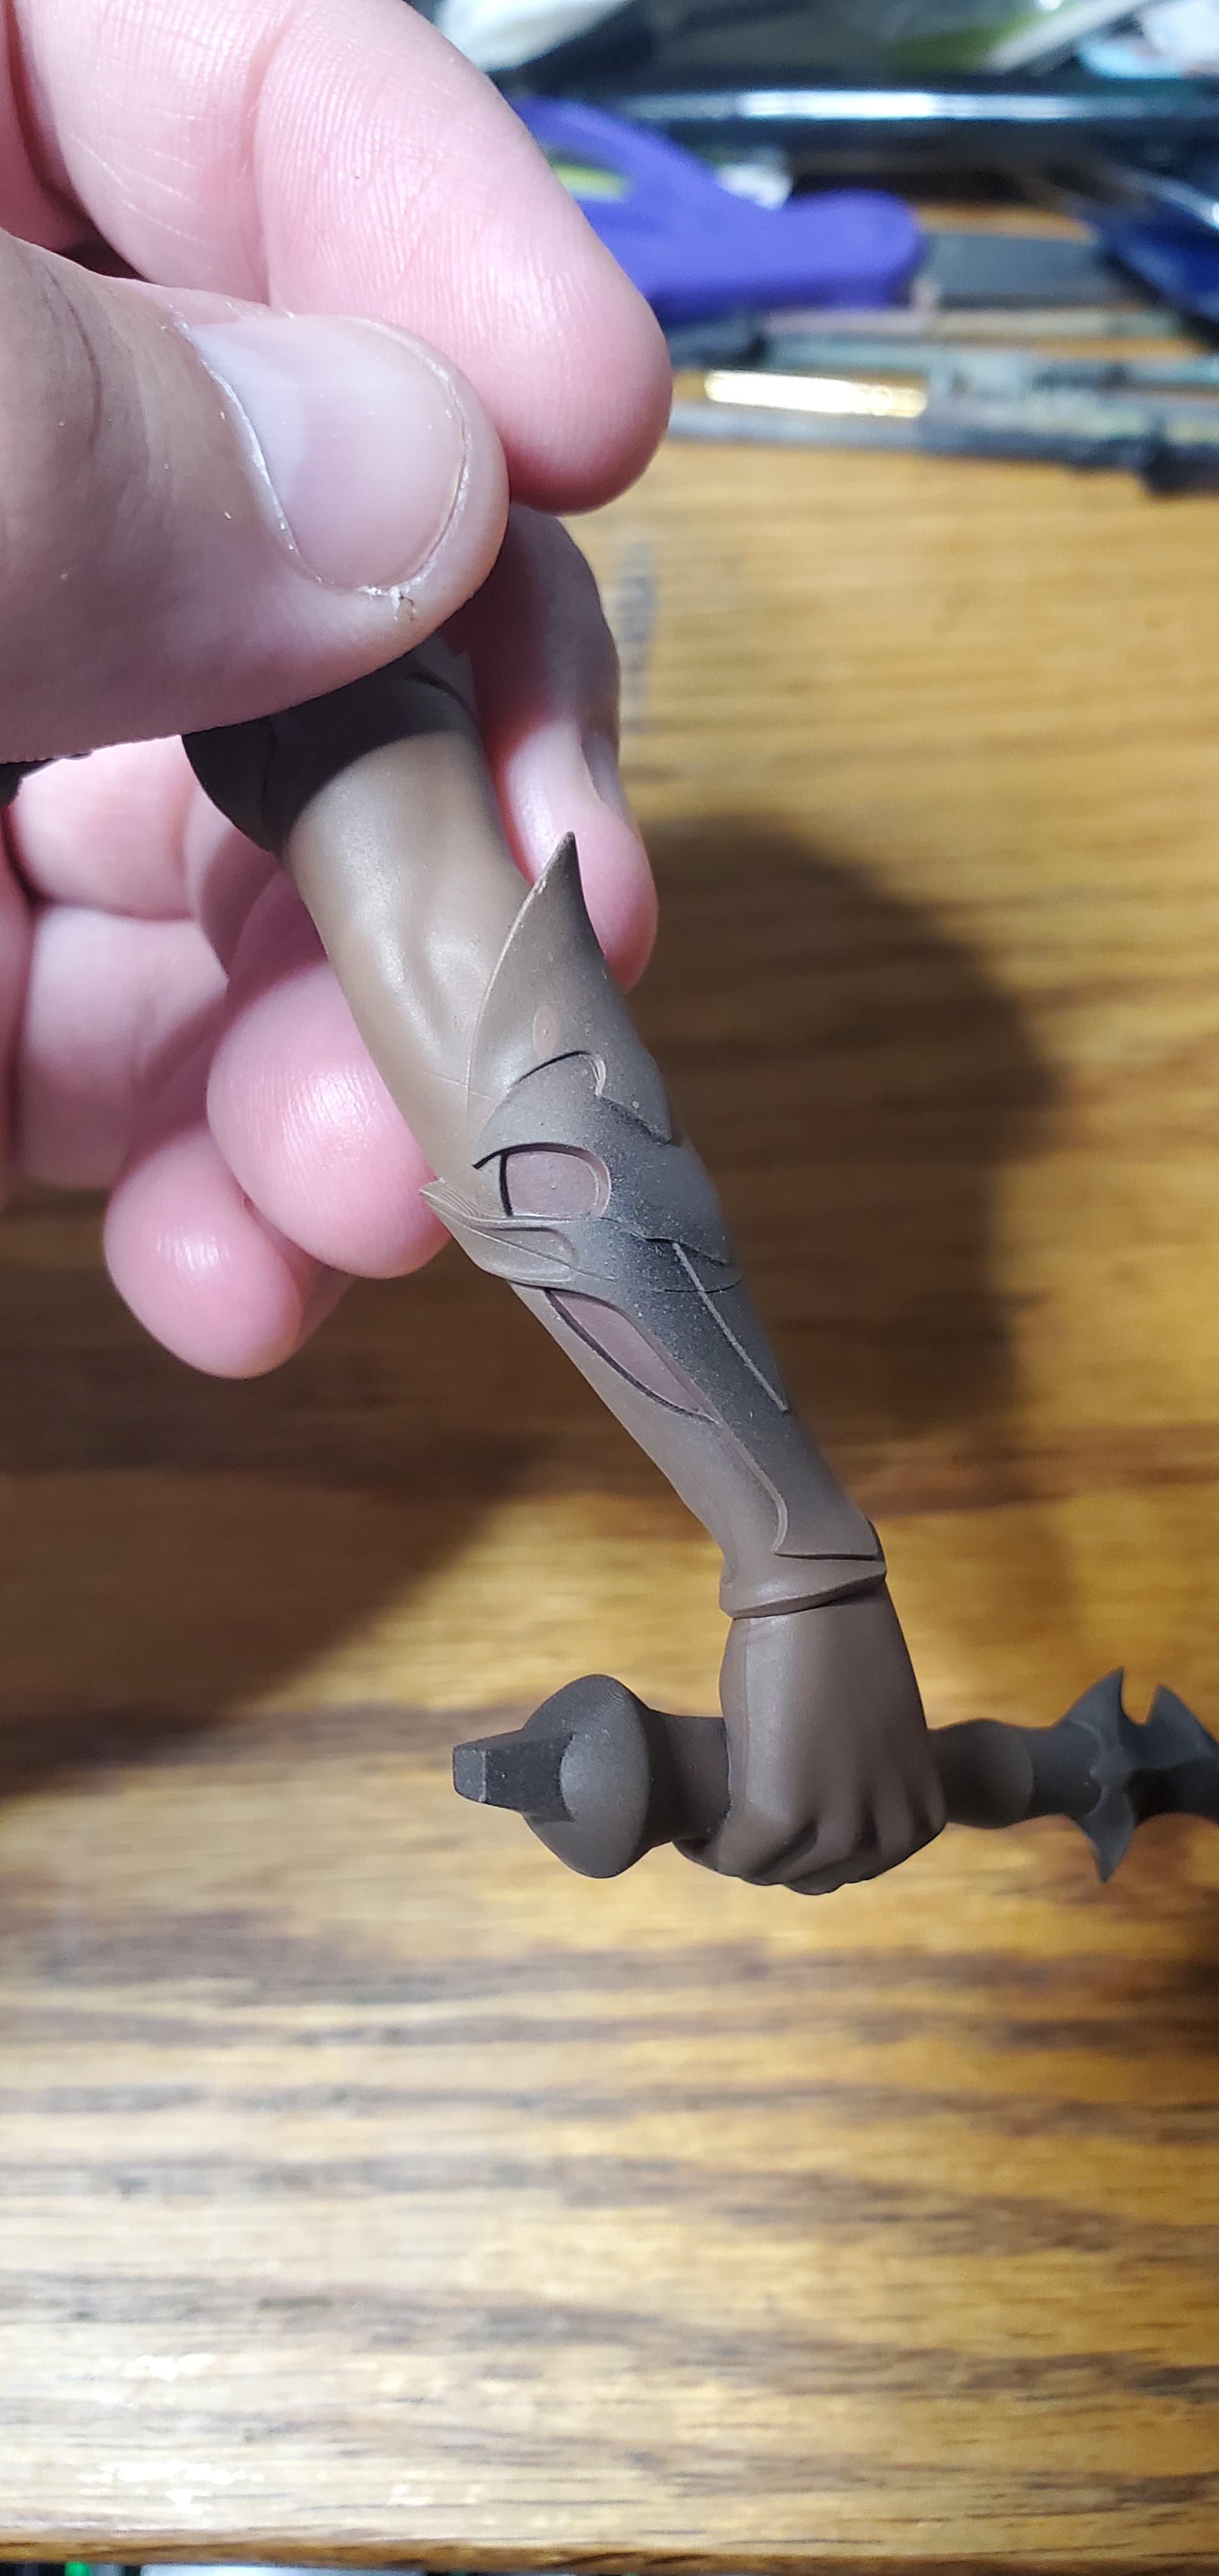
Quick dry fit of everything save for the hair, bottom part of the scarf tail, and blades.


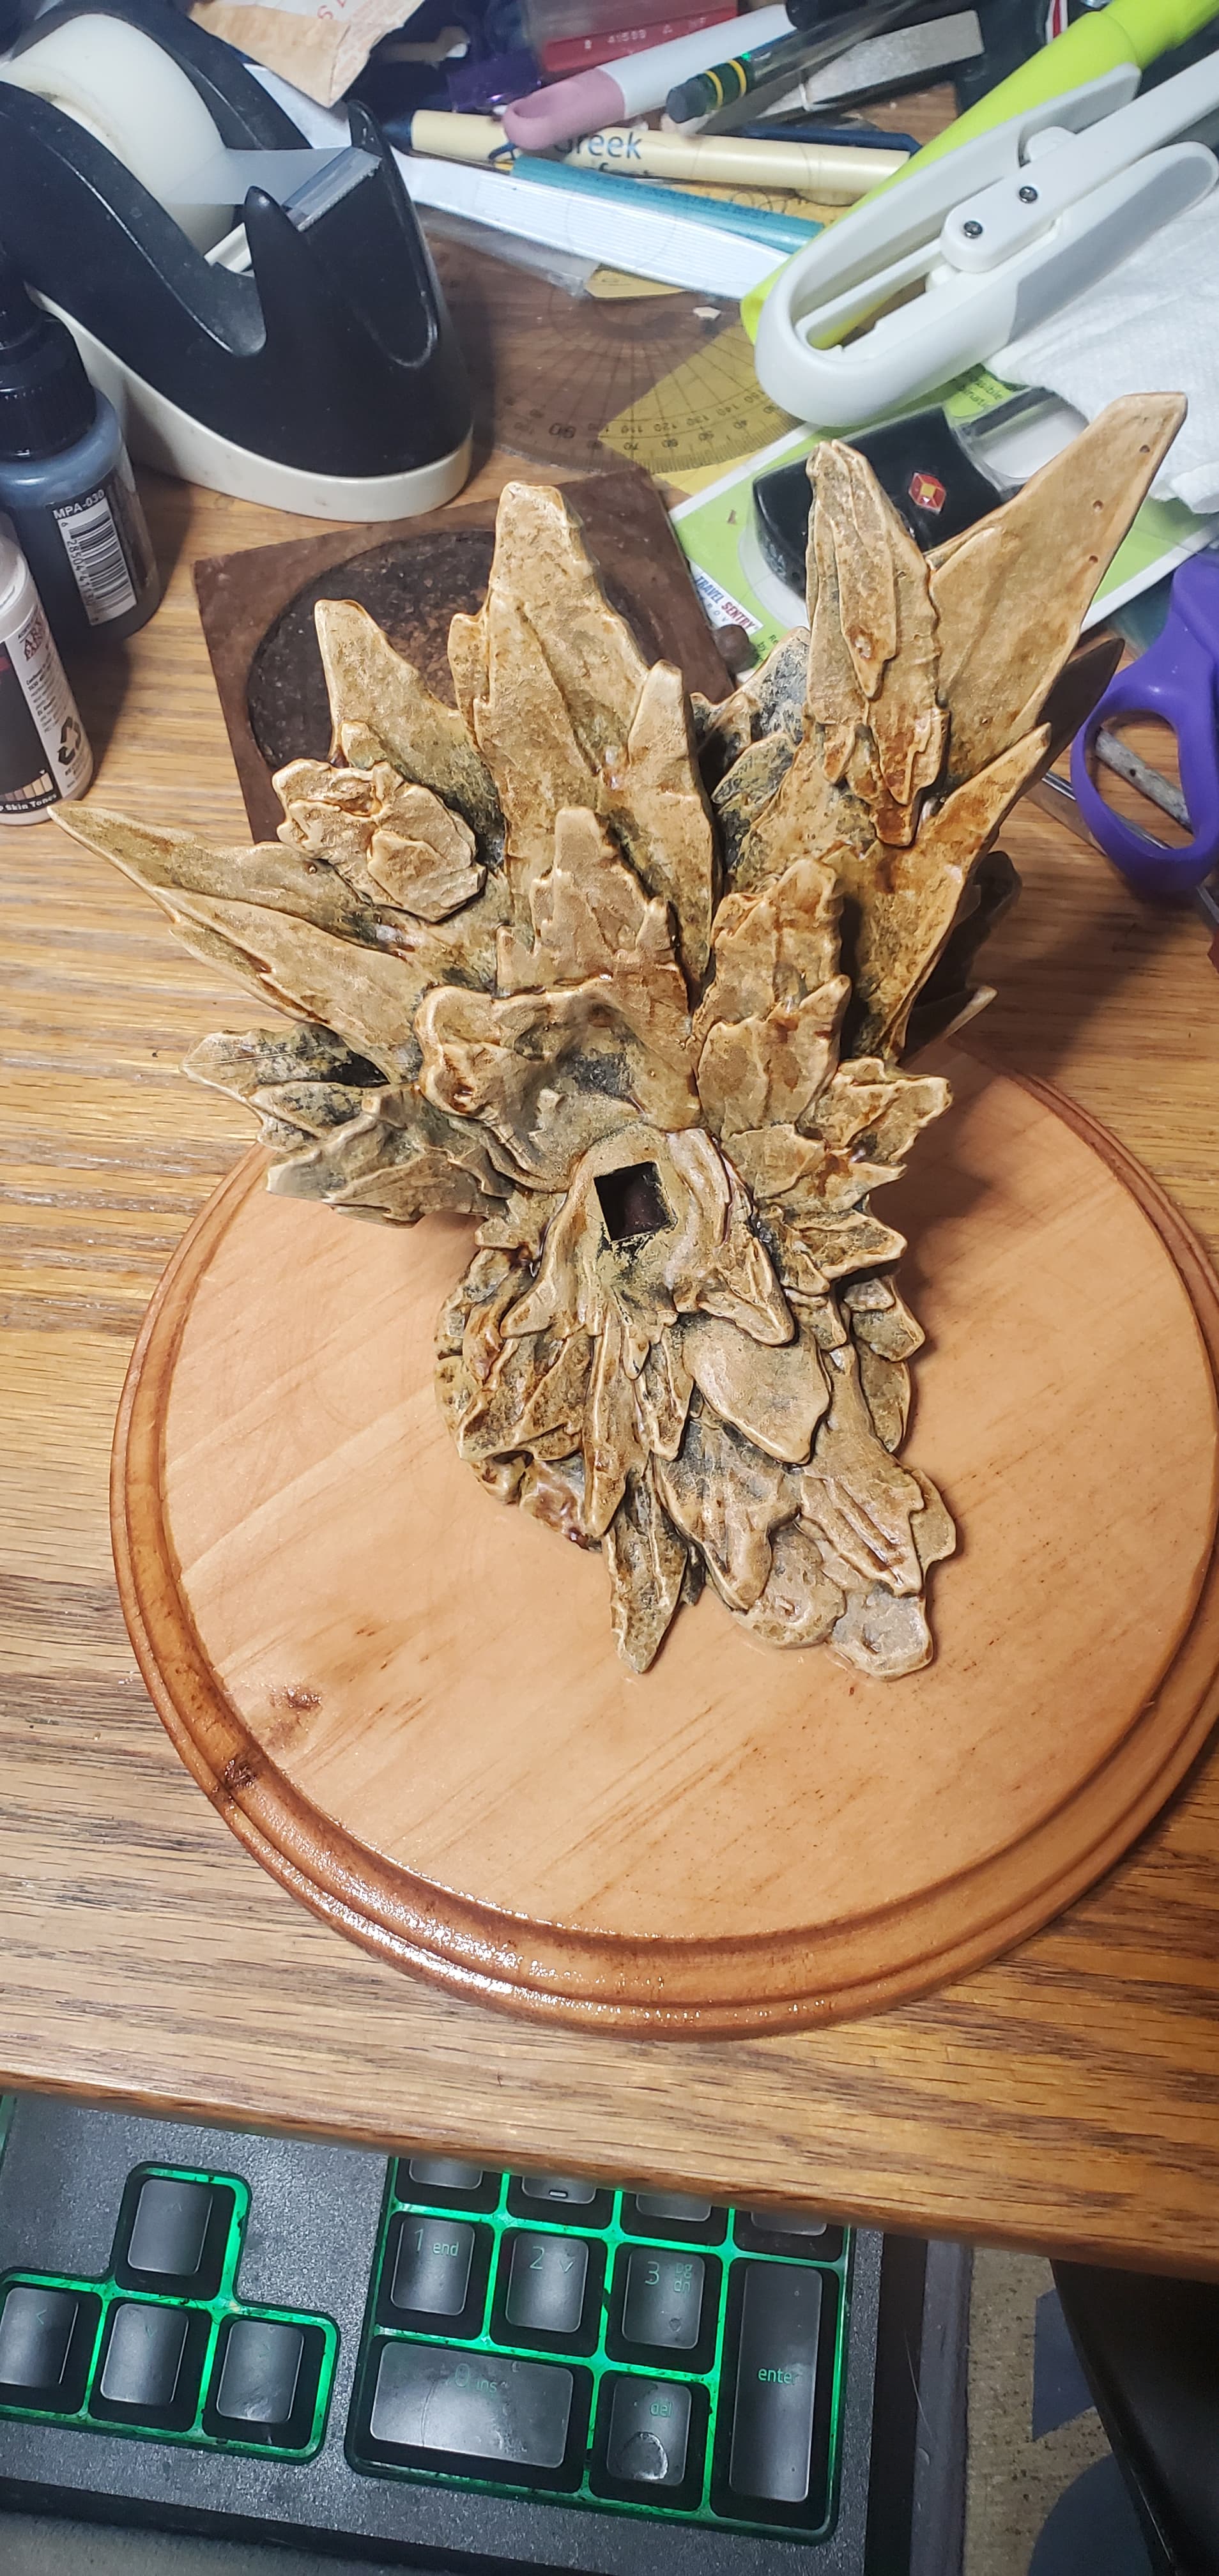
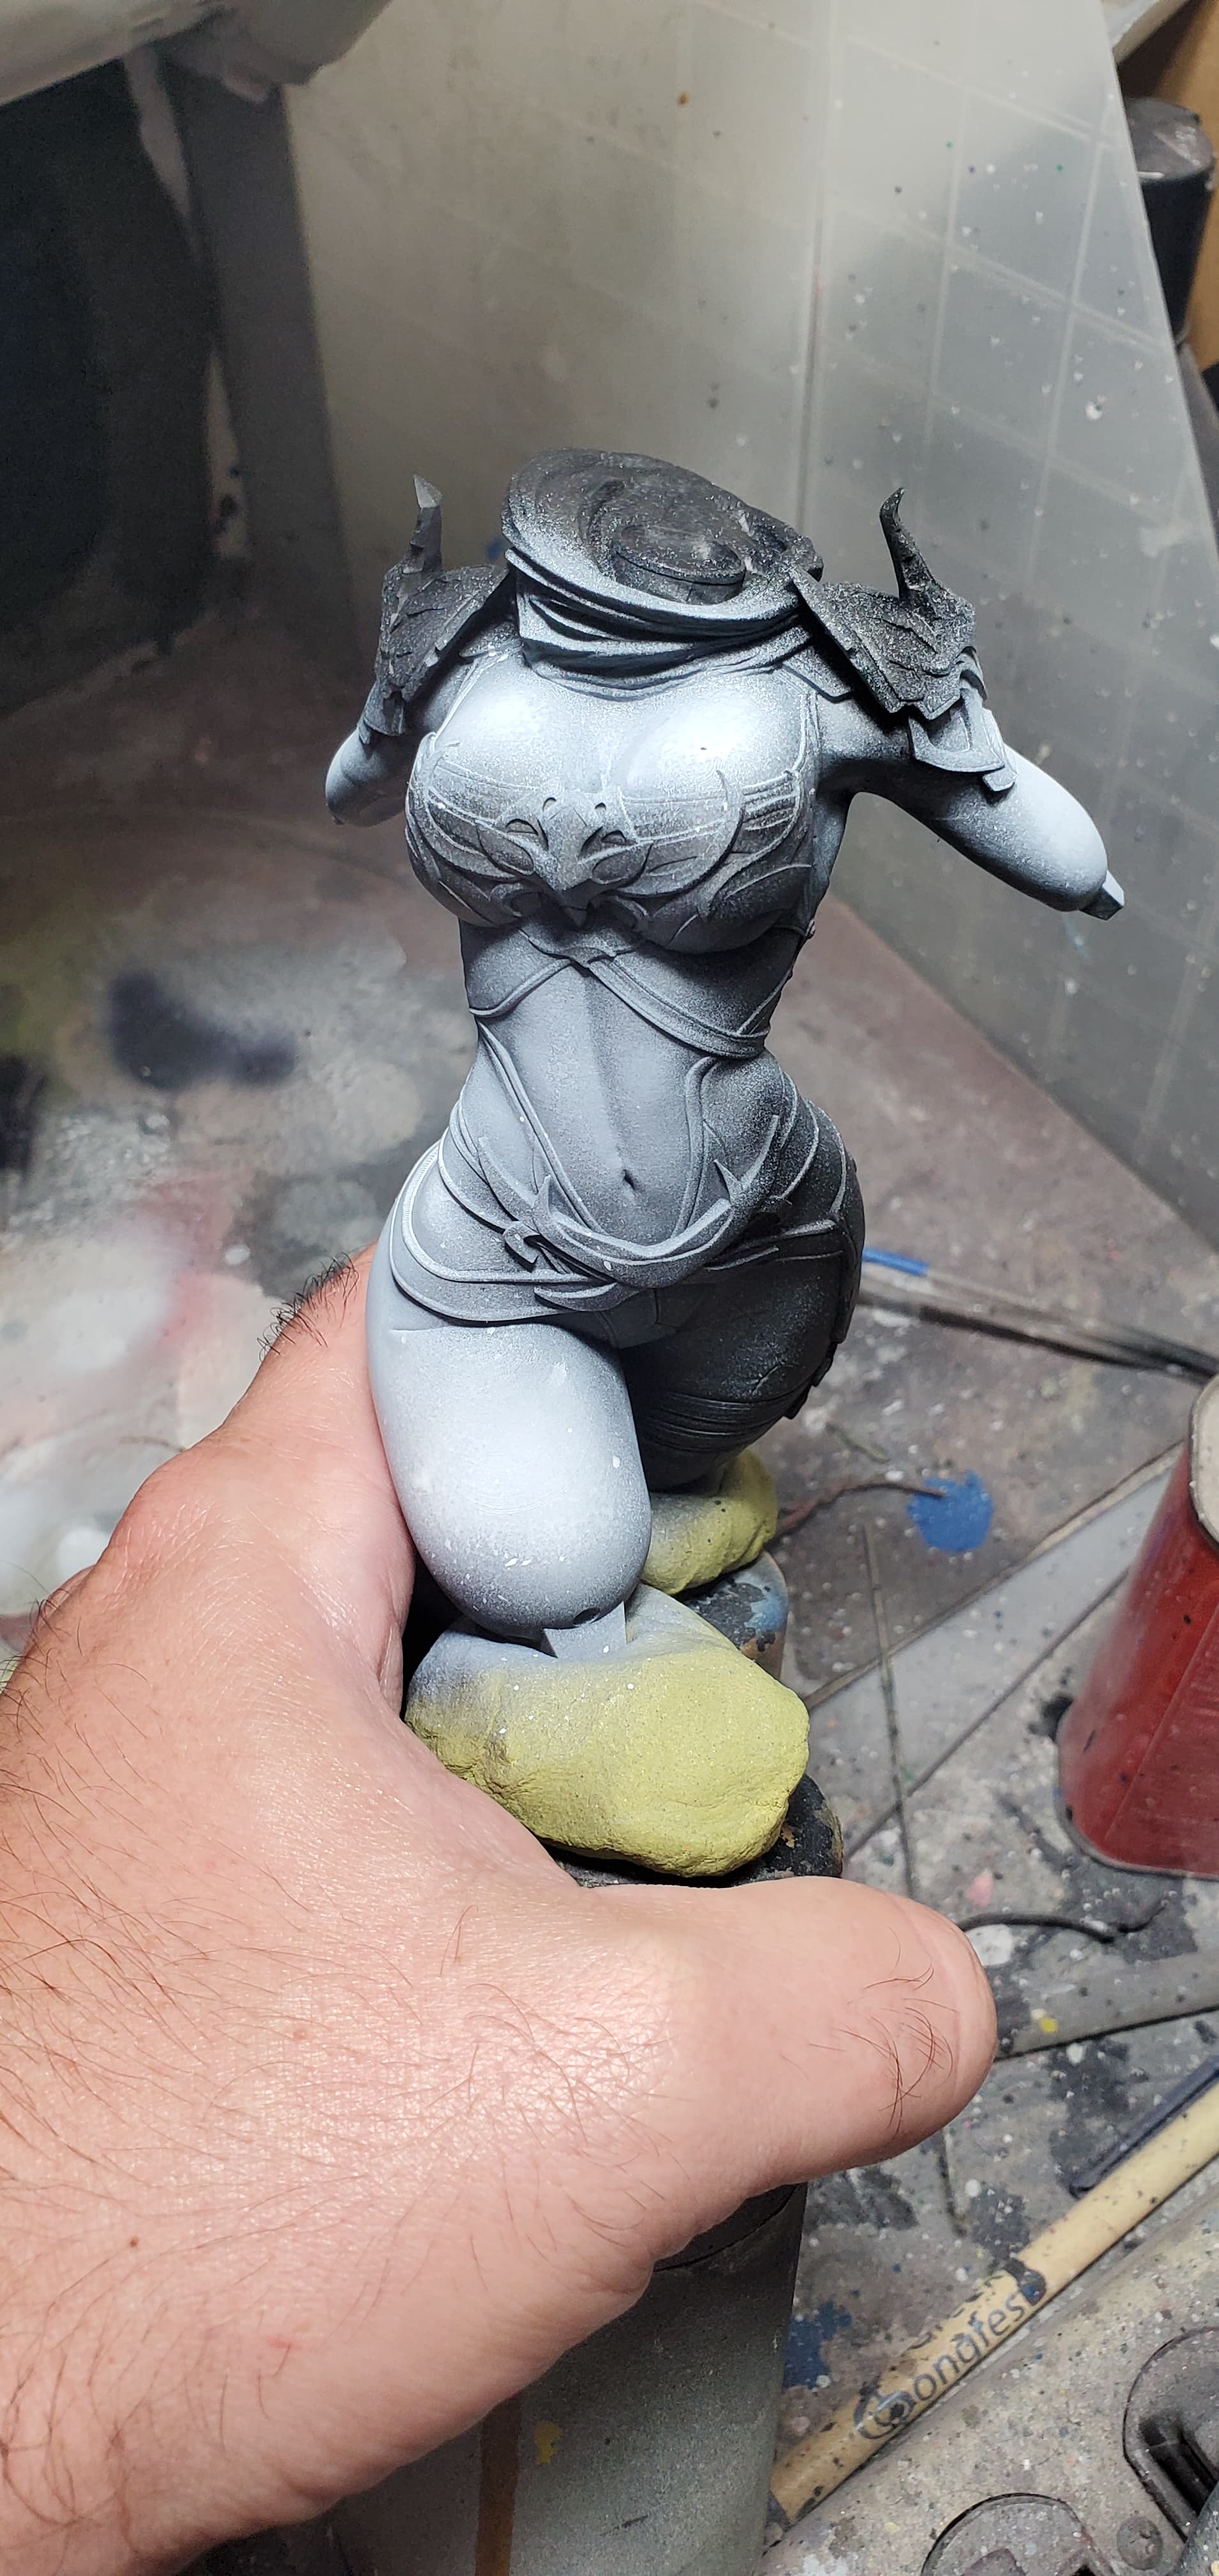
So now begins work on the base. Here it is after filling, fixing the key hole, and sanding prep. I then primed it in black, but forgot to take a photo.


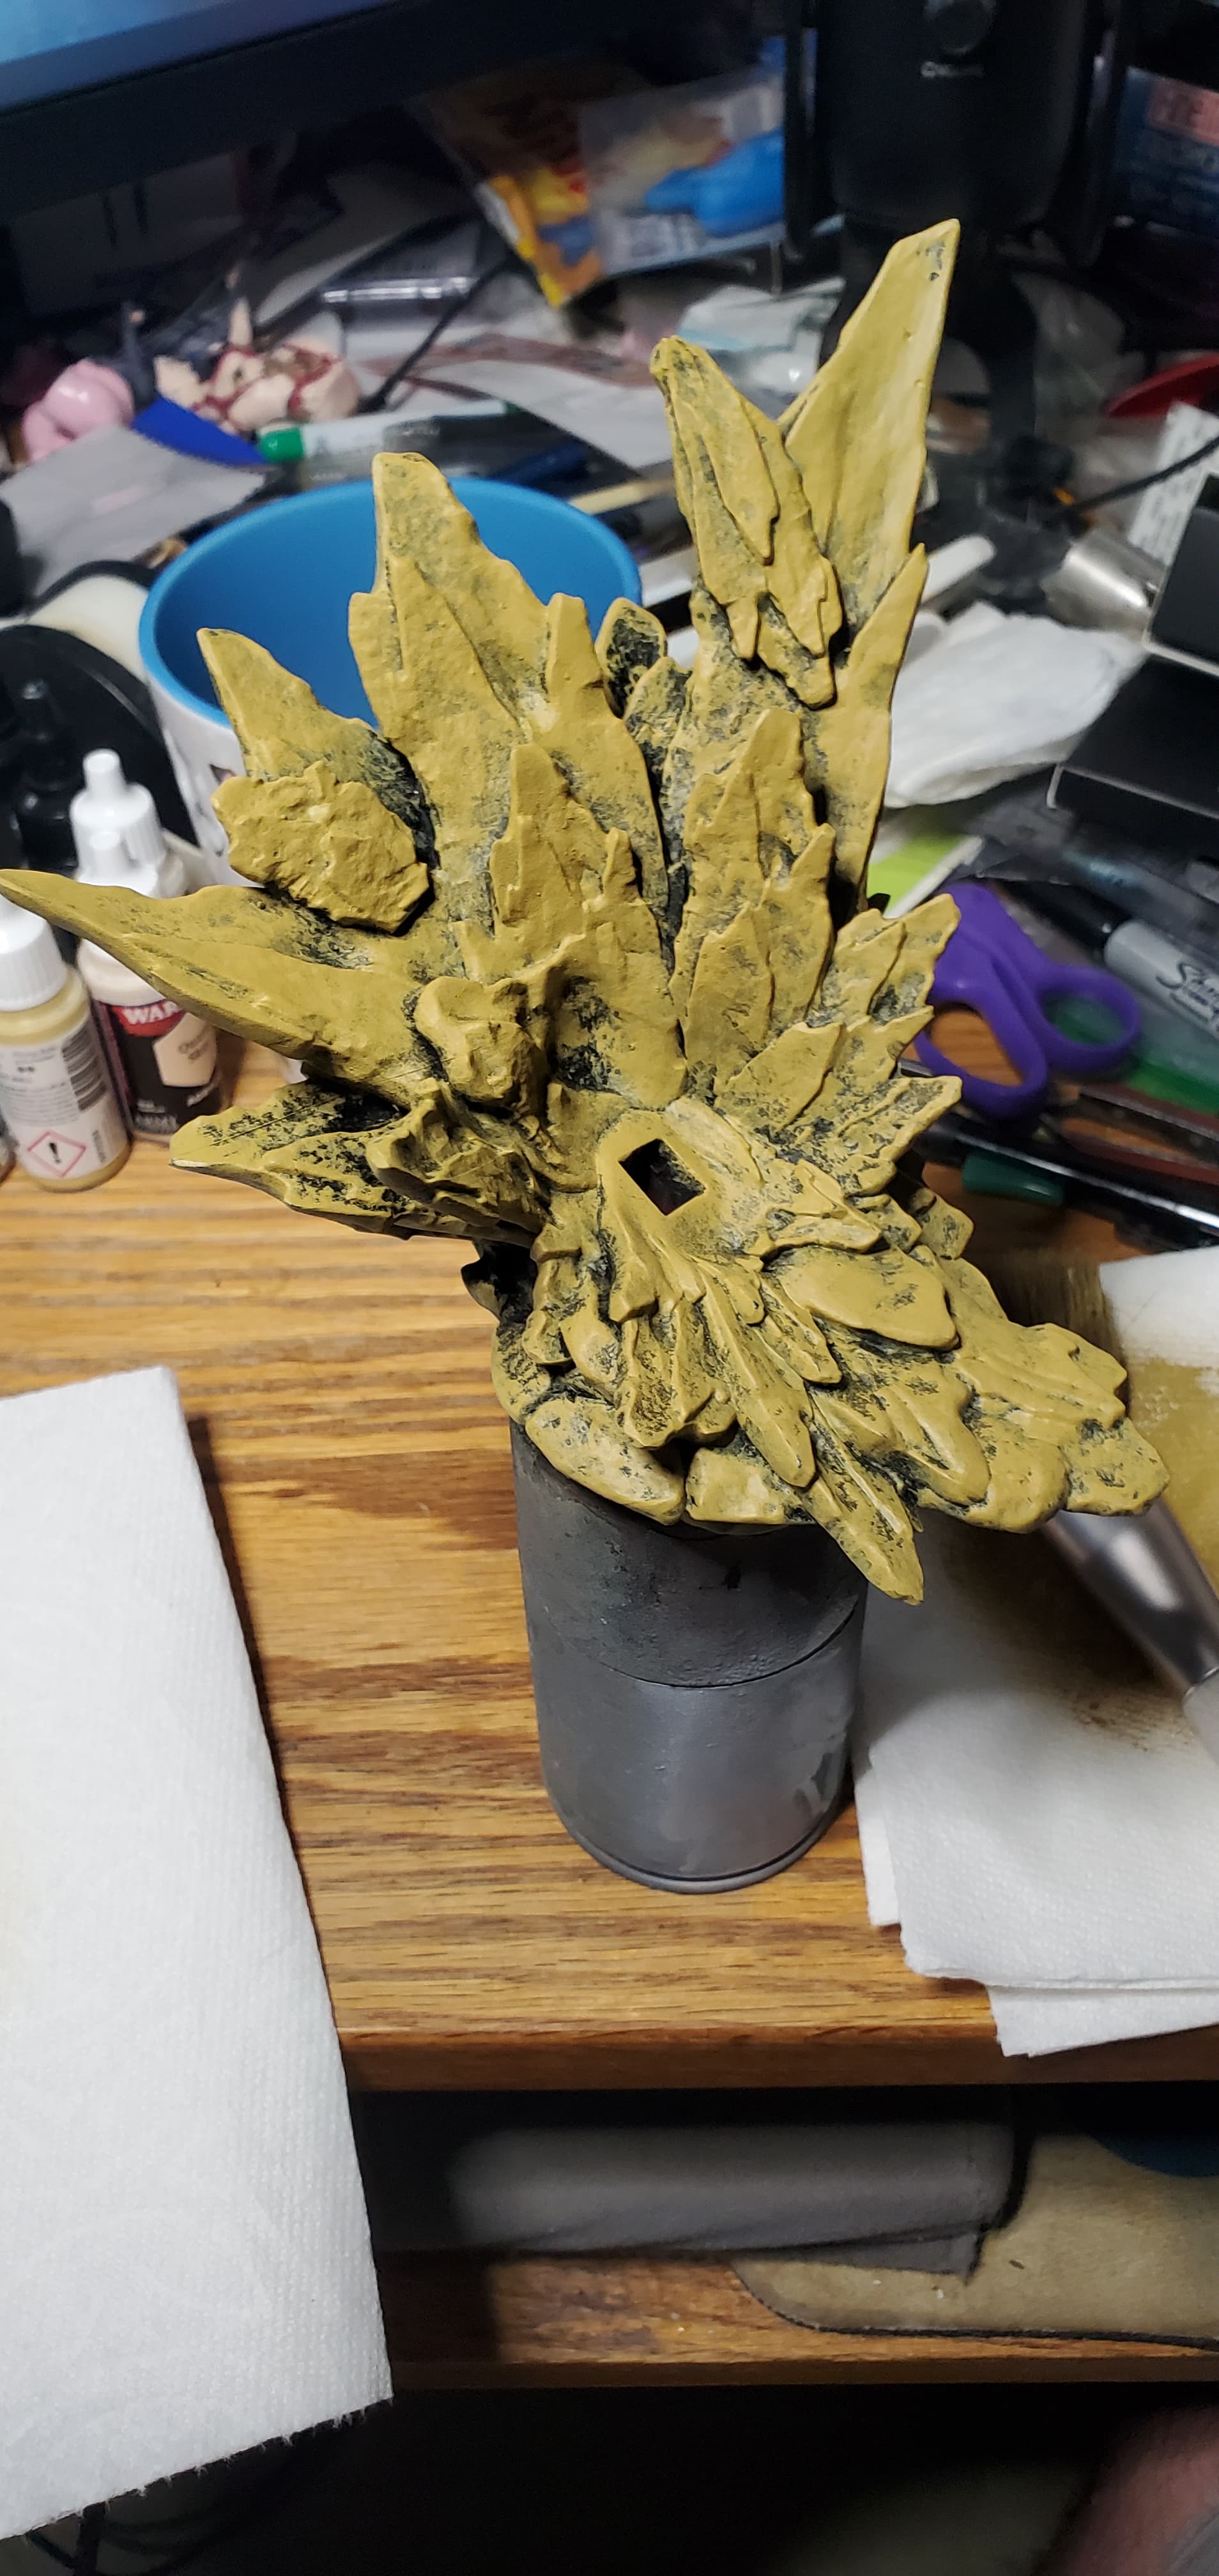
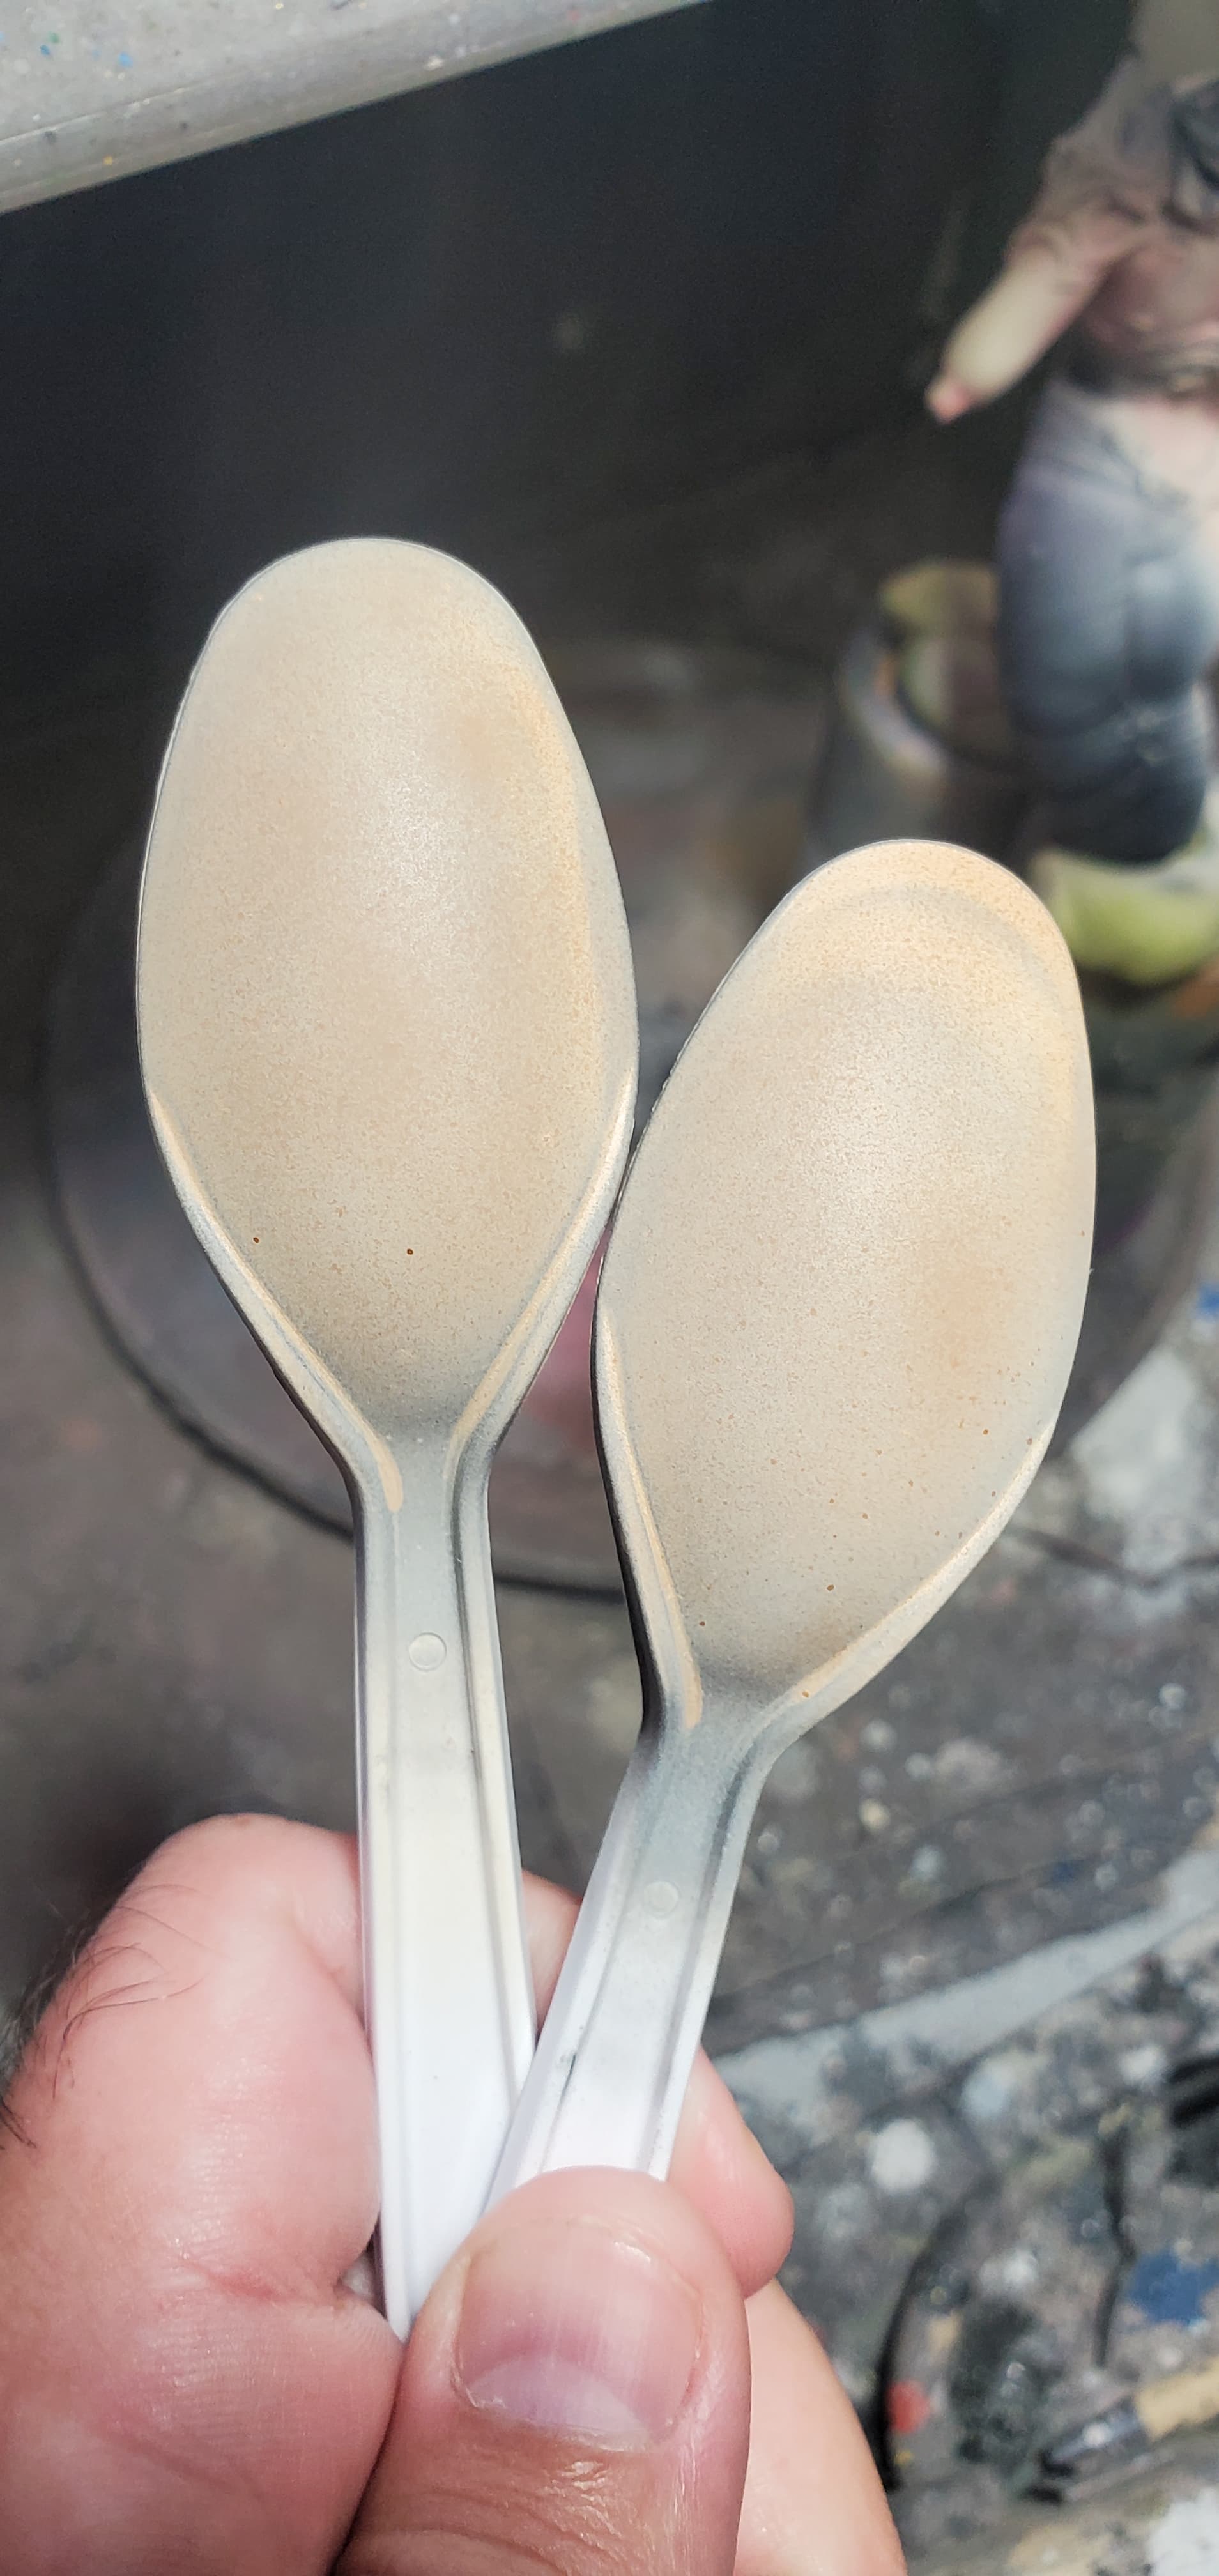
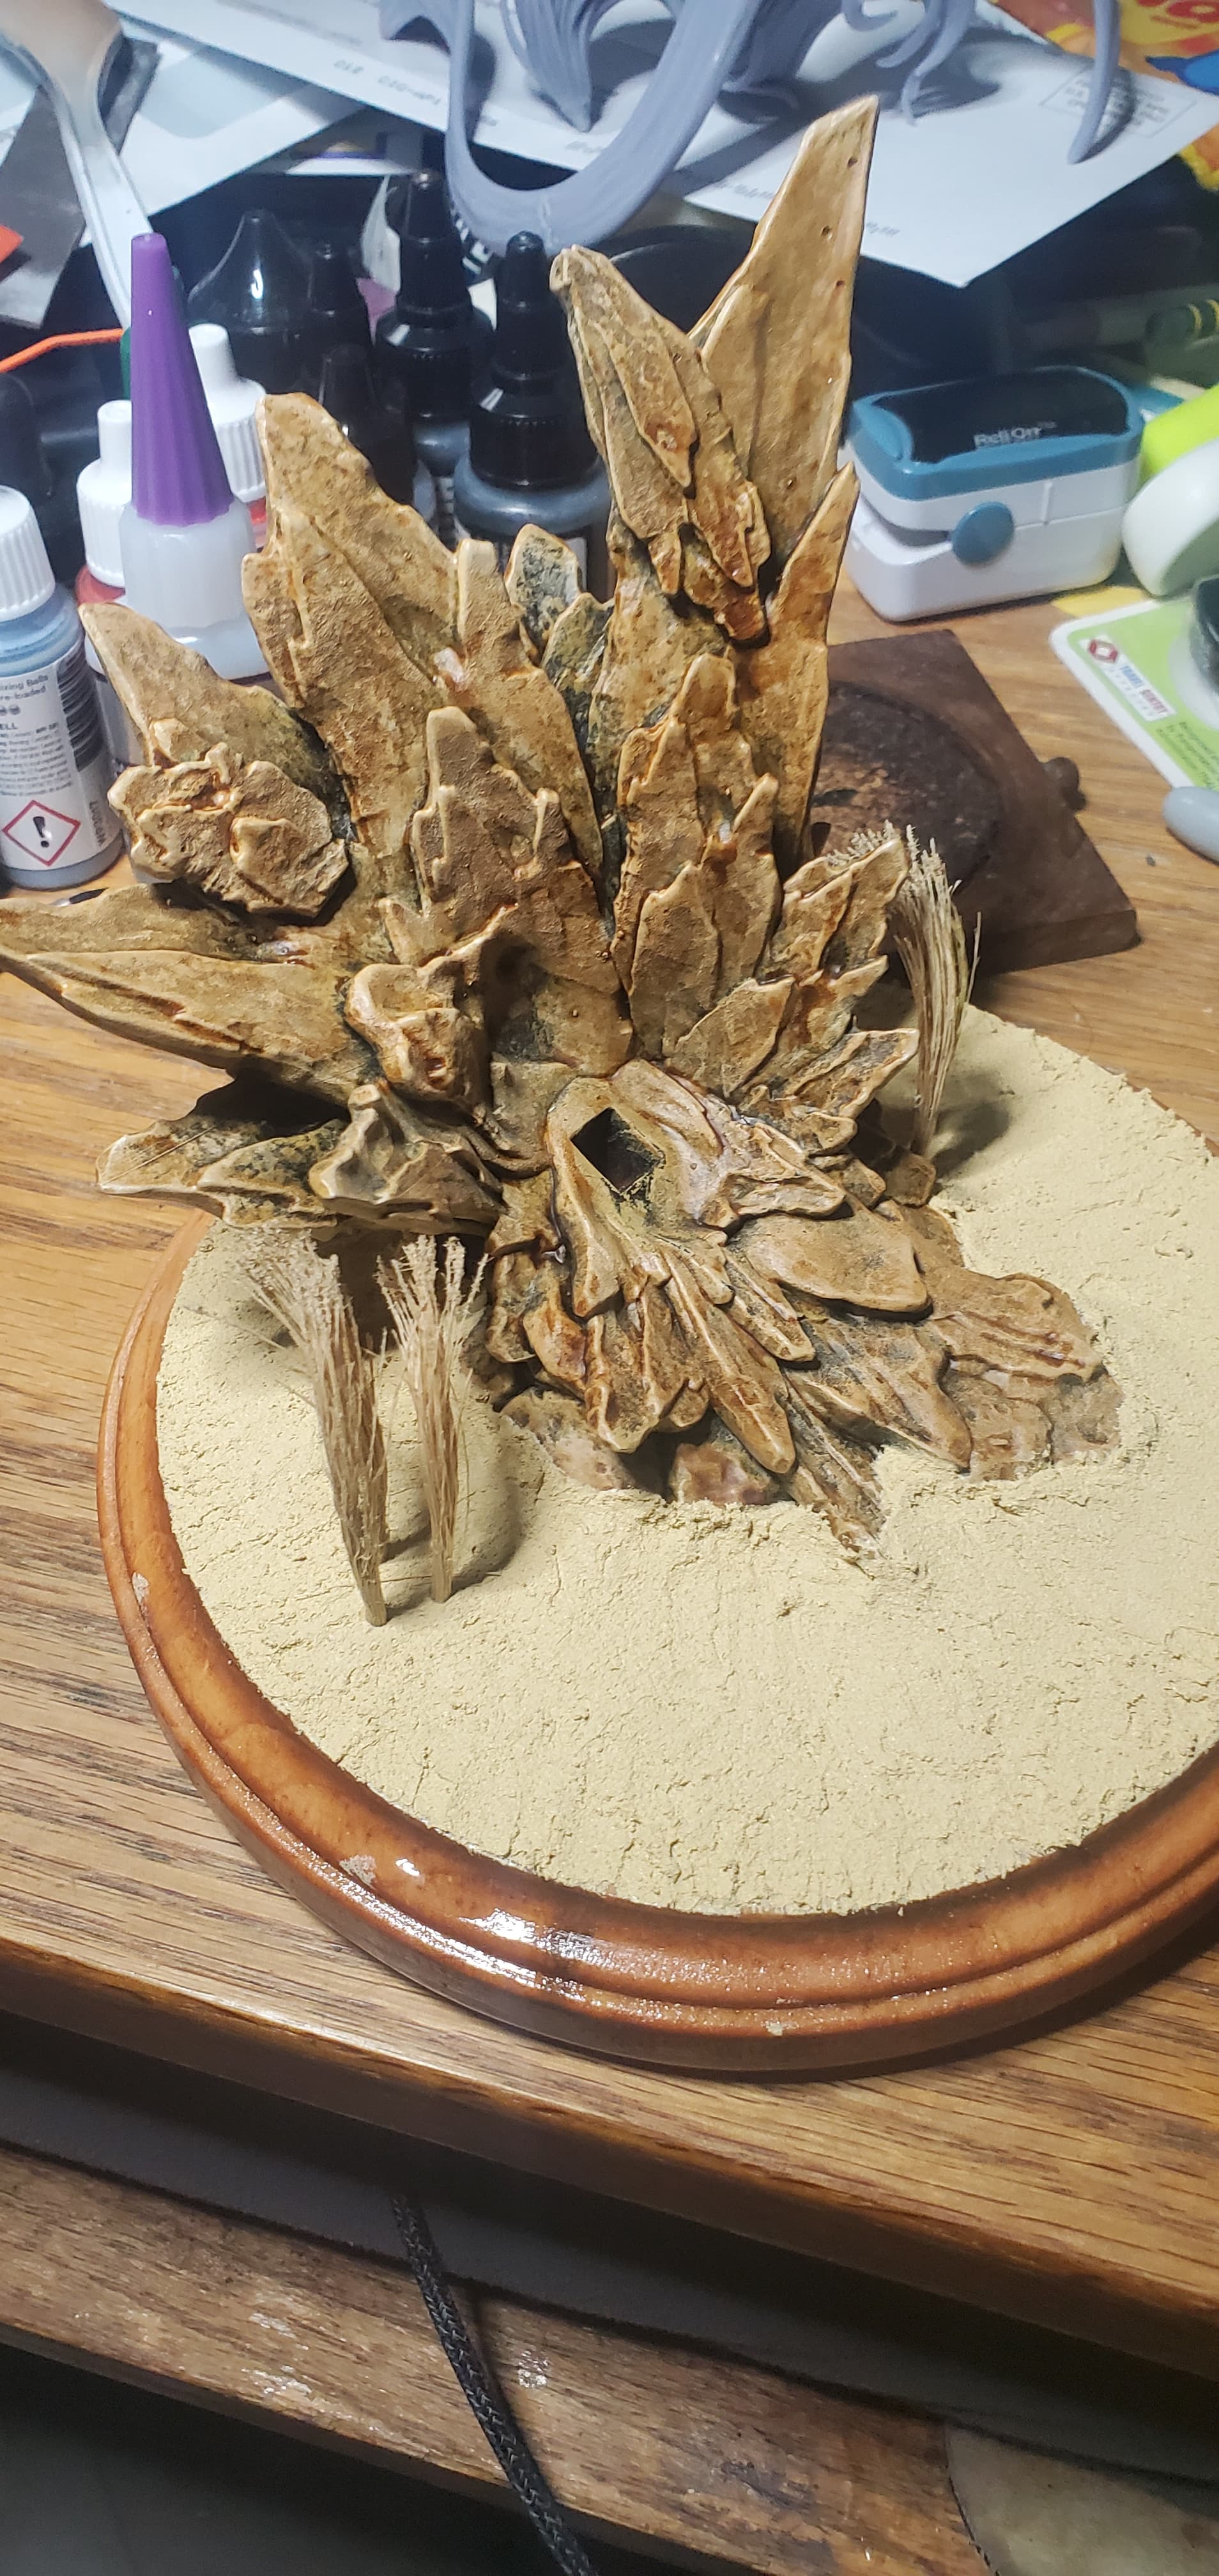
For the base I wanted to do a sandstone, and am adapting a technique that I found on youtube. At this stage I dry brushed on heavily a base sand color over the primer.


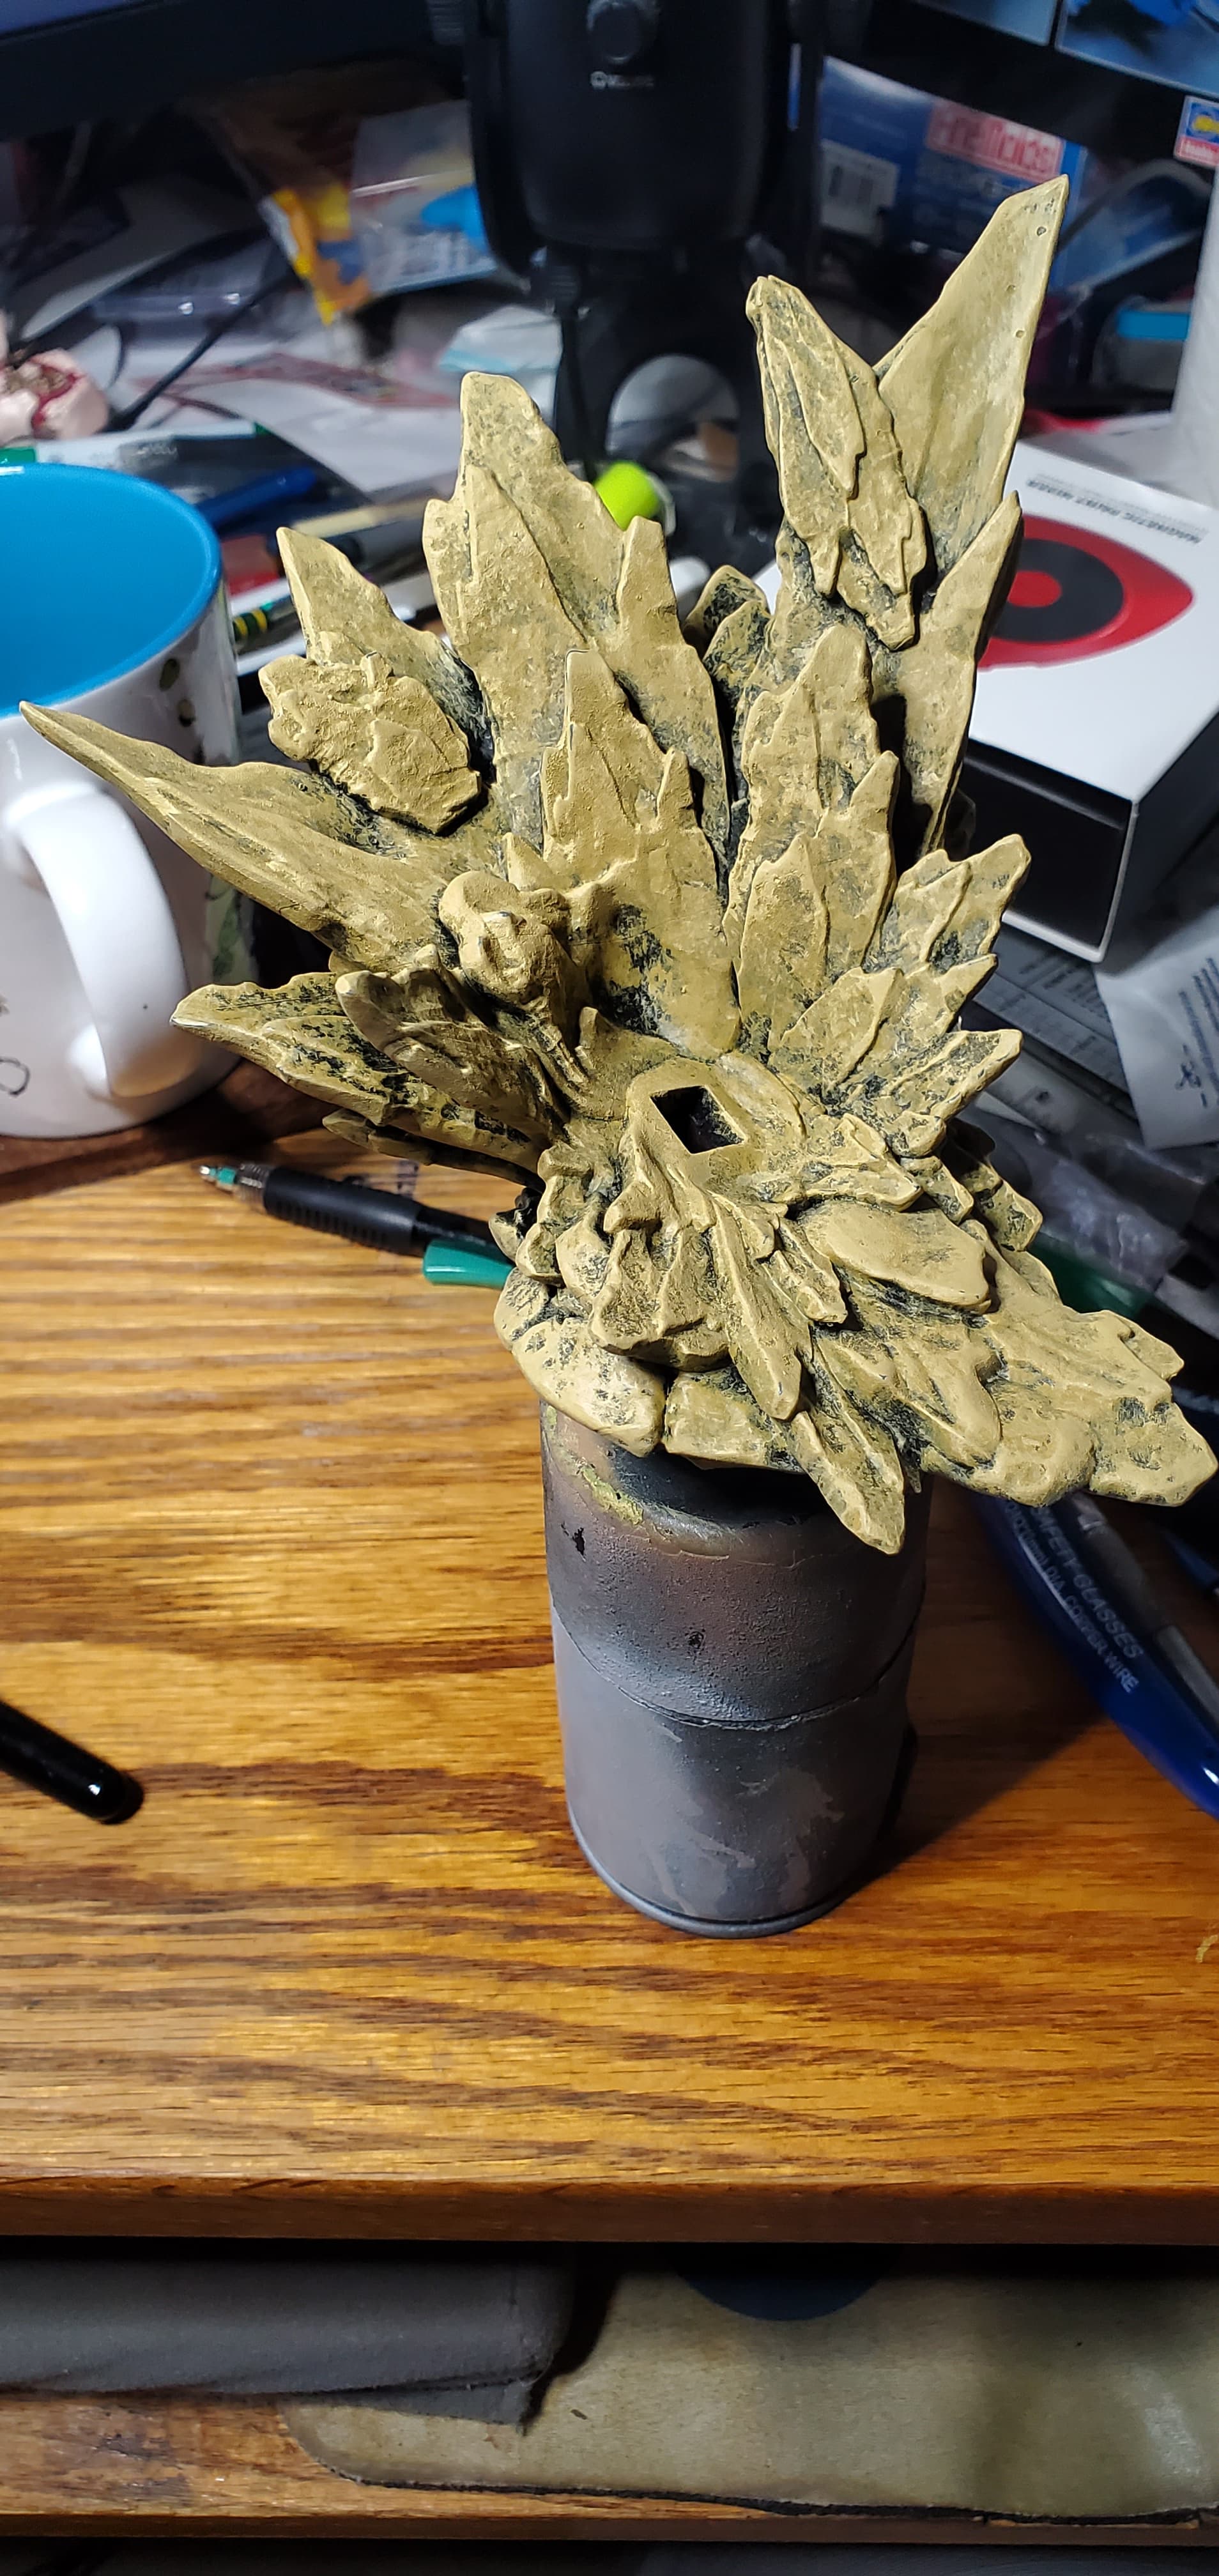
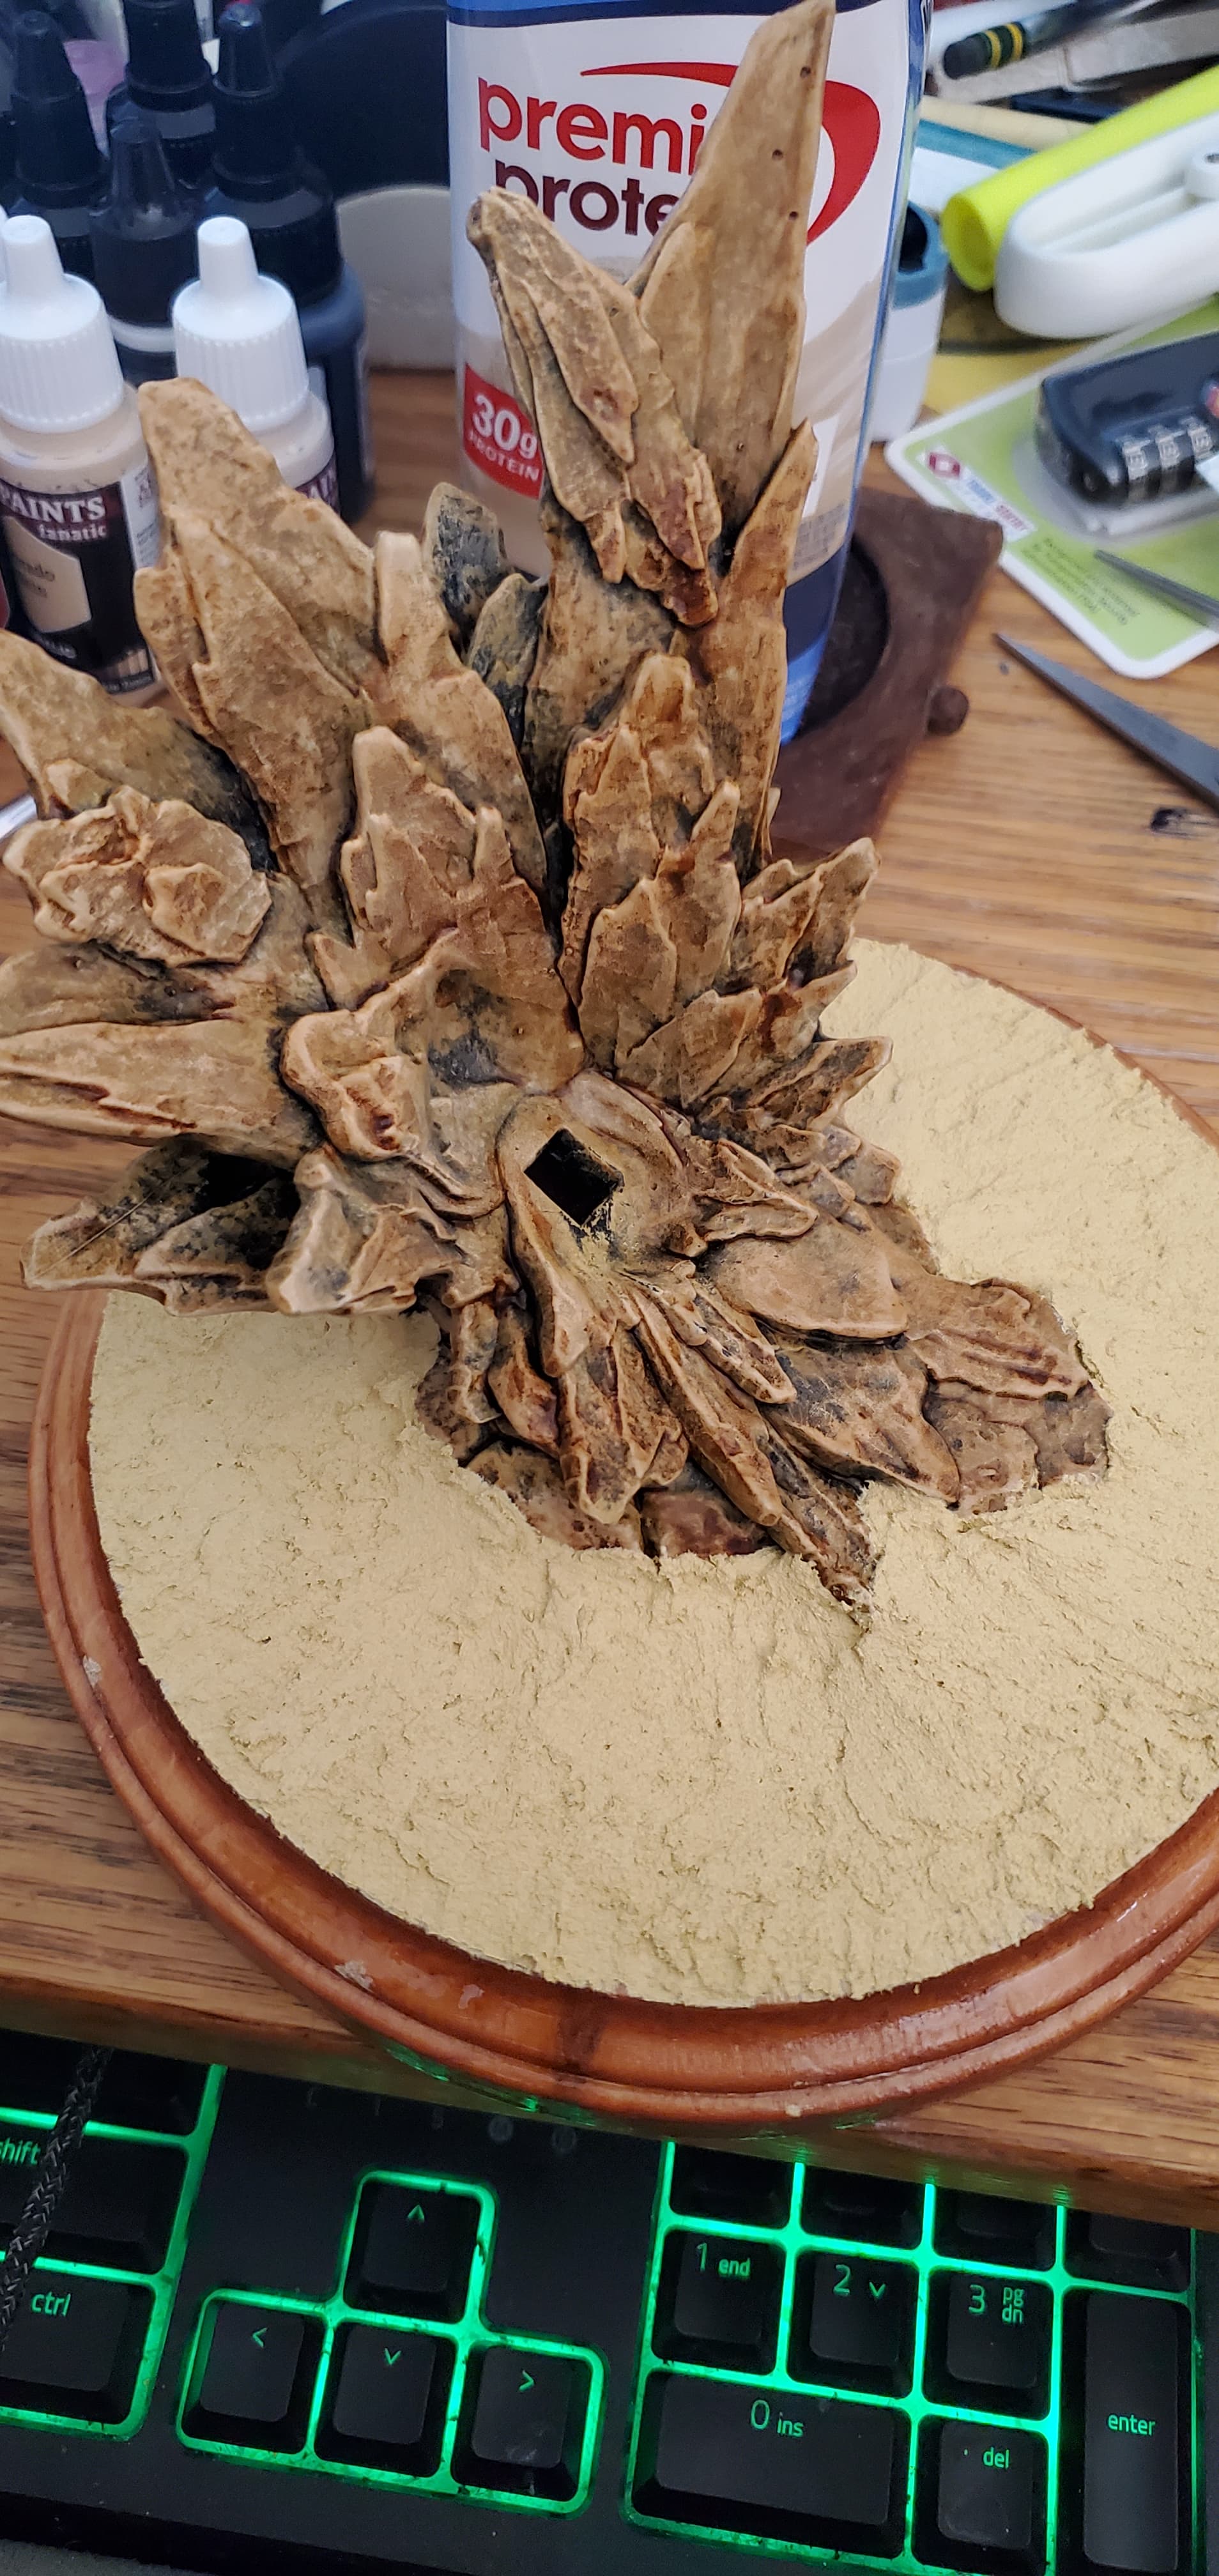
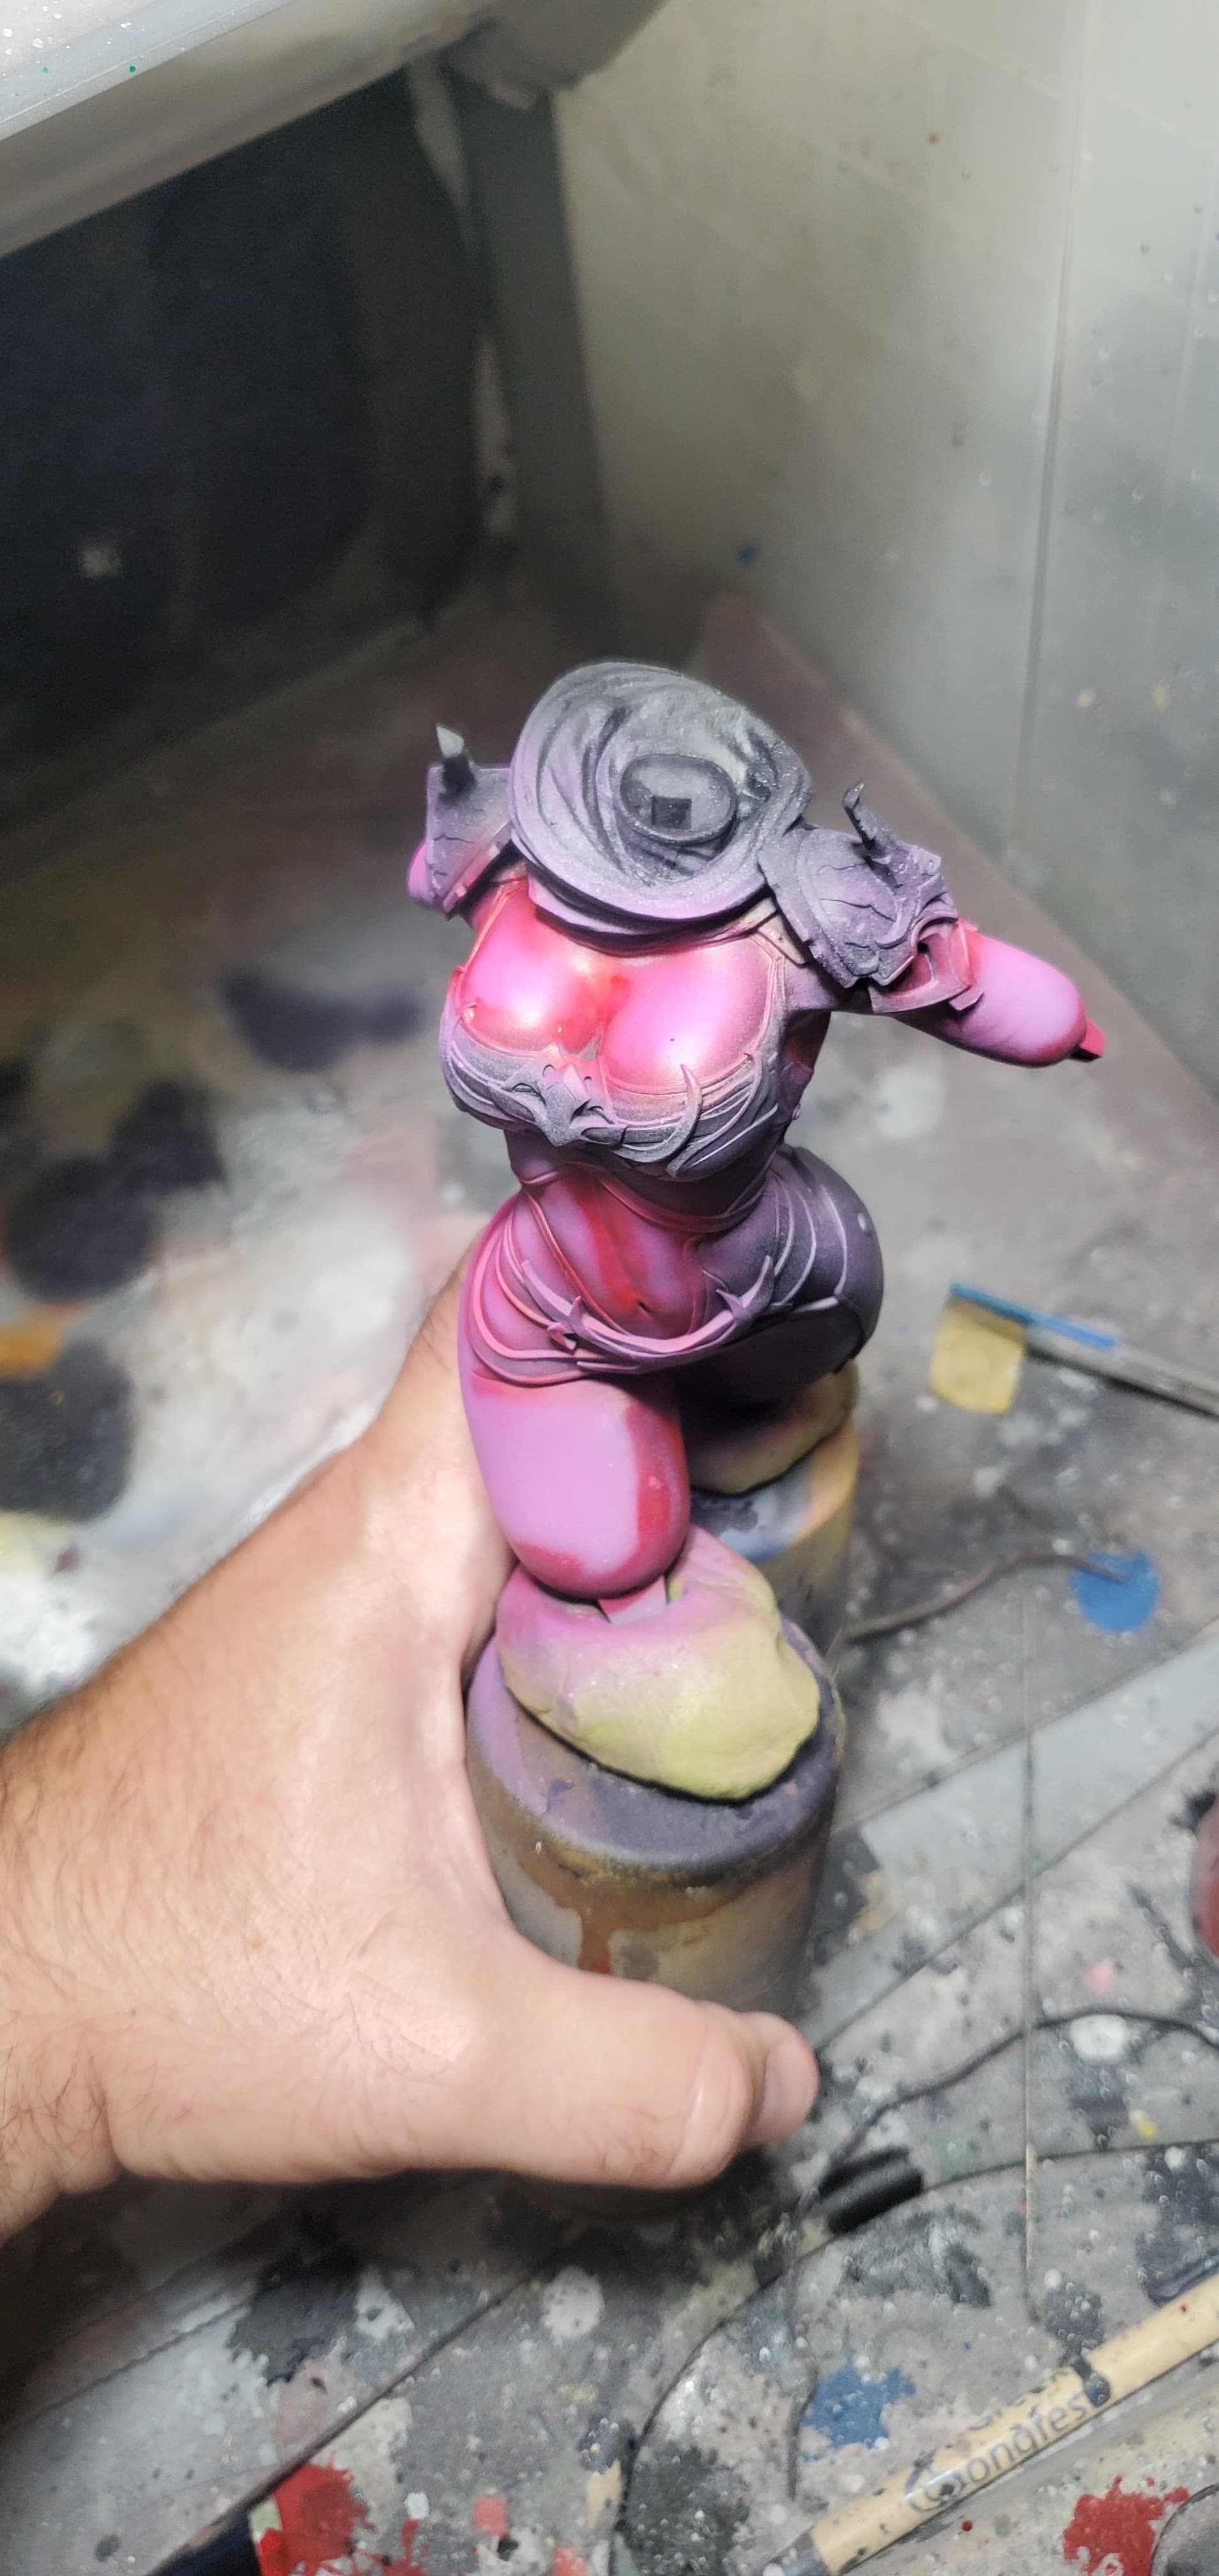
Next I came back with a lighter shade and focused more on hitting high points, but still applying it liberally over the entire piece.


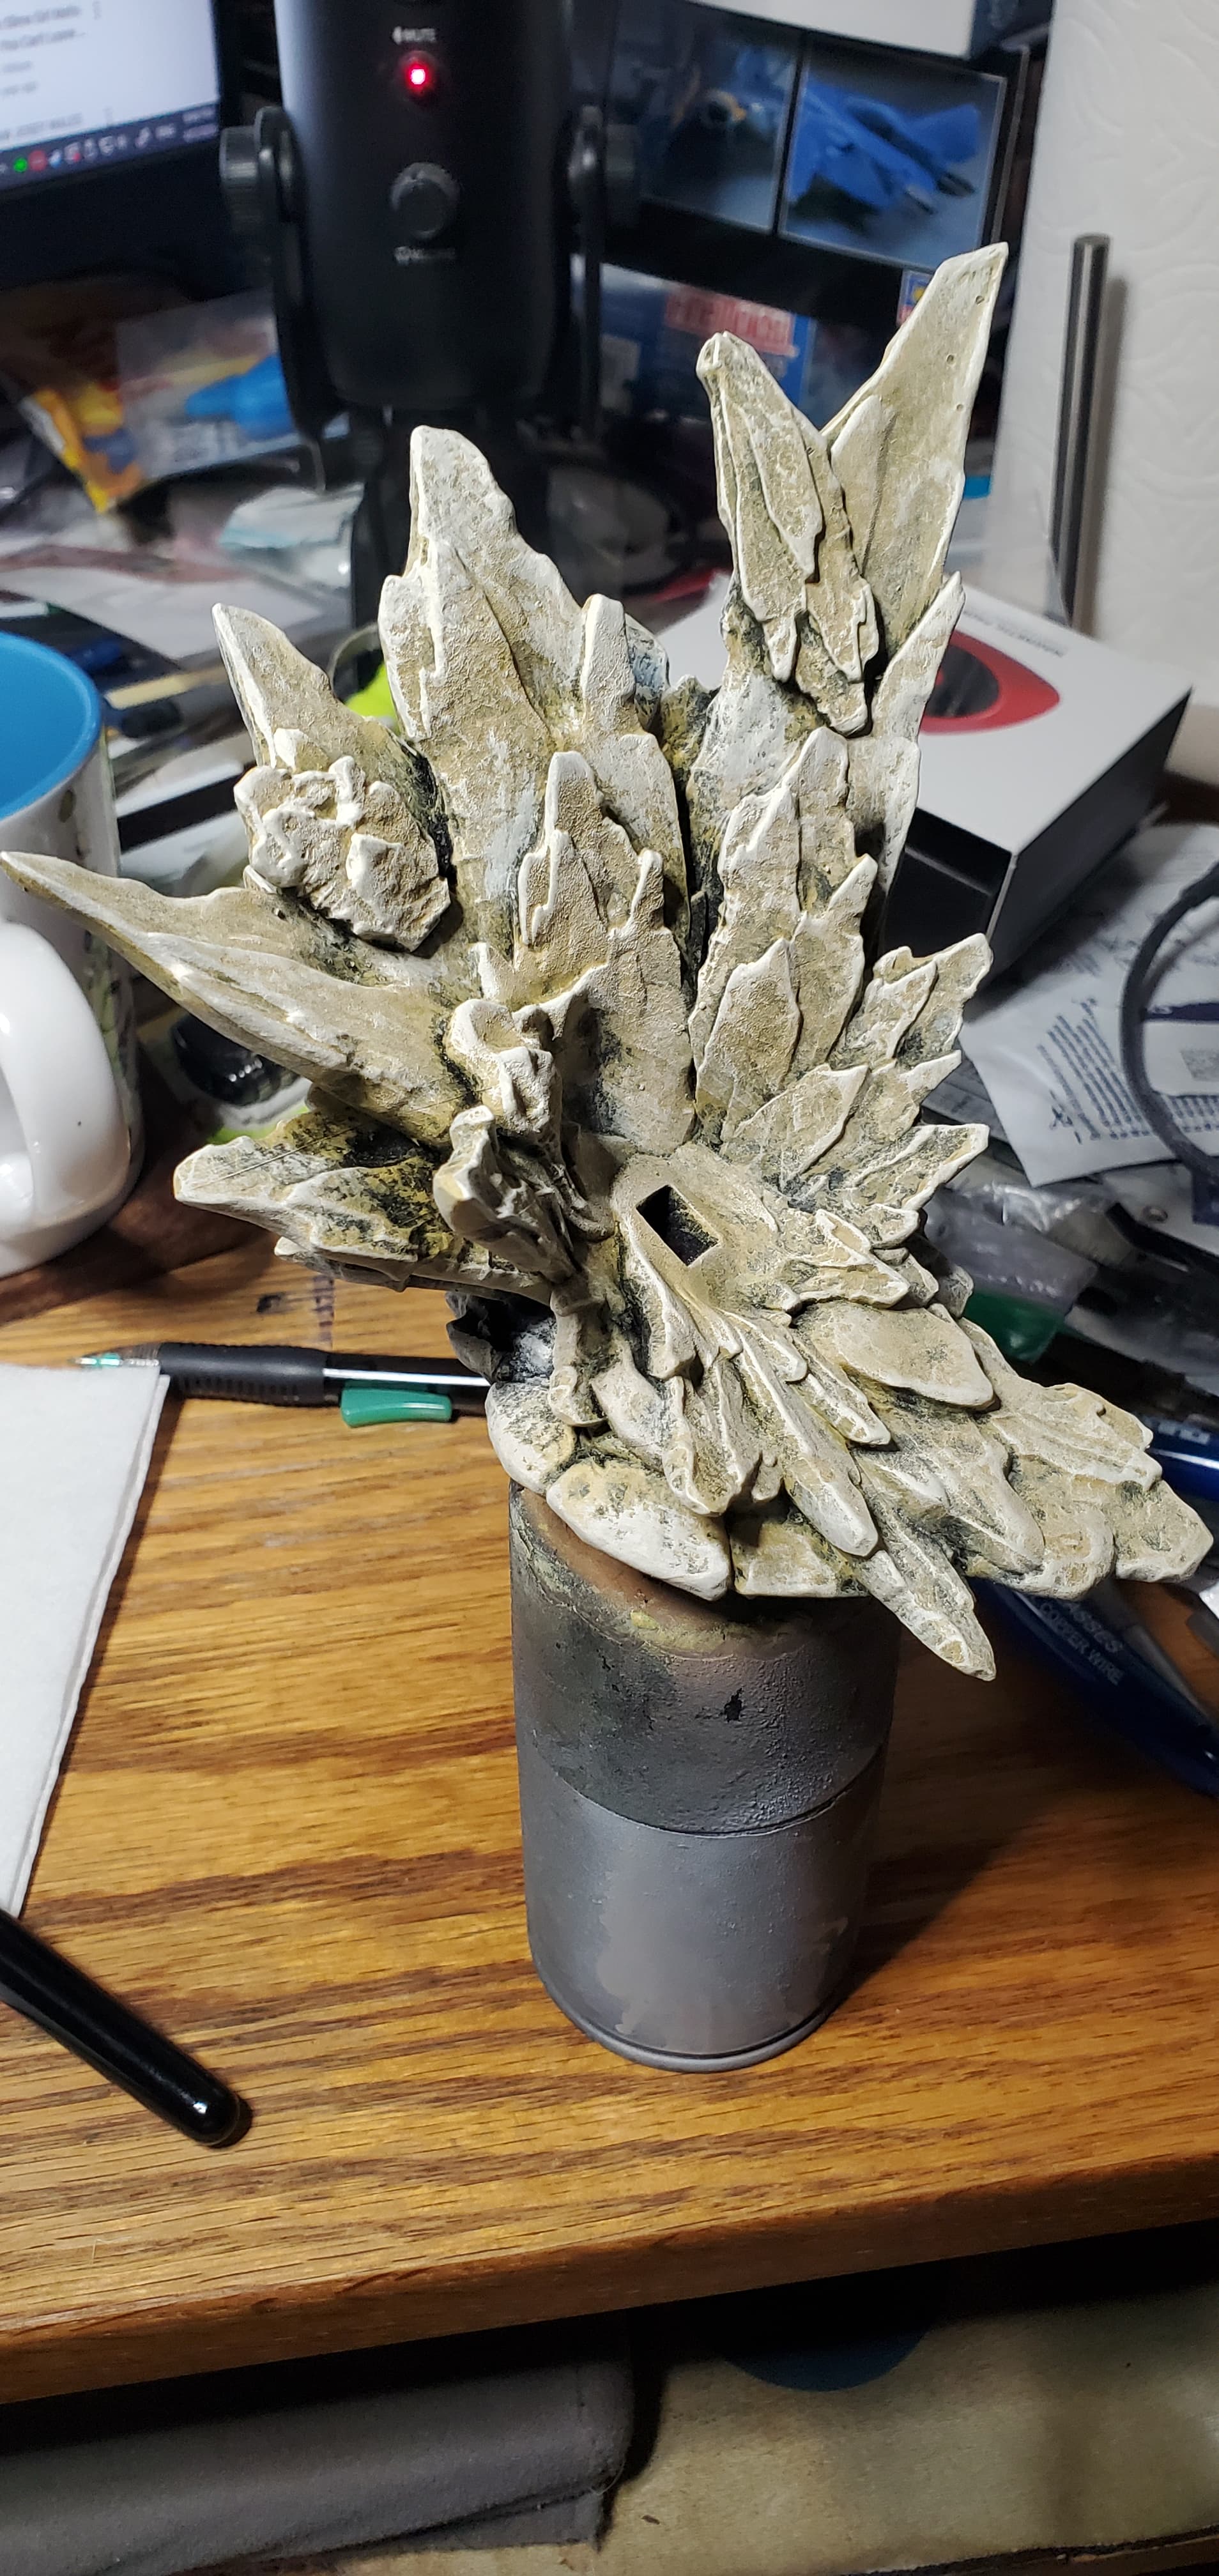
Lastly for tonight I came back and hit it with a highlight color focusing more on the edges, but still trying to get a large chunk of the surface. At this stage I am not trying to be precise with the paint, just looking to get as much coverage as possible.

6 Likes

Started today by spraying a coat of citadel seraphim sepia onto the base. Unfortunately this was not as strong as I wanted, most likely due to it being thinned to spray. So I changed tactics and applied it by brush, alternating between applying it to large sections and hitting it with hot air from a hair dryer to speed up drying.

This is the results after several layers. At this stage I originally planned to do some more drybrushing to add back in some more highlights. However I like the results i have here and not wanting to mess them up I am calling this good.

After giving it a couple hours to dry i then attached it to the stained wood piece that will help fill out the groundwork that is to come.

7 Likes

Lovely work so far- you have captured the look of the sandstone beautifully.

1 Like

Got the sand now added to the base, it ended up taking two layers to get the look that i wanted. May still come back and add some more in a couple spots to smooth things out a little more.

I also got the hole for the scarf tail puttyed and cleaned up.

Last i glued the two halves of the tail together. Will need to do a little putty work on the join to clean it up.

6 Likes

Moving forward over the last couple of days. After the initial primer coat revealed a couple issues and another round of filling, sanding, and the repriming, i finally got the zenithal layer on.

This was followed by the skin under layer soon after.

Lastly tonight, i got the first skin layer down. Unfortunately, due to how i have to hold the torso to paint it, i managed to miss some spots that i will have to touch up tomorrow.

6 Likes

Back to work on the skin for this figure.

After doing the touchup work that was mentioned in the last post, i applied a shade tone to the recesses to add in some additional color variety and depth.

Next, to both blend the previous applued shadow layer and to add back in some saturation, i applied a glaze to all the skin parts. The glaze was made by filling my airbrush half way with water and then adding a drop of Vallejo yellow ink.

After this i did the first highlight layer.

To finish the tone work i added a tiny bit of white to the highlight skintone and applied a final highlight to the spots where it would make sense.

Now as a bit of added interest i decided to try adding freckles. My two test spoons using two different tones done by spraying at very low air pressure. Results looked good for both colors, and leaving me with a delima trying to choose. Thats when i had a light bulb moment and thought, why not both?

So thats what i did. Whats more i applied the second color while the first was still wet to allow for blending and providing a more realistic effect.

7 Likes

Here is today’s progress update.

Today i focused on the legs, aiming to get the stocking bits on the foot of the left leg and the bulk of the right. To start i applied some clear brown to the areas around the details and the bend of the knee, the areas that would be the darkest.

Once that had dried I applied an even coat over the entire area, blending everything together. Since it is a clear color it has an additive effect adding depth to the areas that were done before.

To finish this part up I applied a Satin clear coat to both protect and refuce the gloss from the clear paint. This was my first time using Army Painter Air finishes and am happy with the results.

Last thing I did today was some additional work on the base. To help set the scene more, I added a little foliage. While the plants i used were never intended for this scale, I think they fit nicely with the look I was going for.

5 Likes

The work on the stockings is incredible- such realism!

1 Like

Next round of progress updates on this figure. Turned my attention to her head to get some work done there. First thing i did was to add some eyeshadow and blush to her cheeks. This is where I ran into some problems. First the eyeshadow was not the most accurately applied. This I believe was due to my airbrush reaching the point where it may need a deep clean to clear paint buildup that is affecting the spray pattern. The blush also had problems, but this was due to a mistake on my part with mixing. Learned the hard way you can not use IPA to thin Army Painter paints, it turns it into a glob. So what little blush did come out i had to quickly blend by hand so as not to mar the skin work.

Moving past the earlier mistakes, i then brushed on a coat of Magus purple into the eyes and her lips. This will bith color her lips and serve as a under layer for the eyes.

After this i painted in her eye lines/lashes. Had thought of doing something else here but noticed they were sculpted in so chose to just paint them.

Lastly I painted in the whites of her eyes.

3 Likes


Finished up the eyes today. Still feel this is an area that I am week.

Took a quick dry assembly shot to check my work so far. Did find a spot on the back of her neck that needs touching up.

4 Likes

Its been a little while since i posted an update as i have been busy with things. So finally back to work on this girl.


To start i base coated her hair burnt red, making a great base and shadow color.


This was followed with a heavy dry brushing of resplendent red for the mid tone color.


For the high tone I drybrushed angelic red, keeping it to the areas that light would be hitting.


Then to finish the hair and make it pop I drybrushed some copper to try bringing out some of the high points more. Still need to work on my drybrushing technique i feel.

Next on the agenda was to paint the hair tie she has. This was base coated in wolf grey, the same color going to be used on her scarf.

I then did a glaze of runic cobalt.

This was followed by a second glaze of frost blue, with a heavier application to the top side.

Lastly i applied stormfiend contrast paint. This unfortunately when on heavier than intended, negating most of the previous work. Not quite what i was going for but am satisfied with it, essentially after applying a gloss to it.

4 Likes

That hair turned out great!

1 Like

Your painting skills are bringing this figure to life.

1 Like

Still feel they have a long way to go, but small steps every project.

1 Like

Decent sized update today for this project.


First bit of work is on her scarf, more specifically the tail. Built up successive drybrush layers until satisfied. Will repeat the process for the rest of the scarf that is on her torso when i eventually get to it.


Next was the base of her stocking. This was painted initially, (forgot to take a photo of), in a dark brown. I then painted the inner portion a lighter brown, which was thinned some with glazing medium to try and add some subtle variety. I then base coated the metal detail with Dark Silver from Monument Hobbies. This was followed by Plate Metal from Army Painter to finish it off.


Next came her blades. Started by base coating again in Dark Silver. This was the first time I have airbrushed Monument Hobbies paints so I ended up accidentally over thinning it. Did bring it back some by adding more paint to the mix, but was still overly thin. Thankfully did get decent results by spraying outside so the piece got direct sun to dry faster and counter the overly thin consistency. Lesson learned though, Monument paints dont need much thinning to airbrush. Once fully dry I drybrushed on more Plate metal for the main color.

3 Likes

I like where you’re heading with this!

1 Like

Another small update today.

First up today I turned my attention back to her other leg, aiming to get the leather armor piece painted. To mask of her foot I chose to employ Silly Putty for the first time. Previously I have used sticky tack for this purpose, but given the amount of work that was done on her foot I absolutely did not want to mess it up. For the color I chose one of my favorites, Vallejo Black grey.

The next step was to break up the uniformity. To do this I used Black Templar contrast paint applied around the top, bottom, and along the panel edges. This nicely achieved the look I was going for.

The other task for today was working on the detail for the blades. This was not in my initial plan but was caused by a bit of inspiration and desire to work on improving my glazing technique. To start i based the area in the same green i used for her eyes.

I then proceeded to apply the glaze to it, slowly building the color up with each application. My issue with glazes has been in the past I was applying them with way too much paint on the brush, resulting in too much being applied at once. Here I was more restrained with the paint and had much better results. Still have a wsys to go with the technique, but happy enough with the results.

Lastly I applied to coats of gloss to finish them off. Debating on doing a light polish to them, but thats a problem for another day.

3 Likes

Next update, continuing the work from last time.


To start i base coated all the areas that I planned to have in gold, specifically the area around the inlay that was done last time on the swords, her shoes, and the edges of the leg armor piece.


After the base coat had been left to dry I then applied some bright gold.

Next i started working on her torso again. For it I applied flat black as a base for the leather parts.

Speaking of leather, i started work on her arms as well. For the leather I started with a dark brown base coat.

This was followed by a lighter brown applied favoring the high points.

3 Likes

Another larger update today as the torso really starts to take shape.

After the last update I knew that I wanted to do something with the leather bits I had done in matt black. This was both because matt black by itself is not that appealing/interesting of a color, and to differentiate it from the leg armor. So I initially wanted to use NATO black as a glaze to shift it away from the more pure black that it was. Unfortunately I neither had this color, or had it available at a LHS that did not eequire 1 hr+ drive to get. After digging through my paint stash for a dark gray that might work I settled on German Grey, with the results above. To be honest it worked better than I had envisioned. So from now on, when in doubt: German Grey. This was then given a day to fully dry before continuing.


Next I started work on her leg strap, using the same process as I used on the stocking.


After the paint on the strap had time to dry I started on the armor. For this I changed to a brown with more red in it. Again, so as to provide clear definition between pieces. First I base coated the armor with the darkest shade. I also left the paint a slightly thicker consistency so as to introduce some very subtle texture. This was followed by a glaze of the next shade up. When the first pass had dried enough I selectively added some more to give a little more subtle variety.


After the armor had dried for a few hours I started on the lower part of her torso armor. I chose to base coat it in the same brown as was used for the glaze on the thigh armor pieces.

I also used this color to base coat the glove armor.

3 Likes

That is some awesome work on the leather- really authentic looking.

1 Like