Starting on Italeri’s 1/48 MH-60K. With this build I will be using Eduard’s “Big Ed” detail kit. Beginning with the cockpit I added the photo etch parts to the floor and console. As I started on the seats I noticed that the rear of the seats on the reference photos have a bin and bracing as well as a first aid bag behind headrest. Using some stock styrene sheets and rods I made the braces. I used a small piece of nylon cloth to make the first aid bags.
More photos in the build log at https://davidsscalemodels.com/build-log/1-48-mh-60k-blackhawk-soa/
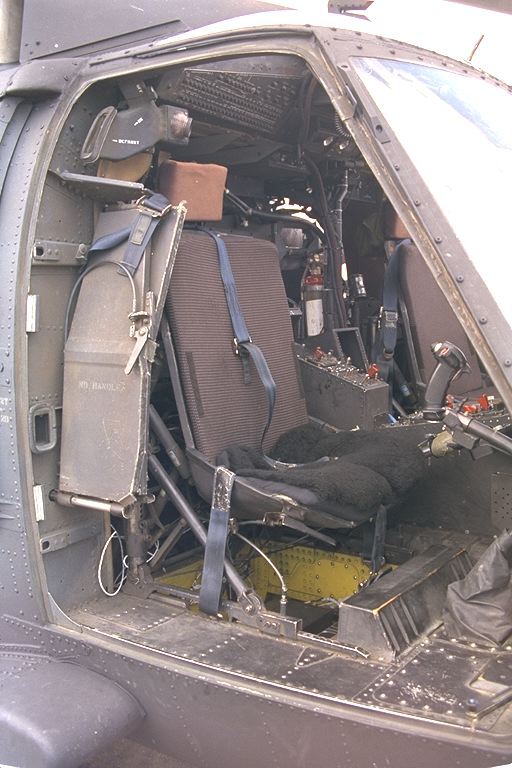
on pretty much any MH type, you can paint the interior of the cockpit any color you like. As long as it’s black. Special Ops birds do much of their work at nite with the crew wearing NVGs so the interiors are painted accordingly.
Yup, everything forward of the step up in the floor is flat black; floor, IP, walls, ceiling, seats, everything. This goes for all modern H-60 helos (pretty much all others too). It is for night flying and the use of NVGs.
Just noticed that your left seat collective is misplaced. The collective goes on the left side of both seats. You have both inboard against the center console. The shiney rectangle in the lower left of the below pic is where the collective goes.
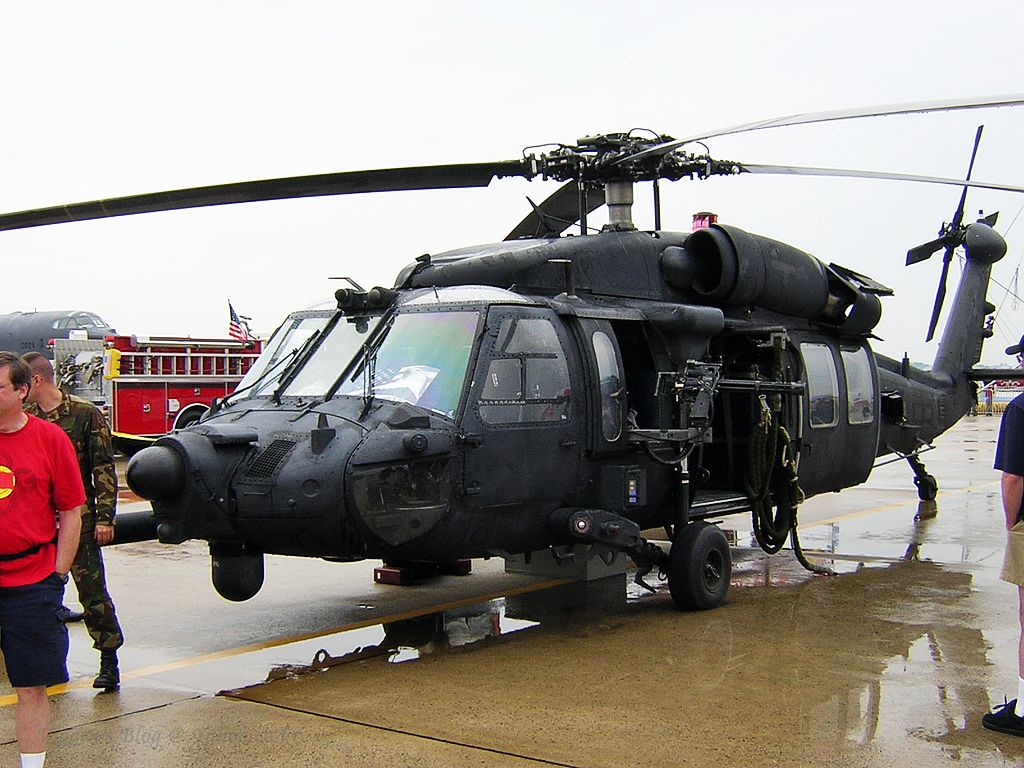
Also, disregard the painting directions and markings/decals in the kit as they are totally wrong. The MH-60K is only used by the US Army’s 160th SOAR (Special Ops Aviation Regiment) and is only painted flat black with OD markings.
The correct decals can be sourced through Werner’s Wings with their NIGHT STALKERS-PART 2- GOTHIC SERPENT to Present decal set. It has markings for 3 MH-60Ks, one being the correct gray test scheme.
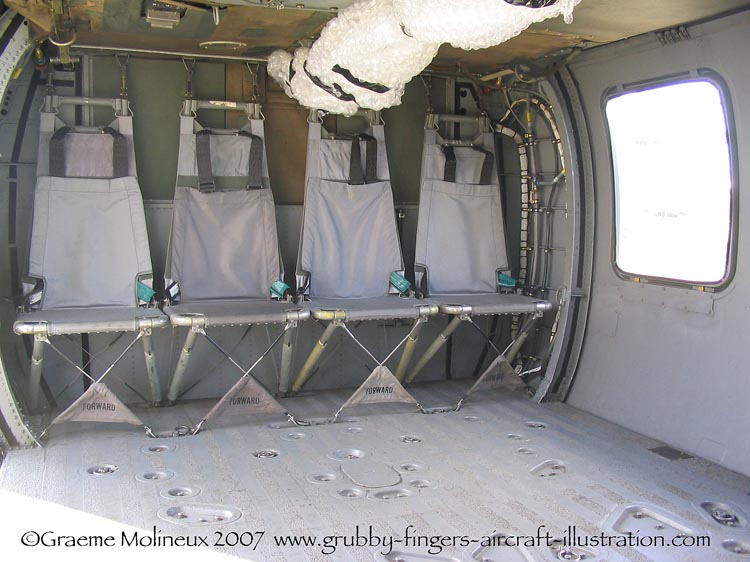
Moving forward after some corrections the cockpit section is almost done. I scratch built the fire extinguisher and painted the cockpit section the correct color. I then started work on the crew area. The photo etch comes with the support cables for one side of the crew seats and I used 32 AWG wire to replicate the other side. The molded in seat belts were removed. I will make new seat belts out of cloth tape. I am working on making the turn buckles that go from the top of the seats to the supports. Need about 20 of them. Still have lots of details to add to the crew area.
Build log at https://davidsscalemodels.com/build-log/1-48-mh-60k-blackhawk-soa/
Looking much better. A few tweeks though. The seat cushions and collectives should be all black as well. Everything forward of the step on the floor is black, everything.
More details on the crew cabin being added. Seat belts and turn buckles done. Working on the cabin roof. Need a few more details to be scratch built and some more photo etch to be added. Also the decals I ordered for the paint scheme arrived today. They are the Werner’s Wings decals representing the aircraft from Operation Gothic Serpent from the 160th Task Force known as the Night Stalkers. Includes markings from the infamous “Blackhawk Down” operation.
Nice job on the seat attachments and the PE work. By the way, all the PE pieces should also be flat black. See a trend here?
Which Werner’s Wings decals did you end up getting? Just a note, there were no MH-60Ks deployed to Somalia in '93 as they were not fielded until '94. The final MH-60K was retired on 19 Nov 2014 as well. The MH-60Ks and MH-60Ls were replaced by the newer and more capable MH-60M.
The Italeri 1/48 MH-60K cockpit and cabin ready to install into fuselage. Working on the adding details to the fuselage. Many of the vents and grates need to be cut out and replaced with photo etch details. Should be ready to close up fuselage soon.
All build photos are at: https://davidsscalemodels.com/build-log/1-48-mh-60k-blackhawk-soa/
Coming along. One note though, the places you have the yellow straps, for handhold I am assuming, are not correct. On the actual aircraft there are thick, structural bulkheads here that cover the landing gear leg and walls. There are no handhold straps there. The PE pieces that you attached to the front of the roof section represent the front end of the bulkhead around the gunner’s window.
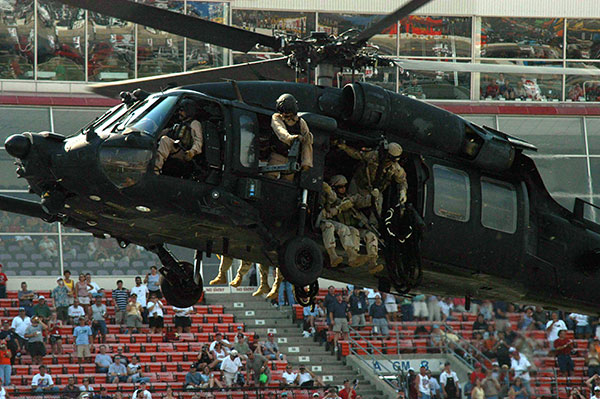
Yes I know there is a bulkhead over the landing gear. However the kit nor the PE set has these parts. When you build your kit, feel free to scratchbuild them. As for the handholds, they are on the reference photos I have. A couple of years ago we had a Blackhawk land in the parking lot at work during a 4th of July celebration. I took many photos while it was there. While it may not be typical of a Blackhawk on a mission and I am not exact on which version the aircraft was, It is what I used for reference.
While I am always open to critiques, comments, and suggestions, it does start to get annoying when every post the same person keeps nit-picking every step. Feel free to start counting rivets.
Sorry you are upset over help and advice and that noone else is replying to your thread. Your model is looking great and I am just trying to assist in making it better. To me, if you are adding all that PE and stuff, why not go the extra mile and finish detailing it. You can build it as you like though. I won’t give any more advice as it seems to upset you.
I never said I was upset, just a little annoyed that with every update you bring up every little detail. As I stated I am open to critiques, comments, and suggestions. As an example I followed your recommendation for the Night Stalkers 2 decal set and purchased the set you posted. I will be painting it as Option 11 on the sheet. I reviewed other references and corrected some noted issues. However, you have to admit calling out every detail every time a builder posts an update can become annoying.
It does not bother me if anyone replies or not. That is their own choice. Many folks like to surf forums to get ideas for their own builds or see how others do things but never really post or reply much. I did it for a number of years as well.
Really like the build so far. Can’t wait to see more updates as it’s progresses. Still learning to work with PE parts myself without damaging them depending on the part.
I do enjoy this community and often browse though a lot of old posts. More often than not I find the answers to what I’m looking for.
One thing I have learnred over the years is that the plastic modeling community can be very detail oriented, sometimes to the point of being anal about some details that the average person would never notice.
In many cases though, when you are building to the level of detail that you are, they might just assume that you are trying to be as accurate as possible and point out those details. You do have to learn to develop thick skin as some members just point out too many things at times and you just have to accept that once you ask for criticism it opens the floodgates for all kinds unless you specify you just want comment on build quality and not focus on accuracy.
Haven’t done it in years but I used to post pics of my builds with colors, accessories or modification that were way off and sit back and enjoy the madness that would sometimes ensue from some users losing their minds over those things.
It can feel overwhelming at times but the vast majority of users do have a real passion for these vehicles so they are very, very, very peculiar about the details.
Adding this to my favorites to see the progress. I have only built a Cobra and a Jolly Green in my modeling timeline and seeing yours has been thinking it’s time to built another.
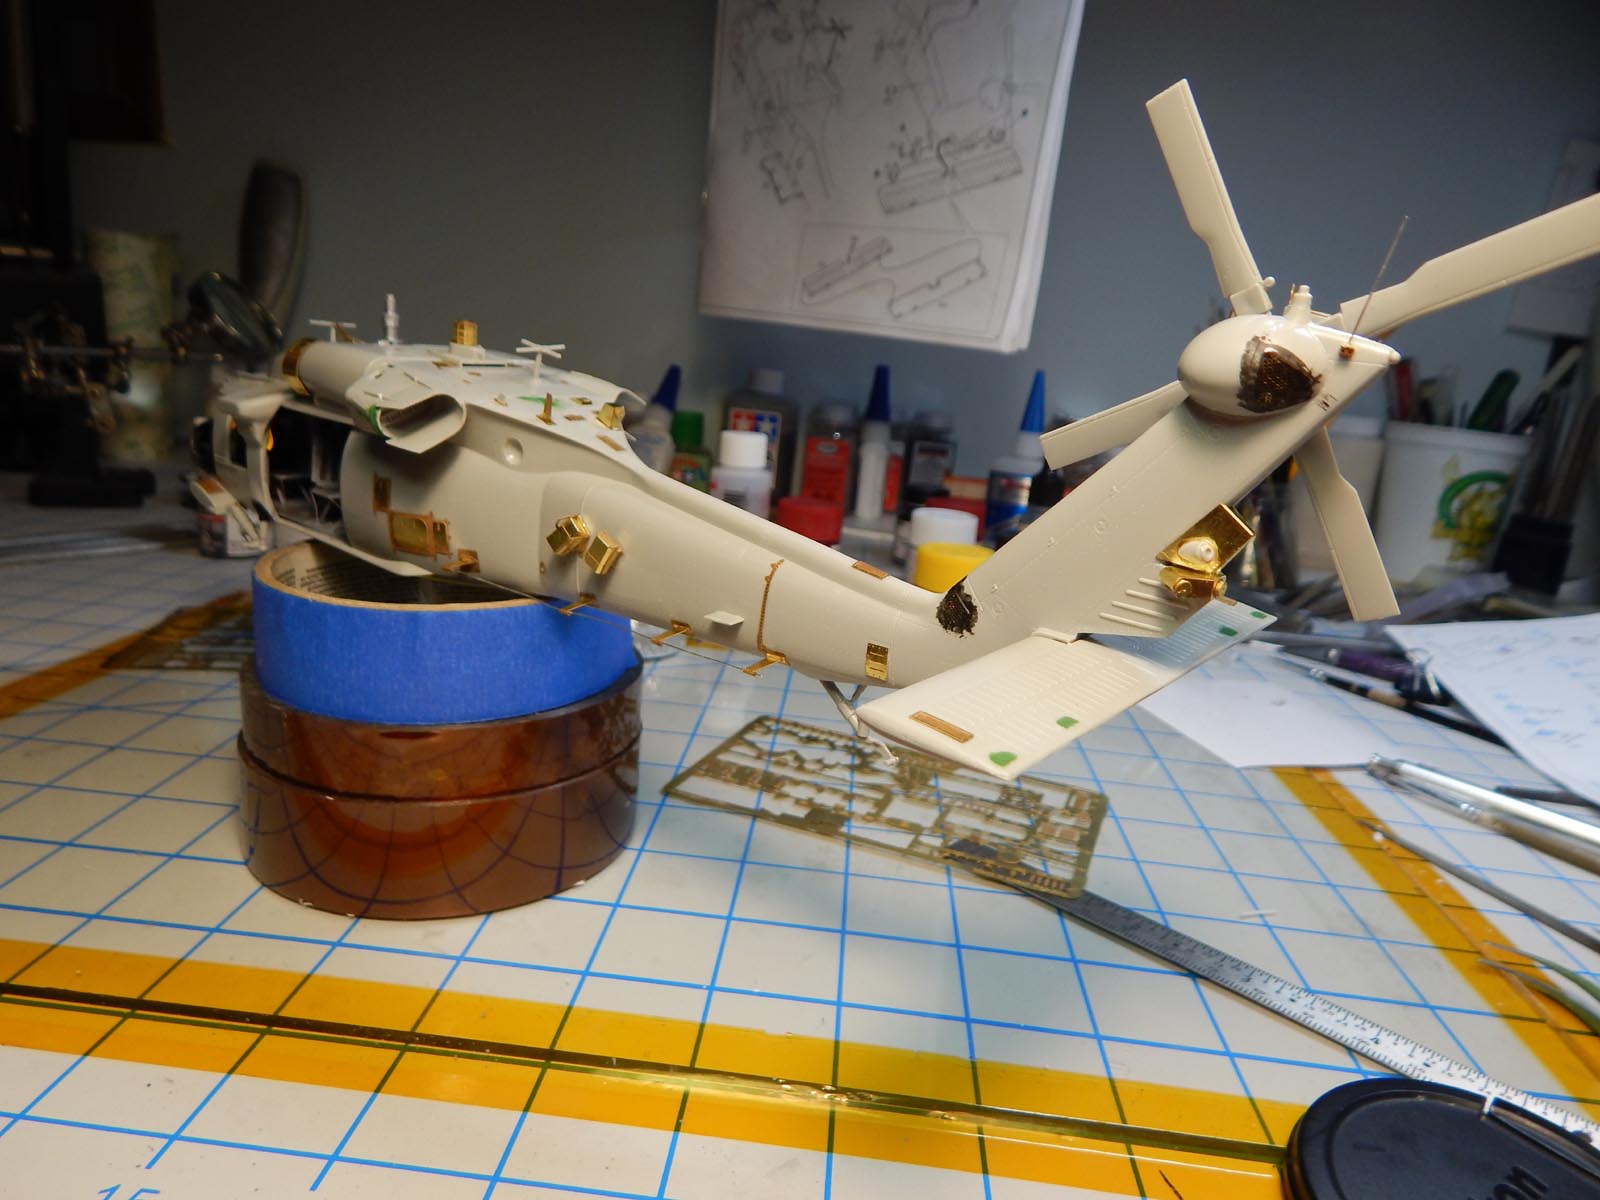
The continuing work on the 1/48 Italeri MH-60K Blackhawk. Fuselage together, starting to add photo etch details to the outside of the fuselage. It is slow going as there are over 170 pieces to add. The bottom and nose of fuselage is done. Working on the top and sides now. Still need to do the boom, some more on tail, and the main rotor.
See all the photos in my build log at https://davidsscalemodels.com/build-log/1-48-mh-60k-blackhawk-soa/
After many hours of trimming, folding, and bending the numerous photo etch parts for the fuselage are now installed. Some minor finishing and some minor filling then the fuselage will be ready for painting. Still have some items left to build and detail like the main rotor, doors, and the machine guns.
It is coming along well. Nice PE work. One issue though, with that nose radar setup, it is not an MH-60K, but an MH-60L. The K model has a totally different nose radar setup, like the pic below, along with a few other differences like the sensors on top of the front canopy.