Hey guys,
I’m carrying this build from a GB, but as I’m just starting I figured I’d post here too. You never know when somebody out there has a handy tid bit to offer. I’ll be building Richard Bong’s “Down Beat” Lightning. I found a few good photos to help me along with this NMF and there’s a book by Kagero that’s hard to come by now but I was able to find one online in the UK. Now I finally have a something set up and started to actually post. so here goes:
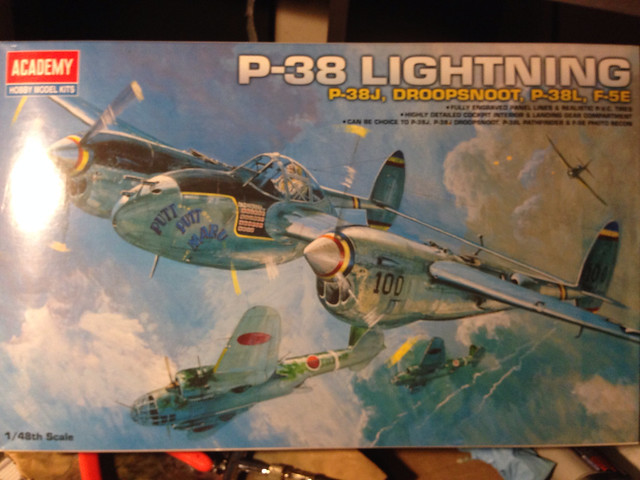
image by brittvallot, on Flickr
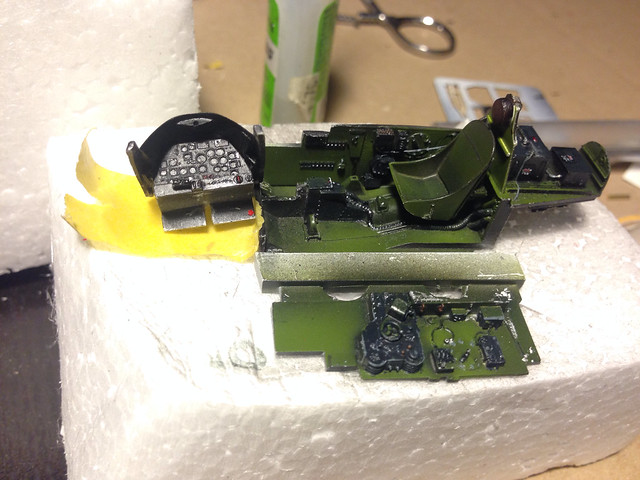
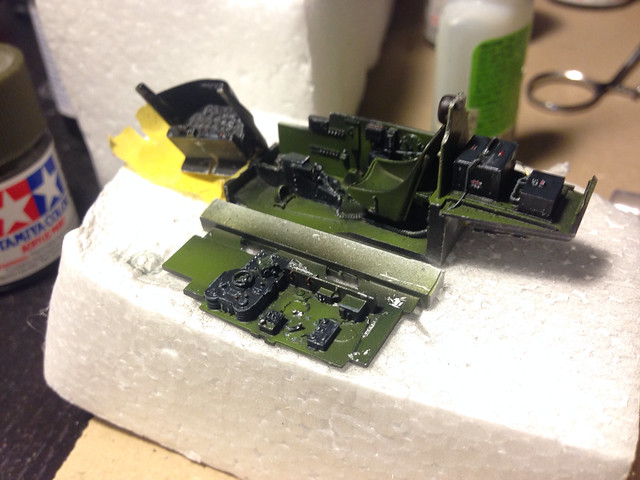
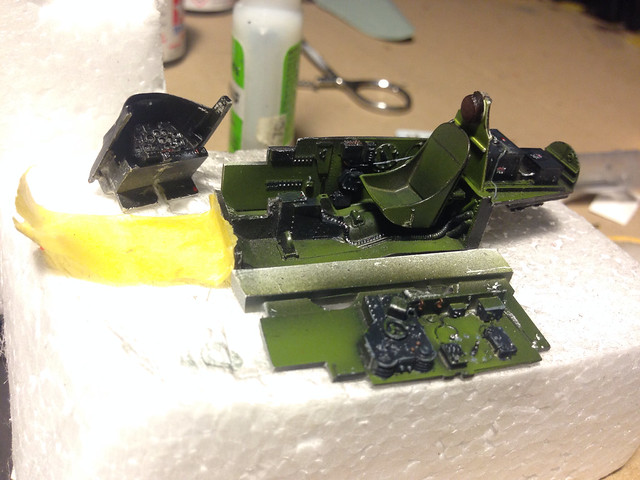
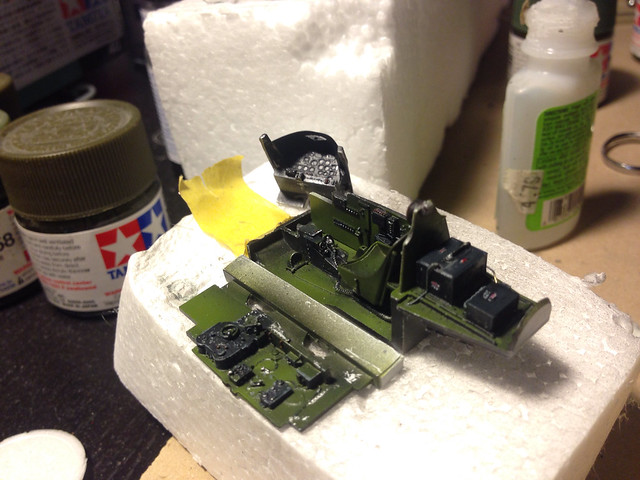
Great kit to build. All my test fitting shows promise. The joints around the engine nacelles and wings may take some care, but they look fine really. I am upgrading this with and Aires cockpit and Quickboost superchargers and intakes. I’ve been wanting to see these superchargers up close for a while now to see if they’d fit on a B-17E I’m looking to do.

image by brittvallot, on Flickr
Here is some of the prep work I’m doing before I begin glueing things together. Opening up some intakes/thinning some doors and vents. =] You’ll note the difference here:
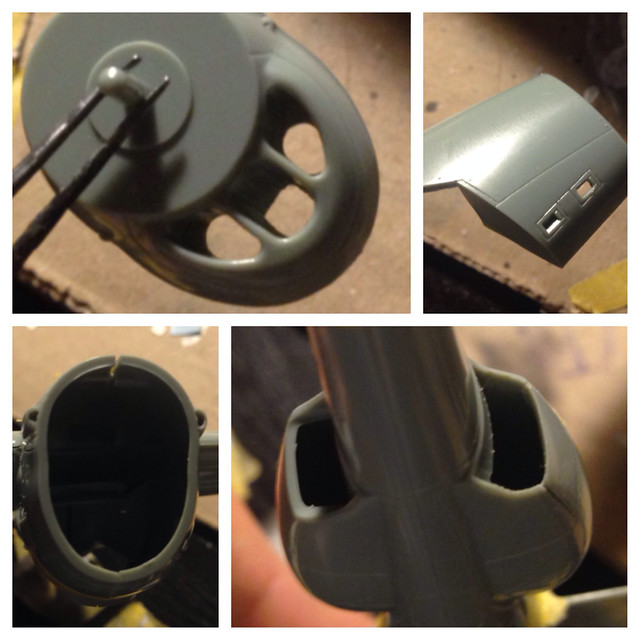
image by brittvallot, on Flickr
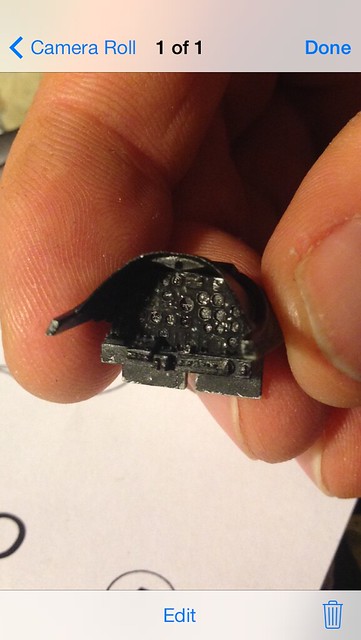
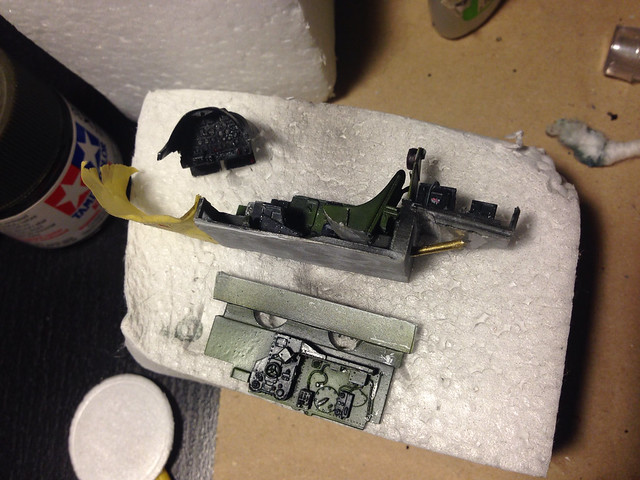
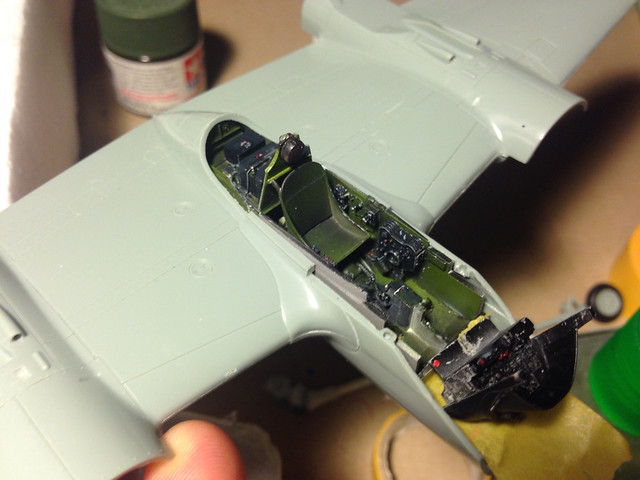
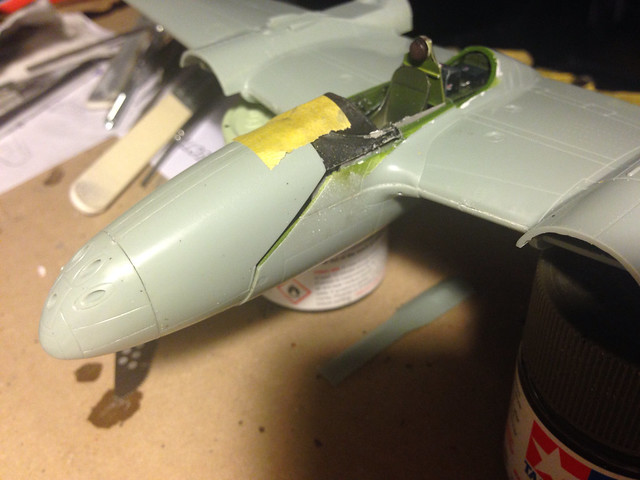
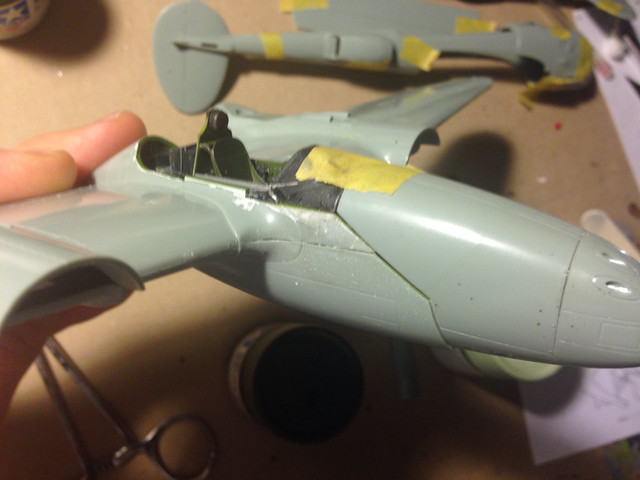
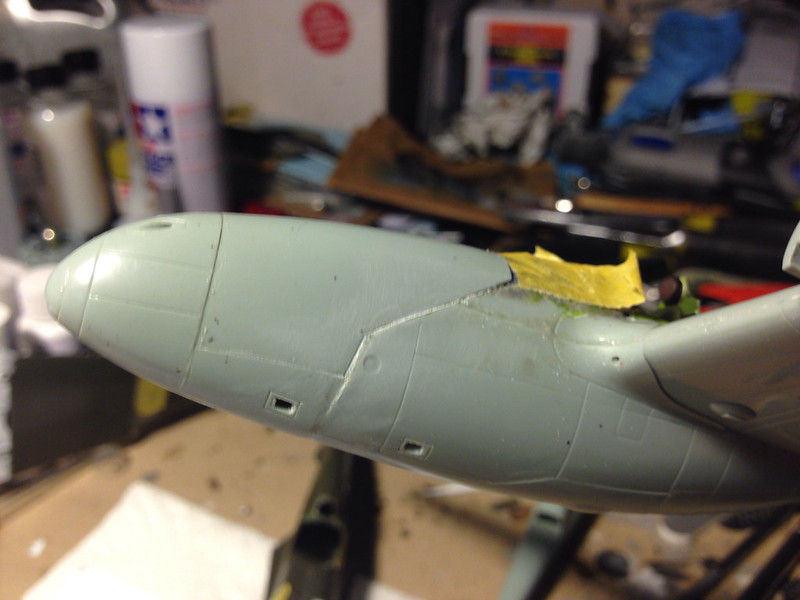
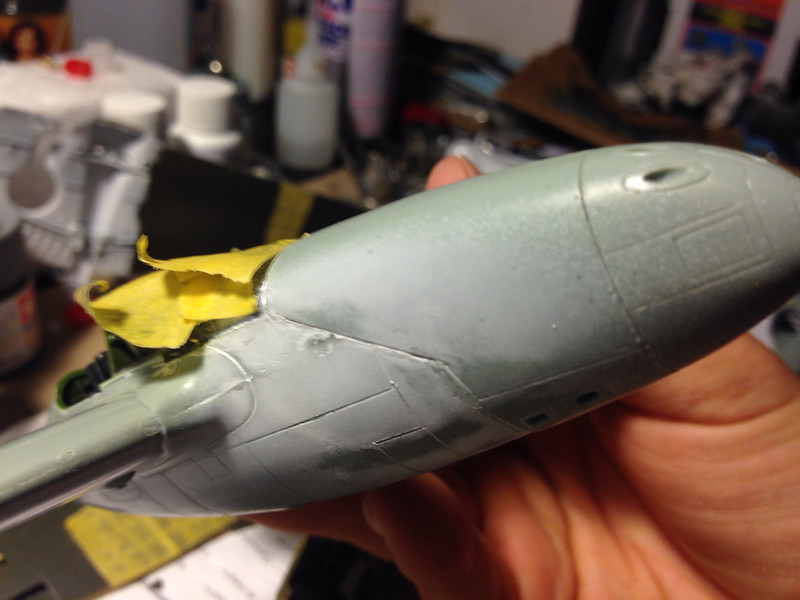
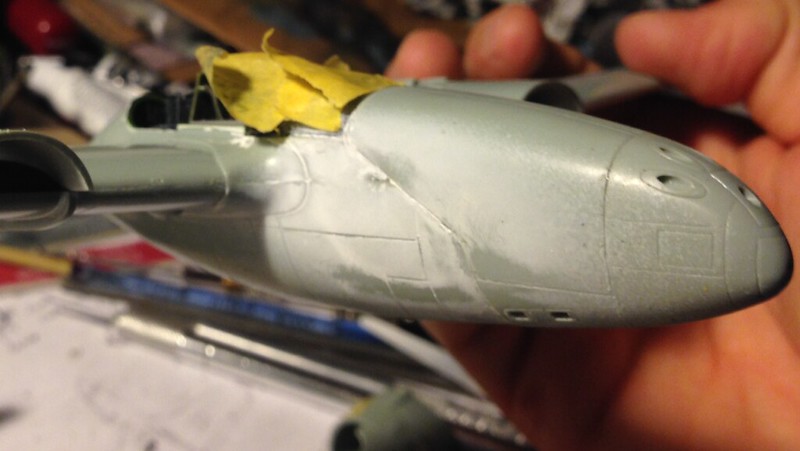
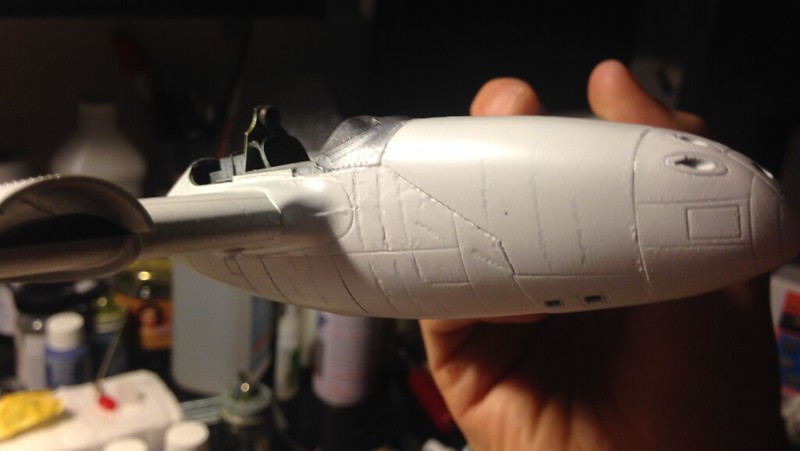
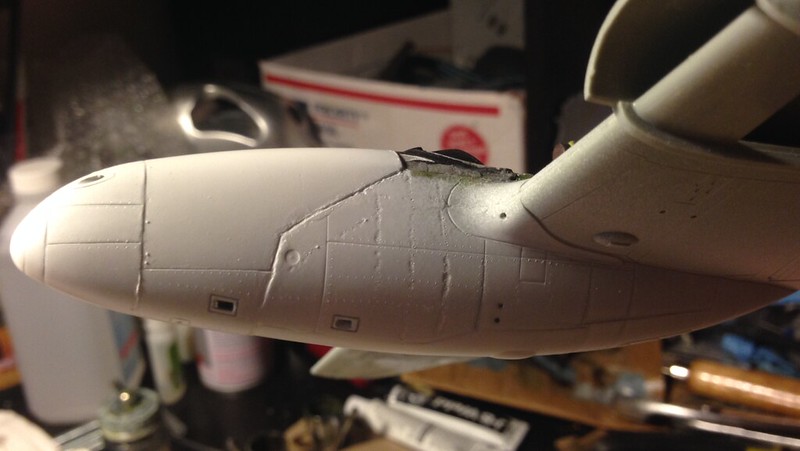
Here is the nose. I wasn’t really confident in the fit onto the cockpit part of the plane so I added my own sleeve to fit into to keep things on track as I set it into place. Once the glue hardens, I touch up a few spots and clean up the seams. I’ve also covered up the shell chutes on the inside as I’ve opened them up to better represent that space. I got a little lazy here and didn’t want to build a more accurate drop for the chute. I’m already having to give up on placing this landing gear inside the bay as the bay isn’t deep enough for the wheel. Sooo…I figure I’ll just learn some lessons here with this one this time, and make improvements on the next one. Hopefully saving some sanity in the process (since now I’m planning a wedding…)
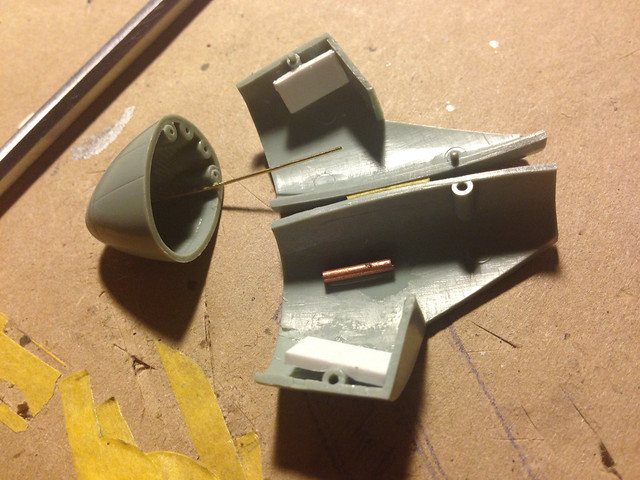
image by brittvallot, on Flickr

image by brittvallot, on Flickr

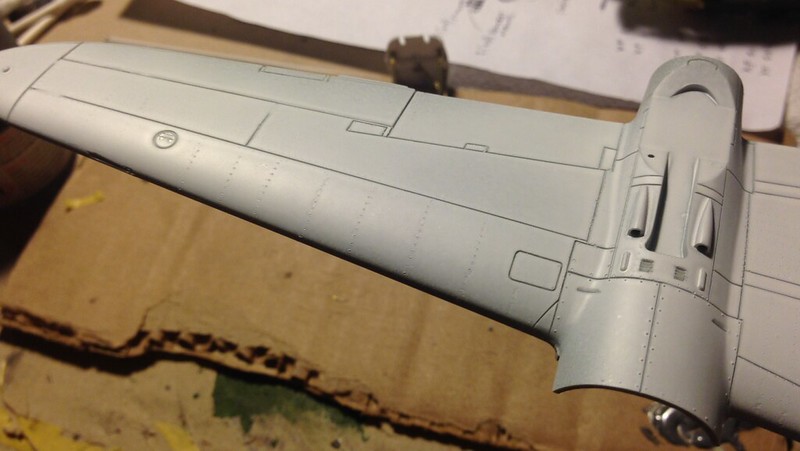
image by brittvallot, on Flickr
Here at least this bay door closes up real tight without any problems. How bout that!
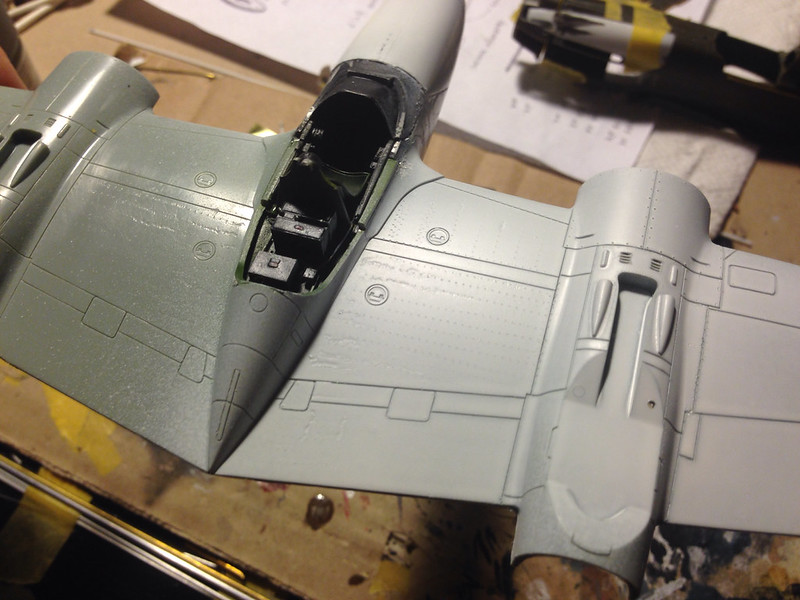
Now begins the long arduous process of accurately selecting the rivets to portray. =D Here’s a sneak peak at that and I’ll probably begin painting the cockpit today.
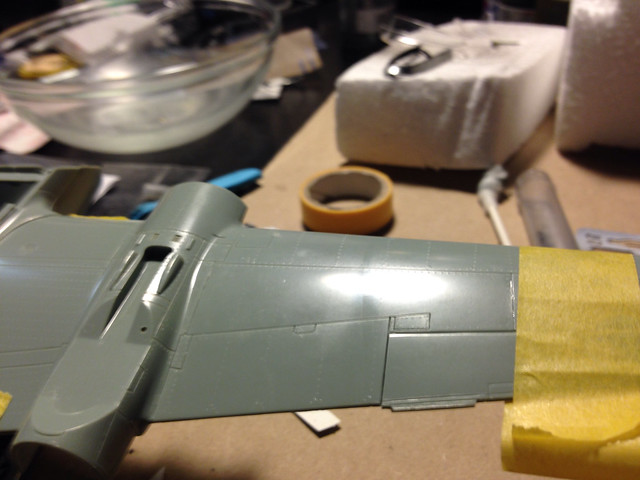
image by brittvallot, on Flickr

image by brittvallot, on Flickr