Thanks for the reminder Joe. I certainly know better, but it never fails…I start cruising along and it eventually happens. This time I was ready. =]
So I managed to get a lot done today. This update is a bit picture heavy. Some of this was a step by step process so I kept a few in-betweeners in here.
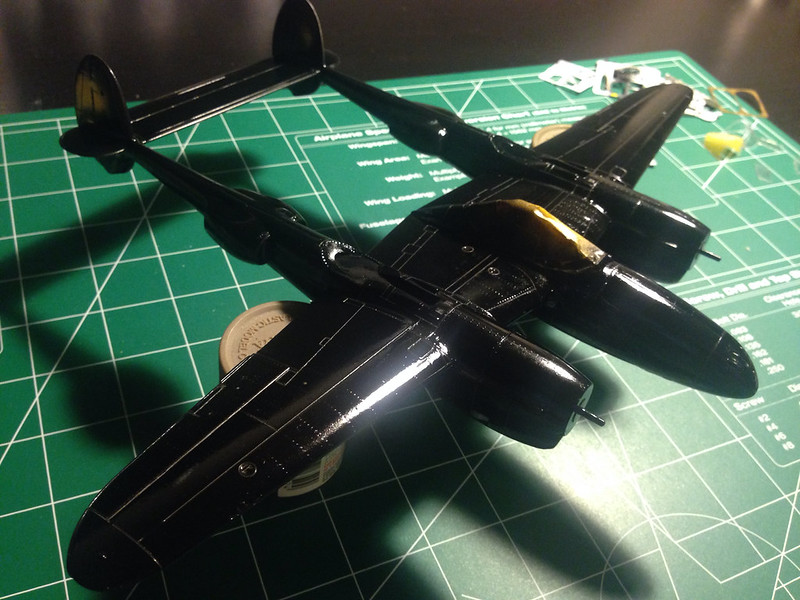
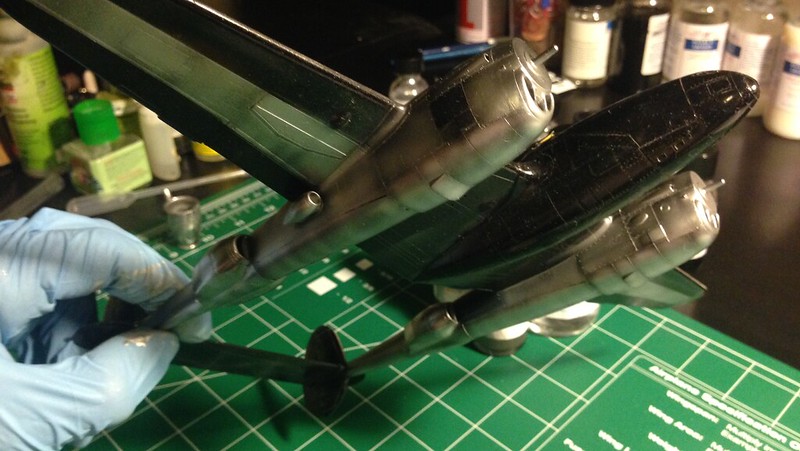
This is the upper surface mostly completed.
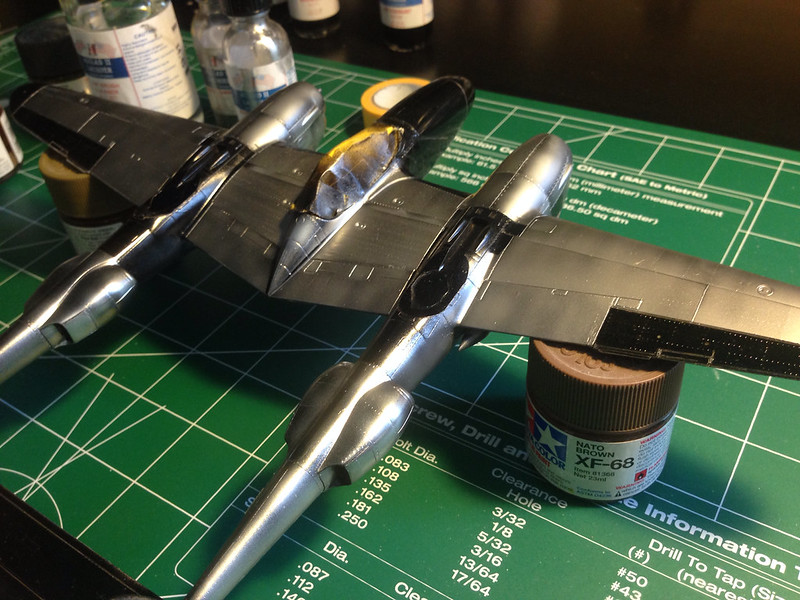 image by brittvallot, on Flickr
As outlined before, I paint in sweeping motions in the same direction as the the rivets are riveted into the ribbing of the plane. This is done lightly at first until I find something I’m happy with or if I’m referencing a photo until it matches what I see. I may still go back on some of this as it nears completion.
 image by brittvallot, on Flickr
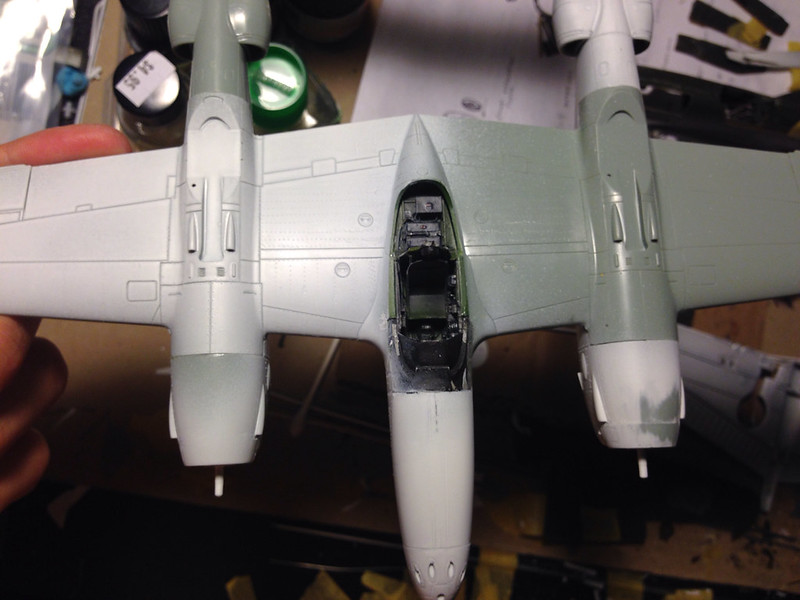
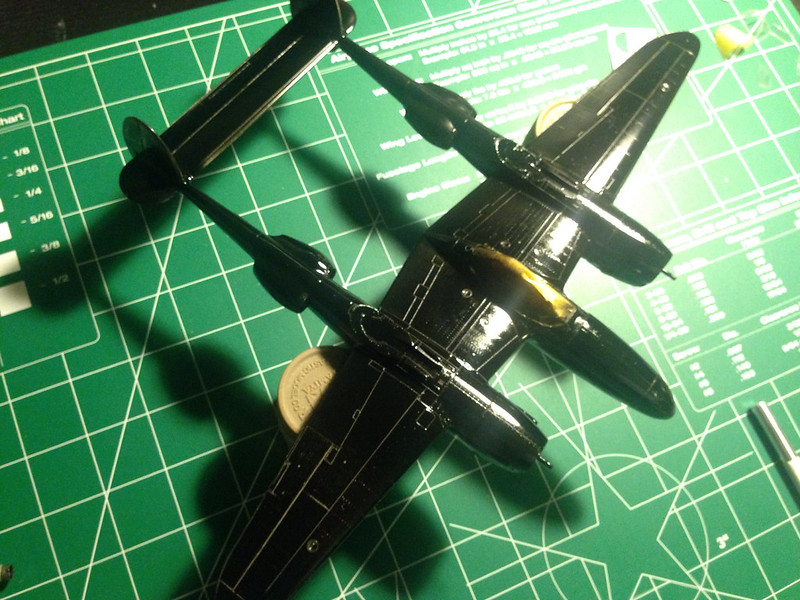
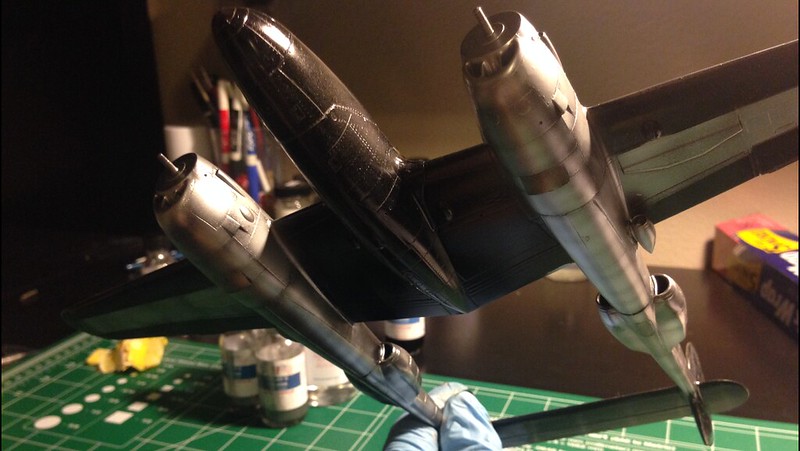
The lower surface.
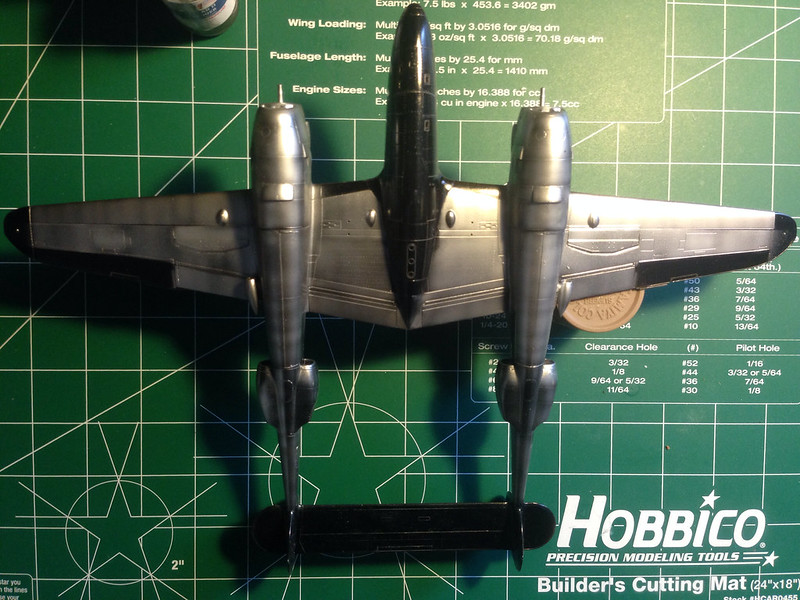 image by brittvallot, on Flickr
Lower wing surface.
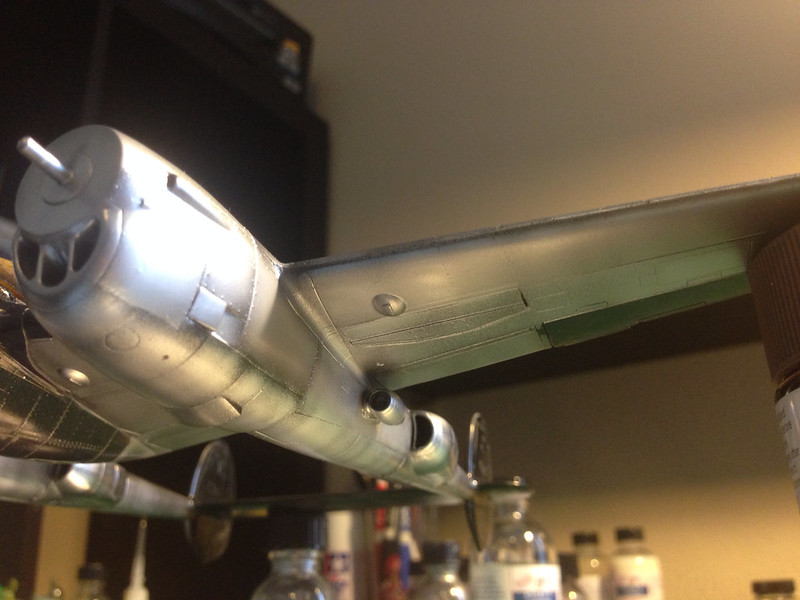 image by brittvallot, on Flickr
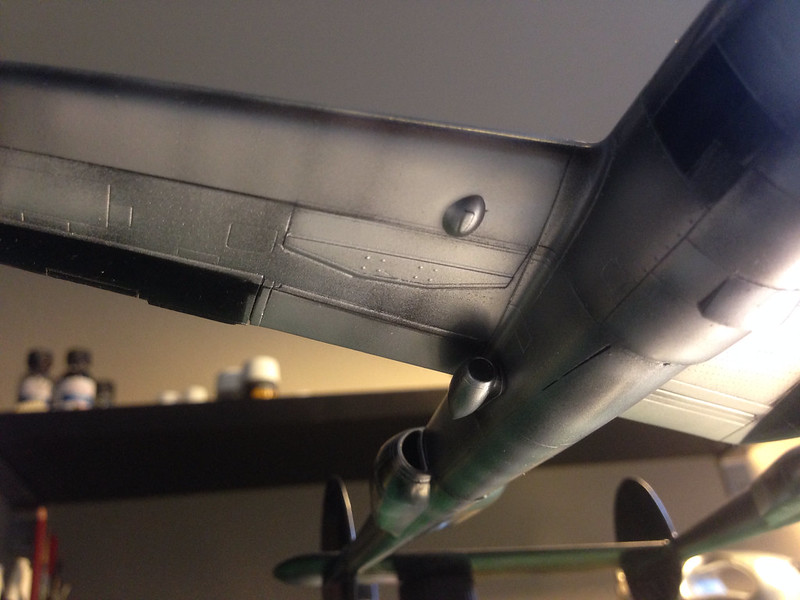 image by brittvallot, on Flickr
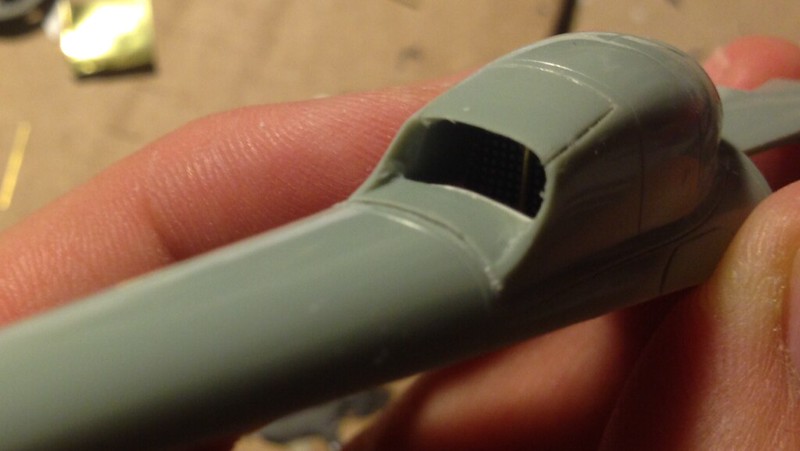
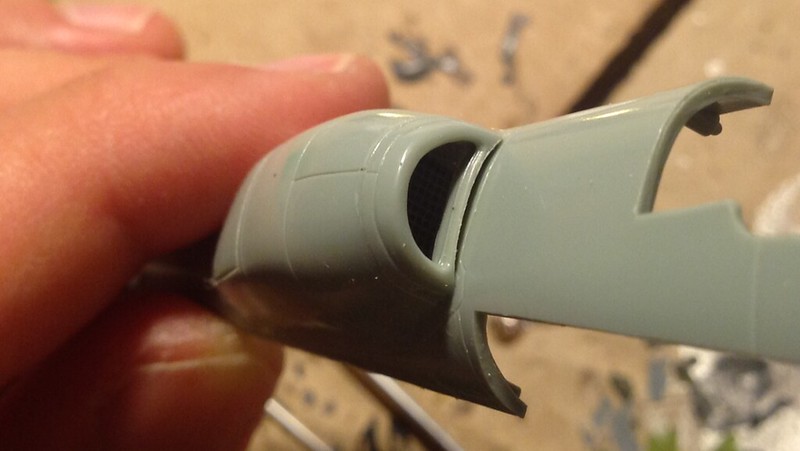
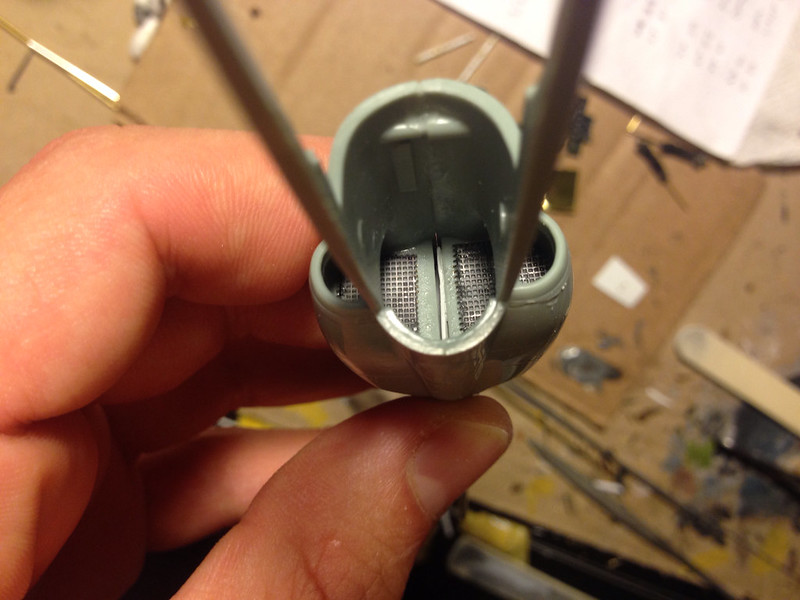
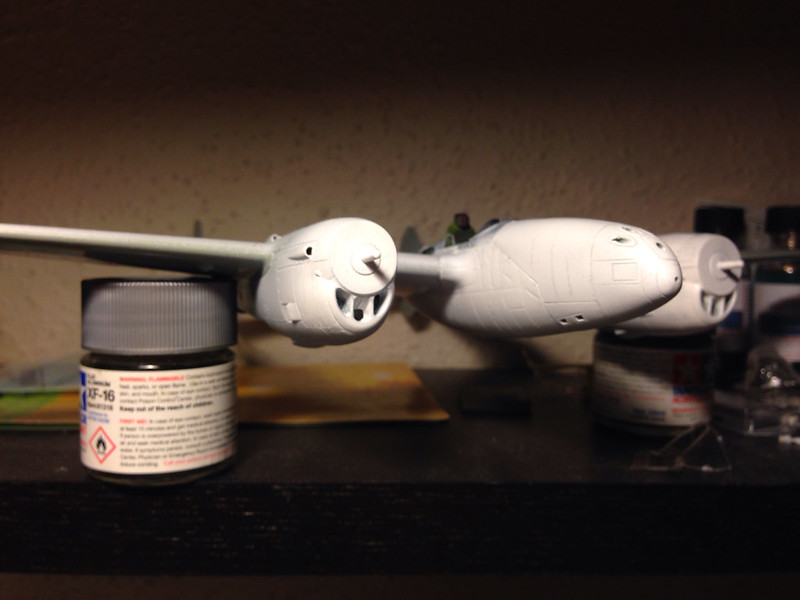
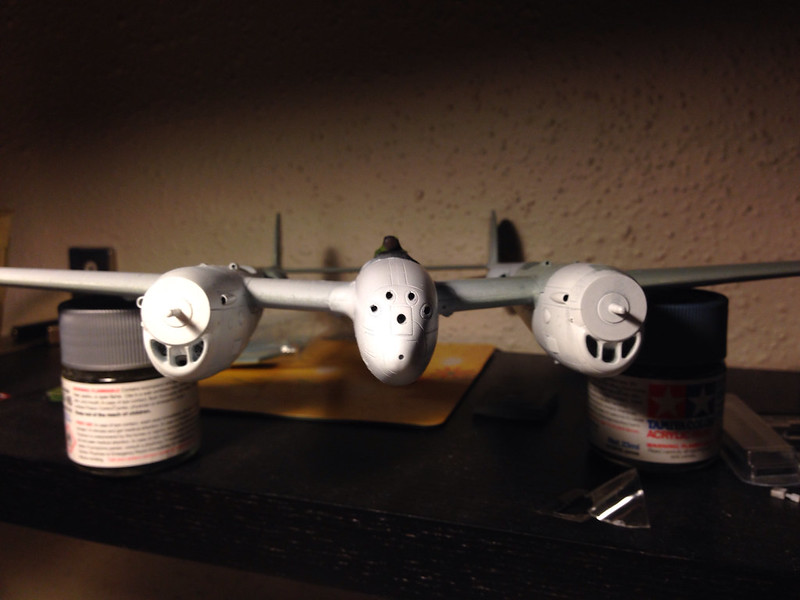
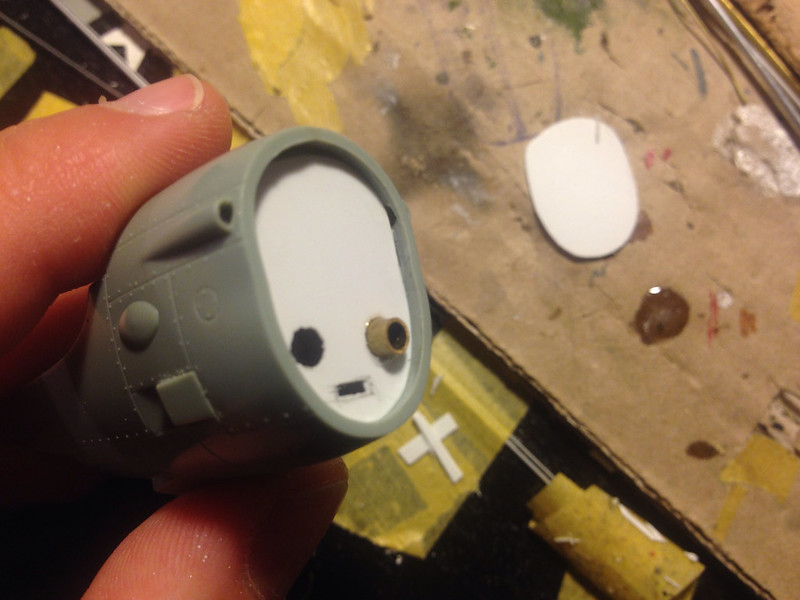
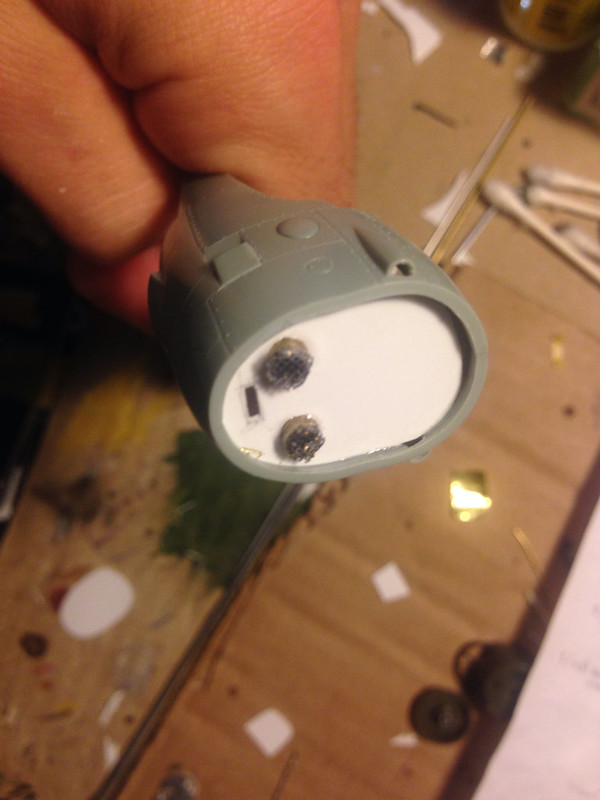
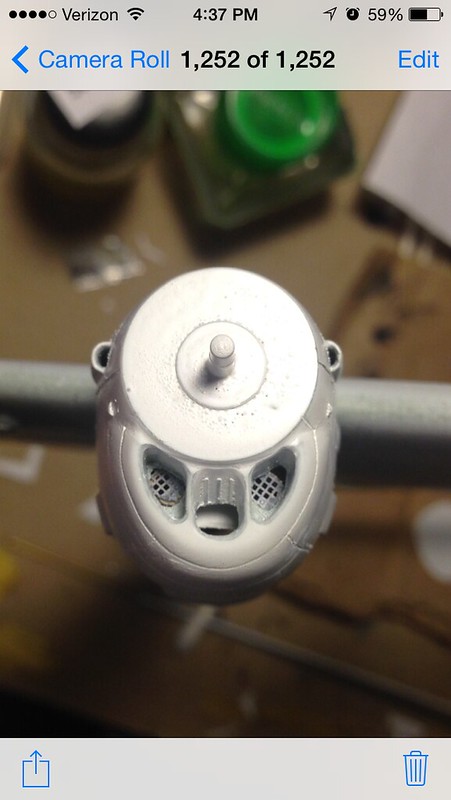
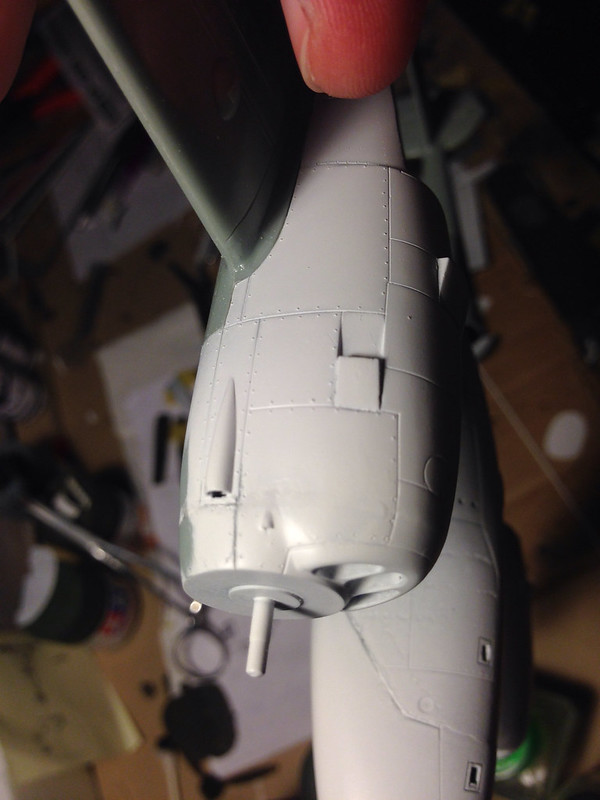
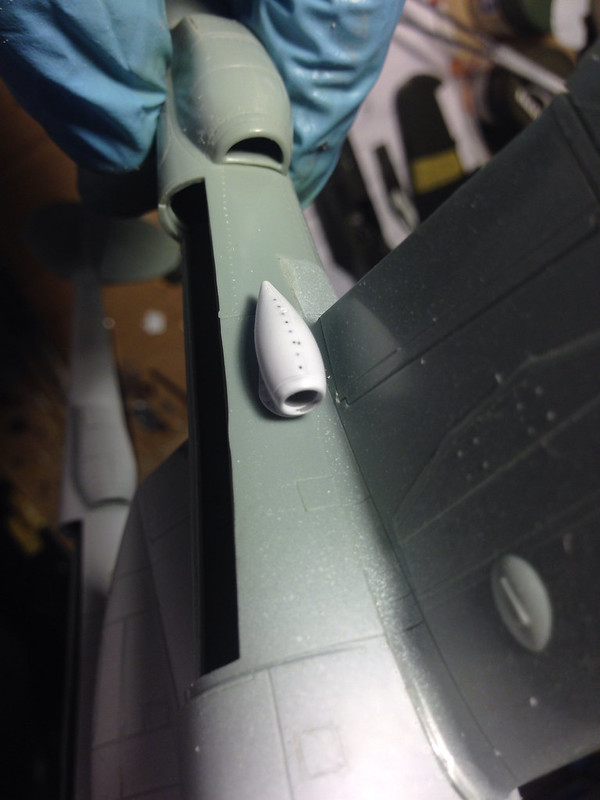
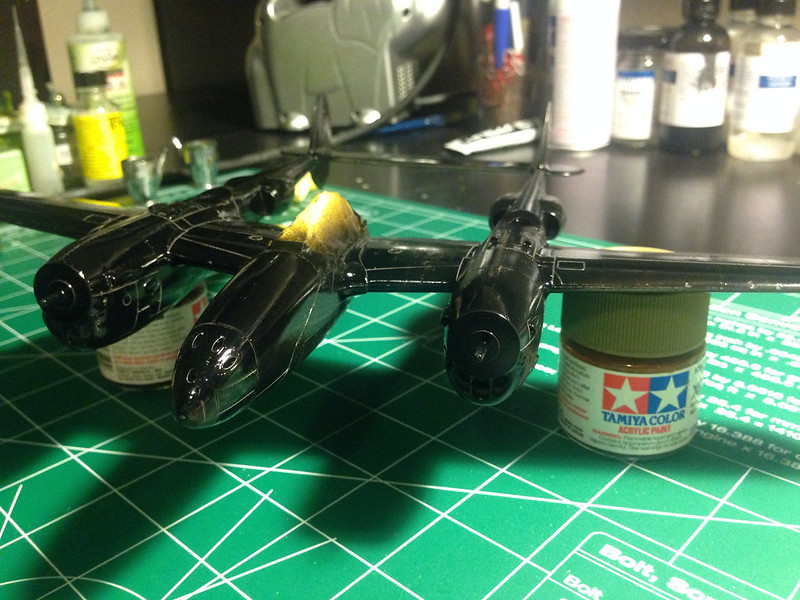
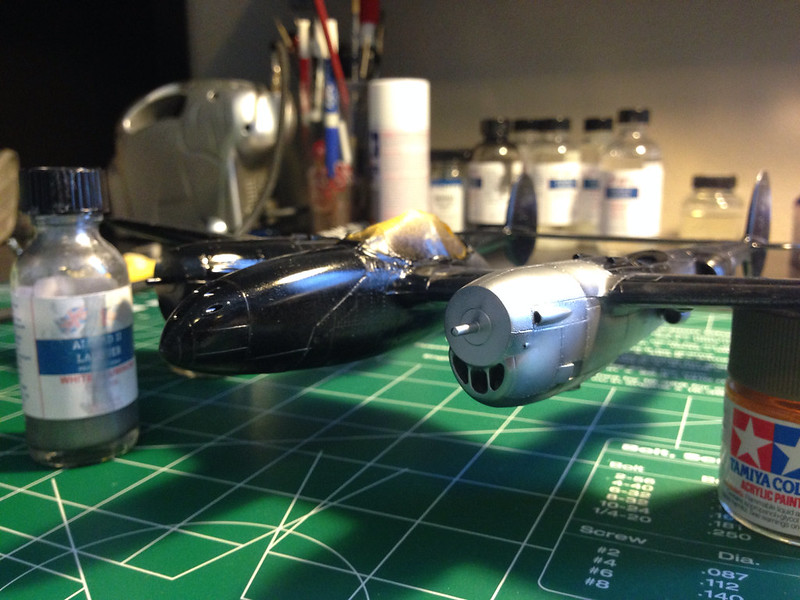
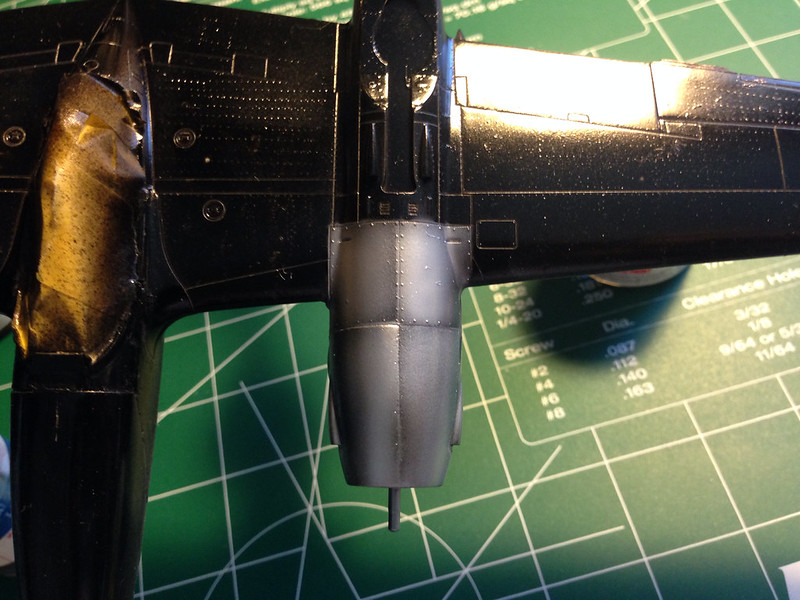
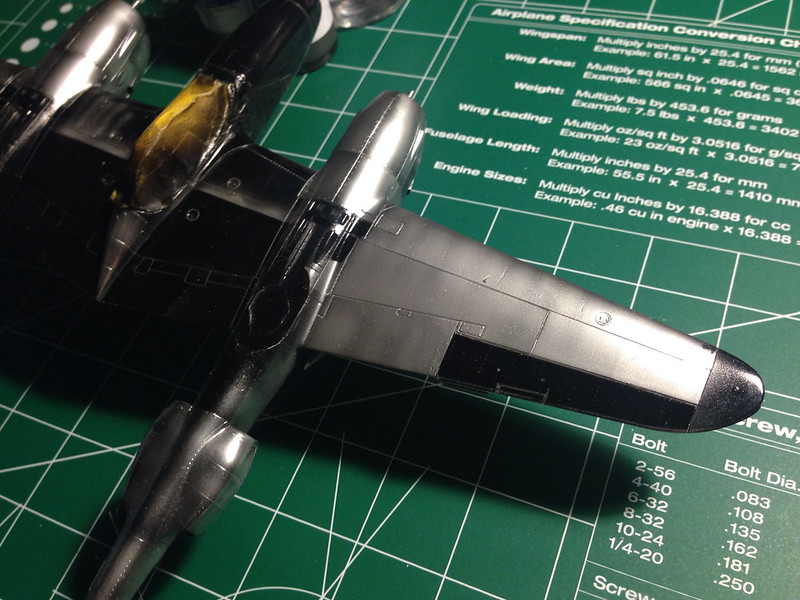
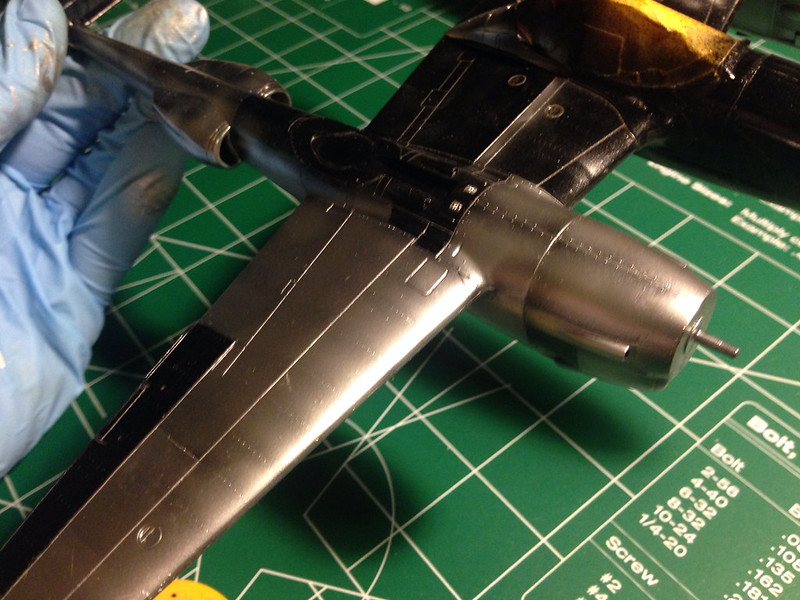
Finally got the nose painted. I followed the same pattern of masking and painting as before.
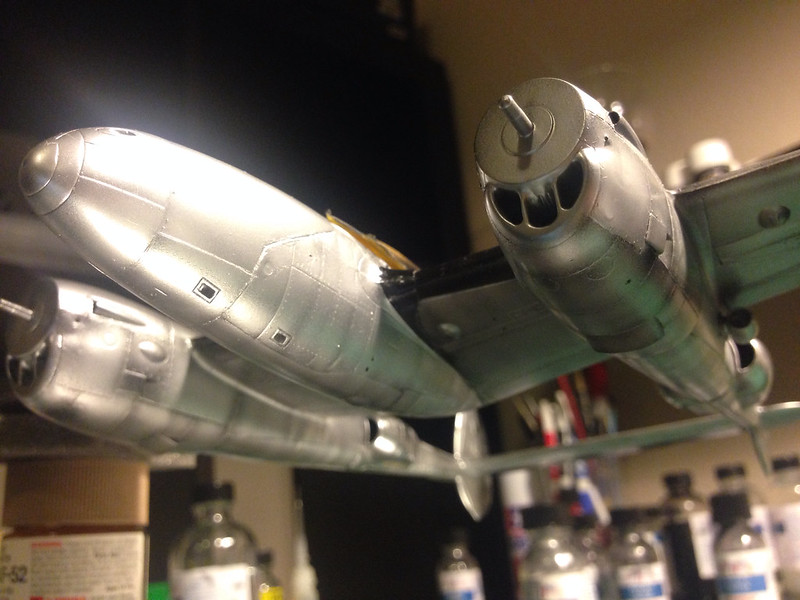 image by brittvallot, on Flickr
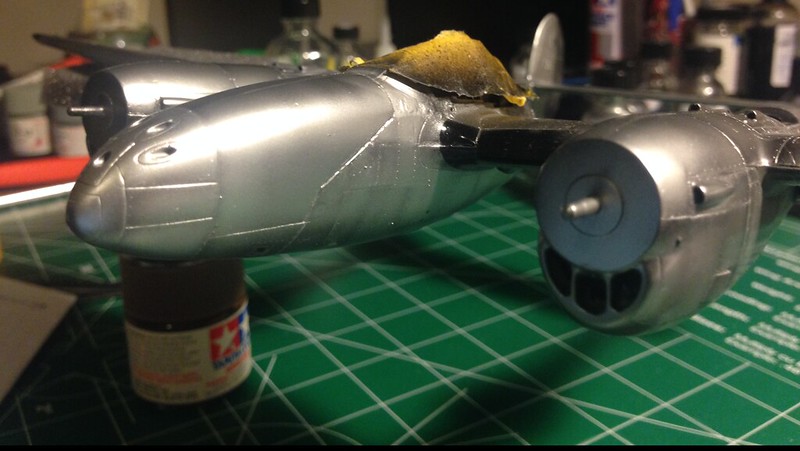 image by brittvallot, on Flickr
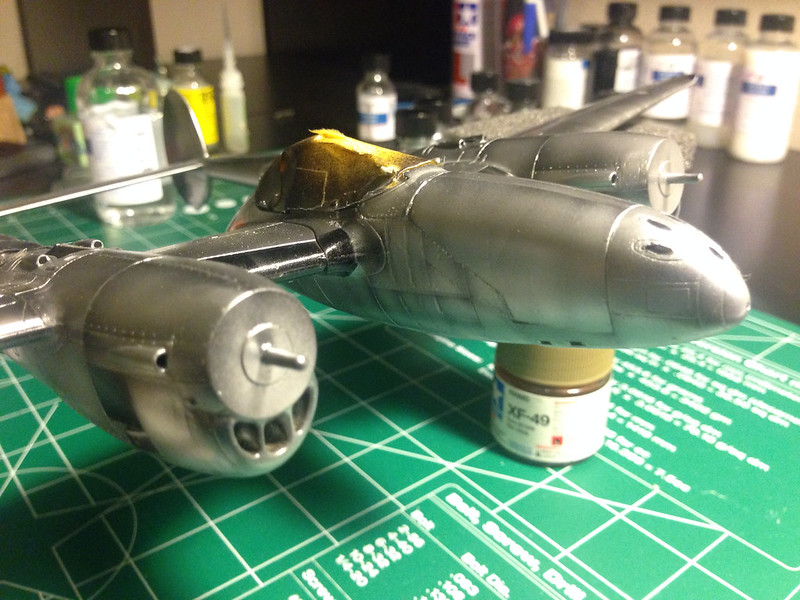 image by brittvallot, on Flickr
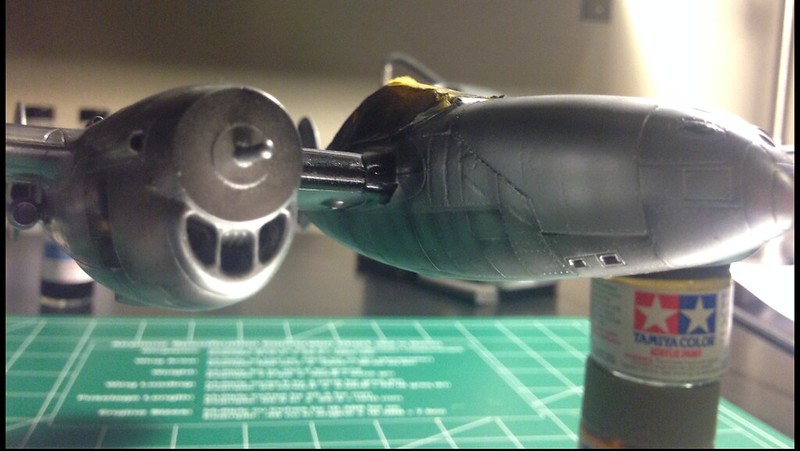 image by brittvallot, on Flickr
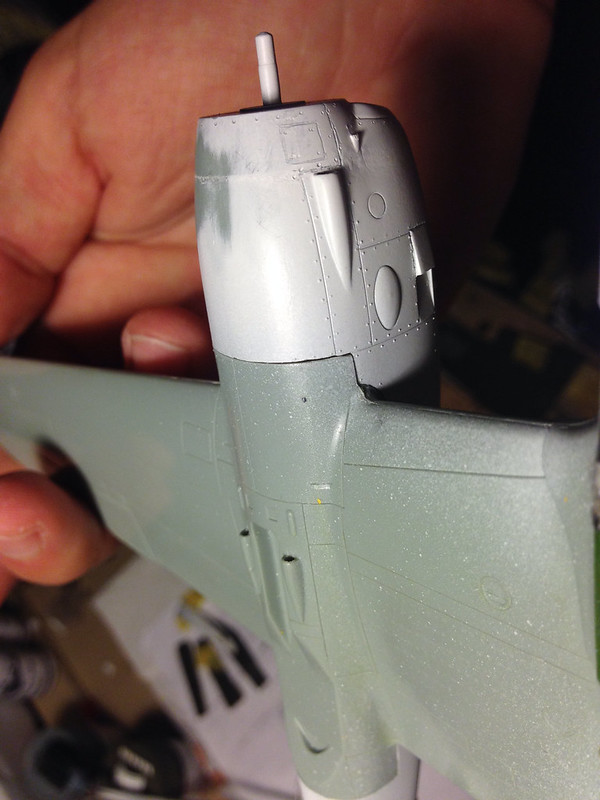
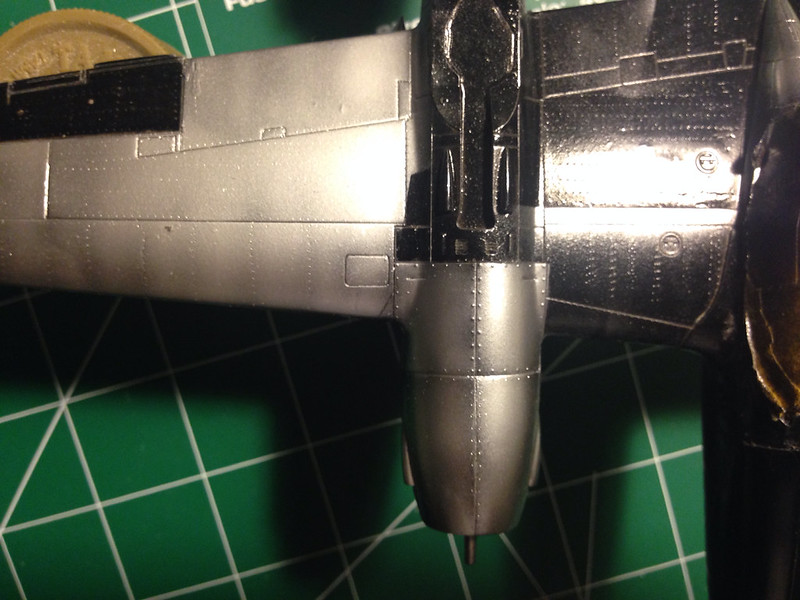
Detail of the upper surface. This will all get lightly buffed to assist in weathering. You don’t need to do it, but I found it helps to create the worn look of a warplane. Again…here less is more.
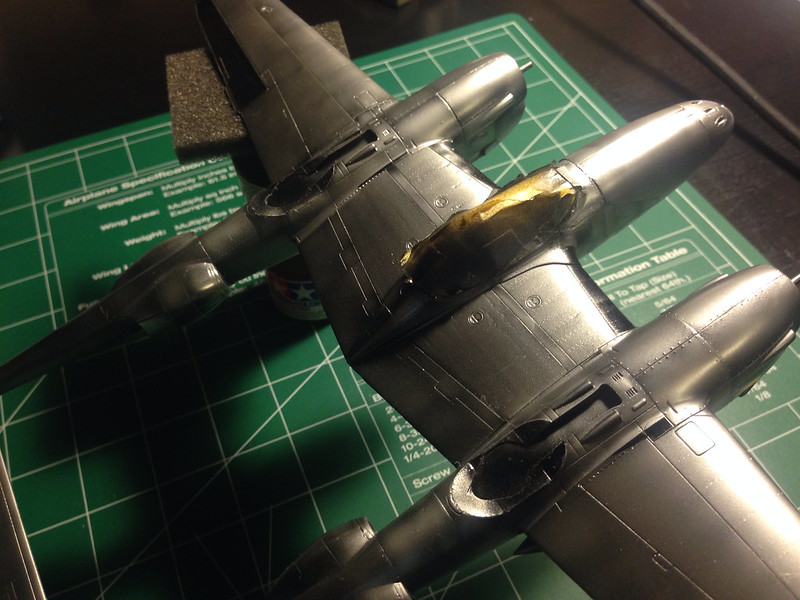 image by brittvallot, on Flickr
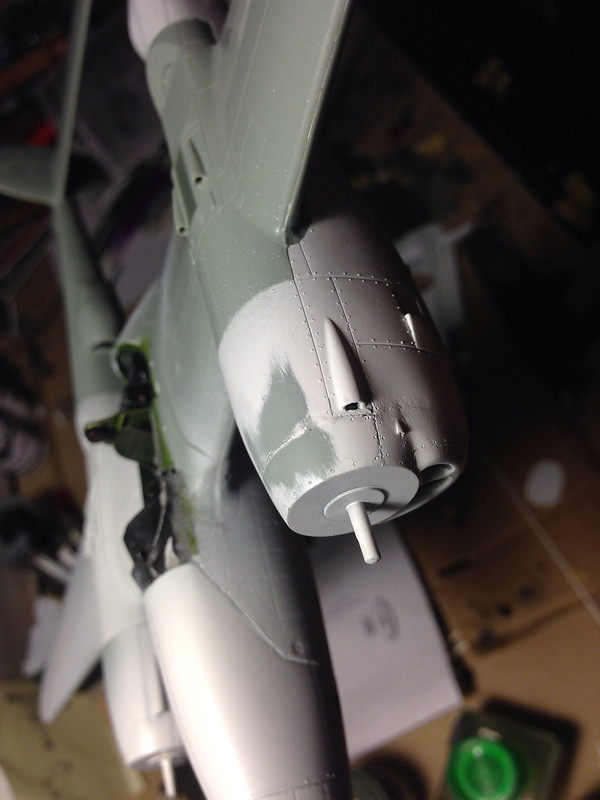
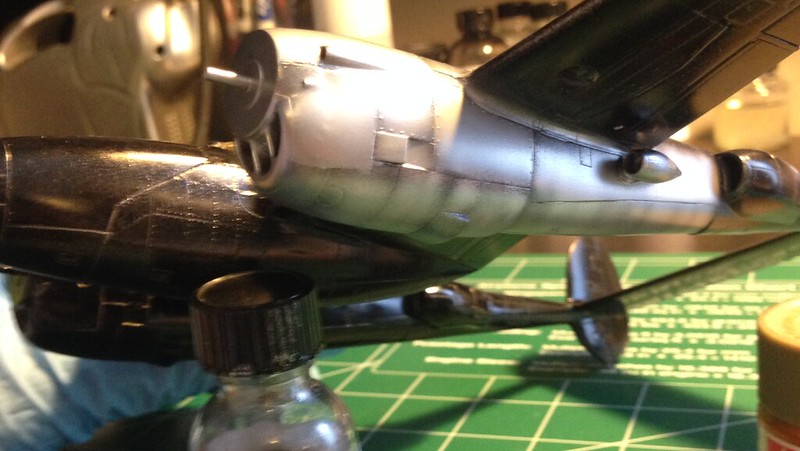
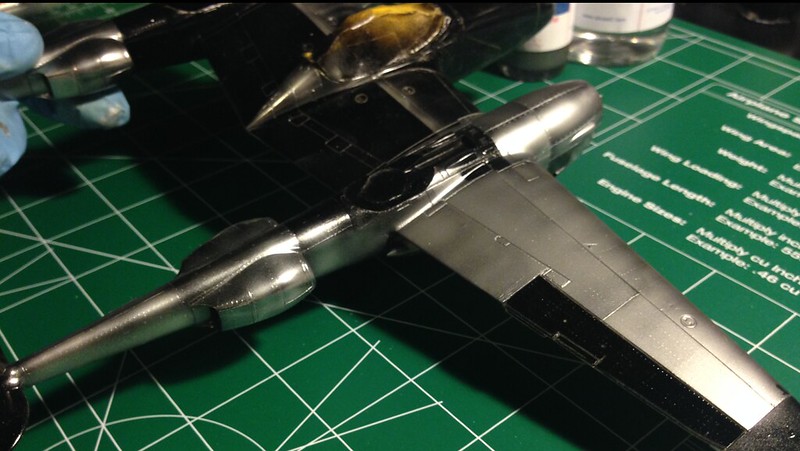
Here’s a good view of how masking the big panels off and painting with the rivets can help to show more of the metallic characteristics. In the instance of the stressed skin, I think it’s working quite well with it. I do feel I could improve the stressed skin effect in it of itself. This was the first time trying this and I was fairly confident I could pull it off so I just went all in. I’m content with this attempt, but in the future I will try to smooth out some of these rougher edges.
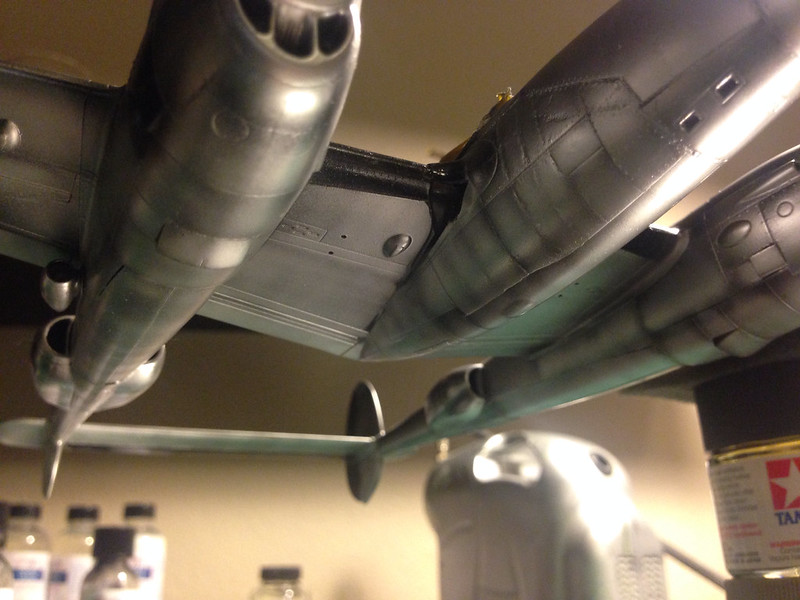 image by brittvallot, on Flickr
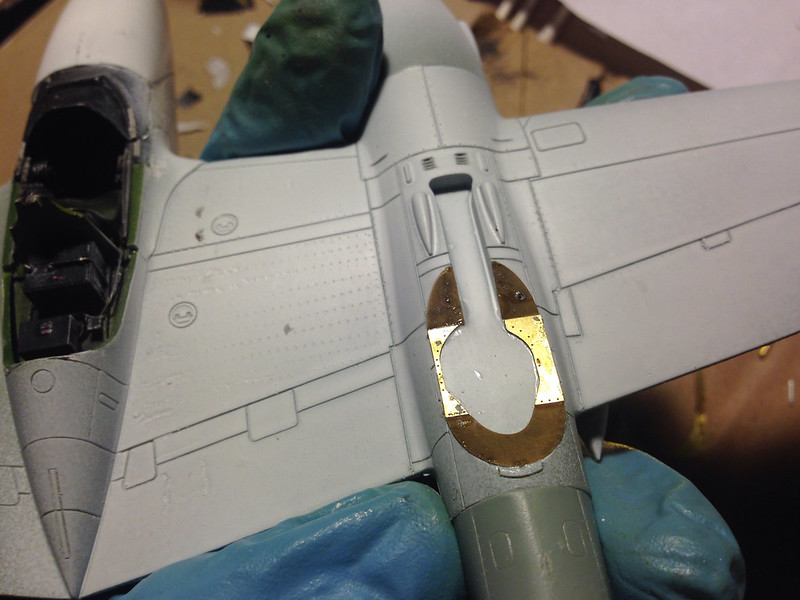
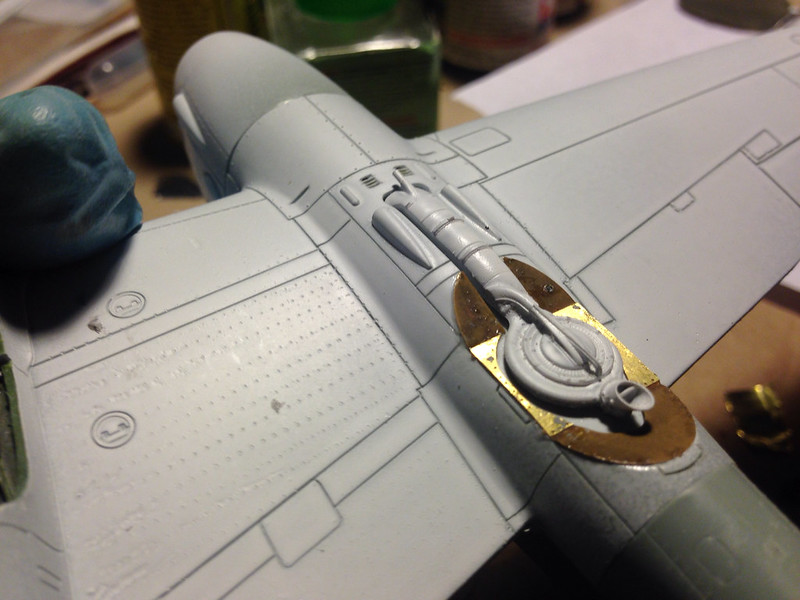
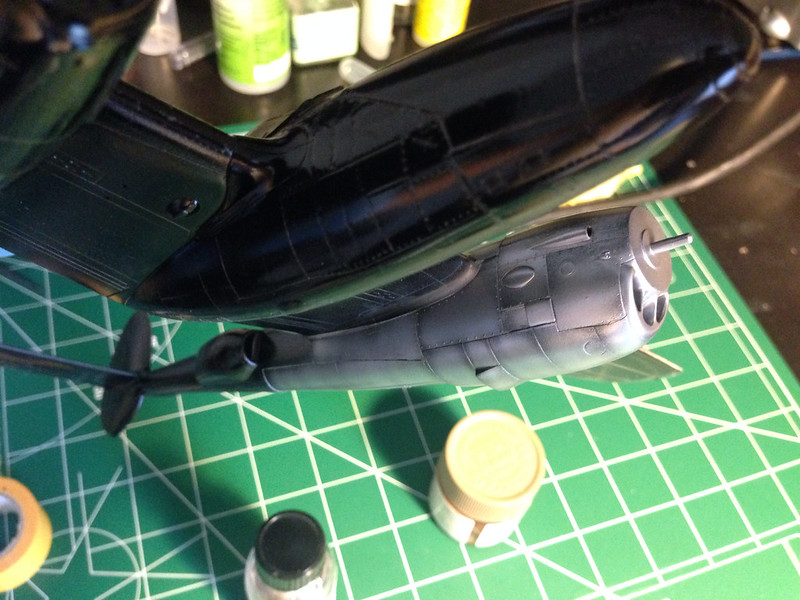
Here’s one thing I wanted to showcase. In virtually every NMF Lightning I’ve seen, they have this bend in the metal revealing a difference in shade on the door to the cannon bay. I’m not entirely sure why it occurs. Maybe somebody out there can fill in the blanks, but here what I’ve done is to lightly set up the metal tones on the door…then mask over the part I need darker and with the same Alclad shade I just paint the opposite area a little thicker. I use this same technique at various places on the wings as well. It’s an easy way to vary your panel shading without having to change Alclad colors. =]
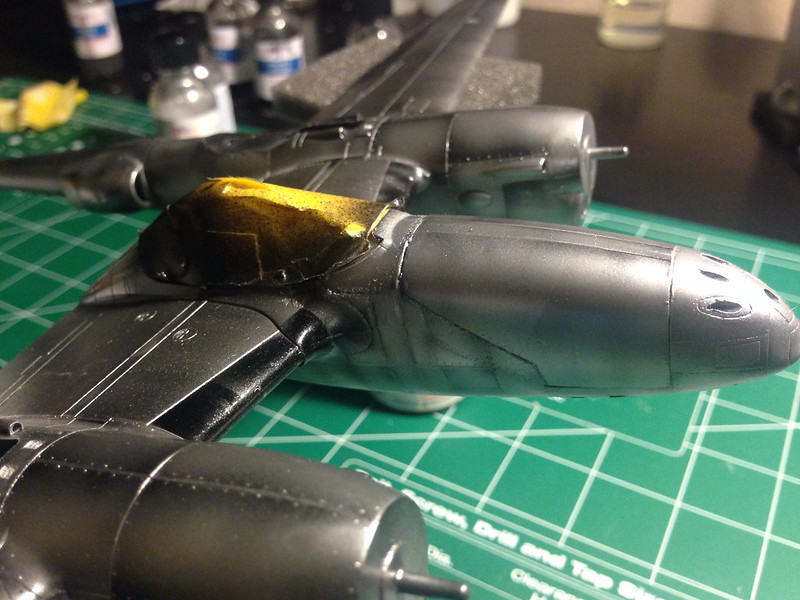 image by brittvallot, on Flickr
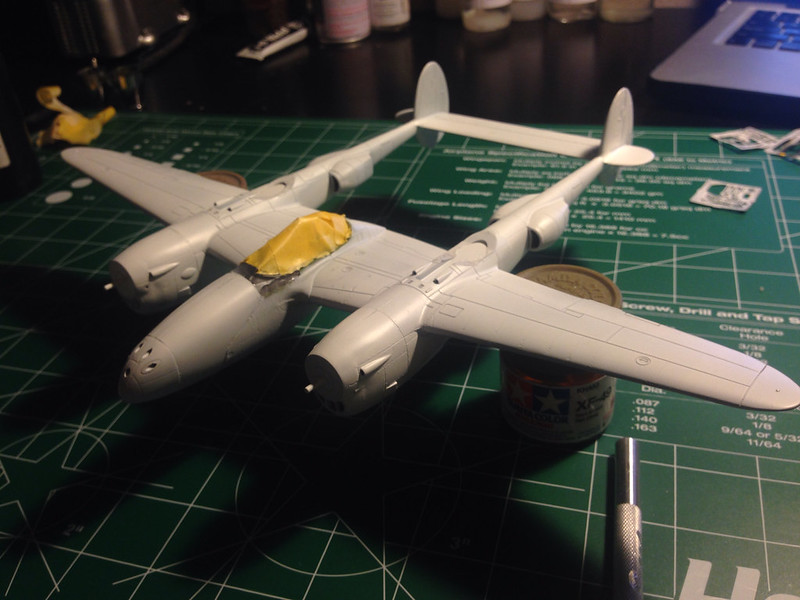
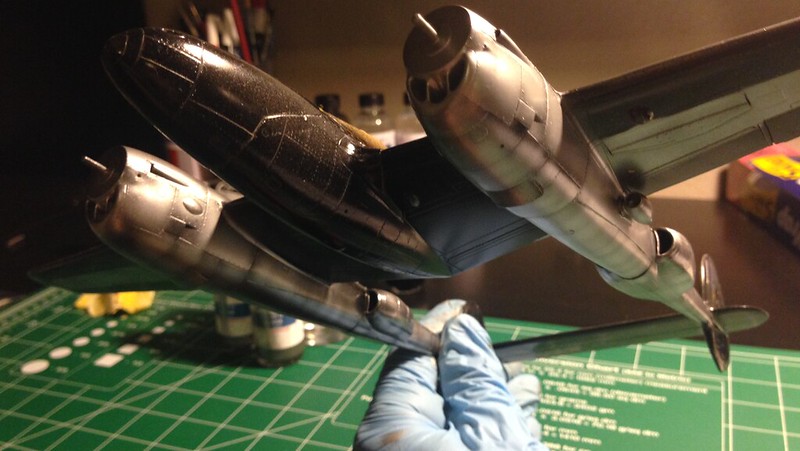
And that’s where I’m stopping for tonight. I’m hoping to push through and get this wrapped up by the weekend. Just to recap, White Aluminum on the Nose and Middle undersurfaces, and booms/nacelles, hori/vert stablizors. Duraluminum on wings. Polished Aluminum on radiators and top of the pod. Helps to set if off away from the wings…purely an aesthetic choice.
Comments, critiques…
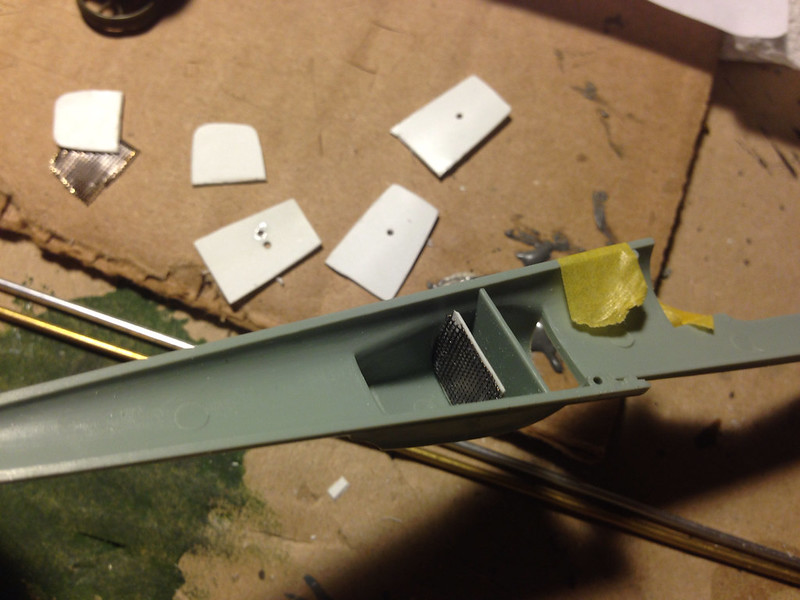 image by brittvallot, on Flickr
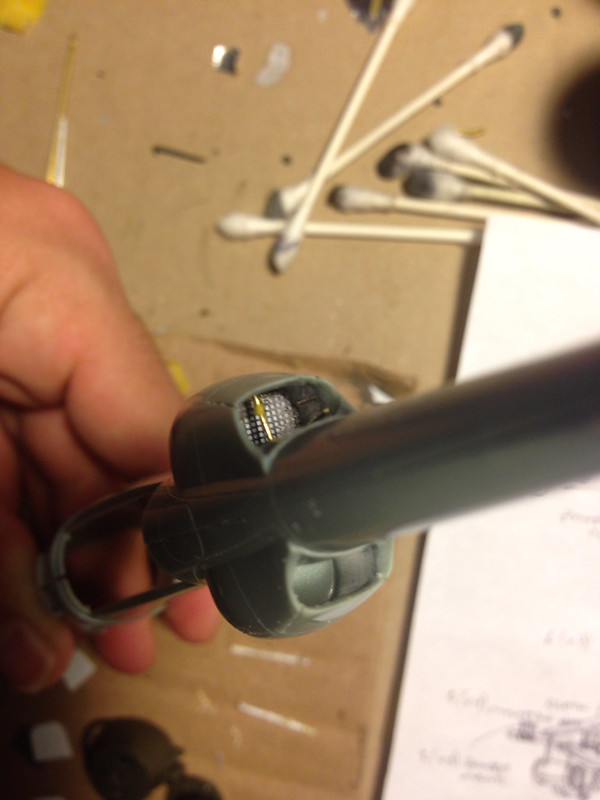 image by brittvallot, on Flickr
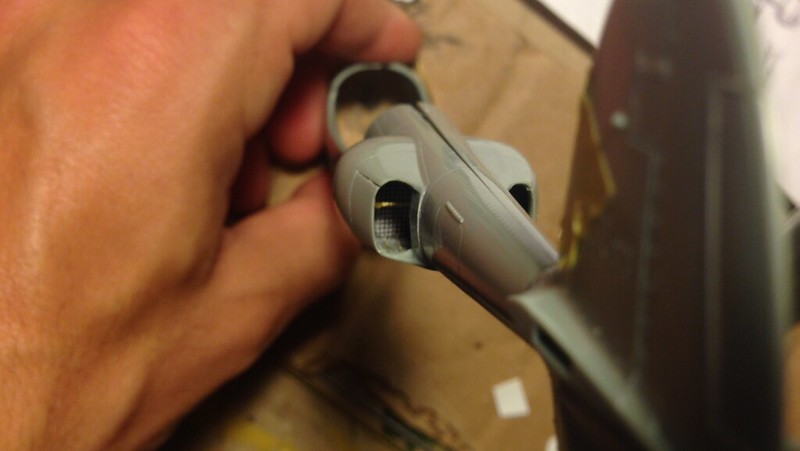 image by brittvallot, on Flickr