Good gawd!
Your model looks like the real deal and it’s not even complete yet!
Impressive work!
Good gawd!
Your model looks like the real deal and it’s not even complete yet!
Impressive work!
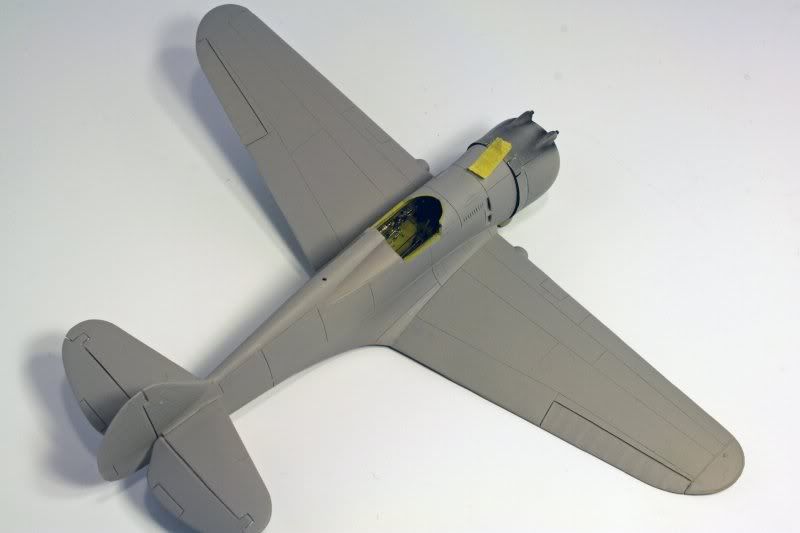
working on it [:)] It is an Academy kit = a lot of sanding and sanding and … more sanding [:)]
In the meantime I found an interesting picture and I will go with these markings [:)]
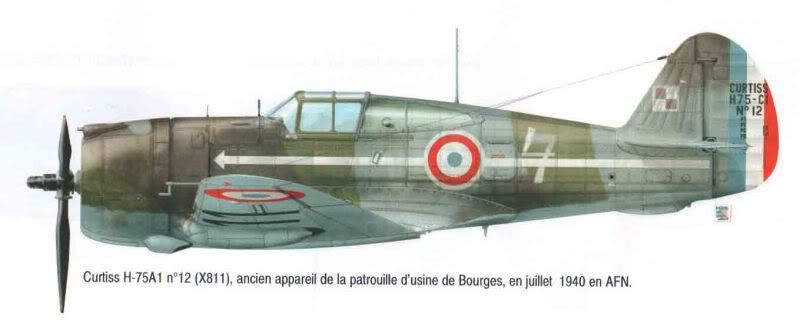
source: “Les Curtiss H-75 de l’Armee de l’Air” 2008

and another one ; this belonged to Lt. Col. Haegelen, a/c #183

Excellent choice Greg! [:)]
I surely hope so [:)]
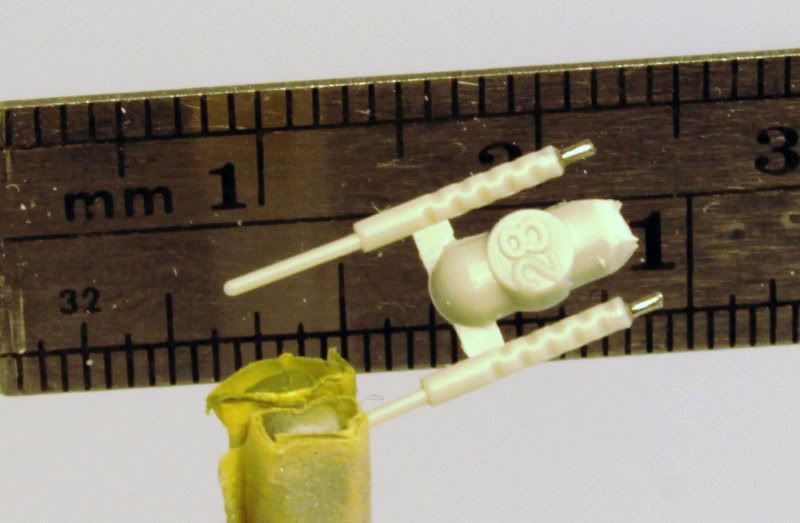
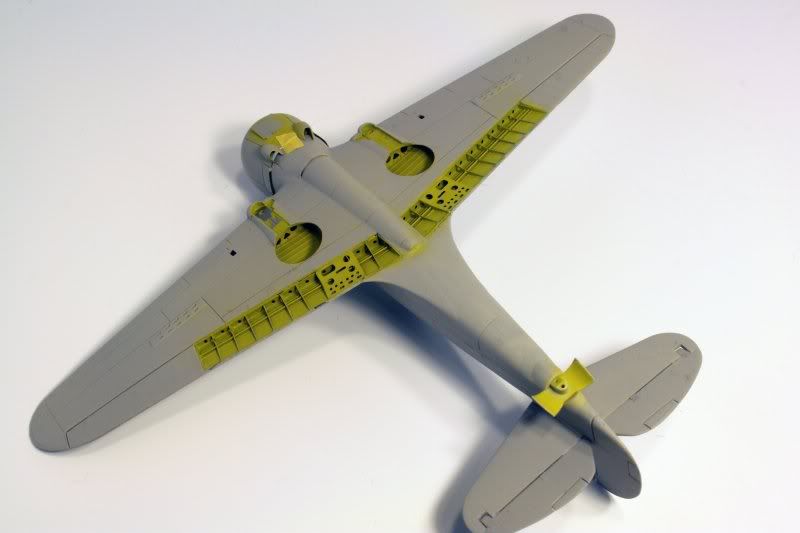
Here is my work on wing MG.
original:
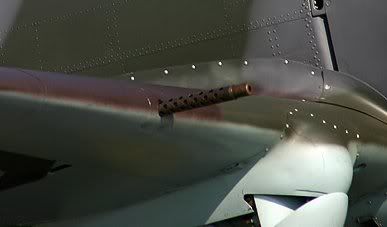
and my atttempt to create something similar …
latestfrom mybench … still snowing …
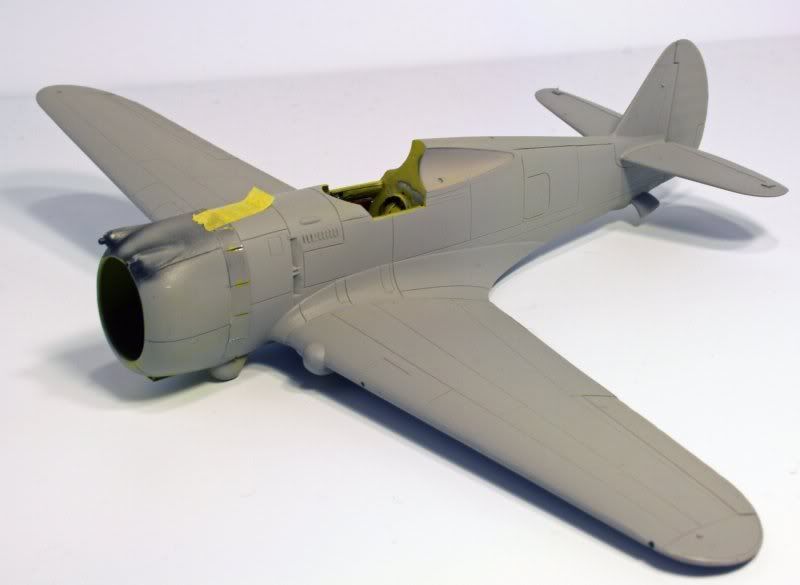
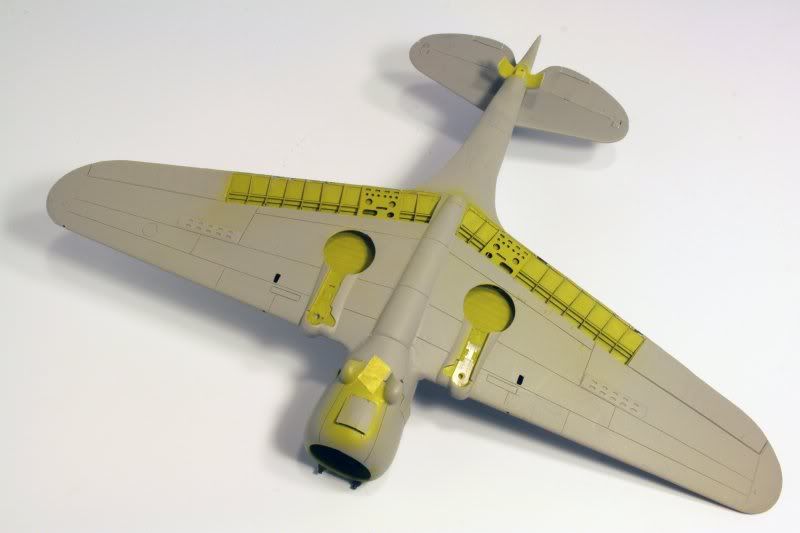
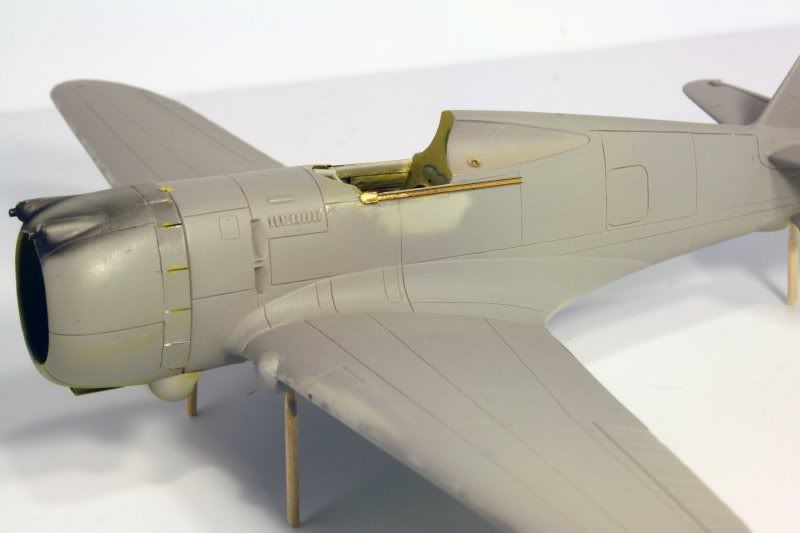
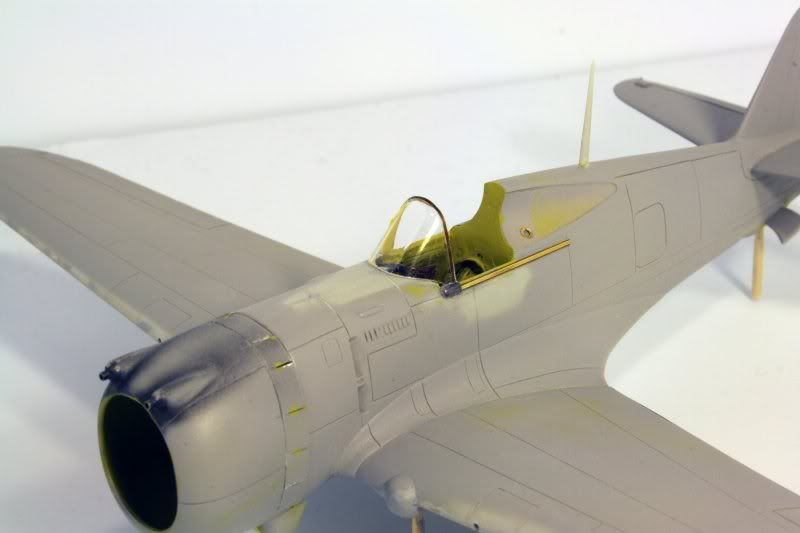
Great looking progress Greg. The photoetch details in the landing gear bays and flap wells make a HUUUUUGE difference! Is that the Gunze interior green? It looks great. [:)]
The inside details are painted with Yellow Zinc Chromate. According to my knowledge this is a color used on those crafts.
I used photoedged parts for wheel bays, flaps, engine and canopy frames. Some external details will also have them, however I will add them at the last thing before painting
I plan to use the following colors …
http://www.colorserver.net/showcolor.asp?fs=36270+36320+30108+34201
Great work Greg. Those Flaps are something else. Very nice work. Photography is very good too. Keep it up mate.
…Guy
I am glad I didn’t try that in 48 hours . Wow! That is going to look real.
Thanks Gentlemen !
Unfortunetely I have to spend more time sanding …
Here is the canopy railing attached:
so I put a kit canopy , used tons of glue … and lost my PE parts holding the canopy together [:(] [banghead]. And while being at this point …
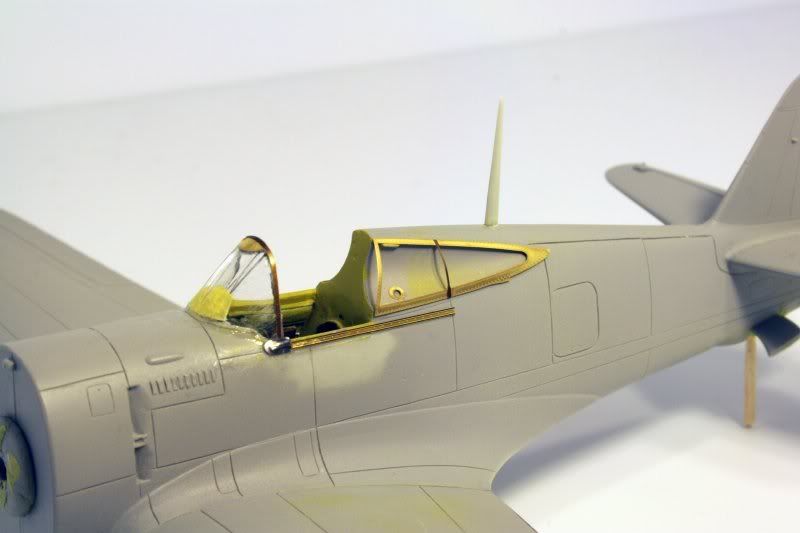
I even started masking the canopy but … I ripped it off… and decided to go with a vacuum canopy instead.
This one at least will seat within the rails without much spring force :[:)]. Front buldges of the rail have to be redone from scratch [:(]
Looks great Greg, Sorry to hear the canopy mishaps, but looks like you can fix it.[:)]
Hey your Hawk is looking realy good. Makes me wish I went and used the update sets I have on mine. I also like your paint scheme you choose, very neat and interesting, it will make the model stand out and be quite unique ( unlike the OD over Grey US version lol )
Looks good!
VA
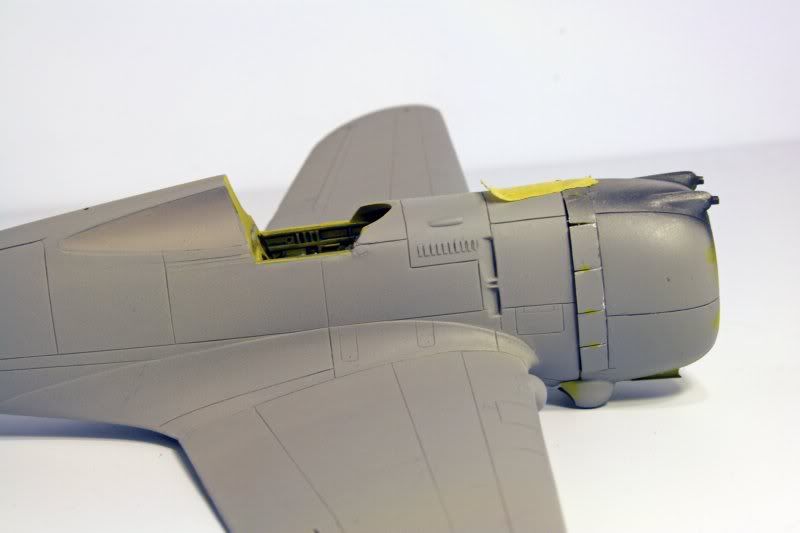
In the meantime some of my firends pointed to me a very bad fuselage shape of the Academy/Hobbycraft kit.
I tried to reshape this part but in fact its almost lost cause at this moment.
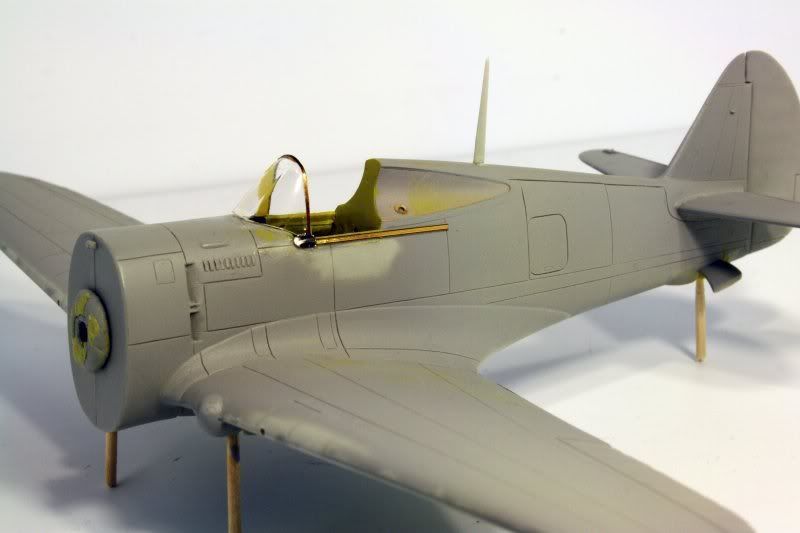
Basically the fuselage shape near the canopy should be like on this model:
while on Aca/HC it is like that (after some modifications already made)
a lot of work and not enough [:(]
I wish Hasegawa makes P-36/H-75 kit in this scale … [banghead]
and include markings of the above aircraft [:)] with Polish markings [:)] … and Wright engine as well [:)]
I am going to be the odd ball (again ) Greg and ask more about the fuselage shape. Other than some vents and a few other panels in the P-40 I am missing the picture. Looks fine to me. If I am missing something please enlighten me from my ignorance. The vents and such I do think were there on the French/Polish version and the wing guns.
Sorry to hear about the PE stuff. Almost bound to happen when you are reconstructing so much. I am sure that your skill will make it a non issue.
I wonder what that 1/32 scale one is like from special hobby? Probably has it’s own set of issues. I sure am glad you are keeping me abreast of your troubles with this kit as I can’t see a whole lot. Did you rework the cowl guns as well? They look shorter and covers more accurate. Built as is they actual hit the prop when done.
Keep it up! Your work is inspiring as always! [tup]
The most visible shape problem is right at front of the canopy. P-36/H-75 by Aca/HC is a round shape but in fact it should be a bit flattened just like P-40B is. If you see the real aircraft showing a top surfraces, than you will clearly see the problem. Aca/HC made it very round shape. It is almost impossible to correct at this stage at least.
I will take P-40B Monogram fuselage, cut to the right dimension and attach the engine cawlings.
[bow]Oh I see said the blind man. Pulled mine off the wall and it is very rounded. I see now that your sanding is an attempt to flatten it so I could not really tell by the pics. Does the fix effect the fit of your parts any? Really mind boggeling how you can find such errors. Really great that you have such a dedication to the accuracy. Things like that can actually preserve the history in the long run. Great work again.
Edit. I had to go back and look at some pics of the actual Aircraft to see exactly what you meant. My first thought was geeze sand it flat but now I know what your talking about especially where it attaches to the cowling. That’s a big job, You will almost have to redo the whole nose if you run into any fit issues. Wow!
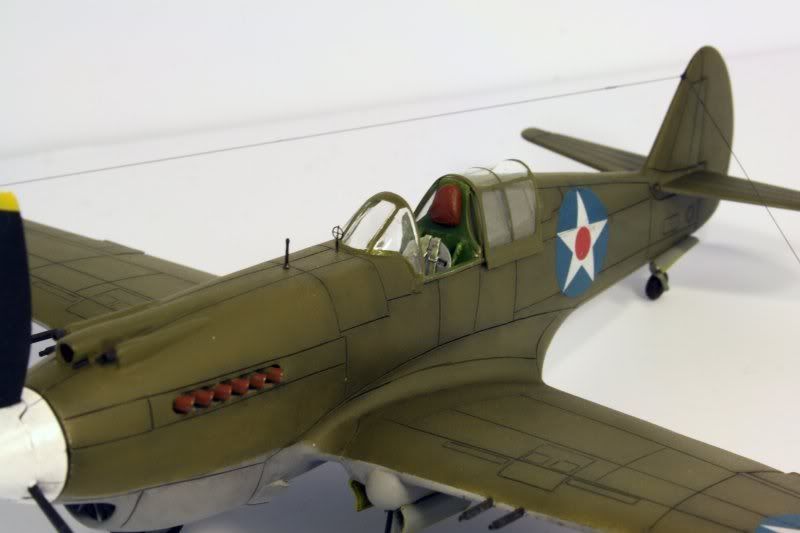
OK, so I am back and after trying my skills on FW190, now its time to finish my Hawk 75.
Fortunetely Montex made a great set of masks for “my” aircraft. Additional pictures will help too.
This post is just to bump this post up and hopefully will be able to finish this project.
[:)]
Hey Greg,
Long time no chat…!! Hope you and the Mrs are feeling better… Gotta love the flu, my son amd I had it and as you know, it simply sucked the life outta ya.
I am really liking your build so far and the attention to detail is outstanding!! Looking forward to seeing her done…
PS, my Hurricane would have been done but when I went through divorce, ex decided I did not need a few things and chucked em… No worries the decals that you sent me were never harmed… The Huri will be completed soon!!!
Thanks for sharing Greg
Flaps up,
Mike
Rangers Lead The Way
Glad to see this topic back on page 1 Greg! I have always enjoyed watching your builds, and had hoped this one would reappear someday.