I have started a project that I have wanted to do for quite some time. I love the look of the USCG MH-60J with its bright colors. I have built up the courage and started cutting plastic.
There isn’t any kit of the HH/MH-60J Jayhawk in any scale. There are a couple great conversion sets by Fireball Modelworks in 1/72 and Cobra Company in 1/48, but I wanted a big one w/lots of detail. I have wanted to do one for a while, but I prefer to build large helos. After watching The Guardian on TV recently, it peaked my interest in doing a Jayhawk.
I started gathering reference materials and figuring out how to do it using a 1/35 Academy MH-60G kit. I will be using the Cobra Company open UH-60 exhausts, along with a couple of the interior bulkheads that I mastered for Cobra. I will also use parts of their MH-60L correction set (widened step sponsons, rear wall, one piece intakes) and parts from the MH-60L SOAR set (which I think is now the MH-60G set). Once I thought about it, it doesn’t look like it will be too hard.
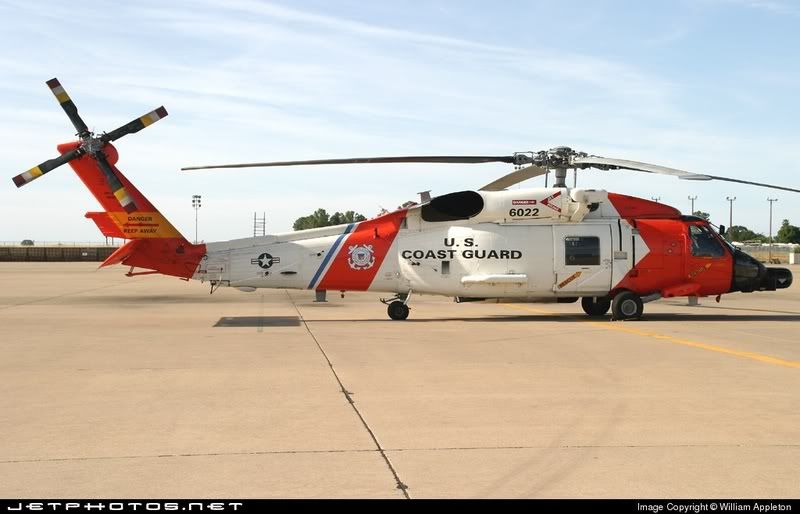
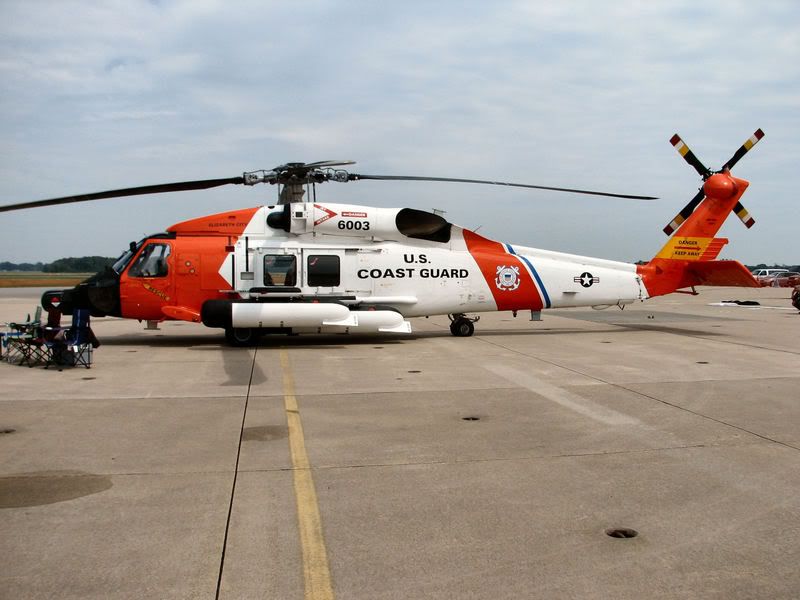
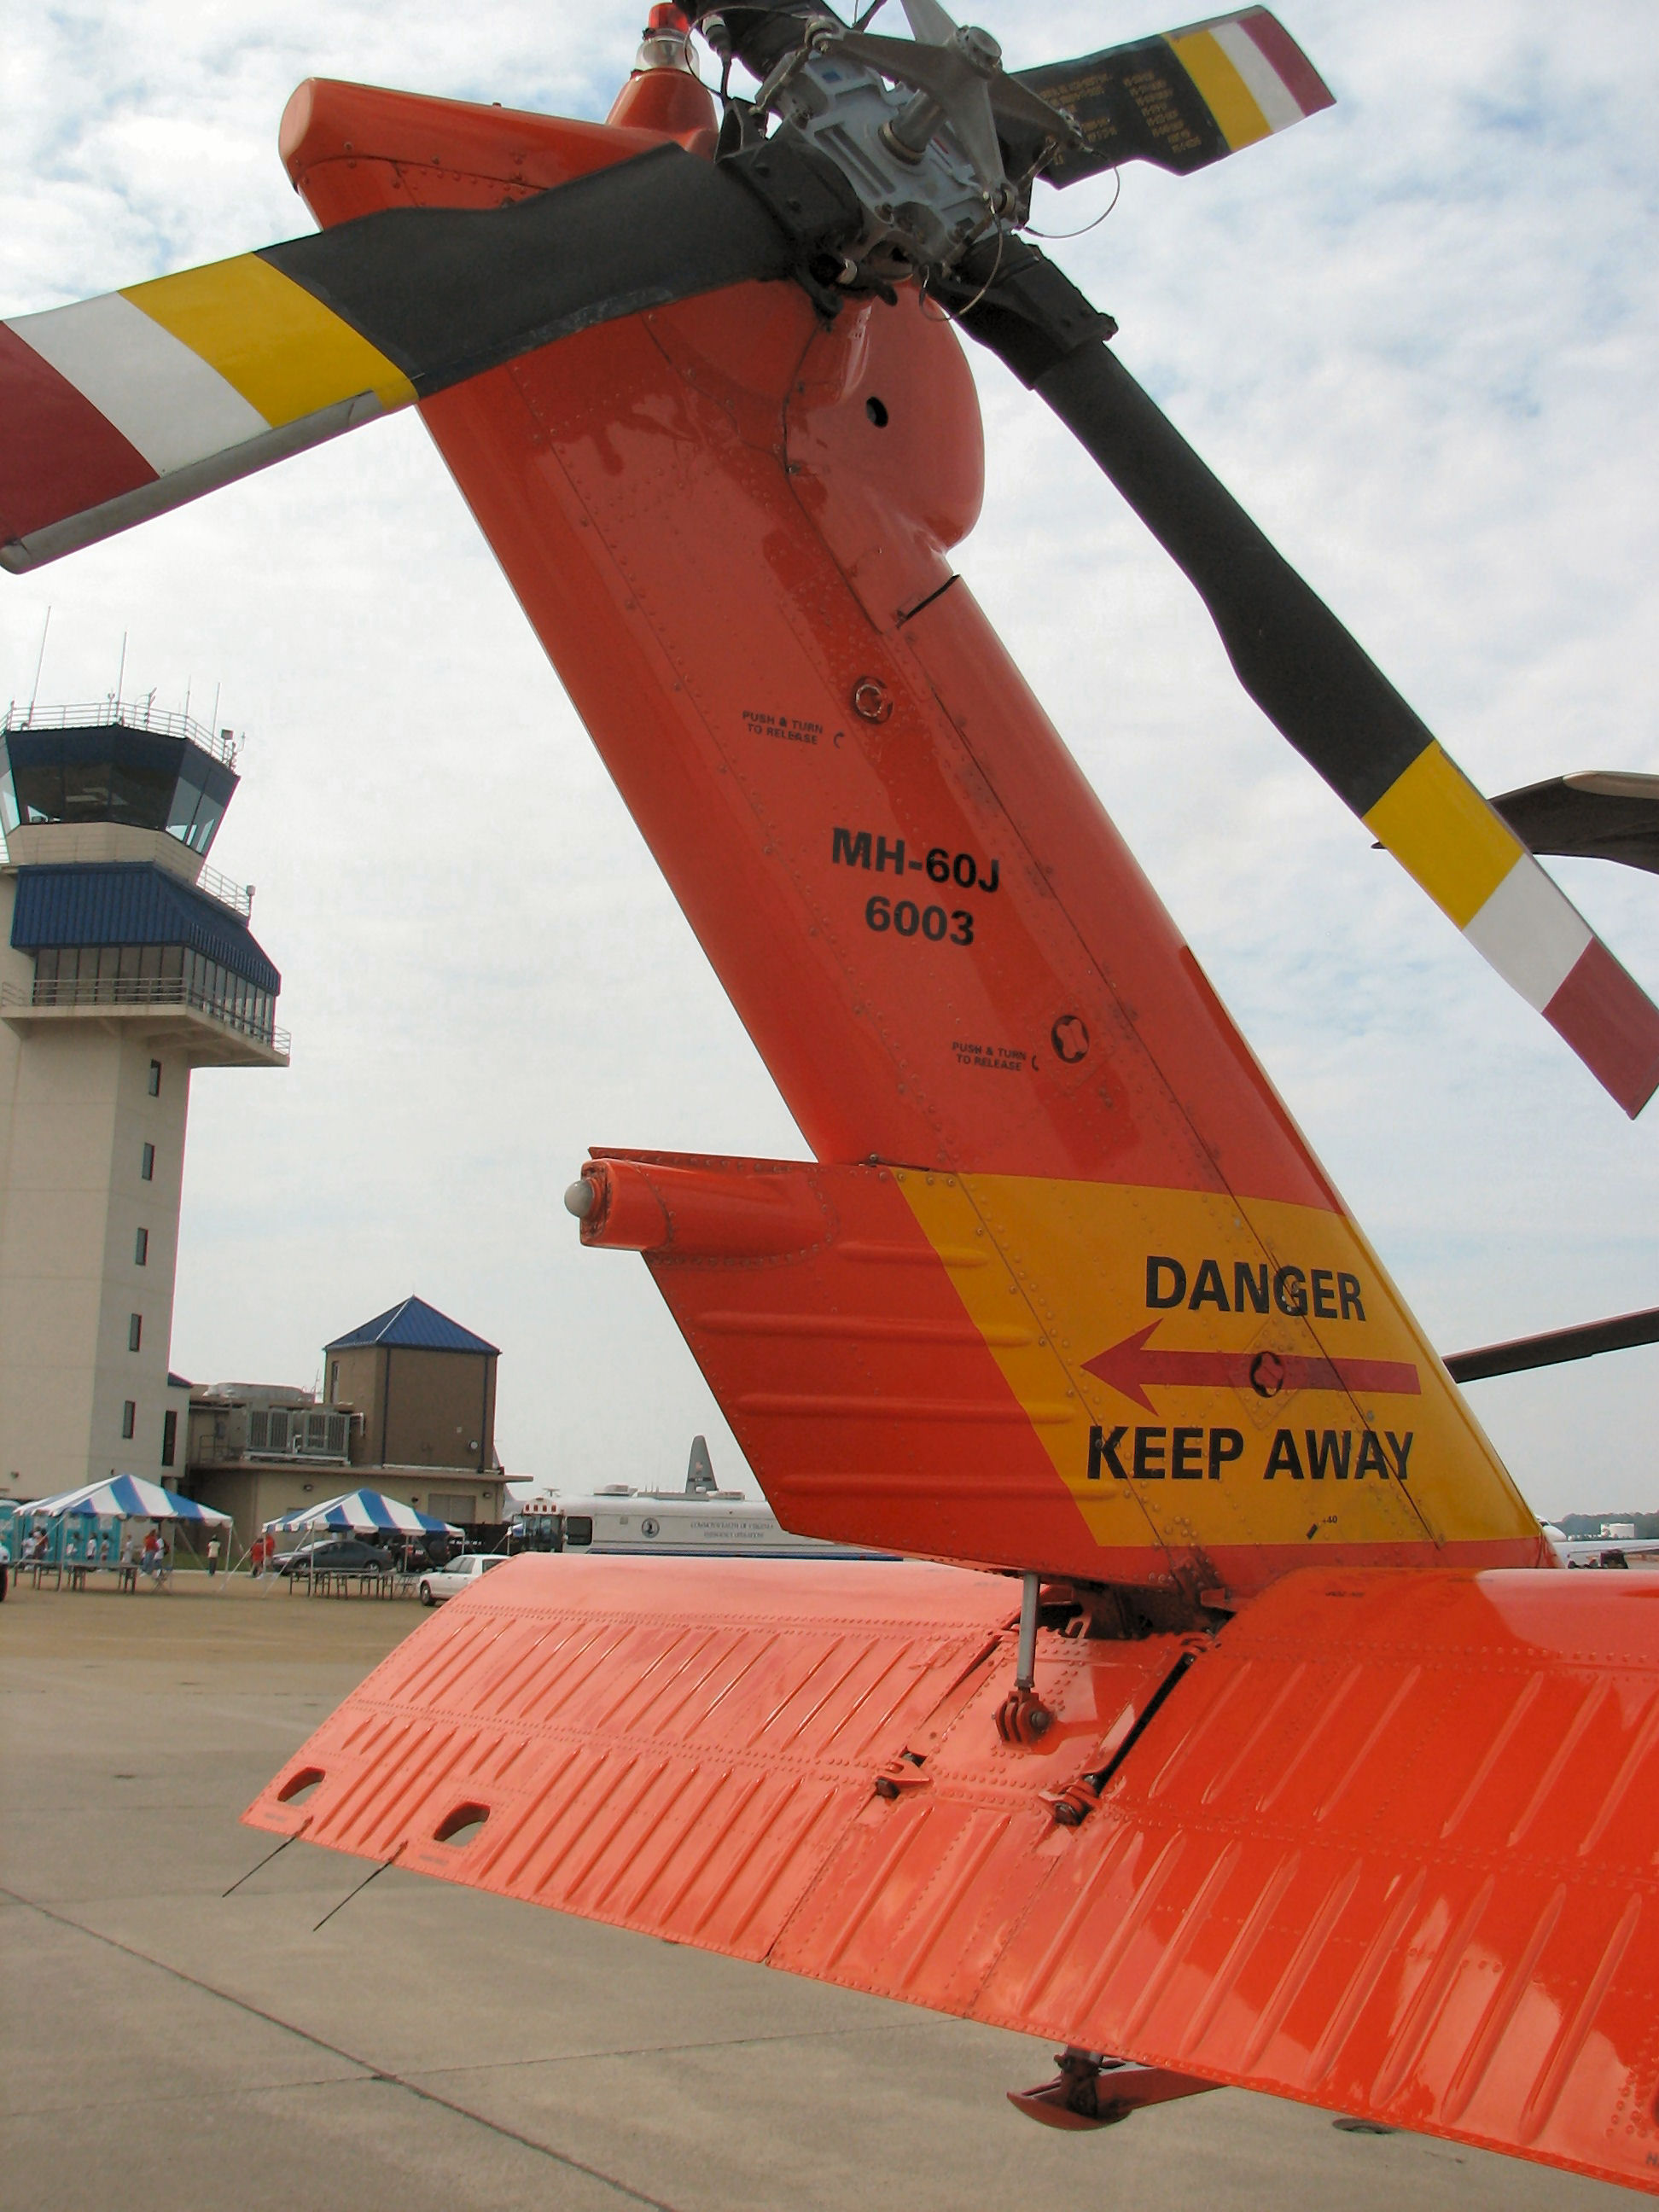
Here is what I will be building, the armed MH-60J version:
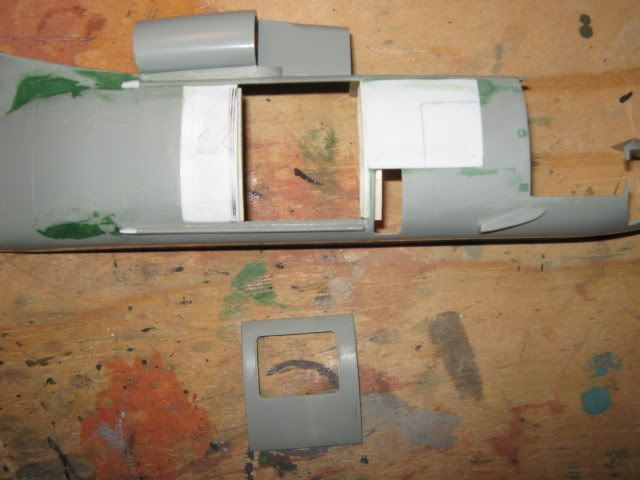
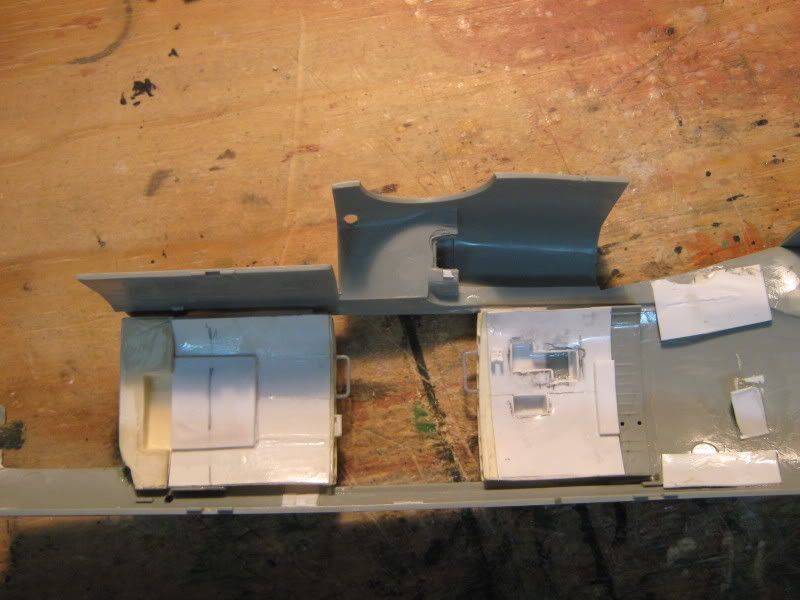
I have started by closing in the fuselage on both sides. I had to cut off the door fairings on the port side and half of the starboard side fairing.
Actually the HH-60J is the standard rescue version. As the Jayhawk fleet gets modernized, the new designator will be MH-60T Jayhawk. The MH-60T upgrades include weapons and armor.
I guess the interim ones, updated HH-60Js w/guns and armor on the crew door, are being labeled as MH-60Js. You can see it on the tail of the Elizabeth City bird below. This one is my major reference. There are 62 pics of it at Prime Portal. Mine will be an MH from Clearwater CGAS though.
I should have some more pics up today. Working on the interior now.
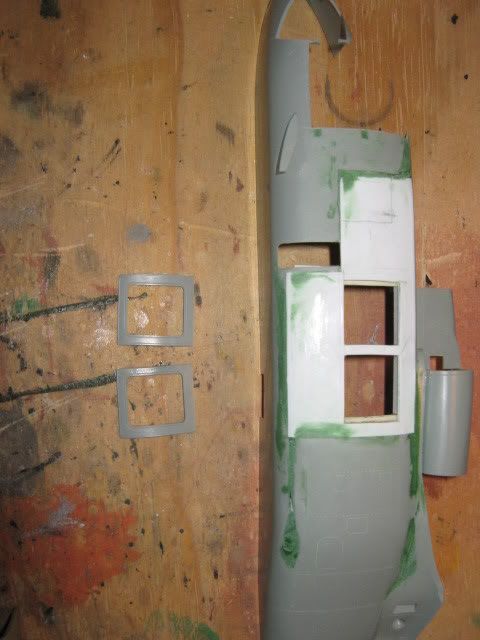
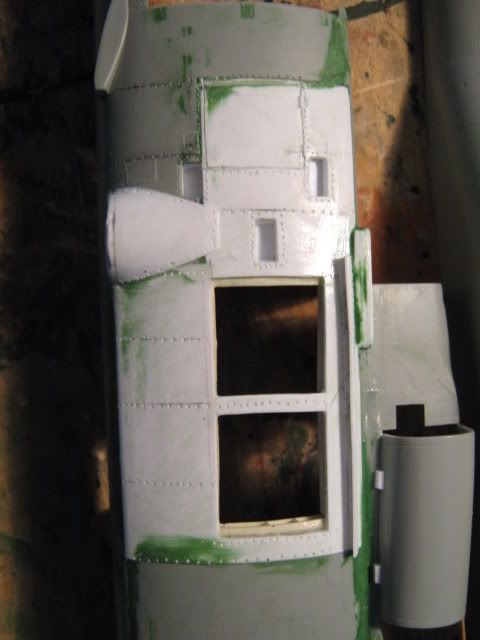
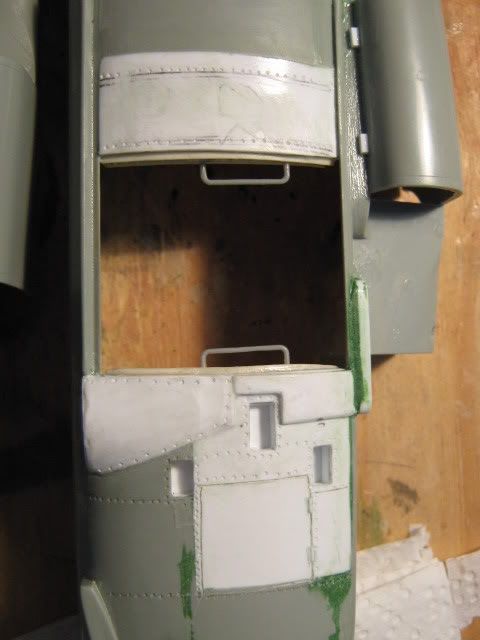
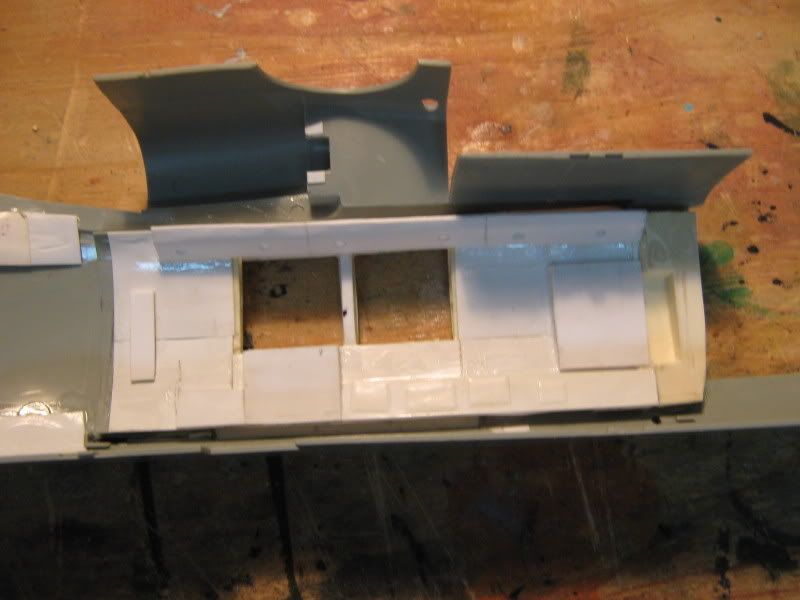
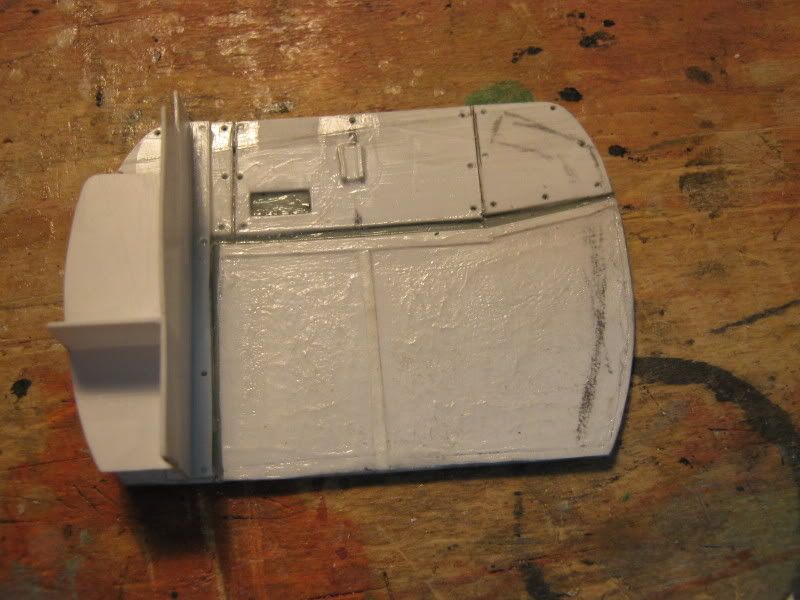
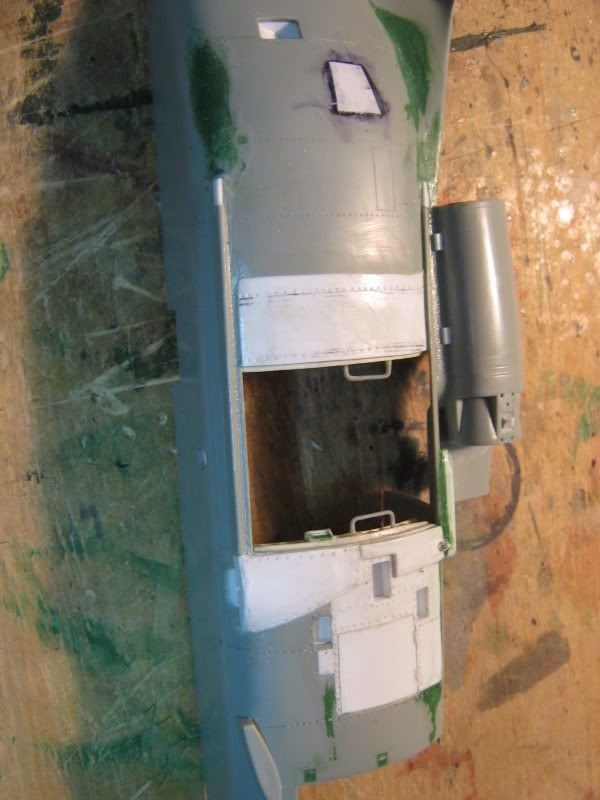
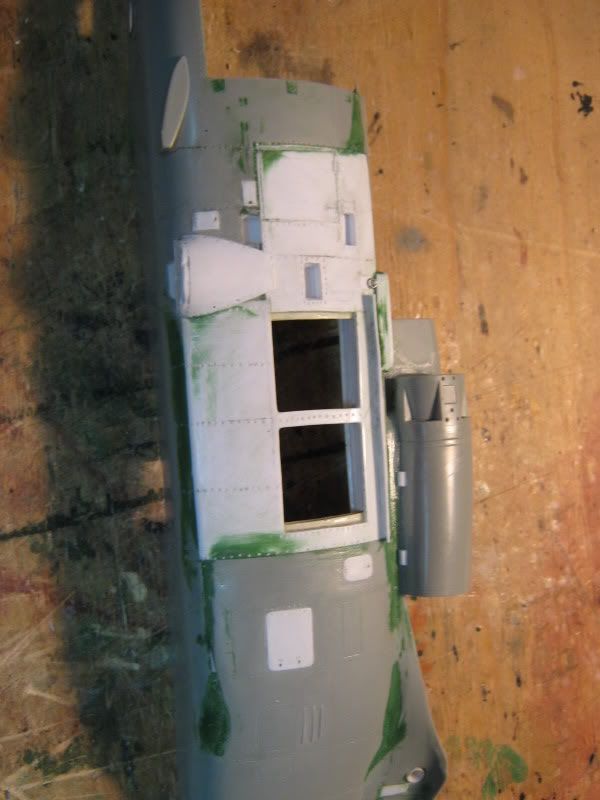
Here is the latest progress. I have finished closing in the fuselage and added rivet details and cut out the steps. I also added the rooftop hard points for the ESSS wing connections and fairings around the landing gear and door cargo opening.
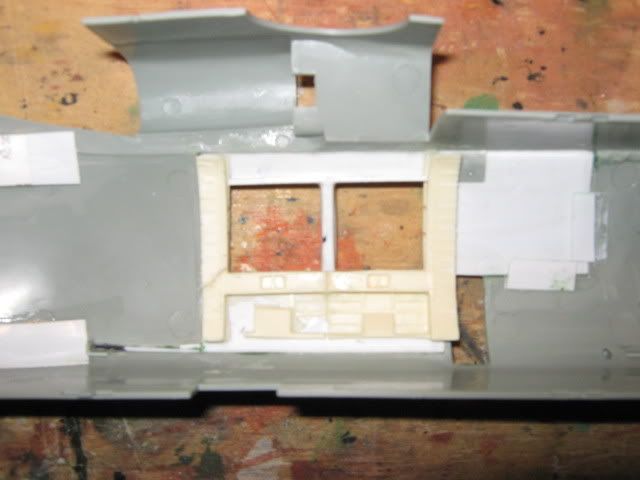
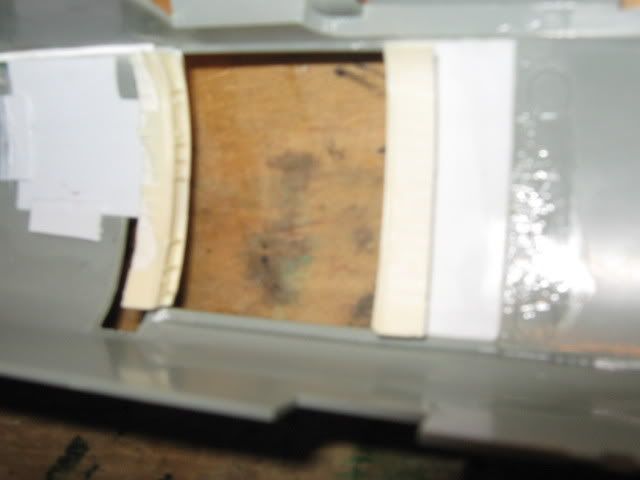
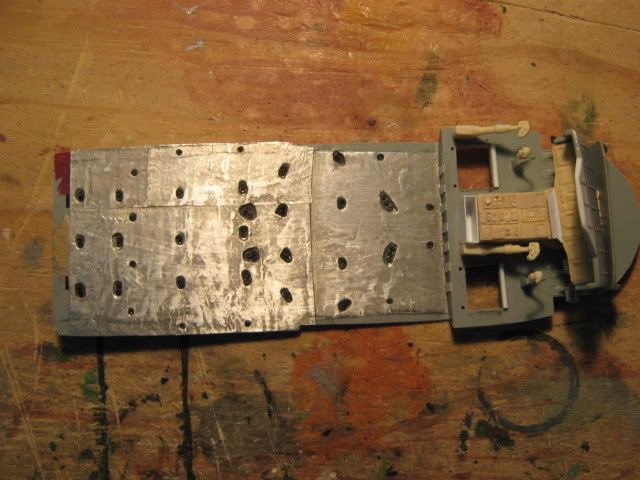
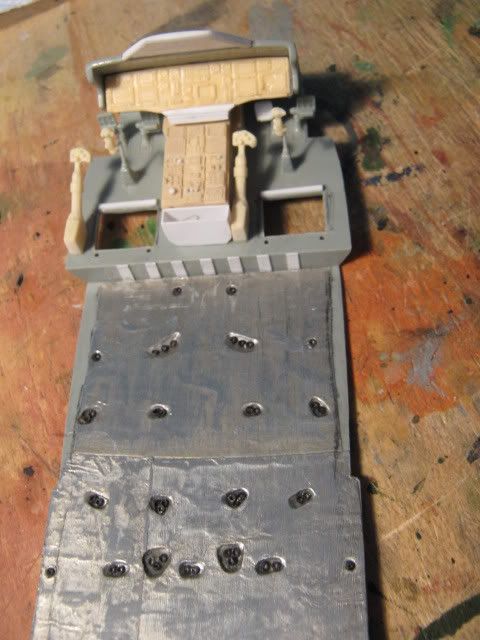
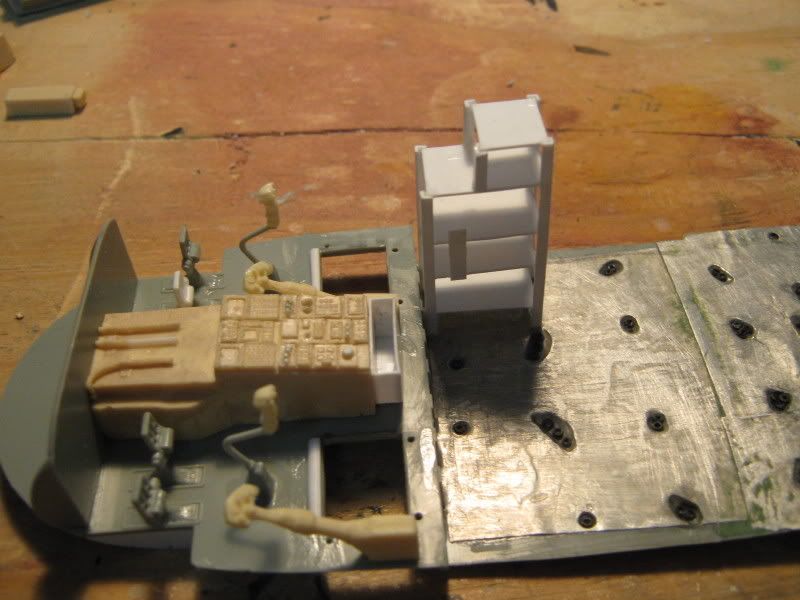
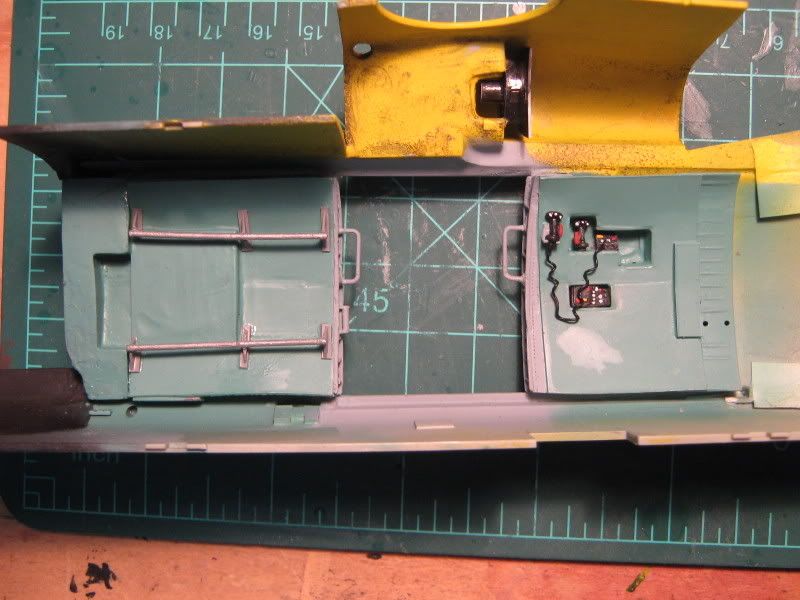
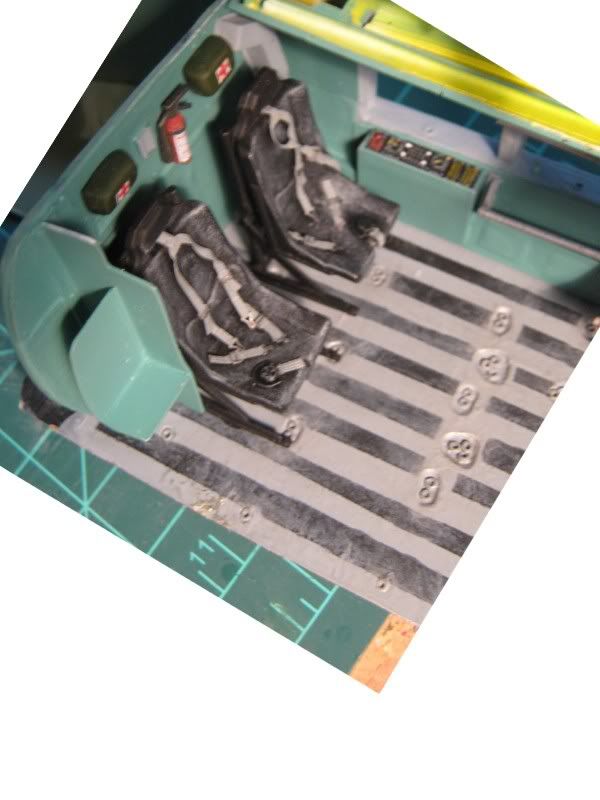
On the inside, I cut out all the mounting points in the floor using a template someone posted at one of the helo sites, sorry I don’t remember who. Then I sheethed the floor using lead foil and pressed it into the openings. Then I placed small rings using the insulation off of copper wire into each. The instrument panel, console, and collectives are from the CC set. I added the extended glare shield to the kit glare shield as well. The floor under the pilots seats was opened to show the radio bays. And a map case was made from sheet styrene. One rudder pedal went AWOL, so I made one out of styrene to replace it.
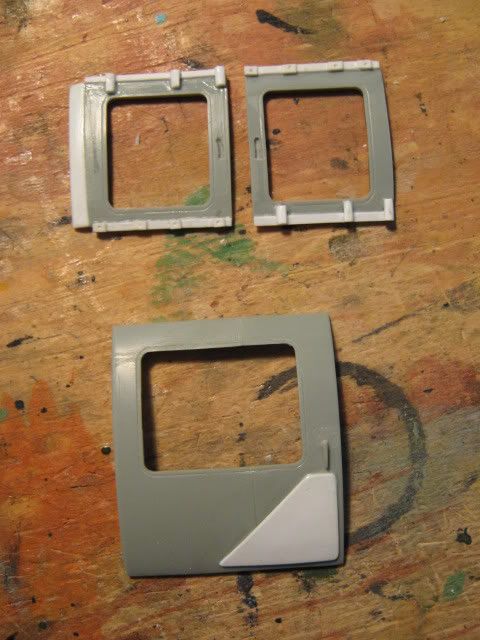
Lastly, I have added the details to the sliding port side windows and starboard cargo door.
I stationed at CGAS Clearwater Facilities Engineering (Public Works) from 1998-2002. I was a CWO4, and ran the buildings and grounds maintenance programs. I always remember pilots coming over and wanting to add to or change an existing building or erect a new building. The USCG Civil Engineering program has a program that it uses for major building repair and new construction; and the pilots didn’t seem to understand it. My counter offer to them was why we can’t go to the hardware store and buy some pipe flanges and pipe to mount an M-60 machine gun inside the aircraft door - their response was that Aviation Engineering had a program that had to be followed for modifying the aircraft.
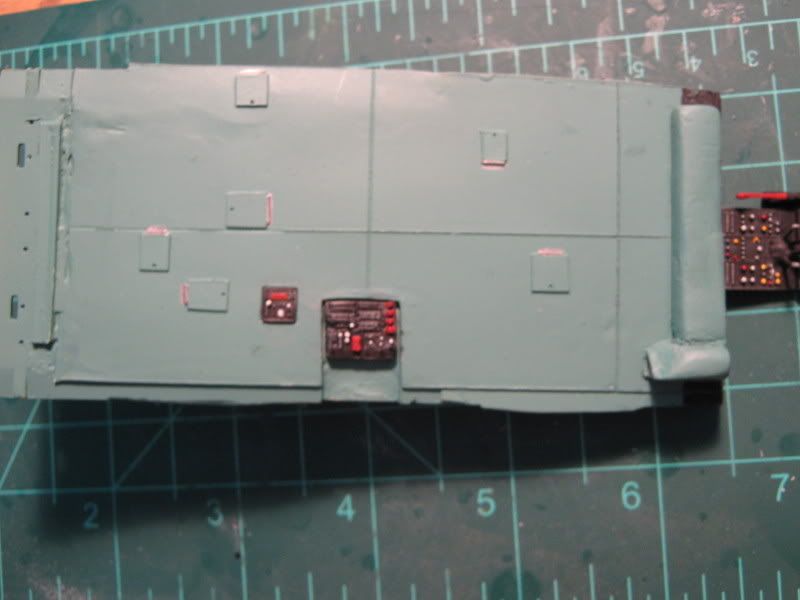
Here is the latest update. I have completed the construction of the rear cabin. The side walls, roof, and rear wall are all scratch. The radio rack is as well.
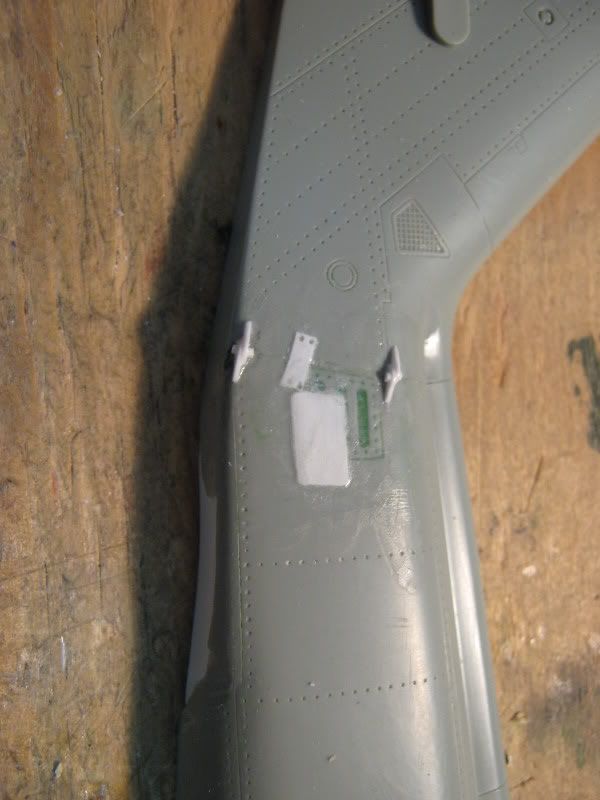
I also added various access panels on the fuselage.
And the tail fold hinges, which does not fold by the way.
I have strated painting the interior. I hope to have some more pictures as I get the interior done soon. I’ll keep you posted.
Thanks for the comments guys. The access panels really weren’t that bad. They are 0.010 sheet stryrene cut to shape, then glued in place onto the fuselage. More to come. I’ll keep you posted.
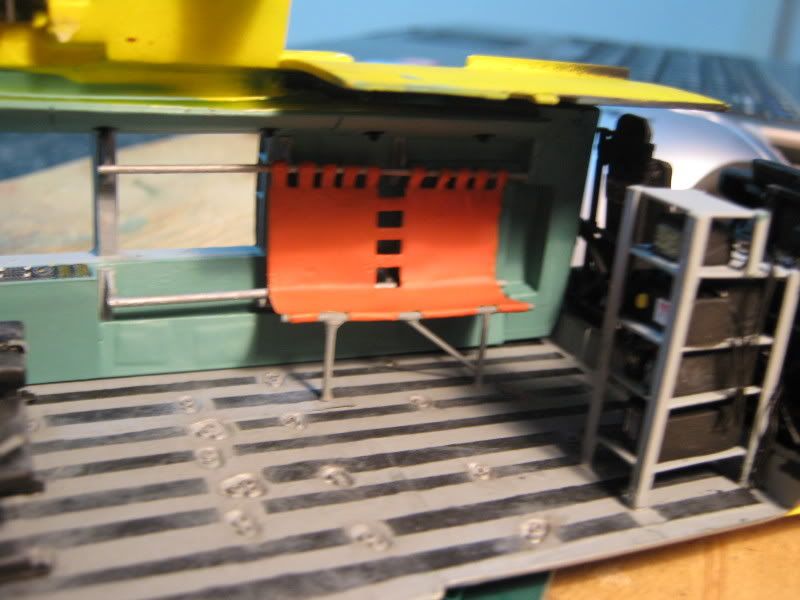
More progress over the last week or so. I have laid the paint on the interior and started adding details. I forgot to take pics before starting to install the interior, so this is the best I have.
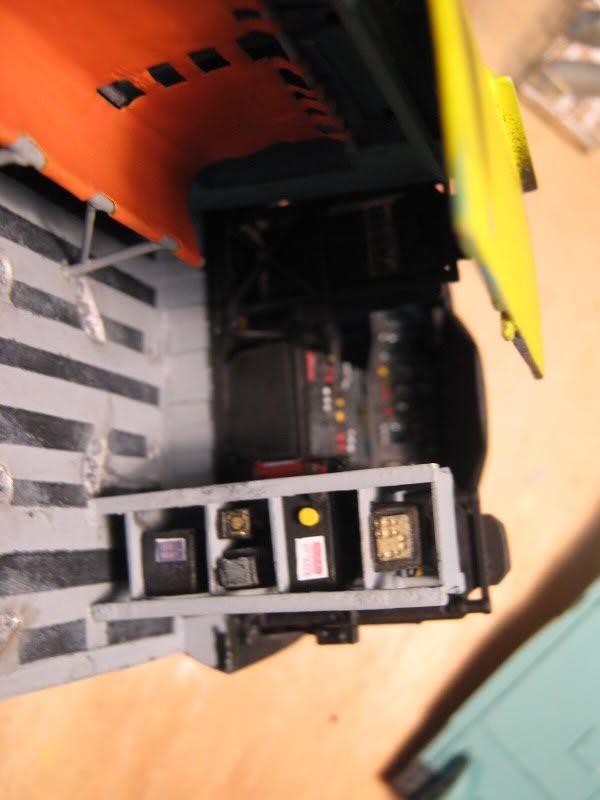
Staboard inner wall with hoist controls.
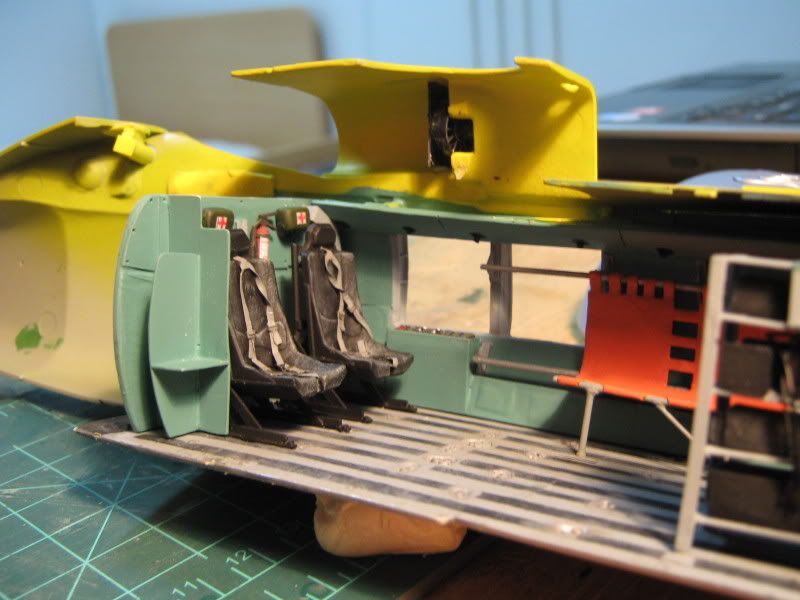
Port side w/interior installed. The web seat is made out of lead foil and styrene rod. The crew seats along the back wall are the left over pilots seats with new frames and Eduard PE belts.
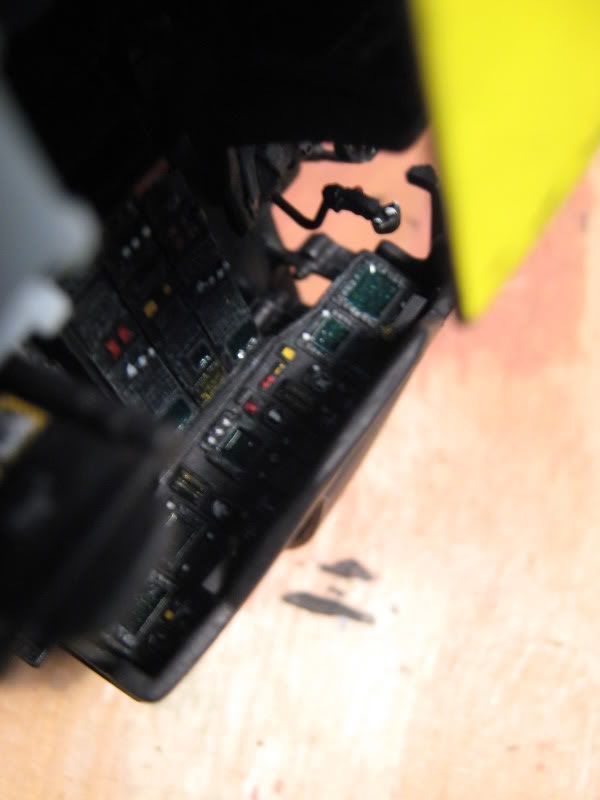
Cockpit with Cobra Company seats, instrument panel, center console, and collectives and cyclic handles. All detail painting done by hand.
Roof and overhead console. The air duct work is done in A & B putty.
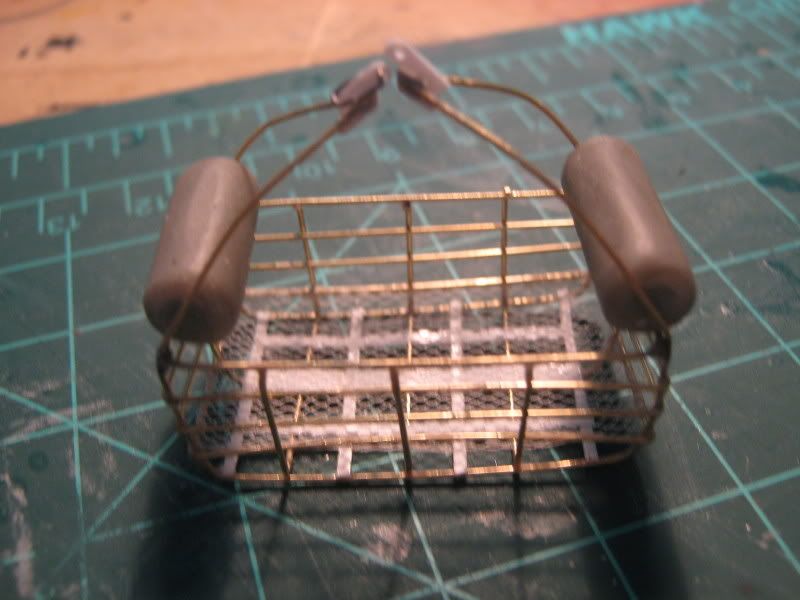
Finally, the scratch-built rescue basket. Made out of 0.020 brass rod soldered and super glued together, bridal viel toole for the mesh bottom, and A & B putty for the flotation rolls on either end.
Hope you like it. Now onto painting all the gear to go inside. Thanks for looking.
Excellent work Gino, I really like the lead foil you used for the seats. I have been thinking of what to use to build the bench seats seeing none of the model manufactures build very good bench seats. Where did you get the lead foil? The next helicopter model I will definitely build my own bench seats.
Again, great work and can’t wait to see more, but also understand it takes a lot of time doing out of the box detailing.
AWESOME HeavyArty , you guy’s with your 1/35 scale Helicopter builds leave me speachless . The amount of detail work that goes on is truly incredible .[tup]
Thanks guys. The basket was a pain in the @$$ to get together and it isn’t perfectly square, but I like how it turned out. This is a fun project, I really like adding all the extra details inside.
It is from the neck of a wine bottle, a nice Tuscany, 2001 vintage I believe… Unfortunately, I brought just the foil with me to Iraq, not the full bottle. [#toast] [:D]
I’ll put up another update when the interior is complete with gear and all.
