Great scratch building job! Impressive! I really need to give up this “life” and get my “old” one back when I used to tackle jobs like that! I built the turkey featherless afterburner cans (162 pieces per can) for an old Monogram 1/48th F-15A back in the mid 80’s and never finished the model. I only have 20 plus such projects incomplete! King of the Porcrastinators!
Keep up the great work and thanks for sharing your “skills” with us!
Thanks Mel. Glad you like it. Here is the latest.
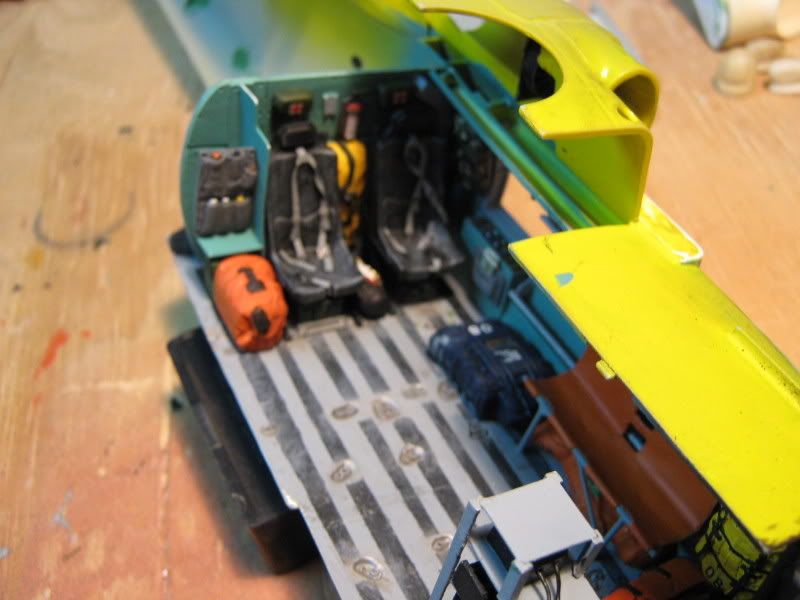
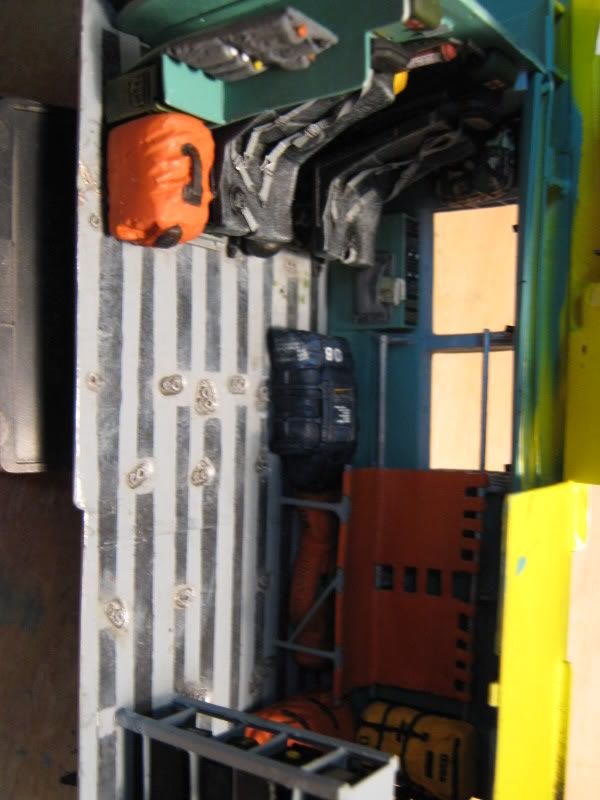
The interior is done. Here it is before I sealed it up. Of course you can only see about half the details after its closed up. Oh well, I know its all there.
Rescue Basket
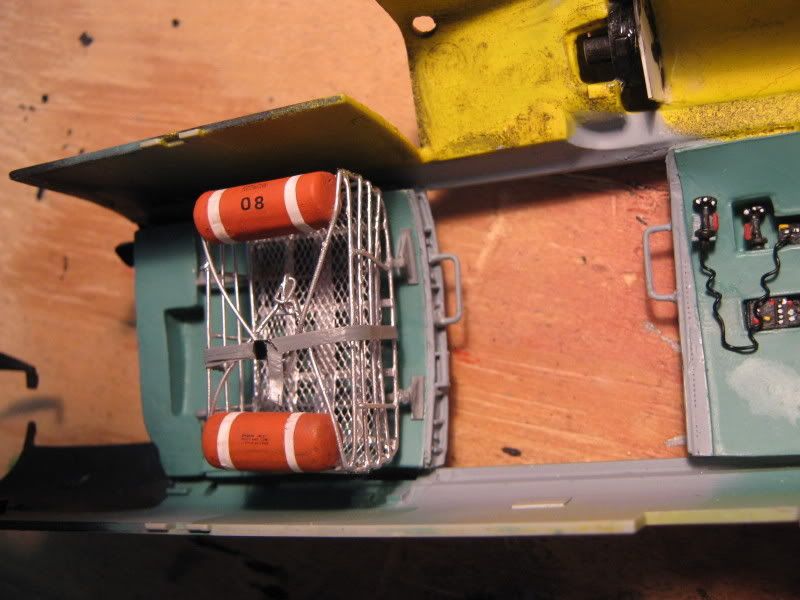
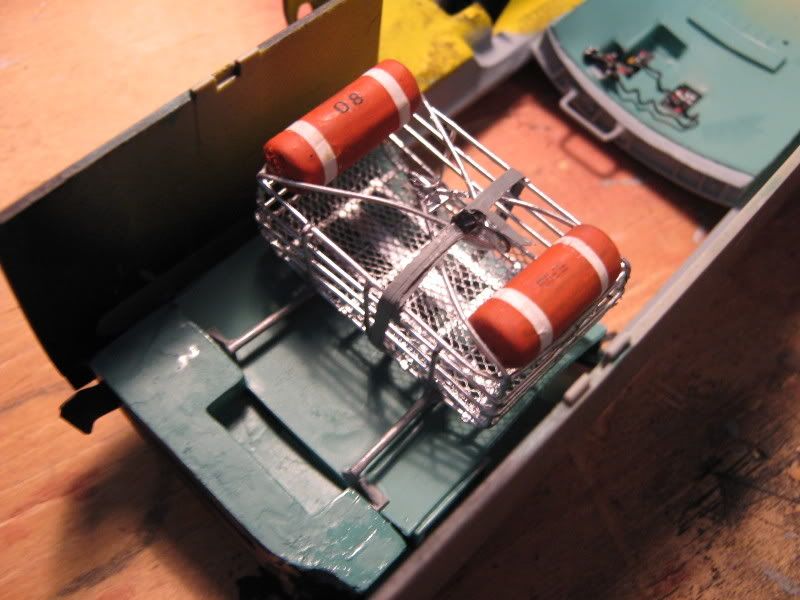
The rest of the gear.

OK… I still LOVE the basket. It is the highlight of the interior!!!
As far as what you can see…yep that happens, but you know it’s there…thats what counts. We have seen it there…thats a bonus.
Looks great.
Rounds Complete!!
Having just gone thru this thread and trying to think of something intelligent to say about your build Gino, only to draw a blank. I guess that all I can muster up for a response is:
WOW!!
Man, I sure wish that I could do rotors! Your builds taking shape sure are fun and interesting to watch!
Sheeze.
Thanks guys. Glad you like it. Its been fun so far. Currently carving and sculpting the external stores mounts out of resin pour plugs…fun, fun. I’ll show some more progress soon.
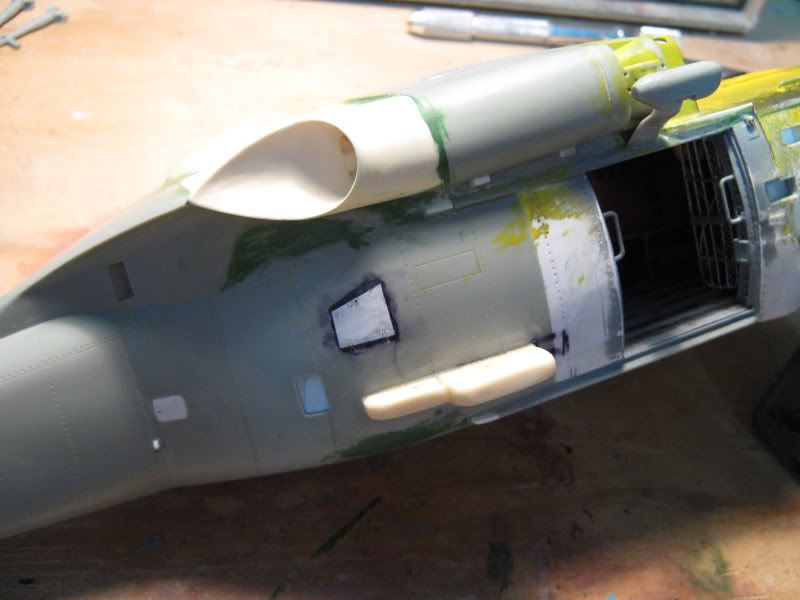
Latest update. I have closed it up and finished the fuselage. I built the External Stores Support System (ESSS) wings out of scrap resin pour blocks, sanded and shaped to the correct pofiles.
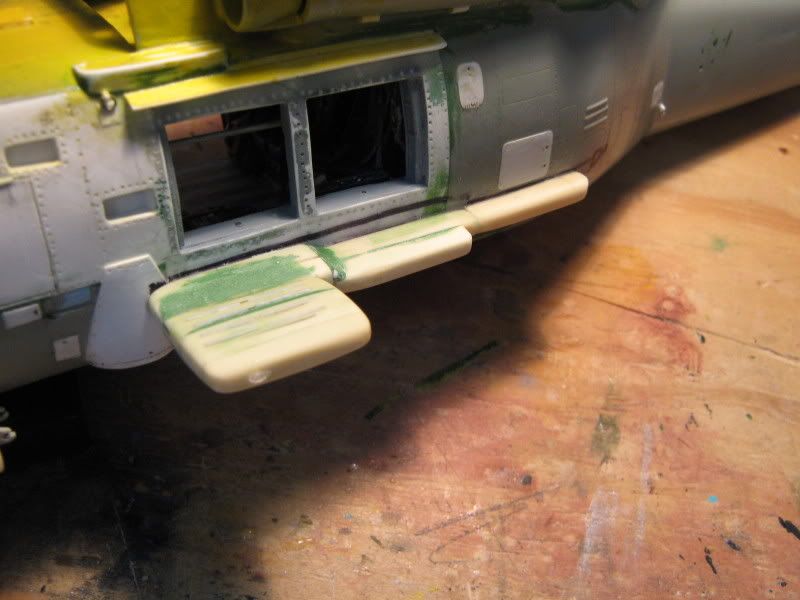
Starboard side ESSS and extended hoist mount.
Port Side.
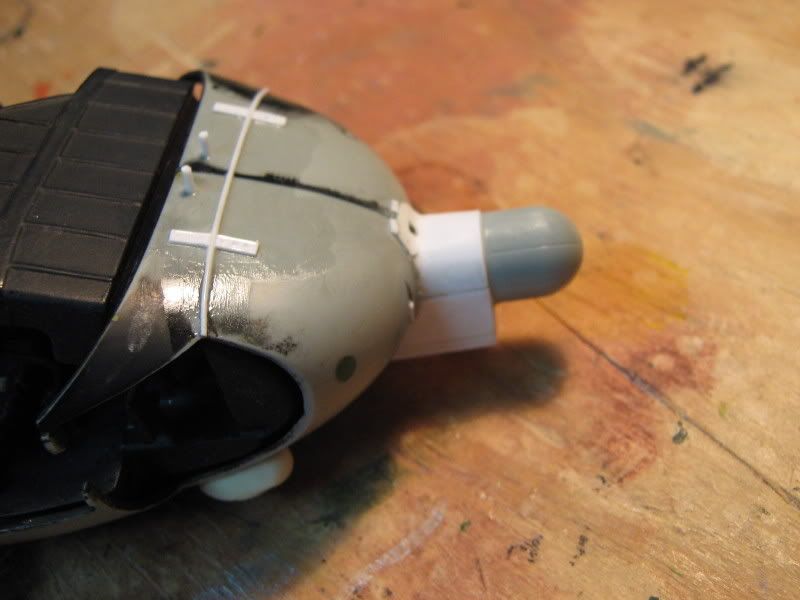
The radar nose used the Academy weather radar out of teh MH-60G kit. I scratched the mount out of sheet styrene.
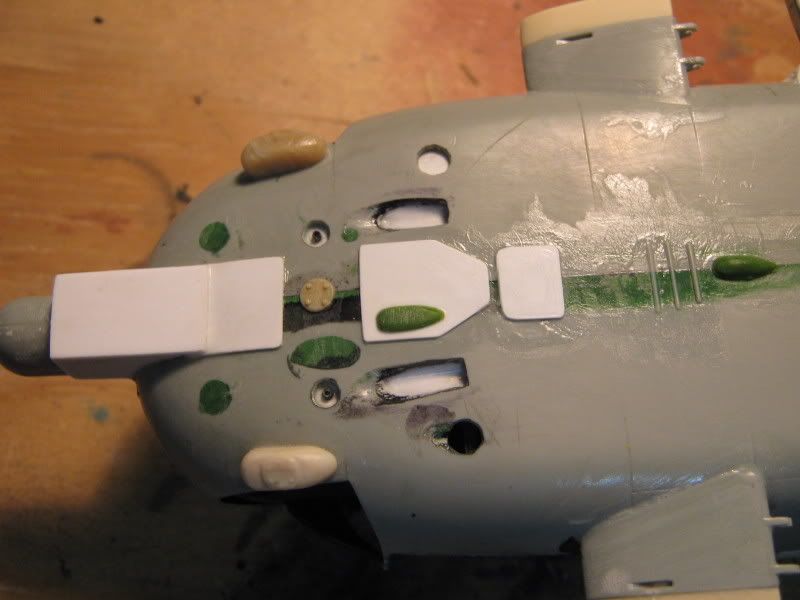
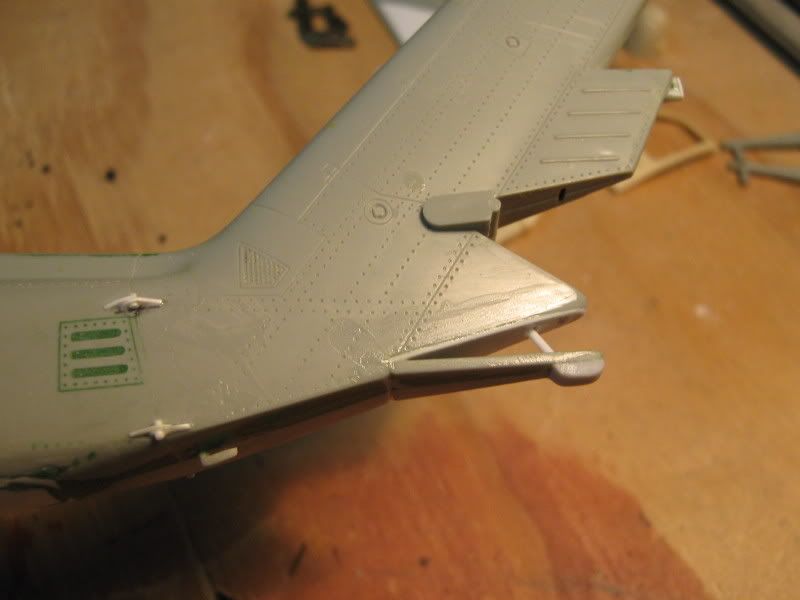
Underside details.
Tail anti-collision skid.
Next up is the rear landing gear, external fuel tanks, and reshaping the main rotor blade roots and adding hinge details.
Gino -
The lost art of scratch building…the sign of a REAL modeller! Nice details. This one is a keeper!!
Watching this is giving me the feeling for a helio for my build next…It won’t be anything like this but as usual you give me insperation!!
Rounds Complete!!
Thanks Mike. It is coming along. I think I am in the home stretch now. Currently working on the external fuel tanks. I love scratch-building too.
Come on, you know you want to do a helo. I dare you to start one… [:D] [:D] [:D]
OK…I’ll take you up on it. Sitting at the bench I looked over and decided after the build I am currntly working on, I take myself back in time and build the Dragon “Loach”.
It will take me back to the AO days of artillery!! Mark it down [;)]
Thanks for the push
Rounds Complete!!
Sounds good. The Egg is always a fun build. Good luckon it.
I finished the fuel tanks up last night. I’ll post some more pics soon.
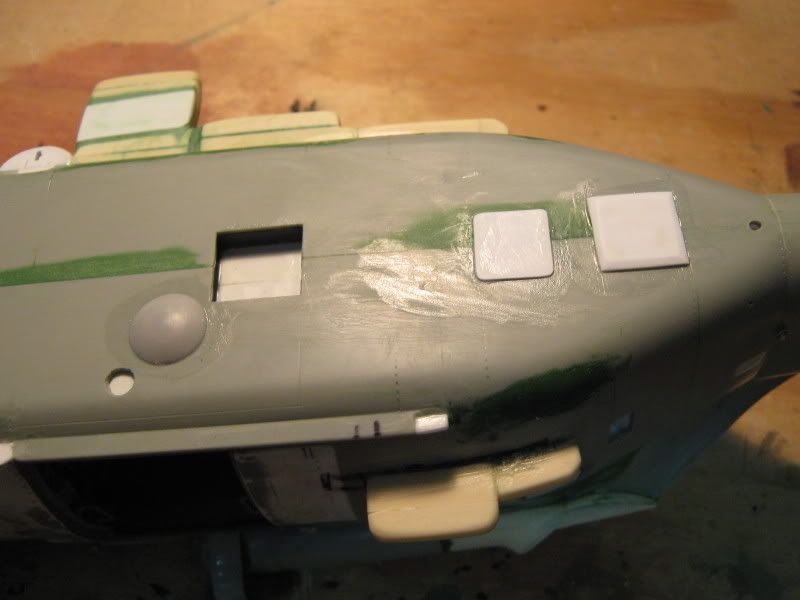
Here is the latest. I have completed the external fuel tanks. I used the tanks out of the Academy UH-60A/L kit, cut down to size. Apoxie Sculpt A & B putty for the end caps , and sheet styrene for the fins. The black access cover shapes are the new Archer texture decals. They look great, but didn’t stick at all. They are thick and stiff. They wouldn’t bend around the curve of the tank. I had to superglue them on.

Next up was to modify the main gear struts. I used a left over covered spring piece from a resin howitzer and the kit strut. I built the rear strut out of 1/8 inch plastic tubing and some scrap rings, along with the connection end of the kit’s tail wheel and some scrap angle pieces. Also in this pic is the intakes for the engines with the air flow center tubes extended back to the face of the turbine. I extended it w/ A & B putty as well.

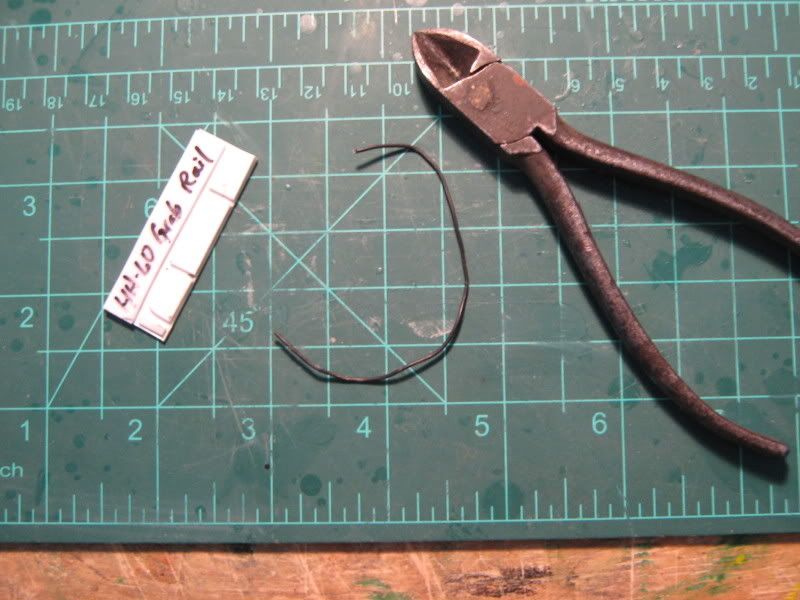
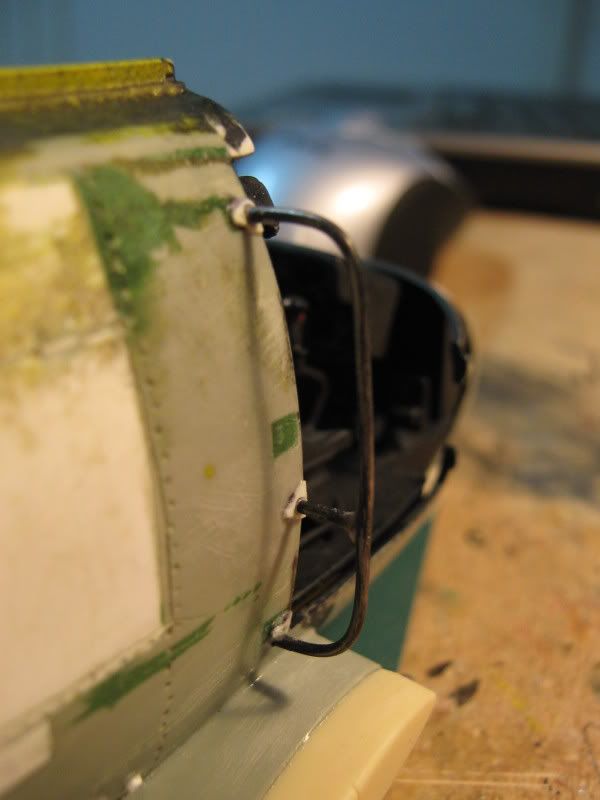
Lastly are the grab handles behind the pilots doors. I made a jig out of 0.040 sheet styrene so I would get the same shape for each. I bent thin muffler wire to shape and installed it into holes I drilled into the fuselage.
Its just about ready to paint. Next up is to install the canopy and start taping it off. I also have the main rotor blade fold hinges to make and then detail the main and tail rotors with some wires. I’ll keep you posted.
The progress pic’s are awesome Gino , Even though I have both Squadron books on the H-60 Blackhawk , I ignorantly always thought those grab handle’s behind the cockpit doors were some type of antena arrangment [#wstupid].
I sure do admire all your skills and scratchbuilding , I sit in front of my computer with absolute amazment at what you are accomplishing , I wish I was half as good as you Gino .[tup]
Kind regards John.
Thanks John. You give me too much credit though. I just use tried and true techniques of building; sheet plastic, some wire, A&B epoxie putty, lots of filler putty, etc. With some practice, I’m sure any of you could tackle it too. You just have to plunge in and get started.
The grab handles are just that on the USCG HH/MH-60Js. On other versions, such as Army UH and MH-60 Blackhawks, they are antennas. Just depends on the type. The antennas are usually painted black and wider, flatter affairs too.
Looking Good. I love wire and grab handles.
Surprised on the Archer Transfers, I’ve used their surface detailds and never had a problem. But…there is always a first.
Rounds Complete!!
Here’s the latest. The paint is on, all except the black. I’ll gloss it, then add the flat black parts.
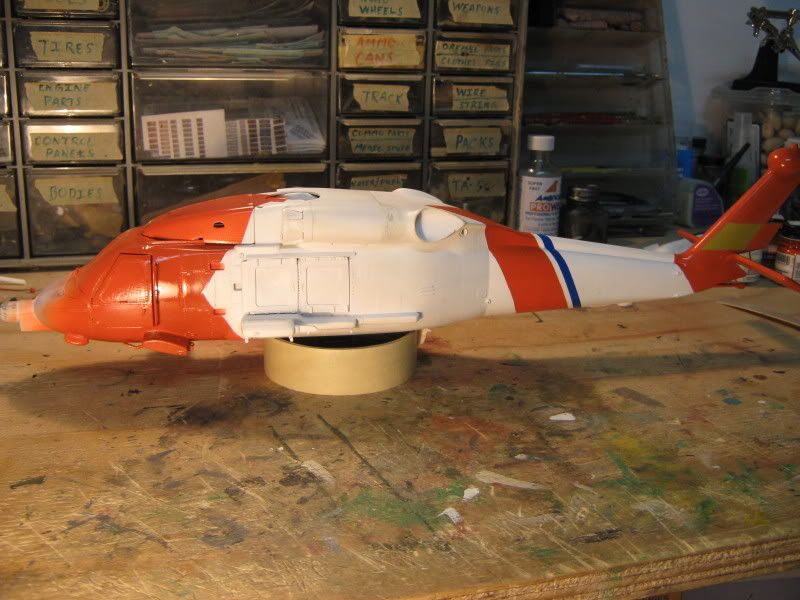

Looking good. Nice masking job. Great color match. [;)]
Love the box in the background too!! Nothing like a portable parts warehouse
Rounds Complete!!
Thanks Mike. Now on to decaling…lots of them too. Yup, the junkyard is great to have on hand. Wouldn’t be able to scratch-build as easily w/o it.
I agree on the excellent masking and airbrushing [tup]
She’s looking great and I can’t wait to see her finished.
Kind regards John
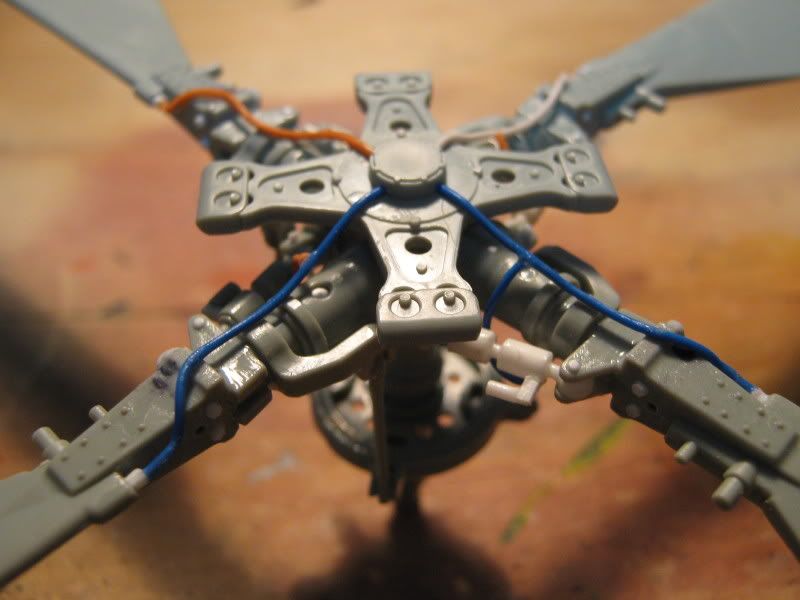
Project is almost done. Here is the last bit that needs to be completed. I have modified the rotor blades to have the hinge for folding them. I also added multiple bolt heads from hex rod that were missing. I added the vibration damper from the lower swash plate to the shaft as well. It was made using sheet, rod, and tube styrene. Lastly, I added the cabling from the hubs on both the main and tail rotors as well.
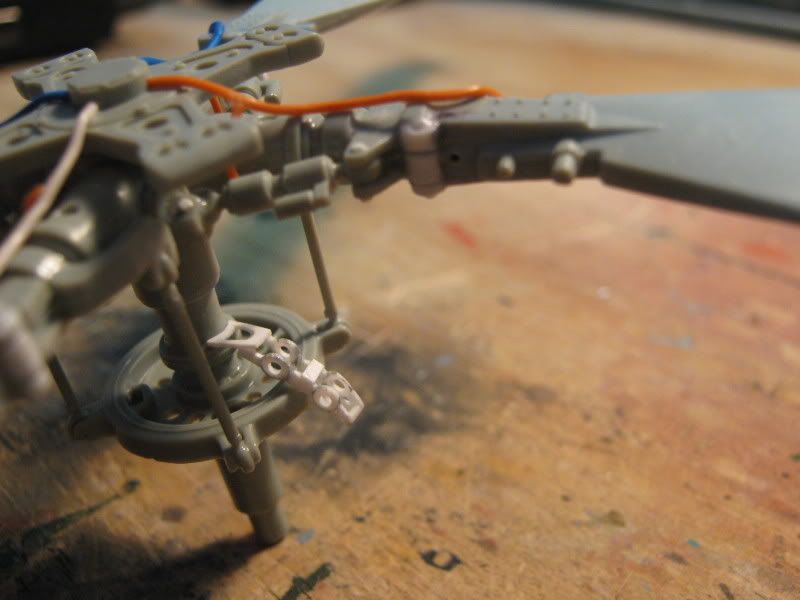


I just need to paint and detail the rotors and it will be done. The fuselage is completely painted, decaled, and finished. I’ll show it all done and together in a few days.
Keep a look out for it.
Looking good Gino.
Quick question: What’s the plumbing on the rotor for? I assume the blades are hollow and there’s some sort of inert gas in there. Are the pipes to inject something in if one springs a leak to maintain balance?