I’m starting a new WIP with something I wanted to build for some 20 years. Now I got a present for Christmas and I just decided to go for it (maybe ther is some youth left in me!).
We’re talking about a kit from a Vietnamese company called Hobby Link:
Almost all of the kit are 3D prints, but there is also some metal mesh and some decals:
Already the first part posed some problems, but my enthusiasm let me overcome it. The main frame was warped and straightening it under hot water didn’t work very well:
That’s why I cut off the crooked parts and made new ones from a styrene sheet:
I’m painting some parts with matt black spray paint and this works well to spot the places in which the “grain” of 3D printing is visible. Most supports are already removed, but you can spot some single leftovers here and there:
The tracks have 3D printed pins and go together really well. There are plenty of spare track shoes just in case. Most things are dry fitted at this stage:
And that would be about it for now - thanks for reading and have a nice day
What a fascinating subject! Interesting that it’s largely resin printed. Looks great so far - no layer lines visible from here! Those tracks look excellent.
Nice! Lucky guy!
Seems we might need to start a thread for how to deal with ‘warped’ parts. Technically, the resins (if UV cured) should be stable and not subject to warping. Perhaps clamping to a ‘straight-back’ board and exposing to sunlight might have ‘set’ the parts straight again… something to research fer sure!
Thanks for sharing, looking forward to the journey!
Regards, Robert
Hello everybody!
My best wishes for the new year for you!
Thanks a lot for your comments and for your kind words.
@cbaltrin - I think no, at least for this one that I would like to show all the mechanical details. I would like to build another Rome plow in 1:72, and this would be a natural candidate for a diorama.
@Toimi_Tom - it’s not so easy to photograph, but there are some problems with the surface finish of the parts that have to be addressed - more on this later, but I still like tha parts overall.
@Rob_Beach - yeah, that would be a nice idea. This resin feel different than the one I worked with previously with cast parts.
A small update here:
Working on some surface preparation. On the suspension sides there are some longitudinal marks. I marked some similar blemishes on the insides of the parts in the photo below:
I’m going to leave the ones on the insides be - but the ones on the outside were really visible, so I’m filling them.
I’m working on the engine. Out of the box we get a miniature of a Caterpillar D339 Engine. As I plan to show the engine off, I decided to add some wire to it, to make it look better:
A little less on the other side:
Now I’ll try to paint it accordingly. Maybe somebody with hands on experience could give me some pointers as to which parts could be a little cleaner due to being handled/serviced more often, or which filters could be “commercial” colour.
Thanks in advance for your help and have a nice day!
Paweł
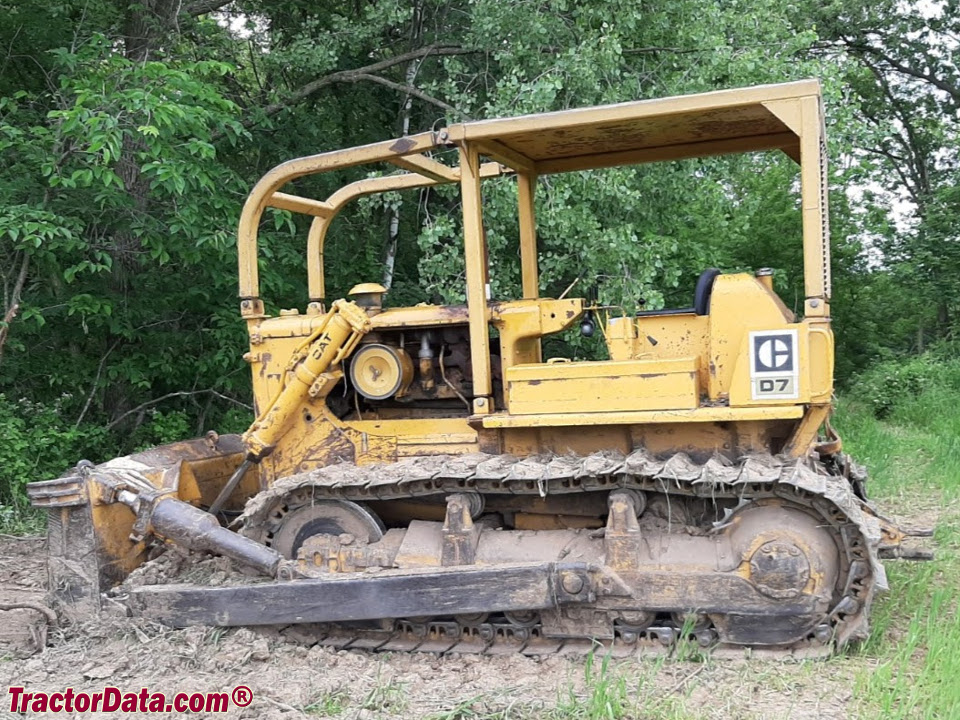
Pawel, the civilian designation for the tractor is D-7E, Caterpillar of course. Here is a link to where a museum is restoring a military D-7E. In one photo they show where they have just installed a used engine in yellow and it looks fairly common for what a used engine would look like. They didn’t often suffer from oil leaks but the turbo and exhaust would burn paint pretty good. The filters were cartridges inside caterpillar metal housings.
When you search the internet you will find that Caterpillar has re-used the D7E model number for a newer Hi Drive tractor so don’t be confused by that, they have nothing in common.
Hello everybody!
Thanks a lot for your comments! @Demolition - thank you for your kind words! @SprueOne - the subassembly on the front with two belts is one intricate 3D printed part supplied by the kit. @jeaton01 - thanks for the explanation John. The history of those dozers is long and complicated, but I was researching this for a long time and I started to have it figured out. Thanks for the link, all the references I can get will be helpful here.
The term-of-art in English is “belly pan.” These are meant to protect the underside of the engine, transmission and clutches, but also collect anything dropped from above while working on the drivetrain.