Mike , thanks for the explanation . [Y]
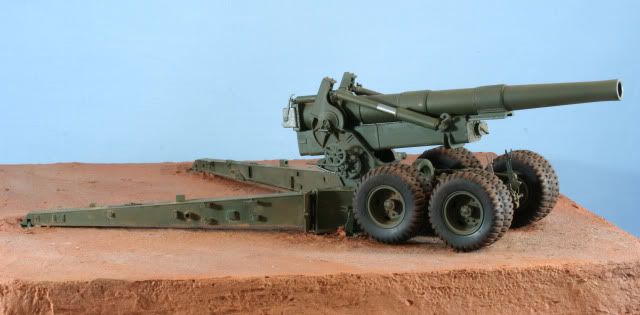
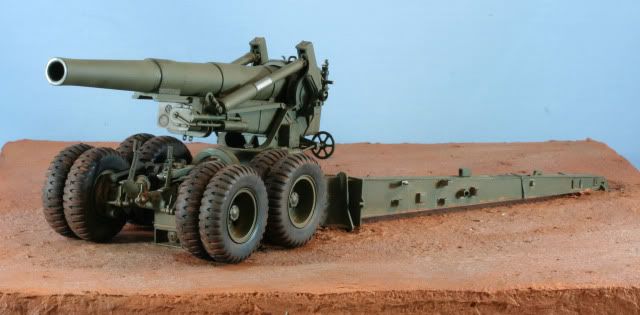
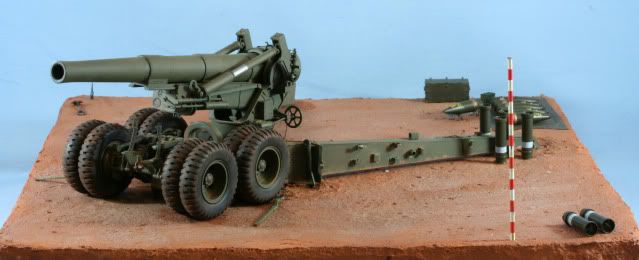
A quick update for this week, I was able to get some weathering done. First I used MIG Raineffects to create some streaks on the vertical surfaces and details. Then I used a mix of MIG VN Earth and Dried Mud, about 50/50 ratio to add the weathering. After the pigment dried I brushed off the excess and worked in the horizontal surfaces with a small soft makeup brush. This is the current look of the howitzer.
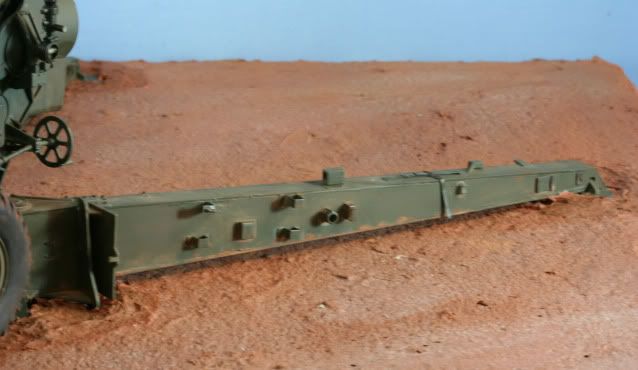
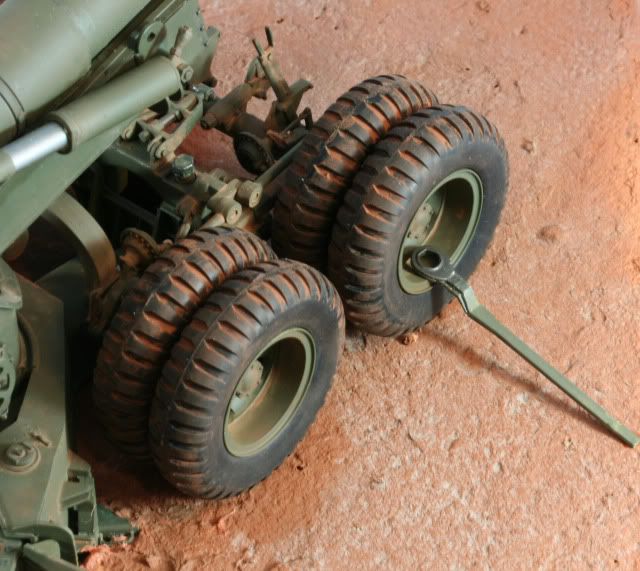
Close up of a trail
View from above the bogie

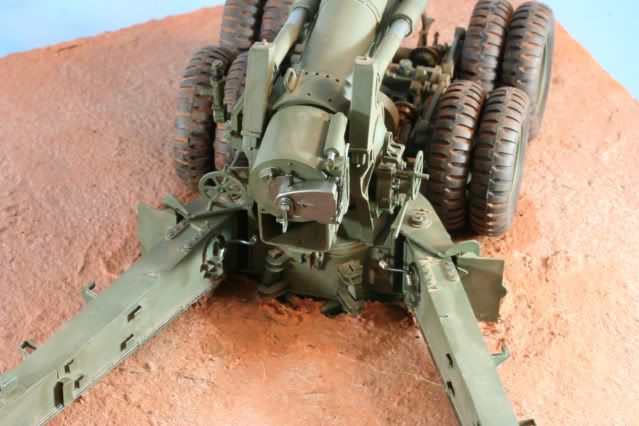
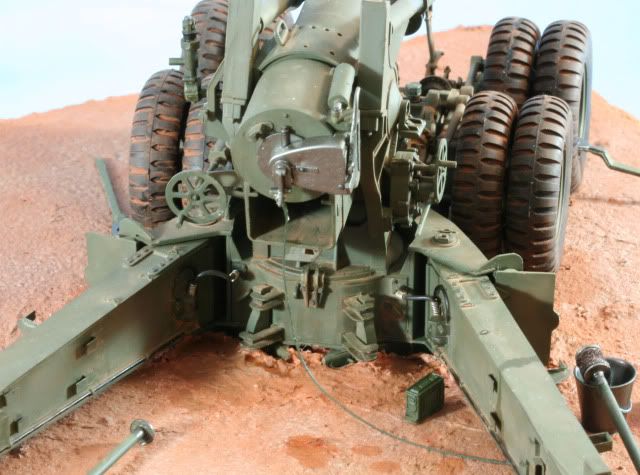
From behind the breech
That’s it for now, next up, it is time for all the little details. I will be adding Section chest, HE Projectiles, Powder Cans, Fuse Box, Aiming Post, Ramming Staff, Bore Brush, Pail, Lanyard, Projo Carrier, Telephone, and some other Misc. items.
As always all comments are welcome
Rounds Complete!!
Boy O Boy Mike[Y]
You’re breathing life into her for sure buddy
Tony lee
Very nice Mike
Looks great, Mike–but I"m excited to see how it finishes up. You’ve got a real niche carved for these kinds of vignettes; a real “style” to the genre.
I know you won’t let us down! [:)]
Making good progress Mike, keep the updates coming! [Y]
Tony - Thanks for the peek. It will be ready for a fire mission soon.
Tony, Tojo - Thanks for stopping in.
Karl - Well, the section vehicle is pulling up and beginning to offload the equipment. The bench has projectiles and little other details all in process. Glad you like my artillery positions… it is like me giving a little bit of home to everyone [;)] Thanks again and will be back soon with the details
Rounds Complete!!
Looking great as always
Chris - Thanks for the peek and for taking the time to comment.
Rounds Complete!!
Your M115 is looking great! [Y] I have to get used to that short barrel because every time I look at it I think of Long Tom… but I am starting to dig it.
Kinda reminds me of “west range” at Ft Sill if you add a little scrub brush. [t$t] Lookin great!
Andy - Just think of it as my big 8 inch [:$] Thanks for the comments and for stopping in.
Gene - Ahh…the West Range and Signal Mountain…well I am looking for Korea…see emplacement on page 1. I have a few shots like that from Korea. Thanks for the memories and for stopping by.
Rounds Complete!!
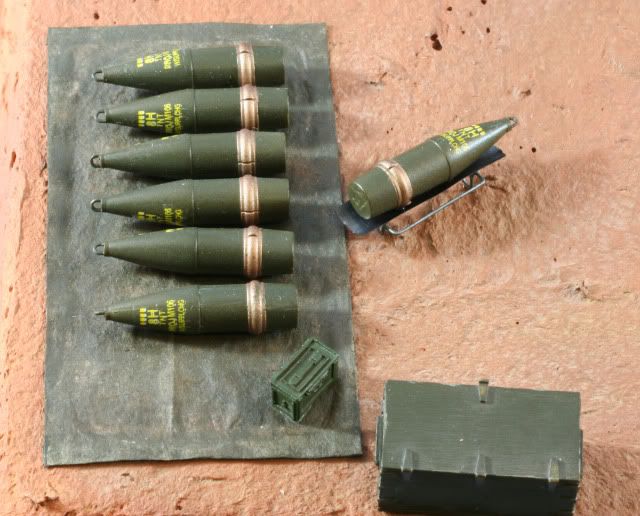
Here is a quick update on detail work. First I worked on ammunition. The 8 inch projectiles and powder cans are from the AFV 155mm/8inch ammunition kit. The projectiles and powder cans were painted with Tamiya XF62 OD. Then after a coat of future, I masked off the rotating band and it is painted with Tamiya Flat Copper. The lifting bolt is dry brushed with Alclad Steel. Then I added the projectile decals. The powder can was treated the same with Tamiya OD, future and then top edges and chime dry brushed with Alclad Steel. Then the white band decal was added. Here is there current state, once the decals have a day or so to set I will dull coat and they will be ready for mounting.

Aiming posts were the primary reference used for aiming. Using .060 styrene coated wire, it is cut slightly longer than the 2.75 inch or 8 feet full scale. The fun part is cutting masking 3.75mm and creating the candy cane.
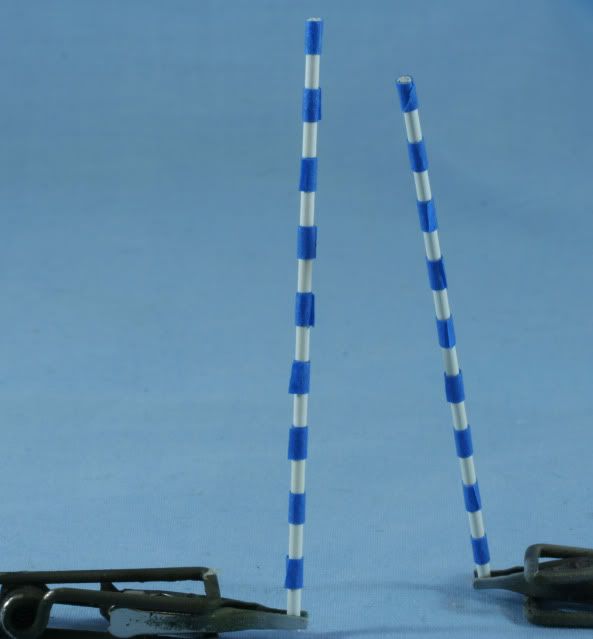
Then it is off to the paint booth and using Tamiya Flat Red.
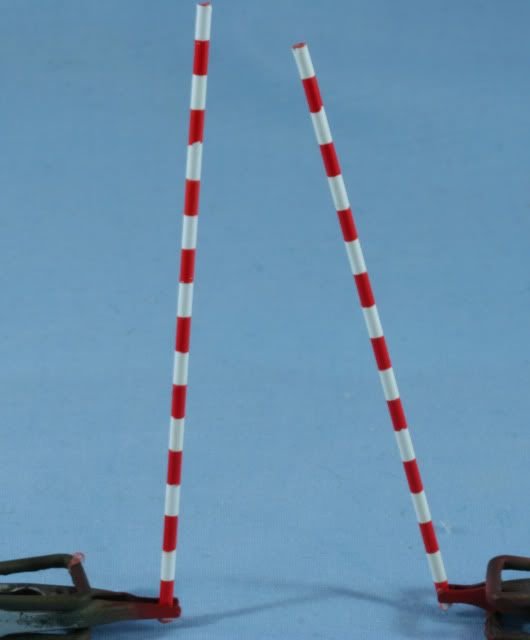
After flat coat the aiming stakes will be weathered and one mounted in the line of sight of the panoramic telescope.
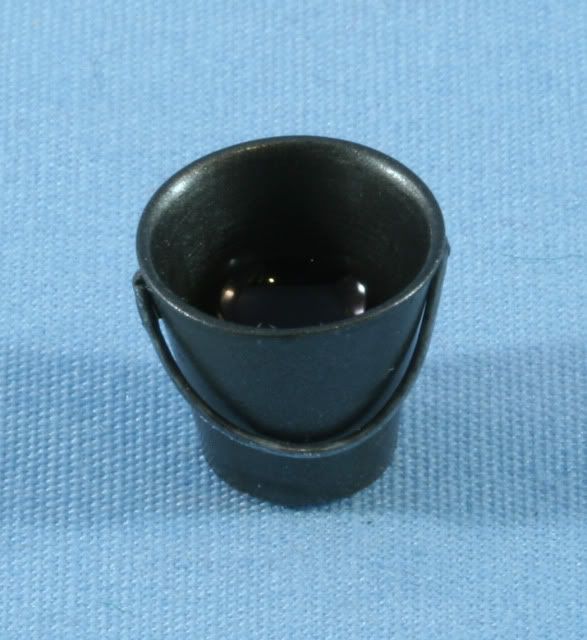
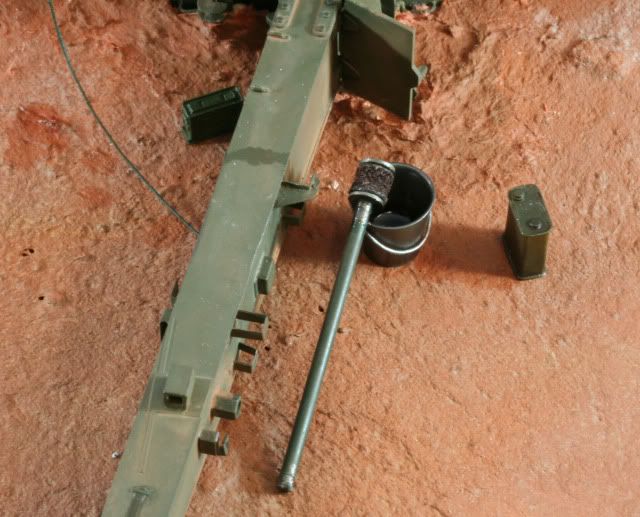
Cleaning the bore is a continuous issue with separate loading ammunition. This pail is from the Warriors artillery tools set. It is primed with Tamiya Flat Black and then painted with Alclad Steel. The handle is 20 gauge SS wire bent to fit. Inside the pail is a mix of clear urethane with some MIG Dark Wash to make an oily mix to simulate Bore Cleaning solution. This will be paired up with a ramming staff with a bore brush still to come.
Every howitzer section always has a tool chest. This would hold the fuse wrenches, and special tools used on the particular howitzer. This chest is a small resin company, which is painted with Tamiya OD. The hinges and latch are dry brushed with Alclad Steel and the box edges are dry brushed with Tamiya Buff to simulate wear down to the wood. The chest is weathered with MIG Industrial City Dirt pigment.

That’s it for now, more details to come.
As always all comments are welcome
Rounds Complete!!
Holy carp, Mike–that stuff looks awesome. That tool chest could pass for the real thing, no lie!
Excellent just Excellent Mike[Y][][][][][*]
Tony lee
Karl - I am humbled by your comments, thanks. It make all the time I spend on these little things worth while!!
Tony - From one detail nut to another…Thanks
Rounds Complete!!
Always love to see the little details come to life in your arty projects Mike, very nice! [Y]
Bill - Thanks, you know I am always trying to provide artillery fire support to the forum!! Like you I love the little details.
Rounds Complete!!
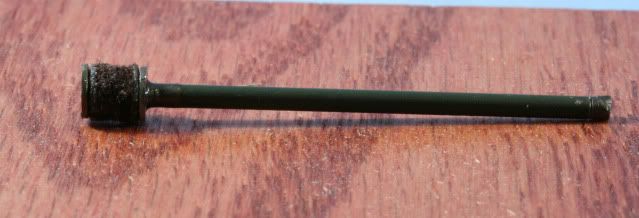
Well here is the finish. First some of more details, the bore brush, I used my punch set to punch .160 to punch felt I use for the pads under the base. Two punched pads glued together to make the brush. Some .020 styrene punched for the brush end caps. Then the .040 styrene coated wire for the ramming staff section, 1.375 inches long. The end caps and the ends of the ramming staff I painted with Alclad Steel. The main section of the staff I painted with Tamiya JDSF Green. Eventually it is weathered with same MIG pigments used on the howitzer.
Next, I made the ramming staff. Similar to above using .040 styrene rod 2.75 inches long (2 sections) and punched .020 styrene sheet for the .160 end plate to make the 8 foot ramming staff. Painted same as above.
The aiming post painted in my last update, I weathered with MIG Light Yellow wash and Alclad Steel to create the scratches
The projectile carrier I made using some leftover PE cut to size to match the projectiles. Using 20 gage SS wire I shaped the handles on either side and the two set of feet. Since they were already a steel color, no other finishing was required.
The most important items to a towed artillery crew is the shovel and pick. Out of the spares pile, the heads and shovel handle were painted with Tamiya Flat Black. The wood portions were painted with Valejo wood primer. The scratches on the metal parts I dry brushed Alclad Steel onto the ends and the wood scratches I dry brushed with Tamiya Buff. Finally the dirt was added using the MIG pigments used on the howitzer.
The bogie wrenches come with the kit. I painted the handles with Poly Scale OD and the ends with Alclad Steel. They were finally weathered with MIG Light Brown wash. I positioned one on each side of the bogie.
The tarp under the projectiles I made with airplane tissue. First the ends are cuffed and glued using landscape cement. After it cuff seams dried, the tarp was placed using landscape cement and once the cement dried it was painted using Tamiya Olive Green. The tarp was then weathered with the MIG pigment mix.
After adding the projectiles, a .50 cal ammunition can was added as a fuse can for the projectiles. The .50 cal can came from the spares box and was painted with Poly Scale Medium Green.
I added “oil” stains where the bore brush would be carried. Here you can see the oily stain on the howitzer trail and on the ground around the pail and under the breech. Lastly the brush and end of the staff was also coated to create the oily look all using Floquil Bright Oil.
Lastly, I added the all-important lanyard. The lanyard is from wax covered ship string, then painted with Tamiya Olive Green. The connector hook is 26 gauge SS wire threaded through a drilled hole on the trigger mechanism. The .30 cal ammo box is for primers, also from the spares box and painted with Poly Scale Medium Green.
So, with all the details complete, here is the completed big 8 inch howitzer!
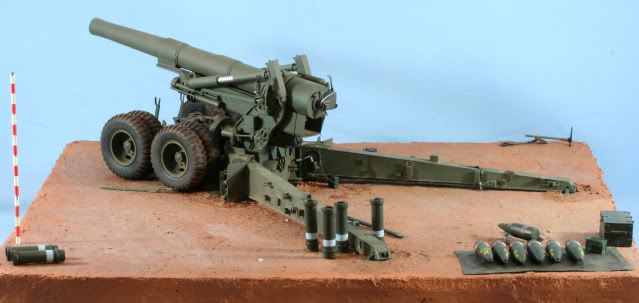


Thanks for following along. On to the M4 HST with the M5 Carriage Limber up next
As always all comments are welcome
Rounds Complete!!
EOM
She came out great Mike. Excellent job as usual. The extras really make it come to life. I’m looking forward to seeing the M4 HST next.