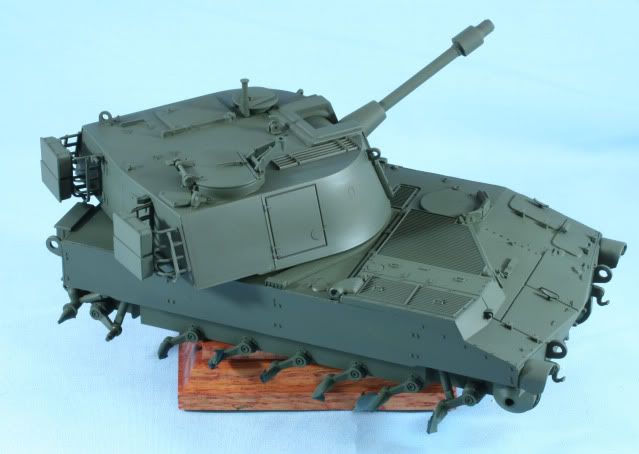
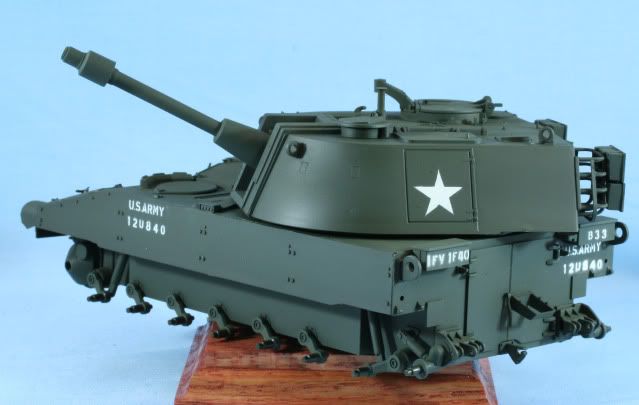
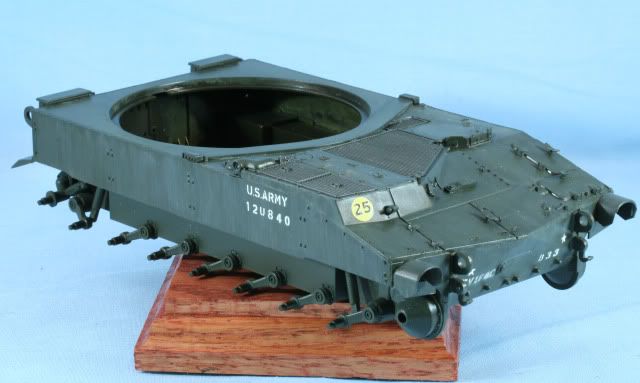
Just a quick update for this week. It was time to add some paint so the overall finish is Tamiya XF-74 JSDF OD. Then for some tone the high areas are sprayed with a XF-51 Khaki Drab wash. This is sprayed a number of times to build up the tone color
Now it was time for markings. First the stars were applied on the turret and small stars on the front. This is done using a stencil to make a mask with blue painters tape and then with the mask applied a light spray of Tamiya Flat White. The bumper numbers are made up from a stencil set, applied directly to the model and the also sprayed with Flat White. Setting up the stencils can be a female dog and take a bit of time.
The hull and turret will receive a coat of future and then some decals for the bridge weight marker and the “barrel name” Bounty Hunter.
Meanwhile I have been busy cleaning tracks and beginning track assembly with about 1/3 of one track assembled.
As always thanks for stopping by. Your comments good or bad are always appreciated.
To my joy I saw one on EBay…the first day and it’s up to $70…I hope it gets over $100. Maybe then some will come out of the woodworks. Looks like I should have went for the $50 when they had a few a while back.
How do you do all those little details without getting your fingers stuck together…[:^)]
Pat – Thanks, the stencils work out well, especially for the stars. As for the “highlight” it is a way to help break up the mono color look. After some oils with dot filters it will take on a nice effect.
Labour in Vain – Always enjoy my building and sharing. Thanks for the comments
Noah – Thanks for the comments….as far as the details….dental tools and jewelers loops on my eyeglasses [bnghead][:O]
OK…It’s been a couple of weeks. RL has been keeping my weekends busy. Hopefully I can finish this guy up soon though I will have a break when I go to AMPS International. Nonetheless here is the latest progress
Besides continuing to assemble track (one just about complete) I have been working on the chassis. I applied Archer Transfer Bridge Crossing marker on the front. Next I pin washed the engine grill and air intake grills along with bolts and hatches. Letting that dry for a day, I did some dot filters using White, Sap Green and Flesh Oil paint. Here is a look after the filters
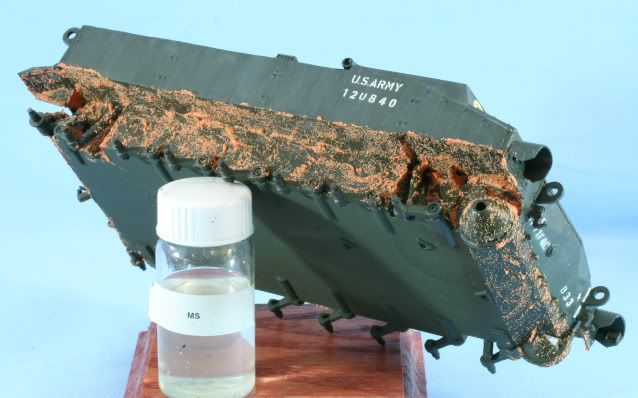
I completed filters on the side and top surfaces. In the track area I used a Ceramic Stucco tinted with Burnt Umber acrylic. This gives a good “chunky” base for a dirty track area. I applied the stucco using random splotching with buildup in areas which would normally hold dirt.
After the stucco dries overnight I will work the areas with Vietnam Earth pigment…next week
As always thanks for stopping by. Your comments good or bad are always appreciated.
Kevin - Thanks for stopping in. Glad you got something out of my build log.
Steve - Thanks for the concern…just way too many things happening jeeping me away fro the bench at times…hopefully it will get better after early April