Man that is one "rompin’ stompin’ " interior right there!! LOTS of eye candy goin’ on in there.
Like you, I’m not going to have any time for modeling today BUT…tomorrow…tomorrow is a new day. ![]()
Man that is one "rompin’ stompin’ " interior right there!! LOTS of eye candy goin’ on in there.
Like you, I’m not going to have any time for modeling today BUT…tomorrow…tomorrow is a new day. ![]()
Your attention to detail is over the top. Specifically the avionics wiring from the back of each instrument. Stunning work
So I have come across a bit of a road bump in my Ju88 build. I have a set of Eduard MG.15 guns to replace the kit versions. After opening them and cutting them from their resin blocks at lunch today, I noticed that they do not have the little ball that mounts them to their window-mounts.
That ball is present on the kit parts.
The kit parts are not terribly impressive as compared against these Eduard guns.
So the question is, do I cut the ball from the kit parts and mount the rear half of the Eduard guns to it to get them mounted, then the forward half of the Eduard guns once I’m ready to install final details? Or just use the kit guns?
A little progress last night - got all the Montex Masks applied to the clear parts, and opted to cut the mounts from the kit guns to use with the Eduard resin guns. This required separating the barrels from the breeches and attaching the breech to the mounts (for two, these are balls, for the third, it is a different geometric shape intended to slot into the forward windscreen and be more of a fixed-position gun).
I hope to get the barrels of these guns completed by the end of the week, but I’m still considering how I will attach them. I can’t use CA to attach the gun mounts to the clear parts, as I no longer have any Future and haven’t seen it on store shelves locally in years. Probably I’ll just have to re-attach these barrels with the targeting pieces installed, then install to the clear parts with white glue and let that set up real well before touching them later.
@Tim_Kidwell1 didn’t FSM do a video on alternate options for Future a couple of years ago?
Totally missed the post where you were asking for advice on the guns Steven. Looks like you’ve got the same plan that I was thinking in cutting the mounts from the kit guns to use with the AM ones. LOTS of work but it looks like it’s going to be worth it, especially in this large scale.
We’ve done a few videos about this topic. Holloway House Quick Shine is our pick, but it doesn’t look or apply the same as Pledge Floor Gloss (aka, Pledge Floor Shine with Future, aka Future). Another option is AK Interactive Gauzy Agent Glass Coat. Again, a different application process.
Had plenty of time to spend at the bench today. I don’t feel like I got a lot done necessarily, but it was good to get some work in on the Junkers. It was actually too hot in my garage with our temperature in the Houston area reaching into the mid-90s, so I’m amazed I managed to stay out there long enough to get anything done.
I installed the flap / aileron actuators first. The instructions were not particularly clear on which parts go where. This is a head-scratcher in Revell’s instructions for this kit. Normally, if you are to repeat a step, you’ll see a “2x” or something similar. What they do here, instead, is to show a diagram of the first construction, let’s say a flap, with the parts numbers indicated. Then below that is another set of parts numbers, this time in parenthesis, but no visual to go from. While I figured it out, it’s just a bit of an annoyance in how they present the construction steps.
I managed to get the forward-firing MG15 attached to the inside of the windscreen. The barrel remains unattached. I also put some of the additional details into the canopy.
I sprayed RLM02 into the wheel wells then built the nacelles. The nacelles don’t fit real well, and I don’t think it’s a mistake on my part. Will need a lot of filler for a gigantic gap between a couple of the parts.
Finally, I added a wire to the compass attached inside the nose glass.
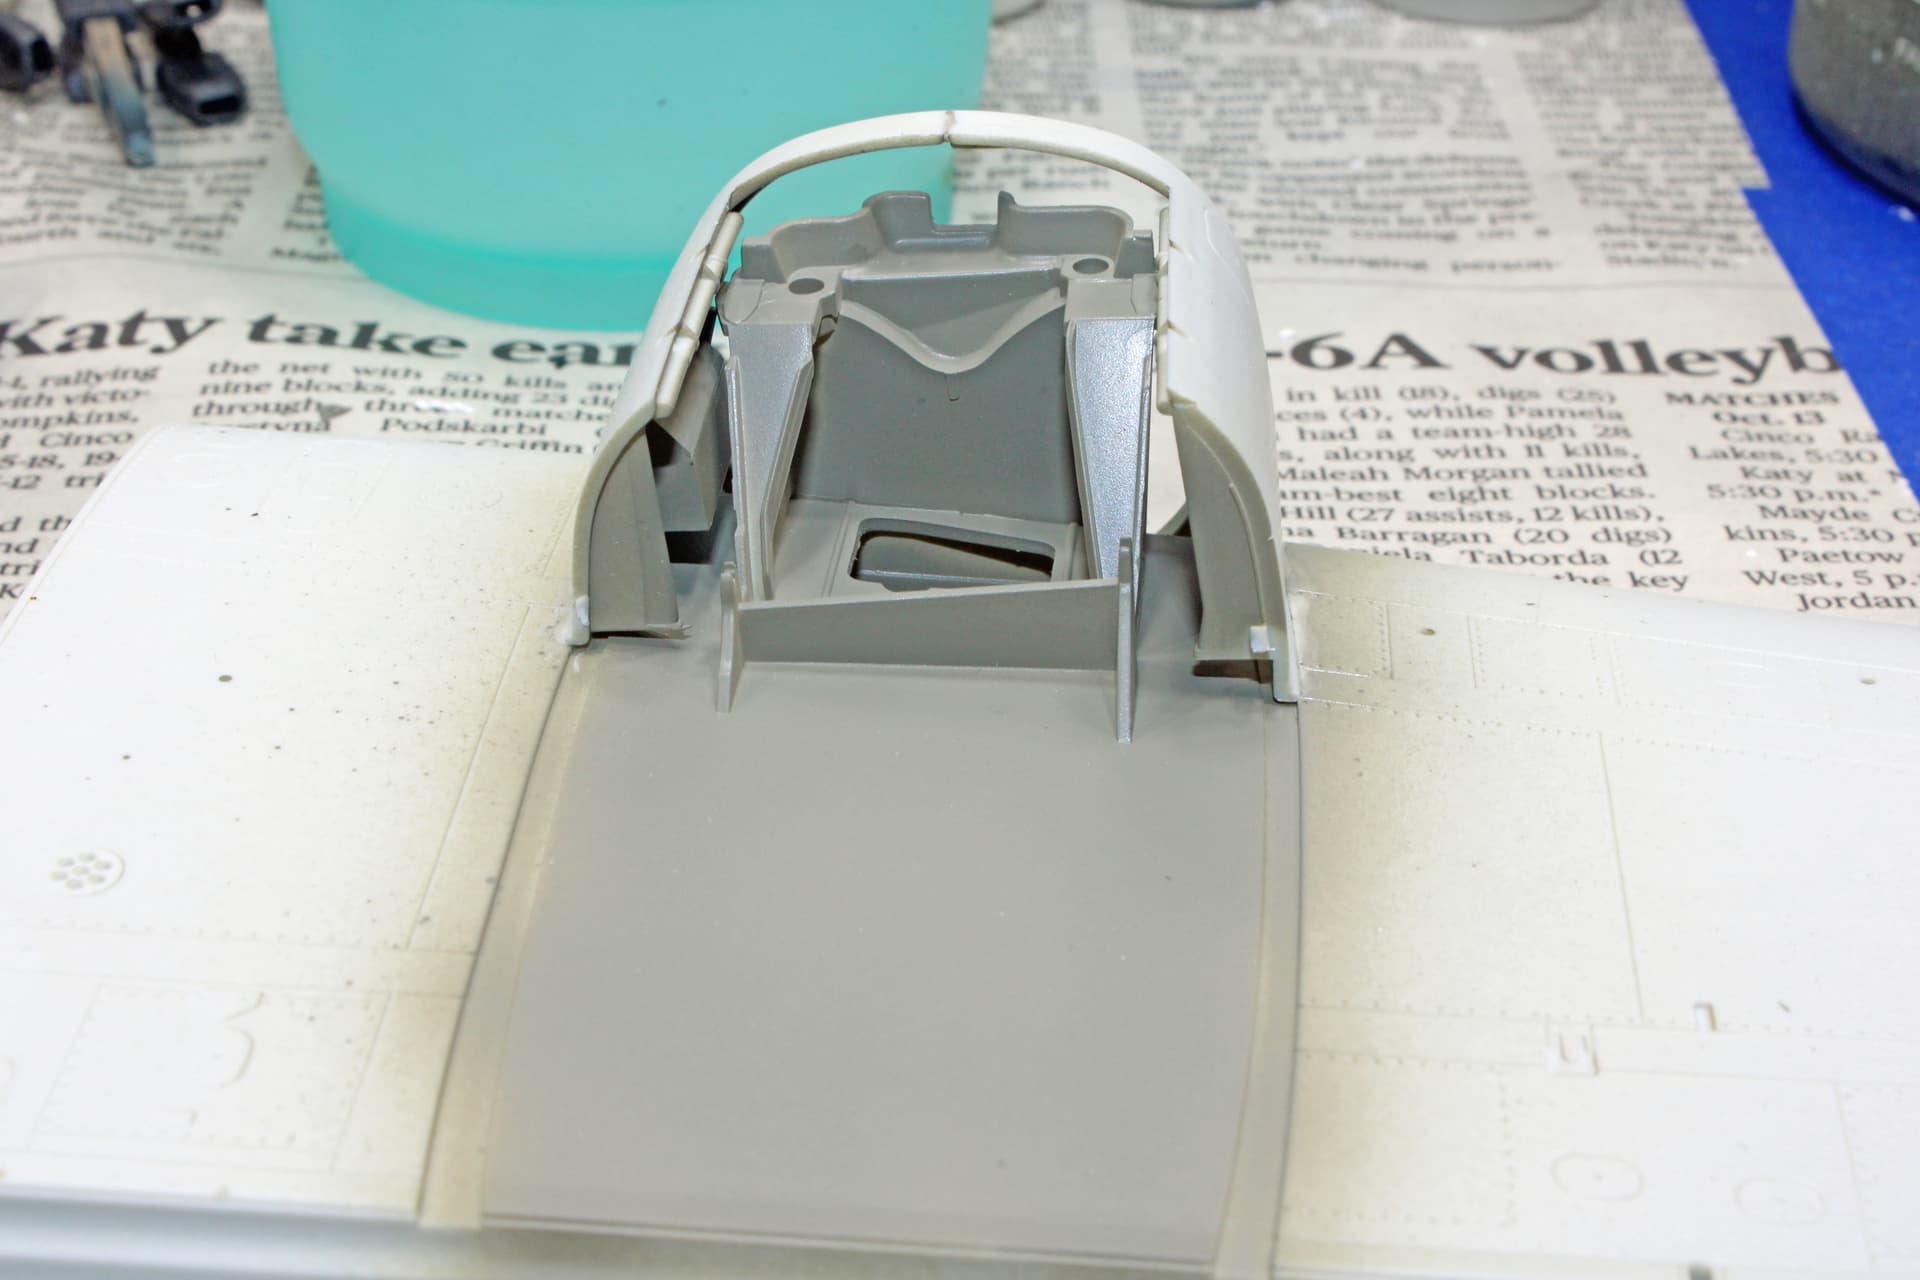
Some good progress today that started with getting all the clear parts arranged and ended with spraying everything with grey Stynylrez primer.
Some VERY good progress here Steven and sorry to hear about the fit blues with the nacelles but am confident that you will overcome this obstacle.
Man…I do hear you on the temperature right now in south Tx. Here in Corpus it was frickin’ miserable this weekend outside.
It looks like a tremendous amount of tedious work. But I love the way your progress is coming. I can’t wait to see the finished Model.
Thanks Chris. As a software engineer, I often thrive on tedious. Well, some times.
No work on the 88 today. After work, I had a vacuum breaker that had a break in it to remove from one of my outdoor faucets. (When the wife uses the hose for the first time in years and takes an unexpected bath, priorities tend to see a change). The set screw had its head sheared off, plus it was in the one o’clock position with about a half inch gap between it and brick wall, and it resisted all efforts at drilling/cutting/screwing it out.
Ultimately I used a pair of vice grips to muscle that thing off. And now my wife is calling me Superman.
Modest time spent at the bench tonight after work (it’s too hot to stay out there for long, or I just don’t have it in me right now, take your pick).
Vintage photos show a grill covering on a portion of that big radiator grill should be covered with a fine mesh, but Revell doesn’t include that in the kit. So I cut some out of fine PE mesh I have on hand and glued it into place.
Looking great! Getting caught up on the thread, this stood out to me:
I’m assuming that CA doesn’t fog clear parts if they’ve been Futured? Can’t say I’ve heard of that (or remember of hearing about it). I have a big ol’ jug (27oz) of Pledge Revive It that I’ve barely used any out of, I didn’t realize it was so hard to find these days. I’ll have to go re-package it into 0.5oz bottles and sell them on eBay for $100/ea. ![]()
@gomeral Yeah, Future would prevent the fogging.
I opted not to spend $100 or more on bottles of whatever they rebranded Future as that I found on Amazon. I ended up buying a bottle of Quick Shine, which will behave the same as Future based on the video linked above from @Tim_Kidwell1.
Like they say, measure twice cut once! That wood decal is really gonna make a difference!
Who’s decal sheet was that? MicroScale/SuperScale
Happy Modeling,
Mike
@Butz, Tauro Model Line made that decal sheet.
I managed to get in some late night work after it cooled down sufficiently. The work was mostly geared toward preparing for paint work. That included finally eliminating some troublesome seams on the fuselage and addressing the ugly seams on the nacelles. I also attached the flaps and ailerons, and painted the landing gear struts and actuators.
I’ve had some consternation over the struts. There is a canvas cover for the shock absorber. The instructions include paint call out of a dark grey for this. I’ve gone to scalemates to look at instructions for other kits, all of which seem to be a dark color, either schwarzgrau or flat black. I looked at my previous Ju88 build (1/48), where I painted that canvas covering black. The consternation is over a lack of color photographs of actual wartime 88s. Those that I am able to find are of no use, as that area is typically under shadow. Last night I painted those cover with Tamiya desert yellow without having consulted the instructions, then looked at the instructions this morning to see that my choice was not correct. At least correct per the instructions. I am thinking I am going to leave them as desert yellow, as that color makes sense for canvas and it will break up all the grey that I expect will define portions of this build.
Made some decent progress today.
The struts and tires are still a work-in-progress. Need to add brake lines to the struts and weather both the struts and the tires.
I’m calling the exhaust stacks done. I painted them a base coat of dark brown, then dry brushed with light brown and dark iron to achieve this look. I still need to cut them away from the carrier resin.
Finally, I put down the underside RLM65.
The wings are not attached yet. My painting plan always had me painting the fuselage separately from the wings, and from the engine nacelles. The splinter paint layout indicated in the instructions does not flow from the wings to the fuselage. The engine nacelles are RLM71; the nacelles that house the landing gear will be RLM70. This should greatly simplify the otherwise difficult splinter painting scheme.
Next up - lots of masking to protect the RLM65.