After reading and getting inspired by so many others WIP threads, I thought I would start one myself after picking up the hobby again from about a 30 year hiatus. Earlier this year I bought the 1/32 Revell Junkers JU88 A-1. I haven’t done a plane (or any model) since the mid 1980s and never one like this in 1/32nd scale. I knew it would challenge me right away since I decided to get some of the Eduard aftermarket PE kits for the interior and exterior as well as the CMK Resin seats. This is my first attempt at messing with PE stuff so I quickly discovered I needed some new tools too. I have to admit, I didn’t use every part that was available.
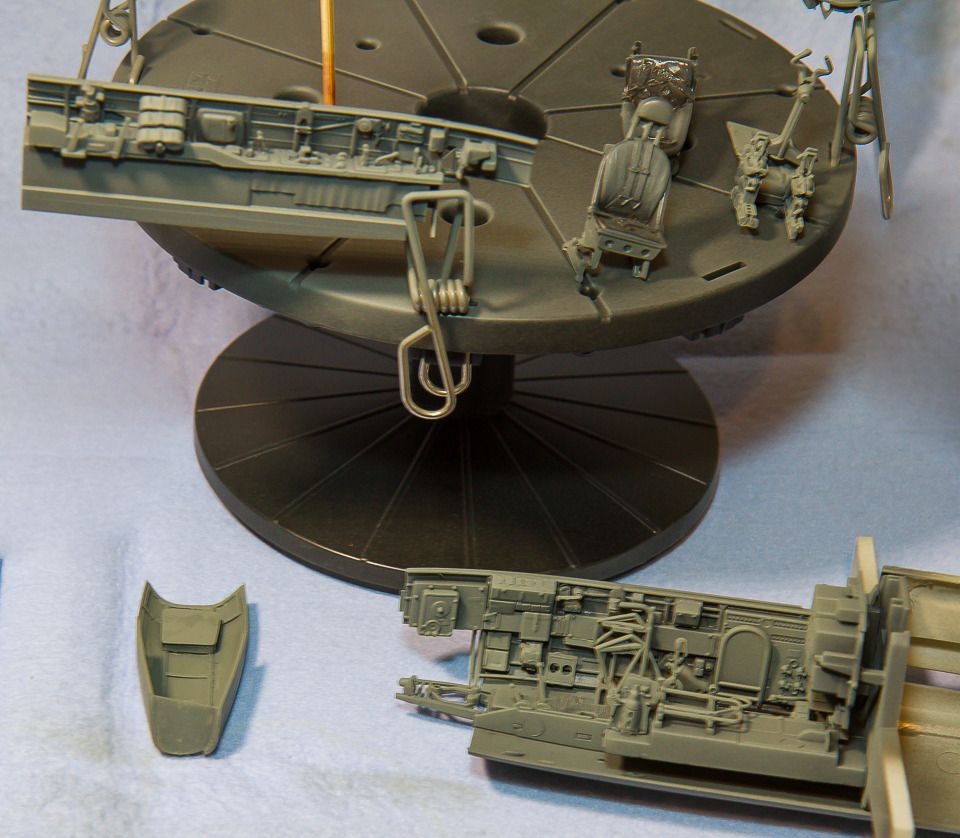
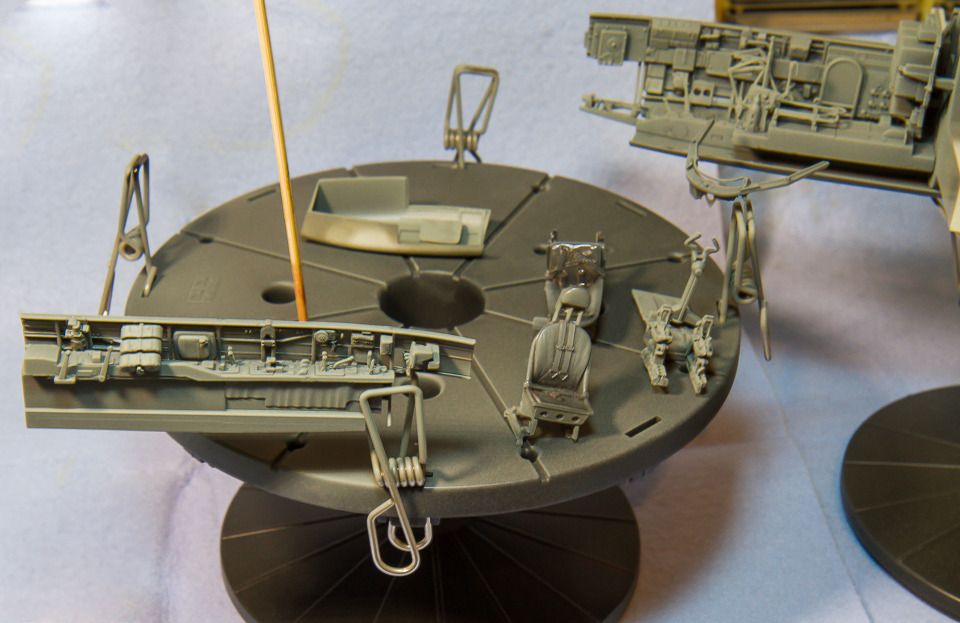
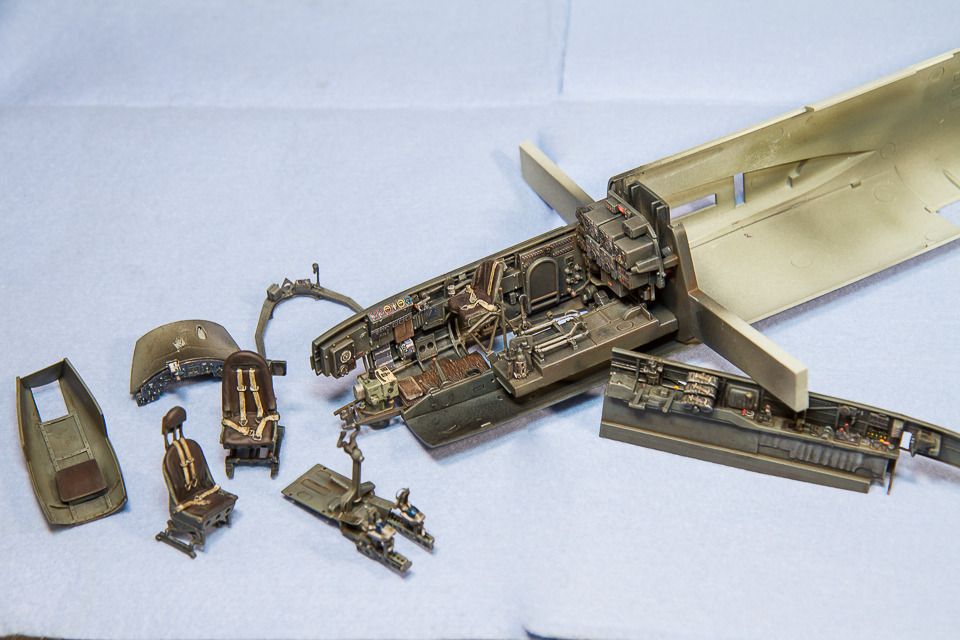
Back in the day, I never pre-shaded anything so I wanted to go ahead and use some of the latest techniques. I started the cockpit first. I think it looks great as is, but the Eduard parts really bring out that extra detail. I followed the instructions and assembled most of the parts but kept some as subassemblies to ease painting the overall base and details. As indicated above, the seats I used are CMK (Part No. CMQ32105) After I preshaded everything Tamiya XF-1 Flat Black I added my Tamiya Base Coat. I really liked the look of the pre-shading. I will post some more soon of the cockpit with details added.
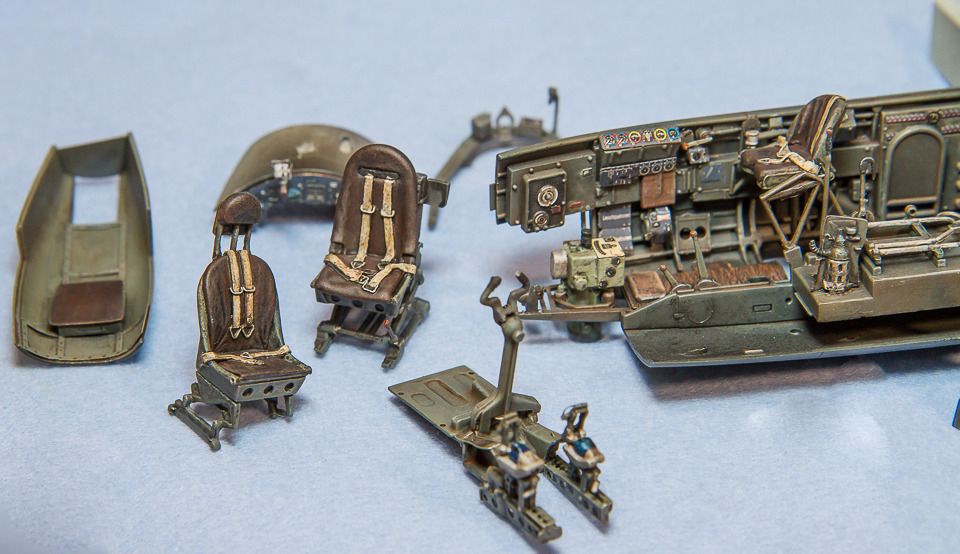
Closeup of the CMK Resin seats. They have excellent detail but I know they will take some detail painting.
Definitely going to be watching this. I’m also just now getting back in (although the hiatus hasn’t been as long as your’s) and want to see more about these new-ish techniques like pre-shading.
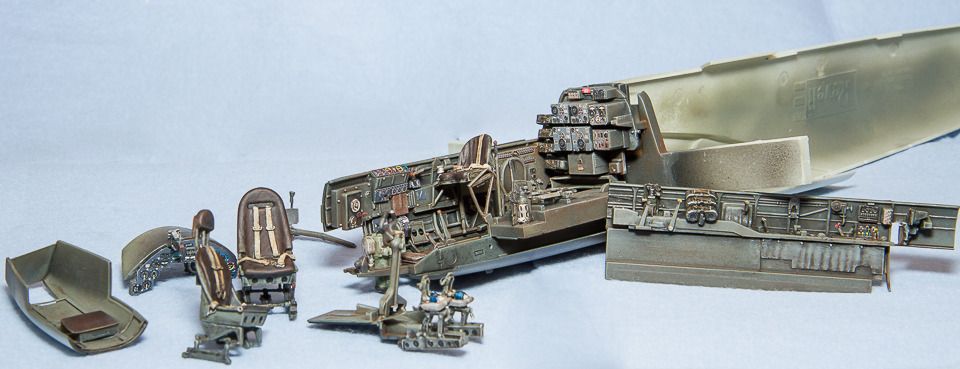
After getting the base coat all set, I started to paint the individual parts that require other colors. I used Model Master Enamels for the metallic objects like ammo cans (gun metal) and seat belt buckles (aluminum). I mixed some artist oils with MM rust to come up with the various brown shades for the leather seats and wood flooring. Tamiya was used for the other colors such as the various grays of the interior and colored knobs. I even pulled out my 35 year old Tamiya Clear Blue for the pedals.
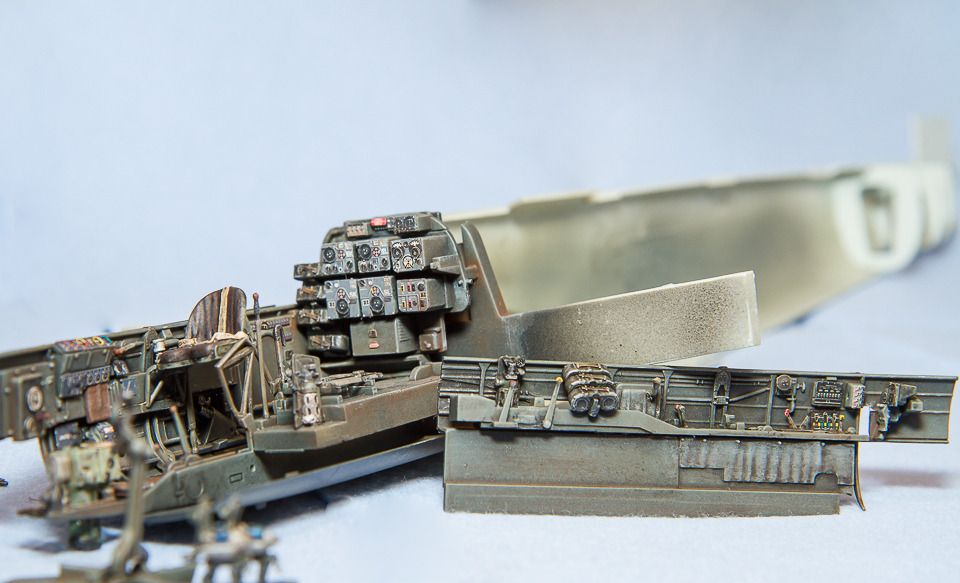
At this point I added most of the Eduard PE controls, radios, lettering, etc. I didn’t trust the self-adhesive glue so used Gorilla gel super glue. I was very impressed with this Eduard set as it really made the pit pop with detail.
I used MM Acrylic Gloss Clear with my airbrush to give the pit a seal and a better coating for weathering using enamel and oil based washes. However, I had a hard time controlling the flow. I think it is because I didn’t use it with MM acrylic thinner. Next time I will invest in the correct thinner or maybe try something like Pledge Floor Multi-Surface Finish (I finally picked up a bottle but too late to try on the interior).
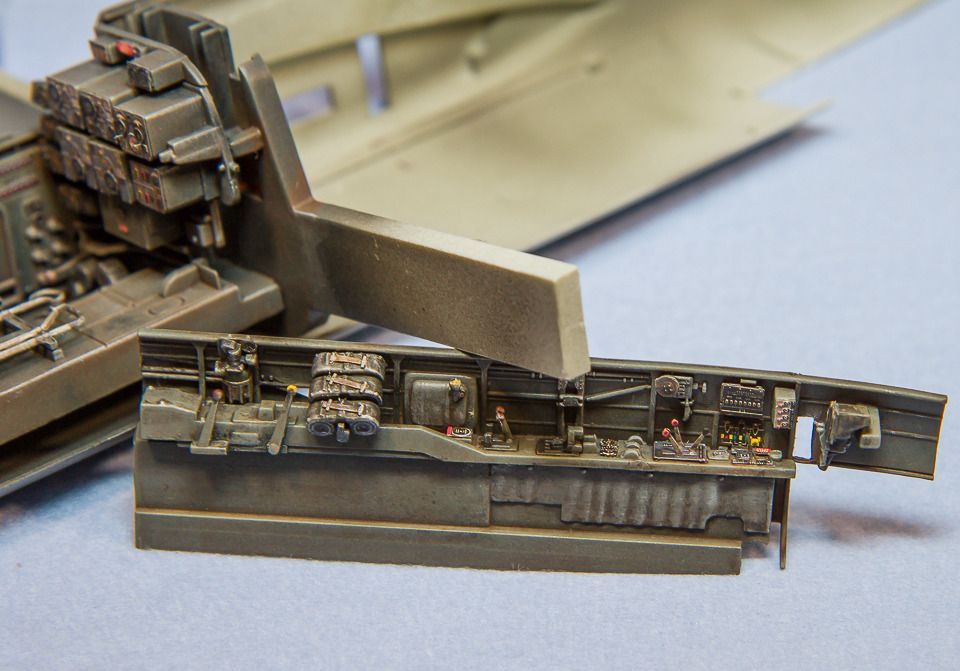
Now time for the fun. Been a few years since I did washes and dry brushing but I recall enjoying it. I wasn’t sure if the methodology would come back right away but after a little trial and error I quickly got my old routine back. I used a lighter shade of the base interior (by mixing with Tamiya white) for an overall dry brush and mixed Windsor Newton artist oils with mineral spirits to create a dark reddish brown tone for an overall wash. I then mixed other brown oil colors for the seats and wood for a different wash shades.
Finally, I used MM aluminum to dry brush areas to show some wear.
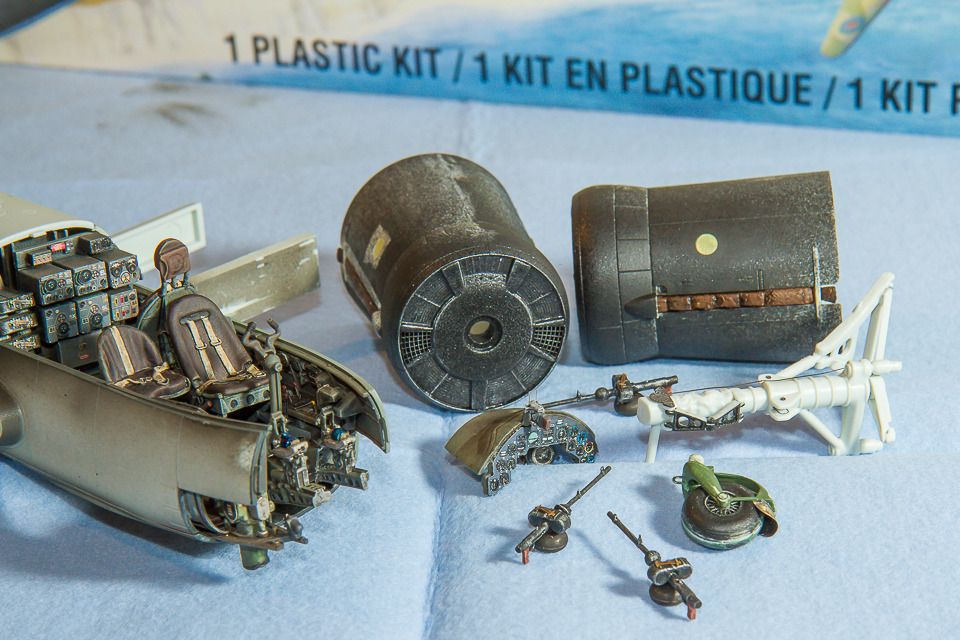
Now time to get this fuselage together and get these subassemblies in one piece.
Dam dude. That…is just kick “A”. Great detail all the way. For being gone for so long you sure are picking up the pieces and going for broke here pal.[Y]
I have to say that I am comletely awe struck. Absolutely gorgeous cockpit. I am quite impressed with the fact that not only did you apply some already existing skills but, that you seem to have picked some new one’s without a hitch. Looking forward to more. By the way, welcome back to the hobby.
Wow, thanks for all the comments. I am not sure I deserve them though. I have to admit, I am rather anal (as probably most of us are in this hobby… lol) and did go back a few times for retouching here and there. I just hope I can do a good job on the exterior. This will be my first time doing a multi-color camo scheme with my airbrush and I am not sure I am getting my pressures and techniques quite right (in other words, the monoscheme pre shade and gray interior cockpit was much easier). I am still using my old Badger 200 from 1985 too… lol. But if it gives me fits I may upgrade before finishing this build.
I did do a ton of reading on the forums, YouTube, and even bought a new book to go with my aging Shep Paine books before jumping back and doing certain steps along the way. Part of me is sad that the local hobby shops have all but gone but I have to admit, the internet has really given the hobby a big boost in terms of how to content, multiple techniques, and (best of all) like-minded support.
I have added the fuselage halves and working on the wings now. I will take more pics before putting the clear parts over the cockpit. I can already see I may have a fit issue so that will be a good challenge to overcome.
Hi folks, just a quick update on my progress to date. My work schedule and family obligations usually means I get a chance to work on this starting around 10PM at night so progress is a little slow. But getting there.
Most of the major structures have been attached. Wings went together great with no serious gaps. I did add a little bit of putty and associated sanding along the fuselage’s middle lower exterior panel beneath the wing roots. Because of the sanding I will have to rescribe some nearby panel lines.
I have painted some of the exterior details and the guns, which will allow me to finally attach the clear canopy parts this week. Last week I was able to get the canopy polished, coated with future, and finally masked using Eduard masks. Wow, that took a bit of time (did it over two nights) but I can only imagine how long that would take to cut out manually using foil or tape. I highly recommend them. I had to reattach them several times to get them where I wanted and had not problems with them getting stretched or out of shape.
After adding all that PE I believe it made the already detailed and packed Revell interior a little tigher ins some parts. This likely impacted the front nose piece where I have too much of a gap showing along the sides (top and bottom are good). I haven’t tried the rear canopy areas yet but dry fitting indicates they match up well.
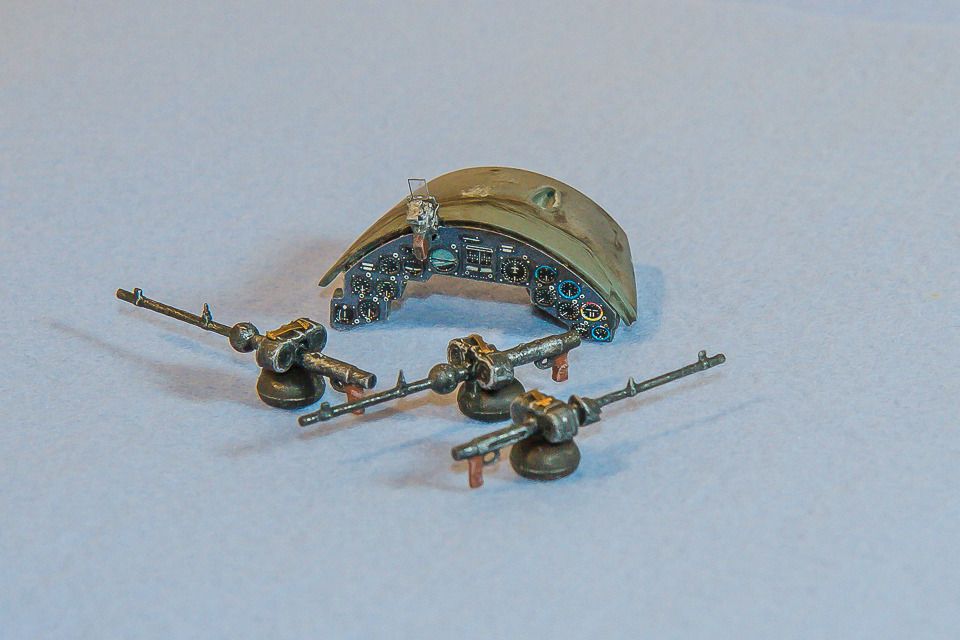
Below are some pics of the guns (minus the reticles) and recently attached reci (pilot sight). I painted the guns Model Master Metallic paints (gun metal with dry brushed silver). The pilot sight uses the Eduard PE interior parts set, including the clear arcylic part. This wasn’t as hard to mount as I thought it would be… Altough it didn’t show up in this photo, the gauges received a drop of testors clear canopy glue to simulate glass. Worked out great. I did encounter an error when trying to mount the pilot gauge assembly into the cockpit area. I had adverntly mounted the gauge backing plate to far forward (basically flush with top edge) which would not allow it to fit in the canopy. Thus, I had to pry it off and remount it further back. This shot is before I realized my mistake.
The photo below shows the landing gear strut ready for painting. I used the Eduard PE exterior set for additional details such as the brake lines and some extra bolts.Before mounting the exhaust in the cowlings I decided to paint them first (will later mask them off). I used an old trick I learned from Shep Paine for armor mufflers and mixed some baking soda with dark brown Testors enamels; then dry brushed them with lighter rushed shades. This gave it some texture to simulate rust. I have since changed the tail wheel color from the recommended olive green like color indicated by the manual to a light gray shade. This was based on research of an actual JU88 A1 going thru reconstruction:
I hope to get most of this done over the holidays! I would like to add it to a diorama that shows both a concrete tarmac and grass. Still looking at ideas.
That looks really nice. For tarmac in this scale I would suggest maybe some sanding cloth. I can’t say what grit as I have no tried it yet, but I think a finer one would give the right texture.