Your a trooper, I would have put it in the box and in the recycle bin by now ![]()
![]()
Back Plates of Sheets 1 and 2 done.
I’ve been working on another project, which delayed me for a while, but that’s completed now.
As well, I found I had to provide weight to the PE to flatten the bends resulting from the shipping damage. Not sure if this would have been required regardless, but me thinks not. At any rate, because of this, I chose to do each of the larger back plates one at a time. I wanted to minimize the possibility of the back plates slipping as much as possible. Thus, this slowed the process down.
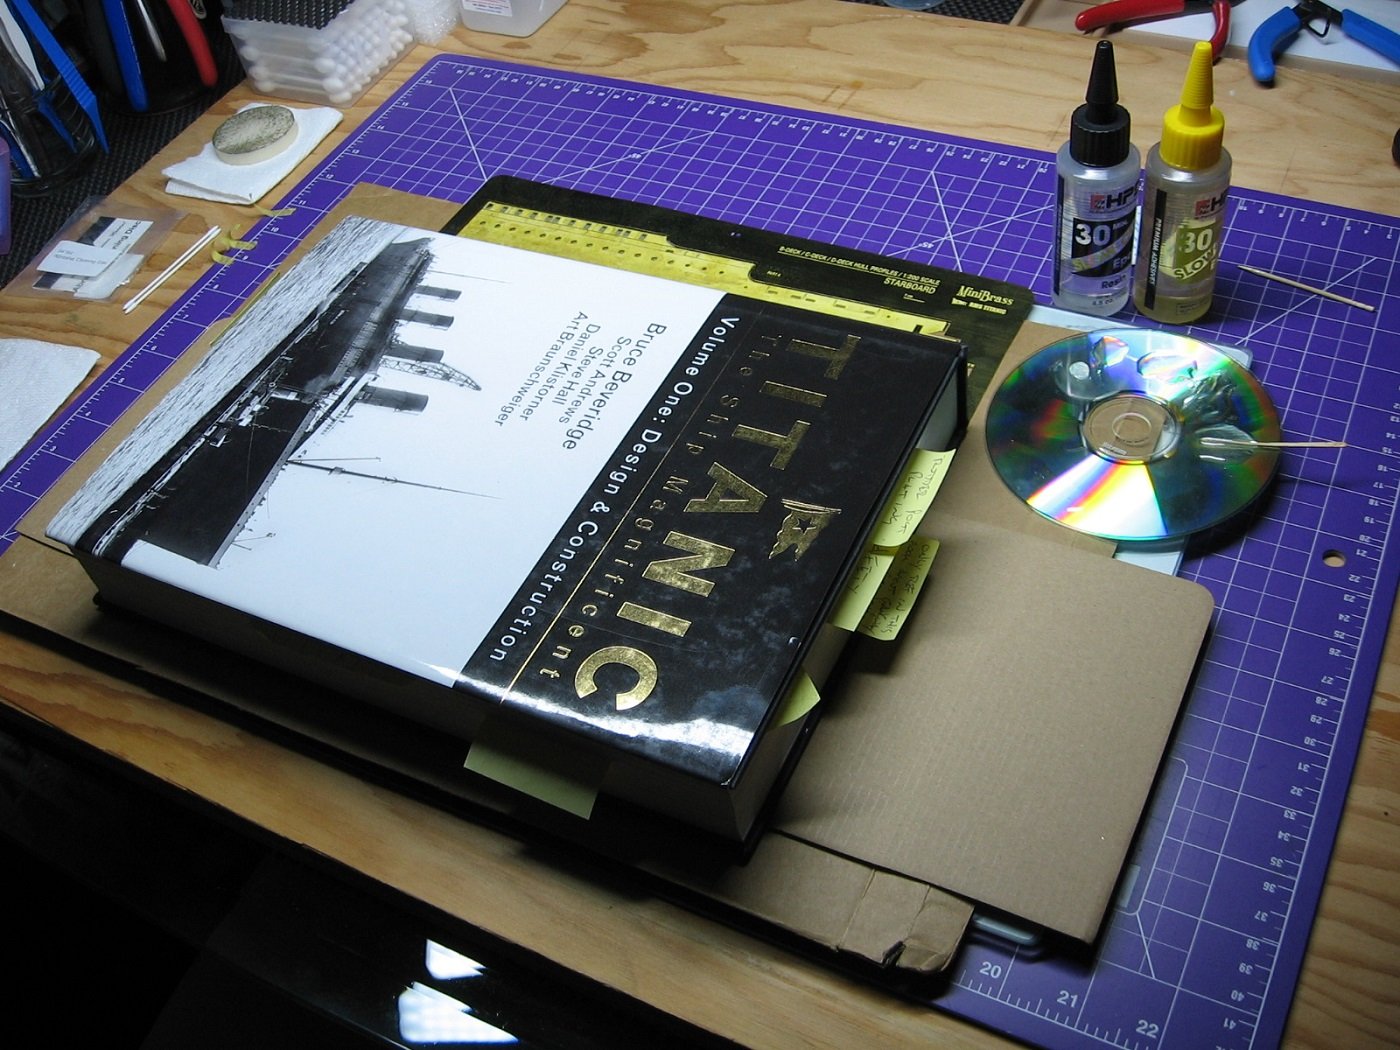
I chose a BIG HEAVY book for the weight.
Further, I switched to a slower curing epoxy. Working out well.
On to Sheet #3, and more Back Plates.
Four back plates for each side (Port and Starboard) on this sheet. I’m hoping to get all eight done in two applications. We’ll see.
Thanks for looking.
Cheers,
Mark
Parts CU1 and CU2.
For the Port side, I treated these parts same as the previous back plates. Worked them from the back side. Measured for fit and applied epoxy. Then flipped the sheet over for fine tune positioning. As soon as I flipped the sheet over both pieces fell off. I wasn’t able to apply enough glue for the parts to remain attached during the flip. Bit of a gong show, from that point, but I managed to position the parts while working them from the topside and using CA glue in conjunction with capillary action.
Different approach for the Starboard side, which was way easier. Worked them from the topside from the get go and simply positioned the pieces dry and then taped them in place, followed by applying CA glue at each ends, allowing capillary action to do it’s thing. Then, once secure, flipped the sheet over and applied more CA from the backside.
Thanks for looking.
Cheers,
Mark
Doubling plates (all 180 of them) attached. Used CA glue for these. Parts A - D now complete. I found Part CU-2 backplate to be the most difficult. Particularly on the Stbd side (circled in red). It popped off under stress from handling. Re-attached with epoxy. Unfortunately I re-attached it without paying attention to alignment. Thus, it is slightly off by about 1-2mm longitudinally. Shouldn’t be a big deal and hardly noticeable.
Up next, as per instructions, with this PE kit is to prepare the hull. However, before engaging in that surgery, I want to do somewhat of a dry fit first. As well, there are other hull features still to be attached. For attaching the bilge keels and propeller/shaft wings I expect I’m going to want to flip the hull upside down. I’m quite certain that would not be a good idea with this PE in place.
Further, kit parts N1 & N2 and P1 & P2 (for A, B, and C decks) come into play with this PE. Having said that, it’s time to install the internal frame aftermarket kit. Original plan was to install the frame kit after painting the hull, as it would be much easier to install the porthole “glass” without the frames in place. But that plan was before I decided on this PE kit, and plans change.
Glueing one frame at a time. I did not have a bar clamp large enough for this, so went out and bought one. At $18.99 CDN each (on sale, down from $29.99) it made more sense to get just one, instead of four.
In the meantime, prior to starting on the internal framing, I was pondering the lowest row of molded indentations on the hull, which represent through hull fittings. Common advice regarding these is to DON’T DRILL THESE OUT(!). But wait…I’m not lighting my model, and therefore, there would be no light leakage through these if they were drilled. I decided the overall look will be better with them drilled. Left undrilled, some of them will end up painted over with antifouling red. Done.
Second frame glued in this morning. Two more to go. Should have that completed within a couple of days. After that will be the bilge keels and propeller/shaft wings.
Thanks for looking.
Cheers,
Mark
Changed my mind on getting to the propeller shaft wings and bilge keels next. Will get to those later. I need to address something else so I can get back to content sleeps at night.
I did a dry fit of the Mini Brass Hull Profiles PE kit, port side. Ugh.
As one can see by the photos, alignment is perfect in some parts (circled in green), but grossly not in other spots (circled in red). In hindsight I suppose more research on others experiences with this aftermarket kit would have been prudent. Apparently, turns out the kit hull has even more inaccuracies and, in this regard, the Mini Brass PE is correct. Who knew? If I had known that, I likely would NOT have purchased the kit. One of the reasons I was sold on it was that I expected no major surgery required. There is no mention of major surgery in the instructions, which I perused online prior to taking the leap.
Having said all that, and given the amount of time and money already invested in this PE, I think I can make it work. Unfortunately, I have already drilled out the portholes. Less surgery would be required if they were still intact. First step is to remove the raised detail for a flush surface. Then more dry fitting for a better understanding of where I need to cut.
Thanks for looking.
Cheers,
Mark
Sending positive waves and patience your way!